Picture this: you press record, and instead of echo and street noise, your voice sounds warm, clear, and close, like a show recorded in a real studio. That feeling does not come from expensive equipment alone. It comes from a room that is arranged the right way, with the desk in the right spot and soft surfaces that calm the sound.
You do not need a spare bedroom or a big budget to get there. A corner, a closet, or one quiet wall can become a recording space that sounds great and looks good on camera too. These 20 small podcast room layout ideas will help you build a setup that fits your home, your show, and the way you like to record.
1. Set Up a Corner Desk With a Boom Arm Mic
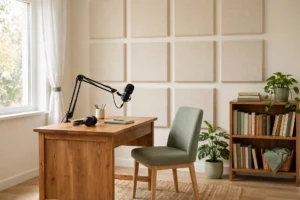
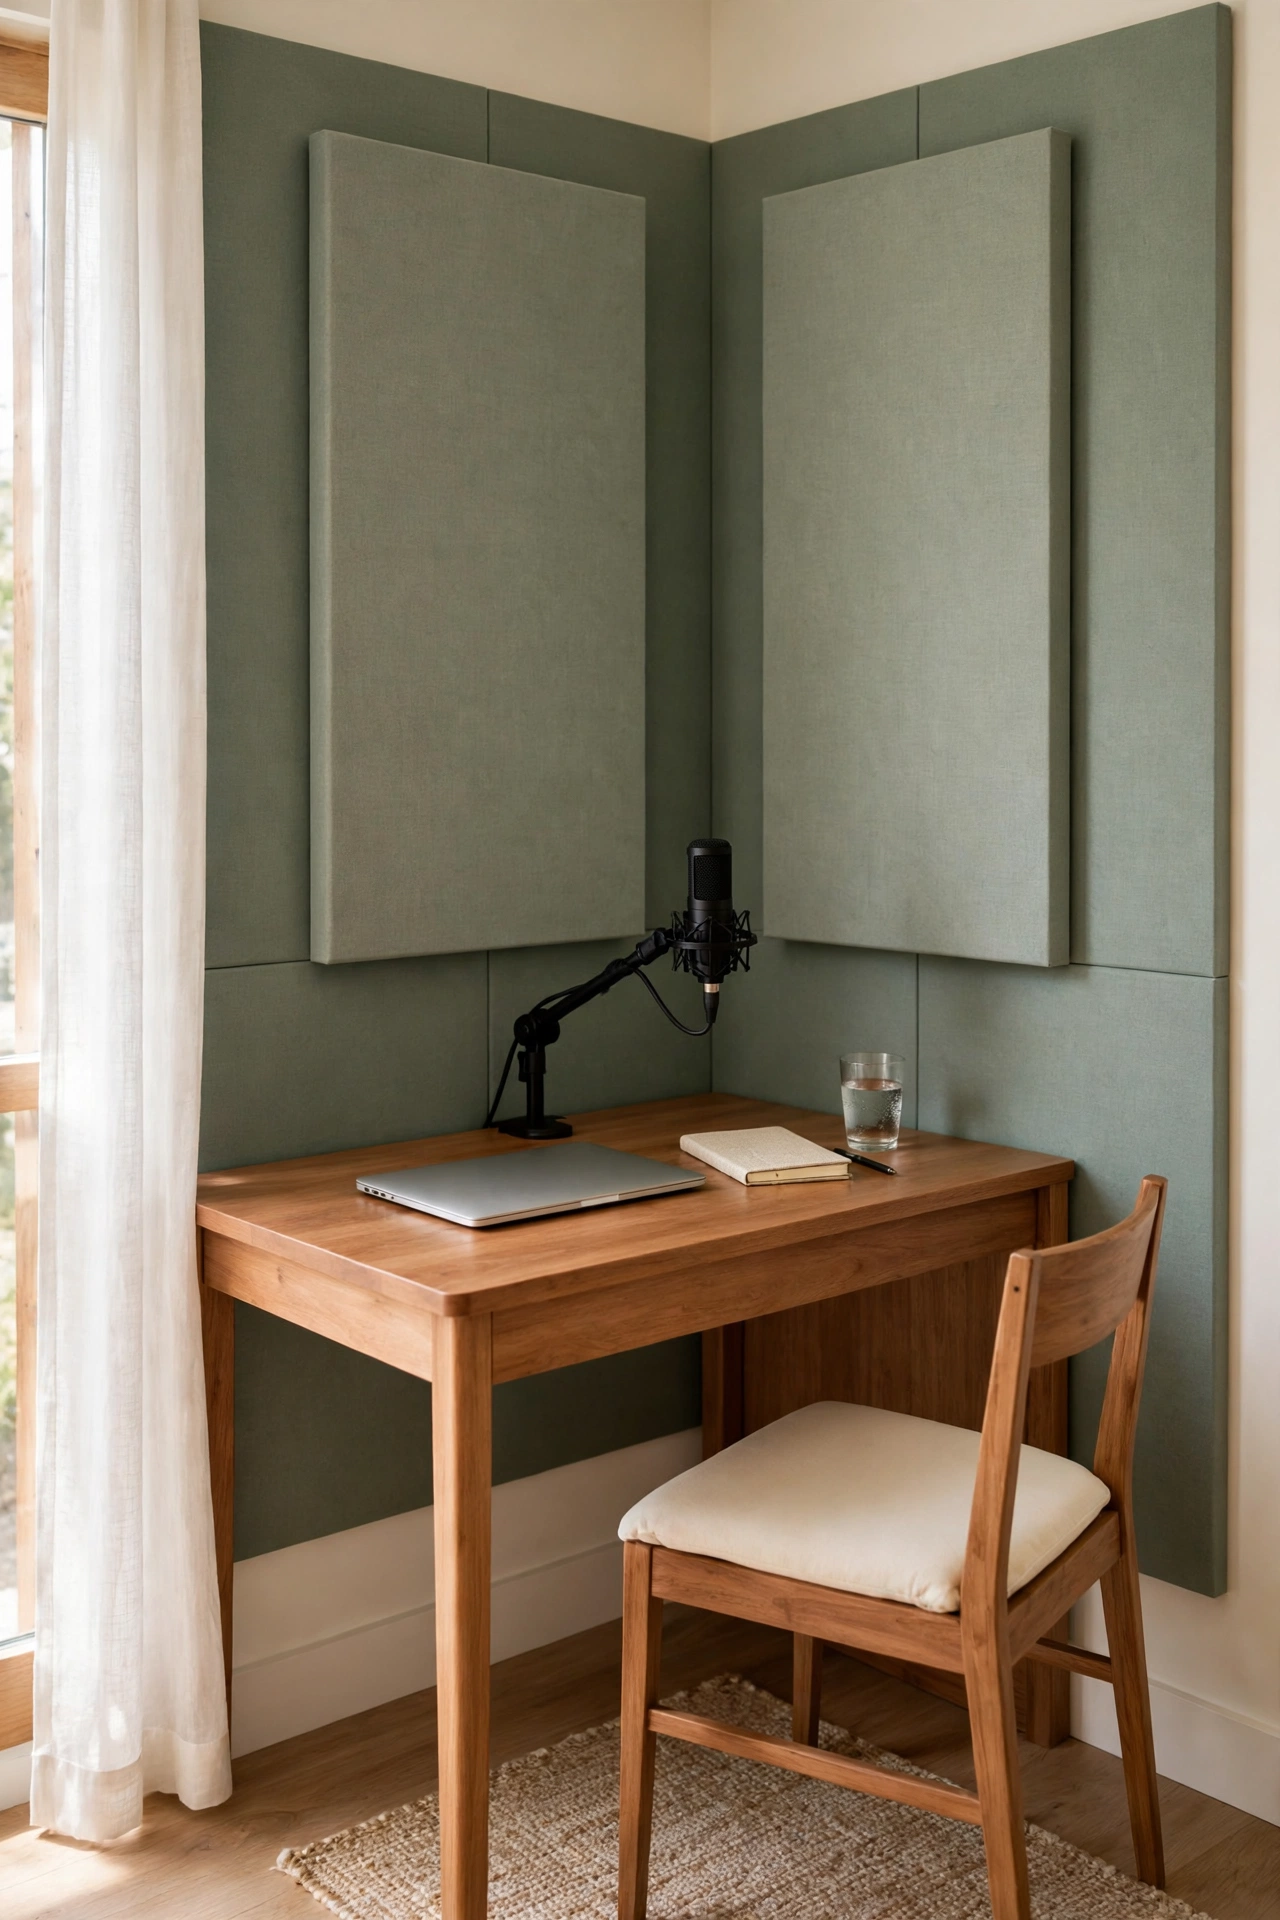
A corner desk is the simplest way to claim a podcast spot in a small room. The two walls around you block sound from behind, and a boom arm holds the microphone exactly where you need it without eating up desk space. You sit facing into the room, with your notes, laptop, and a glass of water all within easy reach.
This layout works well in a bedroom corner or a quiet part of a living room. Add a small rug under the desk and a cushion on the chair to soften reflections. For more ways to arrange a compact work corner, these small home office layout ideas show how a tight space can still feel calm and organized.
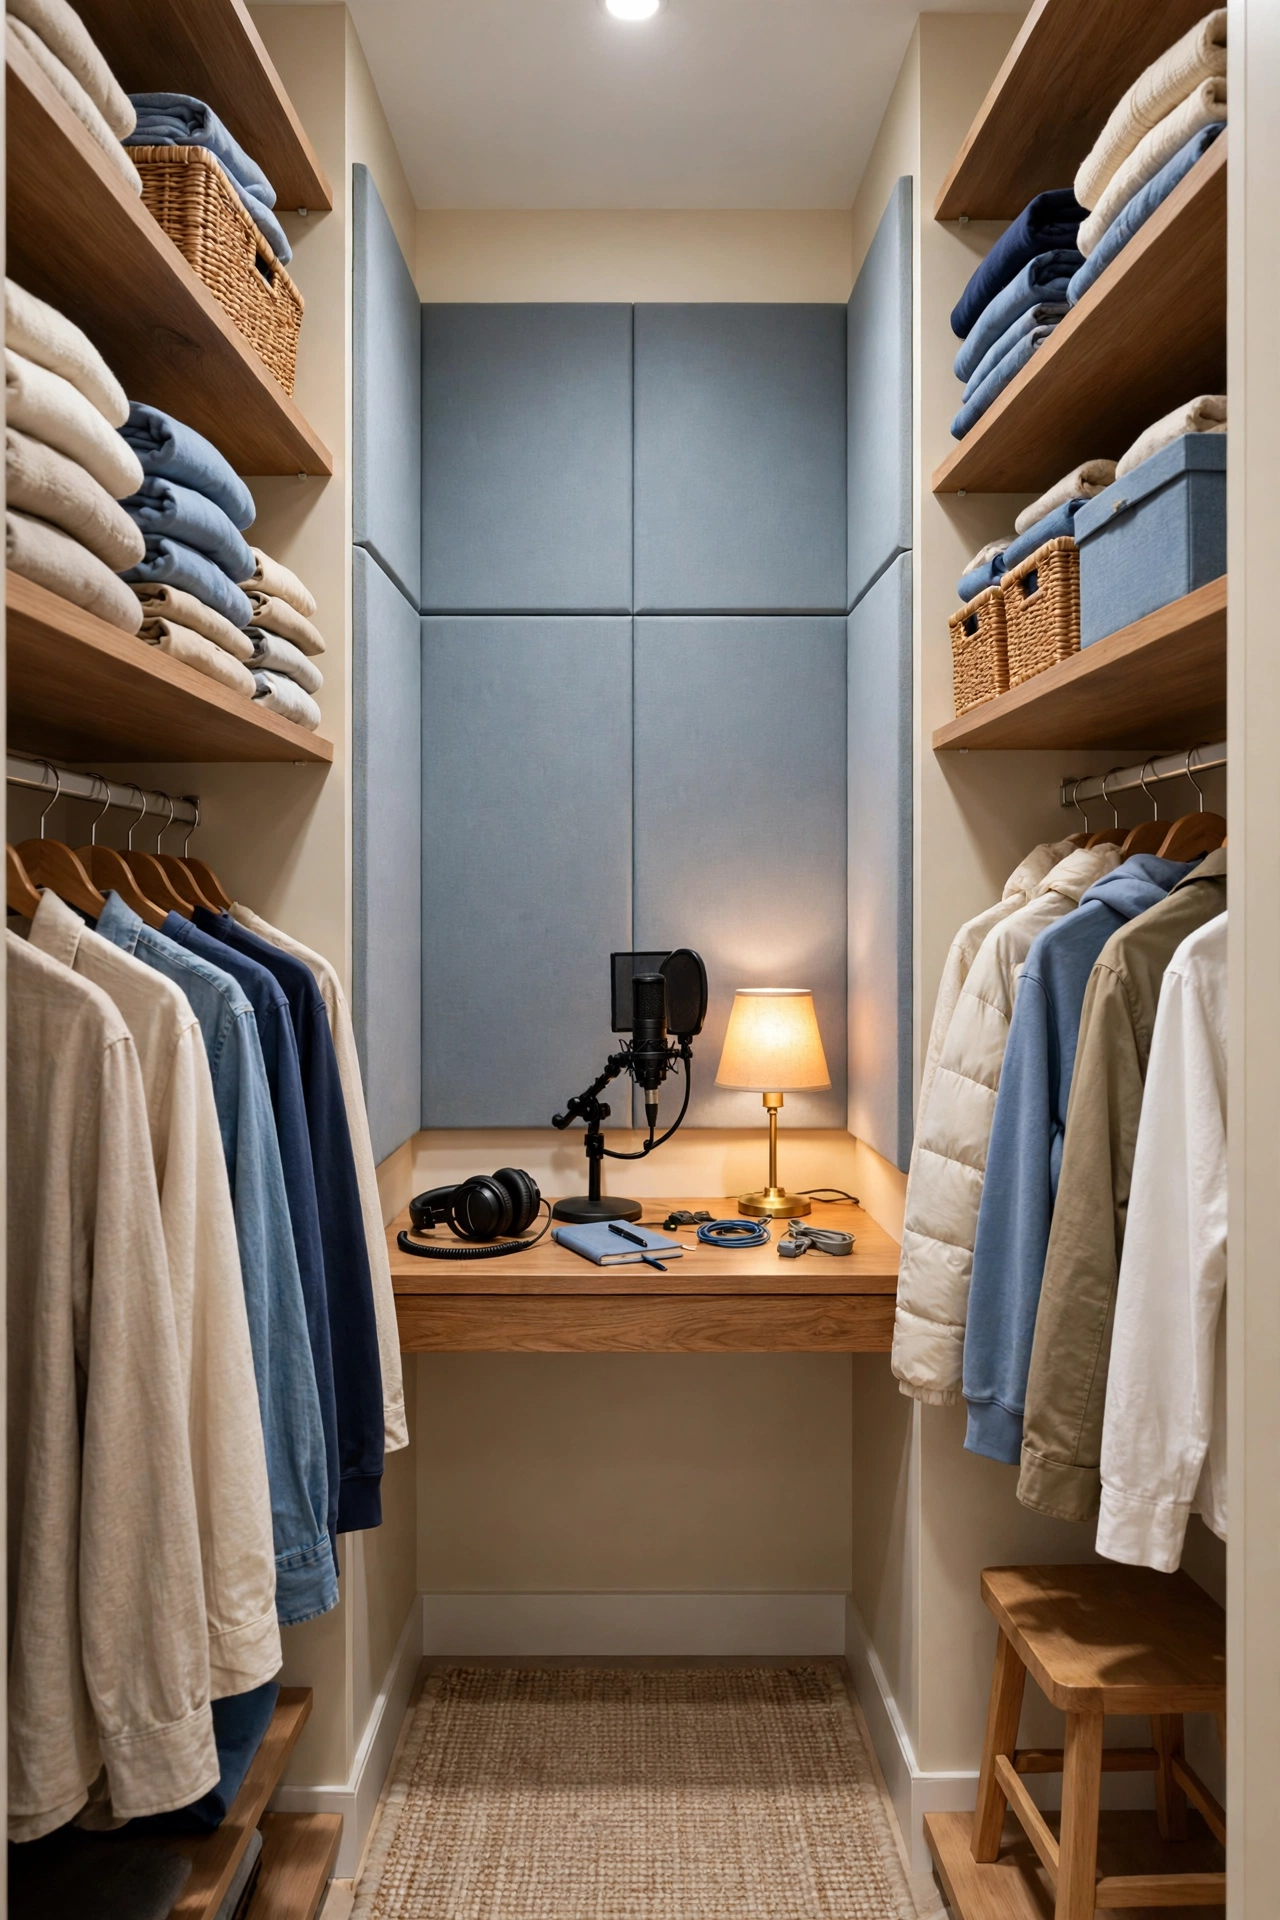
2. Turn a Walk-In Closet Into a Recording Booth
A walk-in closet is one of the best recording spaces in any home, because the clothes on the rails absorb sound naturally. Place a narrow desk along the back wall, mount the microphone on a short arm, and add a small lamp for warm light. Close the door and the rest of the house disappears.
Keep the closet tidy so hanging clothes stay evenly spread on both sides, which helps the sound stay balanced. A small stool or folding chair is all the seating you need. If your closet needs a smarter arrangement first, these small walk-in closet layout ideas will help you free up the wall space for your desk.
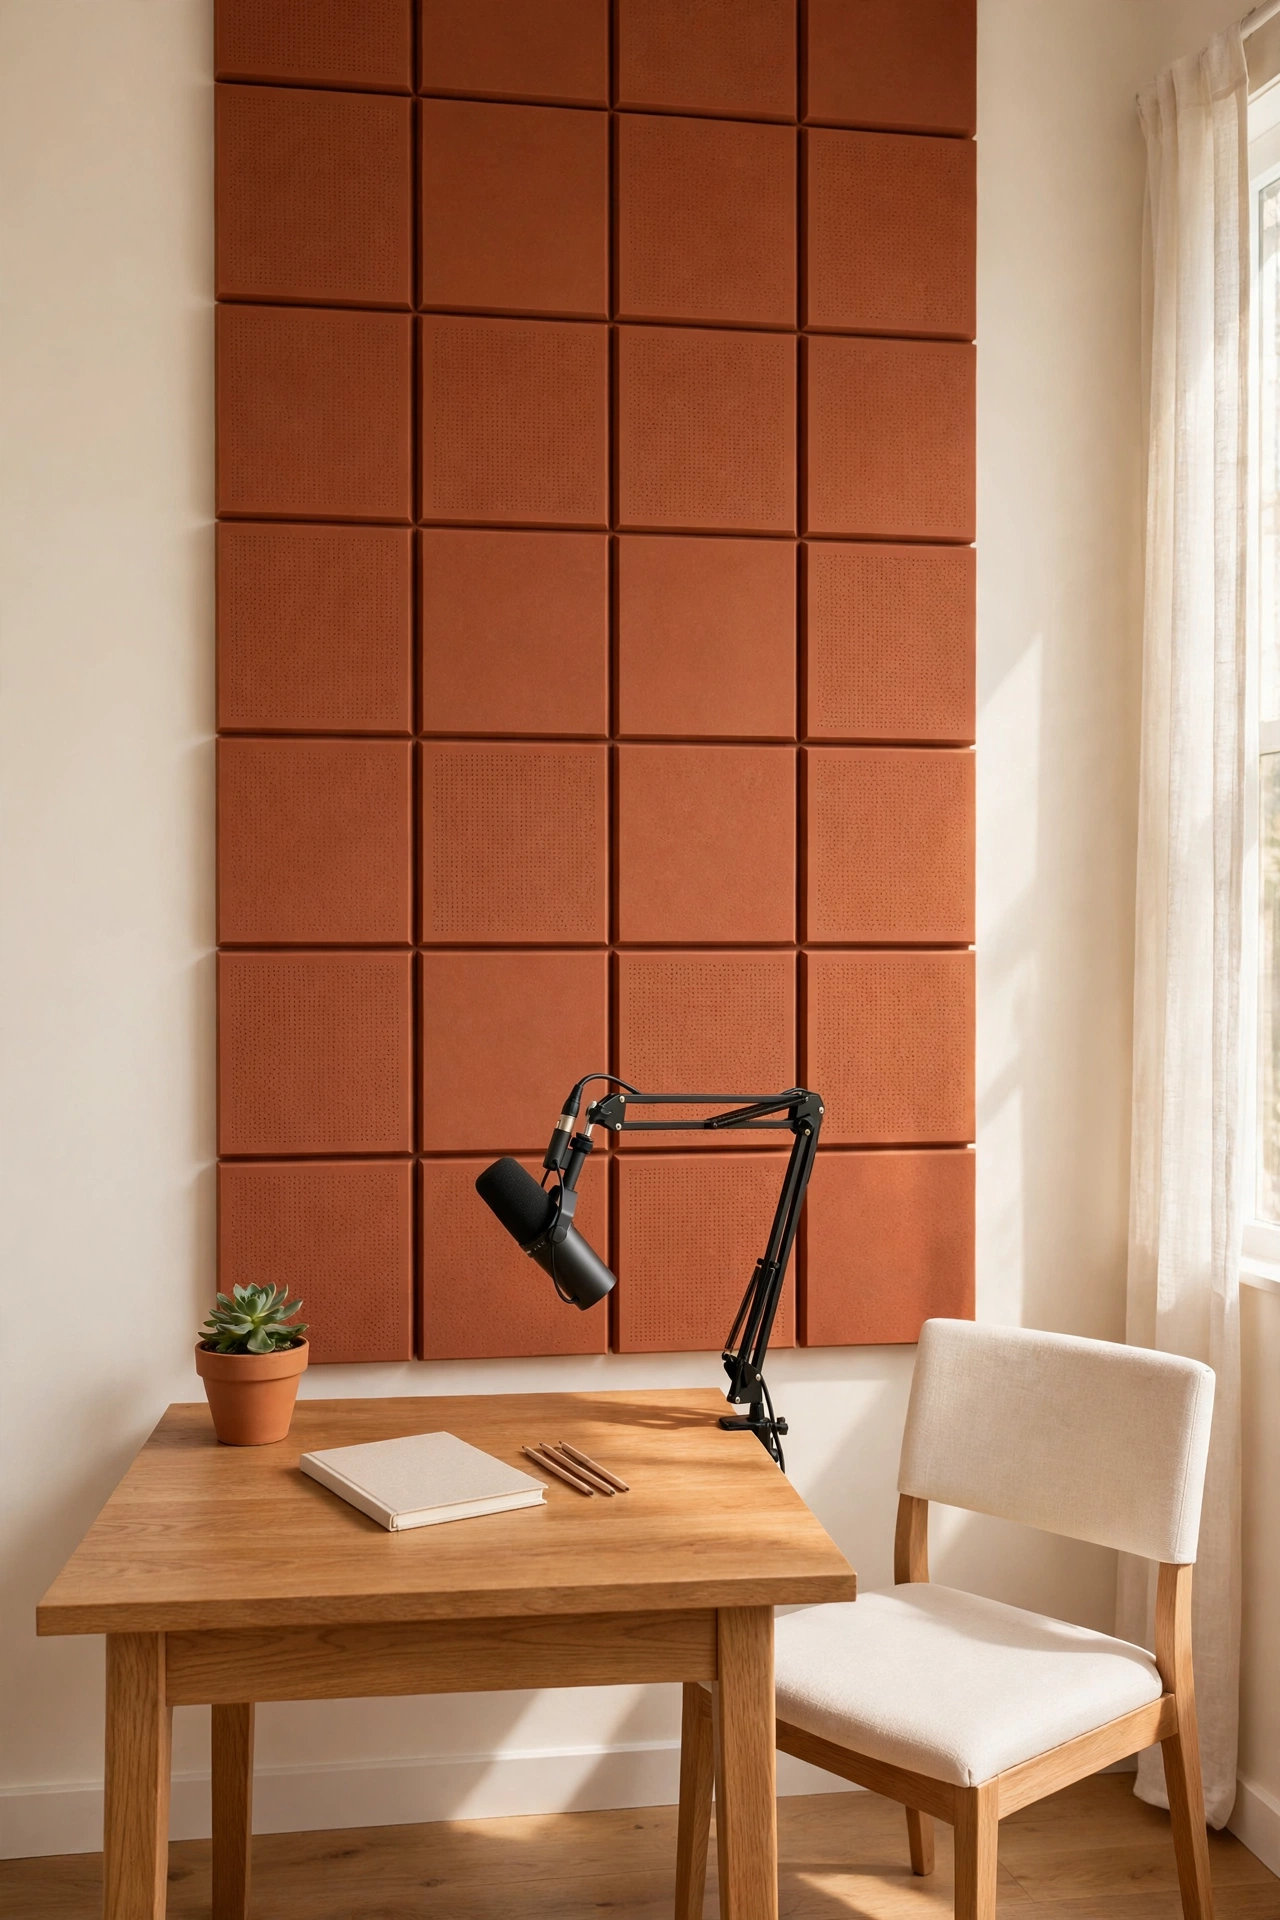
3. Build an Acoustic Panel Feature Wall Behind the Desk
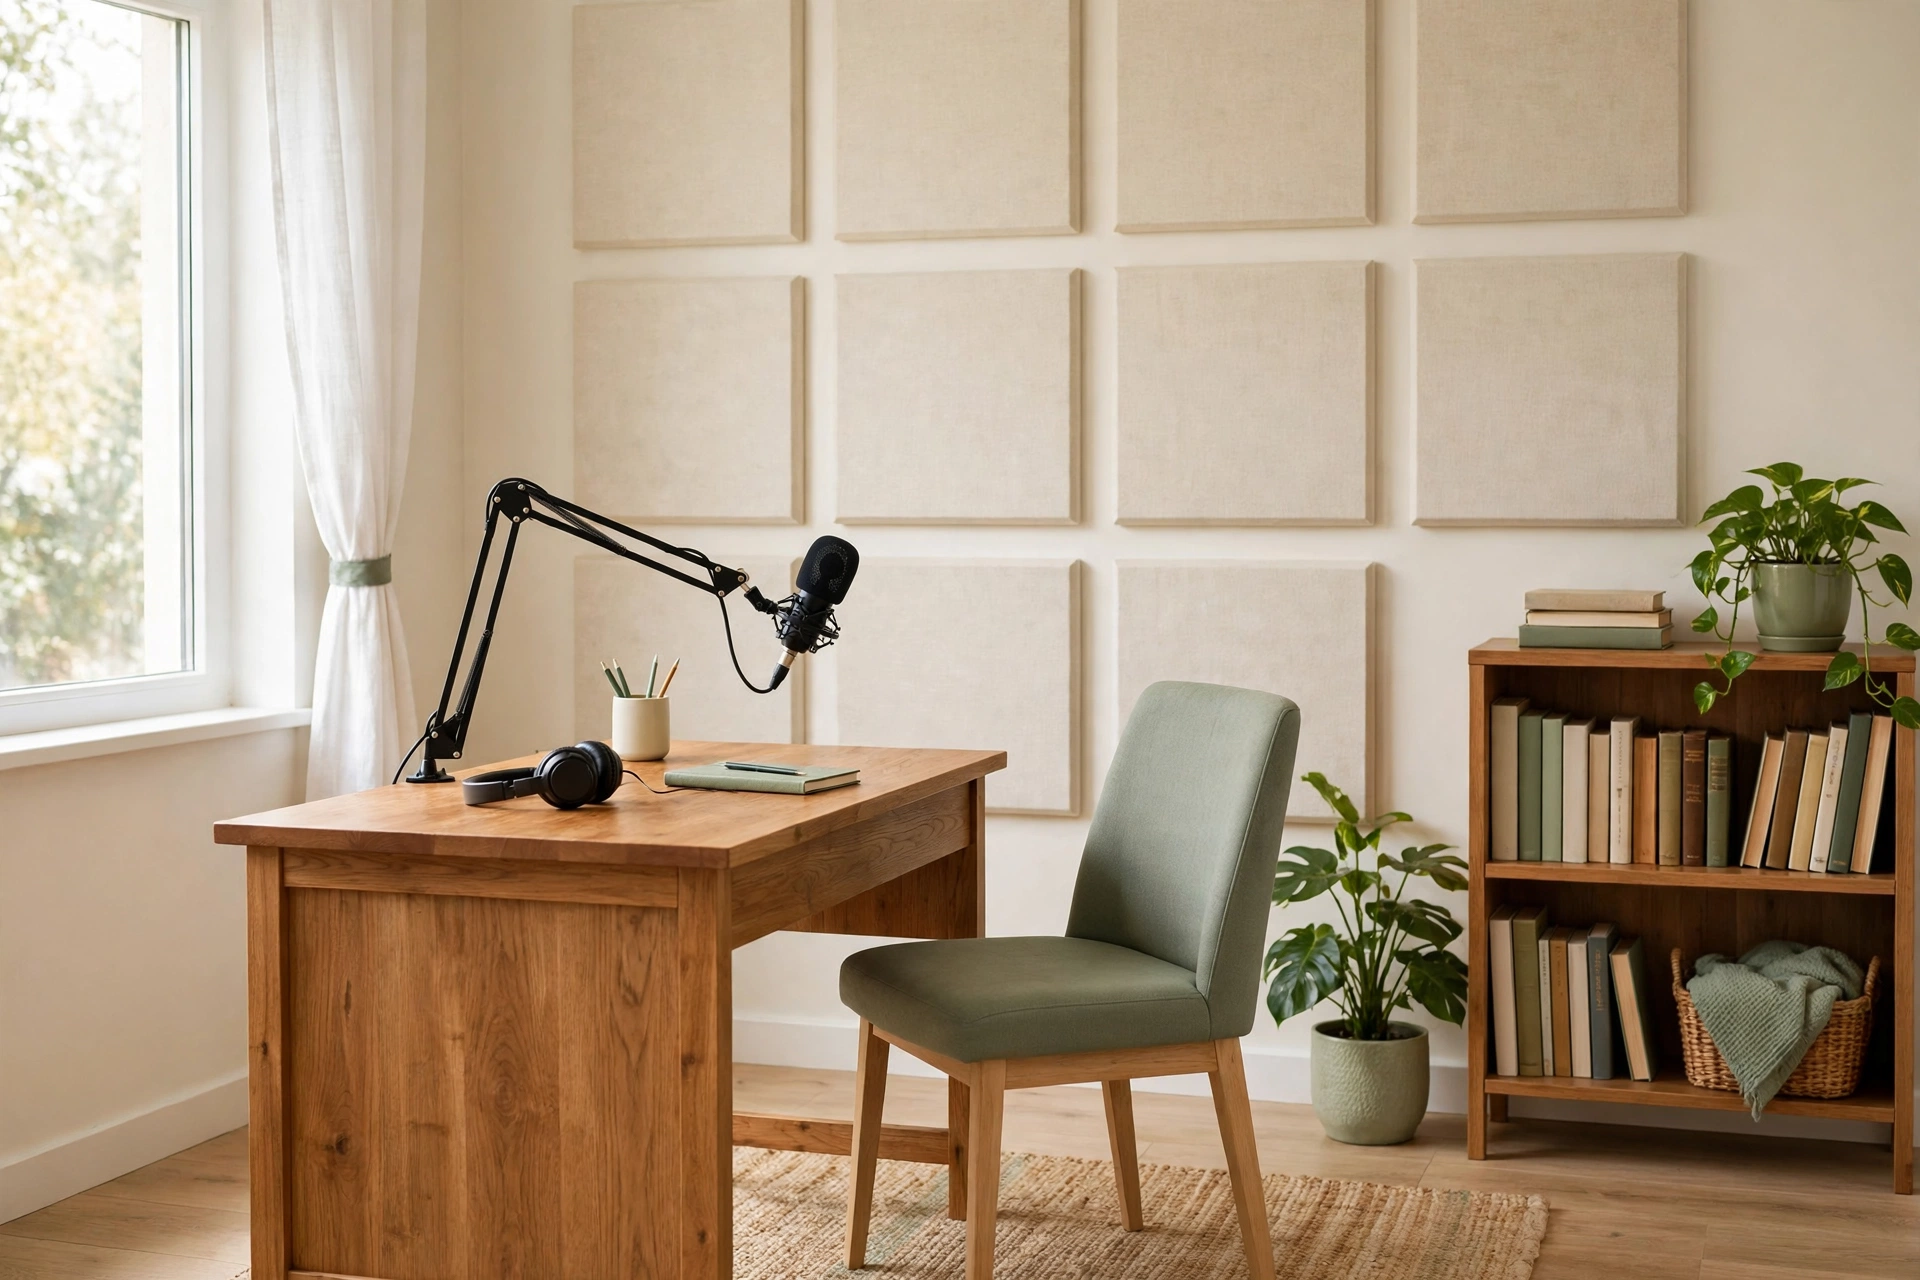
Acoustic panels do two jobs at once: they tame echo and they give your recording wall a finished, intentional look. Arrange the panels in a grid or a geometric pattern in a soft color that suits the room, and place the desk directly in front of them. The wall behind you becomes the backdrop for video episodes too.
You do not need to cover the whole wall to hear a difference. A panel cluster behind the microphone and one on each side wall is often enough for a small room. Choose fabric-wrapped panels in a color you love, and the wall will look like decor rather than equipment.
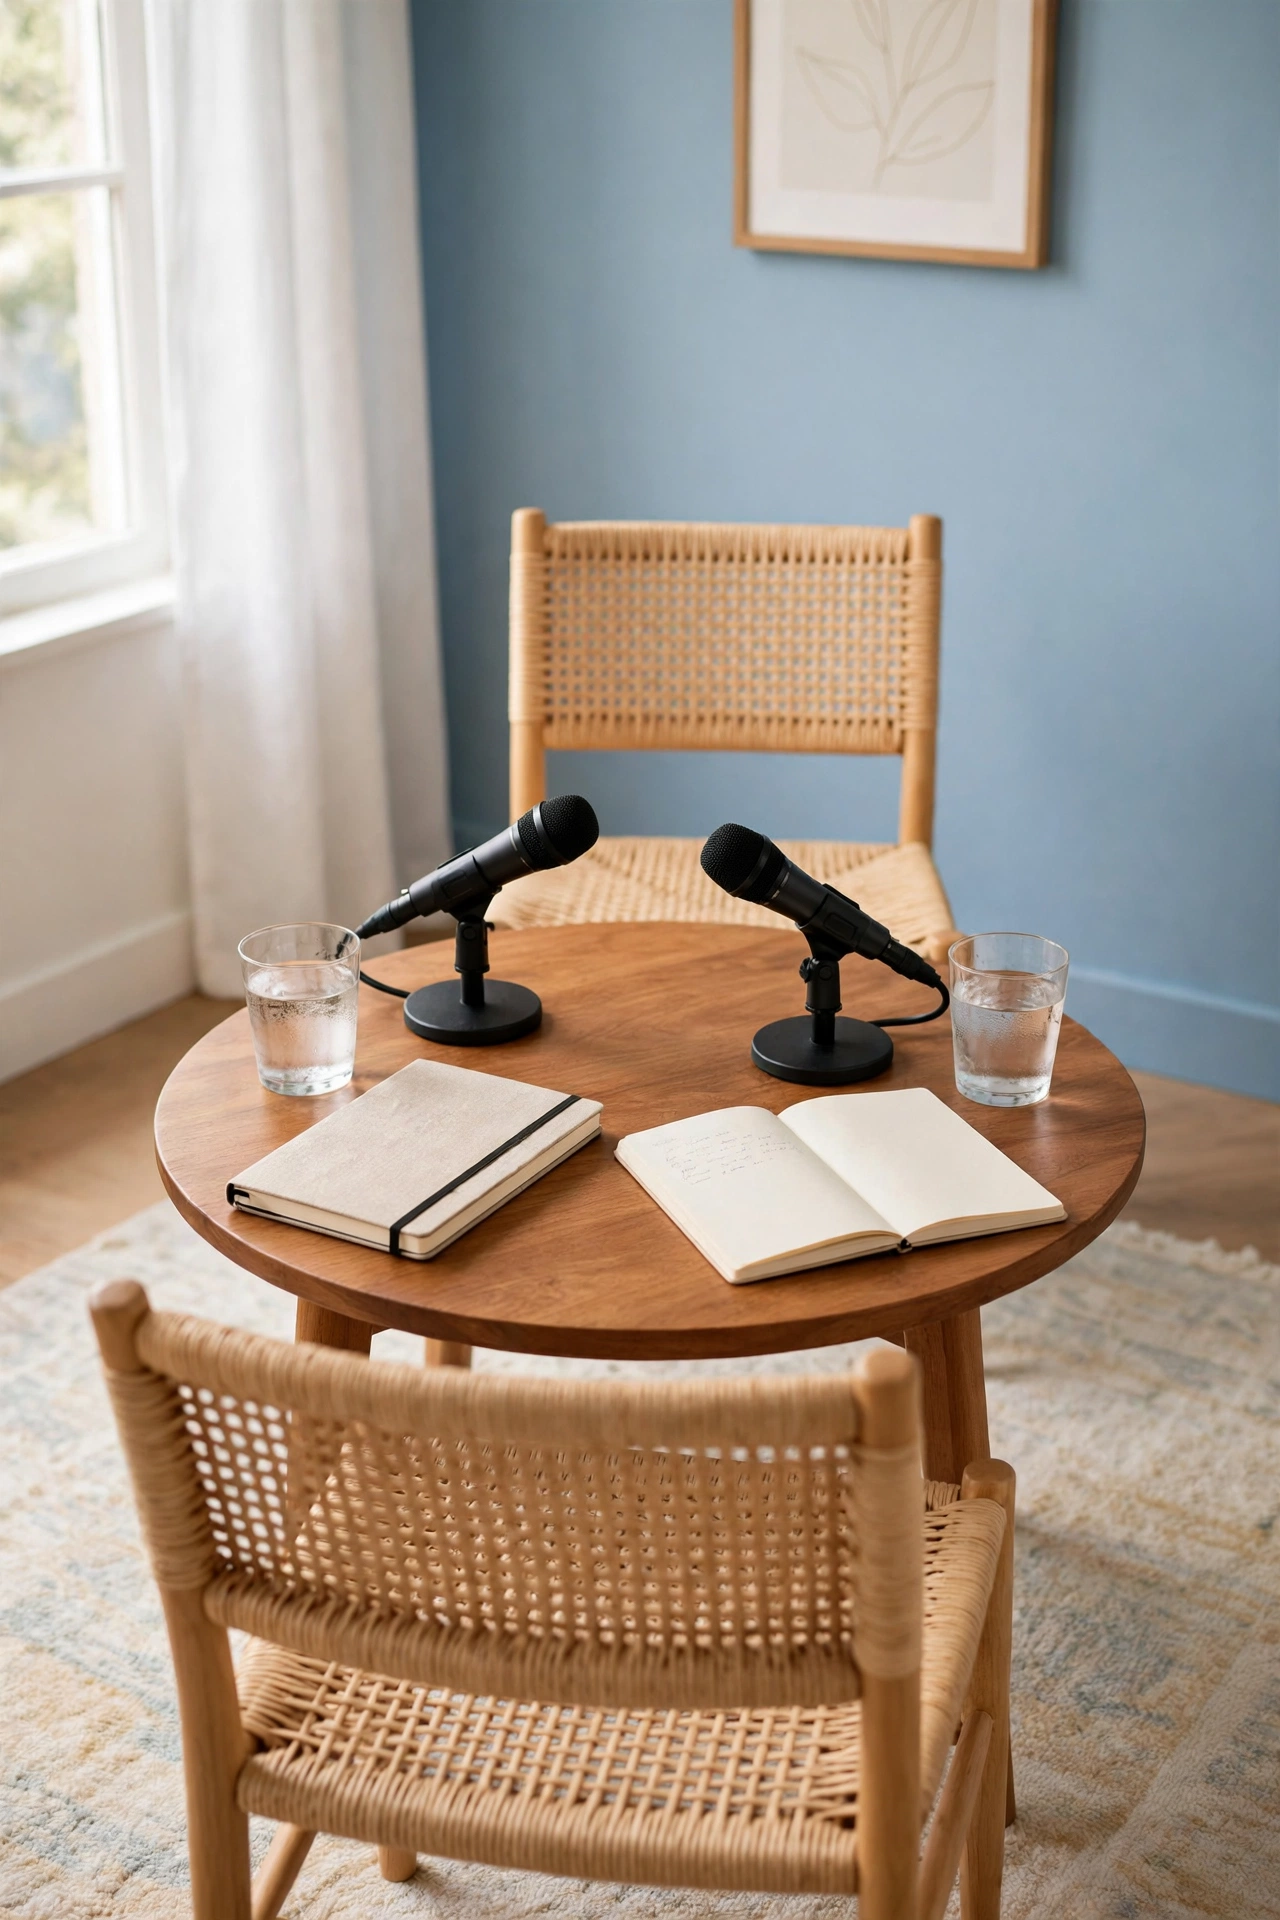
4. Arrange a Two-Person Table for Face-to-Face Recording
If you record with a co-host or a guest, a small round table beats two separate desks. Sit on opposite sides so you can see each other, which makes conversation flow naturally. Each person gets a microphone on a short stand, and the table center holds shared notes and water glasses.
A round table also keeps the microphones at a good distance from each other, which reduces bleed between the two audio tracks. Place the table away from bare walls and add a rug underneath to soften footsteps and chair noise. The setup feels like a friendly chat, which is exactly what listeners want to hear.
5. Place the Desk Against a Window-Free Wall
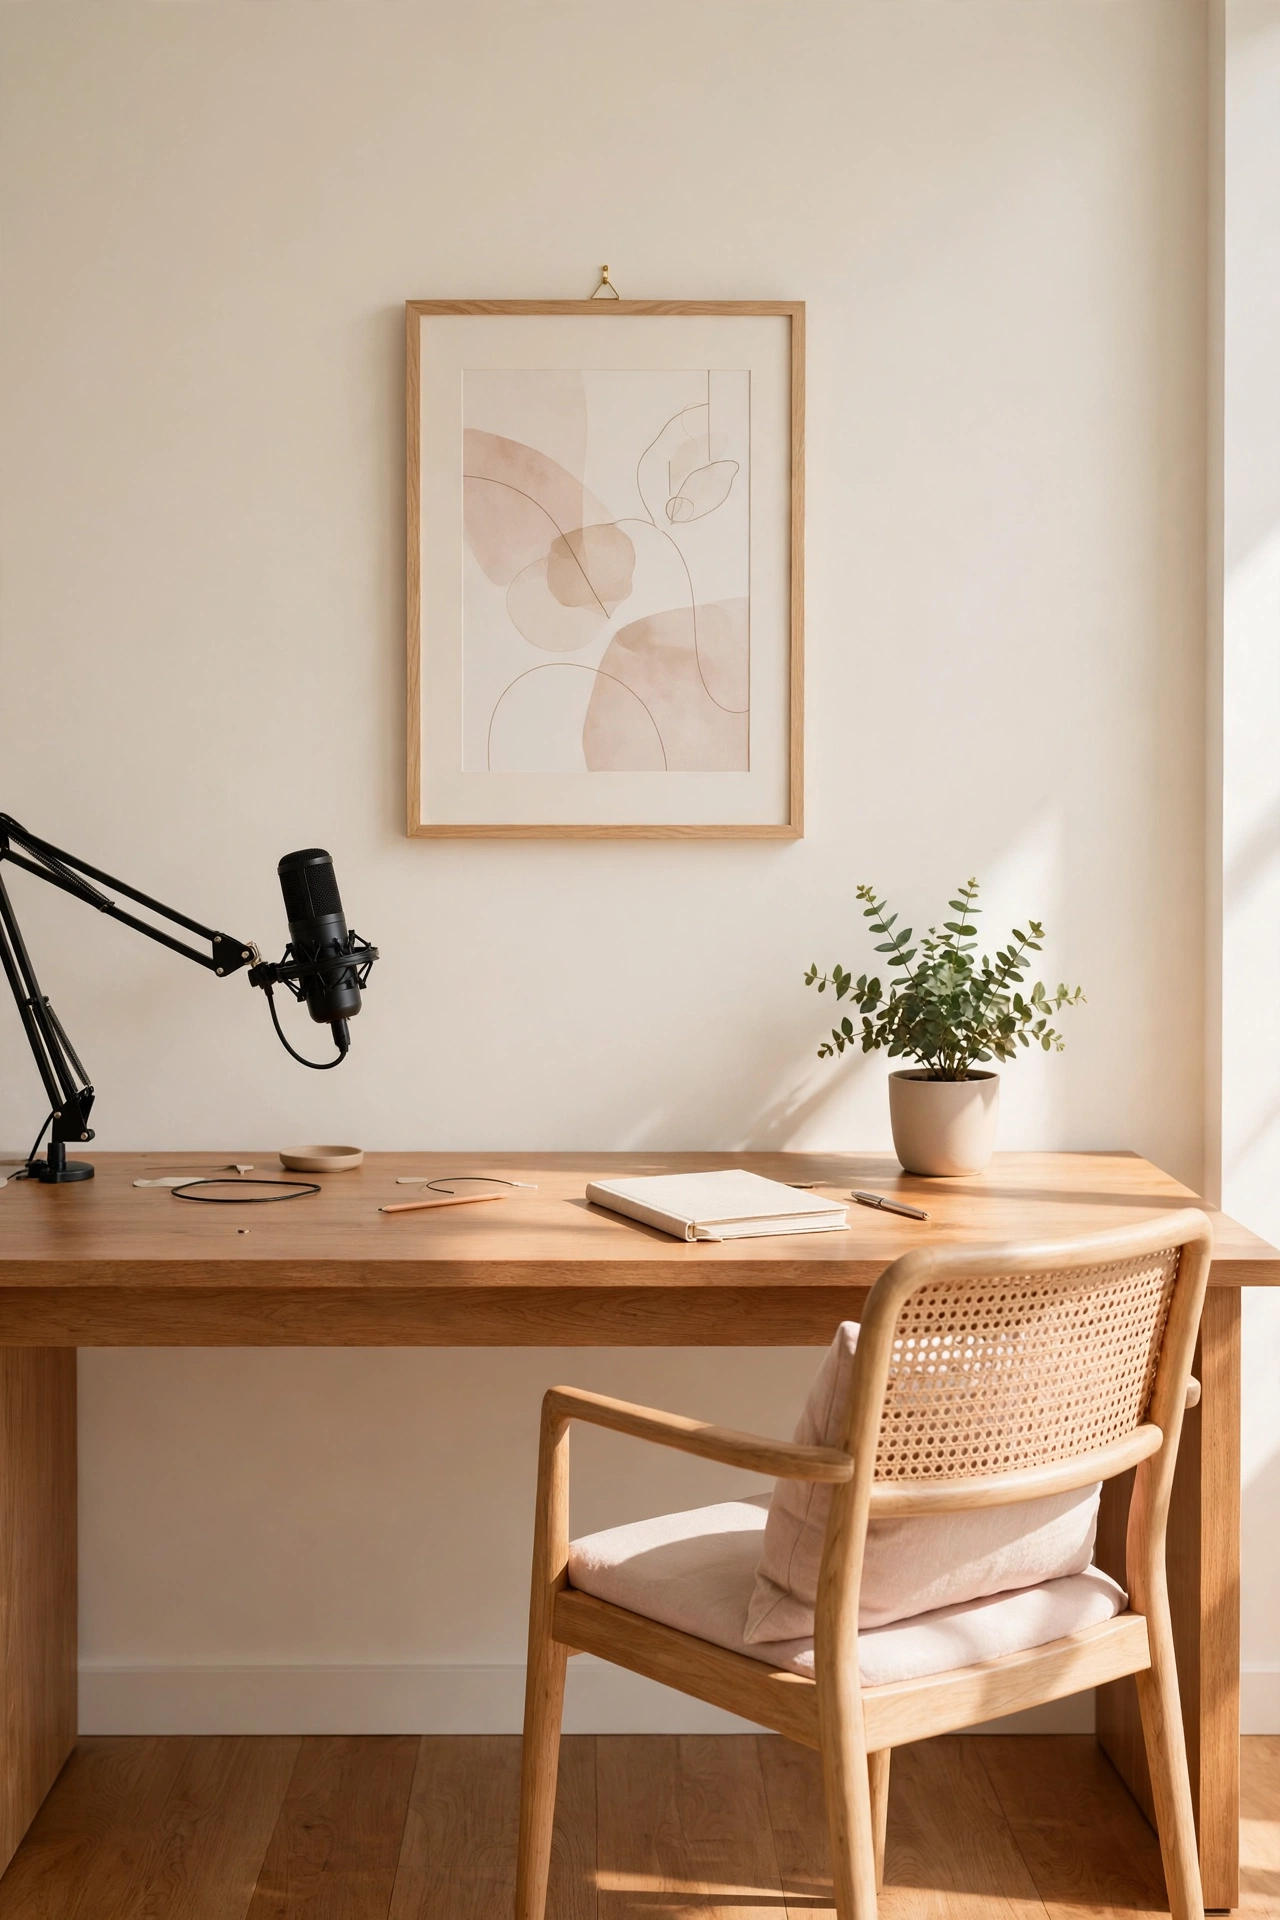
Windows let in street noise and bright light that can distract you while you record. Placing the desk against a solid interior wall gives you the quietest spot in the room and a clean, simple background for video. The wall also reflects less sound back into the microphone than glass does.
Face the desk toward the room so you look out over the space rather than at a wall. Add a framed print or a small shelf above the desk to make the wall feel finished. If the room has only one window-free wall, that wall is the natural home for your recording setup.
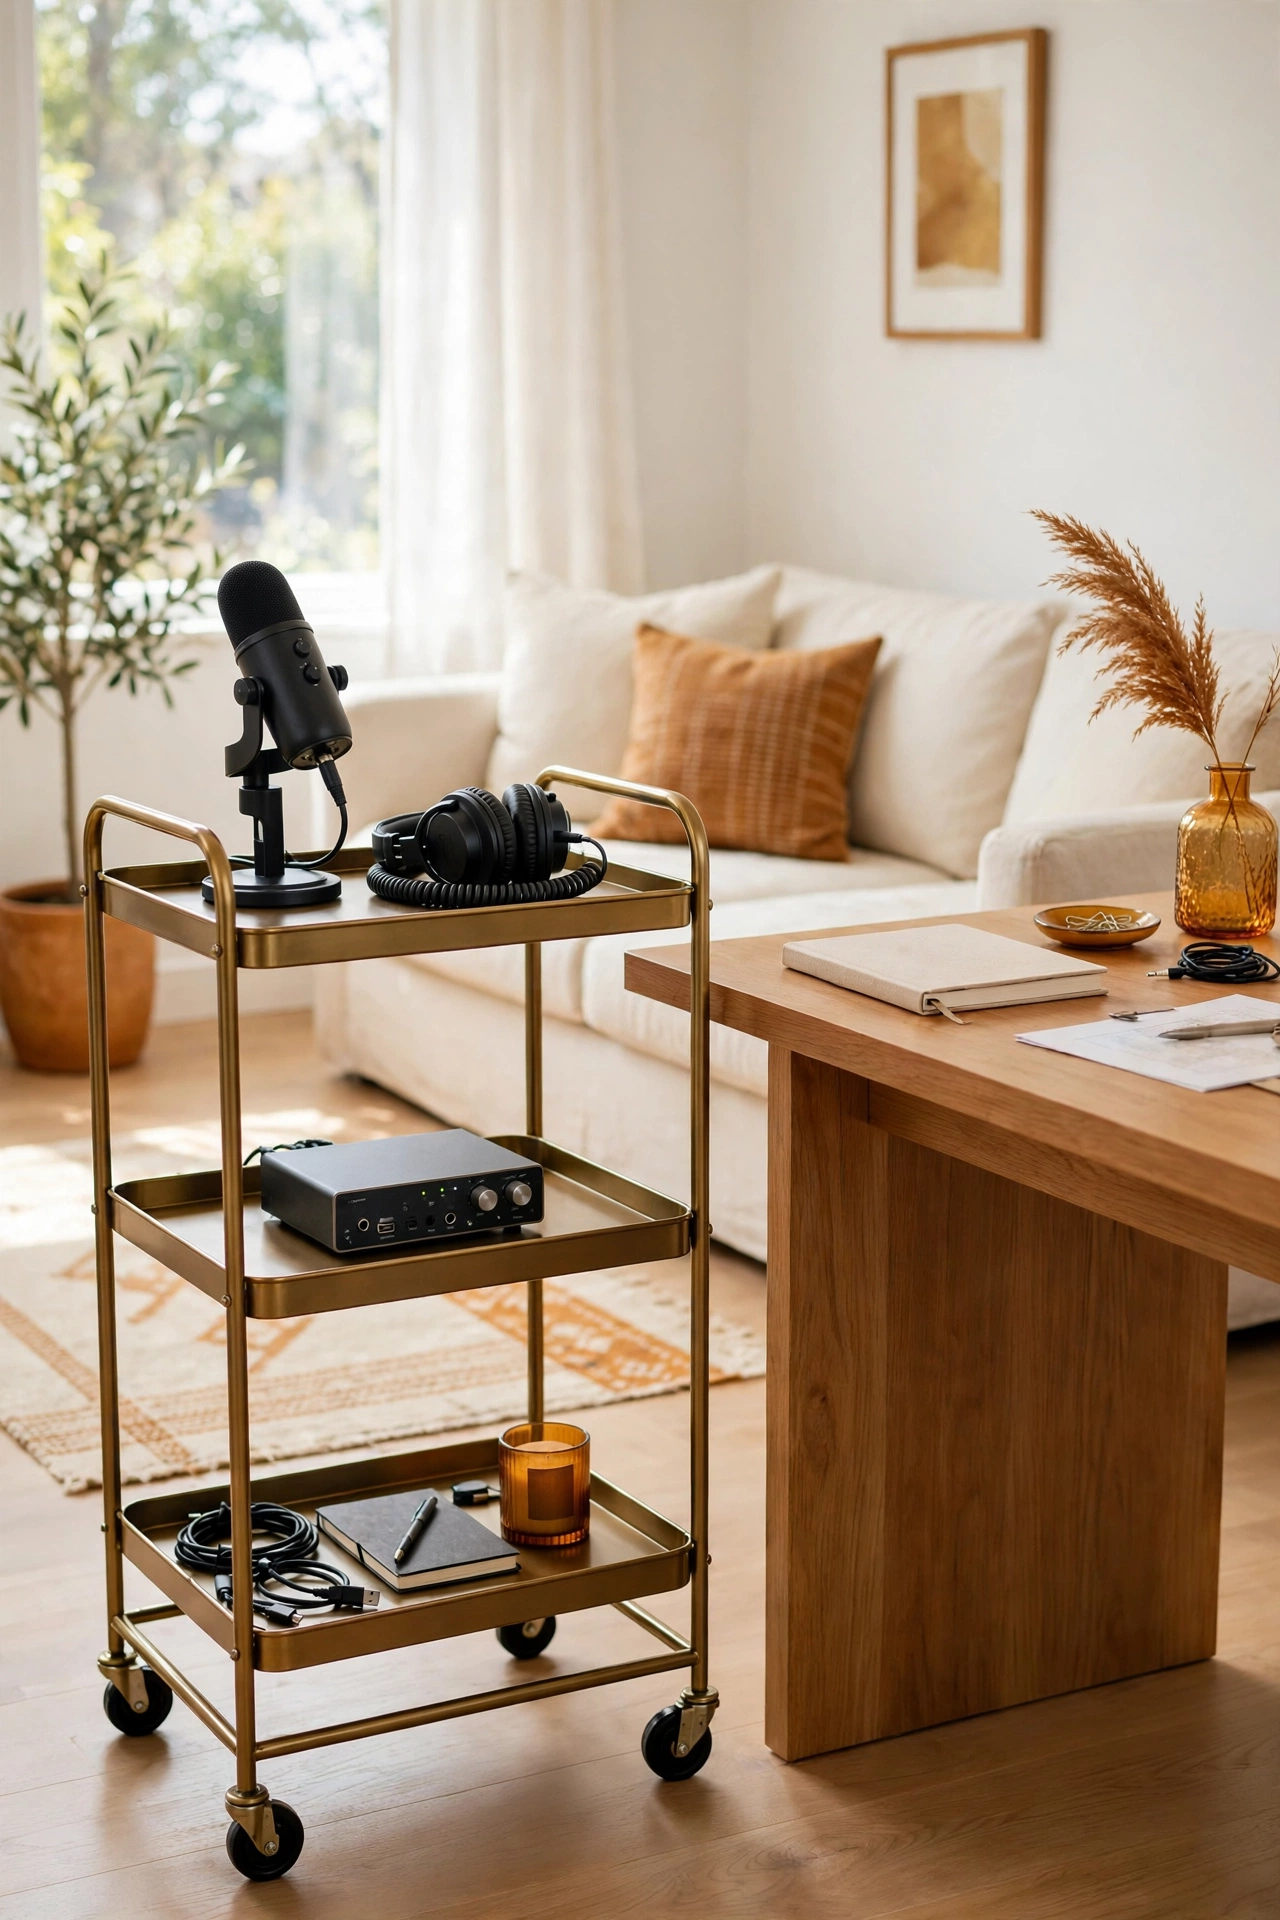
6. Keep Gear on a Rolling Cart in a Shared Room
When the podcast room is also a living room or a guest room, a rolling cart keeps your gear ready without taking over the space. Load the cart with the microphone, headphones, audio interface, and cables, then wheel it to the desk when it is time to record. When the episode is done, the cart rolls into a closet or a corner.
Choose a cart with at least three tiers so each piece of gear has its own level. A small power strip fixed to the side of the cart means you plug in one cord and you are ready. This layout is perfect for creators who share their home with family or roommates.
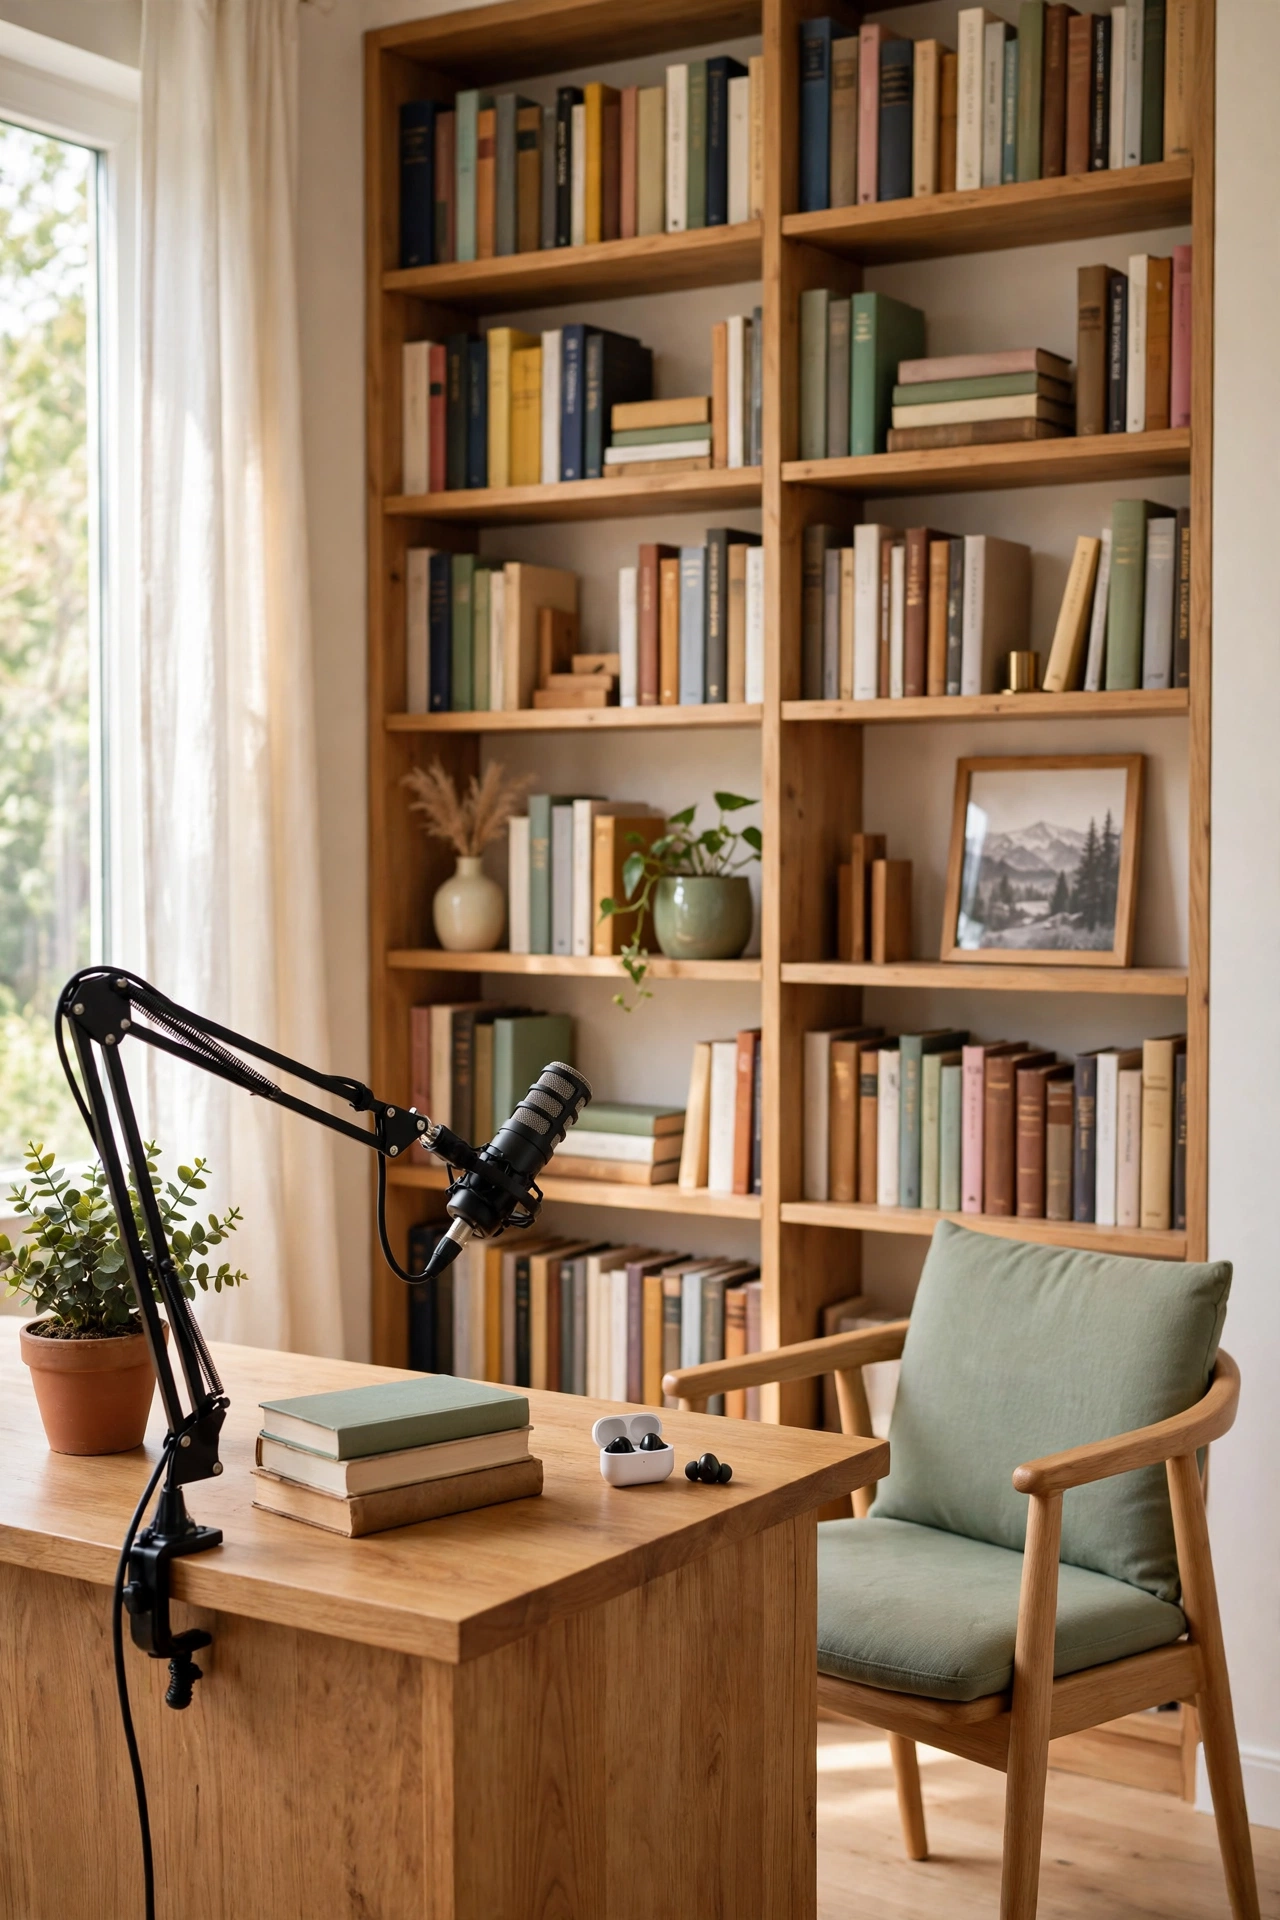
7. Use a Bookshelf Wall as a Natural Sound Barrier
A wall of bookshelves filled with books works like a giant diffuser, scattering sound waves so echo fades away. Place your desk in front of a full bookcase, or arrange two bookcases in an L shape around your recording chair. The books also give video episodes a warm, knowledgeable backdrop.
Fill the shelves unevenly, with some books standing upright and some stacked flat, because varied surfaces break up sound better than flat rows. Leave a few gaps for small plants or framed photos so the shelves look styled rather than stuffed. The result is a studio that feels like a library.
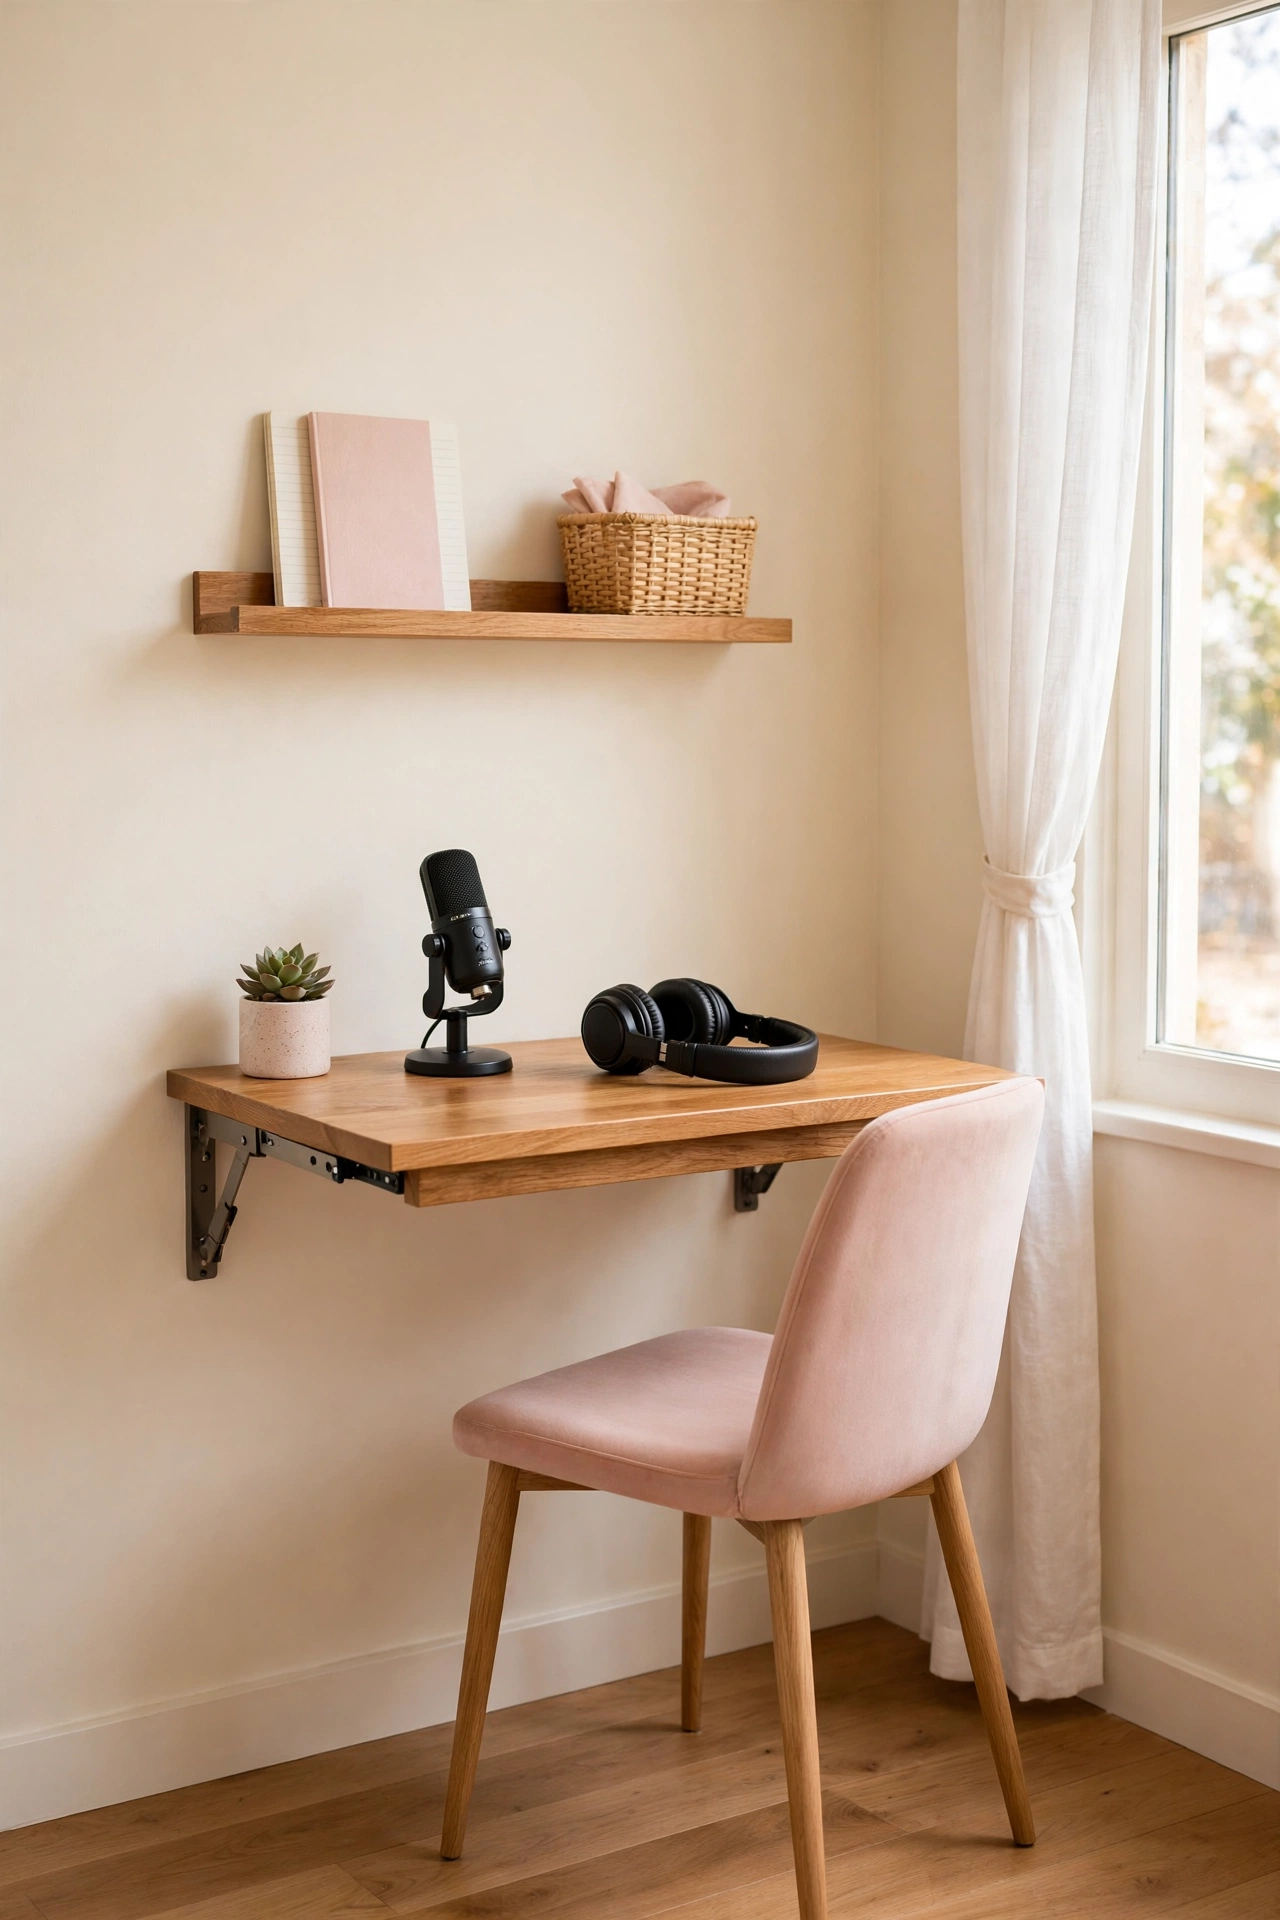
8. Install a Fold-Down Desk for a Tiny Room
A fold-down desk mounts to the wall and folds flat when you are not recording, which frees the floor for everything else the room has to do. Lower the desk, set up the microphone on a small stand, and the room becomes a studio. Fold it back up and the room is a bedroom or a reading corner again.
Mount the desk at a height that lets you sit comfortably in a standard chair, and add a small wall shelf above it for headphones and a notebook. Keep the microphone and cables in a basket on the shelf so setup takes less than a minute. This is the layout for the smallest rooms in the house.
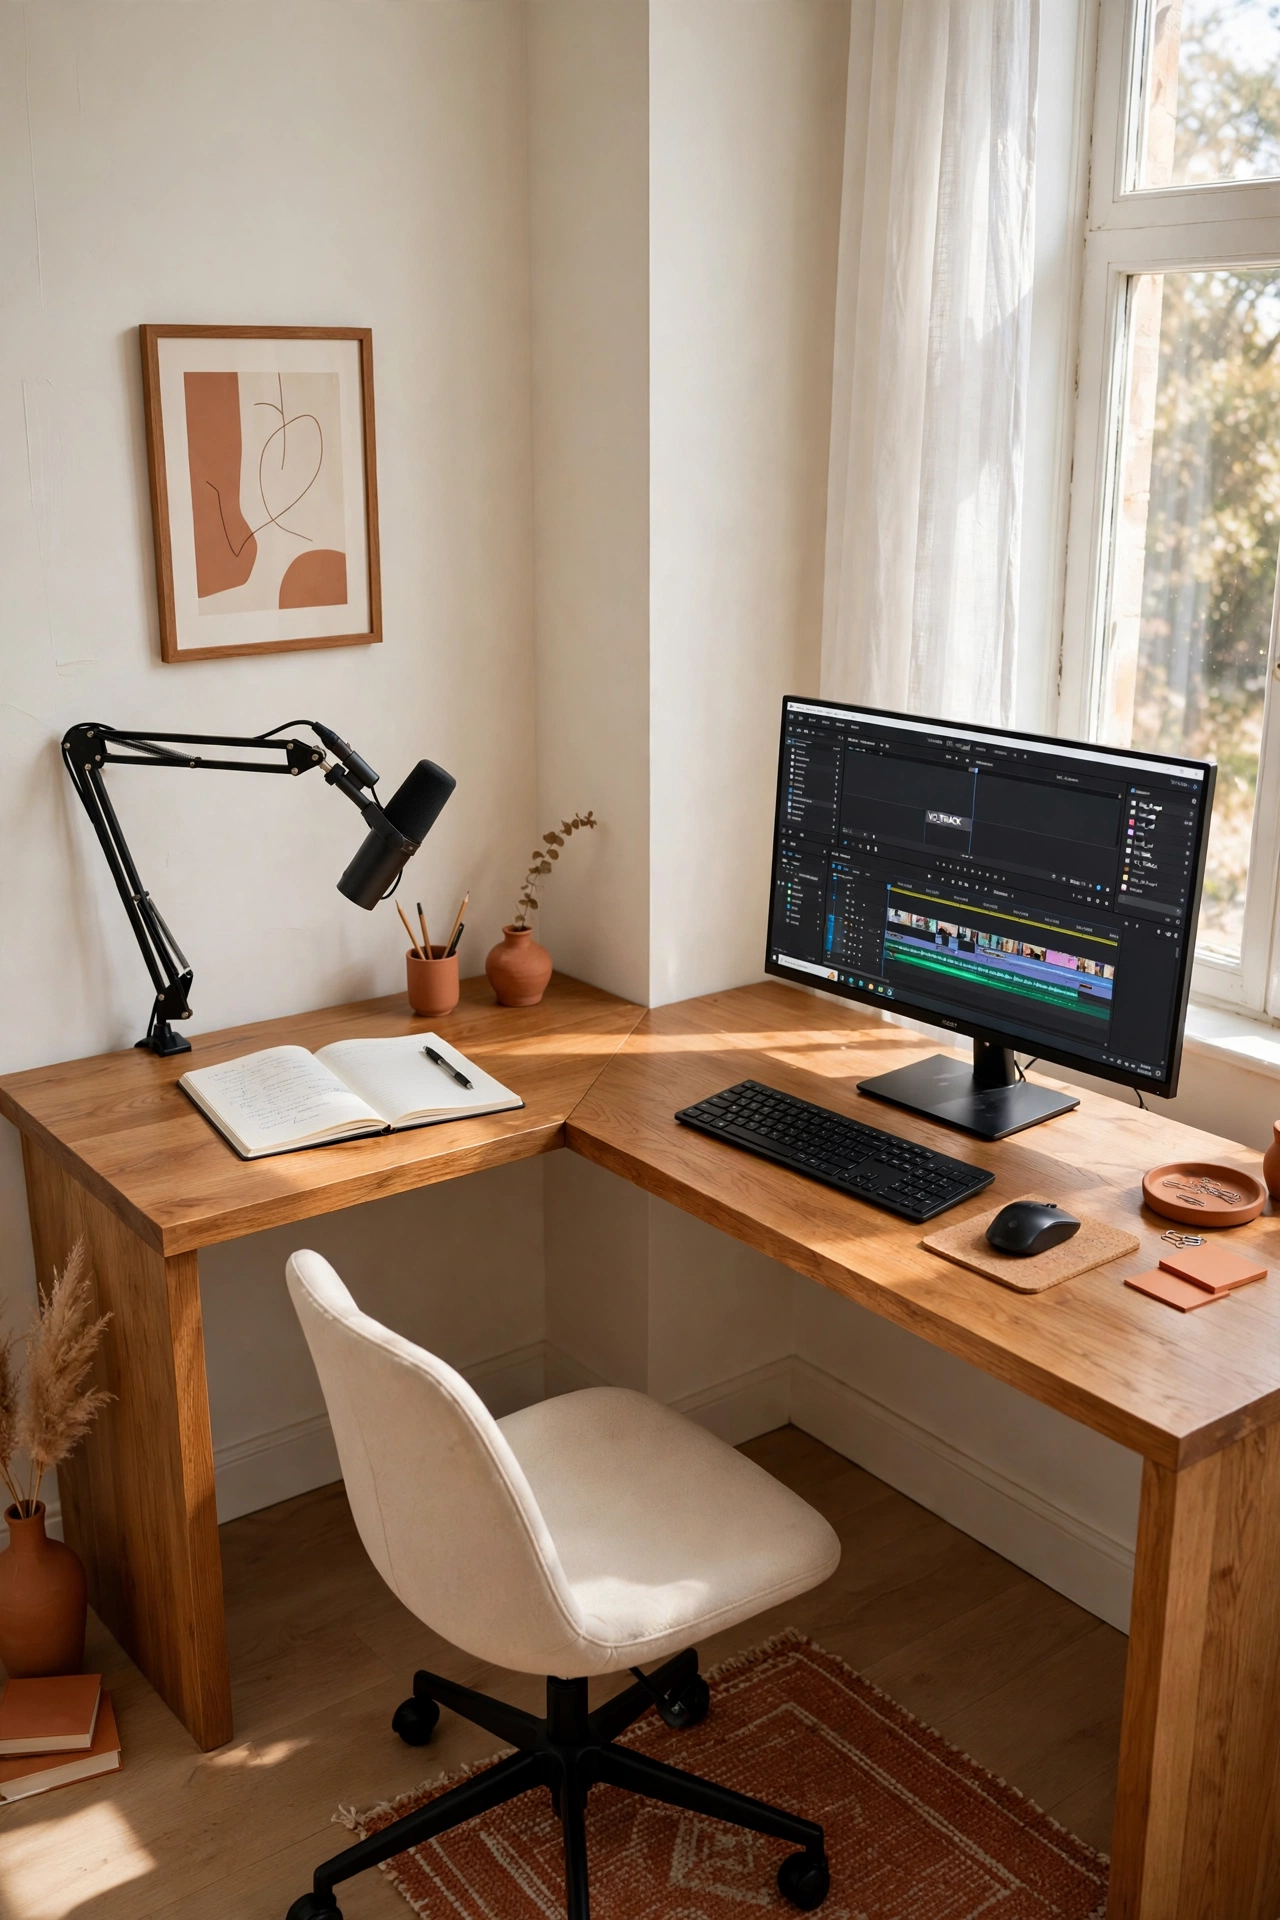
9. Create an L-Shaped Desk With Recording and Editing Zones
An L-shaped desk gives you two work zones in one footprint. One arm of the L holds the microphone and recording gear, while the other arm holds the monitor and keyboard for editing. You swivel between recording and editing without moving to another room or rearranging anything.
Place the L in a corner so both arms sit against walls, which keeps cables tidy and out of sight. Keep the recording arm clear of clutter so nothing rattles or buzzes near the microphone. The editing arm can hold speakers, notebooks, and a mug, since it is used after the recording is done.
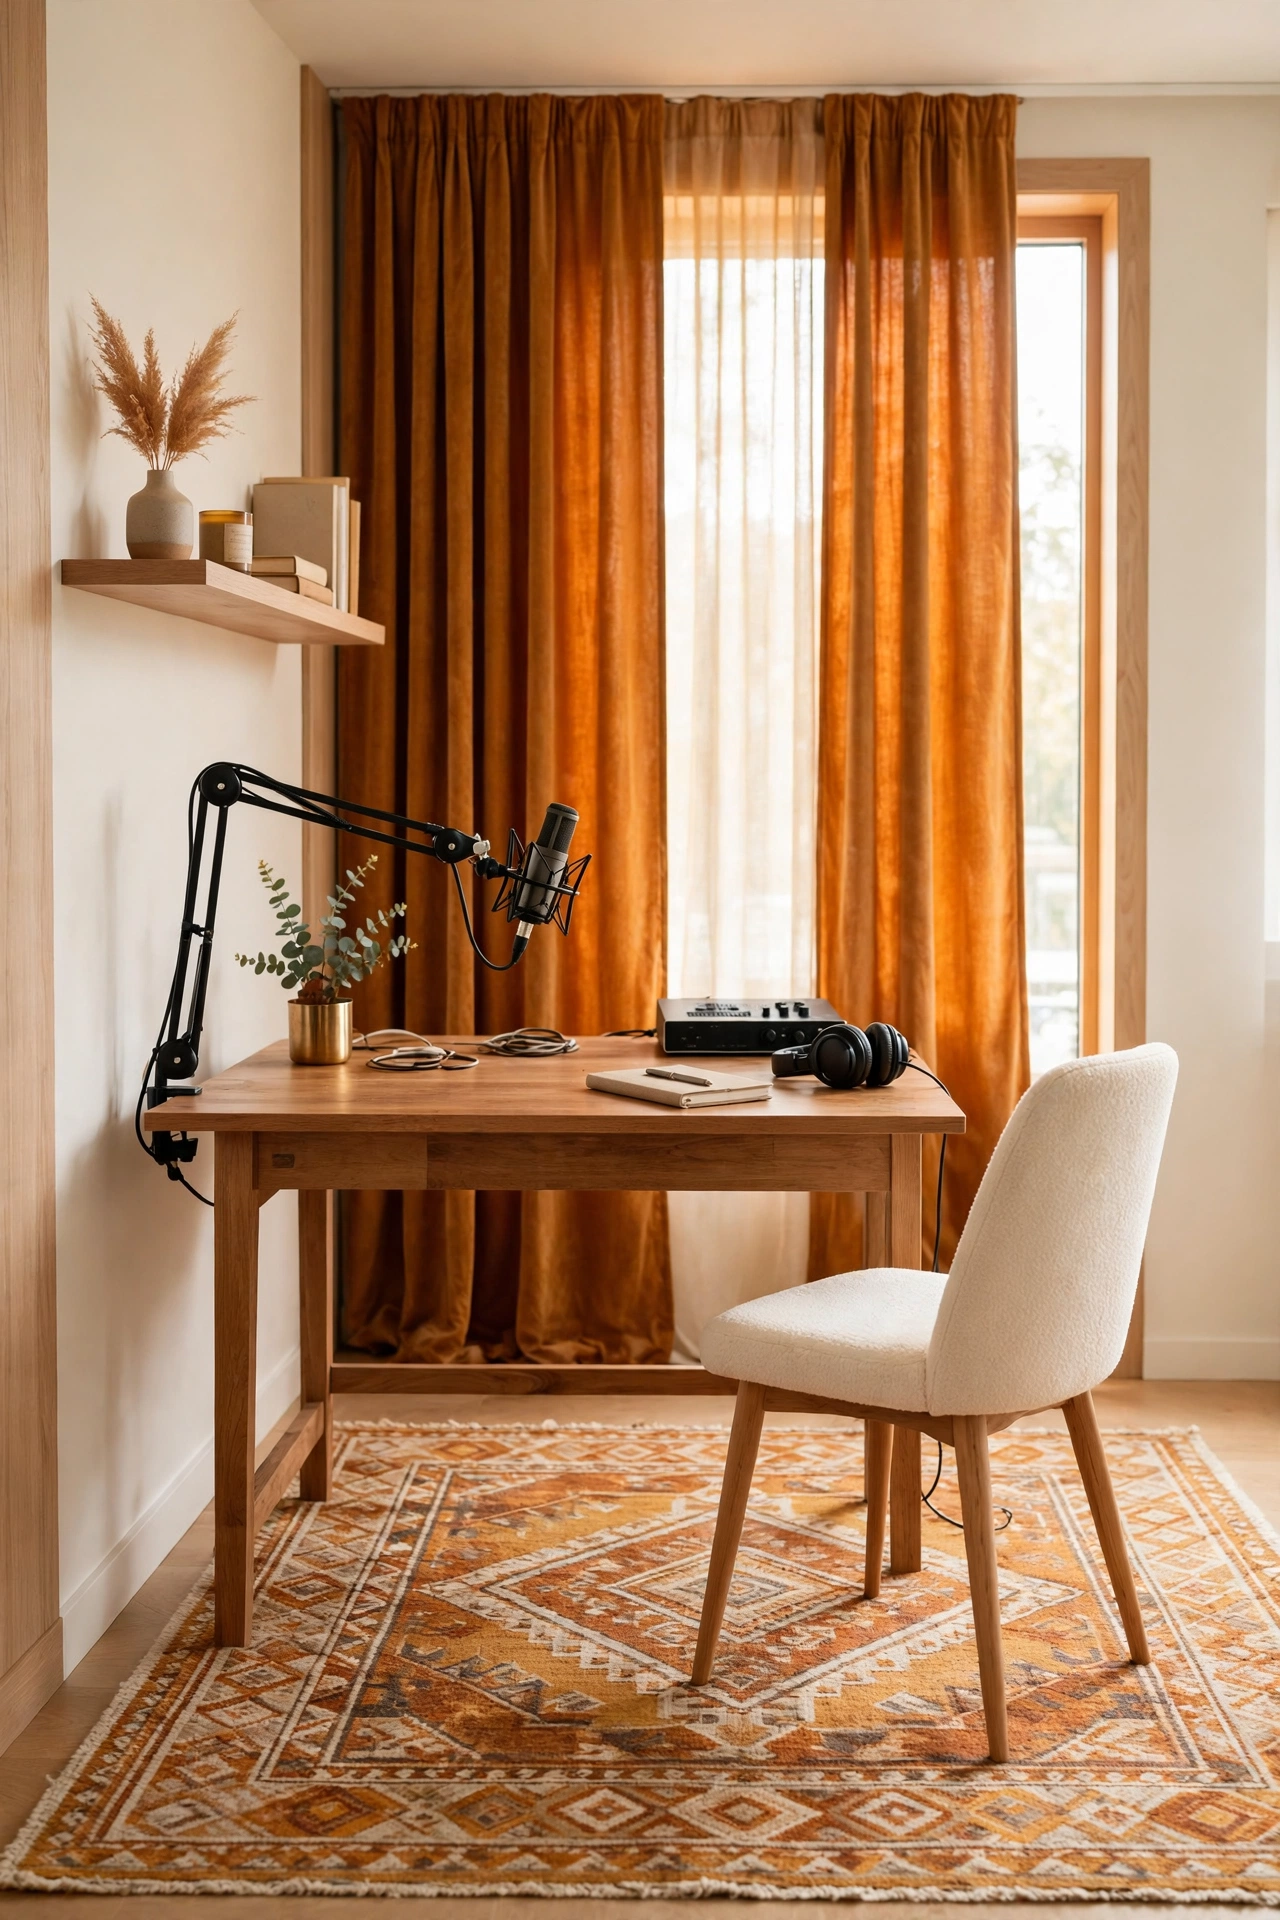
10. Soften Echo With a Thick Rug and Heavy Curtains
Hard floors and bare windows are the biggest cause of echo in a small room. A thick rug under the recording area and heavy curtains over the windows absorb sound before it can bounce around. The room will sound warmer on the recording and feel cozier to sit in.
Choose a rug that extends past the desk legs on all sides so chair movement stays quiet. Hang curtains that reach the floor and close fully across the window while you record. These two soft layers cost far less than acoustic treatment and they make the whole room look more finished.
11. Add a Guest Chair Zone Beside the Main Desk
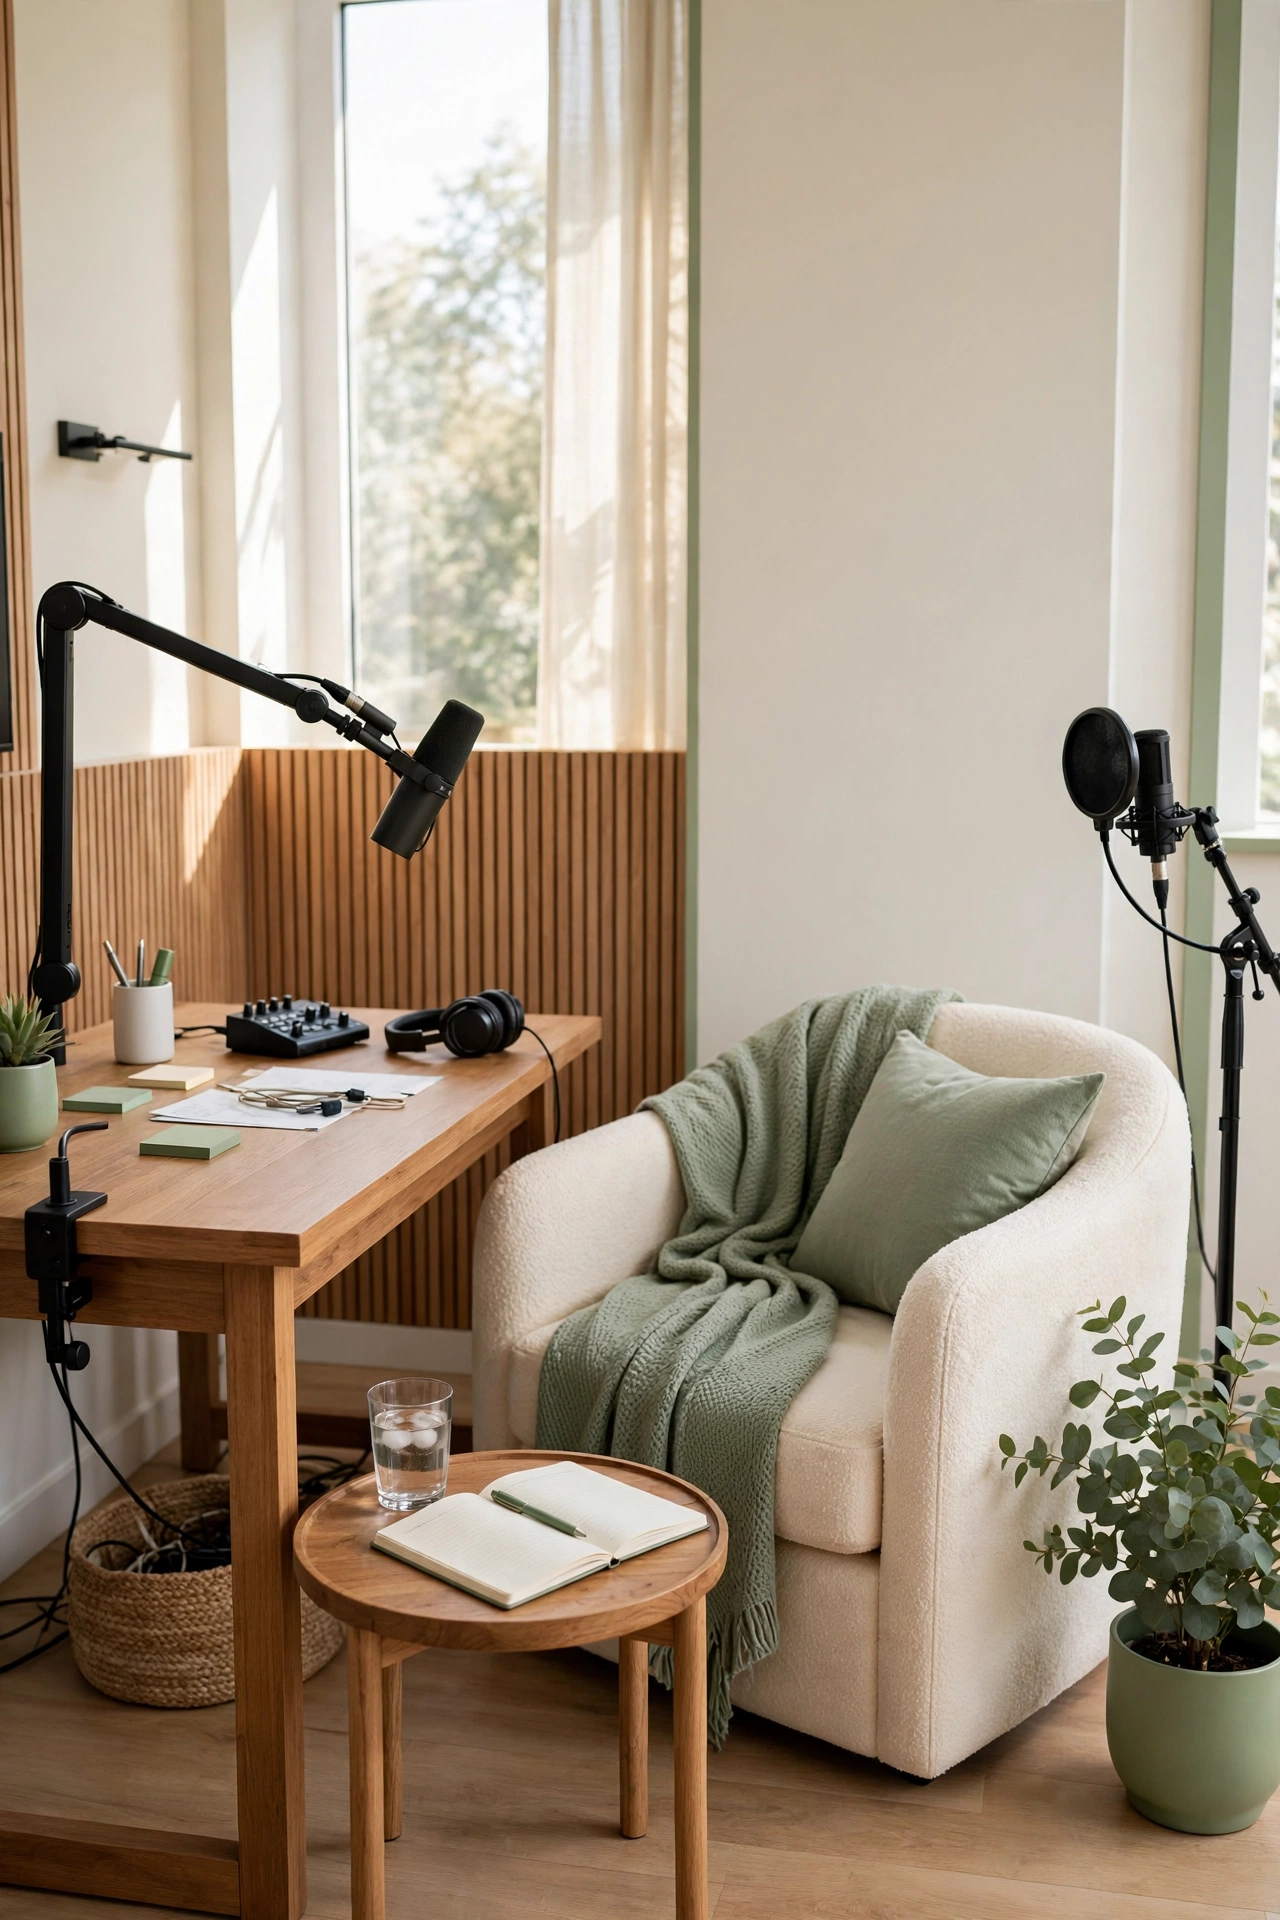
If guests visit your studio, a dedicated guest chair zone makes interviews feel welcoming and professional. Place a comfortable armchair at a right angle to the main desk, with a small side table for water and notes. The guest microphone sits on a floor stand or a boom arm attached to the table.
The right-angle arrangement lets you and your guest see each other without turning your heads, which keeps both voices aimed at the microphones. Keep the guest zone free of clutter and add a soft throw over the chair arm for a relaxed look. Guests will settle in faster when the space feels ready for them.
12. Choose a Standing Desk for High-Energy Episodes
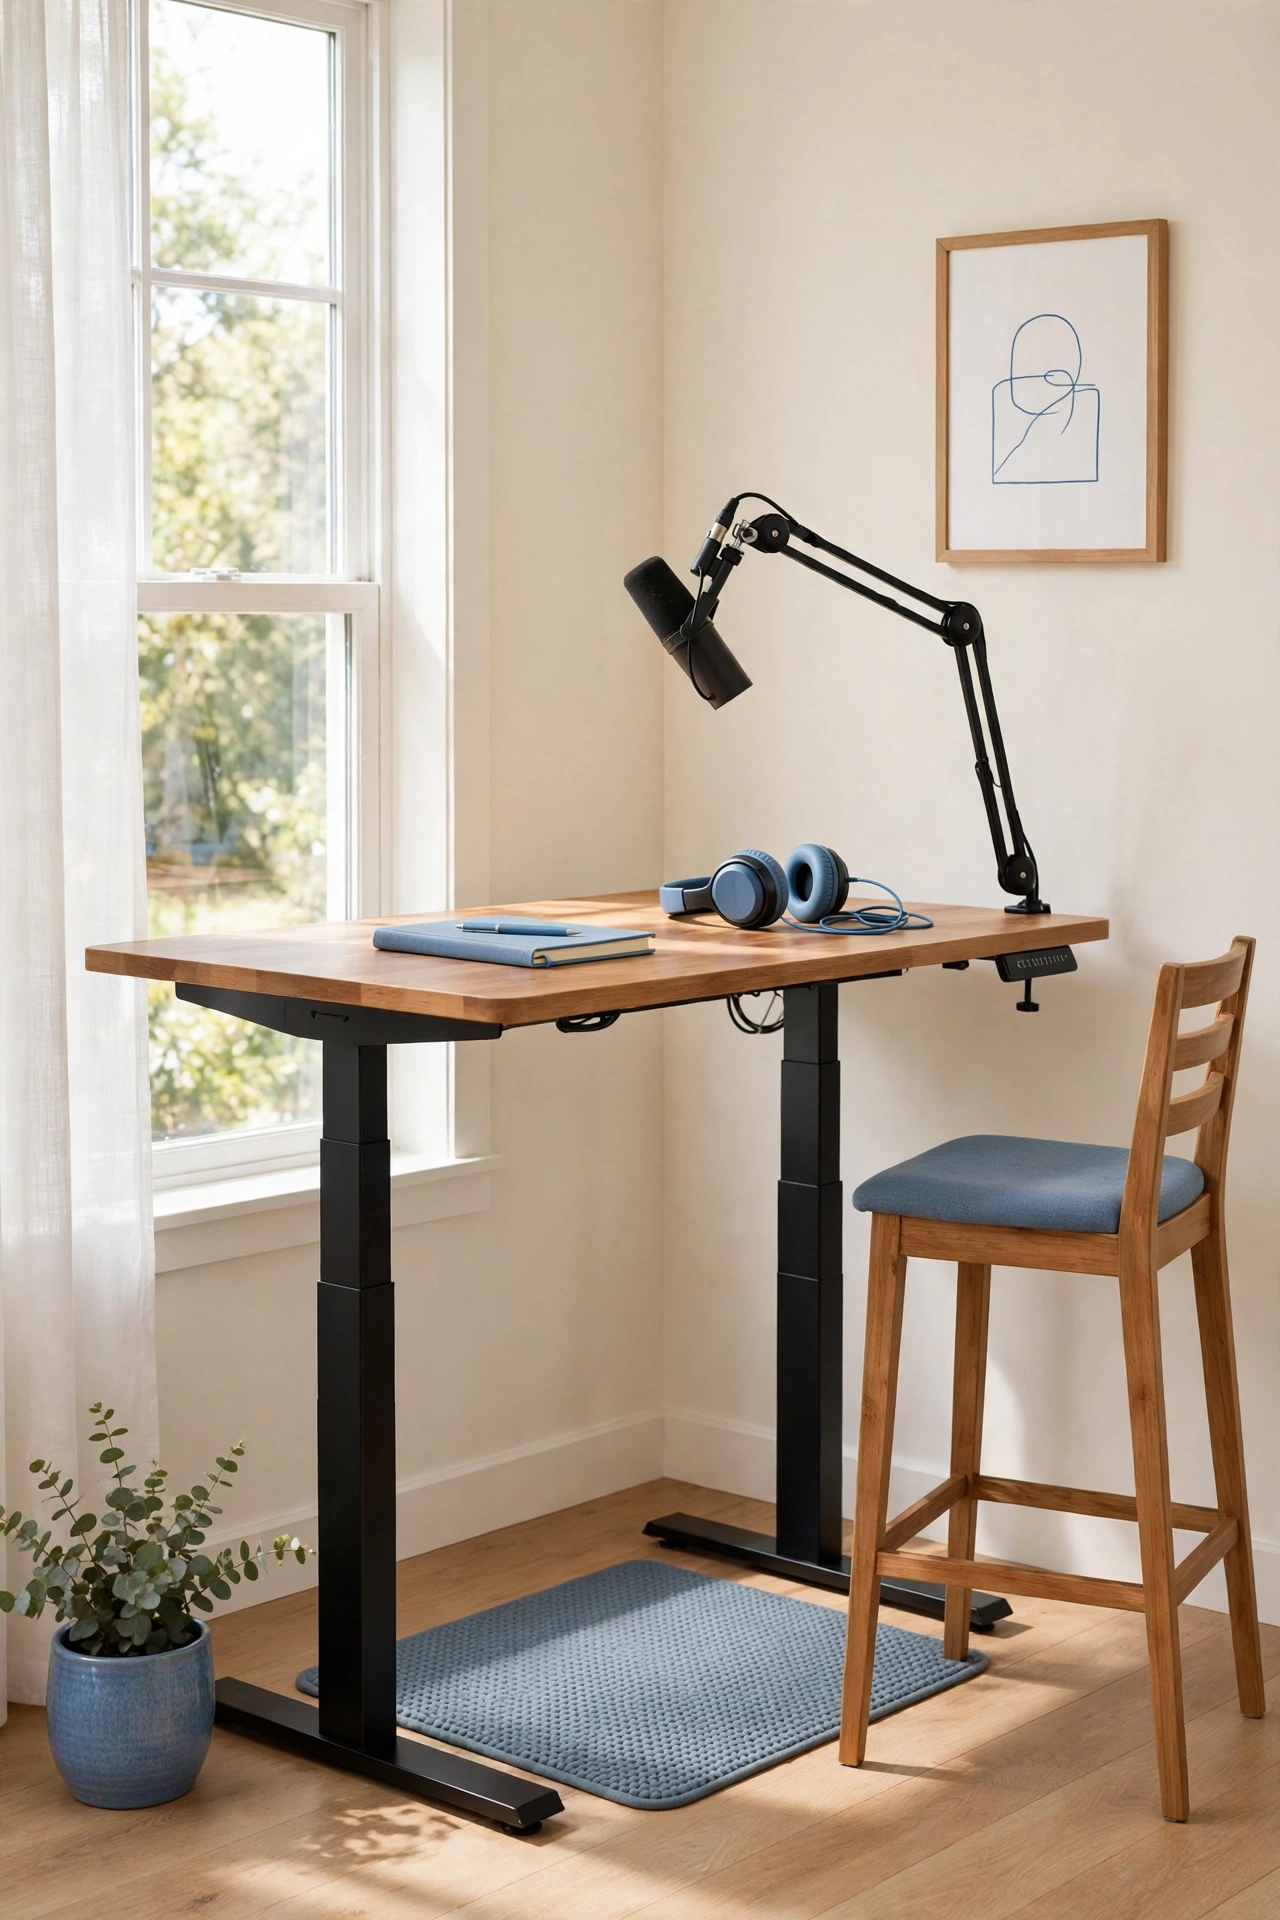
A standing desk lets you record on your feet, which brings more energy and breath into your voice. Many creators find they sound livelier standing than sitting, especially for solo shows. Raise the desk, set the microphone at mouth height on a boom arm, and you are ready to move while you talk.
Add a soft anti-fatigue mat under your feet so long episodes stay comfortable. Keep a tall stool nearby so you can perch during longer conversations without lowering the desk. The standing layout also keeps the room feeling open, since the desk footprint stays small.
13. Tuck a Built-In Desk Into an Alcove Nook
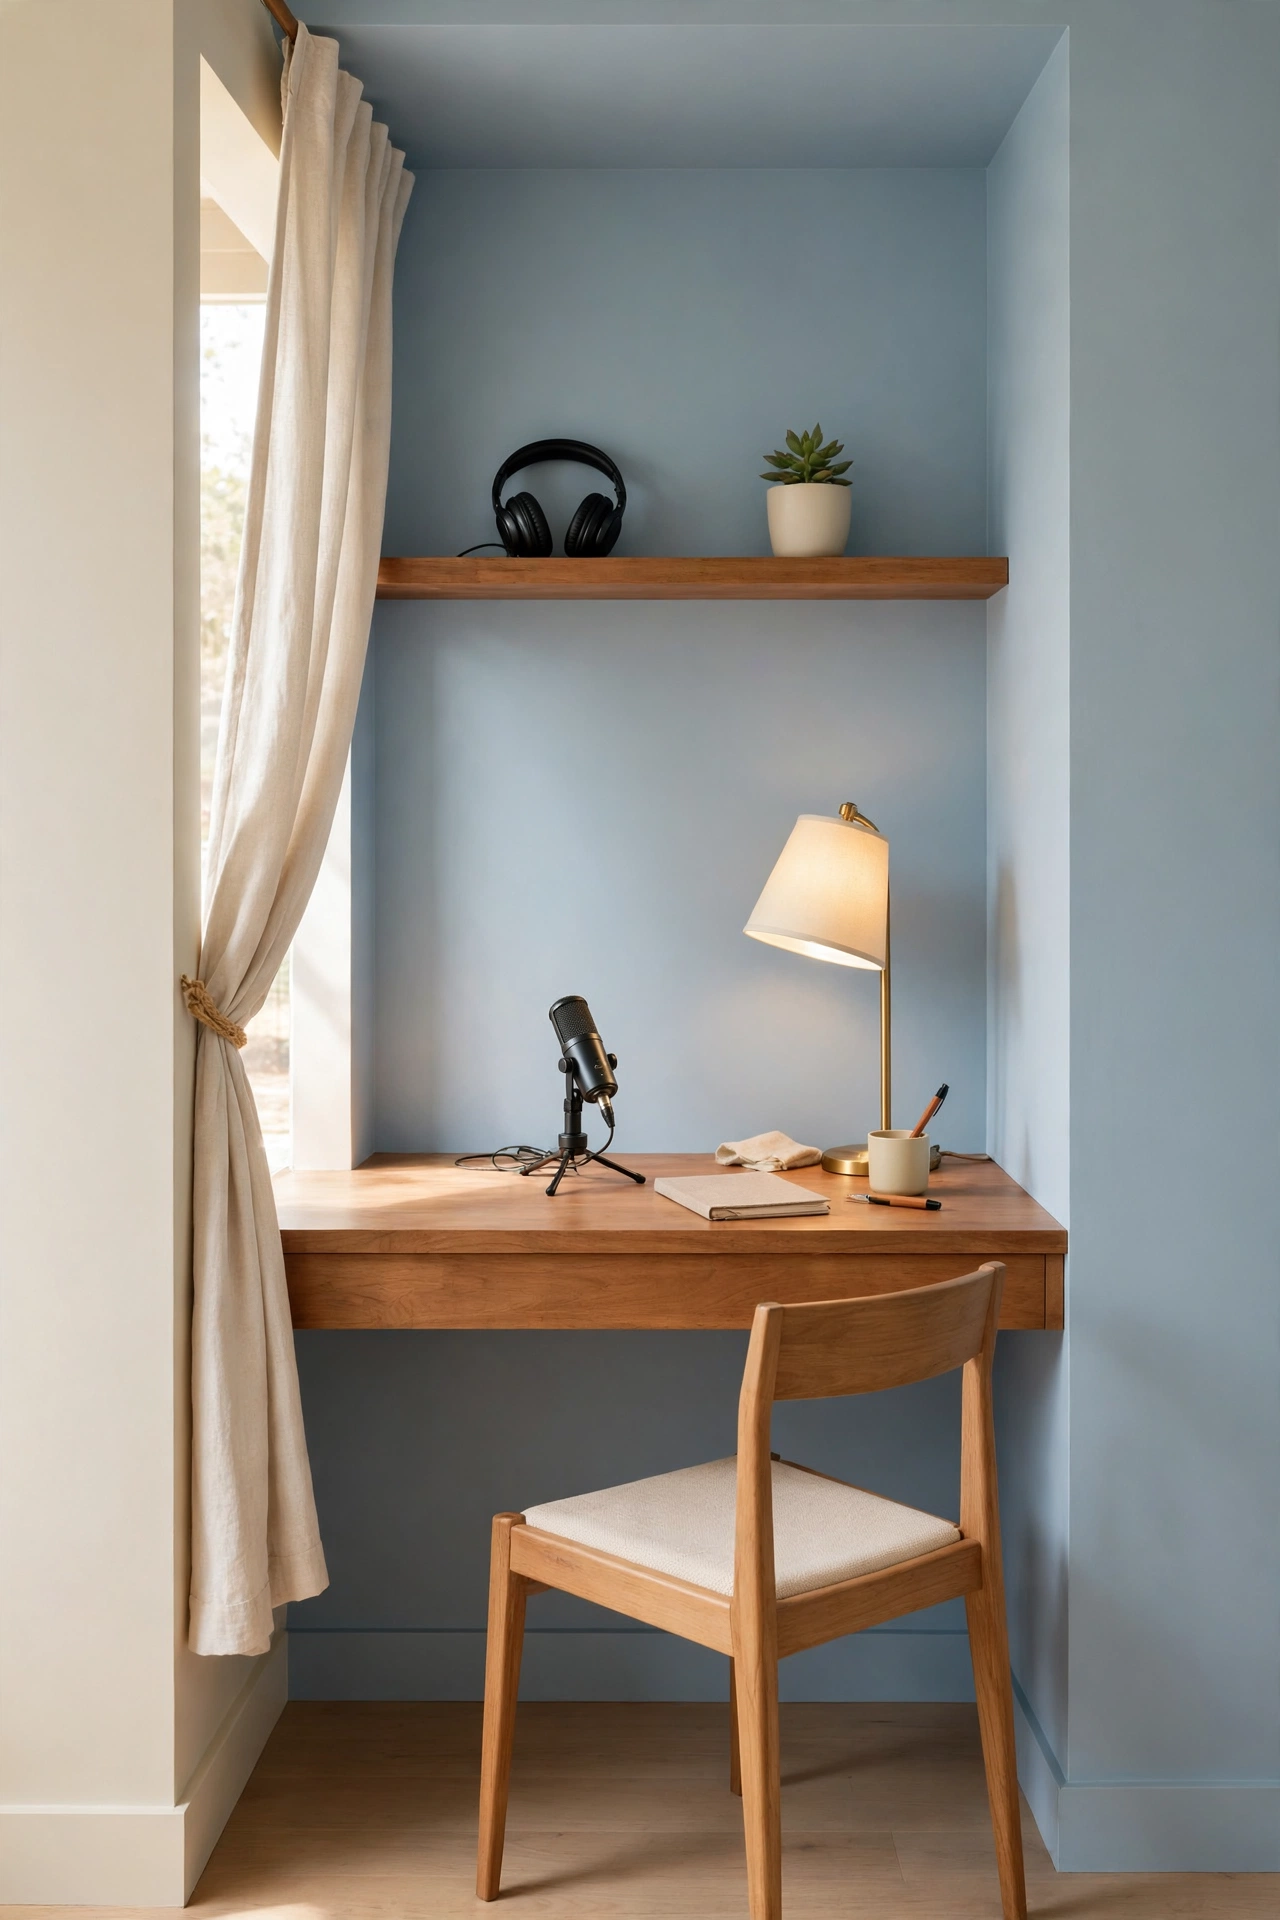
An alcove or a recessed nook is a ready-made studio shell, because three walls wrap around you and block sound from the rest of the room. Fit a desk across the width of the alcove, add a shelf above for gear, and hang a curtain across the opening for extra sound control during recording.
Measure the alcove carefully so the desk fits snugly with no wasted gaps. A desk lamp with warm light keeps the nook bright, and a small plant on the shelf adds life to the video frame. The alcove layout turns an awkward architectural feature into the best seat in the house.
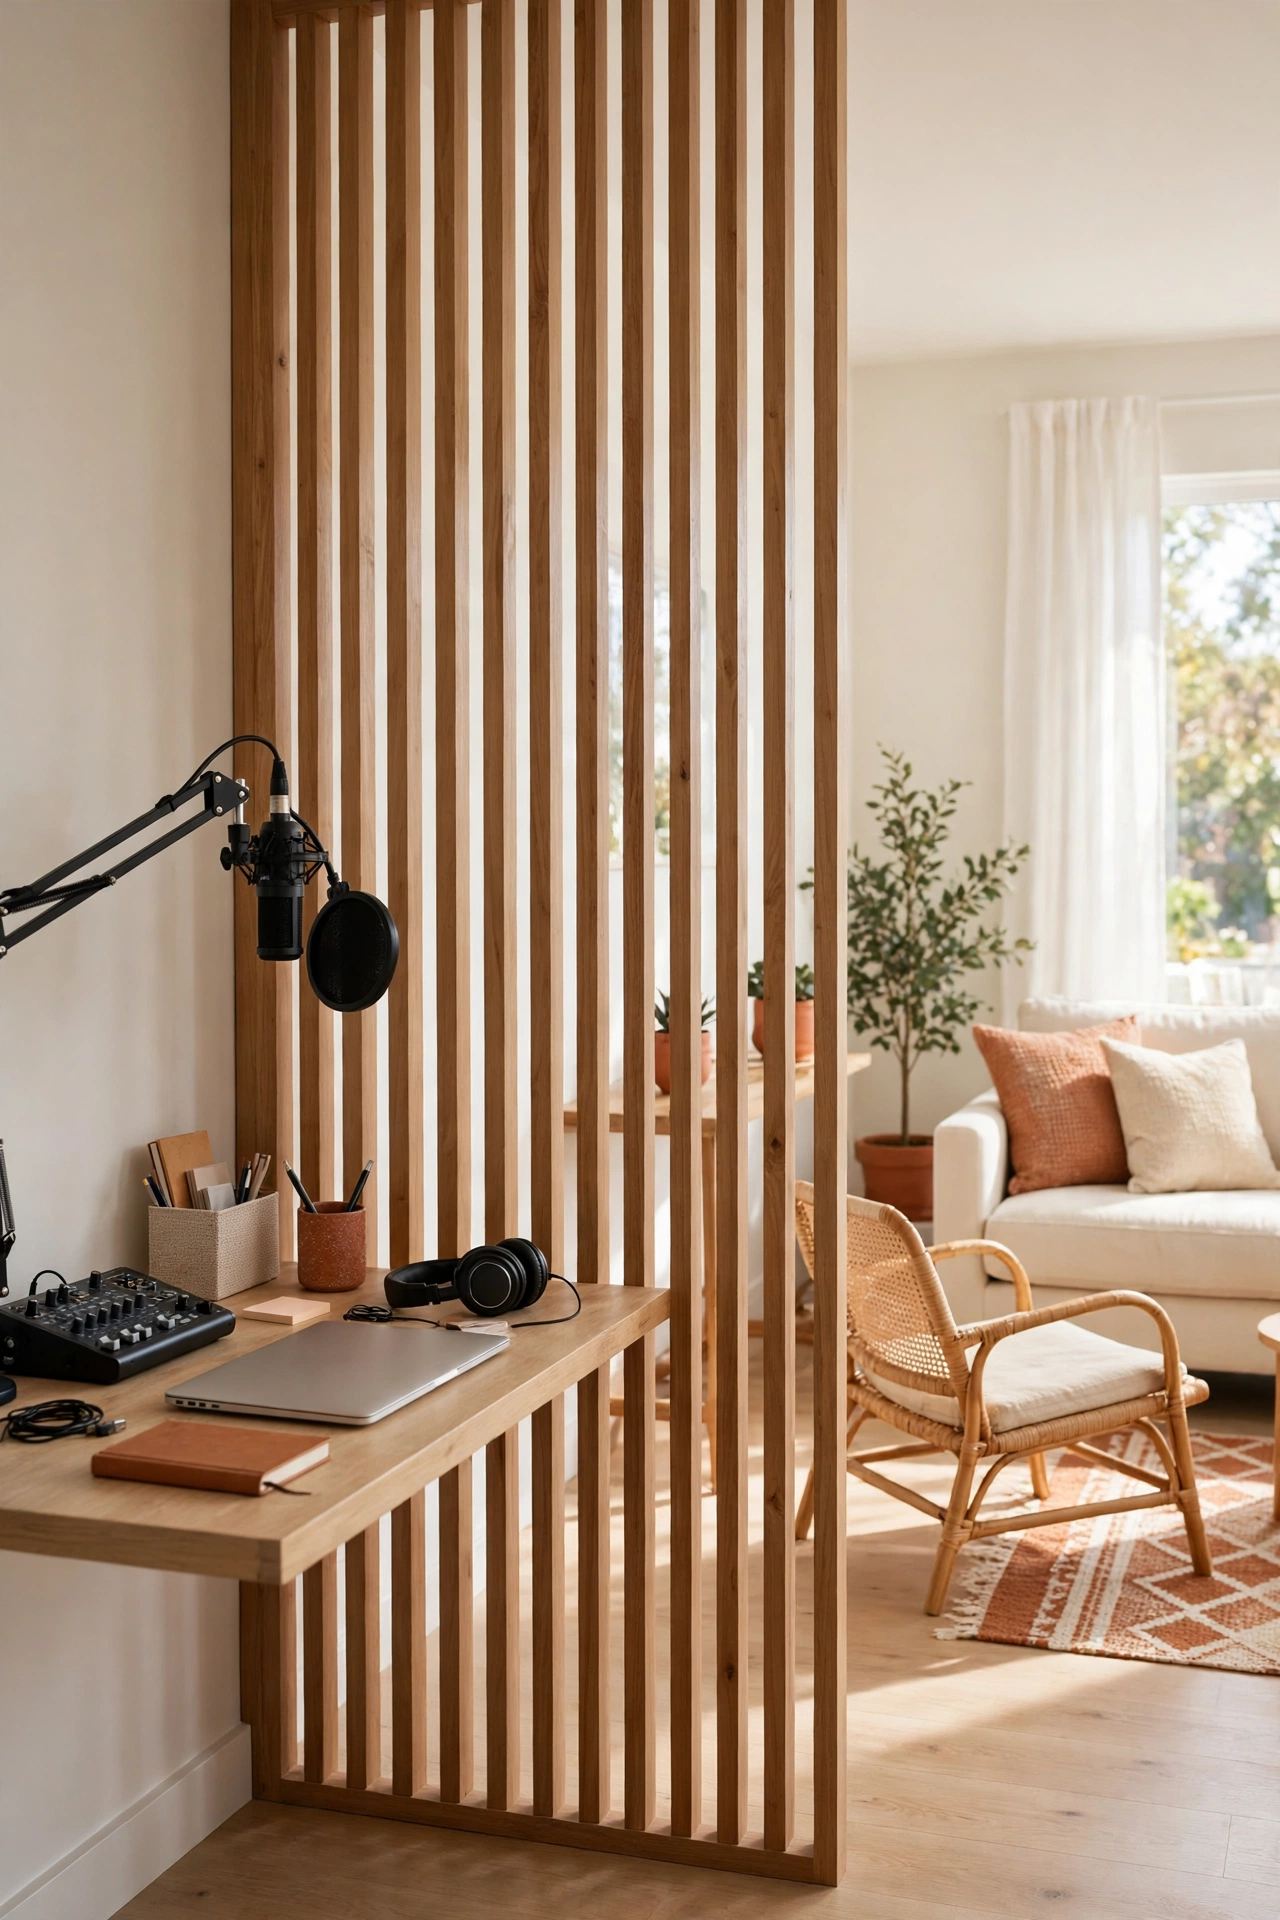
14. Carve Out a Studio Corner With a Room Divider
A folding room divider or a tall bookcase can carve a studio corner out of a larger shared room. Place the divider behind the desk to block sight lines and soften sound, and the space behind it becomes your recording zone. The rest of the room keeps its normal function.
Choose a divider with fabric panels or slatted wood, since solid flat panels can reflect sound back at the microphone. The divider also hides the desk from the rest of the room when you are not recording, which keeps the shared space looking tidy. Fold it away on days when you need the full room.
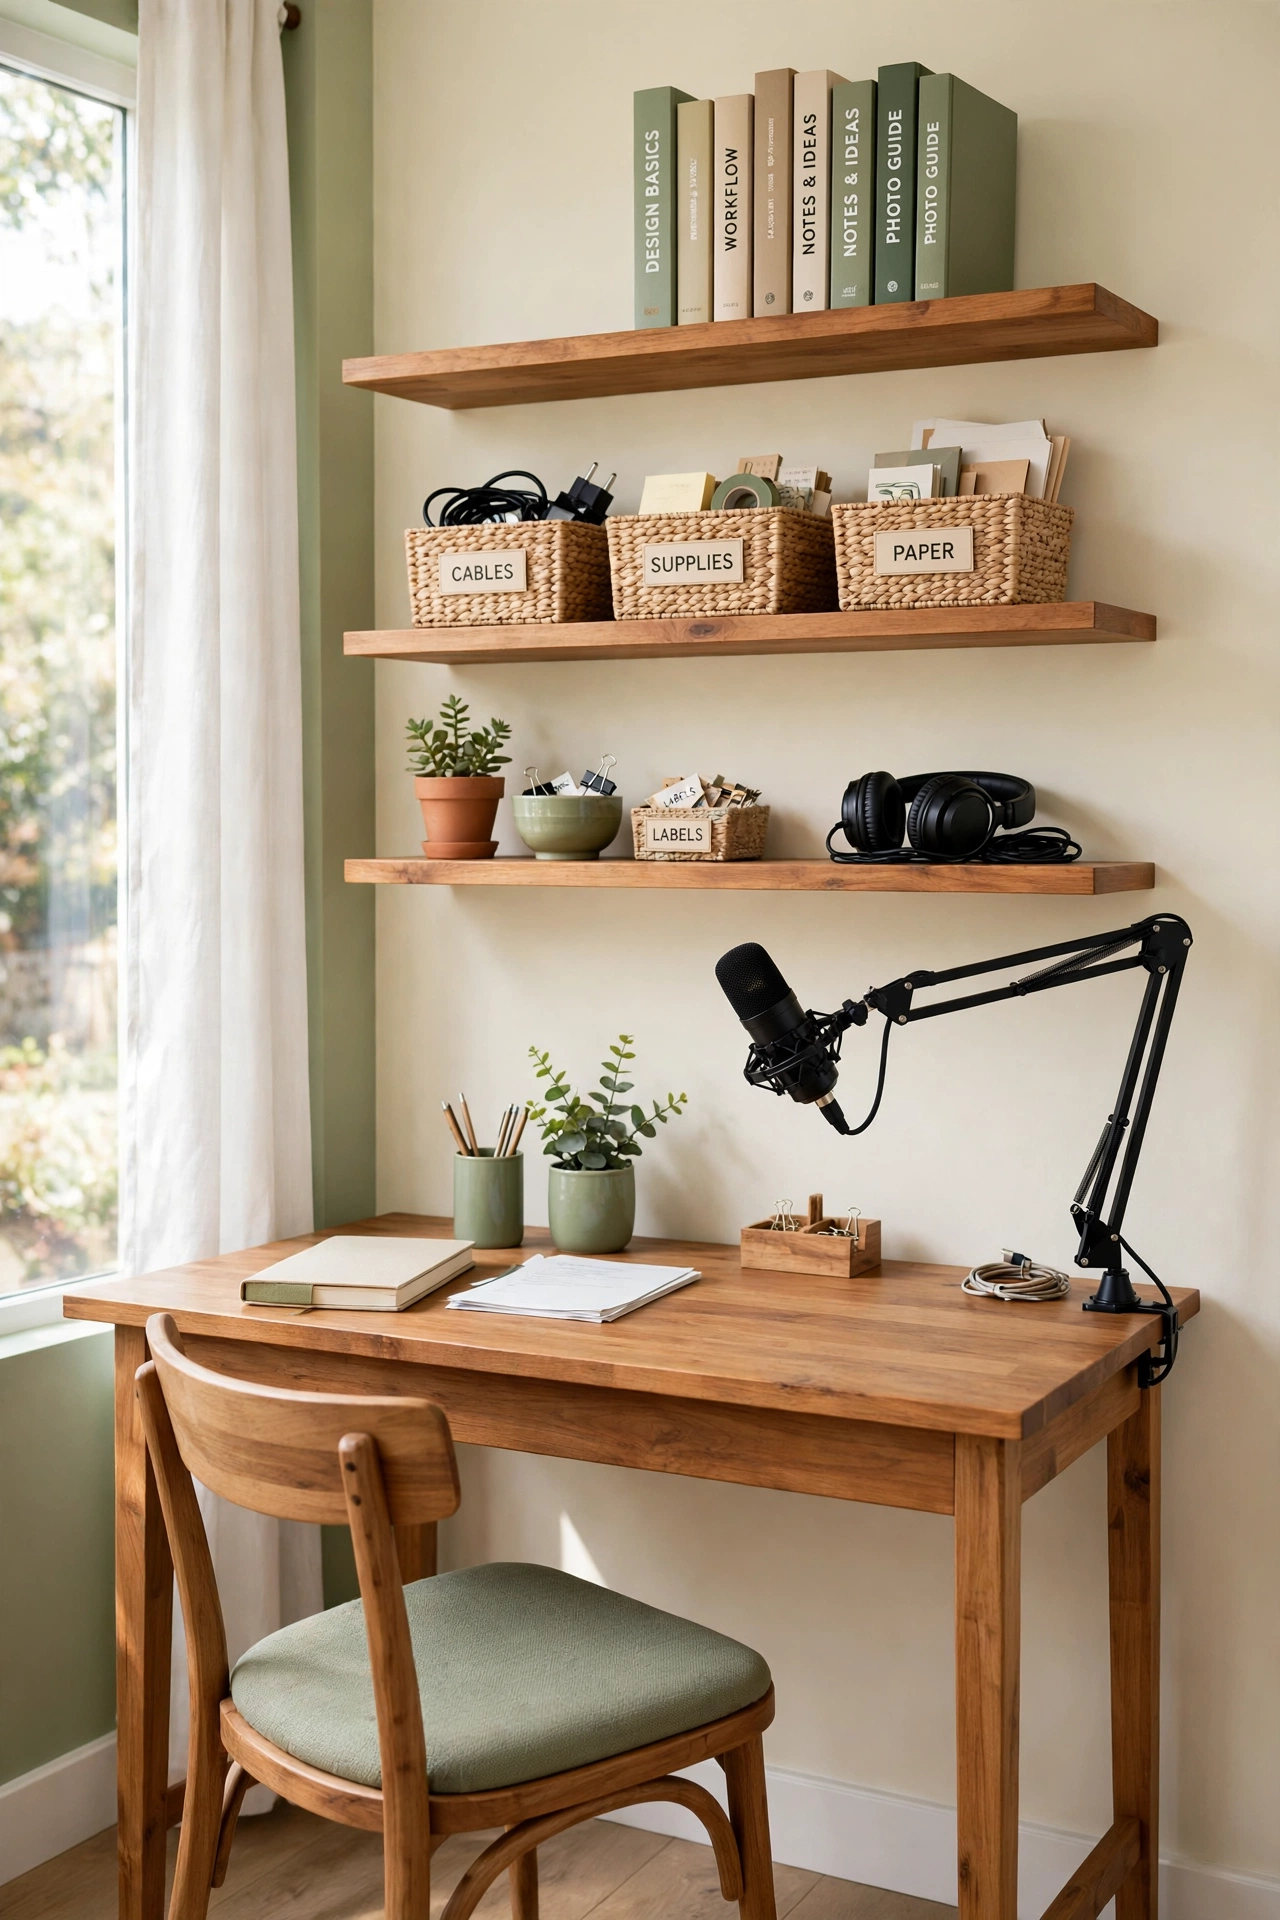
15. Store Gear on Shelves Above the Desk
Wall shelves above the desk keep microphones, headphones, cables, and notebooks off the work surface and within easy reach. Mount two or three shelves at a comfortable reaching height, and use small labeled baskets or boxes to group cables and accessories. The desk stays clear for the microphone and your notes.
Keep the lowest shelf high enough that nothing hangs into the space around the microphone or casts shadows on your face for video. A shelf edge lined with books or small plants doubles as a backdrop. For more ways to keep a work surface clear, these computer desk organization ideas will help you give every cable and gadget a proper home.
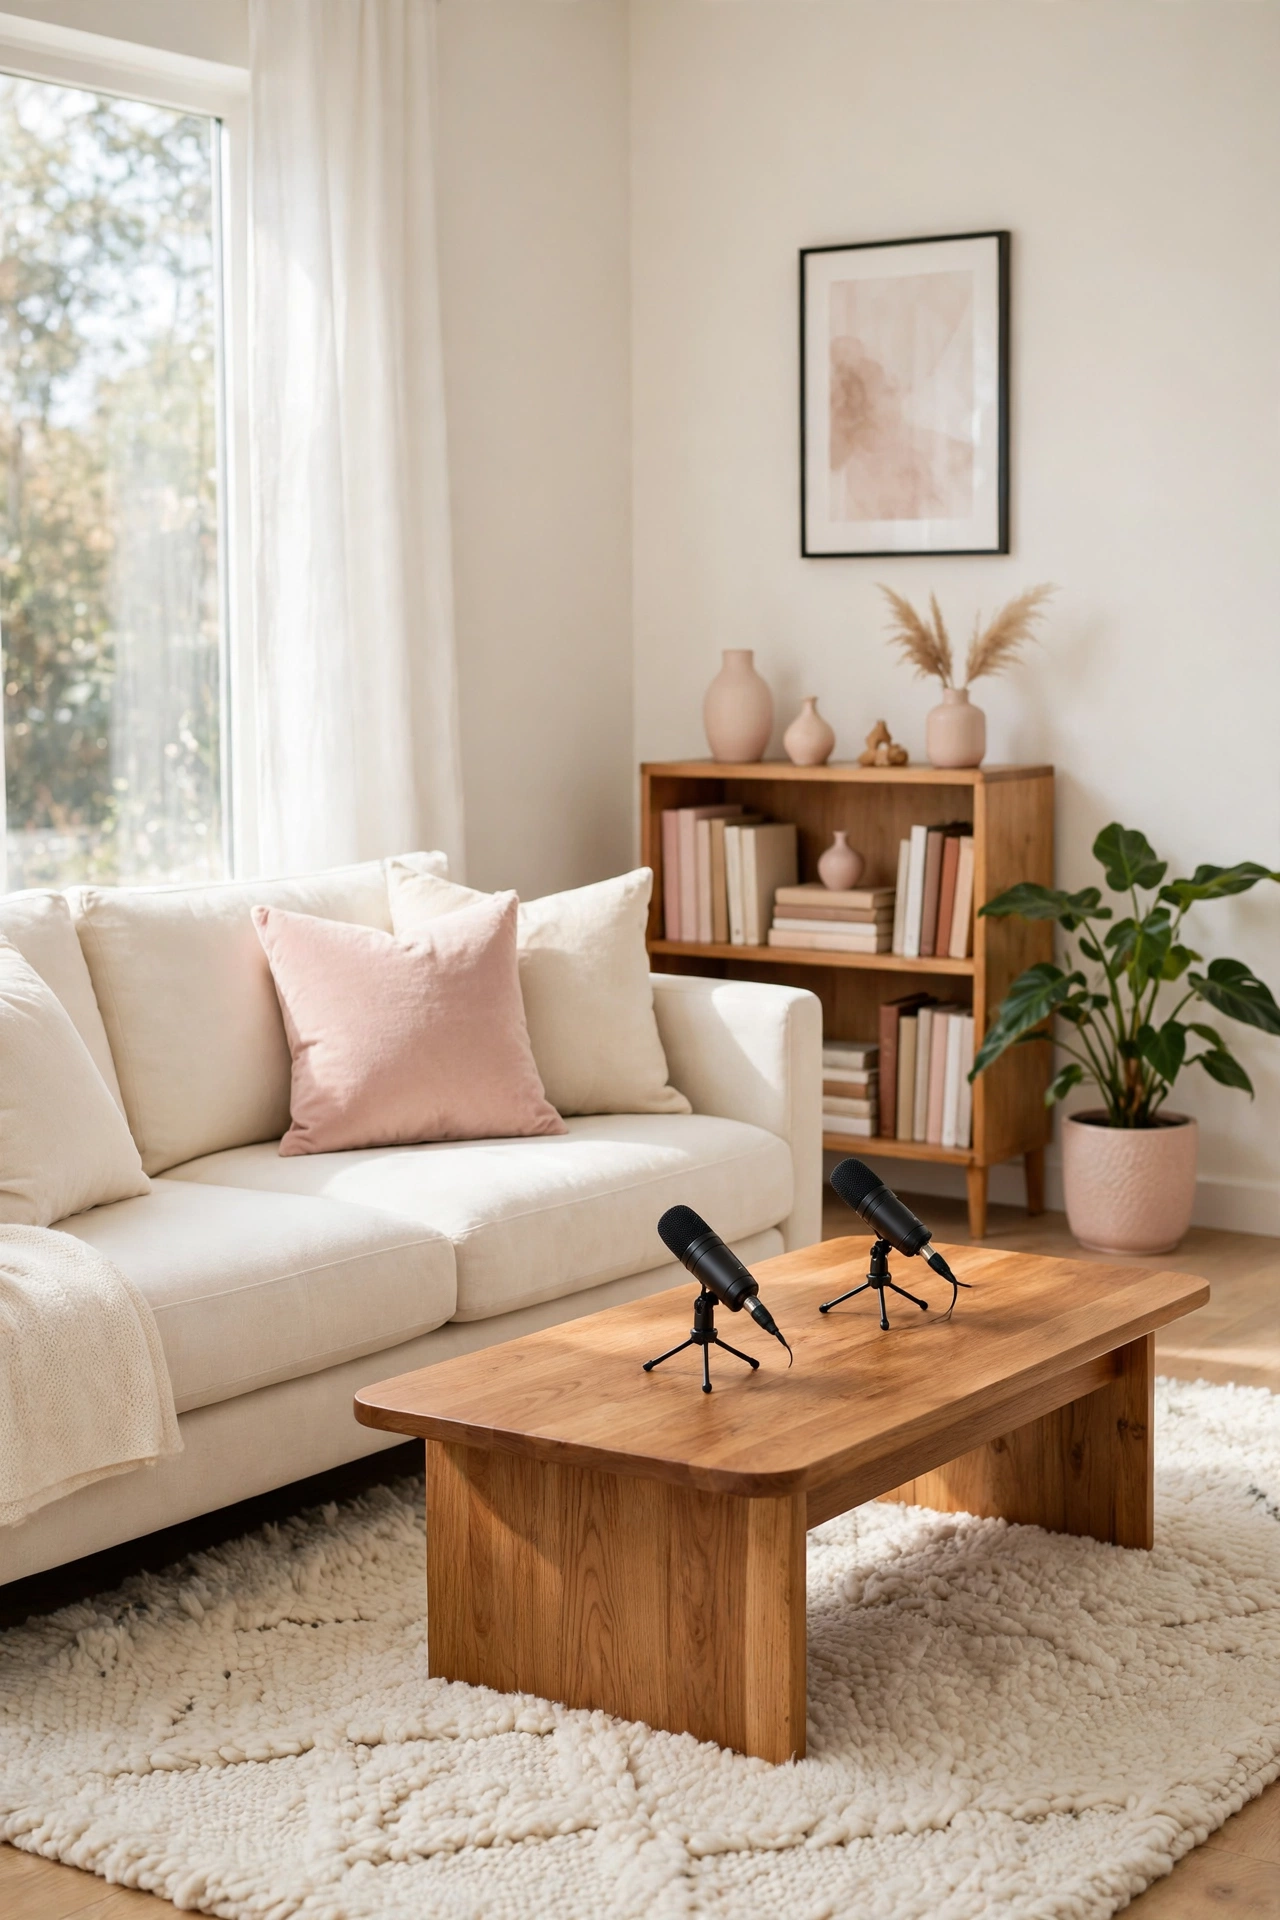
16. Record in a Sofa and Coffee Table Chat Layout
Not every podcast needs a desk. A sofa and coffee table layout suits conversational shows, where two hosts sit side by side or at a right angle and talk like friends. Place the microphones on low stands on the coffee table, and keep the table clear of anything that could rattle.
This layout sounds best with a thick rug under the table and soft cushions on the sofa, which absorb sound naturally. Keep the microphones close to each speaker so the recording stays clear even without a desk setup. The relaxed seating shows in the conversation, and listeners can hear the difference.
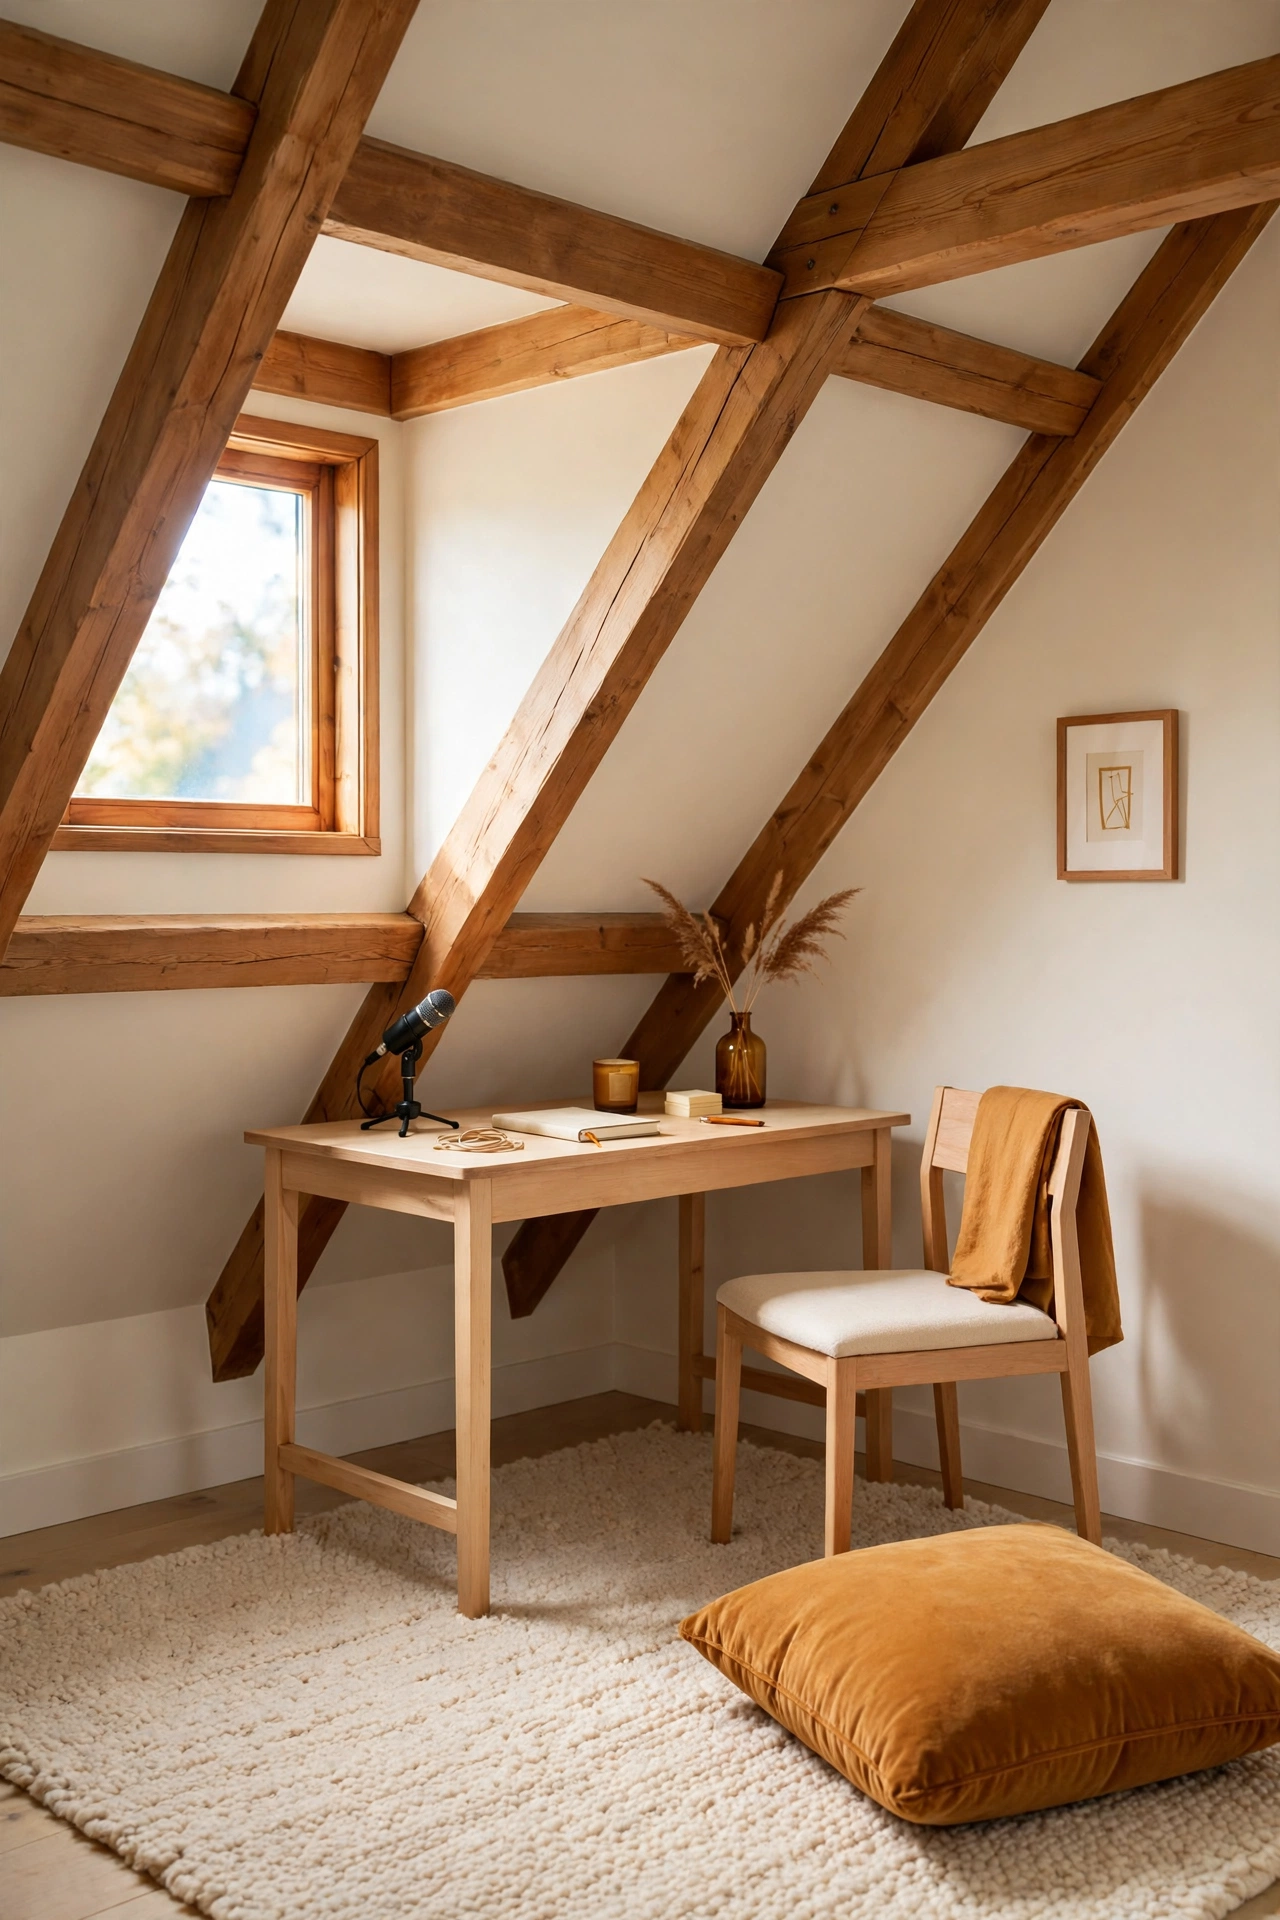
17. Use a Sloped Attic Corner for a Cozy Studio
A sloped attic ceiling creates a naturally cozy recording pocket, because the low ceiling and angled walls keep sound close and controlled. Tuck a small desk under the slope, add a rug and a floor cushion, and the attic corner becomes a private studio far from household noise.
Watch the headroom and place the chair where the ceiling is highest so you can sit up straight. A small window in the attic gives fresh air and daylight, but close it while recording to keep outside sounds out. The attic layout is a favorite for creators who want a space that feels separate from daily life.
18. Split a Spare Bedroom Into Studio and Guest Space
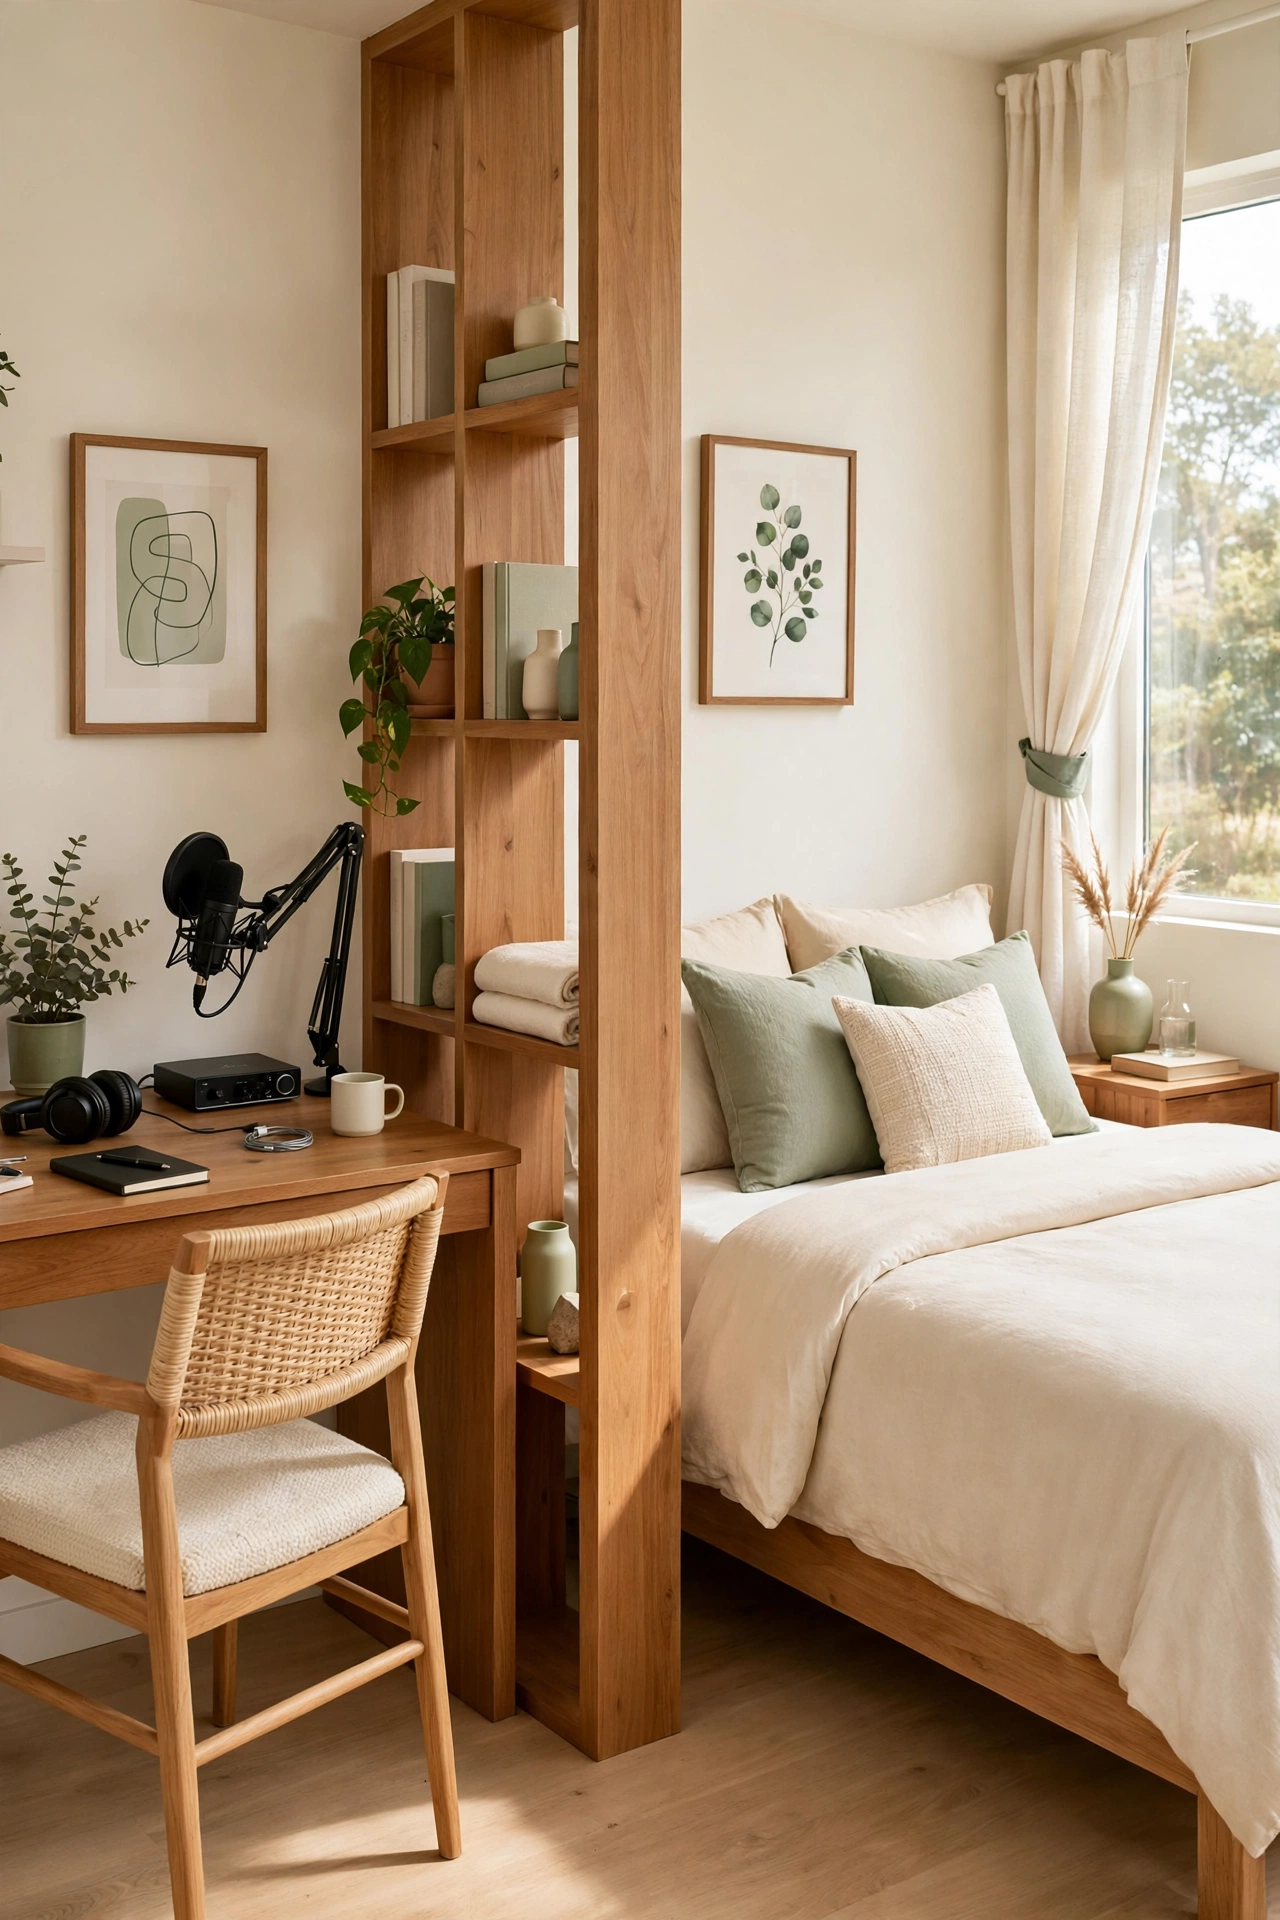
A spare bedroom can serve two purposes if you split it with furniture instead of walls. Place the recording desk along one wall and the guest bed along the opposite wall, with a rug or a bookcase marking the boundary between the zones. The room hosts guests on weekends and records episodes all week.
Keep the studio zone near the door so you can slip in and record without walking past the bed. Store recording gear in a closed cabinet or a lidded basket so the room looks like a proper guest room when visitors arrive. The bed itself helps the sound, because bedding absorbs echo beautifully.
19. Zone a Studio Corner in an Apartment Living Room
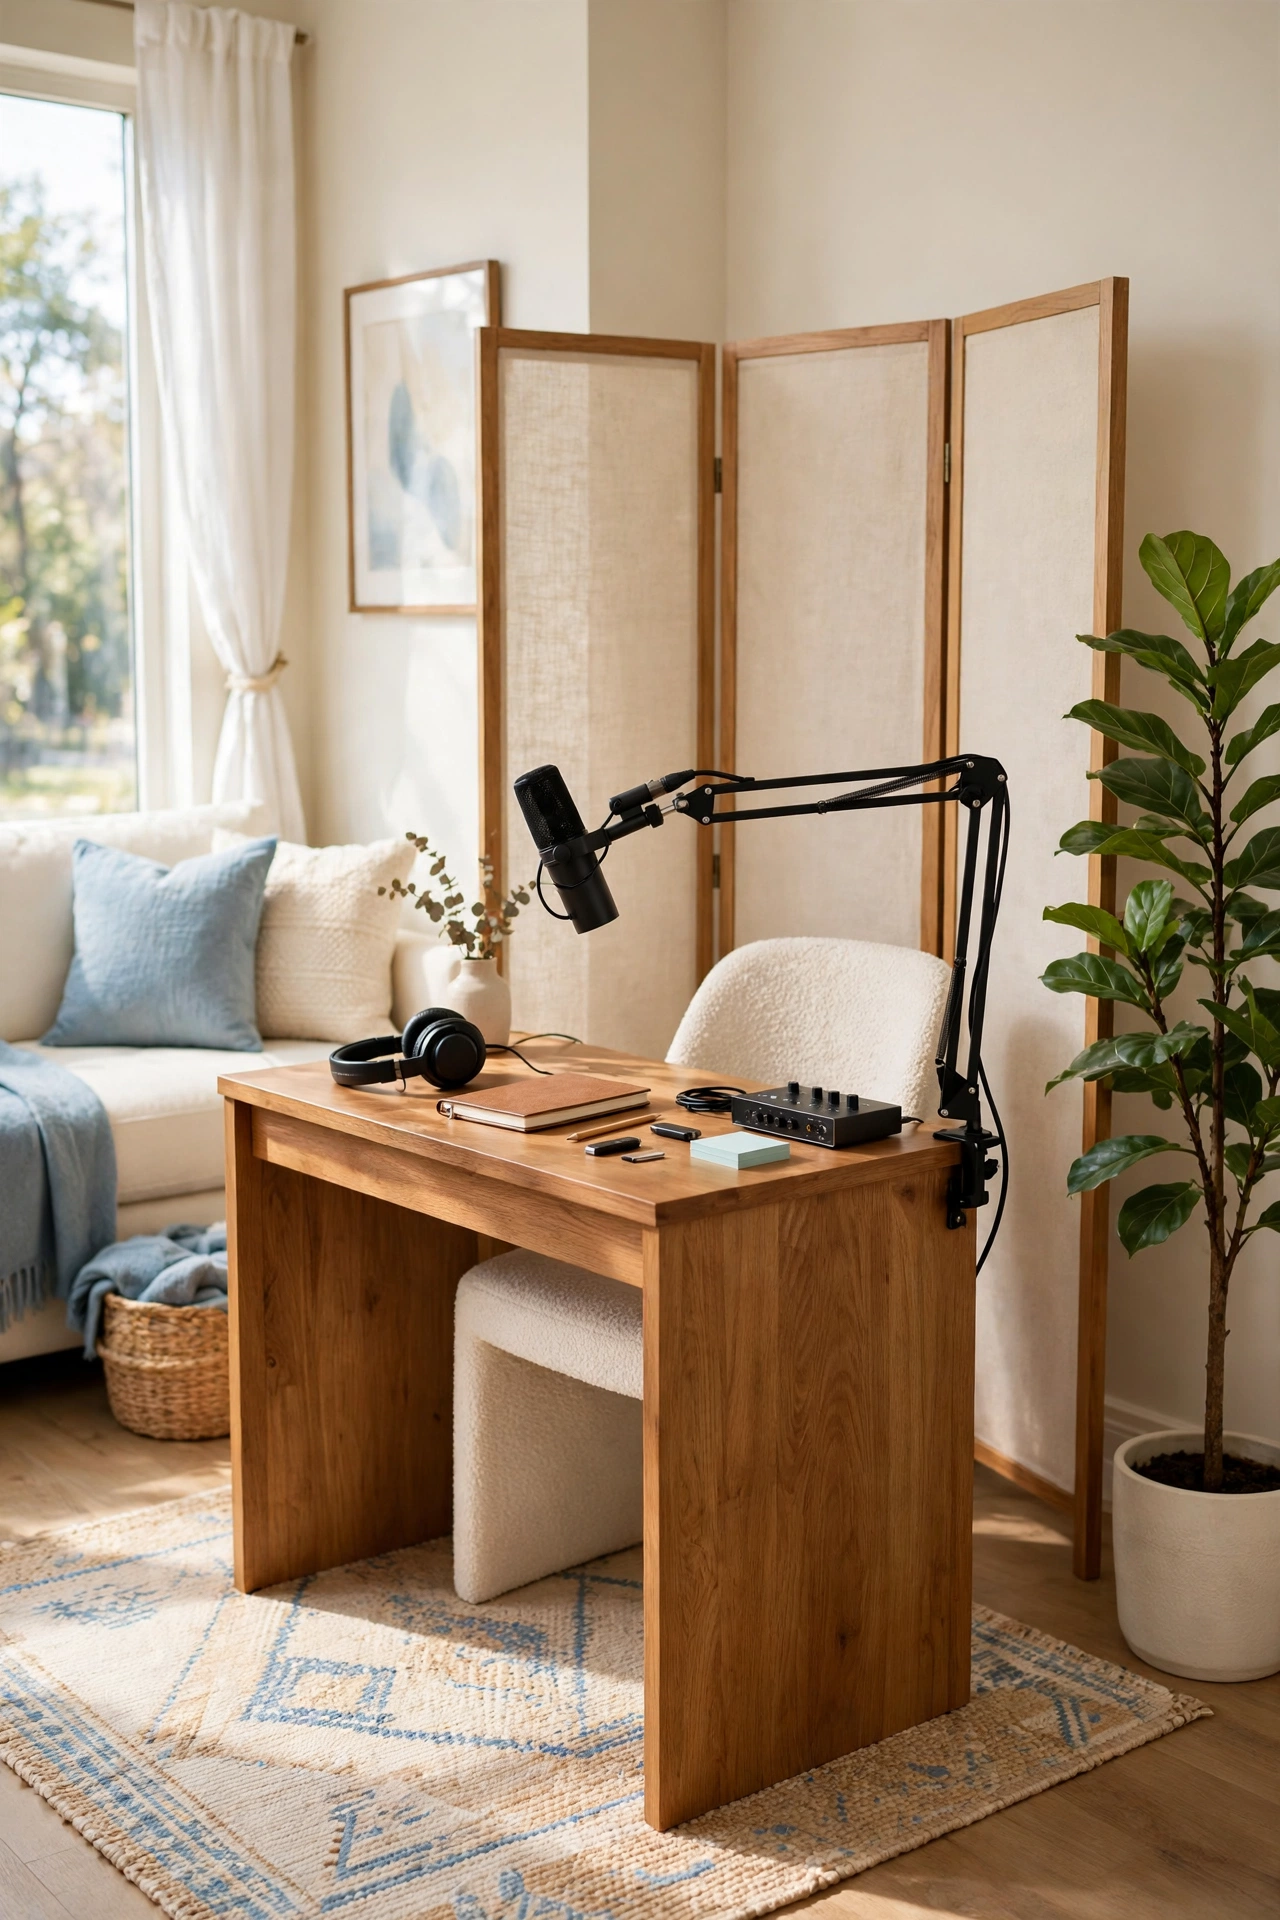
Apartment living rarely offers a spare room, but one corner of the living room can still become a studio. Place a compact desk in the quietest corner, away from the kitchen and the front door, and define the zone with a rug and a tall plant. A folding screen adds privacy when you record.
Record during the quietest hours of the day and close windows to block street noise. Keep the setup compact so the living room still feels like a living room when the microphone is packed away. For more ideas on fitting a work zone into one shared space, these studio apartment layout ideas with a home office show how to zone a small floor plan without walls.
20. Keep It Minimal With One Mic and a Blank Wall
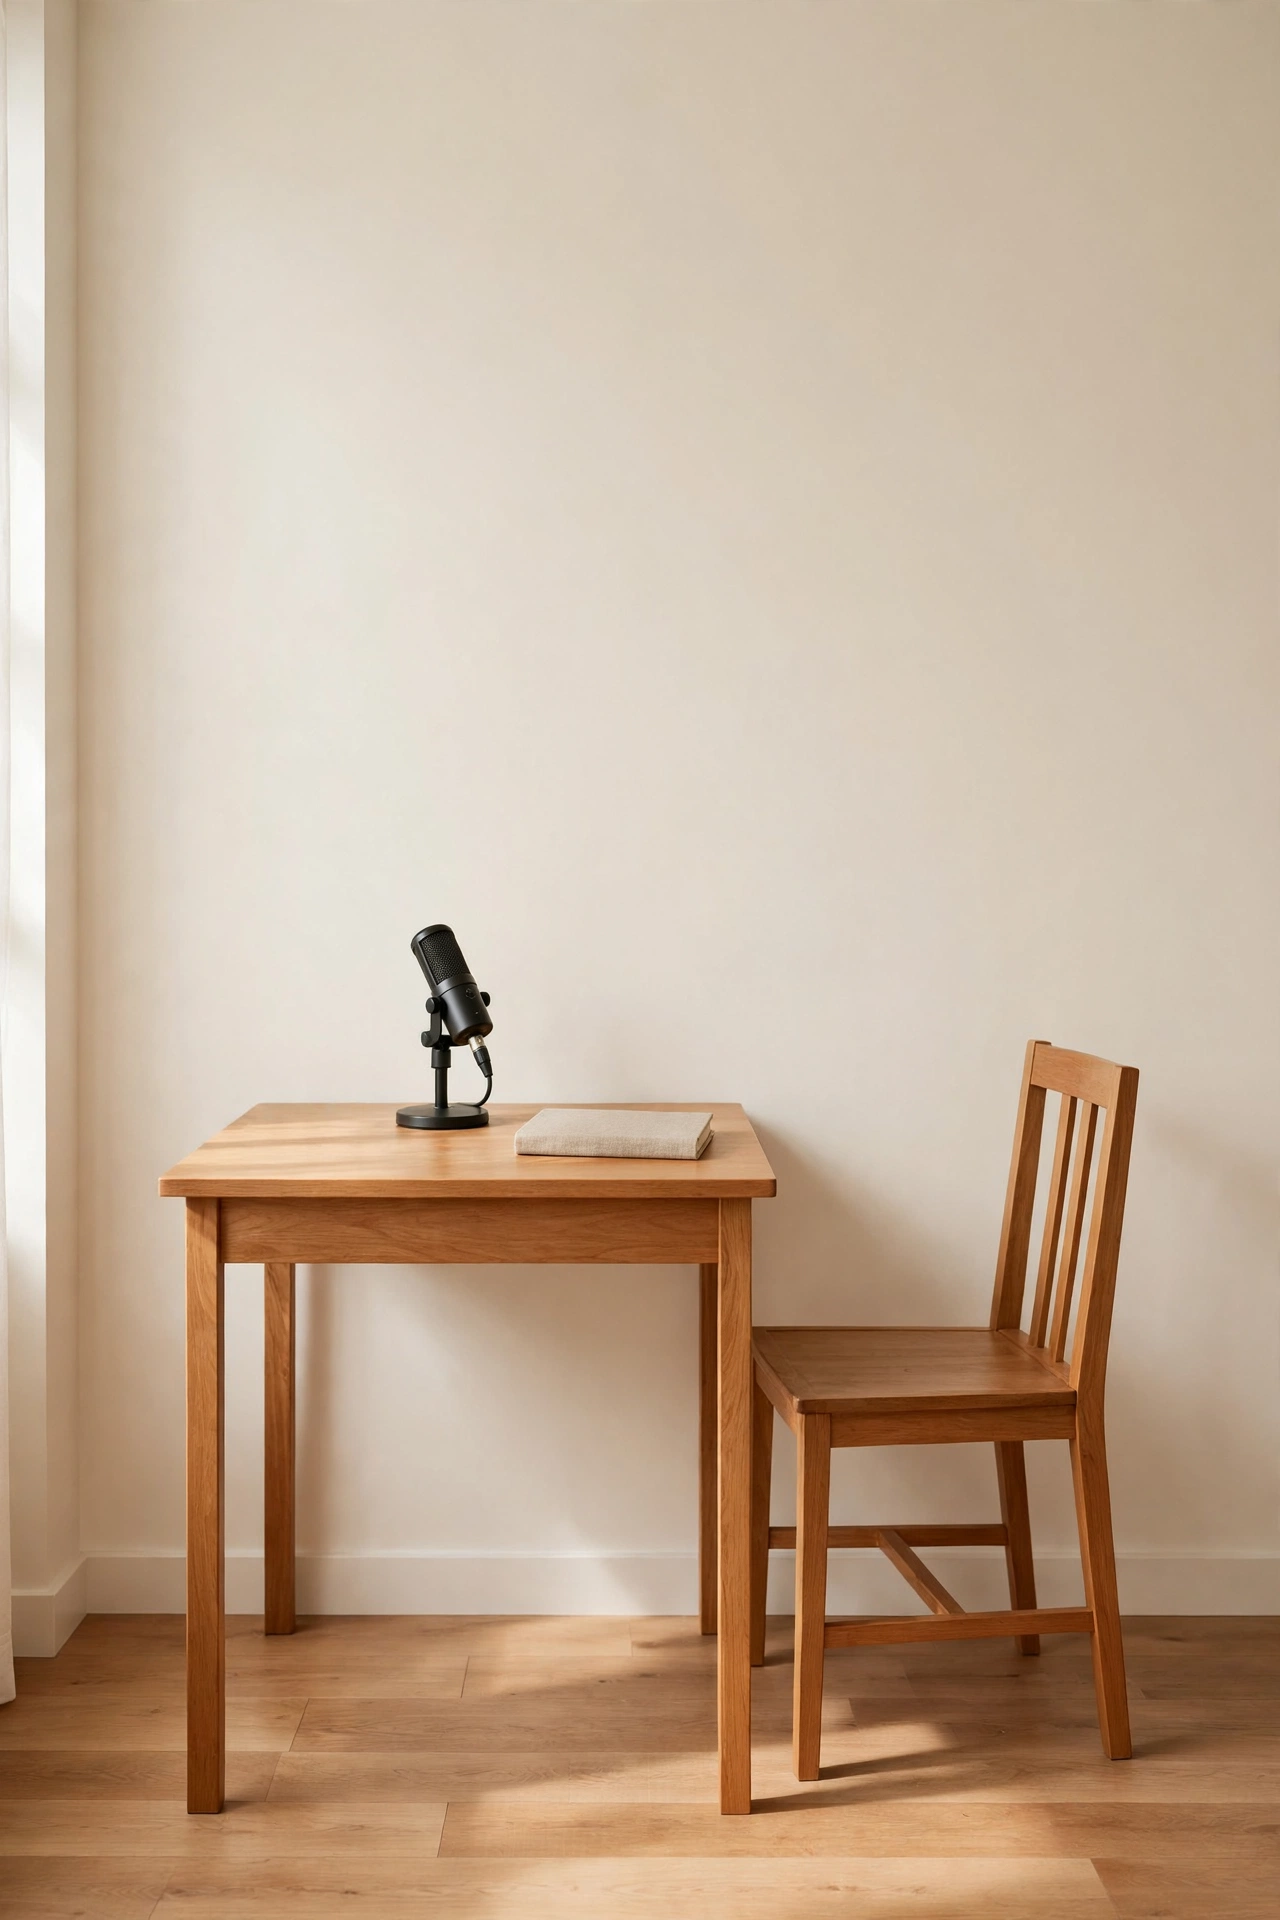
The simplest podcast layout is a small desk, one microphone, and a blank wall. No extra furniture, no decor competing for attention, and nothing in the room that can rattle or hum. The blank wall gives video episodes a clean background that you can dress up later with a sign or a shelf.
This layout is the fastest to set up and the easiest to keep quiet, because there is simply less in the room to make noise. Start here if you are new to podcasting, and add acoustic panels, shelves, or a second chair only when you know you need them. A minimal room puts the focus exactly where it belongs: on your voice.
Conclusion
A great podcast room is not about size or expensive gear. It is about a quiet corner, a desk at the right height, and soft surfaces that let your voice sound its best. From a closet booth to a sofa chat layout, there is an idea here for every home and every kind of show.
Pick the layout that fits the space you already have and start with what you own. Record a short test episode, listen back with headphones, and adjust one thing at a time until the sound feels right. If your recording room must share space with the rest of your life, these small multi-purpose room layout ideas will help you keep every zone working hard without feeling crowded.
Frequently Asked Questions About Small Podcast Room Layout Ideas for Content Creators
How small can a podcast recording room be?
A space as small as a walk-in closet can work well for recording, because small rooms with soft surfaces produce very little echo. A corner desk setup needs roughly four feet of wall space and enough room for a chair. The key is quiet surroundings and soft furnishings, not square footage.
Do I need acoustic panels to record a podcast at home?
No, acoustic panels help but they are not required. Bookshelves, heavy curtains, rugs, and upholstered furniture all absorb sound and reduce echo in a small room. Start with the soft furnishings you already own, test a recording, and add panels only if you still hear echo.
Where should I place my desk for the best podcast sound?
Place the desk against a solid interior wall, away from windows, doors, and noisy appliances. Corners work well because two walls shield the microphone from sound coming from behind you. Keep the microphone away from bare walls and hard floors, or soften those surfaces with a rug and curtains.
Can two people record a podcast in a small room?
Yes, a small round table or two chairs at a right angle can fit two people comfortably in a compact room. Each person needs a microphone and enough space to sit without bumping the table. A rug under the table and soft wall coverings will keep the sound clean for both voices.
How do I reduce background noise in a small podcast room?
Close windows and doors, turn off fans and appliances, and record during the quietest part of the day. Heavy curtains, a thick rug, and a closed door block much of the noise from the rest of the house. A microphone with a cardioid pickup pattern also rejects sound coming from behind it.

Hi, I’m Emily! I turn messy corners into cozy, organized spots. DreamNestDecor is where I share simple, practical home ideas — decor, organization, and small-space solutions that work in real life, not just in photos. Every idea here is carefully researched before it’s shared.