Picture this: you step into a shady corner of your garden on a cool morning, lift a piece of damp bark, and find a cluster of fresh oyster mushrooms ready for dinner. That quiet surprise is the reward of a mushroom garden, a small patch of shade and moisture that turns logs, straw, and wood chips into food. Mushrooms ask for very little and give back rich flavor, week after week.
You do not need a forest or special equipment to grow them. A shady corner, a few logs, and a bag of spawn are enough to start. These 23 mushroom garden growing ideas will show you how to grow mushrooms outdoors in beds, on logs, in straw, and in containers, so you can harvest fresh mushrooms steps from your kitchen door.
1. Grow Oyster Mushrooms on Hardwood Logs
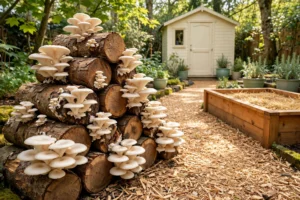
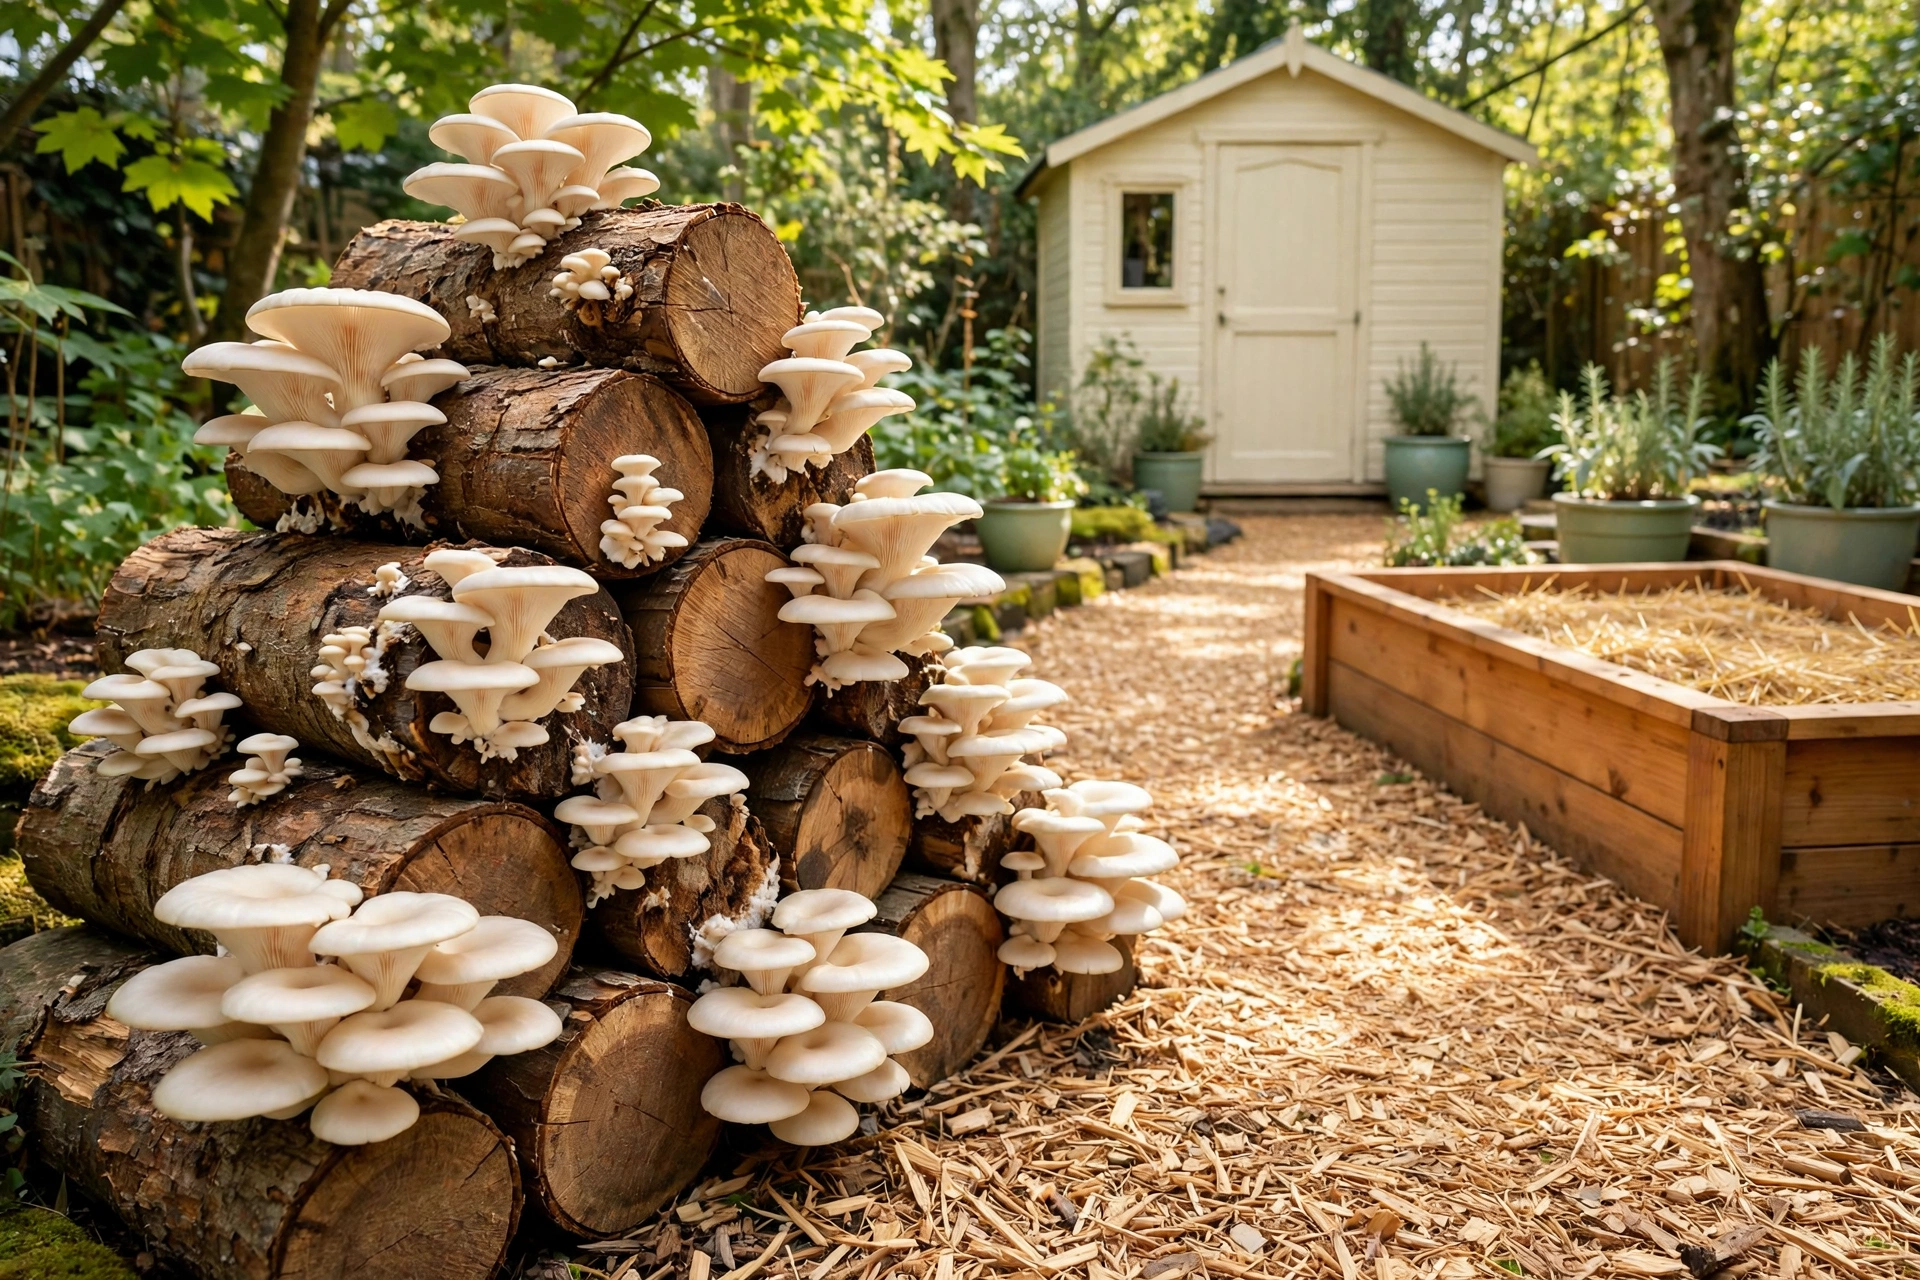
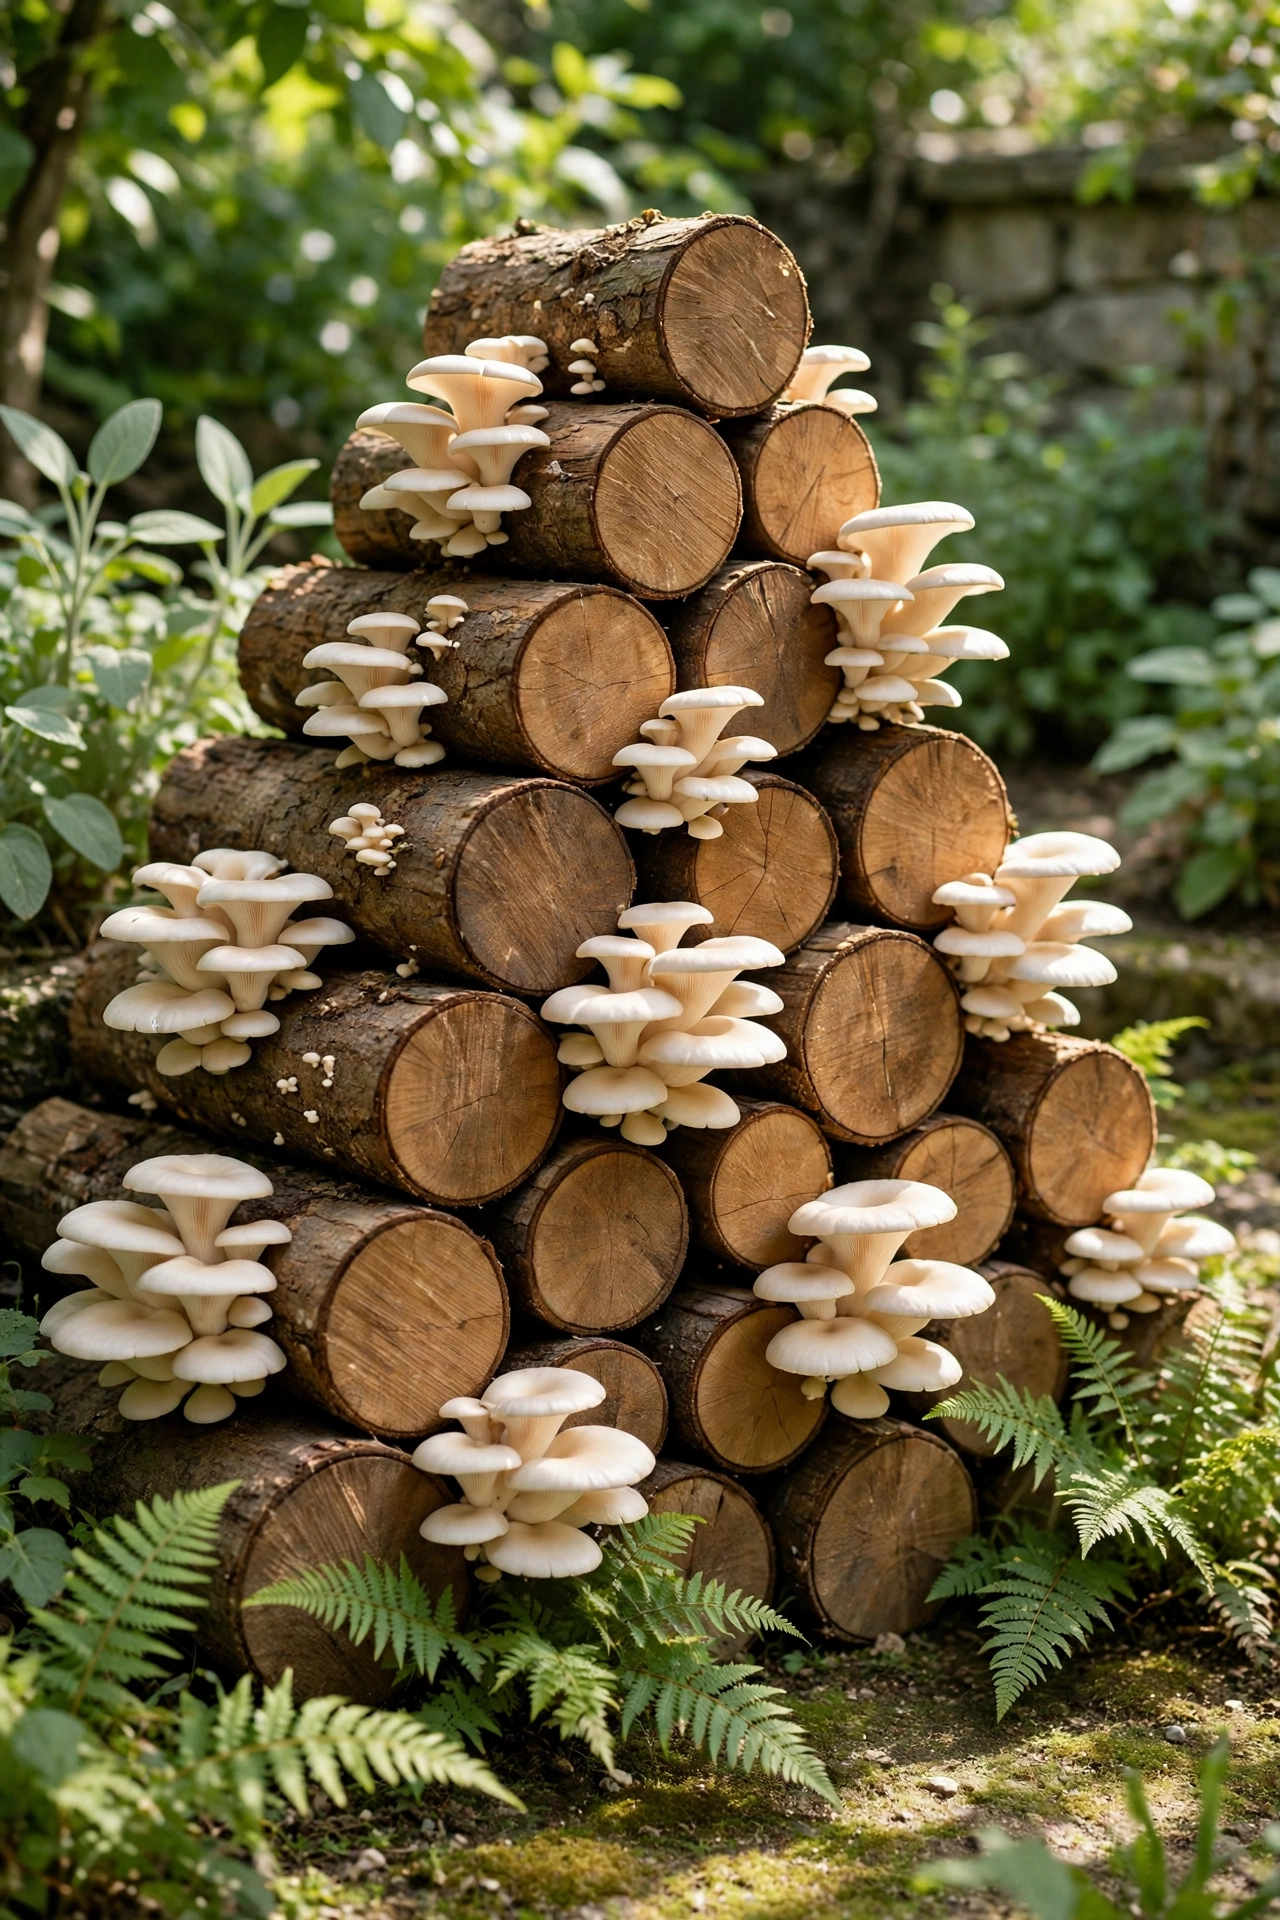
Hardwood logs are the classic home for oyster mushrooms. Fresh cut logs from oak, maple, or beech hold moisture well and give the mushroom spawn a steady food source for years. Drill small holes along each log, press in plug spawn, and seal the holes with wax to keep the spawn safe while it colonizes the wood.
Stack the inoculated logs in a shady spot where rain can reach them and the air stays humid. Lean them in a pyramid or lay them in a low crib stack so air flows around each log. Within six to twelve months, clusters of oyster mushrooms will push out of the bark after rain, and one log can fruit again and again for several seasons.
2. Start a Wine Cap Bed in Fresh Wood Chips
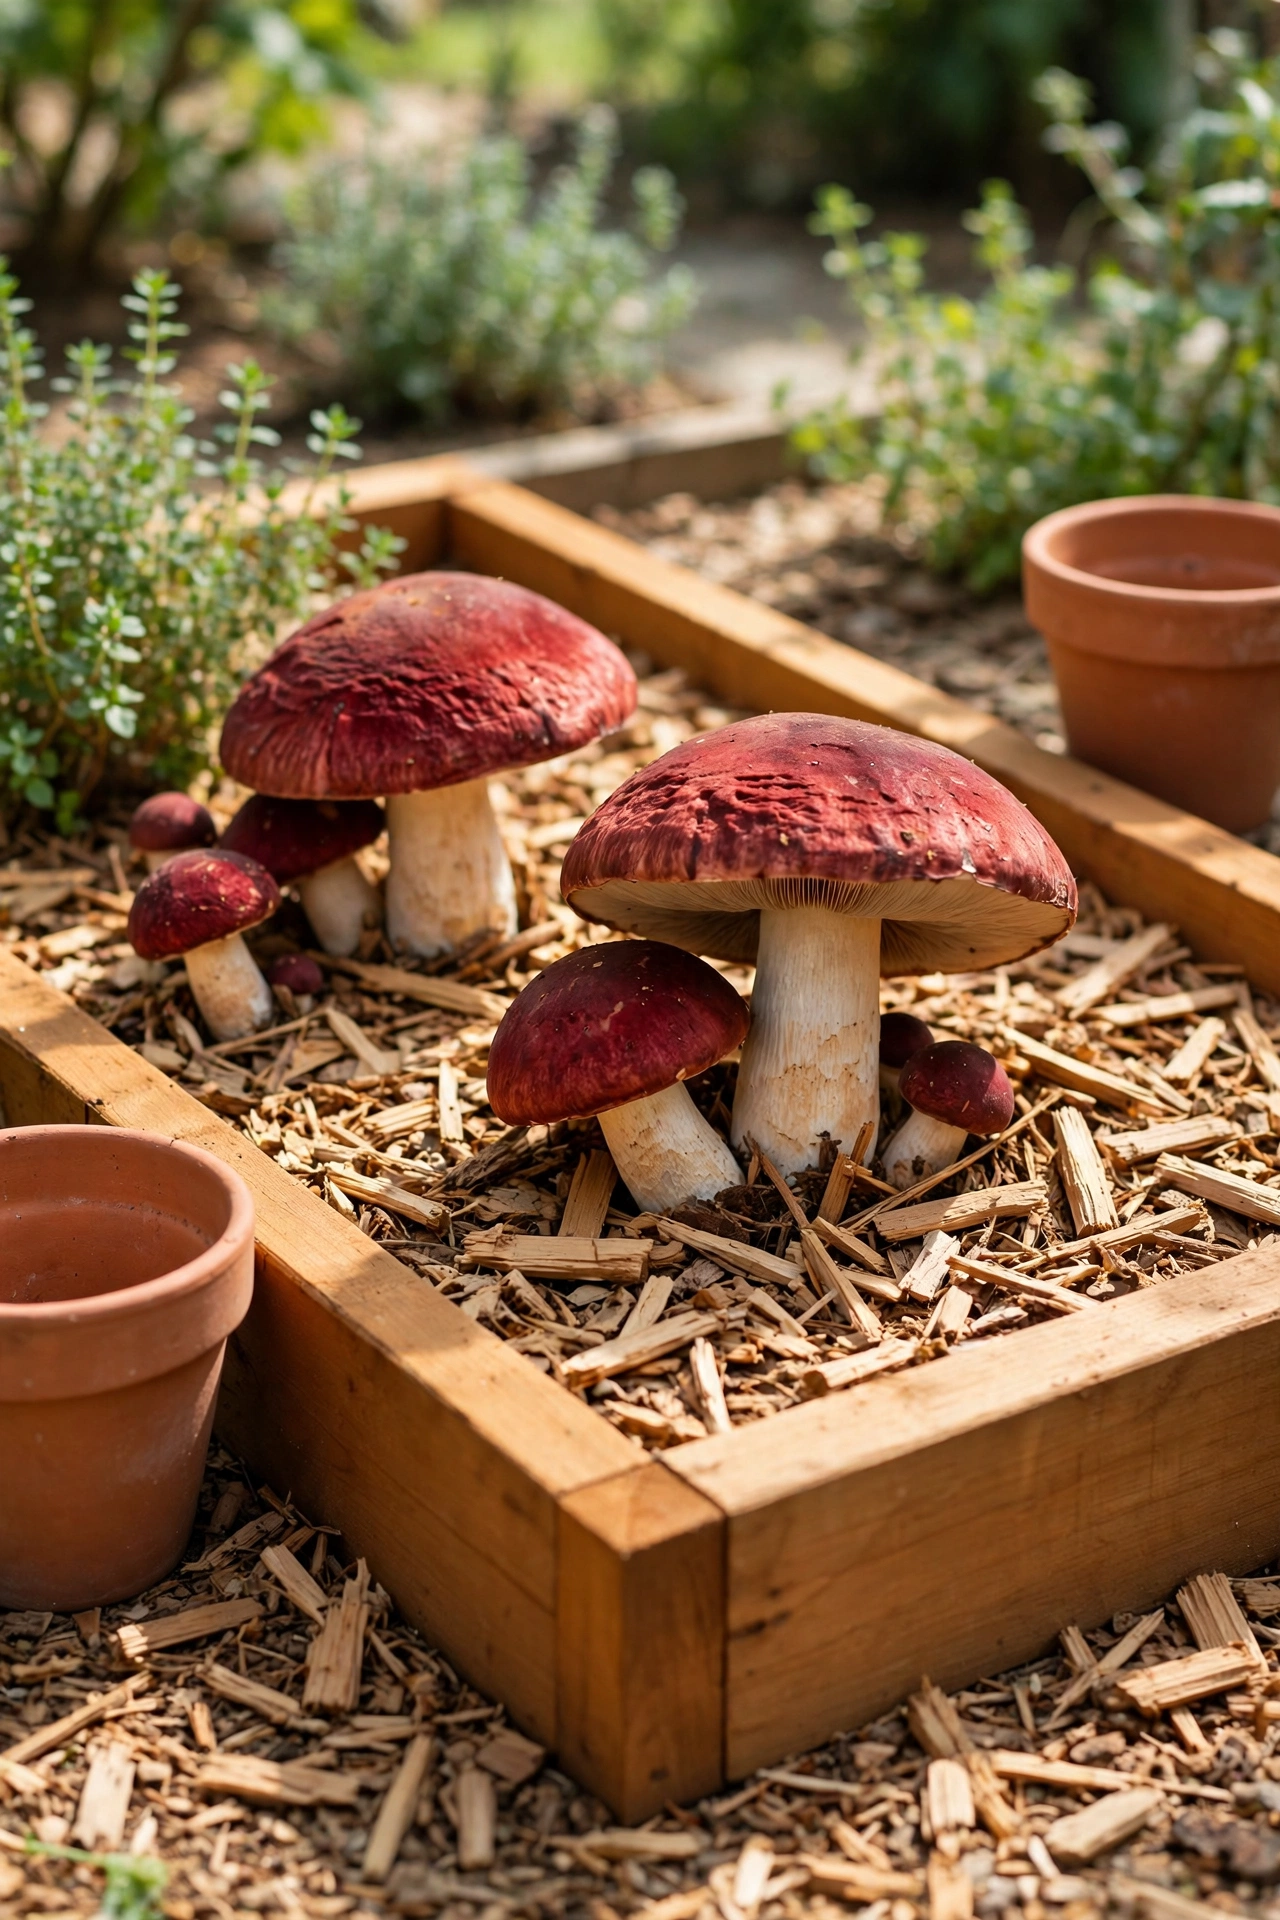
Wine cap mushrooms thrive in a simple bed of fresh wood chips, which makes them one of the easiest mushrooms to grow outdoors. Choose a shady spot, lay cardboard on the ground to smother weeds, and spread wood chips eight to twelve inches deep. Mix sawdust spawn through the chips and water the bed well.
Wine caps produce large, wine red mushrooms with a rich, nutty flavor, and they keep fruiting through warm and cool weather. Top up the bed with fresh chips once a year to feed the colony. A wine cap bed also improves the soil below it, so the spot becomes richer for whatever you plant there next.
3. Stack Shiitake Logs in a Shady Corner
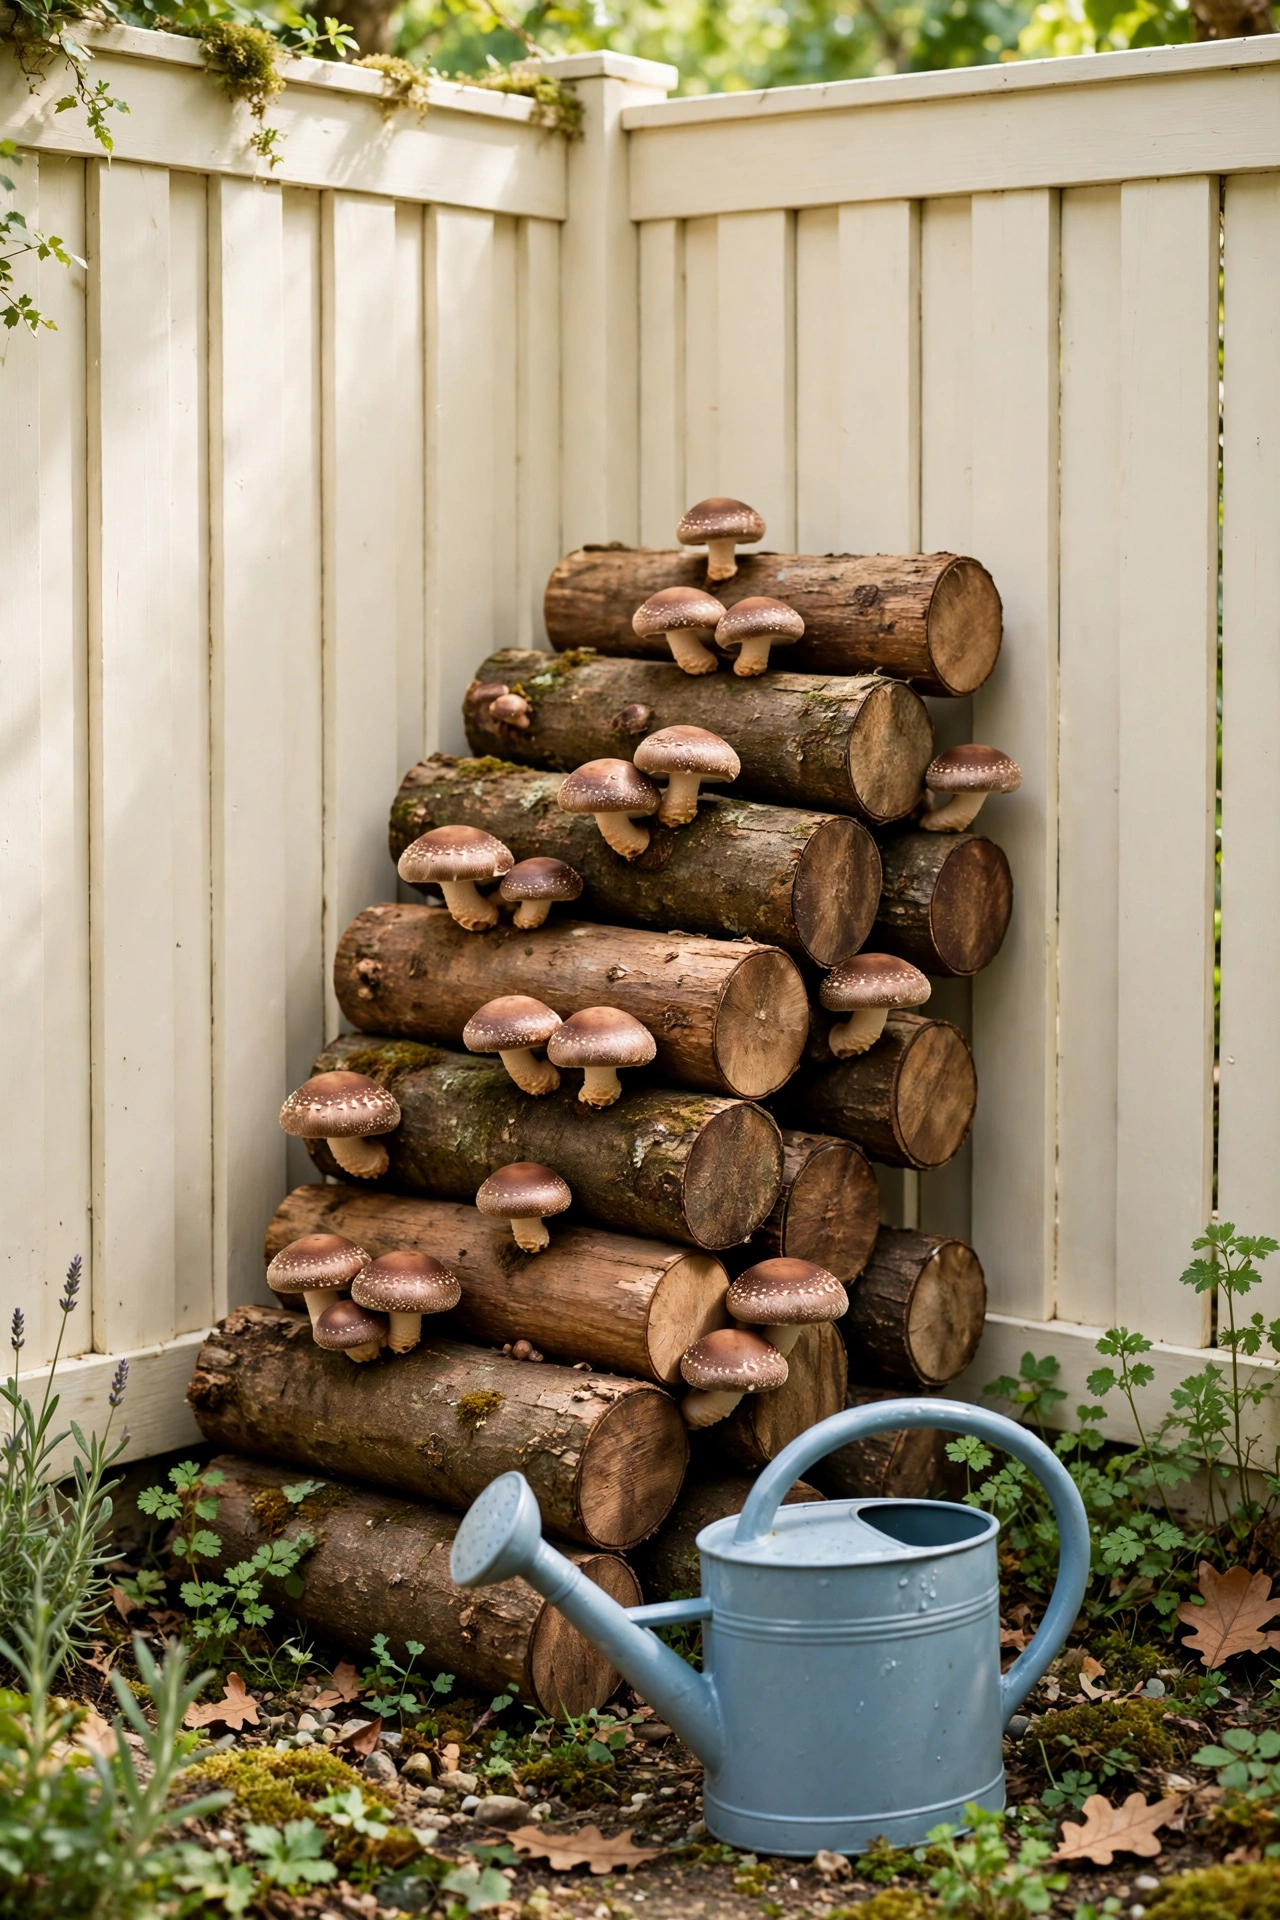
Shiitake mushrooms grow best on oak logs kept in deep shade with steady humidity. Inoculate the logs in late winter or early spring, then stack them in a sheltered corner where the wind cannot dry them out. A spot under a fence, a hedge, or a north facing wall works well.
Soak the logs in water for a day when you want to trigger a flush of mushrooms, then stand them upright in the shade. Shiitake mushrooms appear as firm, brown capped clusters that are wonderful in soups and stir fries. Keep the logs off bare soil on bricks or a wooden pallet so they stay clean and last longer.
4. Build a Raised Mushroom Bed With Straw
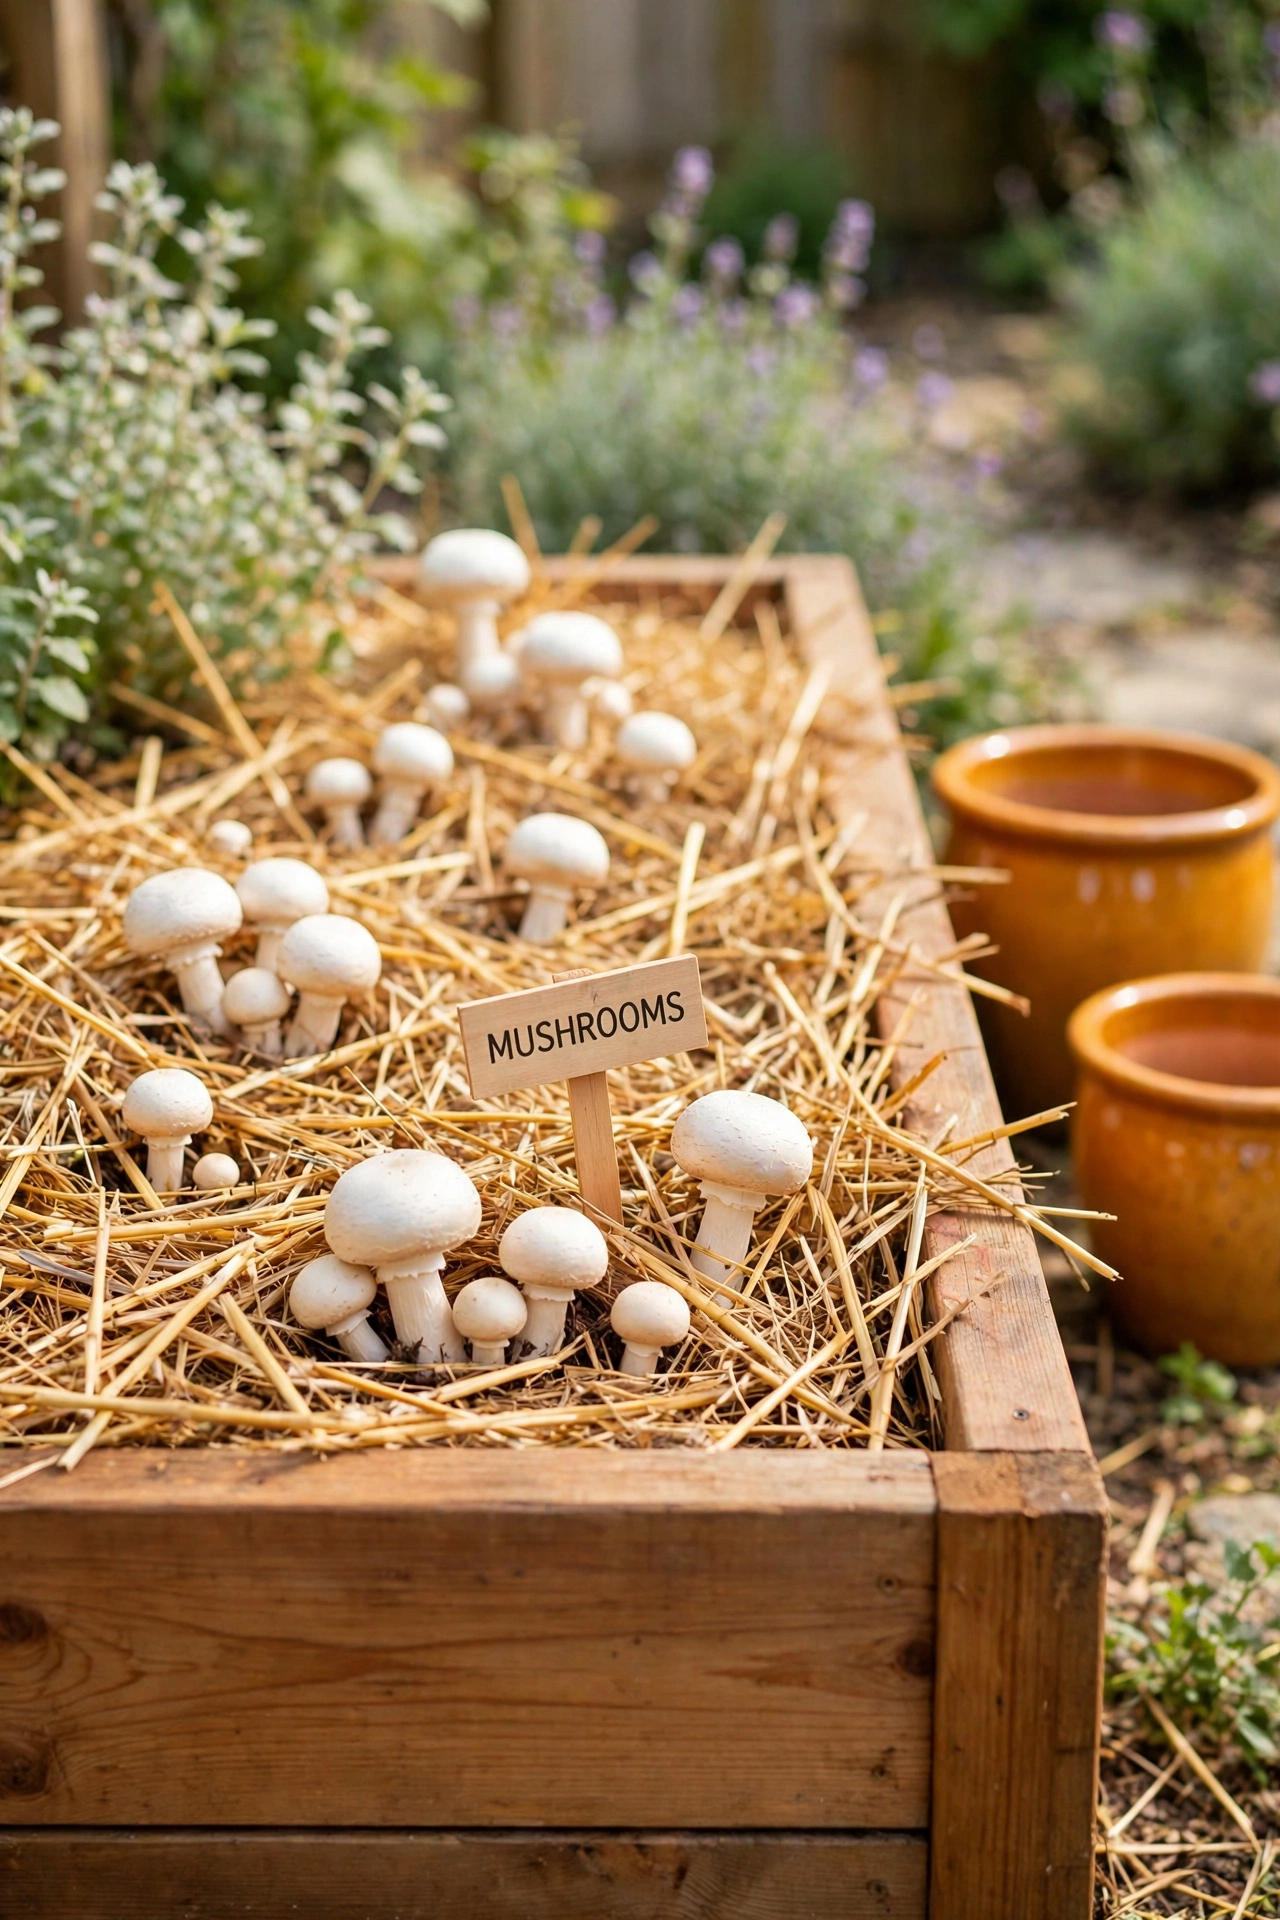
A raised bed filled with pasteurized straw gives mushrooms a clean, contained home that is easy to tend. Build a low wooden frame in a shady part of the garden, fill it with damp straw, and mix in grain spawn as you layer the straw. Cover the bed with a sheet of cardboard or burlap to hold in moisture while the spawn spreads.
White button mushrooms and oyster mushrooms both do well in straw beds, and the raised frame keeps the bed tidy and easy to harvest. For frame styles and layouts that fit a small garden, see these raised garden bed layout ideas that work just as well for a mushroom patch. Water the bed lightly on dry days and watch for the first white pins within a few weeks.
5. Tuck Mushrooms Into a Shady Garden Border
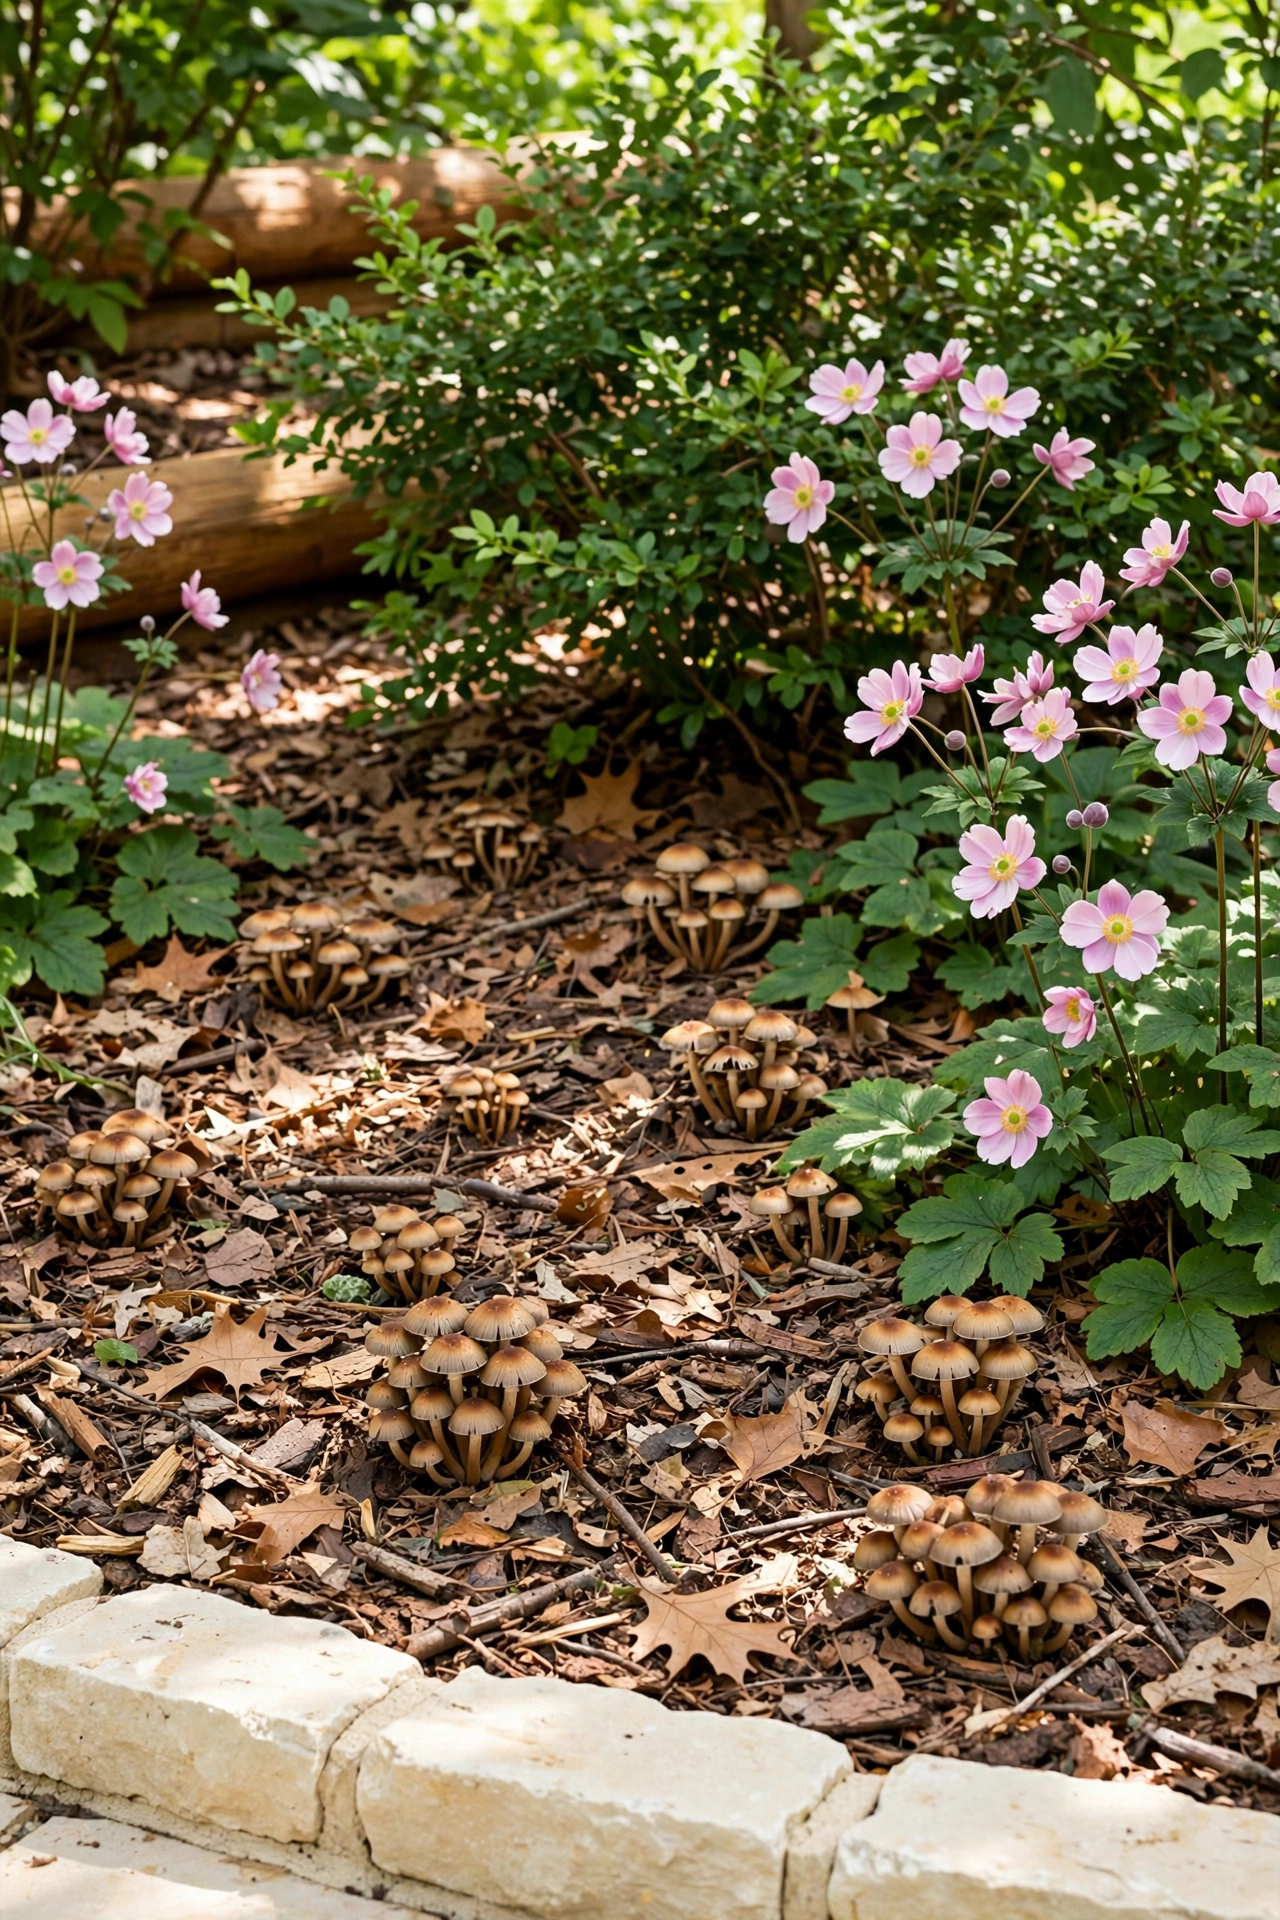
A shady border under shrubs or along a hedge is often the most underused part of a garden, and mushrooms love it there. Spread a thick layer of wood chips or leaf mulch along the border, tuck spawn into the mulch, and let the shrubs above provide the shade and shelter the mushrooms need.
This idea costs almost nothing because the border already has shade, moisture, and organic matter. Wine caps and garden giant mushrooms spread happily through border mulch and return each year. You will barely notice the mushroom patch until the day you spot fresh caps rising through the mulch after rain.
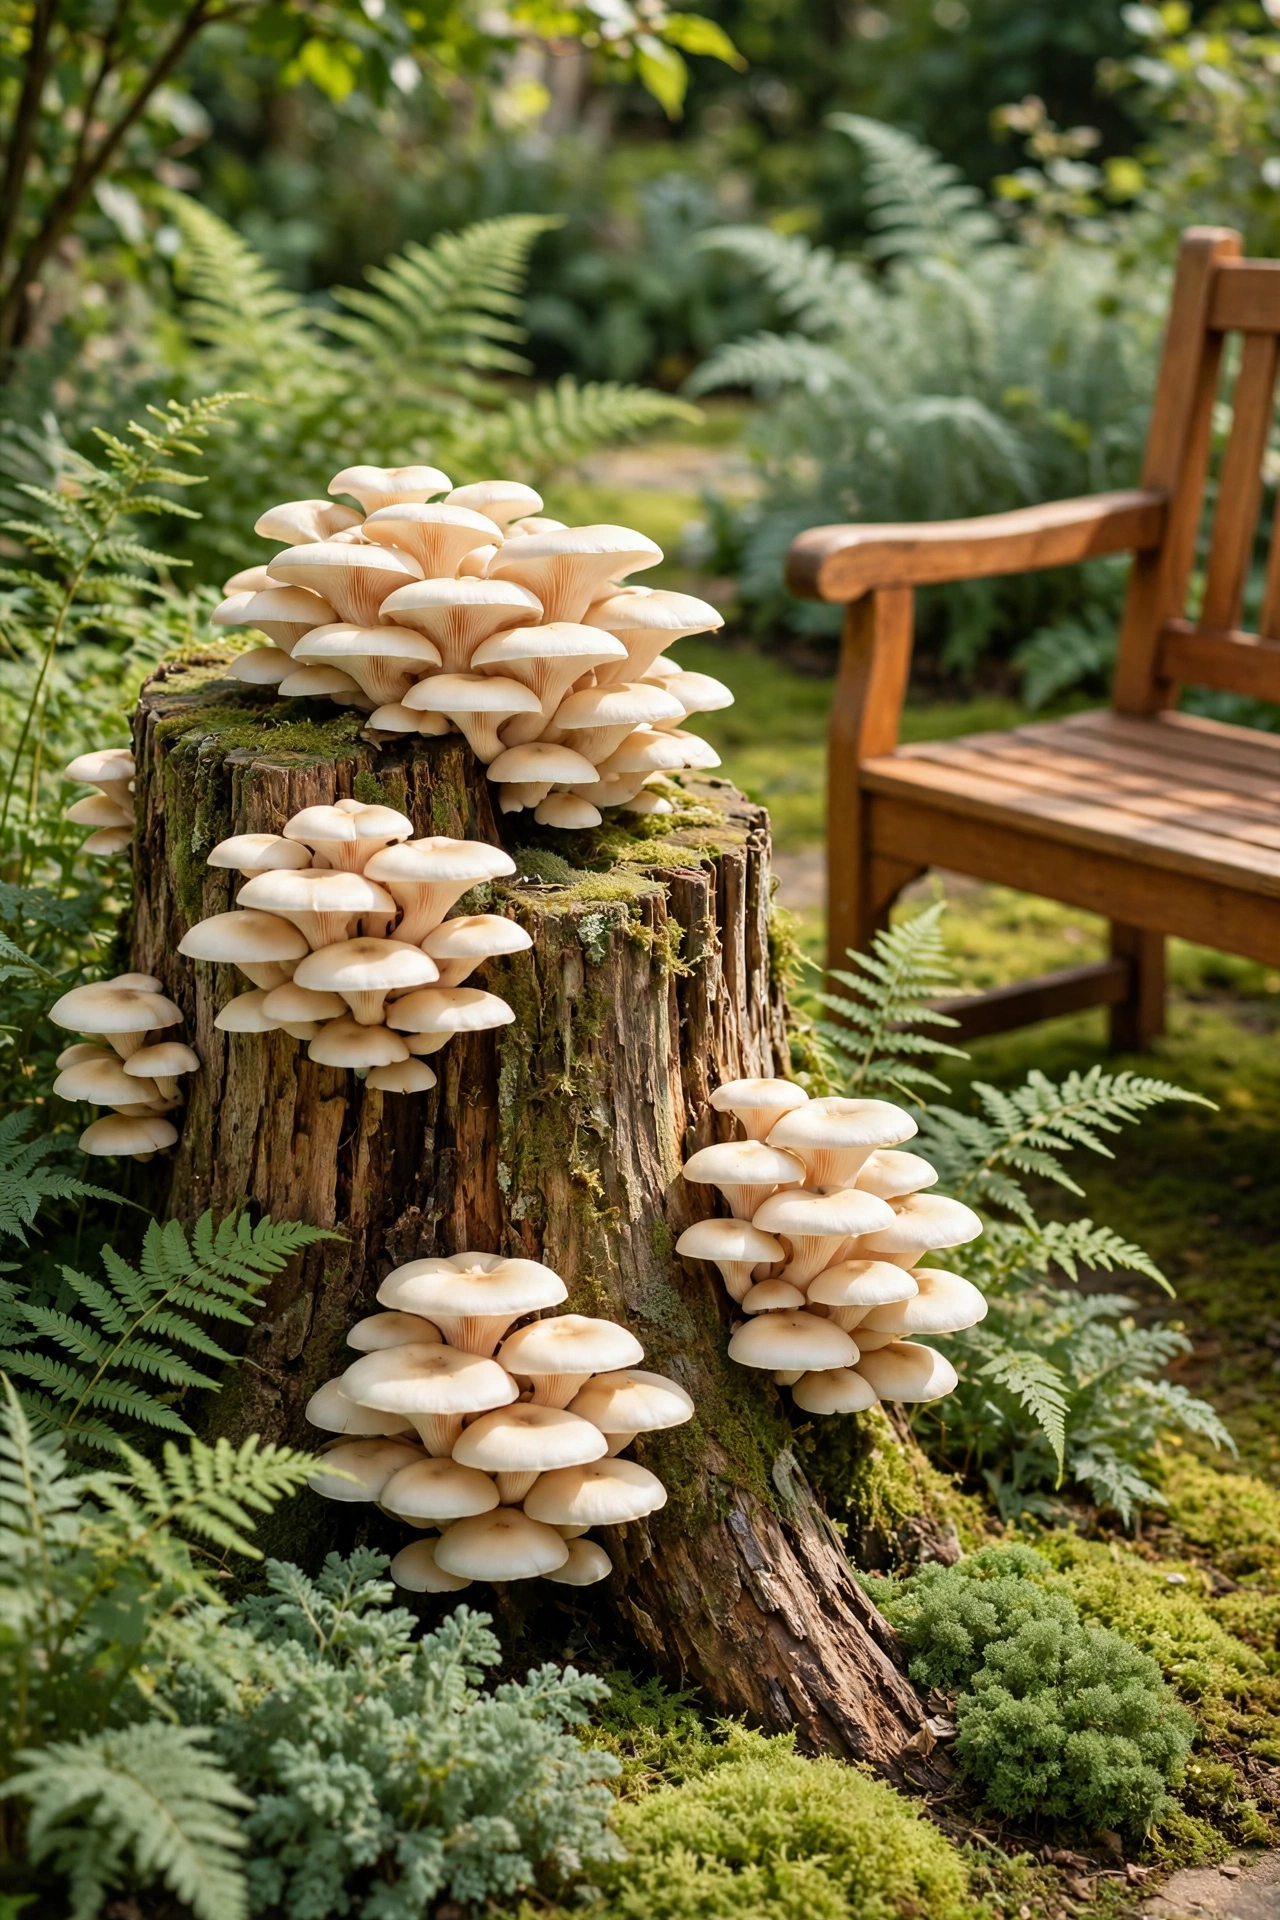
6. Turn an Old Tree Stump Into a Mushroom Garden
A tree stump you cannot remove is a ready made mushroom garden waiting to happen. Drill holes into the top and sides of the stump, fill them with plug spawn, and seal them with wax. The stump holds moisture deep inside, so the spawn colonizes it slowly and fruits for years.
Oyster mushrooms and shiitake both grow well on stumps from hardwood trees. Leave the stump in place, keep the area around it mulched and moist, and let nature do the rest. Over time the mushrooms soften the wood, so the stump slowly breaks down while feeding you fresh harvests.
7. Grow Mushrooms Under a Leafy Deciduous Tree
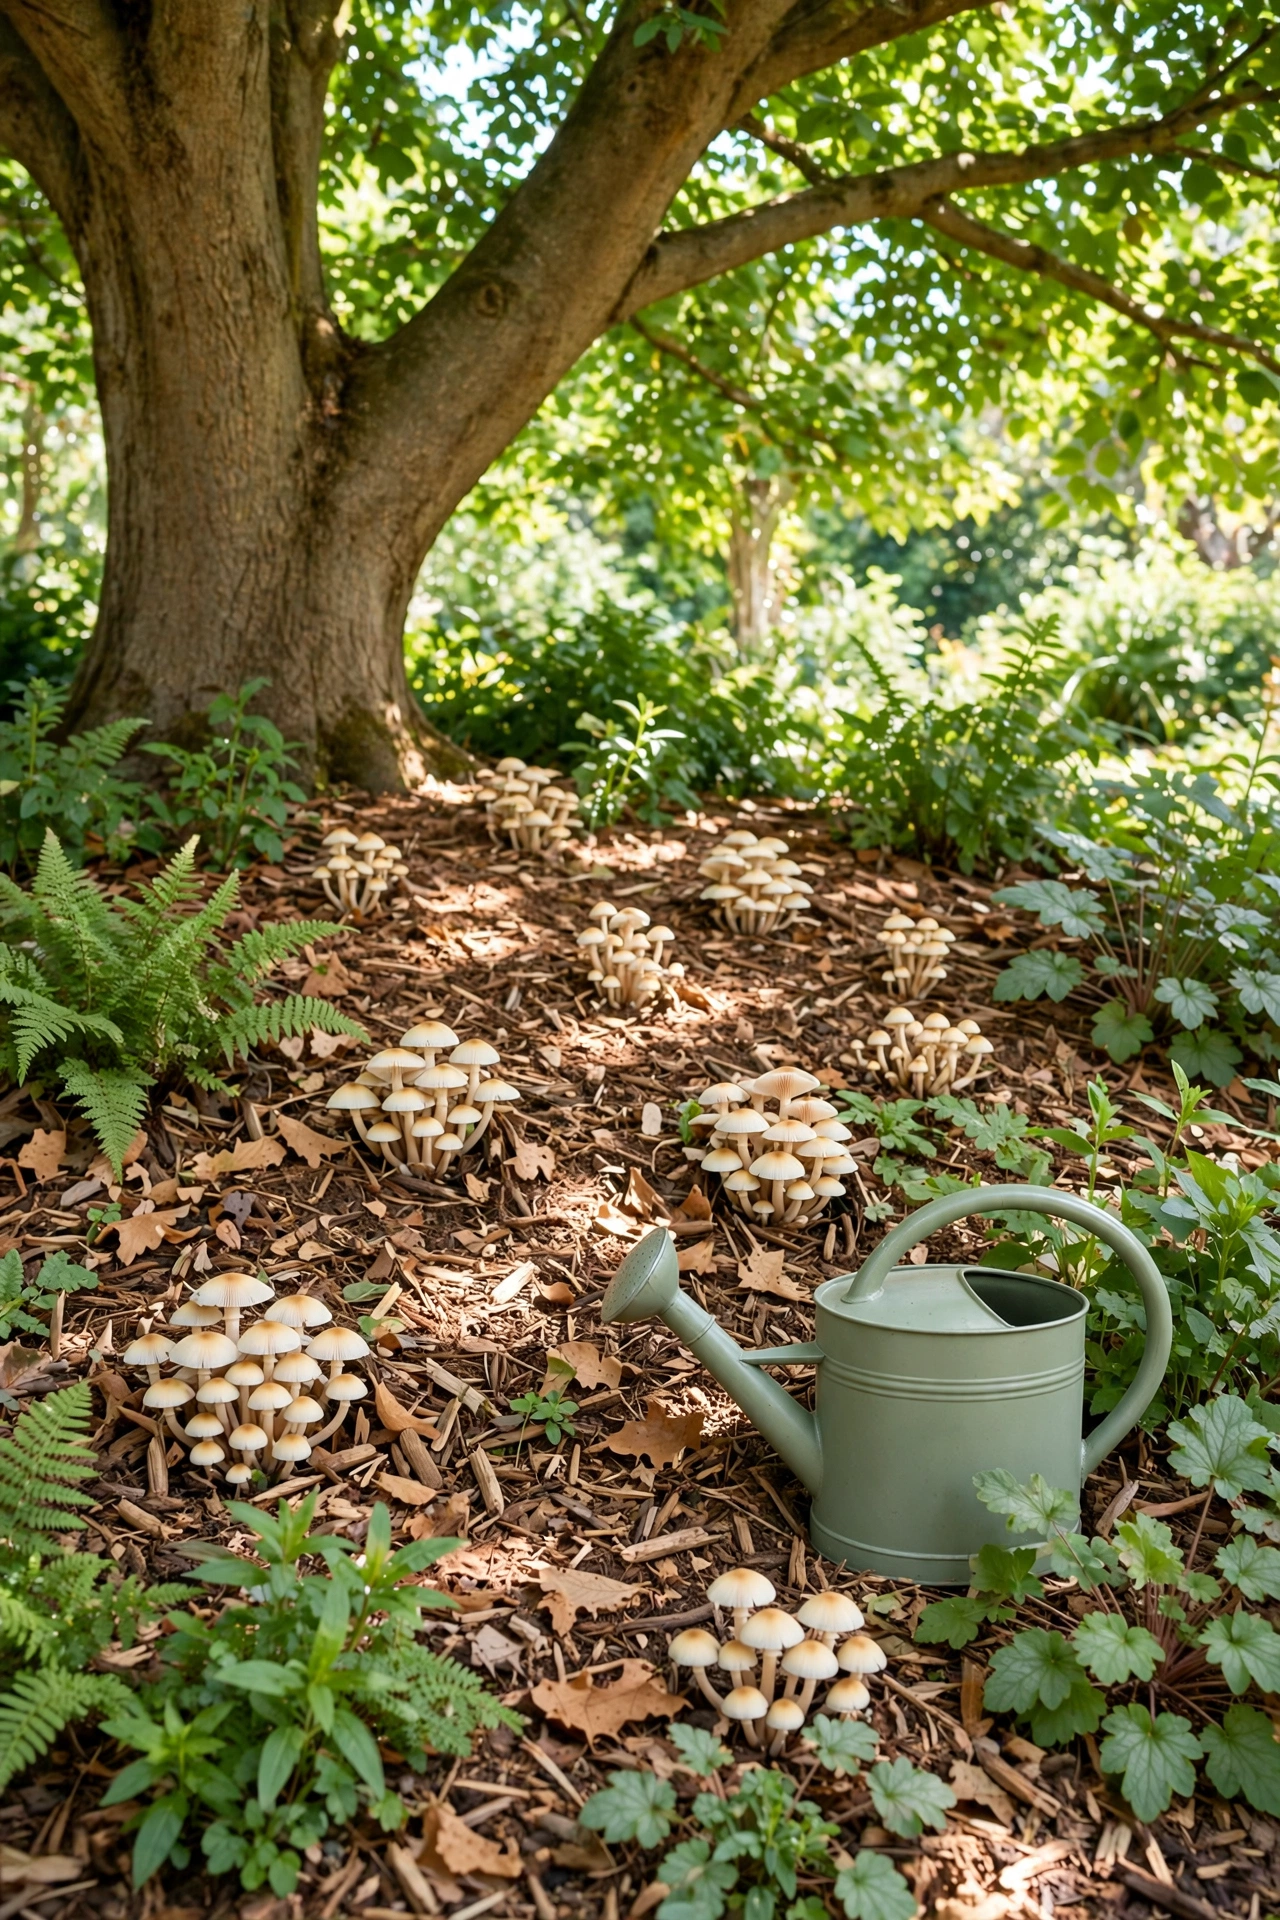
The ground under a deciduous tree stays cool and moist through summer, which is exactly what mushrooms want. Rake the fallen leaves into a thick mulch layer, spread wood chips beneath, and mix spawn into the mulch in spring. The tree canopy filters the sun while rain drips through to water the bed.
Native plants around the base of the tree make the spot look like a natural woodland floor. For planting ideas that suit a shaded, natural corner, see these native plant garden ideas that pair well with a mushroom bed. Avoid trees with very dense, dry shade like conifers, and choose a spot where the soil stays lightly damp.
8. Keep a Mushroom Shelf in a Cool Greenhouse
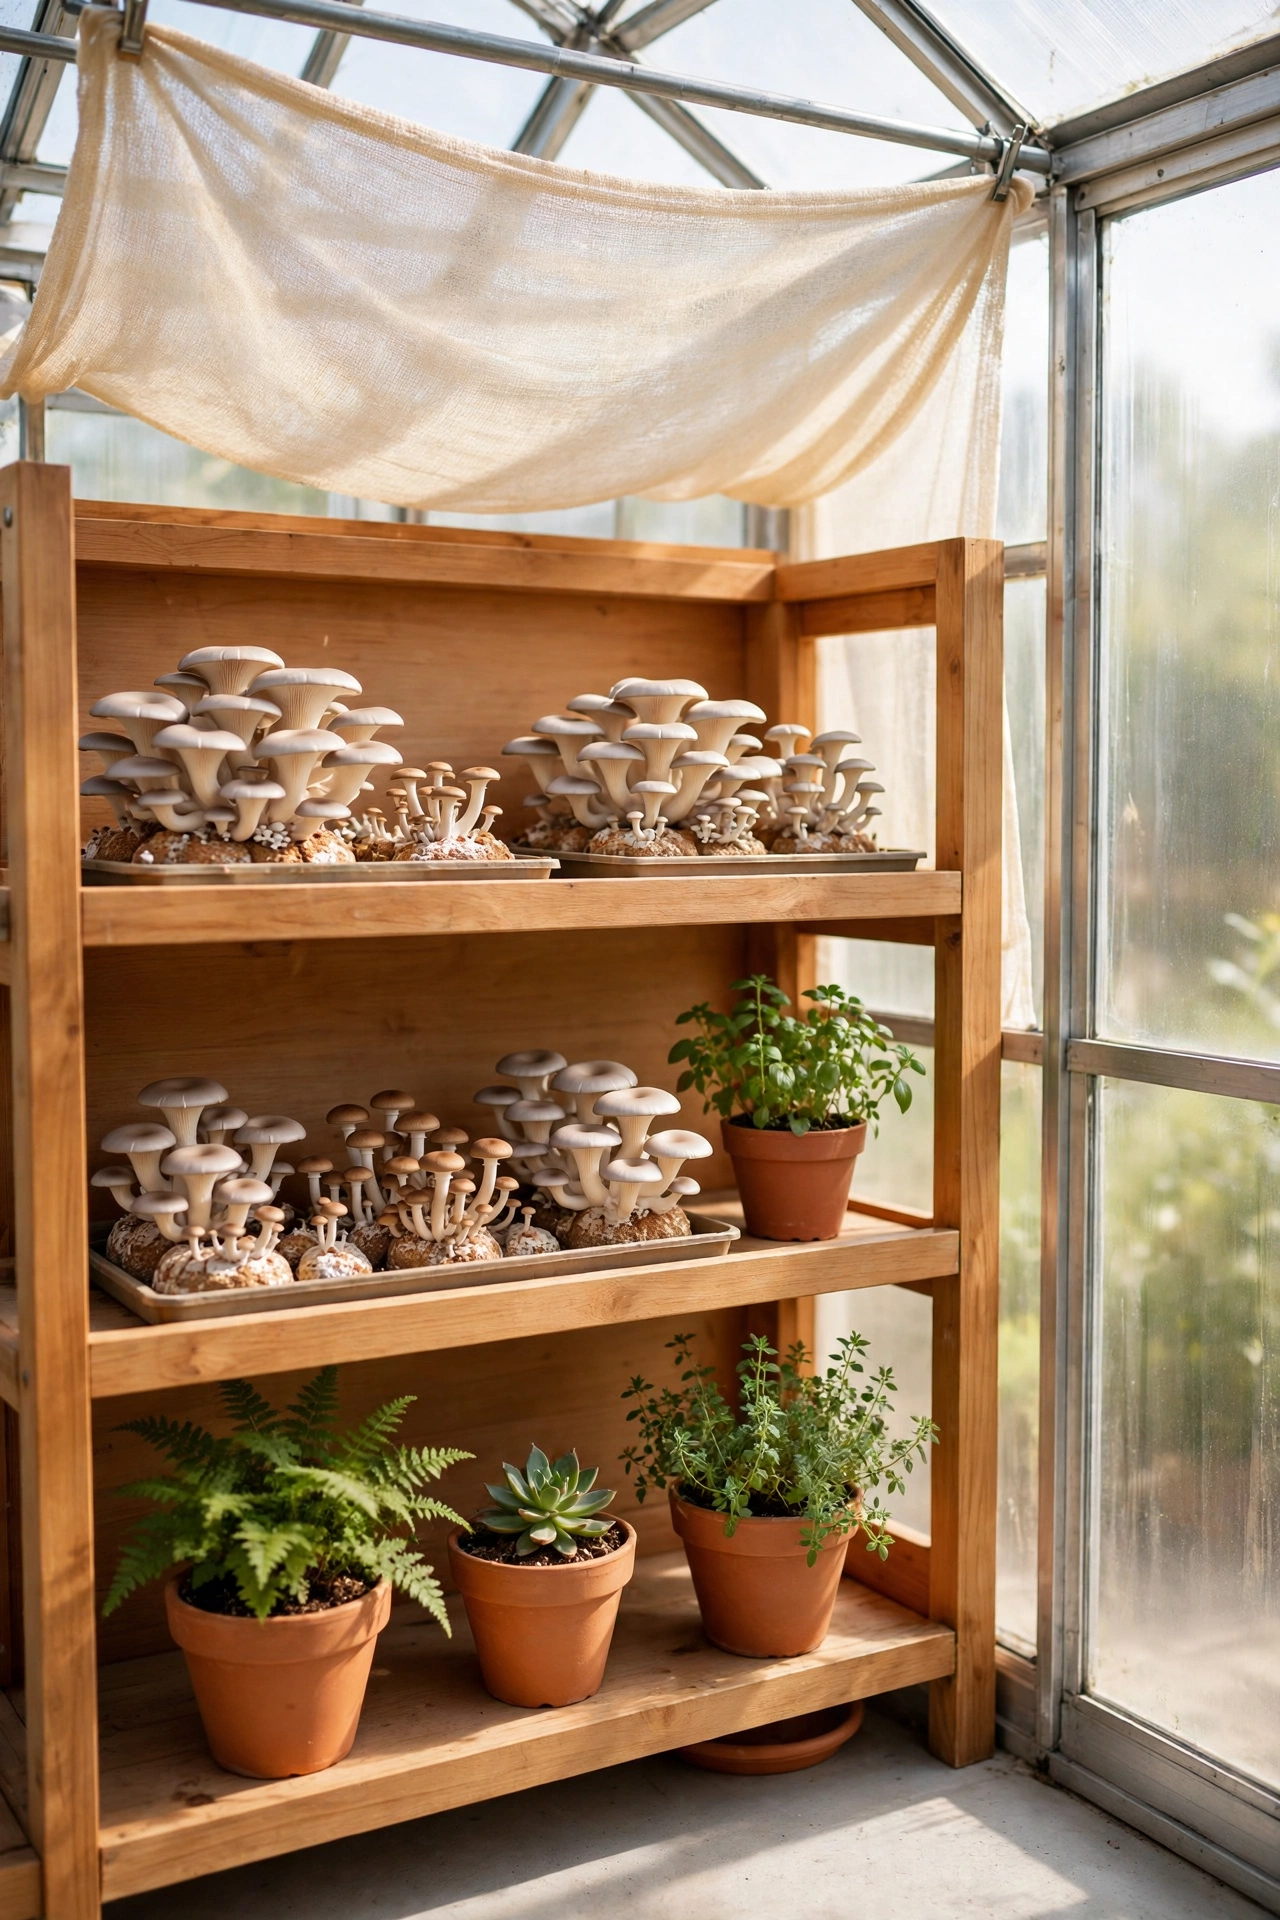
A greenhouse gives you control over humidity and temperature, which helps mushrooms fruit in a longer season. Dedicate one shaded shelf or one shaded corner to mushroom bags or trays, and keep it out of direct sun with a shade cloth or a curtain. A tray of damp gravel under the shelf raises the humidity around the mushrooms.
Oyster and lion’s mane mushrooms fruit well on a greenhouse shelf, and you can stagger new bags every few weeks for a steady harvest. For ways to arrange a greenhouse so every corner earns its place, see these backyard greenhouse ideas. Ventilate the greenhouse daily so fresh air reaches the mushrooms and the air never turns stale.
9. Grow Mushrooms in Bags on a Shaded Patio
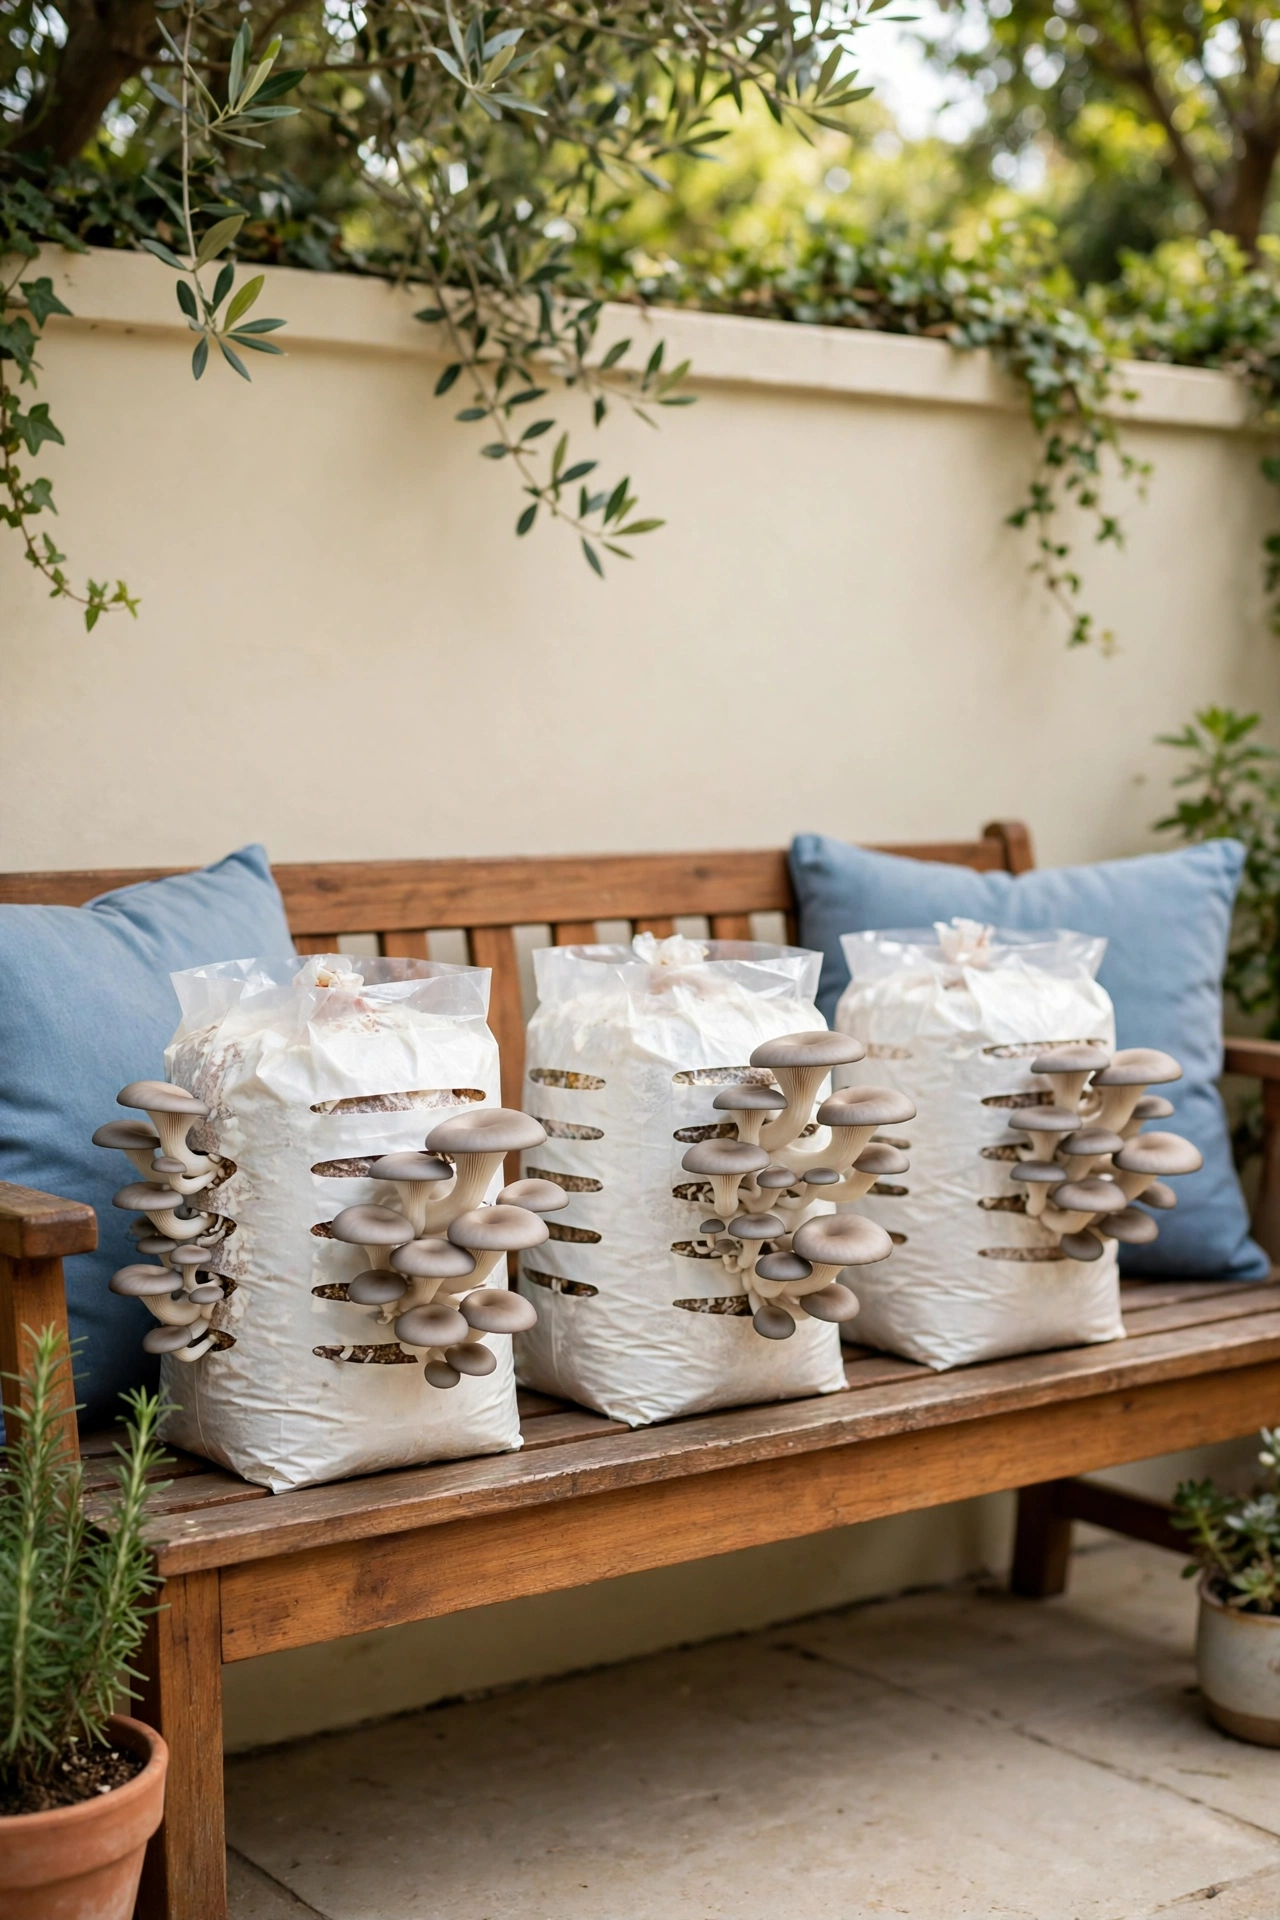
Mushroom grow bags are the fastest way to start growing outdoors when you have no garden bed to spare. Each bag holds substrate already mixed with spawn, and you simply cut small slits in the bag and set it in a shaded spot on the patio. Mist the slits daily and mushrooms will push out within a few weeks.
Keep the bags out of direct sun and wind, under a table, a bench, or a covered porch. Oyster mushrooms are the most reliable choice for bags, and one bag can produce several flushes. When a bag stops fruiting, empty the spent substrate into the compost or bury it in a wood chip bed, where it may fruit once more.
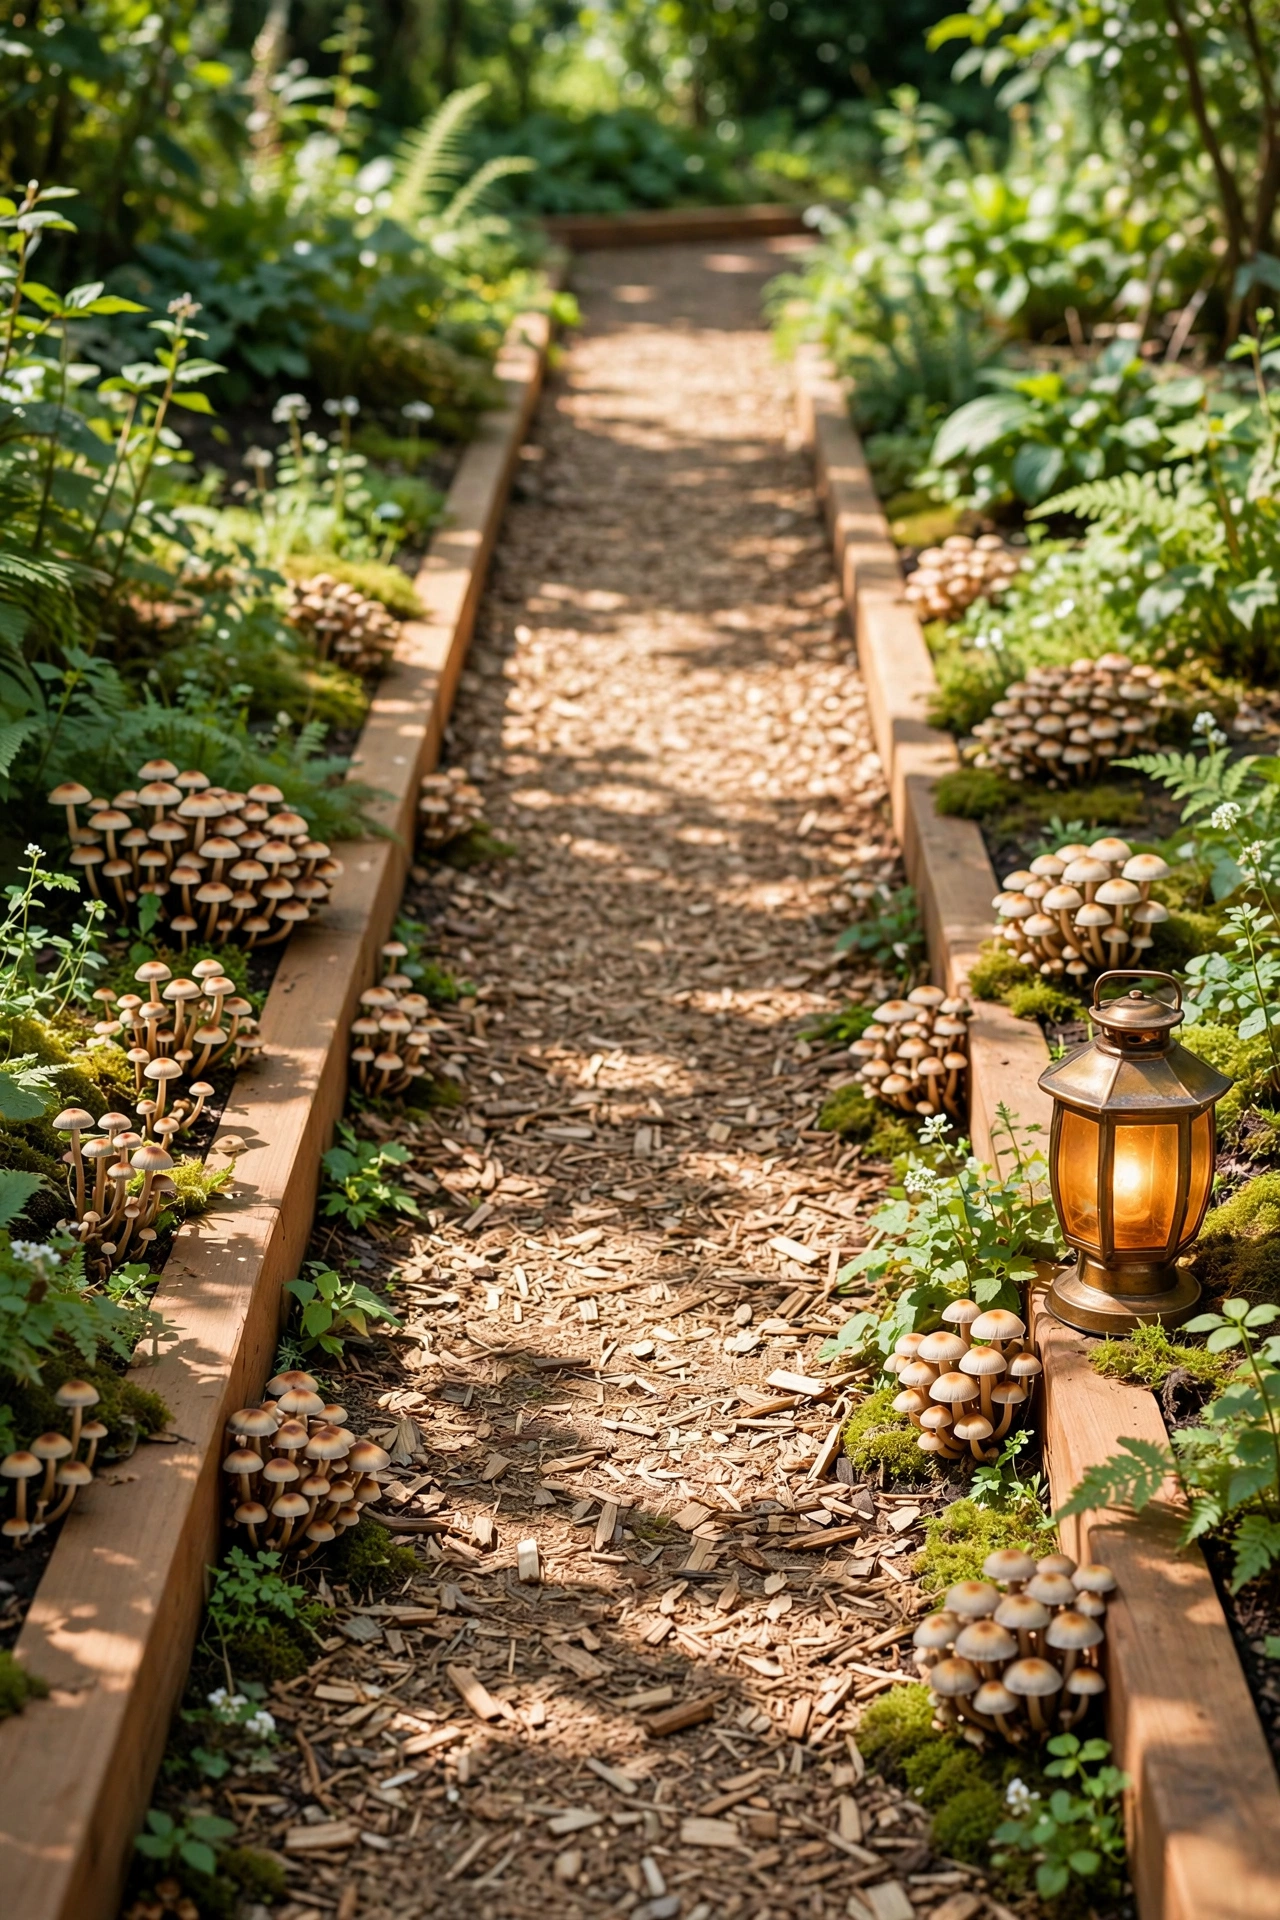
10. Edge a Garden Path With a Wood Chip Mushroom Bed
A wood chip path is more than a walkway when you mix spawn into the chips along its edges. The chips stay damp underfoot, the path gets light shade from nearby plants, and mushrooms fruit along the margins where the chips meet the soil. You walk past fresh mushrooms every time you cross the garden.
Build the path with a deep layer of fresh hardwood chips and add spawn along both edges in spring. For path shapes and edging styles that suit a natural garden, see these garden pathway ideas. Keep the path clear in the center so you never step on the fruiting edges, and top up the chips each year.
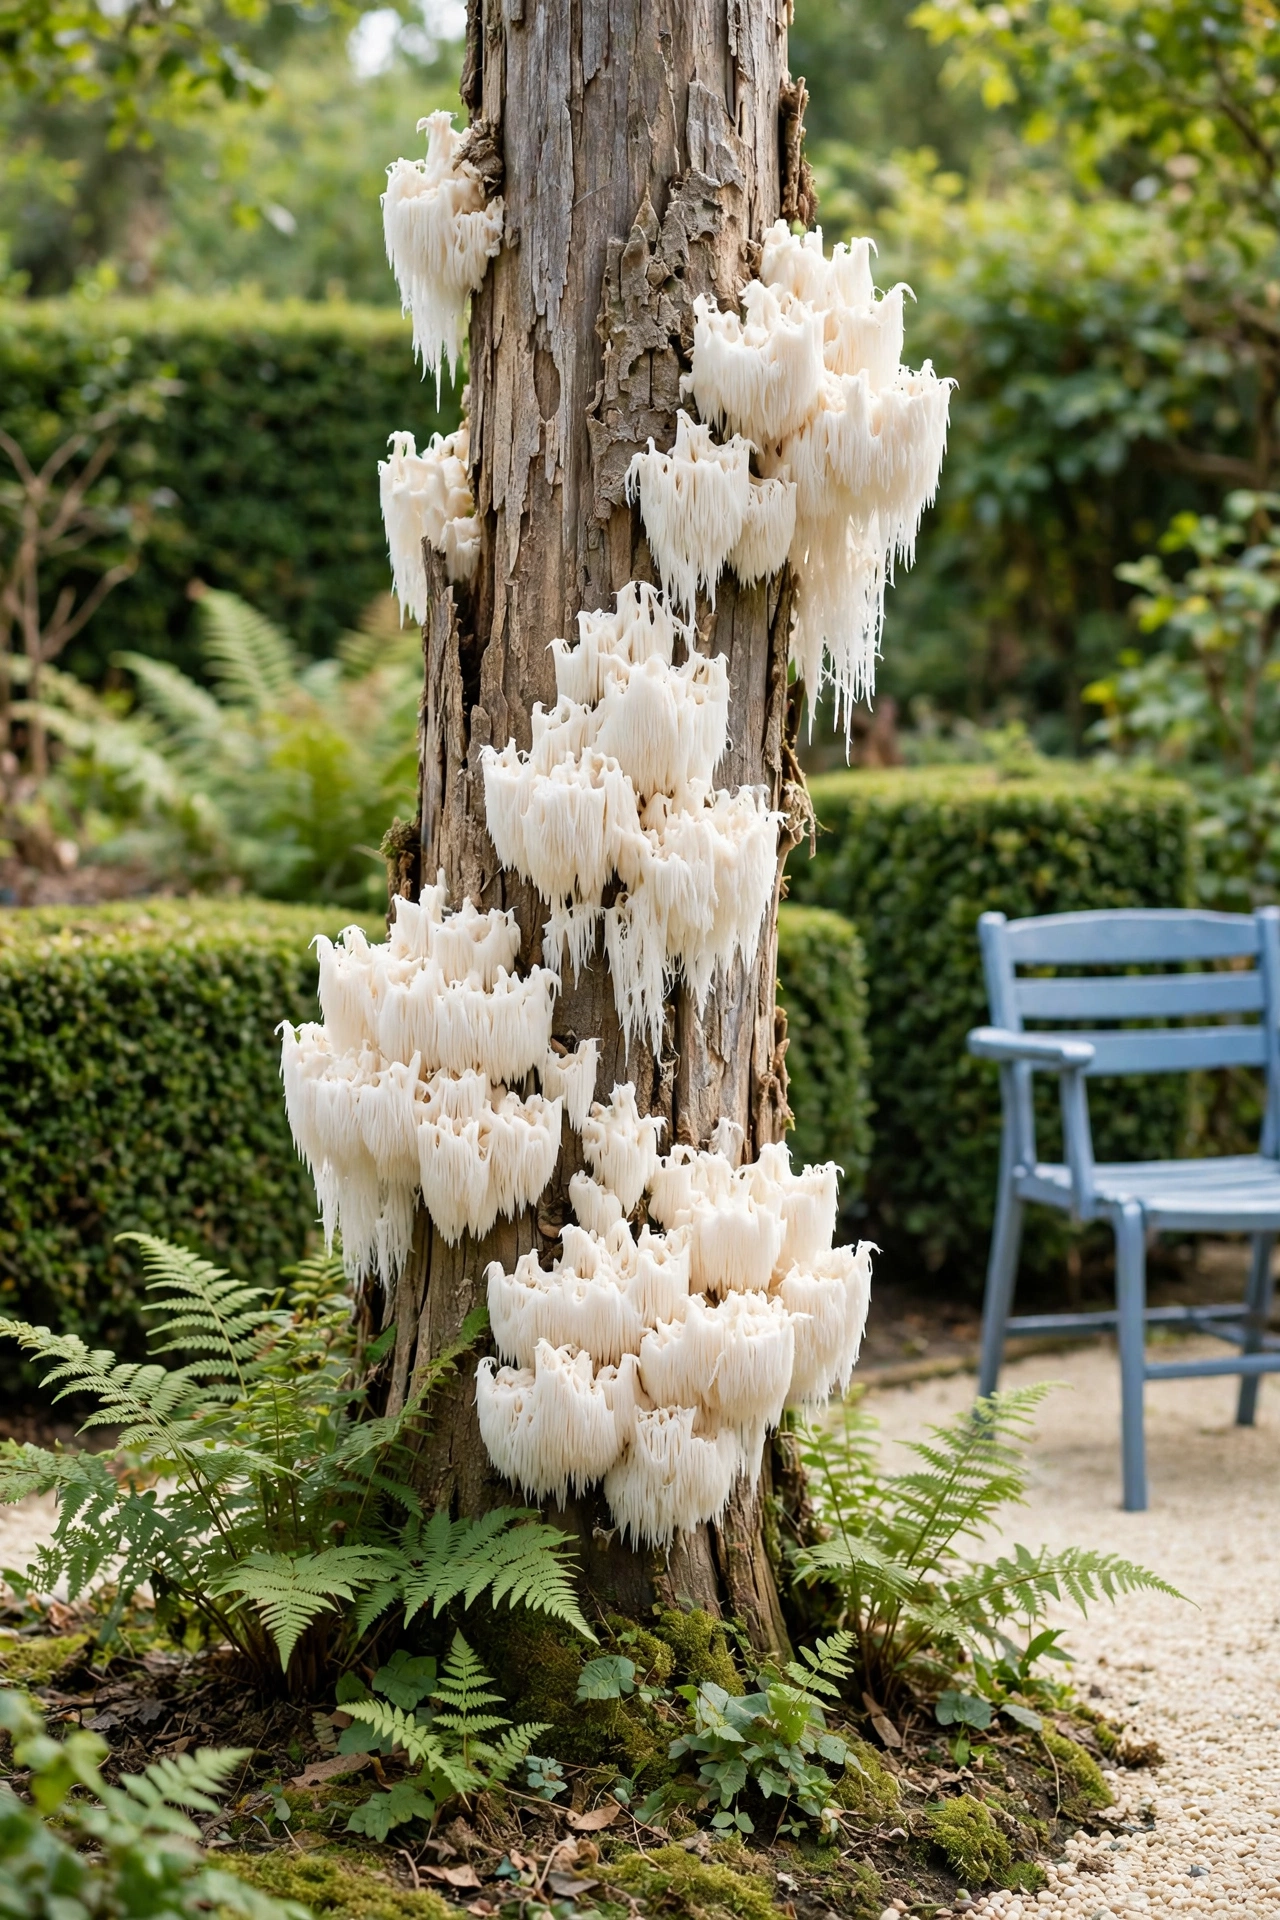
11. Grow Lion’s Mane on a Standing Dead Log
Lion’s mane mushrooms grow into white, cascading clusters that look like a waterfall of icicles, and they thrive on standing dead wood. Inoculate a standing dead hardwood log or a tall stump with plug spawn, seal the holes with wax, and let the log stand in a shady, sheltered spot.
The standing log keeps the mushrooms clean and easy to see, and the white clusters make a striking sight in a shady corner. Lion’s mane has a mild, seafood like flavor and a tender texture that suits simple cooking. Harvest the clusters while they are still white and firm, before they turn yellow at the edges.
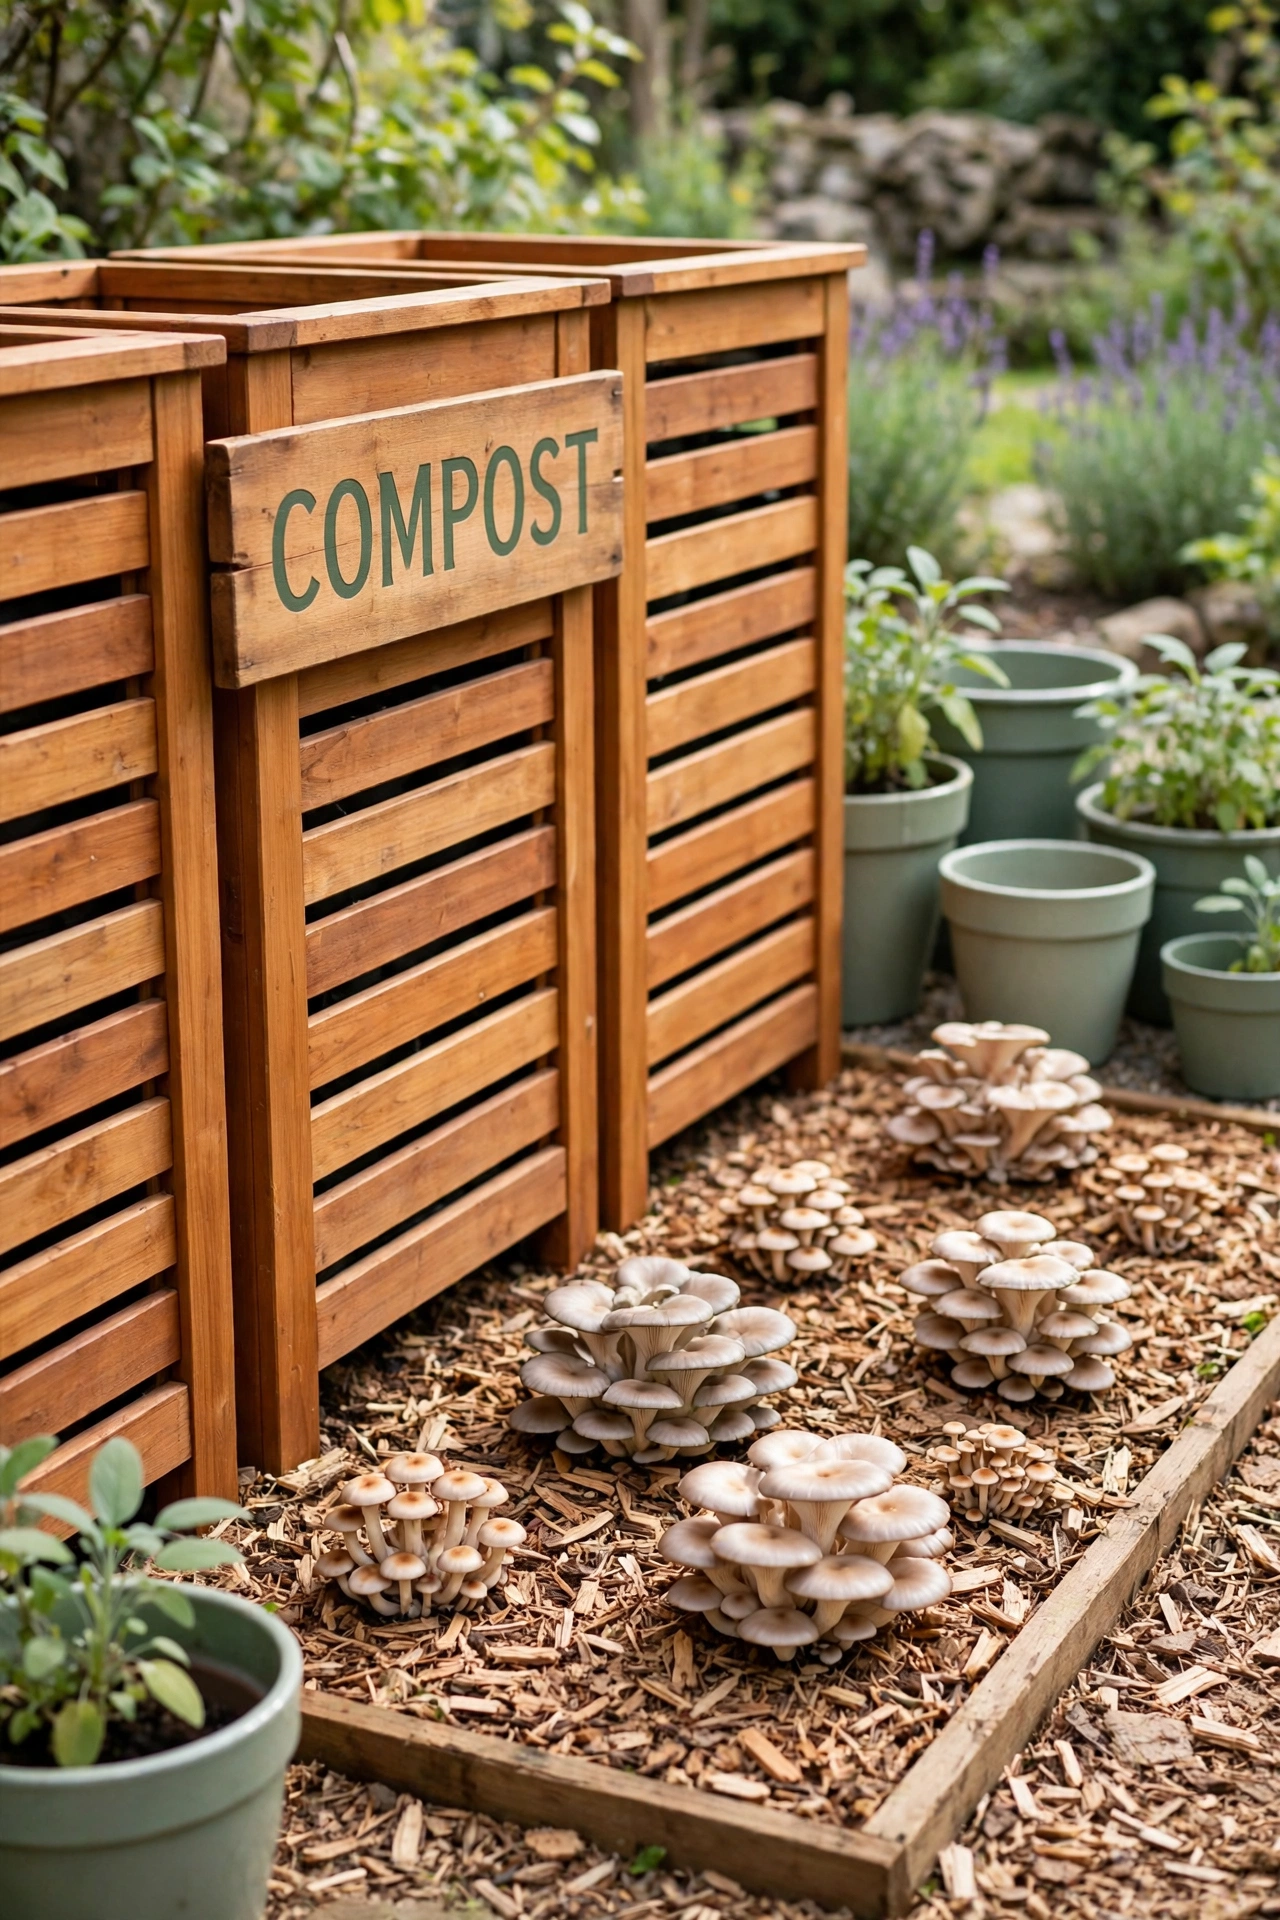
12. Add a Mushroom Bed Beside the Compost Bins
The area beside the compost bins stays warm, moist, and rich in organic matter, which suits many mushrooms perfectly. Build a low wood chip bed alongside the bins and mix in wine cap or oyster spawn. The bed benefits from the humidity around the compost, and the compost benefits from the spent substrate you add later.
Keep the mushroom bed tidy with a simple wooden edge and a clear path to the bins so daily compost trips stay easy. Label the bed so everyone knows the mushrooms growing there are food, not weeds. This pairing turns a working corner of the garden into a productive harvest zone.
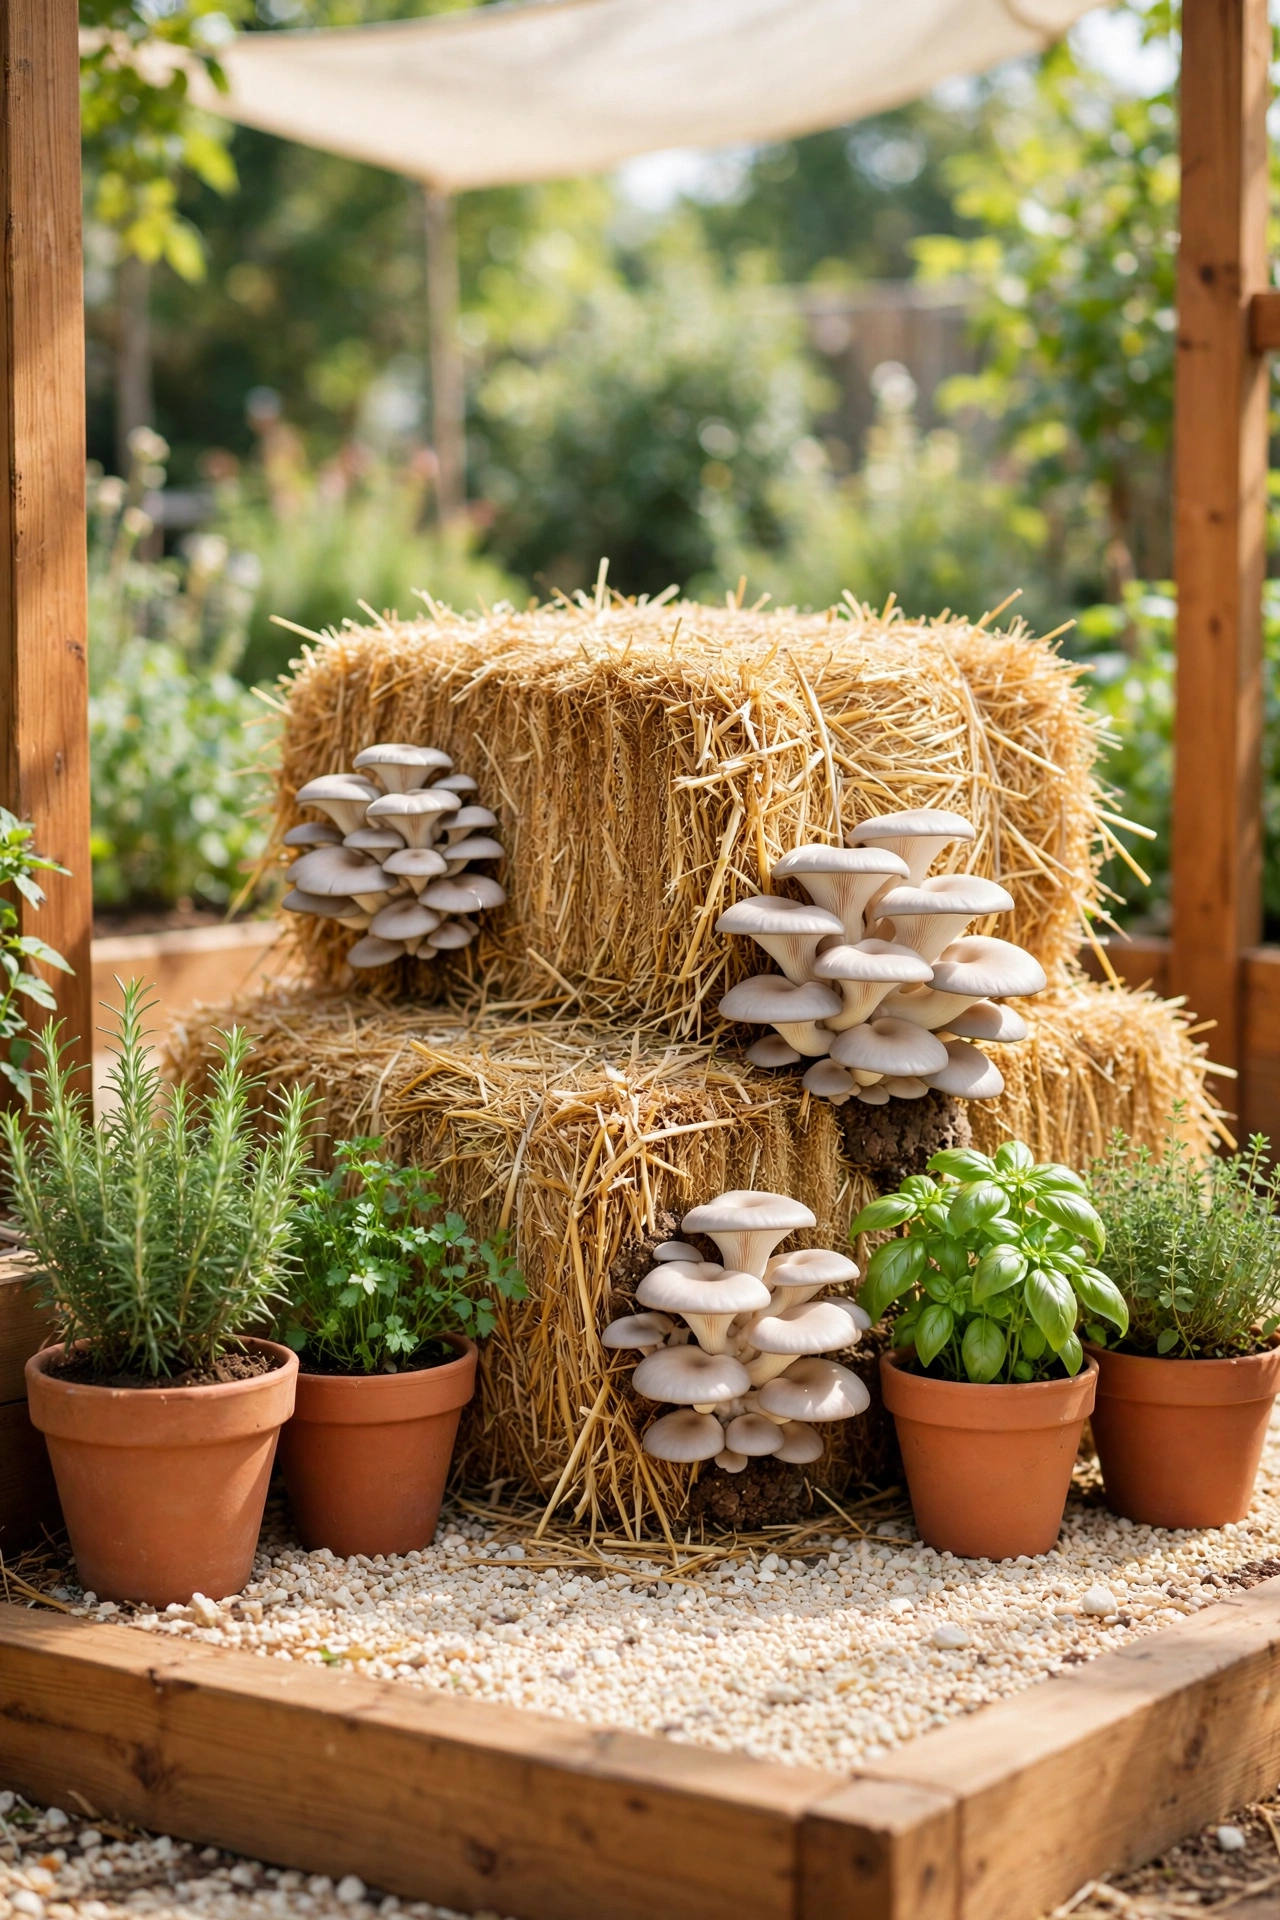
13. Grow Mushrooms in a Straw Bale Garden
Straw bales make excellent mushroom beds because they hold water like a sponge and stay cool inside. Condition a bale by soaking it for a week, then push grain spawn deep into the sides and top of the bale. Cover the bale with burlap to hold in moisture while the spawn colonizes the straw.
Oyster mushrooms fruit from the sides of the bale in generous clusters, and the bale keeps producing for a whole season. Set the bale in a shady spot on a pallet or on gravel so the base stays clean. At the end of the season, break the spent bale apart and use it as mulch or compost for the rest of the garden.
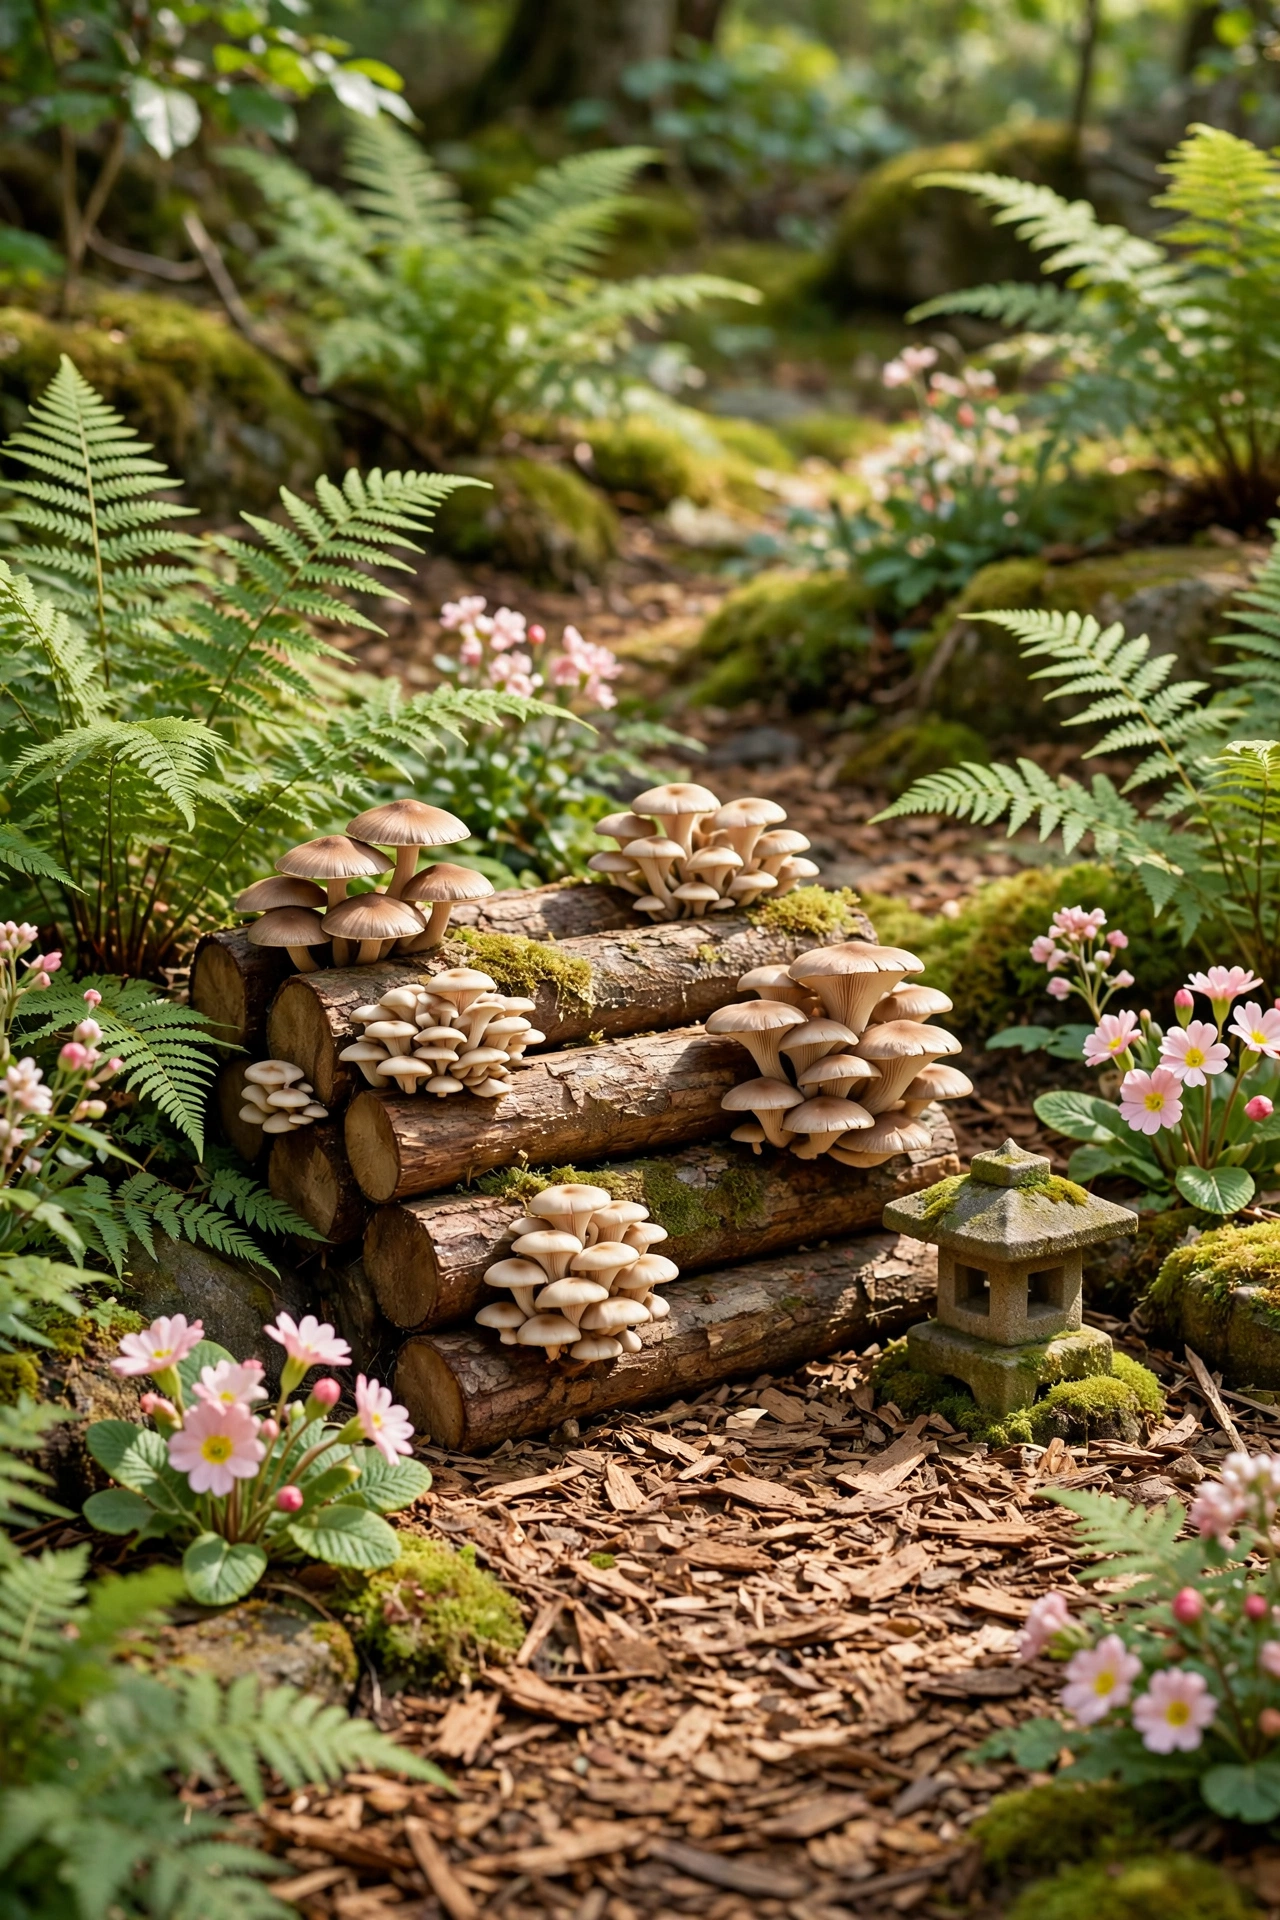
14. Create a Woodland Corner With Ferns and Mushroom Logs
A woodland corner combines ferns, moss, and inoculated logs into a shady retreat that grows food and looks beautiful. Arrange logs in a low stack or lean them against a fence, plant ferns and hostas around them, and cover the ground with bark chips and fallen leaves. The planting keeps the air humid and the logs moist.
This calm, green corner suits a quiet part of the garden where you like to sit and relax. For styling ideas that keep a shaded corner peaceful and tidy, see these Japanese garden ideas that pair stone, water, and shade loving plants. Check the logs after rain, when shiitake and oyster mushrooms appear almost overnight.
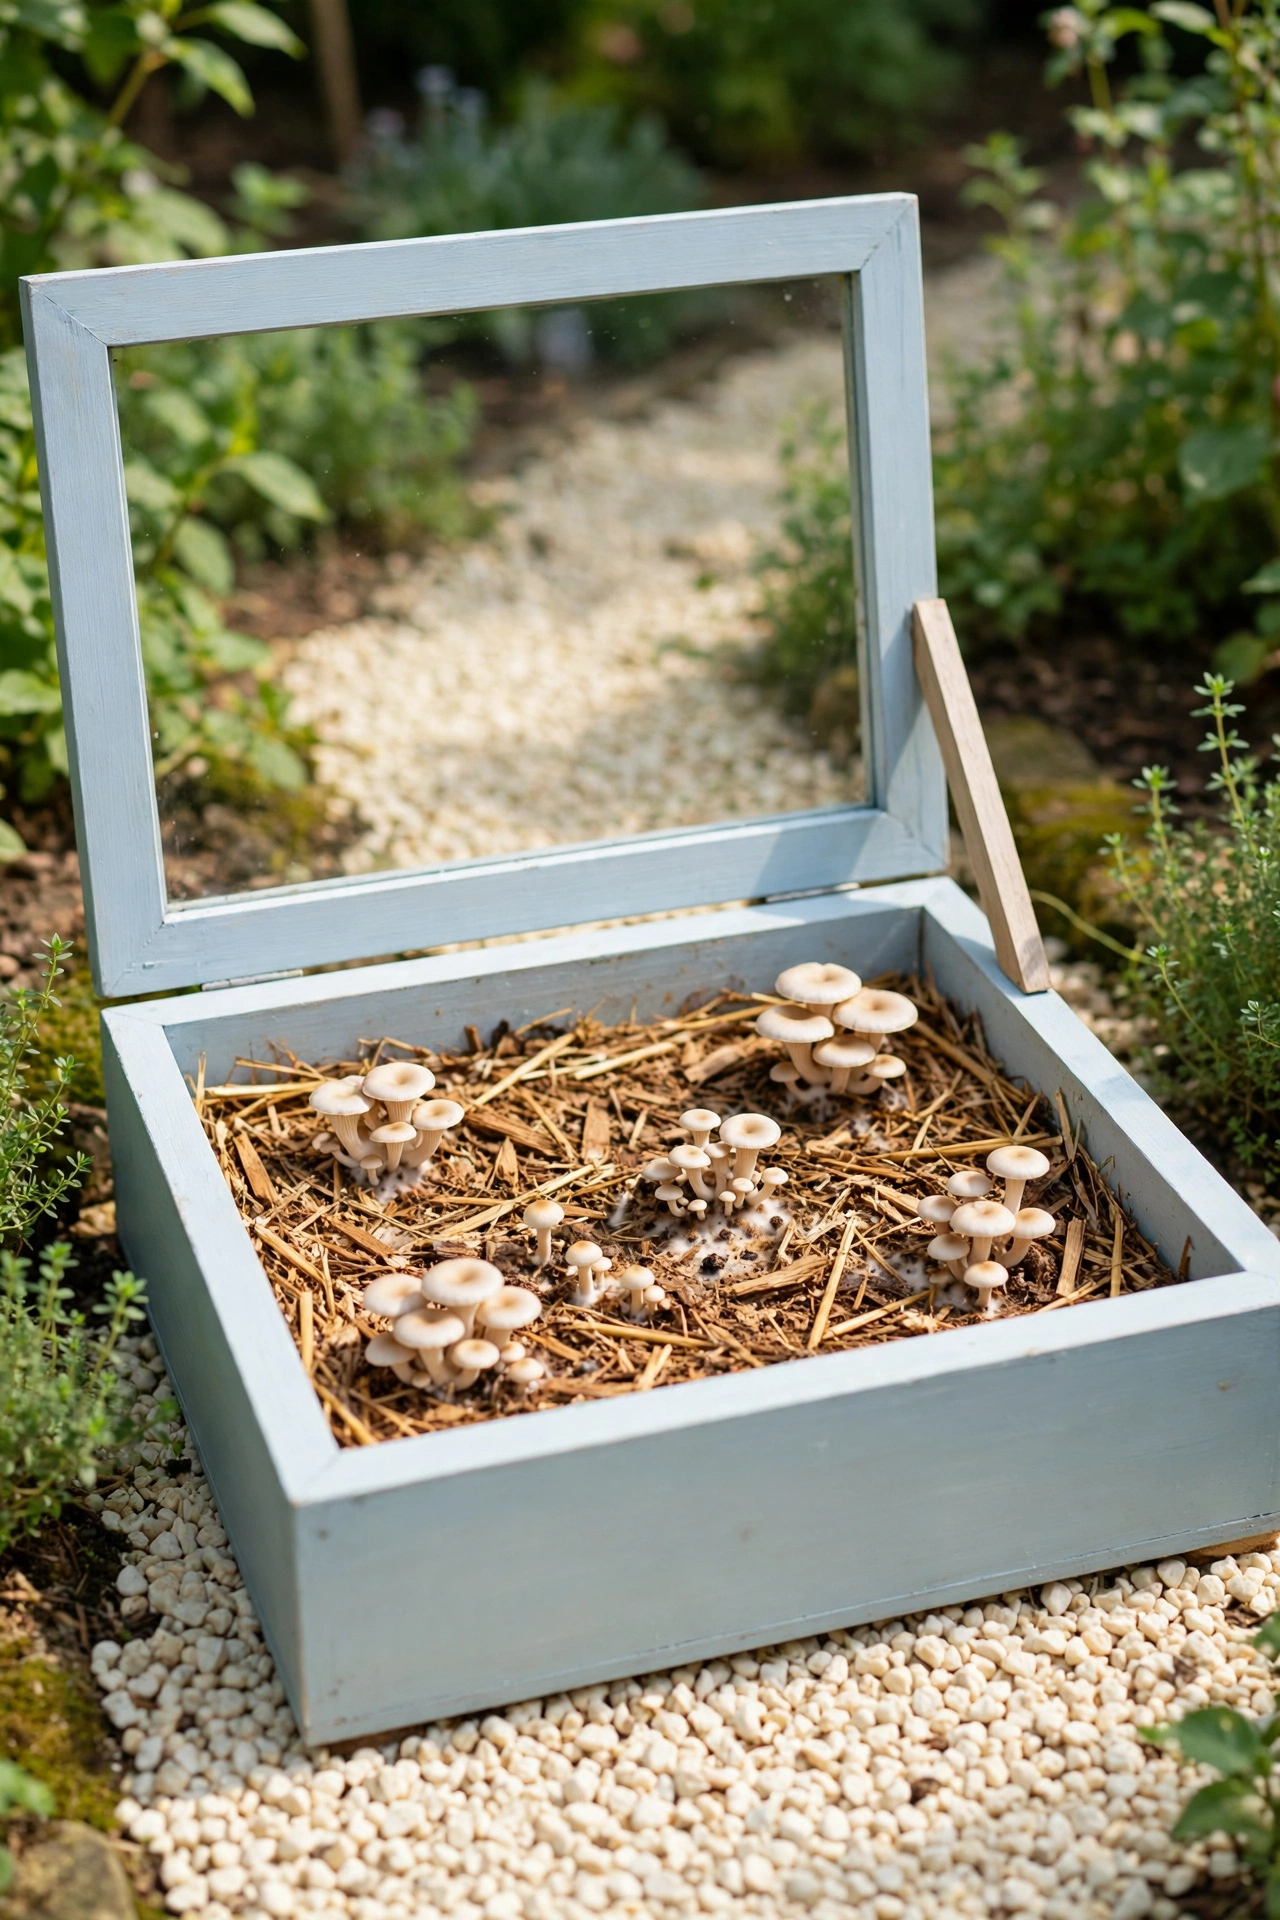
15. Grow Mushrooms Inside a Shaded Cold Frame
A cold frame is a low wooden box with a glass or clear lid, and it makes a fine mushroom house when you keep it in the shade. Fill the box with damp straw or wood chips, mix in spawn, and close the lid to hold in humidity. Prop the lid open a little each day for fresh air.
The cold frame protects the bed from drying wind and heavy rain while keeping the mushrooms clean and easy to harvest. It also extends the season, so mushrooms fruit earlier in spring and later in autumn. Paint the frame a soft color and set it on level ground where you can reach it easily from a garden path.
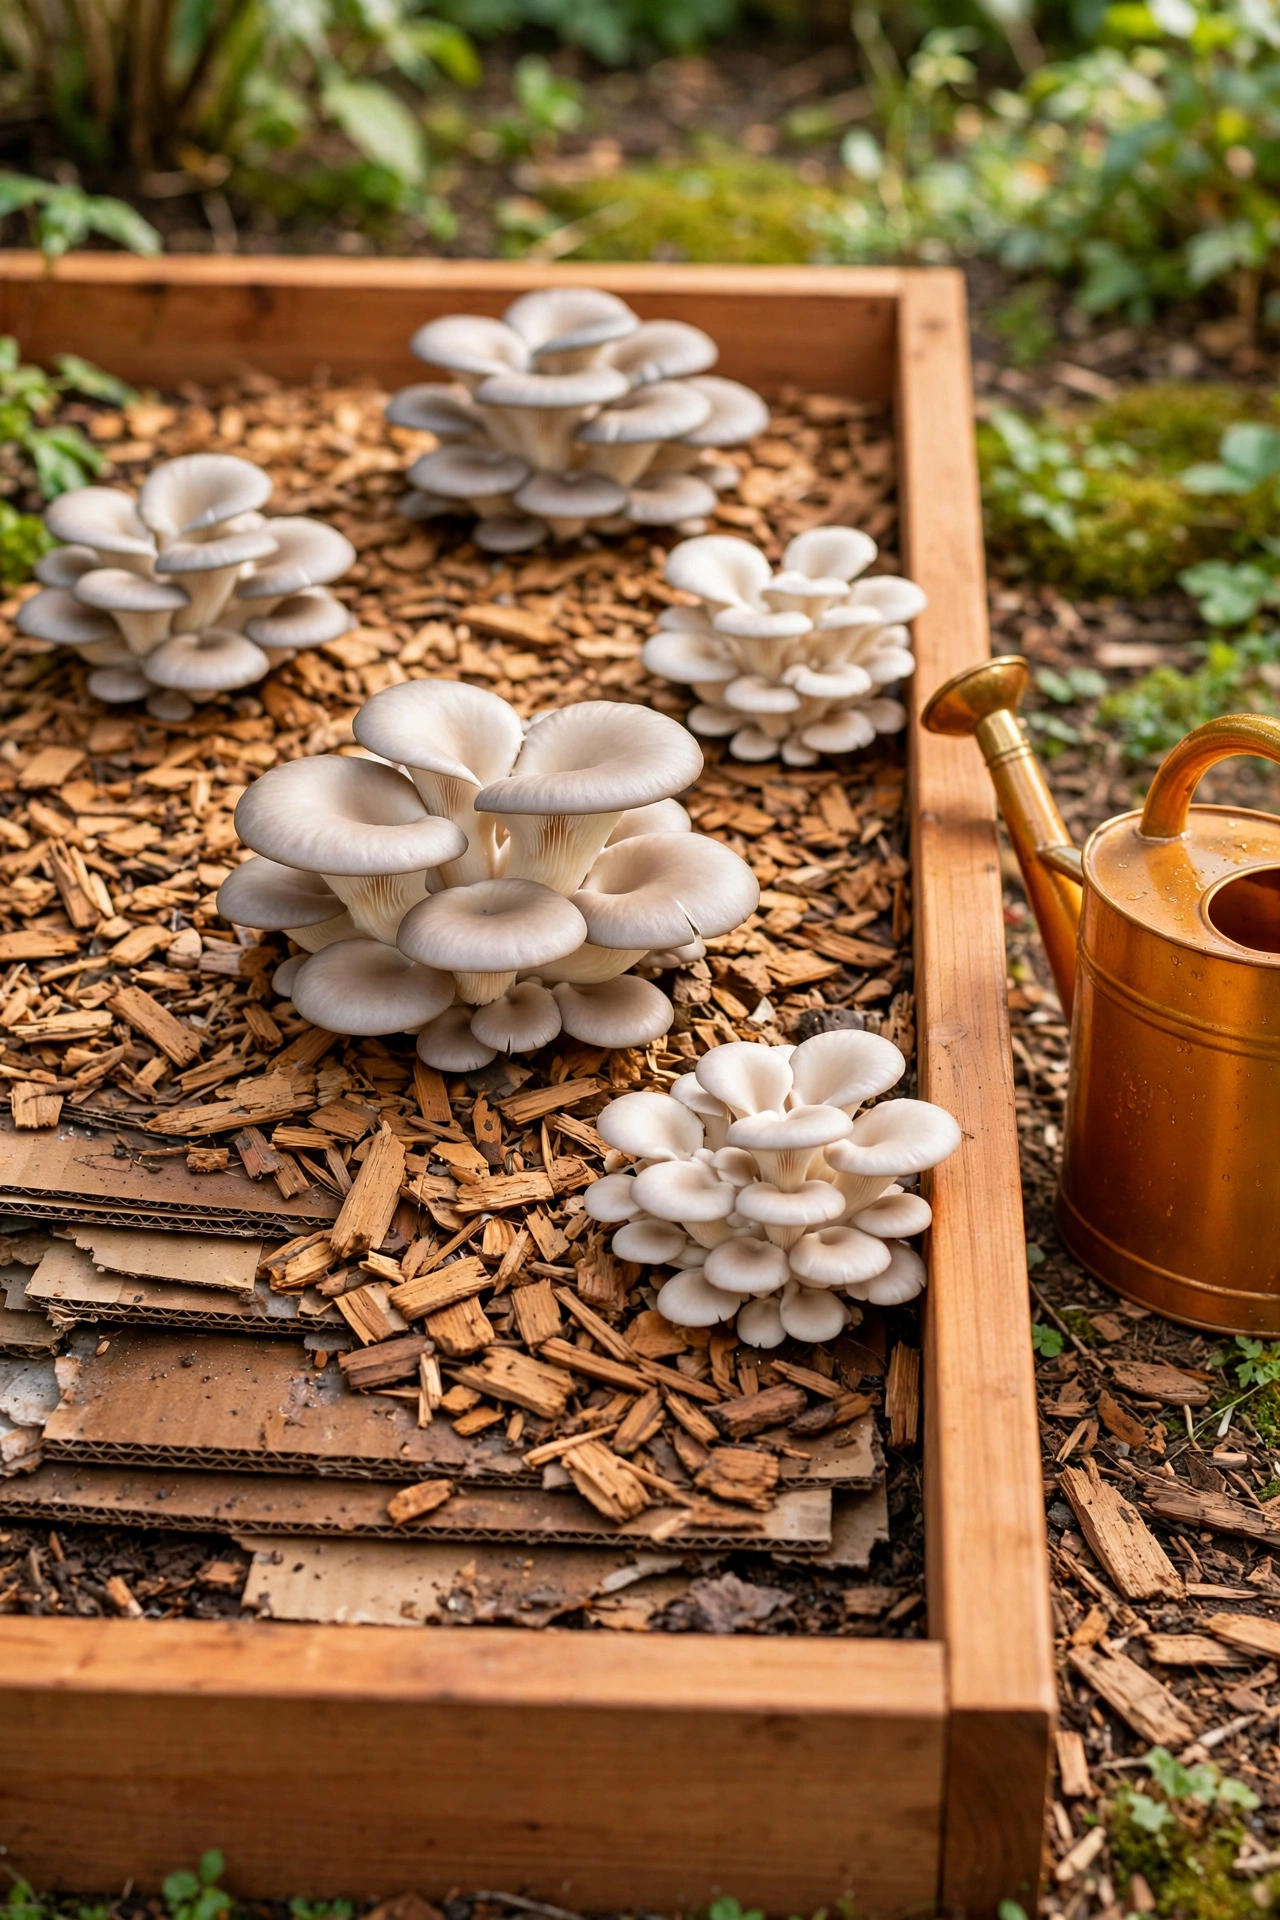
16. Start a Mushroom Patch With Layered Cardboard
Layered cardboard is a free and simple base for a new mushroom patch. Wet several sheets of plain cardboard, lay them flat on the ground in a shady spot, and sprinkle grain spawn between the layers. Cover the stack with wood chips or straw to keep it damp and hidden from view.
Oyster mushrooms colonize cardboard quickly because the fibers are soft and easy to digest. The patch fruits within a few weeks in warm weather and keeps going until the cardboard breaks down. This is a wonderful first project because it costs almost nothing and shows results fast.
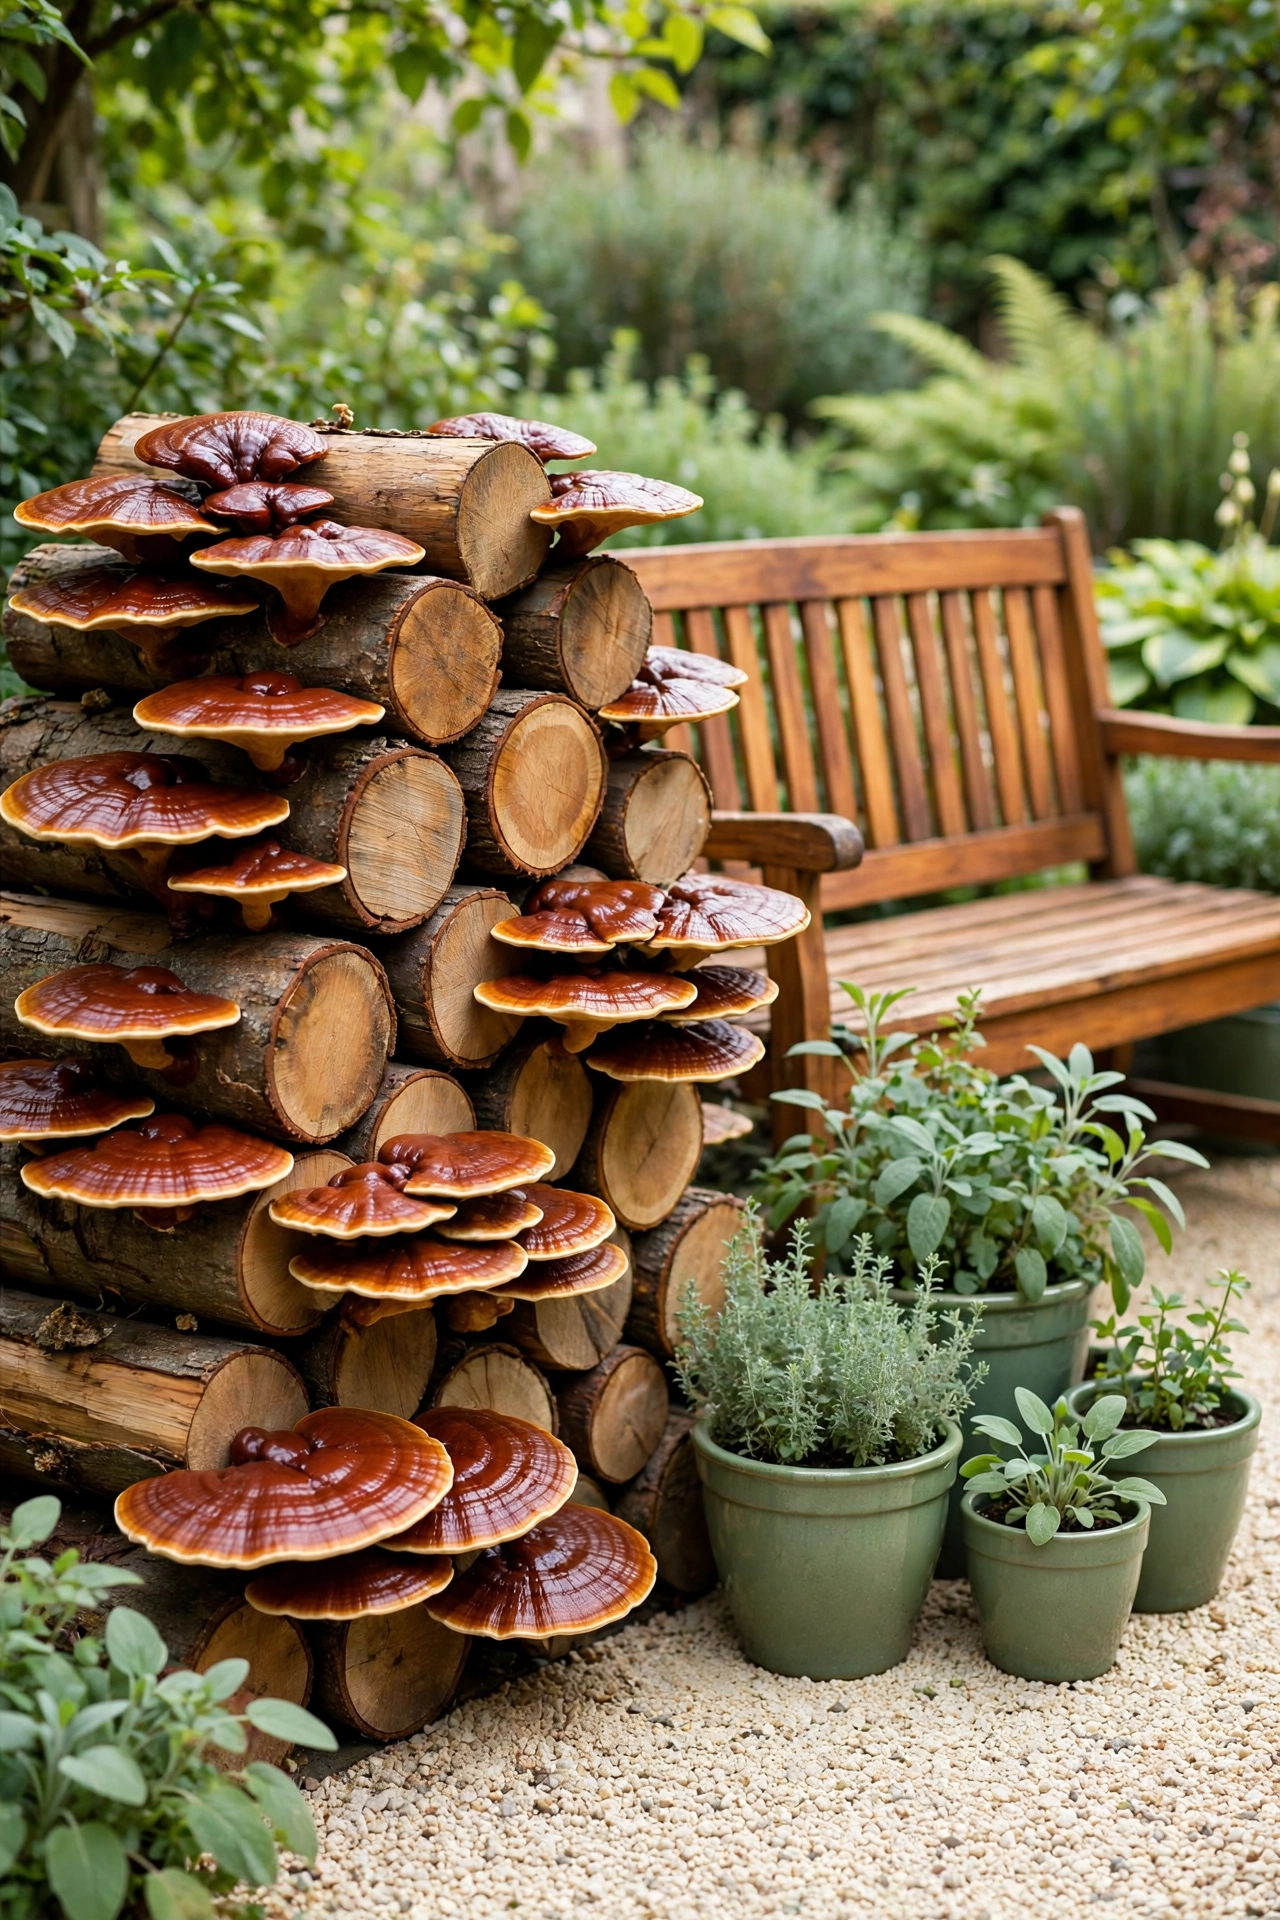
17. Grow Reishi Mushrooms on a Decorative Log Pile
Reishi mushrooms grow as glossy, reddish shelves on hardwood logs, and they turn a simple log pile into a garden feature. Inoculate logs with reishi plug spawn, stack them in a neat pile in a shady spot, and keep the pile moist through dry spells. The logs fruit slowly over a year or more.
Reishi is grown for tea and traditional use rather than cooking, so grow it for its beauty and its harvest of dried mushrooms. The varnished looking caps catch the light in a shady corner and make the log pile look intentional. A tidy stack with a bench nearby invites you to sit and enjoy the quiet corner.
18. Plant Mushrooms Along a Moist Garden Edge
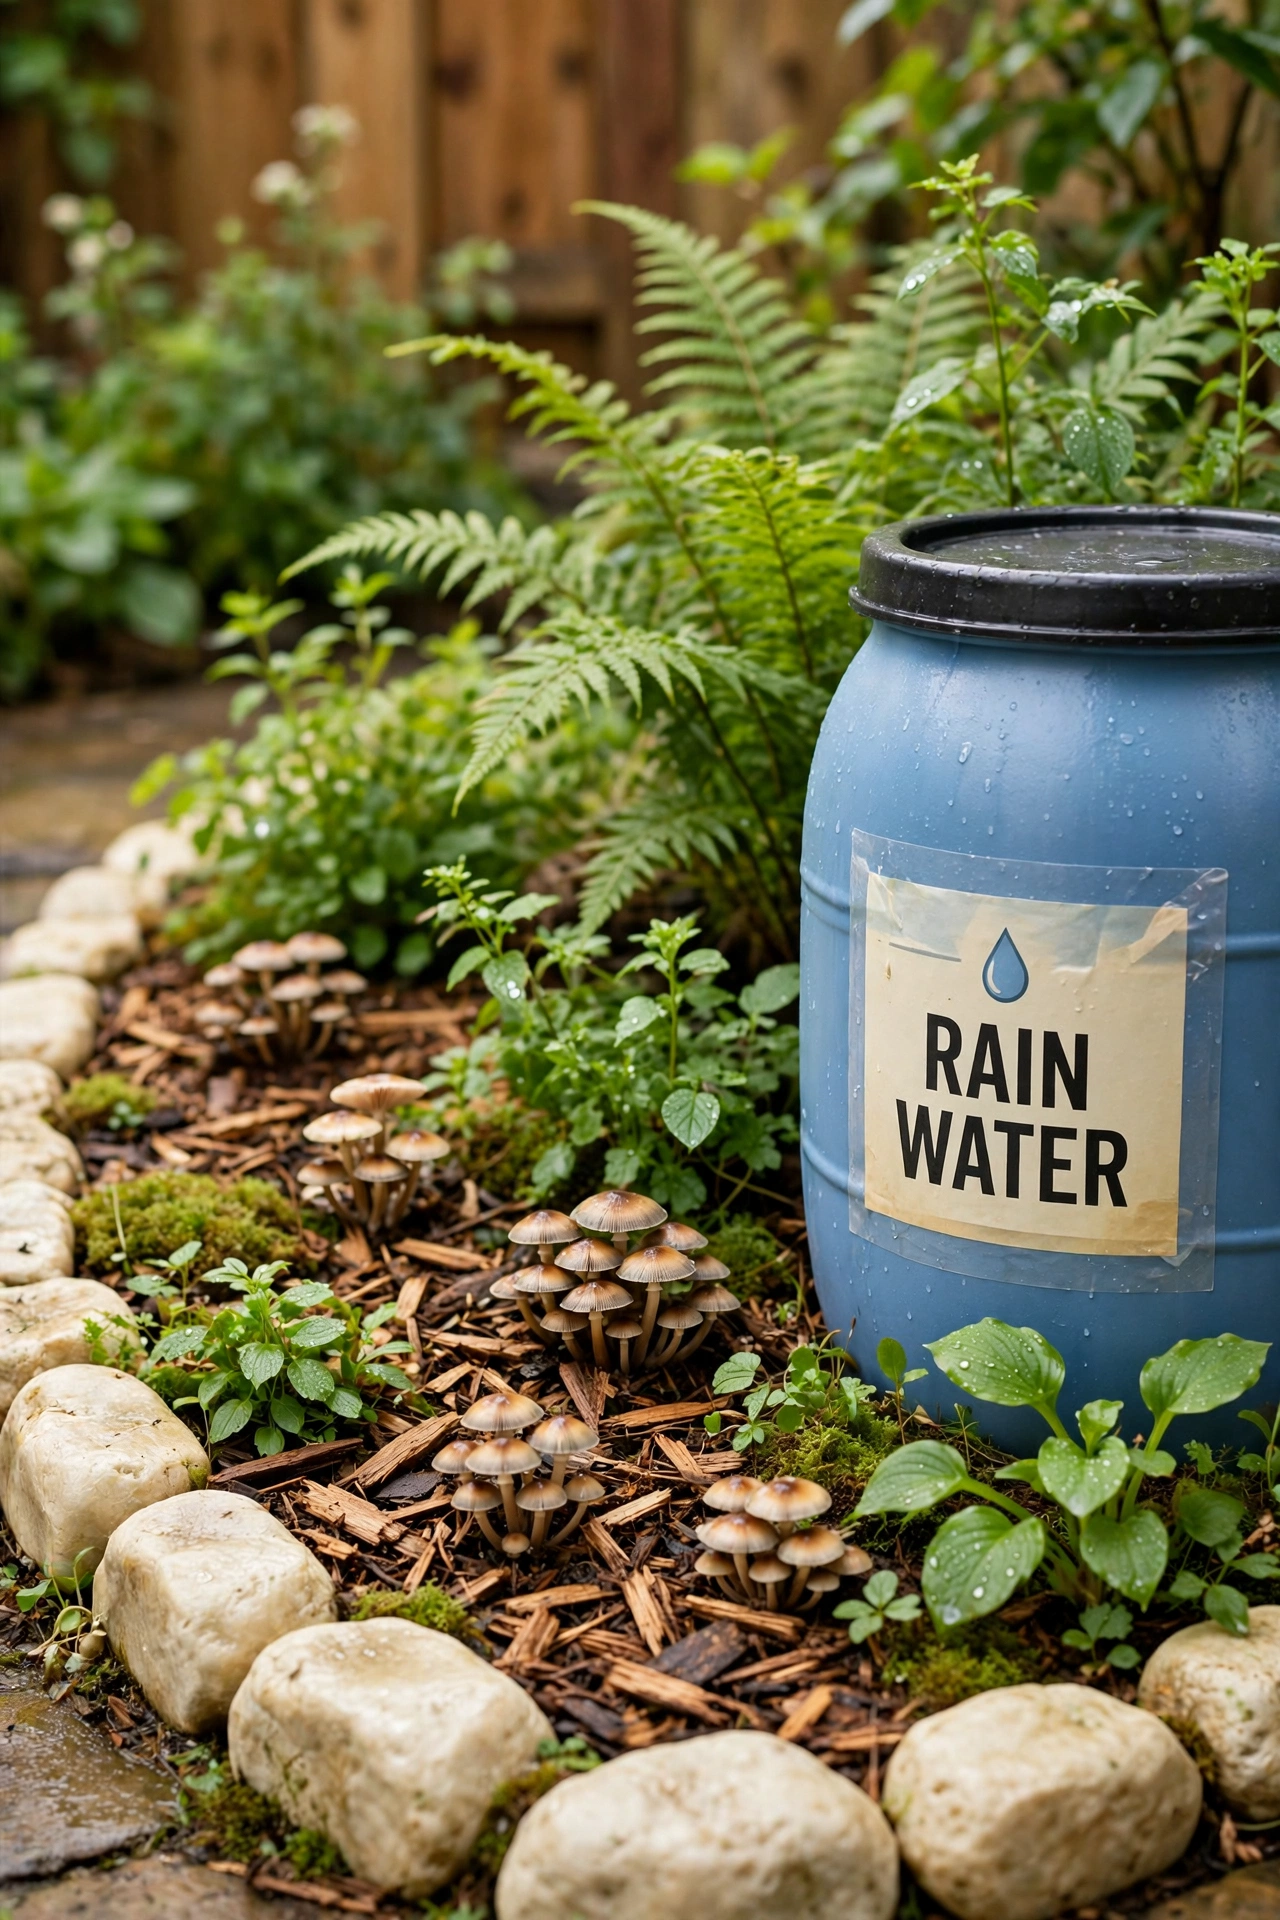
A moist edge where a lawn meets a bed, or where a downspout drains, stays damp longer than the rest of the garden. That steady moisture suits mushrooms well. Spread wood chips along the edge, mix in spawn, and let the damp soil keep the bed watered for you.
Choose an edge that gets shade for part of the day and never sits in standing water, since mushrooms need damp soil, not puddles. Wine caps and oyster mushrooms both do well along moist edges. The mushrooms will fruit after rain and add a woodland touch to a part of the garden that is often plain.
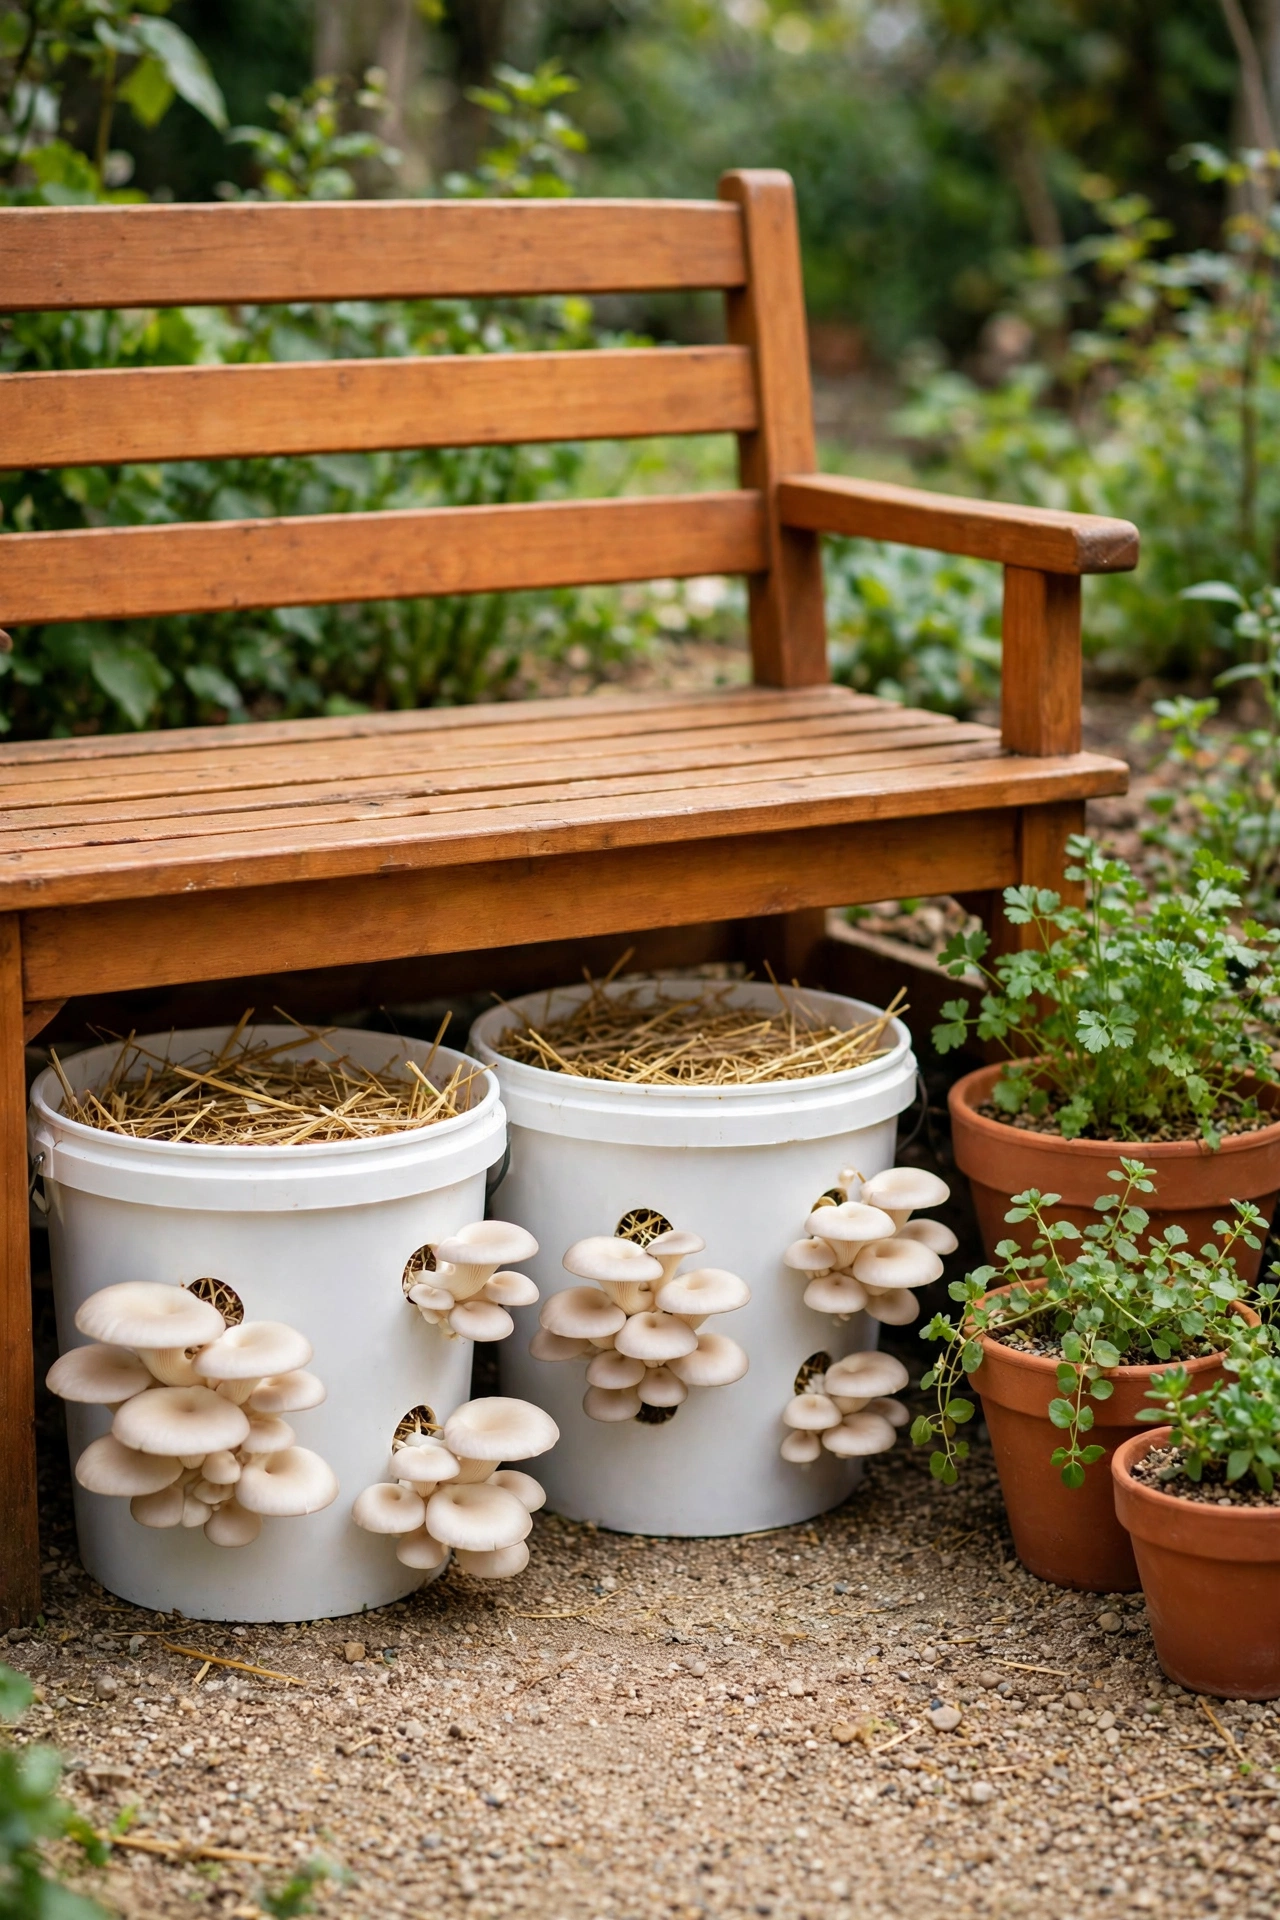
19. Grow Mushrooms in Buckets Under a Garden Bench
Buckets filled with pasteurized straw and spawn make a portable mushroom garden that hides neatly under a bench. Drill small holes around each bucket, fill it with damp straw layered with spawn, and set it in the shade under a garden bench or a potting table. Mist the holes daily.
Oyster mushrooms push out of the holes in clusters that are easy to twist off and carry to the kitchen. The buckets stay clean, tidy, and out of sight, which suits a small garden or a patio. When a bucket stops fruiting, tip the spent straw into the compost and start a fresh bucket in minutes.
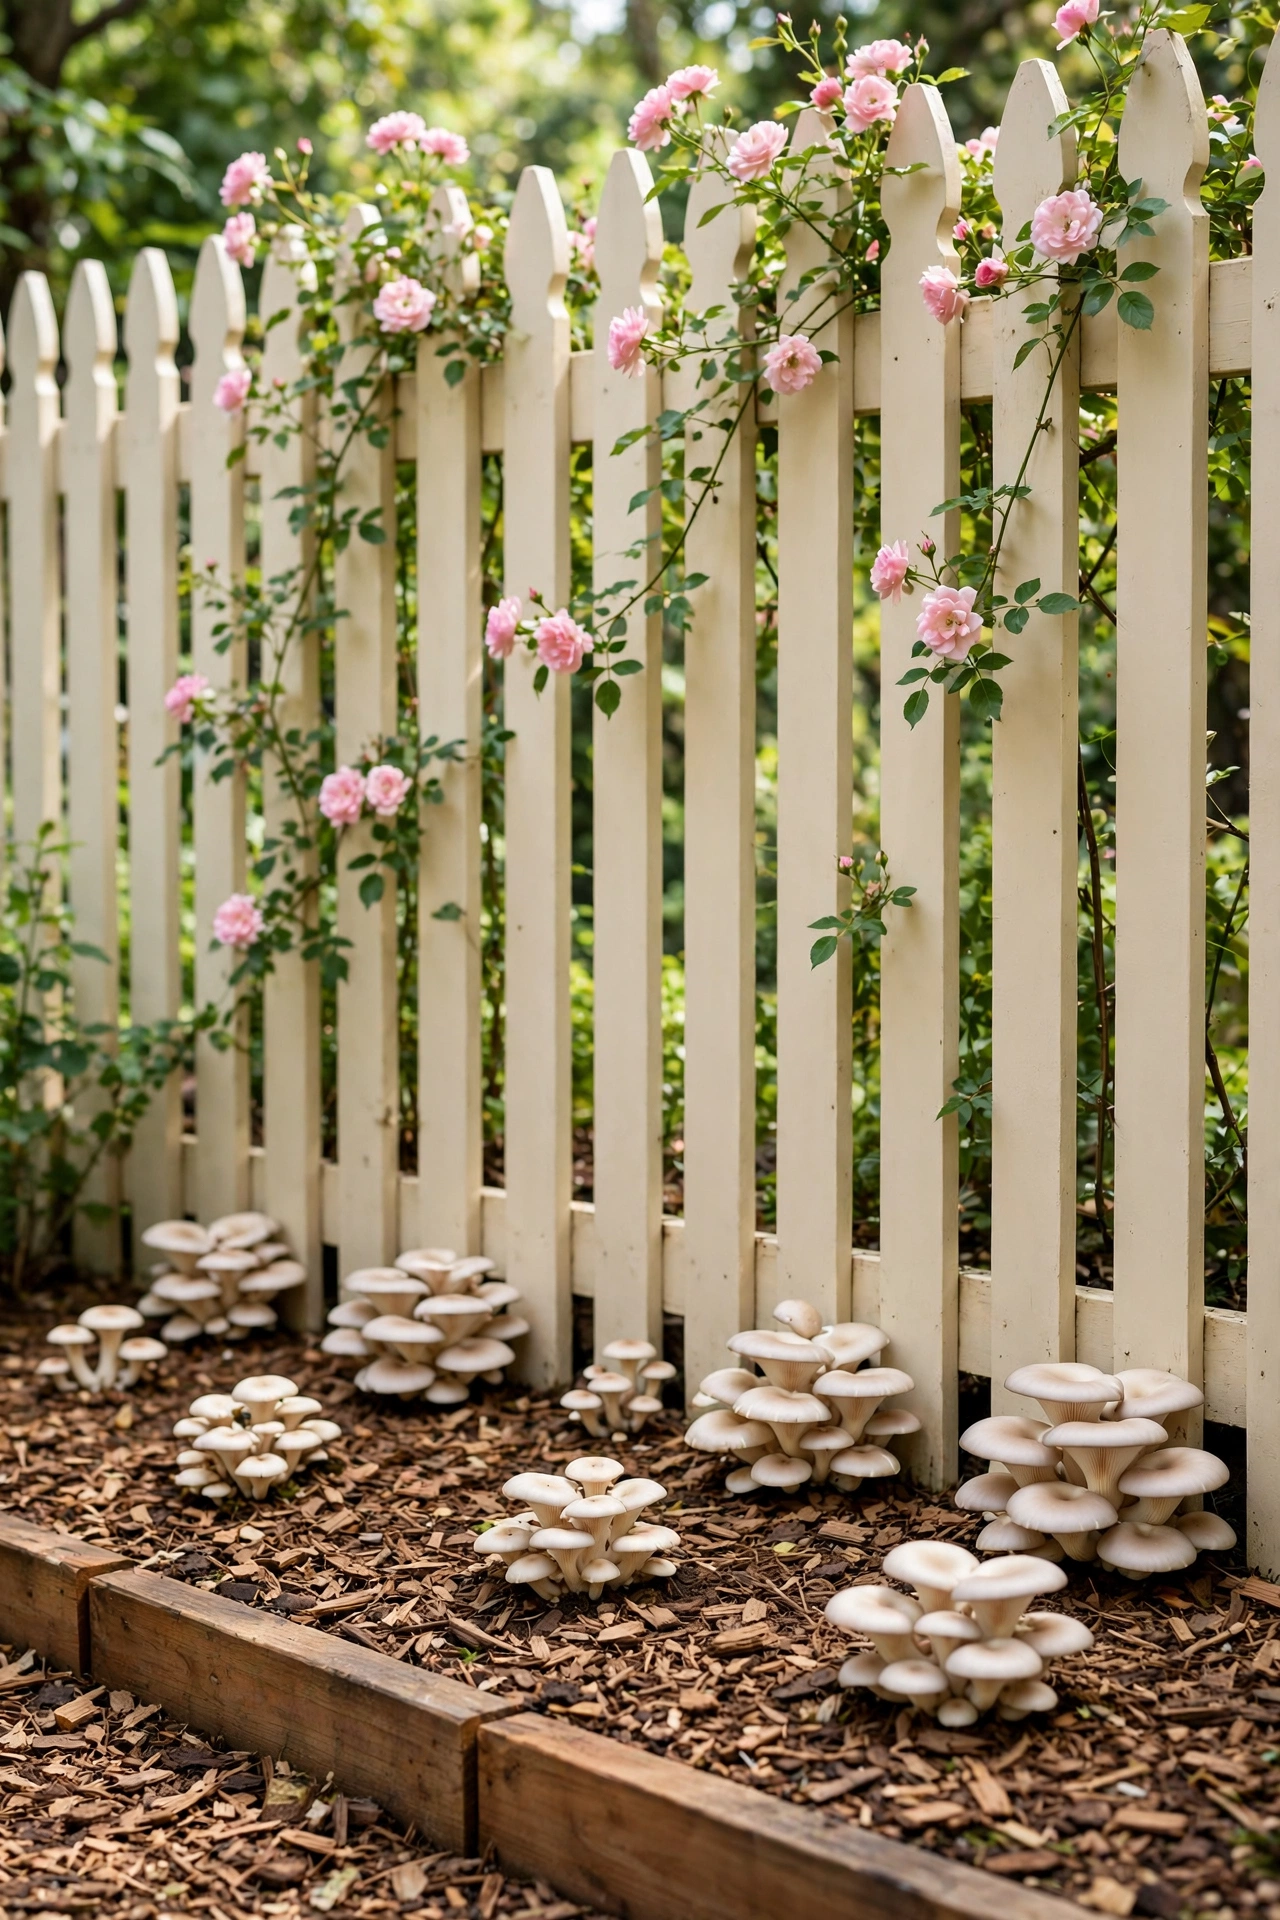
20. Use the Shade Along a North Facing Fence
The strip of shade along a north facing fence is often bare and forgotten, yet it holds the cool, damp conditions mushrooms love. Lay a wood chip bed along the base of the fence, mix in spawn, and let the fence block the drying sun and wind all day.
Wine caps spread eagerly along a fence line and return year after year with almost no care. Add a simple wooden edge to keep the chips tidy and a stepping stone path so you can reach the bed without walking on it. Climbing plants on the fence add beauty above while the mushrooms work quietly below.
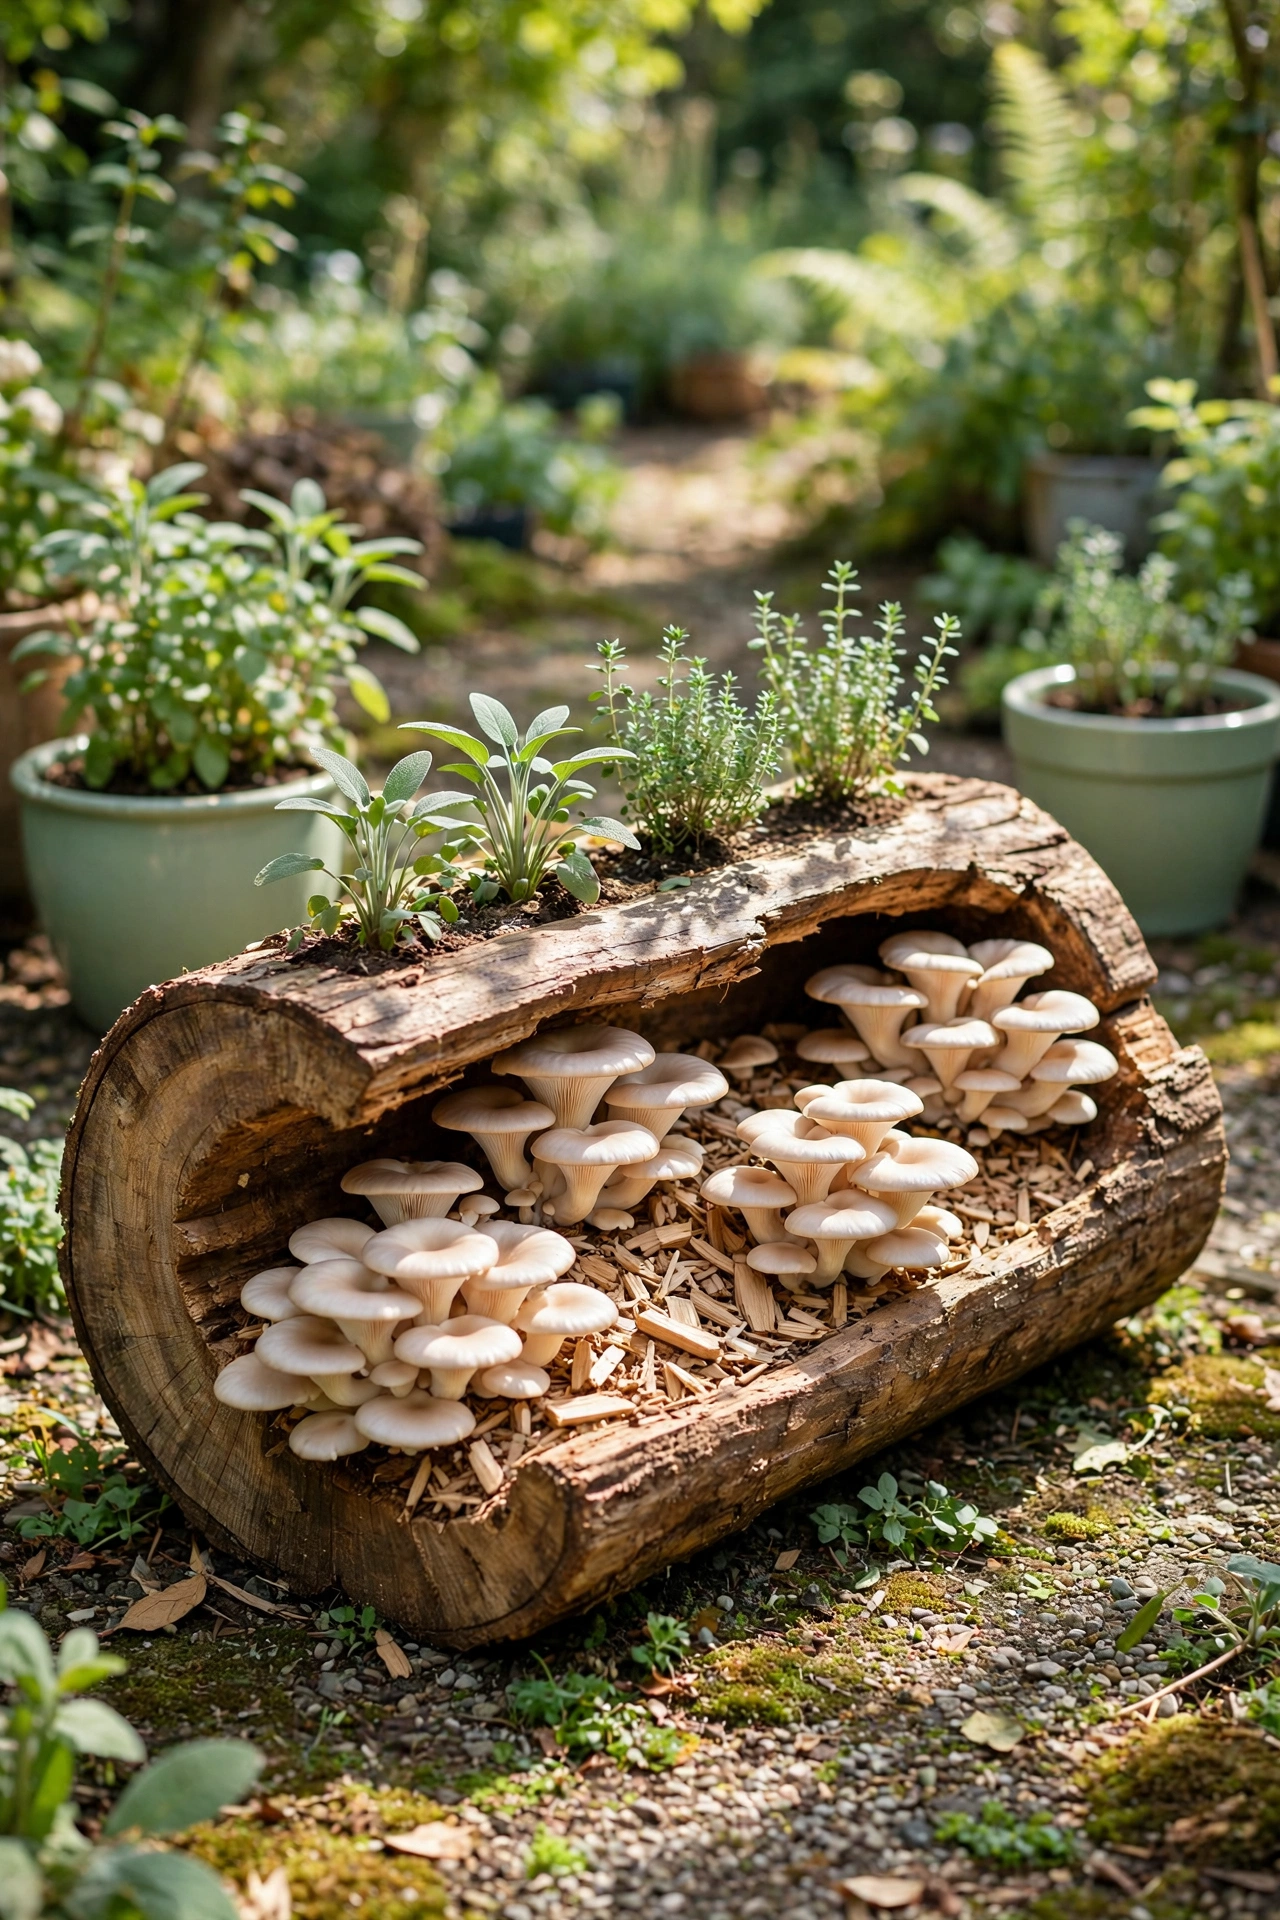
21. Fill a Hollow Log With a Mushroom Planting
A hollow log is a natural container for a mushroom planting. Fill the hollow center with damp wood chips and straw, mix in spawn, and set the log on its side in a shady spot. The log walls hold moisture and give the bed a rustic, woodland look.
Plant small herbs or ferns in the top of the log alongside the mushroom bed for a layered display. The log slowly softens over the seasons, and mushrooms fruit from the filling and from the log itself. This idea suits a natural style garden where every feature looks like it grew there on its own.
22. Label Small Beds for a Family Mushroom Garden
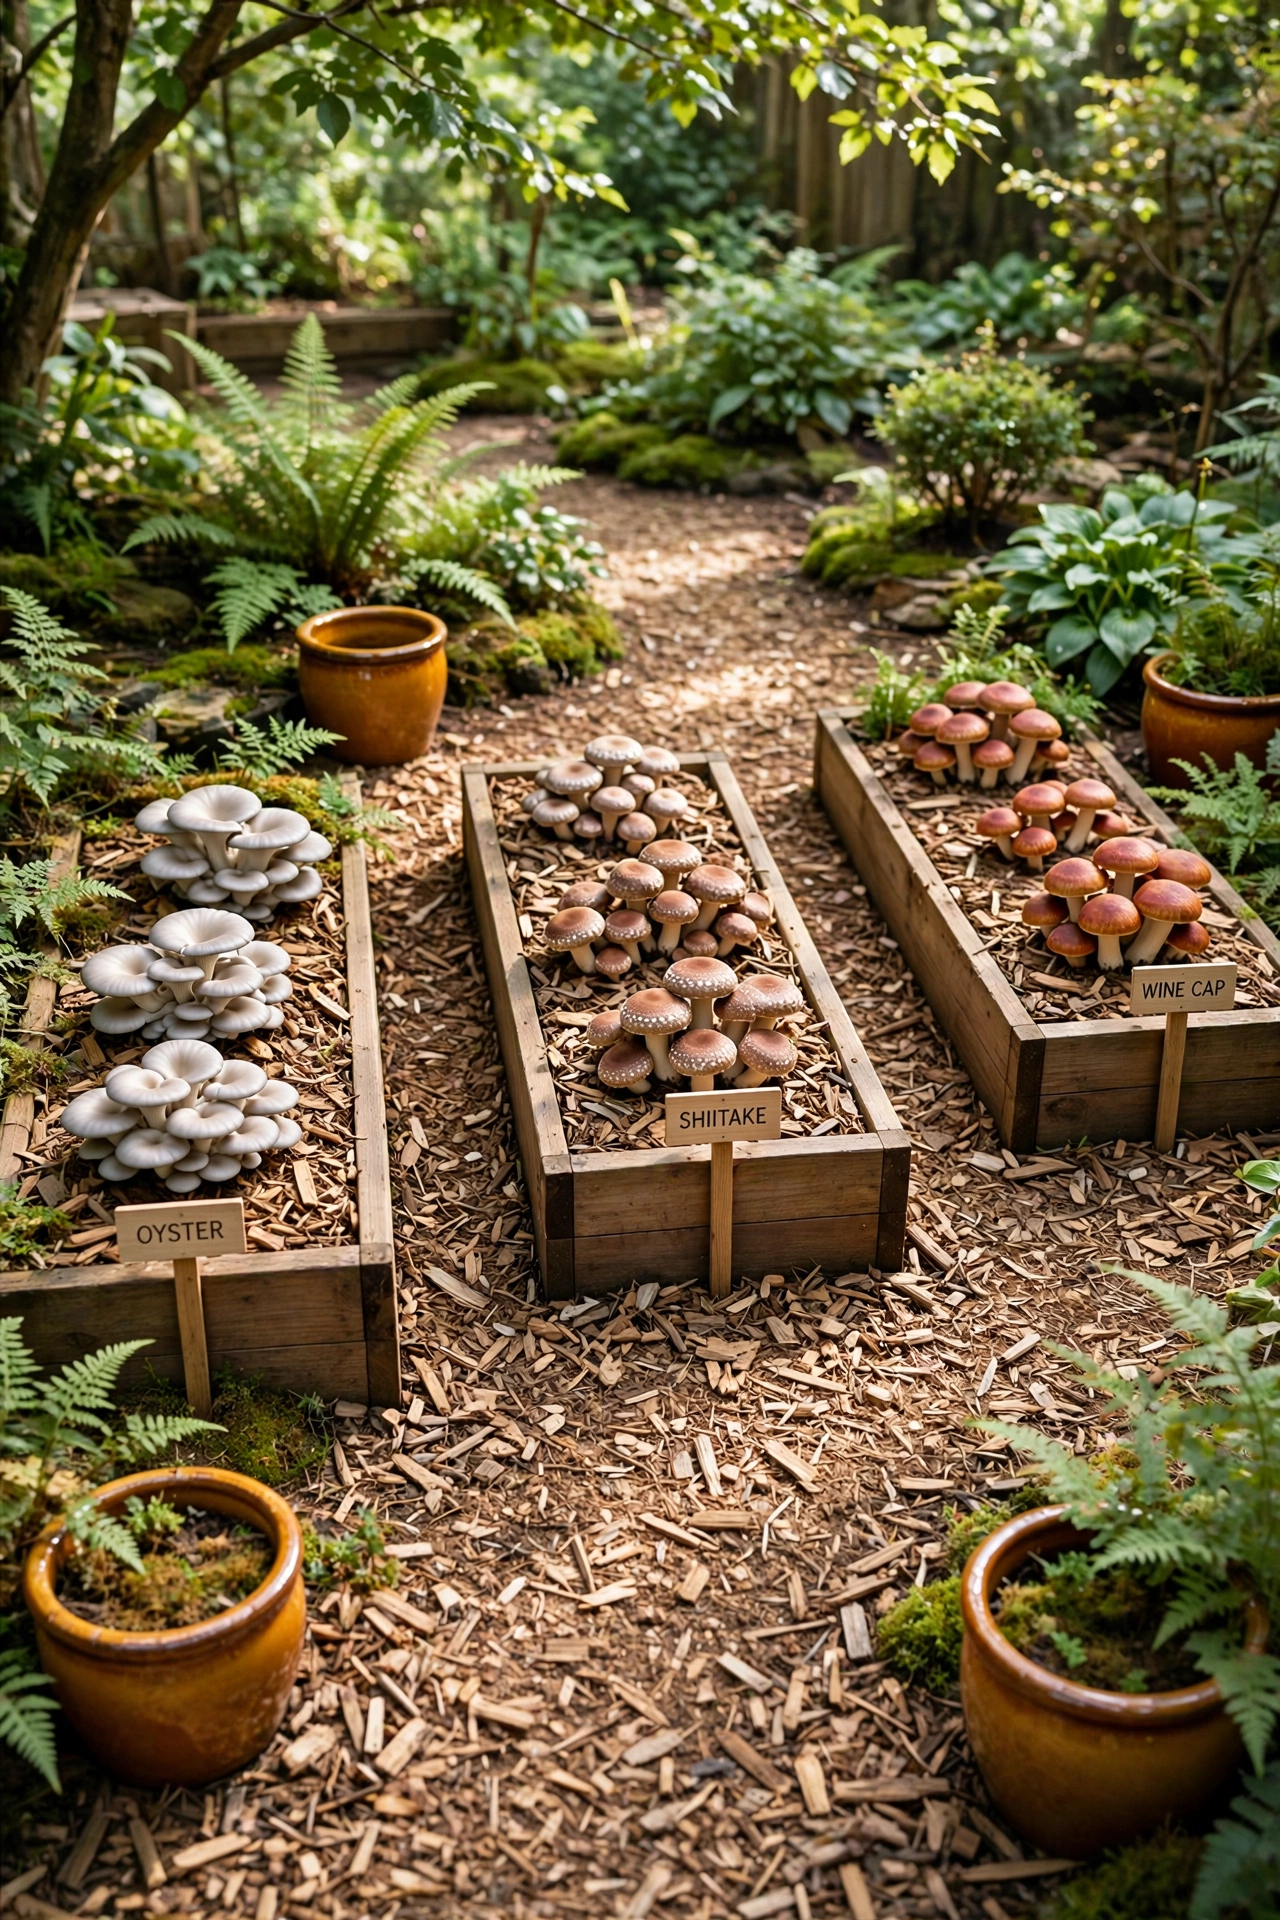
Small, clearly labeled beds make a mushroom garden easy for the whole family to enjoy and learn from. Divide a shady patch into two or three small beds, grow a different mushroom in each one, and mark every bed with a wooden label showing the mushroom name. Children can watch the beds and learn how mushrooms grow.
Keep the labels clear and the beds tidy, and teach everyone to harvest only from the labeled beds and never from wild mushrooms elsewhere in the garden. A family mushroom garden turns a shady corner into a living lesson and a regular source of fresh mushrooms for family meals.
23. Grow Mushrooms Between Raised Vegetable Beds
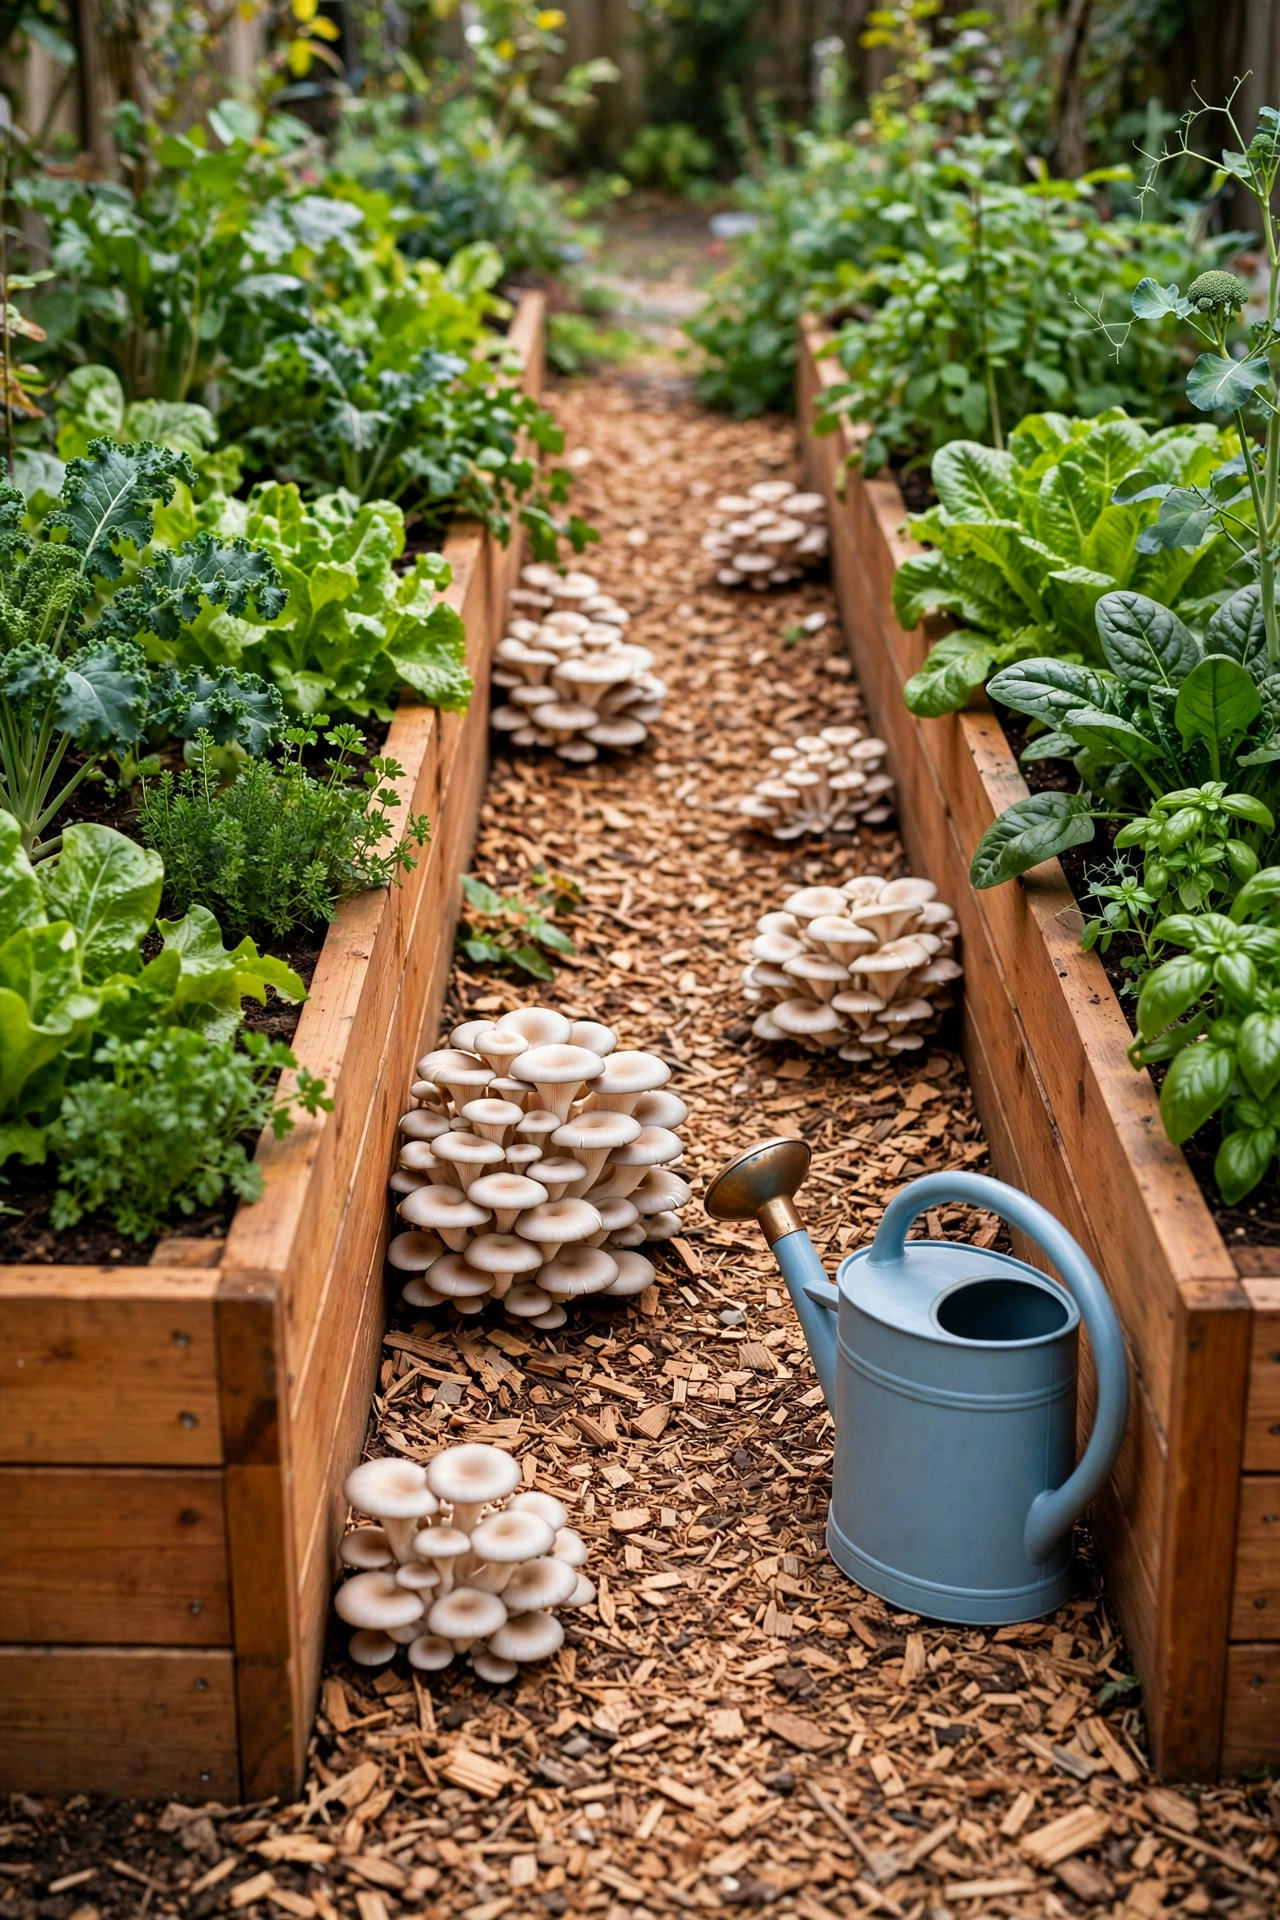
The paths between raised vegetable beds stay shaded by the tall plants and damp from watering, which makes them ideal for a mushroom bed. Fill the gaps with wood chips, mix in spawn, and let the vegetable plants shelter the mushrooms through the growing season.
Wine caps are the best choice for this spot because they thrive in wood chips and improve the soil as they grow. The mushrooms and the vegetables help each other, since the mulch keeps the soil moist and the mushroom activity feeds the soil life. Harvest mushrooms from the paths while you pick vegetables from the beds.
Conclusion
Growing mushrooms outdoors is one of the simplest and most rewarding garden projects you can start. A shady corner, a few logs or a bag of wood chips, and a little patience are all it takes to harvest fresh mushrooms steps from your door. Every idea in this list uses the same simple formula of shade, moisture, and natural materials.
Start with one easy project, like a wine cap bed or a straw bale, and watch how quickly it produces. Once you see the first mushrooms appear, you will want to try logs, stumps, and shaded borders too. Your garden will grow richer, your soil will grow healthier, and your table will enjoy fresh mushrooms all season long.
Frequently Asked Questions About Mushroom Garden Growing Ideas for Outdoor Gardens
What is the easiest mushroom to grow outdoors?
Oyster mushrooms and wine cap mushrooms are the easiest choices for outdoor growing. Oyster mushrooms grow on logs, straw, cardboard, and grow bags, while wine caps thrive in a simple wood chip bed. Both forgive beginner mistakes and fruit generously with basic shade and moisture.
How much shade do outdoor mushrooms need?
Most outdoor mushrooms need shade for most of the day, with only gentle morning light or dappled light through trees. Direct afternoon sun dries out logs and beds and stops mushrooms from fruiting. A north facing fence, the shade of a tree, or a covered patio all provide the right level of shade.
How long does it take for mushrooms to grow on logs?
Logs inoculated with plug spawn usually take six to twelve months to fruit for the first time, because the spawn needs time to colonize the wood. After the first flush, logs fruit again after rain for several years. Straw beds and wood chip beds fruit much faster, often within four to eight weeks.
Do mushroom beds need watering?
Yes, mushroom beds need regular watering to stay damp but never soaked. Water lightly on dry days and check the bed by touch, since the top layer should feel moist like a wrung out sponge. Logs need less watering than beds, and a good soaking can trigger a fresh flush of mushrooms.
Are home grown mushrooms safe to eat?
Mushrooms grown from spawn bought from a reputable supplier are safe to eat when you grow a known edible variety and follow the supplier instructions. Only ever eat mushrooms you planted yourself and can identify with certainty. Never eat wild mushrooms from the garden unless an expert has identified them, since some wild species are poisonous.

Hi, I’m Emily! I turn messy corners into cozy, organized spots. DreamNestDecor is where I share simple, practical home ideas — decor, organization, and small-space solutions that work in real life, not just in photos. Every idea here is carefully researched before it’s shared.