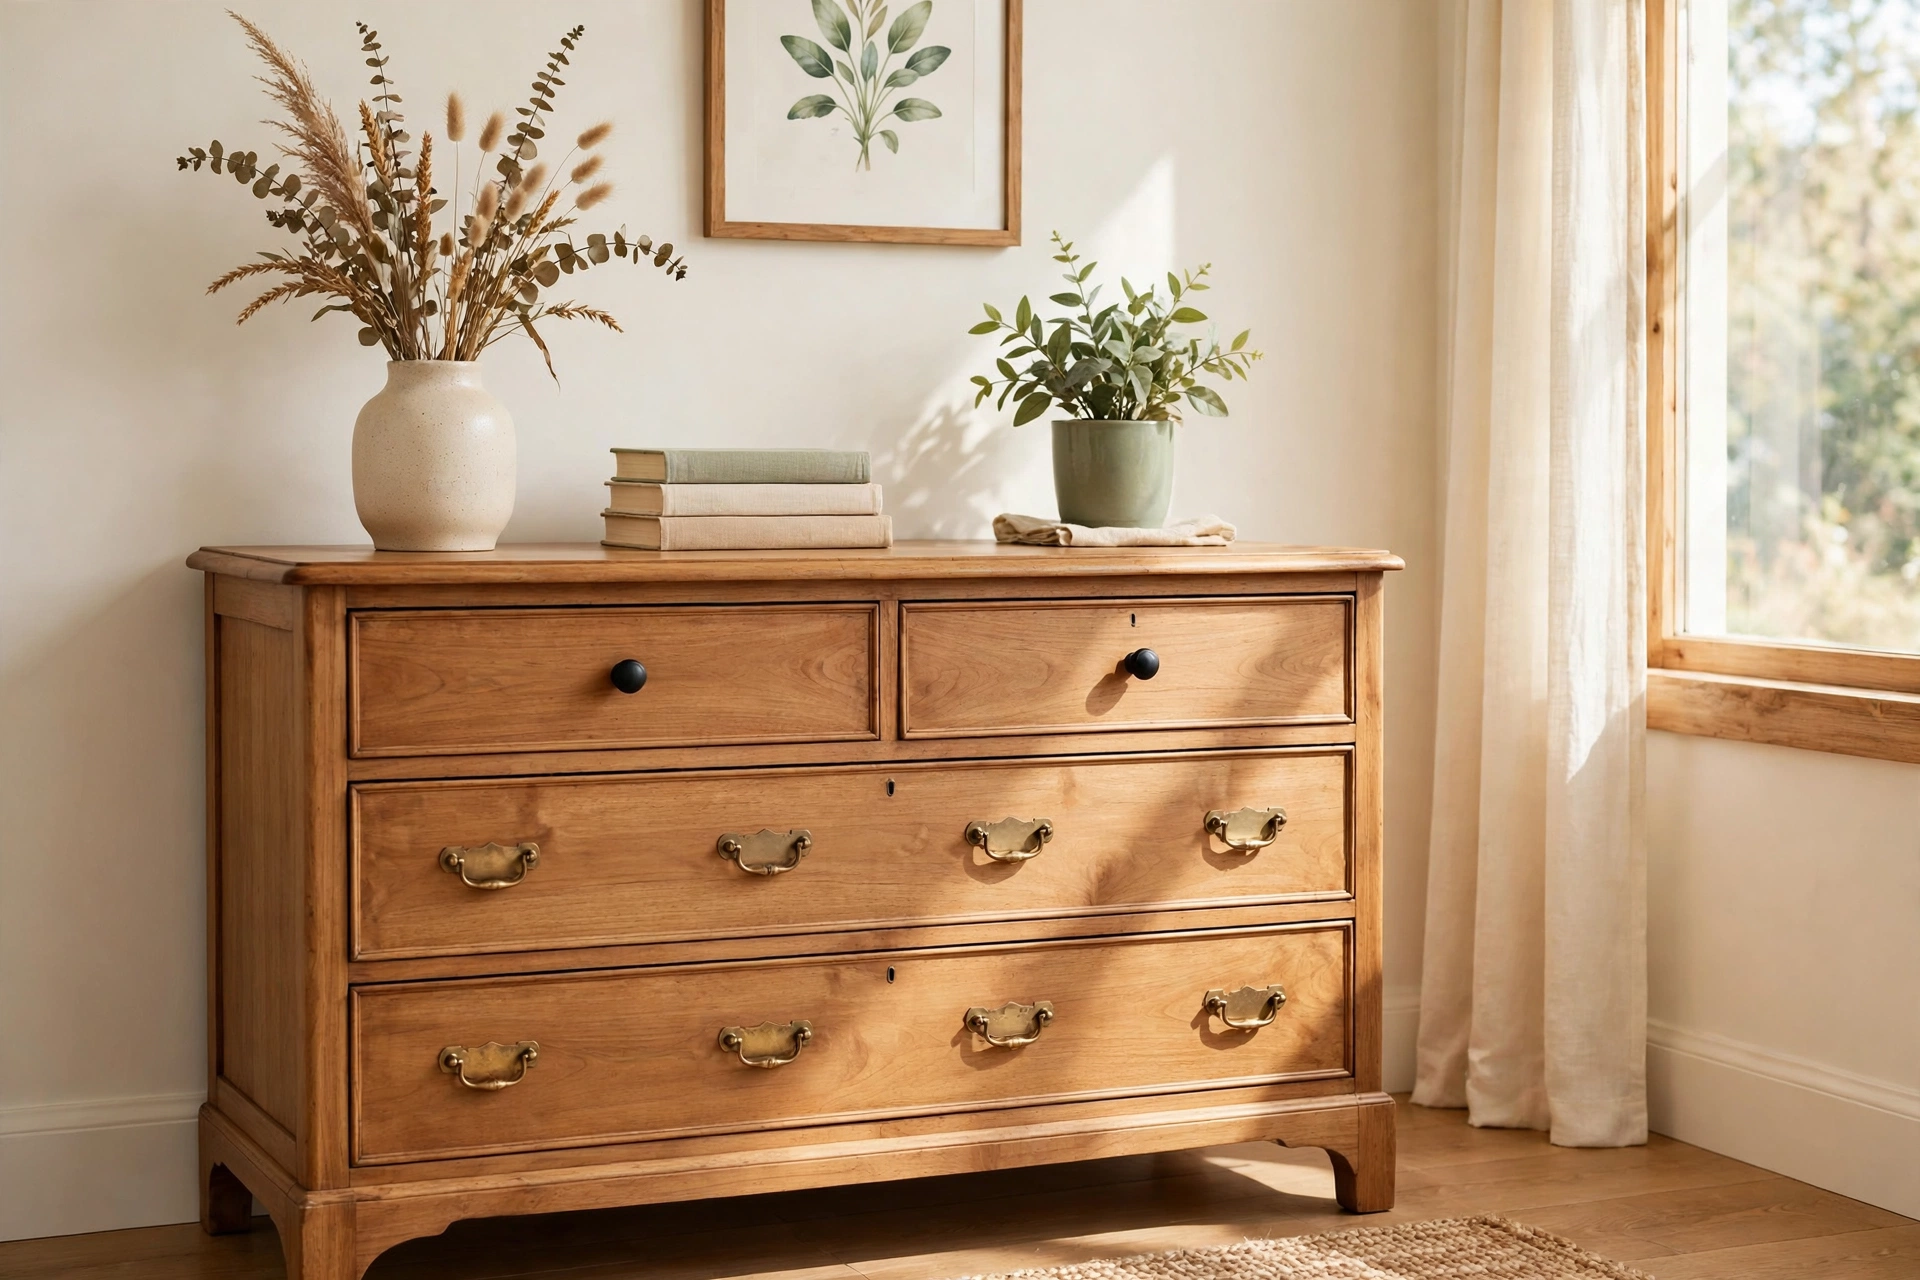
Picture this: you walk past an old dresser you have owned for years, and instead of seeing a tired piece of furniture, you notice the gleaming new knobs and freshly painted pulls that make it look like it just came home from the shop. That small change is the magic of a hardware makeover. New life does not always require new furniture, because the smallest details often make the biggest difference.
Old knobs, pulls, hinges, and latches are easy to paint, polish, swap, and restyle with simple tools and a free afternoon. These 14 DIY decorative hardware makeovers will show you how to turn worn and dated hardware into the prettiest detail on every dresser, cabinet, and nightstand in your home.
1. Spray Paint Old Knobs Matte Black
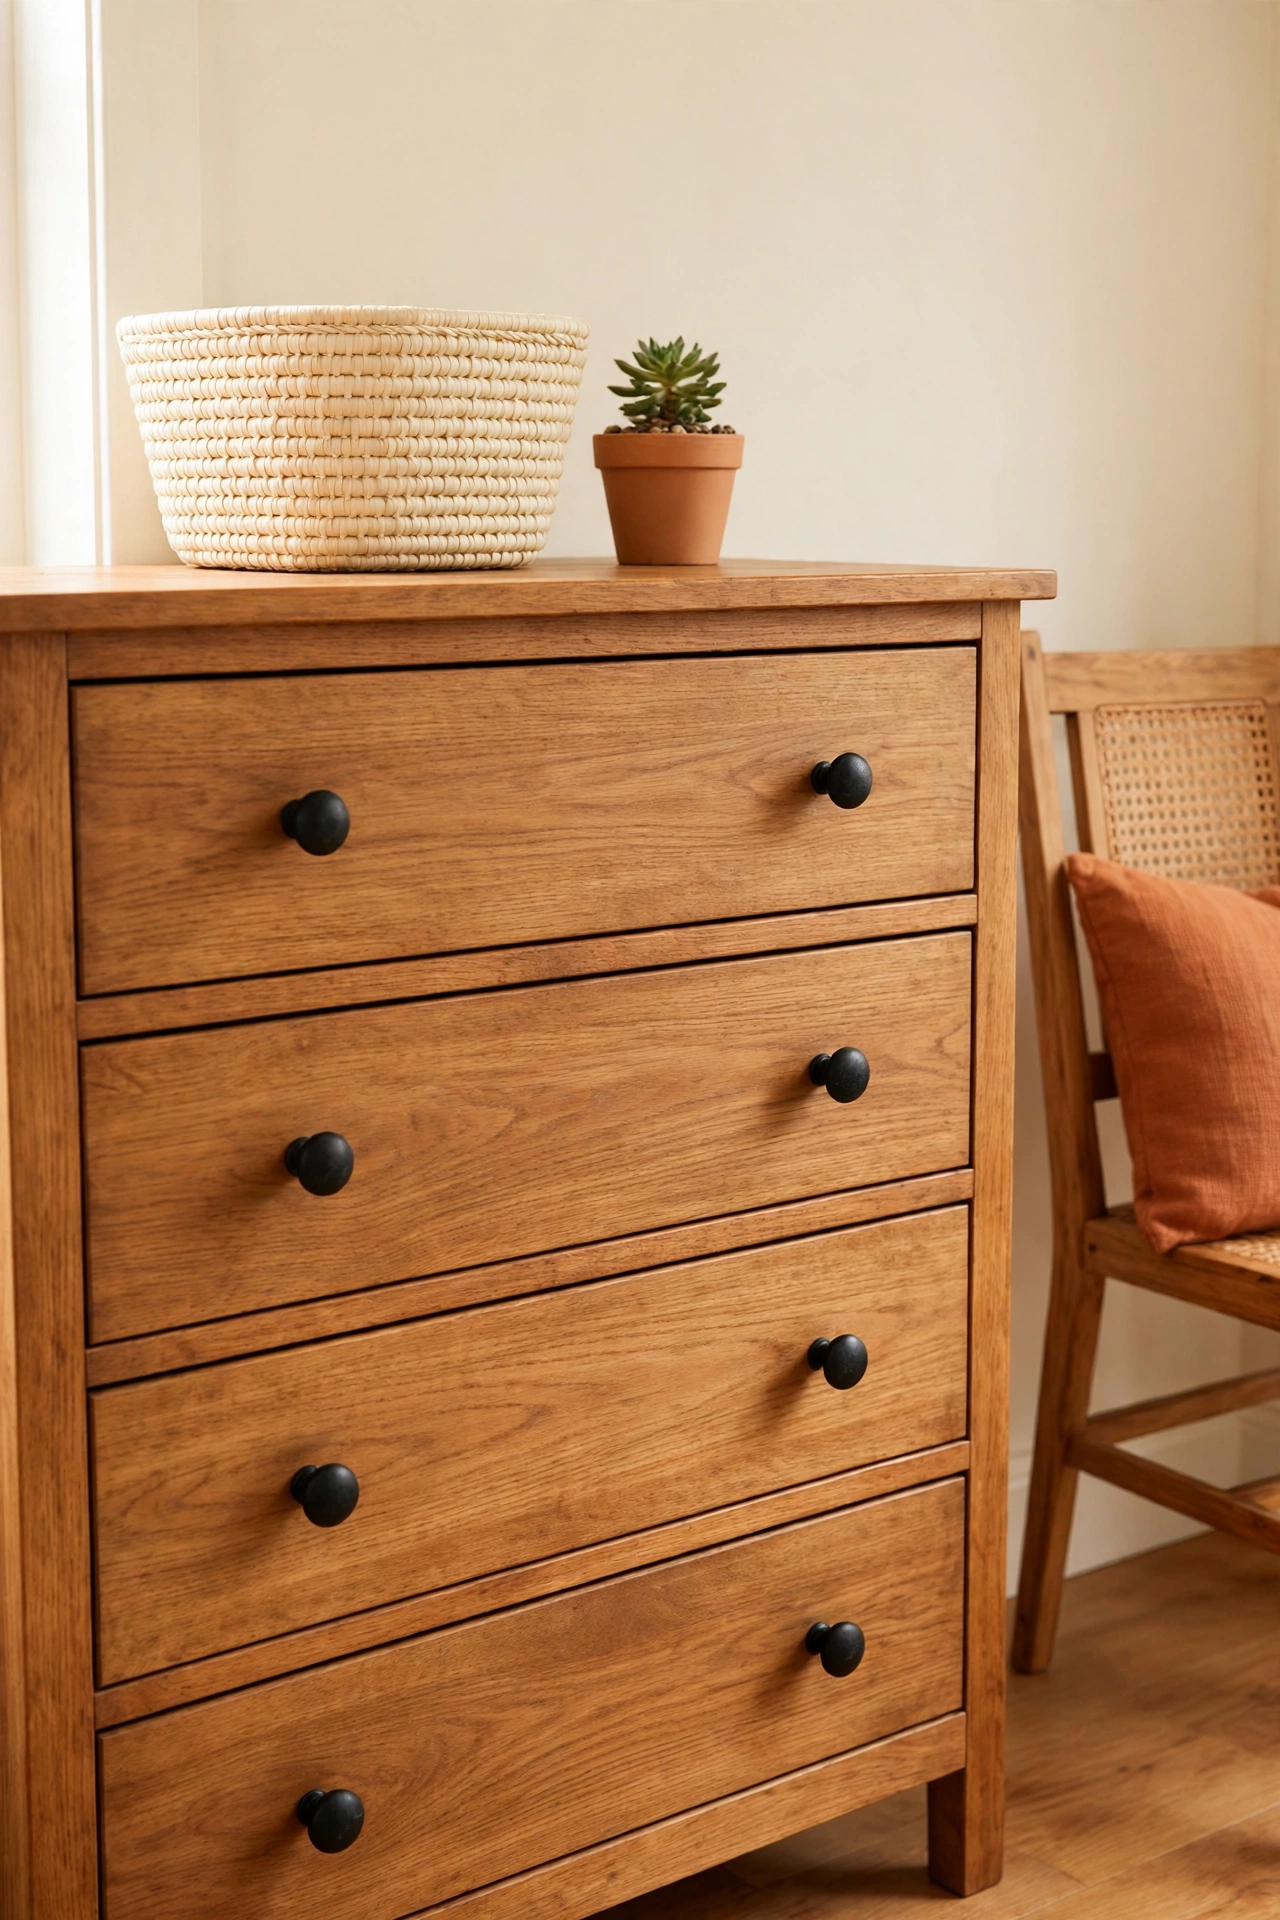
Matte black spray paint is the fastest way to make mismatched old knobs look like a matching set. Remove the knobs from the drawers, clean them well, and give each one two light coats of paint. The deep black finish looks modern and clean against painted wood, natural wood, and even bold colors.
Let the knobs dry fully before you put them back, and add a clear top coat if the drawers get daily use. This one afternoon project costs very little and works on metal, wood, and plastic knobs alike. The result is a dresser that looks intentional and put together instead of pieced together.
2. Give Wooden Knobs a Chalk Paint Makeover
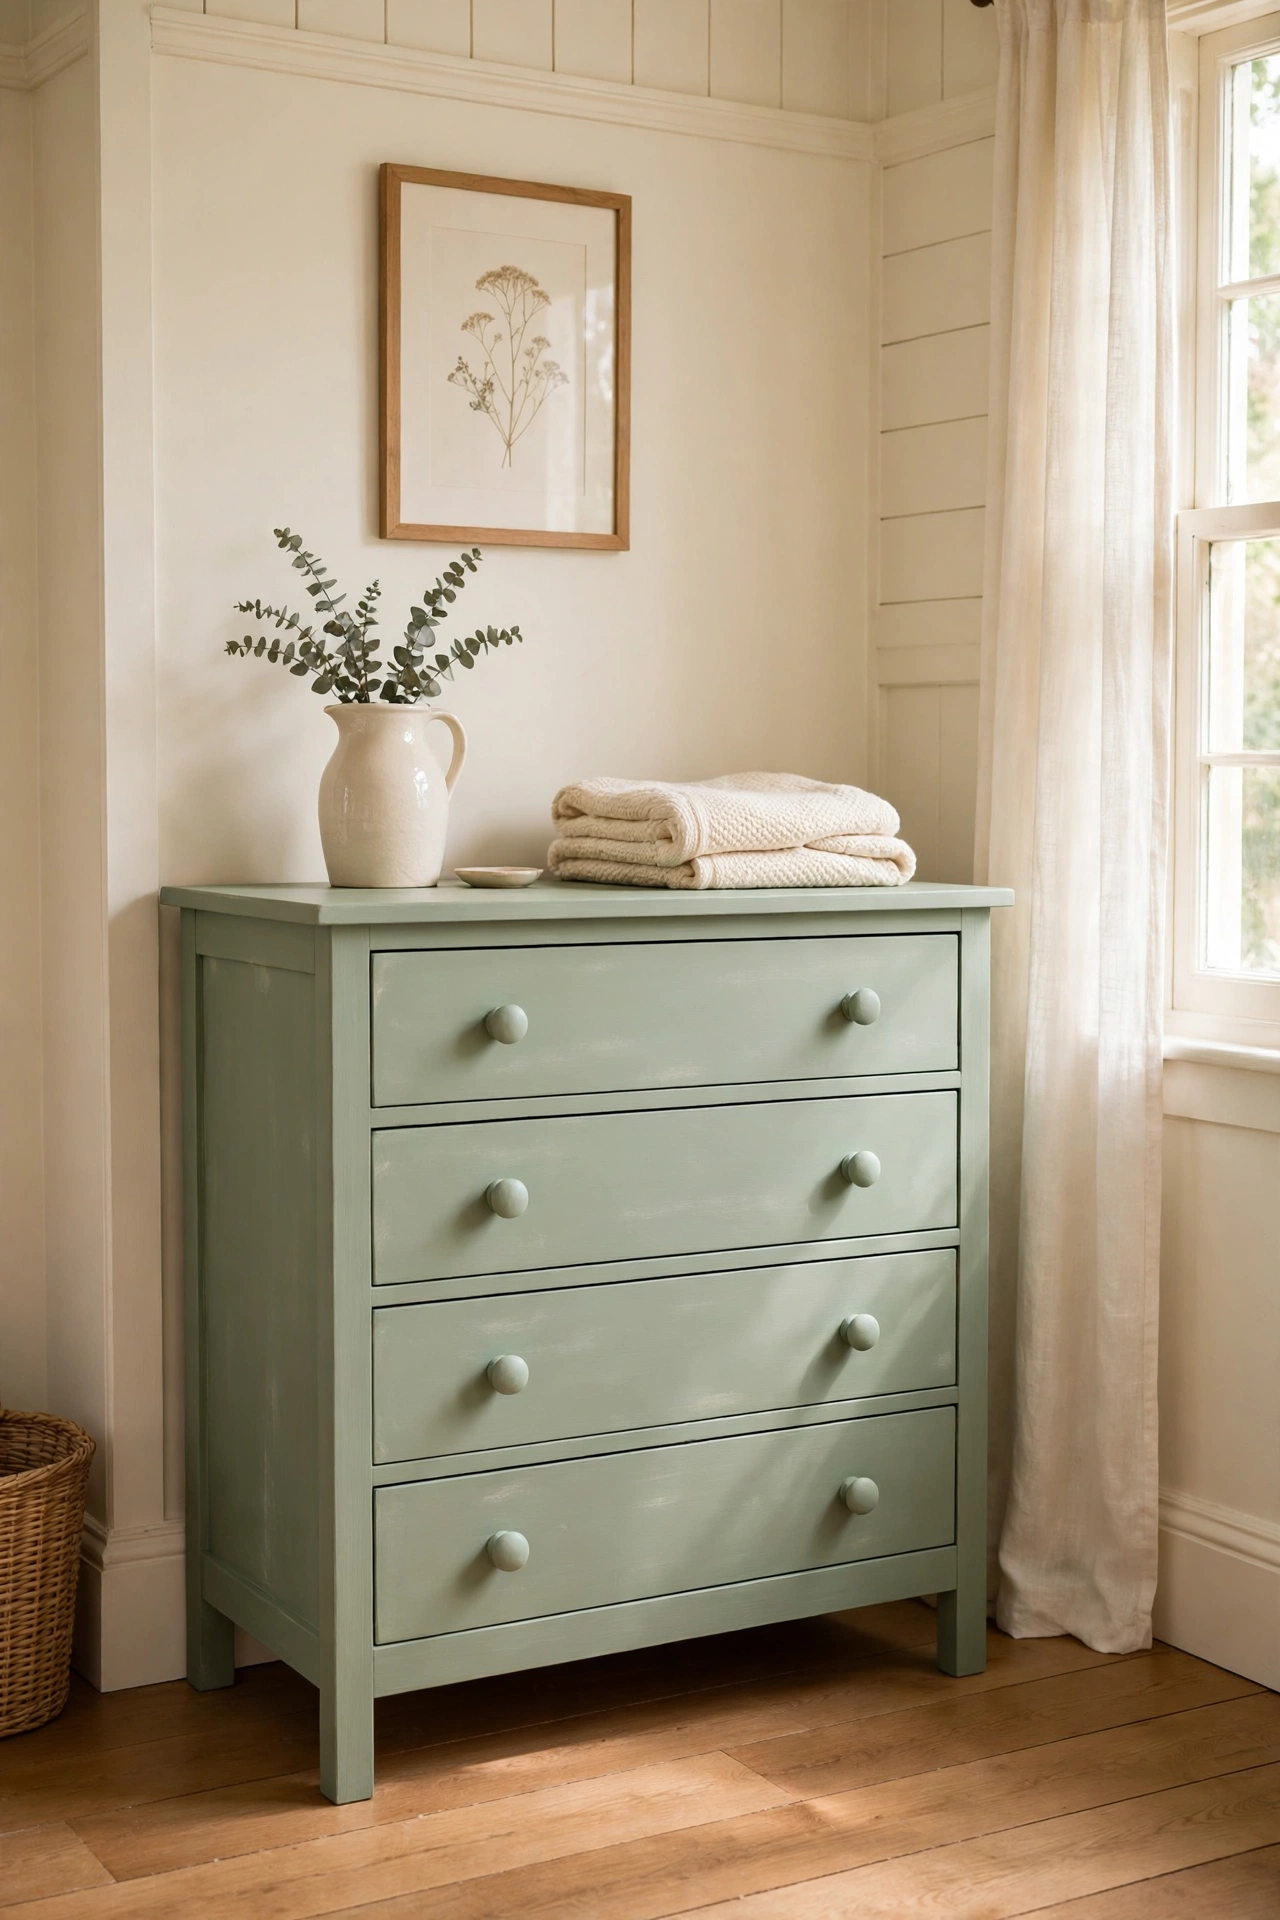
Chalk paint sticks to wood with very little prep, which makes it perfect for plain wooden knobs that look dull and worn. Paint each knob in a soft sage green, dusty blue, or warm cream, then seal it with clear wax so the finish lasts. The soft matte look suits farmhouse, cottage, and vintage style rooms beautifully.
You can paint the knobs the same color as the furniture for a calm tone on tone look, or choose a contrasting color so the knobs stand out as a feature. For a full furniture refresh to match your new knobs, see these painted furniture ideas. Sand the edges lightly after painting if you want a gently aged finish.
3. Add an Aged Patina to Brass Pulls
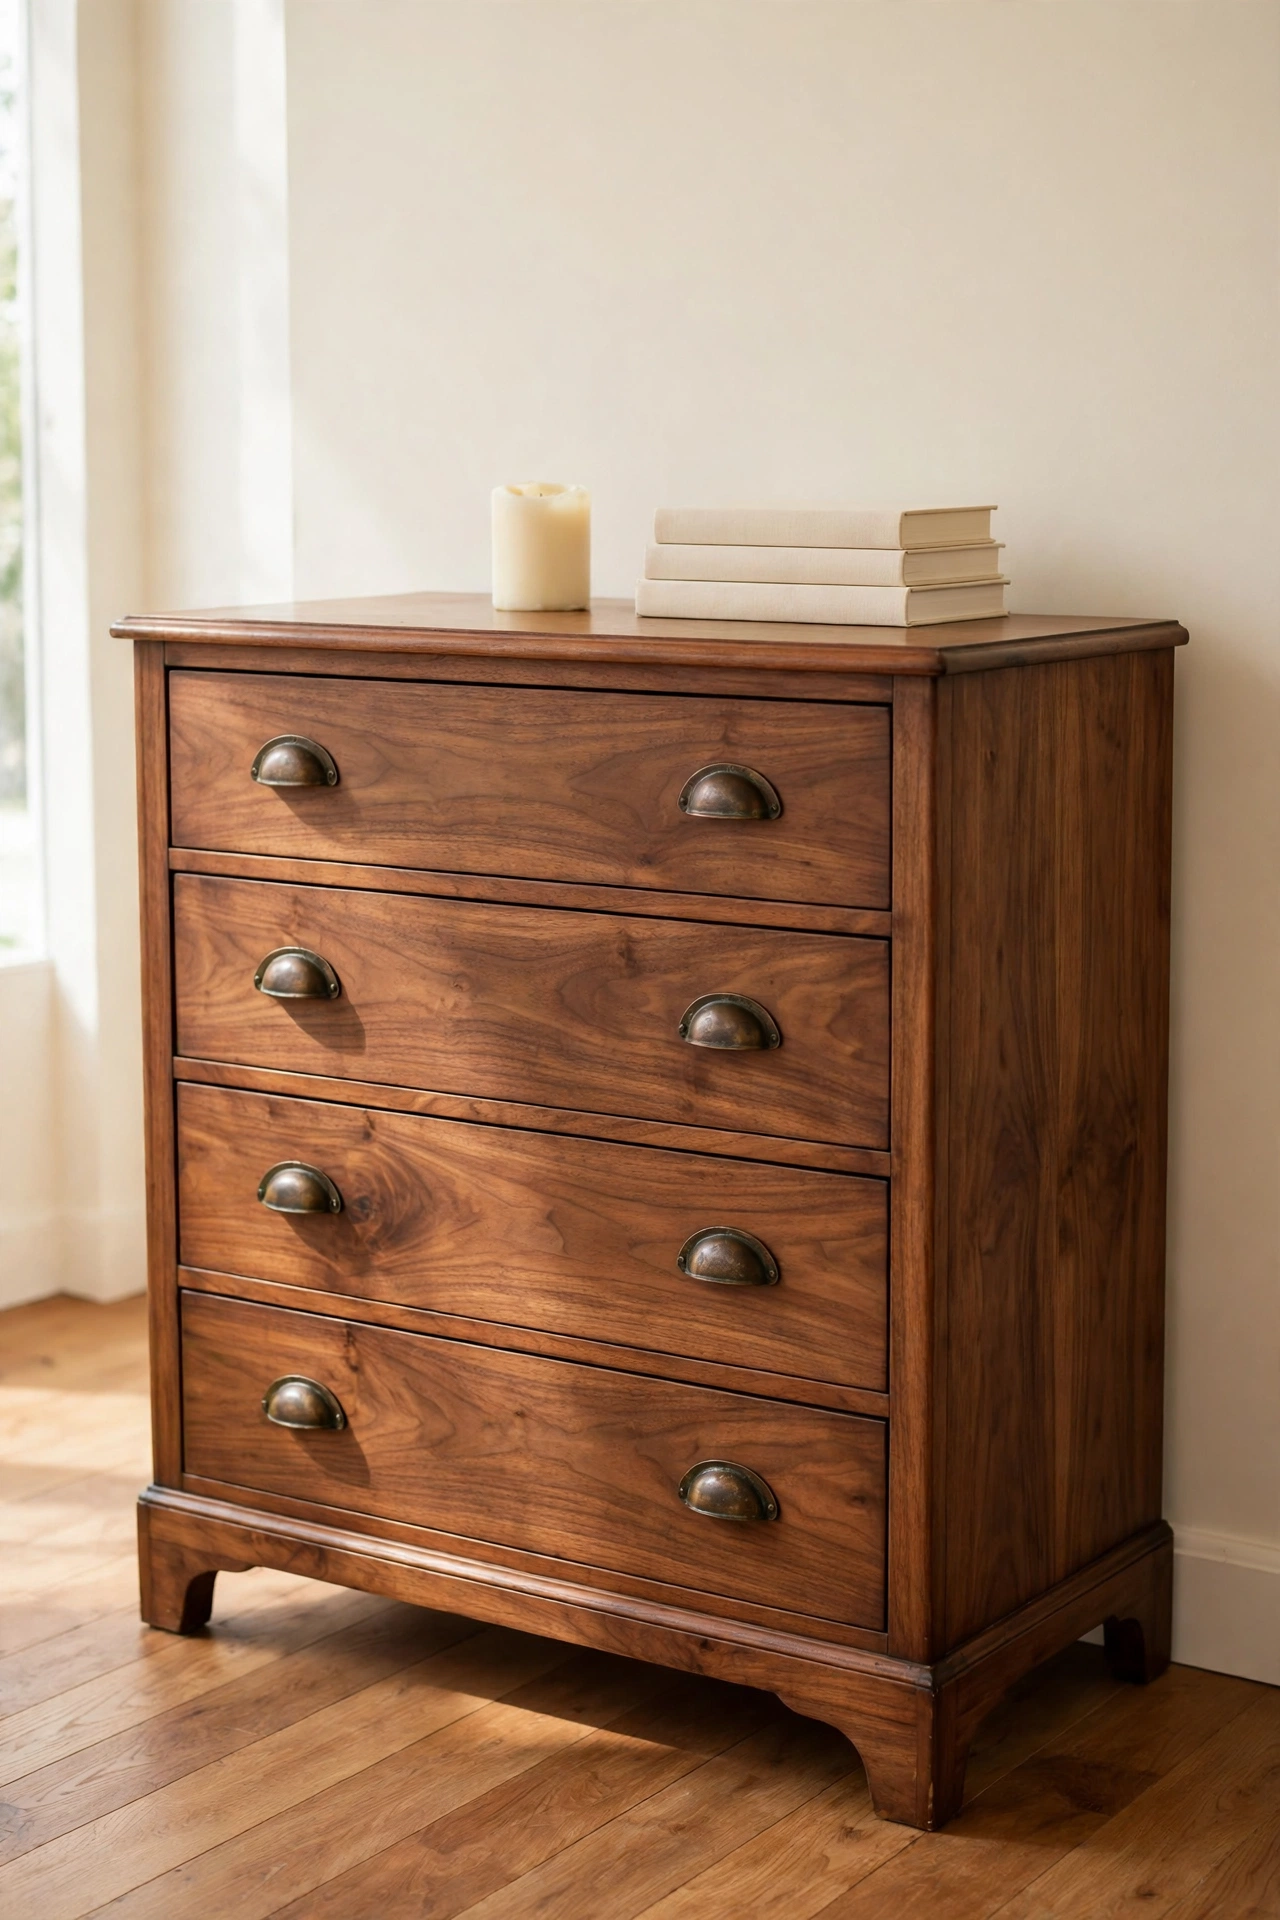
Shiny brass pulls that look too new can be aged with a simple patina solution or a dark wax rubbed into the crevices. The darker finish settles into the details and makes the hardware look like a treasured antique instead of a new purchase. This is a lovely trick for dressers, cabinets, and sideboards with classic styling.
Clean the pulls first, then apply the patina slowly and wipe back the high points so the raised details catch the light. If you love the warm glow of brass throughout your home, these brass hardware ideas show more ways to use the finish. Seal the aged pulls with clear wax to protect the patina from daily handling.
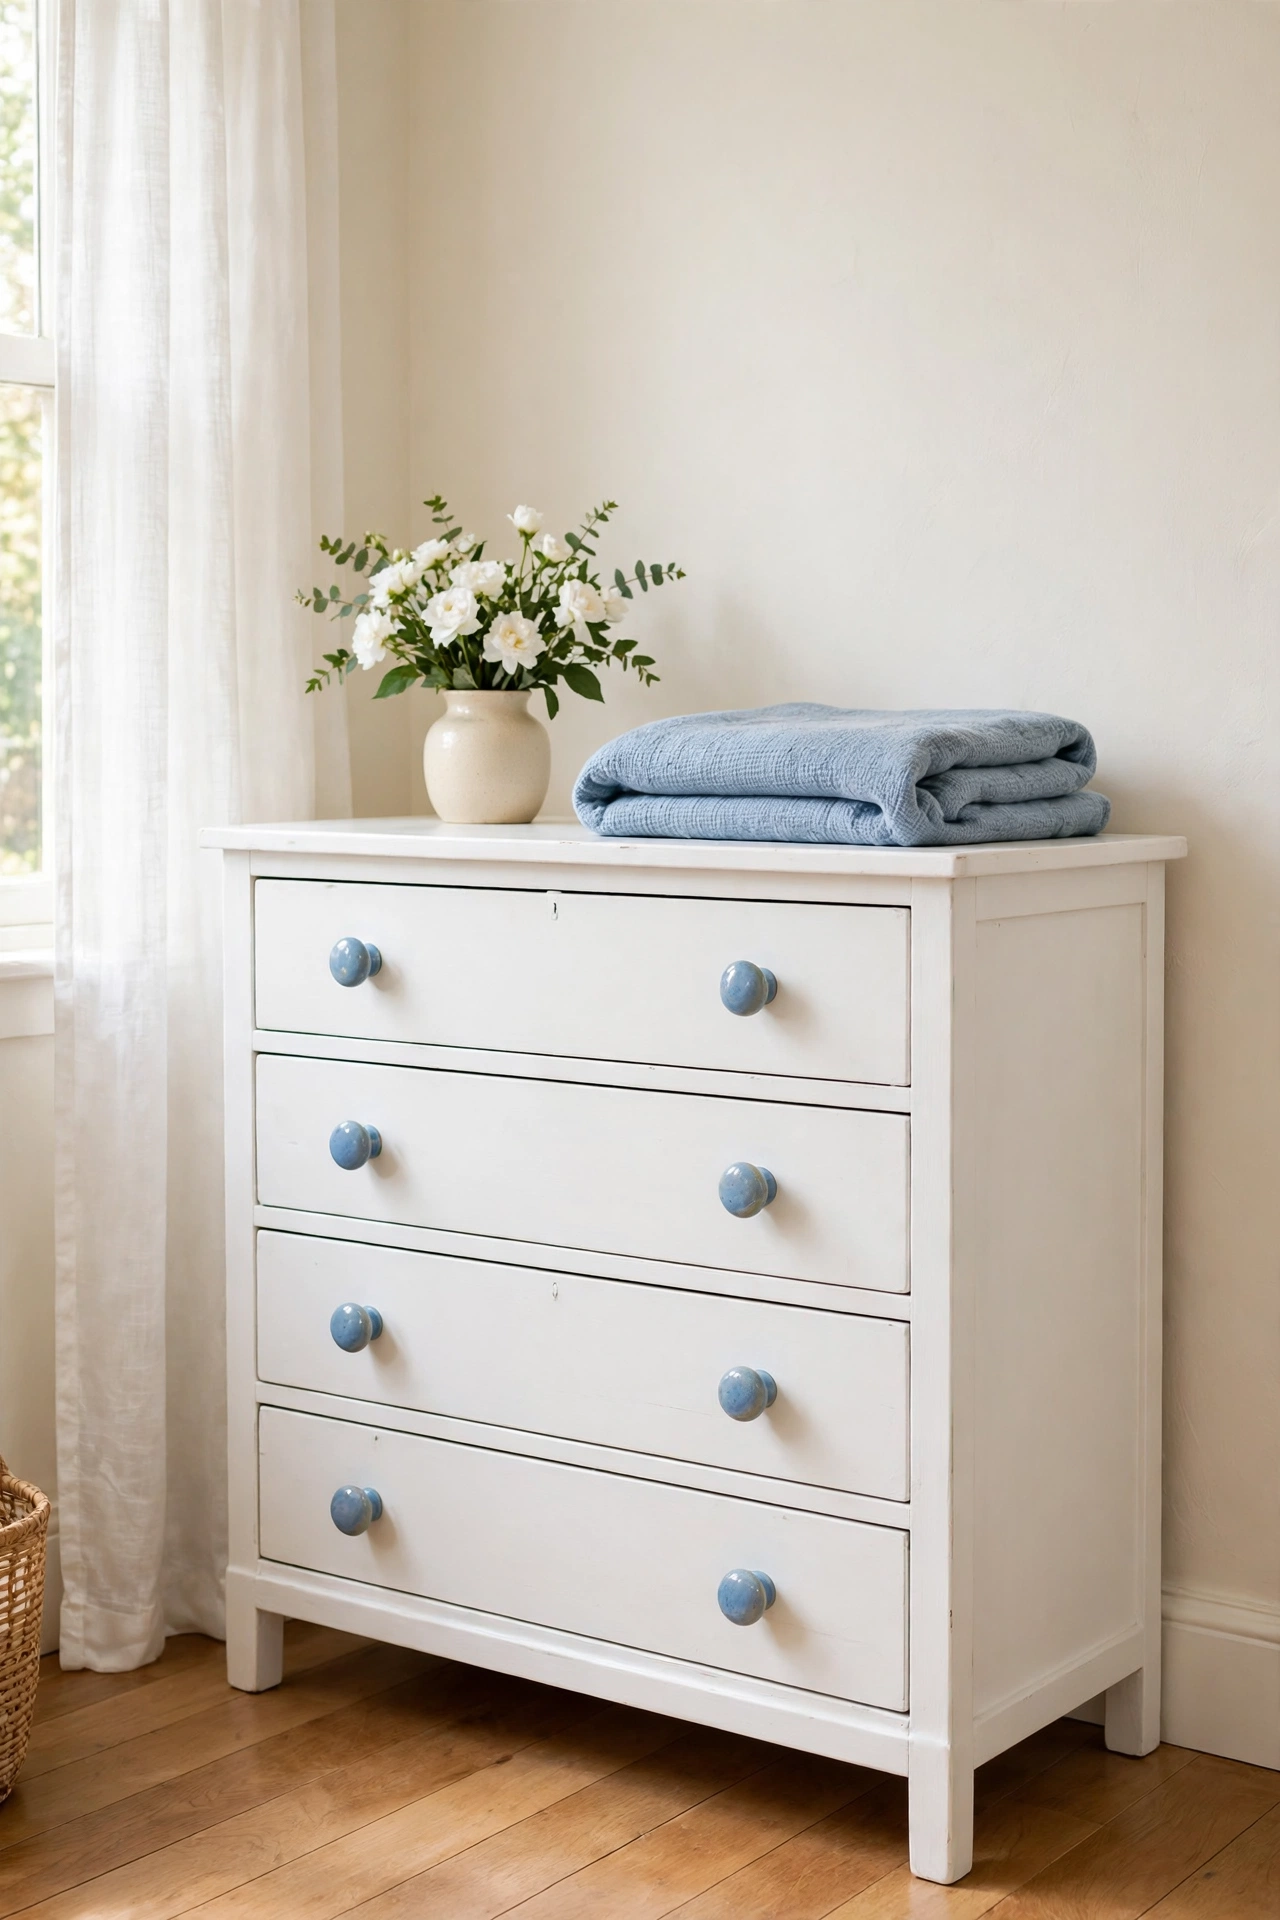
4. Swap Plain Knobs for Ceramic Ones
Ceramic knobs in soft blue, blush pink, or cream turn an ordinary chest of drawers into a charming feature piece. Each knob feels like a small piece of pottery, and the glazed finish catches the light in a lovely way. You can find ceramic knobs in floral patterns, solid colors, and hand painted designs.
Swapping knobs takes only a screwdriver, so this is a perfect project for a first time DIYer. Keep the old knobs in a labeled bag in case you ever want to change back. Mix two complementary colors on one piece of furniture for a playful look, or keep them all the same for a calm and classic finish.
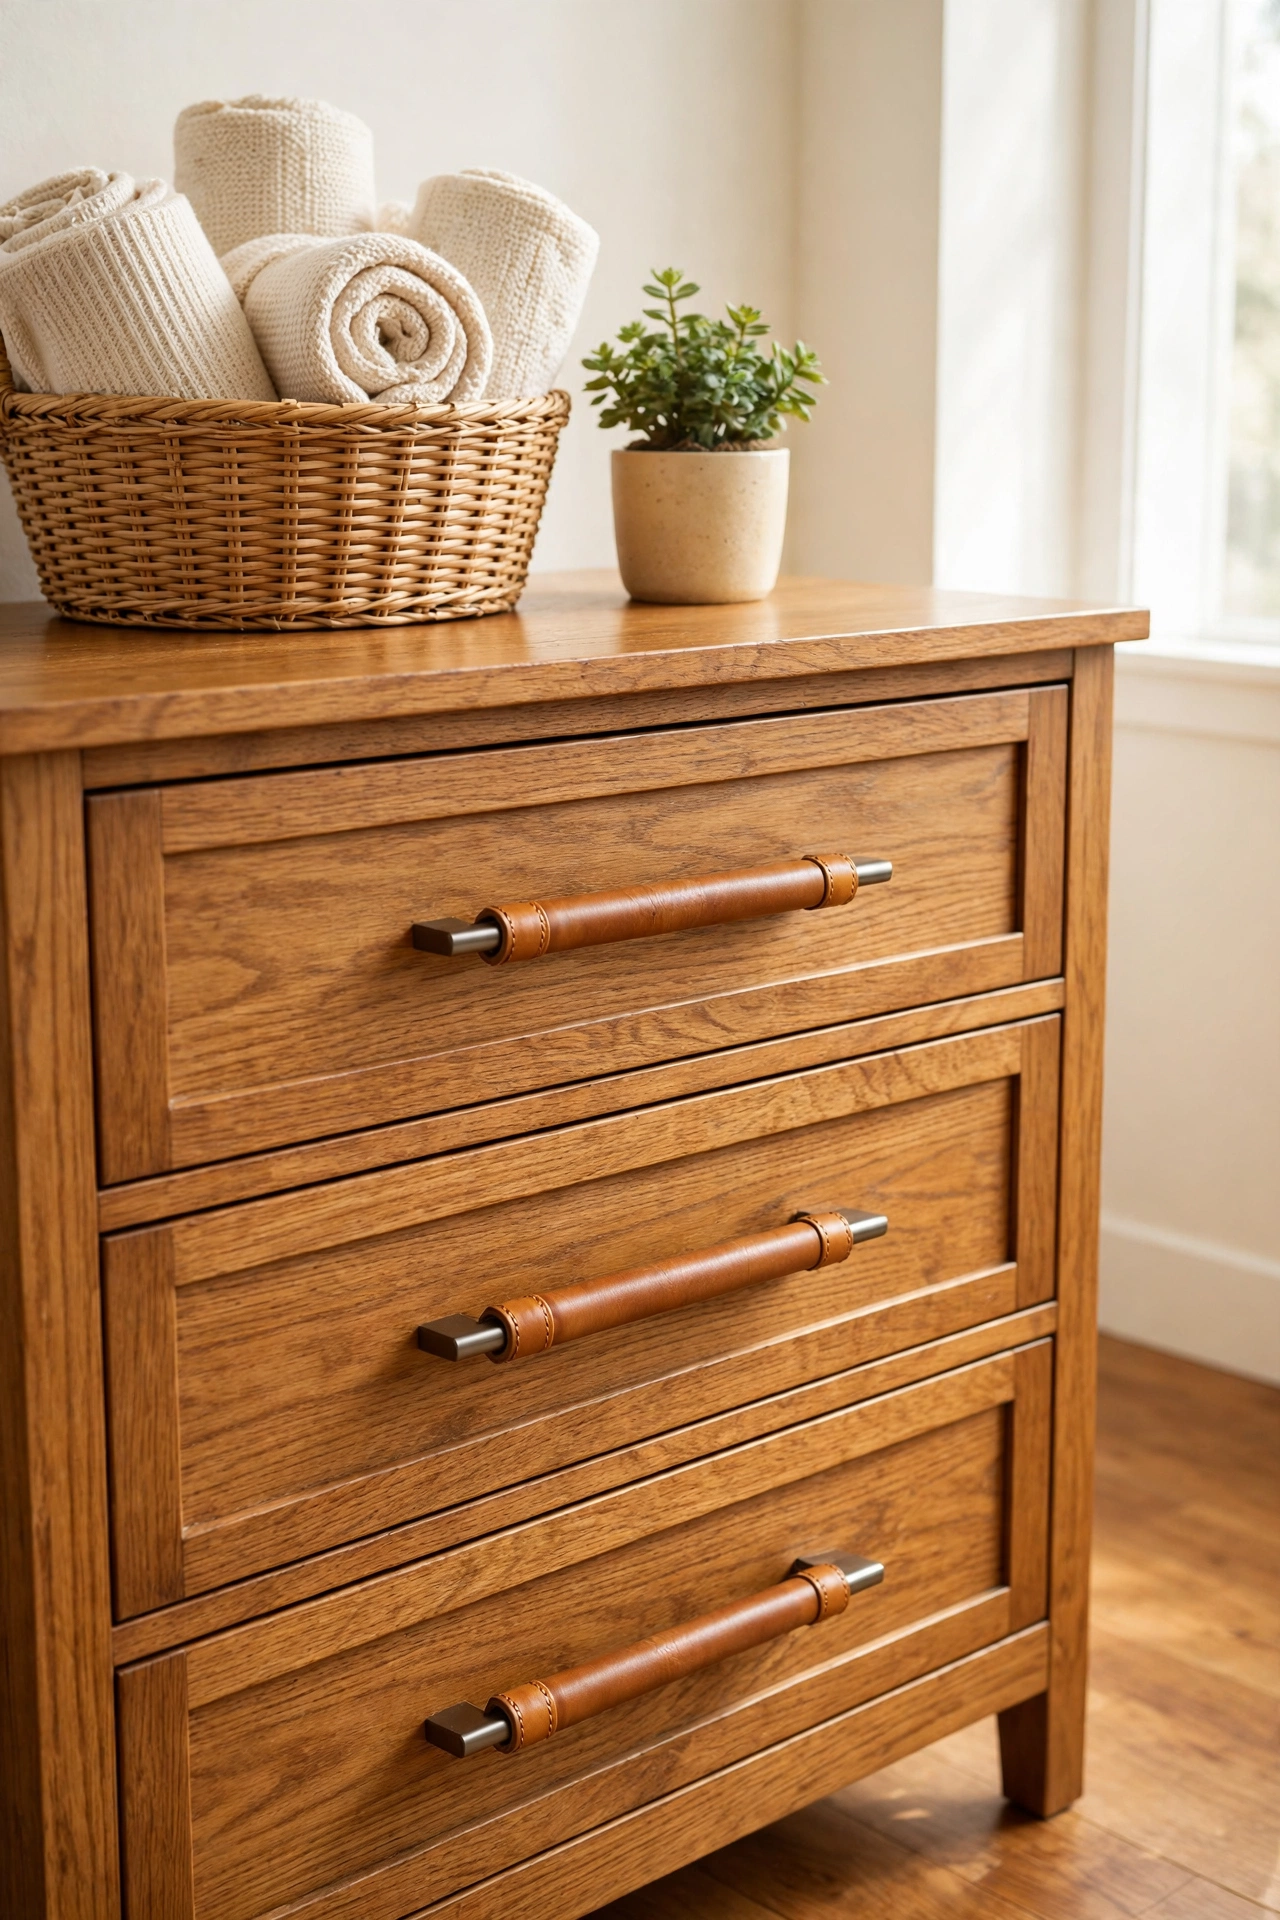
5. Wrap Drawer Pulls in Leather
Leather wrapped pulls add warmth and texture to a dresser or cabinet, and they feel wonderful in the hand. Cut thin strips of leather, wrap them tightly around plain bar pulls, and secure the ends on the back with strong glue. The rich amber and tan tones of leather suit warm wood and cream painted furniture especially well.
This makeover works best on straight bar pulls and ring pulls with a simple shape. Choose a leather color that echoes other warm tones in the room, like a wood floor or a woven basket. The leather will darken and soften with use, which only makes the pulls look better over time.
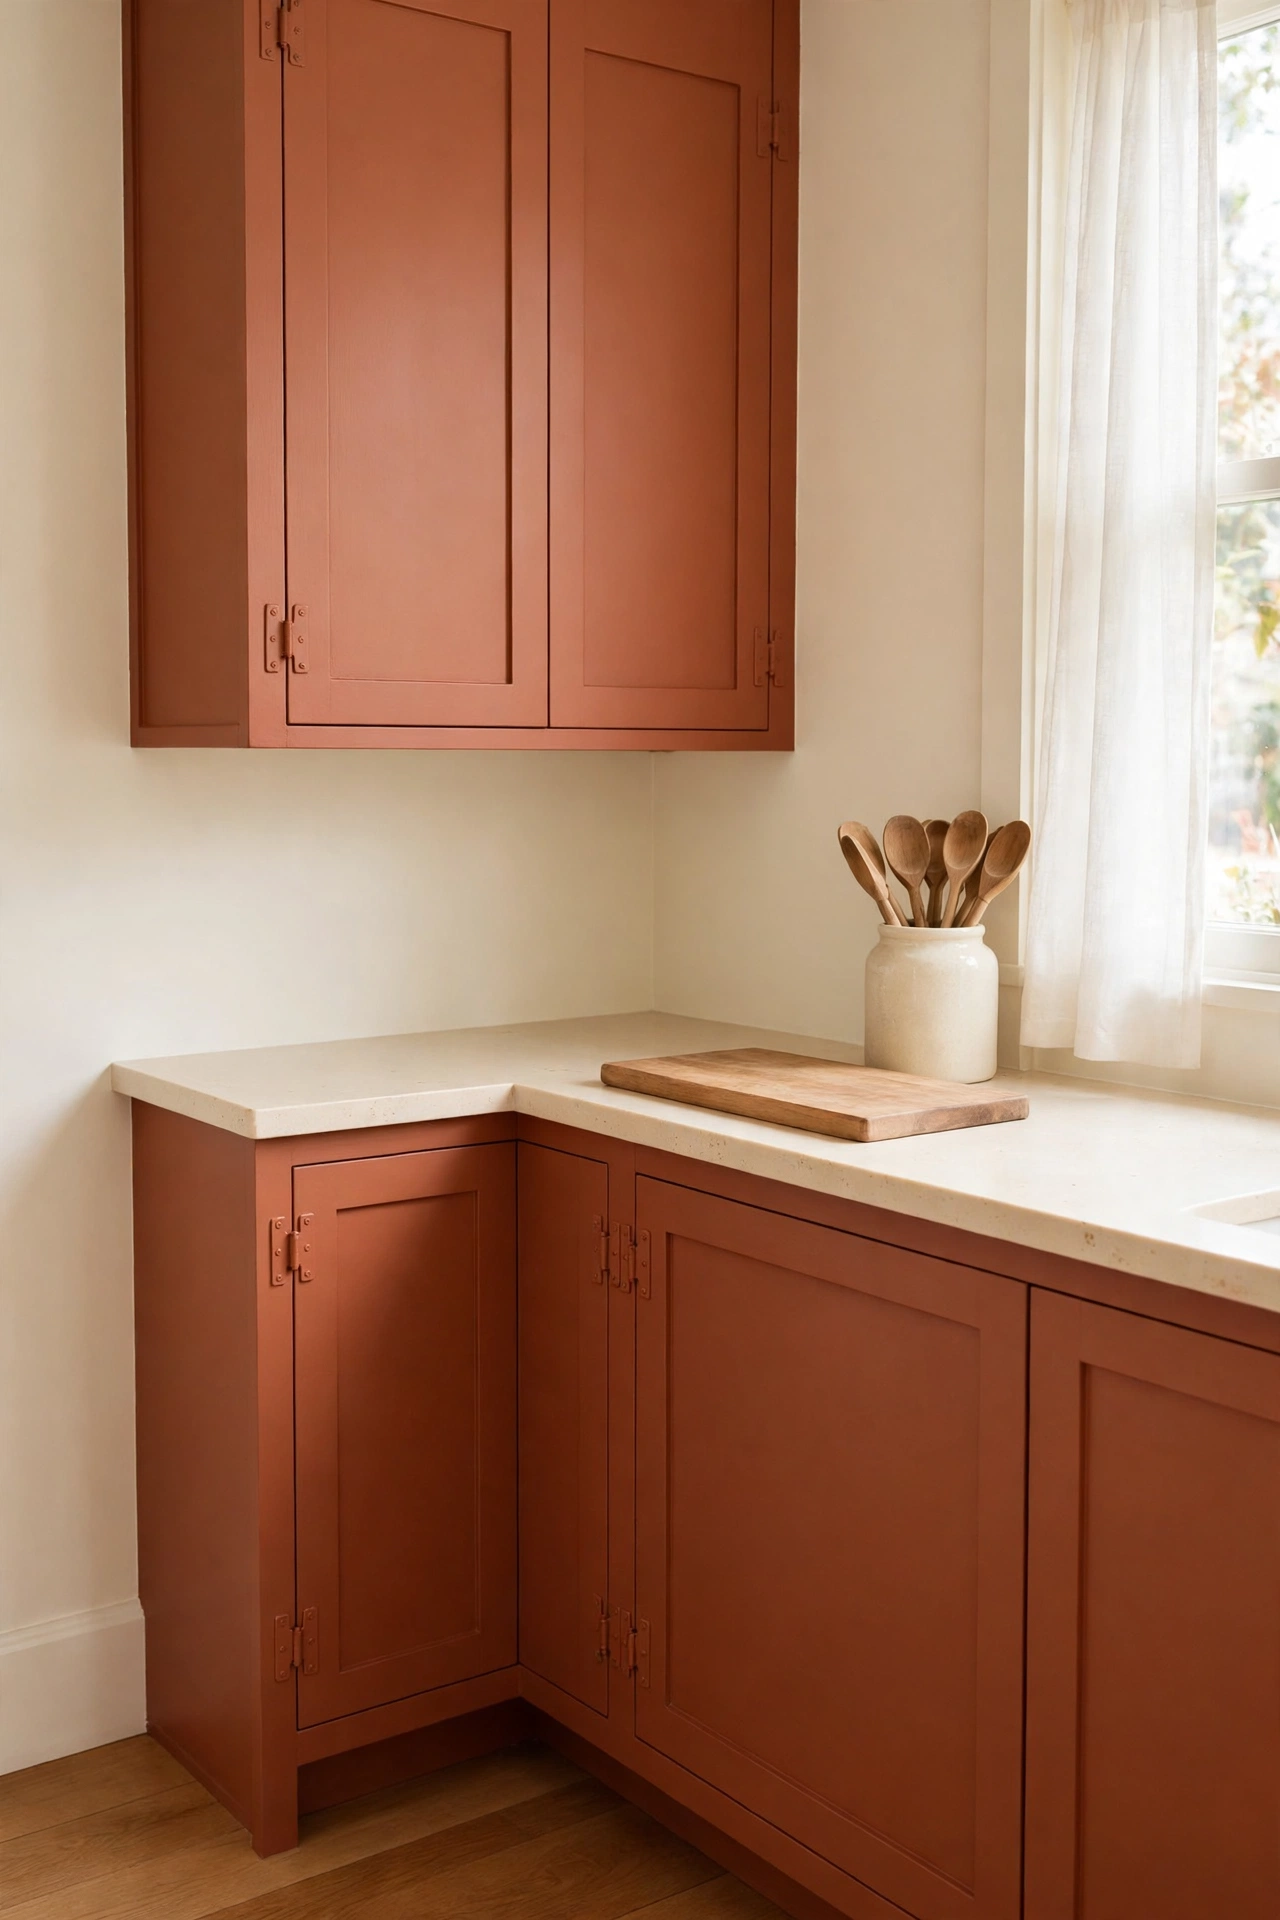
6. Paint Hinges to Match the Furniture
Hinges are easy to overlook, yet shiny silver hinges on a painted cabinet can break the whole look. Remove the hinges, clean off grease and dust, and paint them the same color as the cabinet or in a matching metal tone. The cabinet suddenly looks like it was made that way from the start.
Use a metal paint or a good primer plus regular paint, and let the hinges cure fully before you rehang the doors. If you are refreshing the whole cabinet at the same time, these DIY cabinet makeover ideas will help you plan the project. Painted hinges are a tiny detail that makes a finished piece look truly professional.
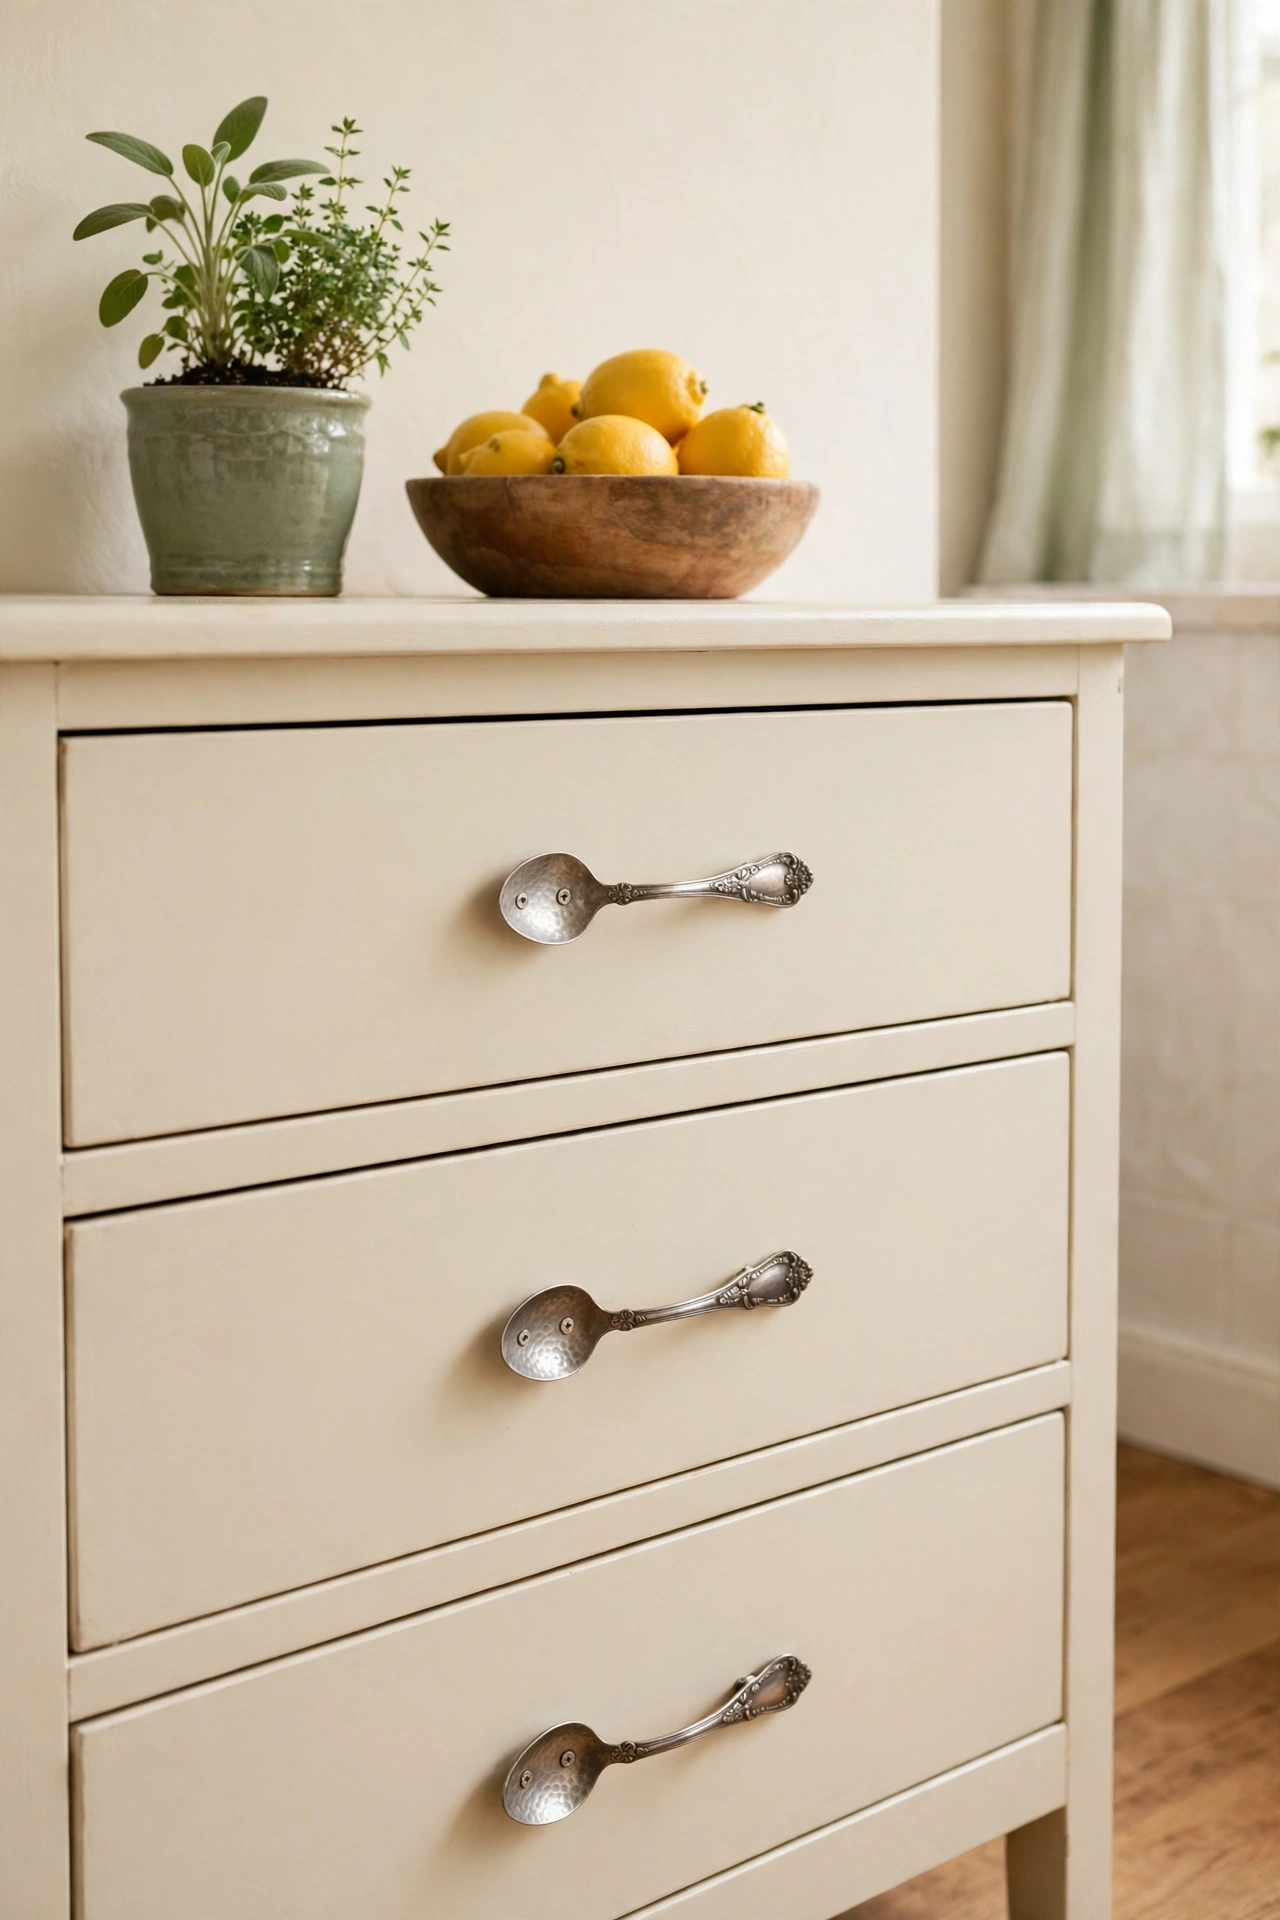
7. Turn Old Spoons Into Drawer Pulls
Old spoons with pretty handles make delightful drawer pulls with real character. Flatten the spoon bowl gently, drill a hole in each end, and bend the handle into a soft curve. Each pull is one of a kind, which gives a plain dresser a story and a sense of humor.
Look for interesting spoons at thrift stores and flea markets, where you can often find a full set for very little money. If you enjoy hunting for secondhand treasures, these thrift store decor ideas will inspire more finds. Polish the spoons before you fit them, and keep the pattern of the handles facing outward so the detail shows.
8. Add Crystal Knobs to a Nightstand
Crystal knobs bring sparkle and elegance to a bedside table without any painting or fuss. The faceted glass catches lamplight and morning sun, and the knobs look far more expensive than they cost. They suit white, blush, and soft gray painted furniture especially well.
Choose clear crystal for a classic look, or try blush pink or pale amber glass for a softer effect. One or two knobs are all a nightstand needs, so this is a quick and affordable upgrade. Pair the new knobs with a small vase of fresh stems and the whole bedside looks refreshed.
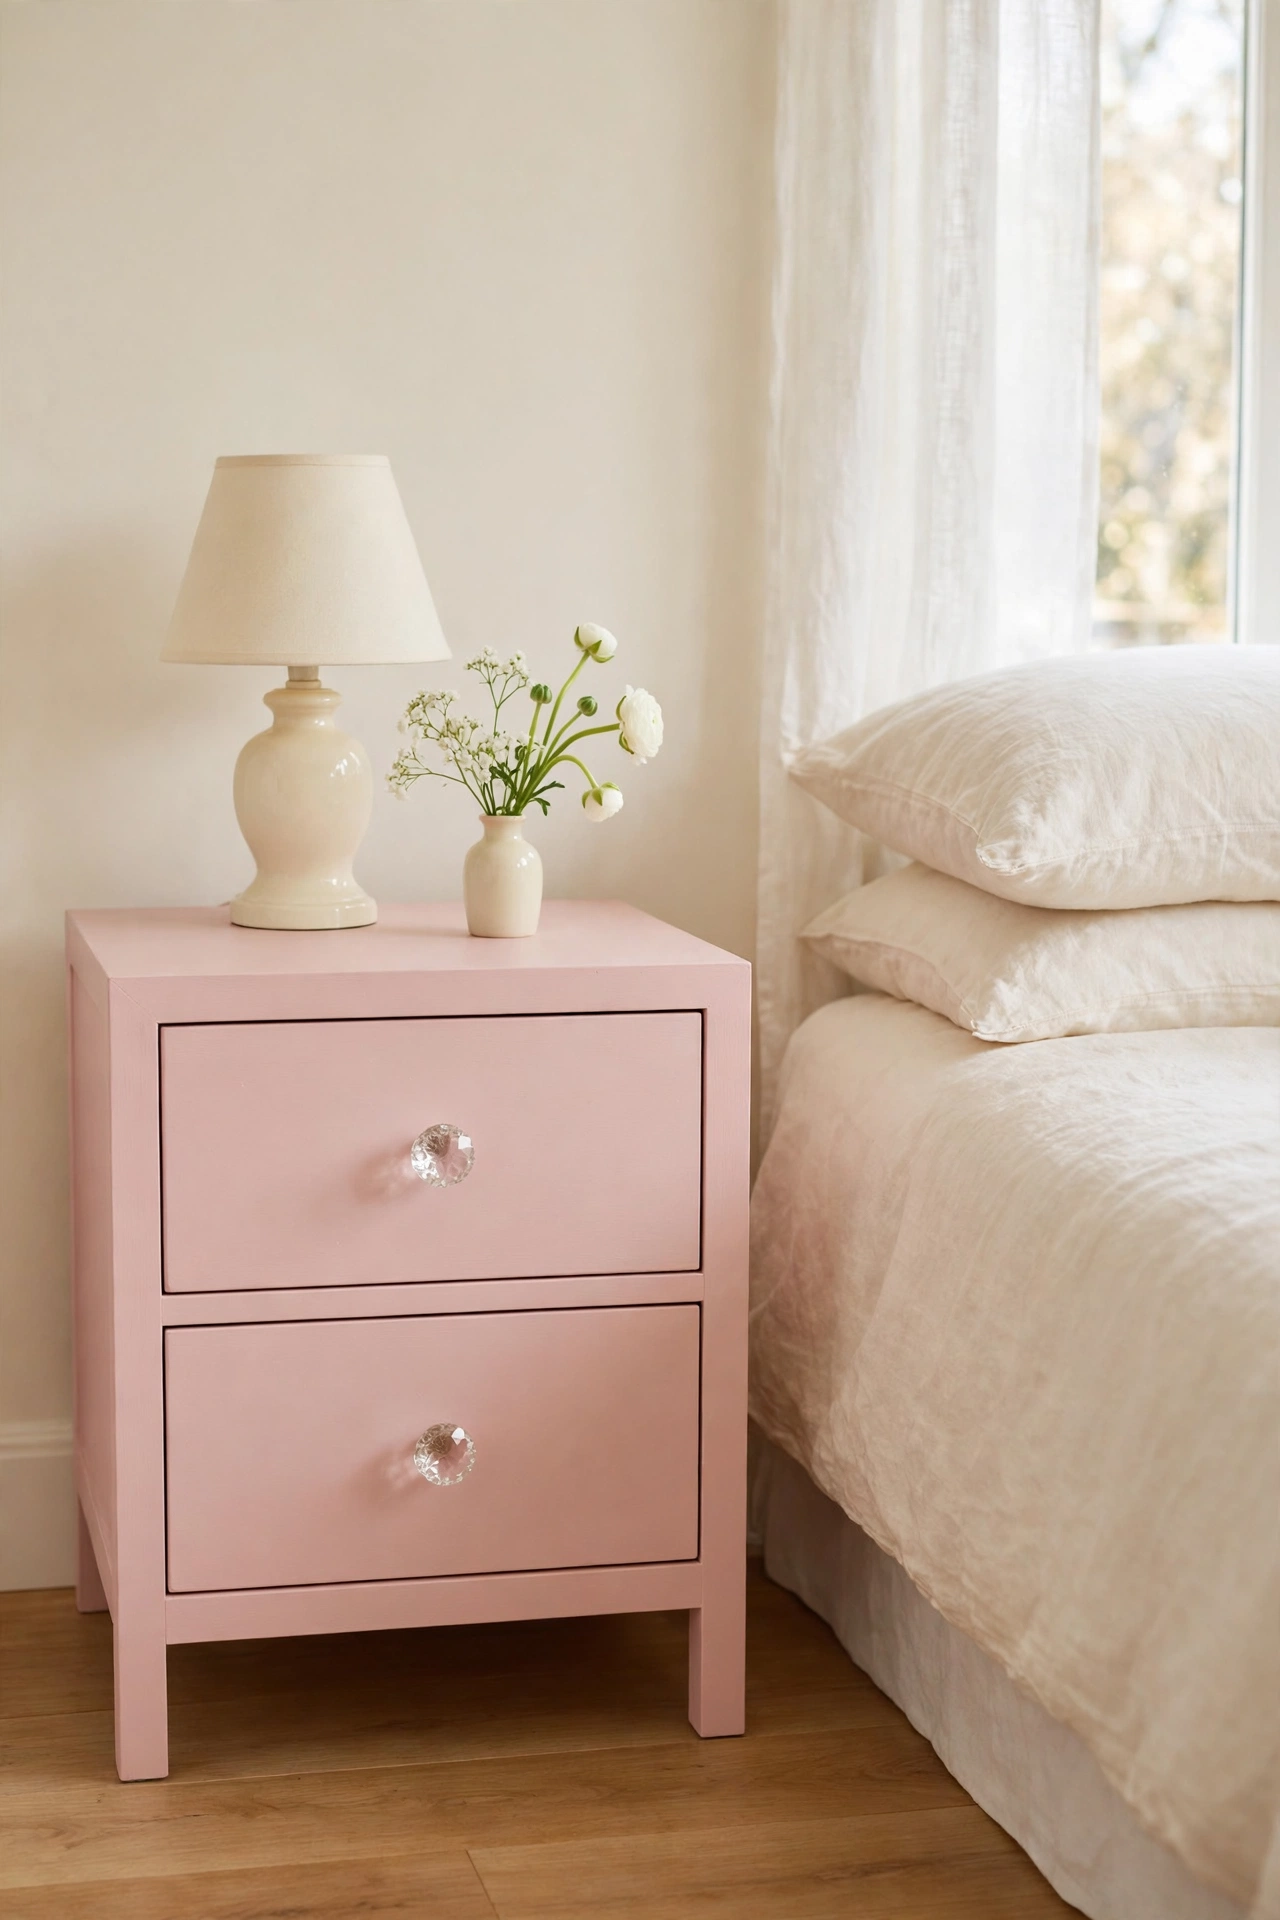
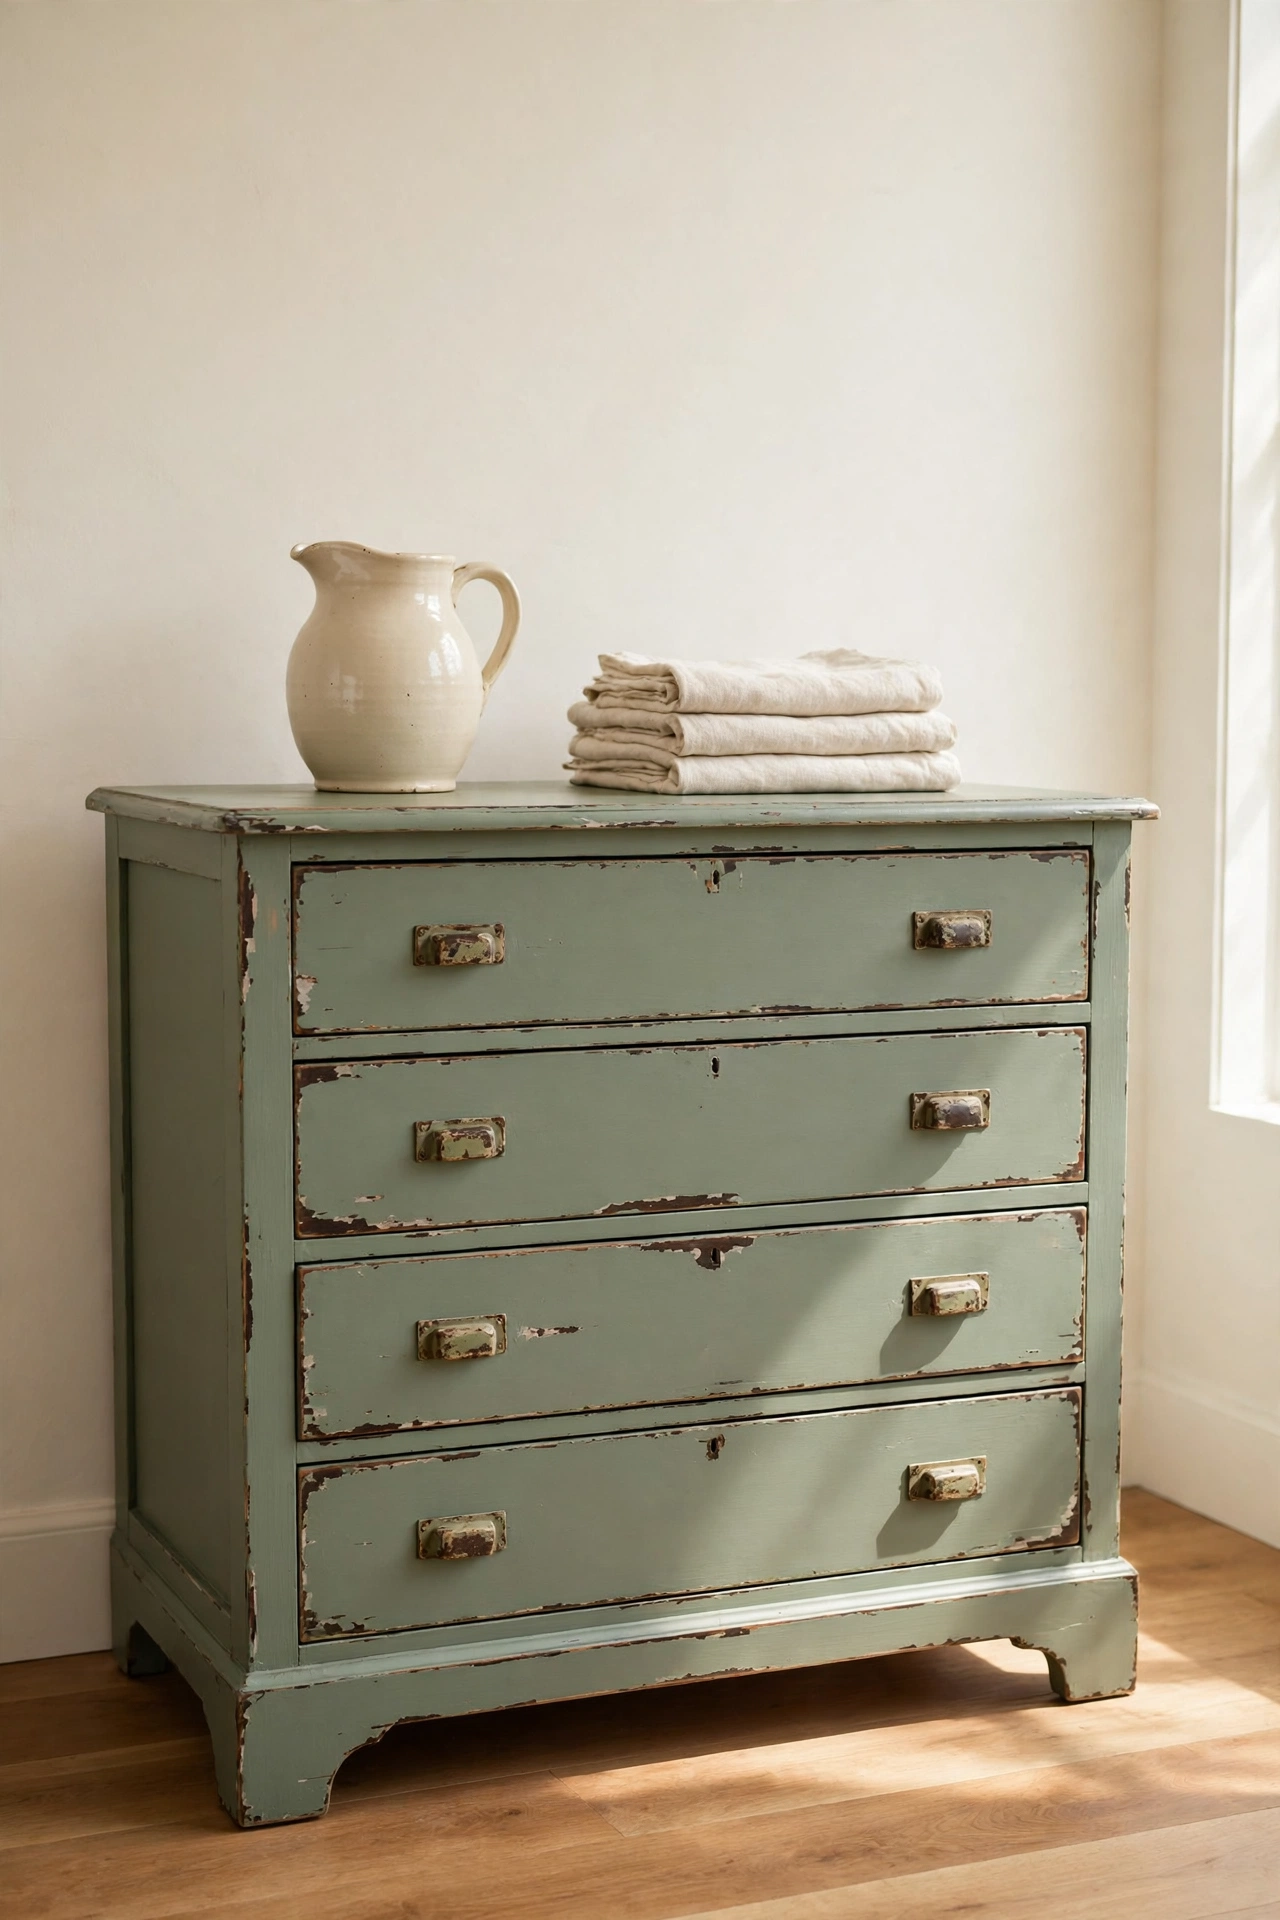
9. Distress Painted Hardware for a Vintage Look
Distressing means sanding painted hardware lightly so a little of the original finish shows through at the edges. Paint old knobs and pulls in cream or sage, let them dry, then rub the raised edges with fine sandpaper. The result looks like hardware that has been loved for decades.
Work slowly and step back often, because it is easy to sand too much. Focus on the spots that would wear naturally, like the front of a knob and the edges of a pull. Seal the finished pieces with clear wax to protect the layers. This technique suits cottage, farmhouse, and shabby chic rooms perfectly.
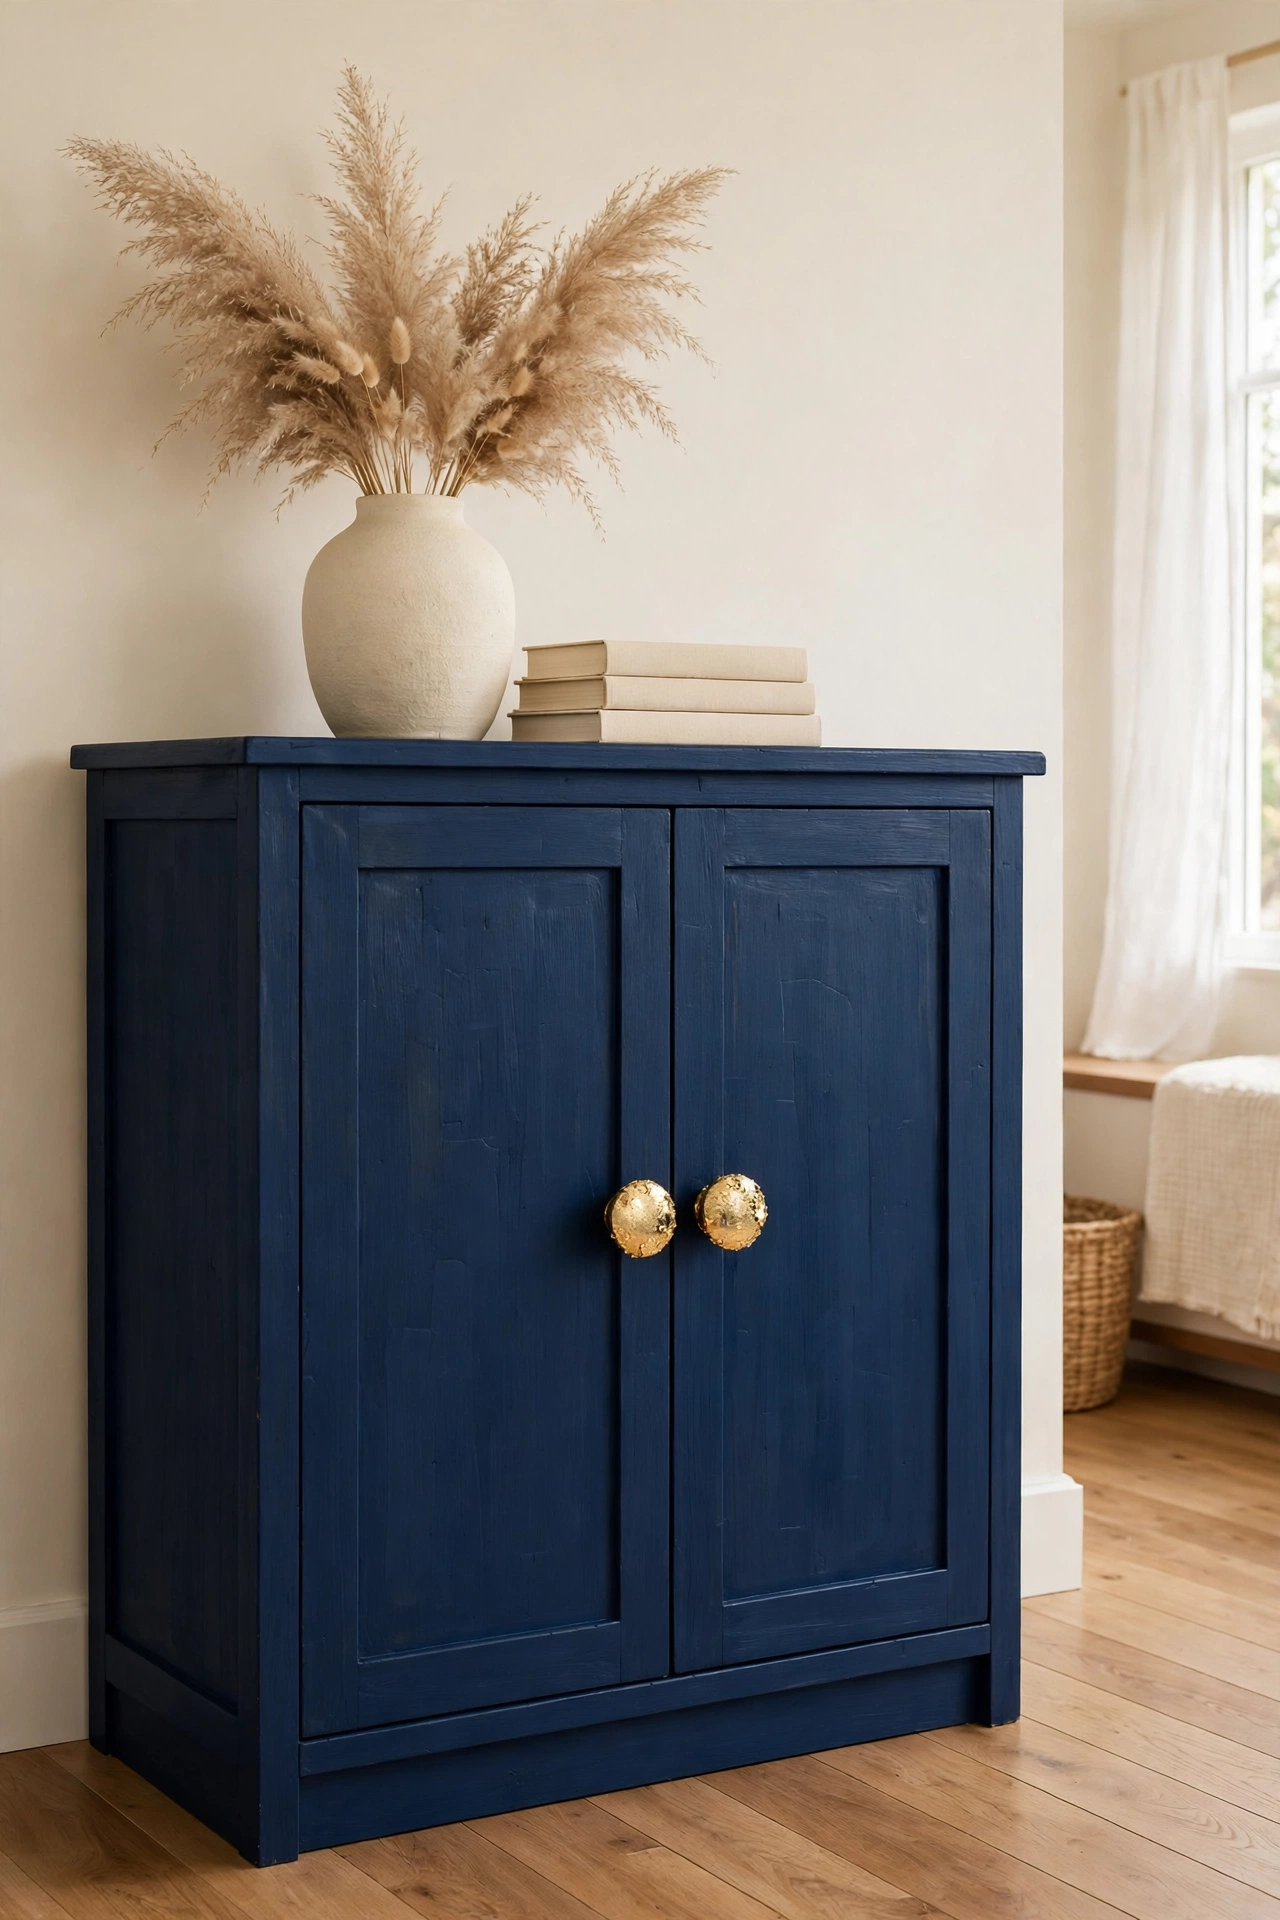
10. Gild Plain Knobs With Gold Leaf
Gold leaf turns the plainest wooden or metal knobs into little pieces of jewelry. Brush on adhesive size, wait until it turns tacky, then press thin sheets of gold leaf onto the knob and smooth them gently. A clear sealer on top keeps the gold bright and protects it from handling.
Gold leaf looks stunning on navy, charcoal, and deep green painted furniture, where the warm metal glows against the dark color. You do not need perfect coverage, because small cracks and overlaps add to the handmade charm. This is a wonderful way to dress up a small accent table or a jewelry cabinet.
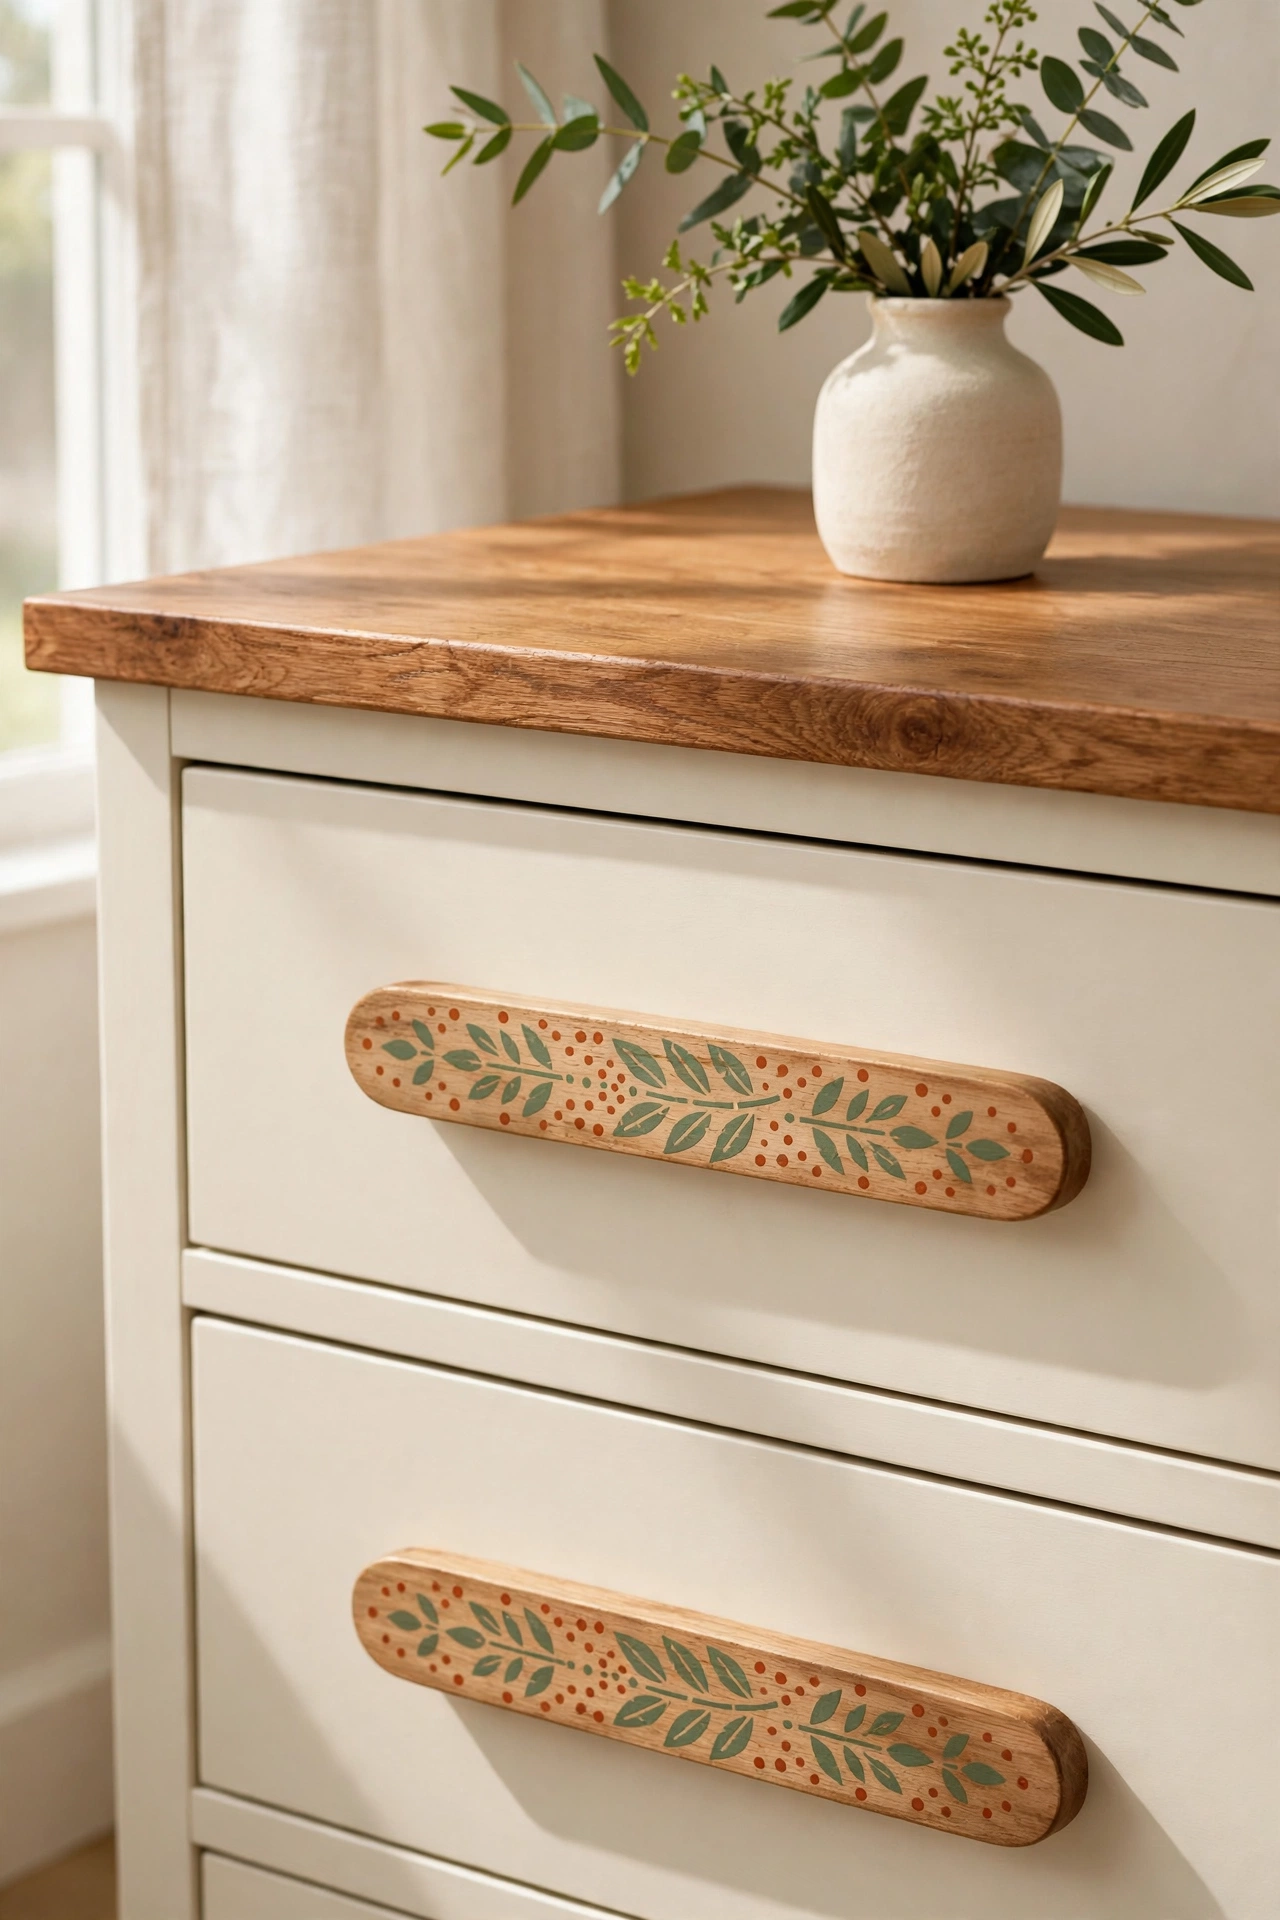
11. Stencil a Pattern Onto Flat Pulls
Flat cup pulls and wide tab pulls have enough surface to carry a small stenciled pattern. Paint the pull a solid base color, let it dry, then stencil a tiny floral, star, or geometric design in a contrasting paint. The pattern peeks out each time you open a drawer, which feels like a hidden surprise.
Use a small stencil brush with very little paint so the design stays crisp and does not bleed under the edges. Soft blue pulls with cream stencils suit a coastal bedroom, while terracotta pulls with cream patterns warm up a kitchen. Seal the stenciled pulls with clear varnish so the design survives daily use.
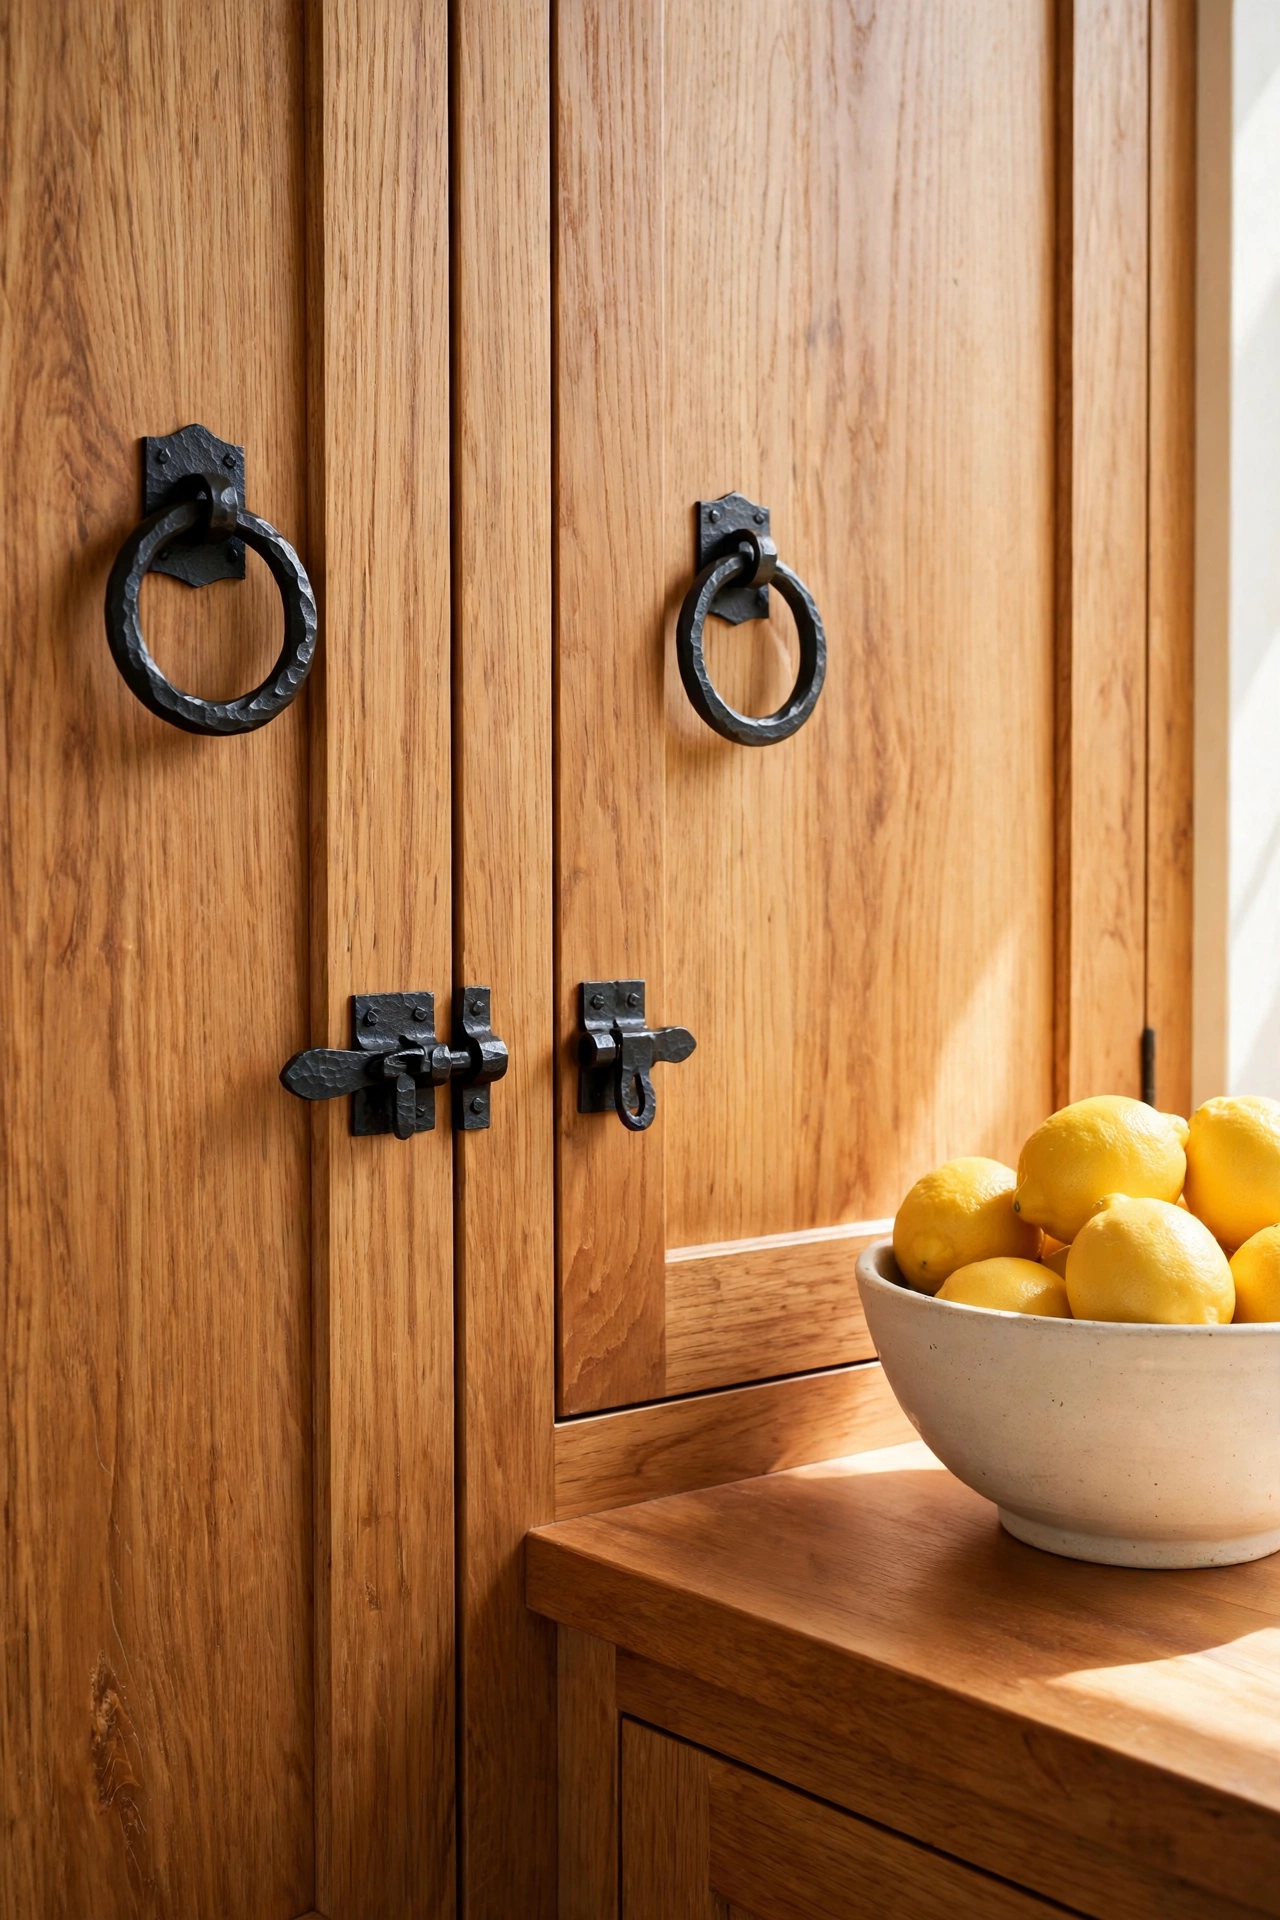
12. Replace Latches With Decorative Iron Hardware
Old chests, trunks, and cabinets often have plain latches that rattle and look tired. Replacing them with decorative wrought iron latches and corner brackets gives the whole piece a crafted, old world feel. The dark iron stands out beautifully against warm wood and cream paint.
Measure the old latch holes before you shop, and choose new hardware that covers the old marks. A simple screwdriver is usually all you need for the swap. Pair the new latches with matching iron hinges and handles so the whole piece looks like it was designed as a set.
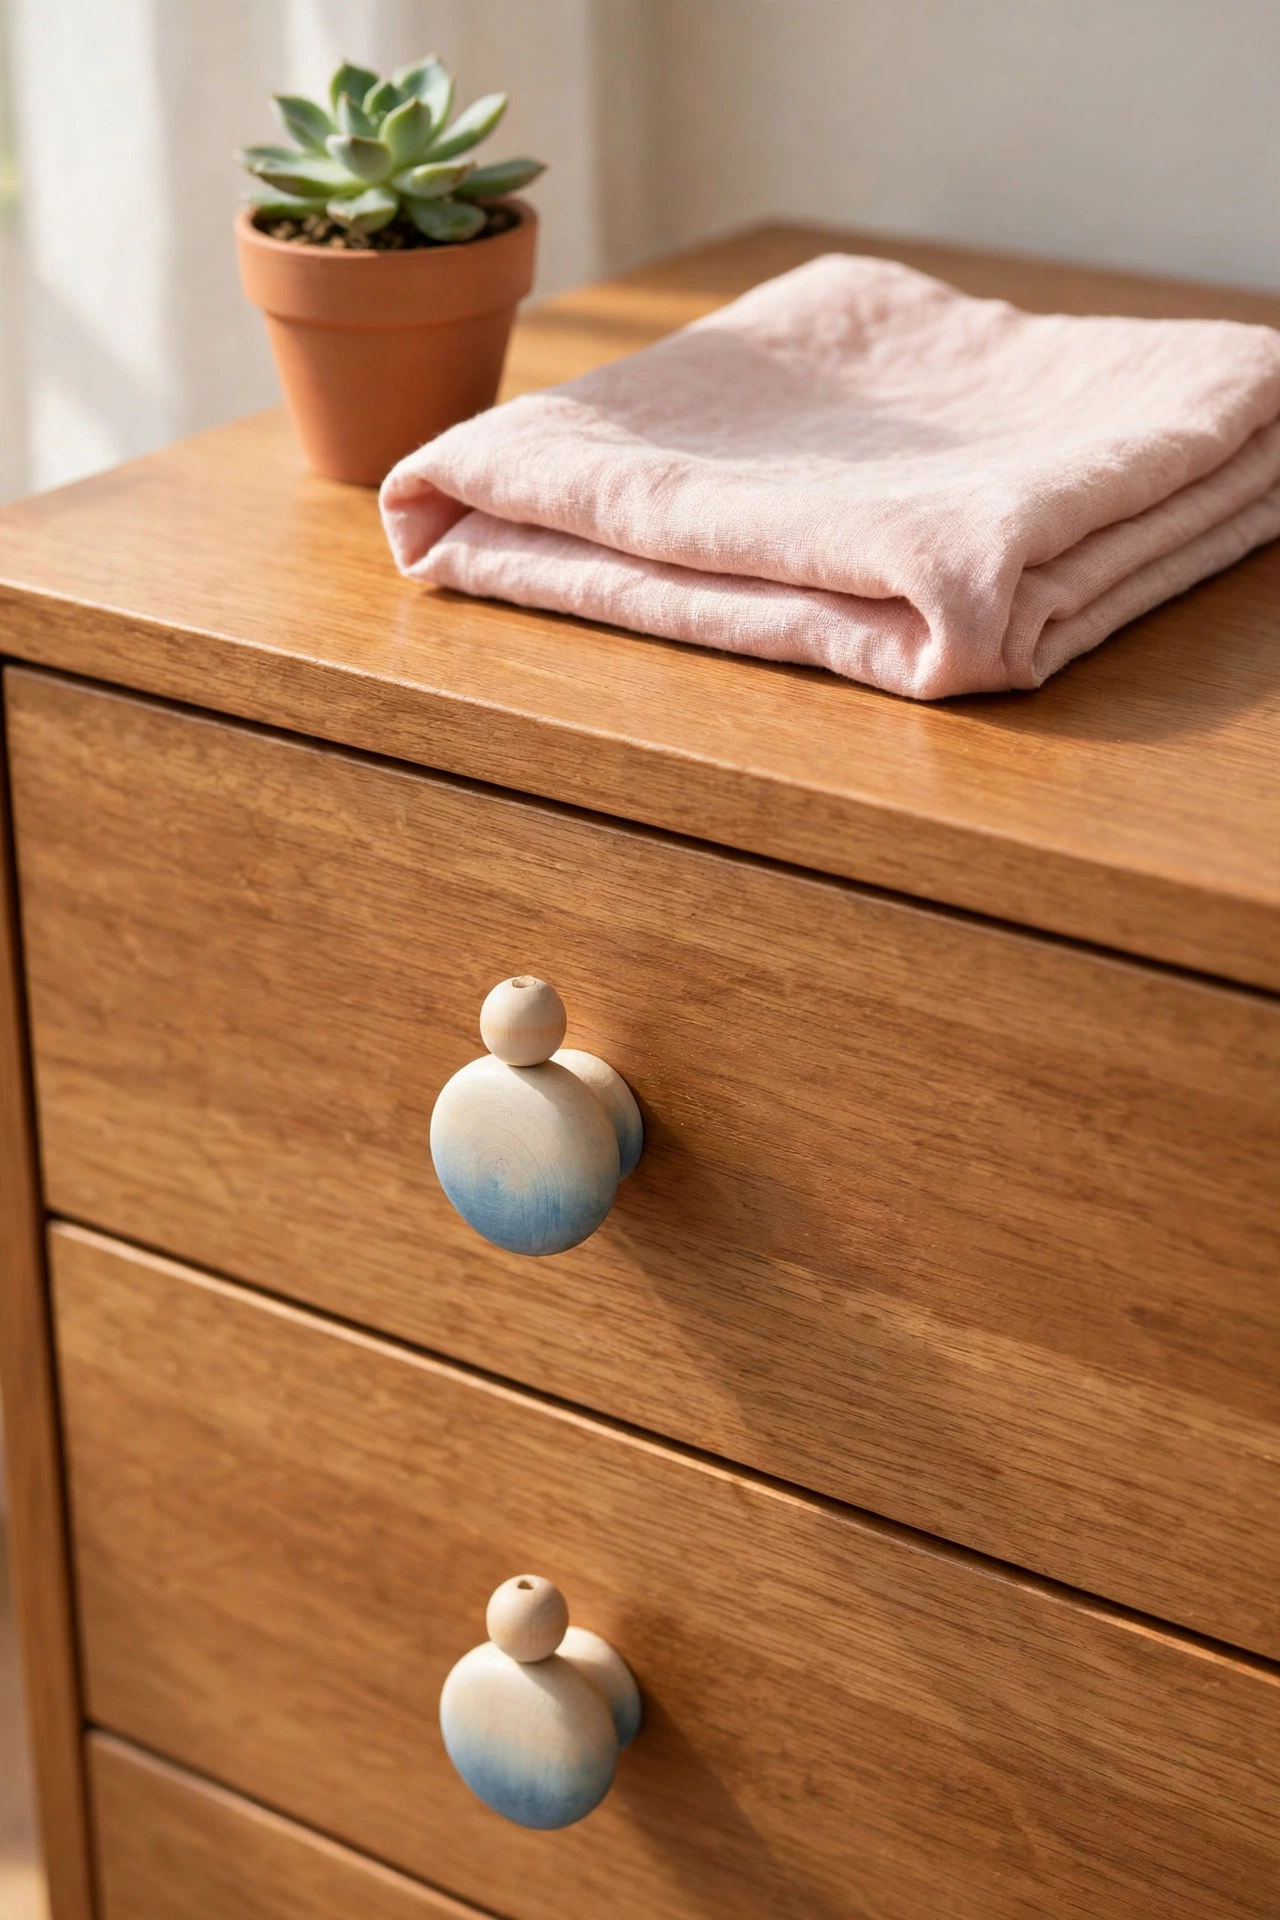
13. Dip Dye Wooden Bead Pulls
Wooden bead pulls are simple to make and easy to color with a dip dye technique. Thread large wooden beads onto a cord or a screw, then dip the lower half of each bead into paint or wood stain. The two tone effect looks modern and playful, and you can match the colors to any room.
Blush pink dipped beads suit a nursery dresser, while terracotta and cream beads warm up a hallway cabinet. Let the beads dry fully on a rack before you fit them, and seal them with clear varnish. This is a fun project to make with older children, and the pulls are light and easy for small hands to grip.
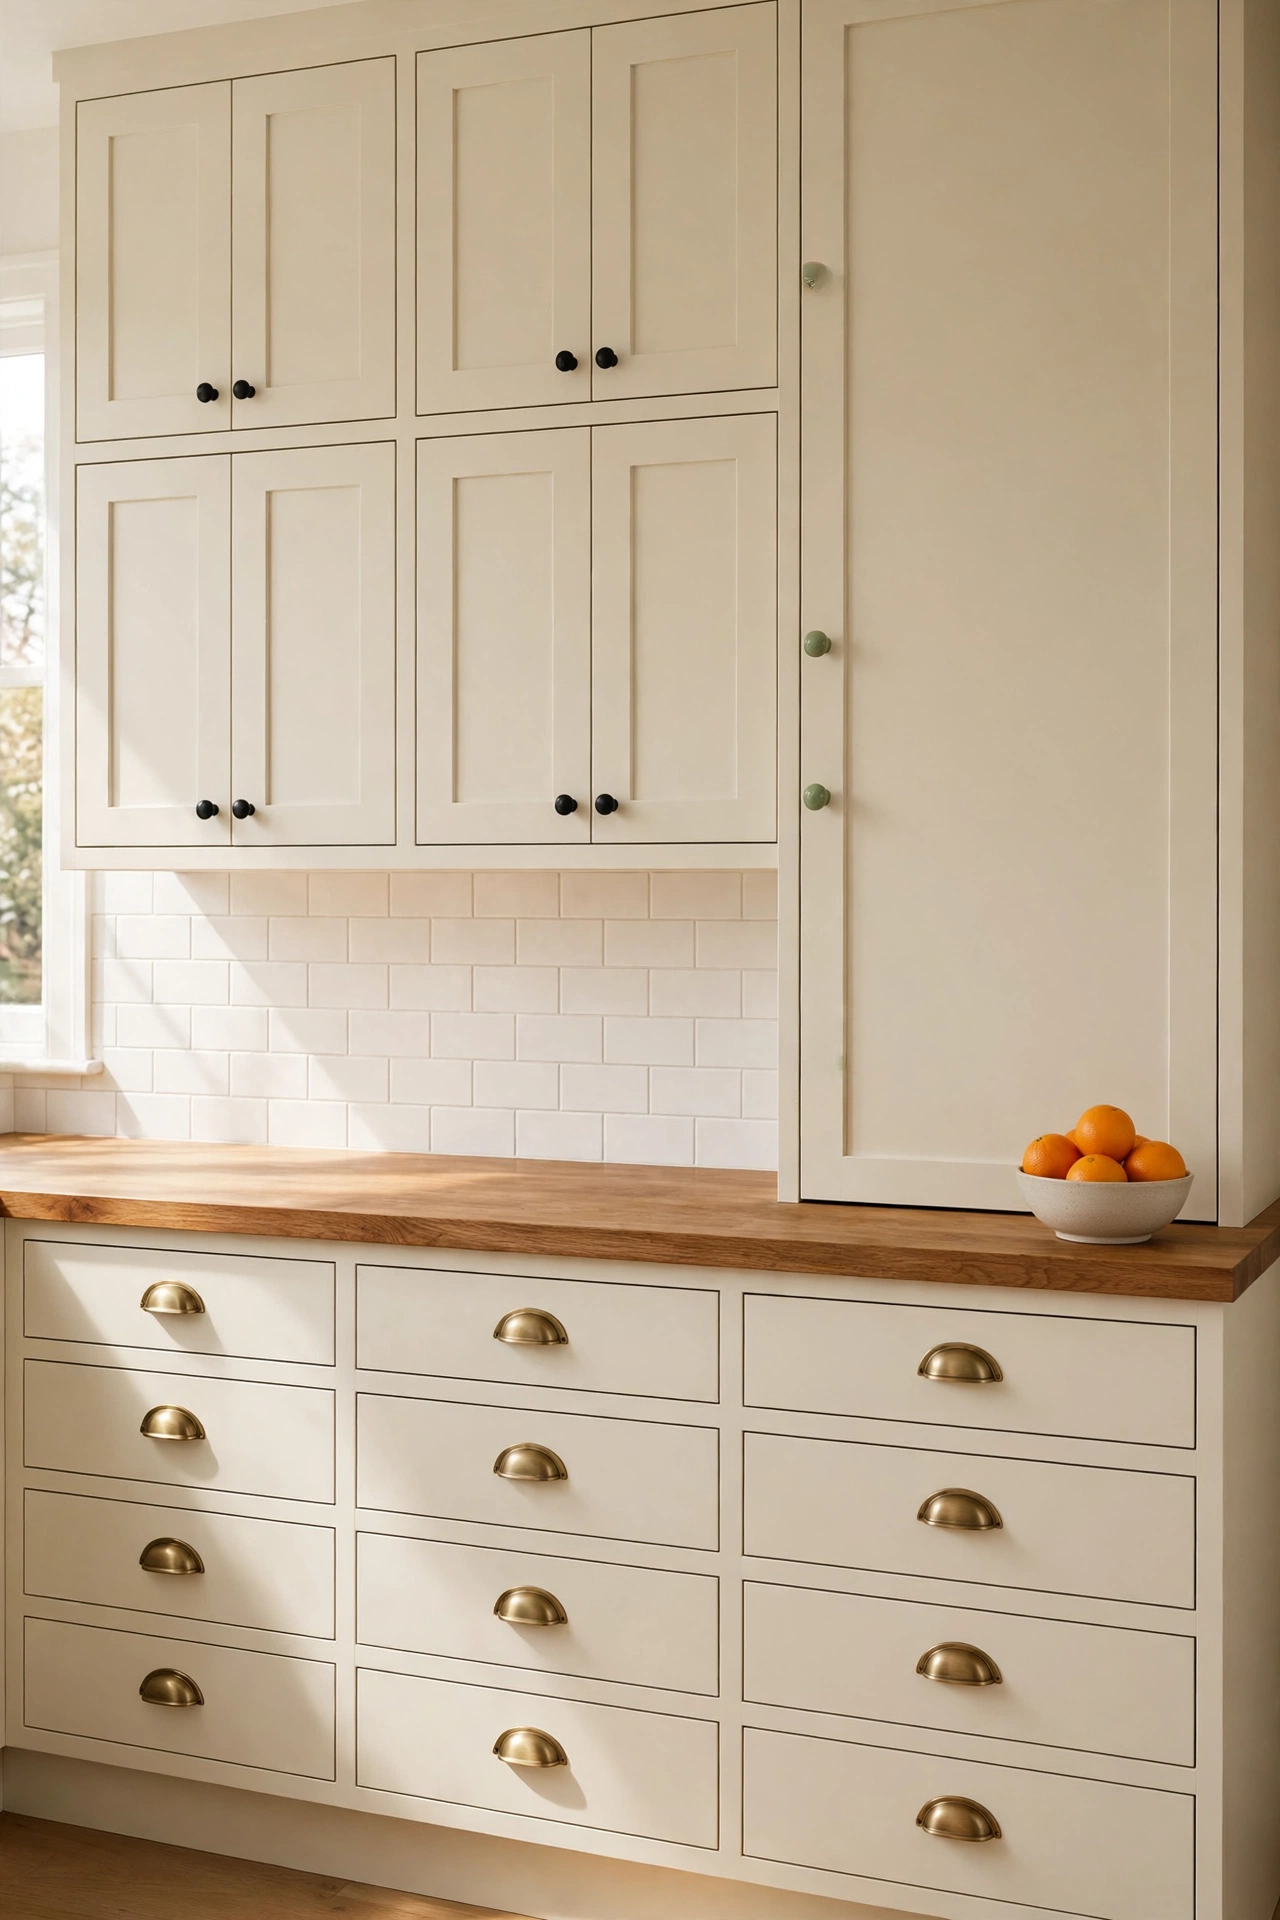
14. Mix and Match Hardware on One Piece
Mixing hardware styles on a single piece of furniture is a designer trick that looks collected and personal. Use brass knobs on the top drawers, ceramic knobs in the middle, and leather pulls on the bottom drawers of one dresser. The mix works when the finishes share a warm or cool tone and the sizes stay similar.
Keep the furniture color simple so the hardware can shine, and step back to check the balance before you tighten everything. This approach is perfect for using up leftover knobs from past projects. The finished piece looks like it grew over time, full of character and charm.
Conclusion
Hardware makeovers prove that the smallest parts of a piece of furniture can make the biggest difference. A coat of paint, a gentle patina, or a thoughtful swap can turn a tired dresser into a piece you are proud to show off. Each of these 14 ideas costs very little and takes only an afternoon, yet the results look like a full furniture transformation.
Start with the piece you see every day, remove one knob, and try a single idea. Once you see how much a small change matters, you will look at every drawer and cabinet in your home with fresh eyes. For a bigger refresh to go with your new hardware, these DIY furniture makeover ideas will help you plan the whole project from start to finish.
Frequently Asked Questions About DIY Decorative Hardware Makeovers for Old Furniture
Do I need to remove hardware before painting it?
Yes, always remove knobs, pulls, and hinges before you paint them. Painting hardware in place leaves drips on the furniture and misses the back edges. Removal also lets you clean the hardware properly, which helps the paint stick and last much longer.
What paint works best on metal drawer pulls?
Spray paint made for metal gives the smoothest finish on drawer pulls, and a metal primer underneath helps it grip. For brush painting, use an all surface paint or a chalk paint with a clear sealer on top. Let each coat dry fully and add a clear top coat for pieces that get daily use.
How do I clean old brass hardware before a makeover?
Wash brass hardware in warm soapy water first to remove grease and dust, then dry it completely. For tarnish, rub gently with a paste of lemon juice and baking soda, then rinse and dry. Decide whether you want a bright shine or an aged patina before you seal the finished piece.
Can I mix different hardware finishes on one piece of furniture?
Yes, mixing finishes works well when the pieces share a warm or cool undertone and stay similar in size. Brass, ceramic, and leather all sit happily together on a cream or wood dresser. Keep the furniture color simple so the mixed hardware reads as a deliberate choice.
How do I measure replacement hardware so it fits old holes?
Measure the distance between the centers of the two screw holes on pulls, which is called the center to center measurement. For single knobs, check the screw length and the thickness of the drawer front. Take the old hardware with you when you shop, or keep the measurements written down with the piece.

Hi, I’m Emily! I turn messy corners into cozy, organized spots. DreamNestDecor is where I share simple, practical home ideas — decor, organization, and small-space solutions that work in real life, not just in photos. Every idea here is carefully researched before it’s shared.