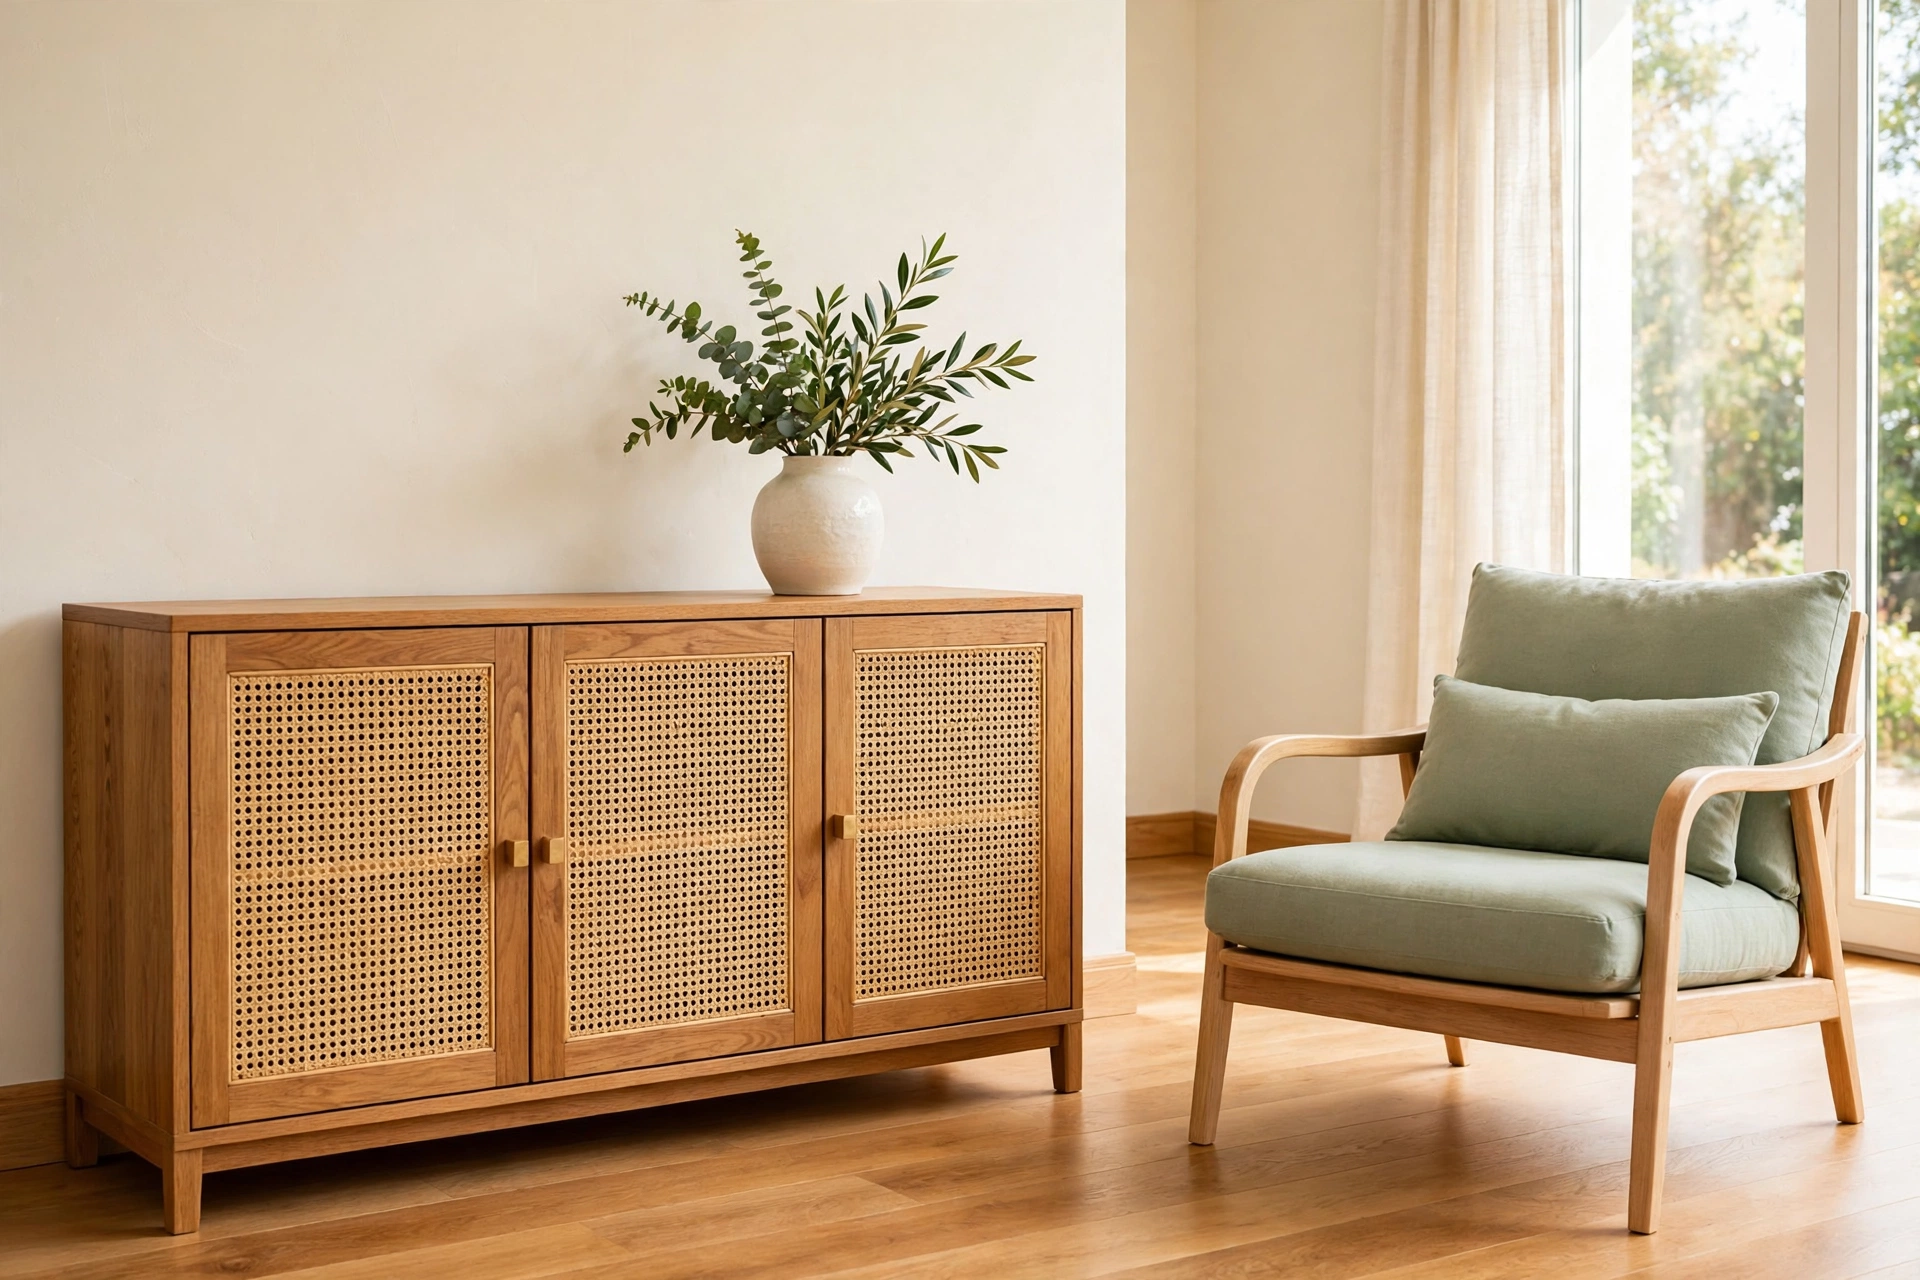
Picture this: you walk past a plain wooden cabinet you have owned for years, and for the first time you see what it could become. A panel of woven cane in place of a solid door, light passing through the open weave, and suddenly the whole piece looks lighter, warmer, and far more expensive than it is. That small change is the magic of cane webbing.
Cane webbing is a natural woven material made from rattan cane, and it is one of the most affordable ways to give old furniture a fresh, handmade look. It works on cabinets, chairs, headboards, and even small trays. These 19 DIY cane webbing projects will show you how to add beautiful woven detail to furniture all over your home, one simple panel at a time.
1. Swap Solid Cabinet Doors for Cane Webbing Panels
Replacing solid cabinet doors with cane webbing panels is the classic cane project, and it transforms a heavy cabinet into a light, airy piece in a single afternoon. The open weave lets you glimpse dishes or books inside while keeping dust and clutter softly hidden. It is a perfect first project because the frame of the door stays the same and only the center panel changes.
Remove the door, cut out the center panel with a saw, and soak the cane webbing in warm water for thirty minutes so it stretches tight as it dries. Staple or spline the sheet into the frame and add a thin trim piece to hide the edges. For more ways to refresh the piece underneath, these DIY cabinet makeover ideas pair beautifully with a new cane panel.
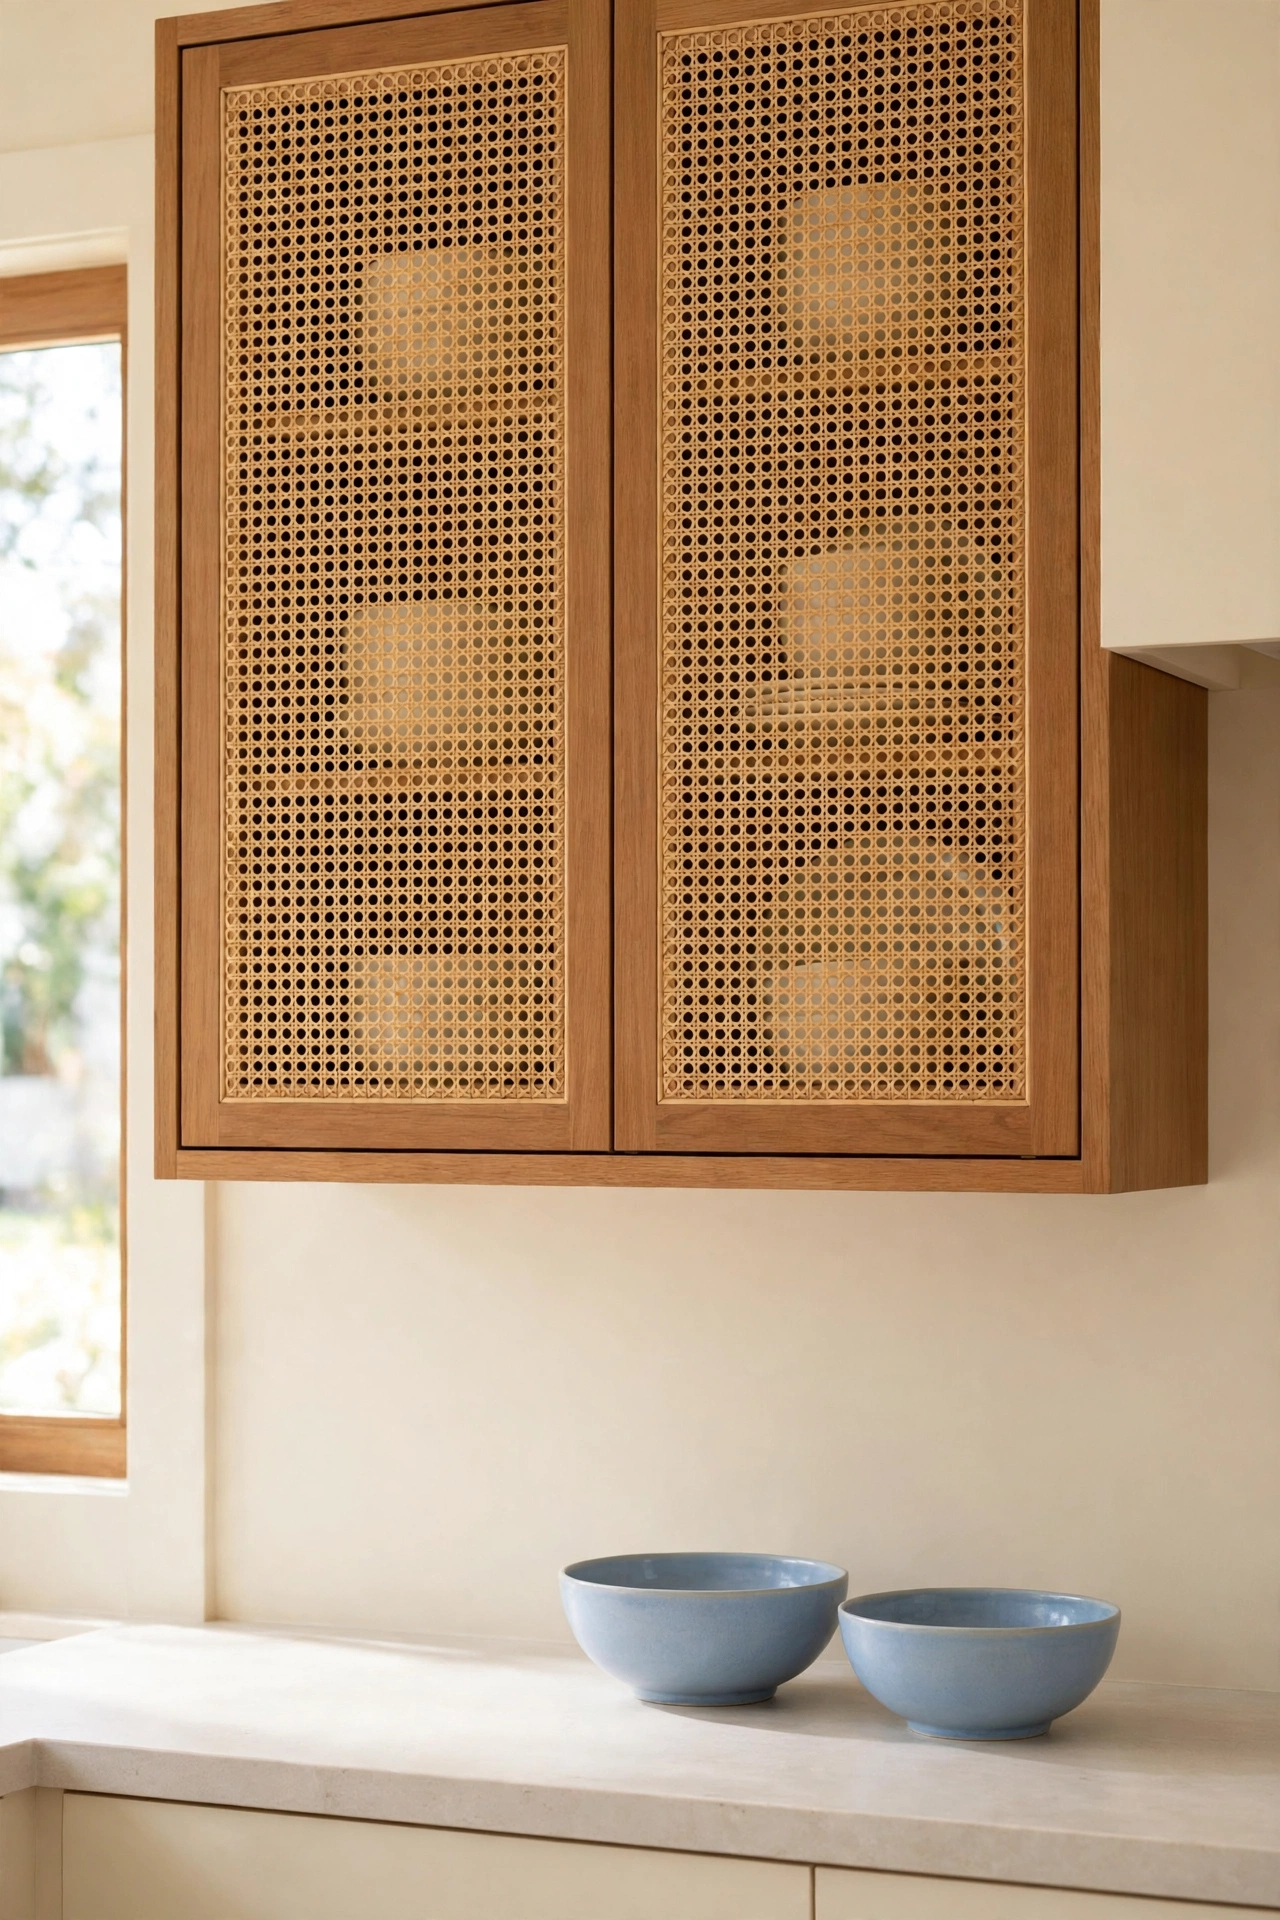
2. Add Cane Webbing Drawer Fronts to a Dresser
A plain dresser becomes a statement piece when its drawer fronts get cane webbing insets. The woven texture breaks up a flat wall of wood and adds a relaxed, natural feeling to a bedroom or hallway. This project works best on dressers with flat drawer fronts that can hold a shallow inset frame.
Cut a frame from thin wood strips, fit it to the front of each drawer, and stretch a piece of cane webbing across the opening before you glue the frame in place. Keep the dresser body in warm wood or paint it a soft cream so the golden cane stands out. Small brass pulls finish the look and make the dresser feel like a custom find.
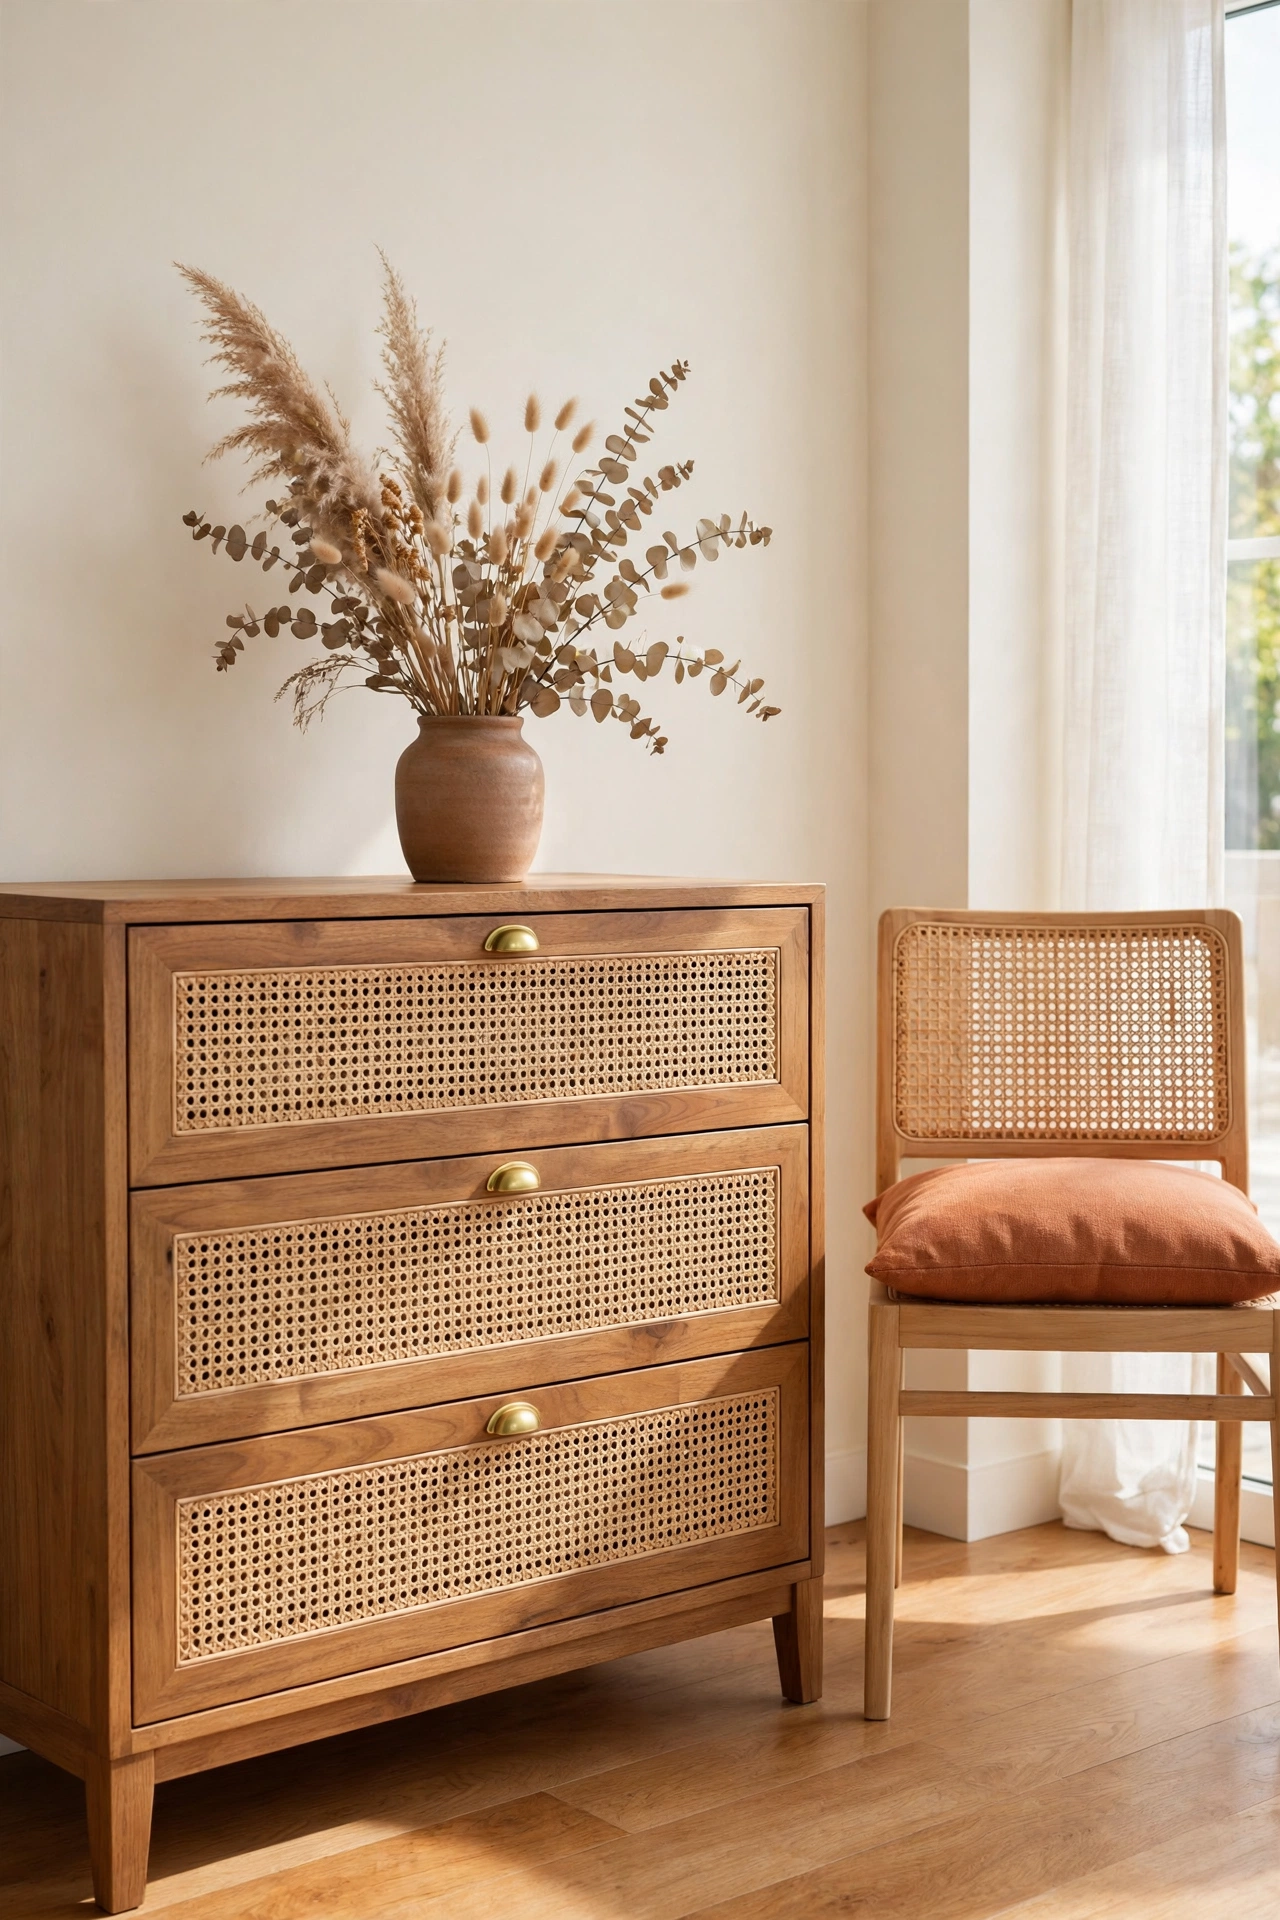
3. Build a Cane Webbing Front for a Media Console
A media console with cane webbing doors hides cables and consoles while still letting remote signals and air pass through. That open weave is practical as well as pretty, since game consoles and streaming boxes need airflow to stay cool. The woven front also softens a wall of black screens and speakers.
Build a simple wooden frame for the front of the console, or retrofit the doors of a console you already own. Keep the shelves inside tidy with a few labeled baskets so the glimpse through the cane looks intentional. The finished console looks calm and collected, even when the television is off.
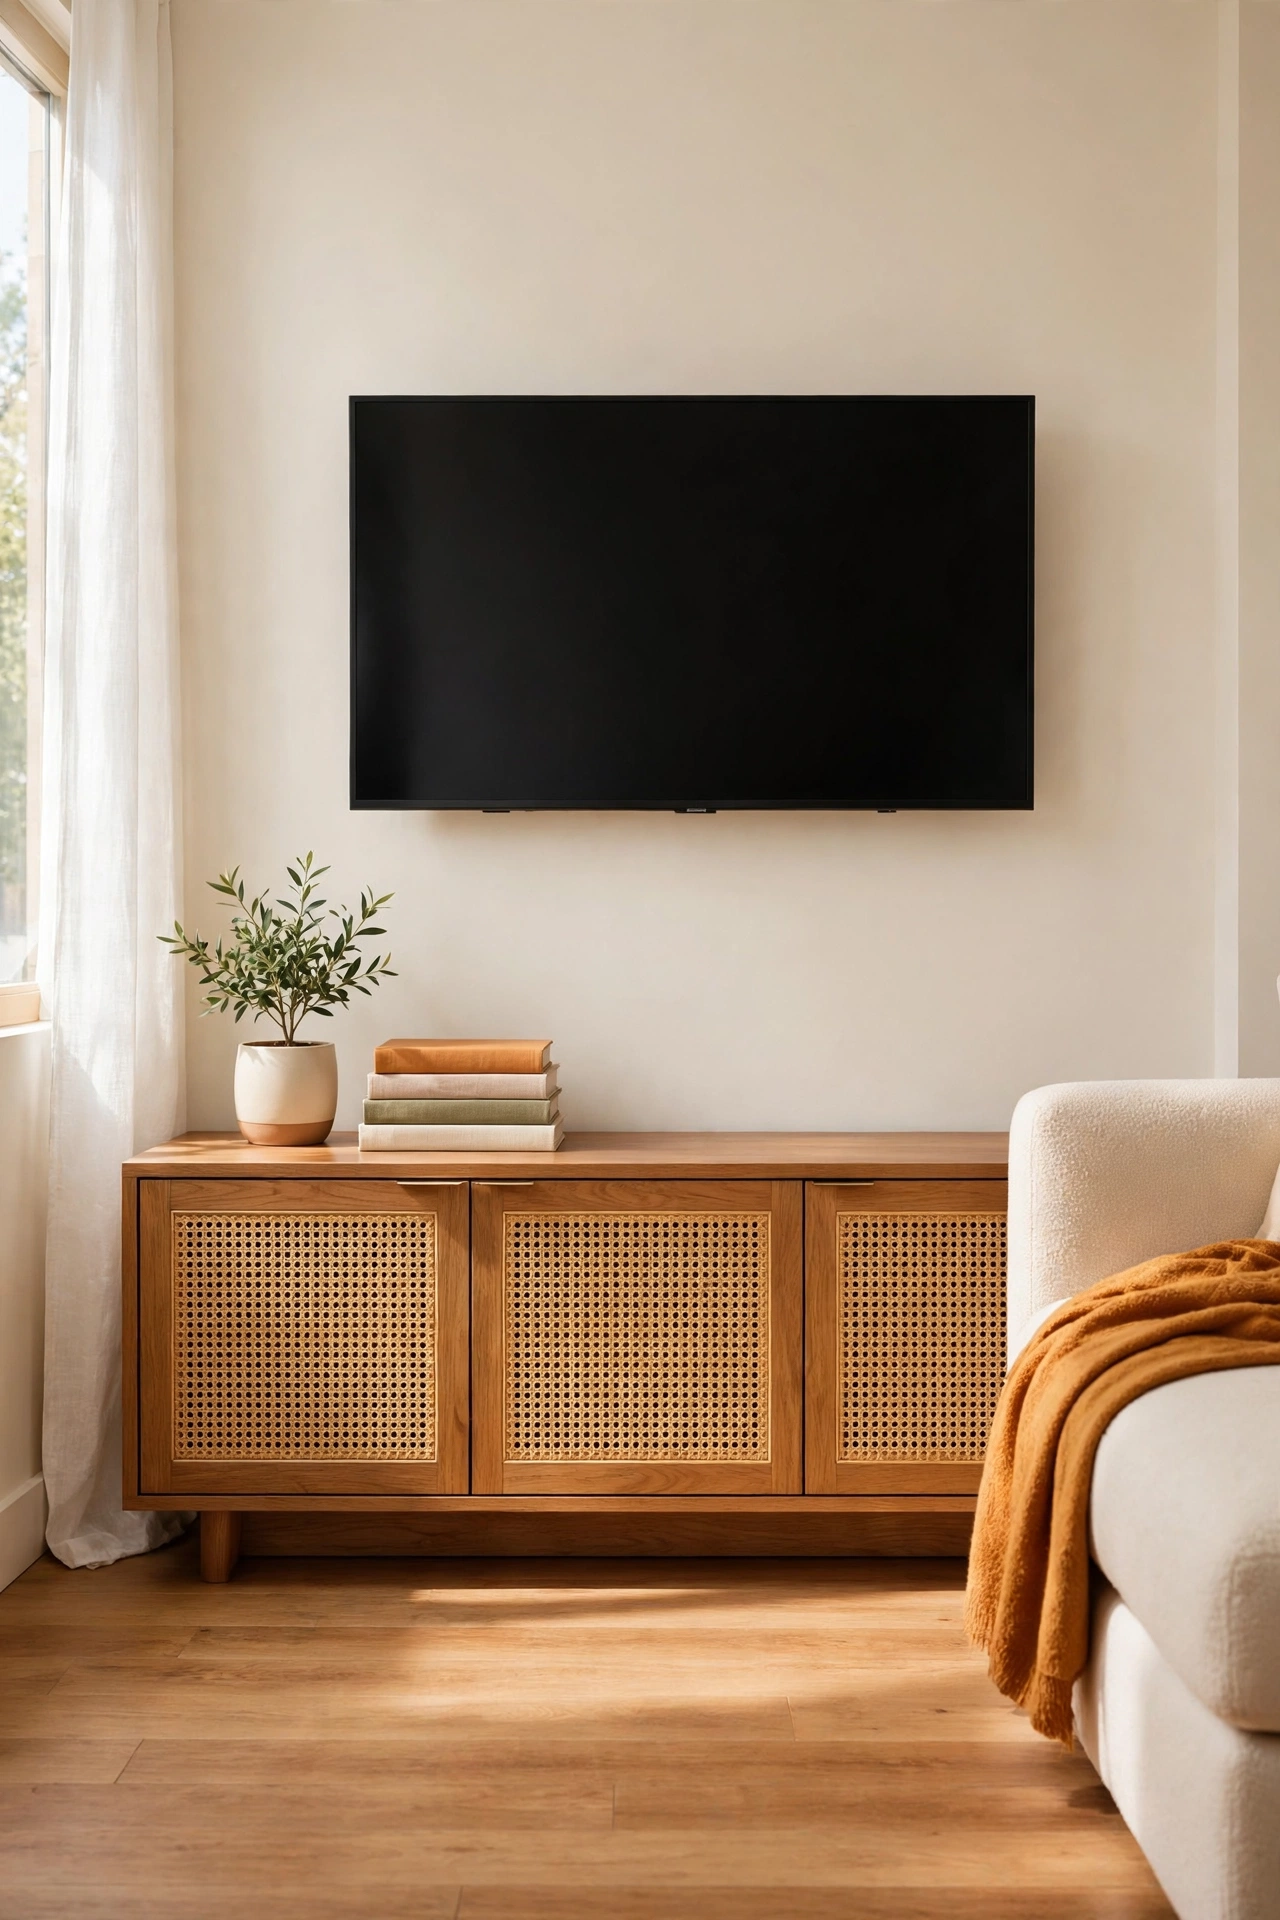
4. Refresh a Sideboard With Cane Webbing Doors
A sideboard is often the largest piece of furniture in a dining room, so a cane webbing refresh changes the whole room. The woven doors bring a warm, natural texture that pairs beautifully with wood tables, cream walls, and simple tableware. It is the kind of update guests notice the moment they sit down.
Sand the sideboard lightly, paint or stain the frame, and fit cane webbing into the door frames using spline and glue. Style the top with a vase of fresh greenery and a stack of serving plates. If you love giving old pieces a second life, these DIY furniture makeover ideas offer more ways to transform dated furniture on a budget.
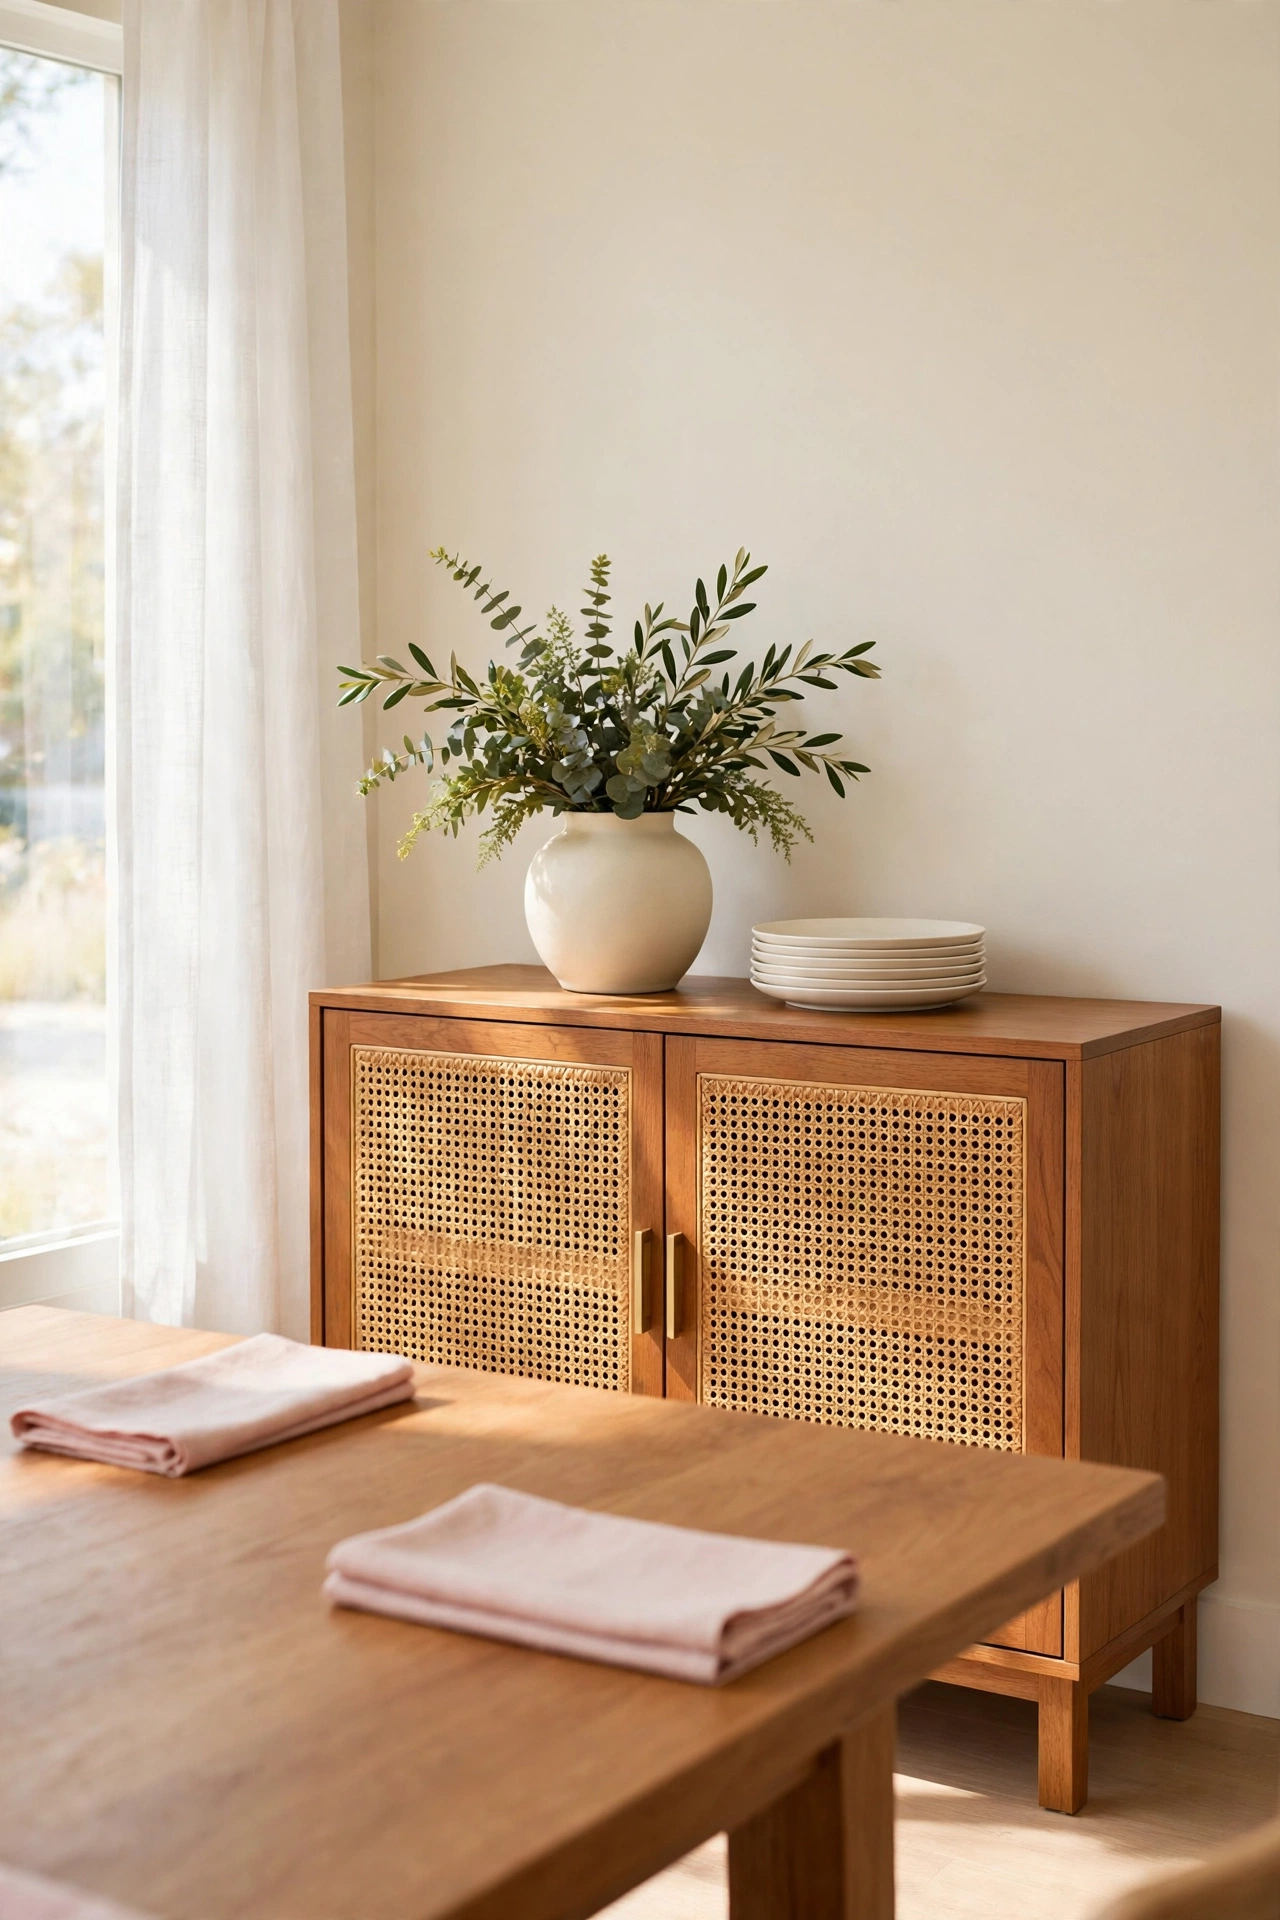
5. Wrap a Nightstand Door in Cane Webbing
A nightstand is small, which makes it the ideal practice project before you tackle a larger piece. One cane webbing door turns a basic nightstand into a charming bedside companion, and the open weave keeps the piece from feeling bulky next to the bed. The project takes only a few hours from start to finish.
Remove the door, cut out the center, and fit a piece of pre-woven cane sheeting with spline. Paint the frame in a soft sage green or keep the natural wood tone for a calm bedroom look. Add a small lamp and a stack of books on top, and the nightstand looks like it came from a boutique shop.
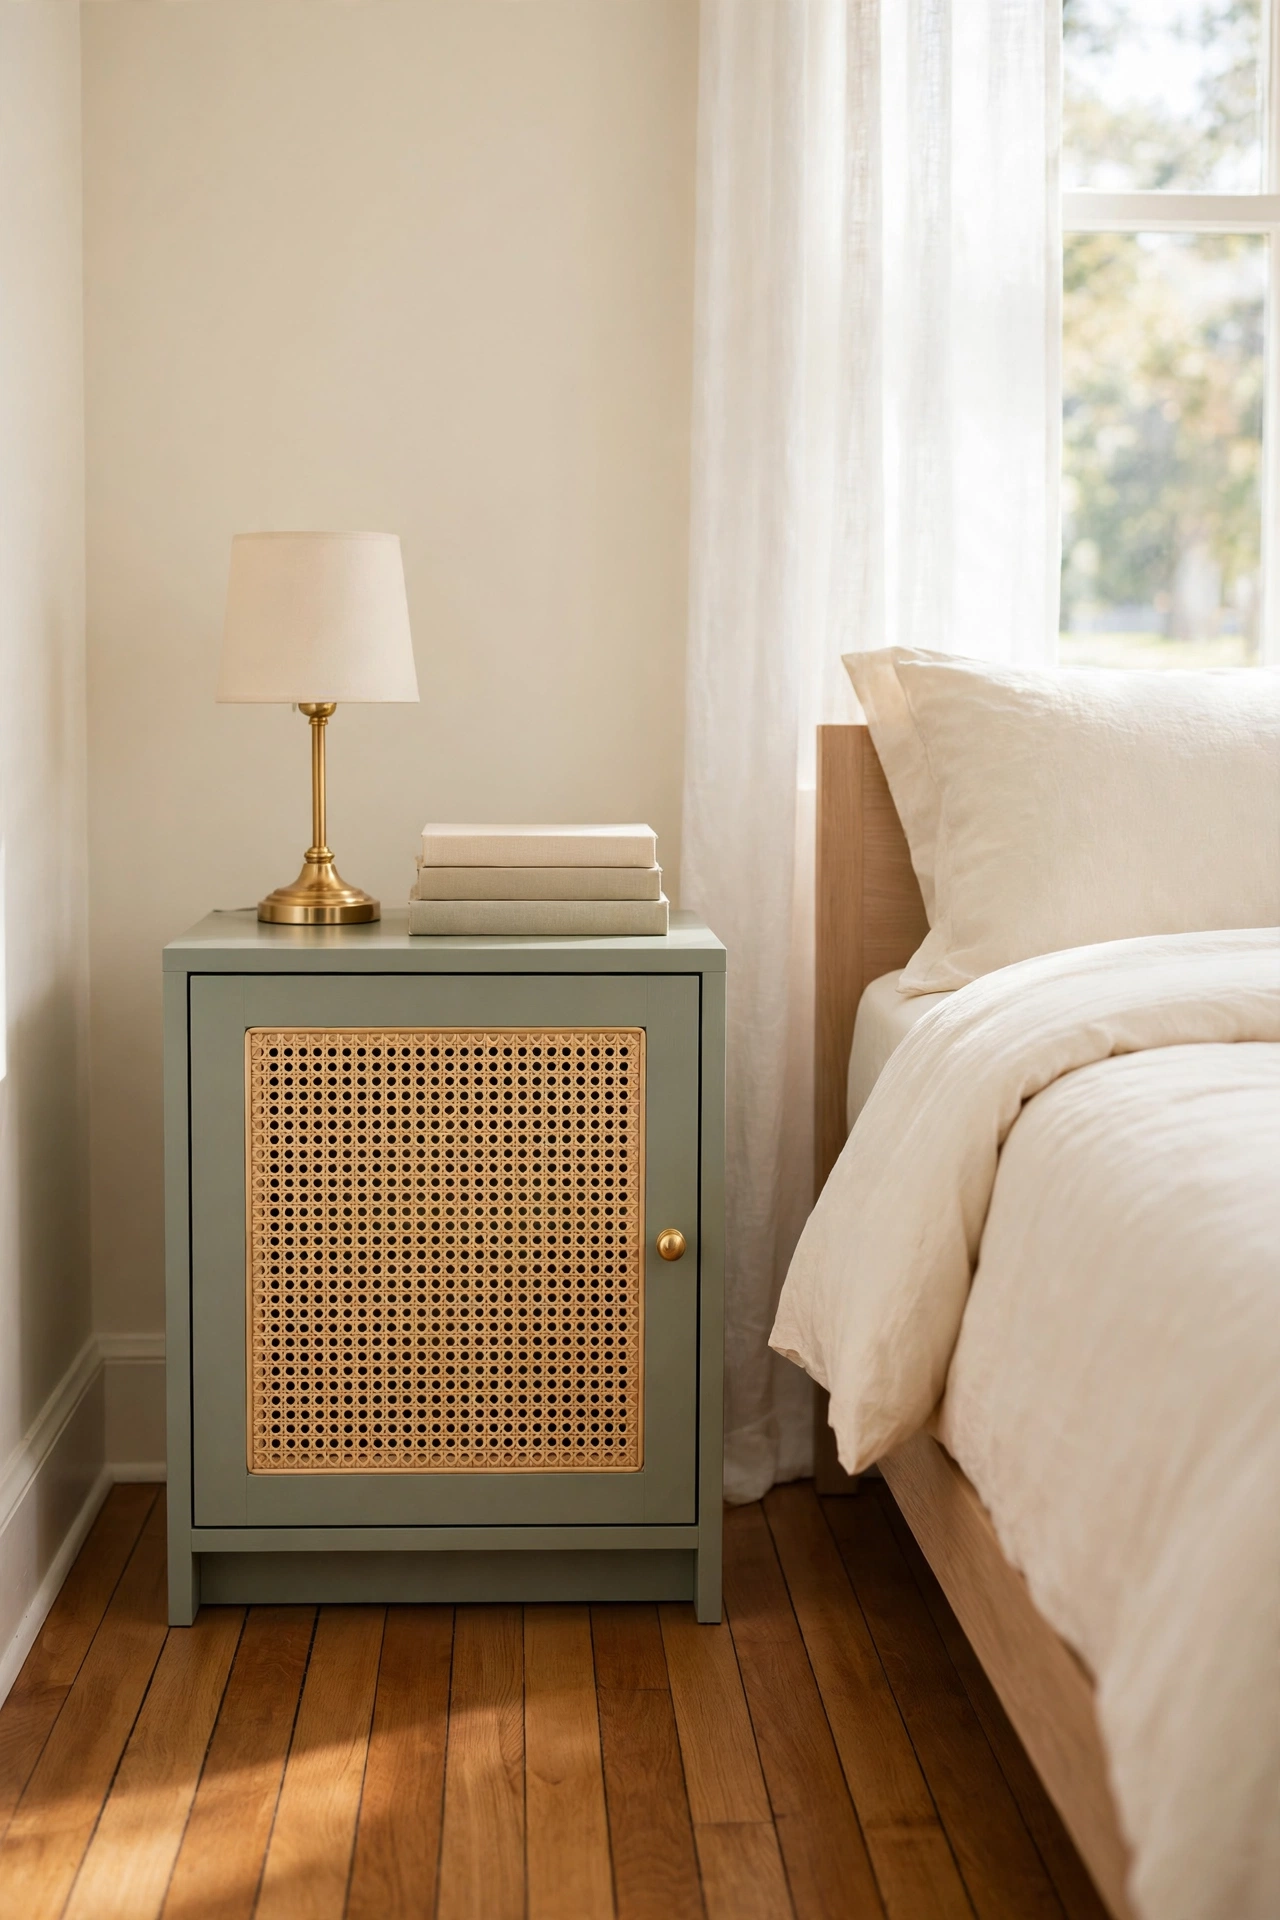
6. Create a Cane Webbing Headboard Panel
A cane webbing headboard adds texture and warmth to a bedroom without the weight of solid wood or heavy fabric. The woven panel lets the wall color show through, so it feels light even in a small room. A simple wooden frame with a stretched cane sheet is all you need to build one yourself.
Measure the width of your bed, build a rectangular frame from wood, and staple soaked cane webbing across the back so it dries drum tight. Mount it to the wall or attach it to the bed frame. For more bedroom ideas built around a single focal piece, these DIY headboard ideas show how one project can anchor a whole room.
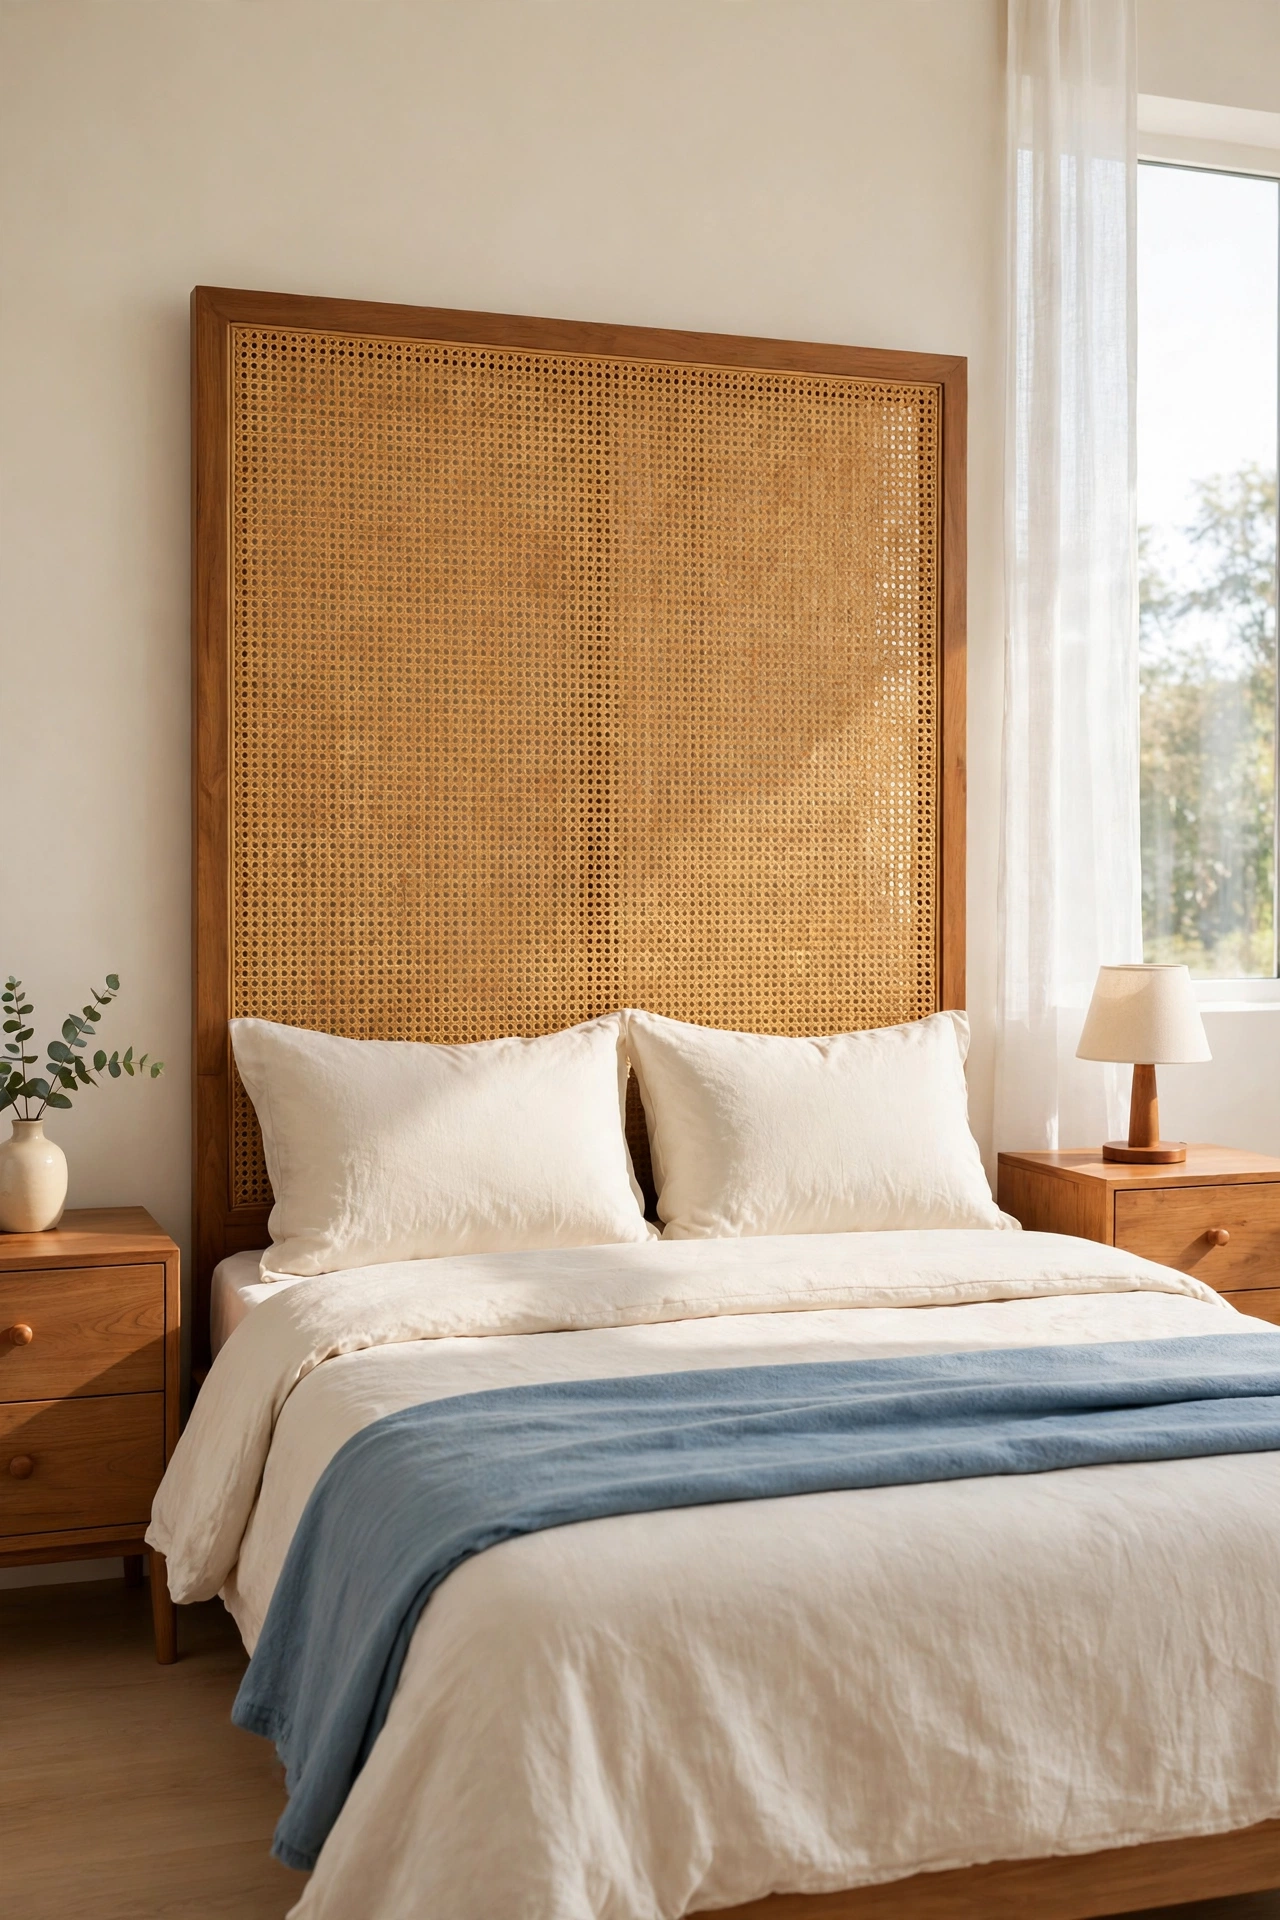
7. Refresh Dining Chair Backs With Cane Webbing
Old dining chairs with worn or dated backs get a new life with cane webbing inserts. The woven backs are comfortable, breathable, and far lighter to look at than solid wood. A full set of cane-backed chairs makes a dining room feel fresh and collected, like a favorite cafe.
Remove the old back panel or upholstery, fit a cane sheet into the frame with spline, and refinish the wood with paint or stain. Soft blue or warm terracotta paint on the frames makes the golden cane glow. For more ways to give tired chairs a new finish, these painted furniture ideas will help you choose the right color and technique.
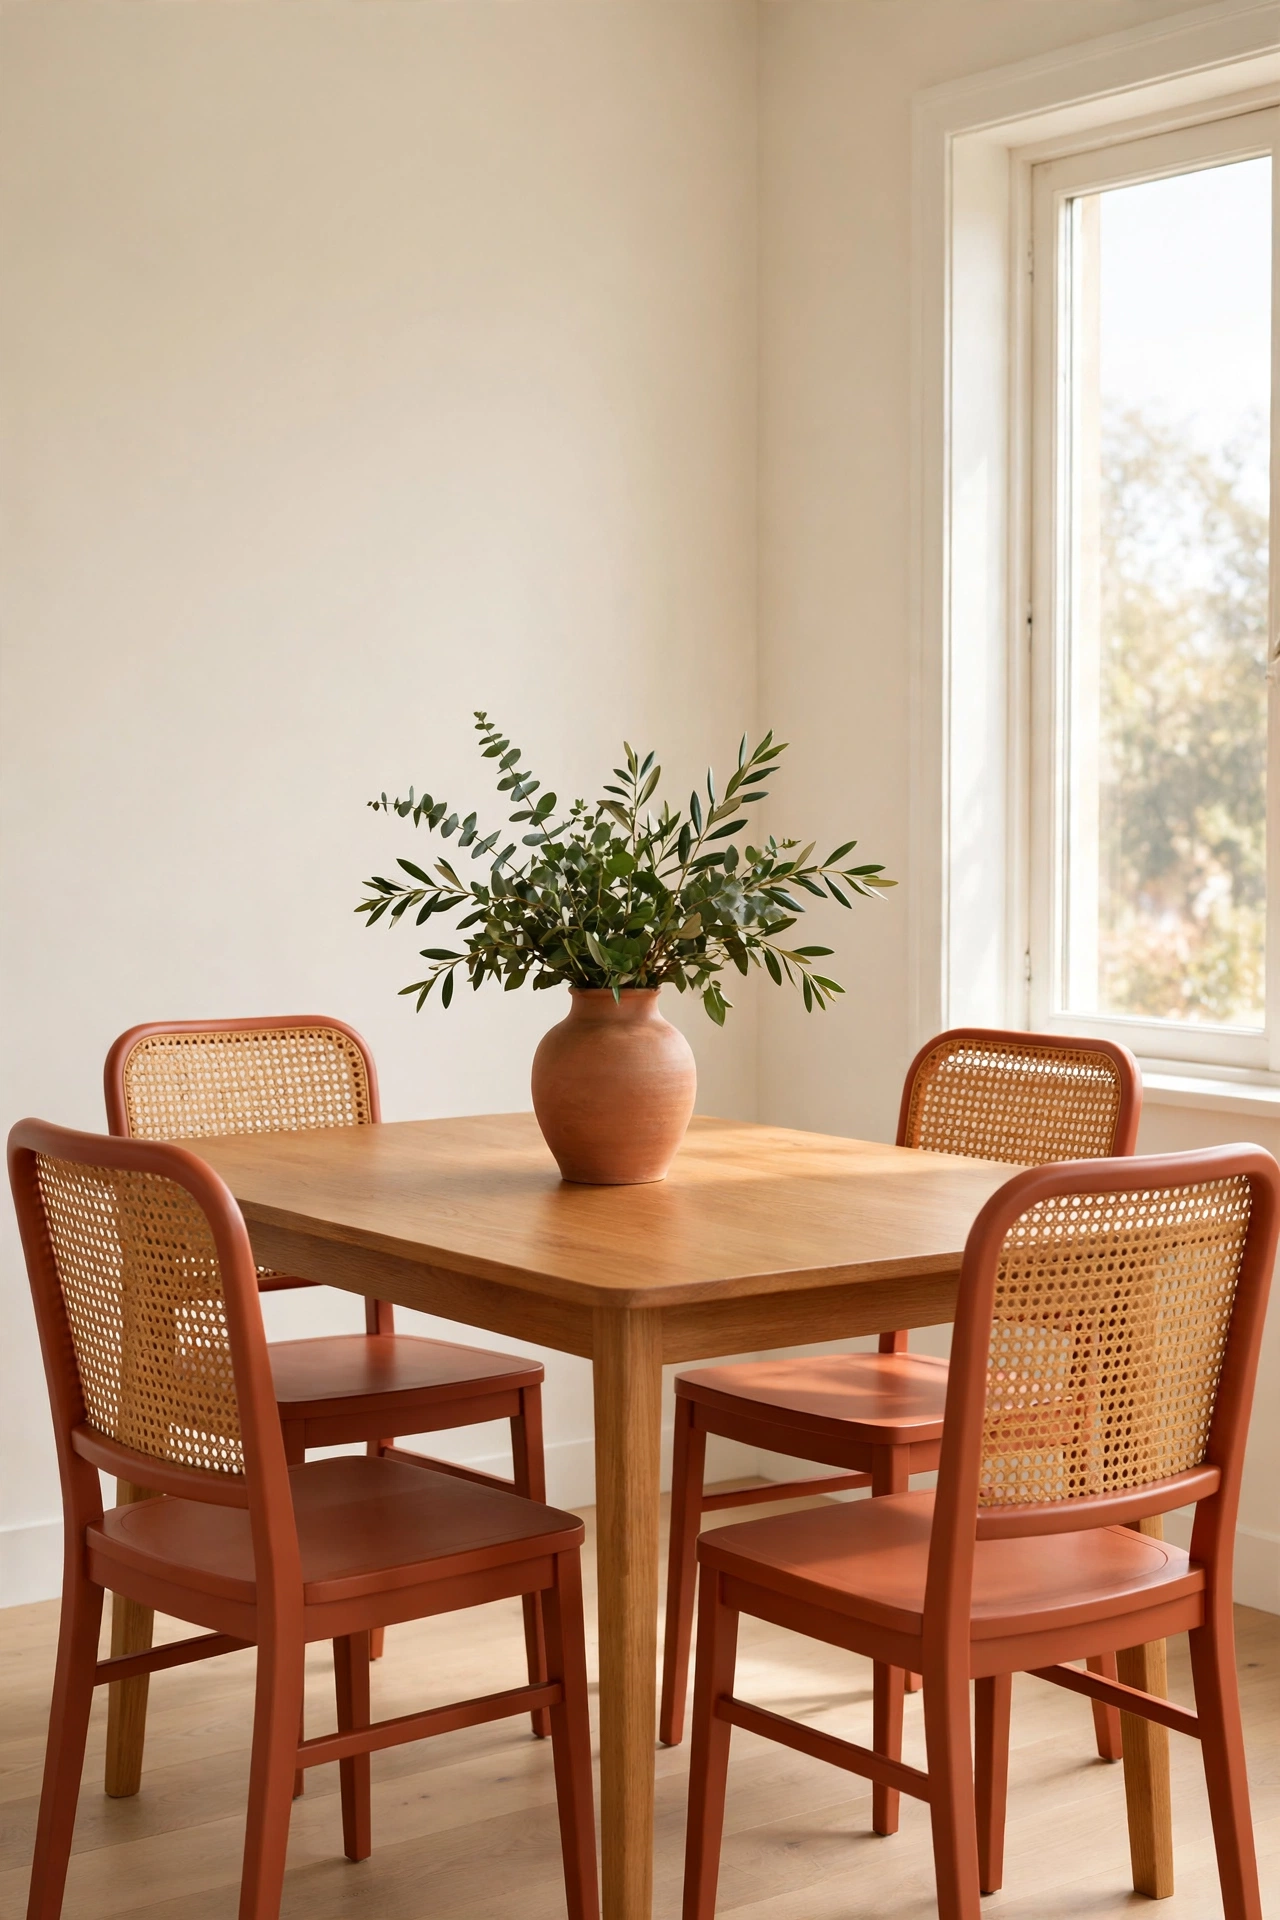
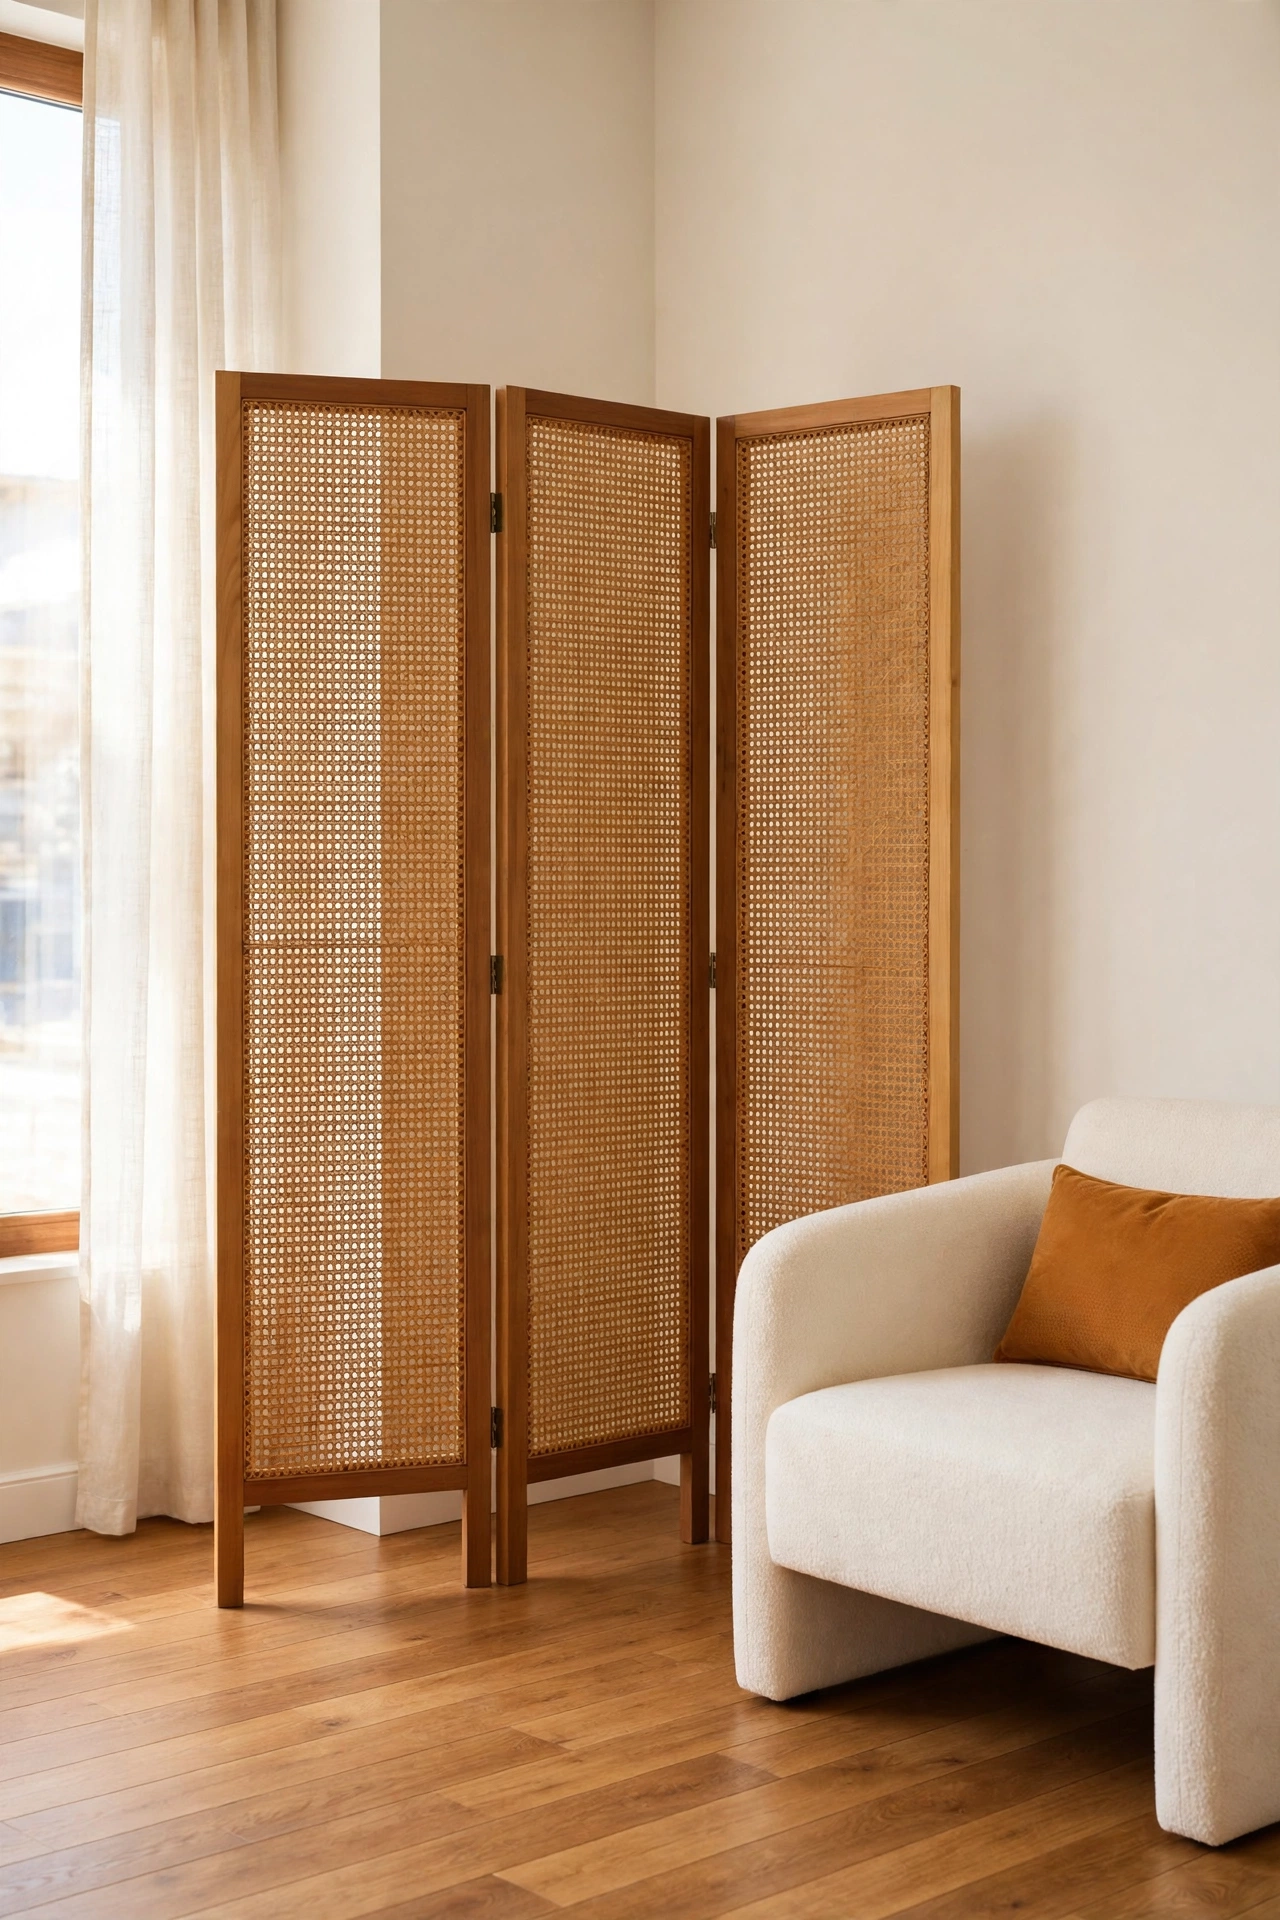
8. Make a Folding Cane Webbing Room Divider
A folding room divider with cane webbing panels divides a space without blocking light or air. It is perfect for a studio apartment, a shared bedroom, or a home office corner that needs a visual boundary. The woven panels give privacy while keeping the room feeling open.
Build three or four tall wooden frames, join them with hinges, and stretch cane webbing across each one. Keep the frames in warm wood or paint them cream for a softer look. If you want more ways to shape a room without walls, these decorative room divider ideas offer styles for every space.
9. Line the Back of a Bookshelf With Cane Webbing
Lining the back of an open bookshelf with cane webbing adds depth and texture behind your books and objects. The woven backdrop catches the light and makes every shelf look styled, even when the shelves hold everyday items. It also hides a scuffed wall behind the shelf.
Cut a cane sheet to fit the back of the shelf and staple it in place from behind, keeping the weave straight and taut. Paint the shelf frame in a soft blush pink or keep it in natural wood. Style the shelves with books, a few plants, and one or two ceramic pieces for a collected look.

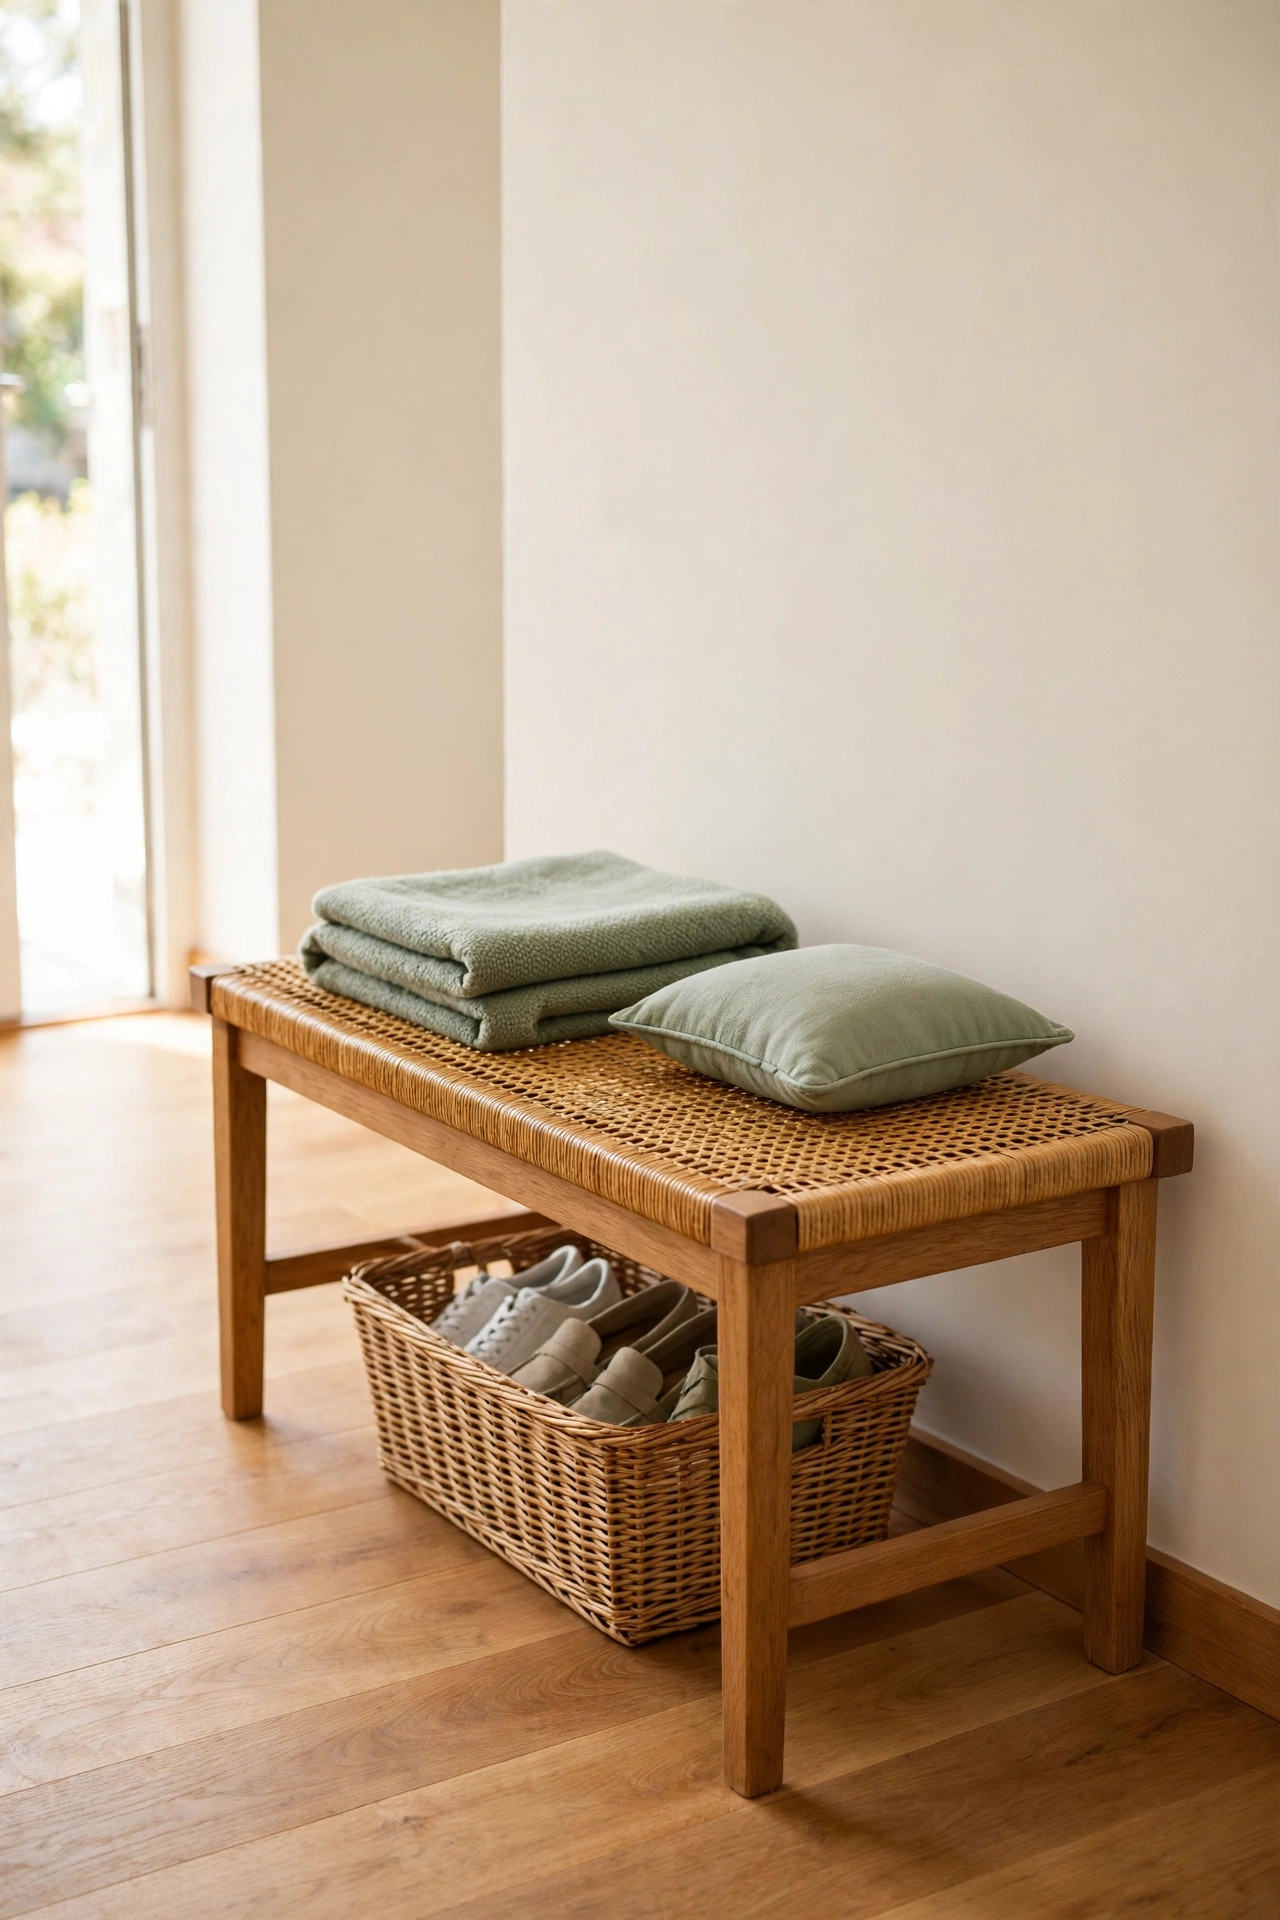
10. Turn a Plain Bench Into a Cane Webbing Seat
A plain wooden bench becomes a favorite seat when its top is replaced with a woven cane panel. The cane has a gentle give that feels comfortable to sit on, and the open weave keeps the bench looking light in an entryway or at the foot of a bed. It is a practical project with a beautiful result.
Build or retrofit a bench frame with a recessed opening, then fit a cane sheet using spline and glue. Make sure the cane is stretched very tight, since it will carry weight. Add a folded throw and a cushion in soft amber tones, and the bench becomes both seating and decor.
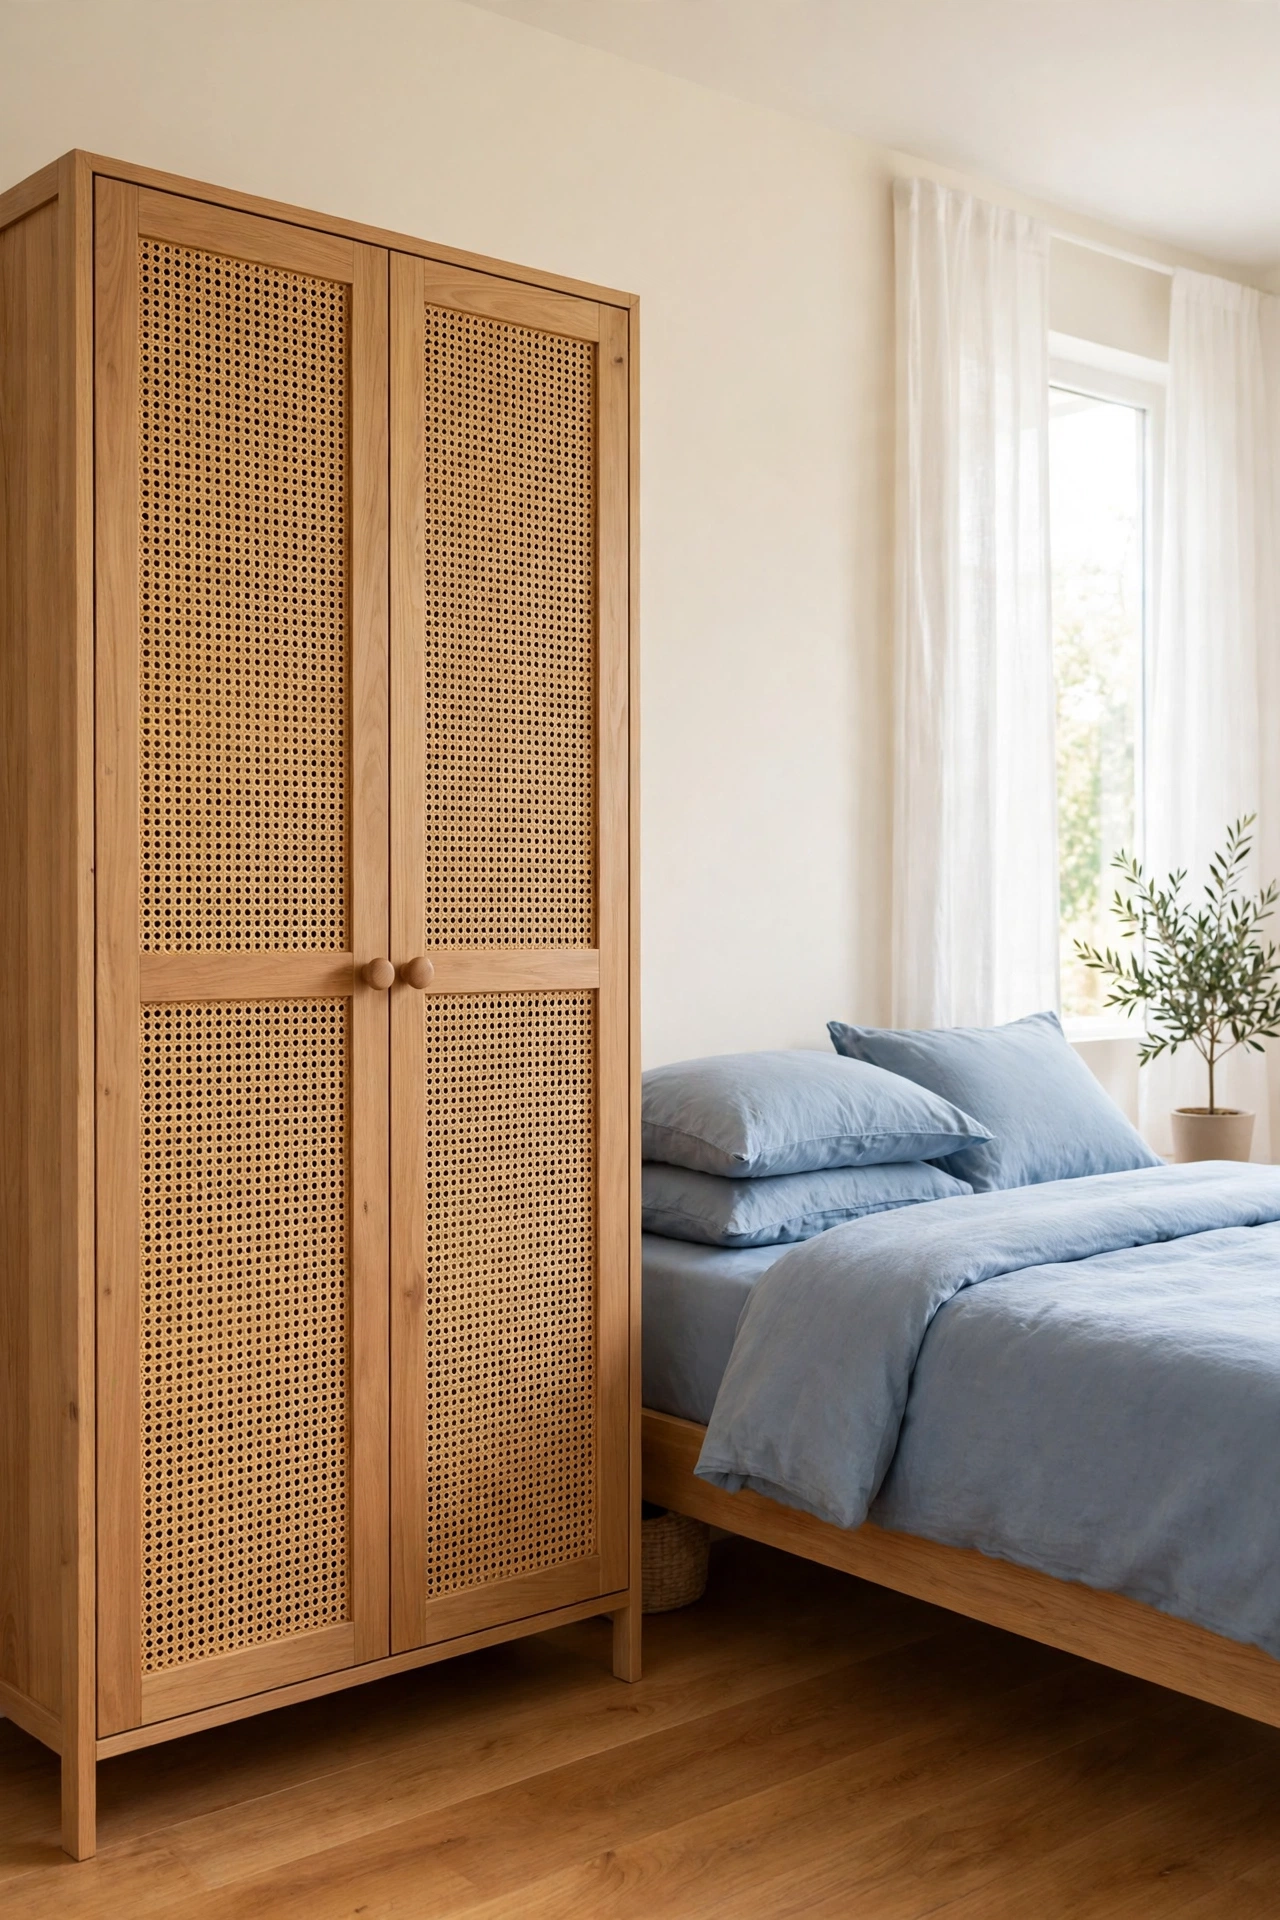
11. Add Cane Webbing Panels to Wardrobe Doors
Wardrobe doors in cane webbing let air circulate around your clothes, which helps keep stored clothing fresh. The woven panels also turn a plain wardrobe into a beautiful piece of bedroom furniture. This project suits both freestanding wardrobes and built-in closet doors.
Remove each door and cut out the center panel, then fit cane webbing with spline and a trim piece to cover the edges. Keep the wardrobe frame in warm wood and add simple wooden knobs. The result is a wardrobe that looks custom made and feels lighter than a solid door ever could.
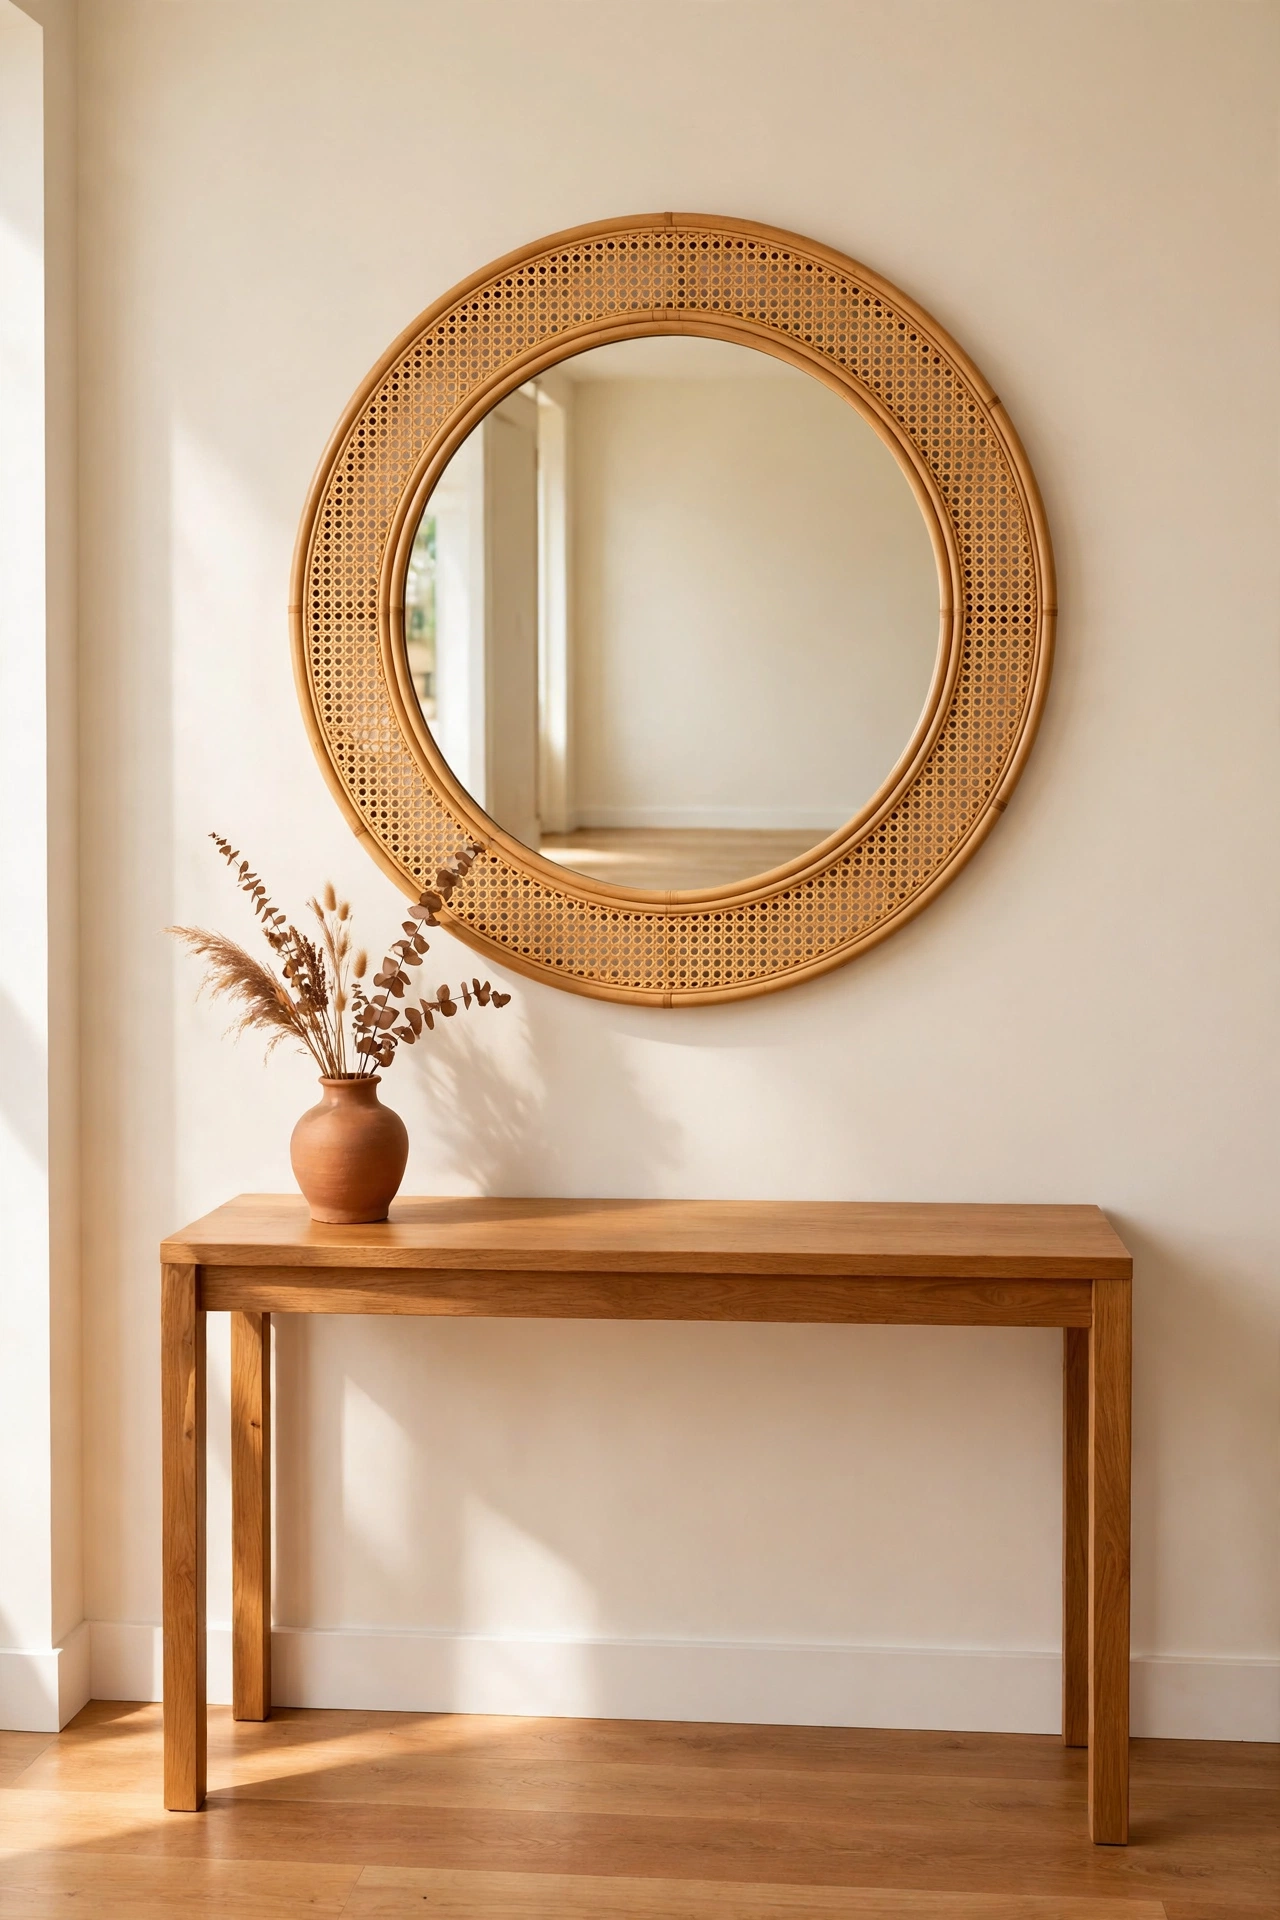
12. Frame a Mirror With Cane Webbing Trim
A mirror framed with cane webbing trim brings a soft, natural border to a bathroom, hallway, or bedroom. The woven trim catches the light around the glass and adds texture to a plain wall. It is a smaller project that uses cane offcuts from larger jobs.
Build a flat wooden frame around a mirror, then glue a strip of cane webbing onto the face of the frame and cover the edges with thin wood trim. Hang the mirror where daylight hits it so the weave casts a gentle pattern. The finished piece looks artisan made and costs very little.
13. Build a Cane Webbing Plant Stand Shelf
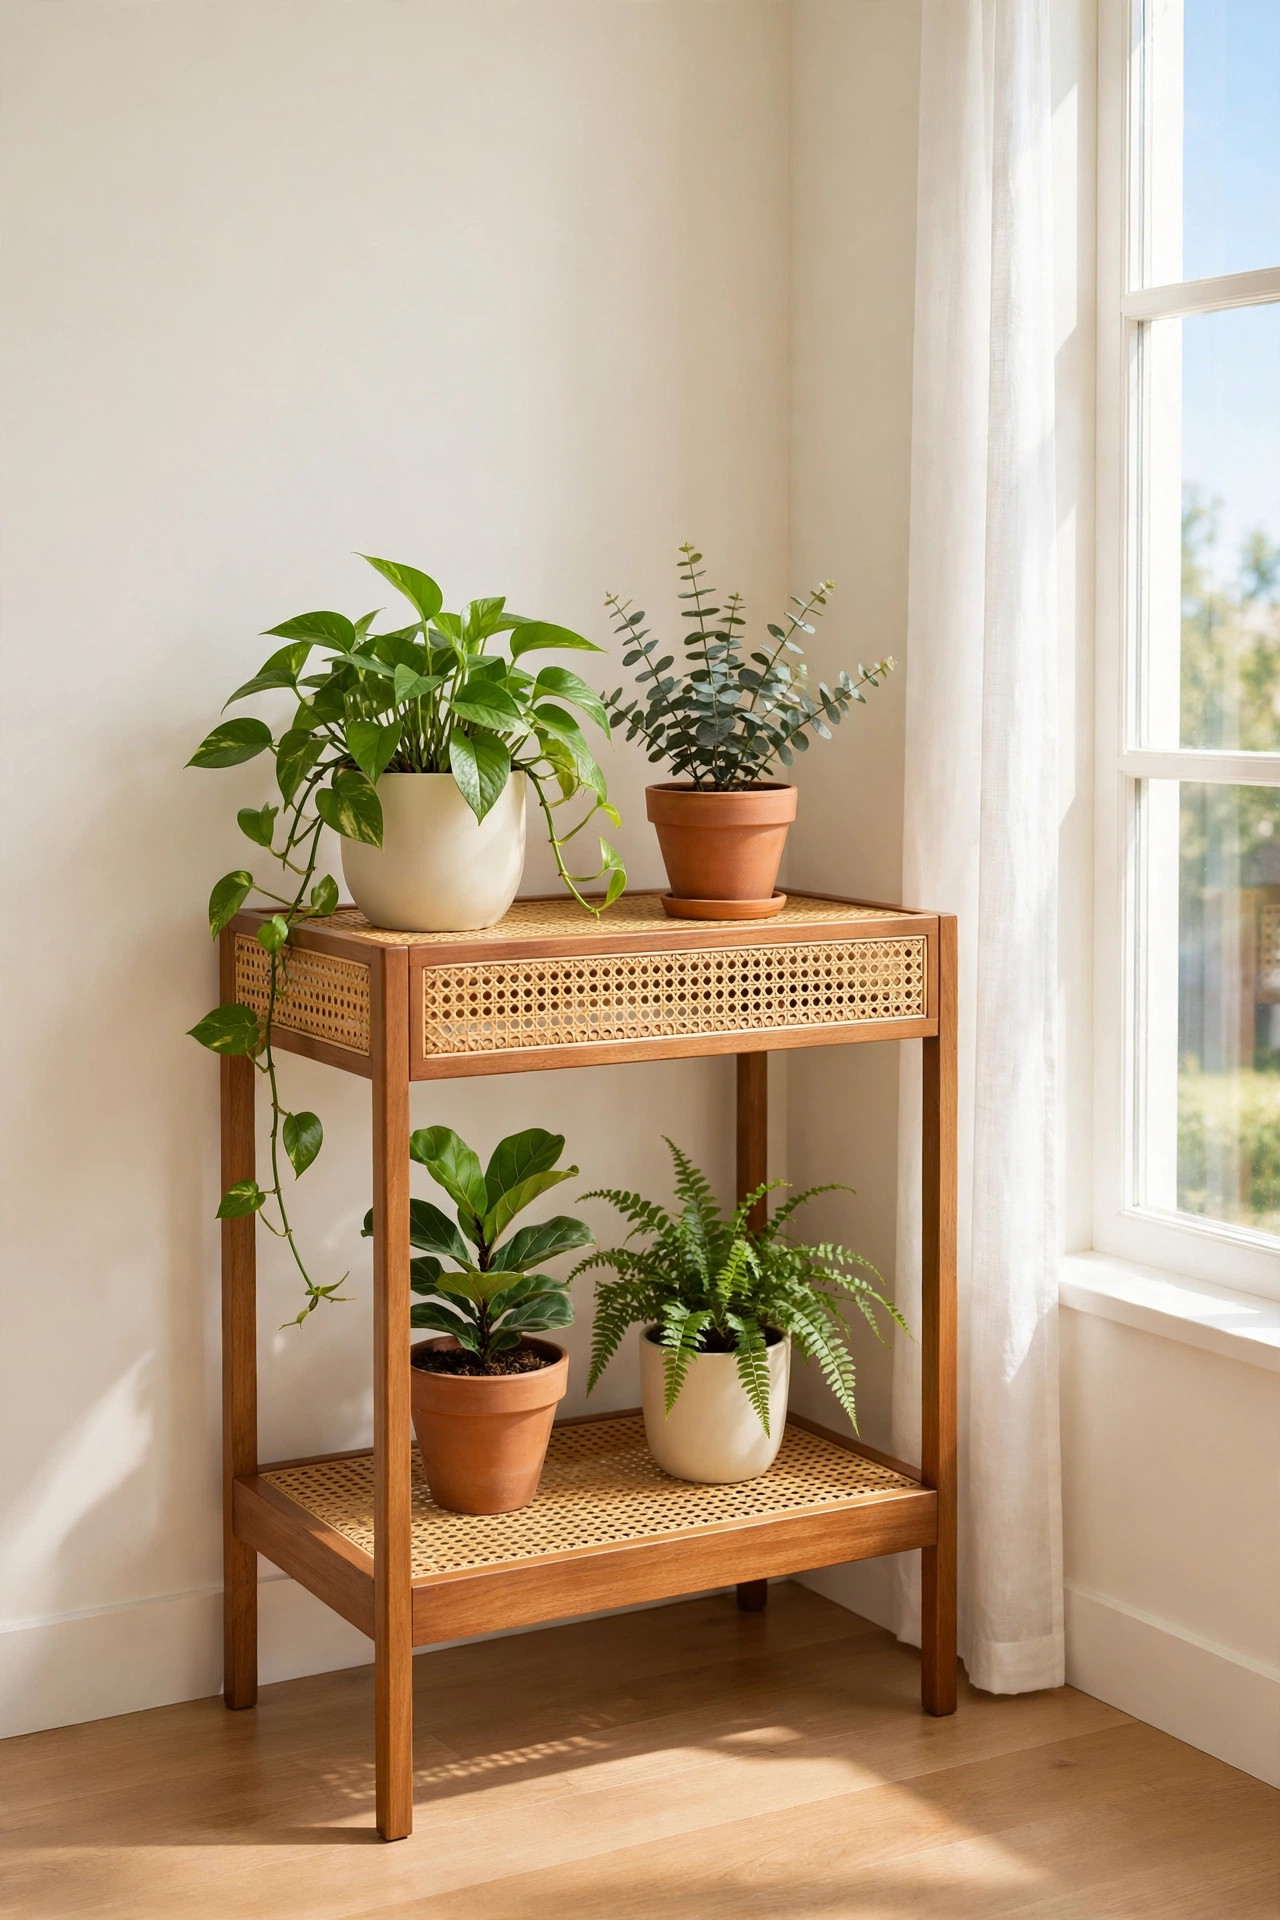
A plant stand with a cane webbing shelf lets light and air reach your plants from below as well as above. The woven shelf looks beautiful with trailing plants, since leaves and stems can drape through the open weave. It is a lovely project for a sunny corner or a bright kitchen.
Build a simple two-tier stand from wood, and fit cane webbing into the shelf frames instead of solid boards. Place a waterproof tray under each pot to protect the cane from water. Fill the stand with a mix of leafy plants in cream and terracotta pots for a fresh, natural display.
14. Upgrade a Bar Cart With Cane Webbing Sides
A bar cart with cane webbing side panels looks far more polished than a plain metal cart. The woven sides hold bottles and glasses securely while adding a warm, handcrafted texture. It is a weekend project that turns a useful cart into a piece you are proud to show off.
Fit cane panels into the side frames of the cart and secure them with small wood trim. Stock the shelves with glasses, a pitcher, and a small vase of greenery. The cane sides keep everything visible and easy to reach, and the cart rolls easily from kitchen to living room.

15. Add a Cane Webbing Front to a Shoe Cabinet
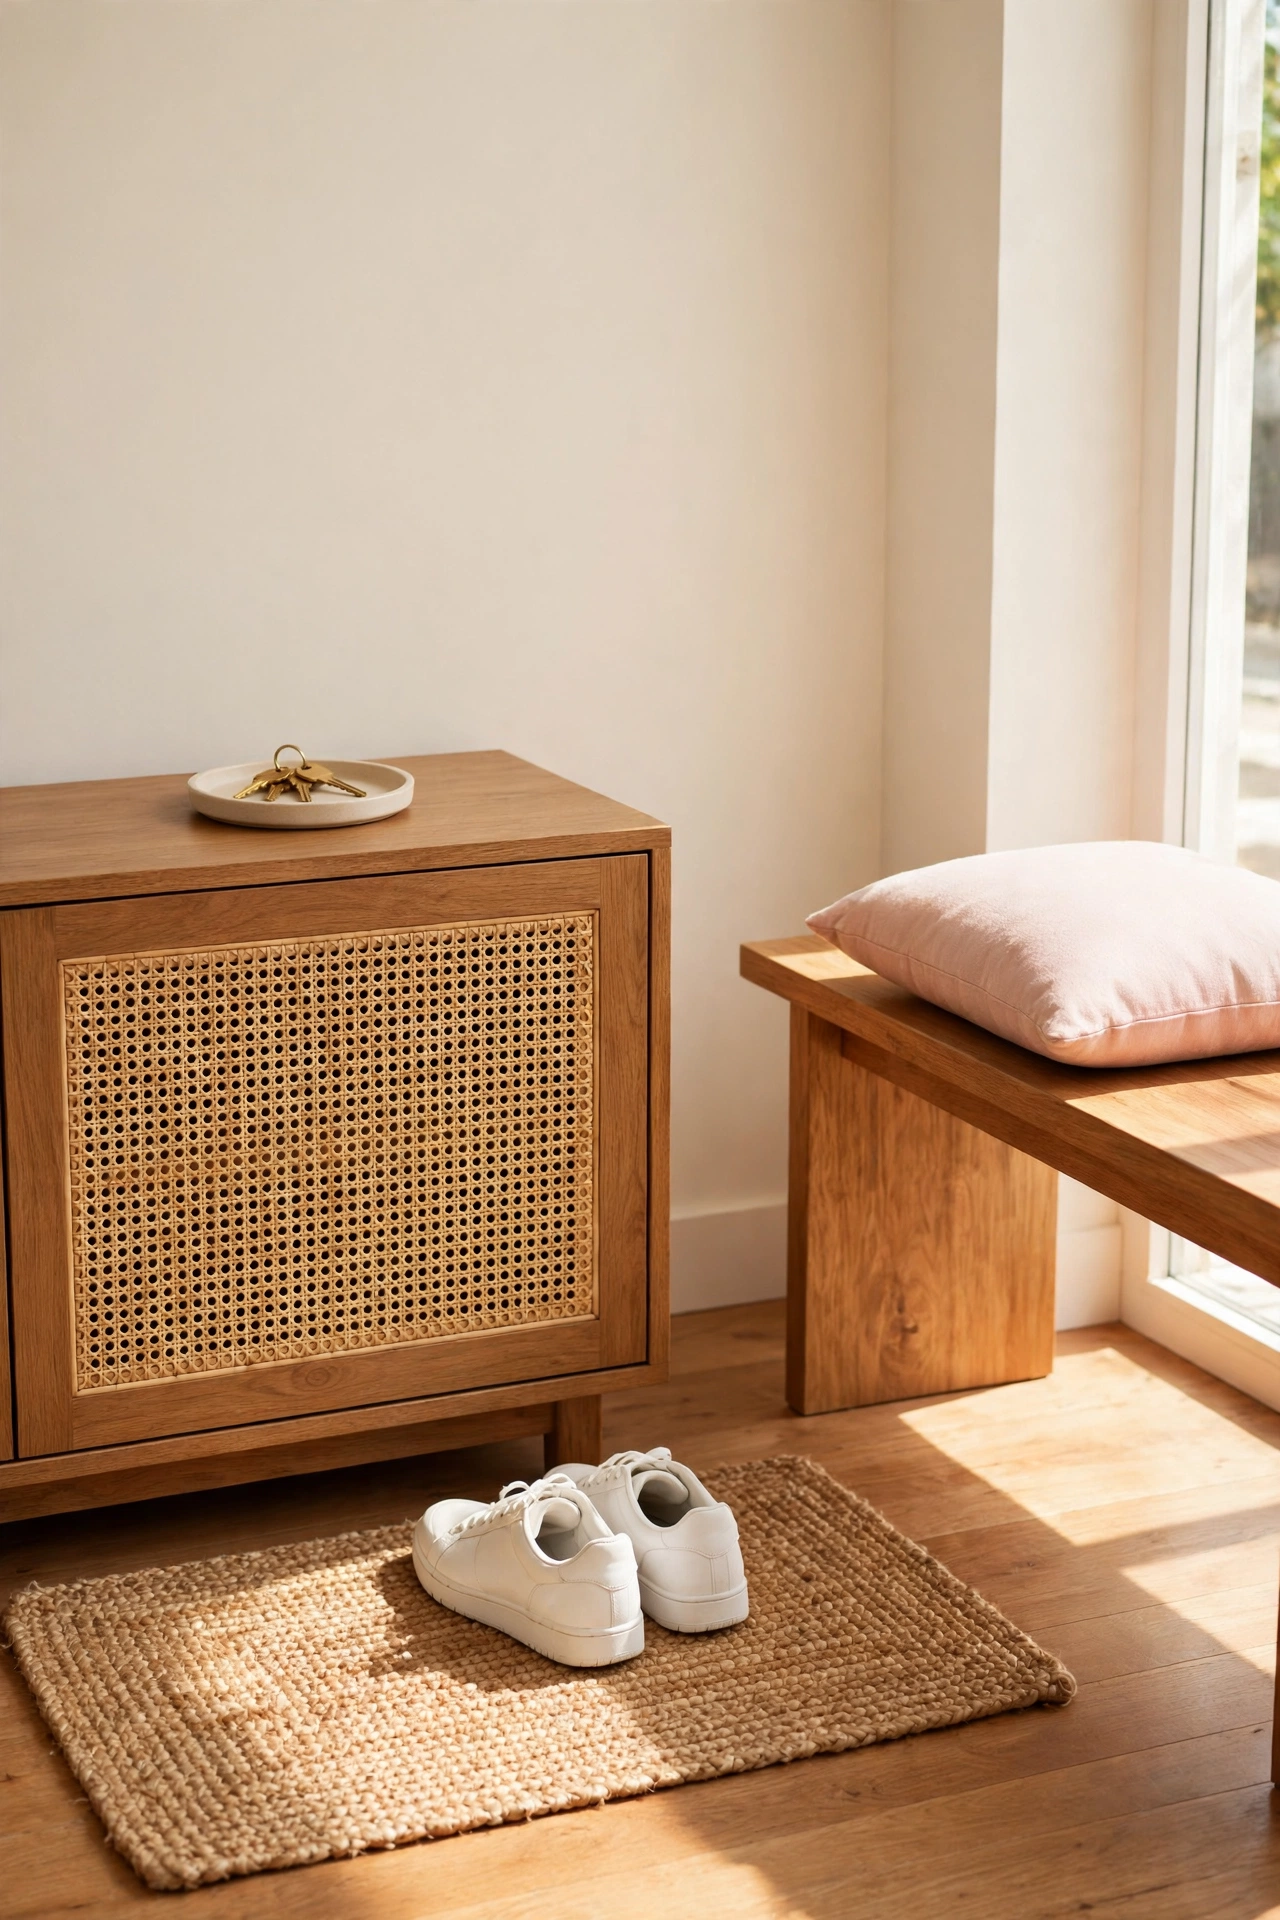
A shoe cabinet with a cane webbing front lets air flow around stored shoes, which keeps an entryway smelling fresh. The woven front also hides shoes from view while looking like a piece of fine furniture. It is one of the most practical cane projects you can make.
Fit a cane panel into the cabinet door or front frame, and add angled shelves inside to hold shoes neatly. Keep the cabinet in warm wood with a cream wall behind it, and place a small tray on top for keys. The entryway stays tidy and the cabinet earns its place by the door.
16. Dress a Kitchen Island With Cane Webbing Panels
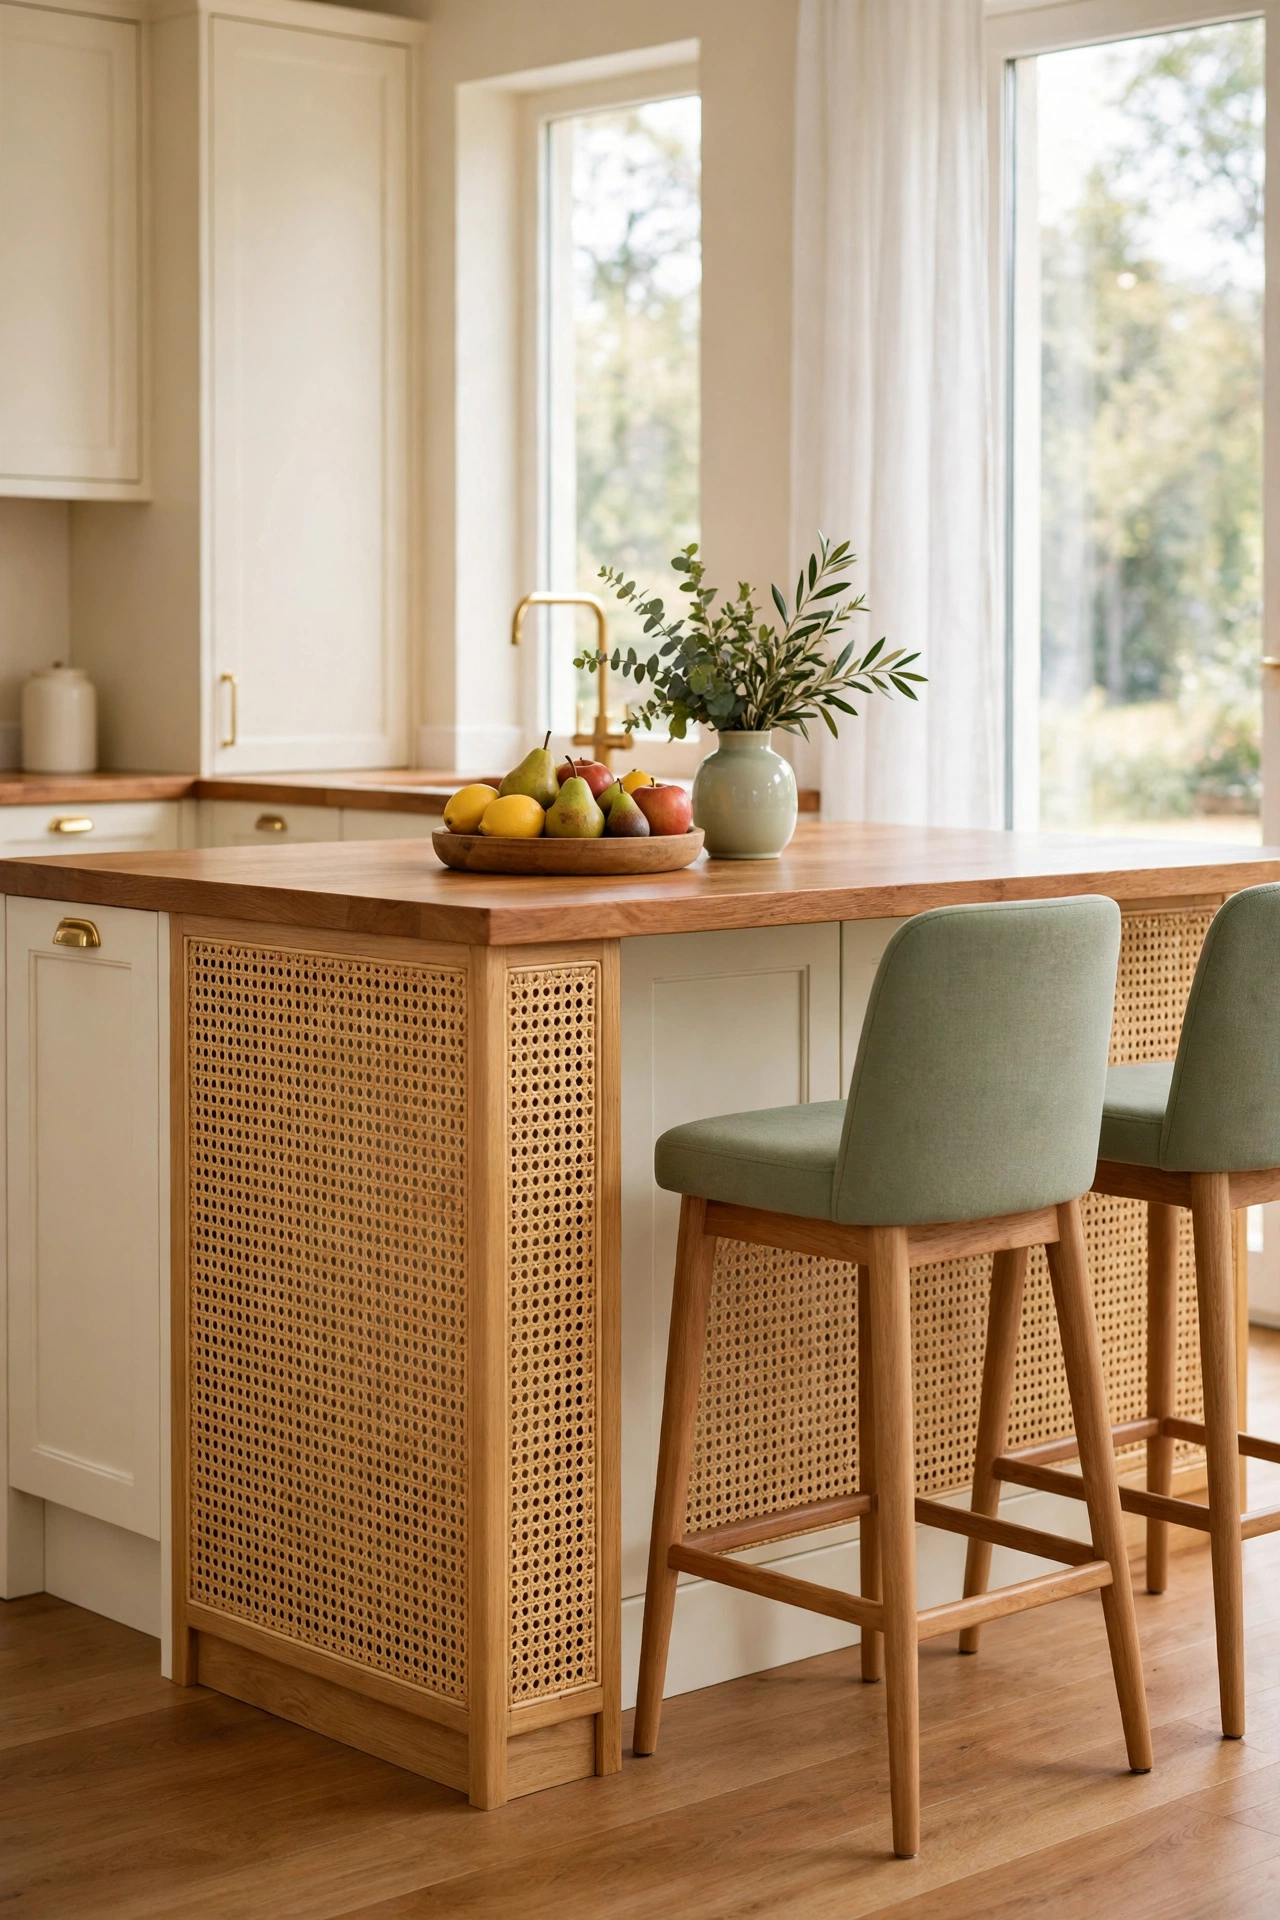
Cane webbing panels on the back or sides of a kitchen island add texture to the hardest working surface in the home. The woven detail softens the large block of an island and pairs beautifully with wood countertops, cream cabinets, and brass fixtures. It is a detail that makes a kitchen feel custom designed.
Attach thin frames to the island sides and fit cane sheets inside them, sealing the cane with a clear coat so it resists kitchen splashes. Keep the rest of the kitchen calm and uncluttered so the woven panels stand out. The island becomes a focal point without any structural change.
17. Fit Cane Webbing Drawer Fronts on a Writing Desk
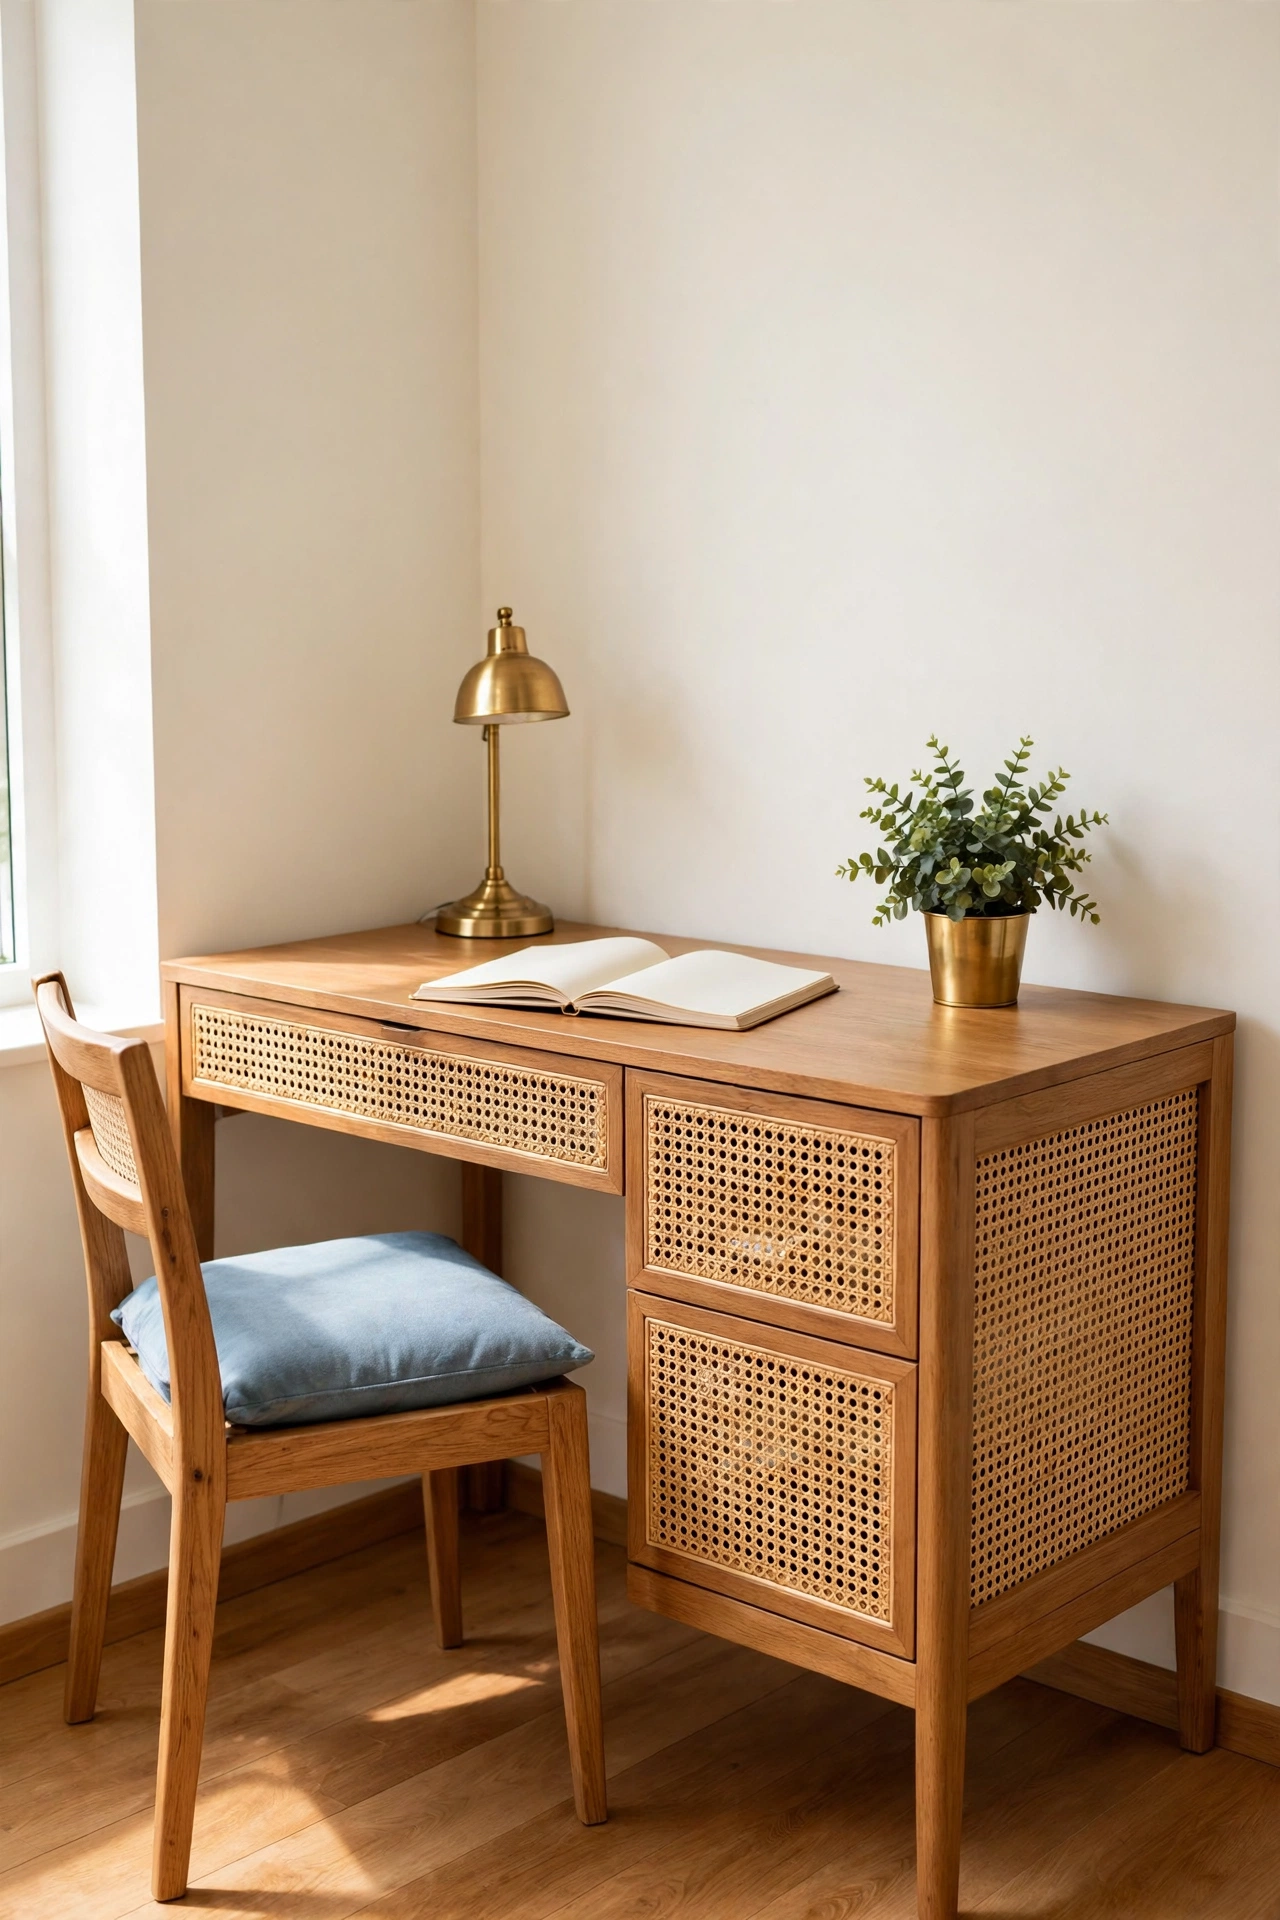
A writing desk with cane webbing drawer fronts feels light and inspiring, which is exactly what a workspace needs. The woven fronts add texture without bulk, and the desk stays elegant even when the drawers hold everyday supplies. This project suits a small desk in a bedroom corner as well as a full home office.
Fit cane panels into the drawer fronts with shallow frames, and keep the desktop clear except for a lamp, a notebook, and a small plant. Paint the desk in soft sage or keep it in warm wood. The woven detail makes even a simple desk feel considered and calm.
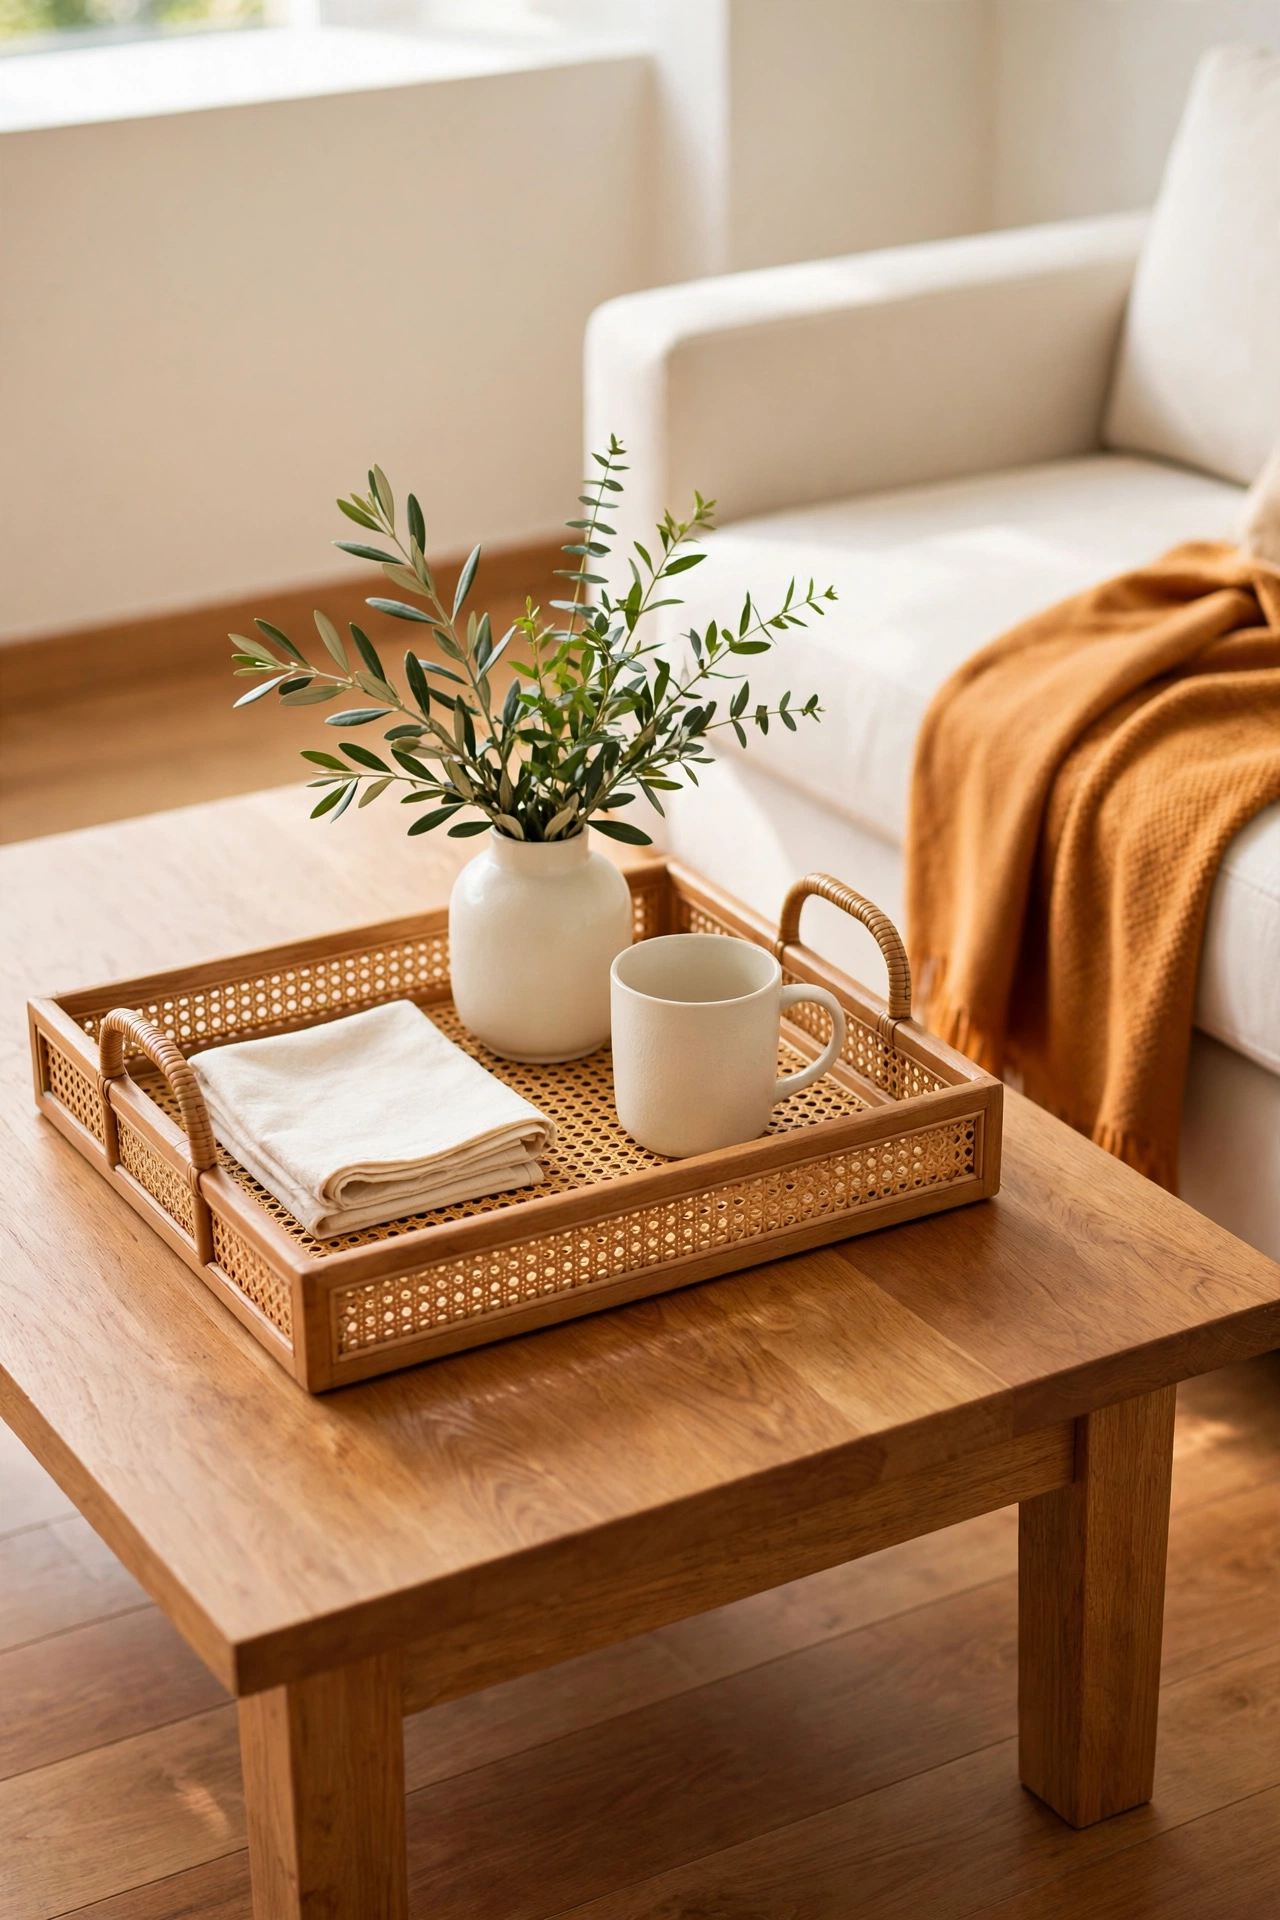
18. Style a Cane Webbing Serving Tray
A serving tray with a cane webbing base is a small project with a big payoff. The woven base adds texture to a coffee table or bed, and the tray keeps drinks, books, and small objects neatly contained. It is a perfect way to use leftover cane from a larger project.
Build a shallow wooden tray frame with handles, and fit a cane sheet into the base. Seal the cane with a clear coat so spills wipe off easily. Style it with a ceramic mug, a small vase, and a folded napkin for a tray that looks ready for a quiet morning.
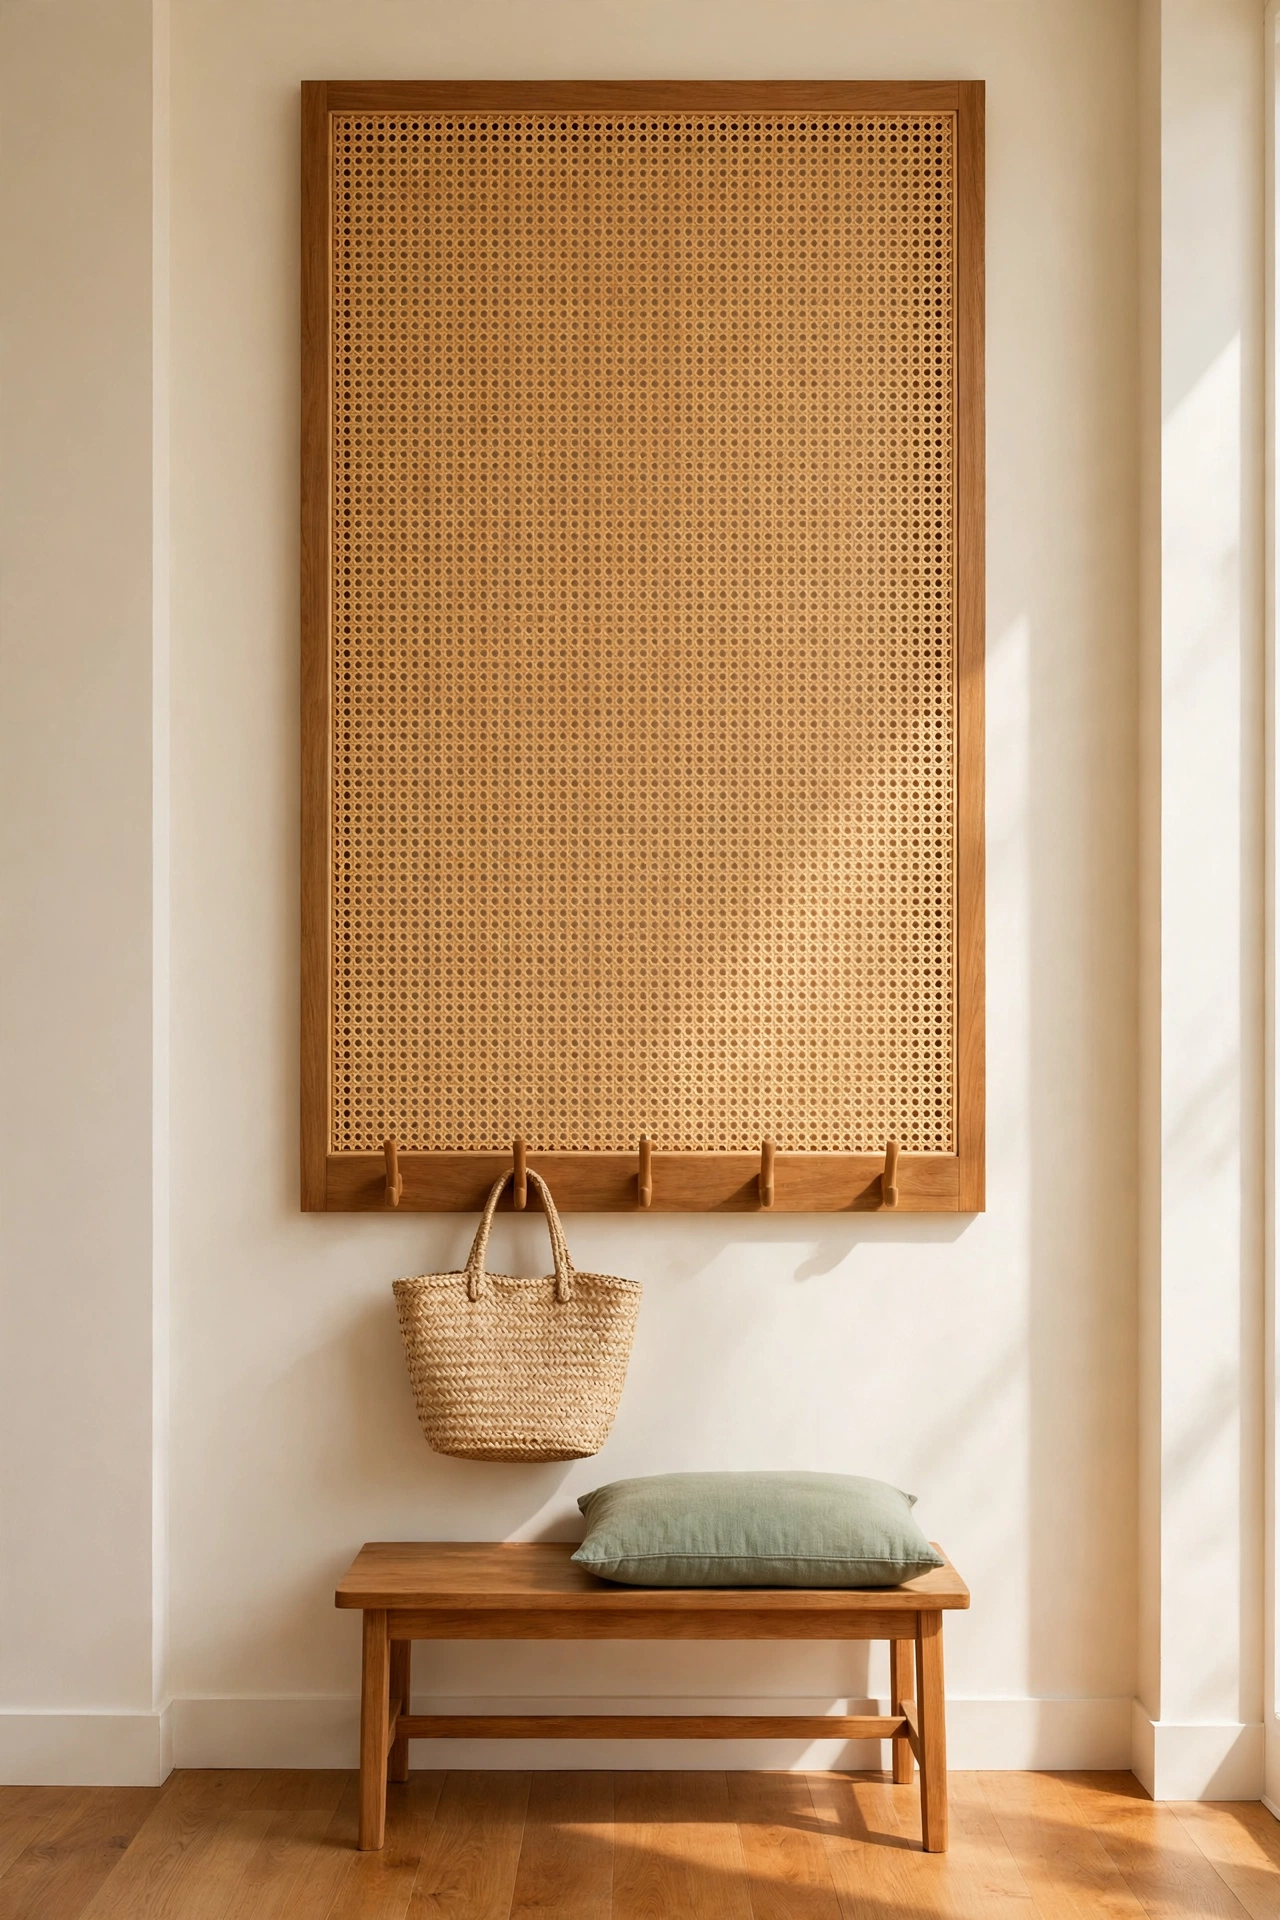
19. Make a Cane Webbing Entryway Wall Panel
A large cane webbing wall panel gives an entryway a warm welcome and a place to hang coats, keys, and bags. The woven panel adds texture to a plain wall and works as both decor and storage. It is a simple build that makes a strong first impression.
Build a tall wooden frame, stretch cane webbing across it, and mount it securely to the wall. Add a row of wooden hooks along the bottom rail for coats and bags, and place a small bench below. The panel turns a bare entryway wall into a useful and beautiful feature.
Conclusion
Cane webbing is proof that one simple material can change the feeling of a whole home. From cabinet doors and chair backs to headboards and trays, a woven panel adds warmth, texture, and a handmade quality that solid wood alone cannot match. The projects in this list are affordable, beginner friendly, and endlessly adaptable to your style.
Start with a small piece like a nightstand or a tray, and build your confidence before you tackle a wardrobe or a room divider. Soak the cane, stretch it tight, and let it dry completely before you finish the edges. With a little patience, your furniture will look lighter, fresher, and completely your own.
Frequently Asked Questions About DIY Cane Webbing Projects for Furniture Details
What is cane webbing made from?
Cane webbing is woven from the outer bark of the rattan palm. It is sold in sheets or rolls in several weave patterns, and it is flexible when soaked in water, which lets you stretch it tight across a frame. As it dries, it shrinks slightly and becomes drum tight.
Do I need to soak cane webbing before I install it?
Yes, soaking cane webbing in warm water for about thirty minutes makes it flexible and easy to stretch. As the cane dries, it tightens across the frame and stays taut for years. Always let it dry completely before you trim the edges or add a finish.
How do I attach cane webbing to a furniture frame?
The two most common methods are spline and staples. For spline, you press the cane into a groove in the frame with a rubber spline and glue. For staples, you staple the cane to the back of the frame and cover the edges with trim. Both methods work well for beginners.
Can I paint or stain cane webbing?
Yes, cane webbing takes paint and stain well, but you should apply thin coats so the weave stays open and flexible. Spray paint gives the most even finish. If you want the natural golden color, seal the cane with a clear coat instead to protect it from moisture and dust.
How do I clean furniture with cane webbing?
Dust cane webbing regularly with a soft brush or a vacuum with a brush attachment. For deeper cleaning, wipe it with a barely damp cloth and let it dry fully. Avoid soaking installed cane, since repeated wetting can loosen the weave over time.

Hi, I’m Emily! I turn messy corners into cozy, organized spots. DreamNestDecor is where I share simple, practical home ideas — decor, organization, and small-space solutions that work in real life, not just in photos. Every idea here is carefully researched before it’s shared.