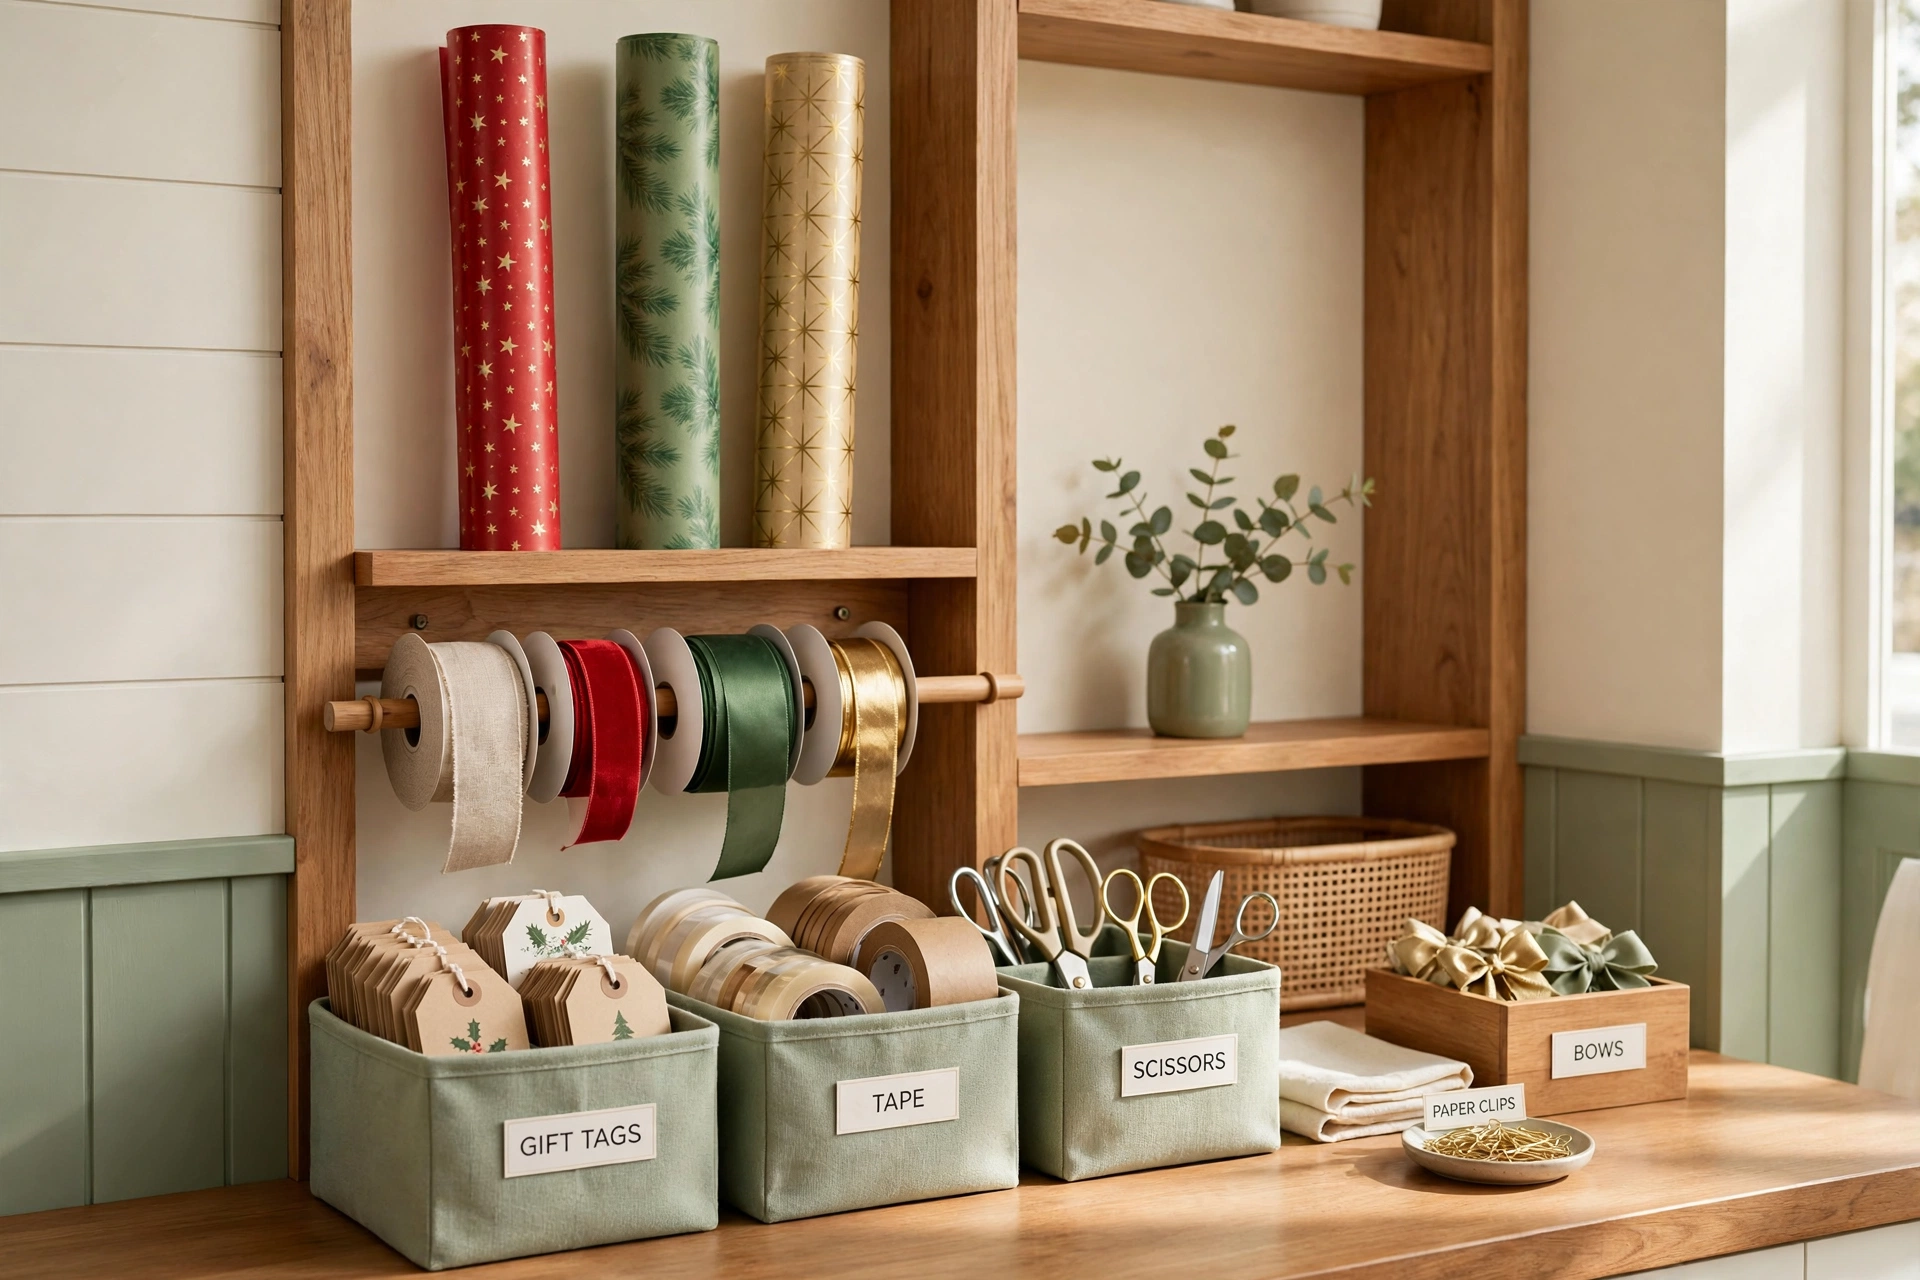
Picture this: it is the second week of December, you open the closet to wrap the first gifts of the season, and you find three half-used rolls of the same red paper, a tangle of ribbon with no ends in sight, and no tape at all. You buy more supplies, only to discover a full drawer of tape and tags hiding behind the coats in January. That cycle of buying duplicates and losing track of what you own costs money and steals the joy from wrapping season.
A simple inventory system changes all of that. When every roll, ribbon, tag, and tool has a counted place, you shop once, wrap calmly, and never buy a fourth roll of the same paper again. These 33 Christmas gift wrapping inventory organization ideas will help you count what you have, store it neatly, and keep your wrapping supplies ready from the first gift to the last.
1. Start With a Full Wrapping Supply Count
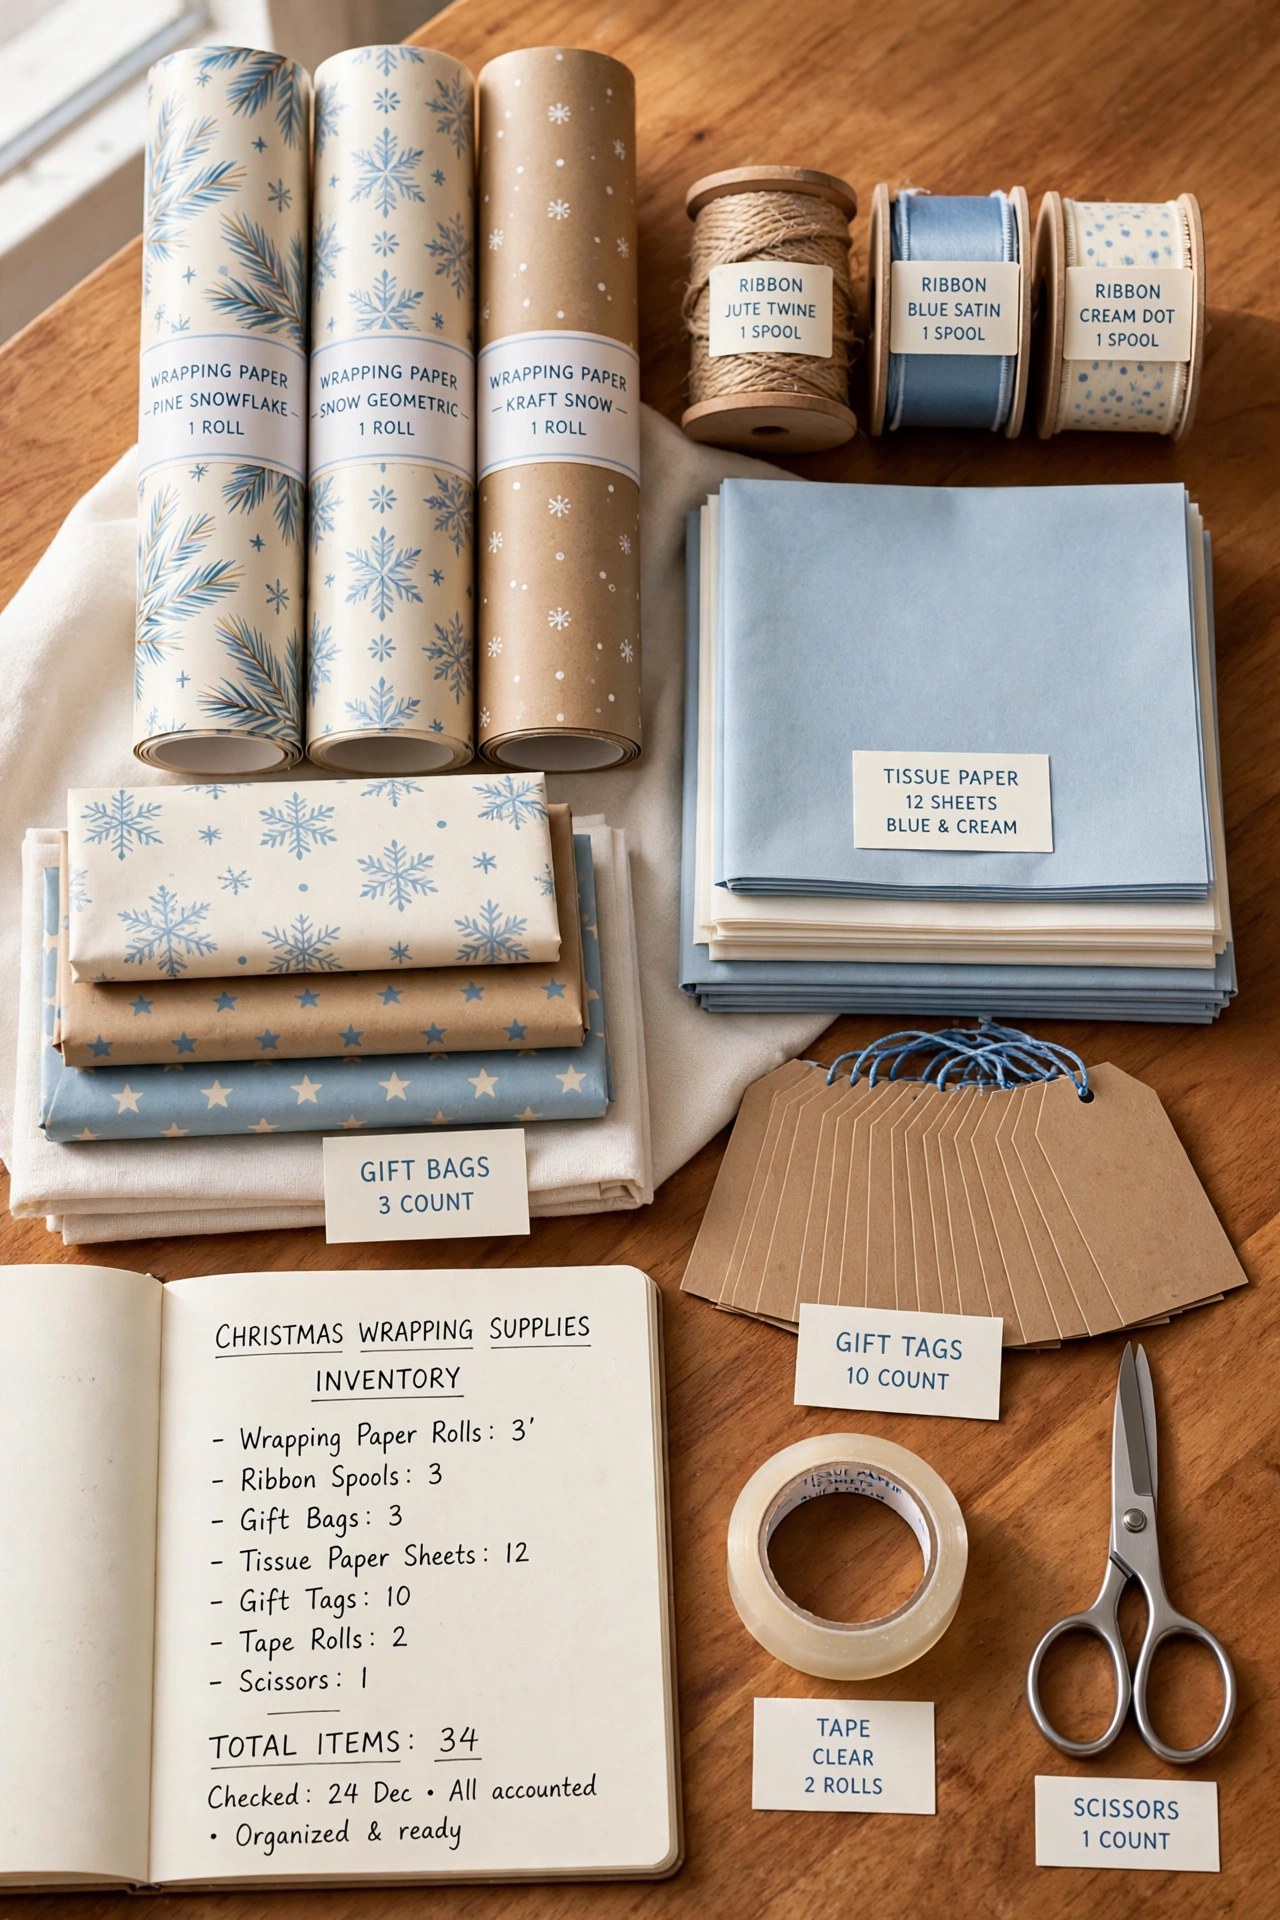
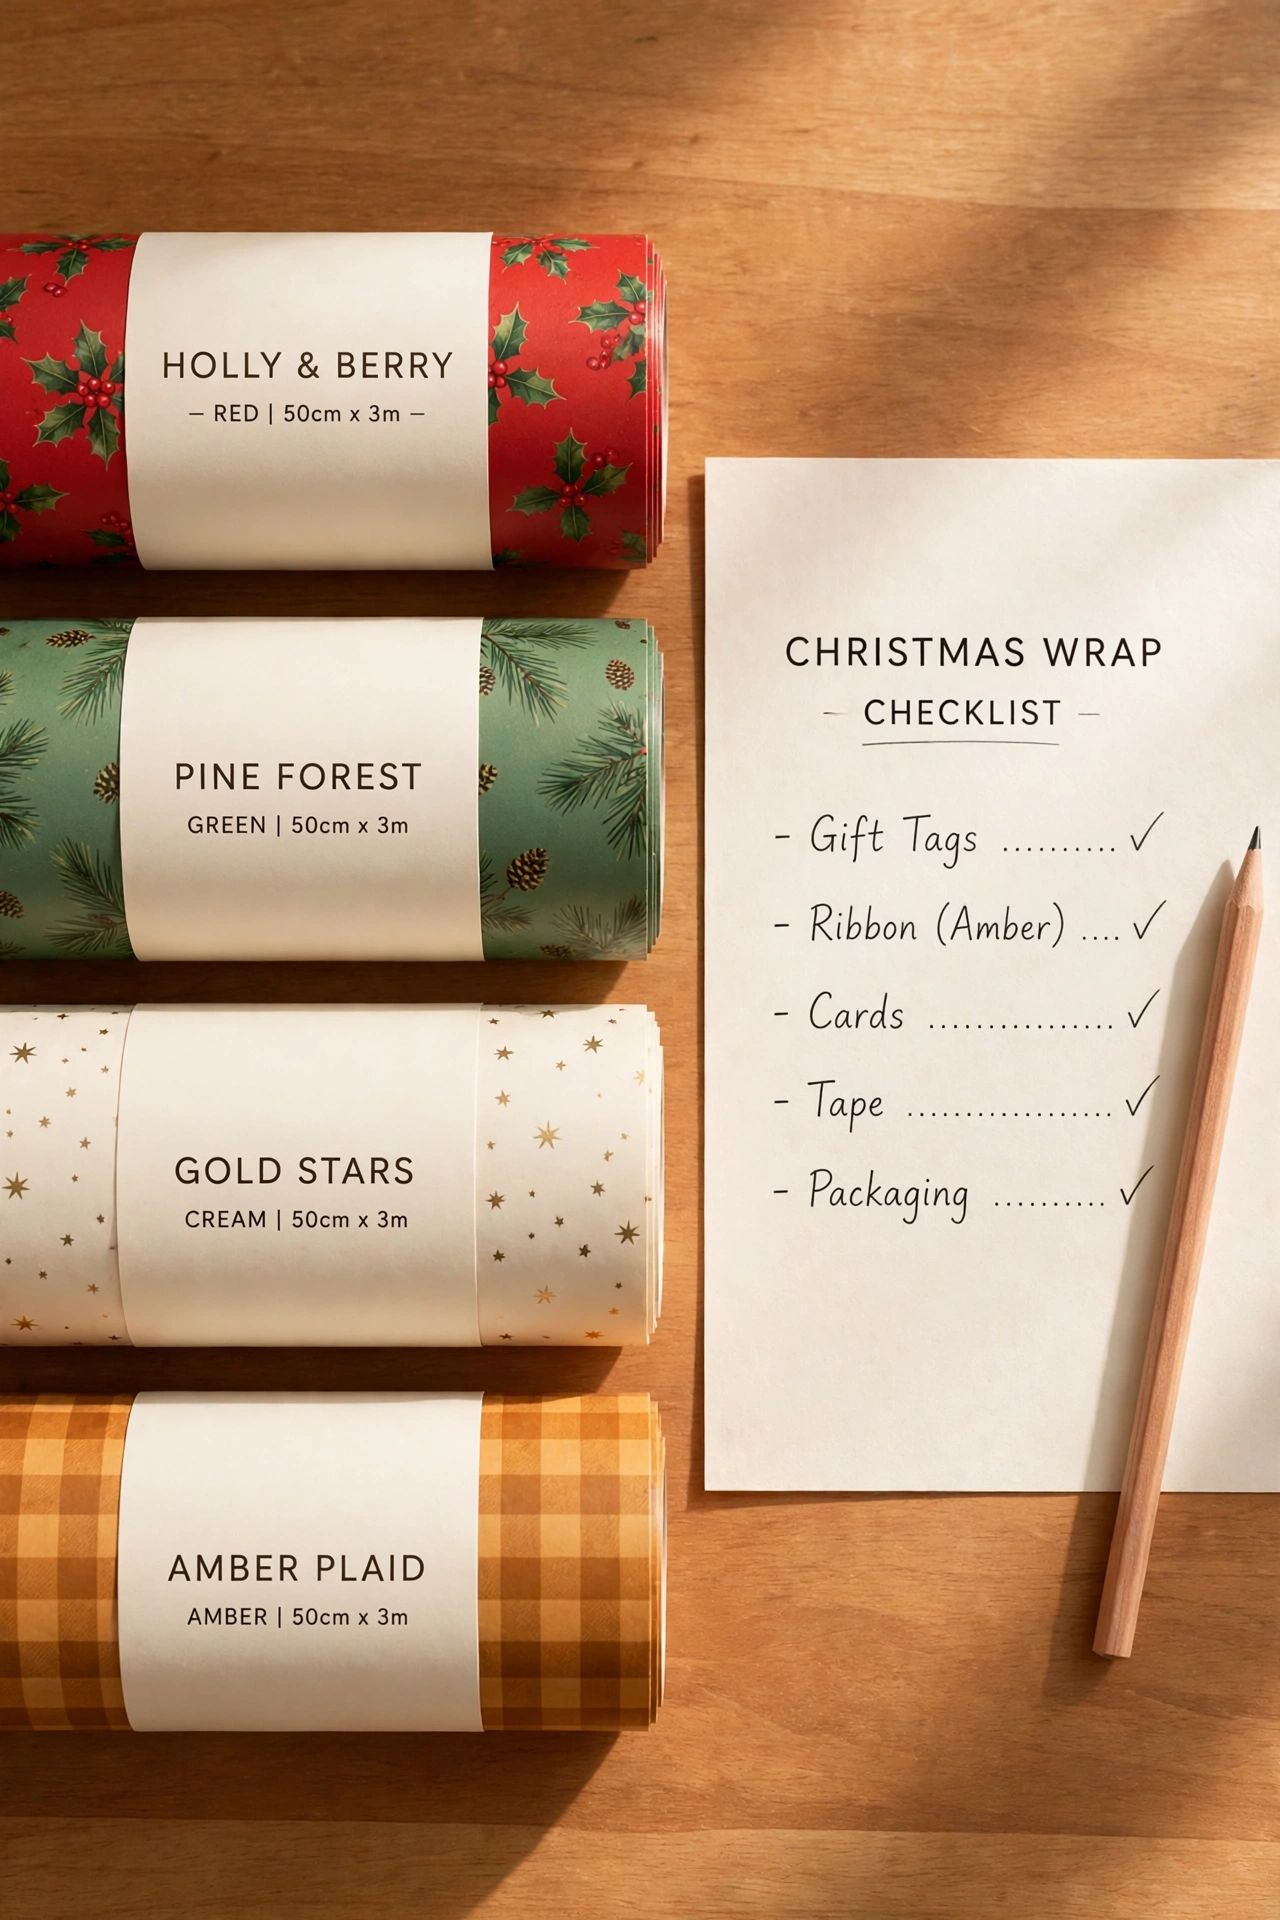
Before you buy a single new roll, pull out every wrapping supply you own and count it. Gather rolls, ribbon spools, gift bags, tissue paper, tags, tape, scissors, and bows in one spot so you can see the full collection at once. Most people are surprised to find they own far more than they thought, especially half-used rolls tucked in different closets.
Write down each item and its count on a sheet of paper or in a notebook as you go. Note the color and pattern of each roll so you know what you truly have. This one-time count becomes the baseline for your whole inventory system, and it stops duplicate buying before the season even starts.
2. Keep a Wrapping Inventory List on a Clipboard
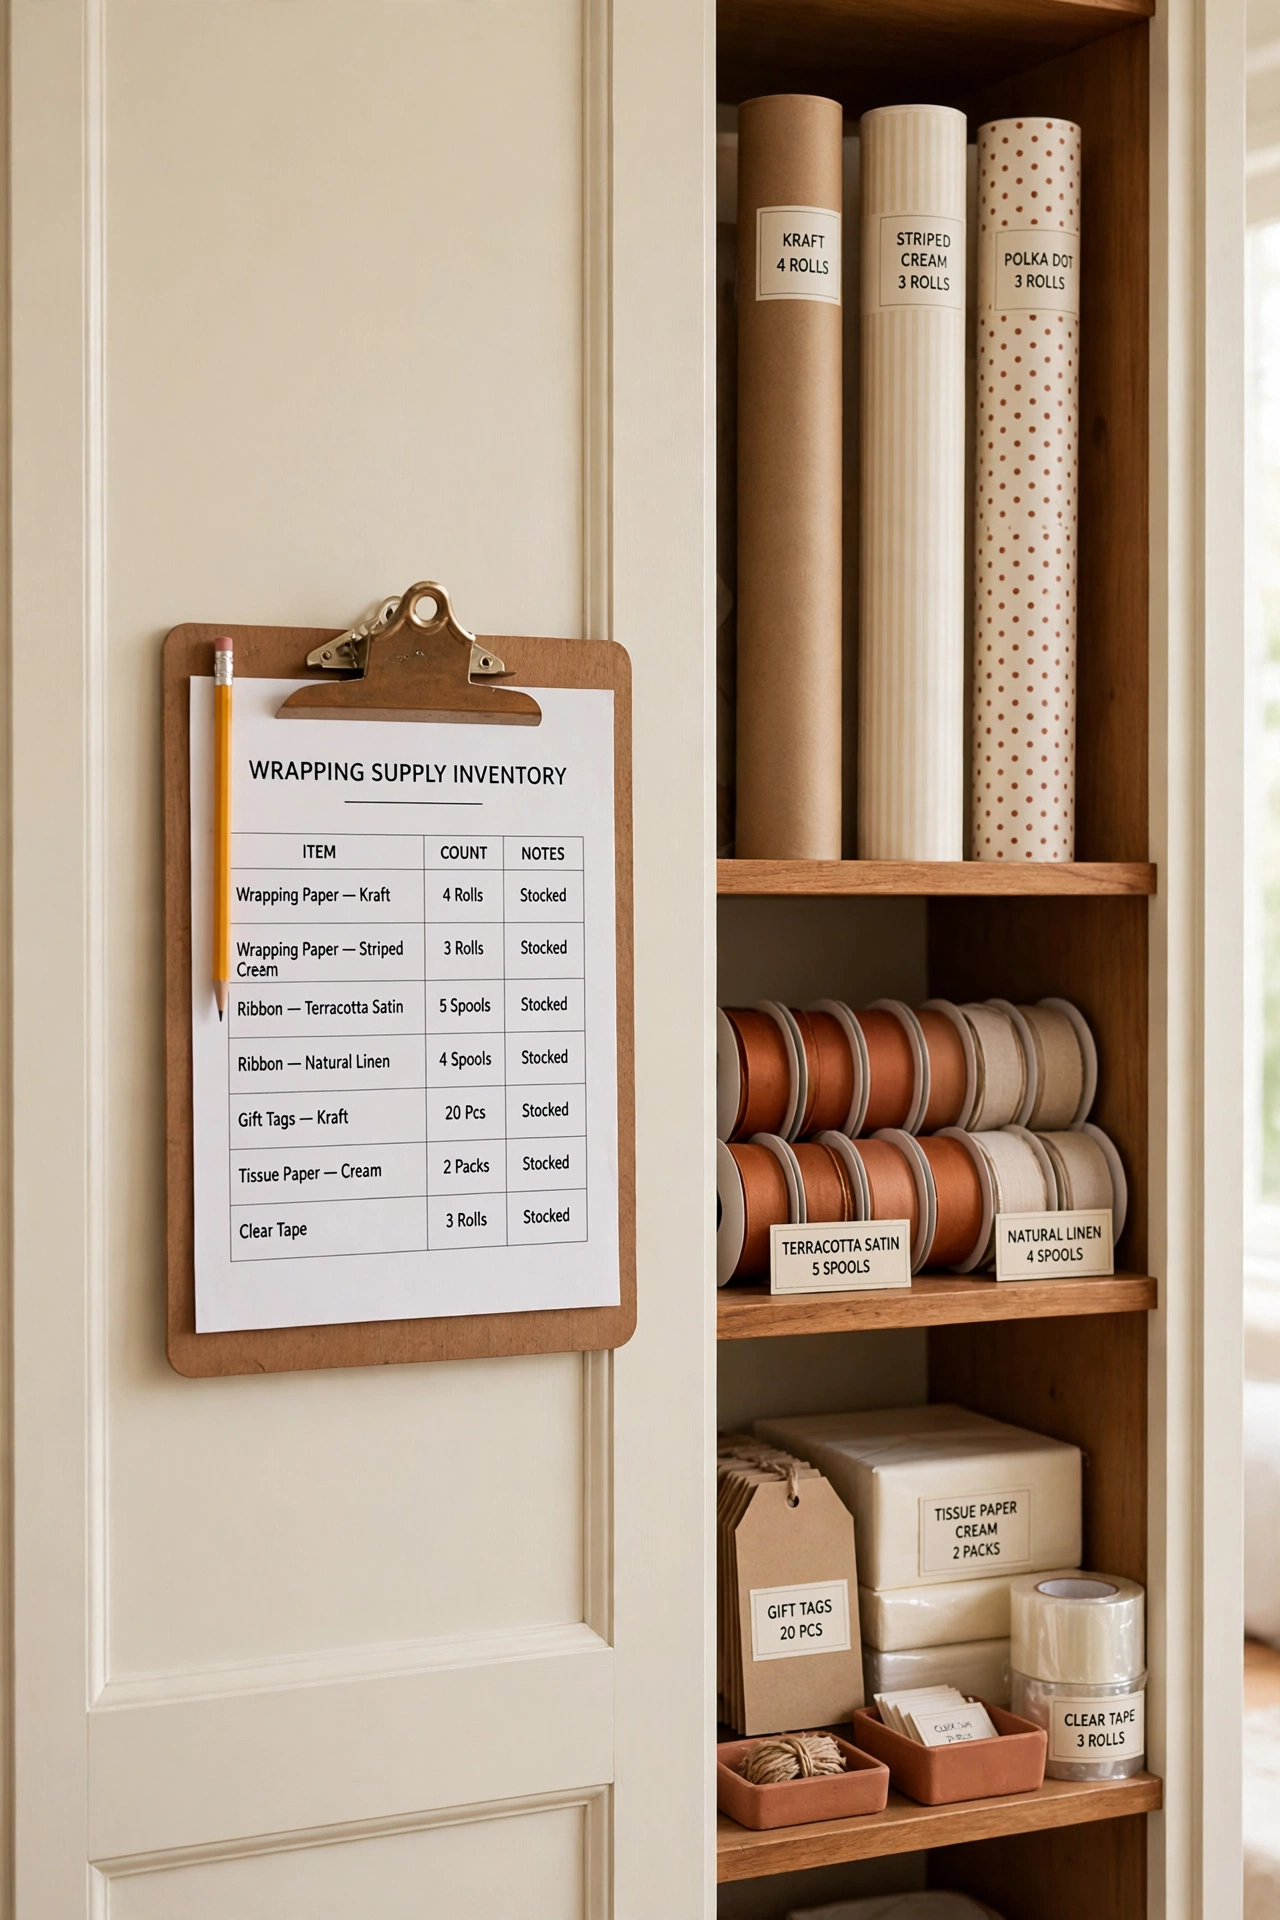
A clipboard hung inside the closet door turns your supply count into a living list you can update all season. Write columns for the item, the color or pattern, the starting count, and the count left after each wrapping session. A quick pencil mark after every session keeps the list honest without any extra effort.
This habit works the same way a pantry list works in the kitchen. If you already track food supplies with a written list, these food inventory organization ideas show how a simple count sheet prevents waste and repeat buying. Your wrapping list does the same job for paper and ribbon.
3. Sort Wrapping Paper Rolls by Color Family
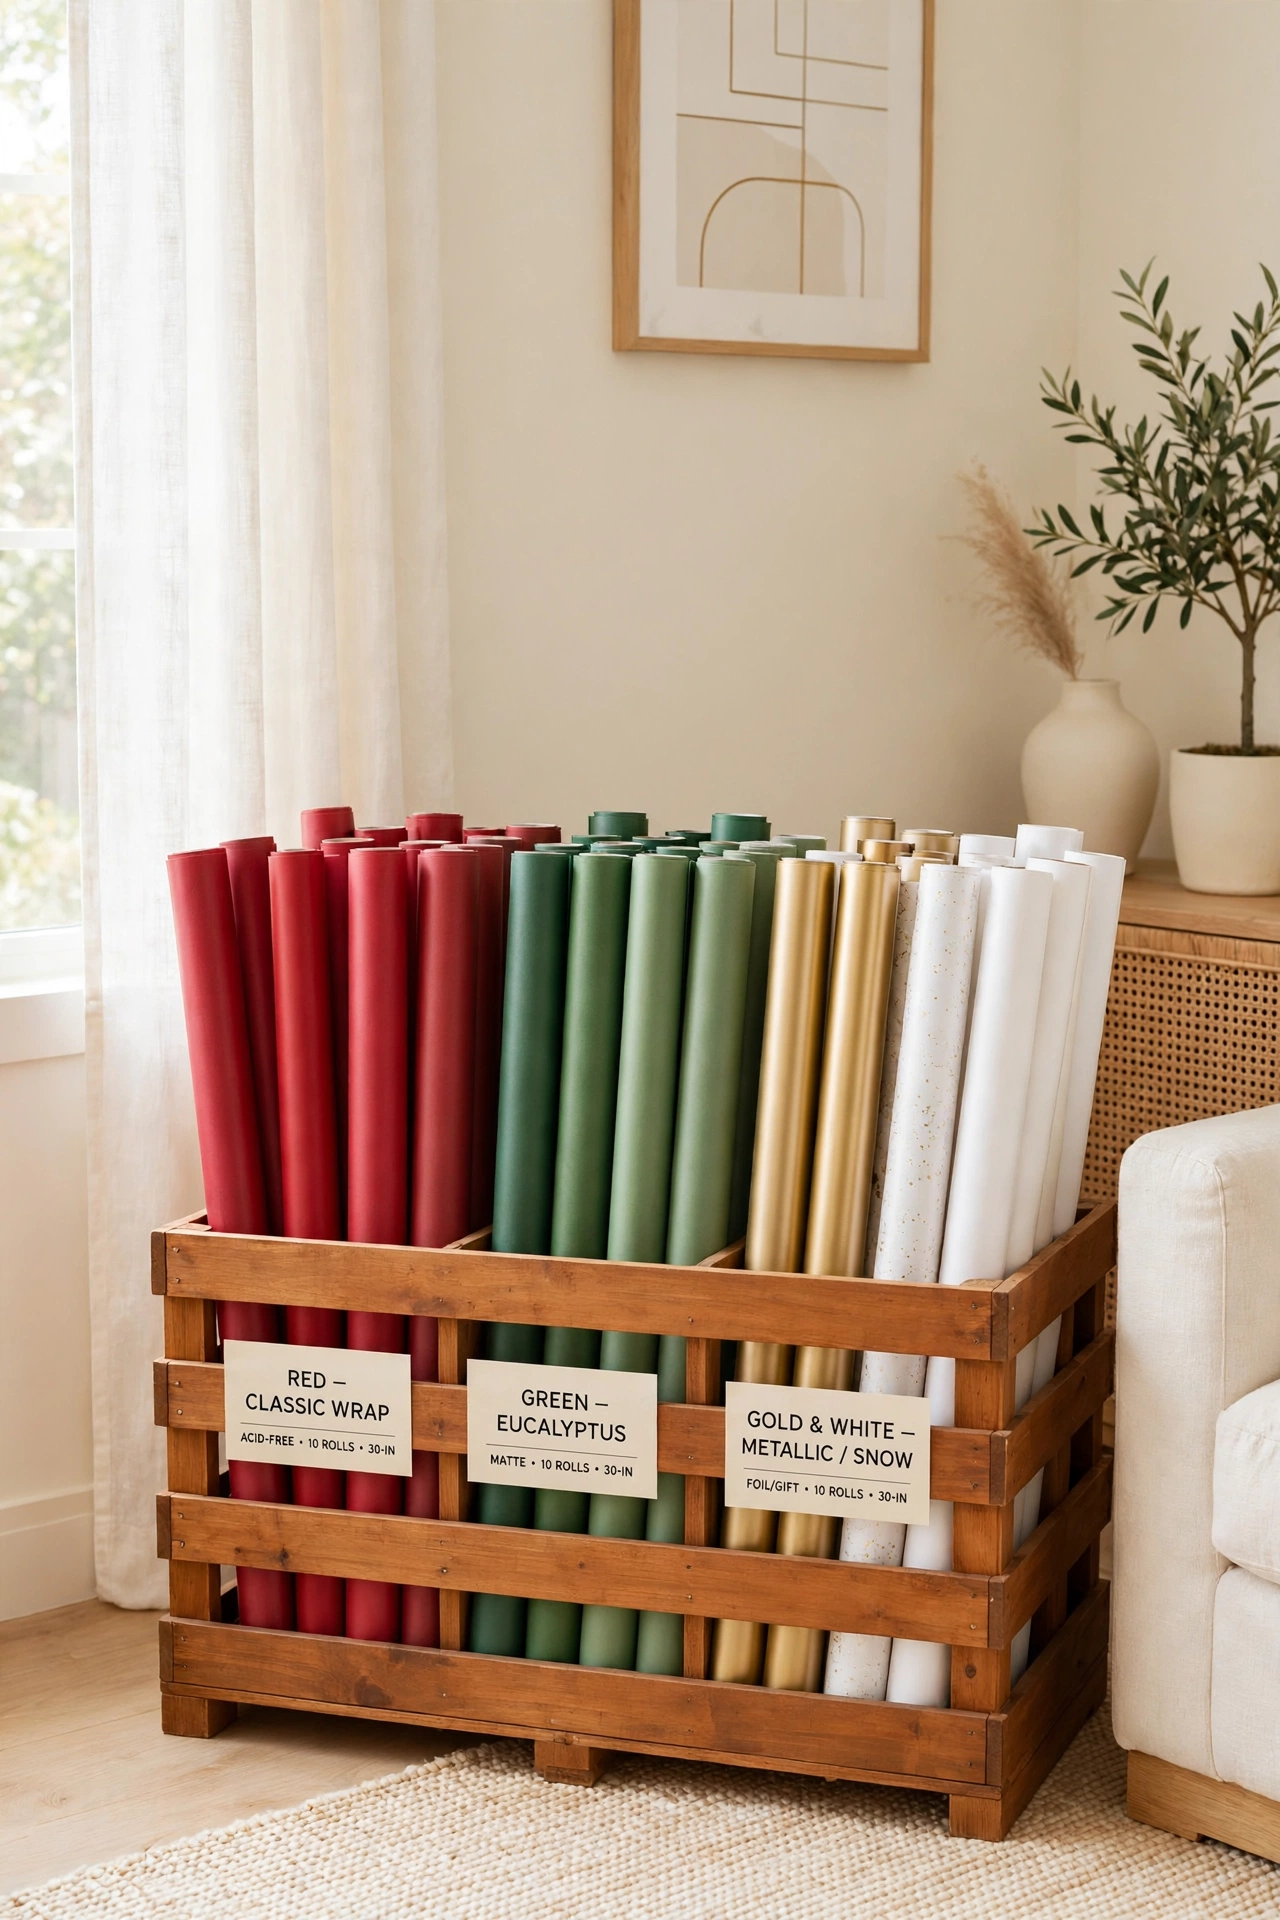
Grouping rolls by color family makes it easy to see what you have and what you are missing. Place all the reds together, all the greens together, and all the golds, whites, and patterned rolls in their own groups. When rolls are mixed at random, you cannot tell at a glance whether you own three reds or none at all.
Color grouping also speeds up wrapping because you can grab a matching roll and ribbon in one motion. If one color family is running low, it stands out immediately. This simple sort is the foundation of every other idea in this list.
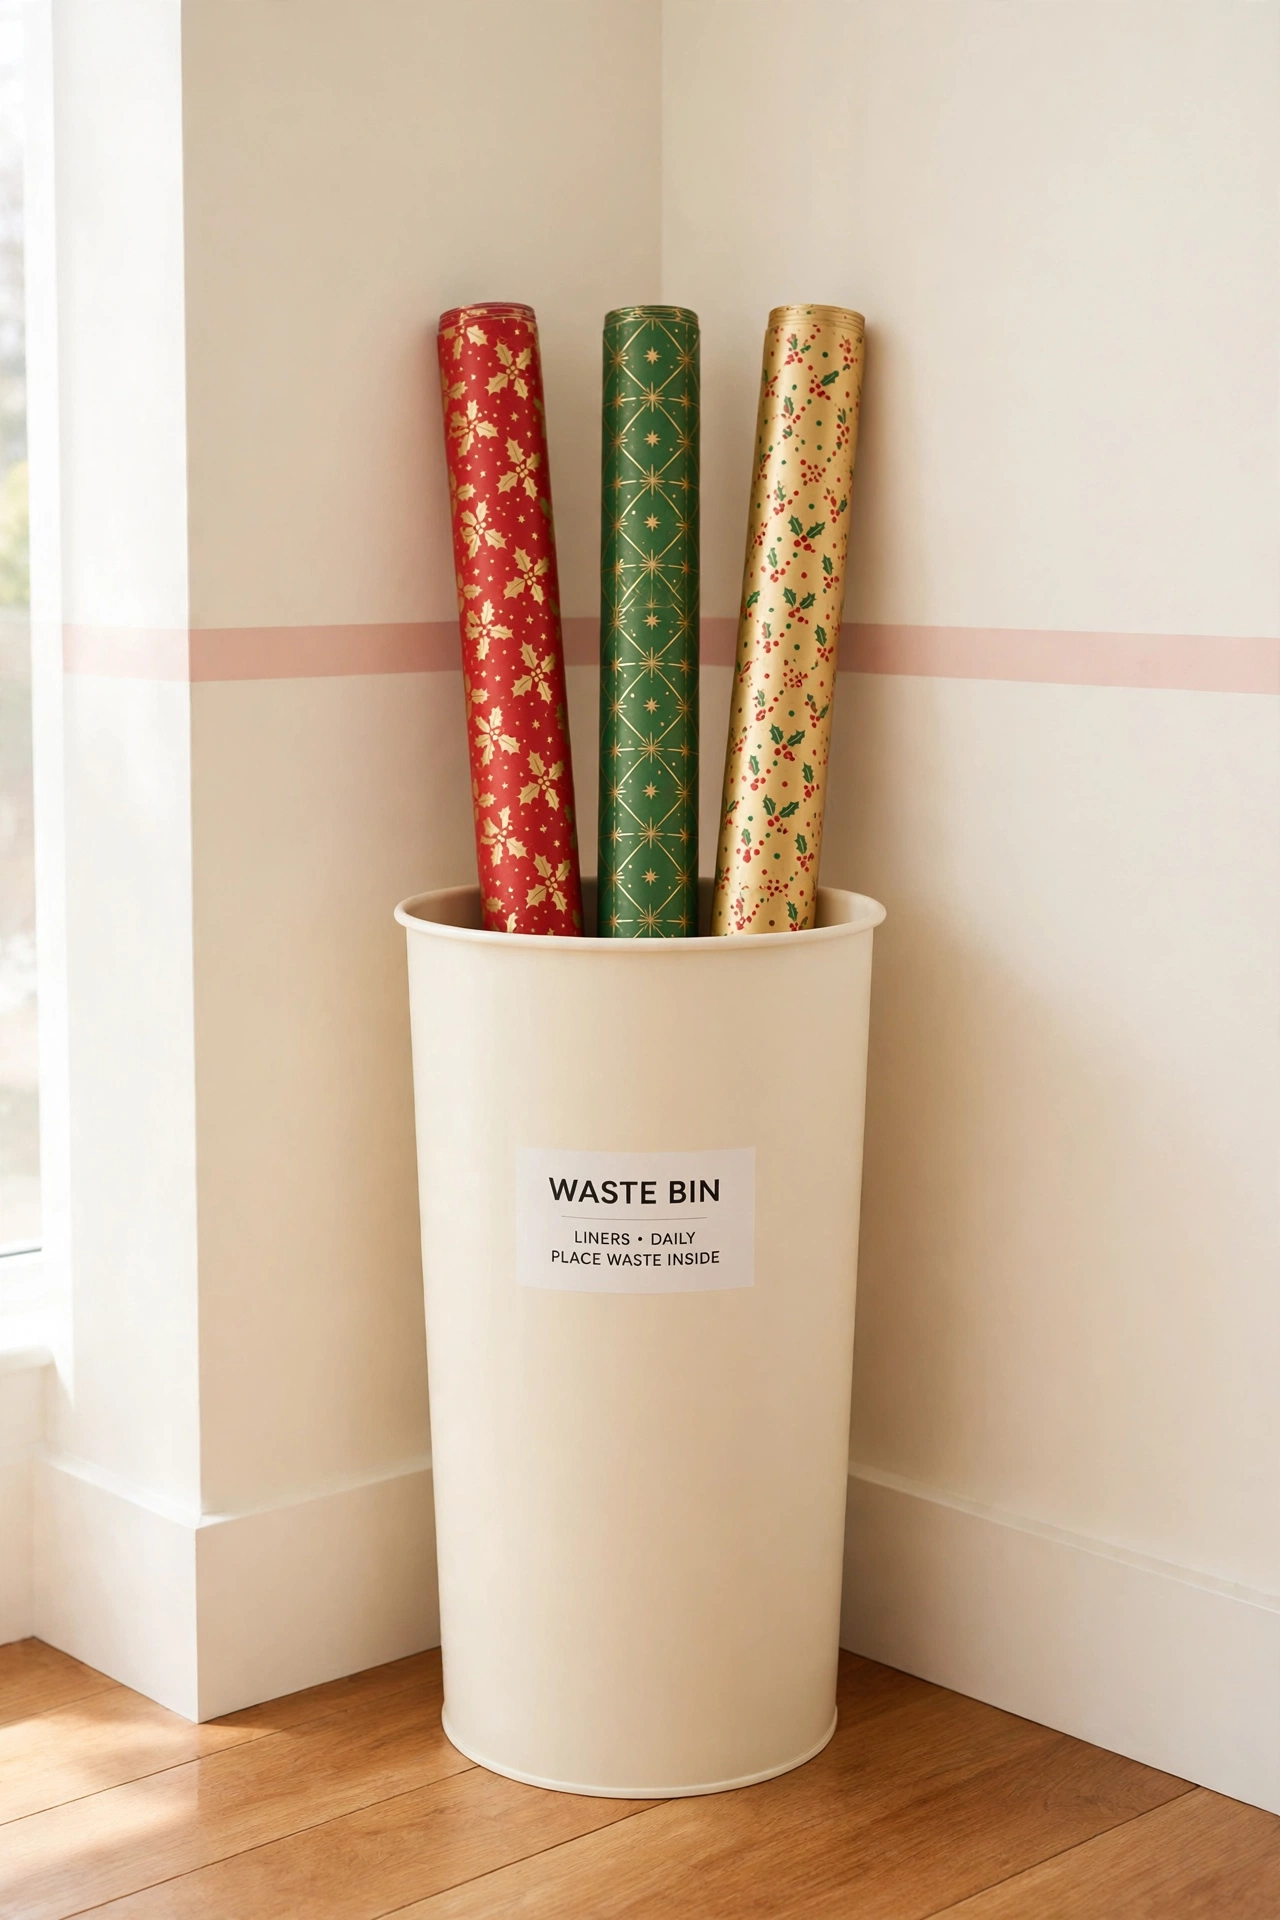
4. Stand Rolls Upright in a Tall Waste Bin
A tall, clean waste bin makes an excellent upright holder for wrapping paper rolls. Stand the rolls on end with the patterned ends facing up so you can read each design without pulling rolls out. The bin keeps rolls from rolling under furniture or getting crushed at the back of a closet.
Choose a sturdy bin that is tall enough to support most of the roll length. A bin with a flat base will not tip over when you pull one roll out. This is one of the cheapest storage solutions on this list, and it keeps tall rolls safe all year.
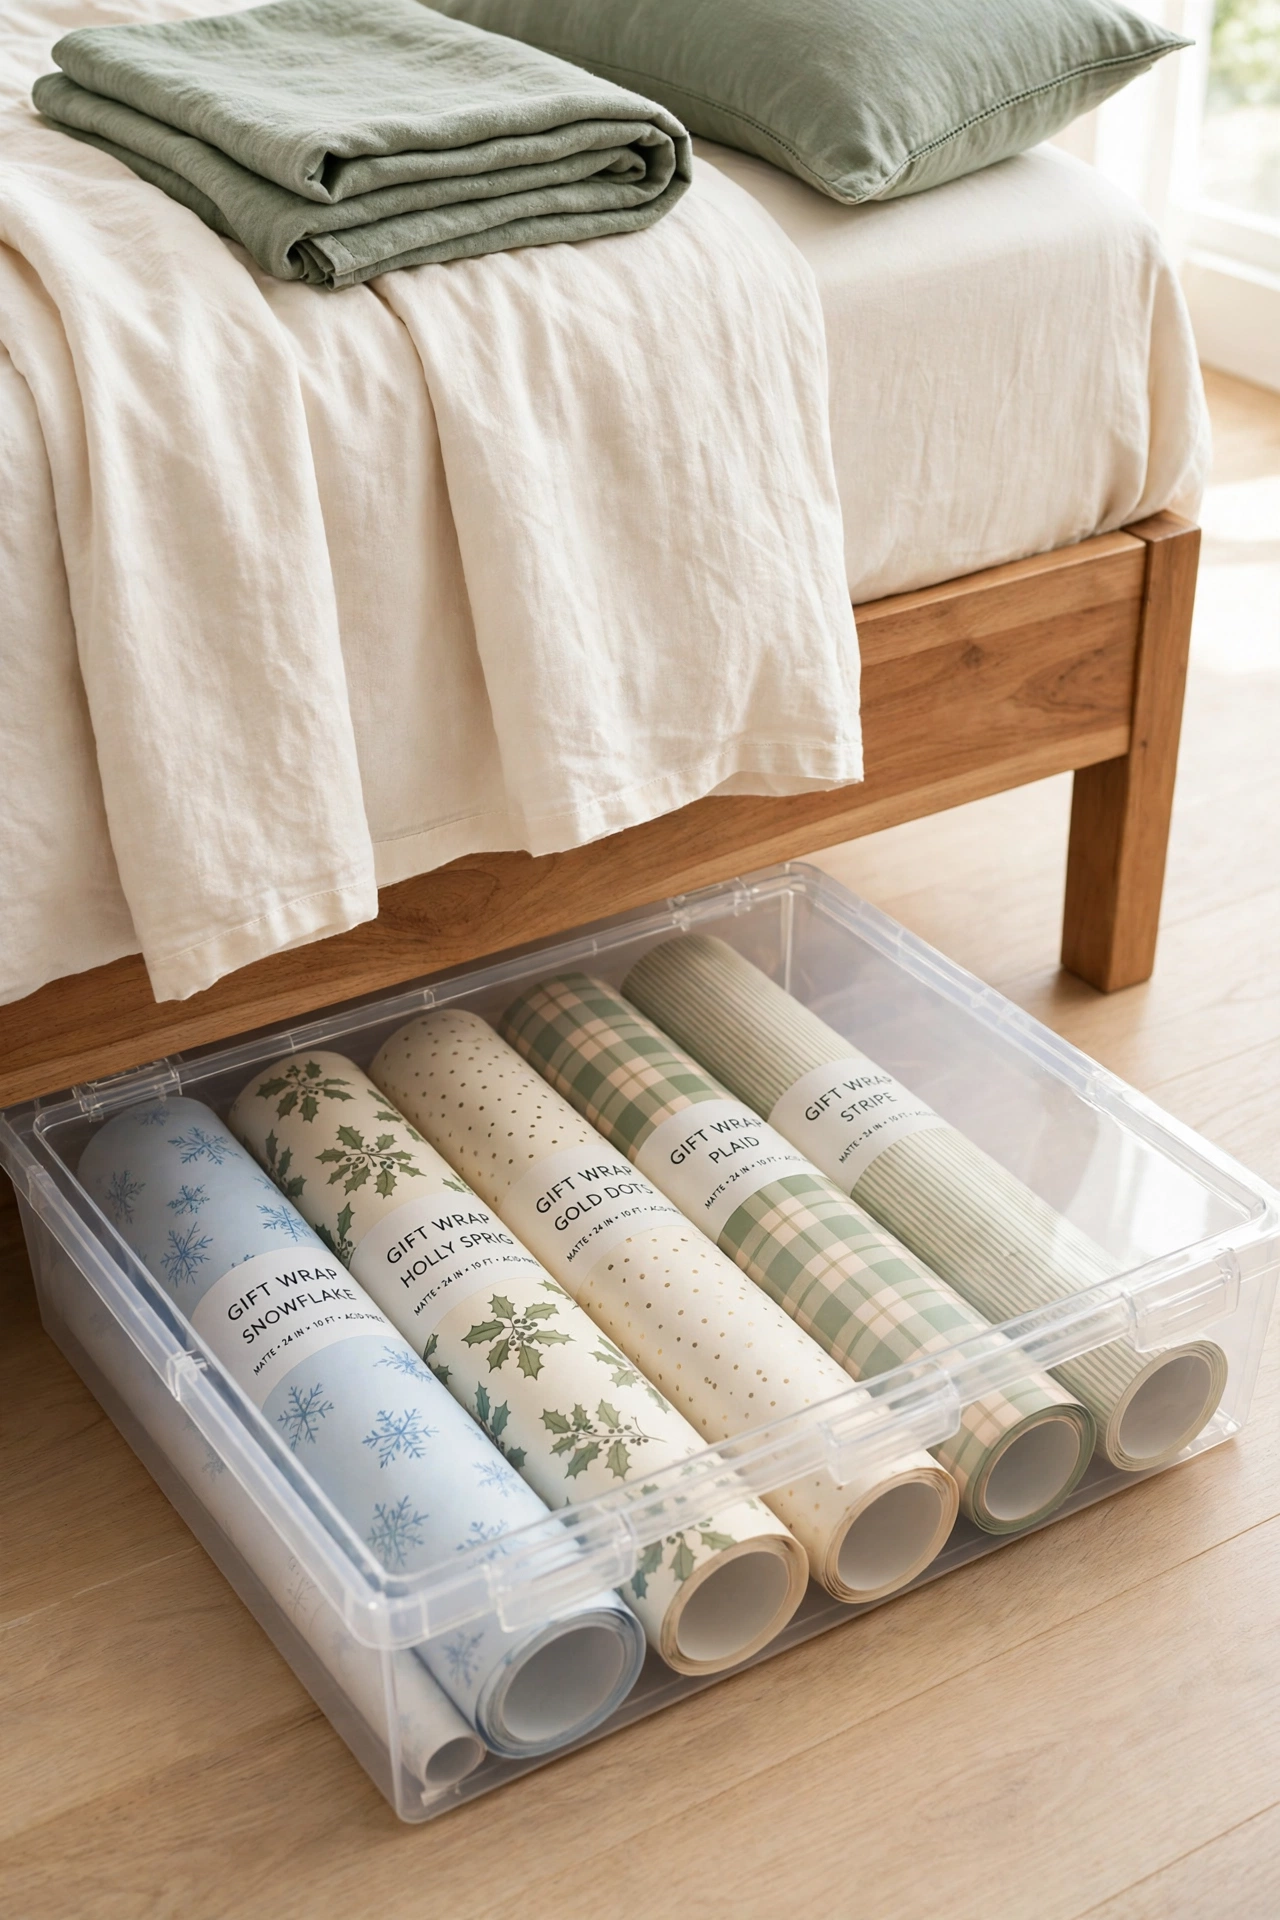
5. Store Rolls Flat in an Under-Bed Box
Long rolls fit beautifully in a flat under-bed storage box, where they stay safe from dents and dust. Lay the rolls in a single layer with the labels facing up so you can read them when you slide the box out. A clear lid lets you check your stock without opening the box at all.
Under-bed storage is ideal if closet space is tight, because it uses space that usually sits empty. These under-bed storage organization ideas show how to make the most of that hidden zone. Keep the box near the foot of the bed so you can pull it out easily during wrapping season.
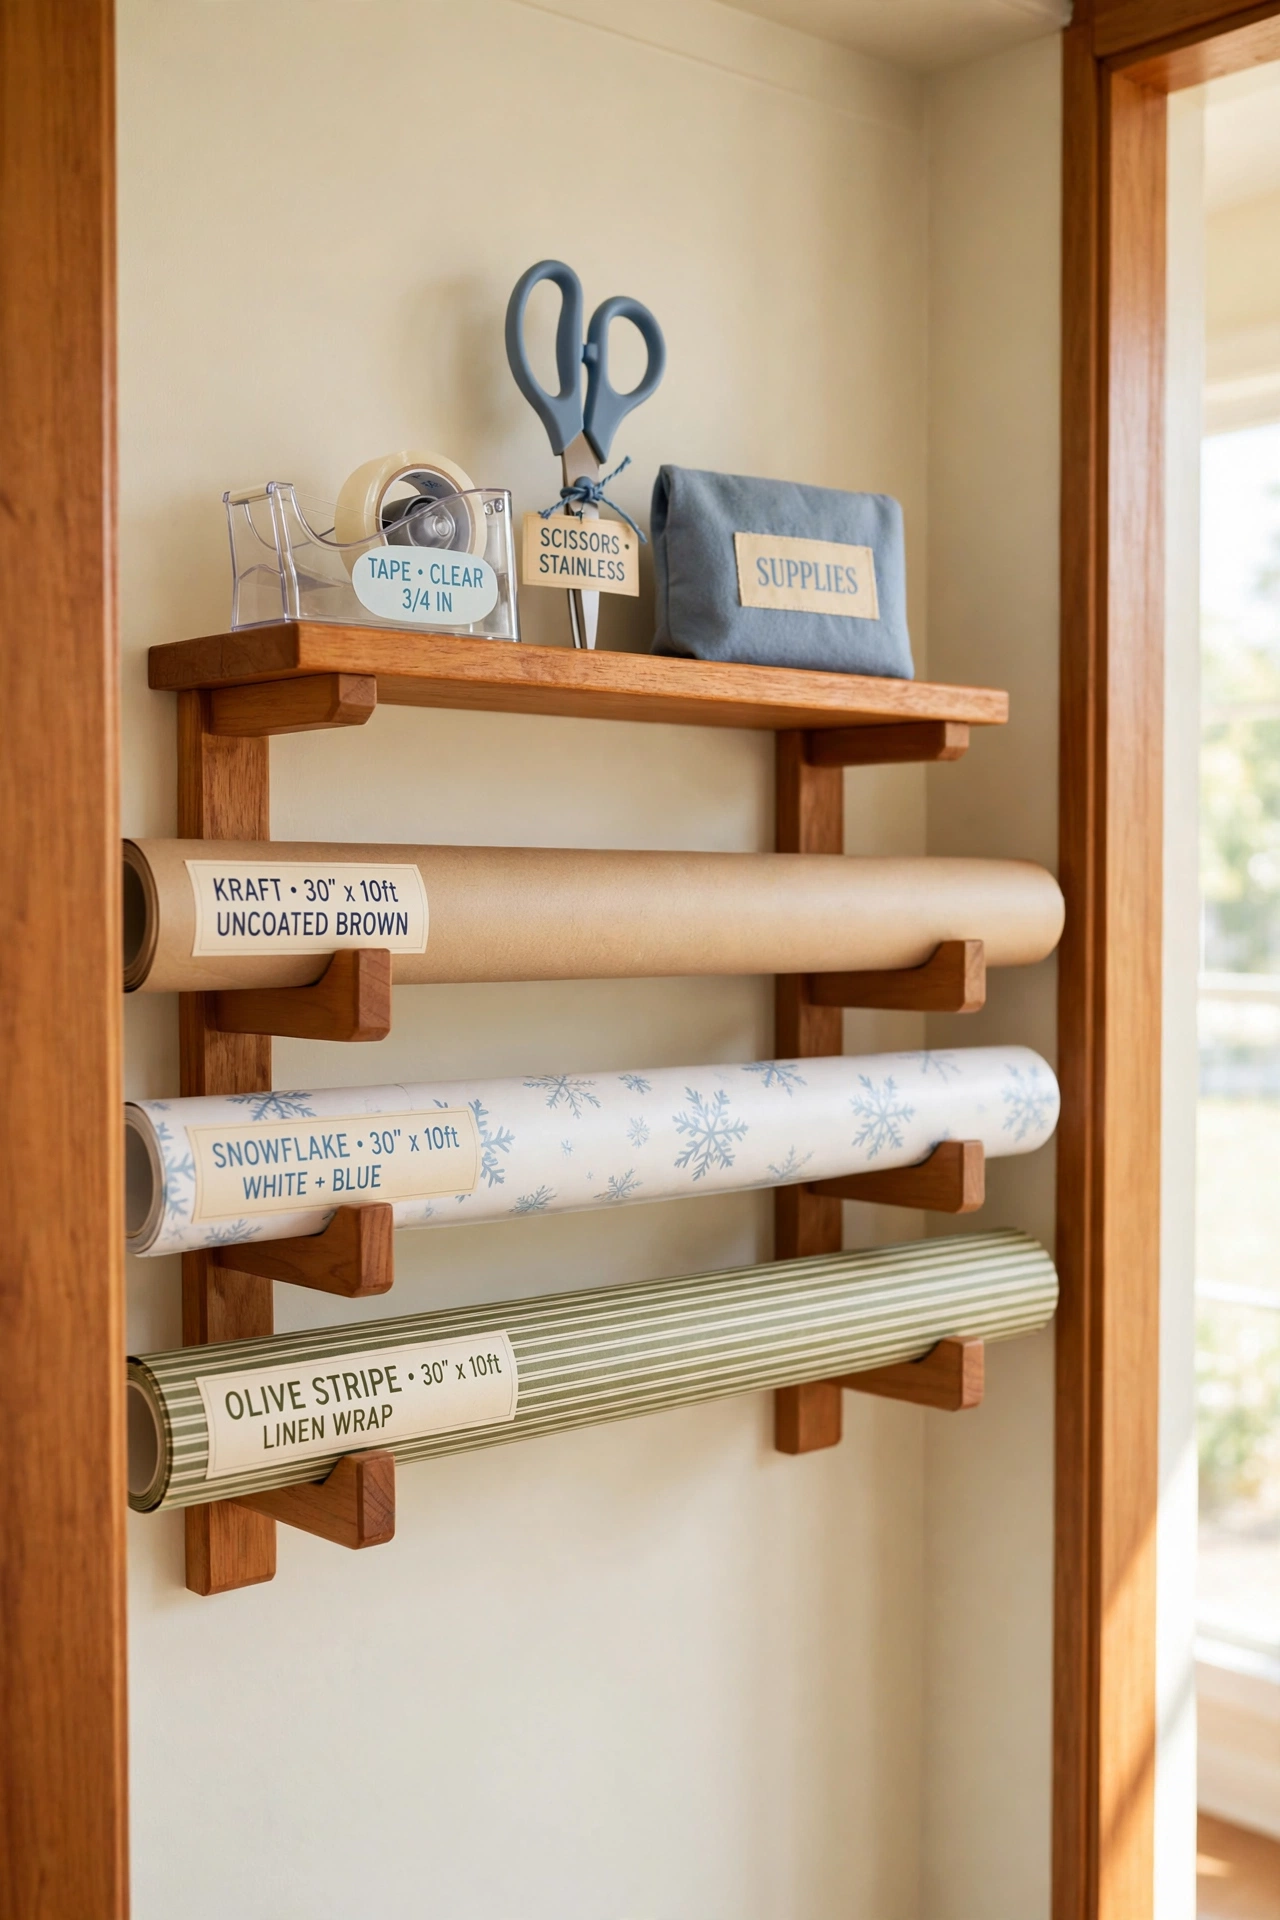
6. Hang a Roll Holder on the Closet Wall
A wall-mounted roll holder keeps wrapping paper off the floor and in plain sight. Mount two sturdy brackets or a simple rack on the inside of a closet wall, then rest the rolls across the brackets like towels on a bar. Each roll stays separate, so paper never creases or tears from rubbing against other rolls.
This setup works well in a hall closet or a craft closet where the door hides the supplies. You can see every pattern the moment you open the door. Add a small shelf above the holder for tape and scissors, and the closet becomes a mini wrapping station.
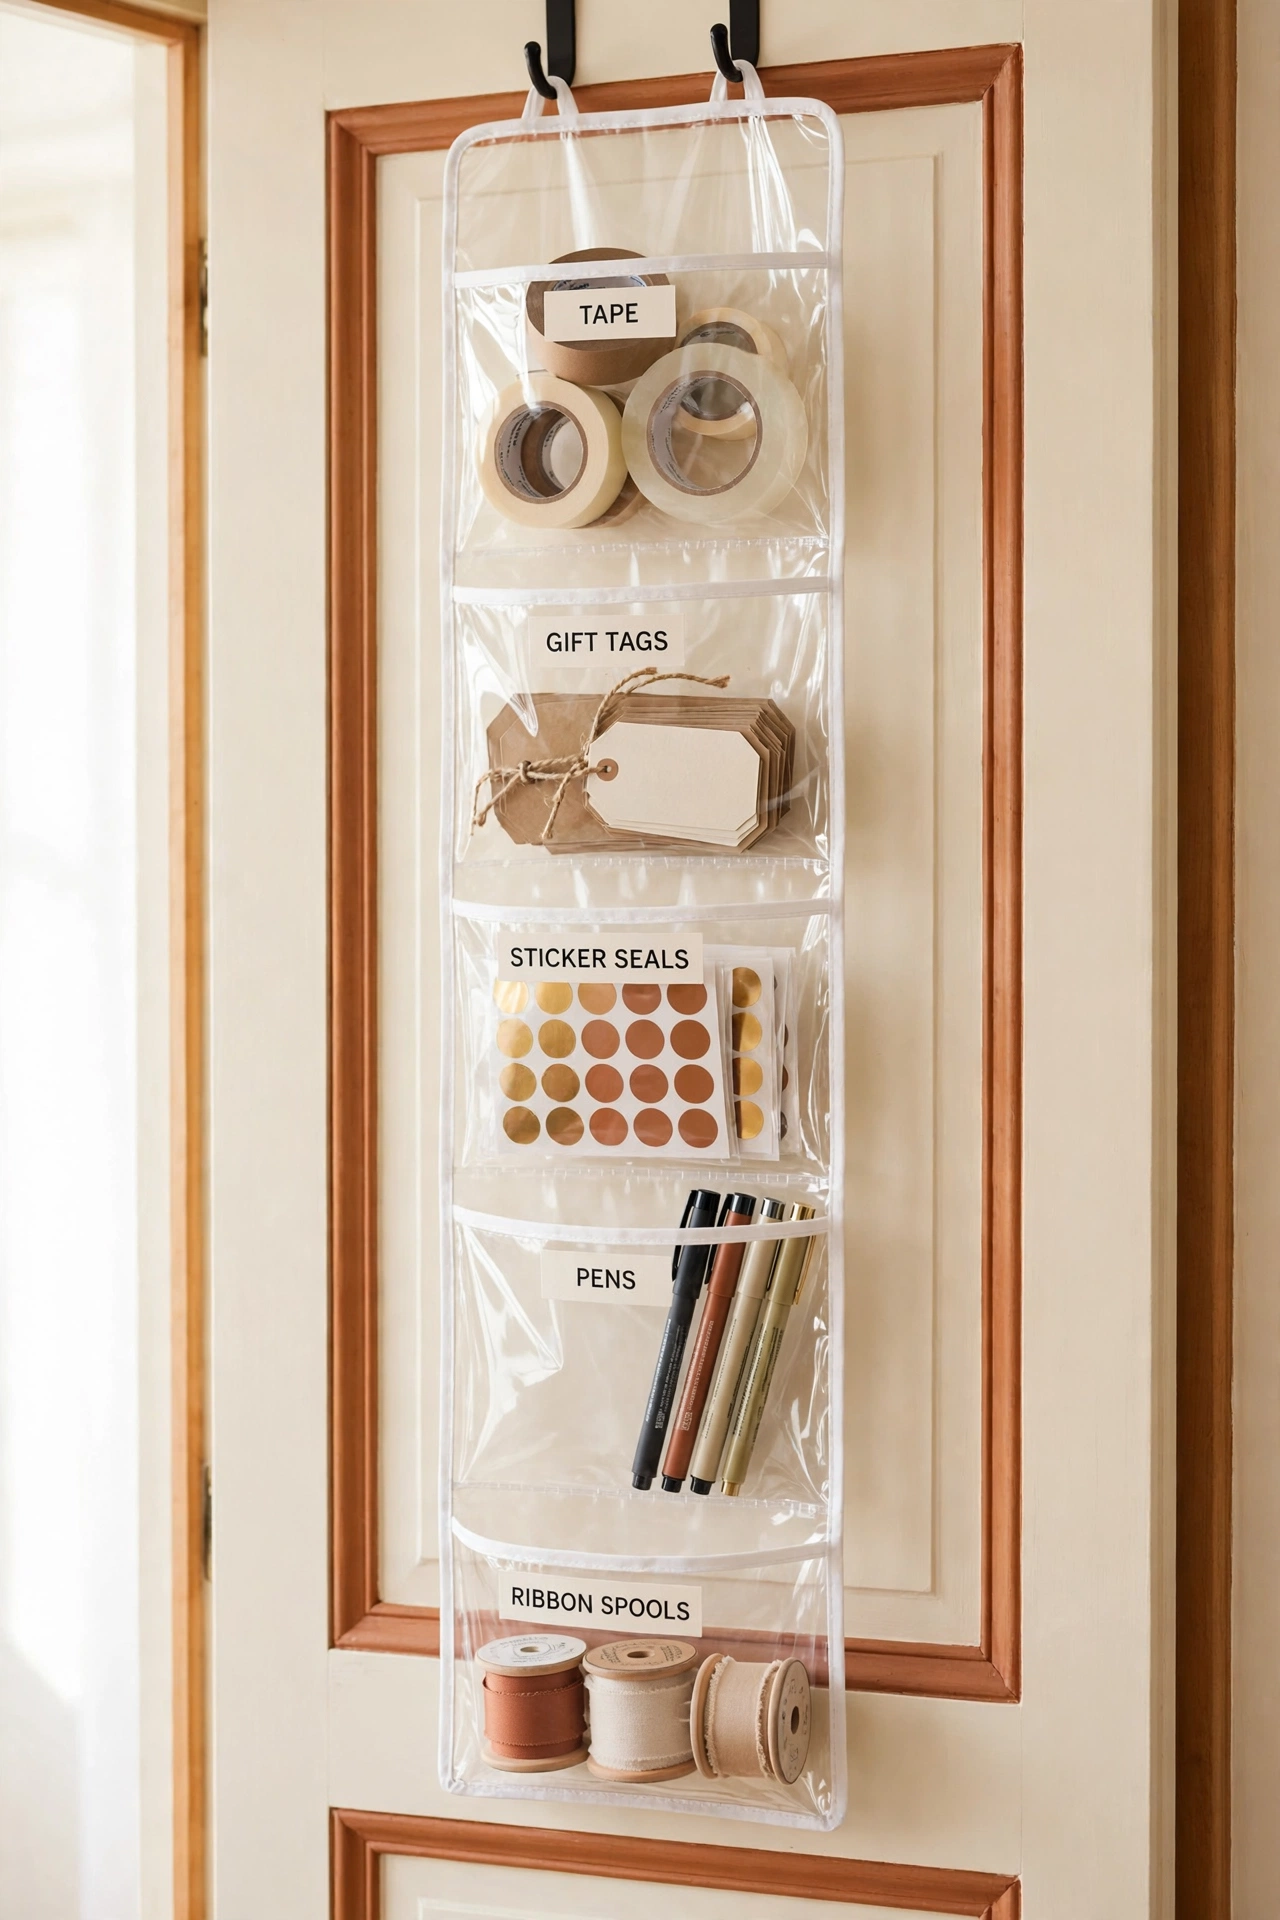
7. Use a Clear Over-the-Door Organizer for Small Supplies
Clear pocket organizers that hang over a door are perfect for the small items that get lost in drawers. Fill the pockets with tape rolls, gift tags, sticker seals, pens, and small ribbon spools. The clear pockets let you see every item and count it in seconds.
Hang the organizer on the inside of the closet door where your wrapping supplies live. These closet door organization ideas show how much storage a single door can hold. Label the top of each pocket so every item returns to the same spot after use.
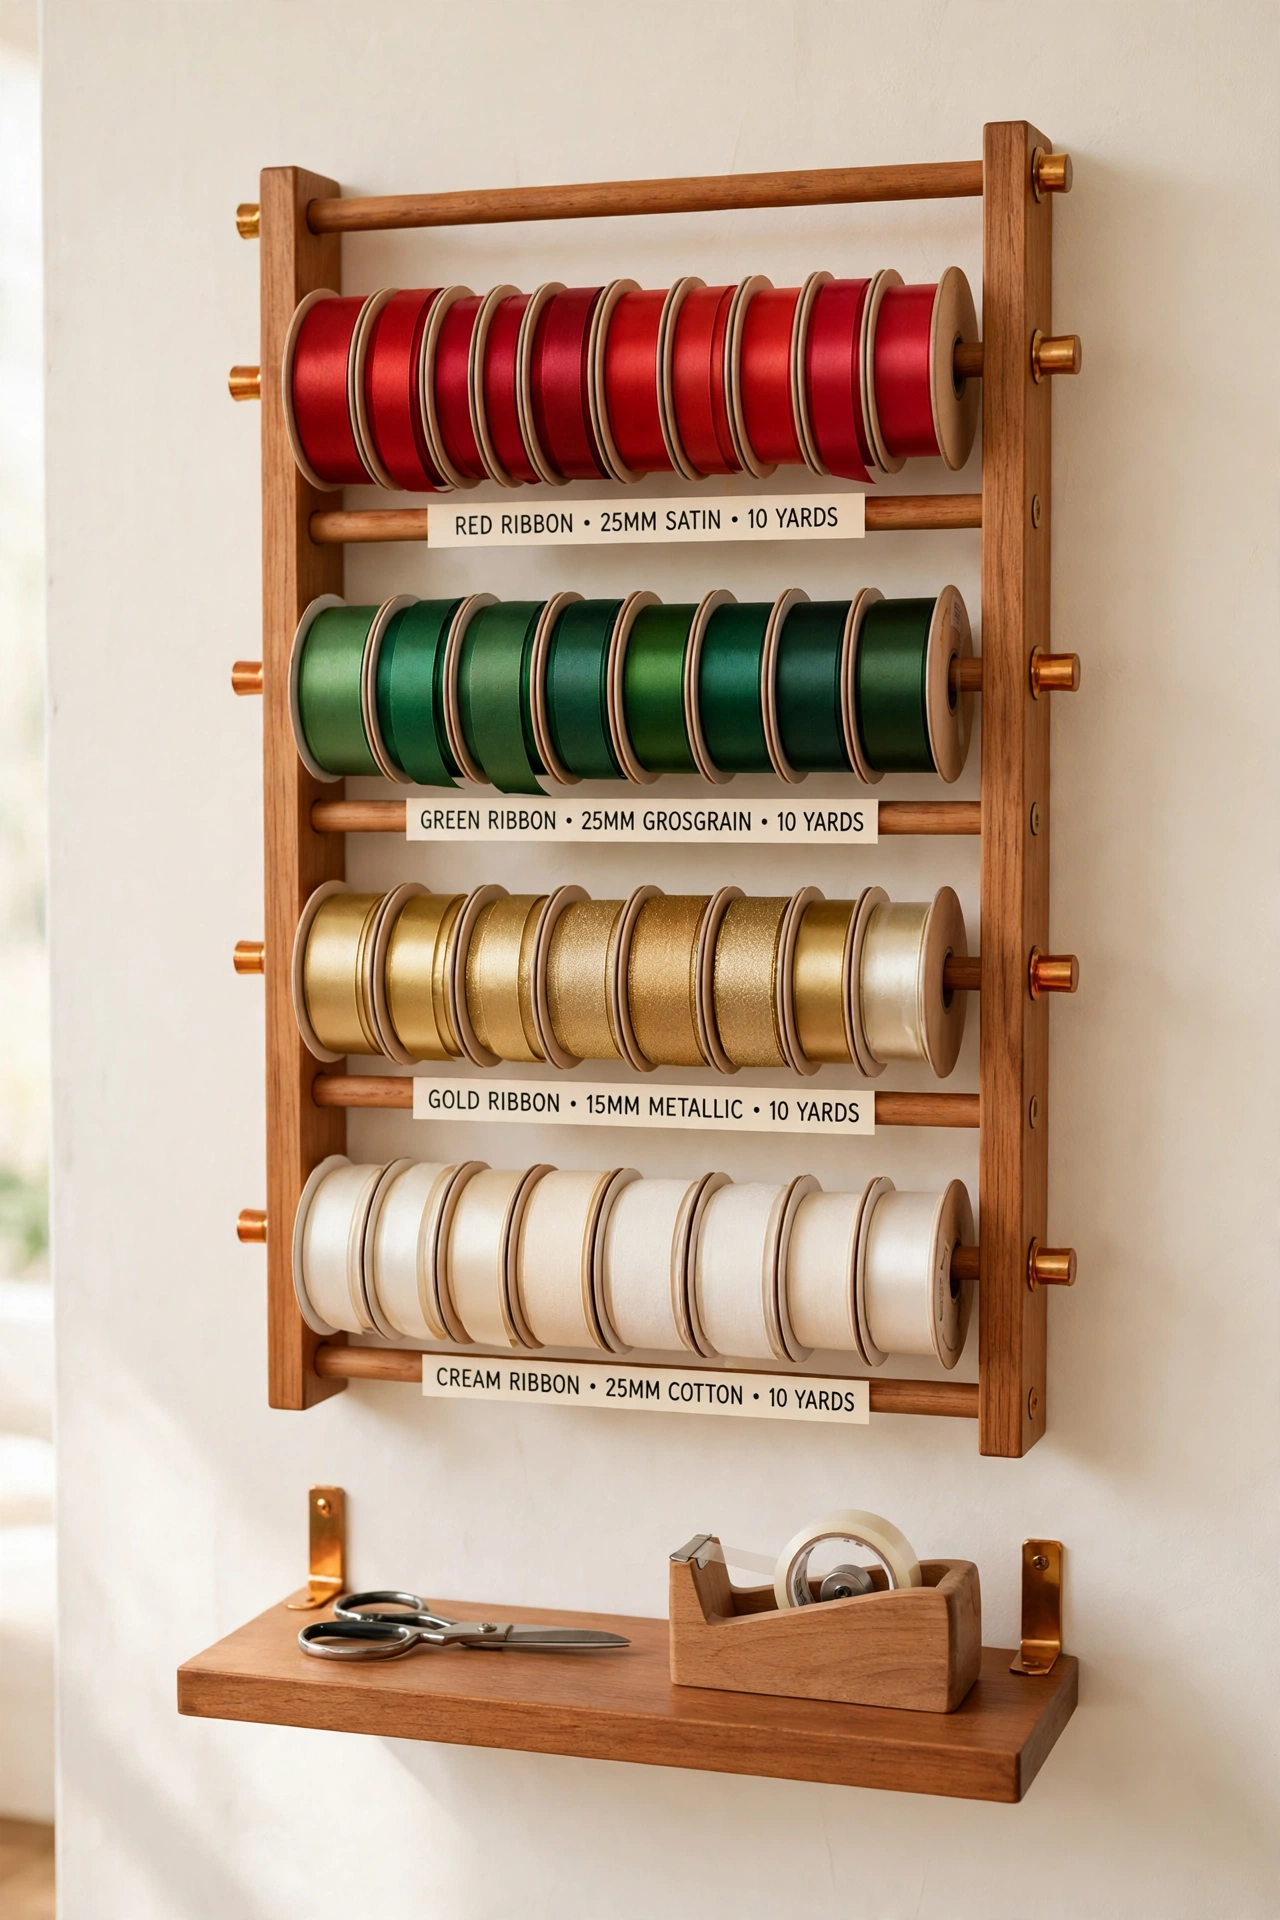
8. Keep Ribbons on a Dowel Rod Rack
Threading ribbon spools onto a wooden dowel rod keeps them neat, visible, and easy to unwind. Mount the dowel between two brackets on a wall or inside a cabinet, slide the spools on, and pull ribbon straight from the rod when you wrap. The spools stay in order and never roll away.
Sort the spools by color along the rod, with the colors you use most at the front. A dowel rack also shows you at a glance which ribbon colors are running low. For fresh ways to use the ribbon you already own, these Christmas tree ribbon decorating ideas put spare spools to beautiful use.
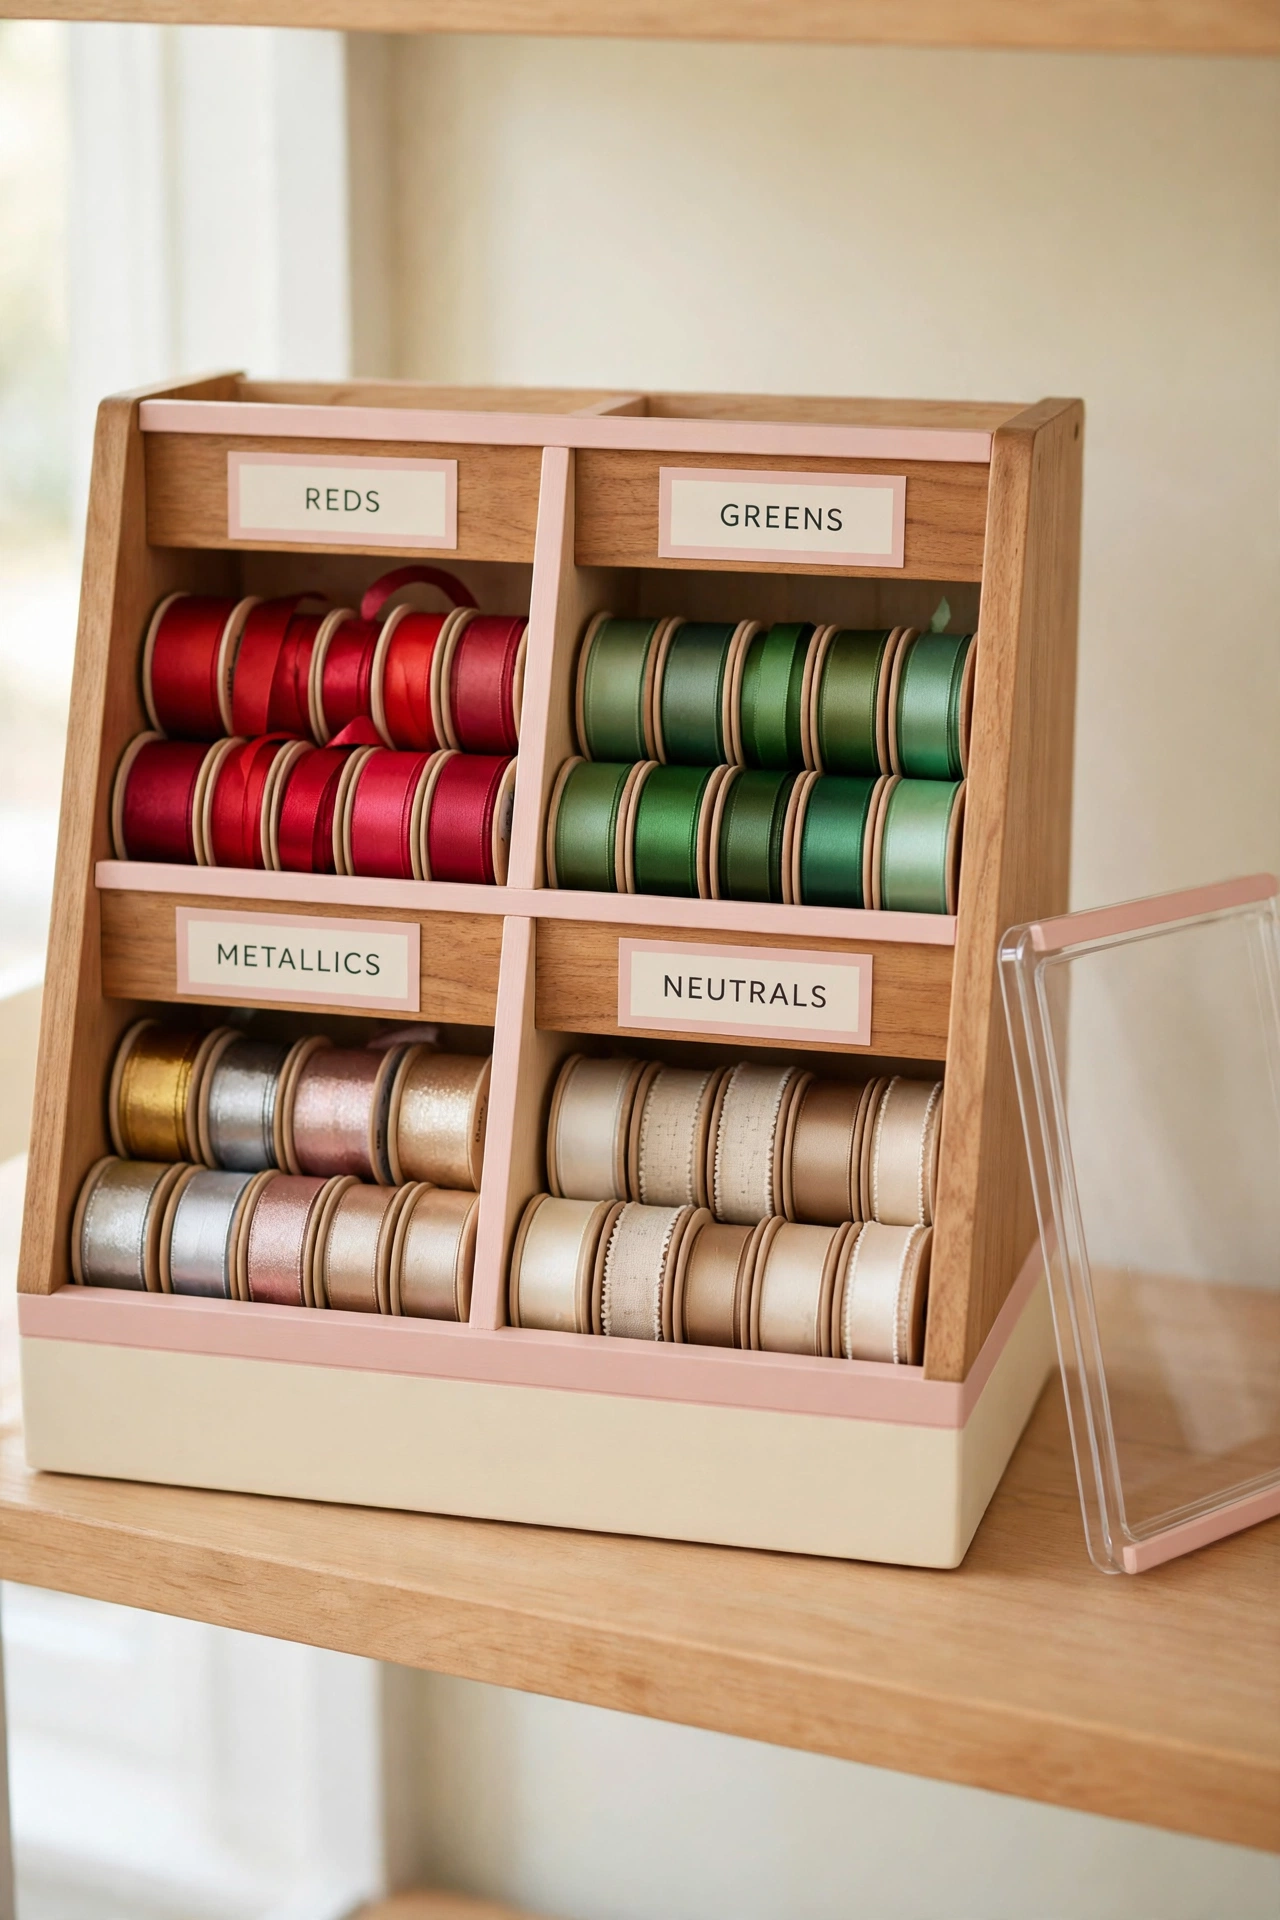
9. Sort Ribbon Spools by Color in a Divided Bin
A divided bin with small compartments keeps ribbon spools sorted by color without a wall mount. Place reds in one section, greens in another, and metallics and neutrals in their own spaces. The dividers stop spools from tumbling together into a tangled pile every time you move the bin.
Choose a bin with a clear lid so you can count spools without opening it. When a section looks empty, you know it is time to add that color to your shopping list. This system works in a closet, on a shelf, or inside a drawer.
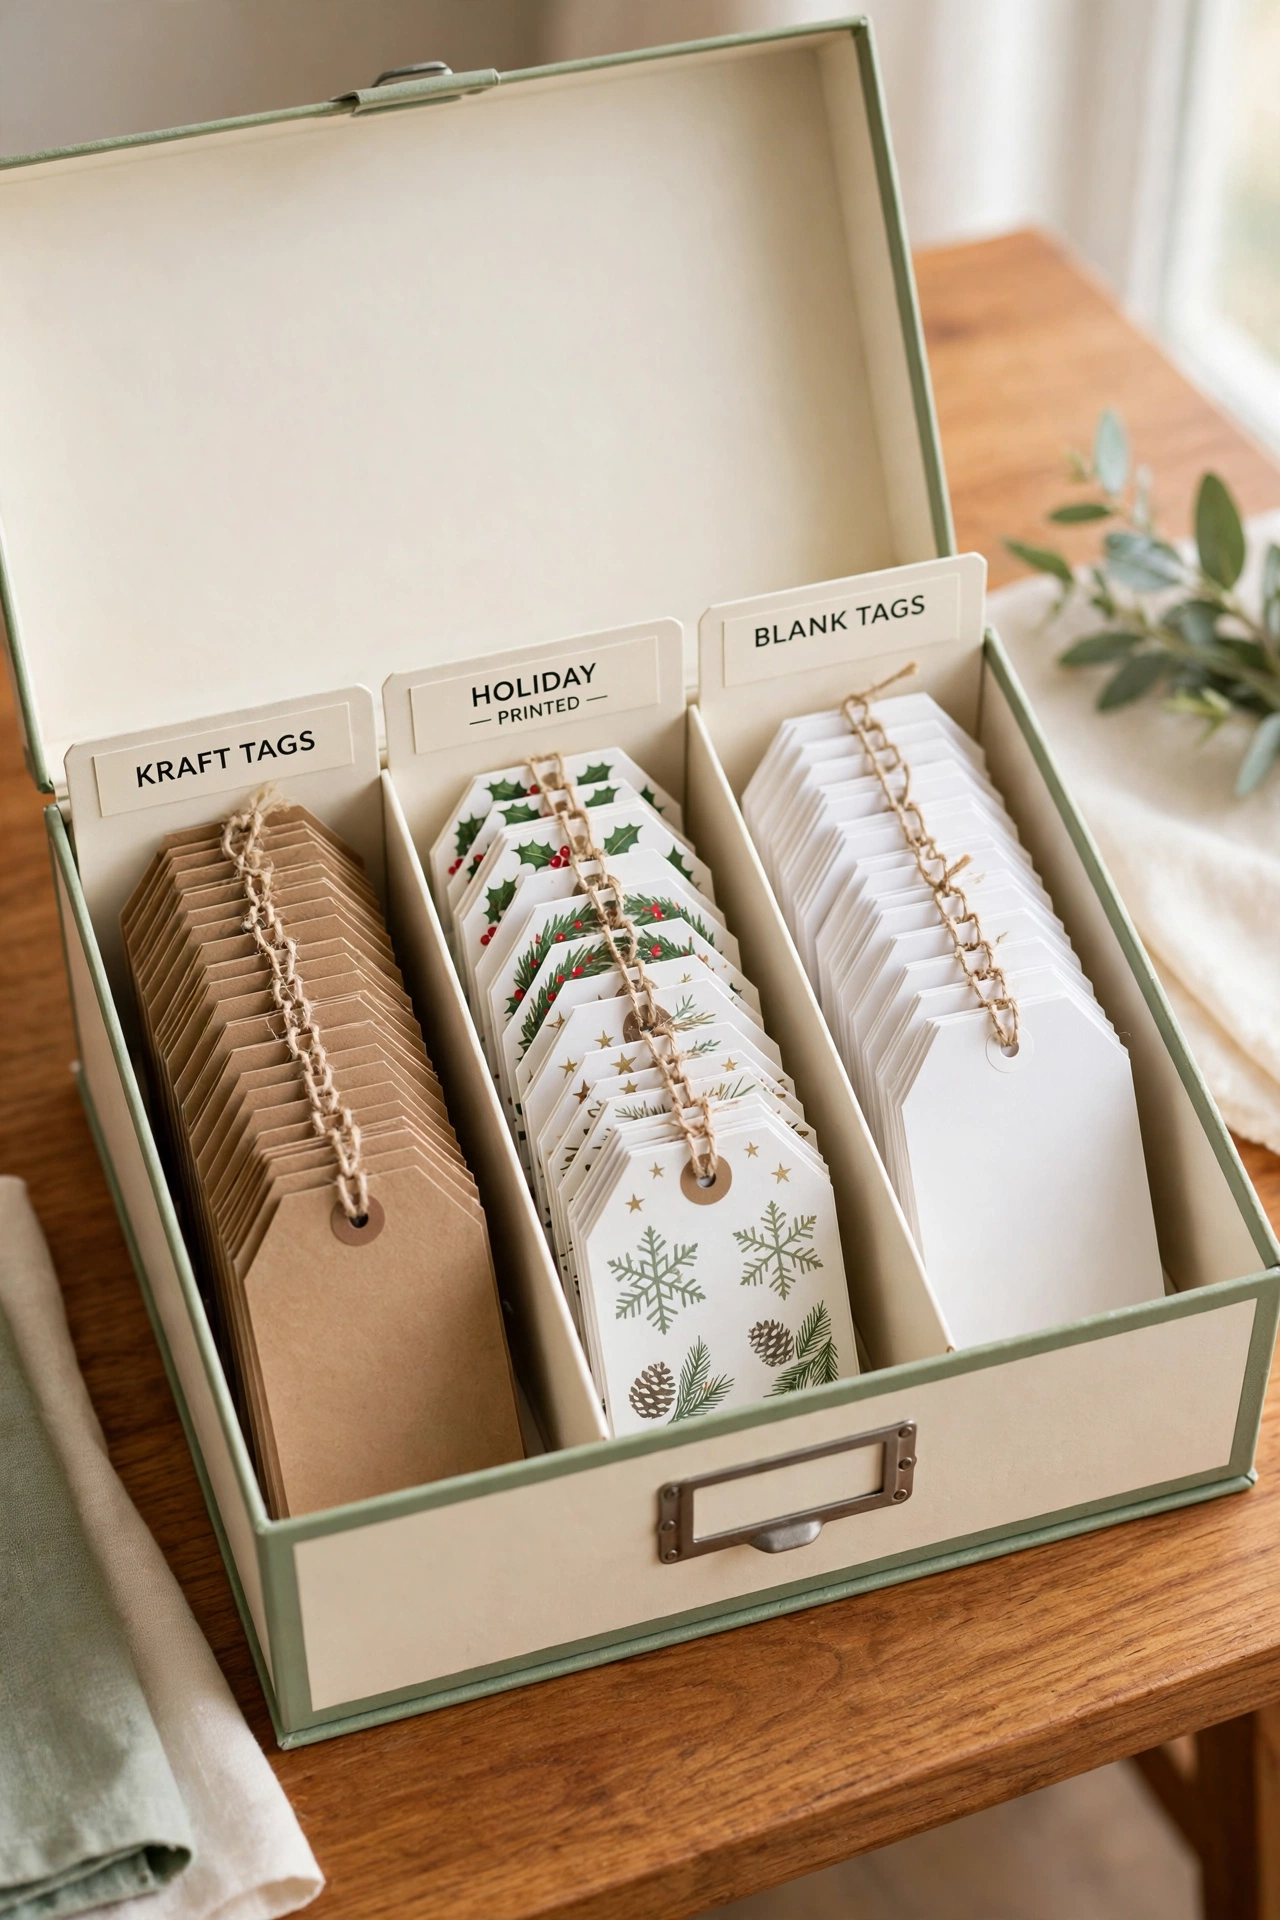
10. Store Gift Tags in a Labeled Card File Box
Gift tags are small and easy to lose, but a card file box with dividers keeps them sorted and counted. Divide the box by tag style, such as plain kraft tags, printed holiday tags, and blank tags you decorate yourself. Stand the tags upright so you can flip through them like a recipe box.
Write the count of each tag style on its divider with a pencil. When the count drops below ten, add tags to your buy list. A card file box also protects tags from bending, so every tag looks crisp when you tie it to a gift.
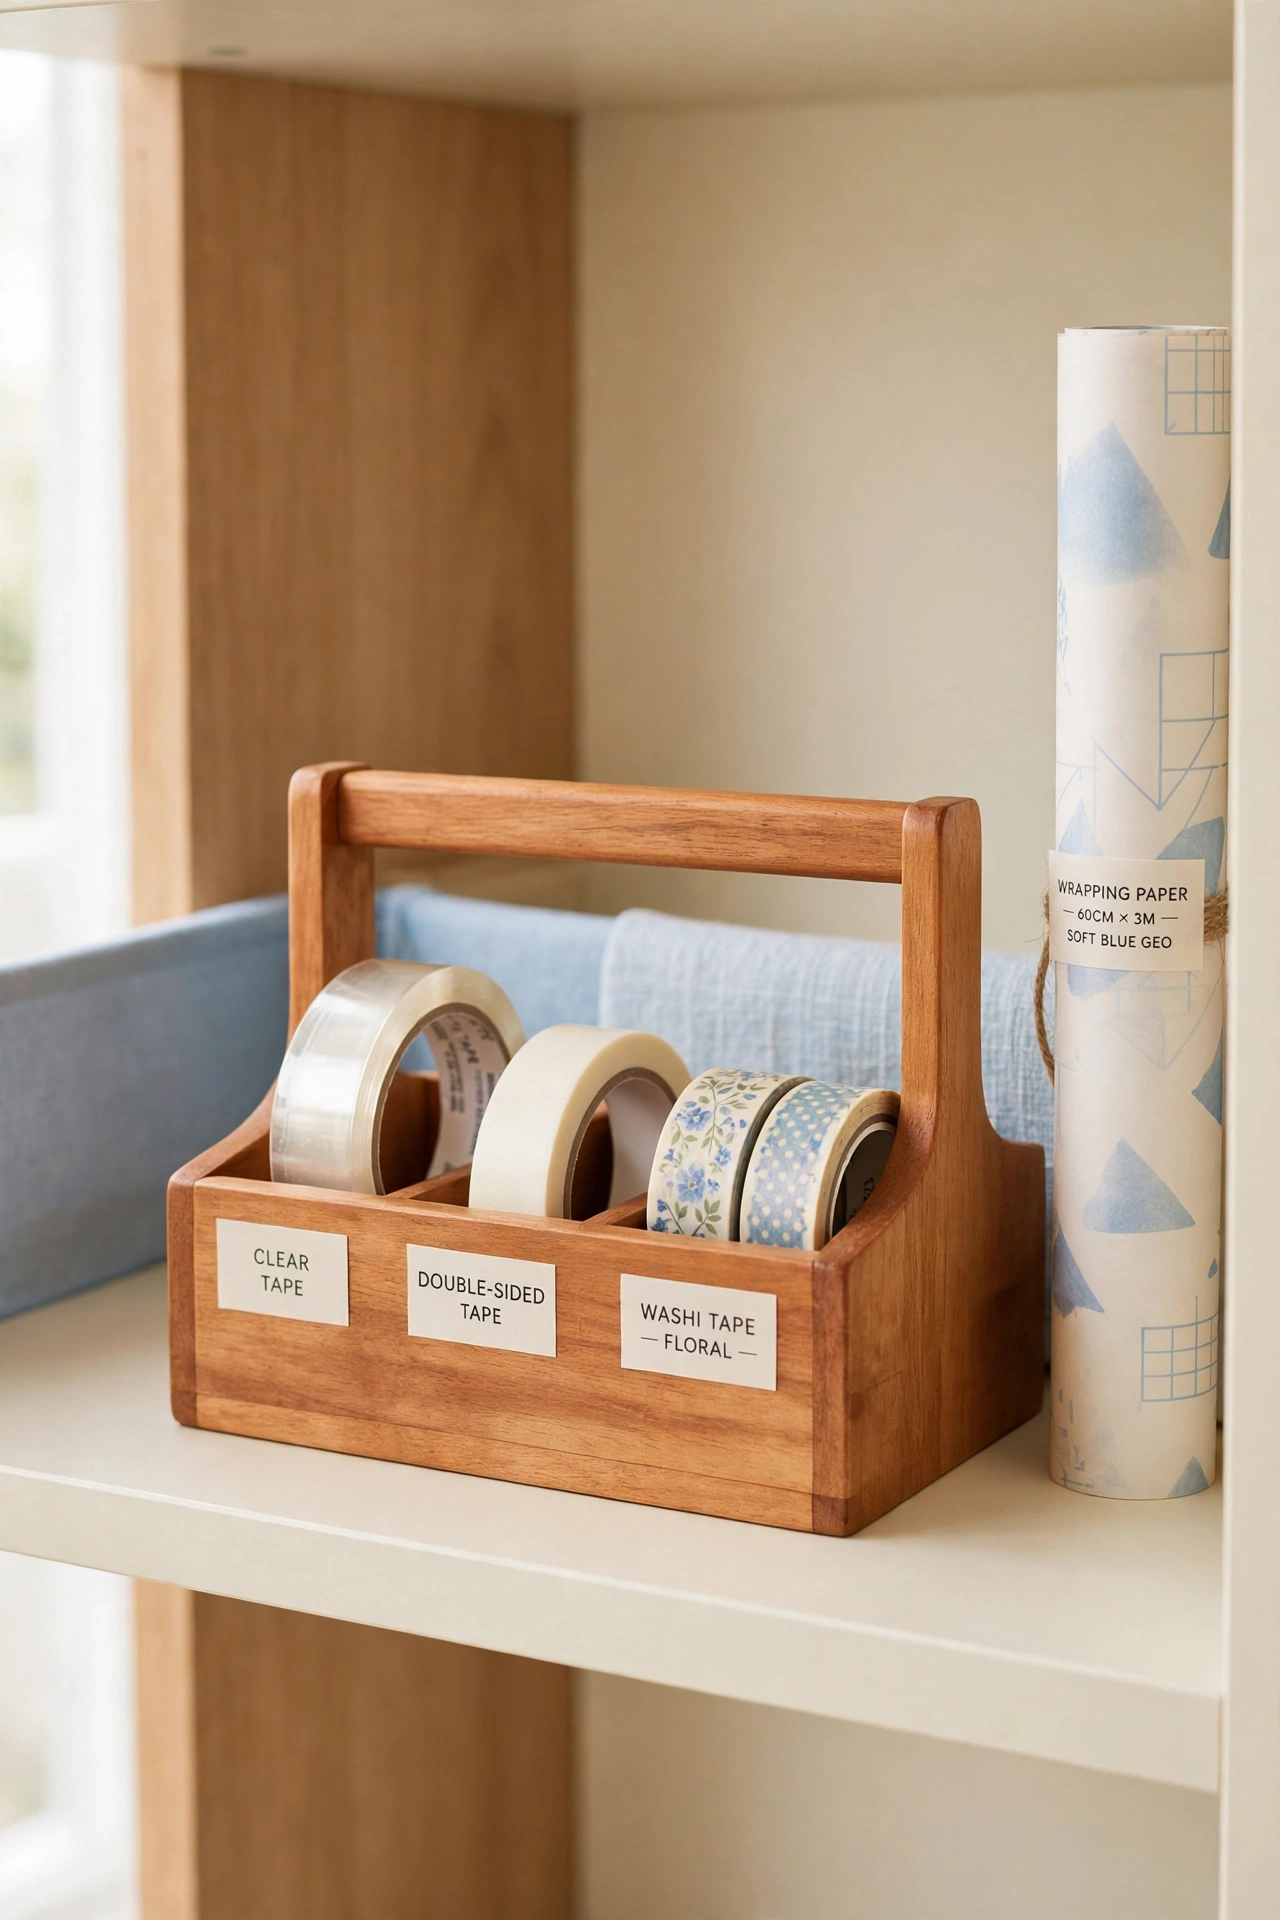
11. Keep Tape Rolls in a Single Small Caddy
Tape seems to vanish every December, usually because rolls end up in three different rooms. Gather every roll of clear tape, double-sided tape, and decorative washi tape into one small caddy that lives with your wrapping supplies. When tape has one home, you always know how many rolls you own.
A caddy with a handle is easy to carry to the wrapping table and back to the closet. Count the rolls each time you return the caddy to its shelf. If you own fewer than two full rolls of clear tape at the start of December, buy one more before the rush begins.
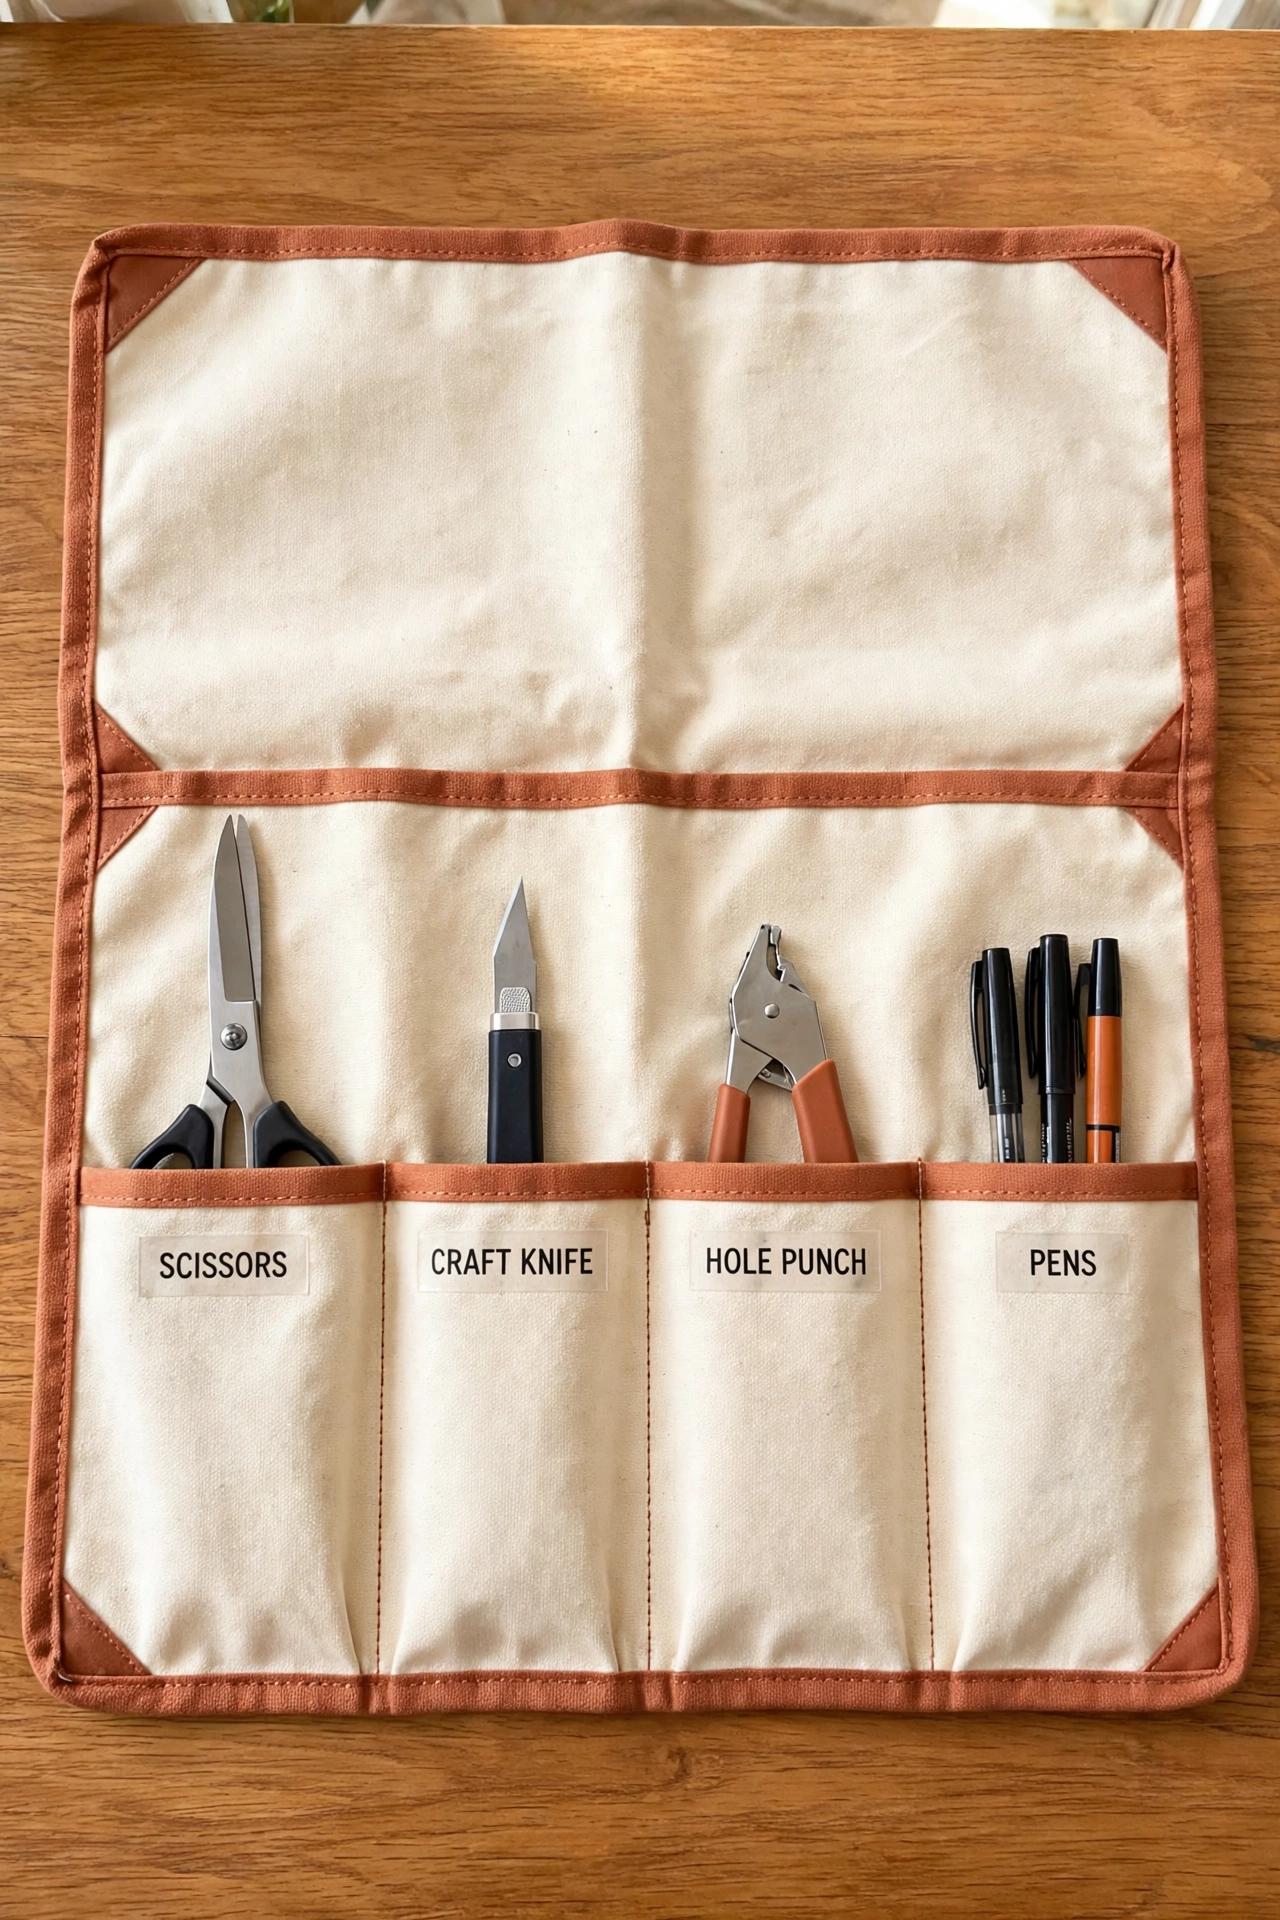
12. Give Scissors and Tools Their Own Tool Roll
Scissors, craft knives, hole punches, and pens deserve their own storage so they never wander off. A fabric tool roll with pockets keeps each tool in its own slot, and it rolls up neatly for storage between seasons. Unroll it at the wrapping table and every tool is in view.
Label each pocket with the tool name so missing tools are obvious at a glance. A tool roll also protects sharp blades from damage and keeps little hands away from sharp edges. Store the roll in the same bin as your tape caddy so tools and tape travel together.
13. Count Bows and Toppers Before You Shop
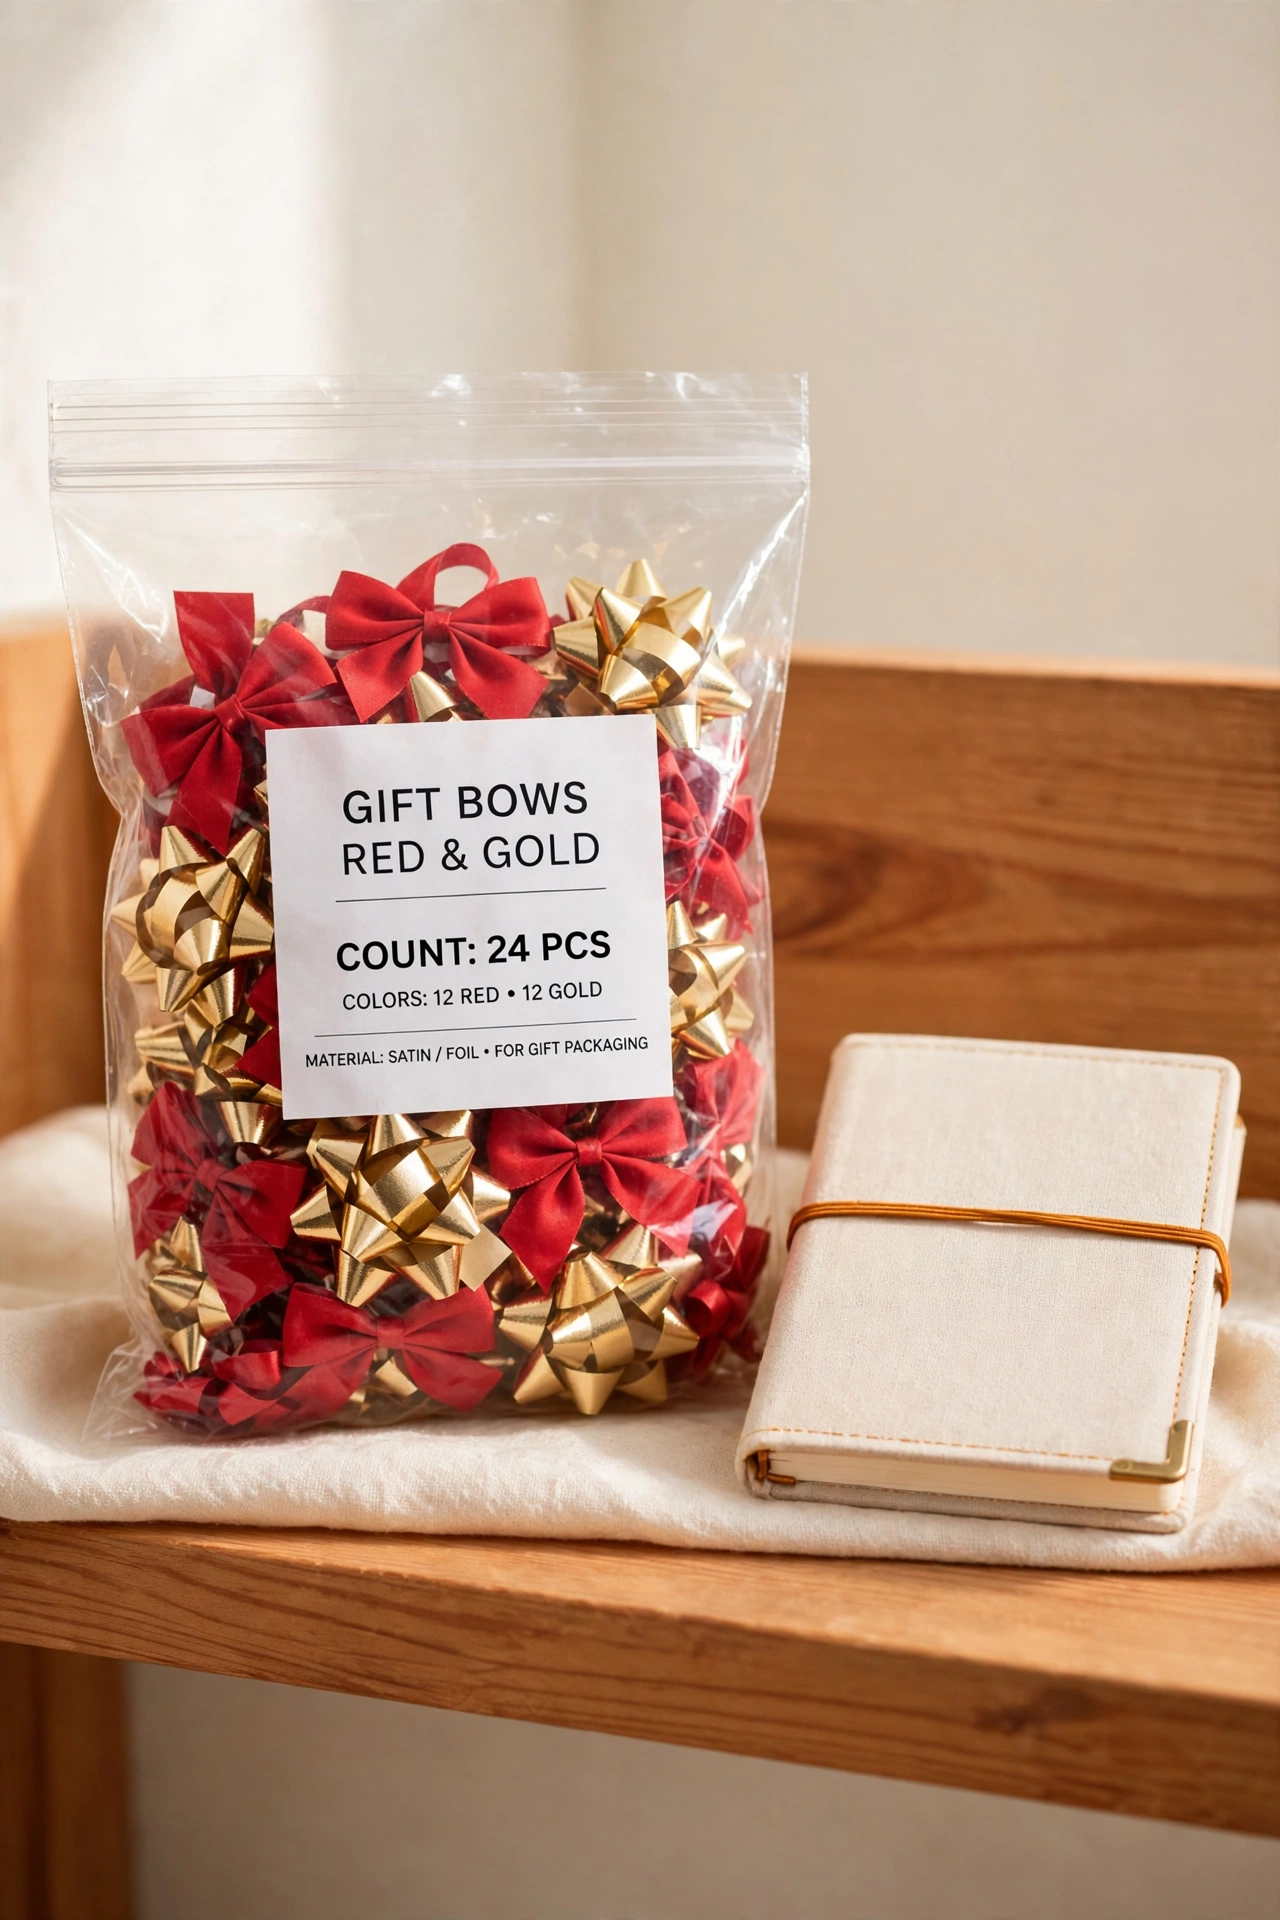
Pre-made bows, stick-on toppers, and pom-poms are easy to overbuy because they are small and cheap. Before shopping, empty your bow bag or box and count what you have by color and style. Many households find twenty or more bows left from last year, which means no new bows are needed at all.
Store counted bows in a clear zip bag with the count written on a label outside the bag. When you use a bow, update the count with a quick pencil mark. This tiny habit saves money and stops the bow drawer from overflowing year after year.
14. Store Tissue Paper Flat in a Zip Bag
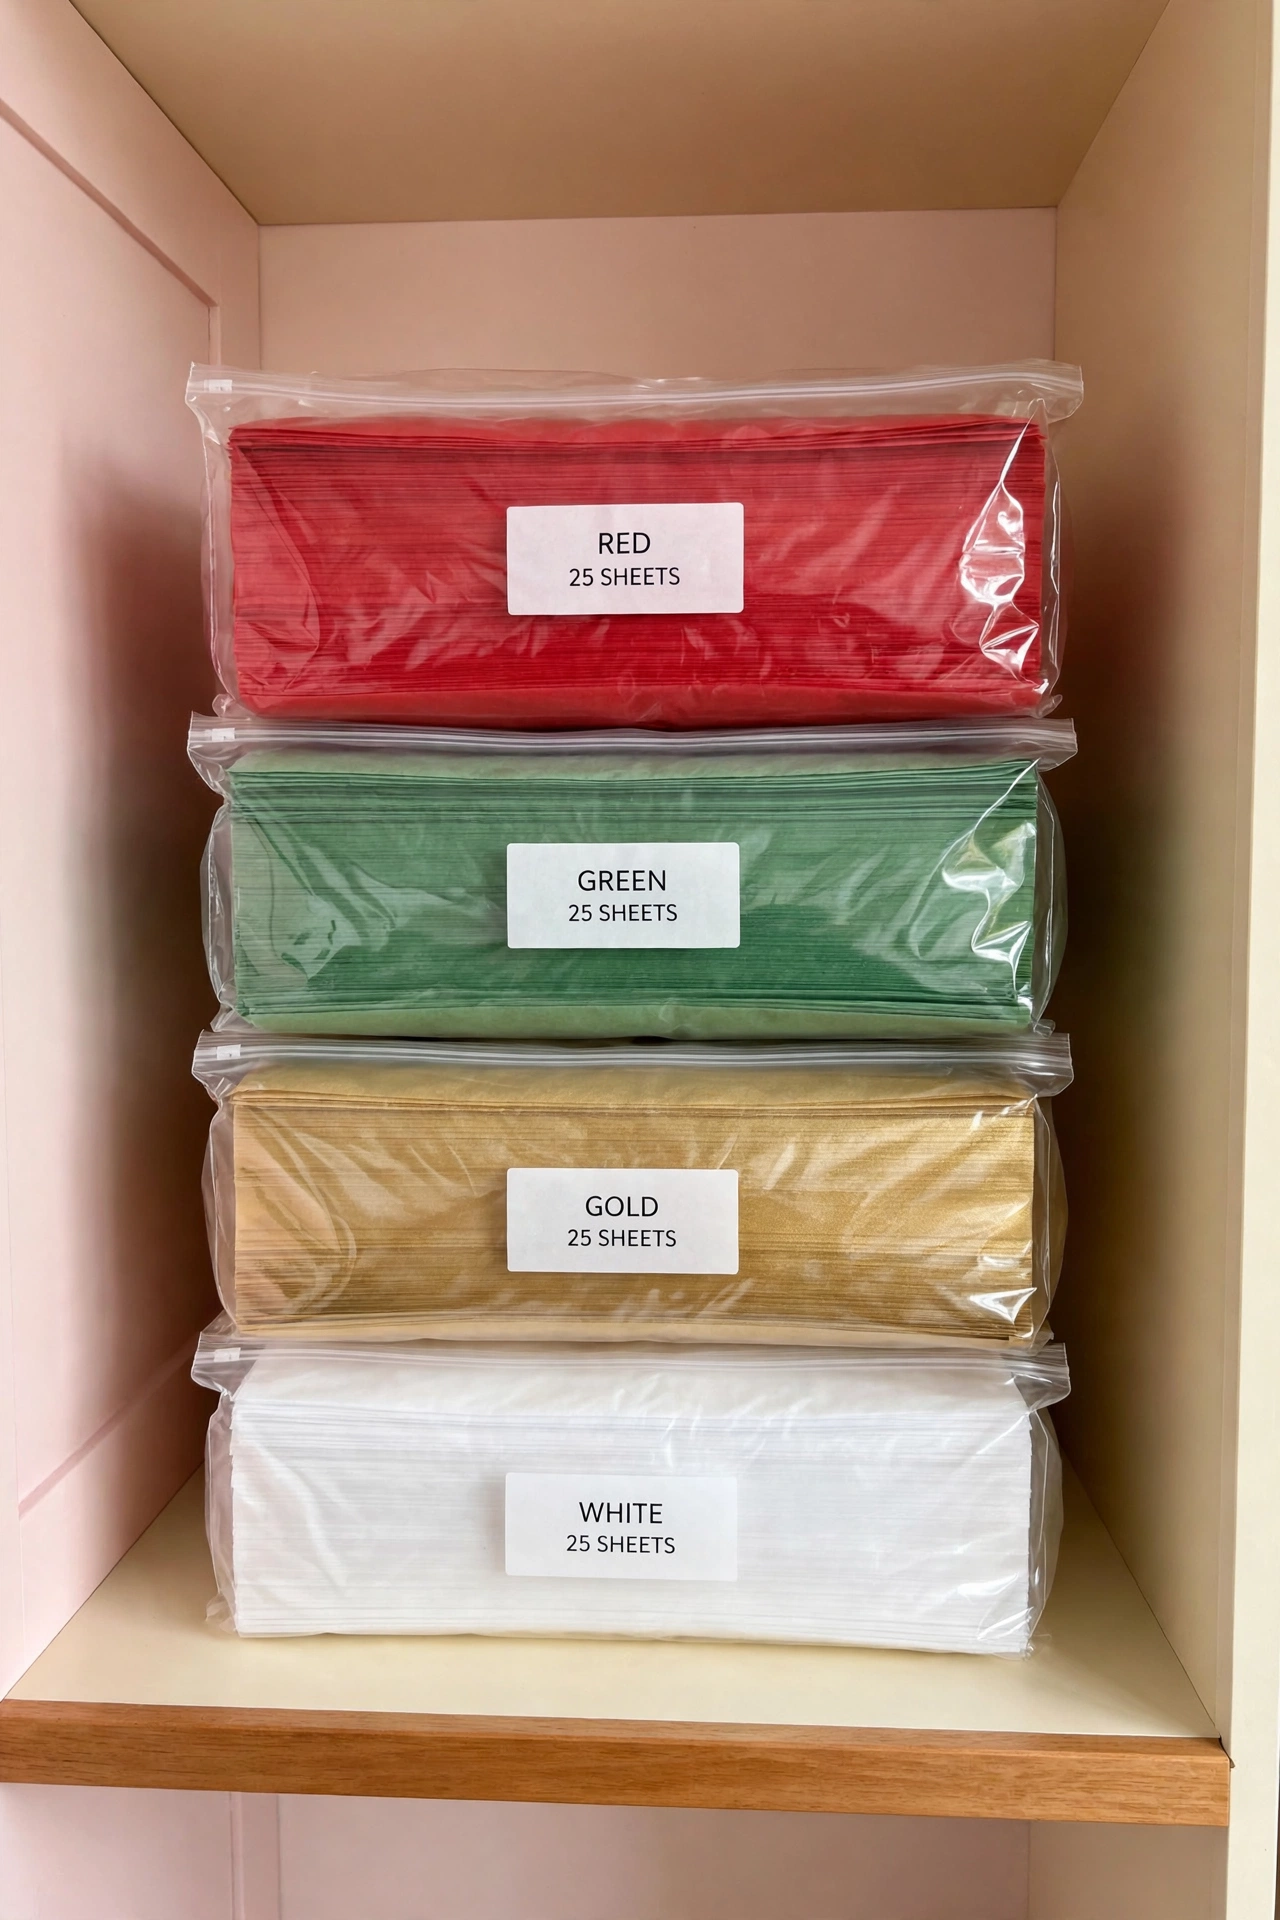
Tissue paper wrinkles and tears when it is stuffed into a crowded drawer. Store full sheets flat in a large zip bag, sorted by color, with each color in its own bag. The bags keep tissue crisp, dust-free, and easy to count at a glance.
Label each bag with the color and the number of sheets inside. Stack the bags flat on a closet shelf or inside a shallow bin. Flat storage also means you can pull out one sheet without disturbing the rest, which keeps the whole stack neat all season.
15. Keep Gift Bags Sorted by Size in a Tote
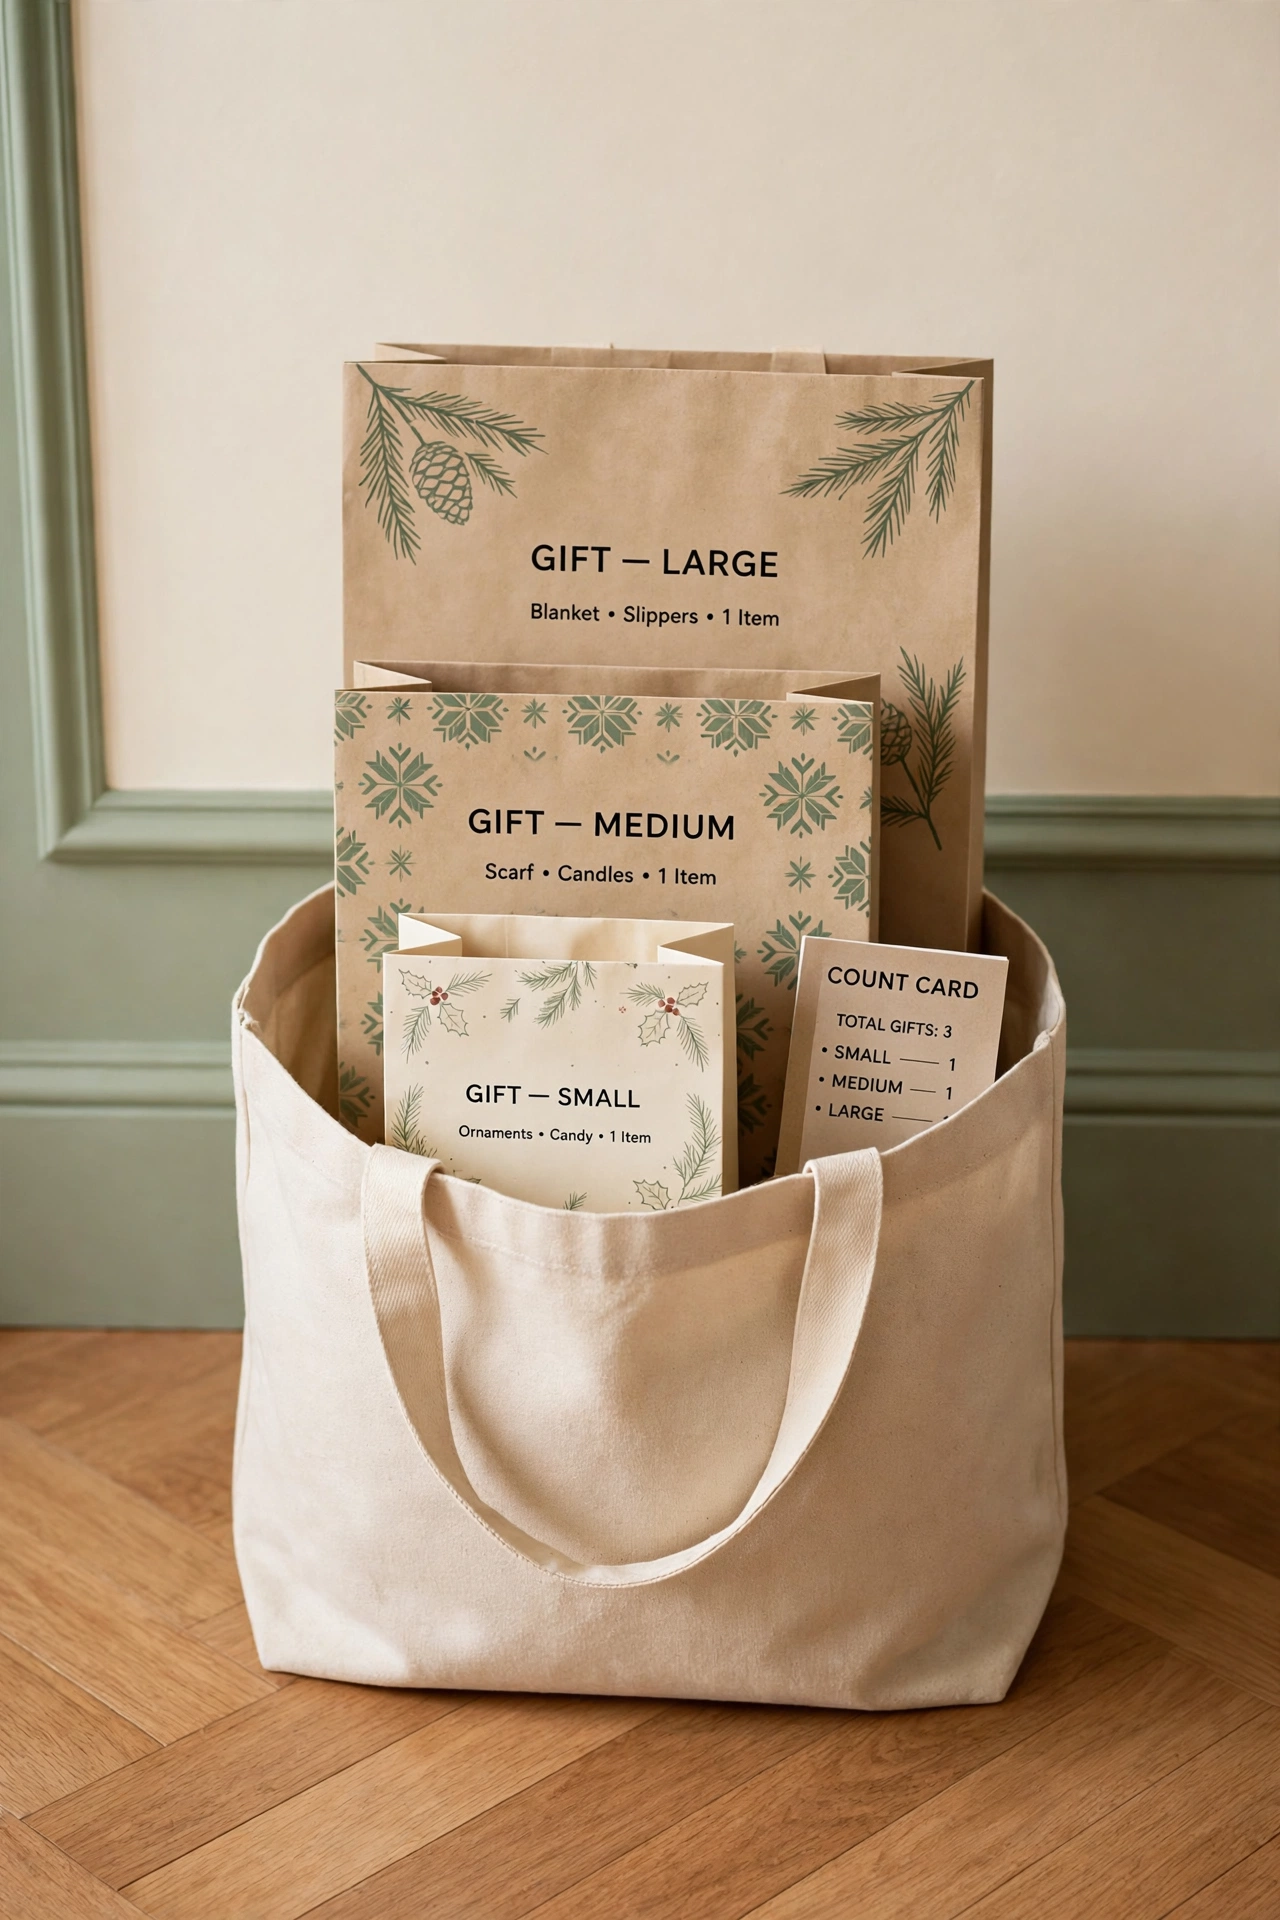
Gift bags take up less space when they are sorted by size and stored upright in a tote. Place small bags at the front, medium bags in the middle, and large bags at the back. The tote keeps bags from getting crushed, and size order means you can grab the right bag without digging.
Count the bags in each size group and write the counts on a card tucked inside the tote. Reused bags in good shape go back into the tote after the holidays, which keeps your stock up without spending. A tote with handles makes it easy to carry bags to the wrapping table.
16. Use a Pegboard Wall for Wrapping Tools
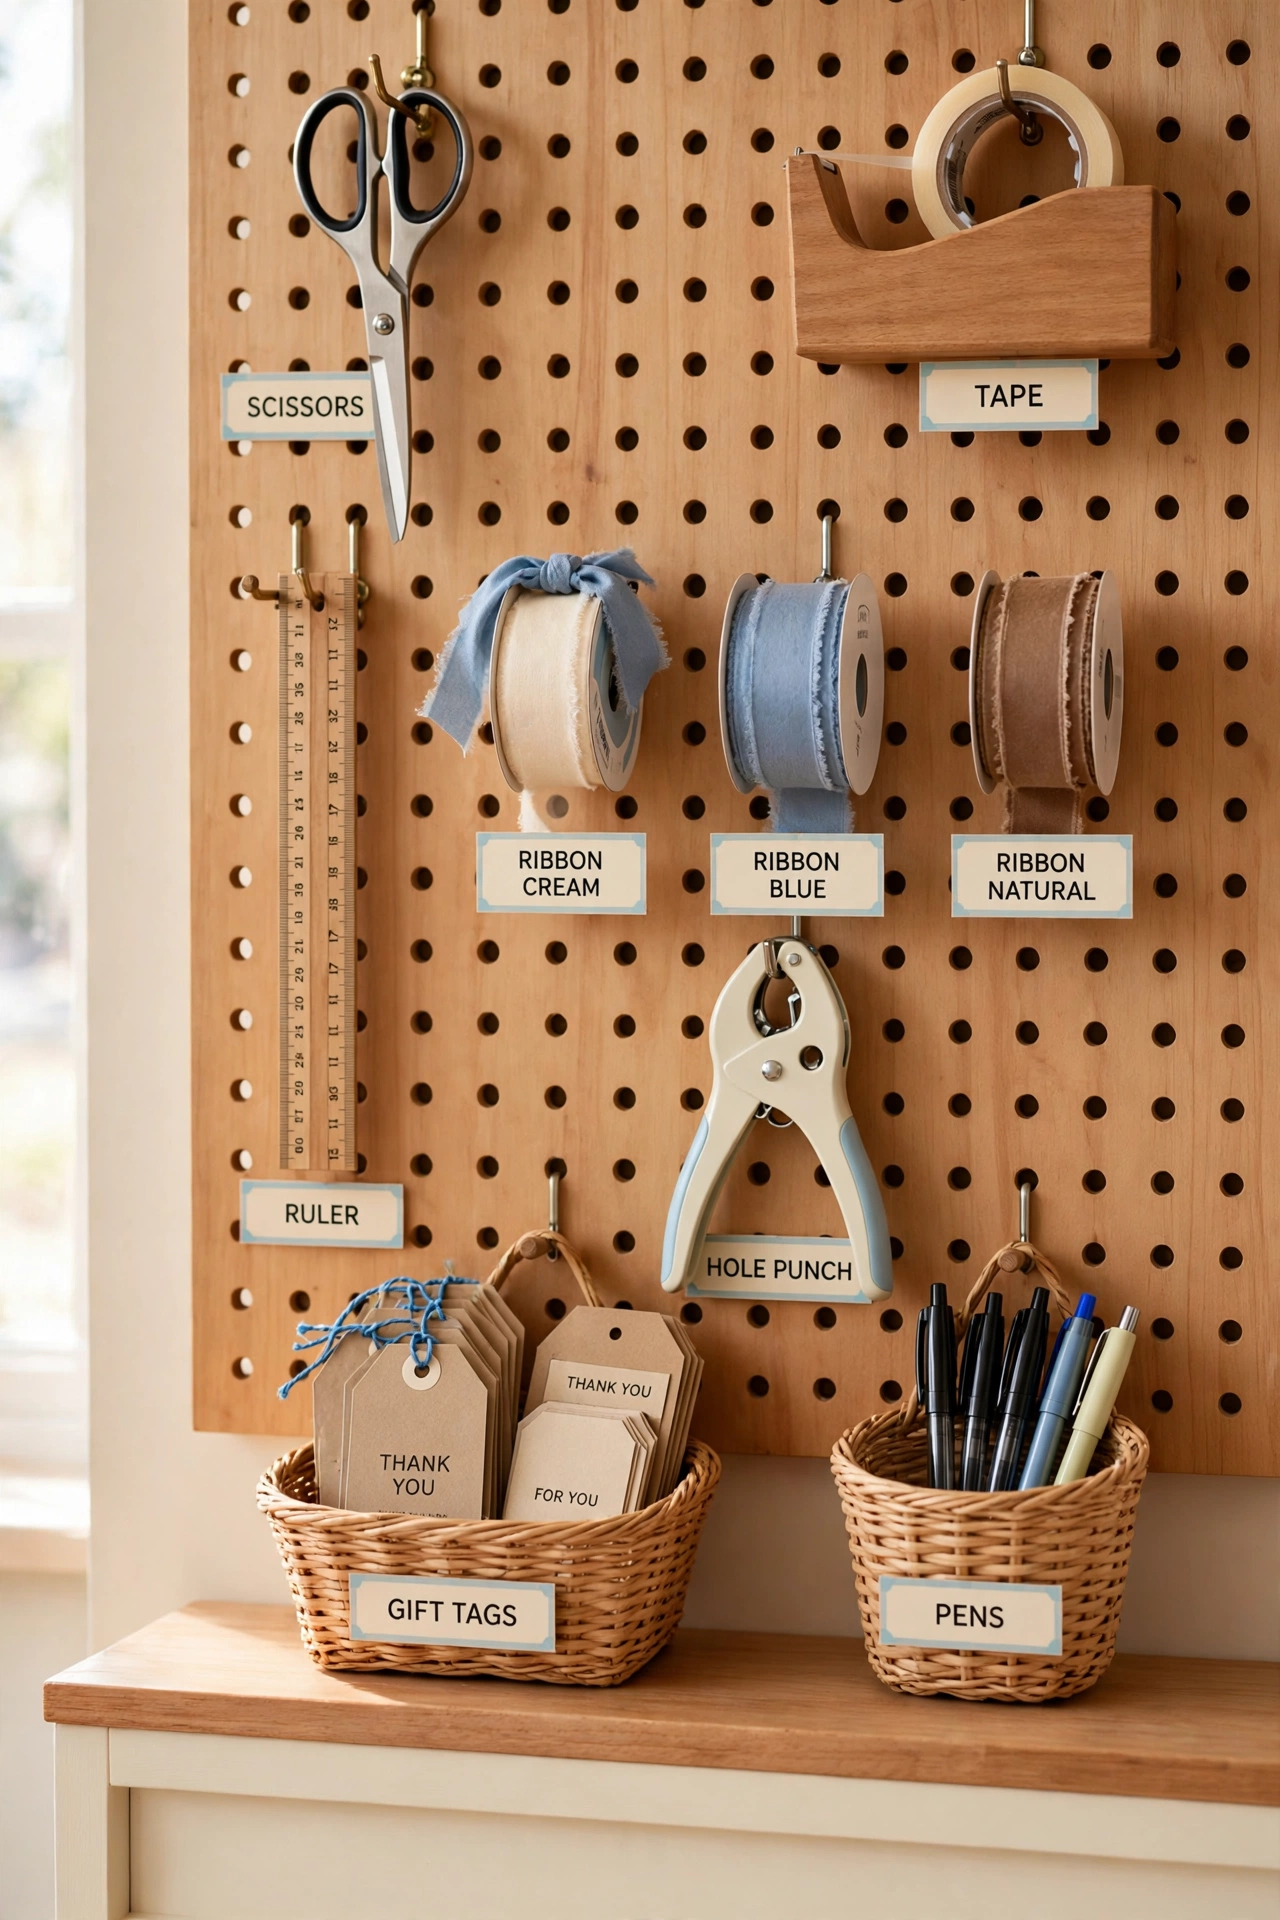
A pegboard mounted on a craft room or closet wall gives every wrapping tool a visible home. Hang scissors, tape dispensers, ribbon spools, hole punches, and rulers on hooks, and outline each tool shape on the board so a missing tool leaves an obvious empty space. The pegboard turns your tools into a wall display you can inventory in seconds.
Pegboards are easy to rearrange as your collection changes. Add small baskets to the board for tags and pens. If wall space is limited, a small pegboard inside a closet door works just as well for the most-used tools.
17. Label Every Bin With Its Contents and Count
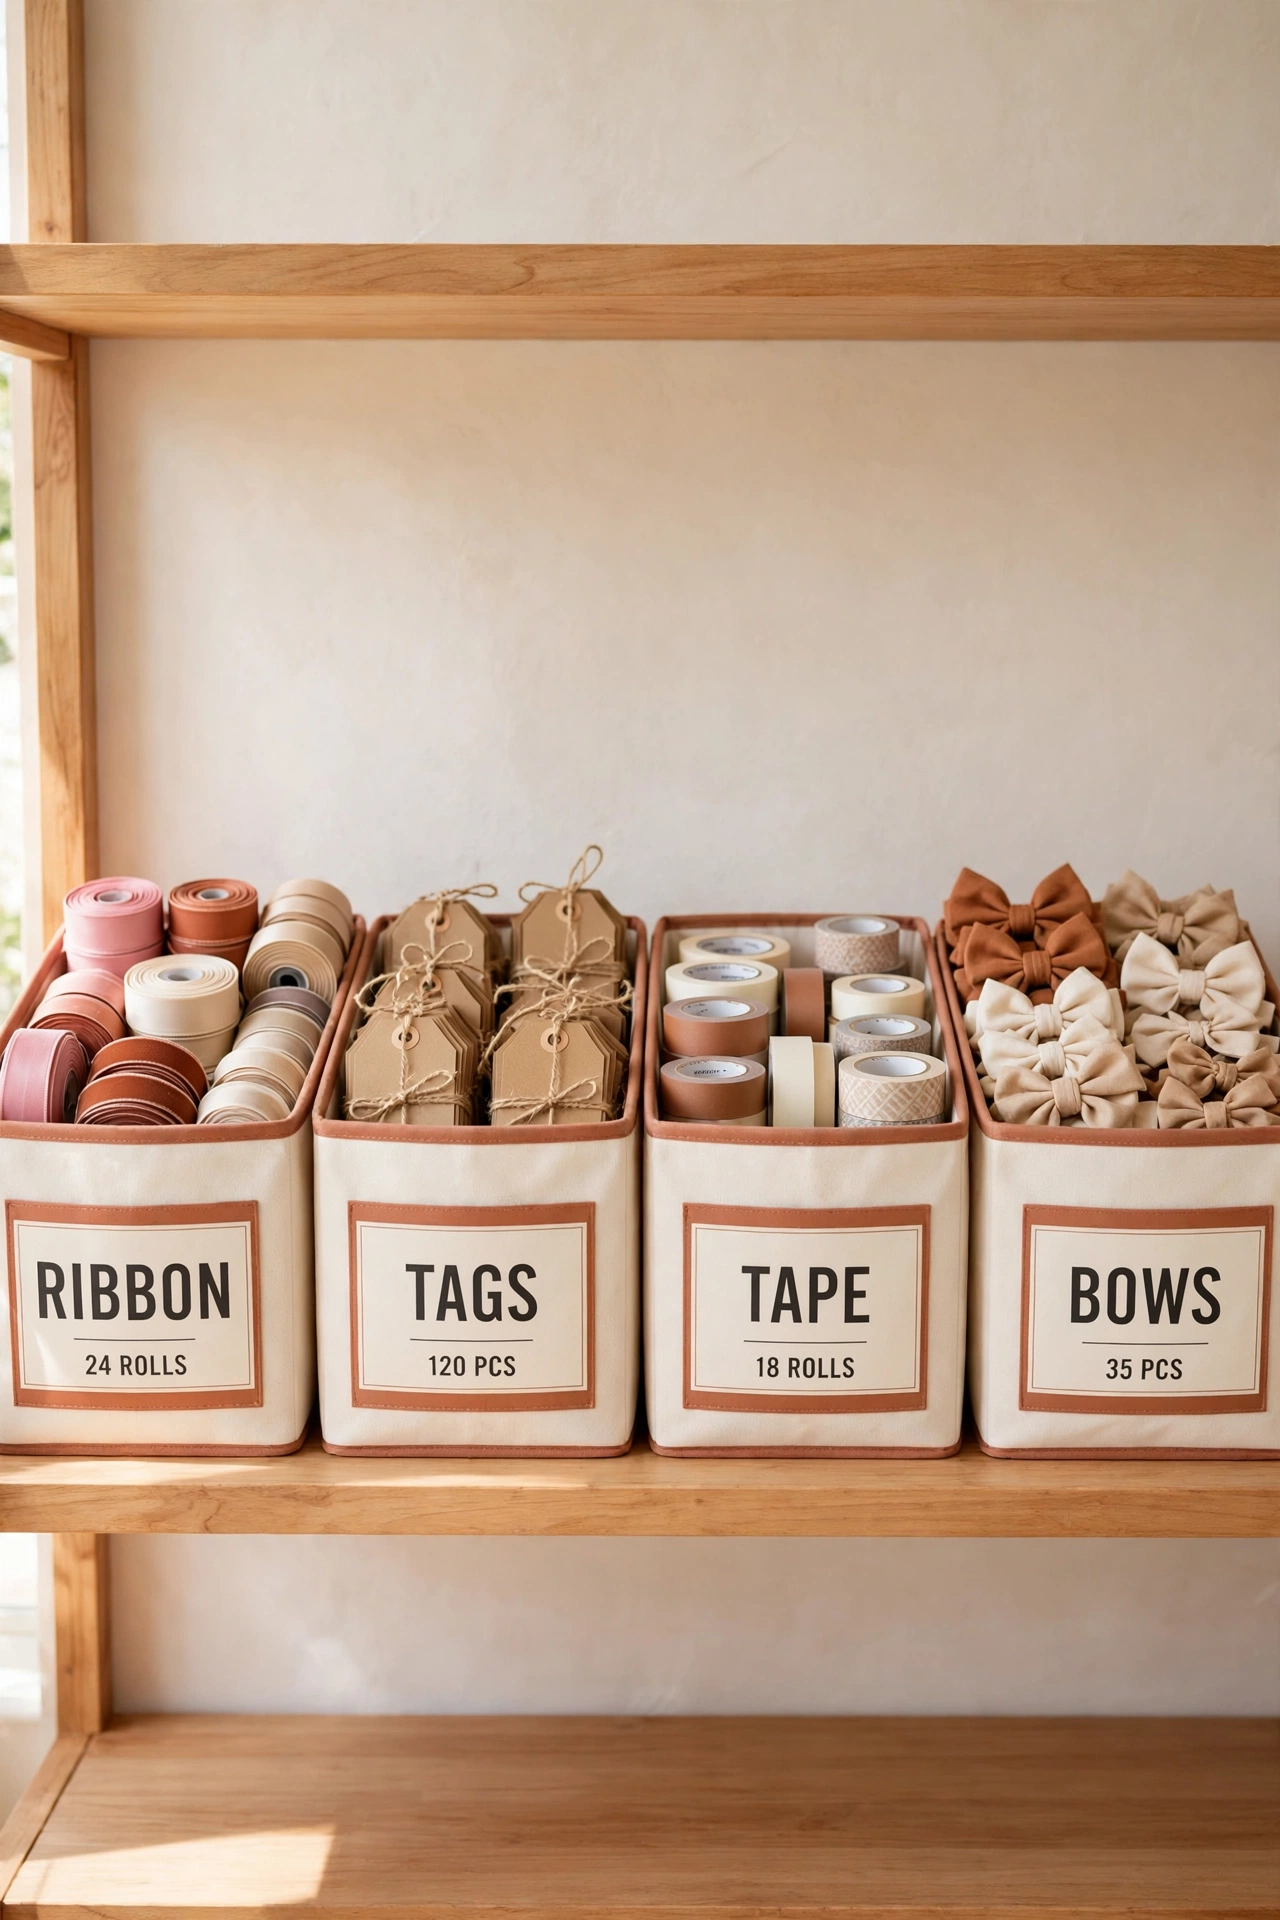
A label that names the contents and the count turns any bin into an inventory record. Write labels like “Red Paper Rolls: 4” or “Gold Ribbon: 6 Spools” in large, clear letters. When you open the closet, you can read your stock levels without opening a single bin.
Use removable labels or a label maker so counts are easy to update as supplies are used. Place the label on the front of the bin at eye level. This habit takes a few minutes to set up and saves you from guessing all season long.
18. Keep a Buy List for Low Supplies
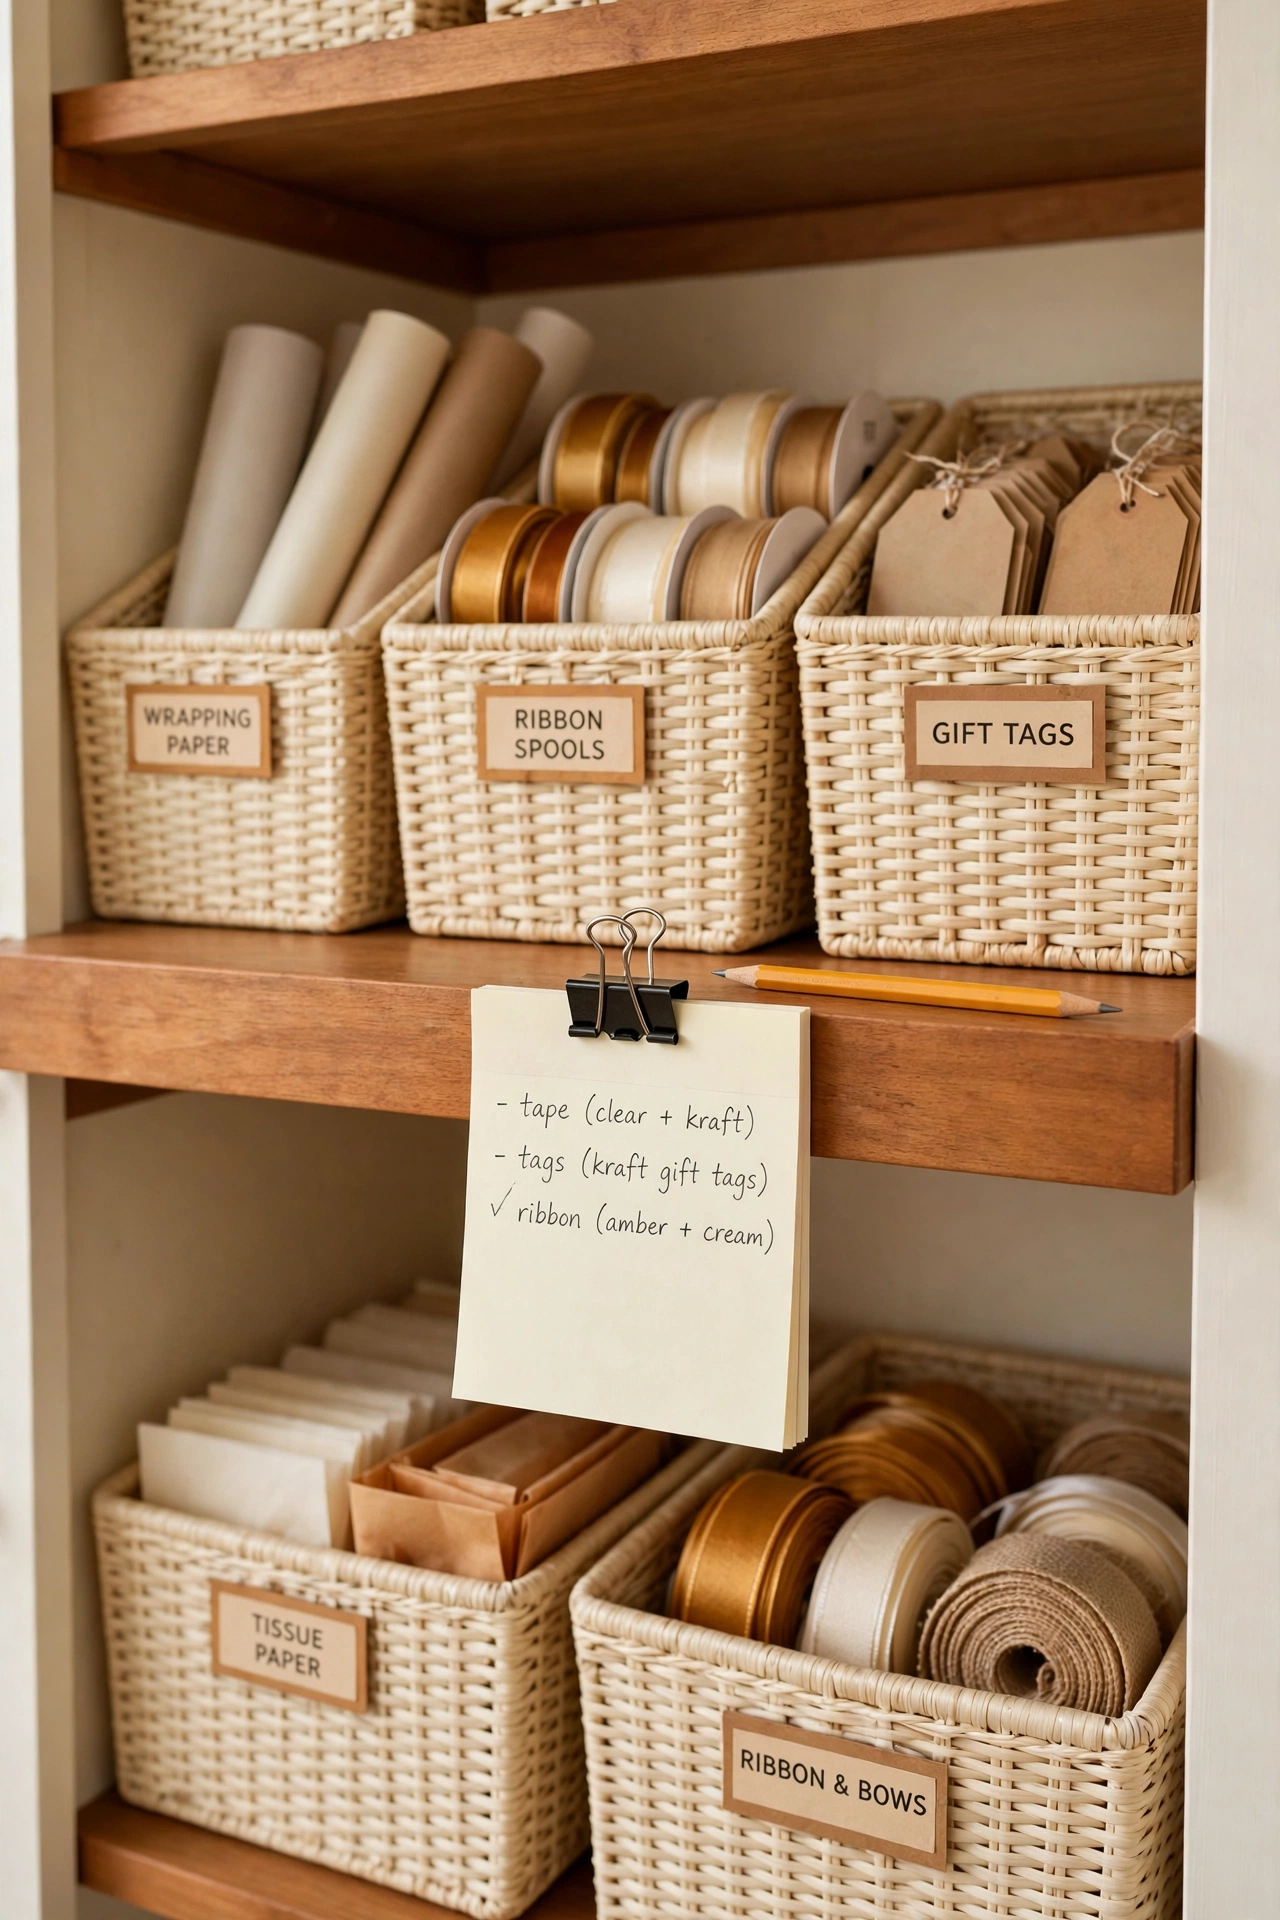
A running buy list stops both duplicate buying and last-minute shortages. Keep a small notepad or a list on the closet door, and add an item the moment its count drops below your minimum. Shop from the list only, and cross off each item as you buy it.
Set simple minimums that fit your household, such as two rolls of tape, ten gift tags, and one full roll of your main wrapping paper. When you shop with a list built from real counts, you buy only what you need and nothing more.
19. Store Wrapping Paper Scraps in a Flat Folder
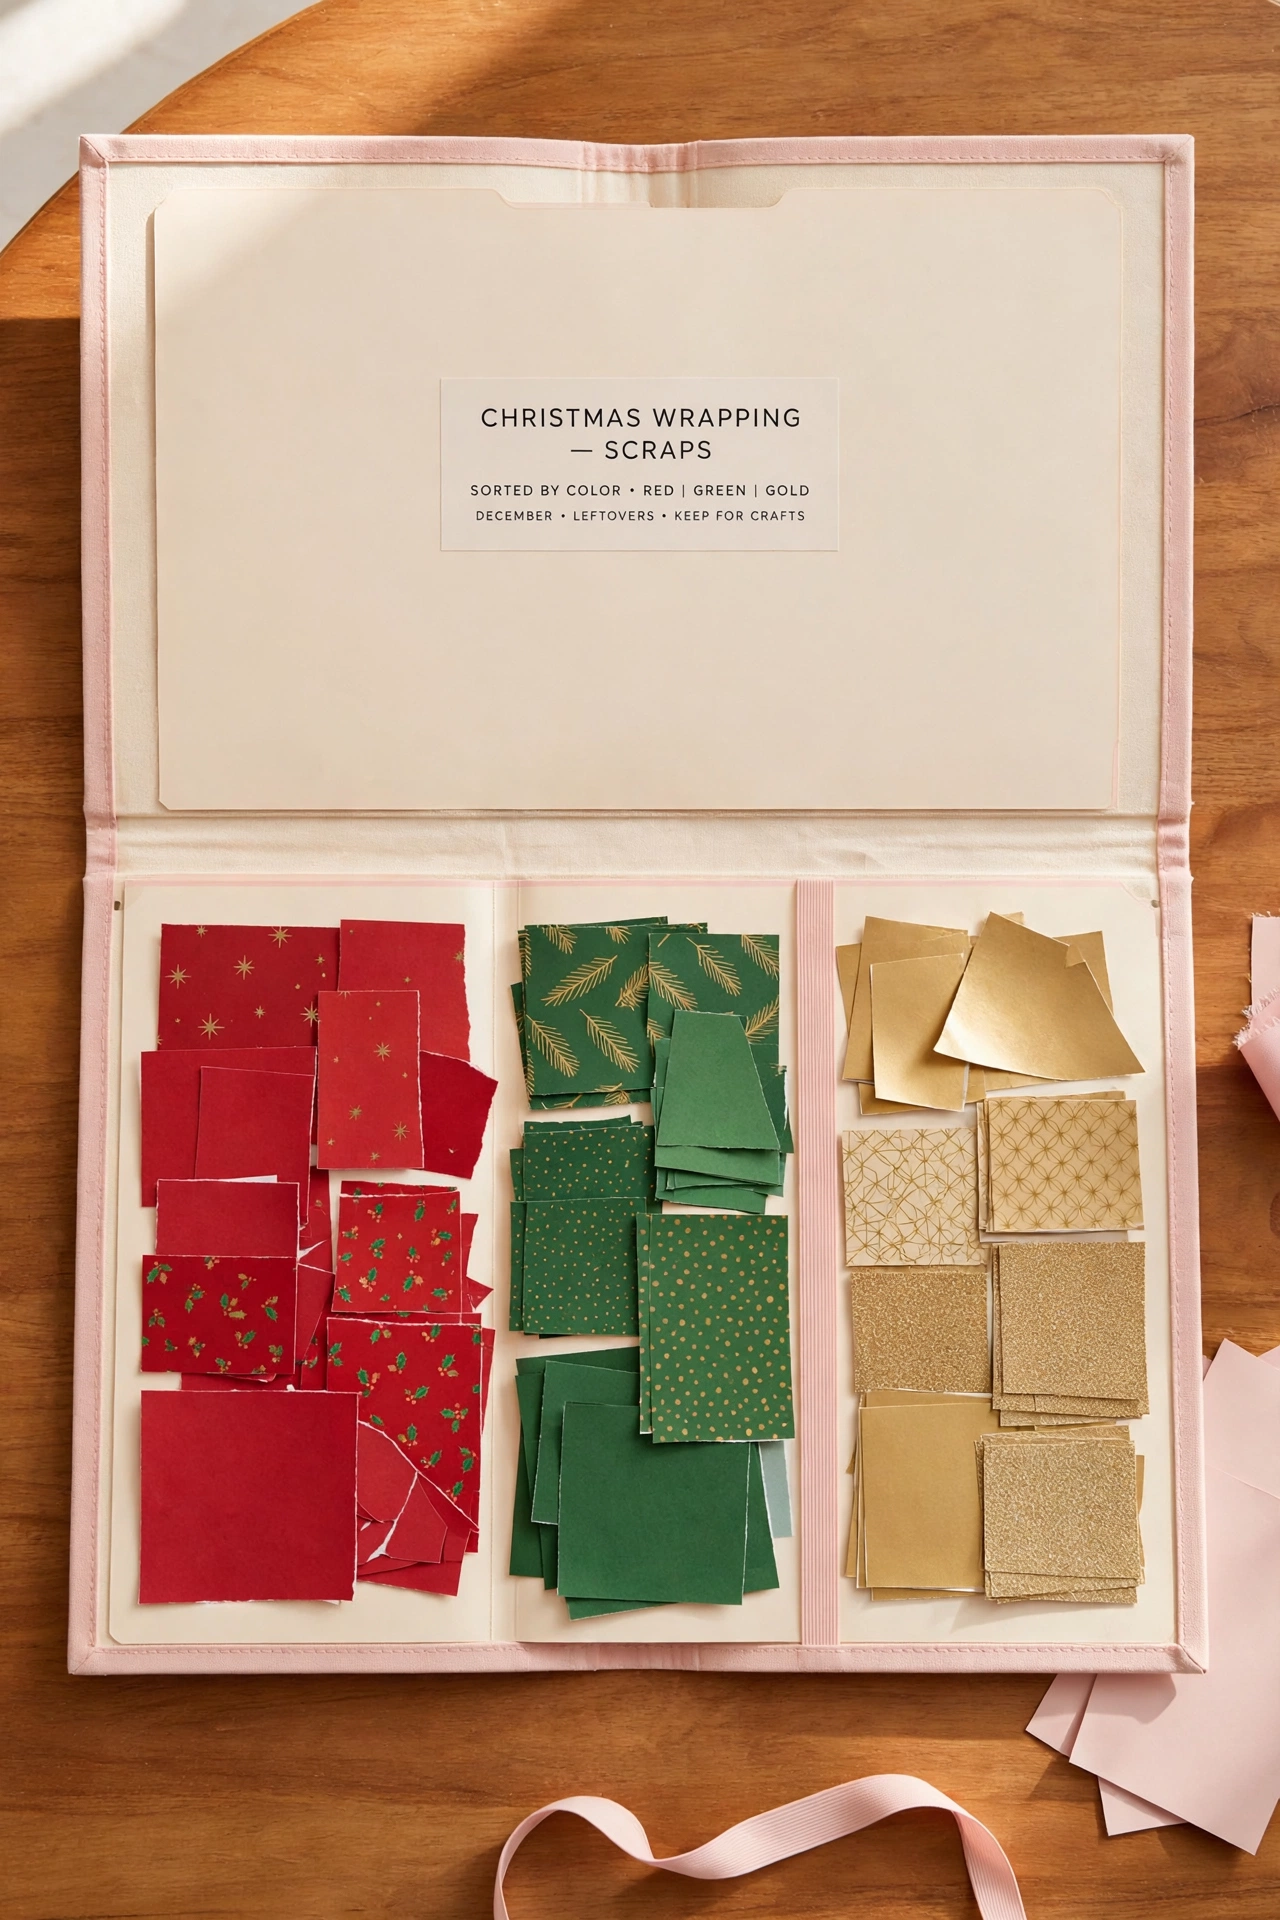
Leftover pieces of wrapping paper are perfect for small gifts, tags, and card making, but they get lost when they are folded into drawers. Store flat scraps in a large art folder or a flat document case, sorted by color. The folder keeps scraps smooth and visible.
Before you cut a fresh roll for a small gift, check the scrap folder first. You will often find a piece that fits, which stretches your rolls further and reduces waste. Toss scraps that are too small or torn so the folder stays useful.
20. Use a Rolling Cart as a Wrapping Station
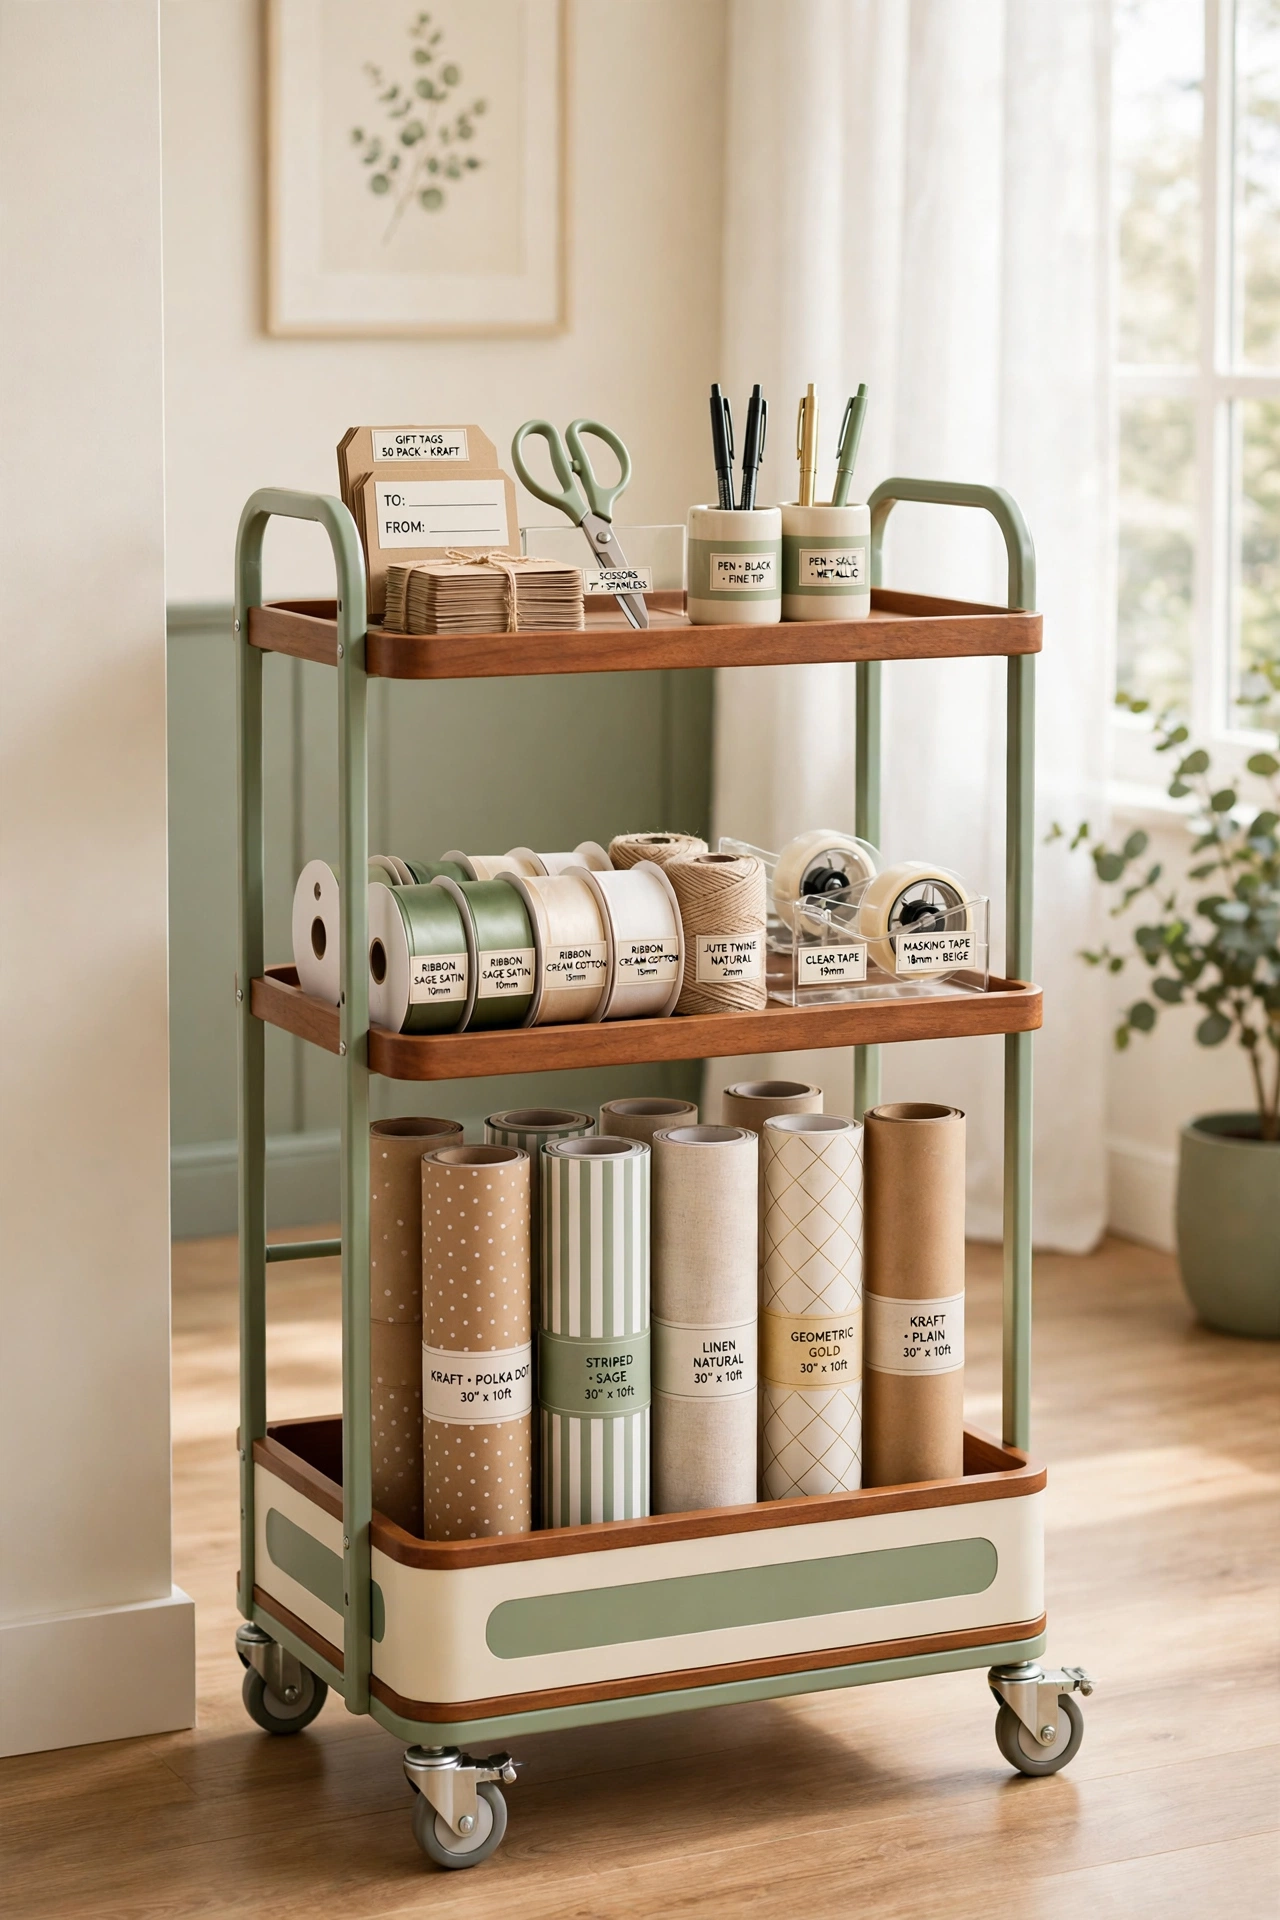
A three-tier rolling cart can hold your entire wrapping inventory in one movable station. Put rolls on the bottom tier, ribbon and tape on the middle tier, and tags, scissors, and pens on the top tier. Roll the cart to the table when you wrap, then roll it back into the closet when you finish.
Because everything lives on the cart, a quick look tells you what is running low. The cart also keeps supplies together, so nothing migrates to other rooms. Choose a cart with a flat top so it doubles as extra wrapping surface in a small room.
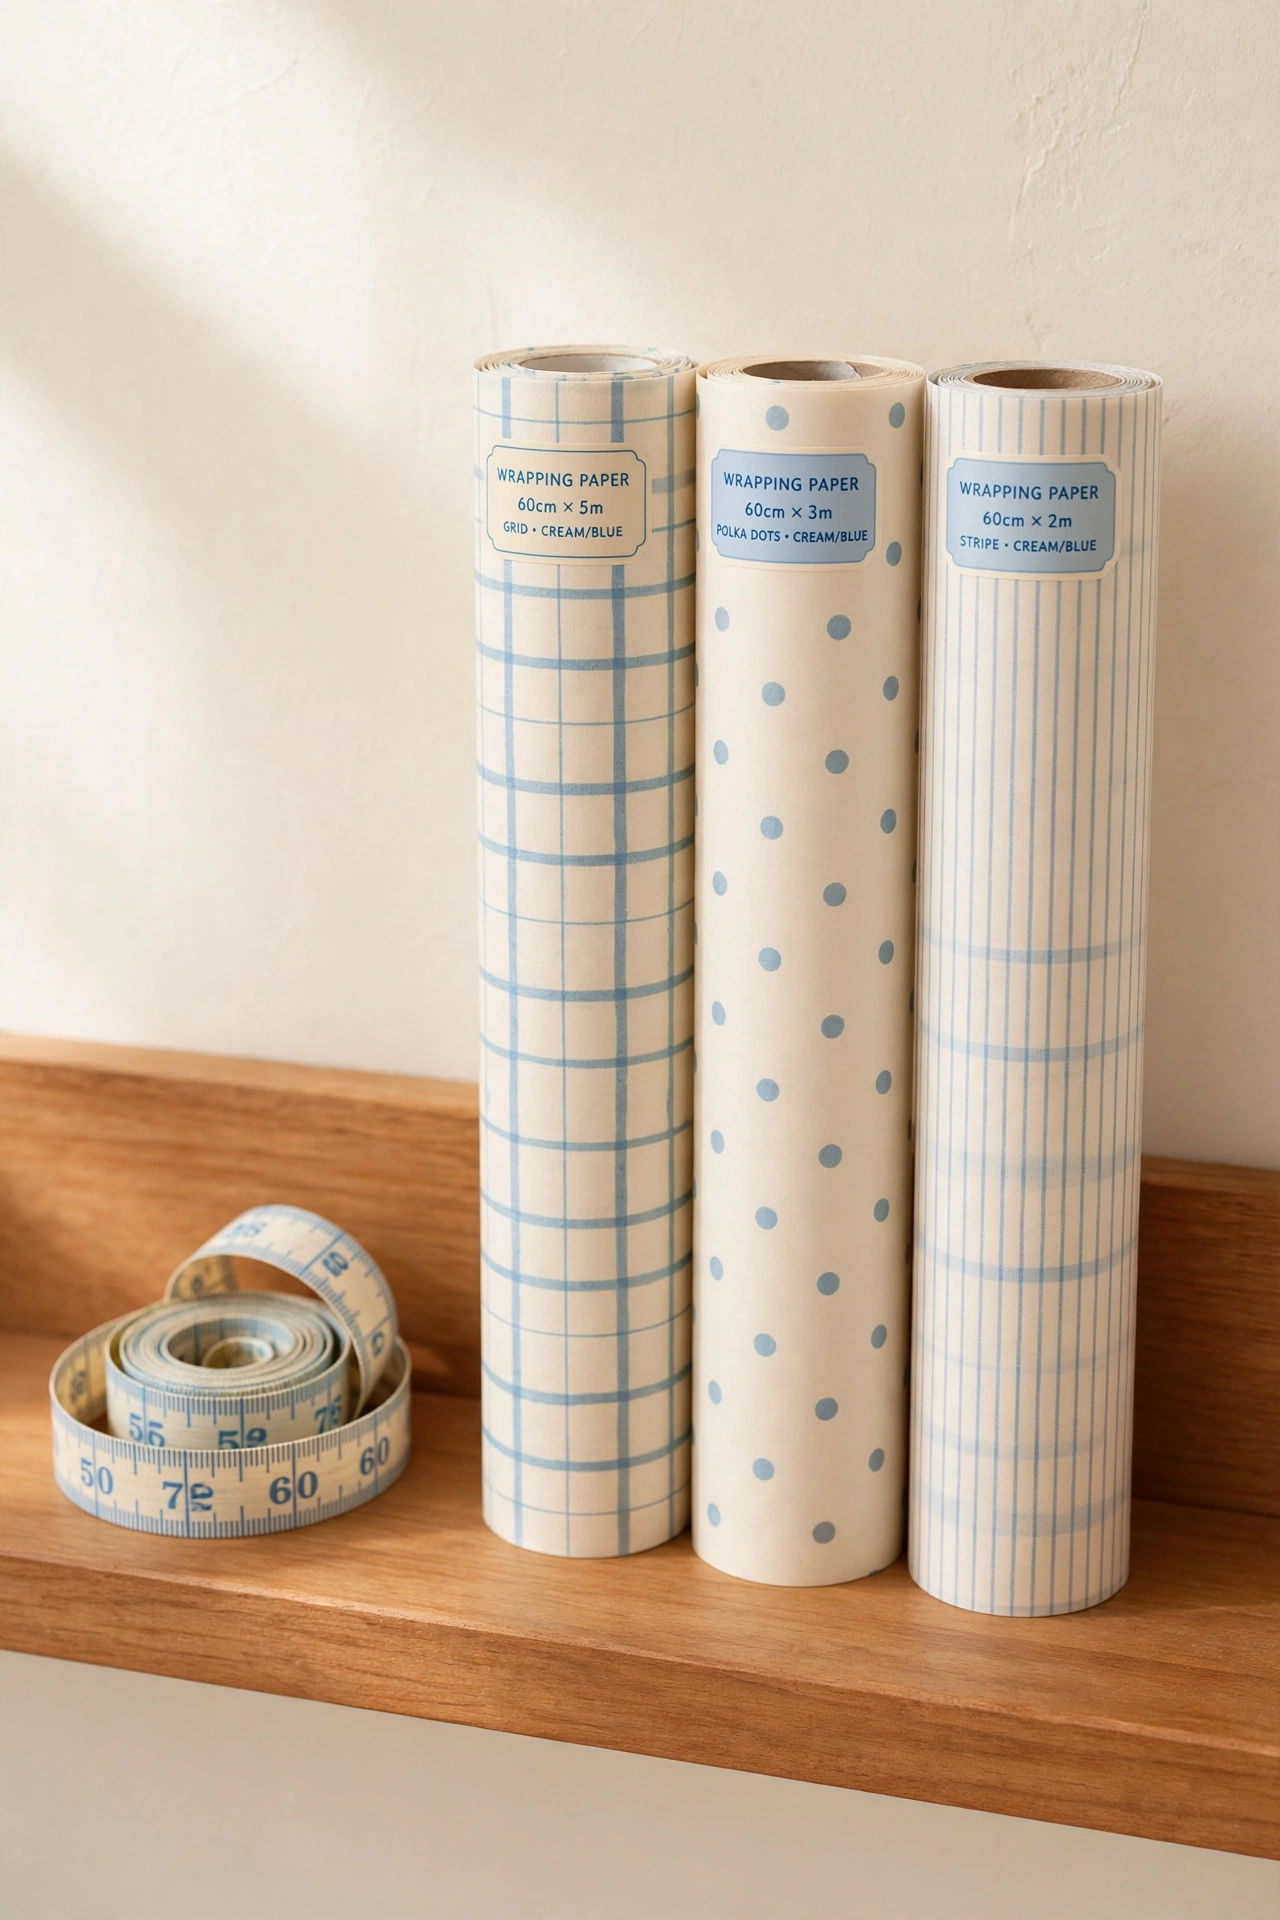
21. Keep a Measuring Tape With the Rolls
A measuring tape stored with your rolls helps you estimate how much paper is left on each roll. Measure the paper still on the roll and note the length on a small sticker on the roll end. When you plan your wrapping, you will know which rolls can cover a large gift and which are only good for small boxes.
This trick is especially useful for half-used rolls, where guessing often leads to cutting too little paper. A fabric measuring tape takes up almost no space and lives easily in the tape caddy or the roll bin. Accurate lengths mean less wasted paper.
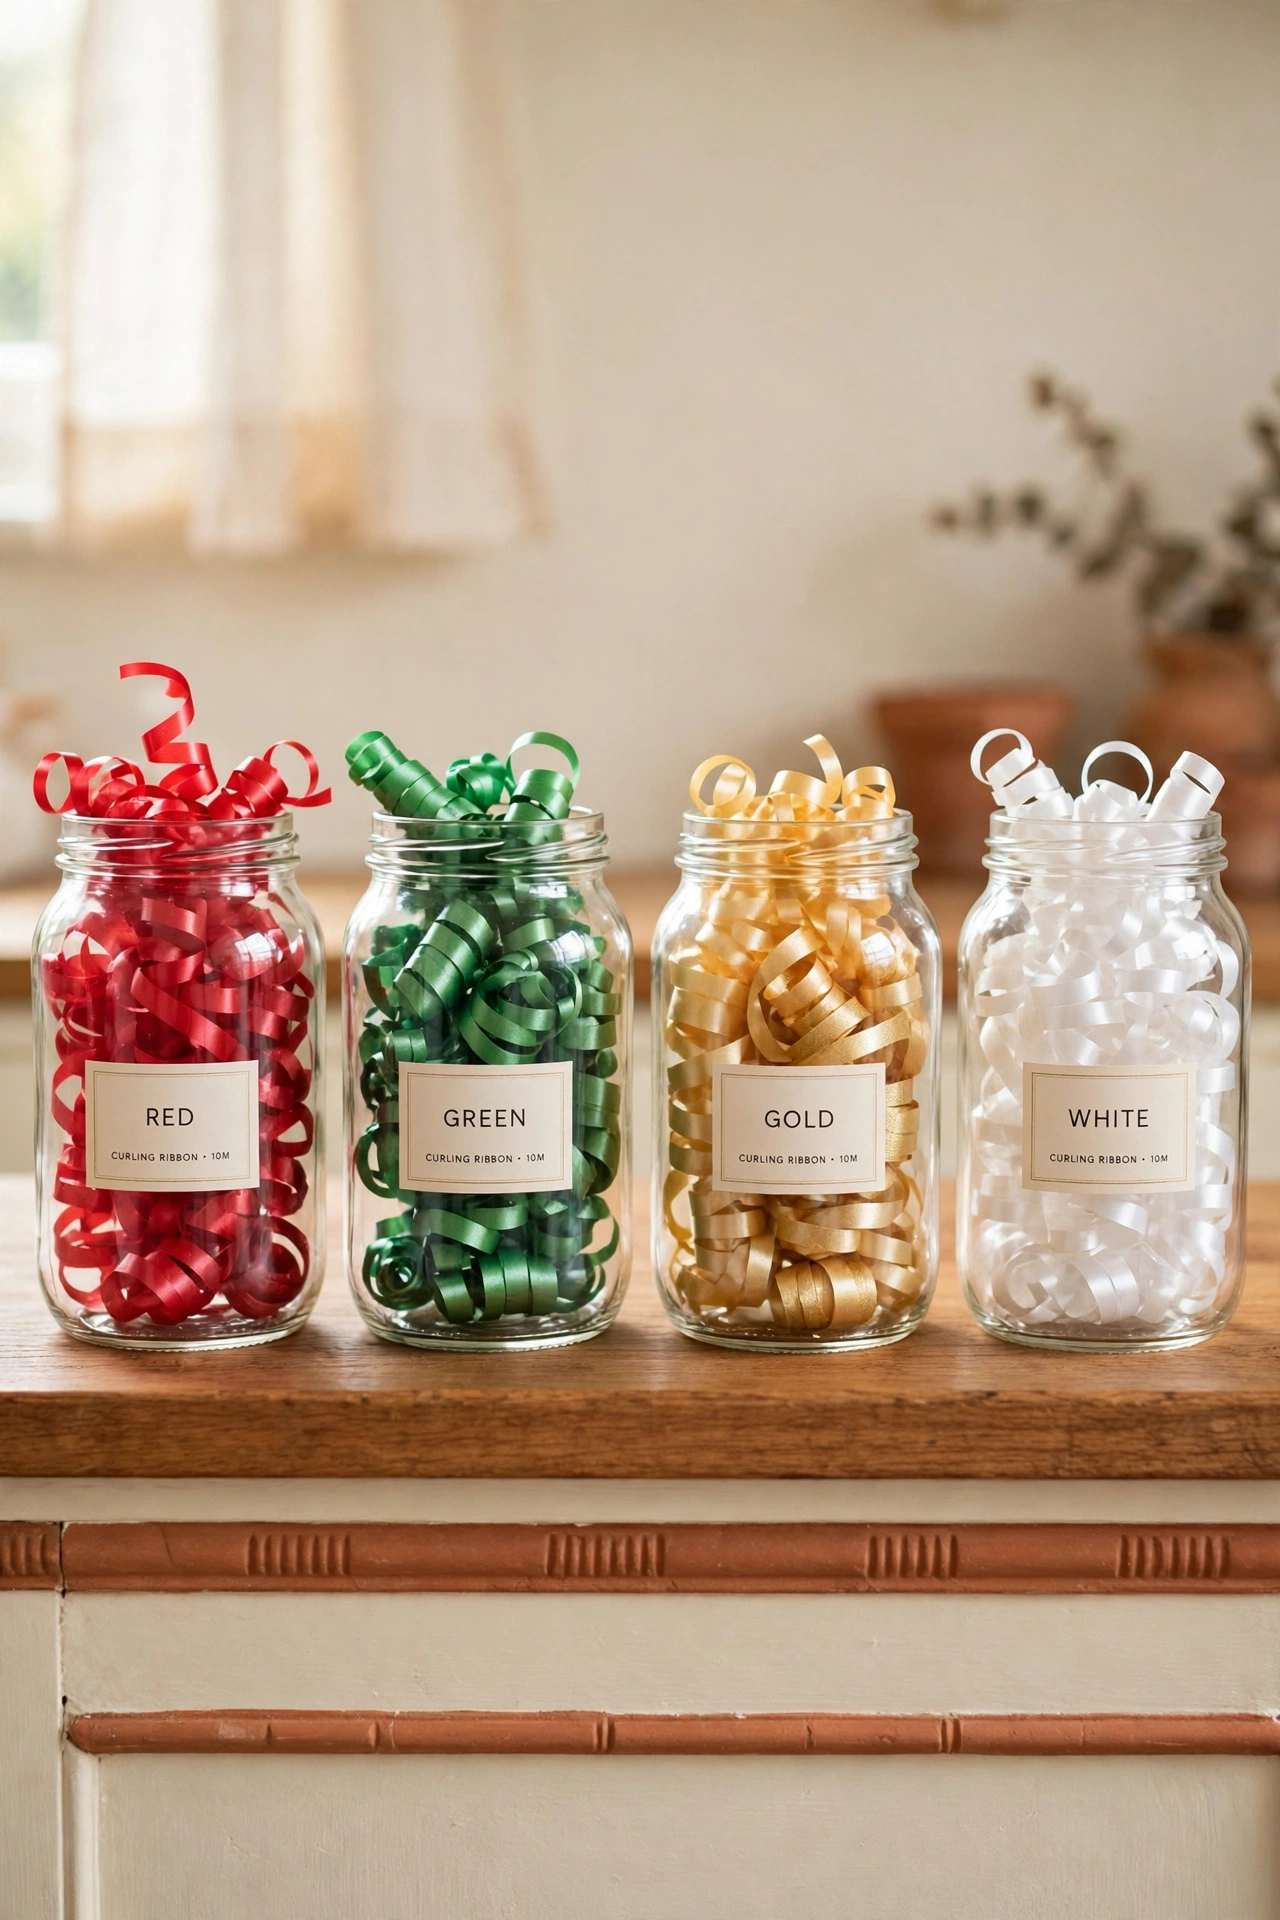
22. Sort Curling Ribbon by Color in Jars
Curling ribbon tangles fast when spools share a drawer. Stand each spool upright in a clear jar, one color per jar, and line the jars on a shelf. The jars keep ribbon ends contained, and you can see every color and count every spool without opening anything.
Wide-mouth jars work best because spools slide in and out easily. Add a small printed label to each jar with the color name. If a jar runs empty, it is a clear signal to add that color to your buy list.
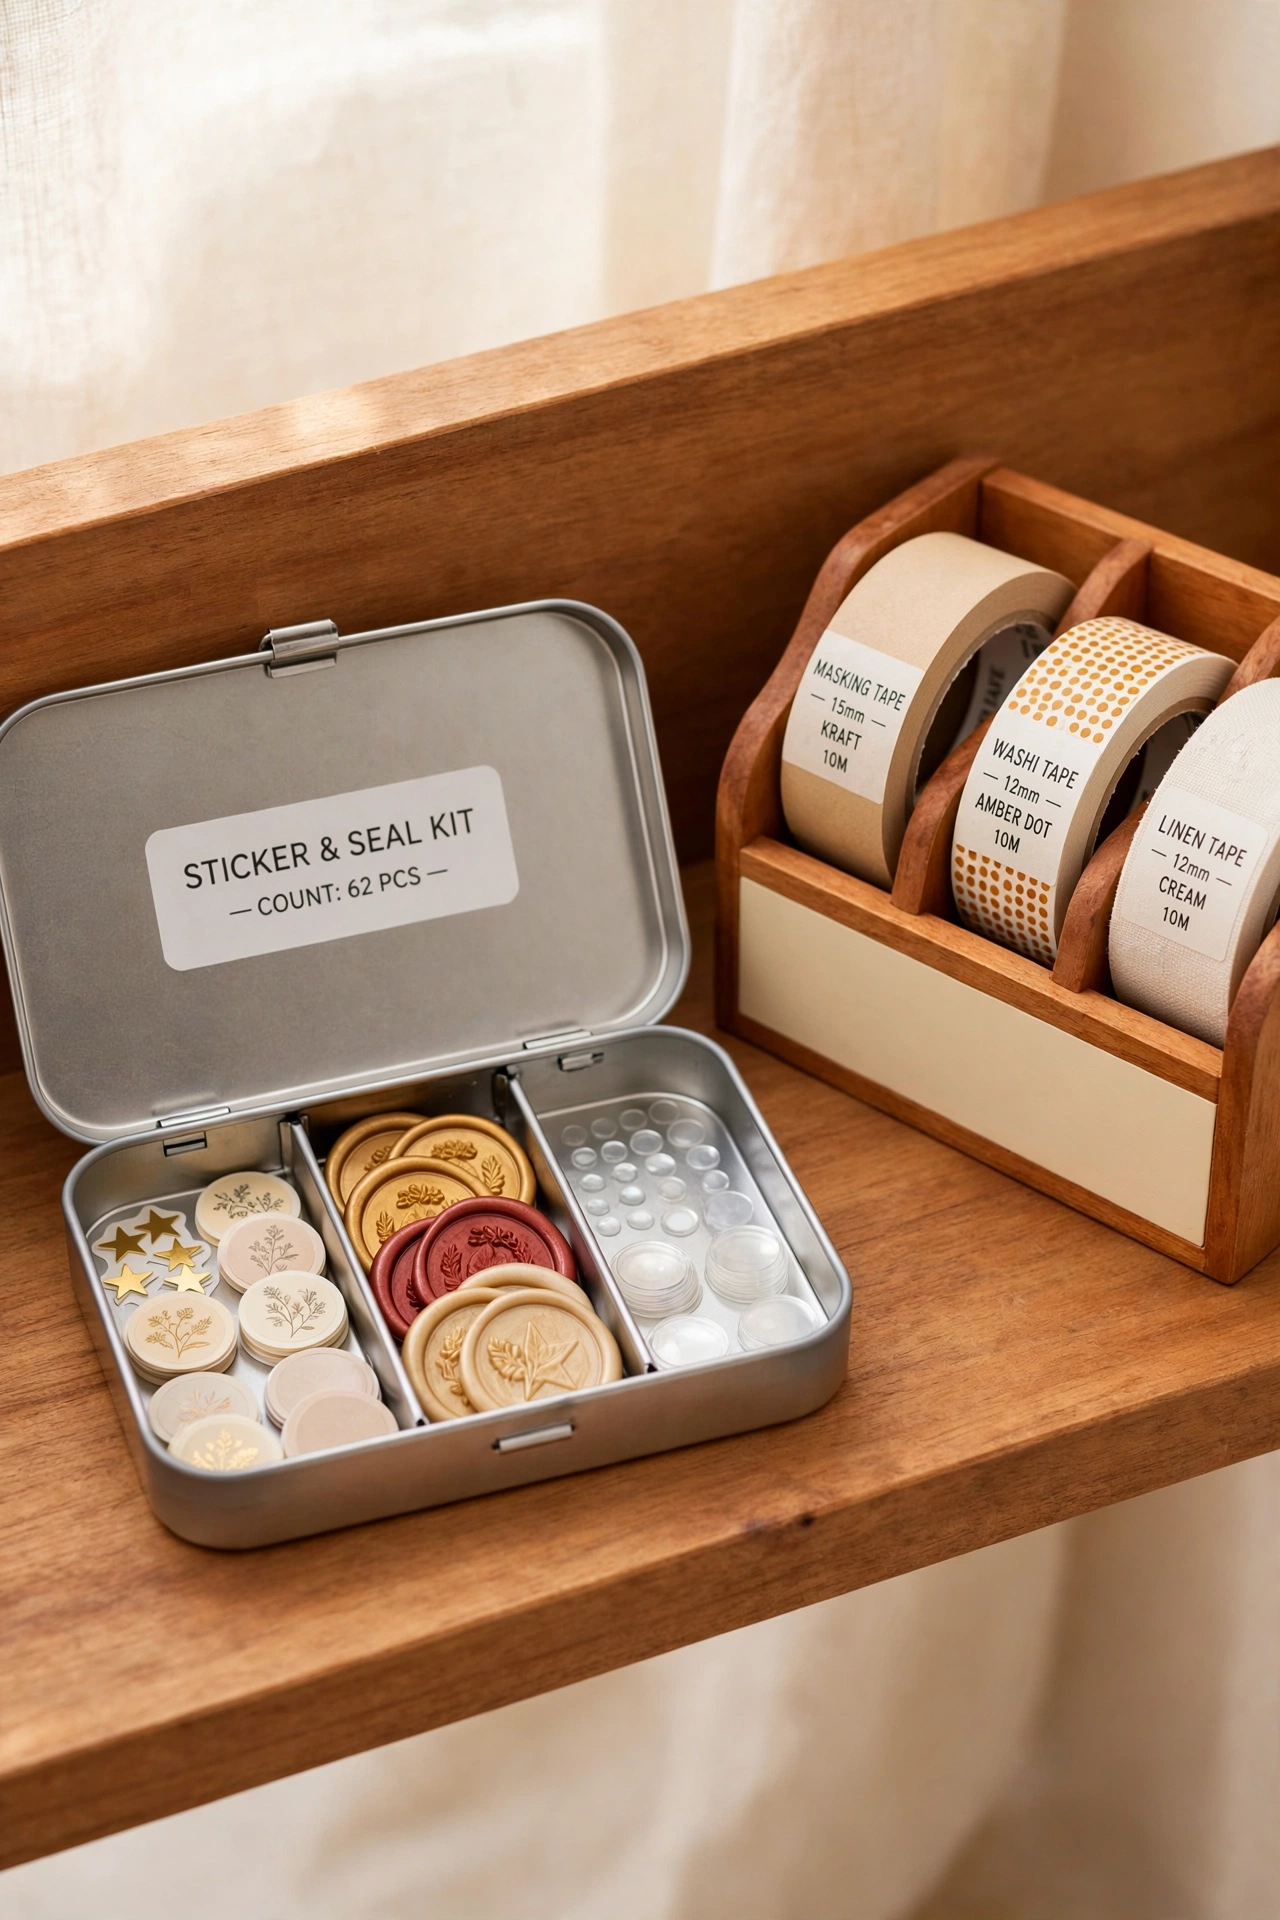
23. Store Sticker Seals in a Small Tin
Sticker seals, wax seals, and adhesive dots are tiny and easy to scatter. A small lidded tin with dividers keeps them sorted by style and stops them from sticking to each other. The tin fits inside a drawer or on top of the tape caddy.
Count the seals when you pack the tin and write the count on a label on the lid. Because seals are used one at a time, a single tin often lasts several seasons. A quick count each December tells you whether you need a fresh pack.
24. Keep a Photo Inventory on Your Phone
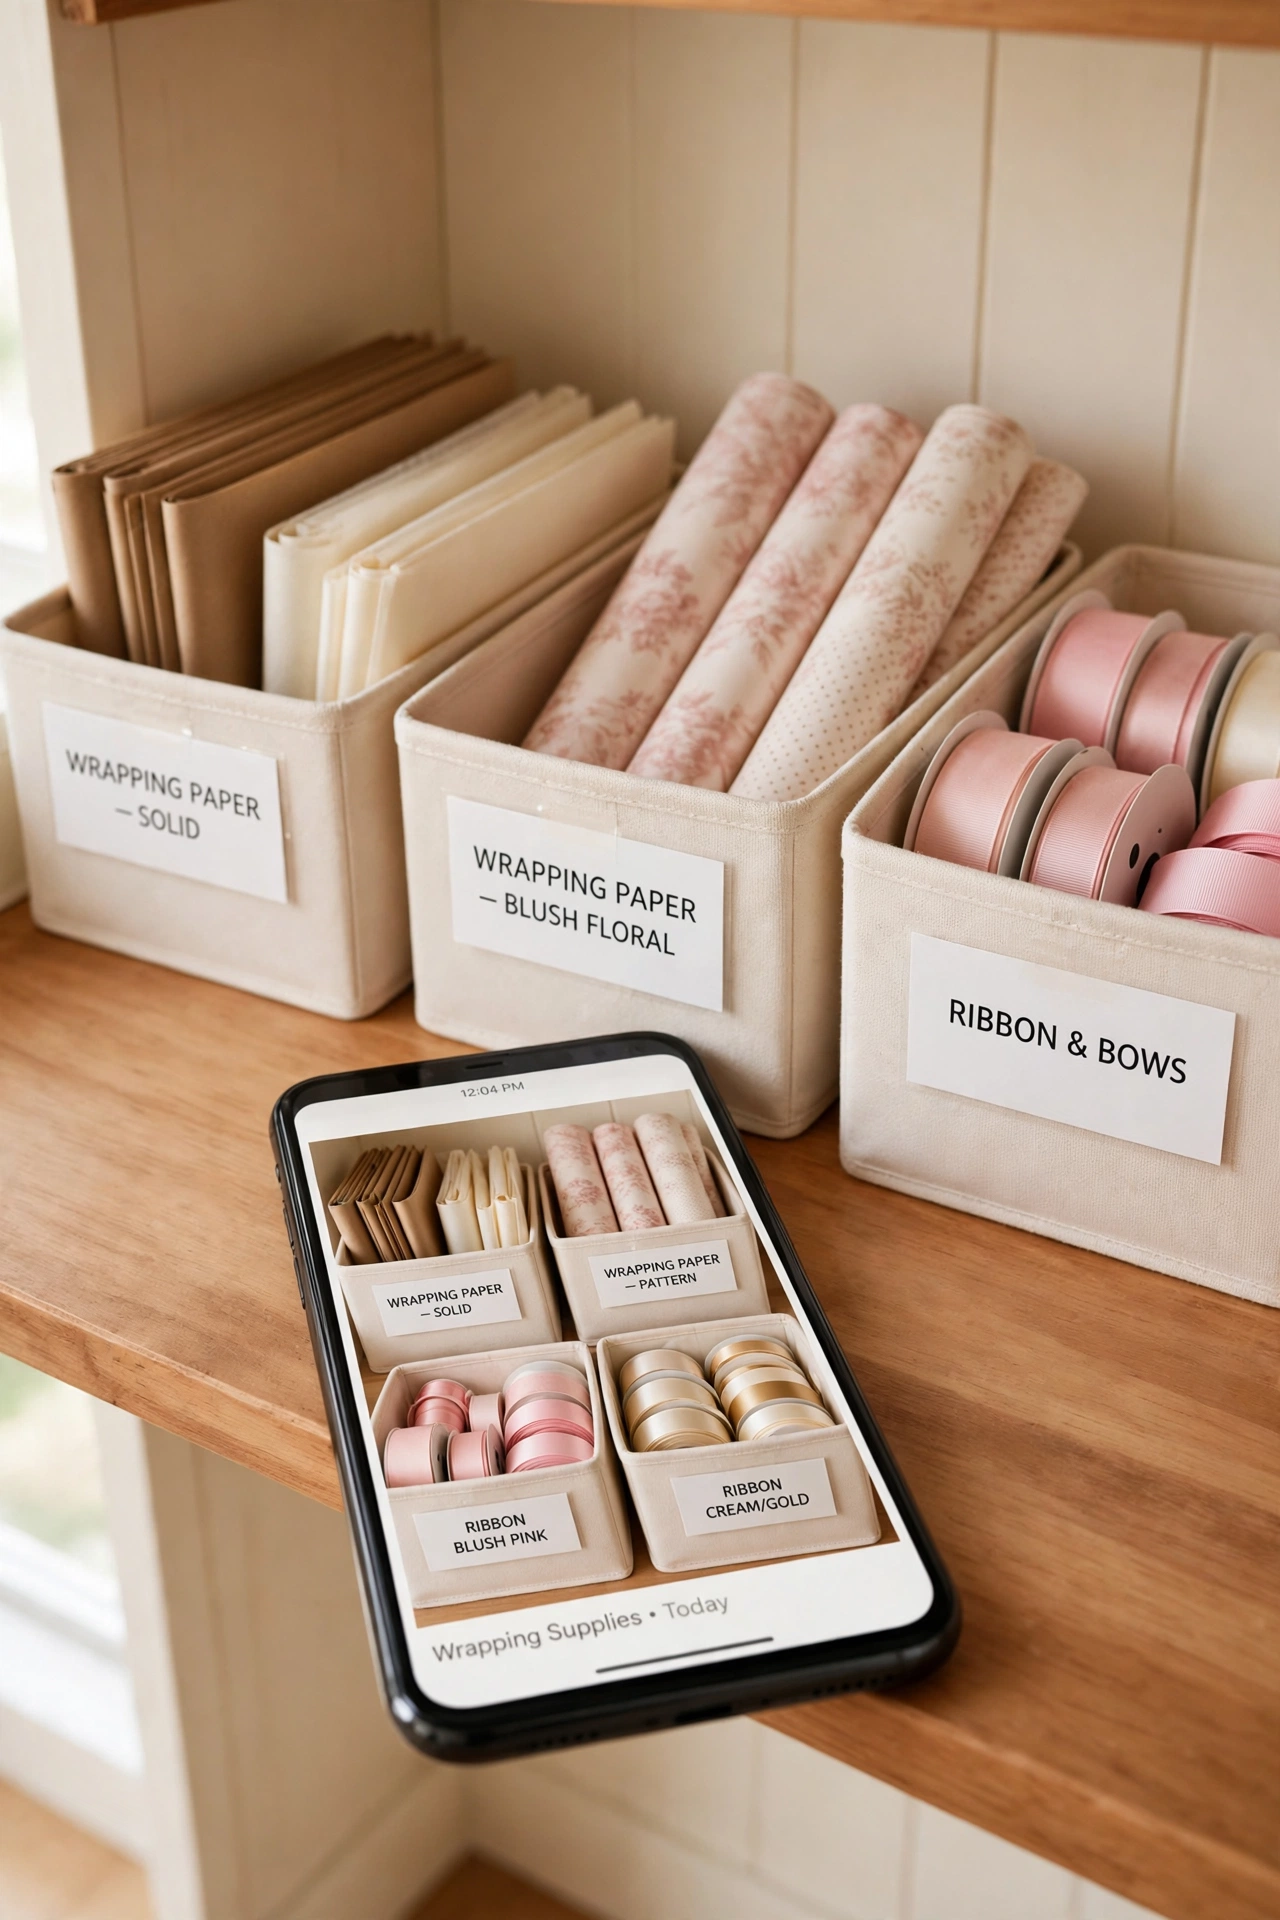
A photo of each storage bin, taken after your initial count, gives you an inventory you can check from the store. Photograph the open bins with their labels visible, and keep the photos in a dedicated album on your phone. When you are shopping and cannot remember how many gold rolls you own, the photo answers in seconds.
Update the photos once at the start of the season and once after the holidays. Photos also help you remember where everything lives when supplies go back into storage in January. This digital backup costs nothing and prevents more duplicate buying than any other trick on this list.
25. Use a Shoe Organizer for Ribbon and Tape
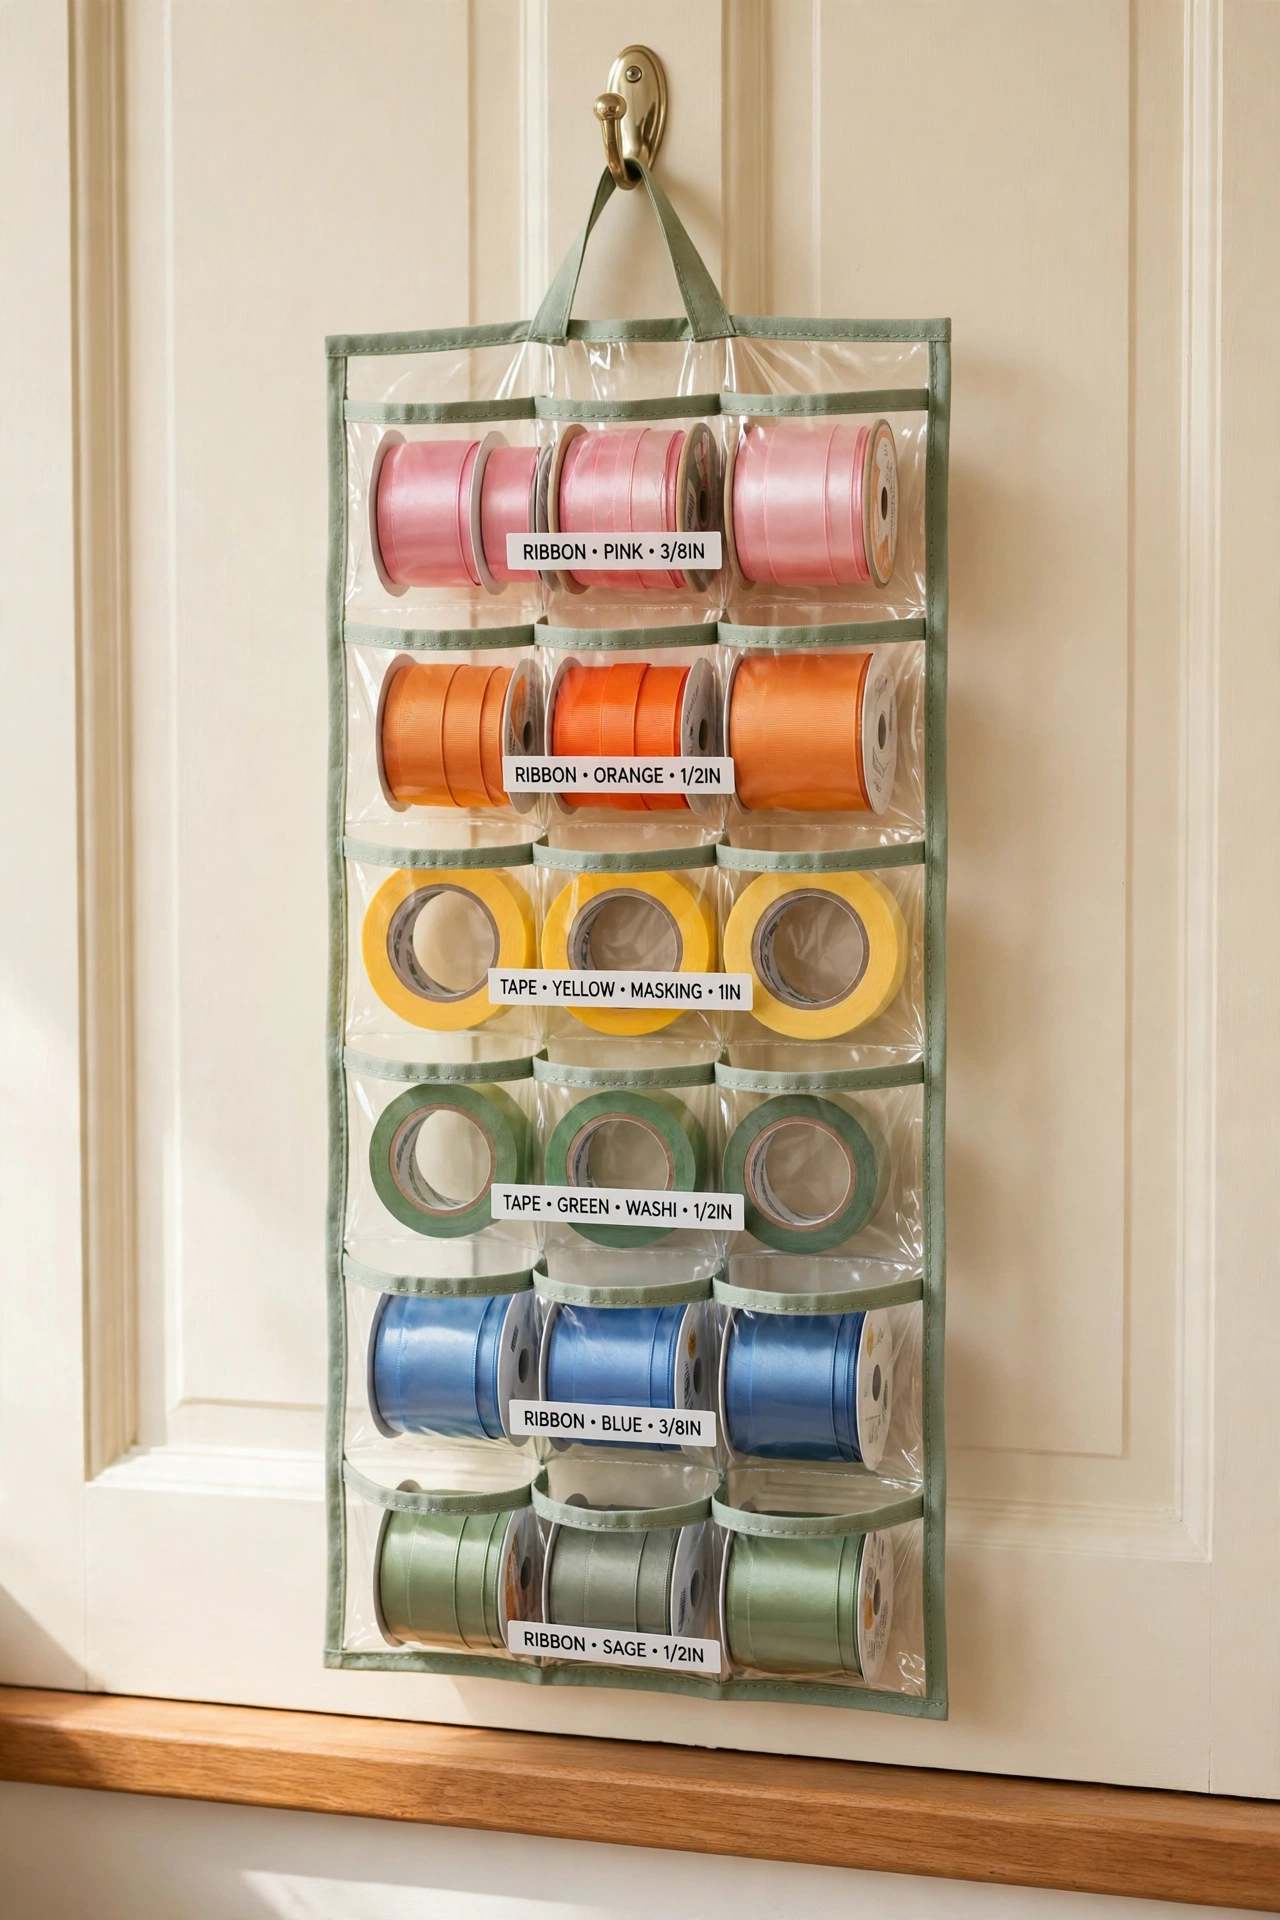
A hanging shoe organizer with clear pockets works as a vertical stockroom for ribbon spools, tape rolls, and small tools. Each pocket holds one or two spools, and the clear front shows the color and the remaining amount. Hang it on a closet door or a bedroom door near your wrapping area.
This is a strong choice for small homes because it uses door space instead of shelf space. Sort the pockets by color from top to bottom so the organizer doubles as a visual stock chart. When a pocket is empty, you know exactly what to restock.
26. Store Flat Wrap in a Portfolio Case
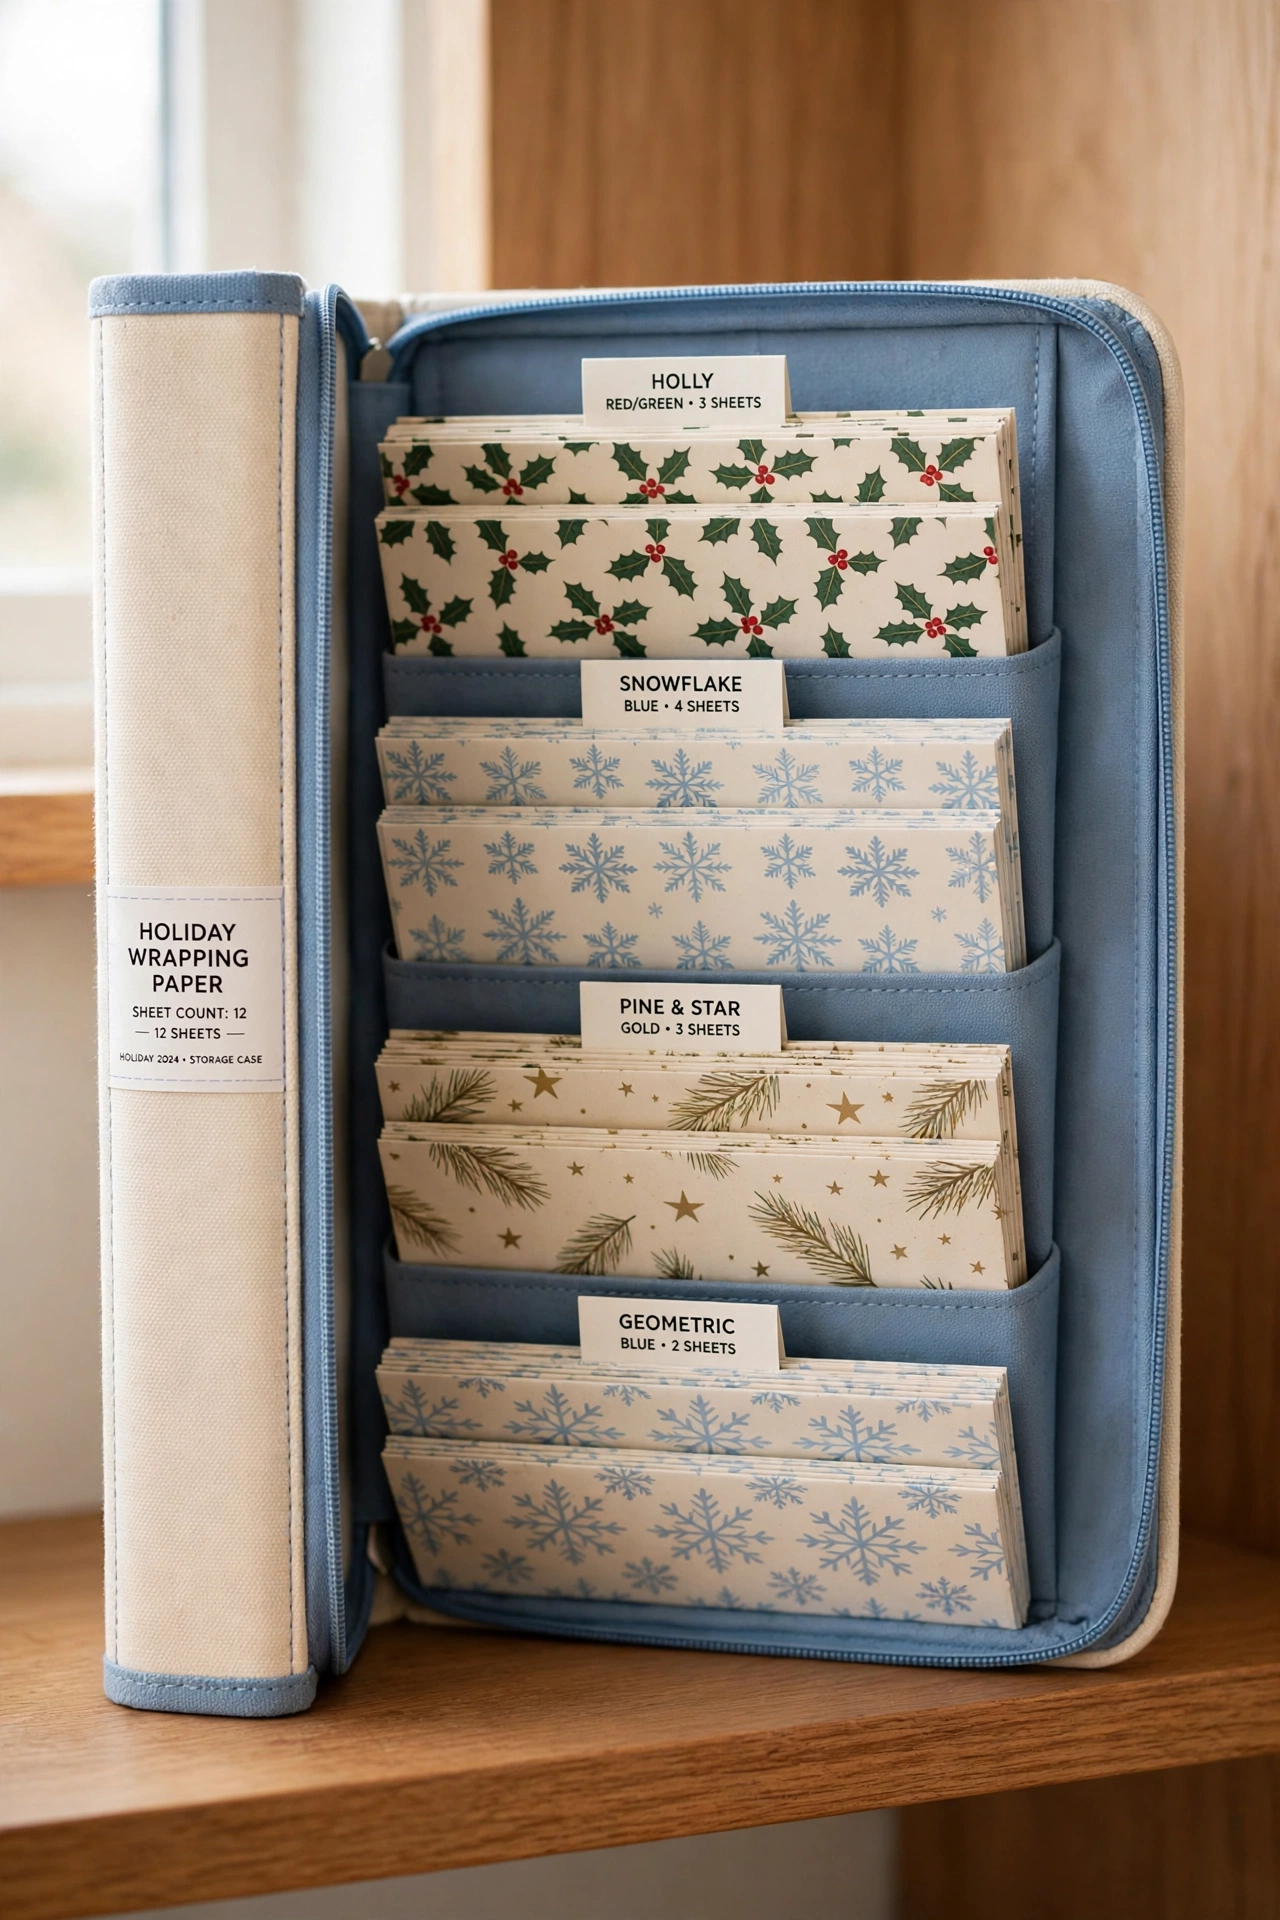
Flat sheets of wrapping paper, kraft paper, and specialty wrap stay crisp in a zippered portfolio case. Stand the case upright on a shelf like a large book, with the sheets sorted by pattern. The case protects paper from folds and tears far better than a loose stack on a shelf.
Portfolio cases come in many sizes, so choose one that fits your largest sheets without folding. Add a label on the spine with the sheet count inside. When you need a flat sheet, unzip the case and pull out exactly what you need.
27. Keep a Separate Bin for Kids Wrapping Supplies
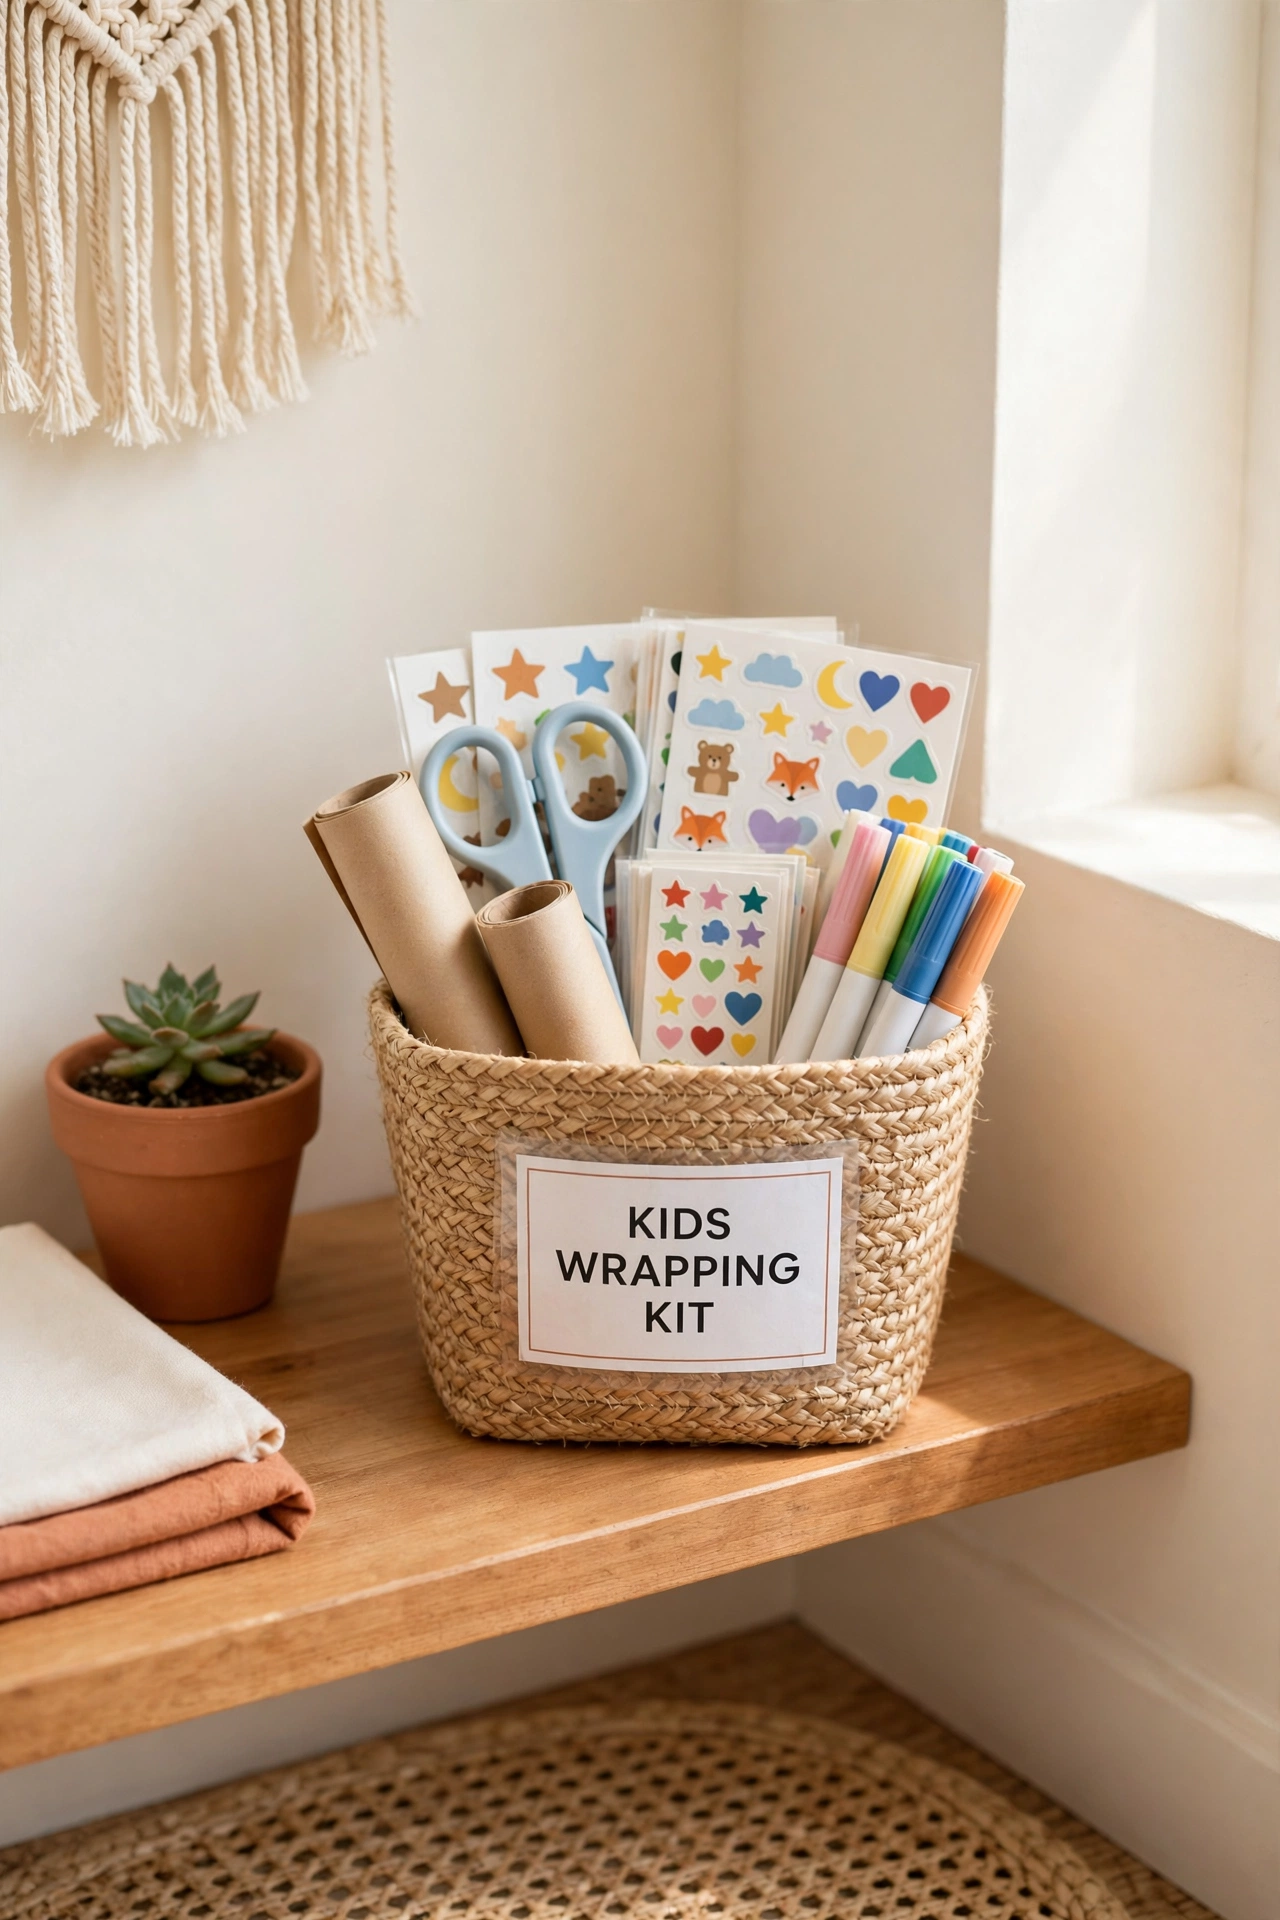
Children love to wrap gifts, and their supplies deserve a separate bin so the main inventory stays accurate. Fill a small bin with kid-safe scissors, plain paper, stickers, and washable markers, and label it clearly. Kids can grab their bin without disturbing the counted supplies in the main system.
Count the kids bin separately on your inventory list so its contents never mix with the main count. After the holidays, check the bin, restock the markers and stickers, and store it with the rest of the supplies. A separate bin keeps wrapping fun for kids and keeps your counts honest.
28. Count Rolls at the Start of December
A fixed counting date turns inventory from a chore into a yearly ritual. On the first day of December, pull out your rolls and count them by color and pattern, then update the clipboard list. This annual count catches rolls that were used and never recorded during the year.
Pair the count with a quick check of tape, tags, and ribbon so the whole system is refreshed at once. With accurate numbers in hand, you can write a precise shopping list and start the season with confidence. Ten minutes of counting saves hours of searching later.
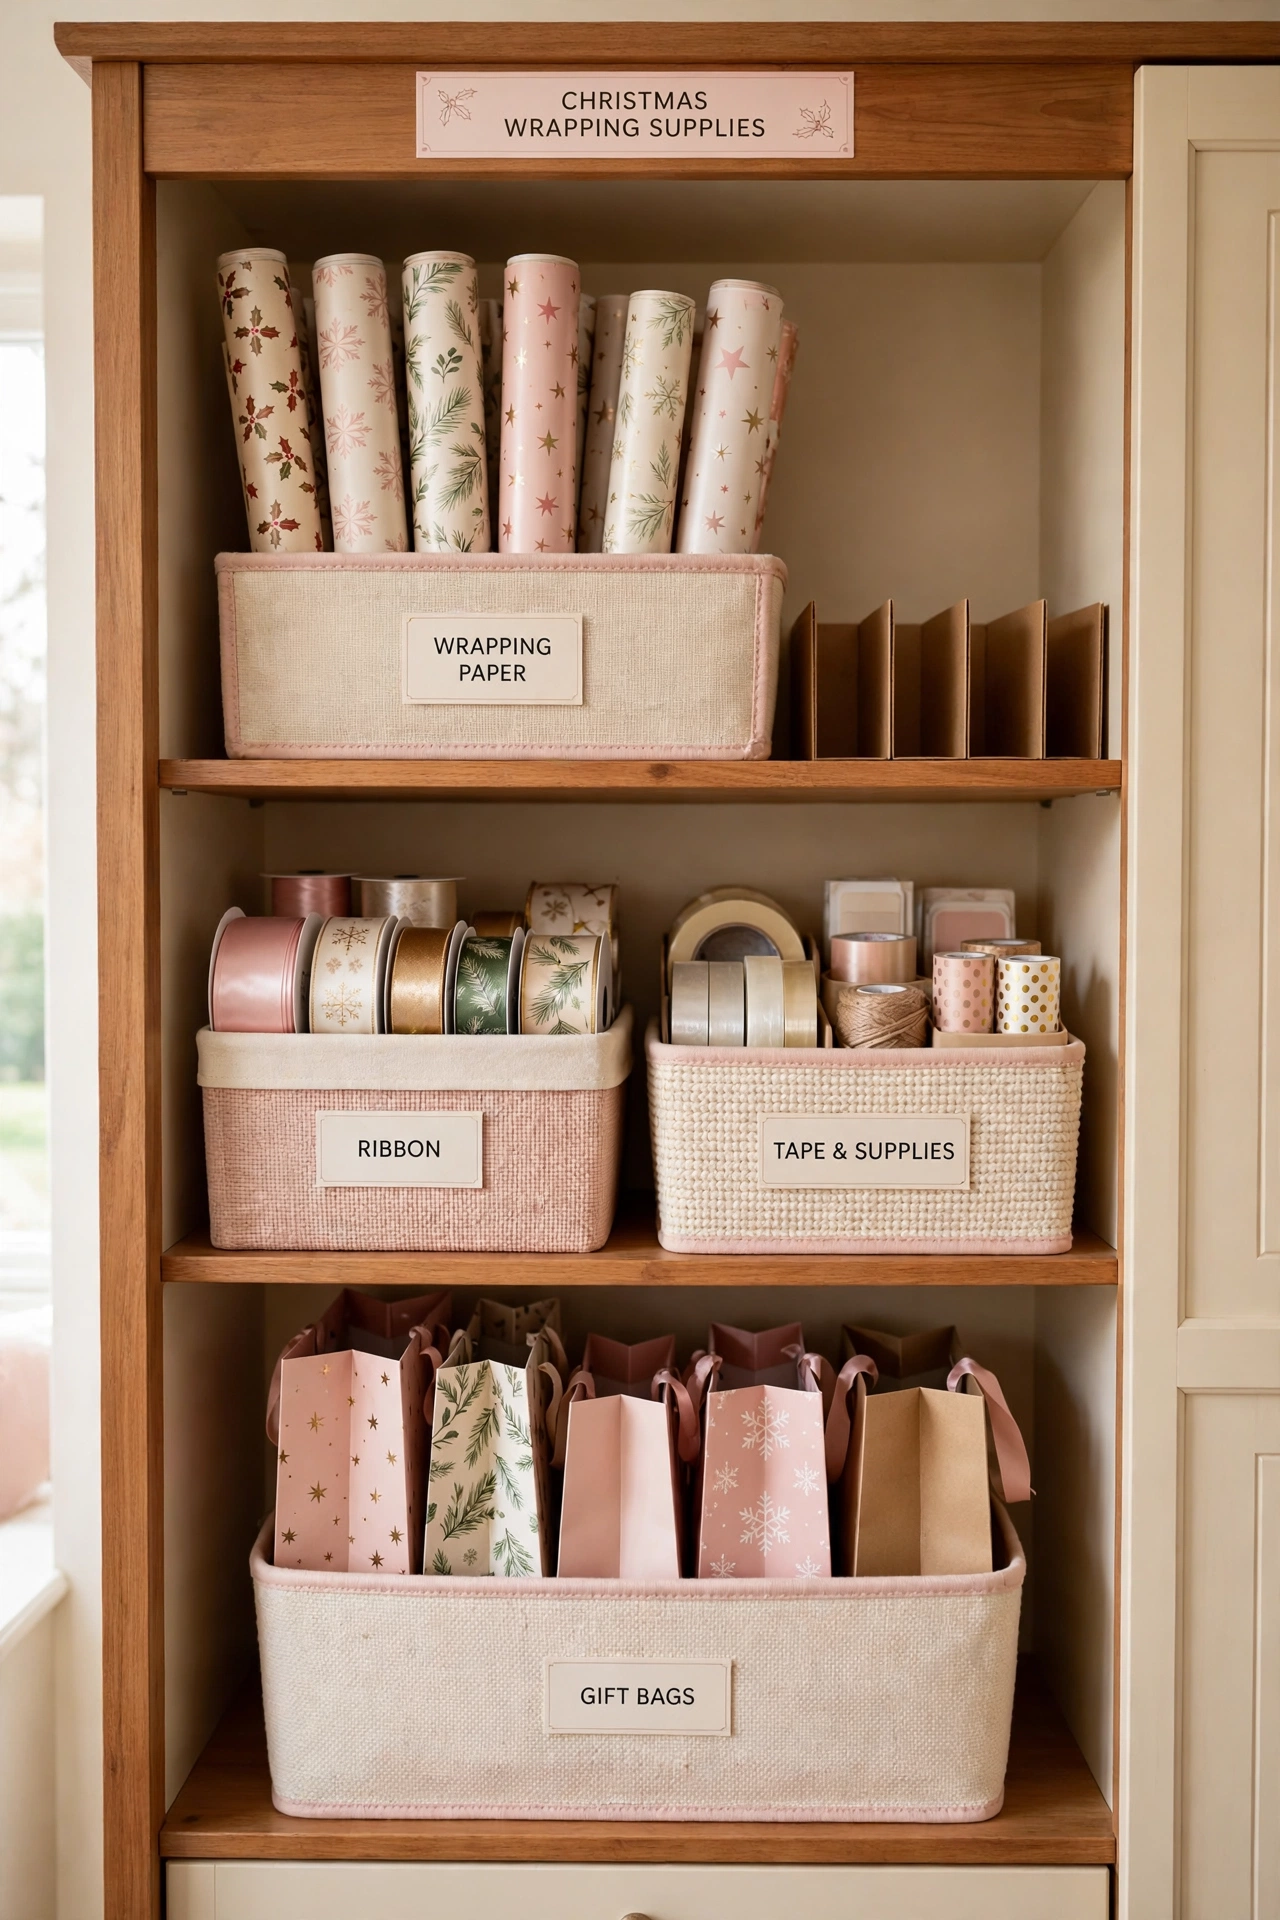
29. Store Wrapping Supplies in One Closet Zone
Keeping every wrapping supply in one closet zone is the single most effective inventory rule. When rolls live in the garage, ribbon lives in a bedroom drawer, and tape lives in the kitchen, no count can stay accurate. Choose one closet or one shelf section and move everything there.
Within the zone, give each supply type its own bin or shelf, and label the zone itself so the whole family knows where wrapping supplies live. One zone means one count, one shopping list, and no more duplicate buying. If closet space is scarce, a single shelf in the linen closet works well.
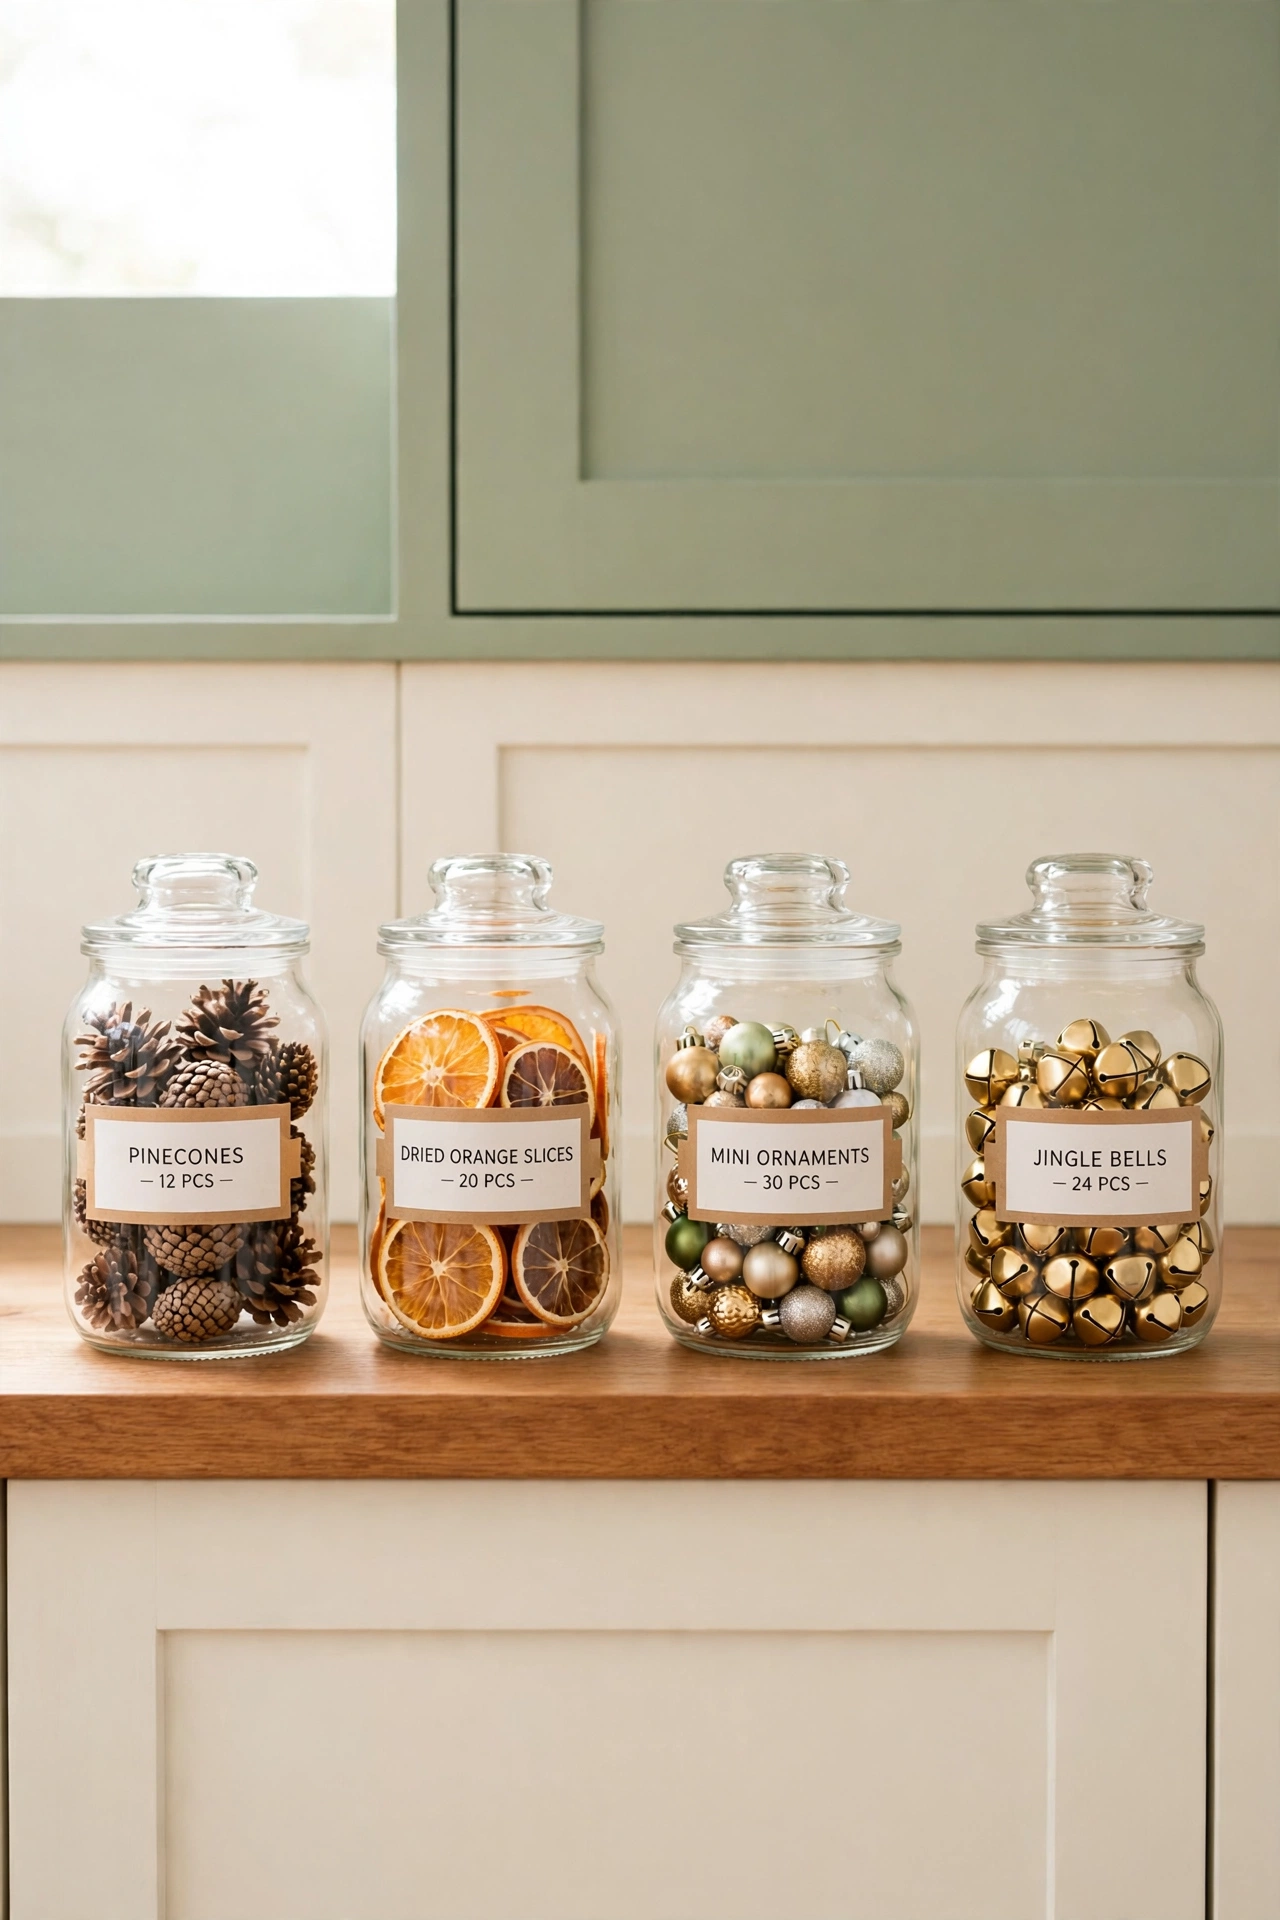
30. Use Clear Jars for Small Embellishments
Small embellishments like pinecones, dried orange slices, mini ornaments, and jingle bells add charm to wrapped gifts, but they scatter easily. Store each type in its own clear jar with a printed label showing the item and the count. The jars line up neatly on a shelf and look decorative while they store.
Clear jars make it easy to see when a favorite embellishment is running low. Because the jars are sealed, the contents stay clean and dust-free between seasons. Count the jars into your inventory list so embellishments are part of the same system as paper and ribbon.
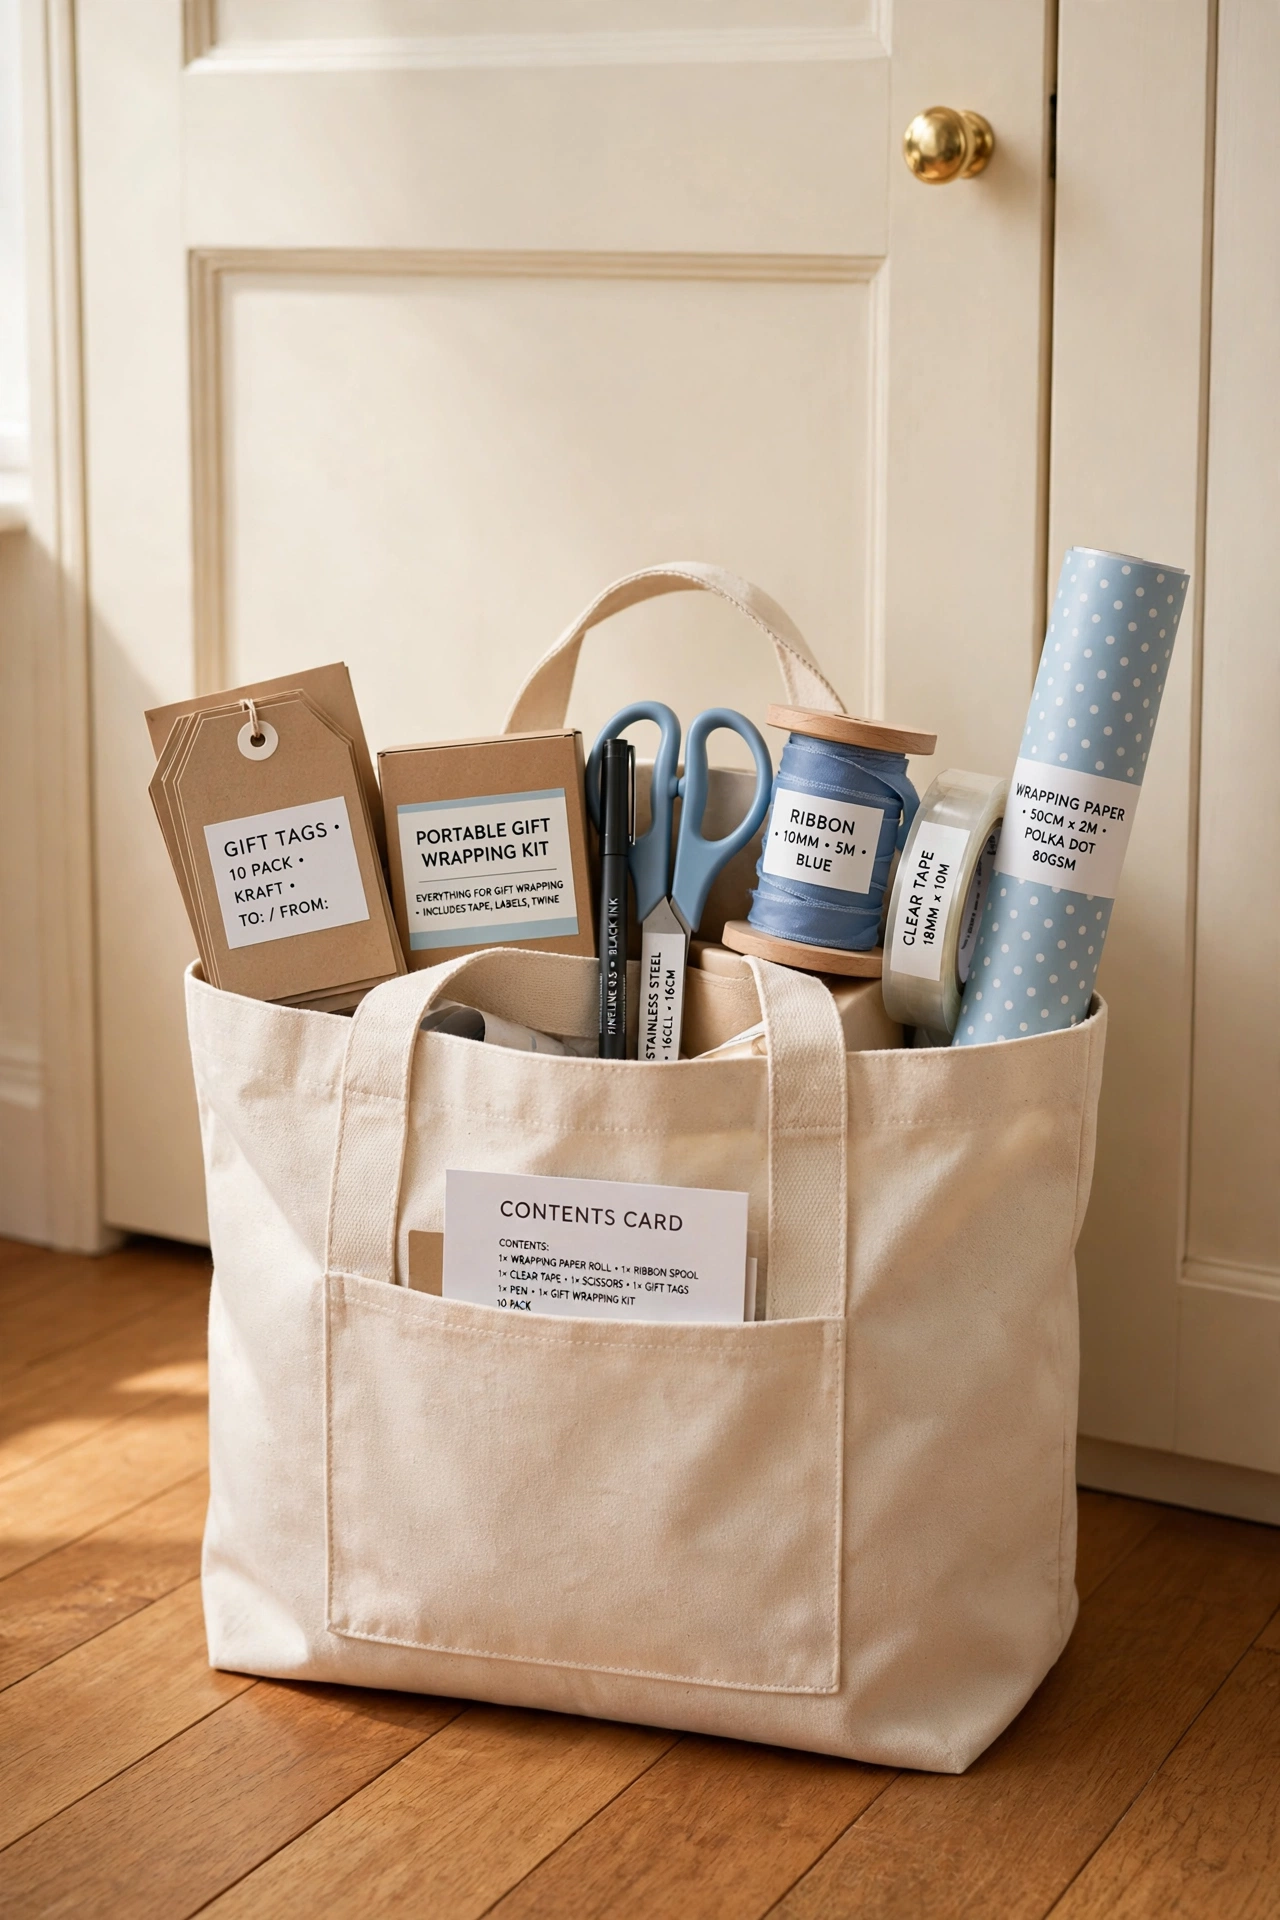
31. Keep a Wrapping Station Kit in a Tote Bag
A sturdy tote bag packed with the essentials makes a portable wrapping kit you can carry anywhere. Pack one roll of your main paper, one ribbon spool, tape, scissors, tags, and a pen, and keep the tote by the closet. When you wrap at the dining table or at a family member’s house, the kit goes with you.
After each use, return the kit to the closet and check it against a small card listing what belongs inside. Restock the tote from the main bins right away so it is always ready. A portable kit keeps your main inventory tidy because supplies travel in the tote, not loose in your arms.
32. Recycle Damaged Rolls Before the Season
Crushed, torn, or water-damaged rolls take up space and skew your inventory count. Before the season starts, unroll the first few inches of each roll and check for damage. Recycle rolls that are crushed beyond use, and trim damaged ends from rolls that are still good.
Removing damaged stock keeps your count honest and your storage neat. It also frees space for the rolls you actually use. Note the recycled rolls on your inventory list so the count matches what is really on the shelf.
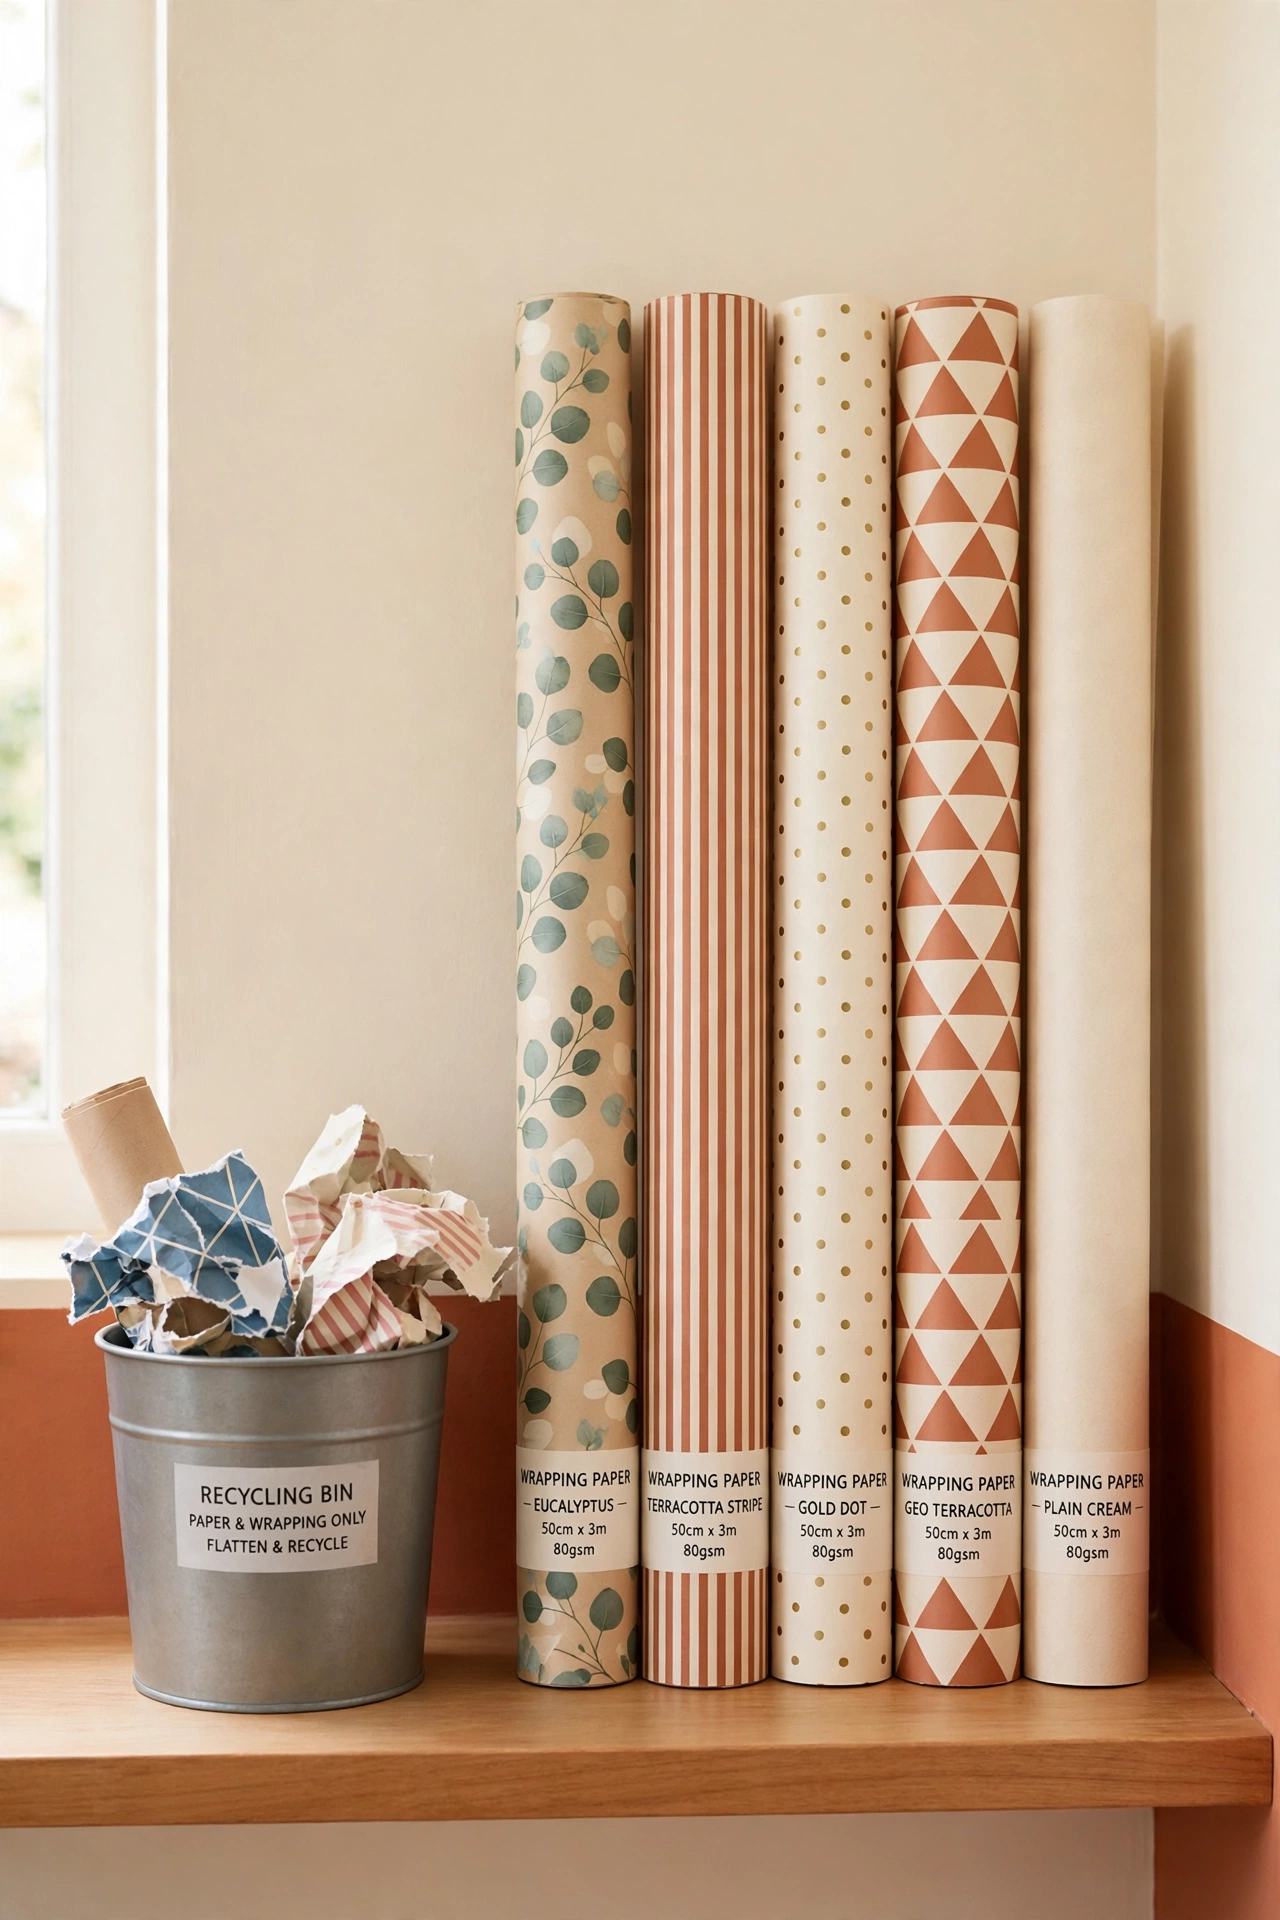
33. Do a Post-Holiday Inventory Before Storage
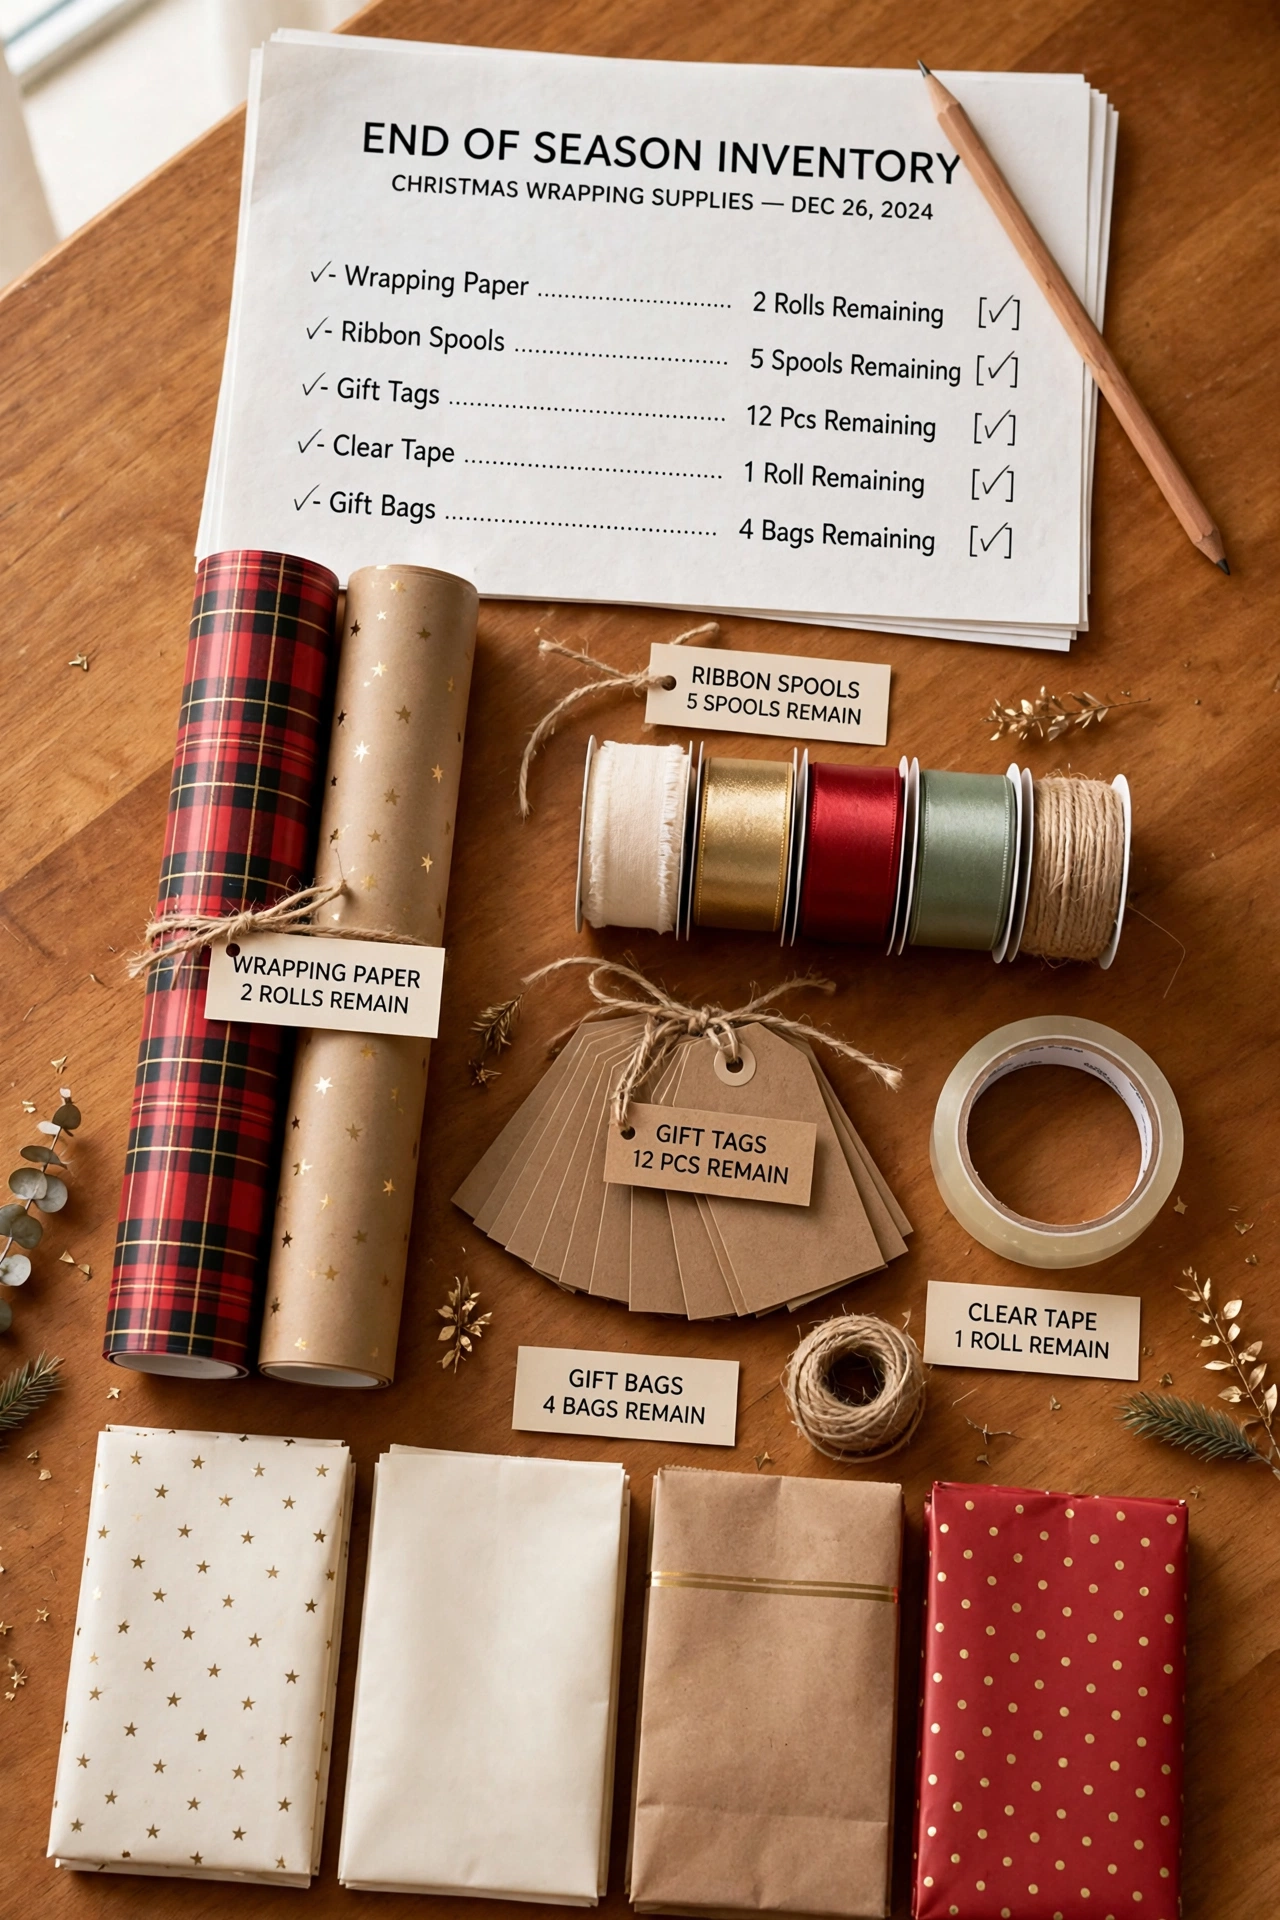
When the last gift is wrapped, count everything once more before supplies go back into storage. Record the remaining rolls, ribbon, tags, tape, and bags on your inventory list, and note anything that ran out completely. This end-of-season count becomes your starting point for next year.
Store the list on top of the main bin so you see it the moment you open the closet next December. A post-holiday count also shows you what to buy during January sales, when wrapping supplies are cheapest. Close the season with a clean count, and next year starts organized.
Conclusion
Gift wrapping inventory organization does not require fancy systems or expensive containers. A clipboard list, labeled bins, and one dedicated closet zone are enough to keep every roll, ribbon, and tag counted and ready. The ideas in this list work together, so start with the count, add the labels, and build the system one step at a time.
Pick three ideas that fit your home and try them this season. Count your supplies, sort them by type, and keep the list where you can see it. If you want a dedicated spot for wrapping all year, these small craft room layout ideas show how to carve out a wrapping corner even in a small home. With your inventory under control, wrapping season becomes the calm, creative ritual it was meant to be.
Frequently Asked Questions About Christmas Gift Wrapping Inventory Organization Ideas
How many rolls of wrapping paper should I keep on hand?
Three to five full rolls cover most households for a full holiday season. Keep one main pattern, one solid color, and one or two accent patterns. Count your rolls before shopping so you buy only what you truly need.
What is the best way to store wrapping paper rolls so they do not get damaged?
Store rolls upright in a tall bin or flat in a single layer in an under-bed box. Both methods keep rolls from bending or crushing. Keep rolls in a dry closet away from damp floors and direct sunlight.
How do I keep track of ribbon and small supplies?
Use a written inventory list on a clipboard and update it after each wrapping session. Store ribbon on a dowel rack or in a divided bin, and keep small items in a clear over-the-door organizer. When every item has a labeled home, counts stay accurate with very little effort.
Should I count my wrapping supplies every year?
Yes, count once at the start of December and once after the holidays. The December count builds an accurate shopping list, and the post-holiday count sets up next year. Two short counts per year prevent duplicate buying and surprise shortages.
Where should I store wrapping supplies in a small home?
Choose one closet zone, one shelf, or one rolling cart that holds everything together. Under-bed boxes and over-the-door organizers add storage without using floor space. Keeping all supplies in one spot is more important than having a large spot.

Hi, I’m Emily! I turn messy corners into cozy, organized spots. DreamNestDecor is where I share simple, practical home ideas — decor, organization, and small-space solutions that work in real life, not just in photos. Every idea here is carefully researched before it’s shared.