You stare at your bathroom tiles every morning and wish they looked different. Maybe they are a dated beige, a tired pink, or just plain boring white that shows every flaw. Ripping them out would cost thousands and take weeks, but you do not have to live with them as they are.
These twenty-eight affordable bathroom tile makeover ideas refresh your tiles without replacing a single one. From specialty paint and stencils to peel-and-stick solutions, every technique works with the tiles you already have. Pick the approach that fits your budget and your courage, then transform your bathroom in a weekend.
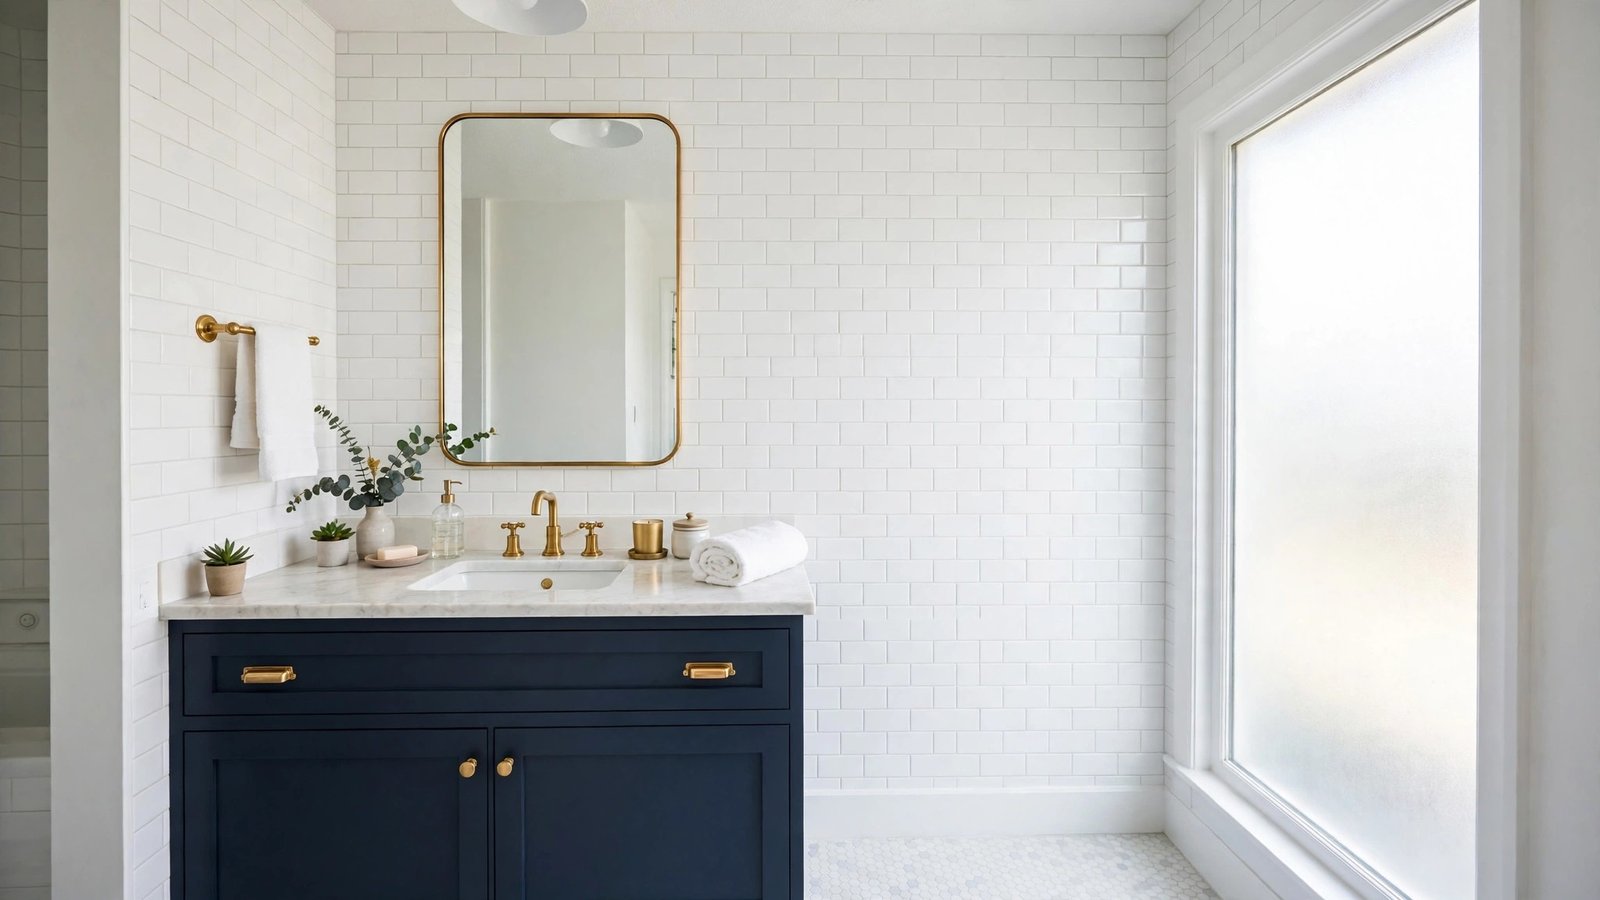
1. Solid White Tile Paint Refresh
A fresh coat of white tile paint makes dated colored tiles disappear. Clean the tiles thoroughly with a degreasing cleaner, lightly sand the glossy surface, and apply a bonding primer made for tile. Roll on two thin coats of white epoxy or tile-specific paint for a bright, clean finish.
White paint unifies mismatched tiles and makes small bathrooms feel larger instantly. This is the most dramatic change for the least money. Renters love this trick, and it appears in many rental-friendly decor hacks because some landlords actually approve it.
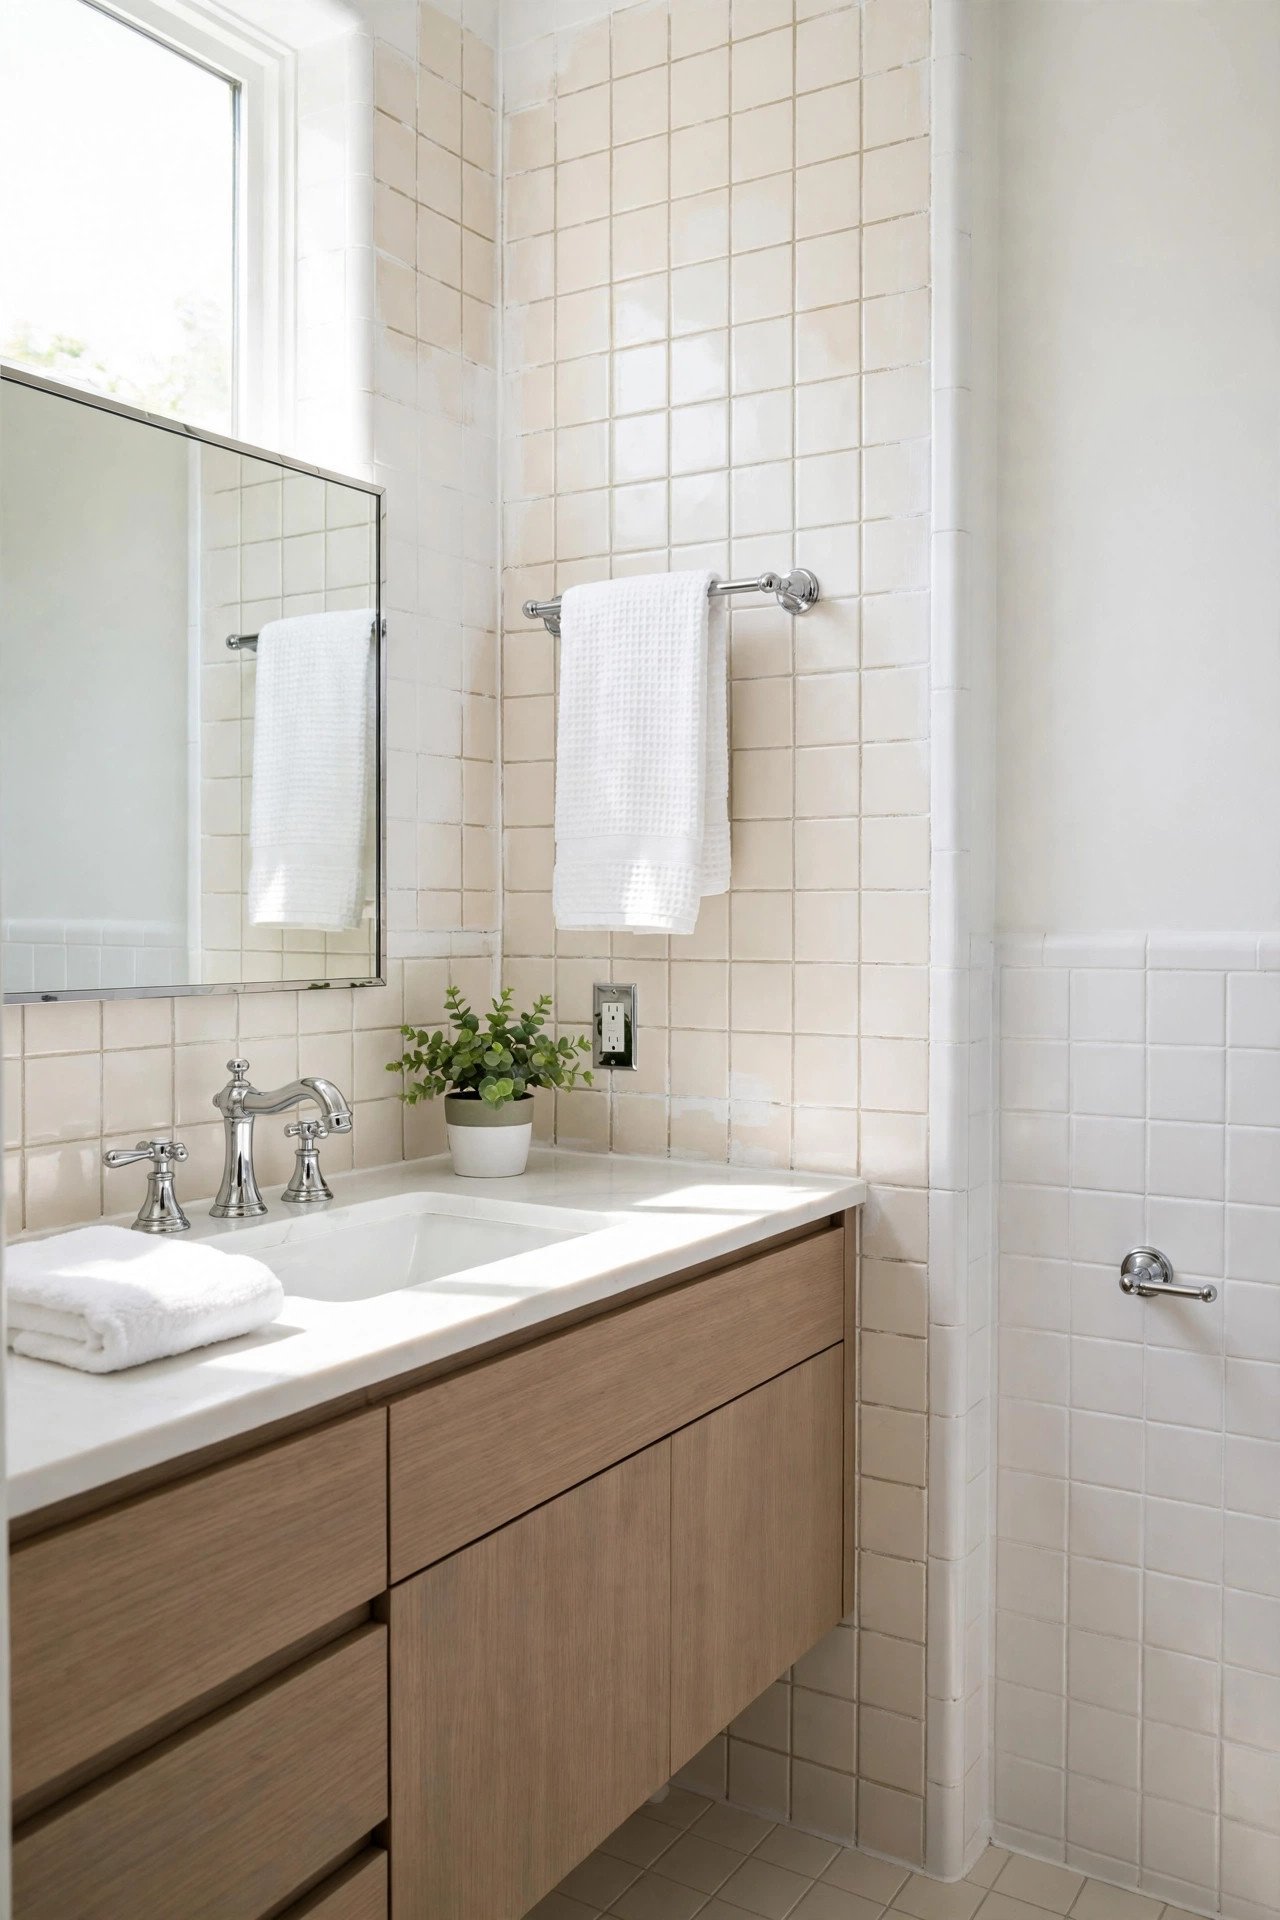
2. Epoxy Paint For Floor Tiles
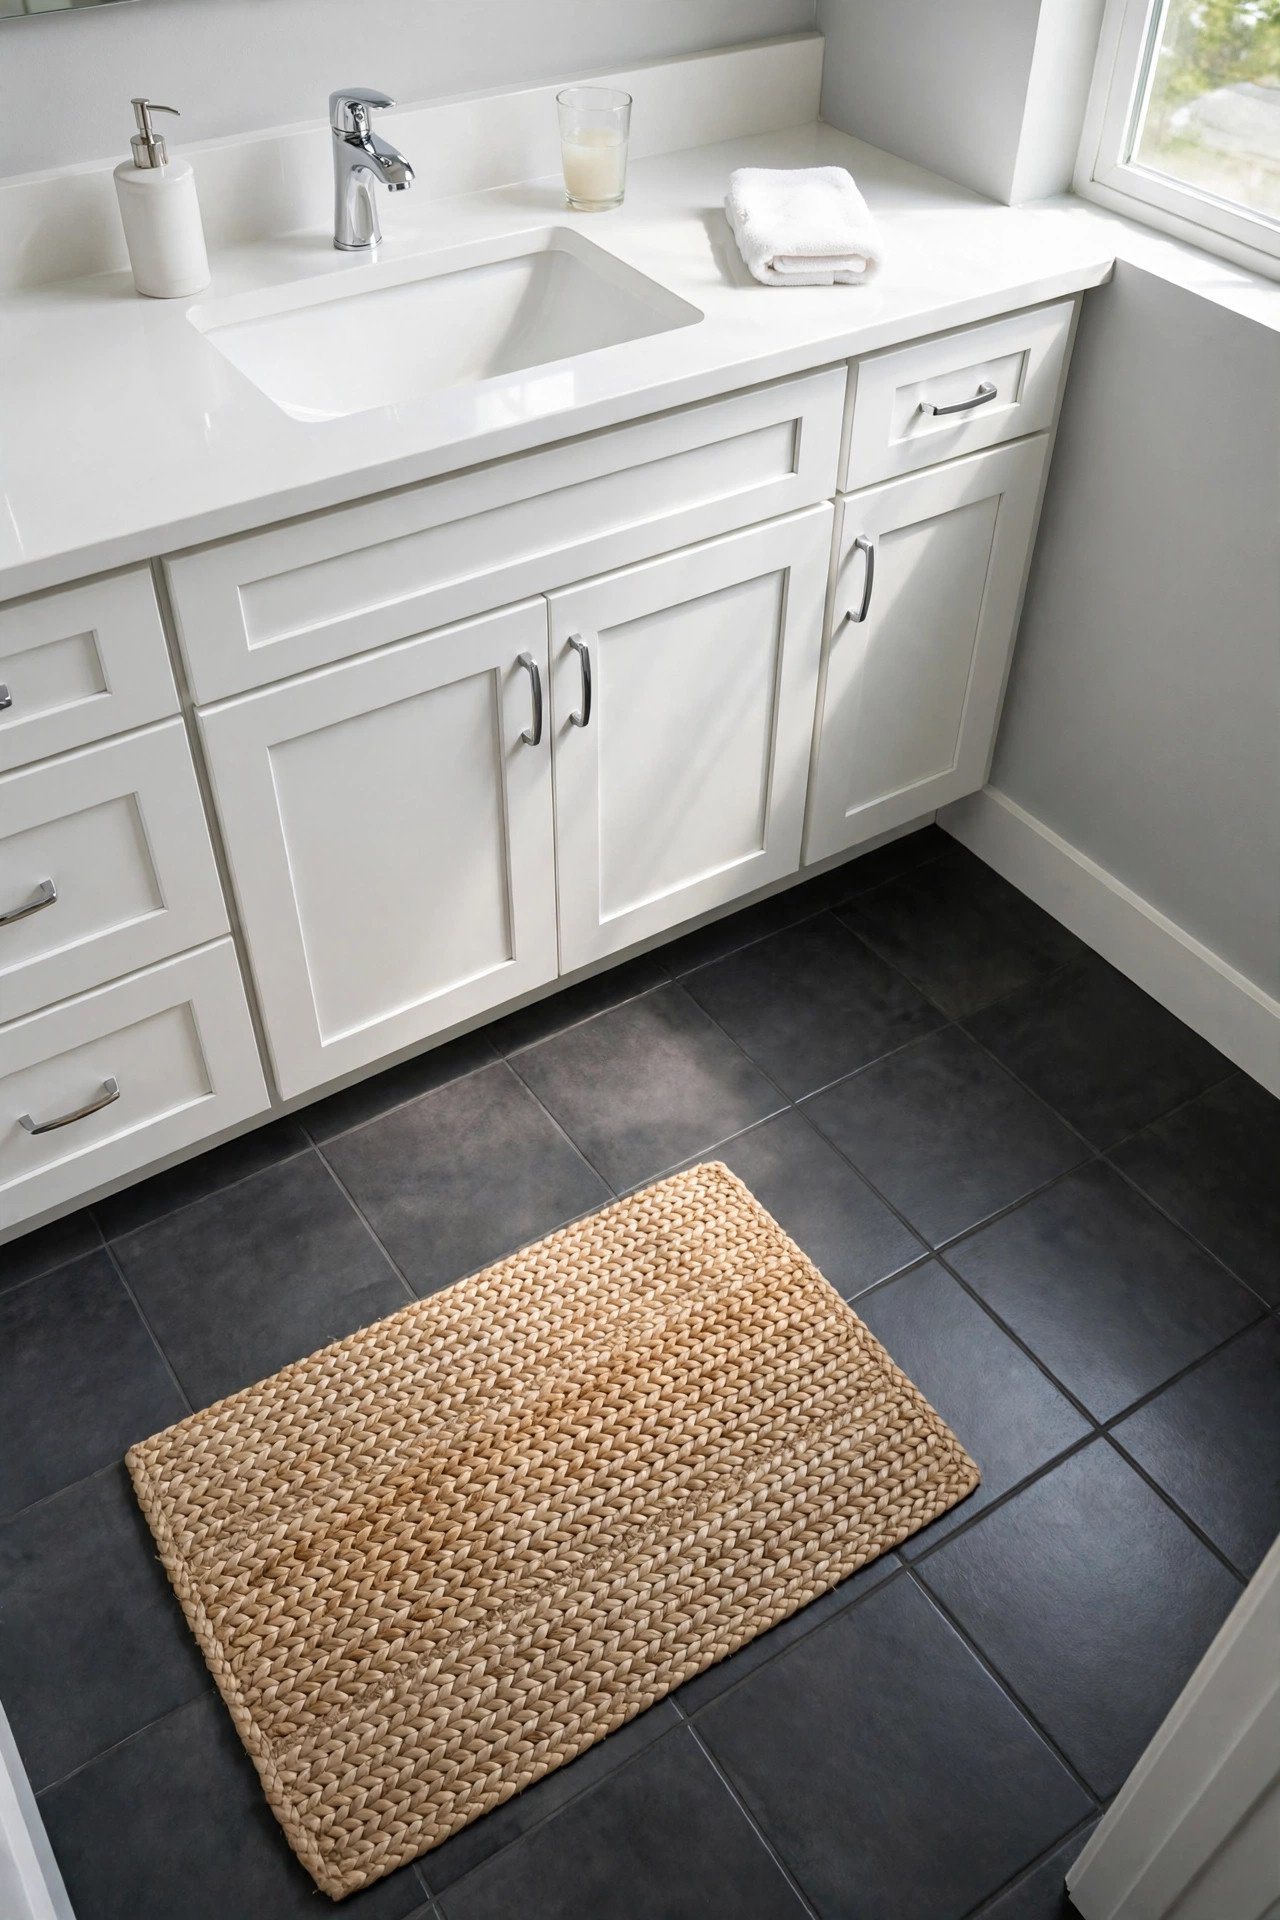
Bathroom floor tiles take a beating, so use tough epoxy paint made for floors. Clean and degrease the floor completely, etch glossy tiles lightly with sandpaper, and roll on epoxy paint in thin even coats. Let each coat cure fully before adding the next.
Epoxy resists moisture and foot traffic far better than regular paint. A charcoal or slate gray floor hides dirt and looks modern. Allow several days of curing before heavy use so the finish hardens properly.
3. Stenciled Moroccan Pattern
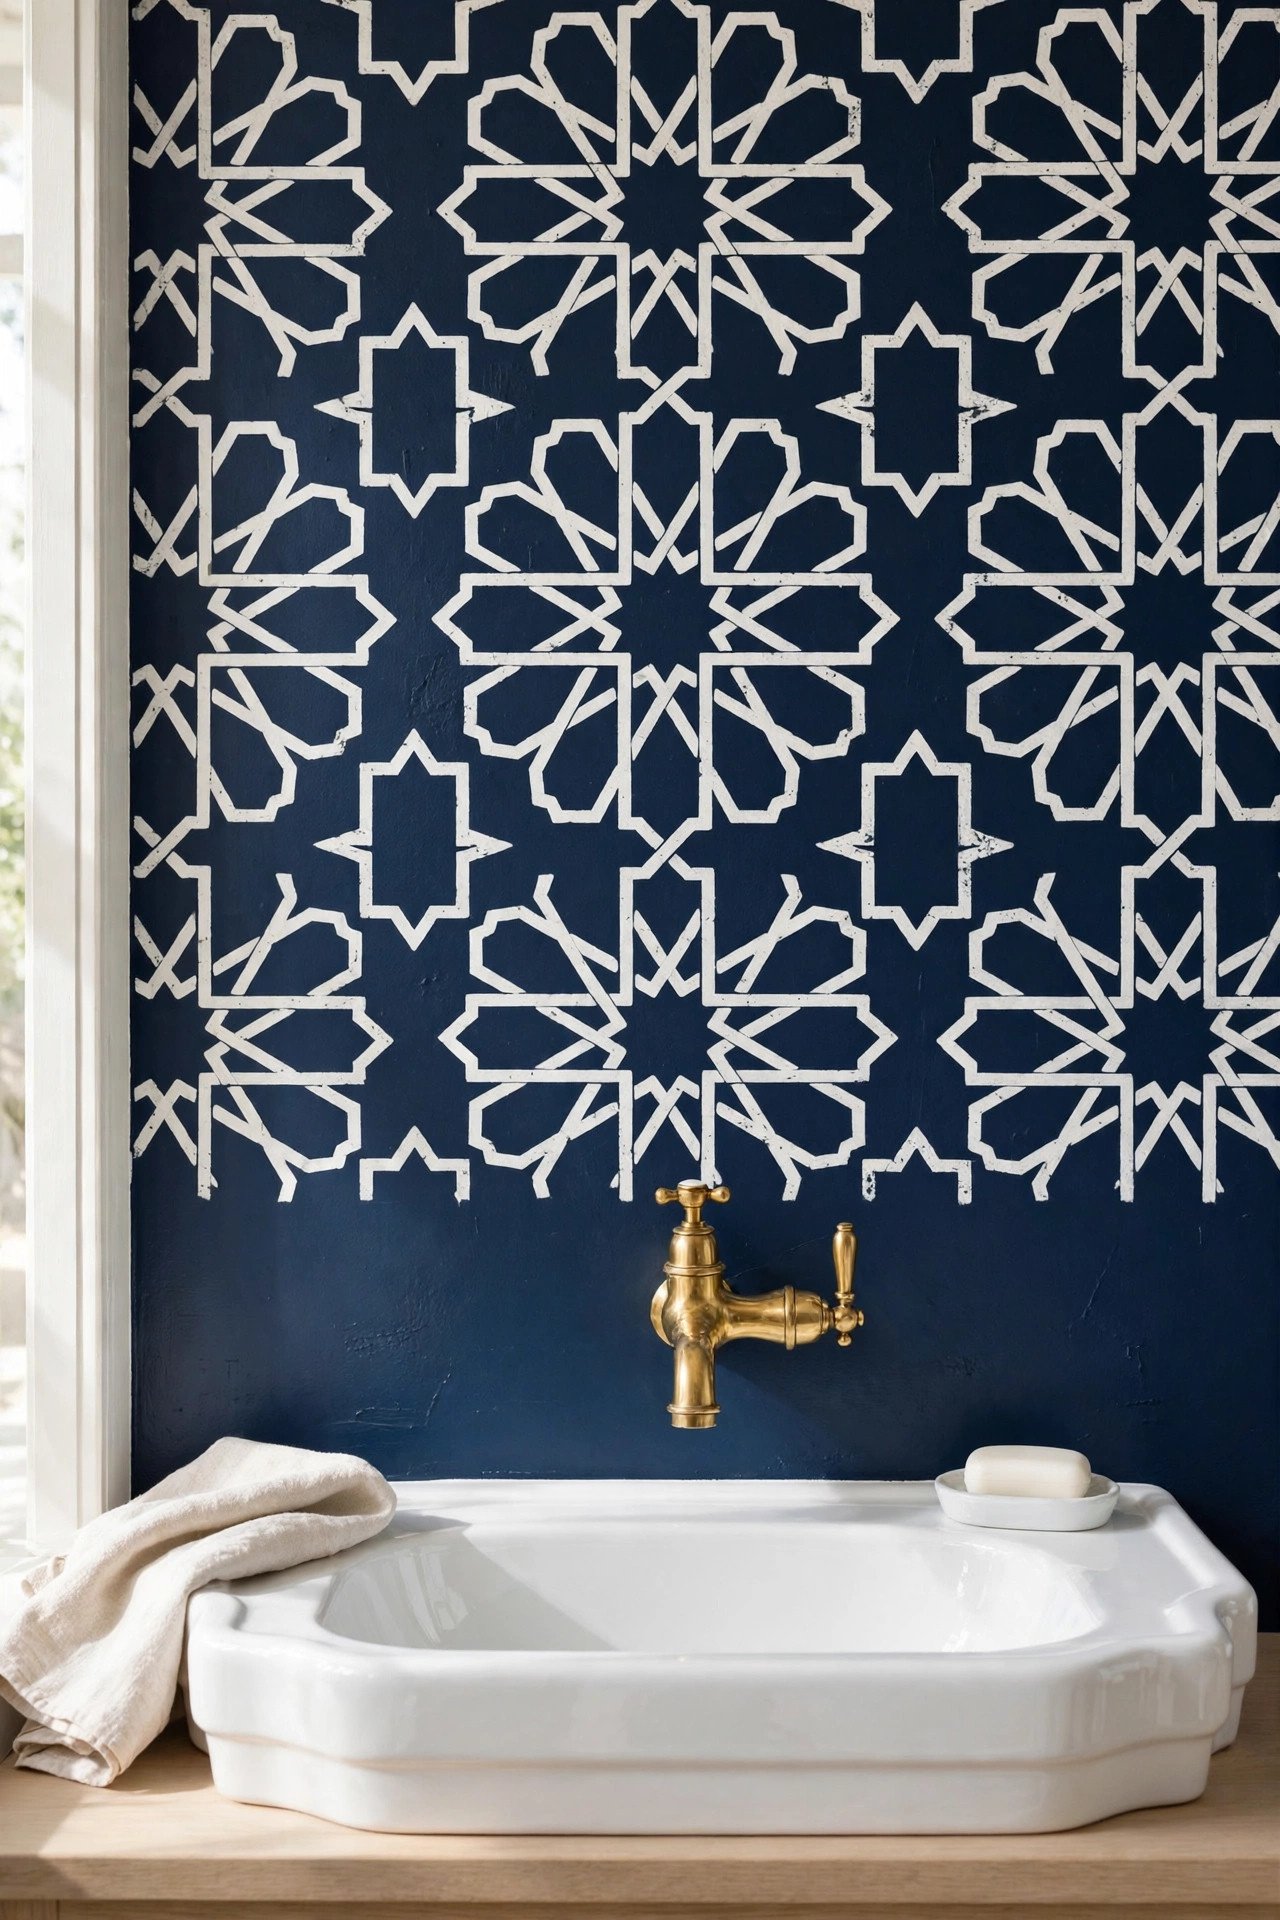
Stenciling a Moroccan pattern over plain tiles creates a designer look for the price of a stencil. Paint your base coat first and let it dry completely. Position the stencil, dab paint through it with a nearly dry brush, and reposition carefully to keep the pattern aligned.
White stencils over navy or charcoal tiles look especially striking. The repeating motif turns a boring wall into a feature. Take your time with alignment, because patience is the only difficult part of this project.
4. Peel-And-Stick Tile Stickers
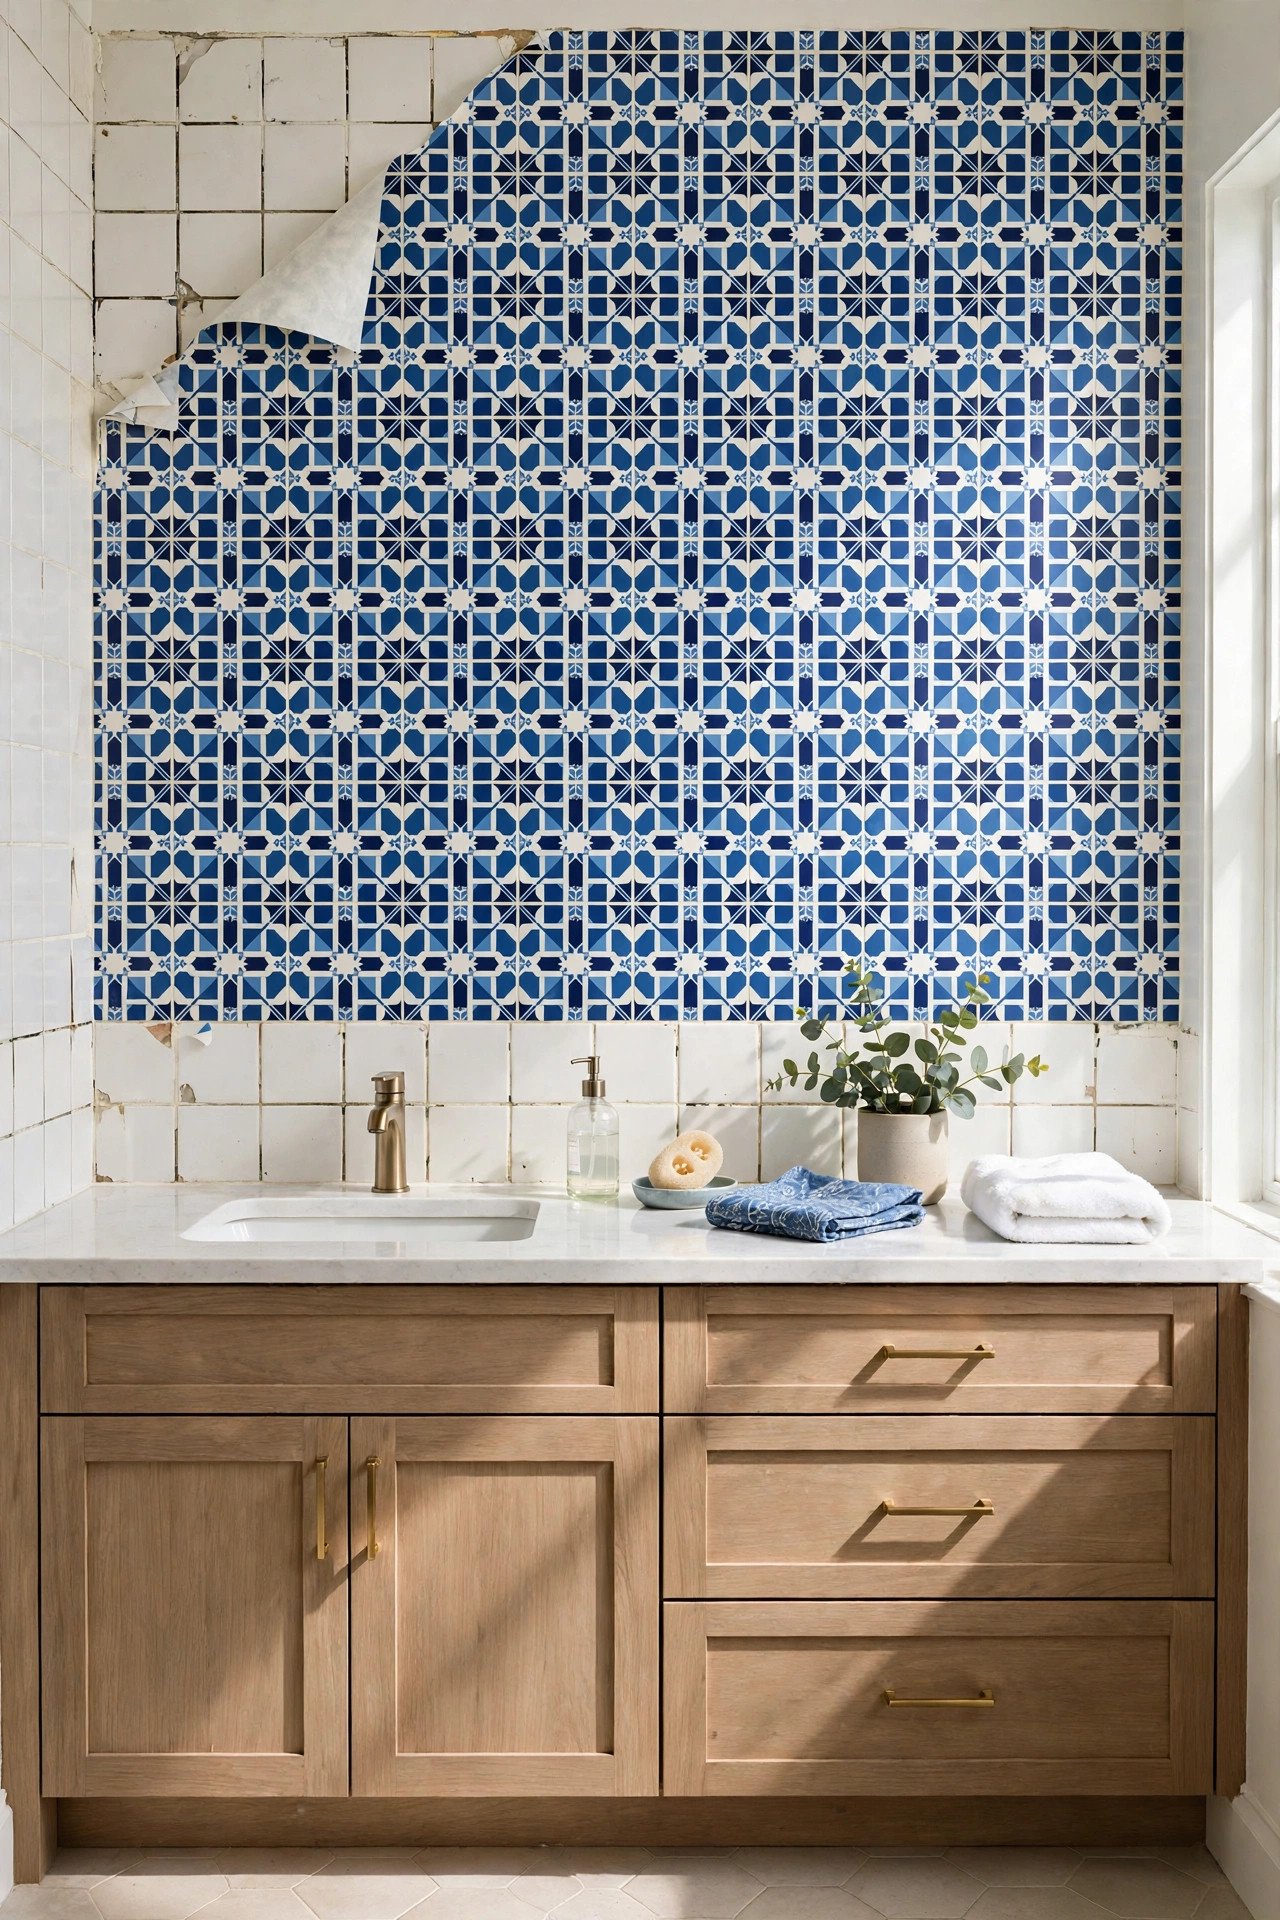
Tile stickers are the fastest tile makeover with zero paint and zero mess. These adhesive vinyl squares stick directly onto your existing tiles in matching sizes. Peel off the backing, align carefully, and smooth out air bubbles as you go.
Stickers come in endless patterns, from Moroccan to marble to subway tile looks. They are fully removable, which makes them perfect for renters. If one gets damaged, just peel it off and stick on a fresh one.
5. Grout Recoloring For Contrast
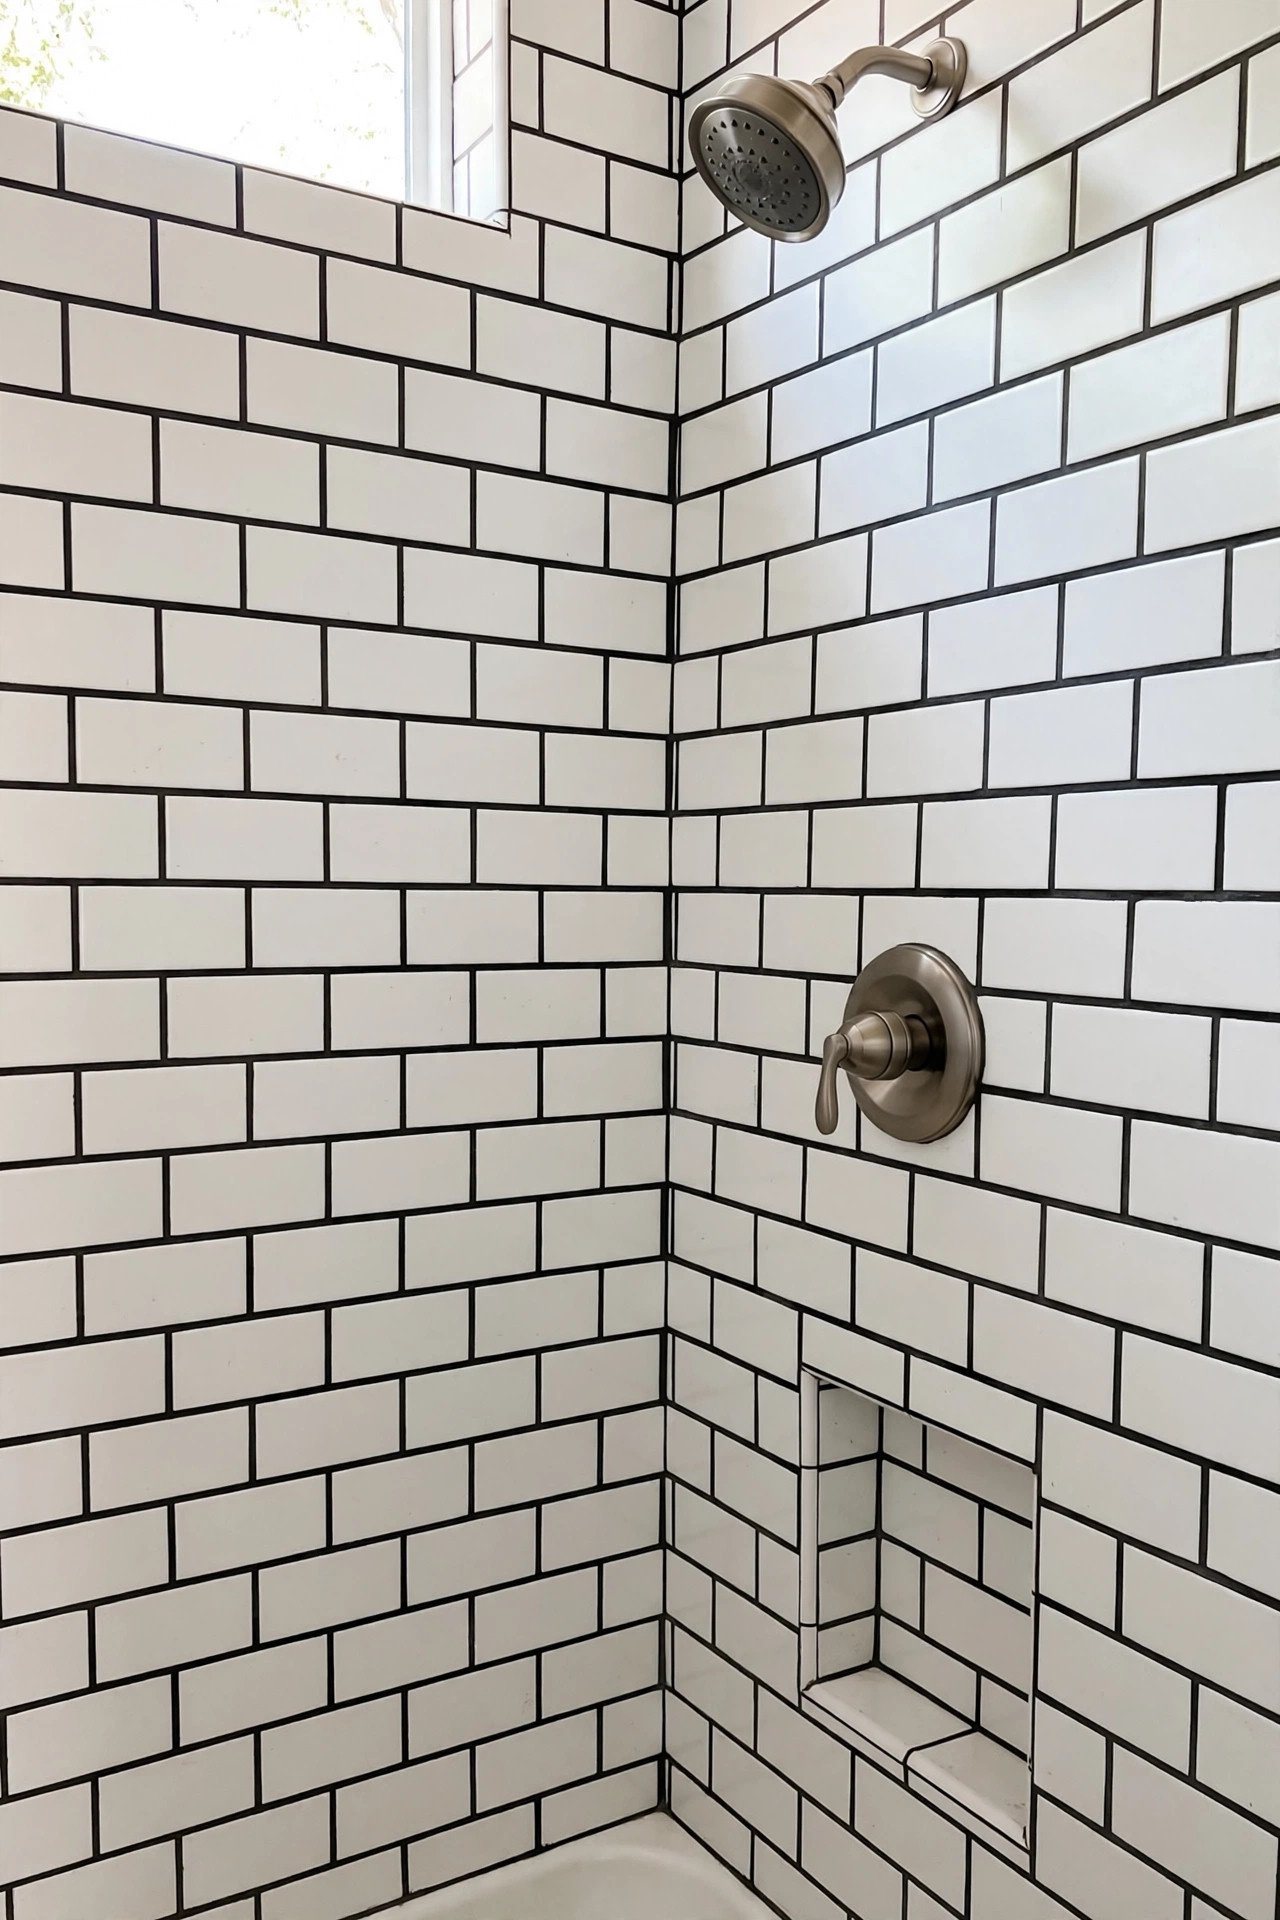
Sometimes the tiles are fine but the grout is the problem. Grout recoloring pens or paint refresh stained grout lines in any color you choose. Clean the grout deeply first, then apply the colorant carefully along each line.
Dark charcoal grout with white tiles creates a modern graphic look, while white grout brightens dark tiles. This tiny change has an outsized impact. It is also the cheapest project on this list.
6. Half-And-Half Paint Technique
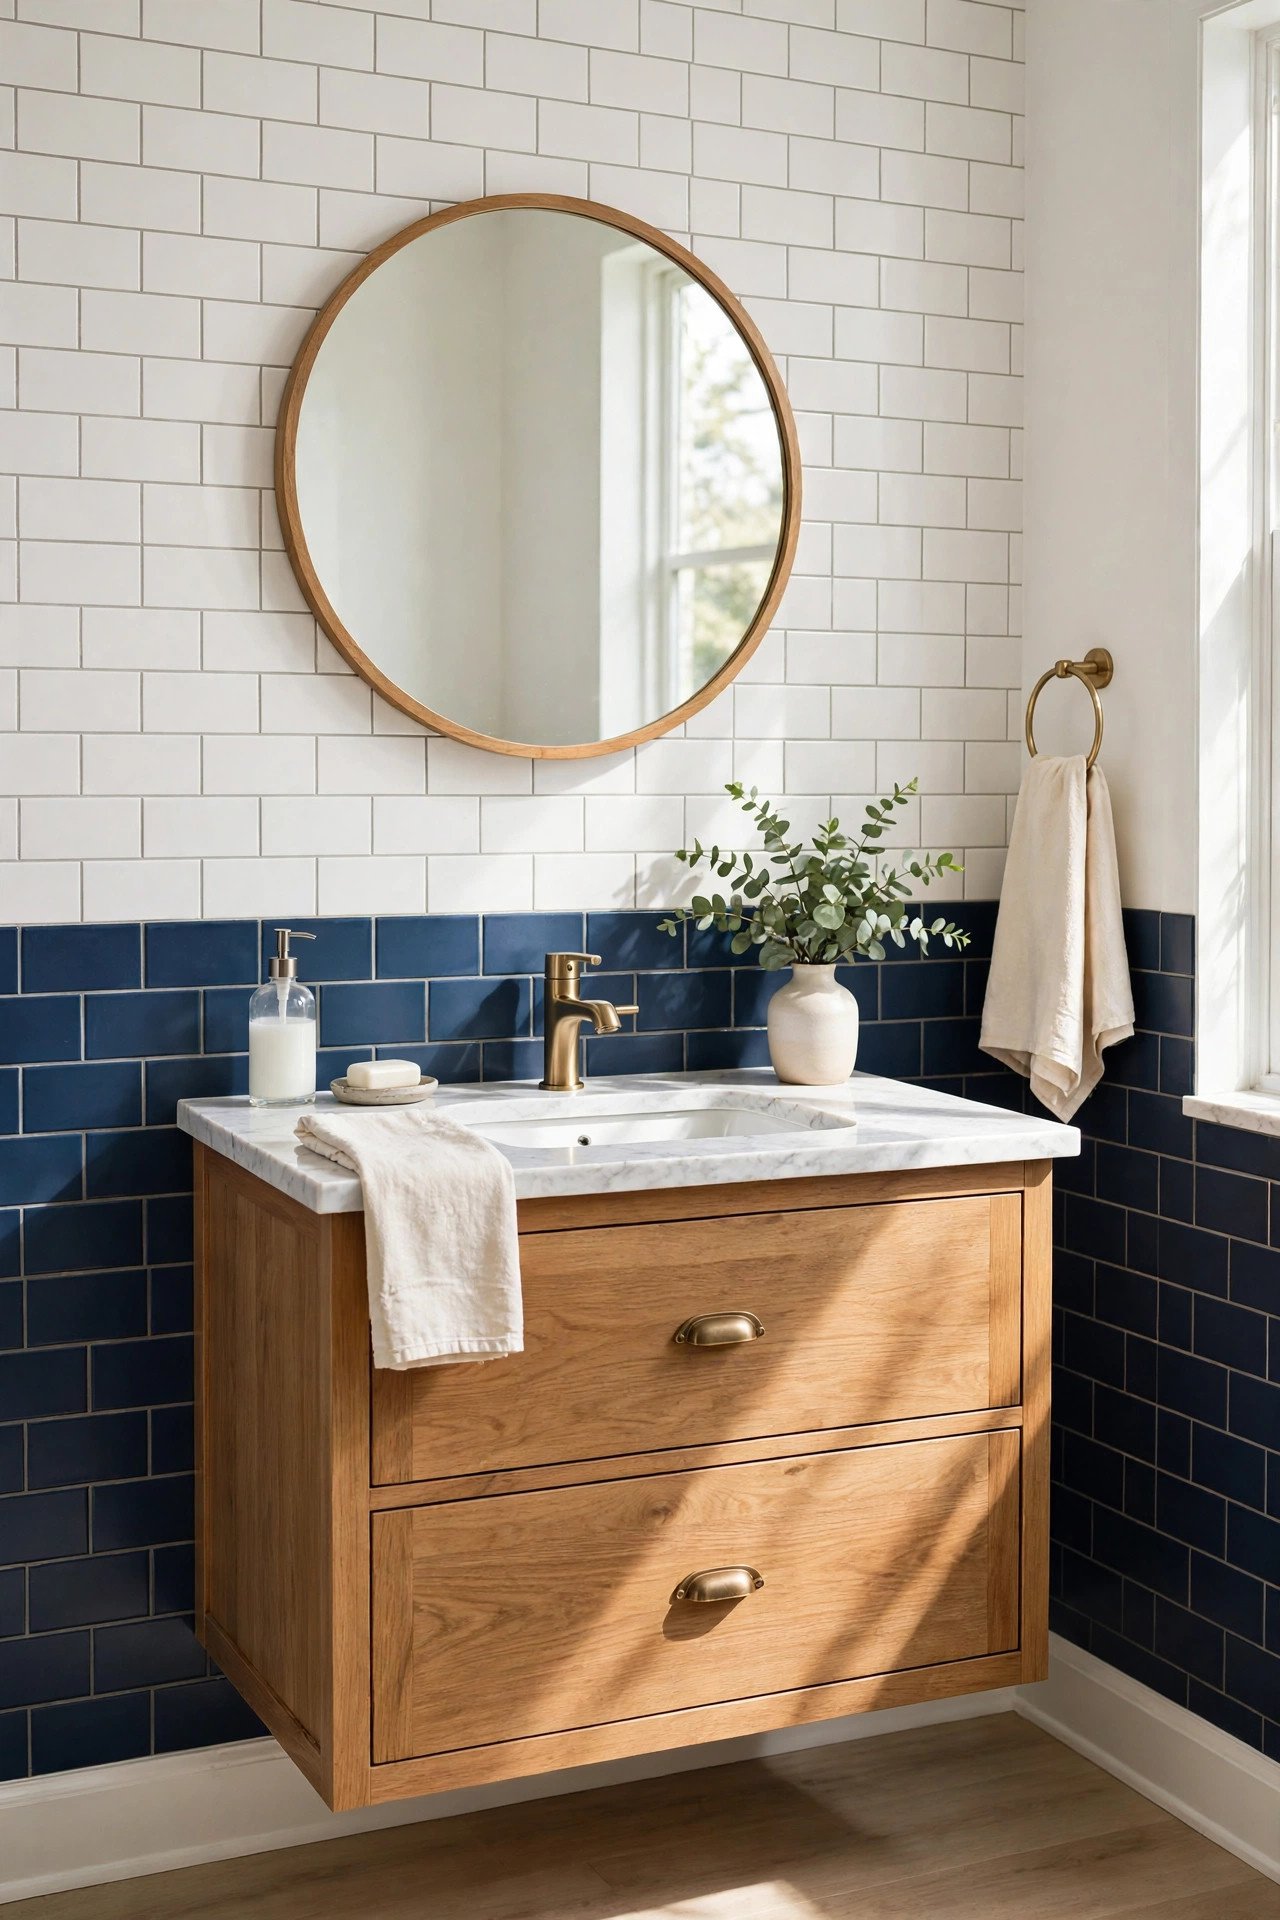
Paint only half your tiled wall for a designer two-tone effect. Use painter’s tape to create a crisp horizontal line, then paint the lower tiles a rich color while leaving the upper tiles original. The divided wall looks intentional and stylish.
This technique uses half the paint and half the effort of a full repaint. Navy below and white above is a timeless combination. The clean dividing line is what makes it look professional.
7. Geometric Tape Shapes
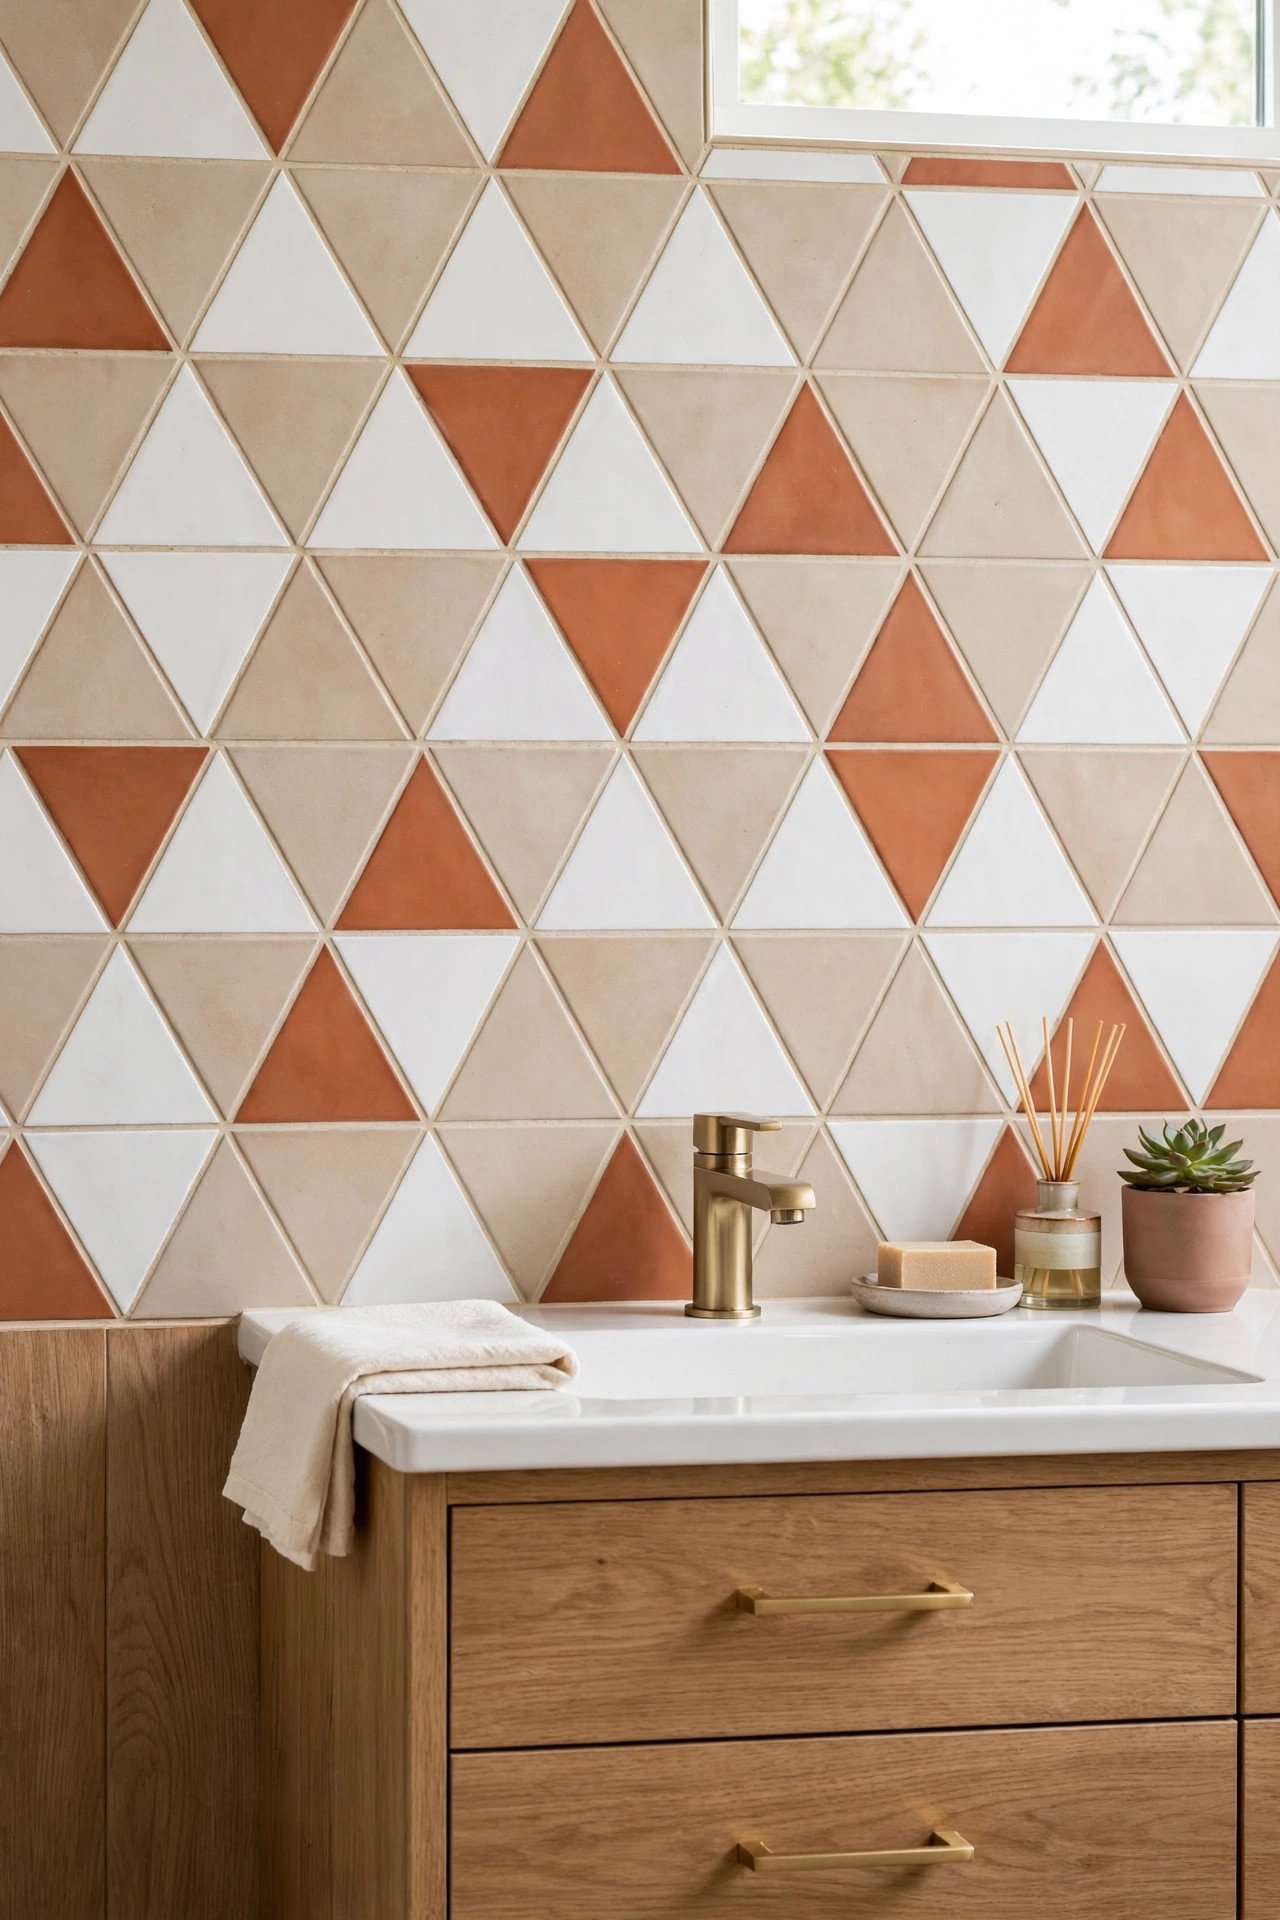
Painter’s tape lets you create crisp geometric shapes directly on your tiles. Mask off triangles, chevrons, or half-moons over a painted base, then roll contrasting paint inside the shapes. Peel the tape while the paint is slightly tacky for sharp edges.
Geometric patterns add modern energy to plain tile walls. Keep the design simple and repeat it evenly for the best effect. This customizable technique suits playful powder rooms especially well.
8. Faux Grout Swap
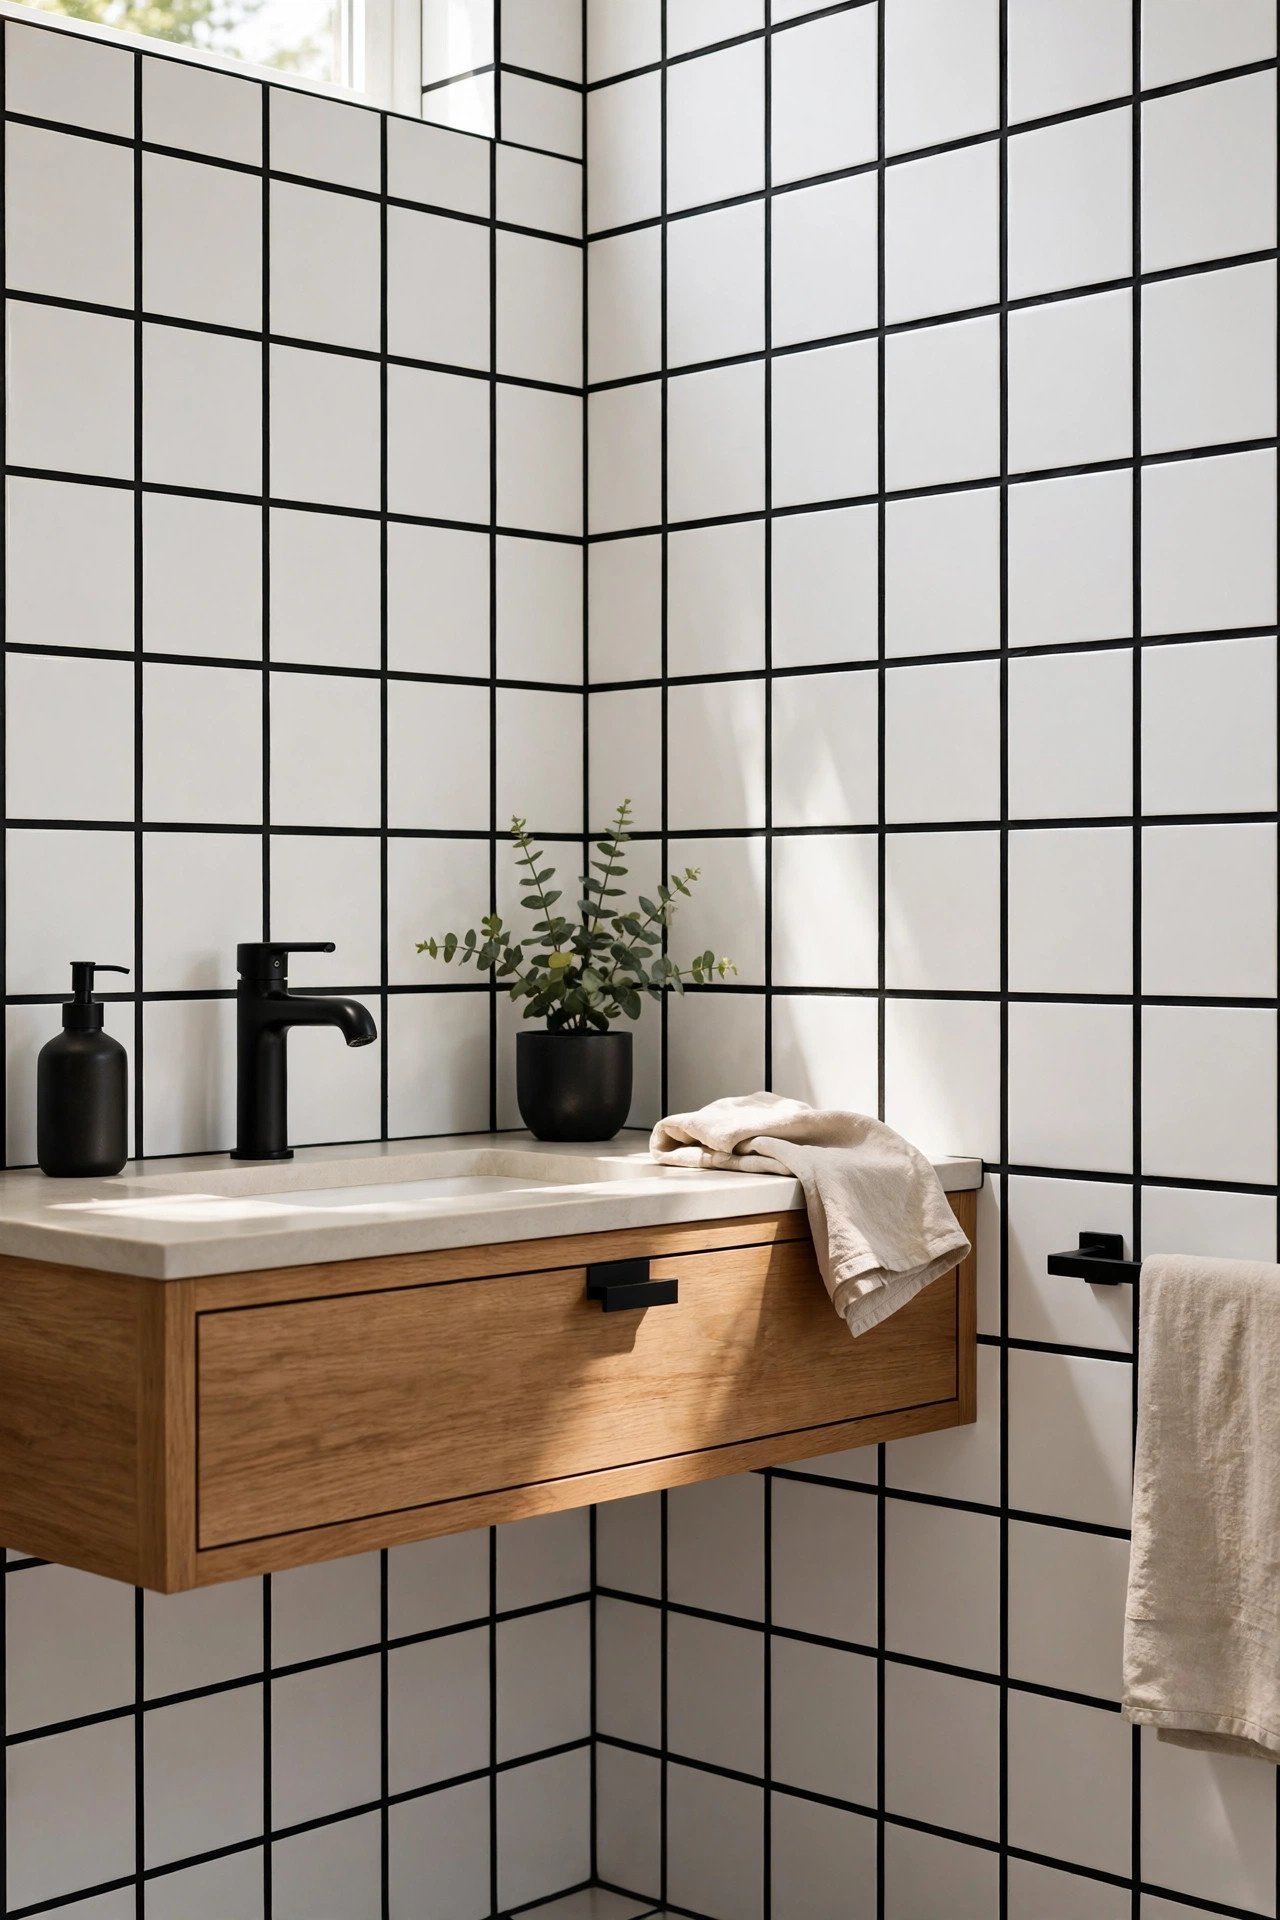
Instead of repainting tiles, paint just the grout lines a contrasting color. White tiles with black grout read as contemporary and graphic, while colored grout feels playful. Use a small brush and a steady hand to color each line.
This trick uses minimal paint but delivers maximum visual change. Seal the colored grout afterward to protect it from moisture. It is proof that you do not need to touch the tile faces at all.
9. Marble-Look Tile Decals
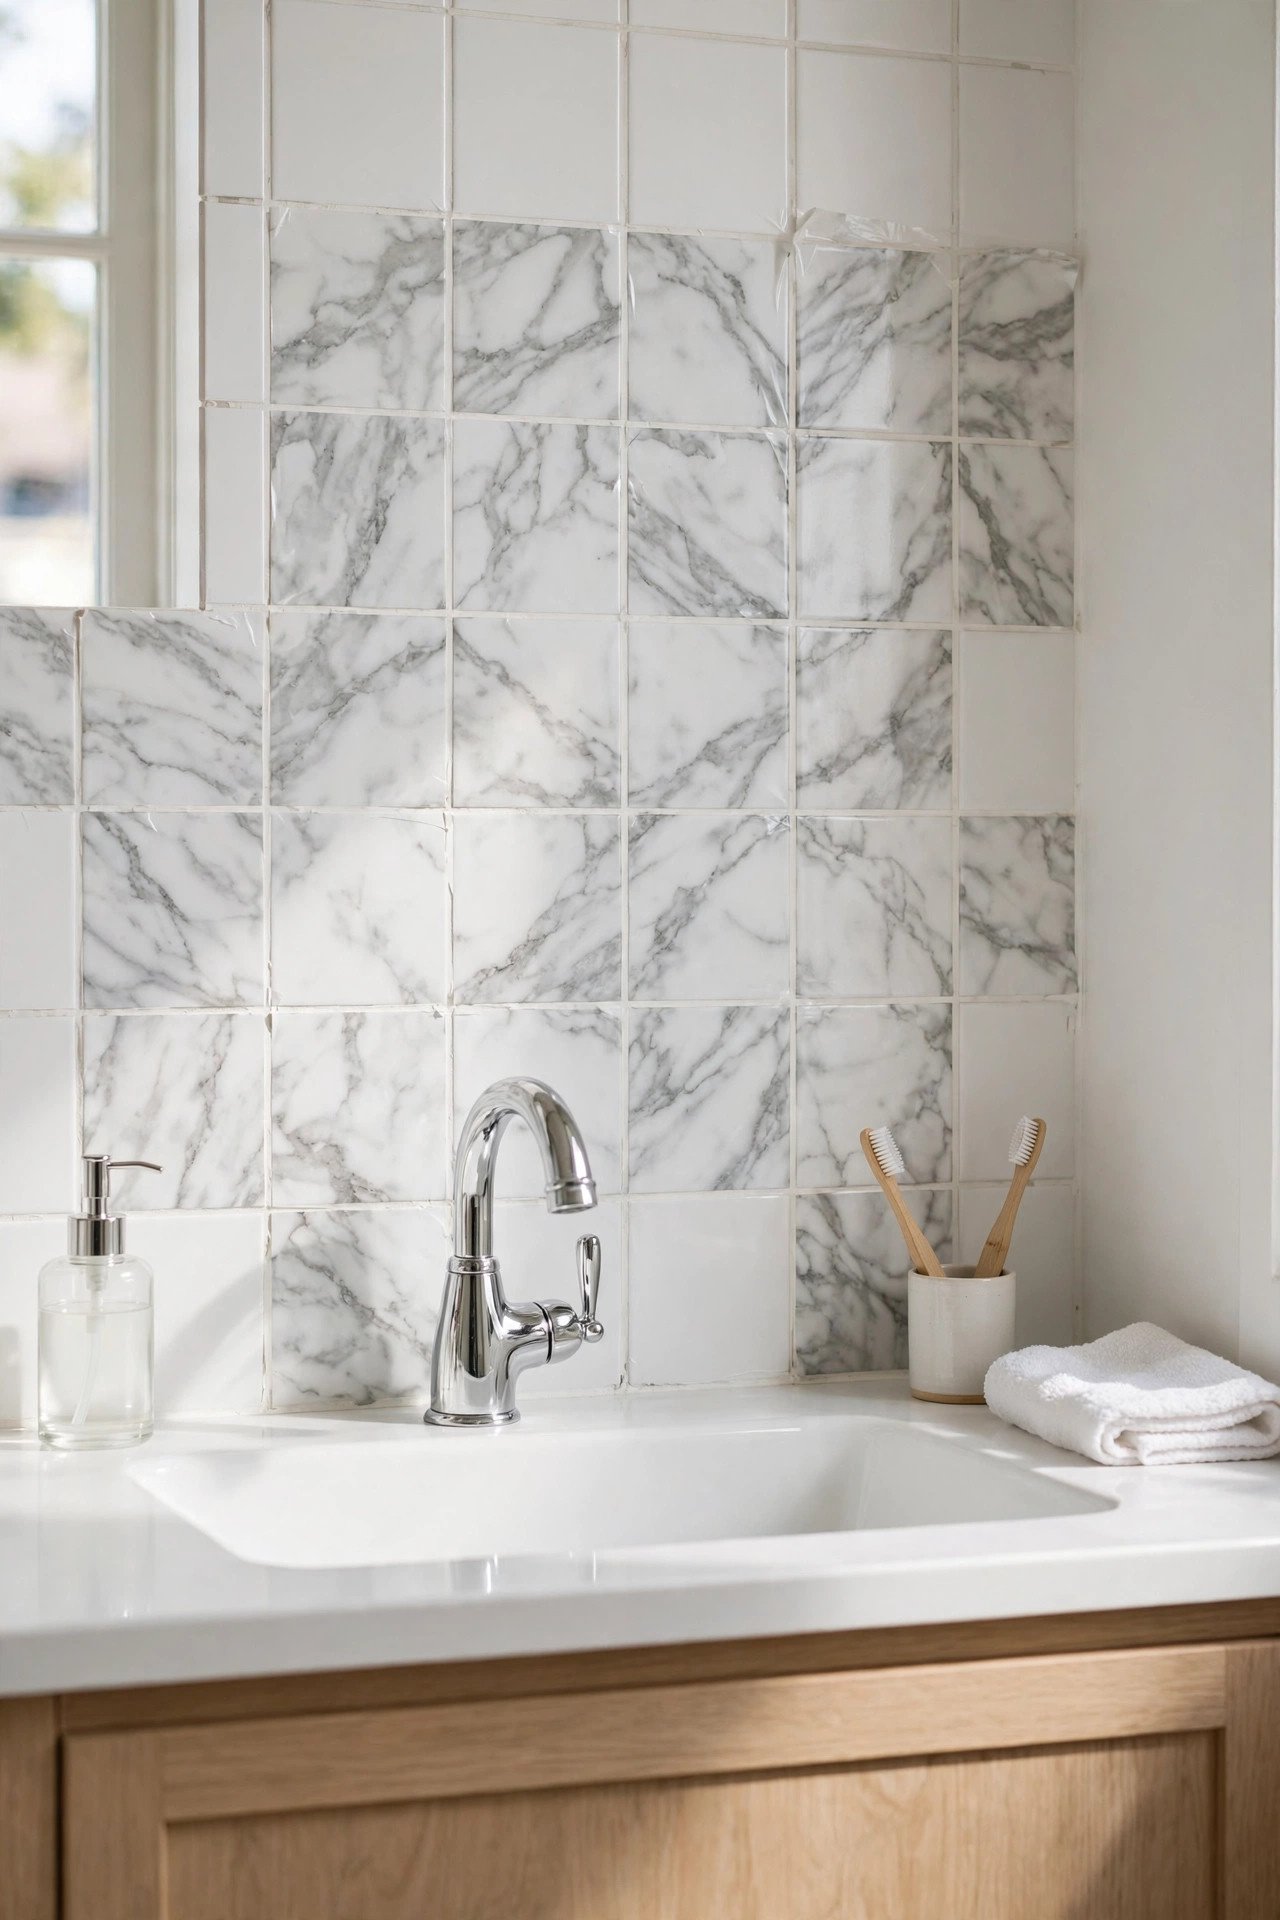
Tile decals mimic expensive materials like marble or wood with realistic printing. These high-quality adhesive tiles go right over your existing squares. The realistic veining fools most guests completely.
Decals cost more than basic stickers but far less than real marble. Use them on a small feature area like the vanity backsplash for maximum impact. They wipe clean and handle bathroom humidity well.
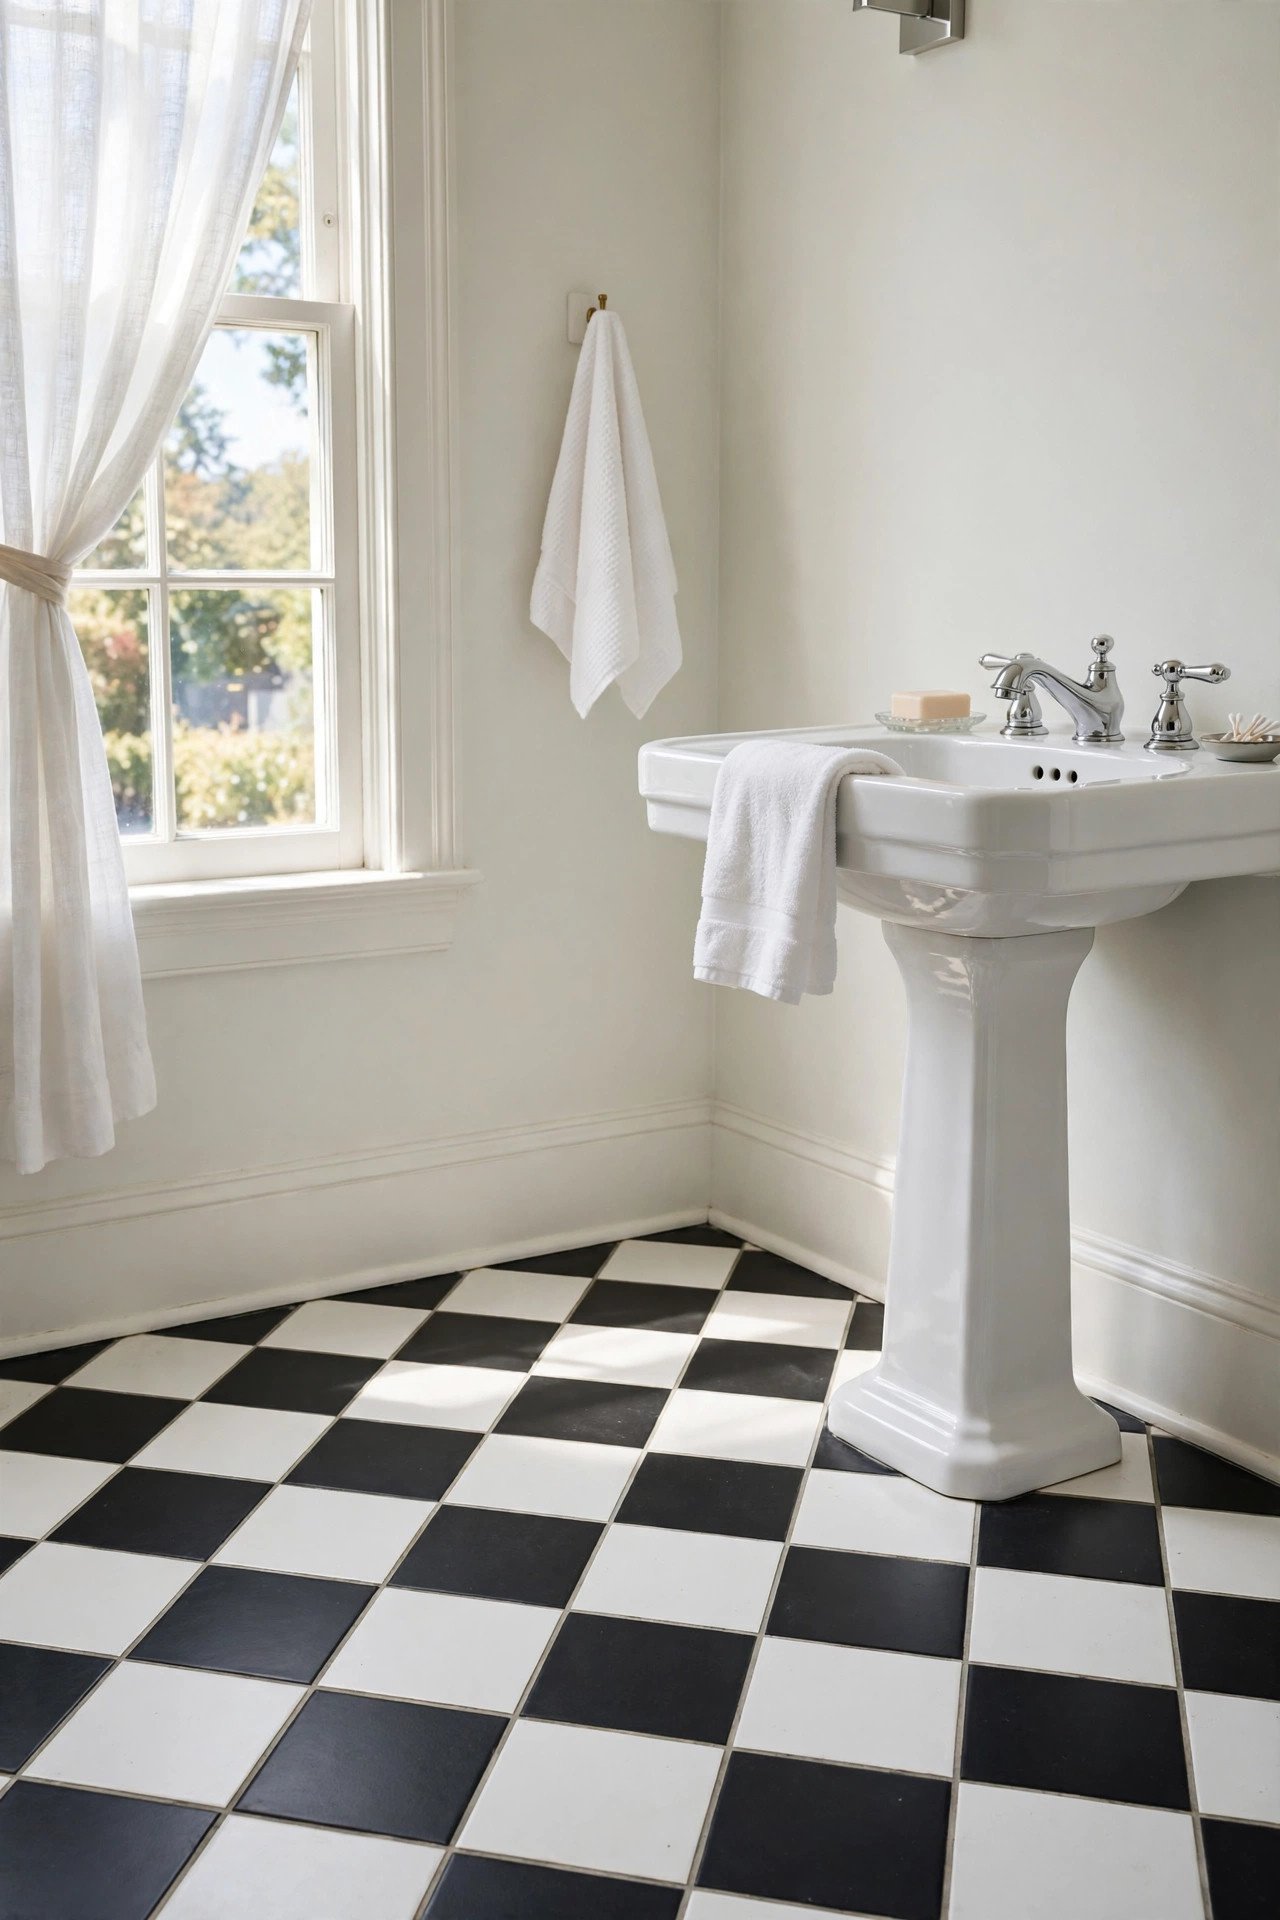
10. Checkerboard Painted Floor
A painted checkerboard floor brings vintage charm to any bathroom. Paint the whole floor your light color first, then tape off alternating squares and paint them dark. Black and white is classic, but navy and white feels fresh.
Measure carefully so your squares stay even across the floor. Seal the finished checkerboard with several coats of clear sealer for durability. This bold floor becomes the star of the whole bathroom.
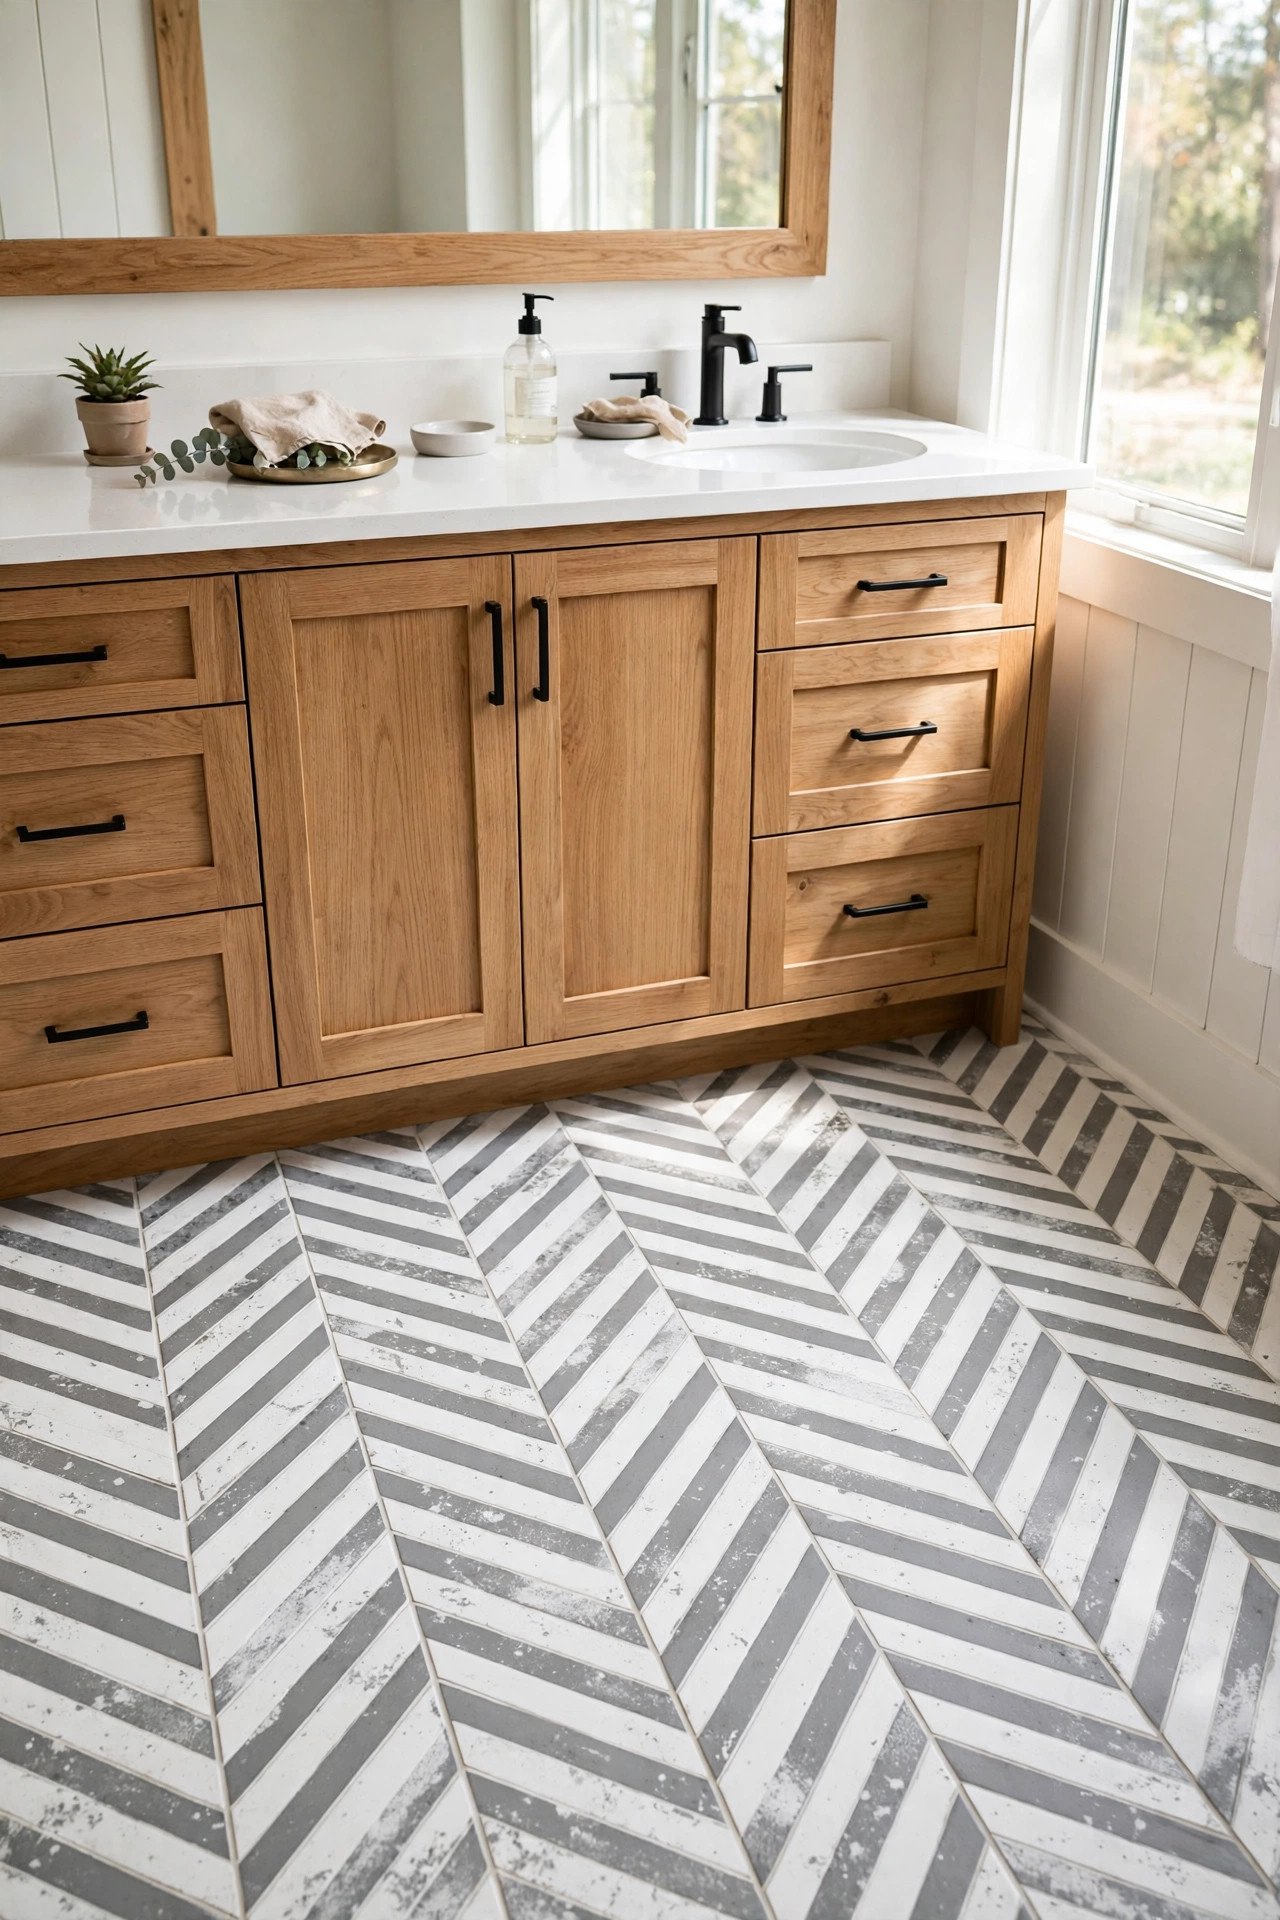
11. Herringbone Stencil Pattern
A herringbone stencil gives plain tiles the look of expensive patterned cement tile. These stencils align in a repeating zigzag that reads as sophisticated and custom. Work in small sections to keep the pattern straight.
Choose two tones of the same color family for a subtle effect, or go bold with high contrast. The herringbone pattern suits both floors and shower walls. It is one of the most impressive stencil transformations you can do.
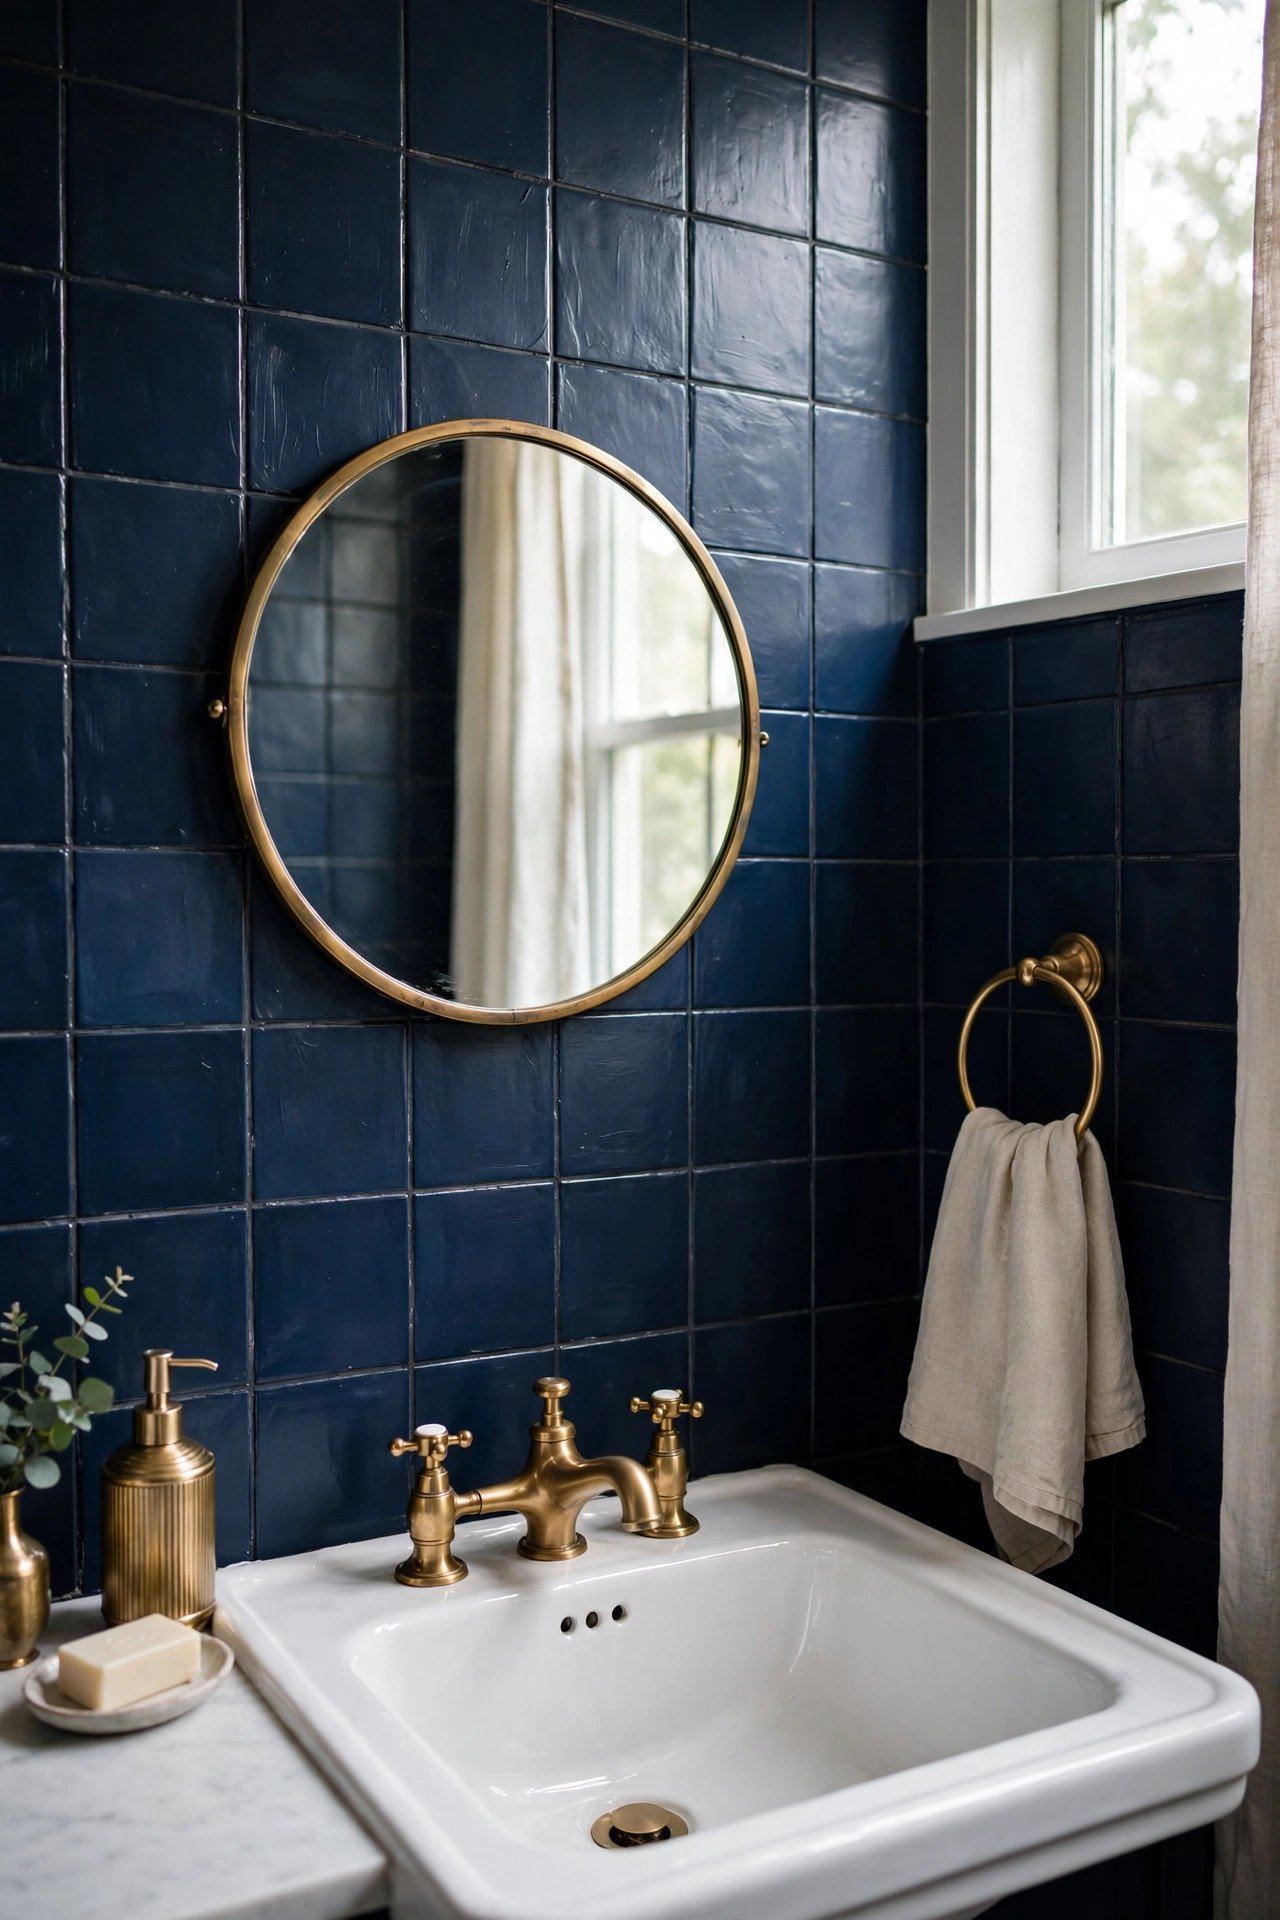
12. Solid Navy Painted Tiles
Deep navy paint turns boring tiles into a moody, luxurious backdrop. The dark color hides imperfections and makes white fixtures pop dramatically. Use tile-specific paint and seal it well for a rich even finish.
Pair navy tiles with brass fixtures and warm wood accents for a high-end feel. Keep the ceiling and upper walls light so the room does not feel closed in. This bold choice looks far more expensive than it is.
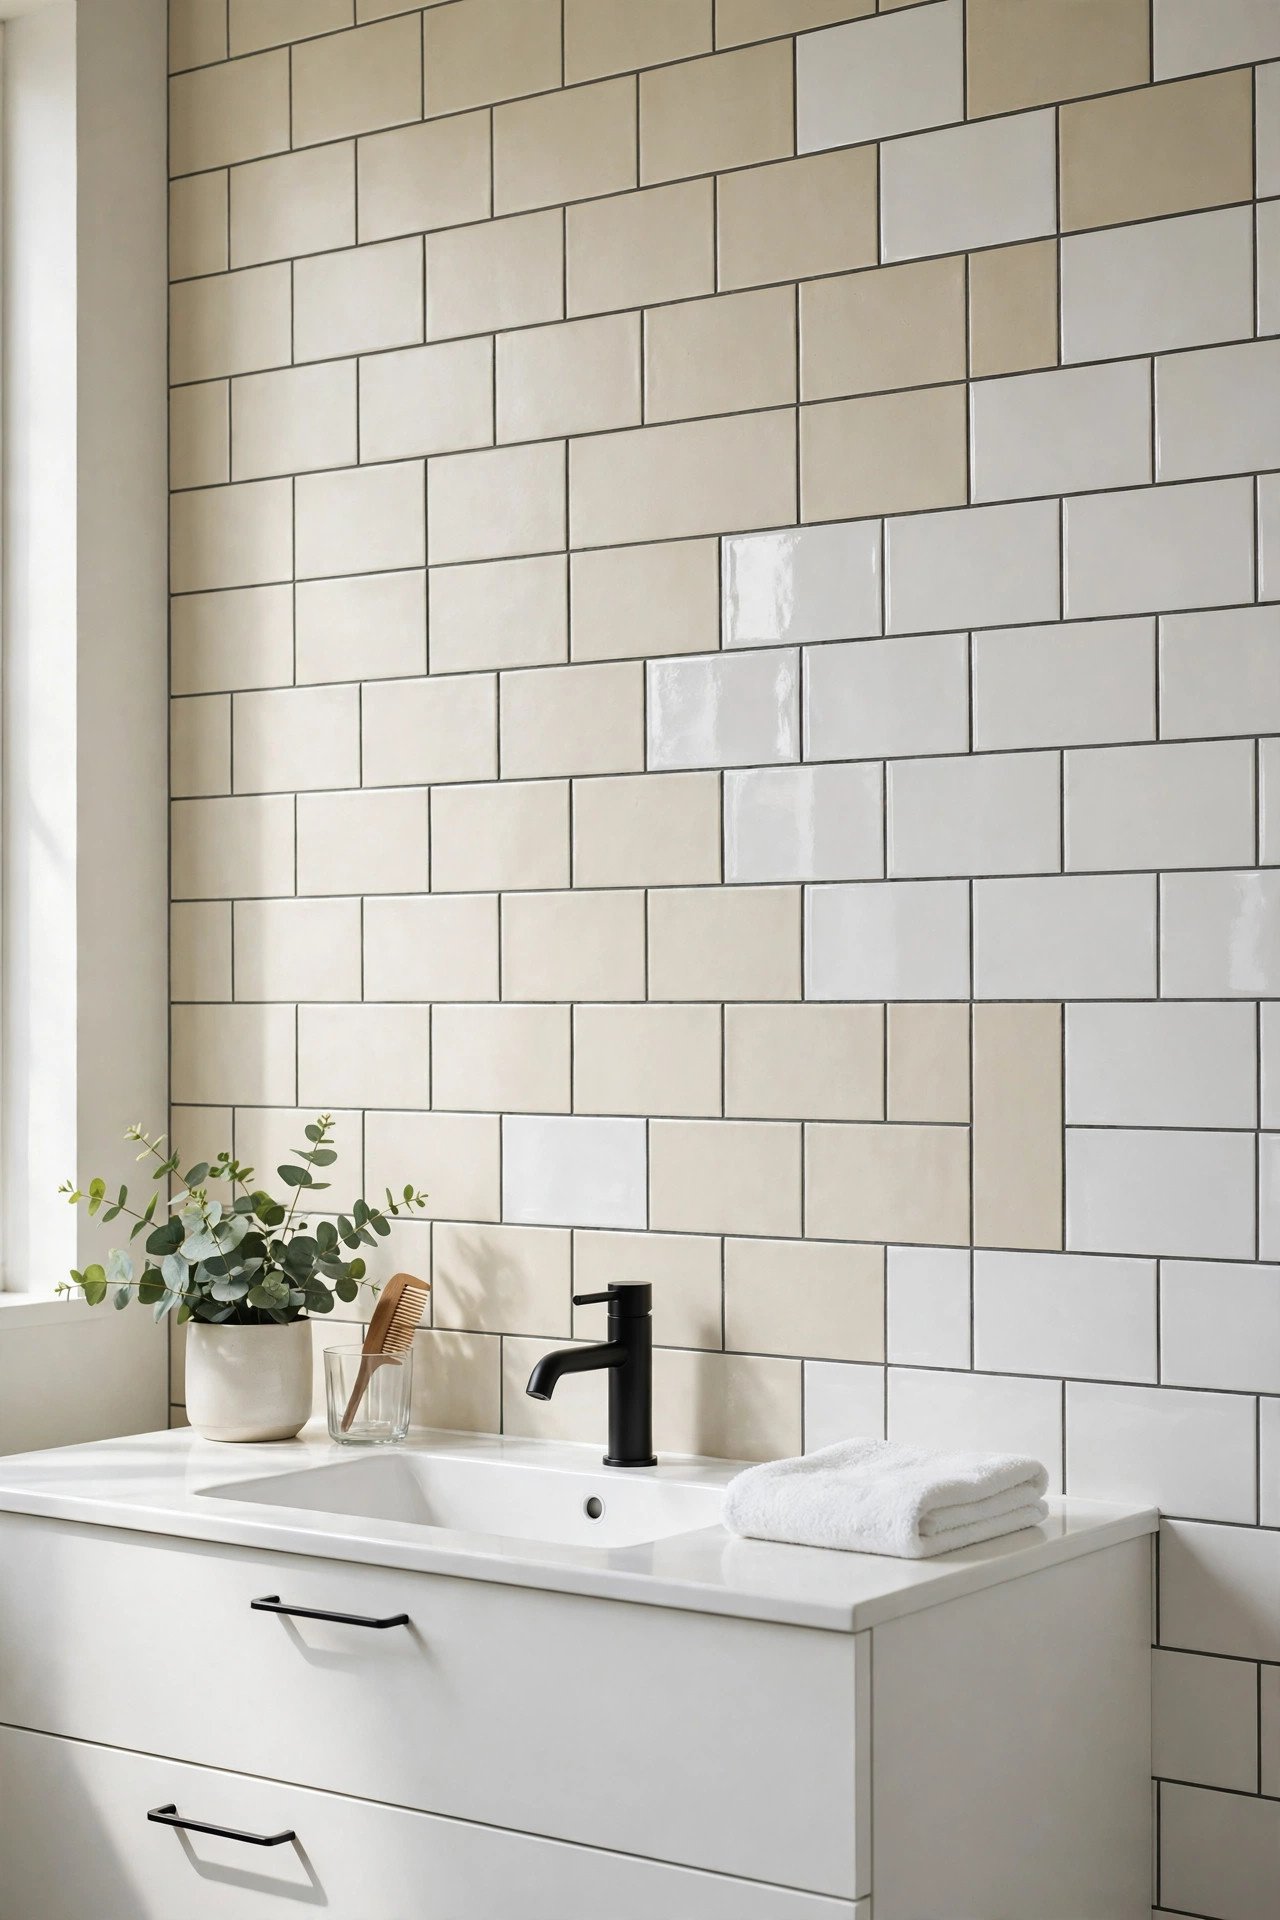
13. Matte And Glossy Mix
Mixing matte and glossy finishes on the same wall creates subtle depth and interest. Paint most tiles in a matte finish, then add glossy paint to every third tile or a single vertical stripe. The light catches the glossy tiles differently as you move.
This nuanced technique looks custom and artistic without any pattern at all. Try matte cream with glossy white for a soft effect. The quiet texture play suits the natural aesthetic of wabi-sabi bathroom style beautifully.
14. Sponge Texture Finish
A natural sea sponge adds soft mottled texture to painted tiles. Dab the sponge lightly over your base coat with a slightly darker or lighter shade. The random pattern hides imperfections and adds artisanal character.
This forgiving technique is perfect for beginners, since there are no straight lines to worry about. Layer two sponge colors for extra depth. The result looks like hand-glazed artisan tile.
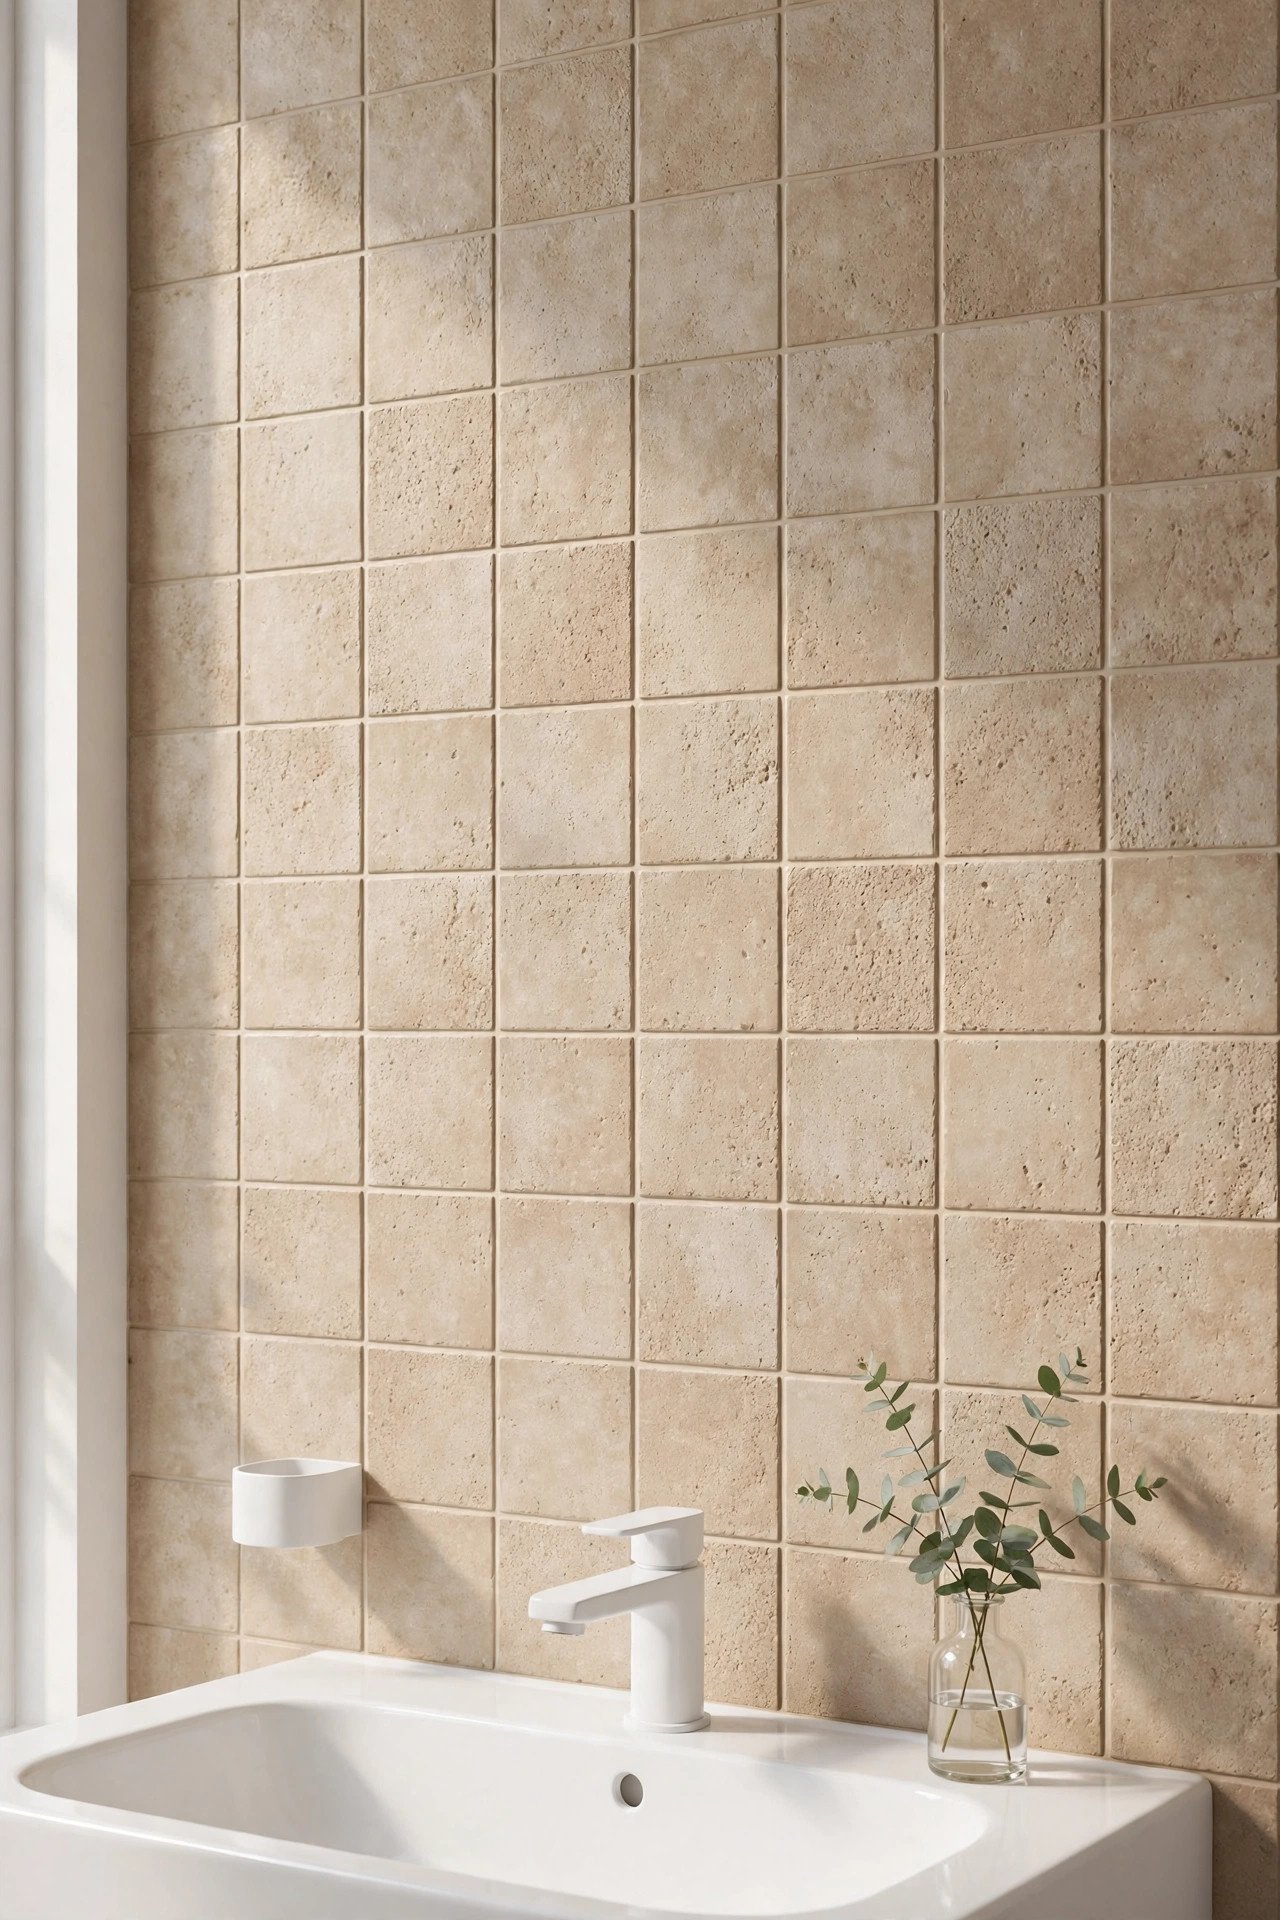
15. Rag-Rolled Faux Stone
Rag rolling creates a faux stone effect that elevates plain painted tiles. Roll a bunched cotton rag over a glazed base coat, lifting it randomly to create mottled texture. The technique mimics natural stone variation convincingly.
Use earthy tones like warm gray and taupe for the most realistic stone look. This old decorative painting trick still works wonders today. Practice on cardboard first to get the pressure right.
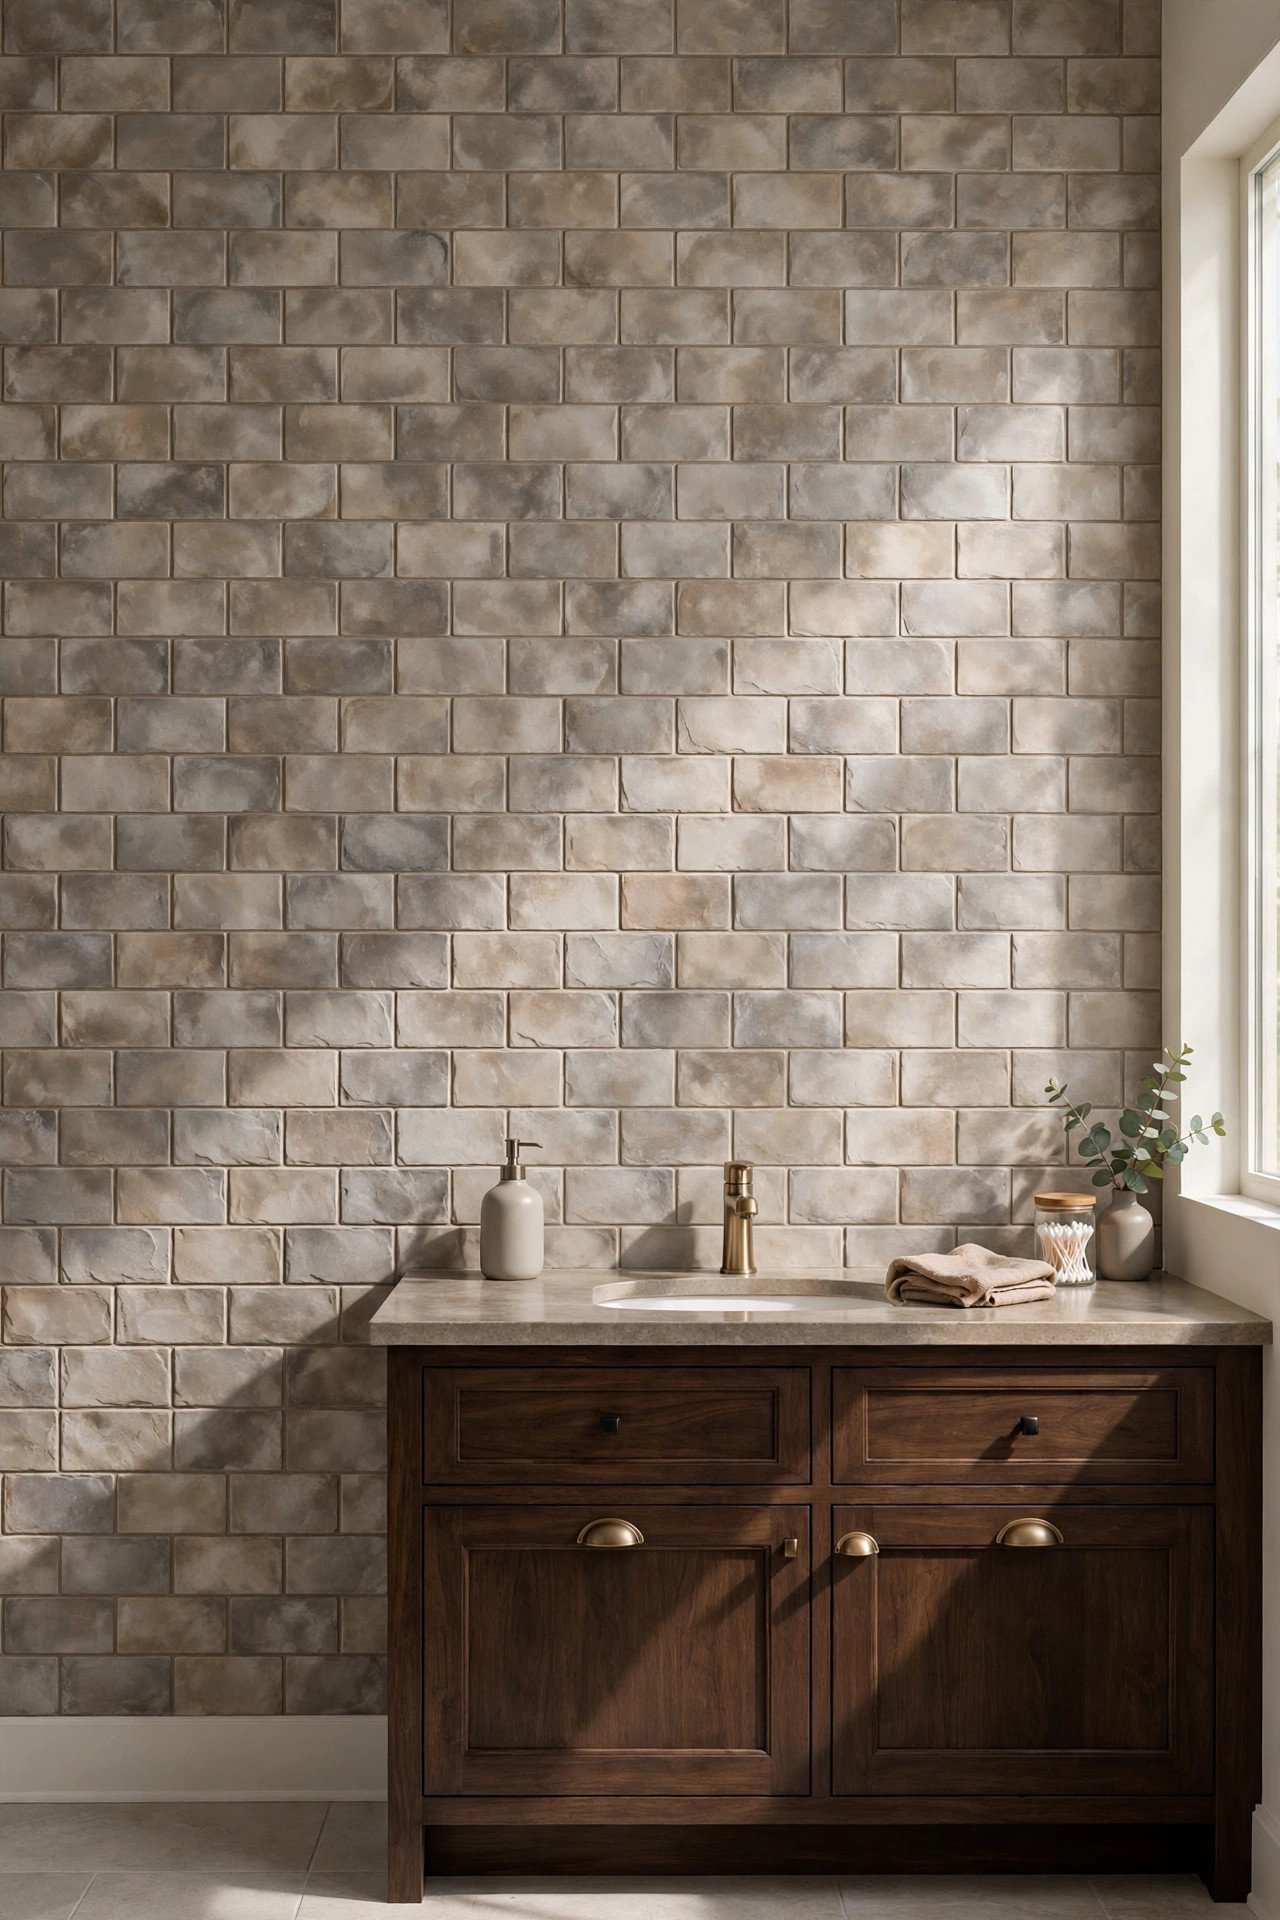
16. Terracotta Warm Tone Paint
Warm terracotta paint brings sunny Mediterranean energy to cold tile bathrooms. The earthy orange-brown flatters most skin tones and makes the room feel cozy. It pairs beautifully with natural wood and woven textures.
Terracotta works especially well in bathrooms with little natural light, adding warmth where the sun does not reach. This earthy palette connects with the philosophy behind wabi-sabi bathroom design, which celebrates natural materials and imperfect beauty.
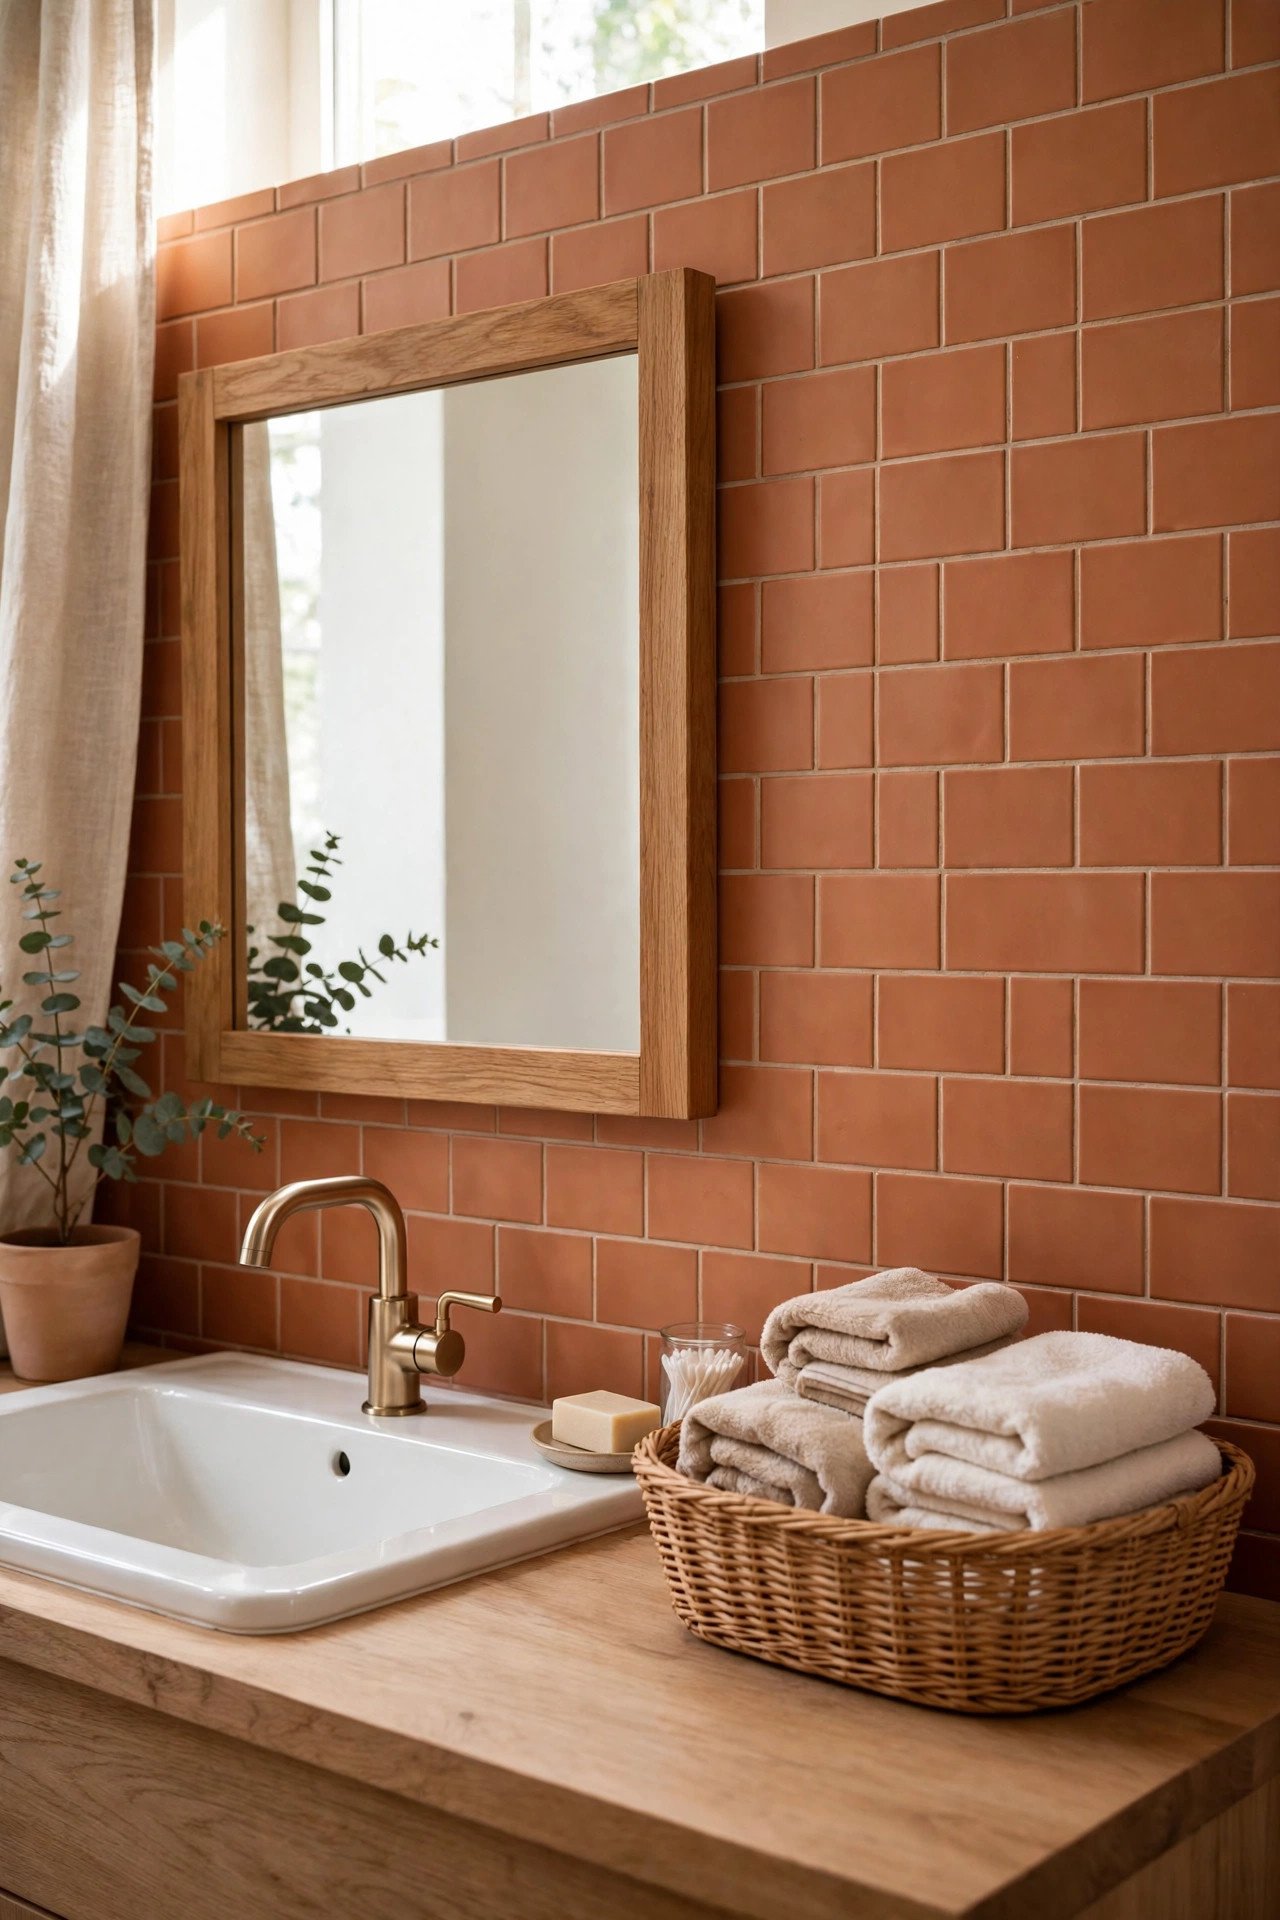
17. Sage Green Painted Tiles
Sage green is the perfect middle ground between bold and neutral for tile paint. The soft gray-green feels fresh and calming, and it complements both brass and chrome fixtures. It hides water spots better than white too.
Paint a full shower surround in sage for a spa-like retreat. Add white towels and eucalyptus sprigs to complete the serene look. This trendy color has real staying power.
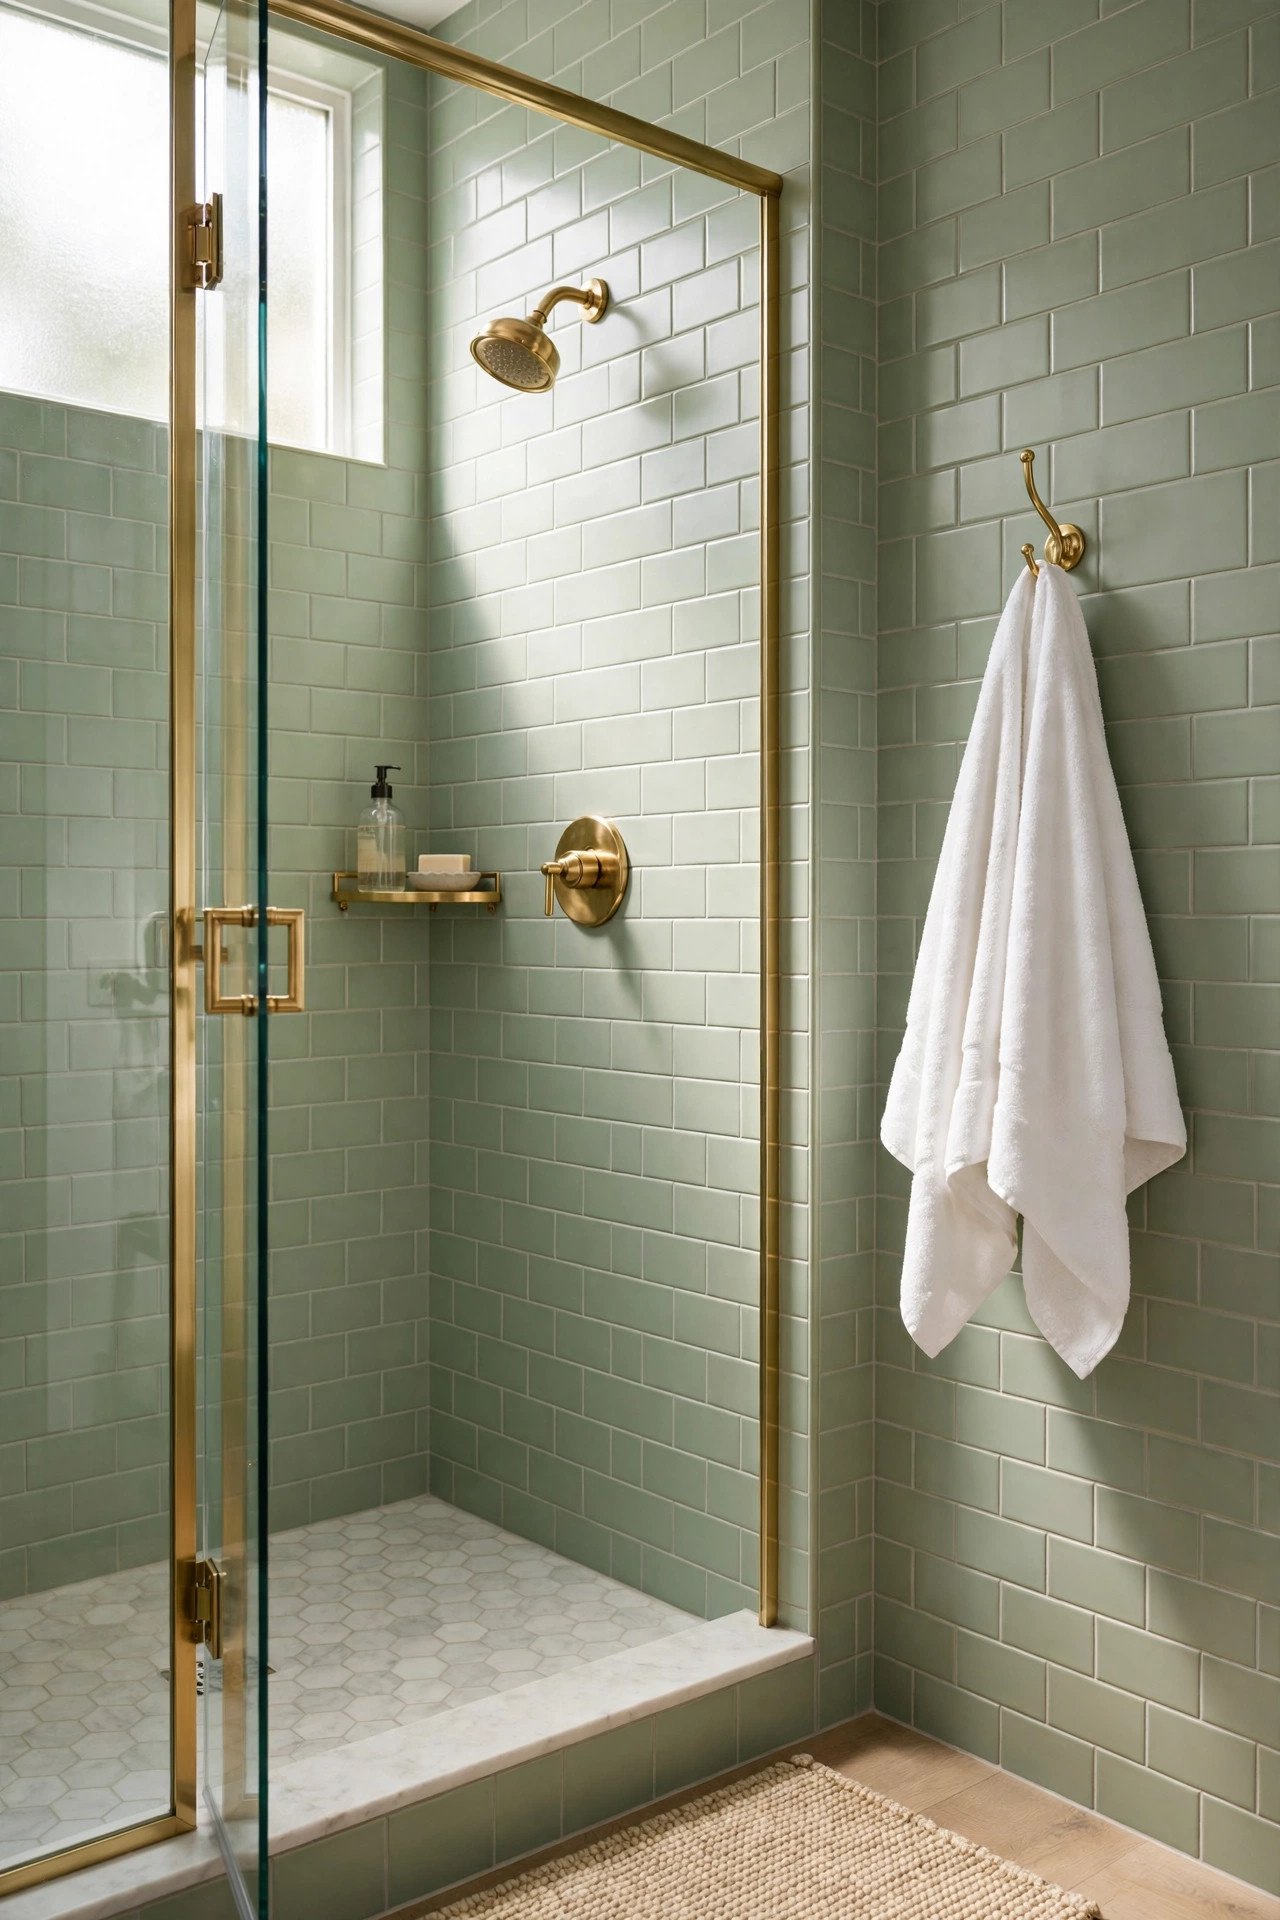
18. Black Floor With White Grout
Painting floor tiles solid black with white grout lines creates striking graphic impact. The dark floor grounds the room while the white lines keep the original tile pattern visible. It is dramatic in the best way.
Keep walls light to balance the dark floor and prevent the room from feeling small. This high-contrast look suits modern and art deco bathrooms. Seal thoroughly since floors take the most wear.
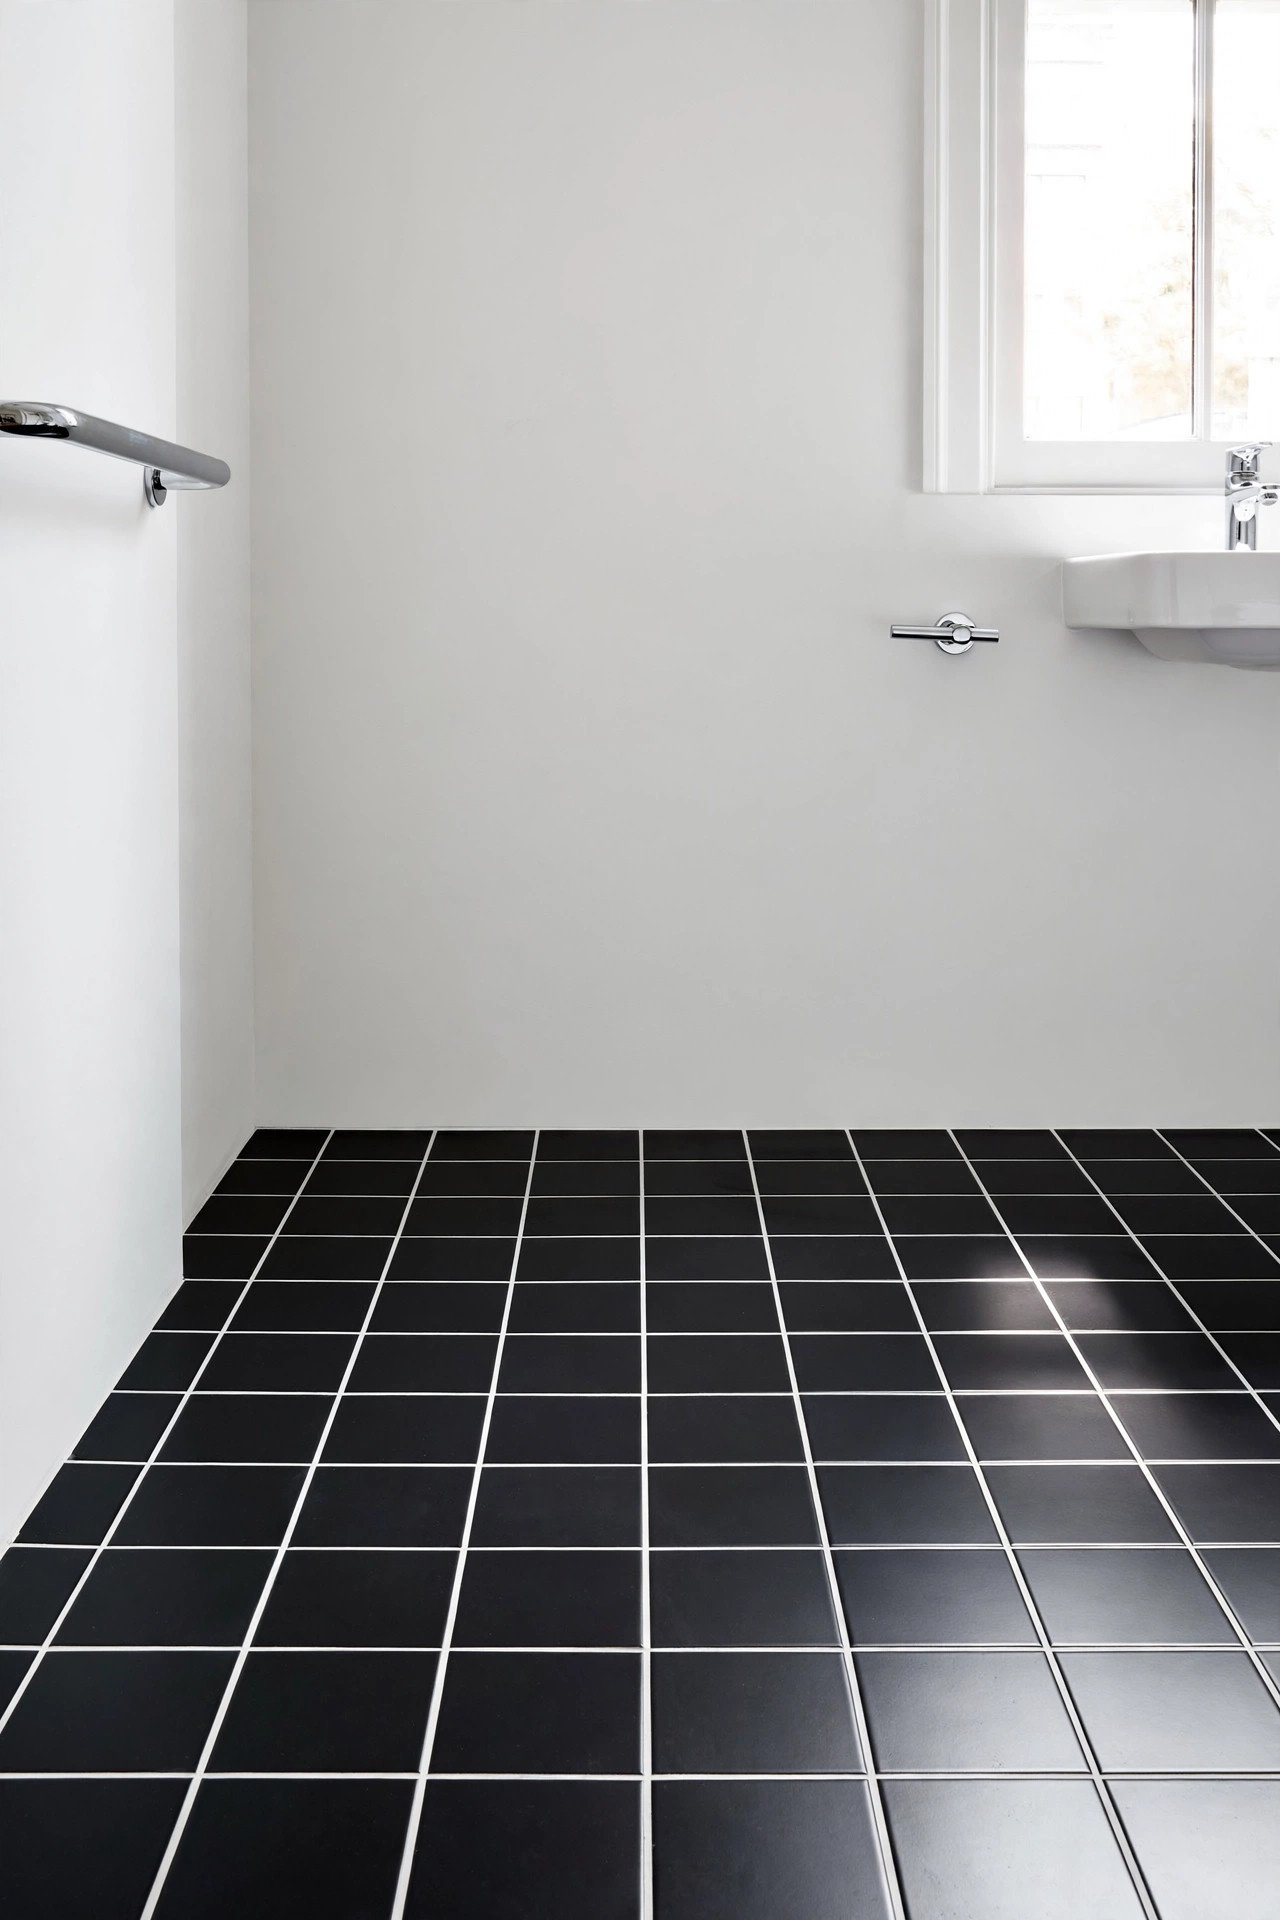
19. Gold Metallic Accent Tiles
Metallic gold paint on a few accent tiles adds glamour for very little money. Paint every fifth tile or a single horizontal band in metallic gold over your base color. The shimmer catches light beautifully.
Use painter’s tape to keep the metallic sections crisp, since metallic paint shows every wobble. A little gold goes a long way, so resist the urge to overdo it. These accents pair perfectly with brass fixtures.
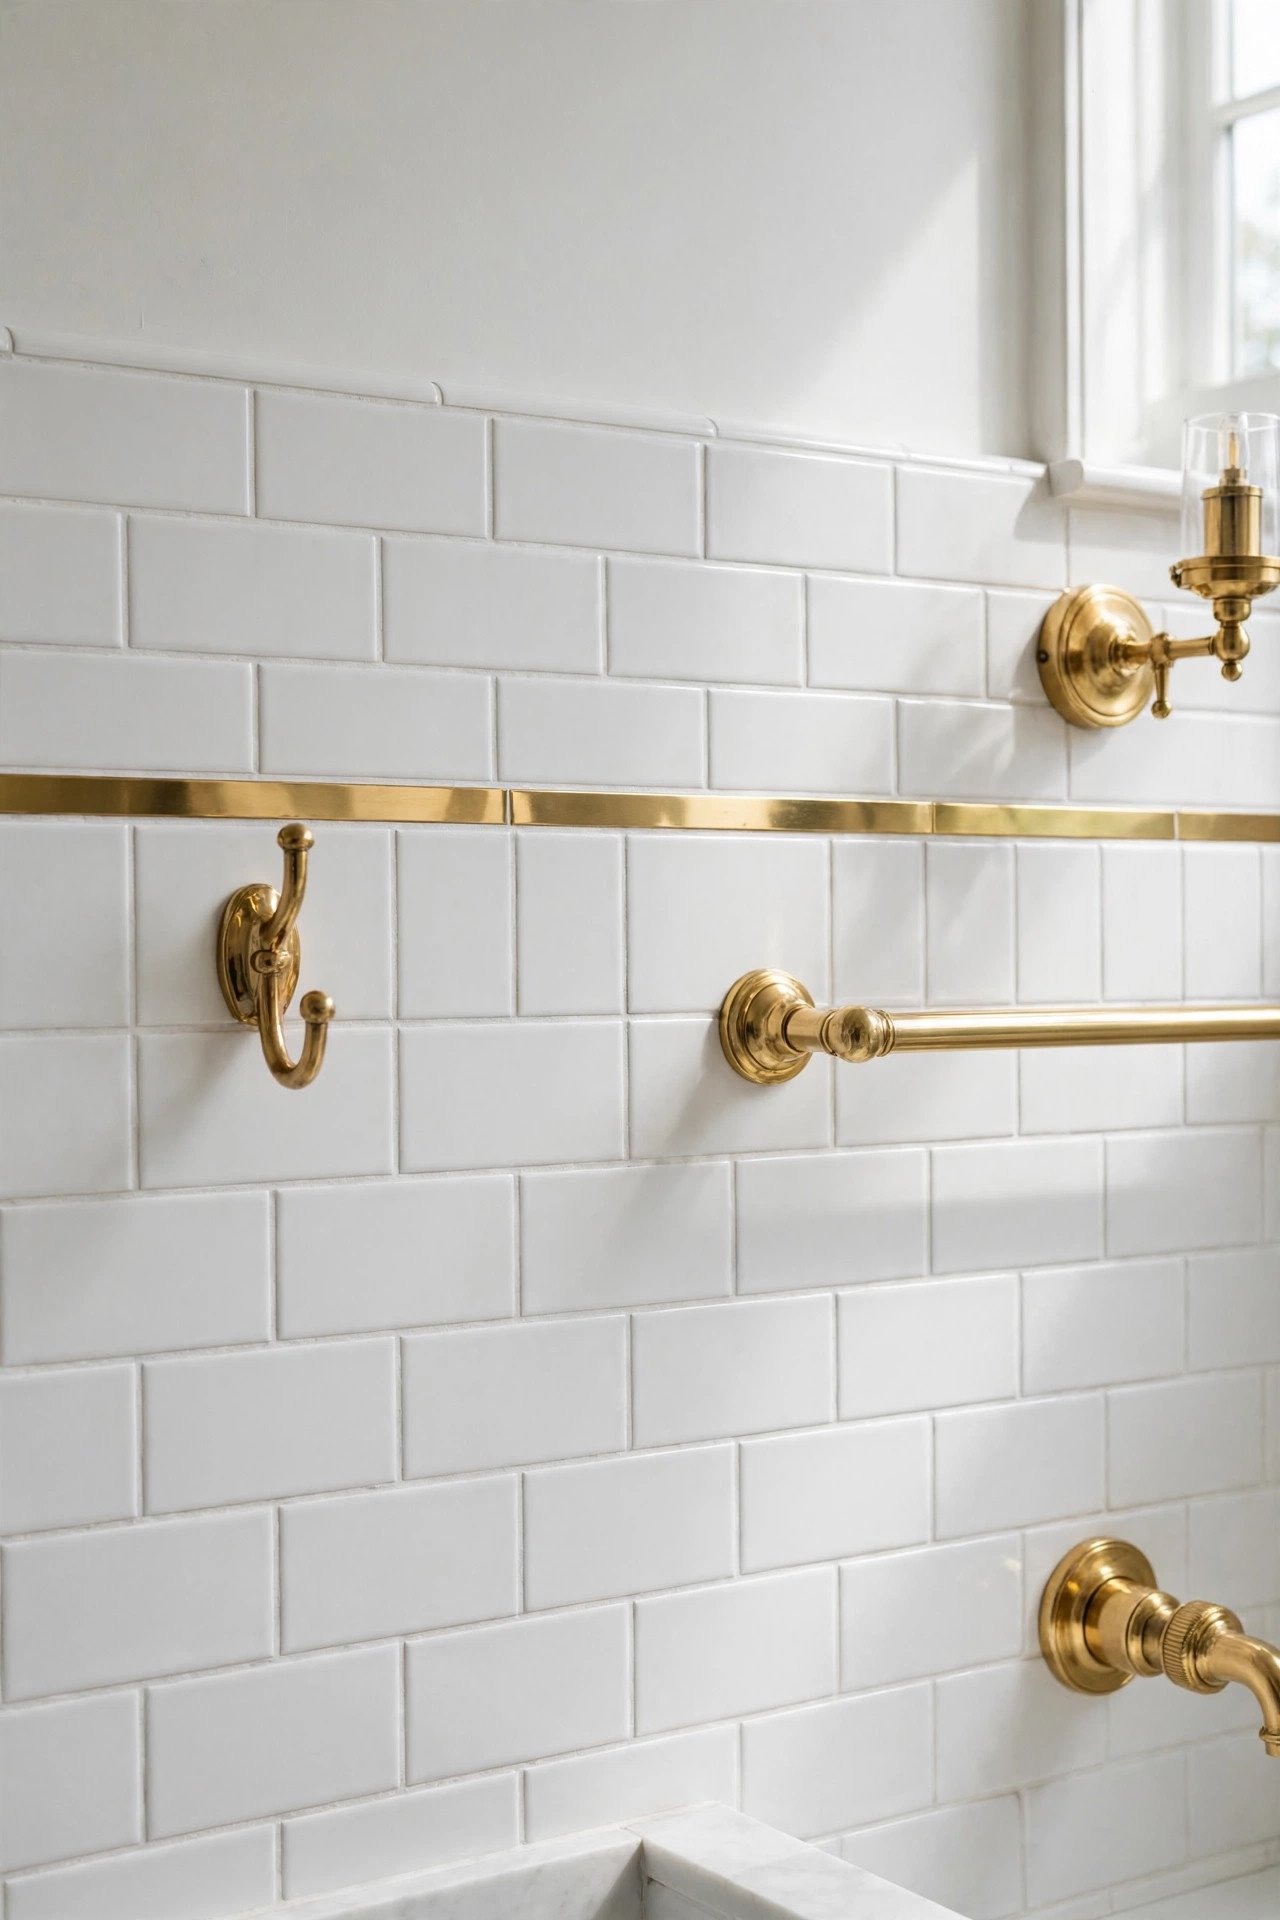
20. Vertical Stripe Feature
A single vertical stripe of contrasting tiles draws the eye up and makes ceilings feel taller. Paint one column of tiles floor to ceiling in a bold color against a neutral background. Center it behind the vanity or in the shower.
This minimalist feature uses very little paint but creates a strong focal point. Deep green or navy stripes look especially sharp. It is the tile equivalent of a statement necklace.
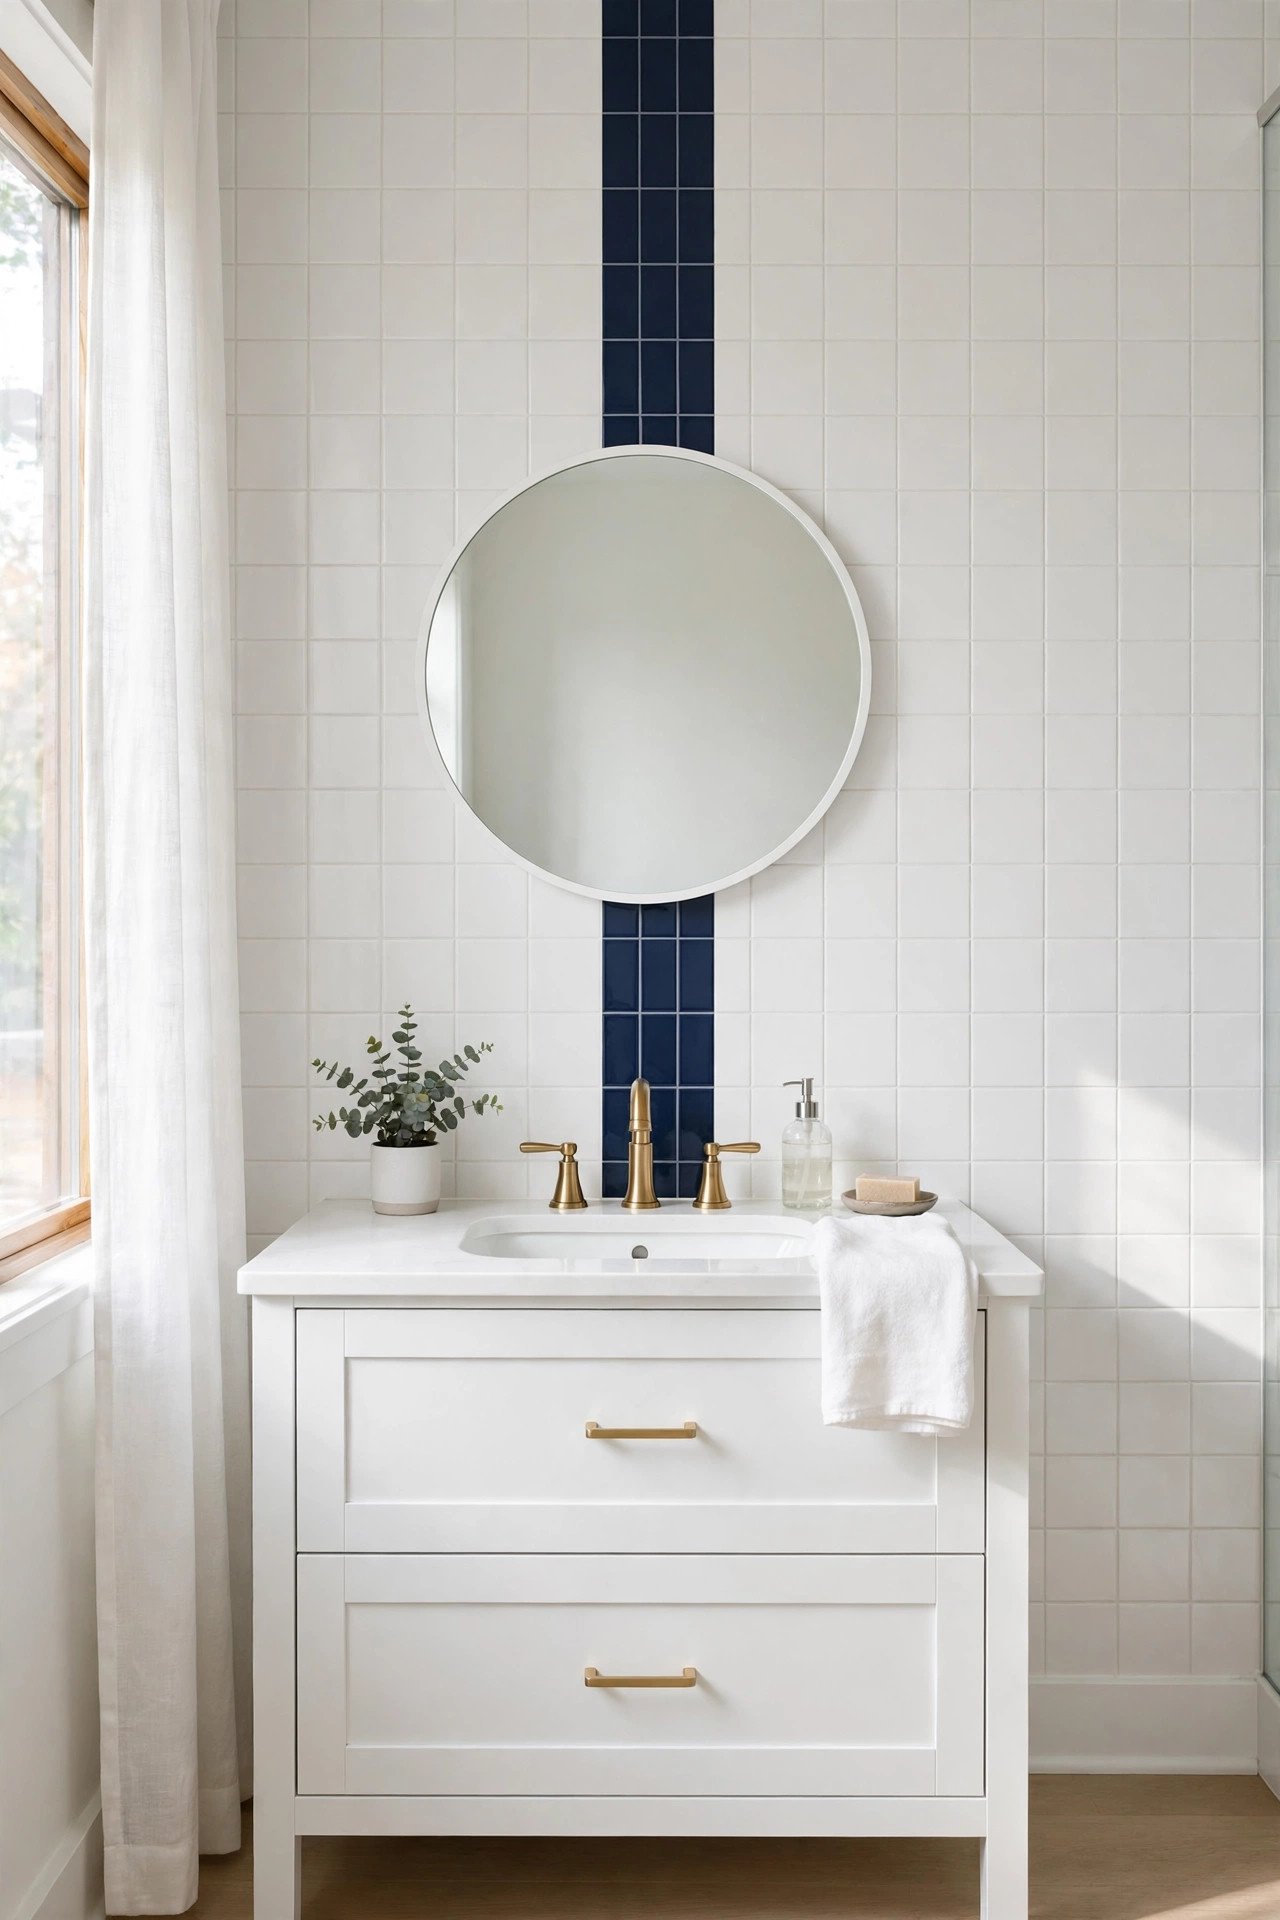
21. Tile Transfers
Tile transfers work like temporary tattoos for your tiles. Moisten the back of the transfer, press it onto the tile, and peel away the backing to reveal the design. They come in countless patterns and remove cleanly when you want a change.
Transfers are ideal for renters who cannot paint at all. Apply them to a few scattered tiles for a playful confetti effect. They cost pennies per tile and take minutes to apply.
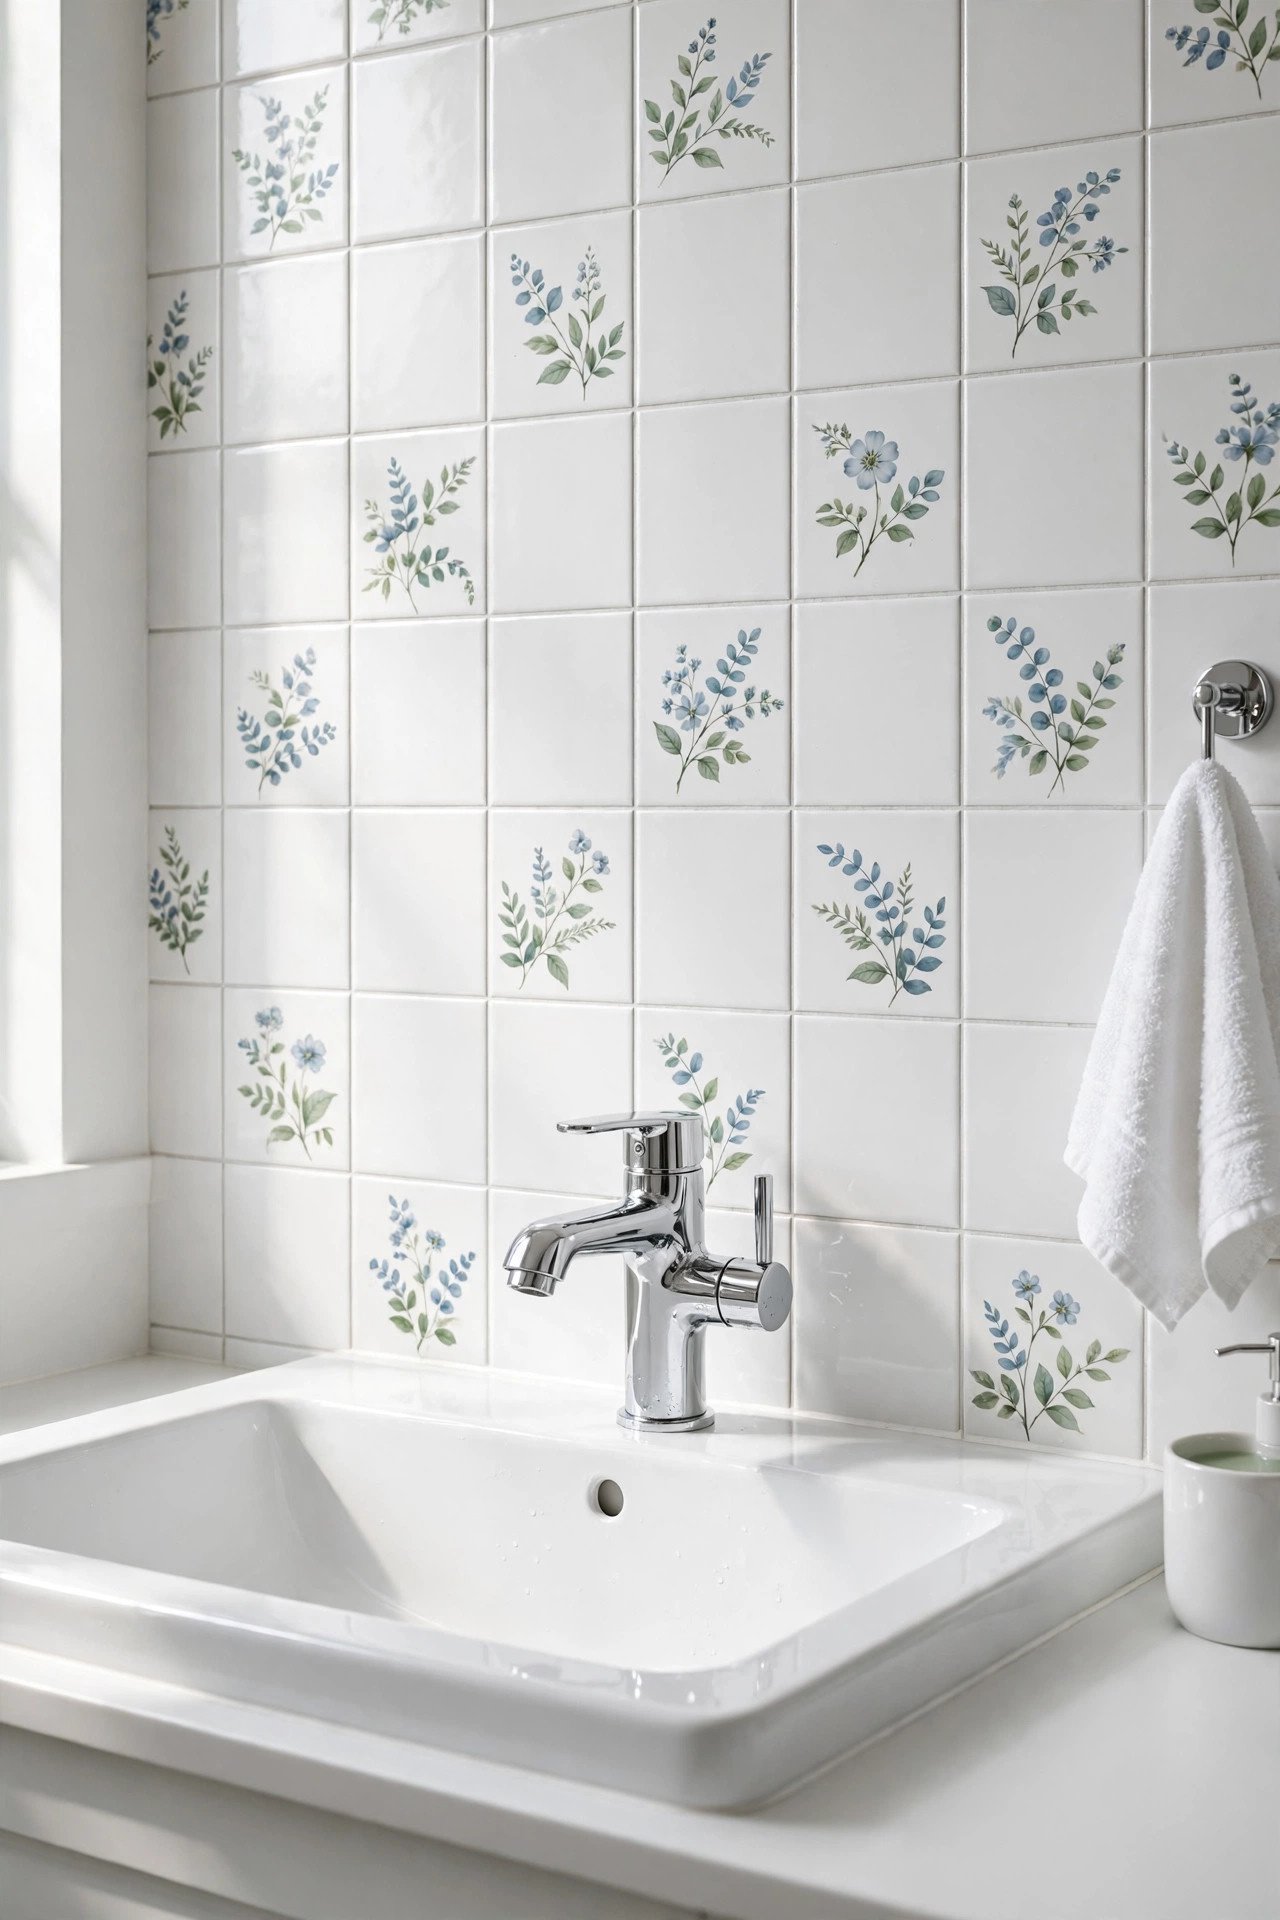
22. Ombre Blend Tiles
Blending tile paint from dark at the bottom to light at the top creates a dreamy gradient wall. Paint horizontal bands of gradually lightening color, then blend the edges while wet with a dry brush. The soft transition looks artistic and intentional.
Blue ombre evokes water and sky, perfect for a bathroom. Keep fixtures simple so the gradient remains the focus. This technique takes patience but the result is stunning.
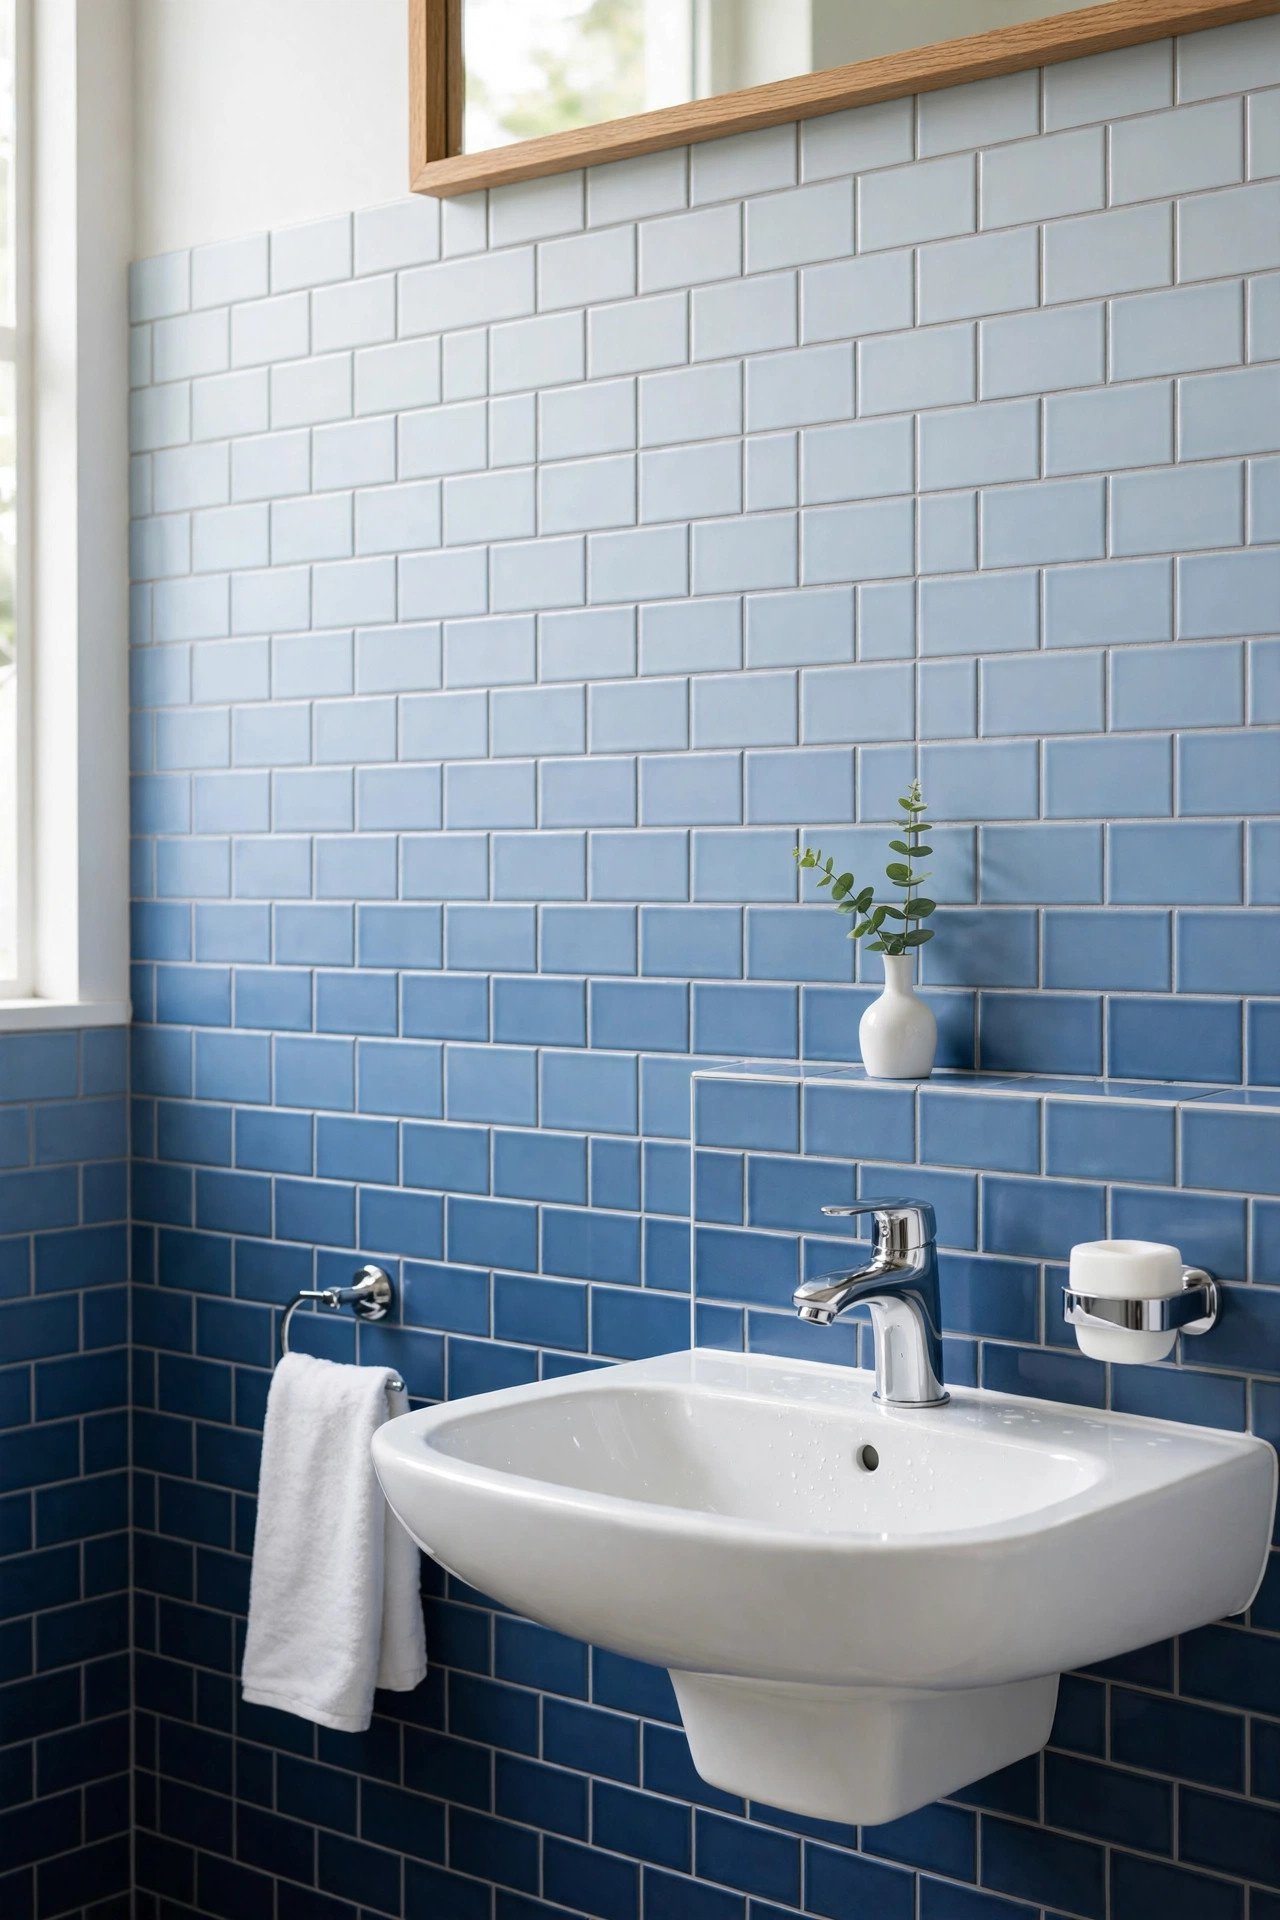
23. Subway Tile Refresh In White
If you already have subway tiles, a fresh white epoxy coat makes them look brand new. The classic shape does the styling work for you, so all you need is clean bright paint. Two thin coats erase years of yellowing.
Pair refreshed white subway tile with dark grout for a modern edge, or keep white grout for timeless simplicity. This is the easiest win for bathrooms with good tile bones. The classic pattern never dates.
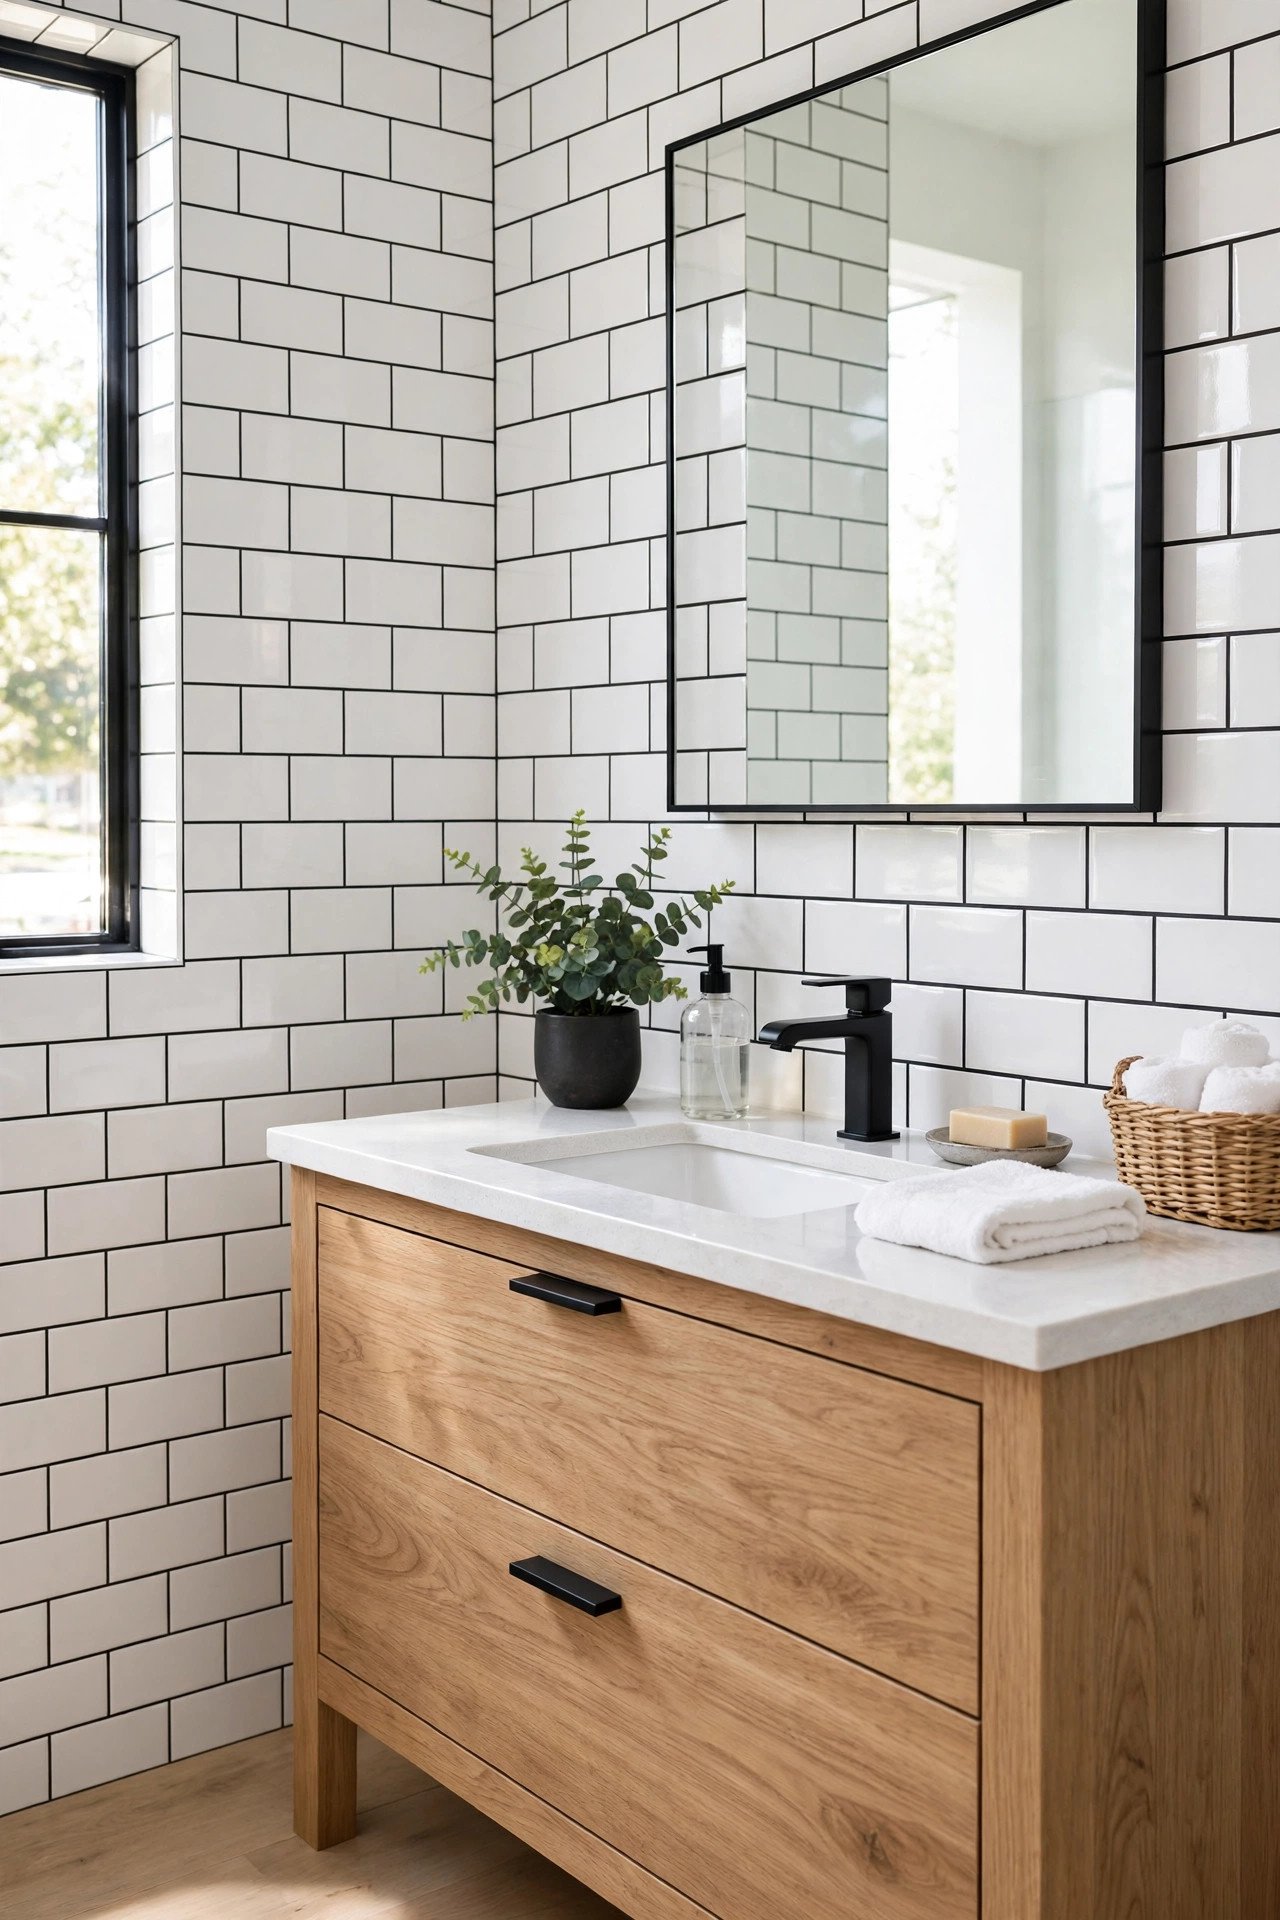
24. Stenciled Border Edge
Instead of stenciling the whole wall, add just a stenciled border along the top or bottom edge. A single row of pattern frames the room like a decorative ribbon. This uses minimal time and paint for a polished detail.
Choose a border pattern that complements your towels and accessories. The restrained approach suits traditional bathrooms beautifully. It is proof that small touches make big impressions.
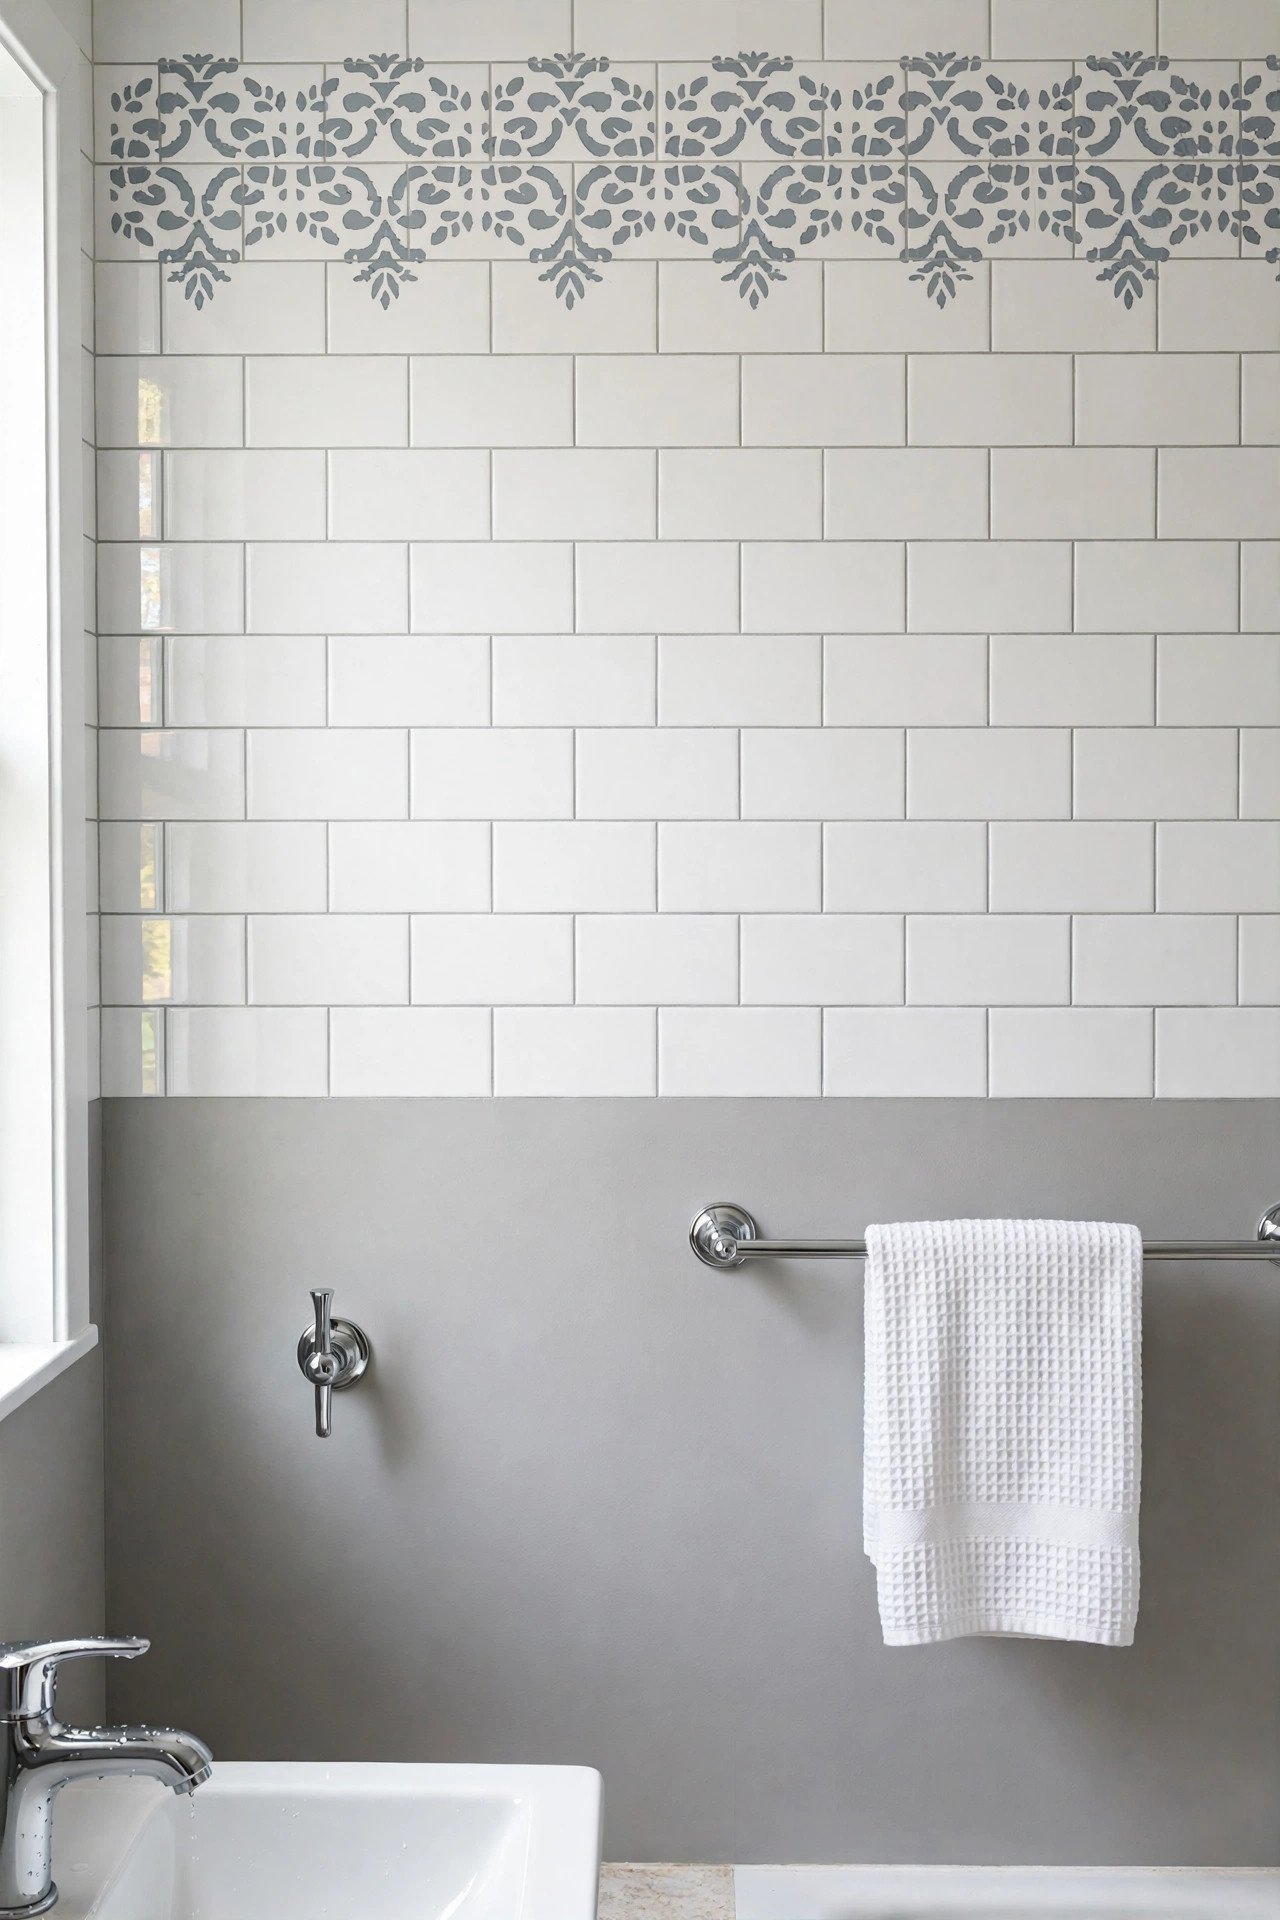
25. Seal With Protective Topcoat
Whatever paint technique you choose, a protective topcoat makes it last. Apply two coats of clear water-based polyurethane or tile sealer over your finished paint. The sealer guards against moisture, steam, and daily splashes.
Topcoat also makes painted tiles easier to wipe clean without damaging the color. Reapply sealer every couple of years in wet areas like showers. While you refresh surfaces, take the chance to improve under bathroom sink organization too, so the whole bathroom feels renewed.
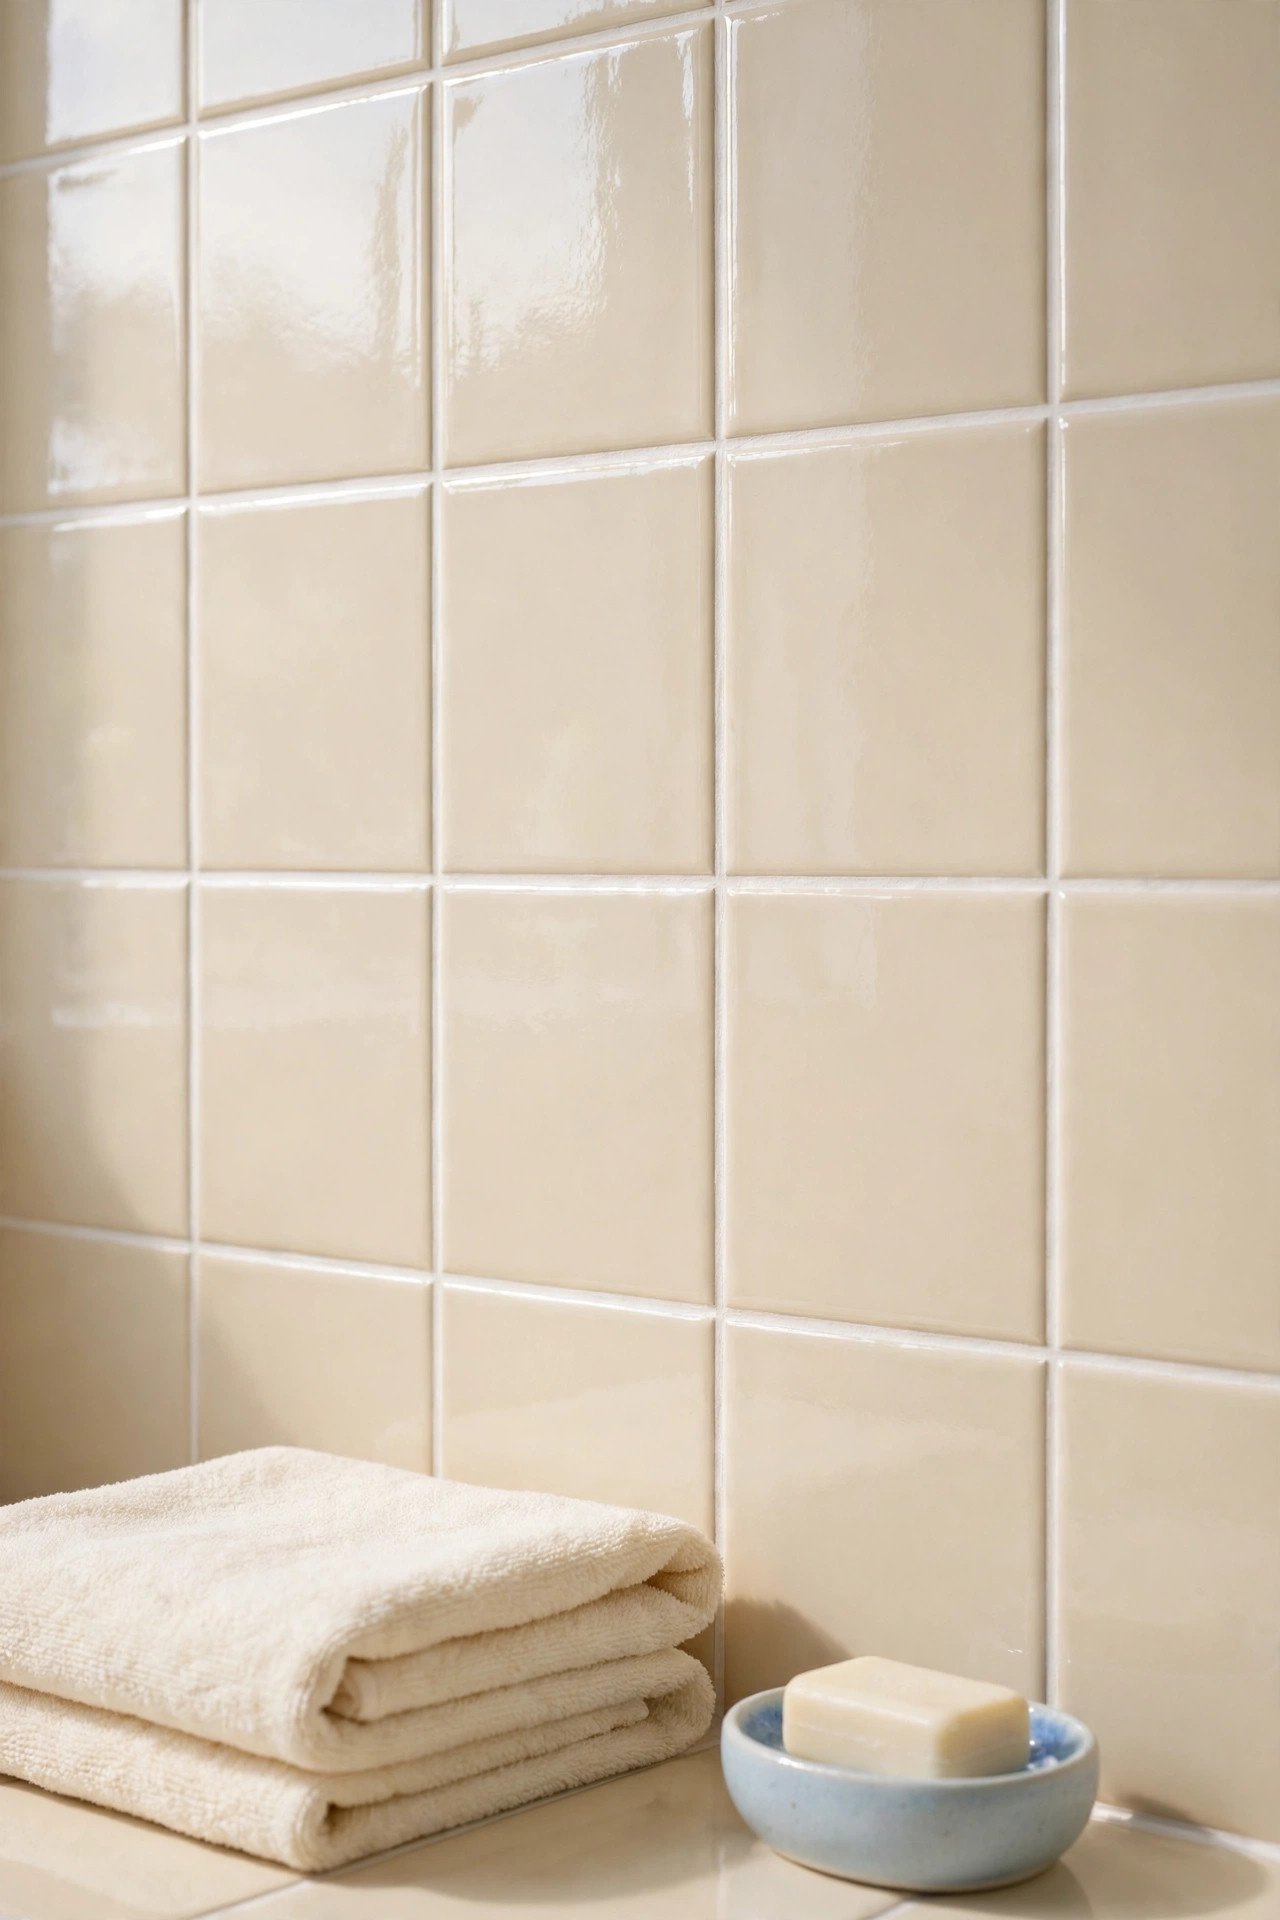
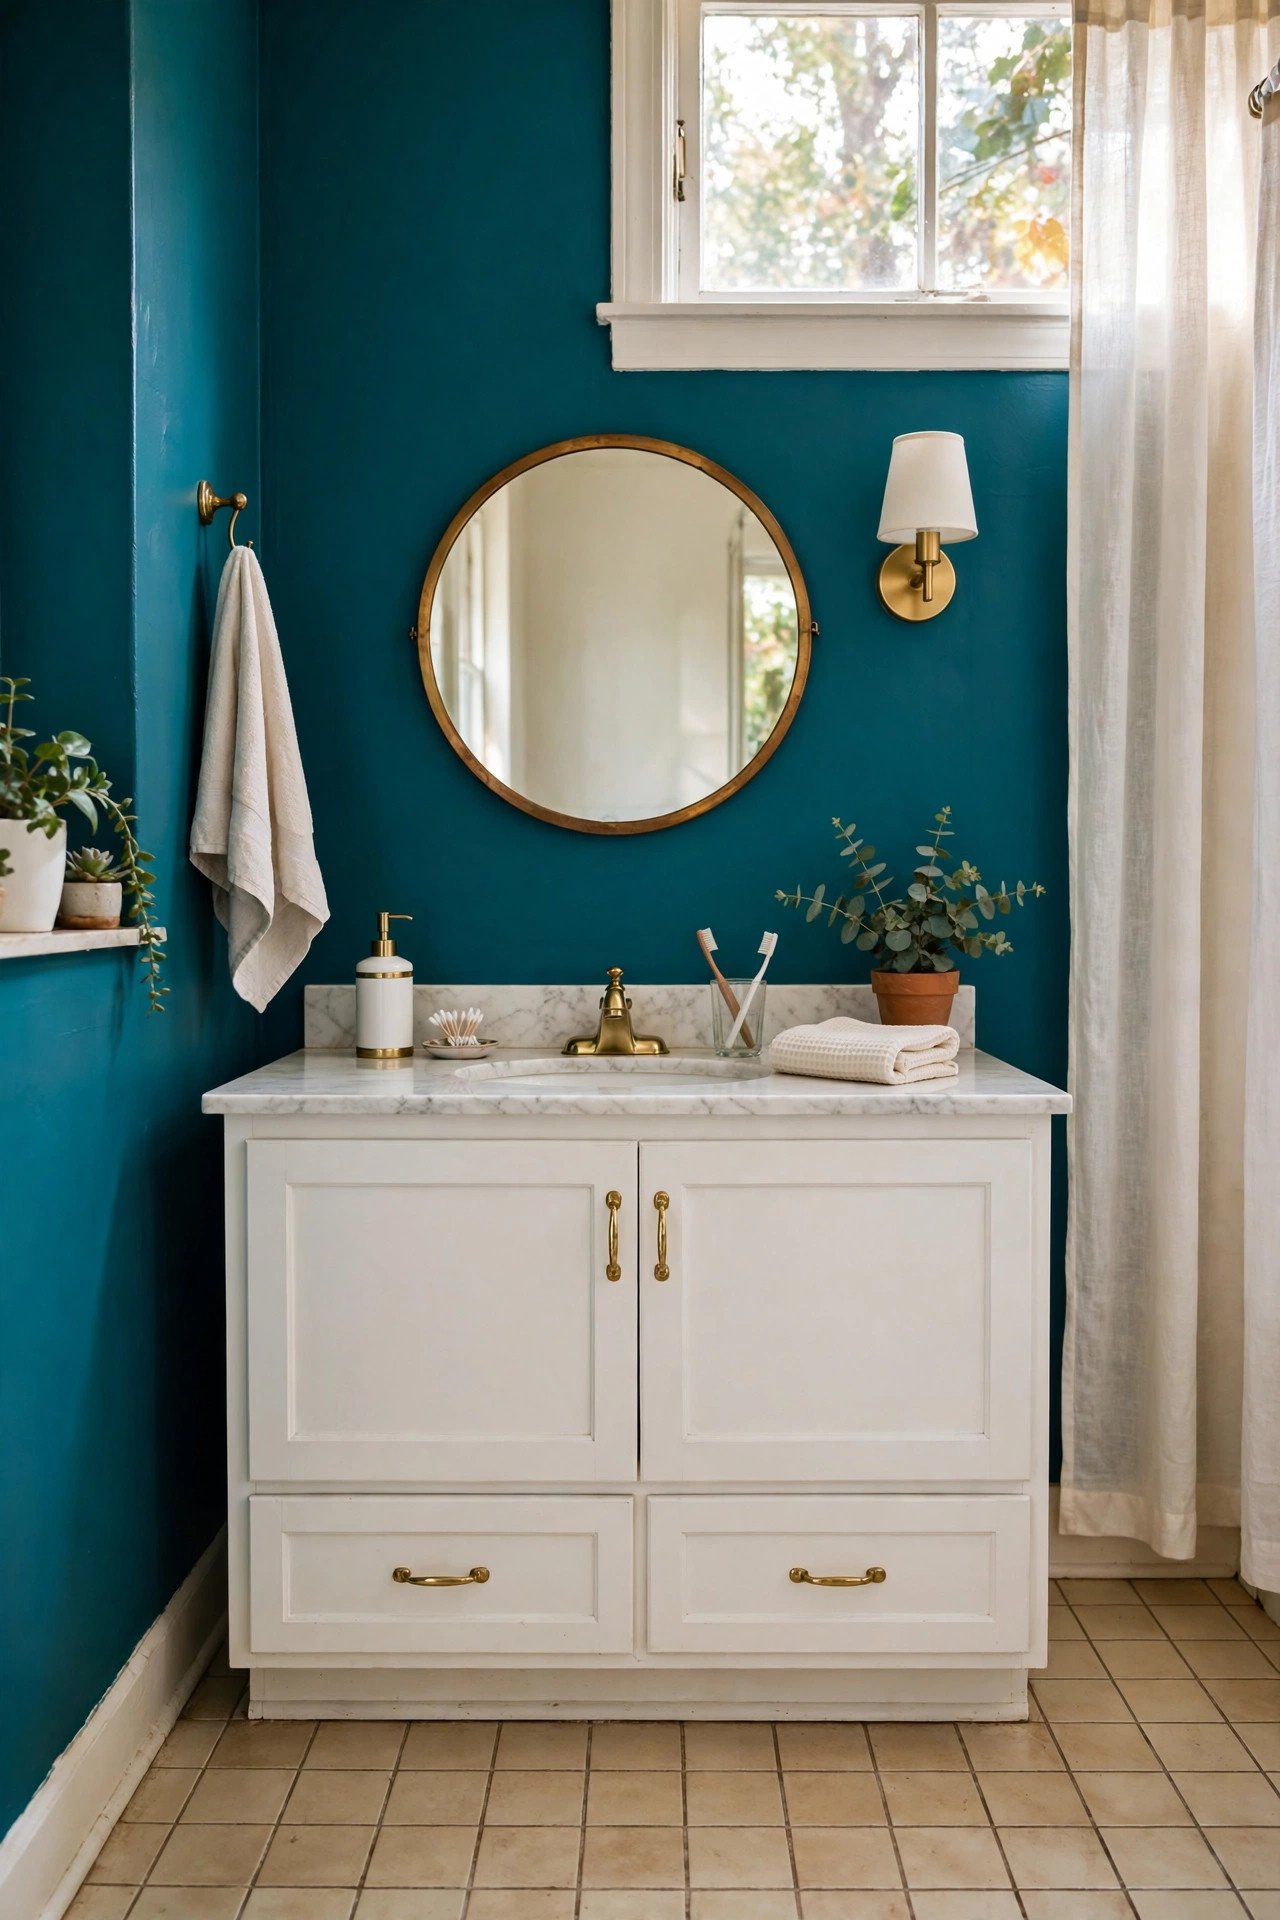
26. Bold Accent Wall Distraction
Sometimes the smartest tile makeover is not touching the tiles at all. Paint one non-tiled wall in a bold contrasting color to draw all attention away from dated tile. The eye goes to the dramatic wall first and barely registers the old tiles.
Choose a rich color like deep teal or warm clay that complements your fixtures. For help choosing the perfect shade, browse interior door color ideas for bold paint inspiration that works on walls too. This zero-tile approach suits renters perfectly.
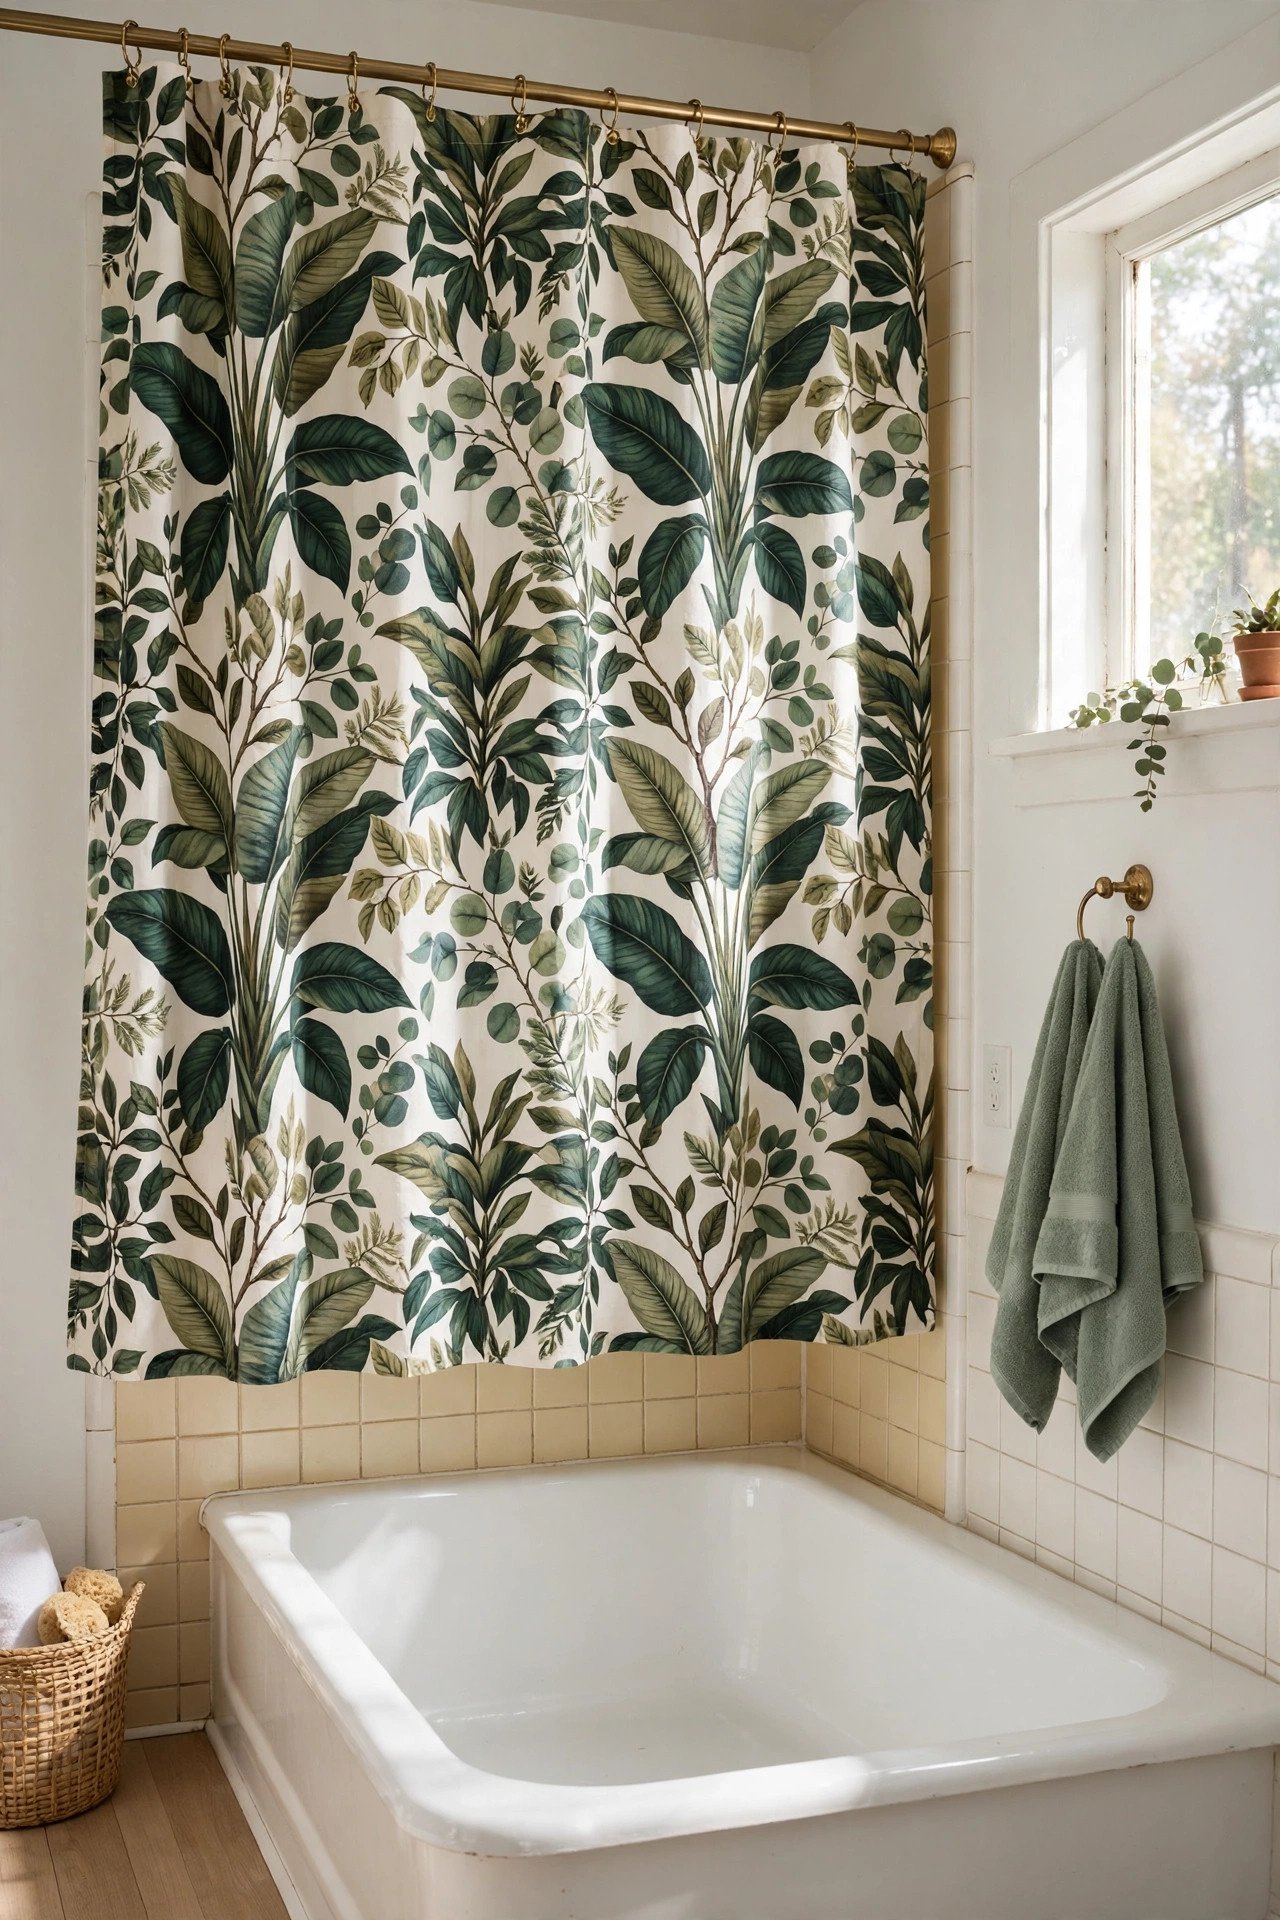
27. Patterned Shower Curtain Camouflage
A beautiful patterned shower curtain hides a multitude of tile sins. Choose a bold print in colors you love and hang it wall to wall if possible. The curtain becomes the room’s artwork while dated shower tiles fade into the background.
Coordinate your towels and bath mat with the curtain colors for a pulled-together look. This is the fastest bathroom refresh imaginable, taking under ten minutes. When the curtain closes, nobody sees the old tiles at all.
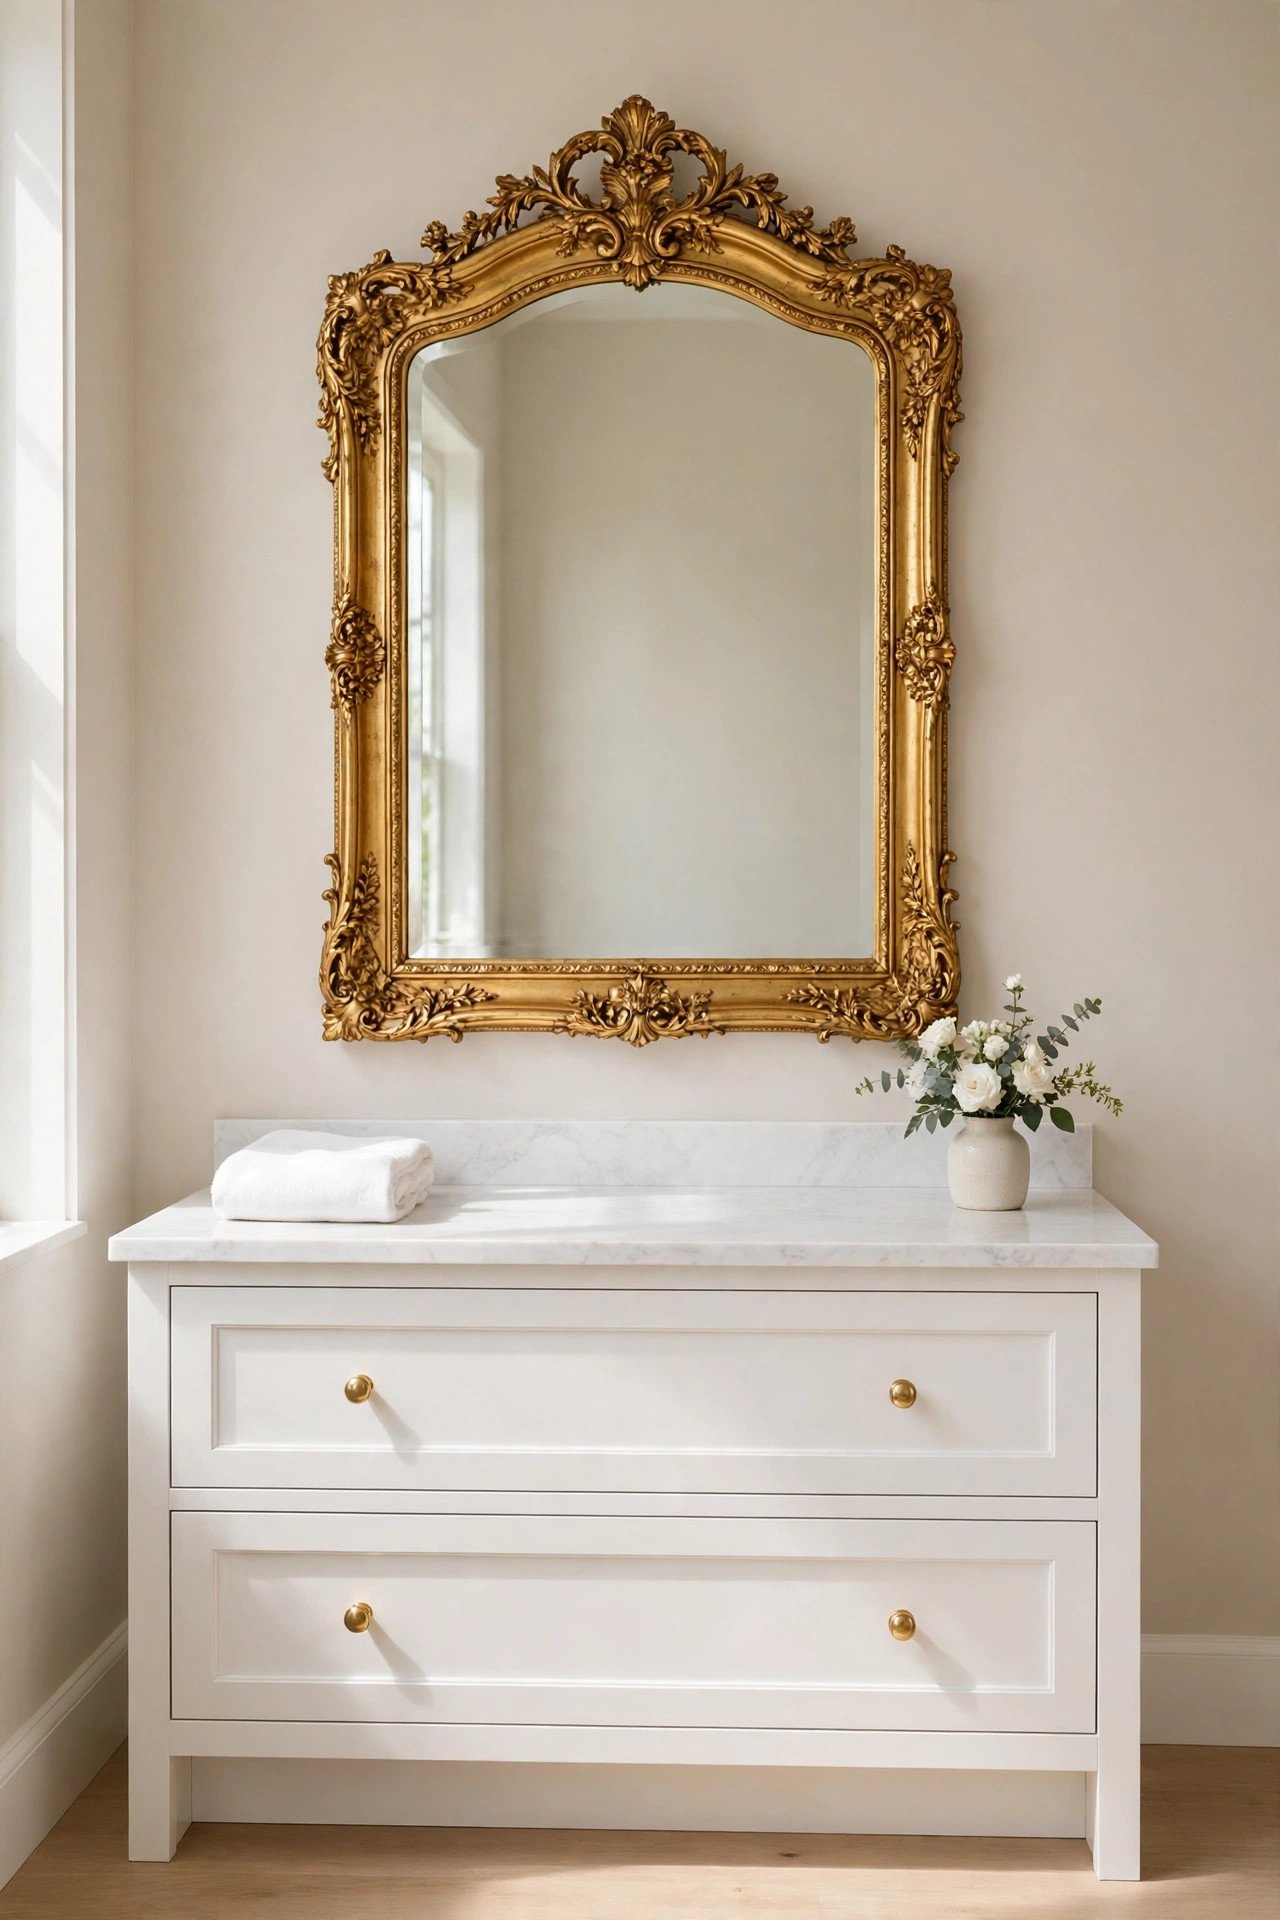
28. Decorative Mirror Focal Point
A large decorative mirror shifts focus from walls to reflection. Hang an oversized ornate or uniquely shaped mirror above the vanity where it commands attention. The mirror bounces light around and makes the whole bathroom feel bigger.
Choose a frame with character, like aged brass or carved wood, so the mirror reads as decor rather than just function. Guests will admire the mirror instead of noticing the tiles. It is the oldest designer trick in the book.
Conclusion
Dated bathroom tiles do not have to dictate how your bathroom feels, because you now have twenty-eight ways to transform them without demolition. From a simple white repaint to stenciled Moroccan patterns to clever camouflage, every idea respects both your budget and your weekend. The tiles you have are already good enough with the right treatment.
Start with the technique that excites you most and test it in a small hidden area first. Proper prep and a good sealer make all the difference between a makeover that lasts months and one that lasts years. Your dream bathroom is closer and cheaper than you think.
Frequently Asked Questions About Affordable Bathroom Tile Makeover
Can you really paint bathroom tiles?
Yes, bathroom tiles take paint beautifully when you prep properly. Clean thoroughly, sand glossy surfaces lightly, apply a bonding primer, then use epoxy or tile-specific paint. Seal with a clear topcoat for durability, especially in showers.
How long does painted tile last?
Properly painted and sealed tiles last three to five years in most bathrooms, and longer in low-moisture powder rooms. Shower floors and high-traffic areas wear faster. Using epoxy paint and quality sealer extends the life significantly.
What is the cheapest way to update bathroom tiles?
Grout recoloring is the cheapest, costing only a few dollars for dramatic results. Tile stickers and transfers are also very affordable and renter-friendly. A single quart of tile paint covers an accent area for under thirty dollars.
Are peel-and-stick tiles good for bathrooms?
Quality peel-and-stick tiles handle bathroom humidity well on walls and backsplashes. They work best on smooth flat tiles in matching sizes. Avoid them on shower floors or areas with constant direct water exposure.
Can renters update bathroom tiles without painting?
Yes, renters can use removable tile stickers, decals, and transfers that peel off cleanly. Bold shower curtains, large mirrors, and accent walls also transform the look without touching the tiles. Always check your lease before making permanent changes.

Hi, I’m Emily! I turn messy corners into cozy, organized spots. DreamNestDecor is where I share simple, practical home ideas — decor, organization, and small-space solutions that work in real life, not just in photos. Every idea here is carefully researched before it’s shared.