
You open the cabinet to bake a simple cake, and a bag of flour tips over. The sugar hides behind the cereal, the vanilla is nowhere to be found, and the mixing bowls sit in three different cabinets. What should feel joyful turns into a scavenger hunt.
A dedicated baking zone changes everything. When flour, tools, and pans each have a clear home, you can start a recipe the moment the craving hits. These 21 ideas will help you build that zone, whether you own a full pantry or one small cabinet.
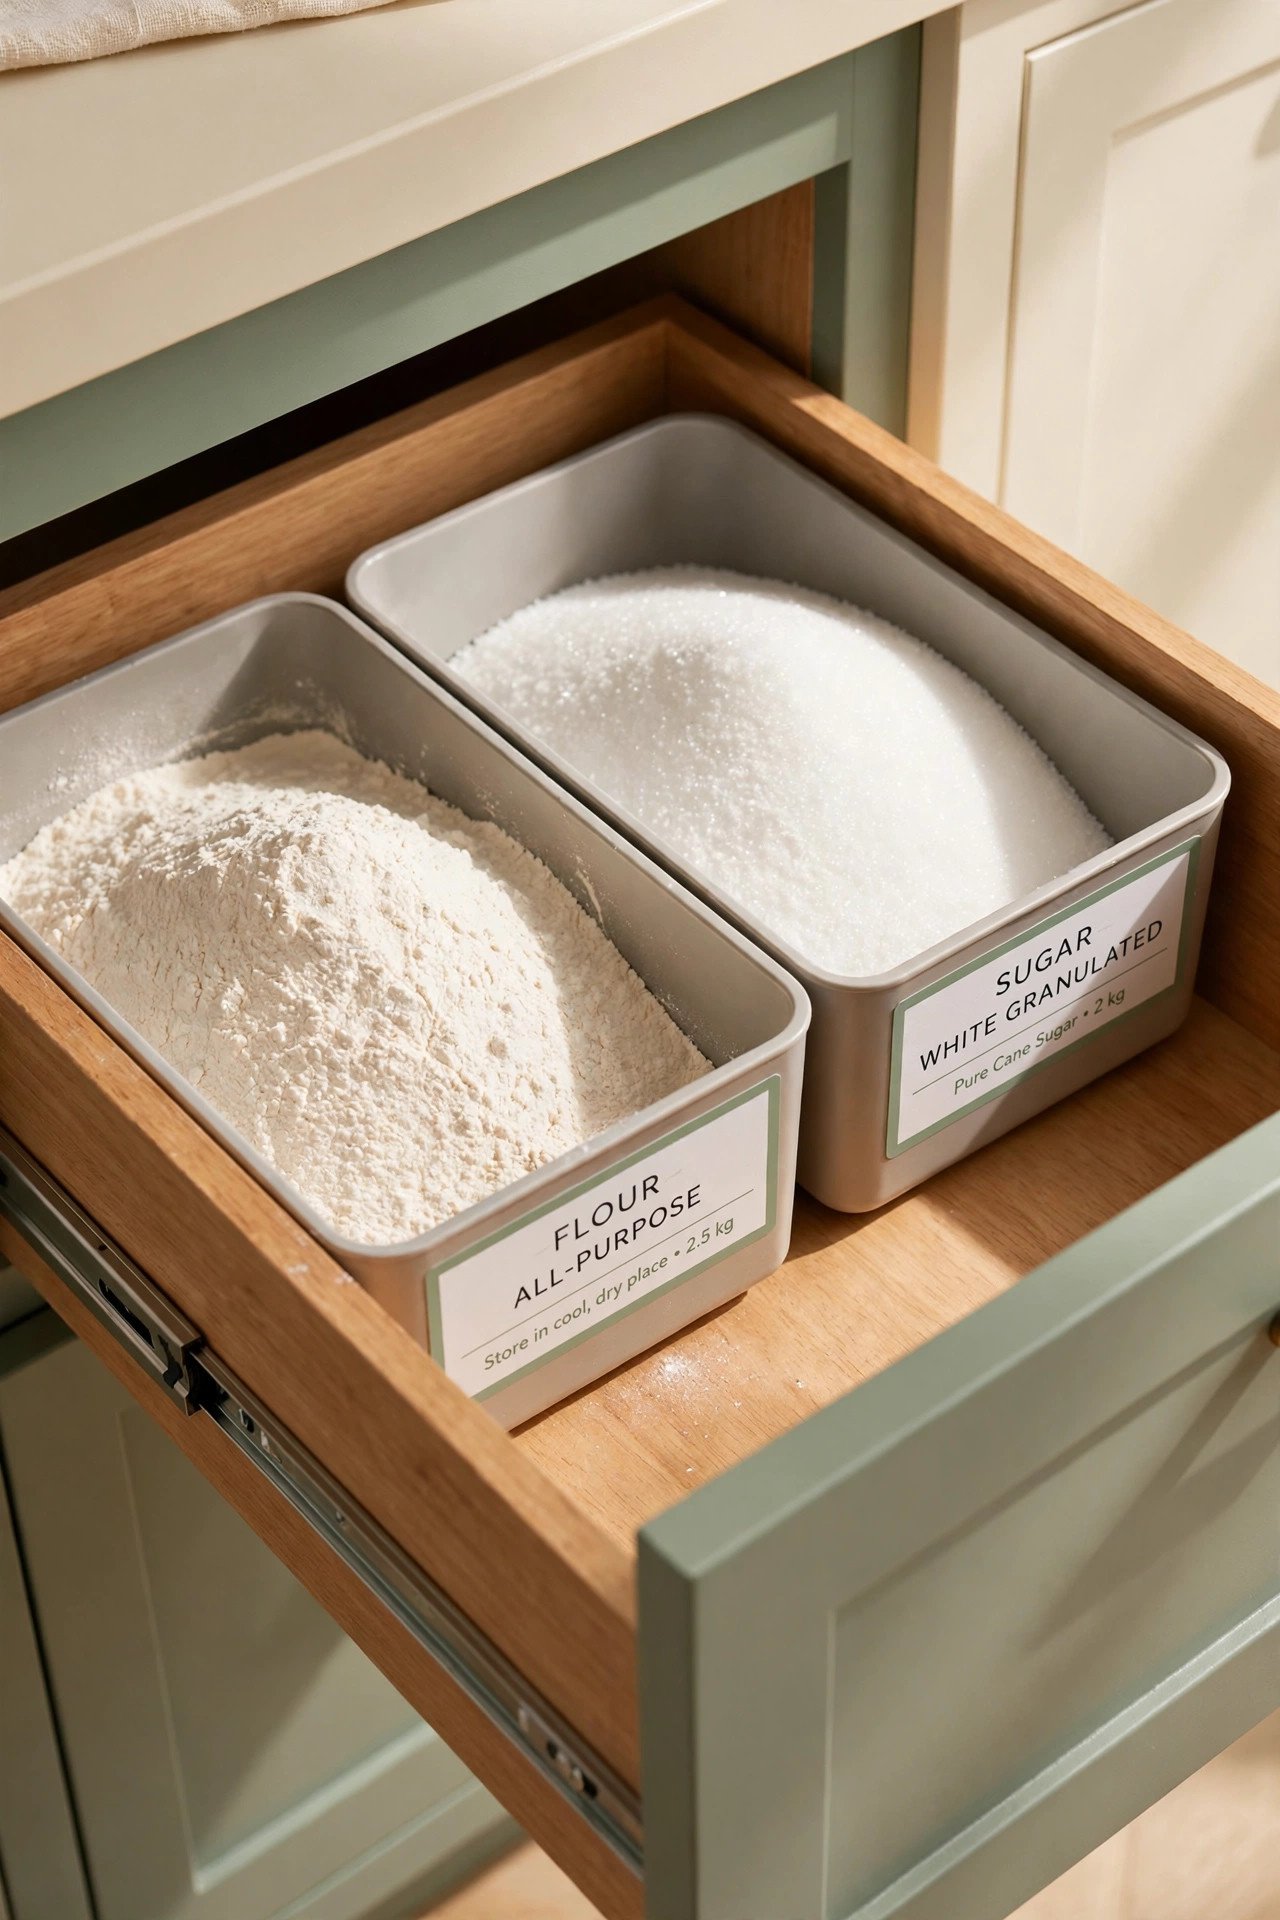
1. Store Flour and Sugar in Deep Pull-Out Drawers
Deep drawers near your prep counter are perfect for heavy baking staples. Decant flour, sugar, and other dry goods into clear bins that slide out fully, so you can see every option without digging. The smooth glide makes heavy ingredients feel light.
Add a printed label to the front of each bin so family members put things back in the right spot. Choose bins with straight sides that use every inch of drawer width. Once the basics live here, starting a recipe takes seconds.
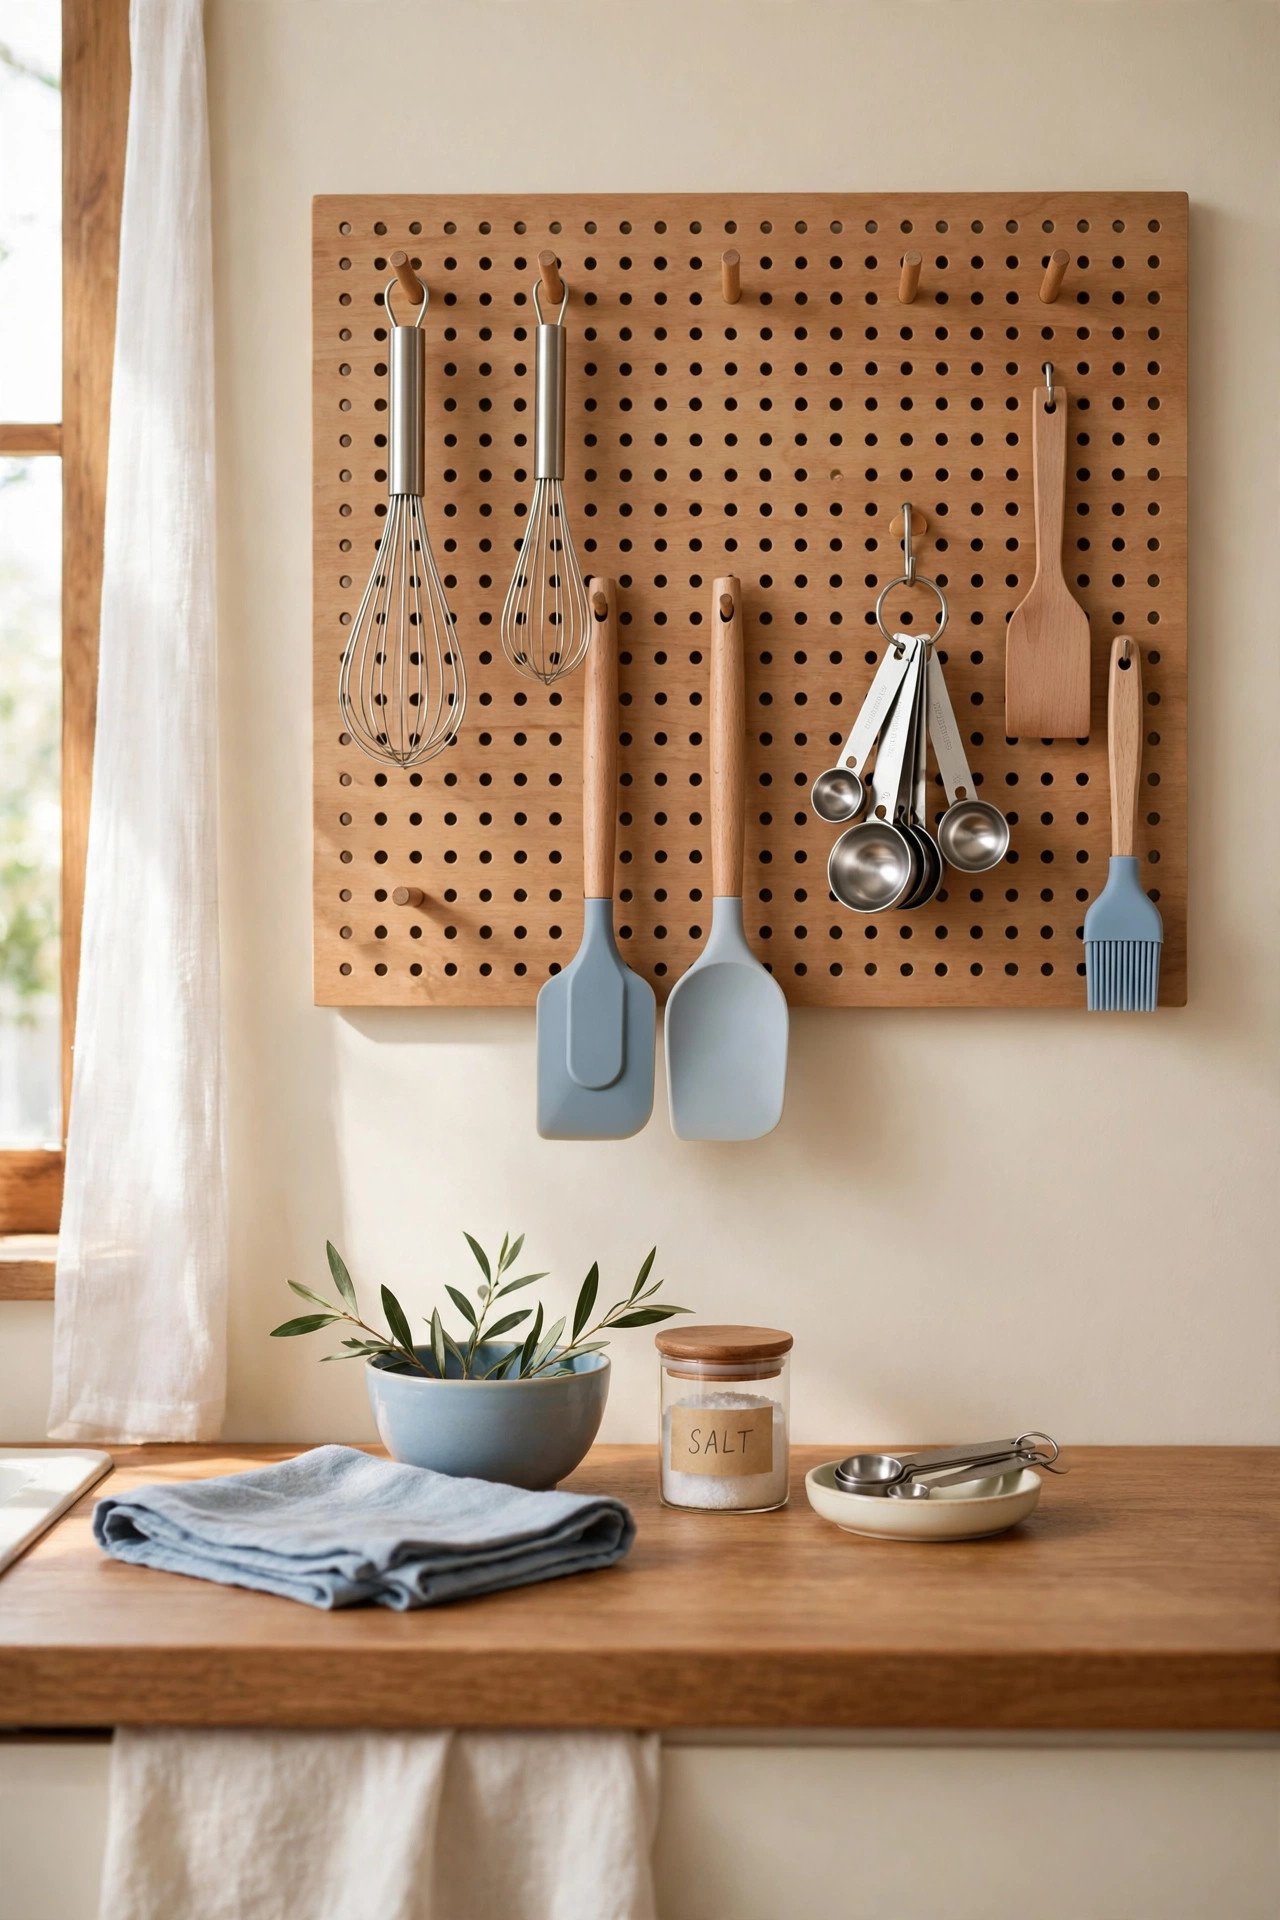
2. Hang Everyday Tools on a Wall Pegboard
A pegboard above your baking counter turns a blank wall into working storage. Hooks and small cups hold whisks, spatulas, and measuring spoons where you can grab them mid-recipe. Your most-used tools stay visible instead of buried in a drawer.
Paint the board to match your cabinets for a built-in look that feels intentional. Rearrange the hooks as your collection grows, and keep seasonal cookie cutters on the top row. This trick works beautifully in a small kitchen because it frees an entire drawer.
3. Show Off Staples in Tiered Counter Canisters
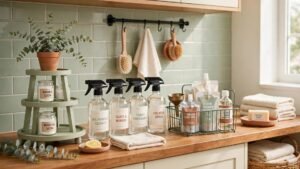
A tiered stand turns ordinary canisters into a pretty display. Fill glass or ceramic jars with sprinkles, chocolate chips, and nuts, then arrange them on the stand by height. The ingredients stay close at hand while looking like decor.
Pick jars with airtight lids so everything stays fresh between bakes. Clear sides let you spot low supplies at a glance, which helps you shop smarter. Warm wood or colored lids tie the whole stand into your kitchen style.

4. Keep Supplies Mobile on a Rolling Baking Cart
A rolling cart gives you a full baking station that moves wherever you need it. Stock the tiers with your mixer, bowls, and baking paper, then roll it to the counter when you bake. When you finish, it tucks into a corner or closet.
This is one of the smartest rental-friendly storage solutions because it needs no drilling or built-ins. Use baskets on each tier to stop items from sliding during the roll. A cart also works well when more than one person bakes in the same kitchen.

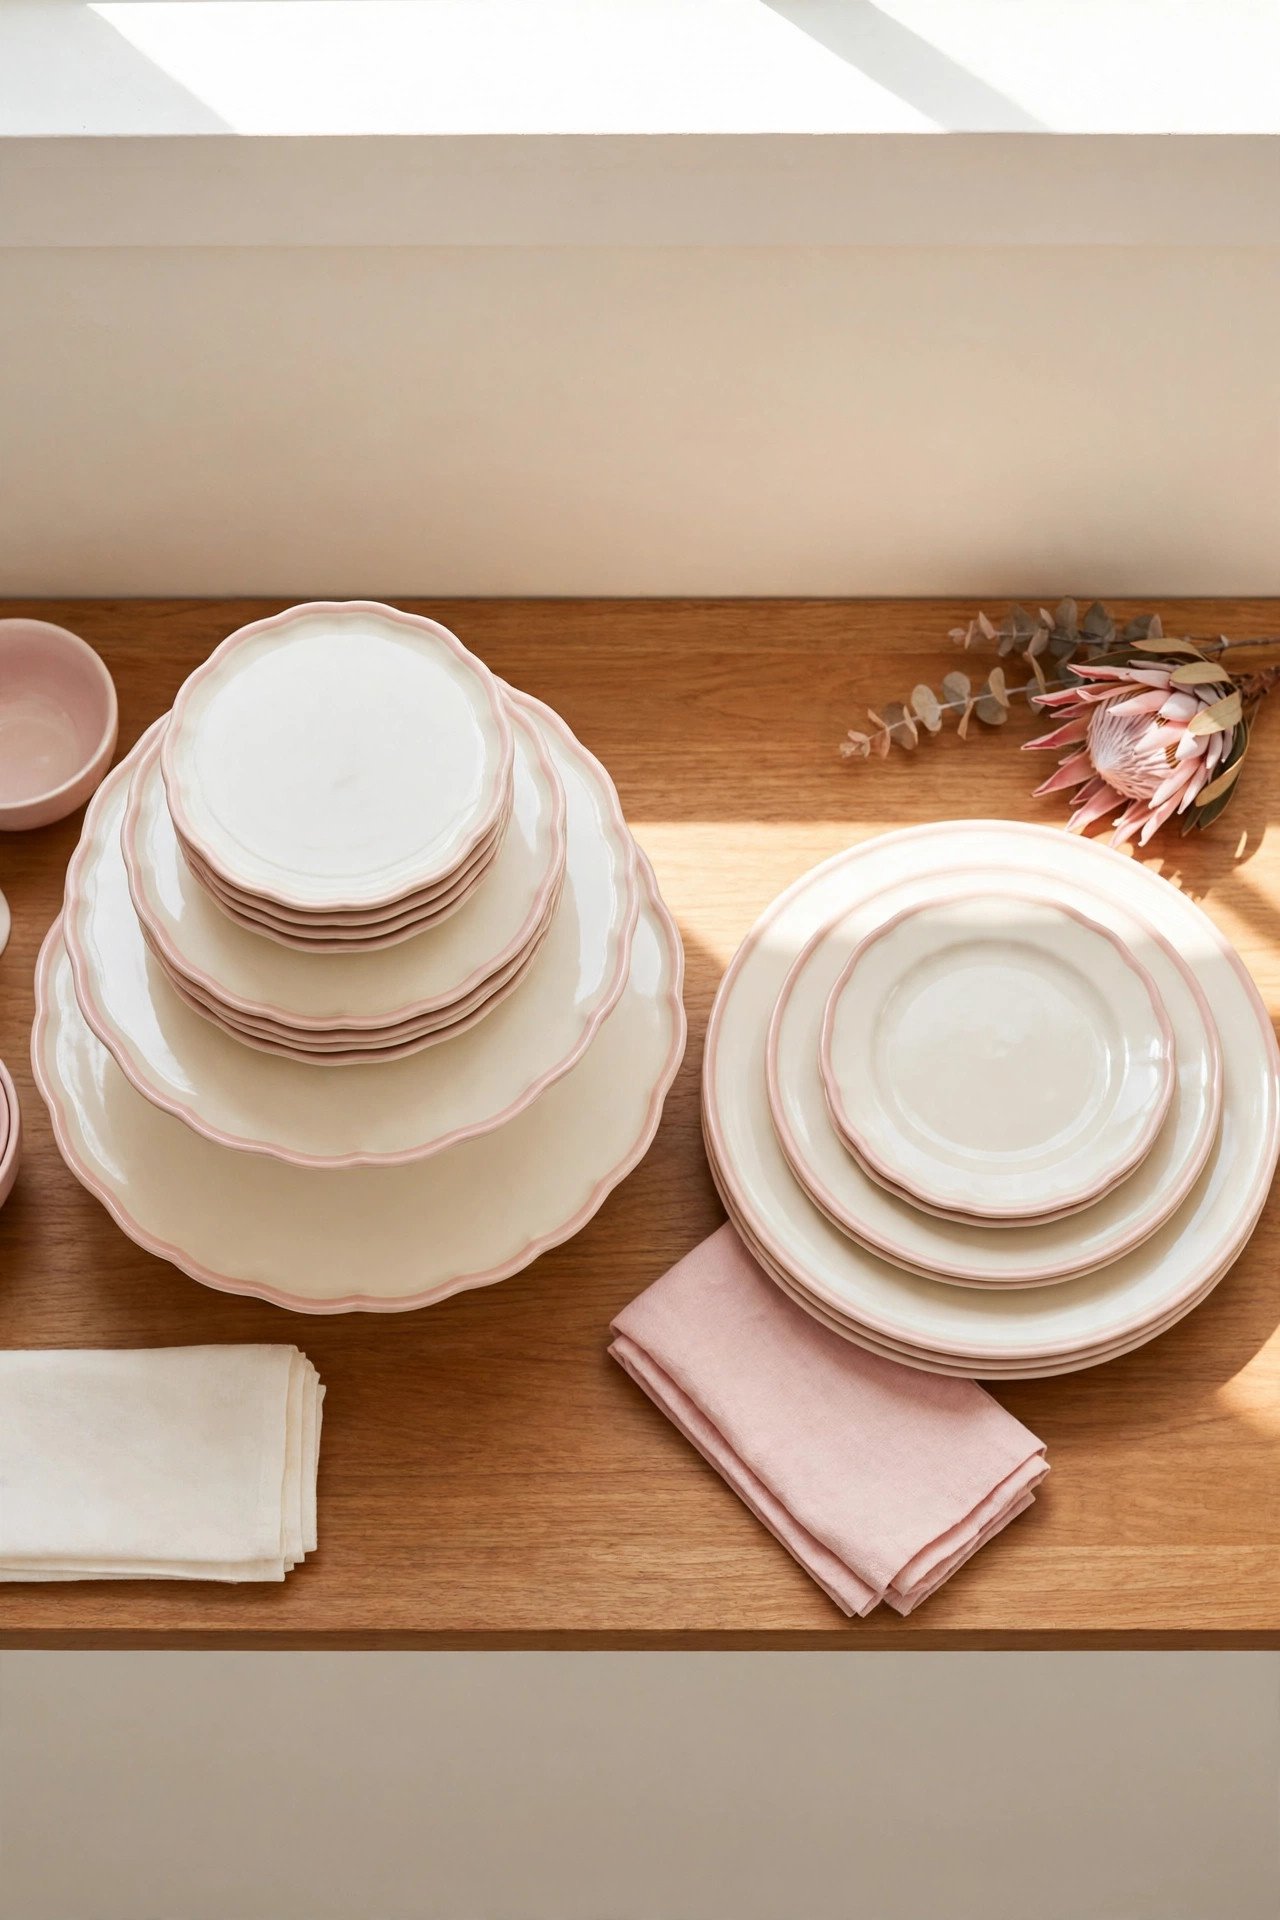
5. Display Cake Stands on an Overhead Shelf
Cake stands and pretty serving plates deserve to be seen, not stacked in a dark cabinet. A single overhead shelf above your baking zone shows them off while keeping them within reach. Stack pieces by size so the shelf looks styled rather than stuffed.
Mount the shelf just above your work area so dust stays away from daily tools. Painted brackets or a stained wood board add character for very little money. Your prettiest pieces become part of the kitchen decor while staying ready for the next celebration.
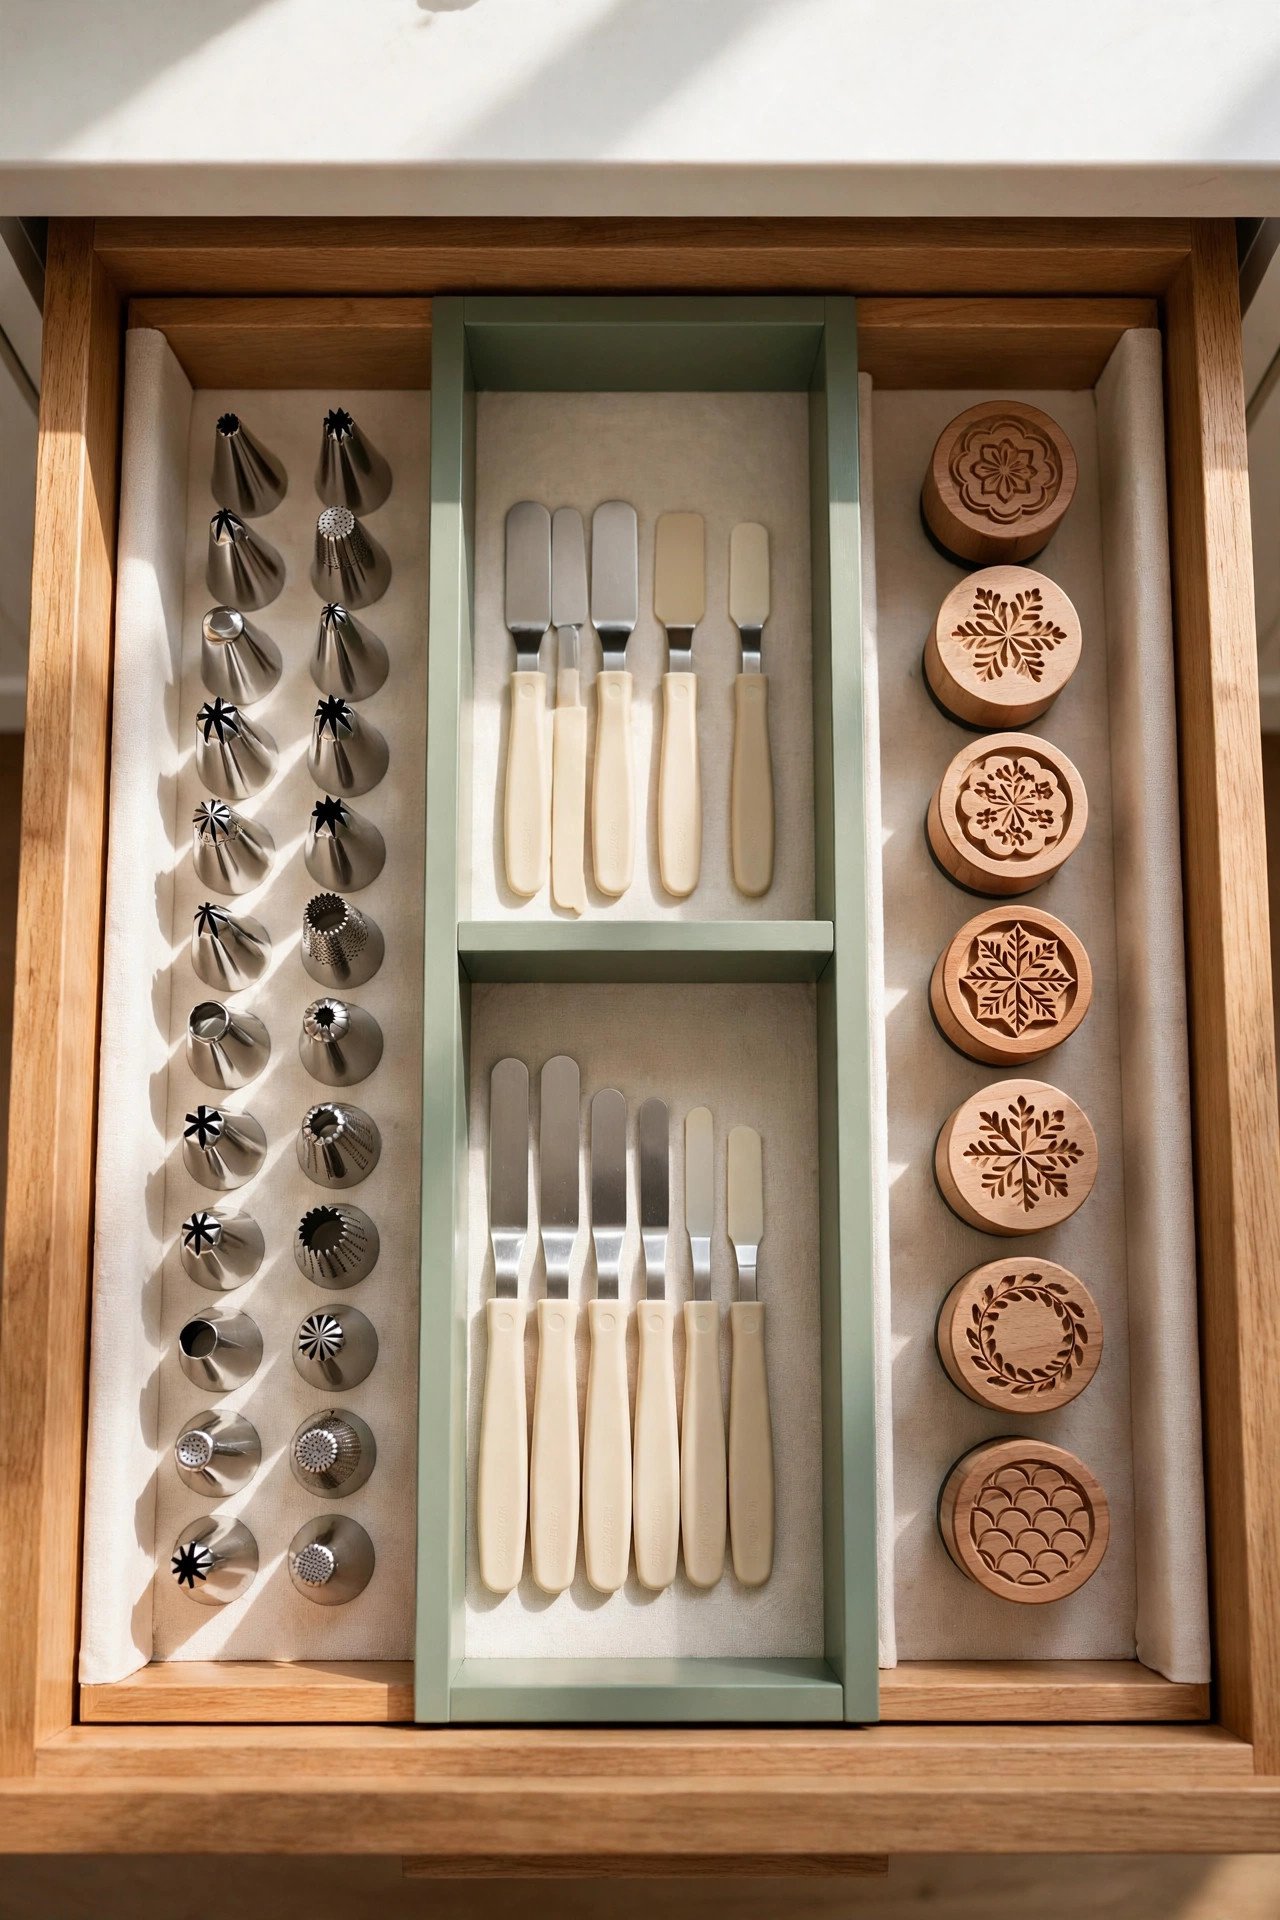
6. Sort Small Tools With Drawer Dividers
Bench scrapers, piping tips, cookie stamps, and tiny spatulas vanish in an open drawer. Adjustable dividers split the space into lanes so each tool has a fixed home. Opening the drawer feels calm instead of chaotic.
Place your most-used tools near the front so you never pause mid-recipe to search. Add labeled sections or colored liners for extra clarity. This small upgrade also helps kids and helpers find what they need without making a mess.
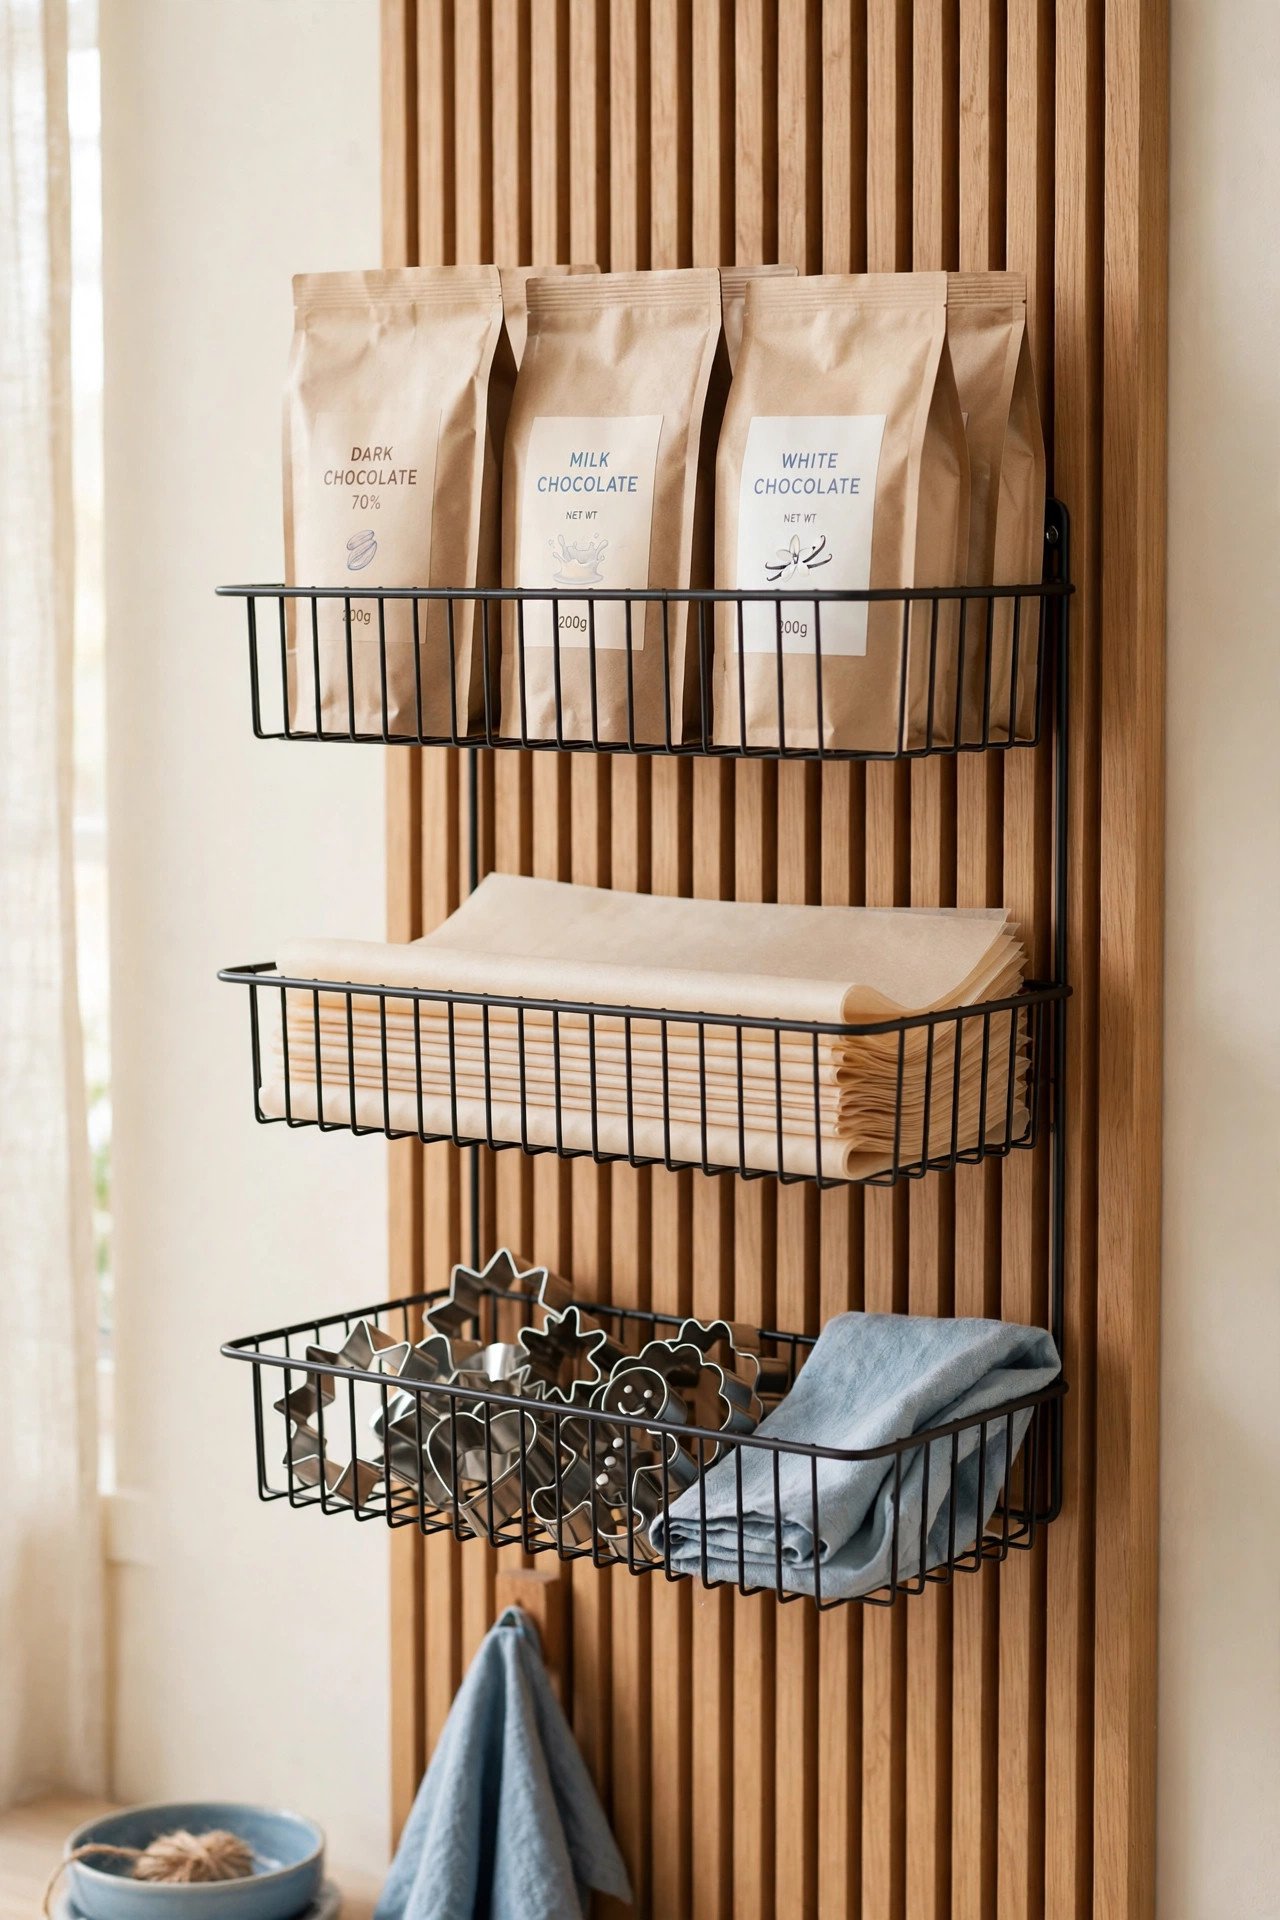
7. Mount a Wire Basket Rack for Grab-and-Go Items
Wire baskets on the wall hold bags of chocolate, spare parchment sheets, and cookie cutters in open view. The airy design keeps everything visible, so you grab what you need without opening a single door. It adds storage without visual weight.
Mix the metal baskets with a warm wood shelf for a softer modern look. Keep the rack near your mixer so the flow from storage to prep feels natural. Wire storage is affordable, durable, and easy to wipe clean after a floury baking day.
8. Line Up Dry Mixes in Clear Glass Jars
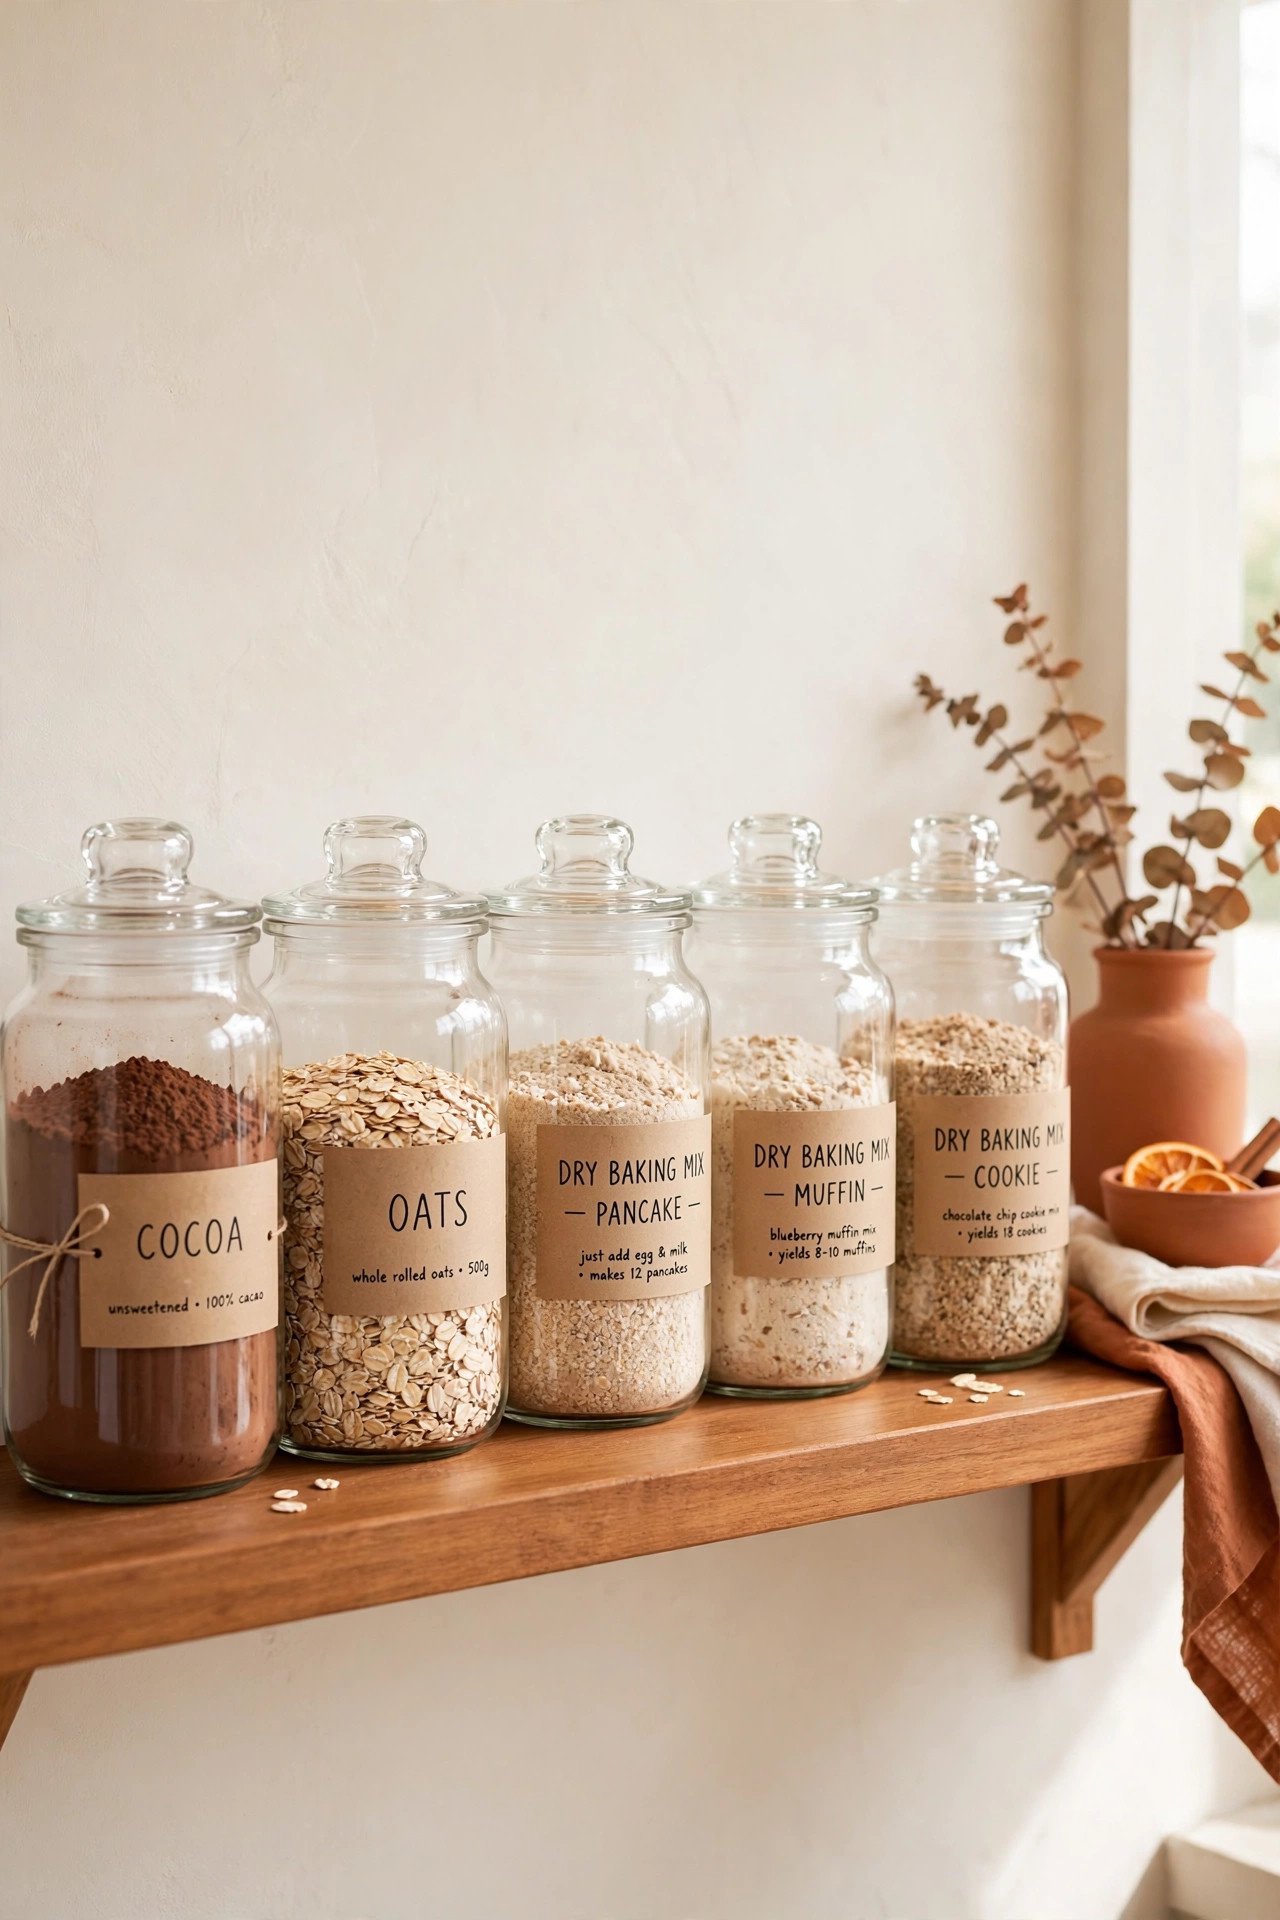
Cocoa, oats, brown sugar, and homemade mix blends look wonderful lined up in glass jars. The clear sides show exactly what is inside and how much is left. Your shelf starts to look like a small bakery pantry.
Choose matching lids in bamboo, black, or brass for a pulled-together look. Reuse jars you already own to keep the cost low, and add printed labels to the lids. This setup rewards bakers who prep dry mixes ahead for busy weeks.
9. Hide Your Mixer With a Cabinet Lift
A stand mixer is heavy, and lifting it from a low cabinet gets old fast. A cabinet lift hides the mixer inside and raises it to counter height with one smooth motion. Your counter stays clear, and baking starts with zero heavy lifting.
Store the bowls and beaters in the same cabinet so the whole setup lives together. The lift costs more than a shelf, but daily bakers find it worth every penny. Pair it with soft-close hinges for a quiet, polished finish.

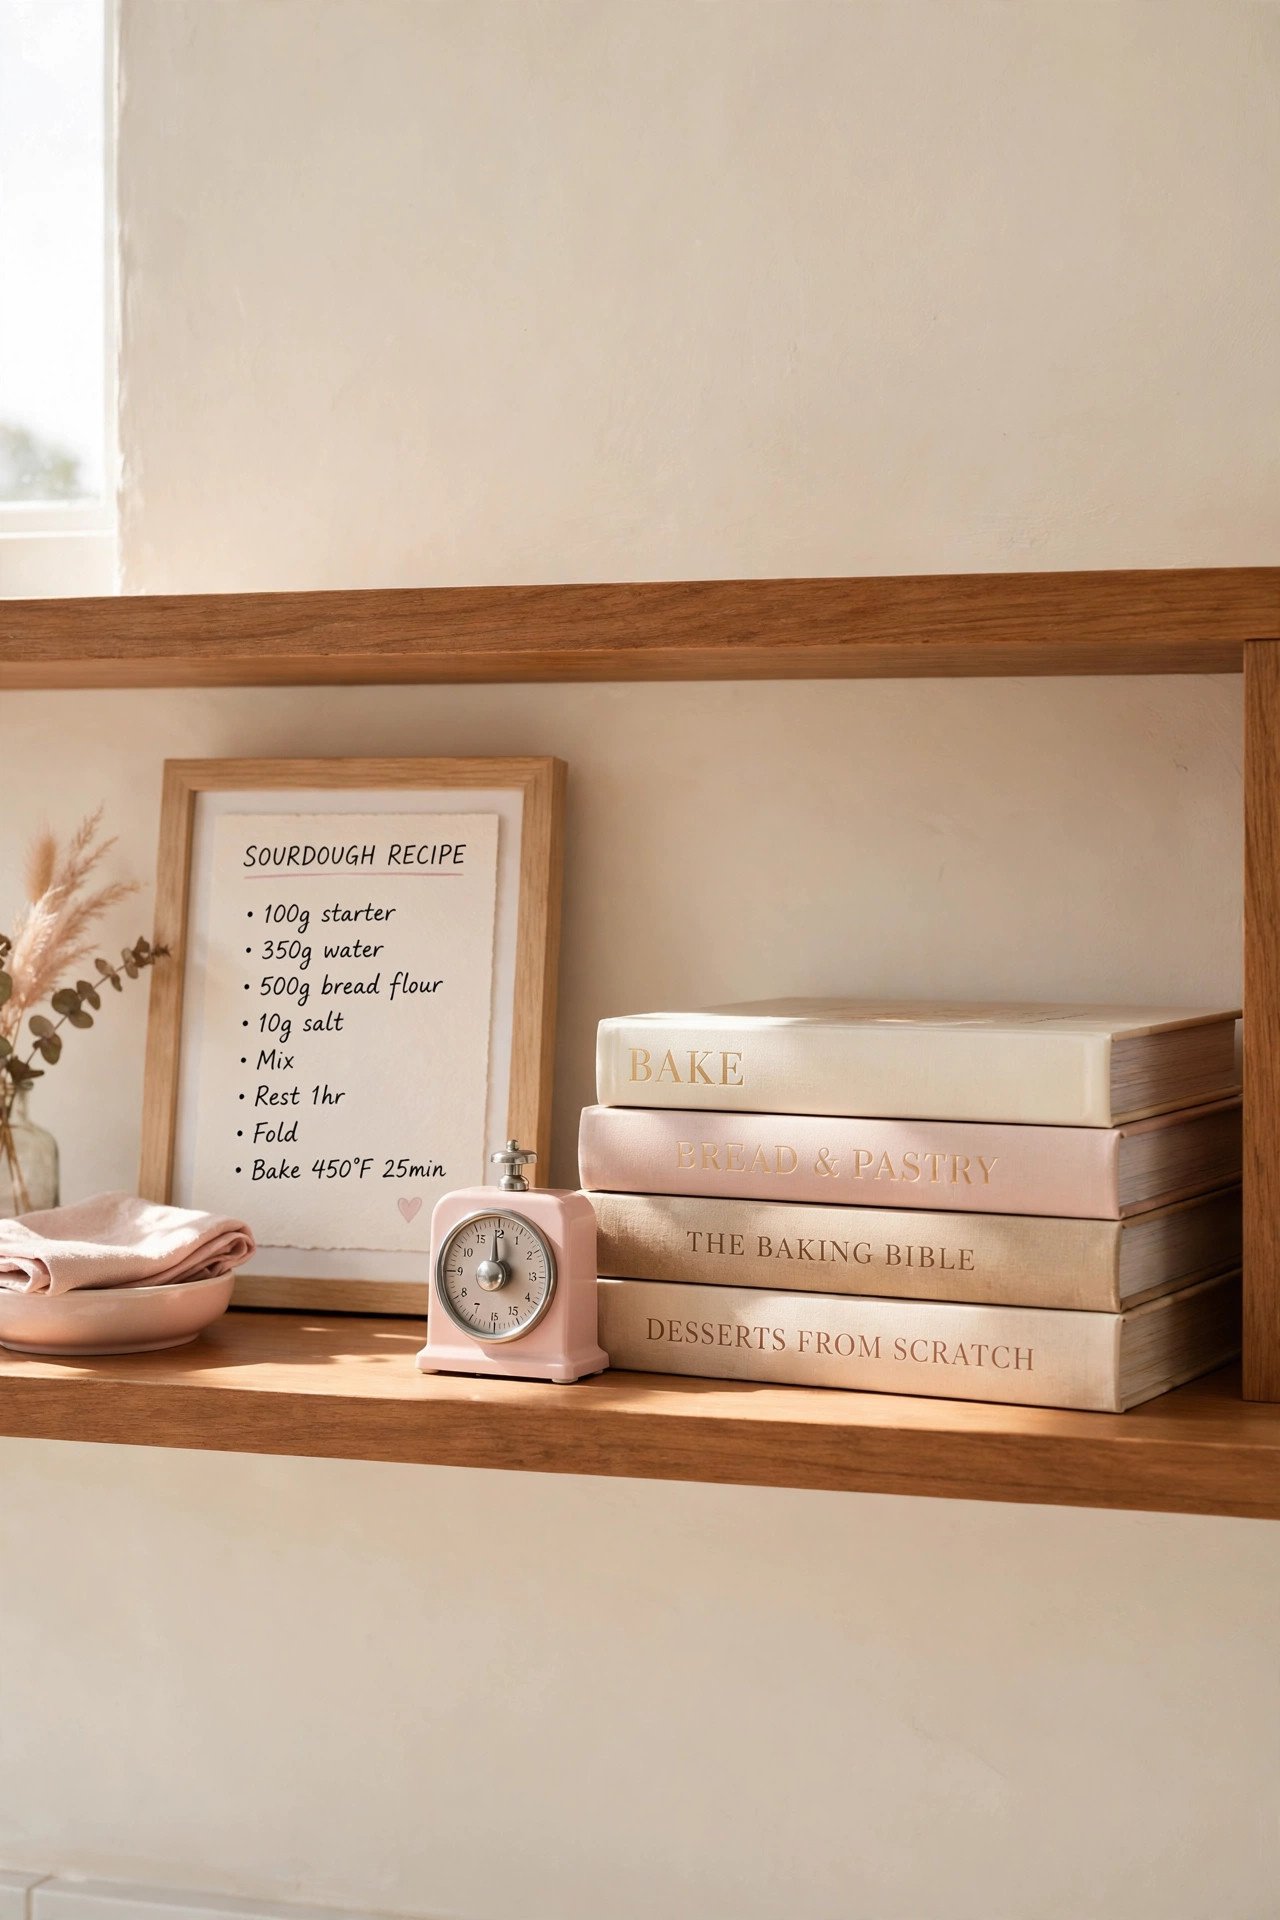
10. Keep Cookbooks Close on an Open Shelf
Your favorite baking books belong within arm’s reach, not boxed in another room. One open shelf near the baking zone holds the recipes you use most. Worn pages and pretty covers add warmth and personality to the space.
Style the shelf with a small timer or a framed family recipe card. Keep daily books at one end and leave breathing room so the shelf never looks crowded. When your hands are dusty with flour, an open shelf beats a closed cabinet every time.
11. Use the Cabinet Door for Spices and Extracts
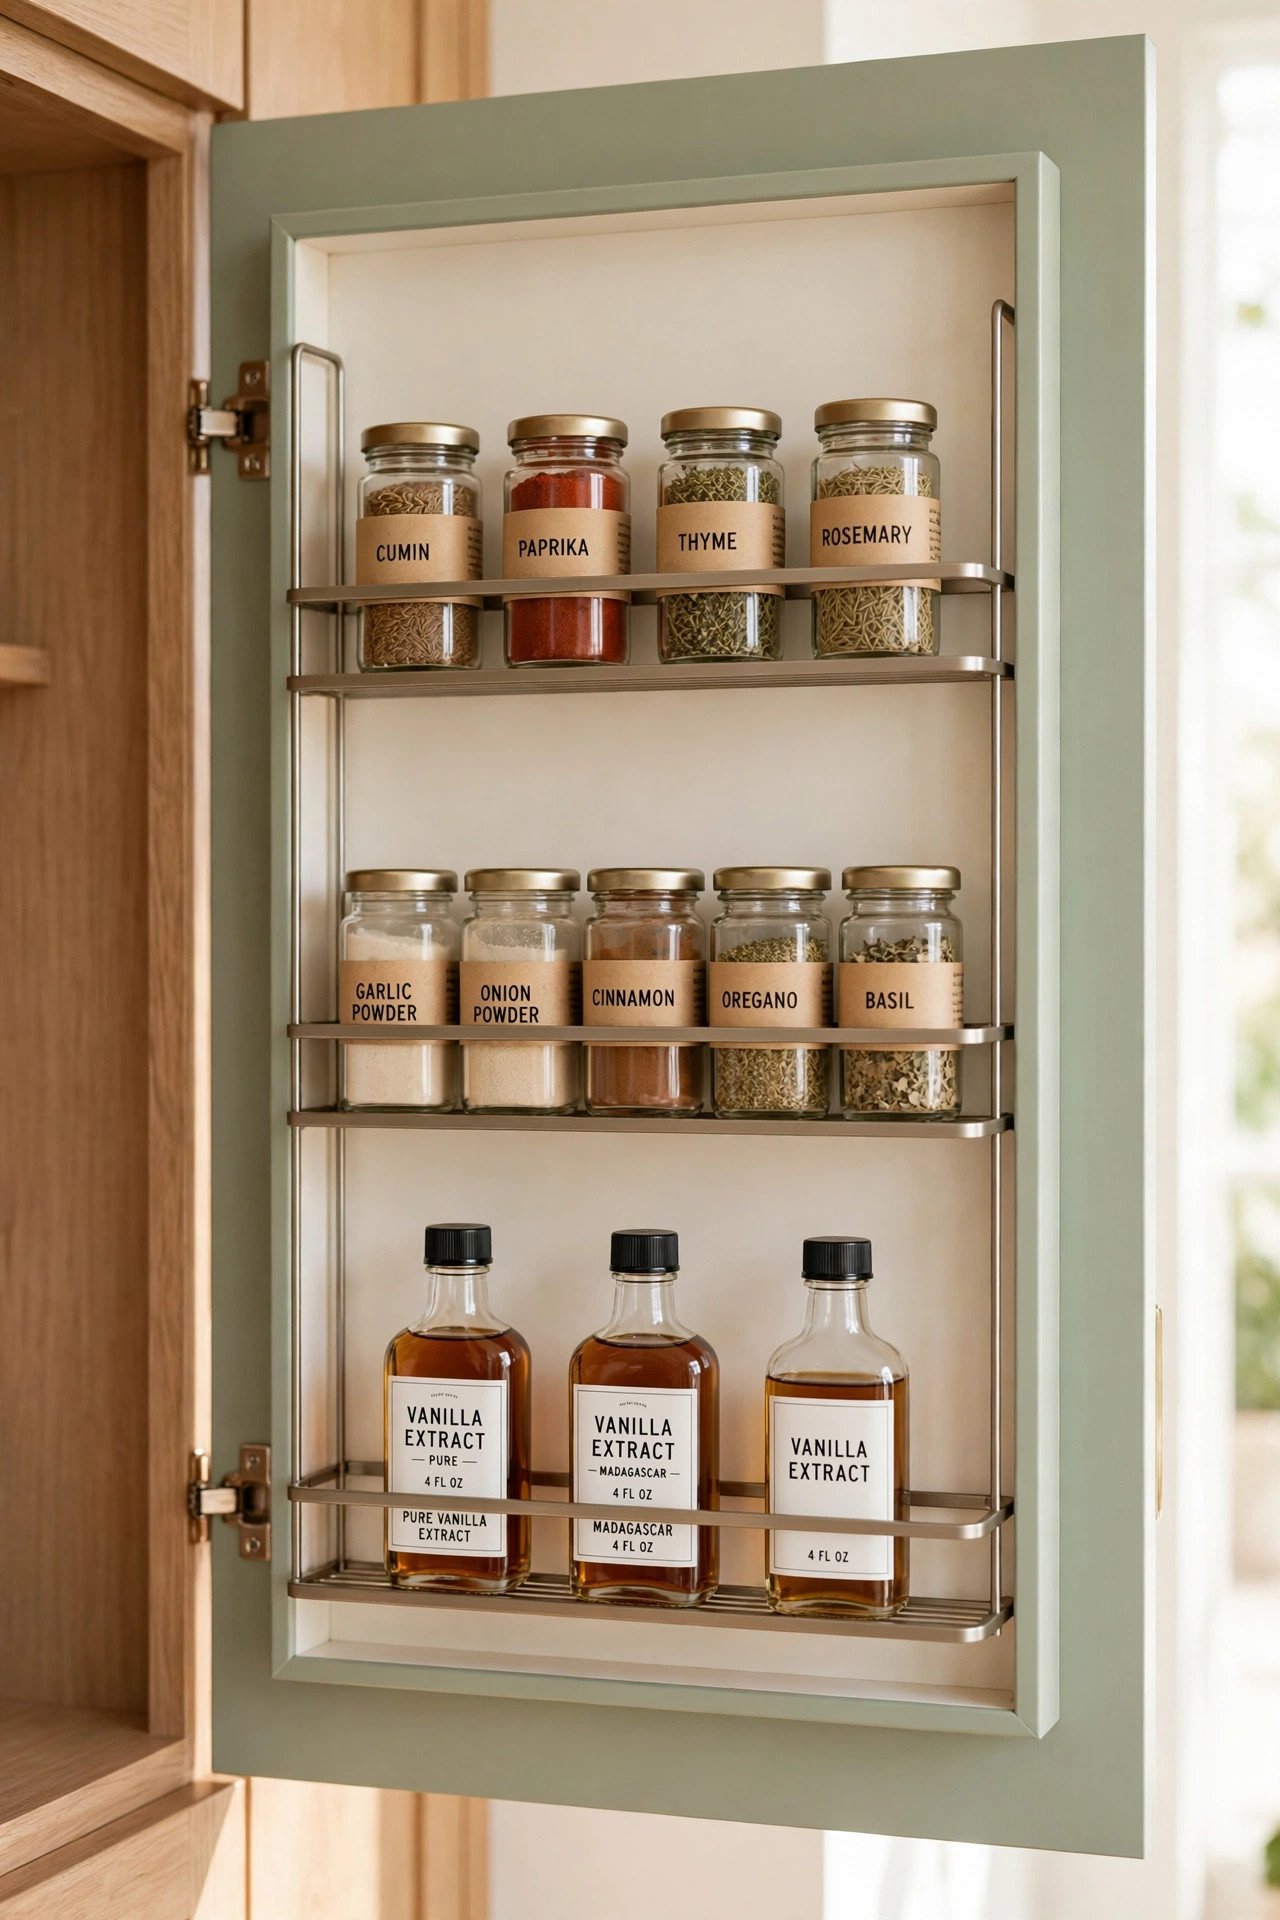
The inside of a cabinet door is wasted space until you give it a job. Slim racks mounted there hold vanilla, almond extract, food coloring, and small spice jars in neat rows. You gain storage without losing a single inch of shelf.
Put the flavors you reach for most at eye level, and group holiday extracts together. Matching small bottles look polished, and most door racks install with just a few screws. If your spice collection keeps growing, our spice drawer ideas can help you expand the system.
12. Nest Mixing Bowls in One Dedicated Cabinet
Give your mixing bowls one home instead of scattering them across the kitchen. Nest them by size with lids stored upright beside them, and the whole cabinet stays tidy. Grabbing the right bowl becomes a one-motion task.
Choose bowls in soft colors or a coordinated set for a pleasing look every time you open the door. Place the largest bowls on the bottom and the smallest on top for safe, easy lifting. Basic nesting sets are budget friendly and last for years.
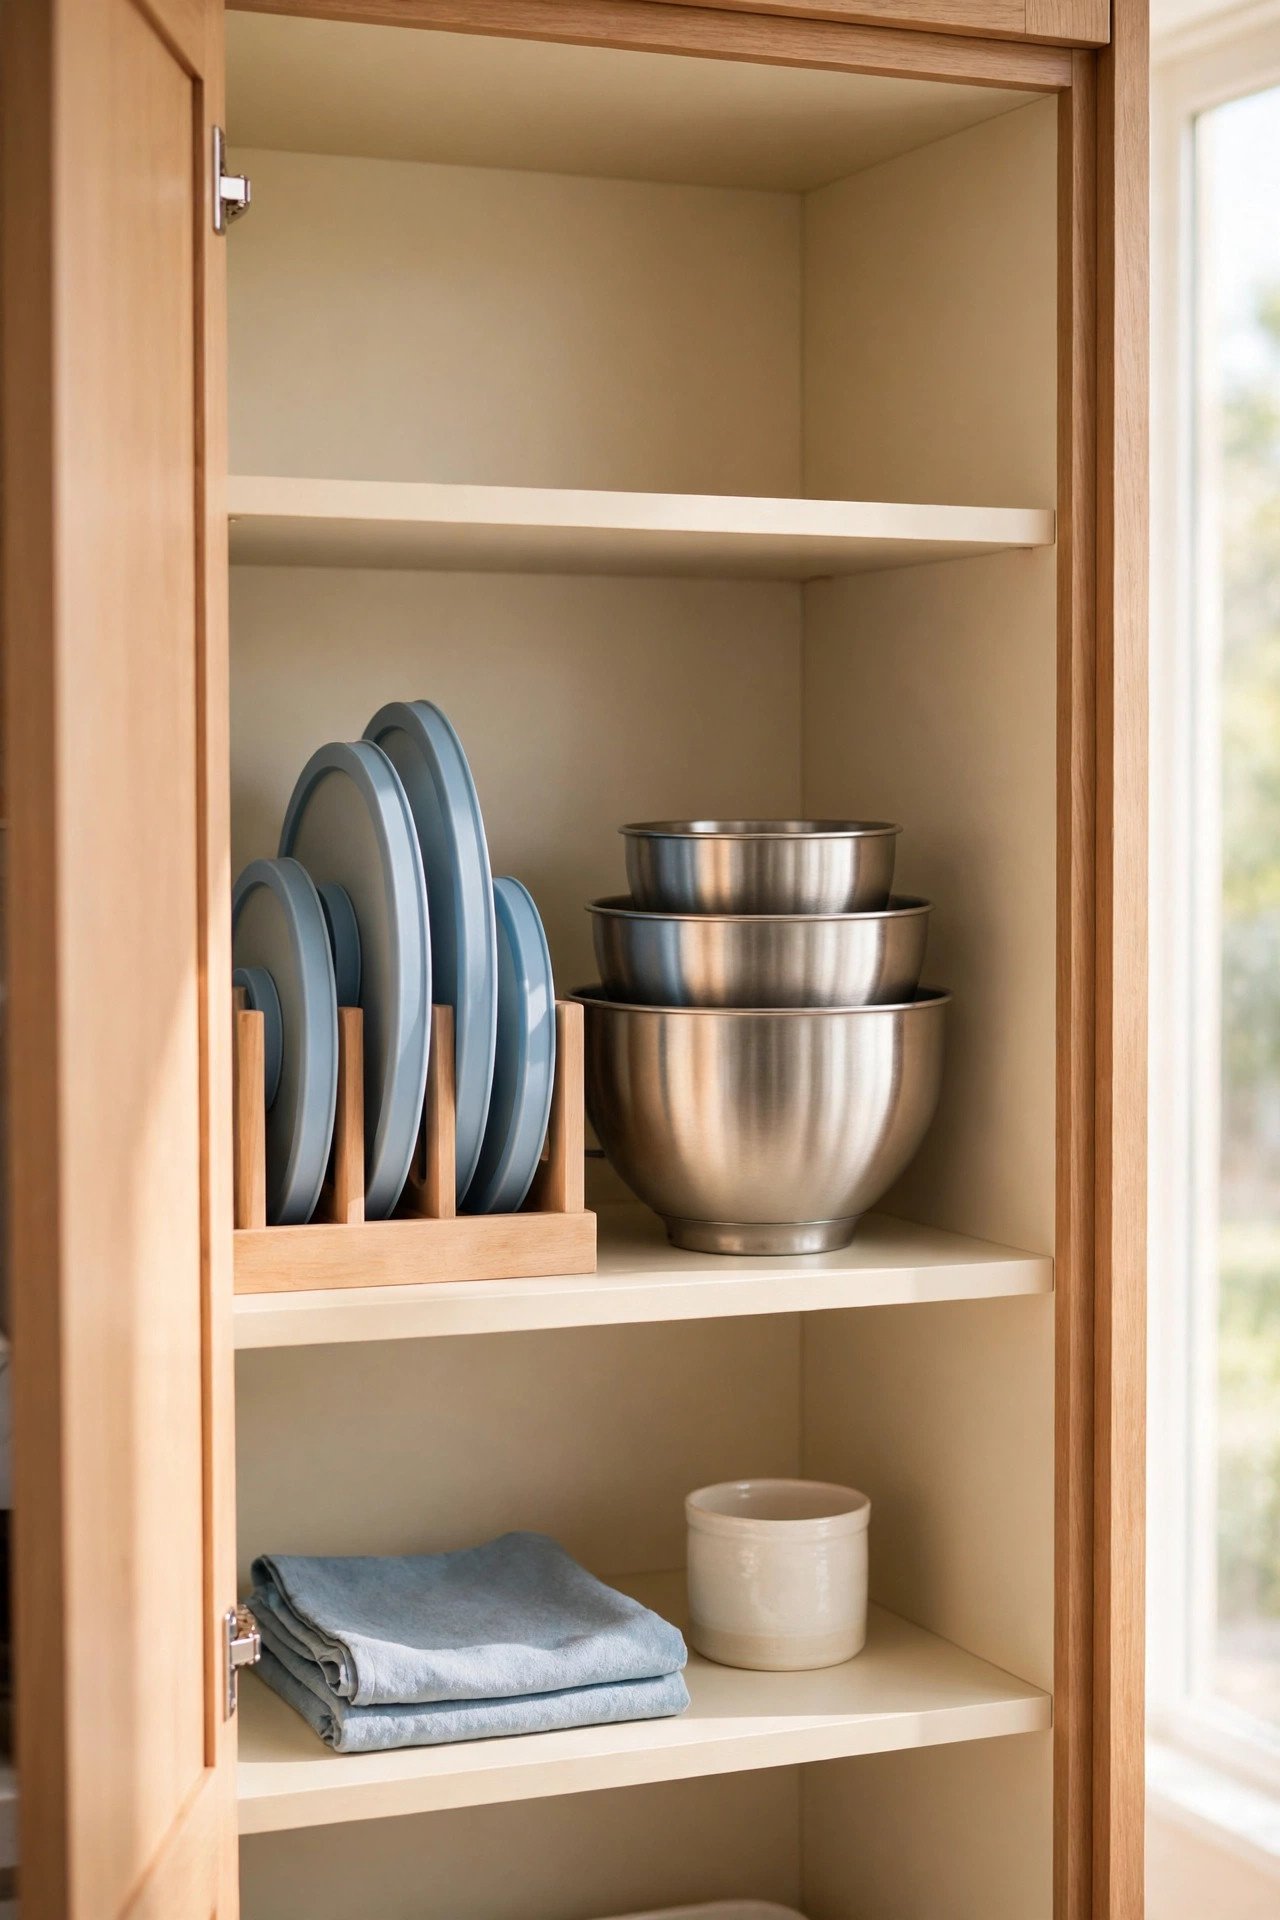
13. File Baking Sheets in a Slim Slide-Out Tower
Baking sheets, muffin tins, and cooling racks stack badly and slide noisily. A slim tower lets them stand upright like files, so you pull out exactly the pan you need. It fits in the narrow gap beside the fridge or inside a thin cabinet.
Build the tower with simple dividers or buy a ready-made insert sized to your pans. Label each slot if your collection is large. Thin pans that once caused chaos become the easiest items in your kitchen to grab.

14. Stick Metal Tools to a Magnetic Wall Strip
A magnetic strip on the wall holds biscuit cutters, mini whisks, and pastry scrapers in a clean modern line. Small metal tools stop disappearing into drawers, and cleanup takes seconds. The strip frees drawer space for everything else.
Mount it near your mixer or prep area so tools live where you actually use them. Arrange pieces by size or match the metal finishes for a neat look. Most strips cost very little and install in minutes.

15. Group Baking Basics in Labeled Pantry Bins
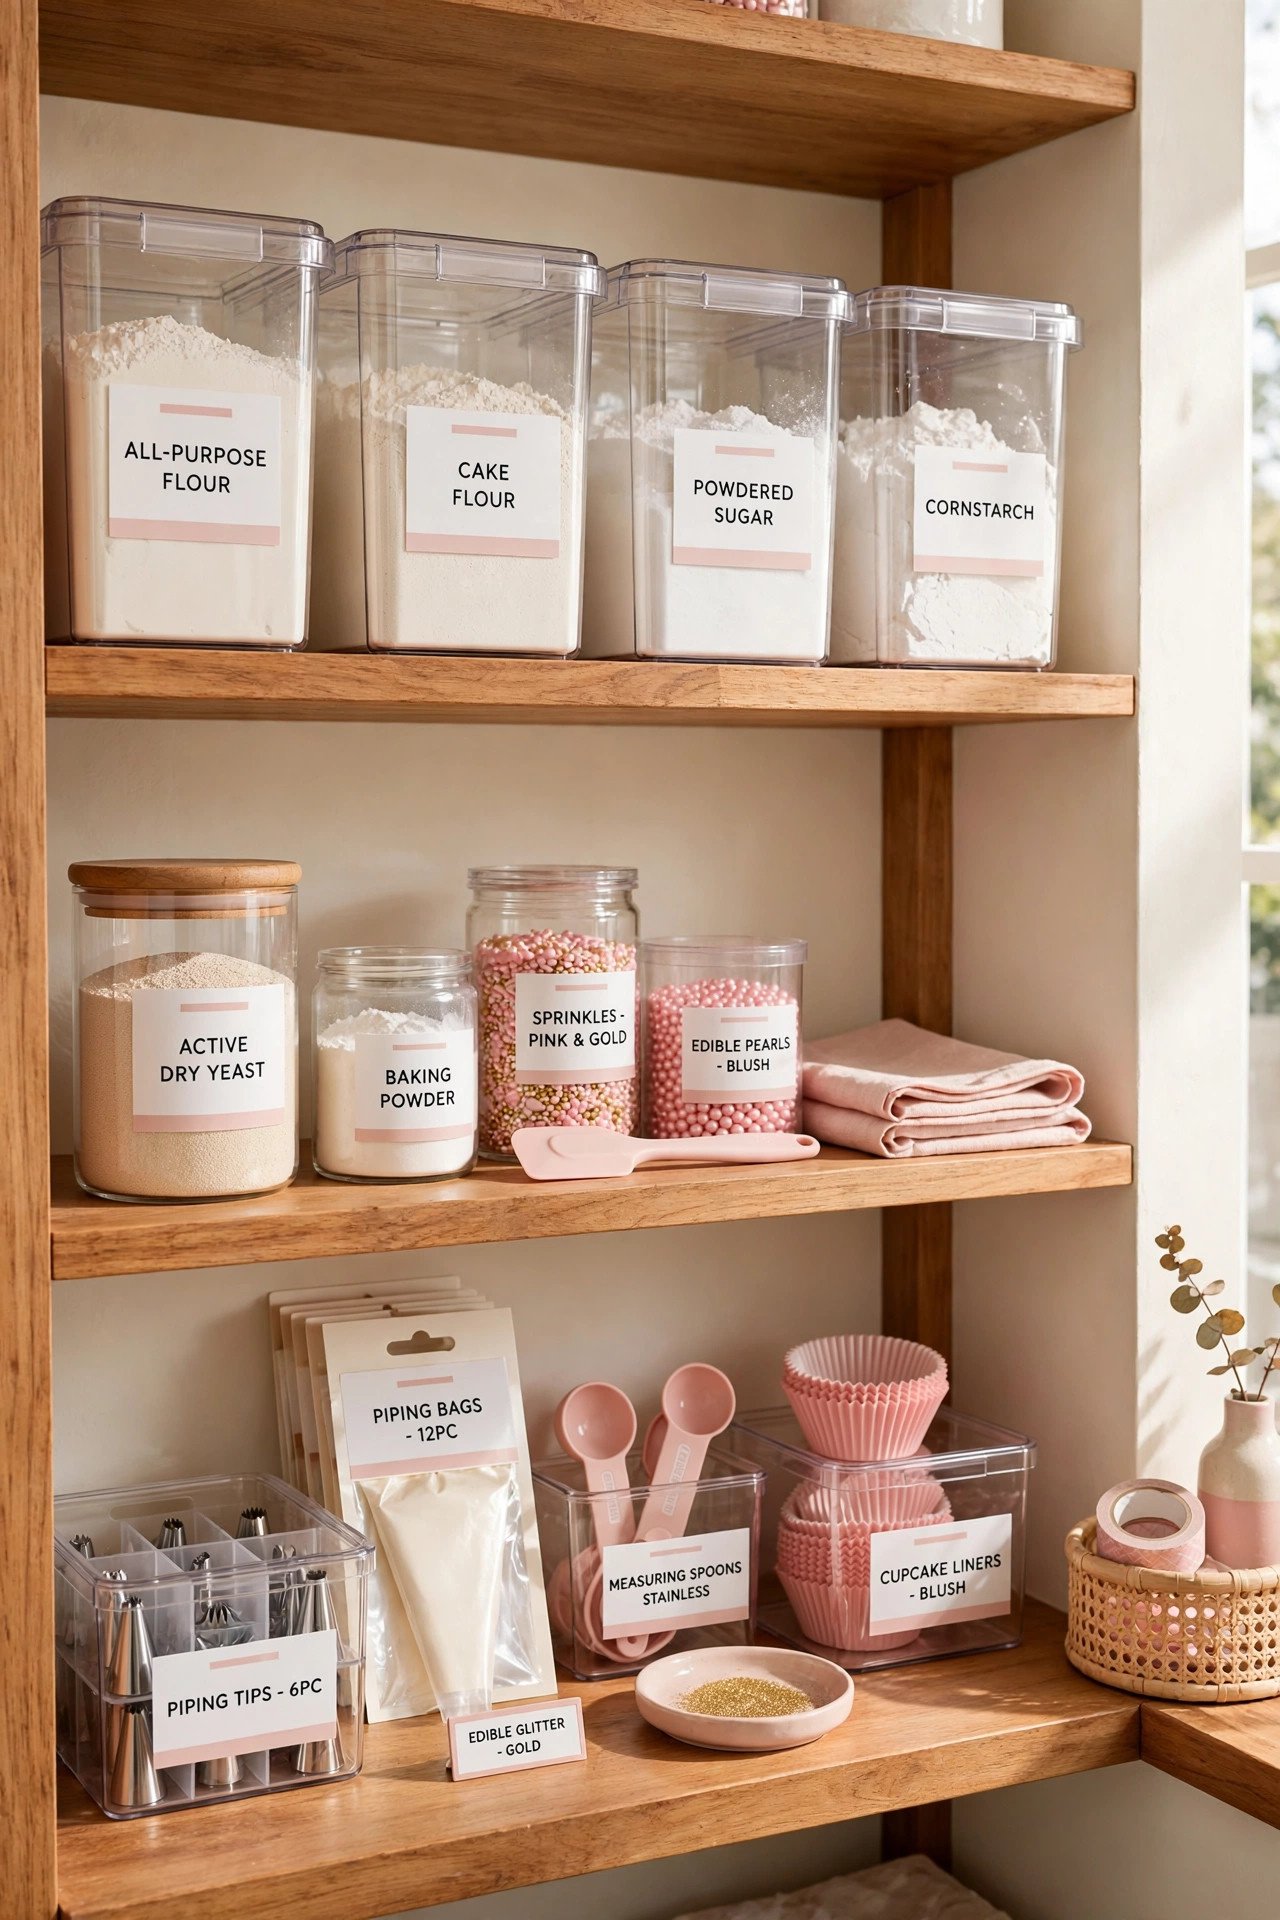
Clear pantry bins gather all your baking basics into one easy zone. Flour, yeast, liners, and decorating supplies stay grouped, so you can pull the whole bin out when a recipe starts. Everything returns to the same spot when you finish.
Printed labels make the system obvious to everyone in the house, which keeps it tidy long term. For more ways to zone a pantry, see our deep-shelf pantry ideas. When each bin has a clear purpose, restocking becomes simple.
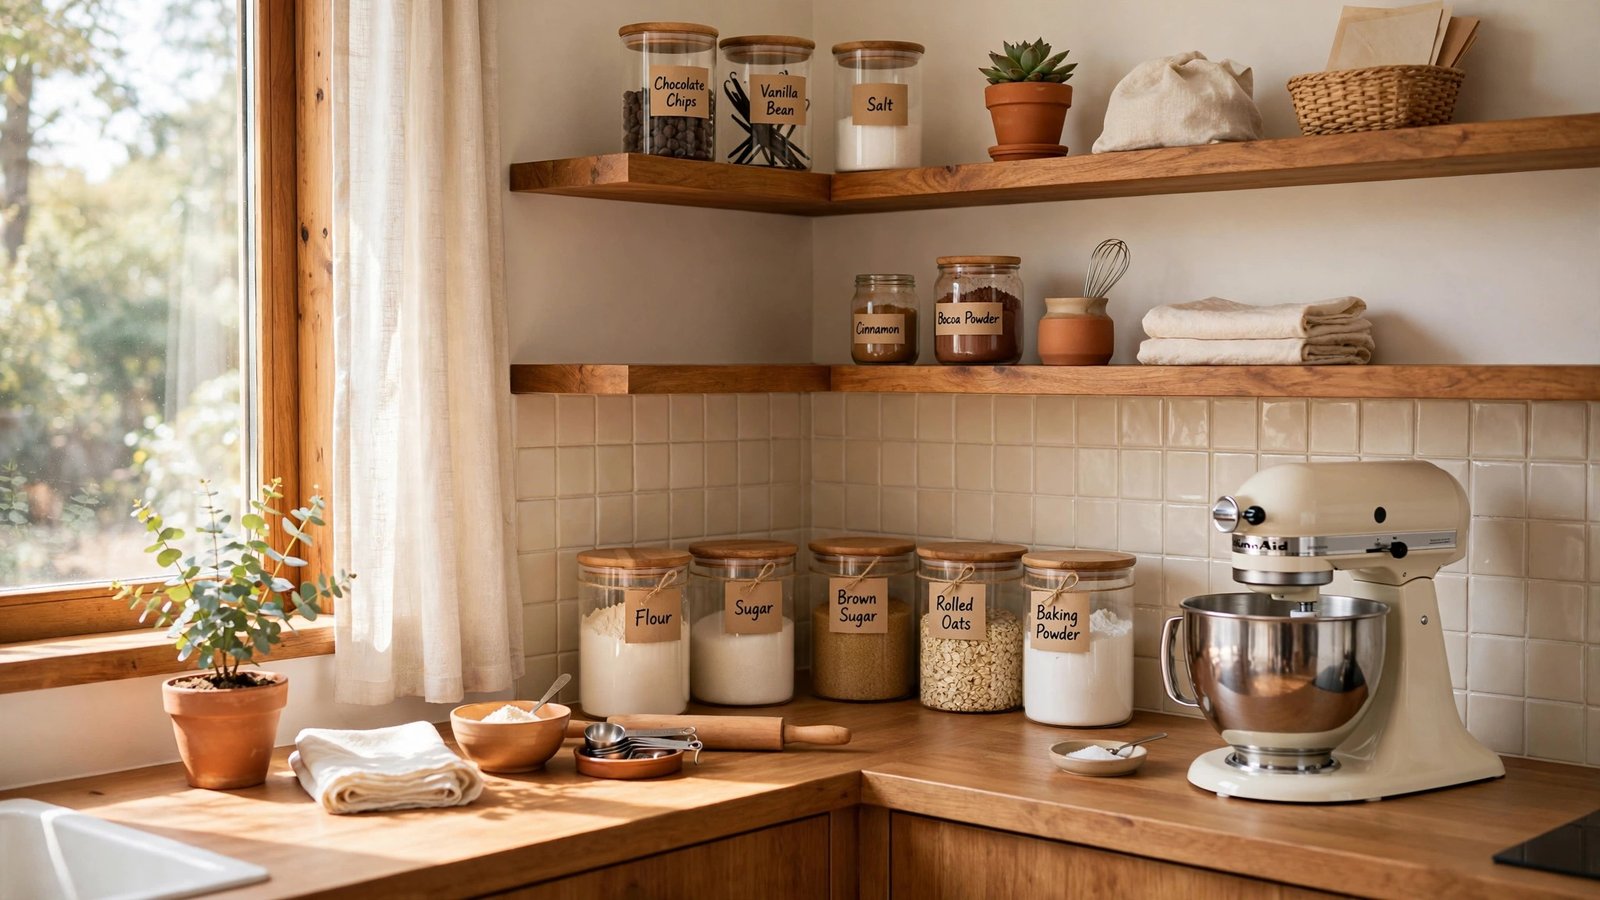
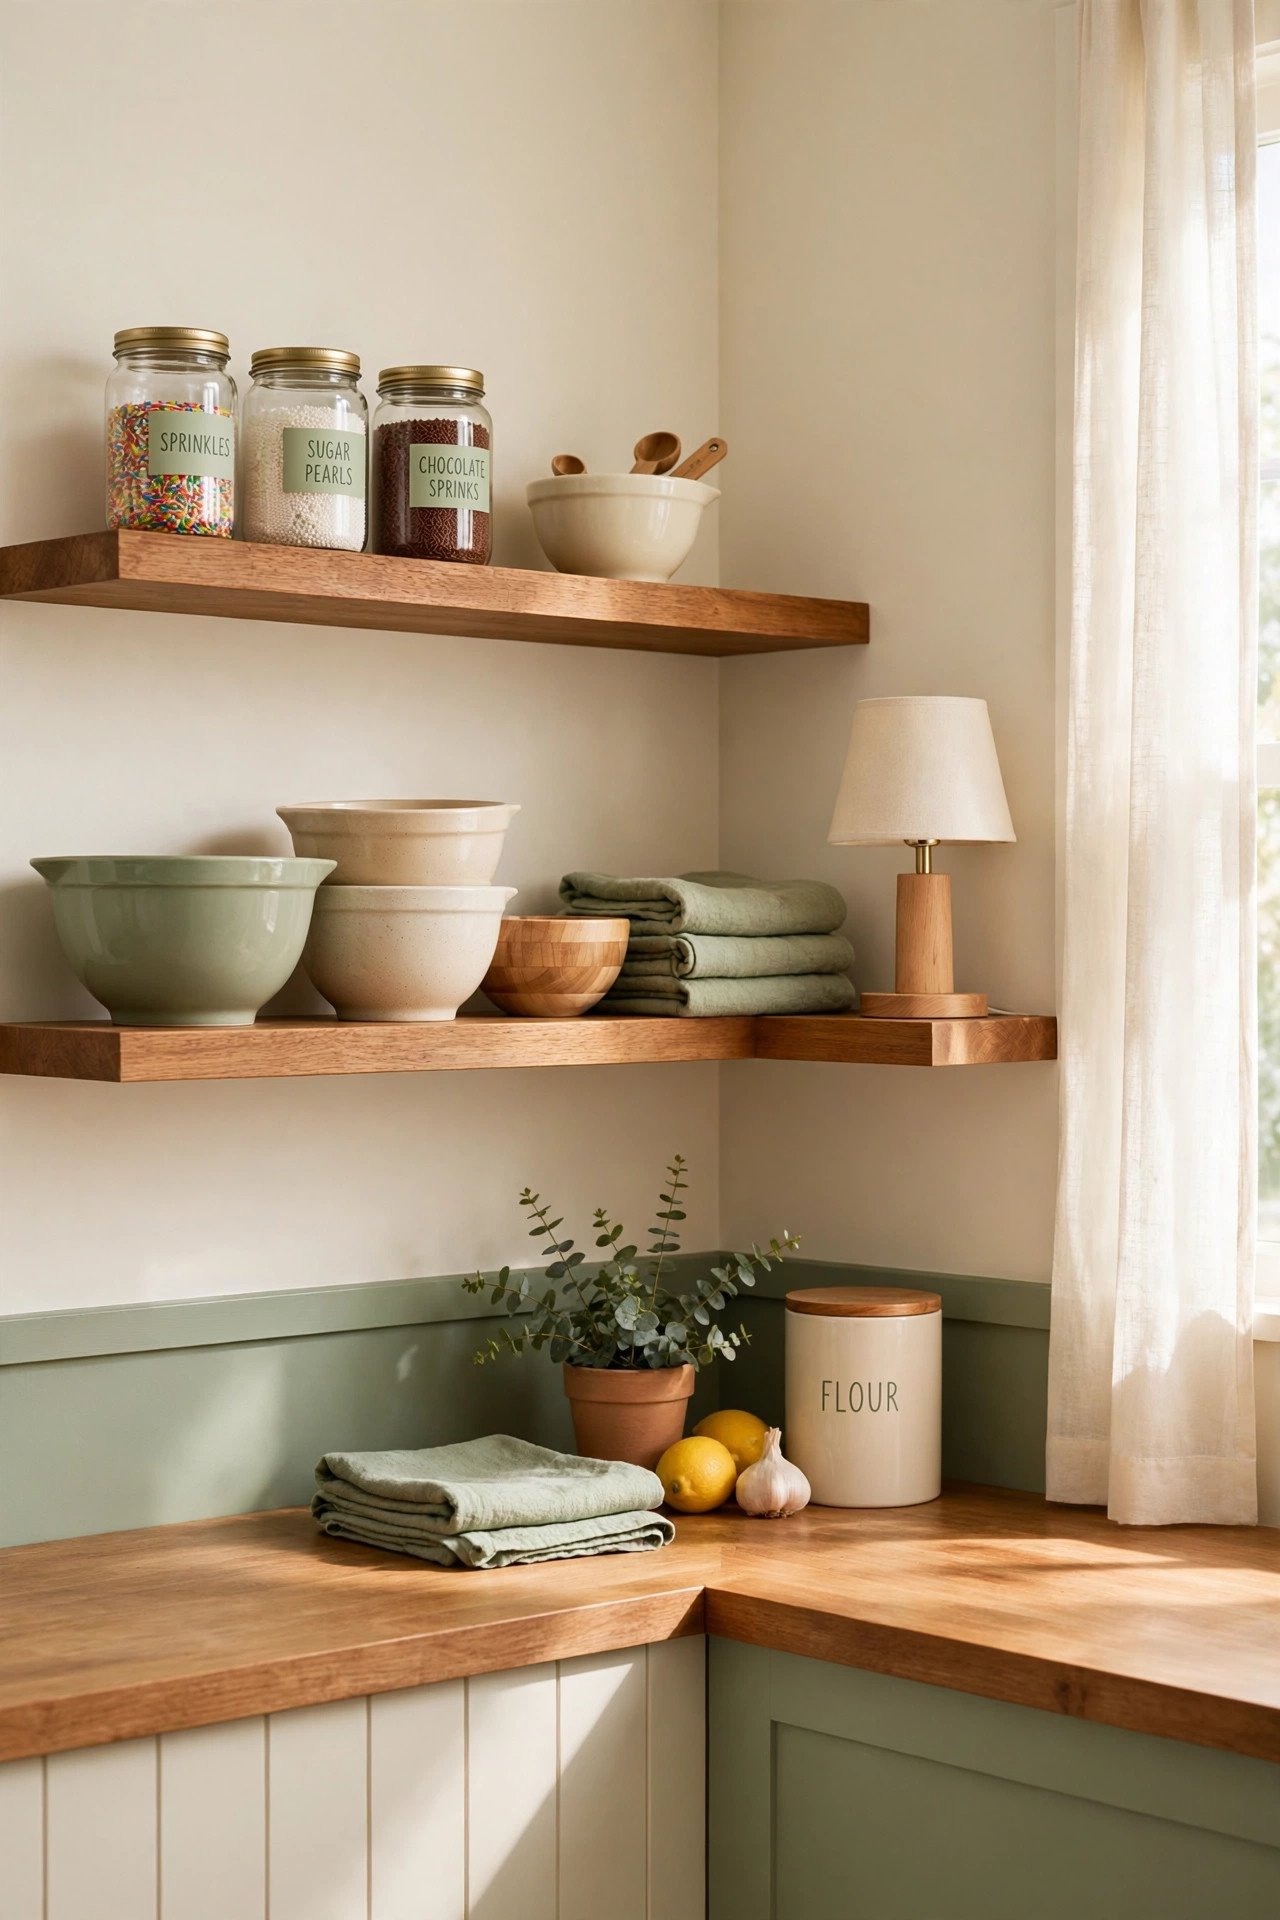
16. Turn a Corner Into a Floating-Shelf Baking Nook
An awkward kitchen corner can become your favorite baking spot with two floating shelves. Use them for mixing bowls, sprinkles, folded towels, and a small lamp that makes the nook feel cozy. Dead space turns into a useful little stage.
Keep the top shelf for display and the lower shelf for daily items so the nook stays both pretty and practical. Style it slowly with favorite mugs or recipe cards. A pair of simple shelves costs little and changes how the whole corner feels.
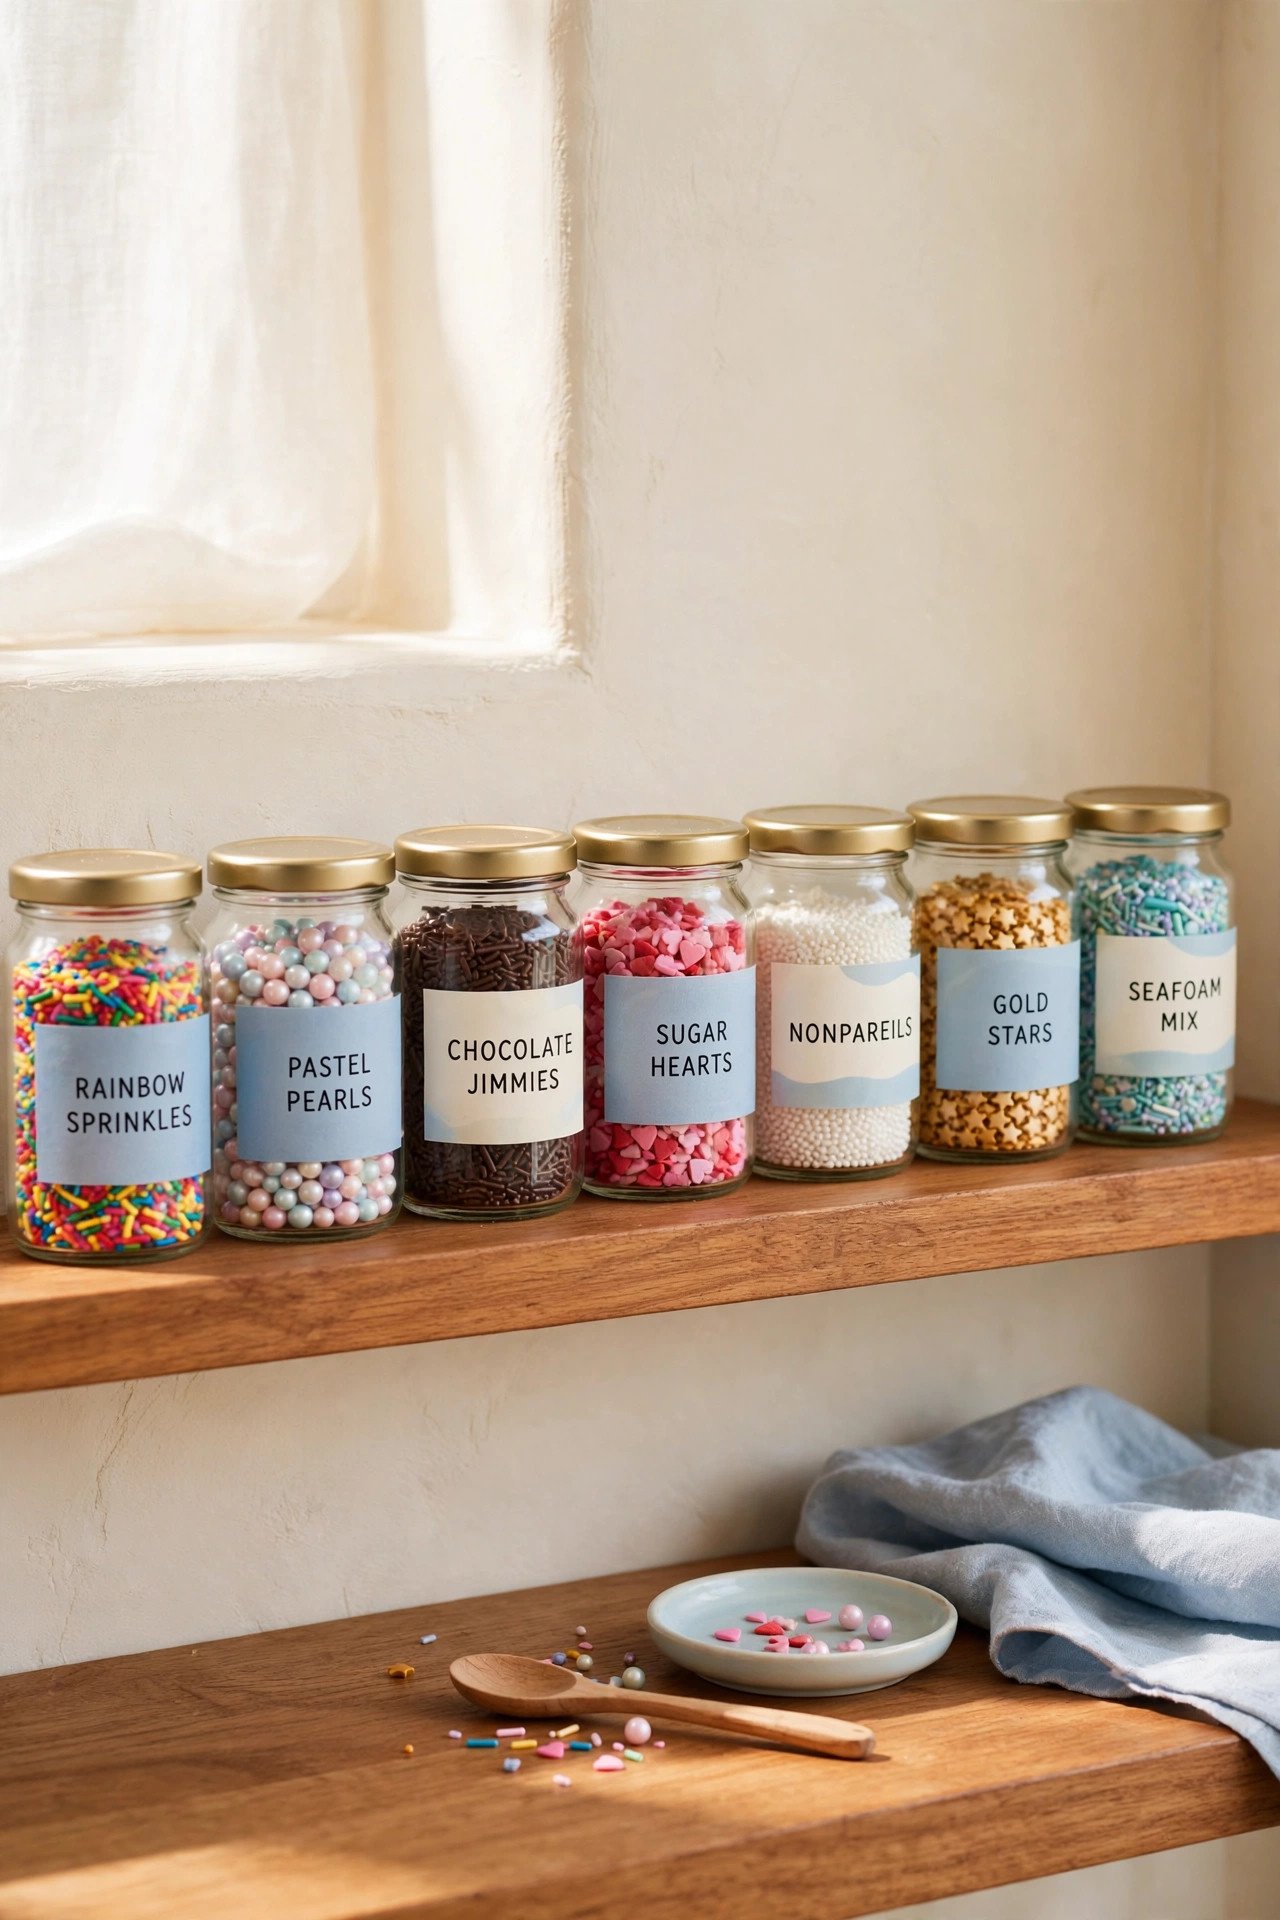
17. Decant Sprinkles and Toppings Into Small Labeled Jars
Sprinkle bottles and topping bags come in all shapes, which makes them hard to store neatly. Pour them into small matching jars with printed labels, and the whole collection lines up like a candy shop. You will see every color at a glance.
Use jars with shaker lids if you decorate cakes often, so you can sprinkle straight from storage. Group them by occasion, such as birthday brights and holiday metallics. Small jars also stop half-open bags from spilling across your shelves.
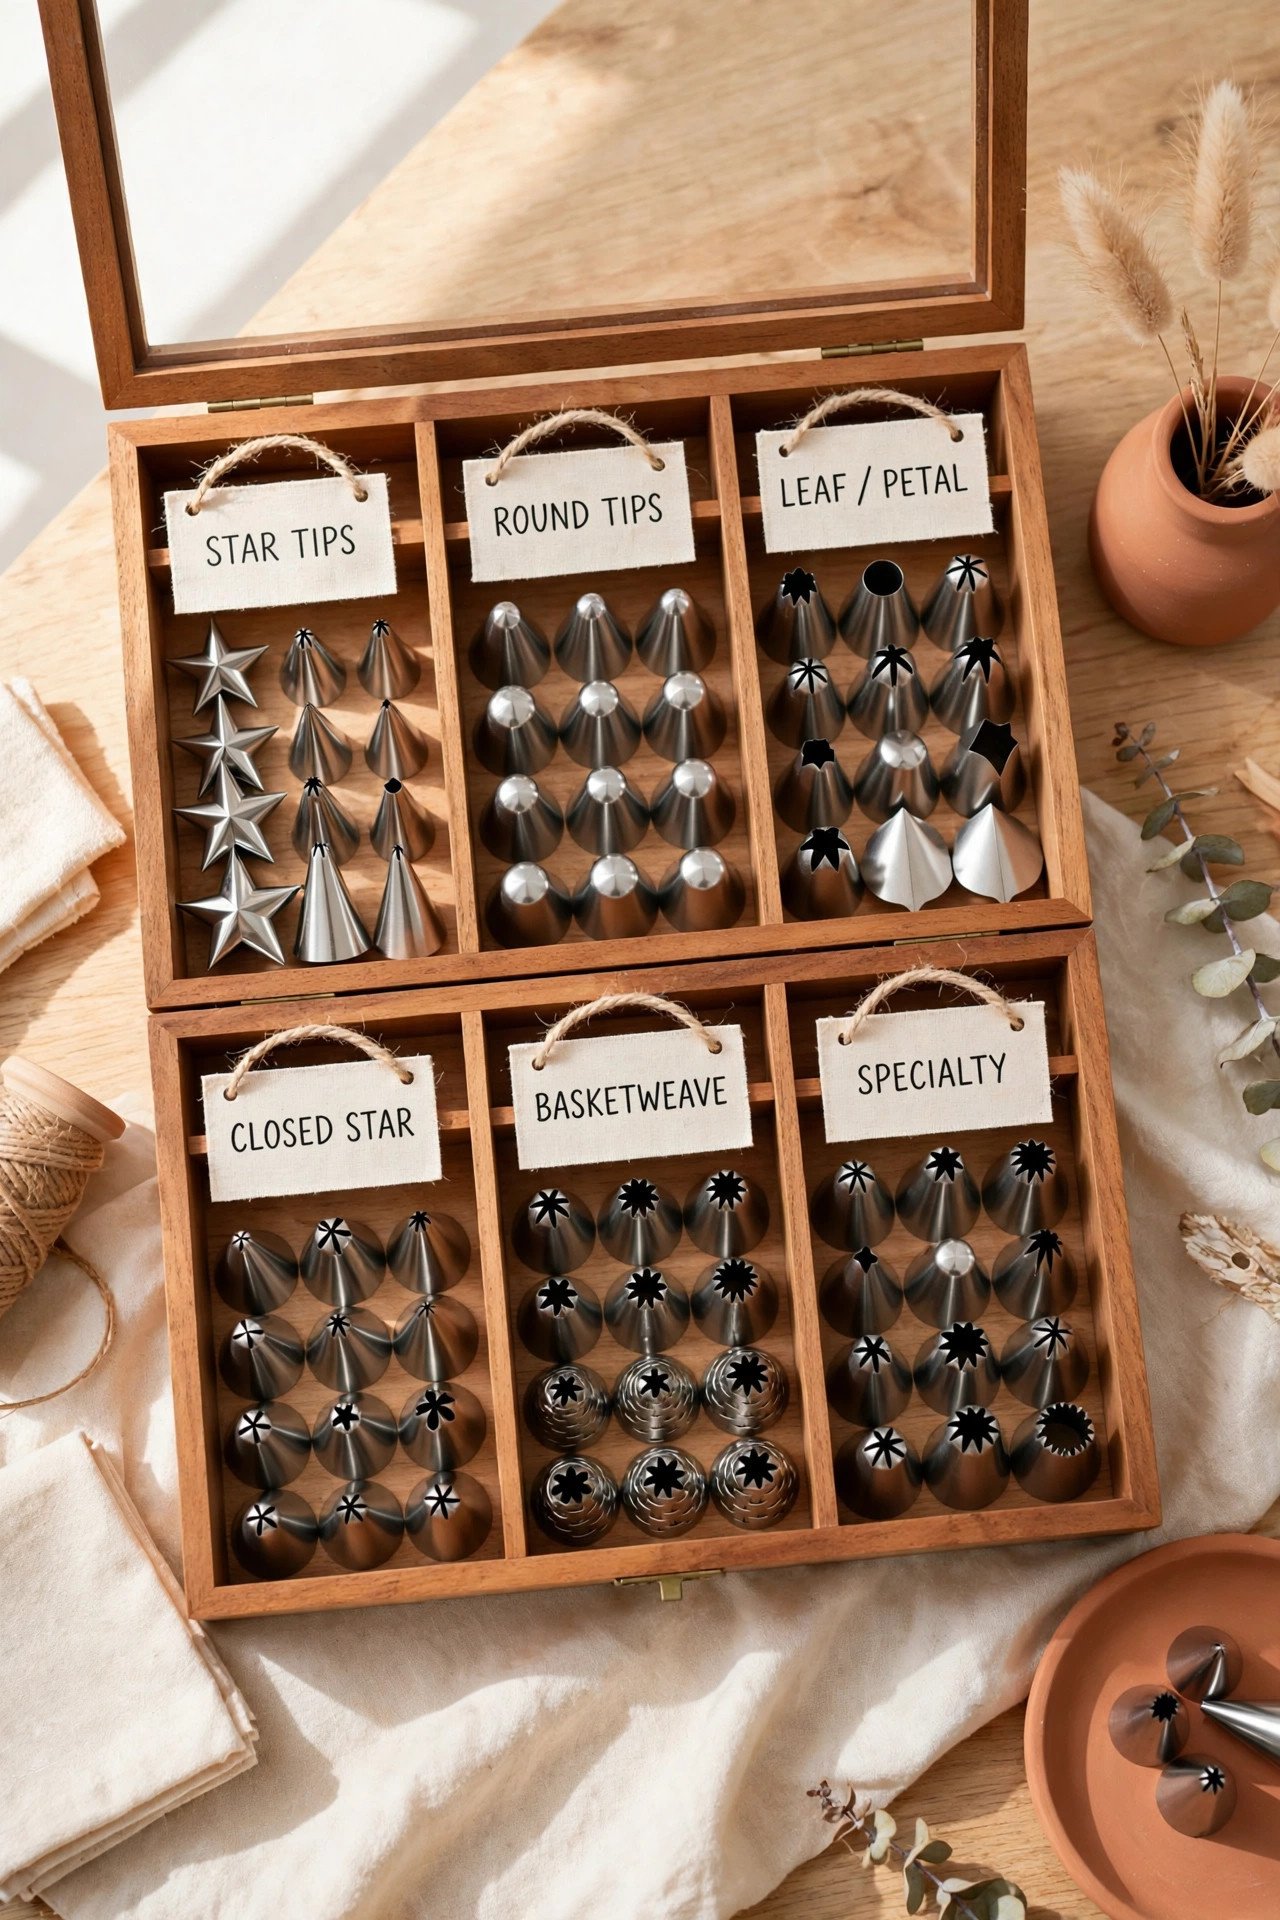
18. Keep Piping Tips Sorted in a Divided Craft Box
Piping tips are tiny, and a jumbled bag of them slows down every decorating session. A divided craft box gives each tip its own compartment, sorted by shape or size. You can find the exact tip you need without dumping the whole set.
Label the lid with a quick chart of which tip makes which pattern. Store couplers and small brushes in the larger end compartments. The box stacks neatly on a shelf and travels easily to a friend’s kitchen for group baking days.
19. Hang Measuring Cups Inside the Cabinet Door
Measuring cups and spoons are used in nearly every recipe, so they deserve prime real estate. Small hooks inside the cabinet door keep the full nested set hanging in order. They never rattle around in a drawer again.
Hang them from largest to smallest so you can grab the right size instantly. This trick works best on the cabinet closest to your mixing area. The cups stay clean, visible, and ready the moment you start measuring.

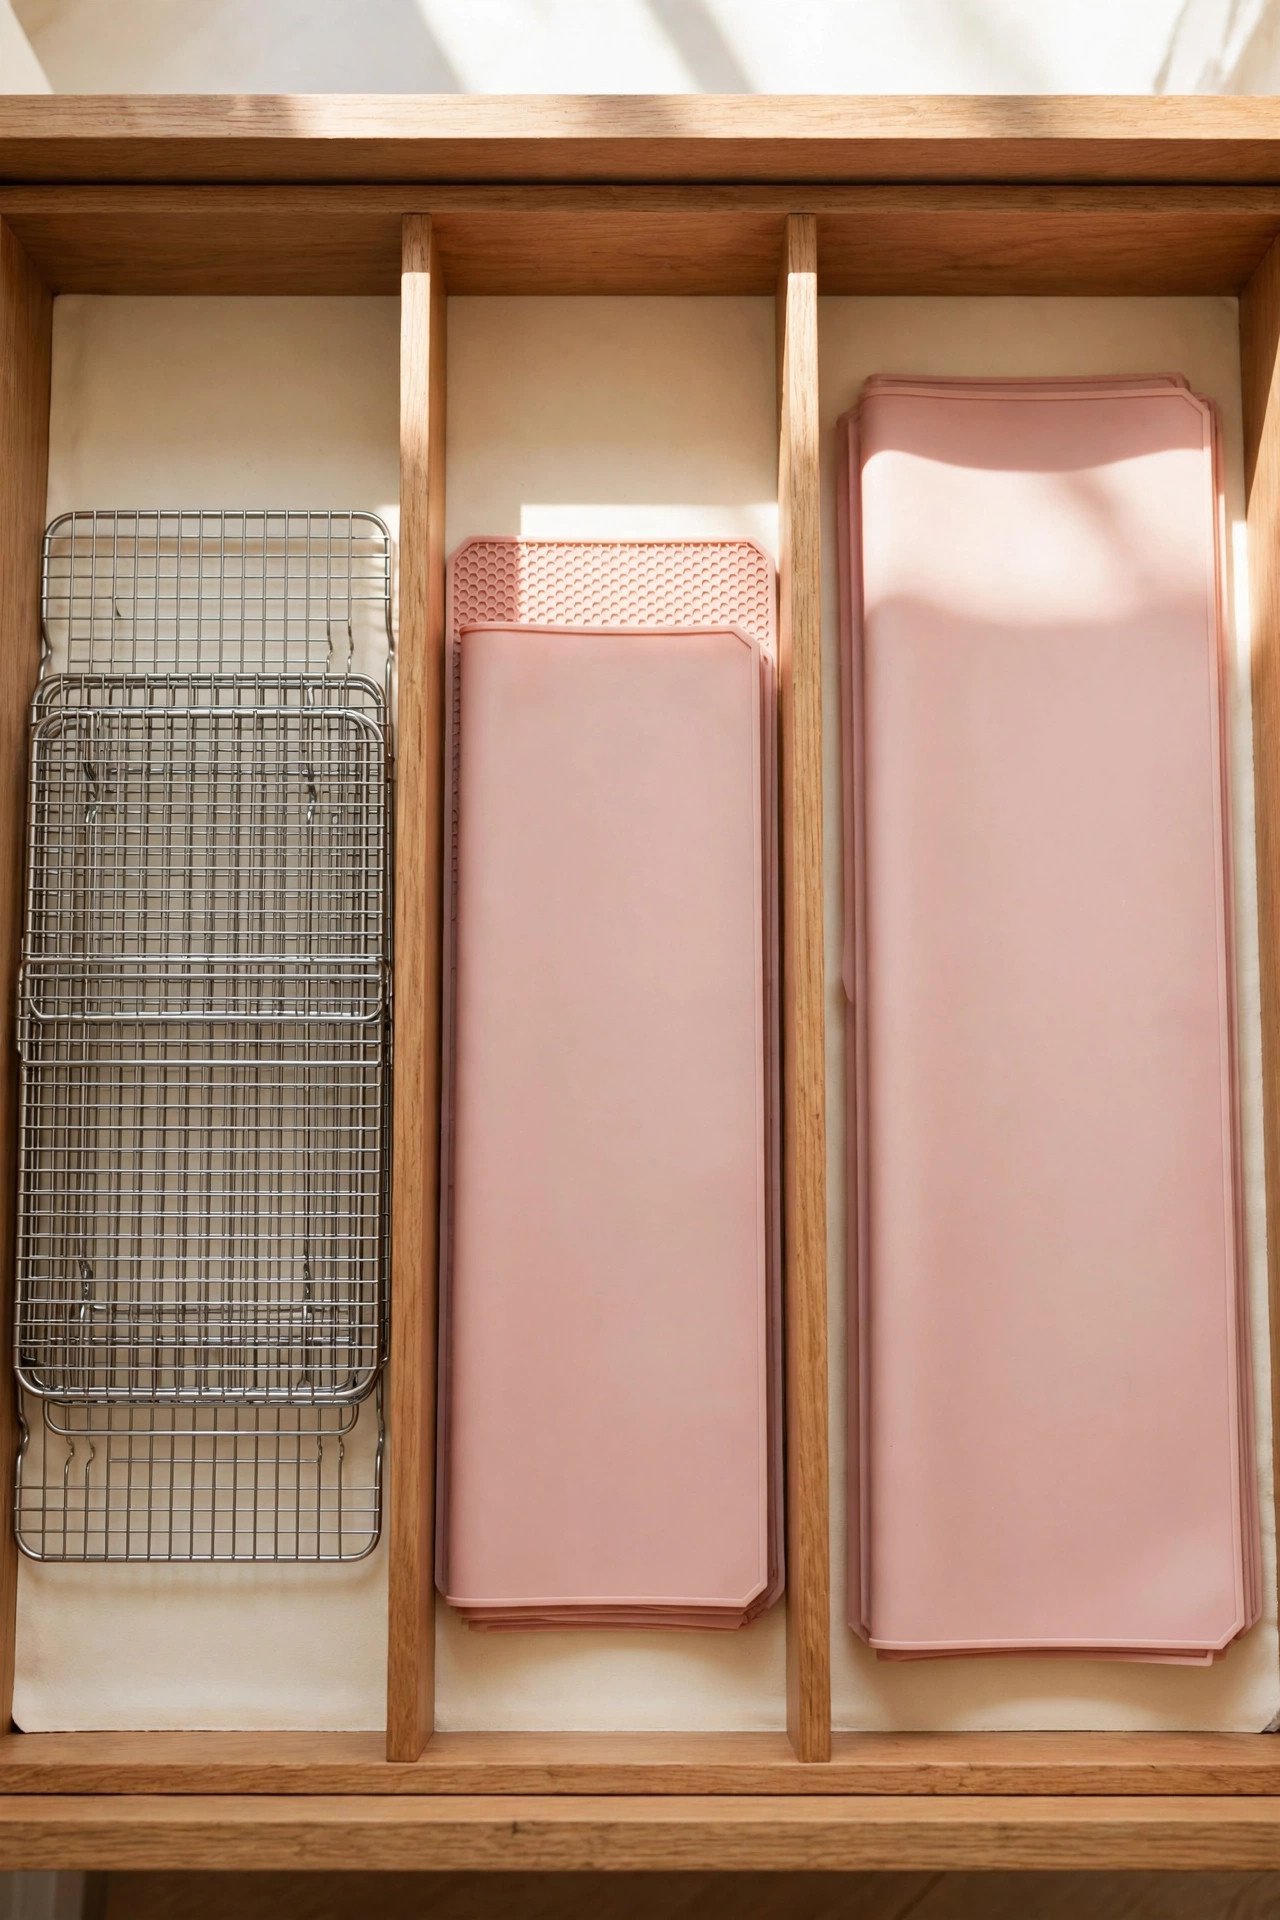
20. Dedicate One Drawer to Cooling Racks and Liners
Cooling racks, silicone mats, and parchment sheets are flat and awkward, which makes them drawer bullies. Give them one wide, shallow drawer of their own, and the bullying stops. Everything slides out flat and stacks back just as easily.
Use a file-style divider to keep racks upright and separated by size. Roll silicone mats instead of folding them so they lie flat next use. Keeping these flat tools together protects them from warping under heavier items.
21. Stash Bulk Bags in Sealed Floor-Level Bins
Bulk bags of flour and sugar are too big for shelves and too heavy to lift often. Wide sealed bins at floor level inside a base cabinet solve the problem. You scoop what you need without hauling a twenty-pound bag onto the counter.
Choose bins with locking lids to keep everything fresh and pest free. A printed label on the front tells you the contents and the date you opened it. Floor-level storage turns bulk buying into a convenience instead of a chore.

Conclusion
A clutter-free baking zone is not about owning more containers. It is about giving flour, tools, and pans a logical home so every recipe starts smoothly. Choose the ideas that fit your kitchen today, and add more as your baking grows.
You will notice the difference the very next time you preheat the oven. With supplies sorted and within reach, baking feels like play again instead of work.
Frequently Asked Questions
Where should I store baking supplies in a small kitchen?
Give baking supplies one dedicated zone, such as a single cabinet, a rolling cart, or a wall pegboard above the counter. Keep flour and sugar in pull-out bins, hang tools where you can see them, and store pans upright in a slim tower. One clear zone beats scattered storage every time.
How do I keep flour and sugar fresh and organized?
Decant them into airtight bins or jars with printed labels showing the contents and the date you opened them. Store the bins in a deep drawer or at floor level in a base cabinet. Airtight, labeled storage keeps staples fresh and easy to find.
What is the best way to organize baking pans and sheets?
Store baking sheets, muffin tins, and cooling racks upright in a slim slide-out tower or with file-style dividers. Upright filing stops noisy stacks and lets you pull out one pan without moving the rest. A narrow gap beside the fridge works well for a tower.
How do I organize small baking tools like piping tips?
Sort tiny tools into divided boxes or drawer dividers so each piece has its own compartment. A craft box with small sections works perfectly for piping tips, while a magnetic wall strip holds metal cutters and scrapers. Grouped small tools stay visible and easy to grab.
How can renters organize baking supplies without drilling?
Use a rolling cart, tiered counter canisters, over-the-door racks, and freestanding shelves that need no screws. A pegboard on a stand or a leaning shelf also adds storage without wall damage. These portable options move with you to your next home.

Hi, I’m Emily! I turn messy corners into cozy, organized spots. DreamNestDecor is where I share simple, practical home ideas — decor, organization, and small-space solutions that work in real life, not just in photos. Every idea here is carefully researched before it’s shared.