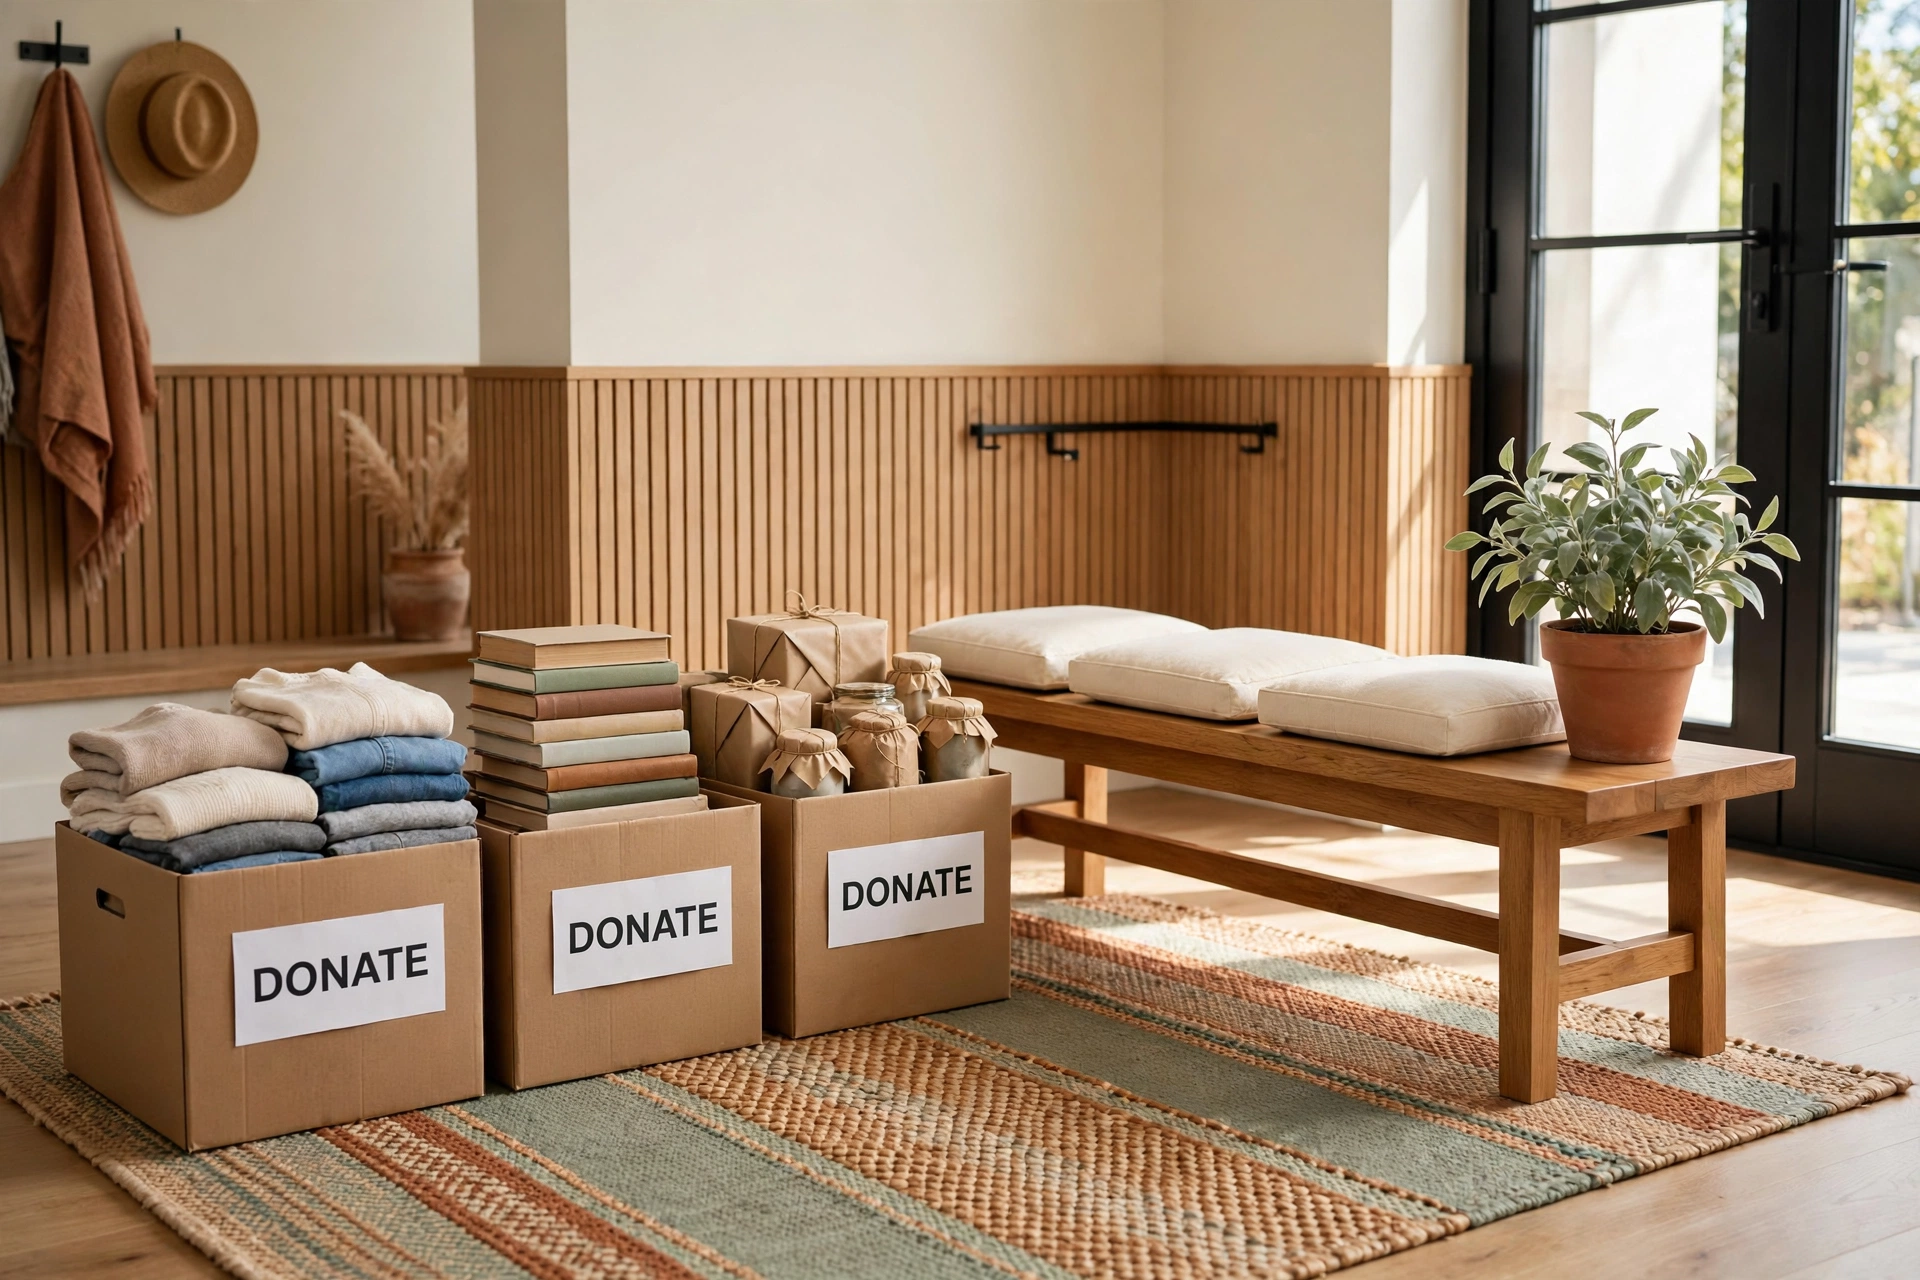
Picture this: you open a closet door and a pile of things you no longer use tumbles out, and instead of feeling defeated, you feel calm. Three labeled boxes wait nearby, a bag stands open for soft items, and every object has a clear next step. That calm feeling is what a good donation sorting system gives you, and it turns a dreaded decluttering project into a satisfying afternoon of progress.
You do not need a large home or a full weekend to sort donations well. All you need is a simple system that separates what goes, checks what is worth giving, and gets every box out the door on time. These 11 household donation sorting ideas will help you set up sort stations, label every container, check each item with care, and prepare your donations for drop-off or pickup without a single pile left behind.
1. Start With Four Clearly Labeled Sort Stations
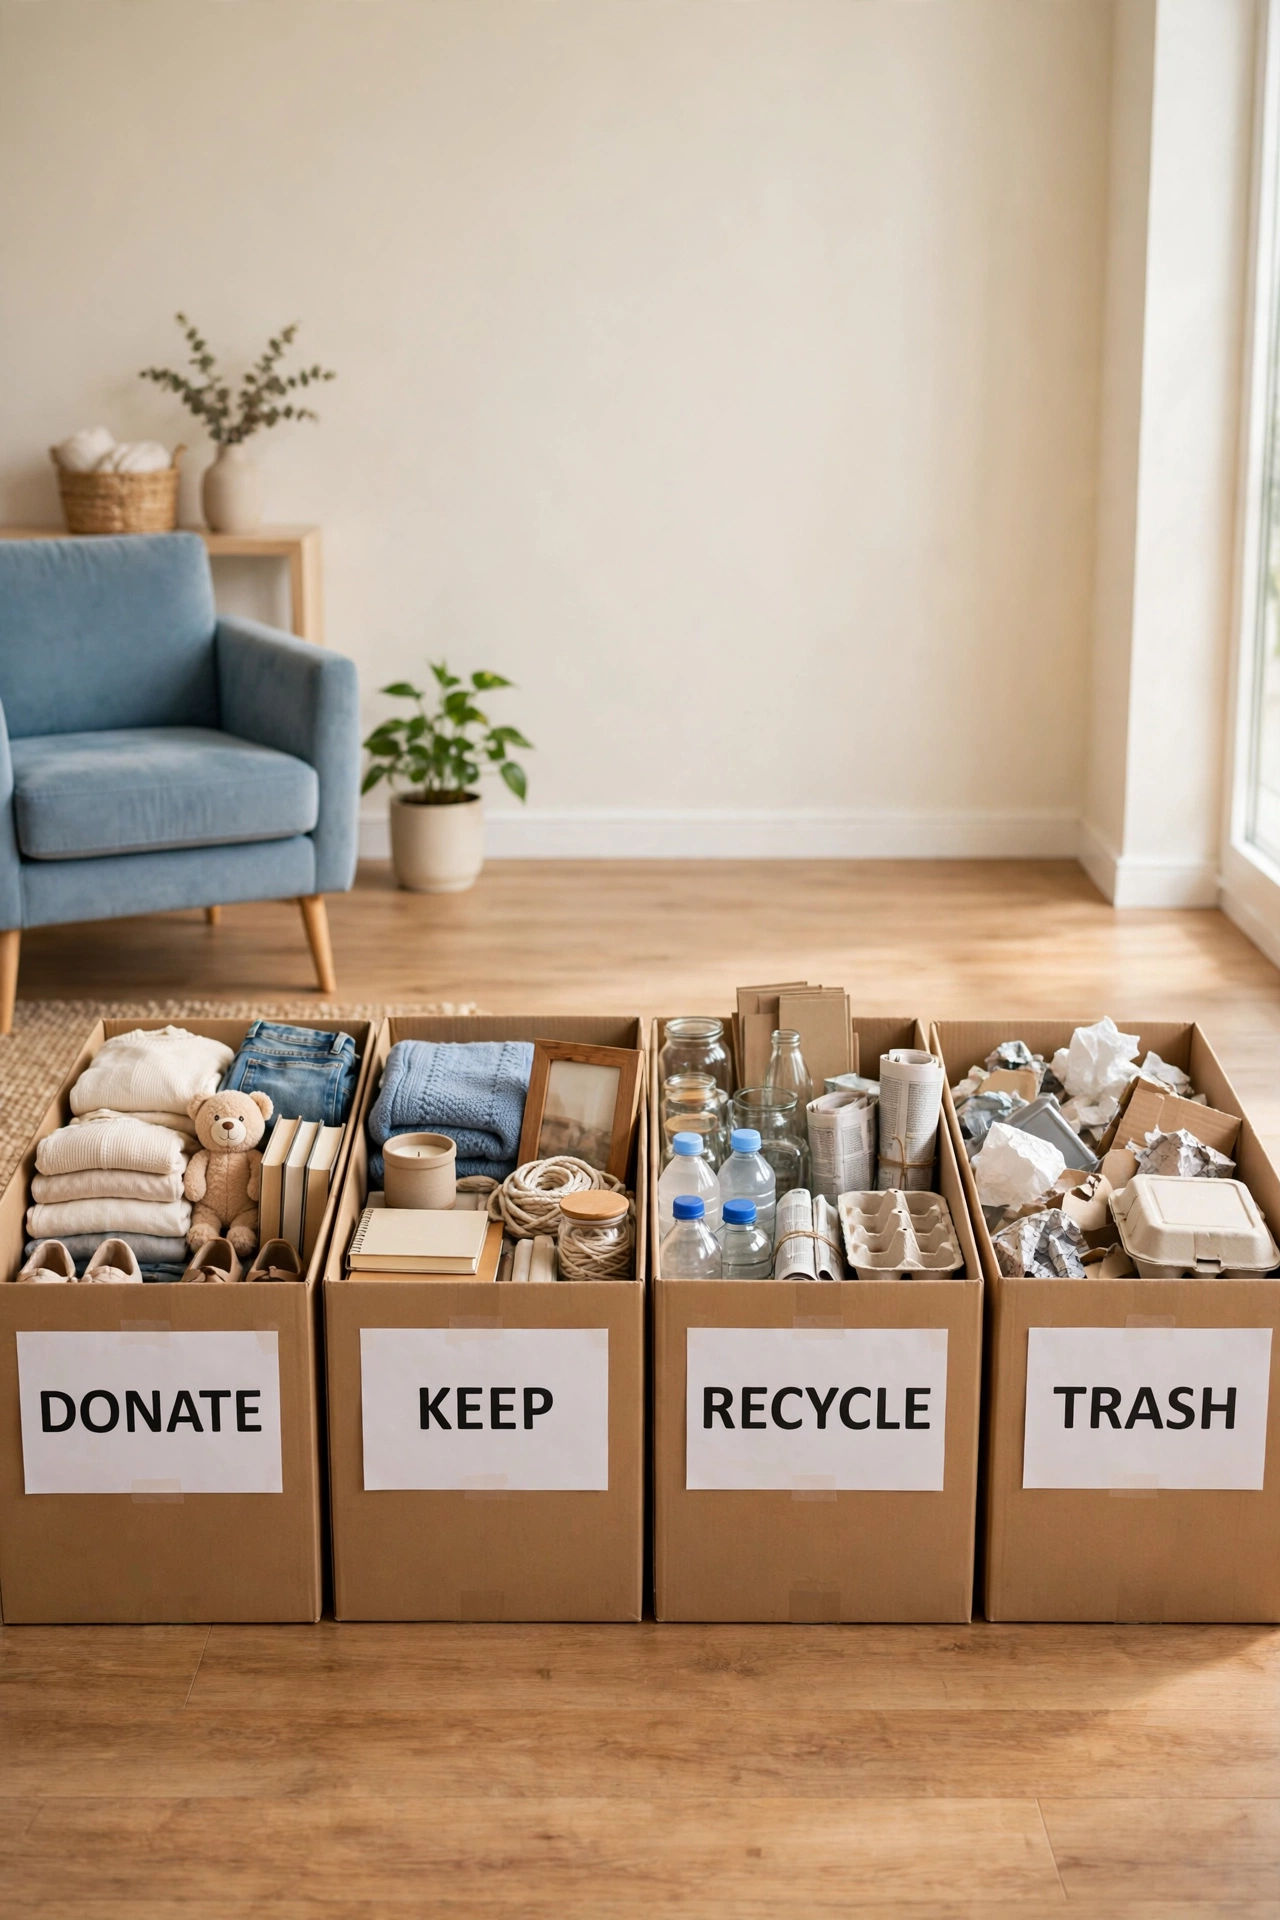
Every successful decluttering project starts with clear destinations, so set up four stations before you touch a single shelf. Label one station Donate, one Keep, one Recycle, and one Trash, and give each station its own box, bag, or marked area on the floor. When every item has a destination waiting for it, decisions become faster and the room stays tidy while you work.
Place the Donate station closest to the door, because those boxes will leave the house first and you do not want to carry them through the rest of the clutter. Use large, sturdy boxes or open bins so you can see what is inside at a glance. A simple sign taped to each station keeps everyone in the household sorting the same way, even when several people help at once.
2. Sort Donations by Category Before You Pack Anything
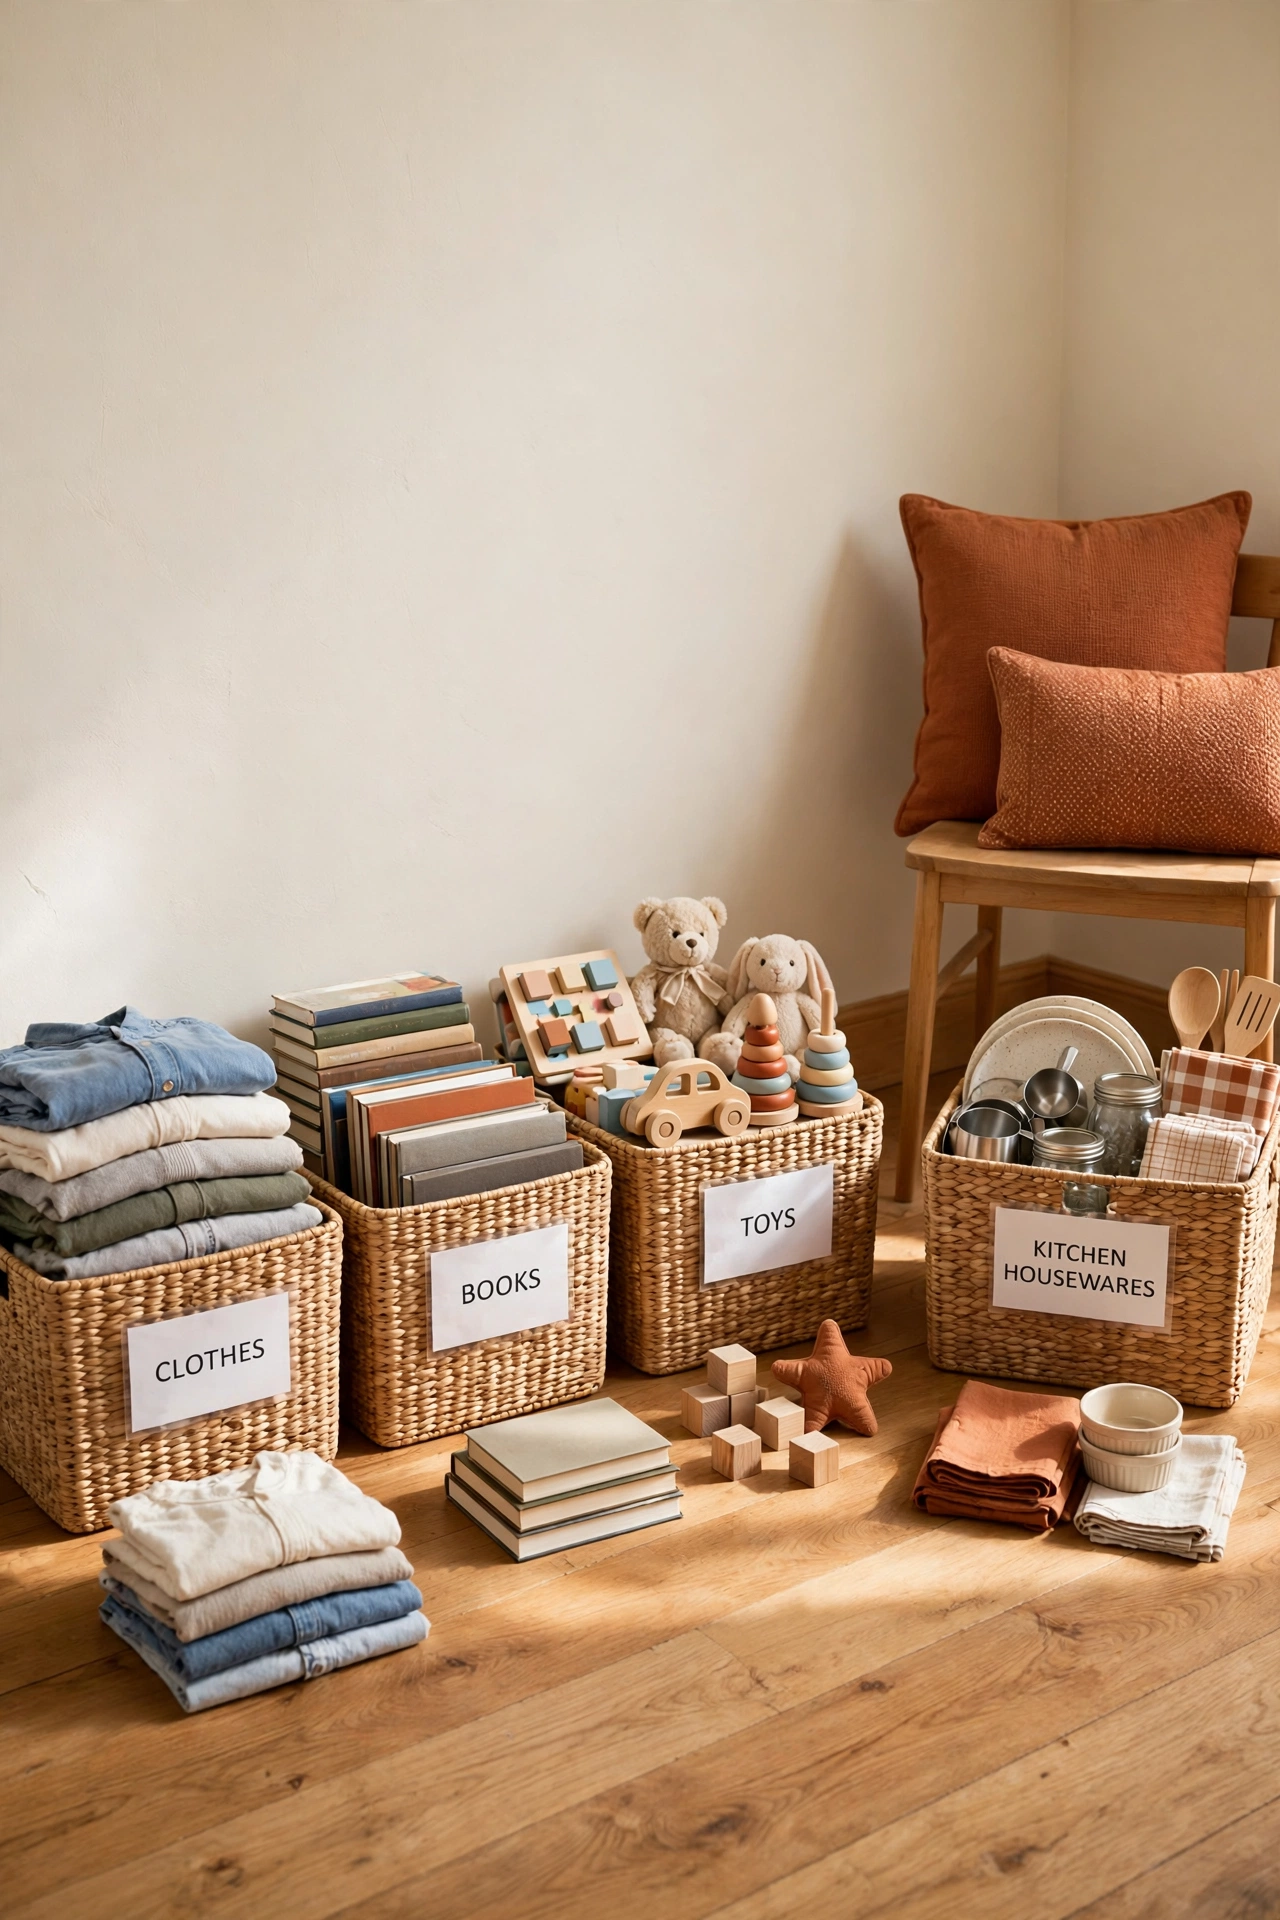
Sorting by category is the fastest way to keep donation boxes useful for the people who receive them. Instead of tossing every item into one mixed box, create a separate pile or bag for clothing, housewares, books, toys, and electronics. Category piles make packing quicker, labeling easier, and drop-off simpler, because many charities sort incoming donations the same way.
Work through one room at a time and pull out everything that belongs in each category before you move on to the next room. Clothing often fills the largest pile, and a closet cleanout pairs well with these closet door organization ideas for the items you decide to keep. When each category has its own container, you can see your progress clearly and no box ends up as a confusing mix.
3. Use Color-Coded Bags for Each Donation Category
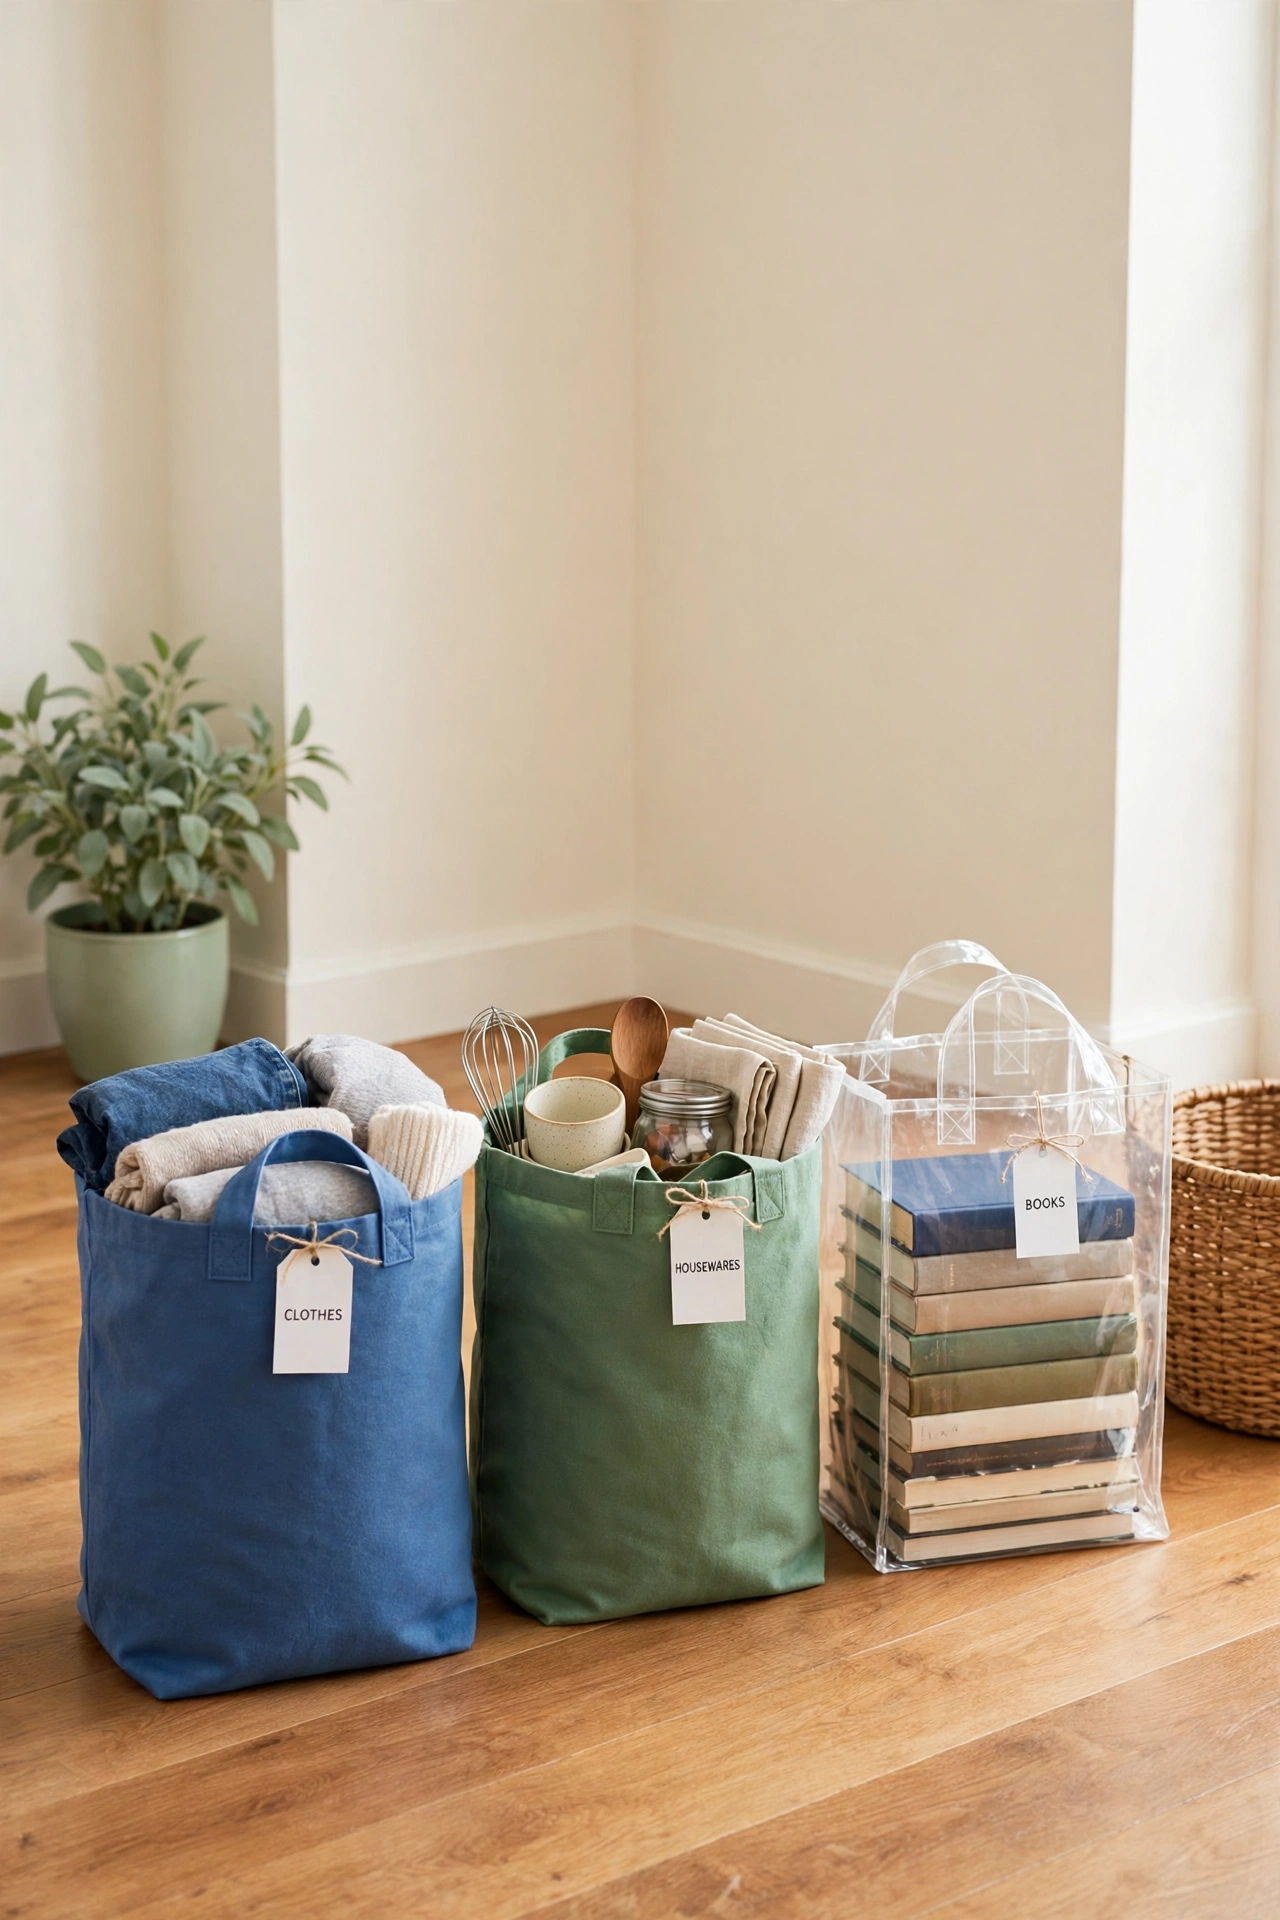
Color-coded bags make sorting visual and almost effortless, especially when several people help with a decluttering project. Assign one color to each category, such as blue bags for clothing, green bags for housewares, and clear bags for books and toys. At a glance, anyone can see which bag holds what, and no one has to open a bag to check.
Keep a small stack of each color near your sorting area so you never run out mid-project. Sturdy reusable shopping bags work well for soft items, while strong trash bags suit bulky bedding and linens. When the bags are full, the colors also help at drop-off, because you can tell the charity staff exactly what each bag contains without unpacking a single one.
4. Create a Donation Landing Zone by the Door
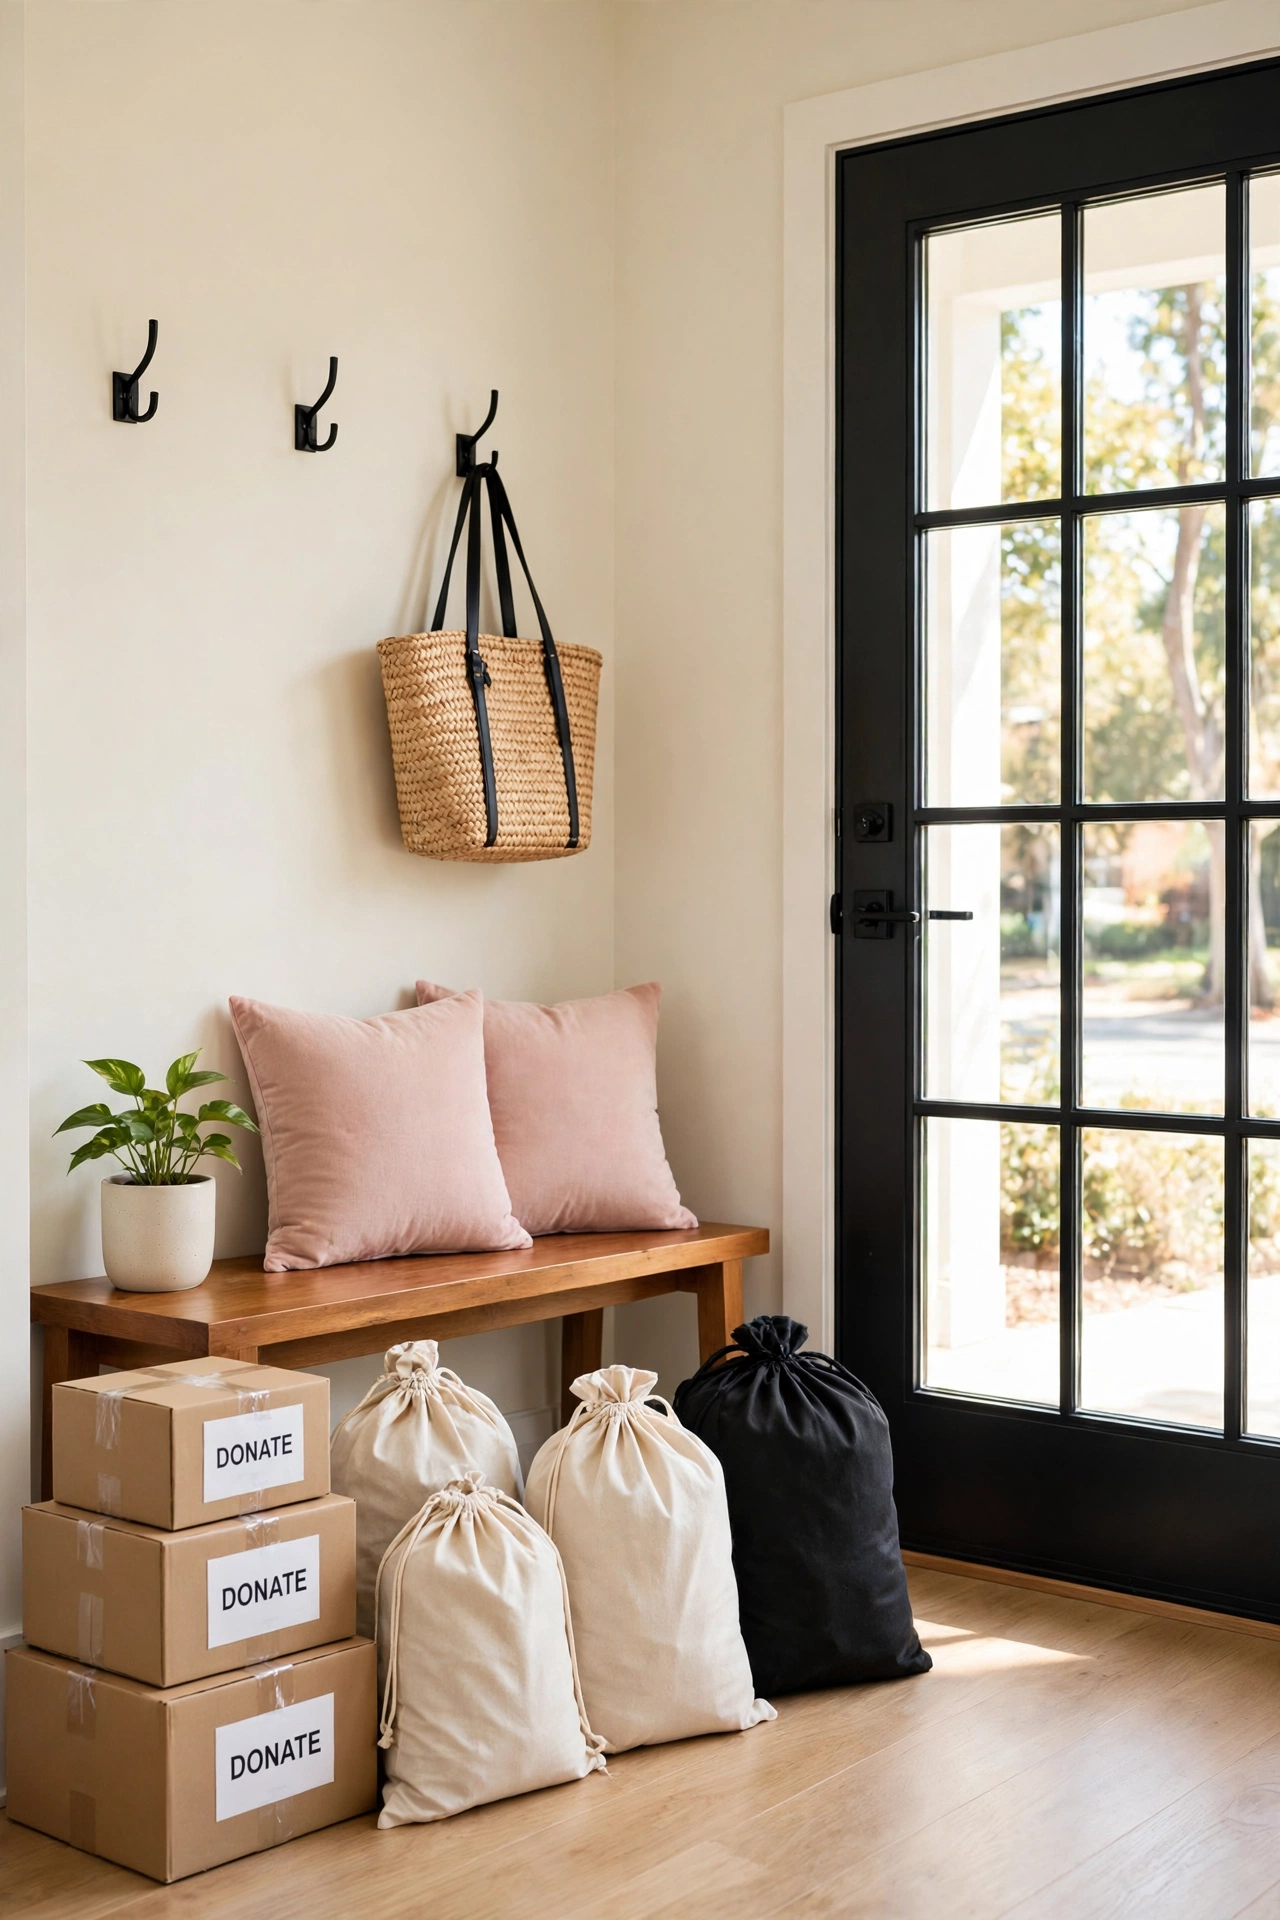
A donation landing zone is a small, dedicated spot near your front door where finished donation bags and boxes wait until they leave the house. Choose a corner of the entryway, a bench, or a section of the hallway, and keep it clear of everyday clutter so donation items never mix with things you plan to keep. The zone gives every sorted item a final home before it leaves.
Set a simple rule for the household: once a bag is sealed and labeled, it goes straight to the landing zone and does not come back into the living areas. This rule stops the common problem of sorted items drifting back onto shelves. For more ways to keep that doorway area working hard, see these entryway organization ideas that keep a busy entrance tidy and welcoming.
5. Label Every Box With Contents and Destination
A clear label turns a sealed box from a mystery into a useful package. Write the category, a short list of the main contents, and the destination charity on the outside of every box with a thick marker. Labels help you at drop-off, help the charity staff sort incoming goods faster, and help you remember what you gave if you ever need a record.
Use large printed labels or bold handwriting on painter tape so the text stays readable from a few feet away. Add the date you packed the box, which is useful if a box sits in the landing zone for more than a few days. A box labeled with care shows respect for the people who will sort and distribute your donations, and it keeps your own project organized to the very last step.

6. Run a Condition Check Before Anything Goes in the Box
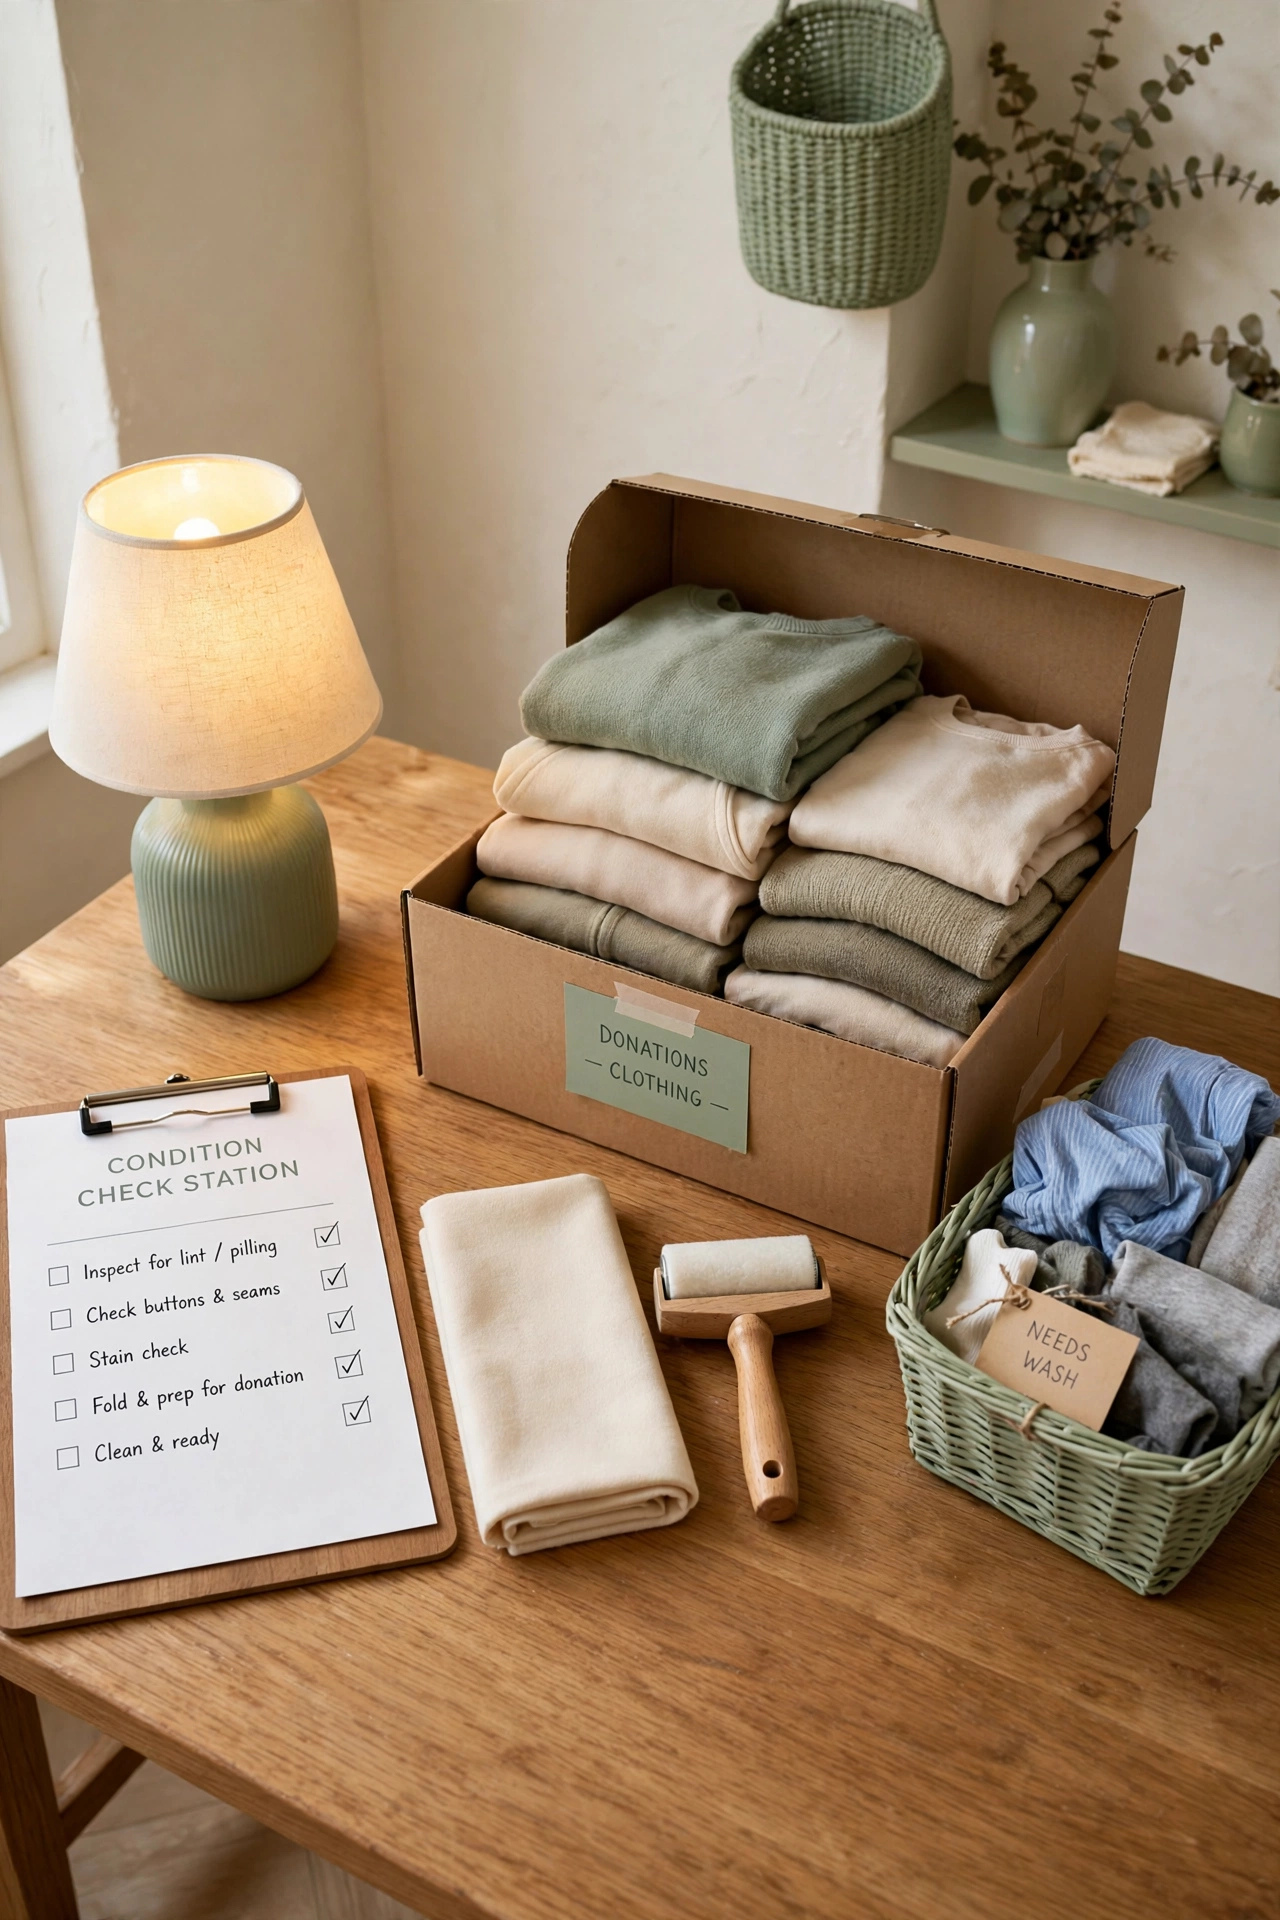
A condition check protects the value of your donation and saves the charity time. Before an item goes into a donation box, look it over for stains, tears, missing parts, broken pieces, and dead batteries. Items that are clean, complete, and working go into the Donate station, while damaged items move to the Recycle or Trash station instead. Charities can only pass on goods that are safe and usable.
Set up a small check station with a clean cloth, a lint roller, and a basket for items that need a quick wash or a fresh battery. Test electronics by plugging them in, open board games to count the pieces, and zip every bag and jacket to make sure the fasteners work. A few minutes of checking keeps your donation boxes full of items that truly help someone else.
7. Bag Soft Items and Box Hard Items Separately
Soft items and hard items travel very differently, so pack them in separate containers from the start. Folded clothing, bedding, towels, and stuffed toys go into bags, where they can be squeezed gently into shape without damage. Dishes, small appliances, books, and toys with small parts go into sturdy boxes, where rigid walls protect them during the drive to the charity.
Wrap fragile hard items in a layer of old newspaper or a clean cloth before they go into a box, and place heavier items at the bottom with lighter items on top. Fill every box to the top so nothing shifts in transit, and tape the flaps closed so the contents stay clean and dry. Separating soft from hard keeps every box easy to carry and easy to unpack at the other end.

8. Keep a Donation Inventory List on a Clipboard
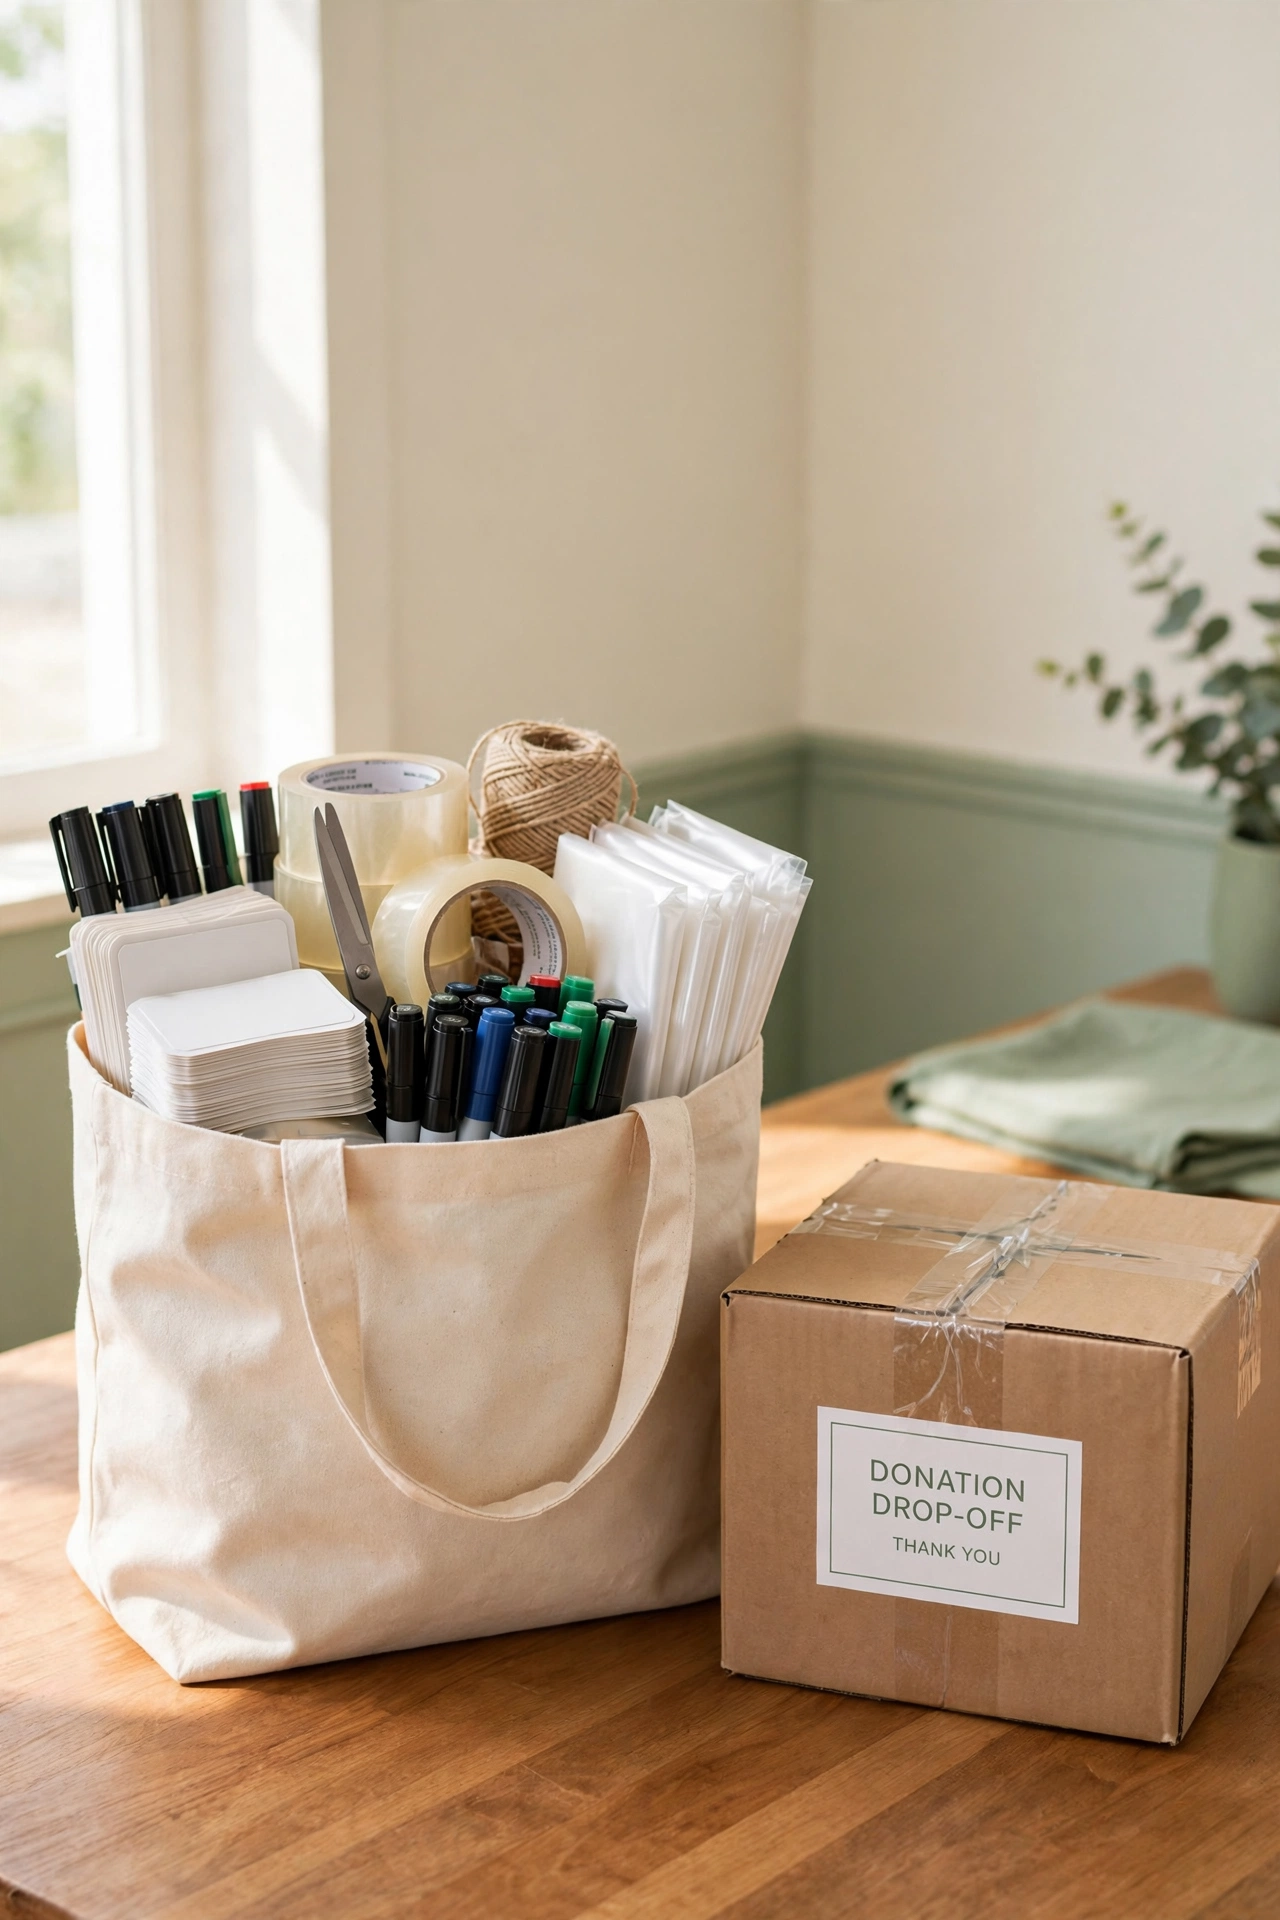
A simple inventory list on a clipboard gives you a clear record of everything you donate. Write down each box number, its category, and a short description of the main contents as you seal it. The list helps you confirm that nothing important was packed by mistake, and it gives you a complete record for tax purposes if your country allows donation deductions.
Clip the list to the side of the landing zone or keep it on the kitchen counter where everyone can see it. Number each box to match a line on the list, and check off each box as it leaves the house. When the last box is gone, the finished list is a satisfying record of a decluttering project done well, and it shows exactly how much left your home.
9. Pack a Drop-Off Kit With Tape, Markers, and Bags
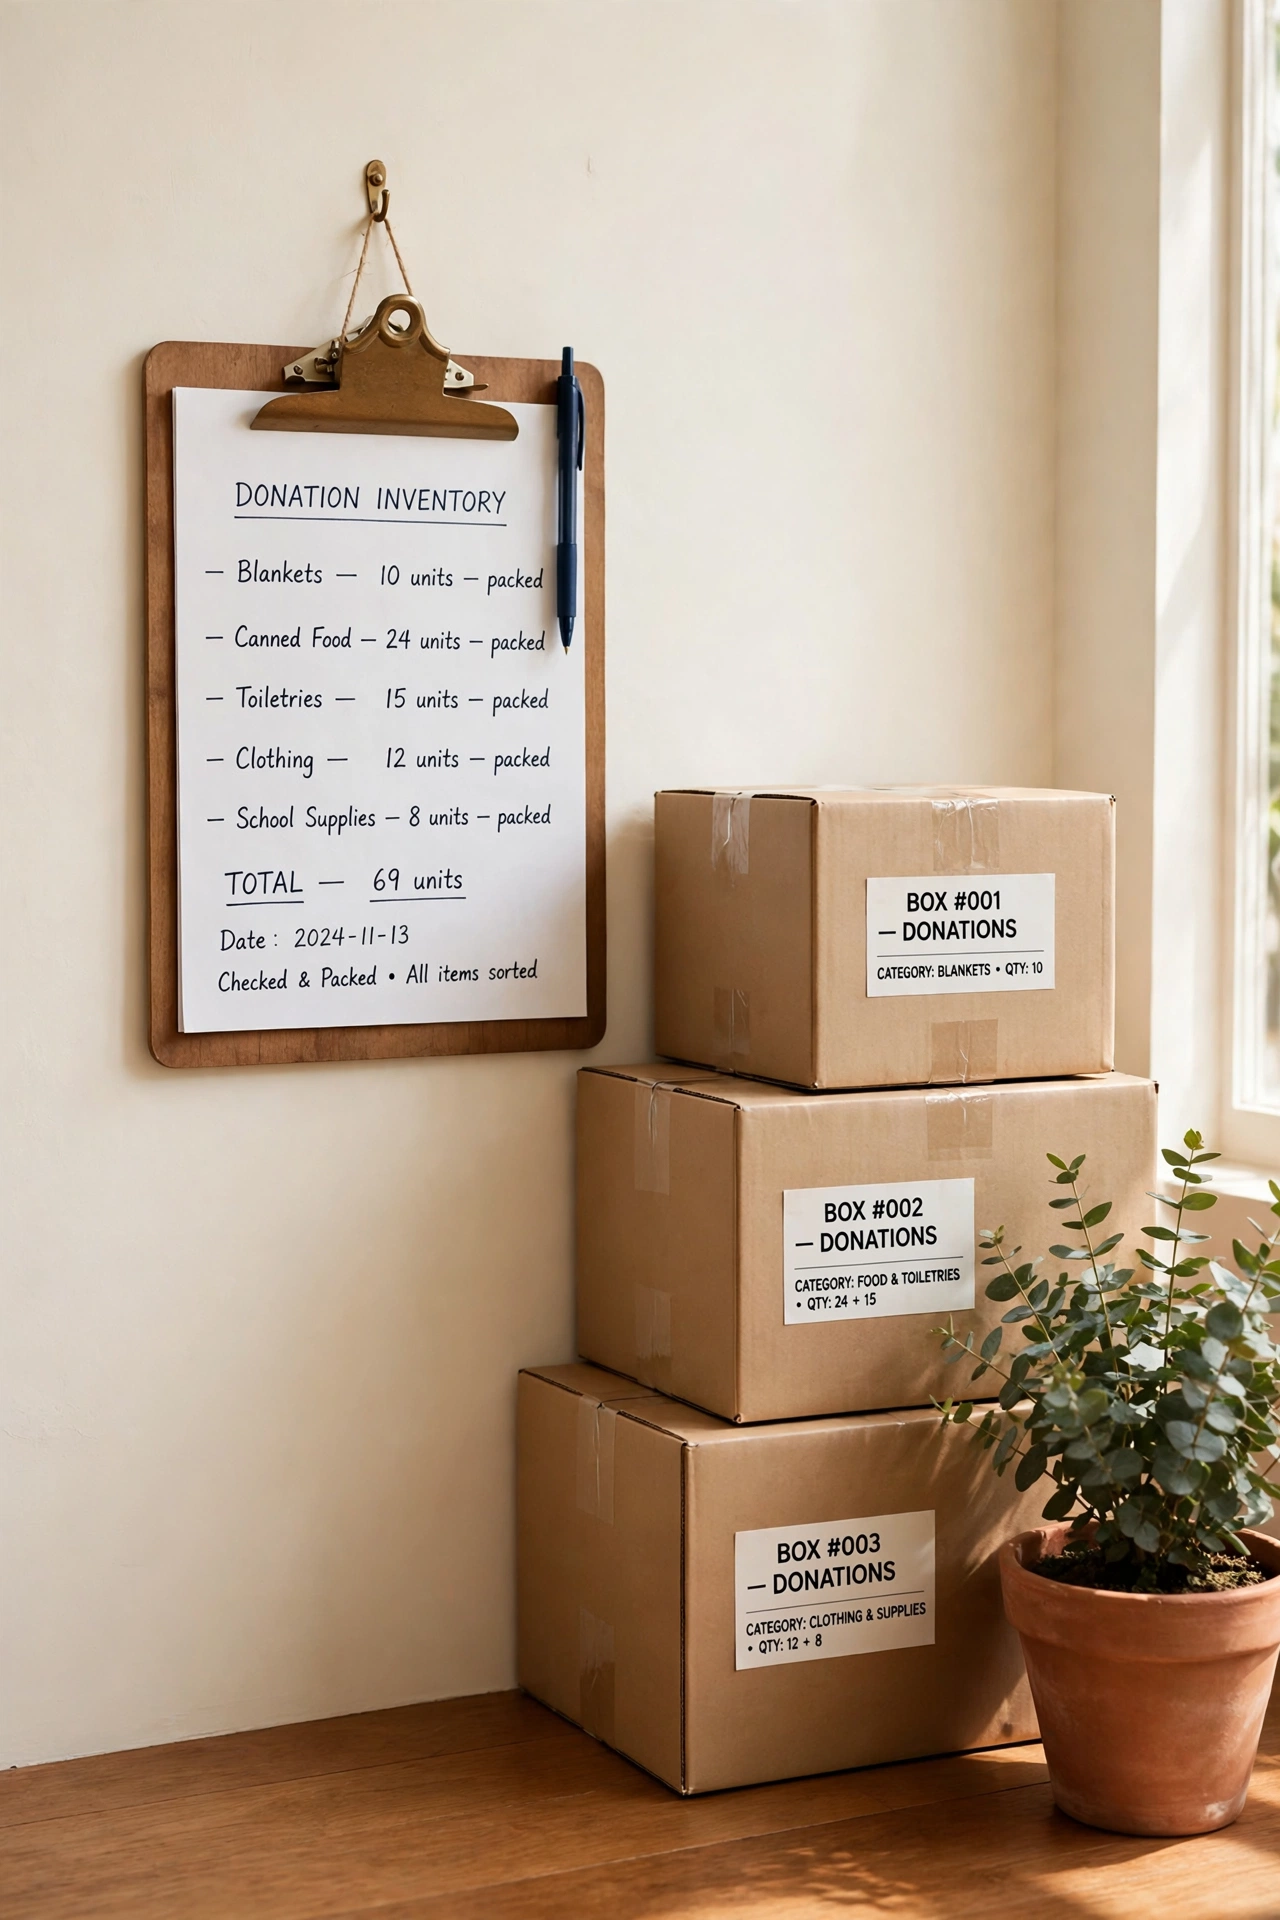
A drop-off kit keeps every packing supply in one portable container so you never hunt for tape or markers mid-project. Fill a small tote or bucket with packing tape, a tape gun, thick markers, blank labels, scissors, extra bags, and a roll of twine. Carry the kit from room to room as you sort, and everything you need to seal and label a box stays within reach.
Restock the kit at the end of each sorting session so it is ready for the next one. A pair of work gloves and a few cleaning wipes are useful additions, especially when you sort a garage or an attic. A well stocked kit turns the final packing stage from a scramble into a smooth, quick finish.
10. Stage Full Boxes in the Garage Before Pickup Day
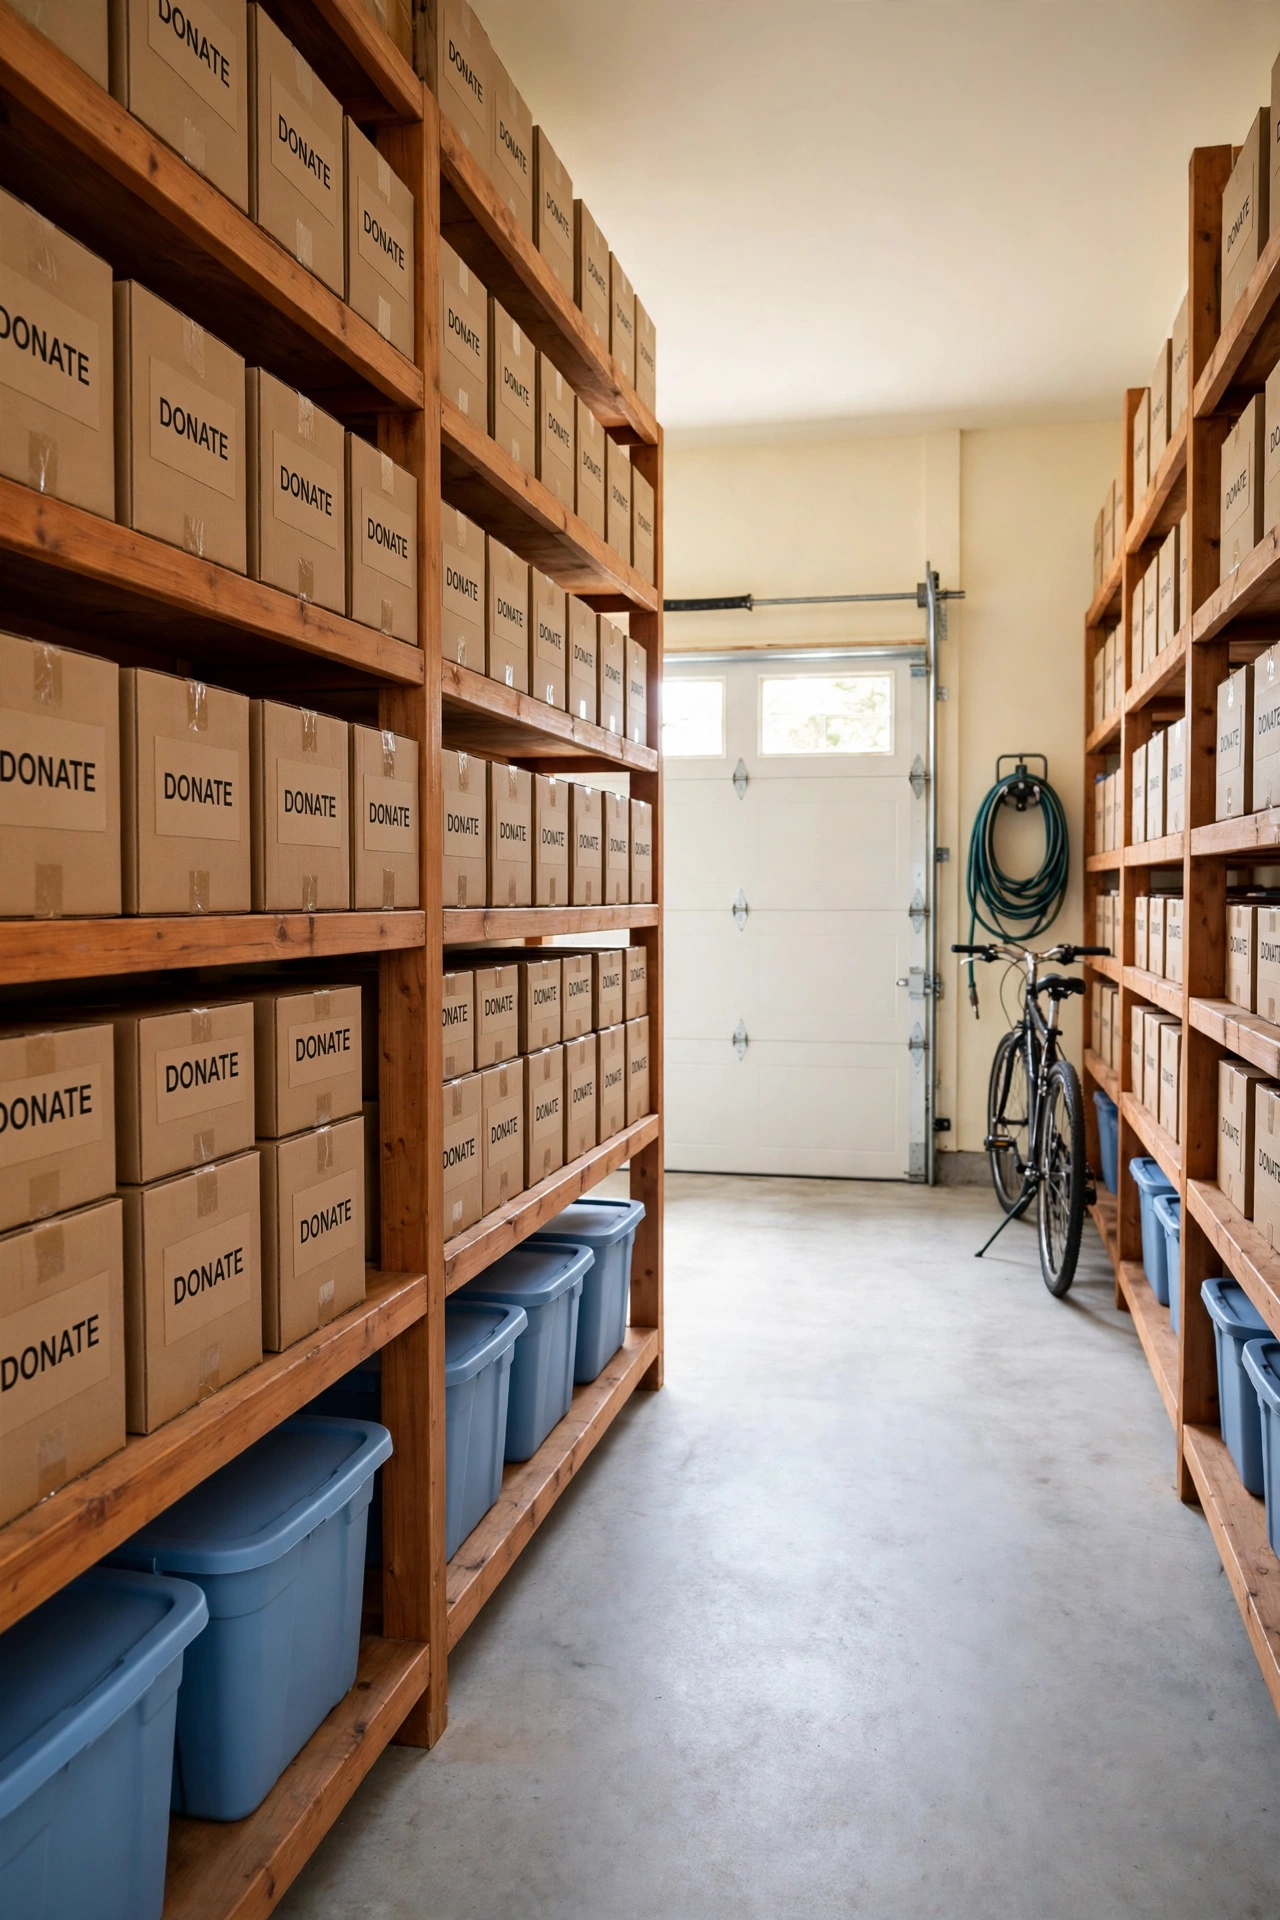
When donation boxes start to pile up, move the sealed and labeled ones to a staging area in the garage so your living spaces stay clear. Choose one wall or one shelf bay as the staging spot, and stack the boxes in neat rows with their labels facing out. Staging keeps the project moving forward even when pickup day is still a few days away.
Keep a clear path from the staging area to the garage door so loading the car or meeting the pickup driver takes only a few minutes. If your garage needs a tidy system for holding boxes between projects, these garage shelf organization ideas will help you set up sturdy shelving that keeps donation boxes off the floor and easy to reach. A tidy staging area also stops boxes from being opened and raided before they leave.
11. Schedule the Pickup or Drop-Off Before You Start Sorting
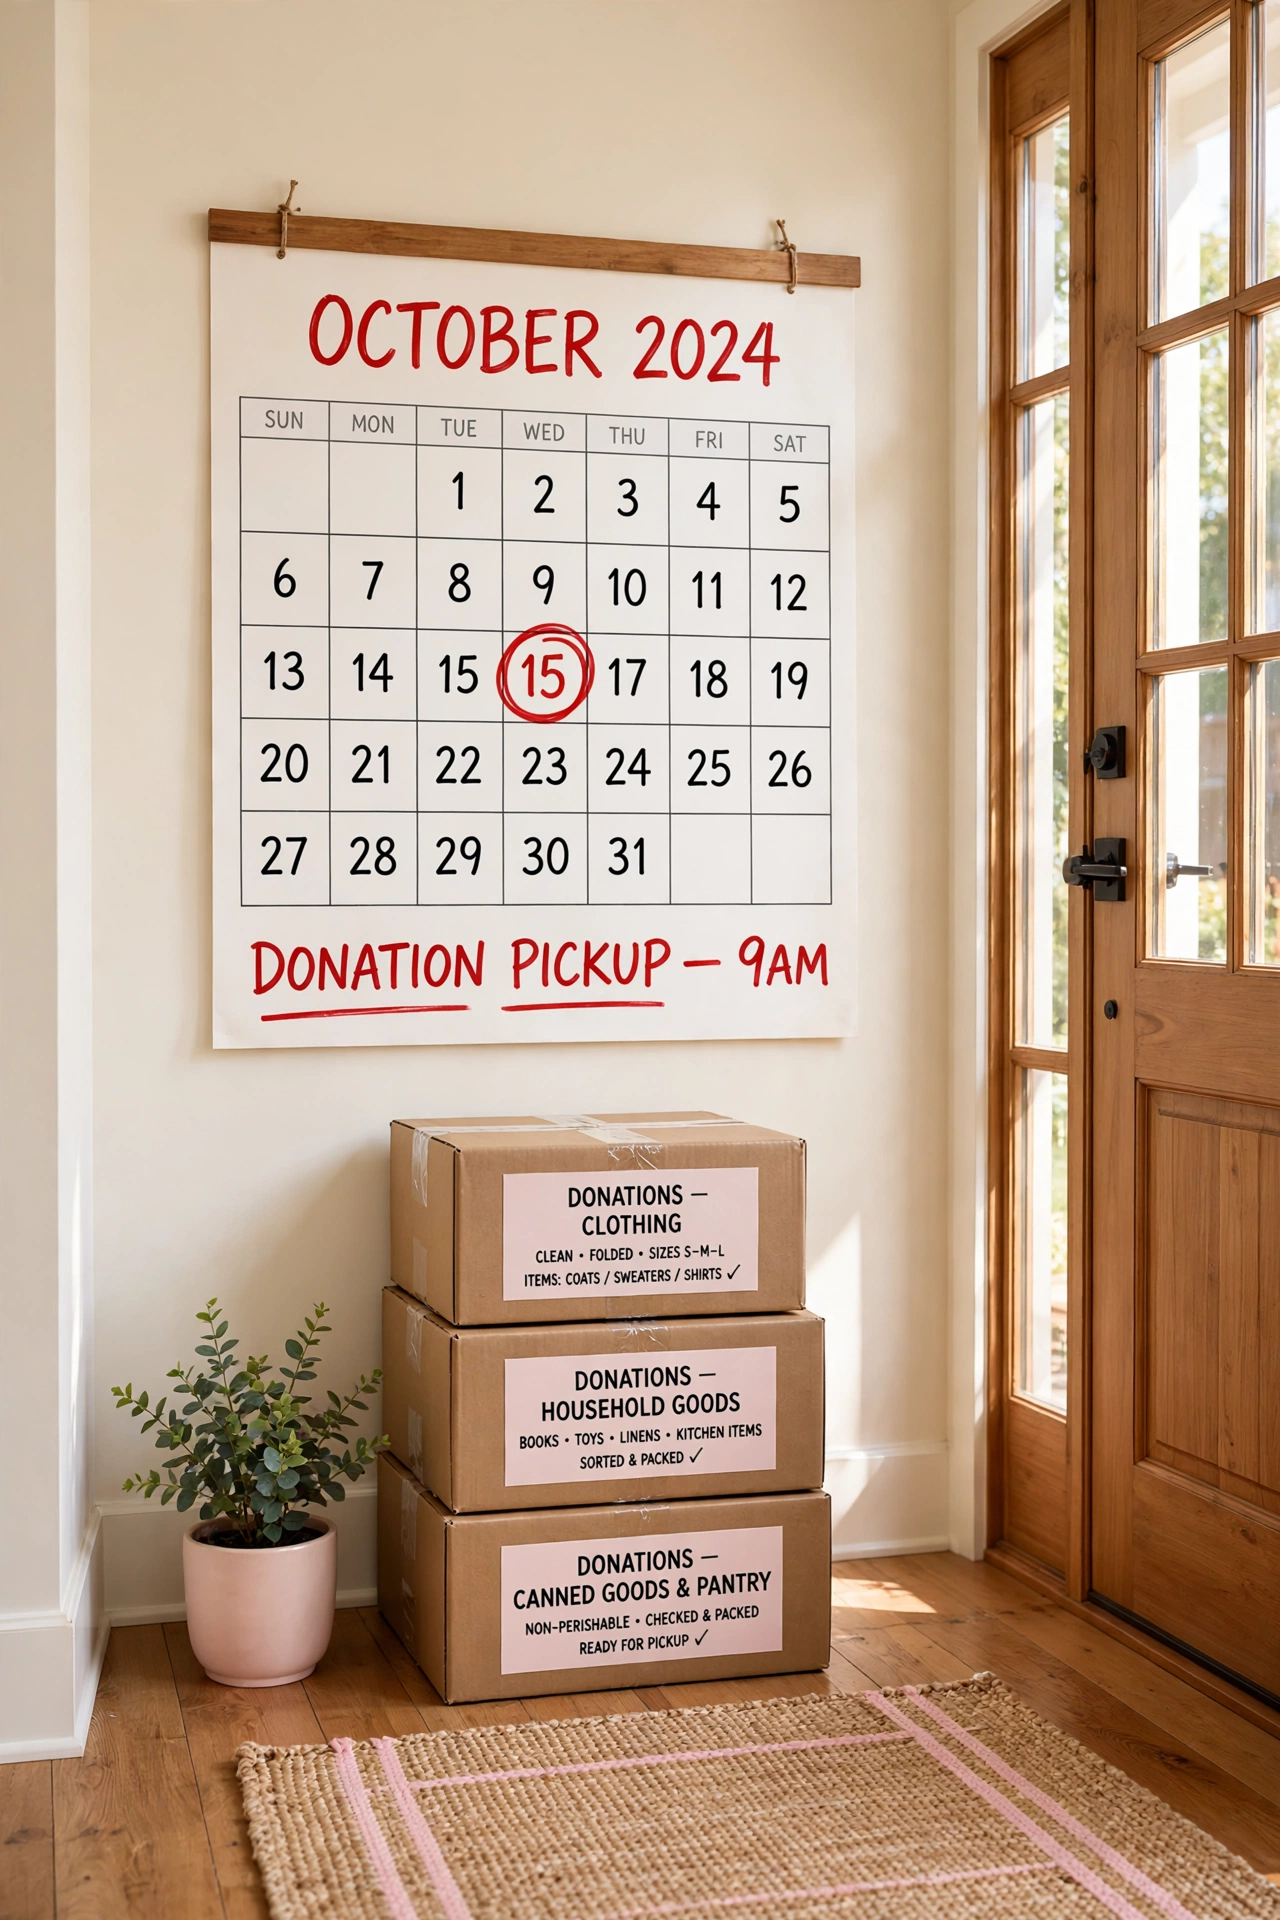
The most important step in any donation project happens before you sort a single item: book the pickup or plan the drop-off. Call the charity, book an online pickup slot, or put the drop-off trip on your calendar with a firm date and time. A fixed deadline gives the whole project urgency and stops sealed boxes from sitting in the landing zone for weeks.
Choose a date no more than one week after you start sorting, and work backward from that date to plan each sorting session. If you use a pickup service, confirm the night before that the boxes will be ready at the door. When the date arrives and the boxes leave, your home feels lighter at once, and the empty space is proof that the system worked.
Conclusion
Household donation sorting does not have to be overwhelming or messy. With four clear stations, category piles, honest condition checks, and a scheduled pickup date, a decluttering project moves steadily from the first closet to the last sealed box. Every label and every list is a small step that keeps the whole project calm and under control.
Start with the pickup date, set up your stations, and sort one room at a time. When the boxes leave, protect the calm you created with a simple daily habit, and these nightly reset routines will help you keep every room tidy with just a few minutes each evening. Your home will feel lighter, and your donations will reach people who truly need them.
Frequently Asked Questions About Household Donation Sorting Ideas for Decluttering Projects
How long should a donation sorting project take?
A single room usually takes two to three hours from setup to sealed boxes, while a whole home takes several sessions spread over a week. Sorting by category and booking the pickup date first keeps the project moving. Short, focused sessions work better than one exhausting marathon day.
What should I do with items that charities will not accept?
Move broken, stained, or incomplete items to the Recycle or Trash station during your condition check. Some items, such as old electronics or paint, need special recycling drop-off points in your area. Never pack rejected items into donation boxes, because they slow down charity sorting and may end up discarded anyway.
How do I sort donations when family members disagree about what goes?
Give each person their own Keep box and let them decide on their own belongings, with a shared rule that anything unused for a year gets a second look. Sort common areas together and agree on the four stations before you start. Respect and patience keep the project peaceful, and a trial box that sits for a month can help with hard decisions.
Should I wash clothes before donating them?
Yes, donate clothes that are clean, dry, and free of strong odors. Wash anything that has sat in storage, including items found in forgotten corners, and these under bed storage organization ideas can help you find and organize the things stored out of sight before you decide what to give. Fresh, folded clothing is far more useful to a charity than a bag of musty items.
What is the best way to keep donation boxes from piling up at home?
Book the pickup or drop-off date before you start sorting, and keep finished boxes in the landing zone or garage staging area with labels facing out. Set a rule that no box stays in the house longer than one week. A firm date turns good intentions into boxes that actually leave.

Hi, I’m Emily! I turn messy corners into cozy, organized spots. DreamNestDecor is where I share simple, practical home ideas — decor, organization, and small-space solutions that work in real life, not just in photos. Every idea here is carefully researched before it’s shared.