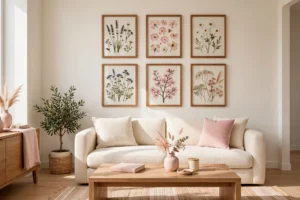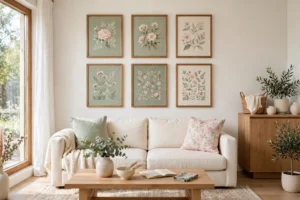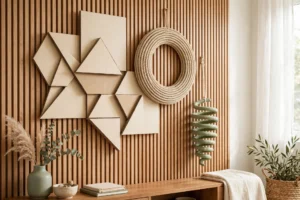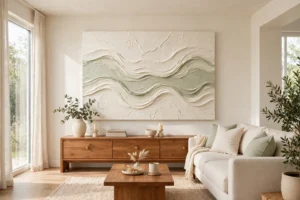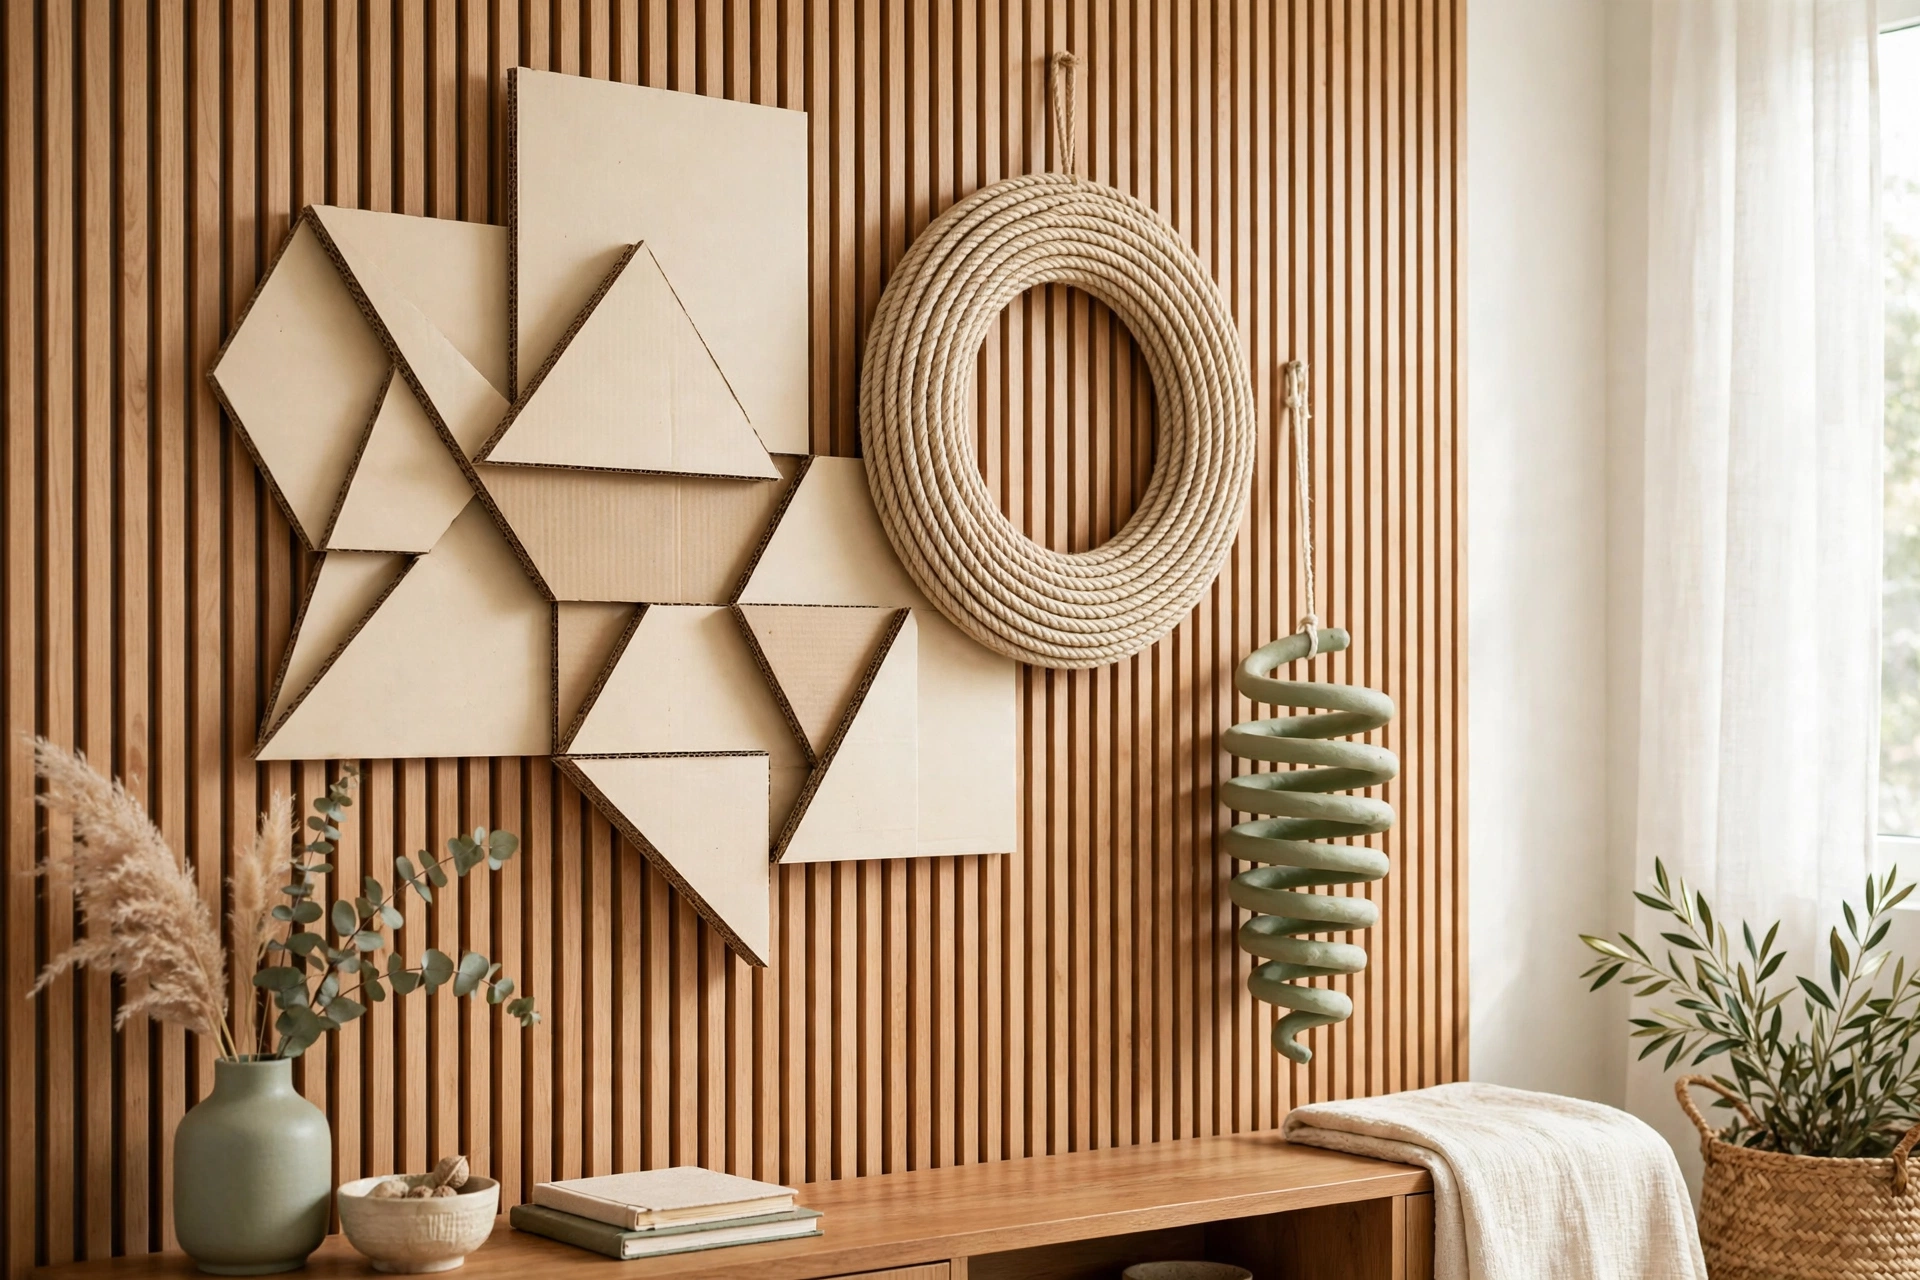
Picture this: you walk into a living room and the wall catches your eye at once, not because of a flat poster, but because the art reaches out into the room. Layers of cardboard, coils of rope, and painted clay shapes cast soft shadows that change as the light moves. That depth is the quiet magic of three dimensional wall art, and you can make it yourself for very little money.
You do not need a studio, costly tools, or art school training to fill a blank wall with texture. All you need is a few cheap supplies and an afternoon to play. These 20 DIY 3D wall art ideas using affordable supplies will help you turn cardboard, paper, clay, fabric, and scrap wood into wall decor that looks far more expensive than it costs.
1. Build Layered Cardboard Geometric Panels
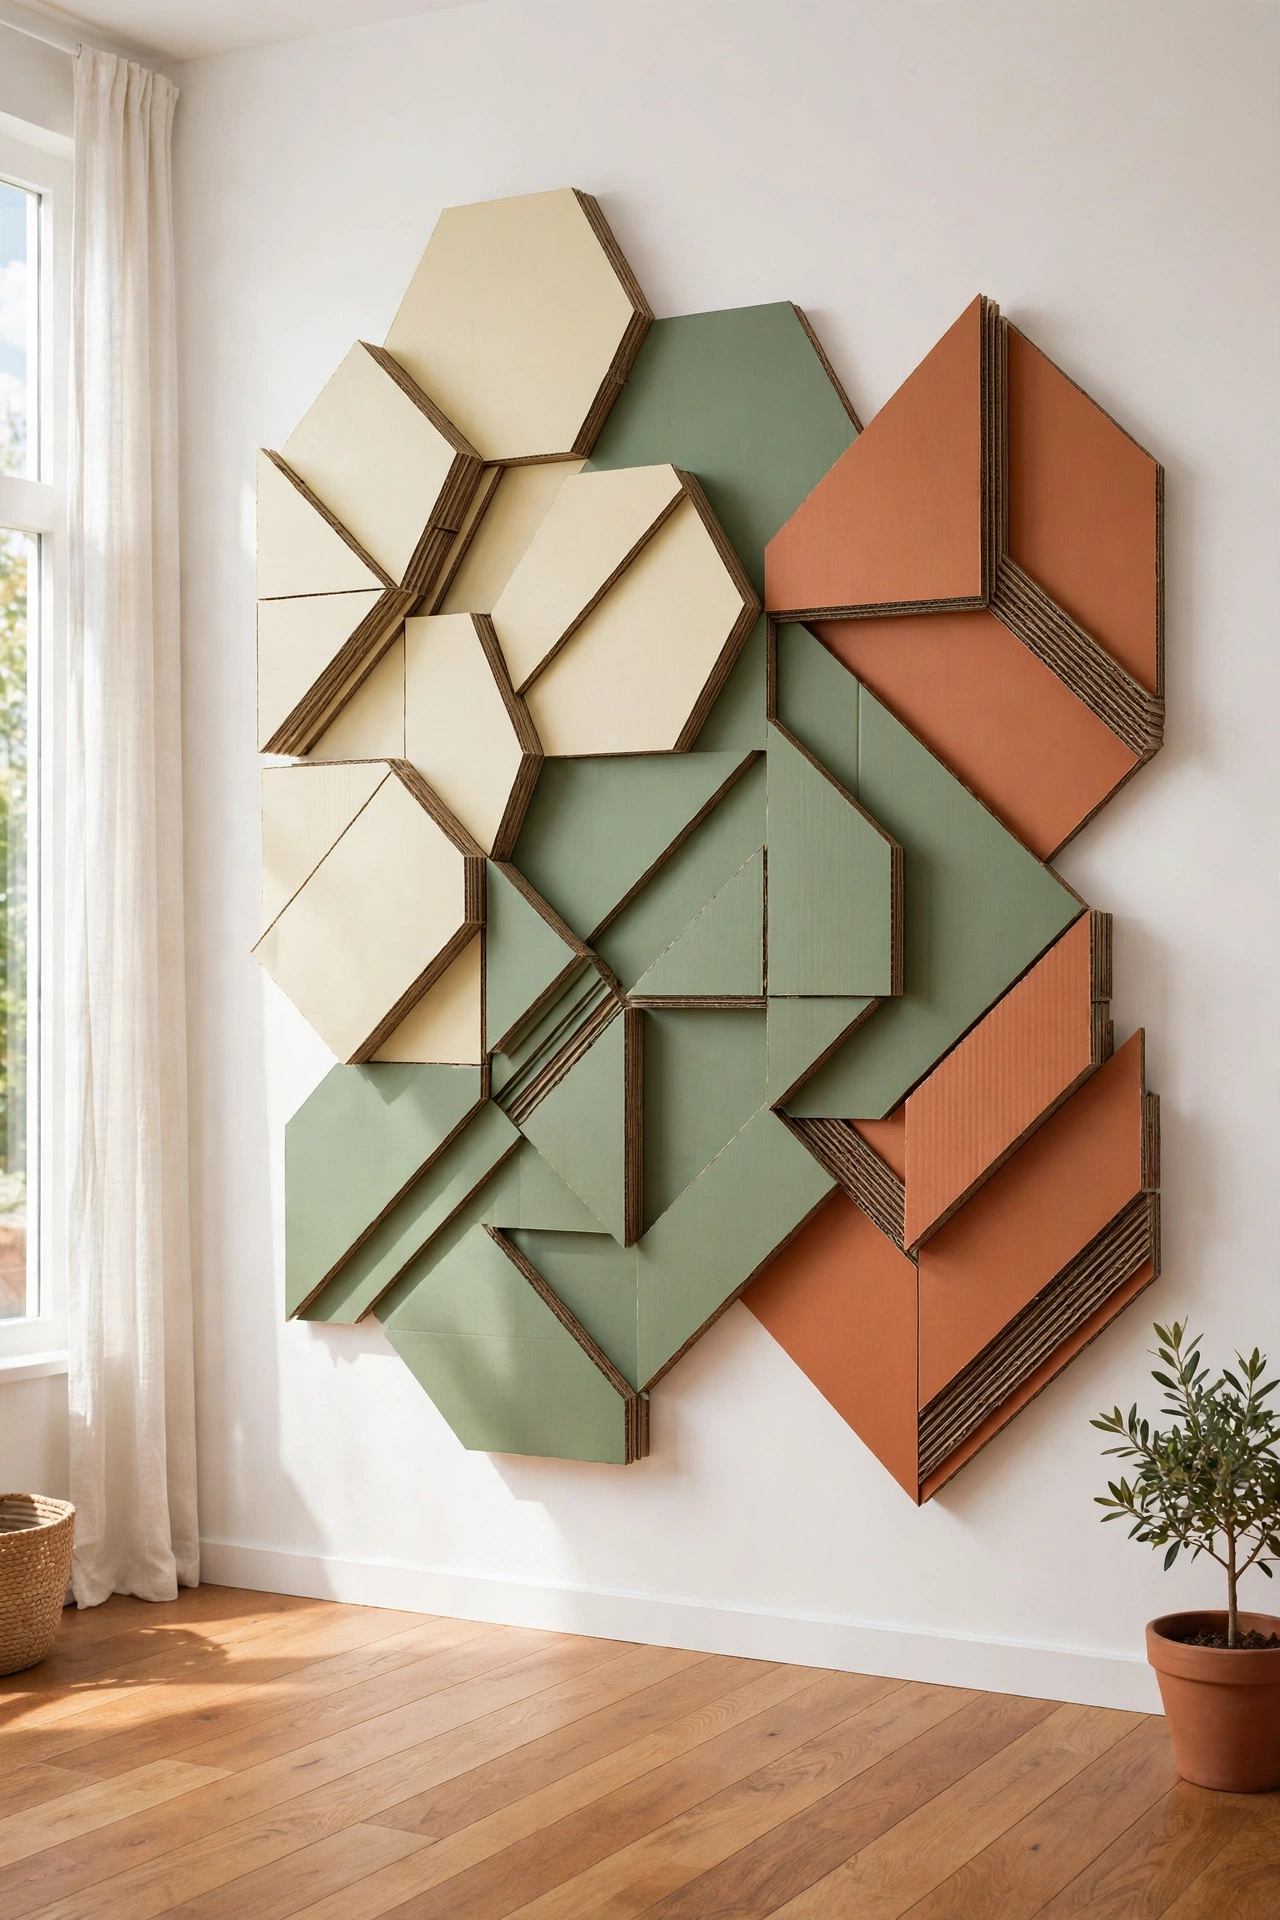
Cardboard is the cheapest starting point for bold 3D wall art, and layered geometric panels prove it. Cut triangles, diamonds, and hexagons from clean corrugated cardboard, then stack two or three layers of each shape with a small gap between them. The stacked edges cast shadows that make the flat wall feel alive.
Paint the shapes in one warm palette, such as cream, sage green, and soft terracotta, so the finished panel looks calm instead of busy. Mount the shapes on a backing board with strong craft glue and hang the board with two picture hooks. A set of three panels in a row fills a wide wall for the price of a single roll of paint.
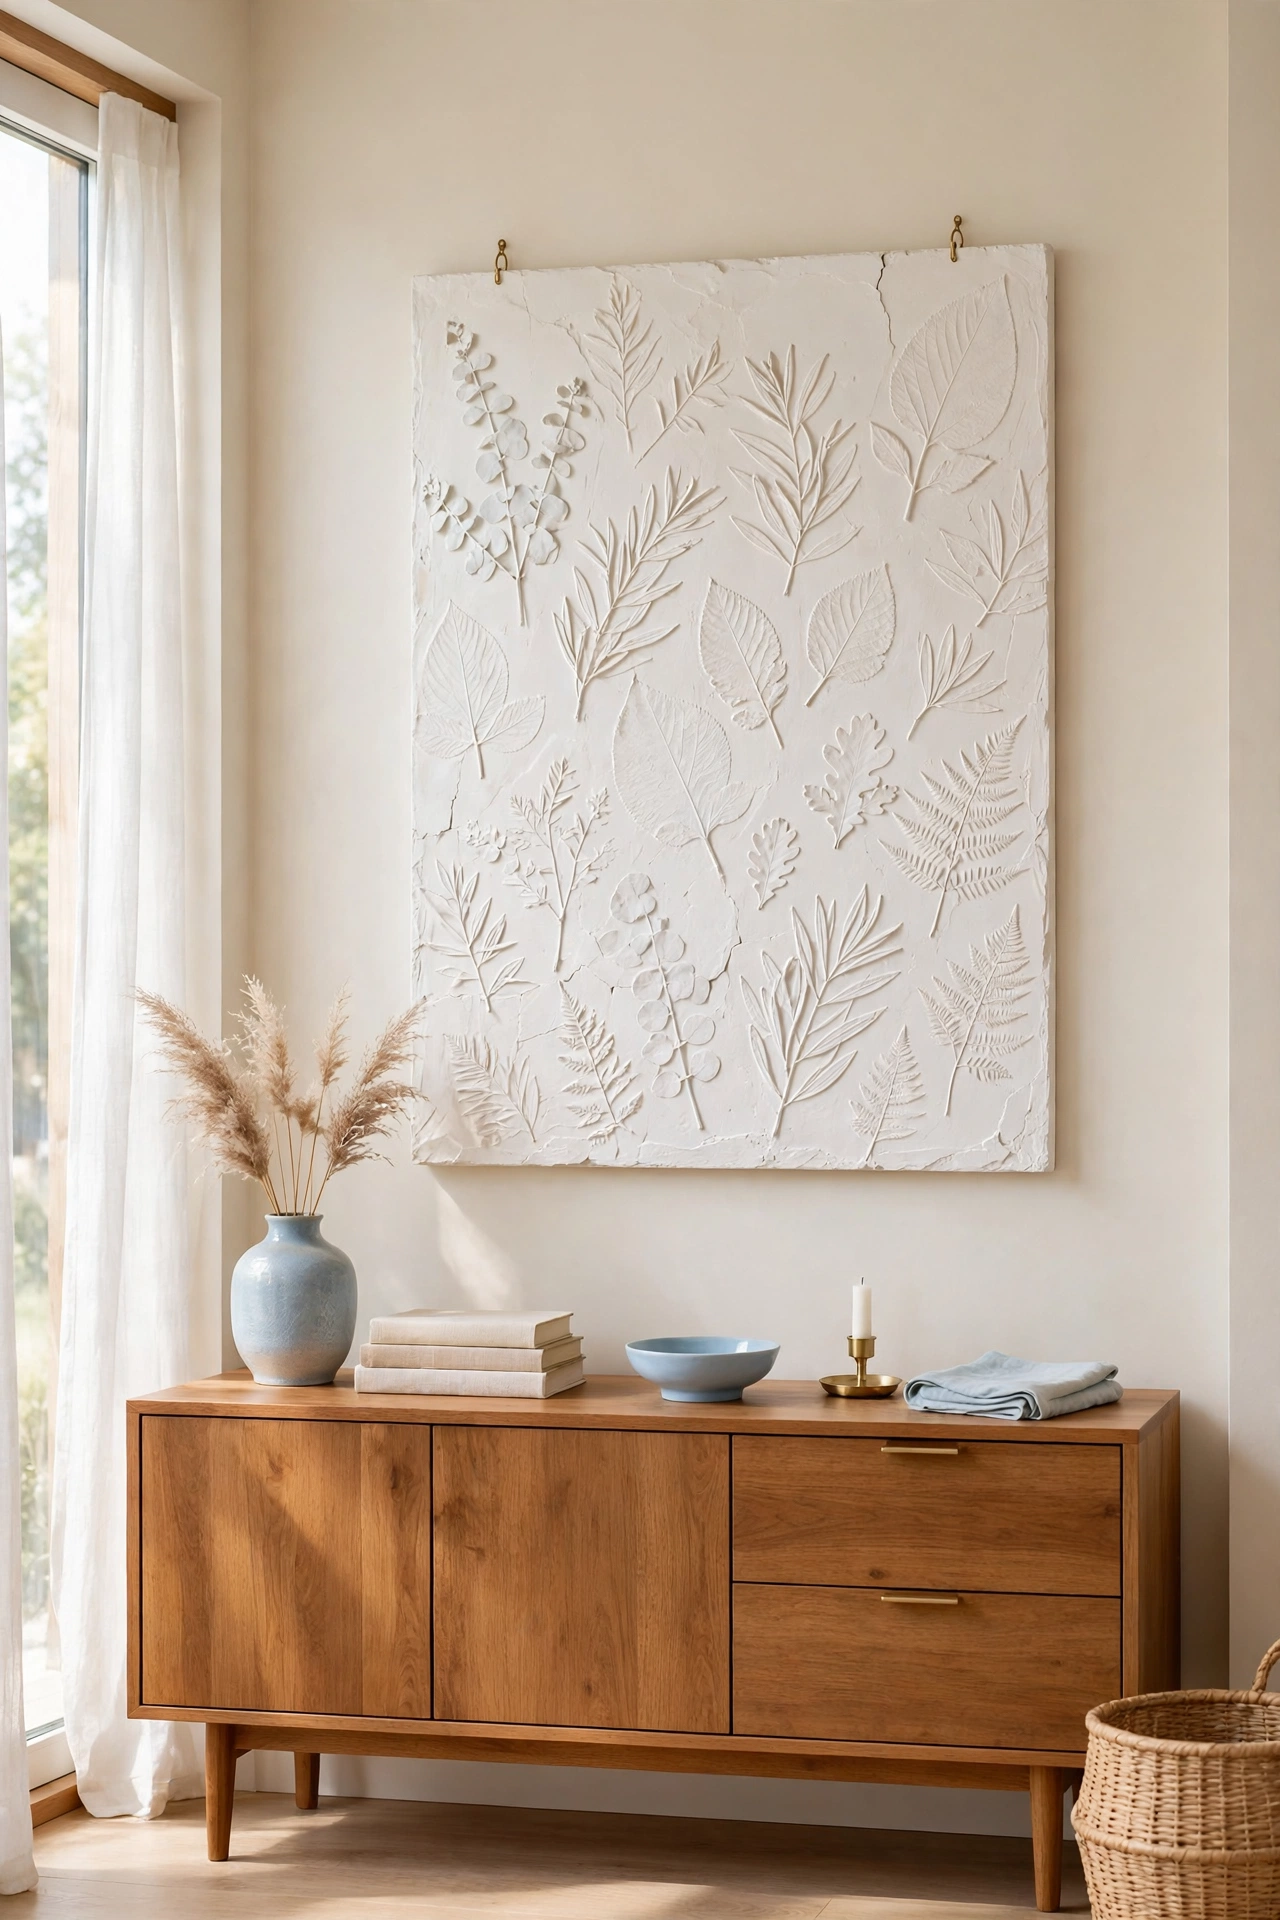
2. Shape Plaster Relief Leaf Panels
Plaster turns a flat panel into a piece of sculpture you can touch. Press real leaves into a thin layer of plaster spread on a wooden board, then lift the leaves away once the plaster starts to set. The veins and edges stay behind as a delicate relief that looks like it came from a craft fair.
Paint the finished panel in warm white and rub a little soft amber wax into the grooves so the leaf patterns stand out. Hang the panel in an entryway or above a sideboard where guests can see the detail up close. For more ways to work with this forgiving material, see these DIY plaster decor ideas. One bag of plaster makes several panels, so you can fill a whole hallway on a small budget.
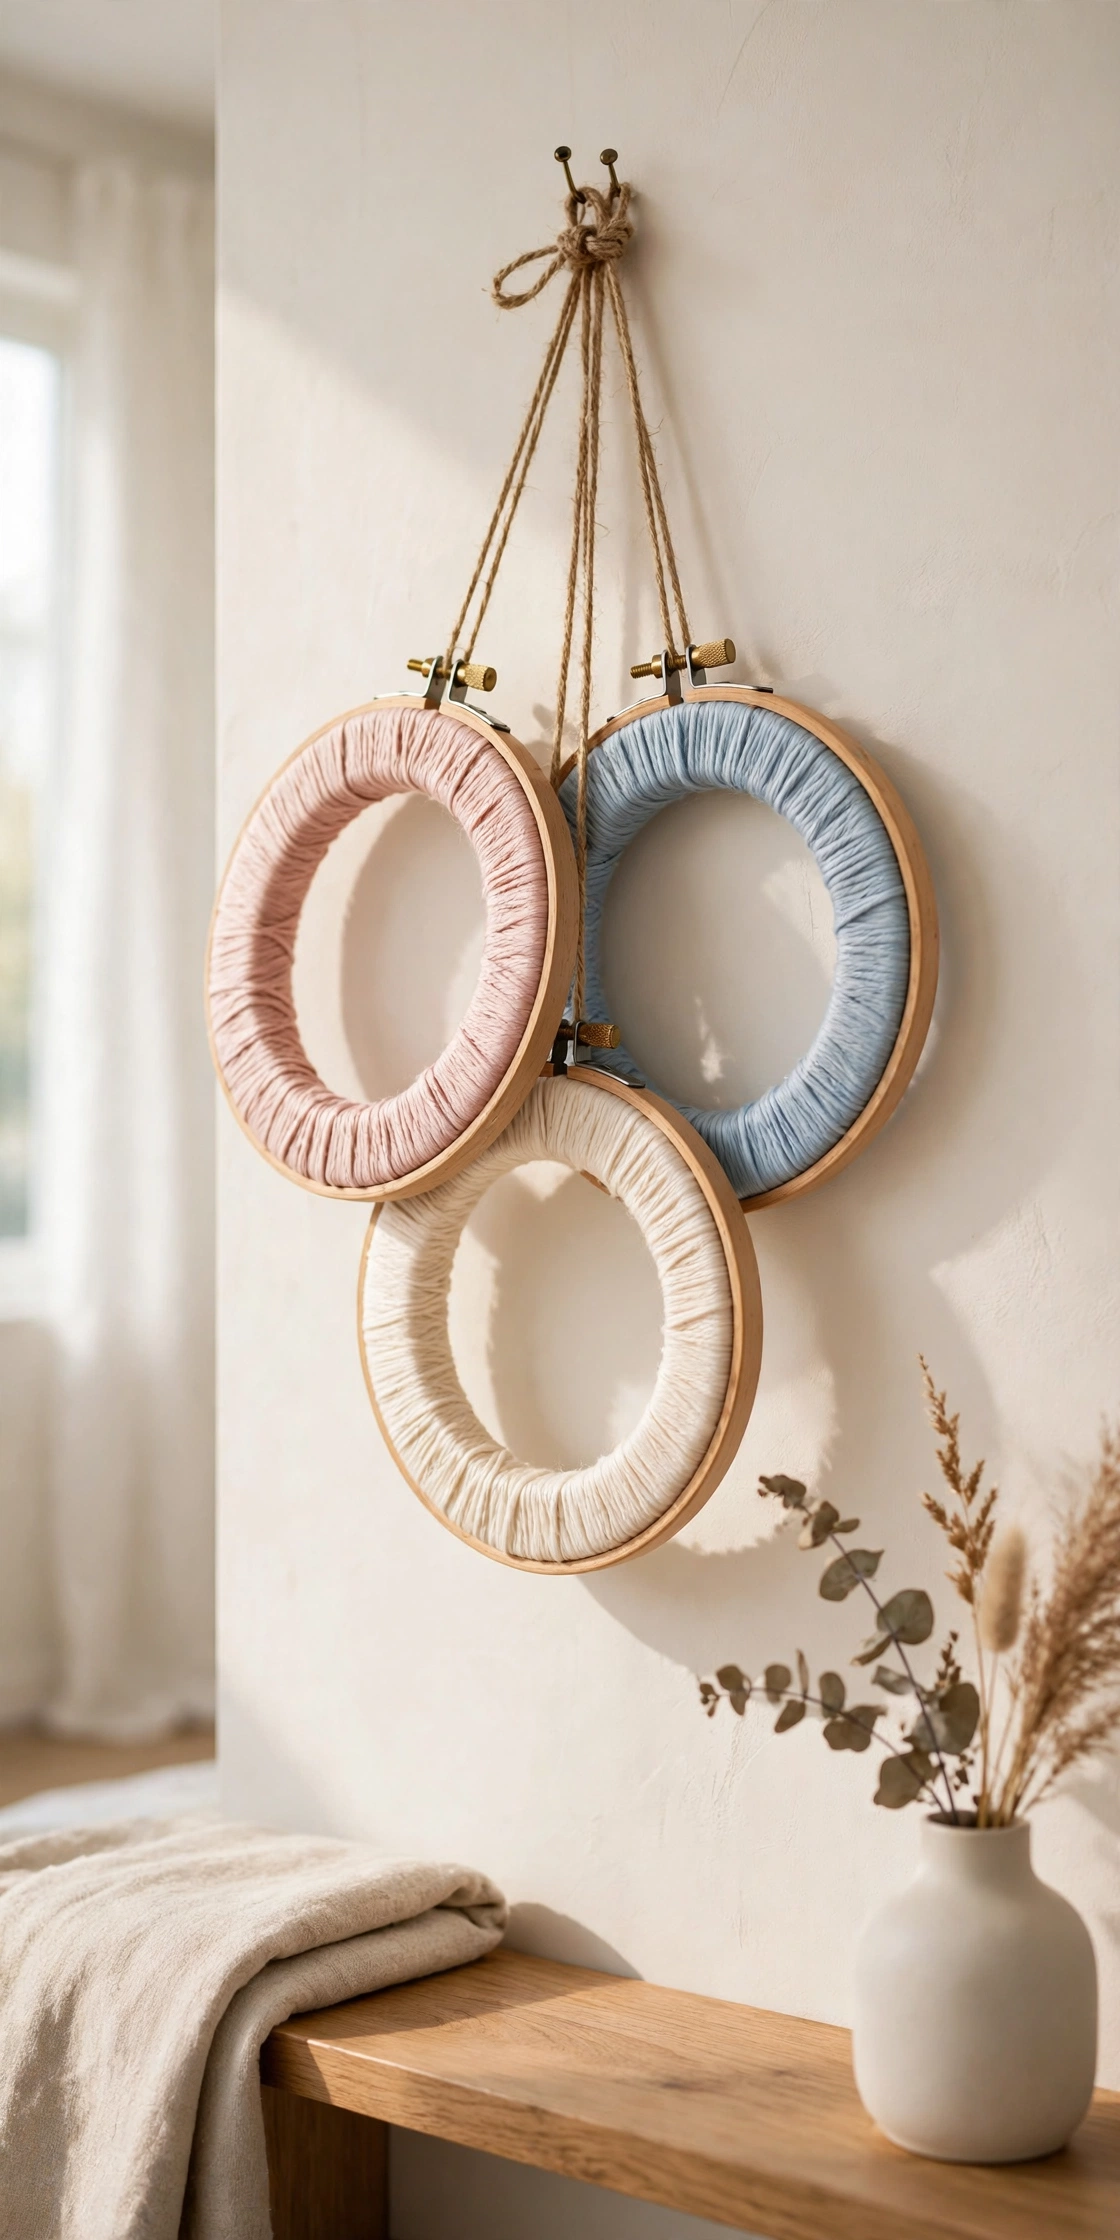
3. Wrap Yarn Around Wooden Hoops
Embroidery hoops cost very little, and wrapping them in yarn turns them into soft sculptural wall art. Choose three hoops in different sizes and wrap each one in a thick yarn color, such as blush pink, cream, and soft blue. Leave a tail of yarn hanging from the bottom of each hoop for a gentle fringe.
Hang the hoops in a loose cluster with the largest in the center and the smaller ones around it. The round shapes and soft fibers add warmth to a bedroom or reading corner. Change the yarn colors with the seasons and the same hoops give you a fresh piece of art every few months.
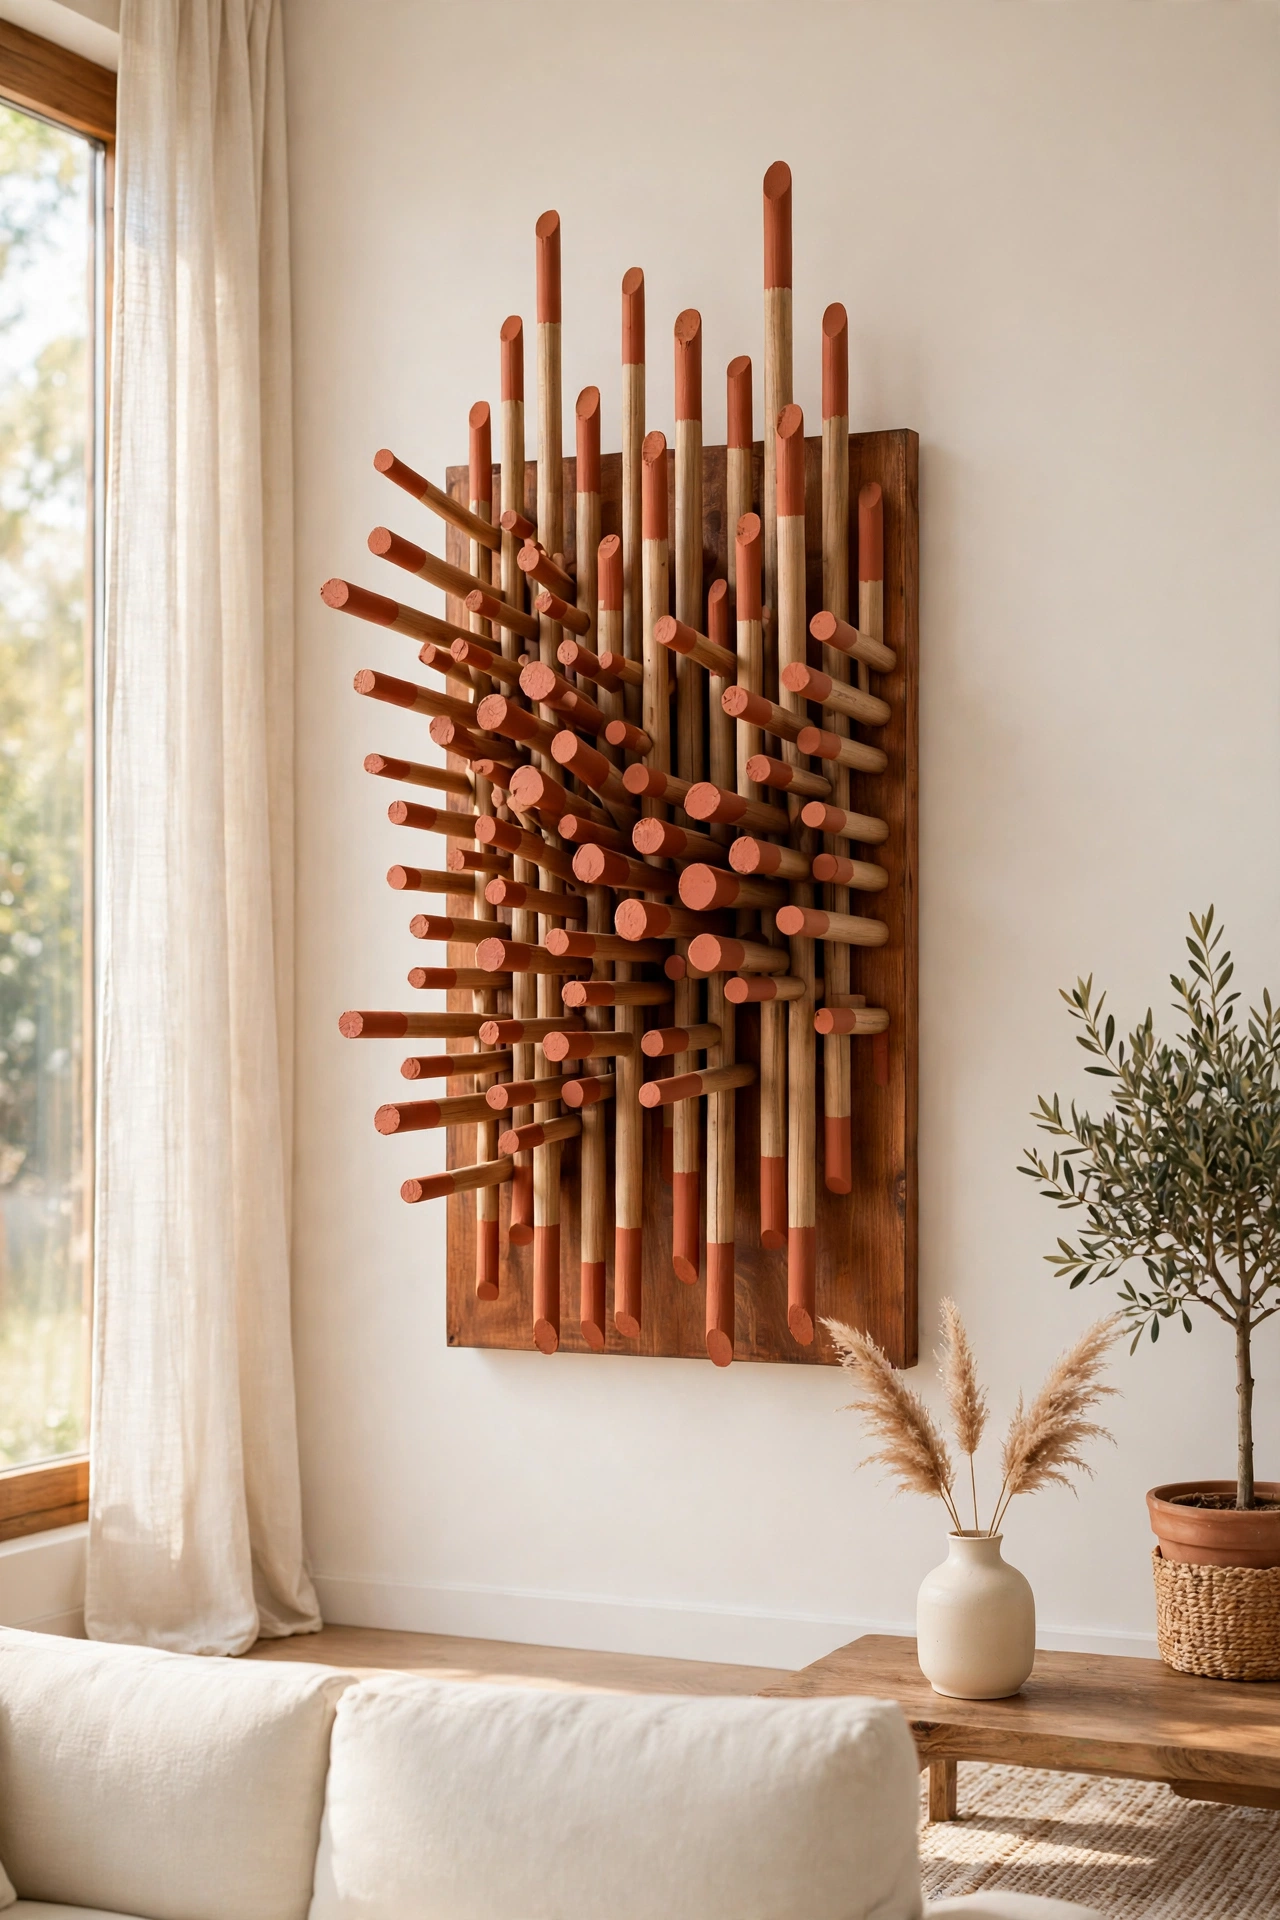
4. Arrange Painted Wooden Dowels into a Sculpture
Wooden dowels are sold in long thin rods for pennies, and cut into short pieces they become a striking wall sculpture. Cut the dowels into lengths from four to ten inches, paint the ends in a single accent color, and glue them upright onto a square board so they stand out at different heights. The result looks like a modern art piece from a gallery.
Choose a warm wood stain for the board and a bold accent such as deep terracotta or dusty blue for the dowel ends. Mount the board where side light hits it, so each dowel casts its own small shadow. This project suits a modern living room or a home office that needs one strong focal point.
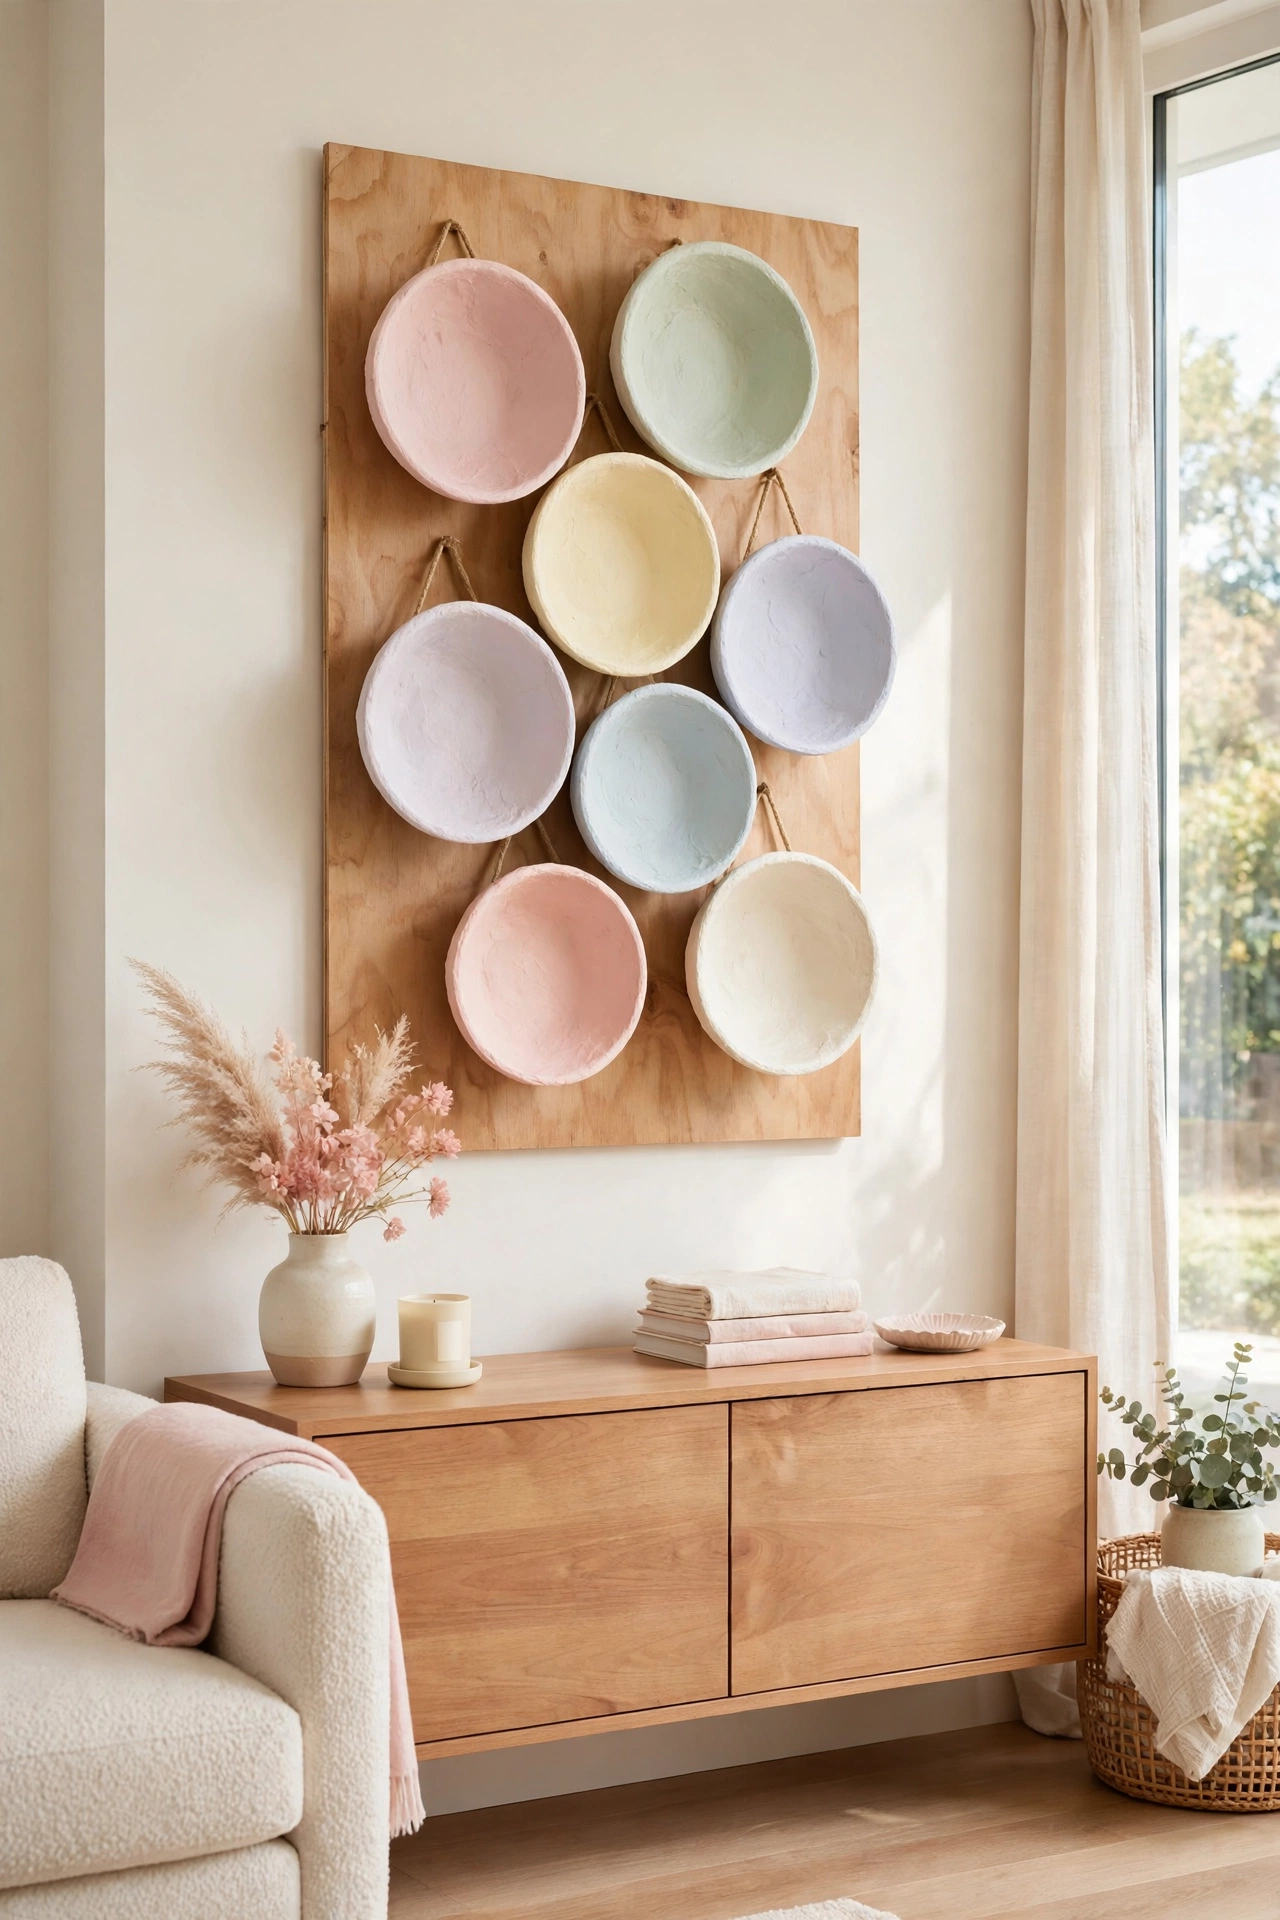
5. Mount Paper Mache Bowls on a Board
Paper mache is messy fun that ends in beautiful wall art. Blow up small balloons, cover them with strips of newspaper dipped in flour paste, and let the layers dry into light bowls. Once dry, pop the balloons, trim the rims, and paint the bowls in soft colors inside and out.
Mount five or seven bowls on a painted board in a loose pattern, like a cluster of flowers opening on the wall. The curved bowls catch light and shadow in a way flat art never can. For more projects with this classic low cost material, see these DIY paper mache decor ideas. Children can help with the painting, which makes this a lovely family weekend project.
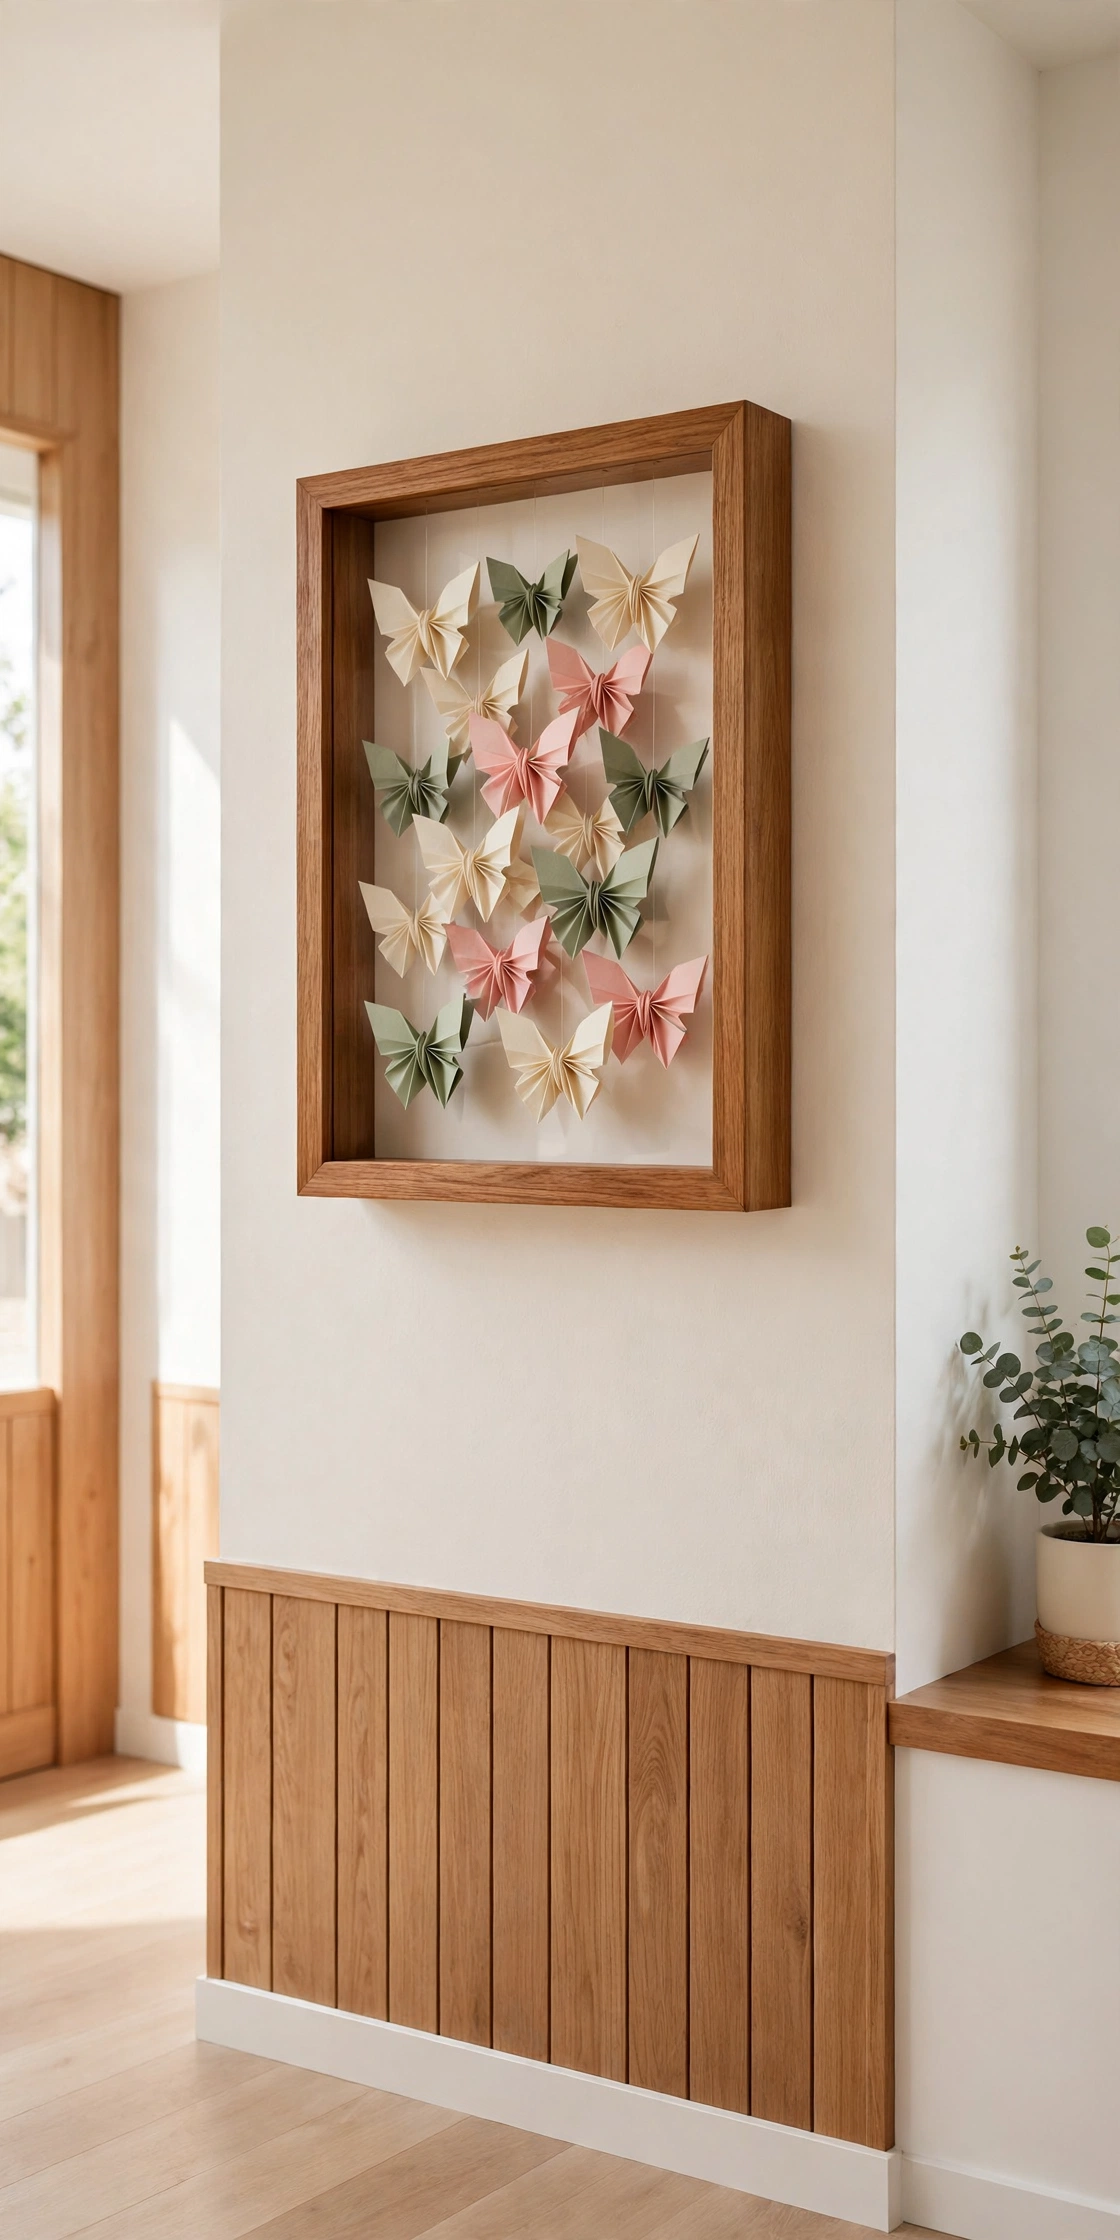
6. Fold Paper Butterflies for a Shadow Box
Folded paper butterflies bring movement to a wall, and a deep shadow box makes them look like they are ready to fly. Cut butterfly shapes from colored card in three sizes, fold each one gently down the middle, and glue only the body to the back of the box. The wings lift away from the surface and catch the light.
Use a soft palette of cream, blush pink, and sage green so the butterflies feel calm rather than loud. Hang the shadow box in a hallway or a nursery where the depth draws the eye. One pack of card makes dozens of butterflies, so you can fill two or three boxes from the same supplies.
7. Create a Bottle Cap Mosaic Relief
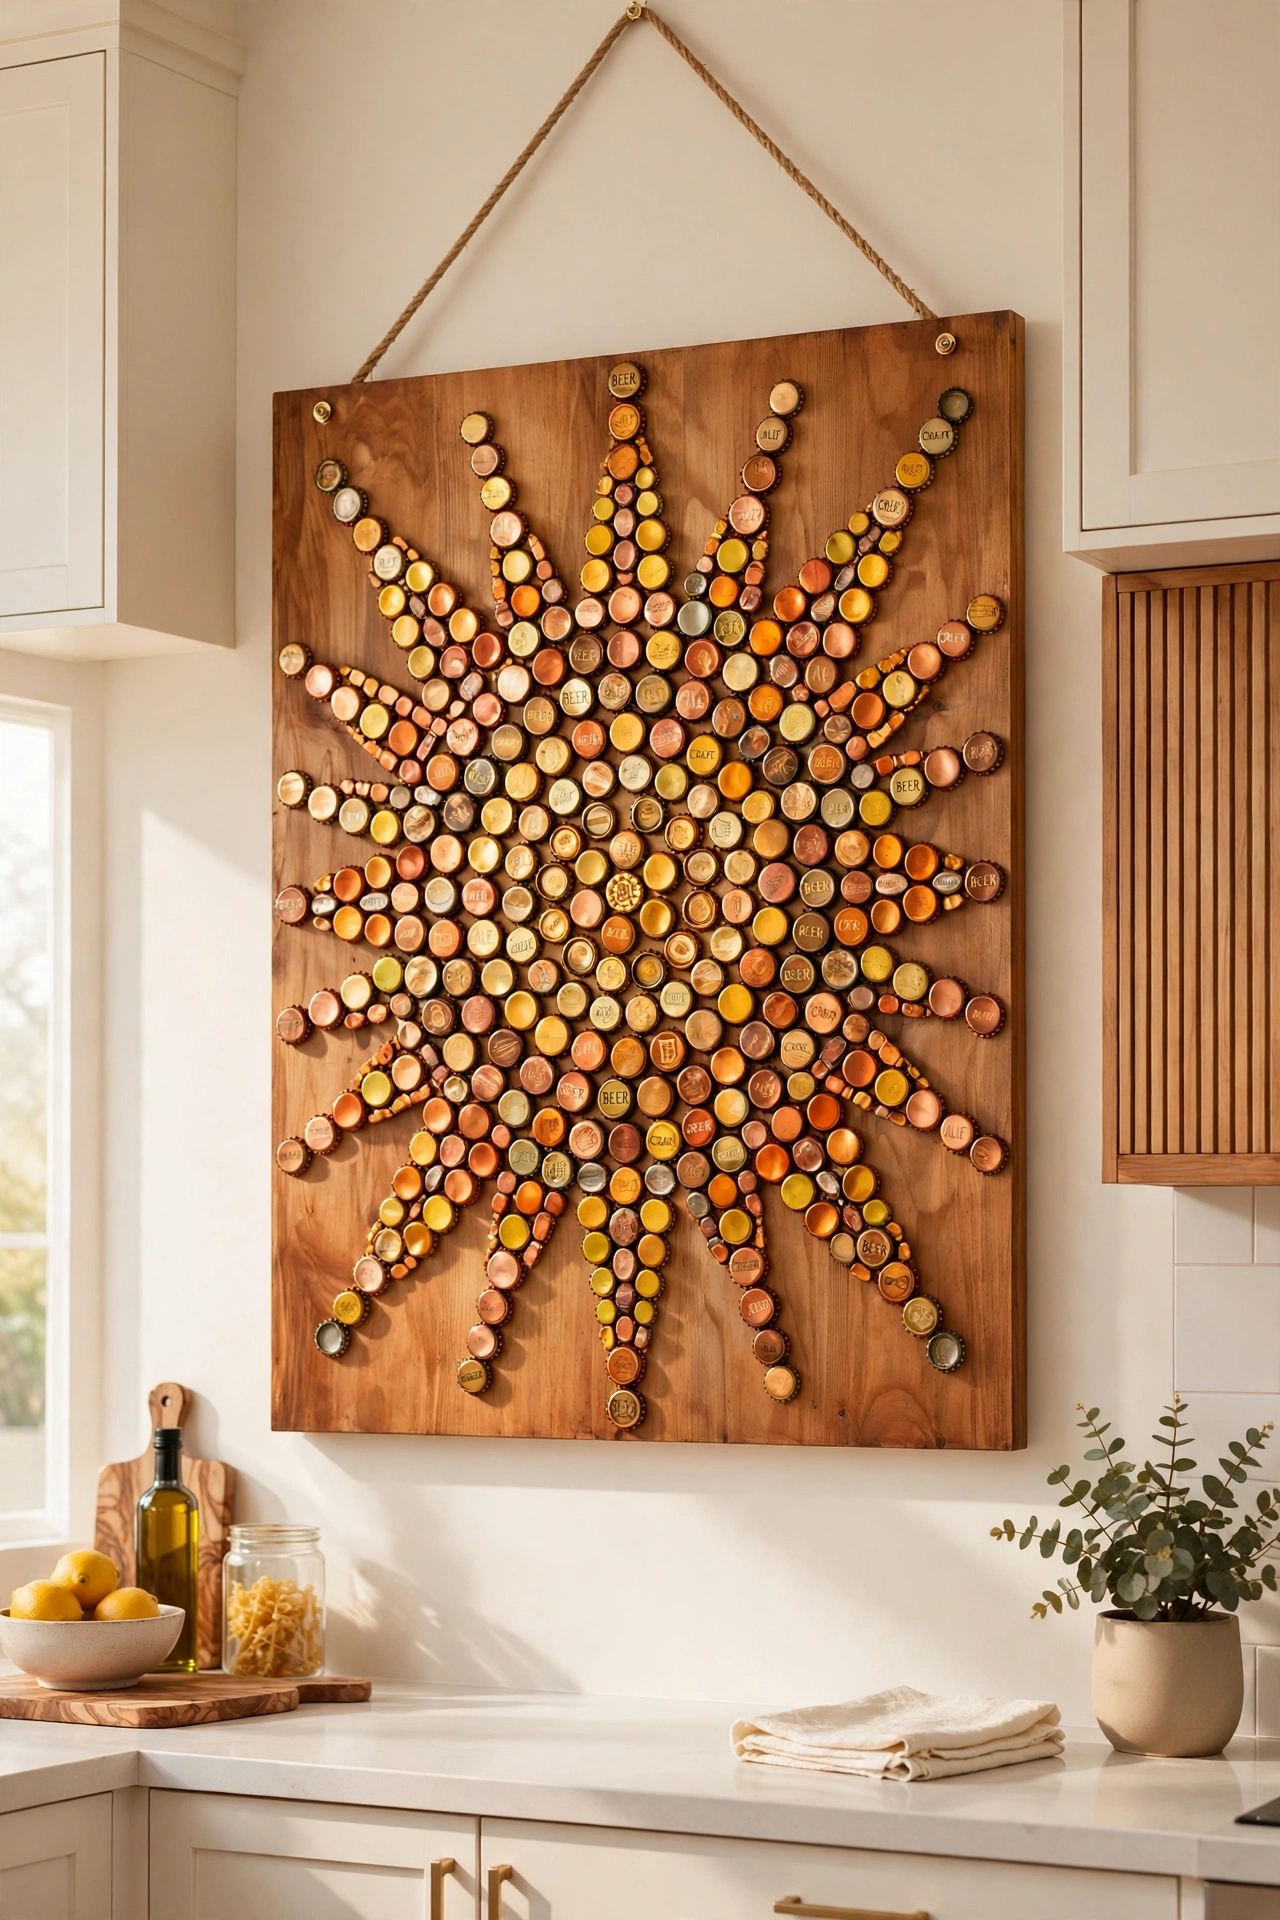
Bottle caps are free if you save them, and pressed into a board they become a colorful mosaic with real depth. Collect metal caps in different colors, or paint them all in one warm palette, and glue them in tight rows onto a wooden board. The raised circles catch light from every angle and give the wall a playful texture.
Arrange the caps in a simple pattern, such as a large sun, a wave, or a set of stripes, so the design reads clearly from across the room. Seal the finished board with clear varnish to keep the caps bright and dust free. This is a perfect project for a kitchen wall or a casual family room.
8. Wrap Fabric Around Foam Shapes
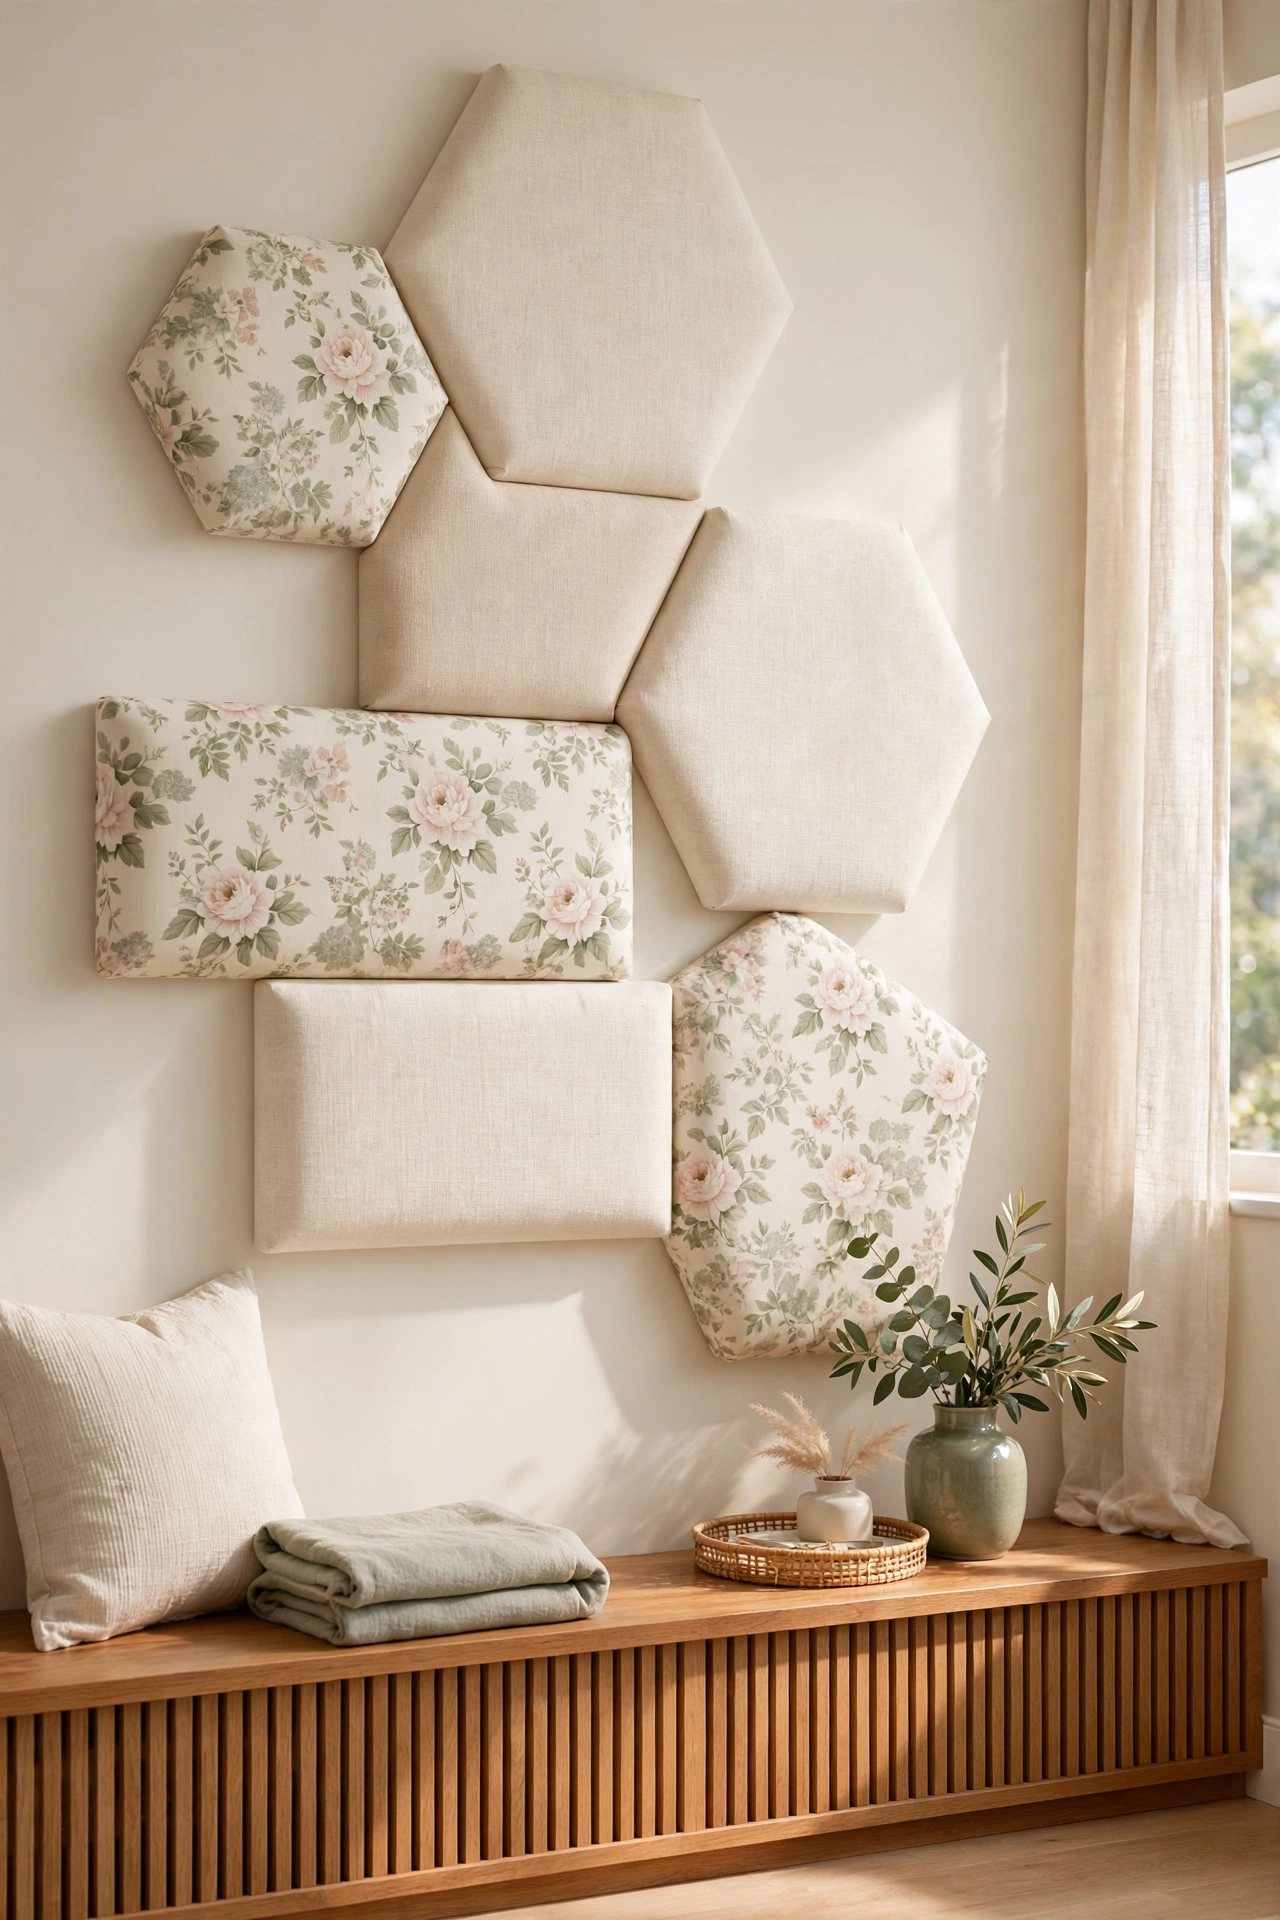
Foam shapes from a craft store cost very little, and wrapping them in fabric turns them into soft, padded wall art. Cut circles, squares, and arches from thick foam, wrap each one in a linen or cotton fabric, and pin the fabric neatly at the back. Mount the shapes on a board with space between them so each one stands out.
Mix a plain cream fabric with one patterned piece, such as a small floral or a soft stripe, for a collected look. The padded shapes soften the sound in a room and add warmth to a nursery or a bedroom. This project needs no paint and no drying time, so you can finish it in a single evening.
9. Roll Clay Coils into a Wall Hanging
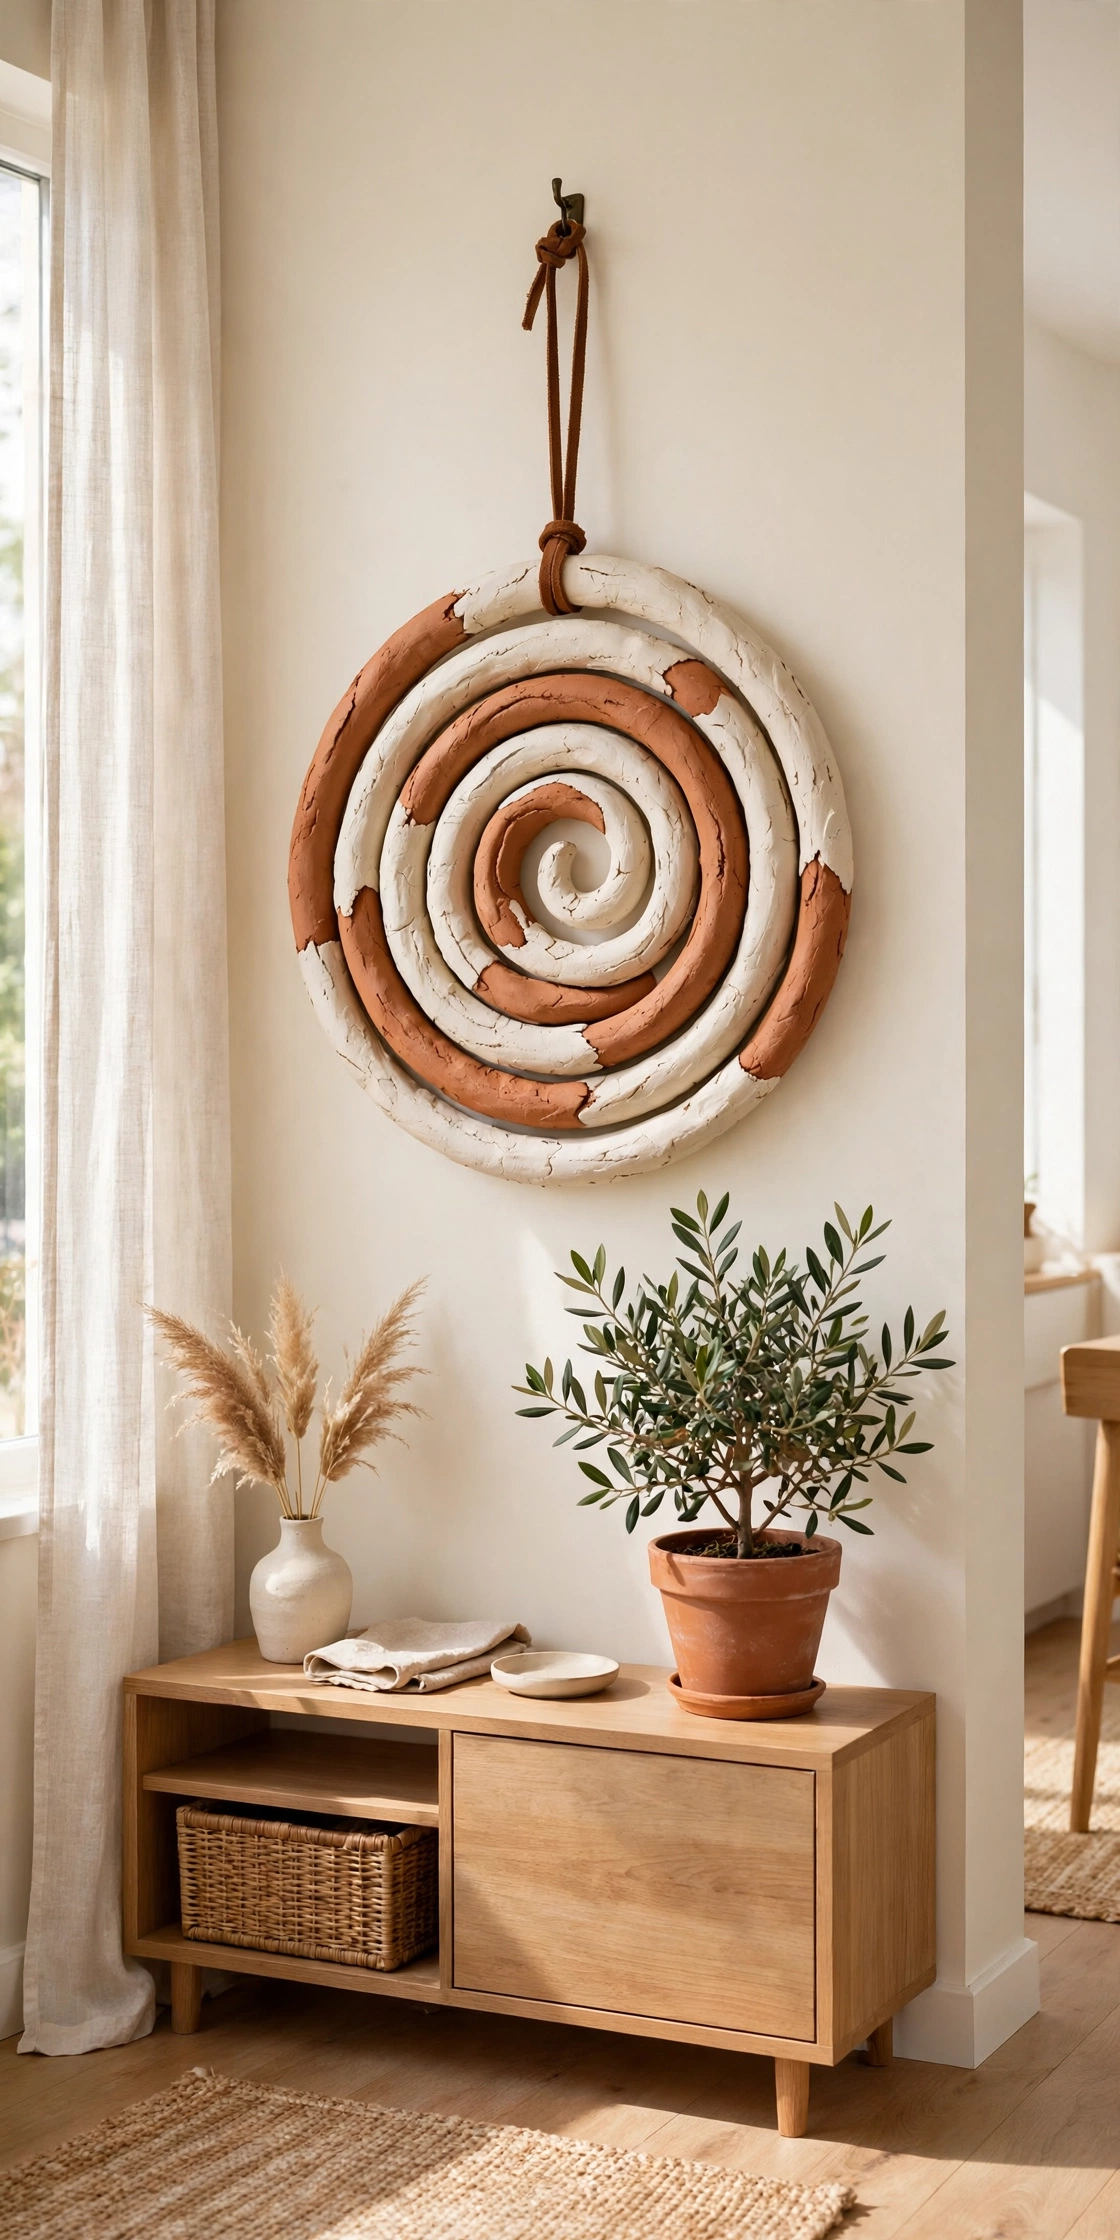
Air dry clay needs no kiln, and rolled coils make a beautiful organic wall hanging. Roll long snakes of clay, coil them into spirals and waves, and press the coils onto a flat clay base. Once the piece dries, paint it in warm white with a terracotta accent on the raised ridges.
Hang the finished piece with a leather cord through two small holes made before drying. The handmade coils look like a piece of folk art, full of small imperfections that prove a person made it. Keep the design simple and let the texture do the talking.
10. Mix Textures in a Small Gallery Wall
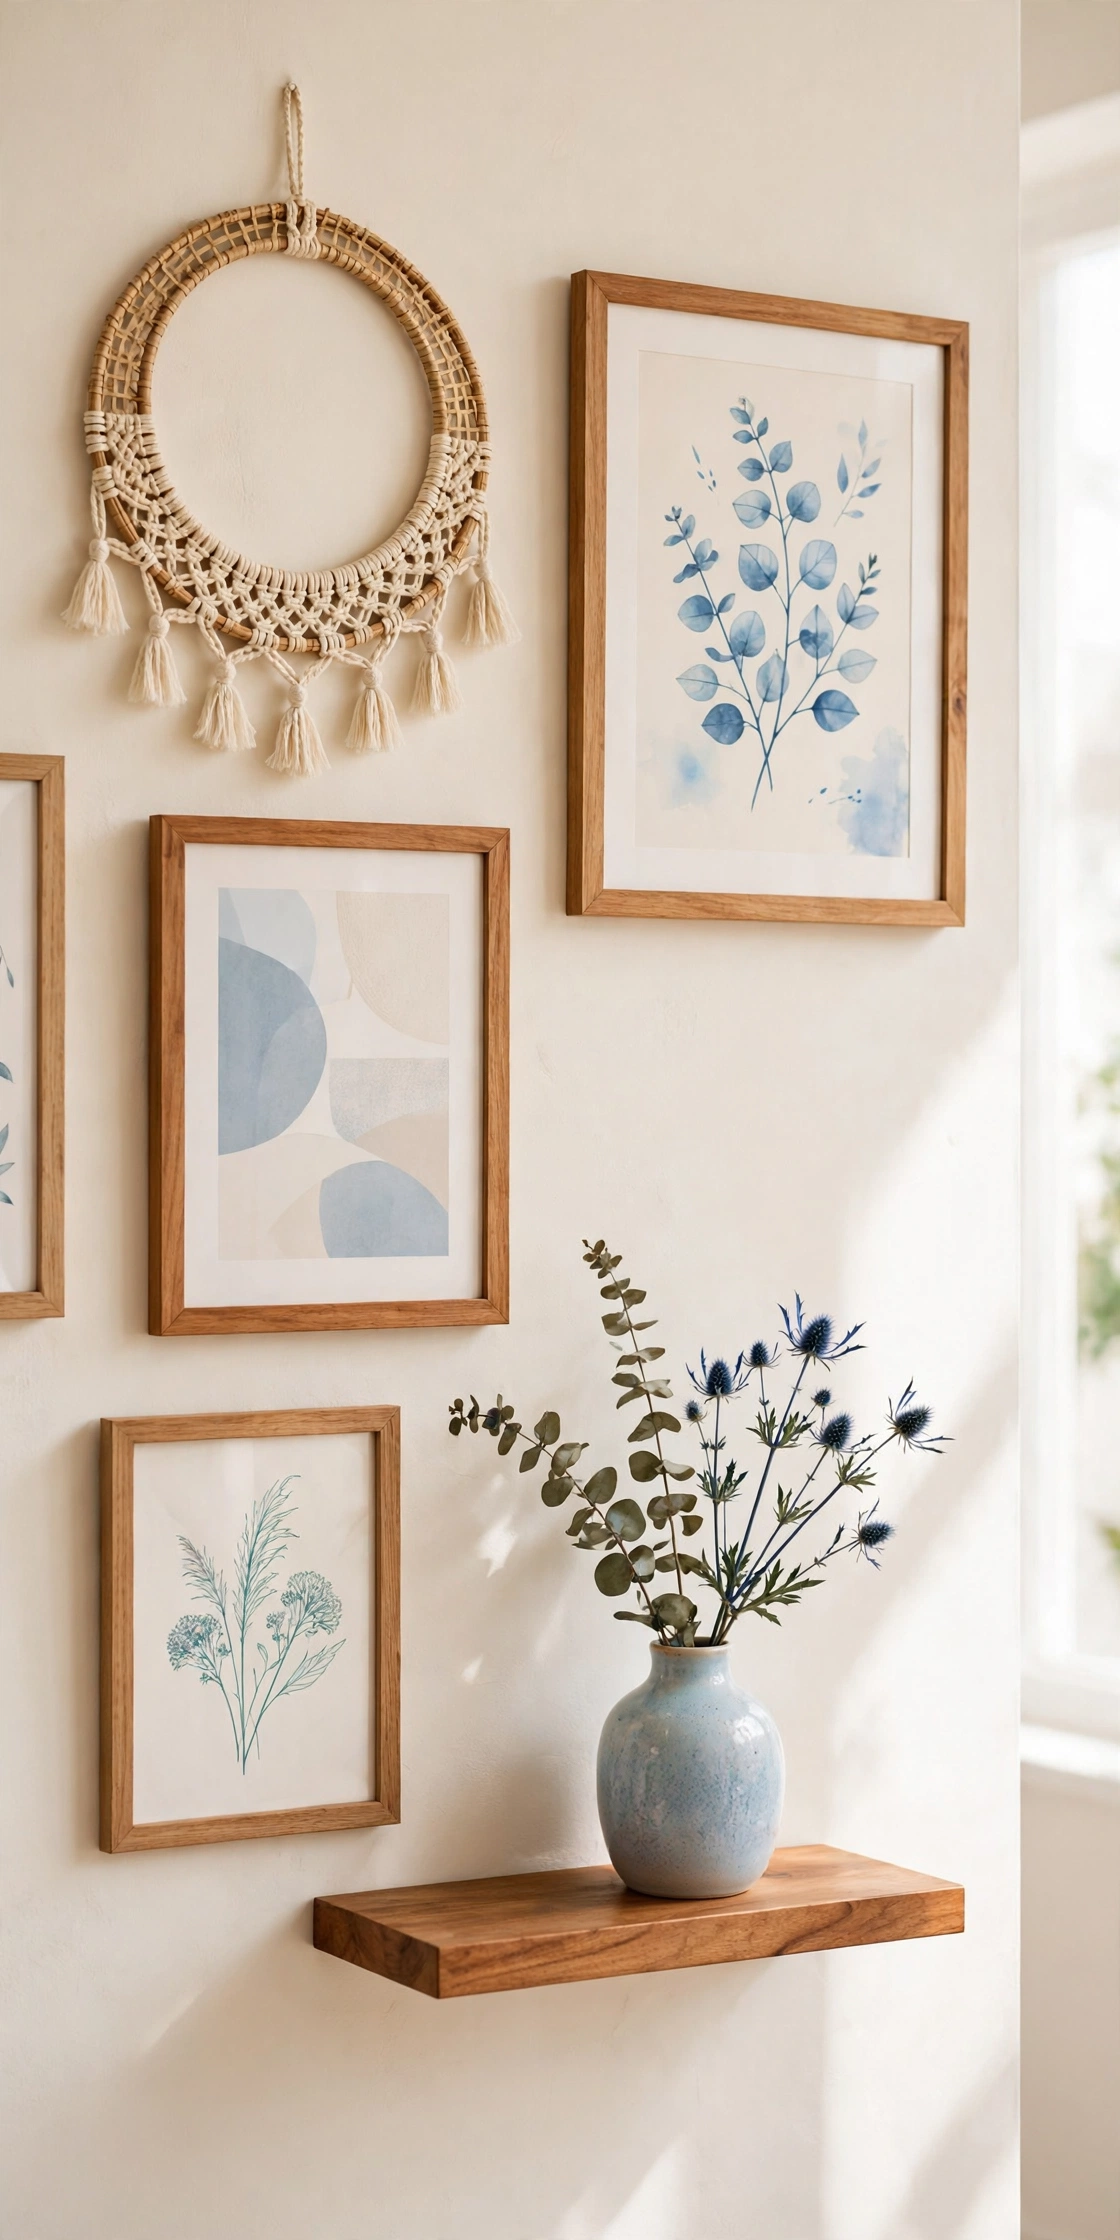
A gallery wall does not have to be flat. Mix one or two 3D pieces, such as a small woven hoop and a plaster leaf panel, with framed prints and a tiny shelf holding a vase. The mix of flat and raised art makes the whole wall feel deeper and more interesting than a row of identical frames.
Plan the layout on the floor first, then hang the largest 3D piece at eye level in the center. For ideas on arranging frames with confidence, see these antique gallery wall ideas. Leave breathing room between pieces so each texture can be seen on its own. A mixed gallery wall grows easily when you make a new piece to add.
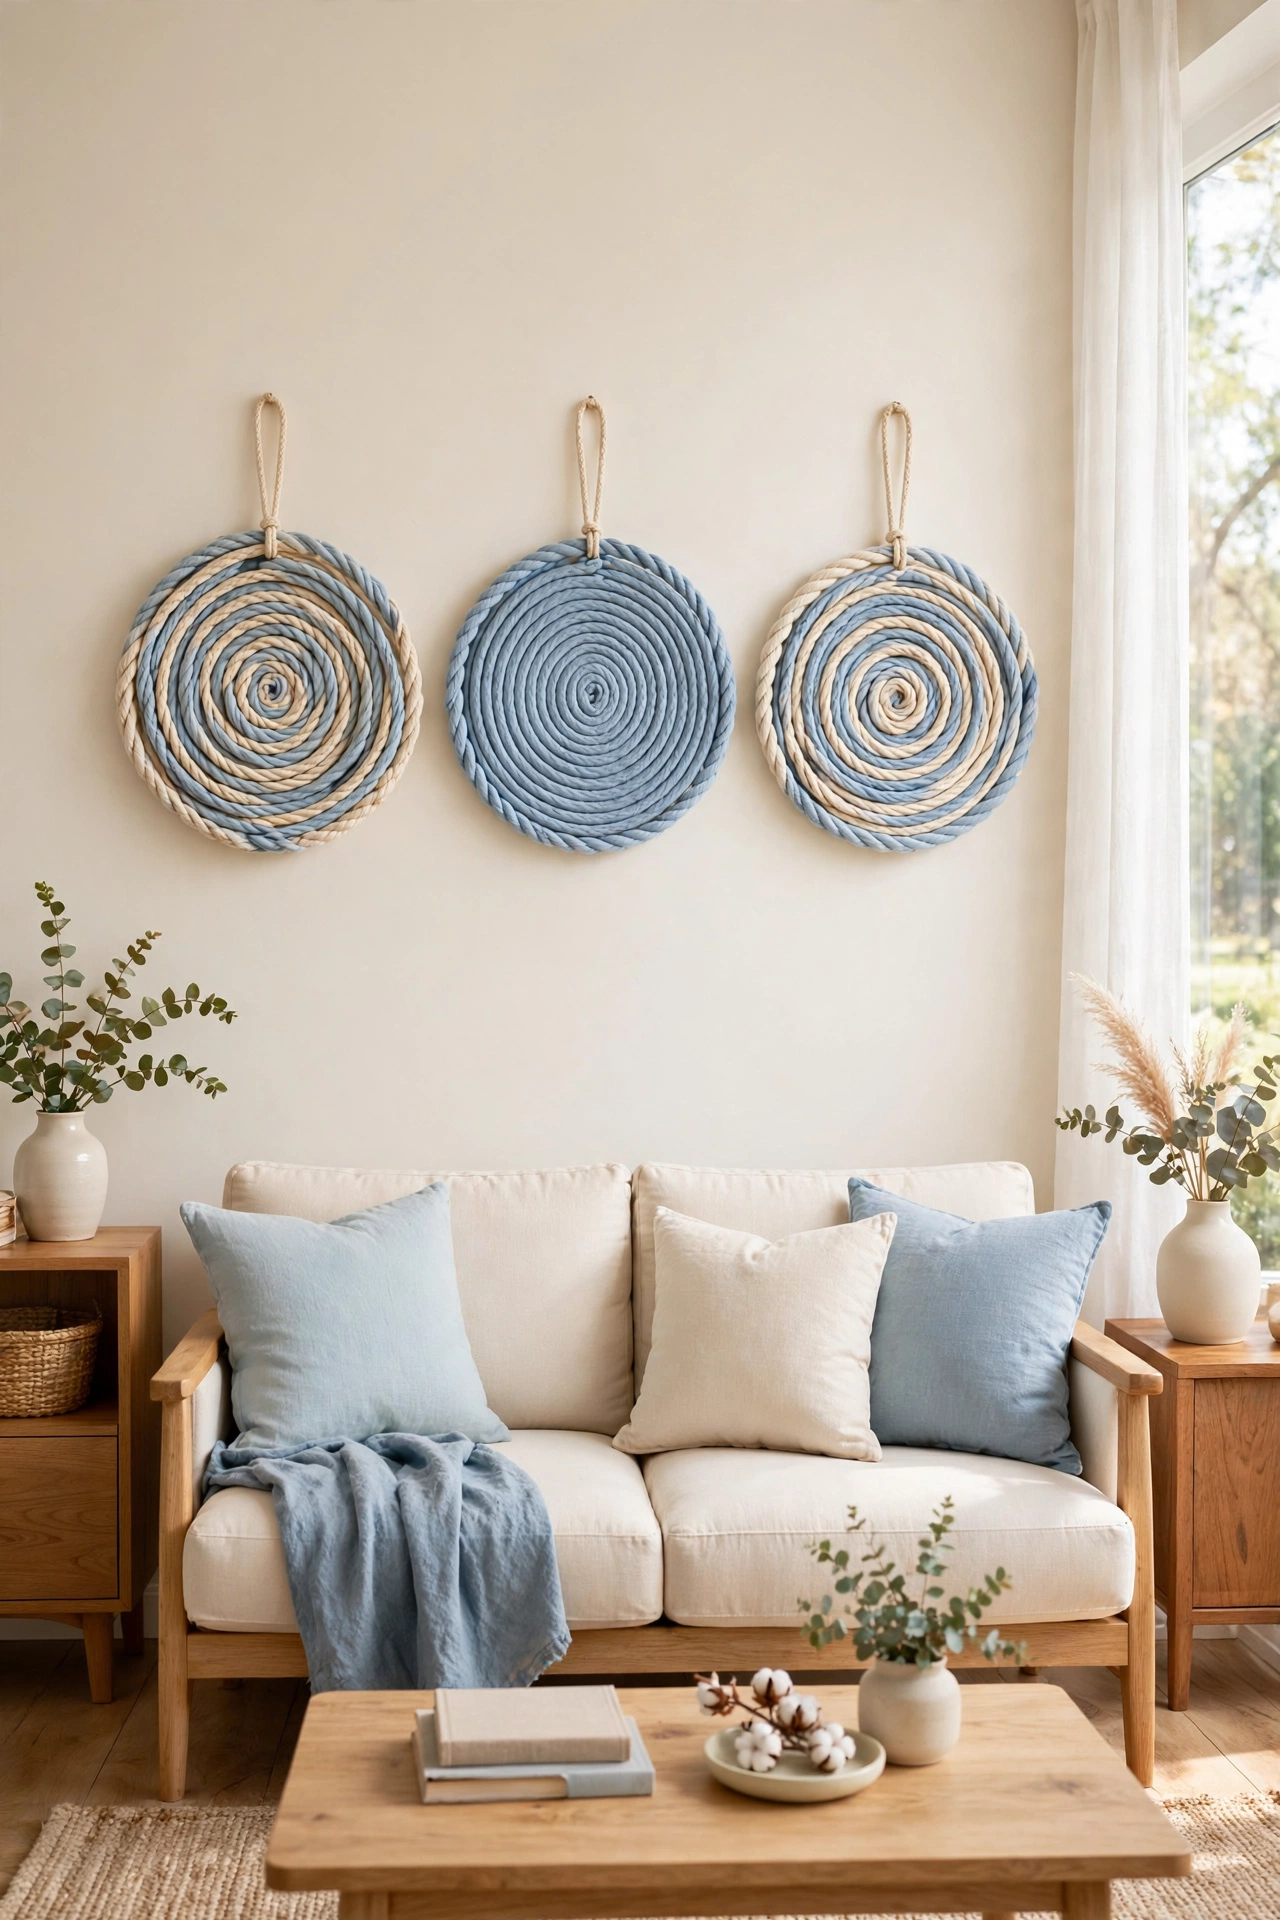
11. Coil Rope into Wall Circles
Thick cotton rope is cheap by the meter, and coiled into flat circles it makes warm, sculptural wall art. Coil the rope into a tight spiral, glue each round to the last, and finish the edge with a wrapped band of the same rope. Make three circles in different sizes and hang them in a row.
The natural rope color suits a coastal or farmhouse room, and a single circle painted in soft blue adds a gentle accent. Hang the circles above a sofa or a bed where their round shapes soften the straight lines of the furniture. This project needs only rope, glue, and patience.
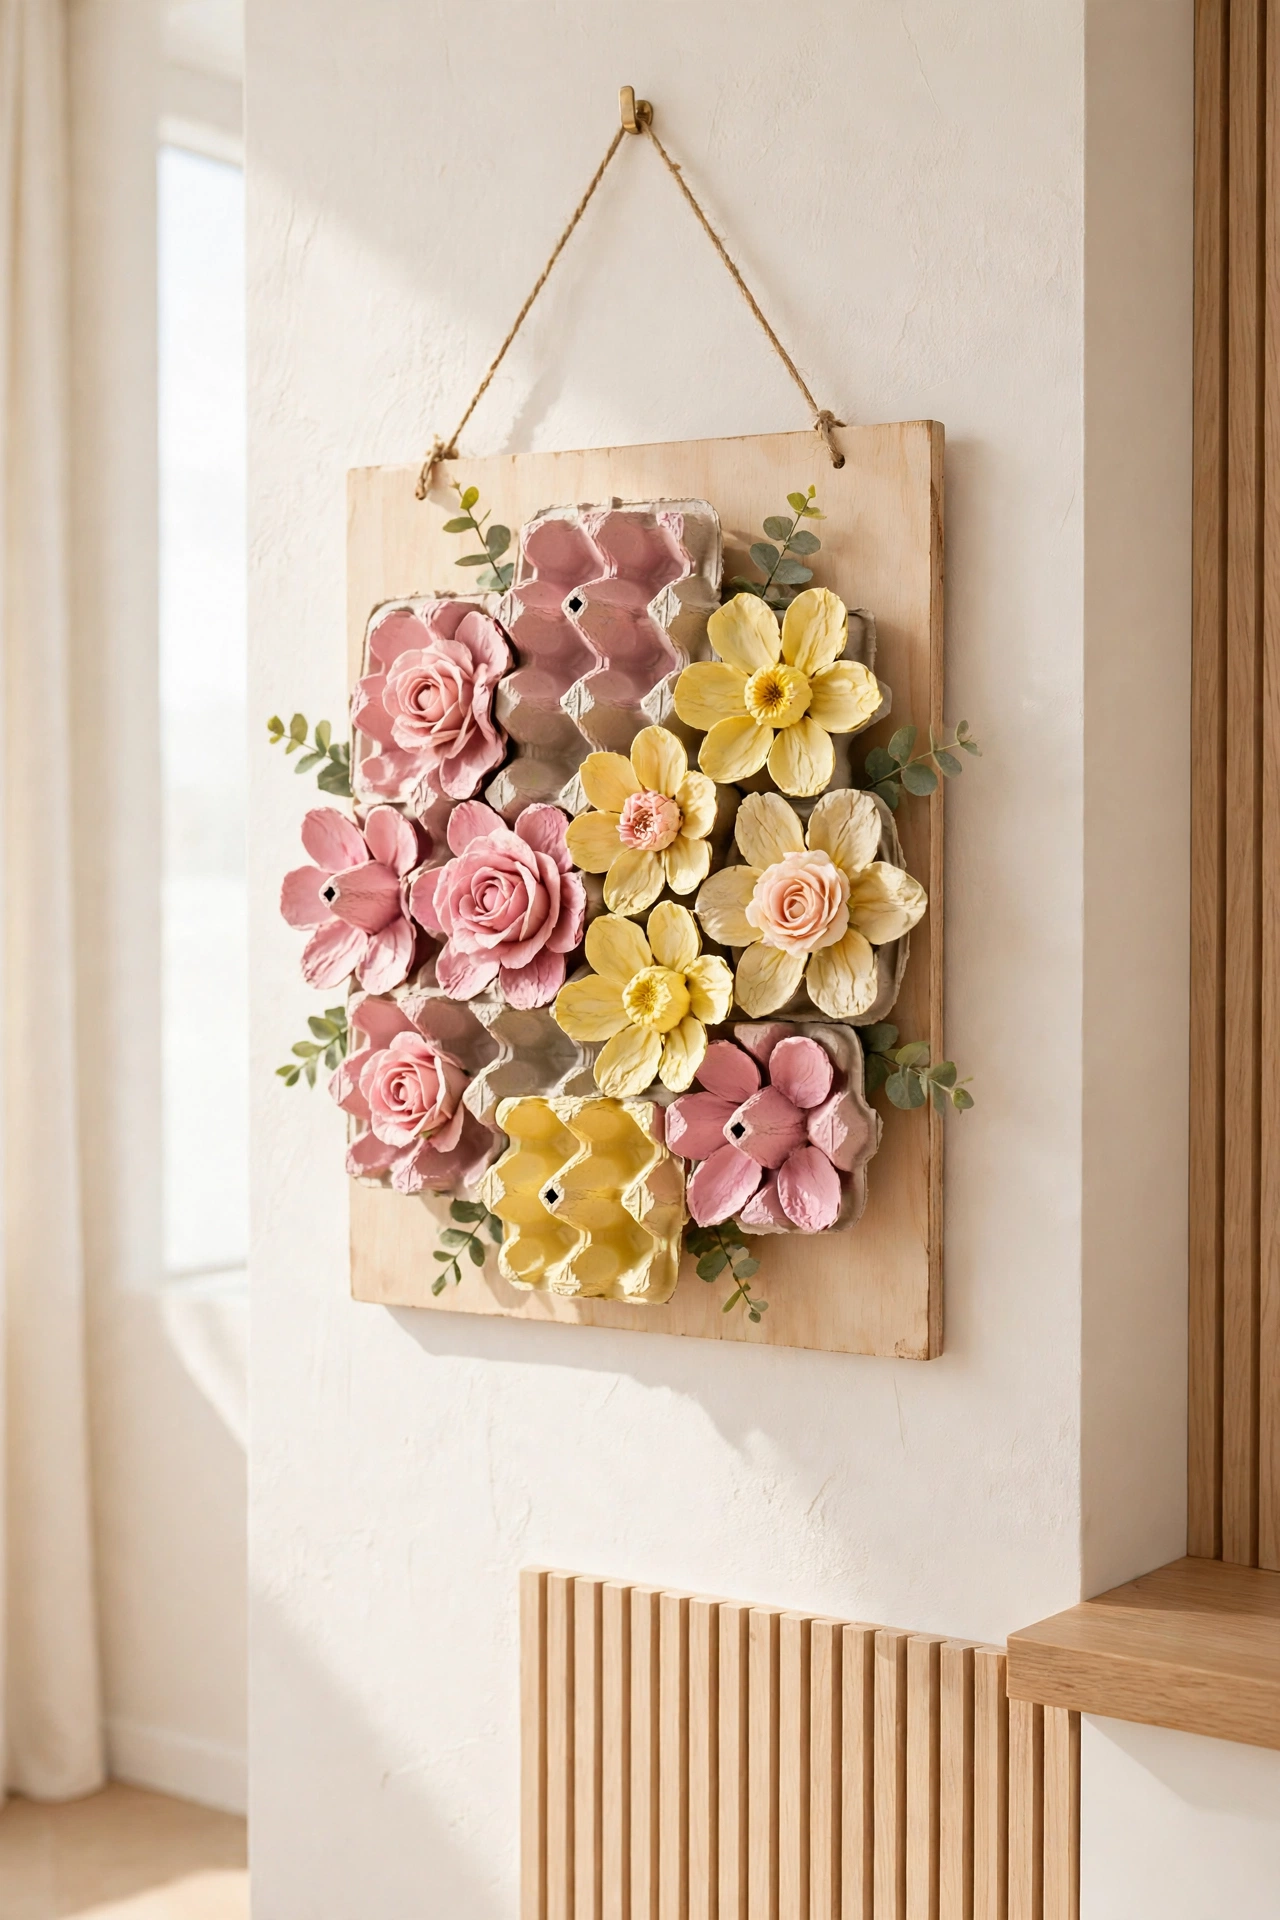
12. Paint Egg Carton Flowers into a Relief
Empty egg cartons are free, and their cups make perfect flower shapes when cut apart and painted. Cut the cups from the carton, trim the edges into petals, and paint each flower in a soft color. Glue the flowers onto a board in a loose bouquet pattern, with a few green paper leaves between them.
The raised cups cast small shadows that make the bouquet feel real from a few steps away. This is a wonderful project for a child’s bedroom or a craft room wall. One carton makes about twelve flowers, so two cartons fill a large board with almost no cost at all.
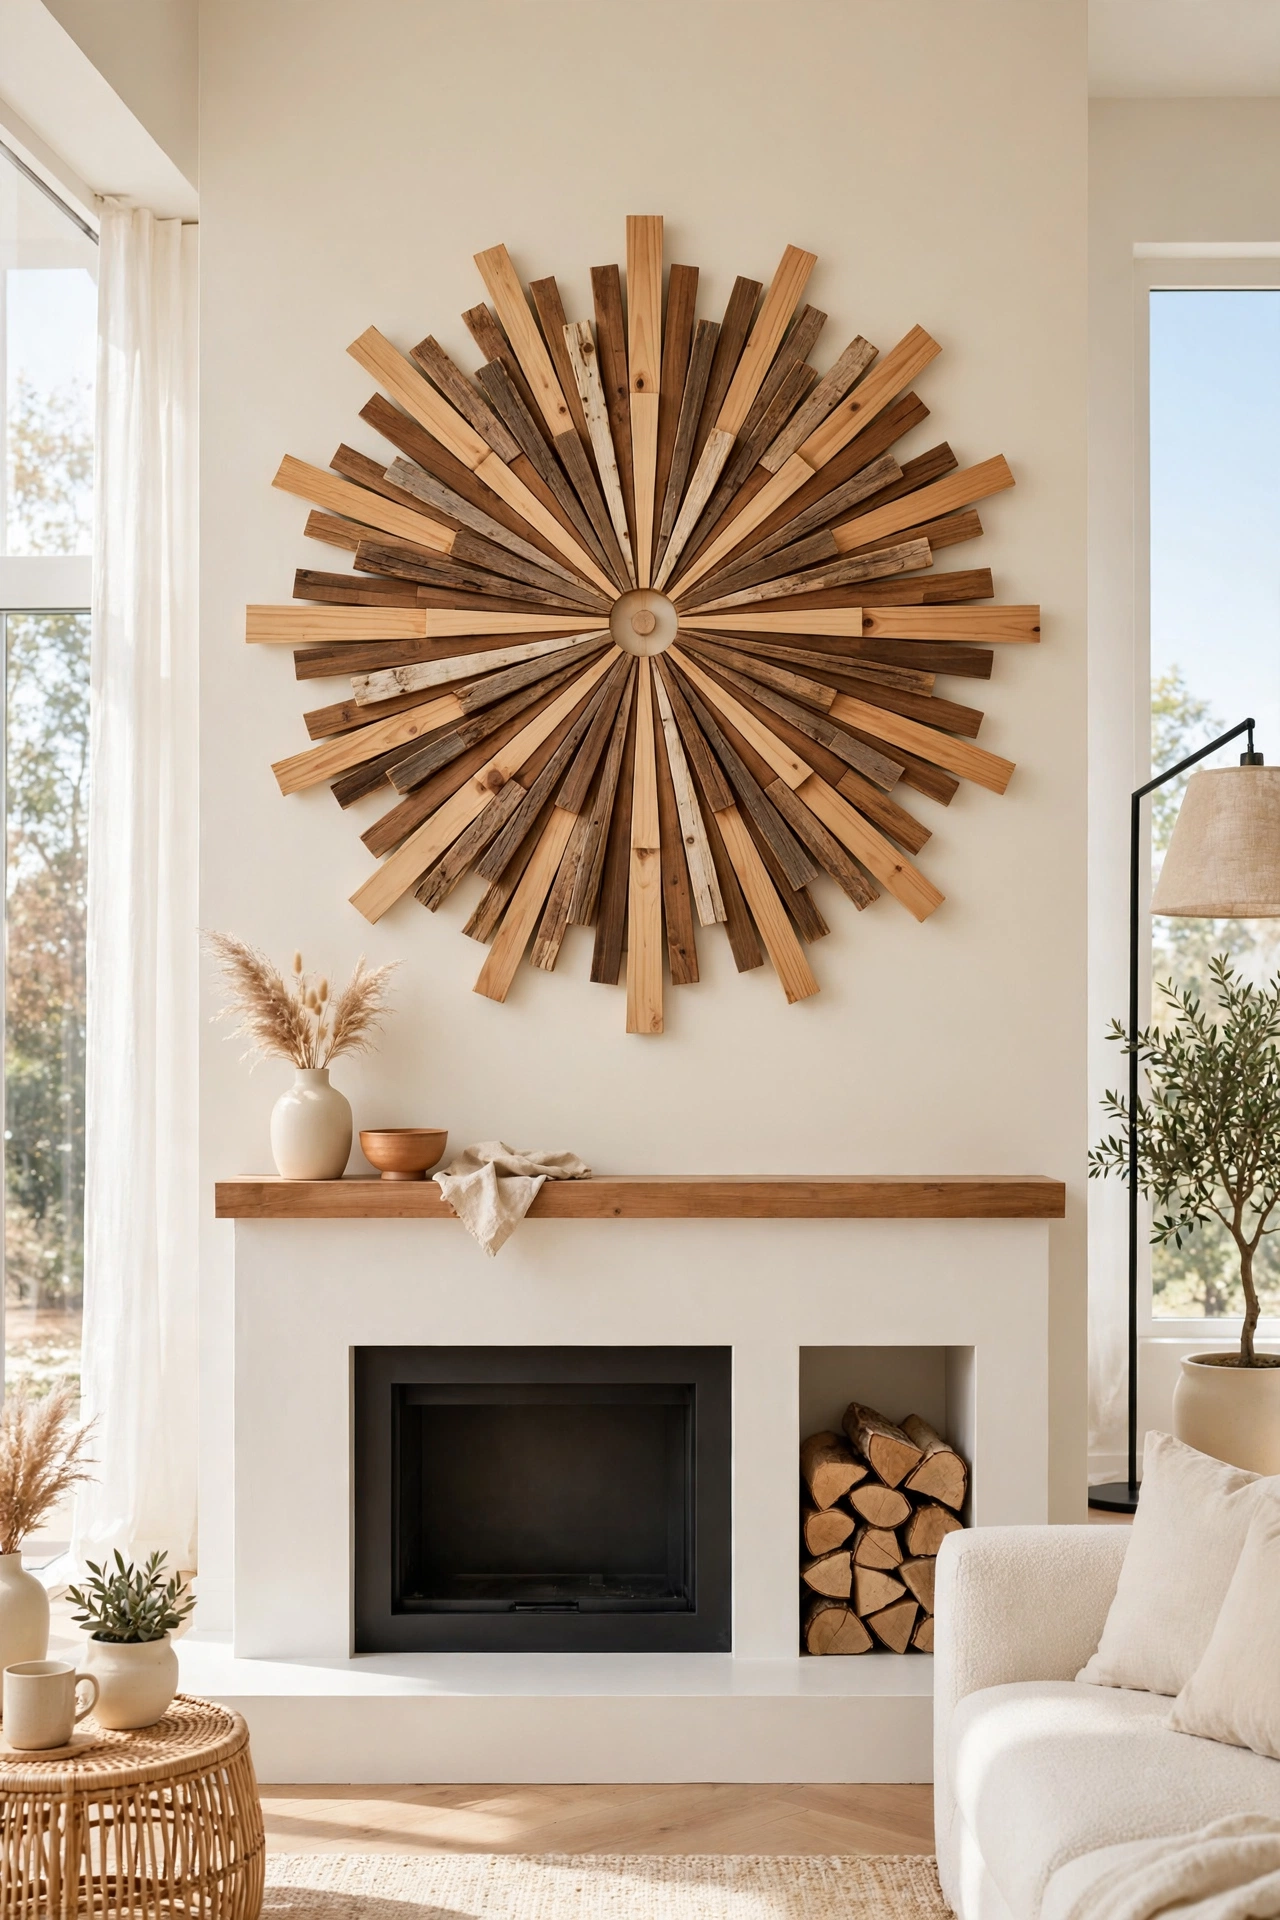
13. Build a Scrap Wood Slat Sunburst
Scrap wood from old pallets or offcuts becomes a sunburst that radiates across a wall. Cut thin slats in different lengths, sand the edges smooth, and glue them onto a round wooden center so they fan out like rays. Stain the slats in two tones of warm wood for a rich, layered look.
Hang the sunburst above a fireplace or in an entryway where its shape draws the eye upward. The gaps between slats let the wall color show through, which makes the piece feel light despite its size. This project turns wood that would be thrown away into the boldest piece in the room.
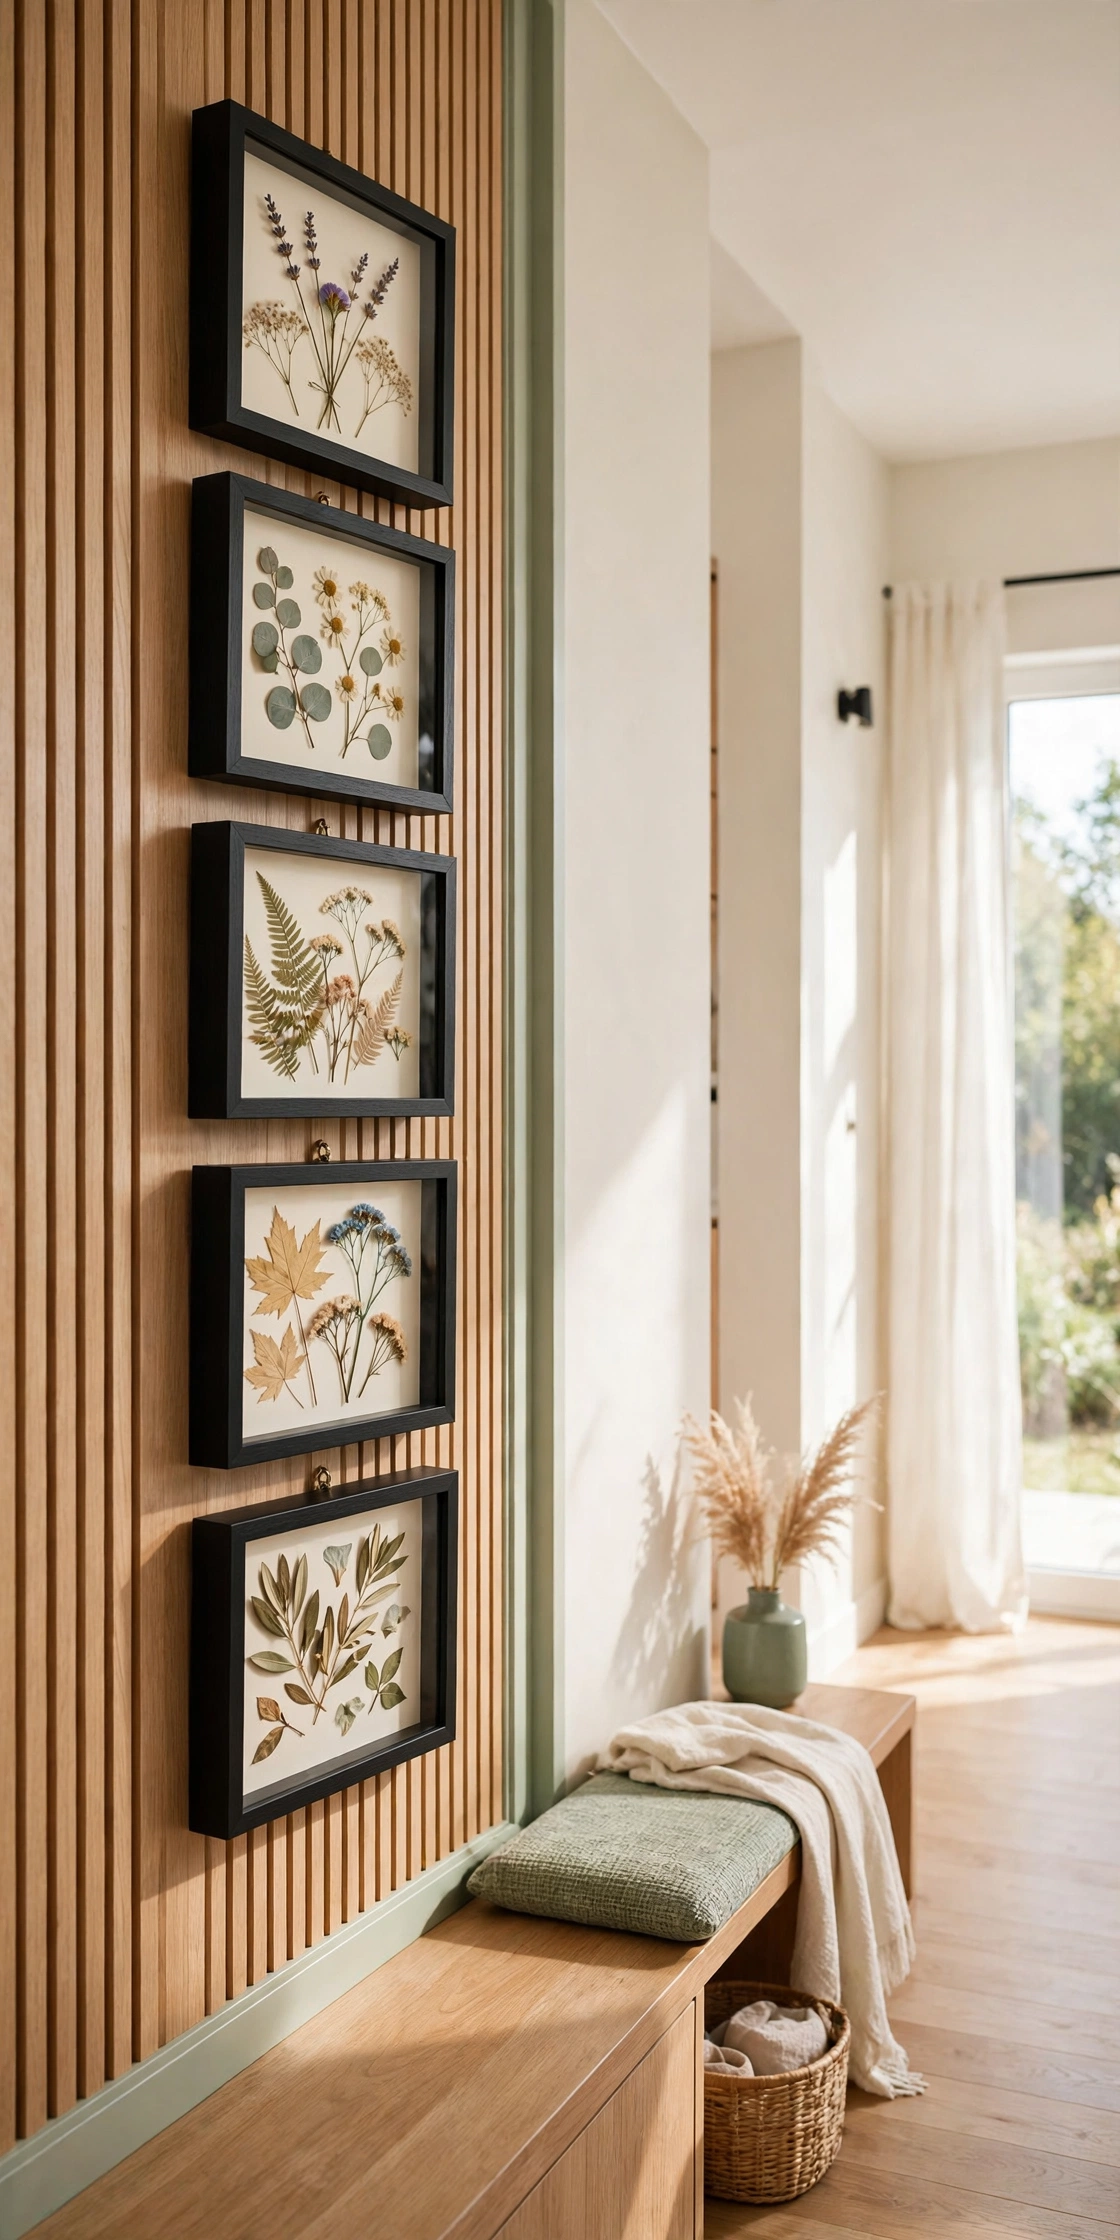
14. Press Botanicals into Shadow Boxes
Pressed flowers and leaves cost nothing if you gather them from a garden, and a deep shadow box turns them into art with real depth. Press the botanicals flat between book pages for two weeks, then mount them on cream card inside the box. Add a small twig or a seed pod for a touch of texture.
Use one large leaf as the hero of each box and smaller flowers around it, so the design feels balanced. Hang two or three boxes in a row in a hallway for a quiet, natural display. The glass keeps the botanicals safe, and the depth of the box gives the flat plants a gentle lift.
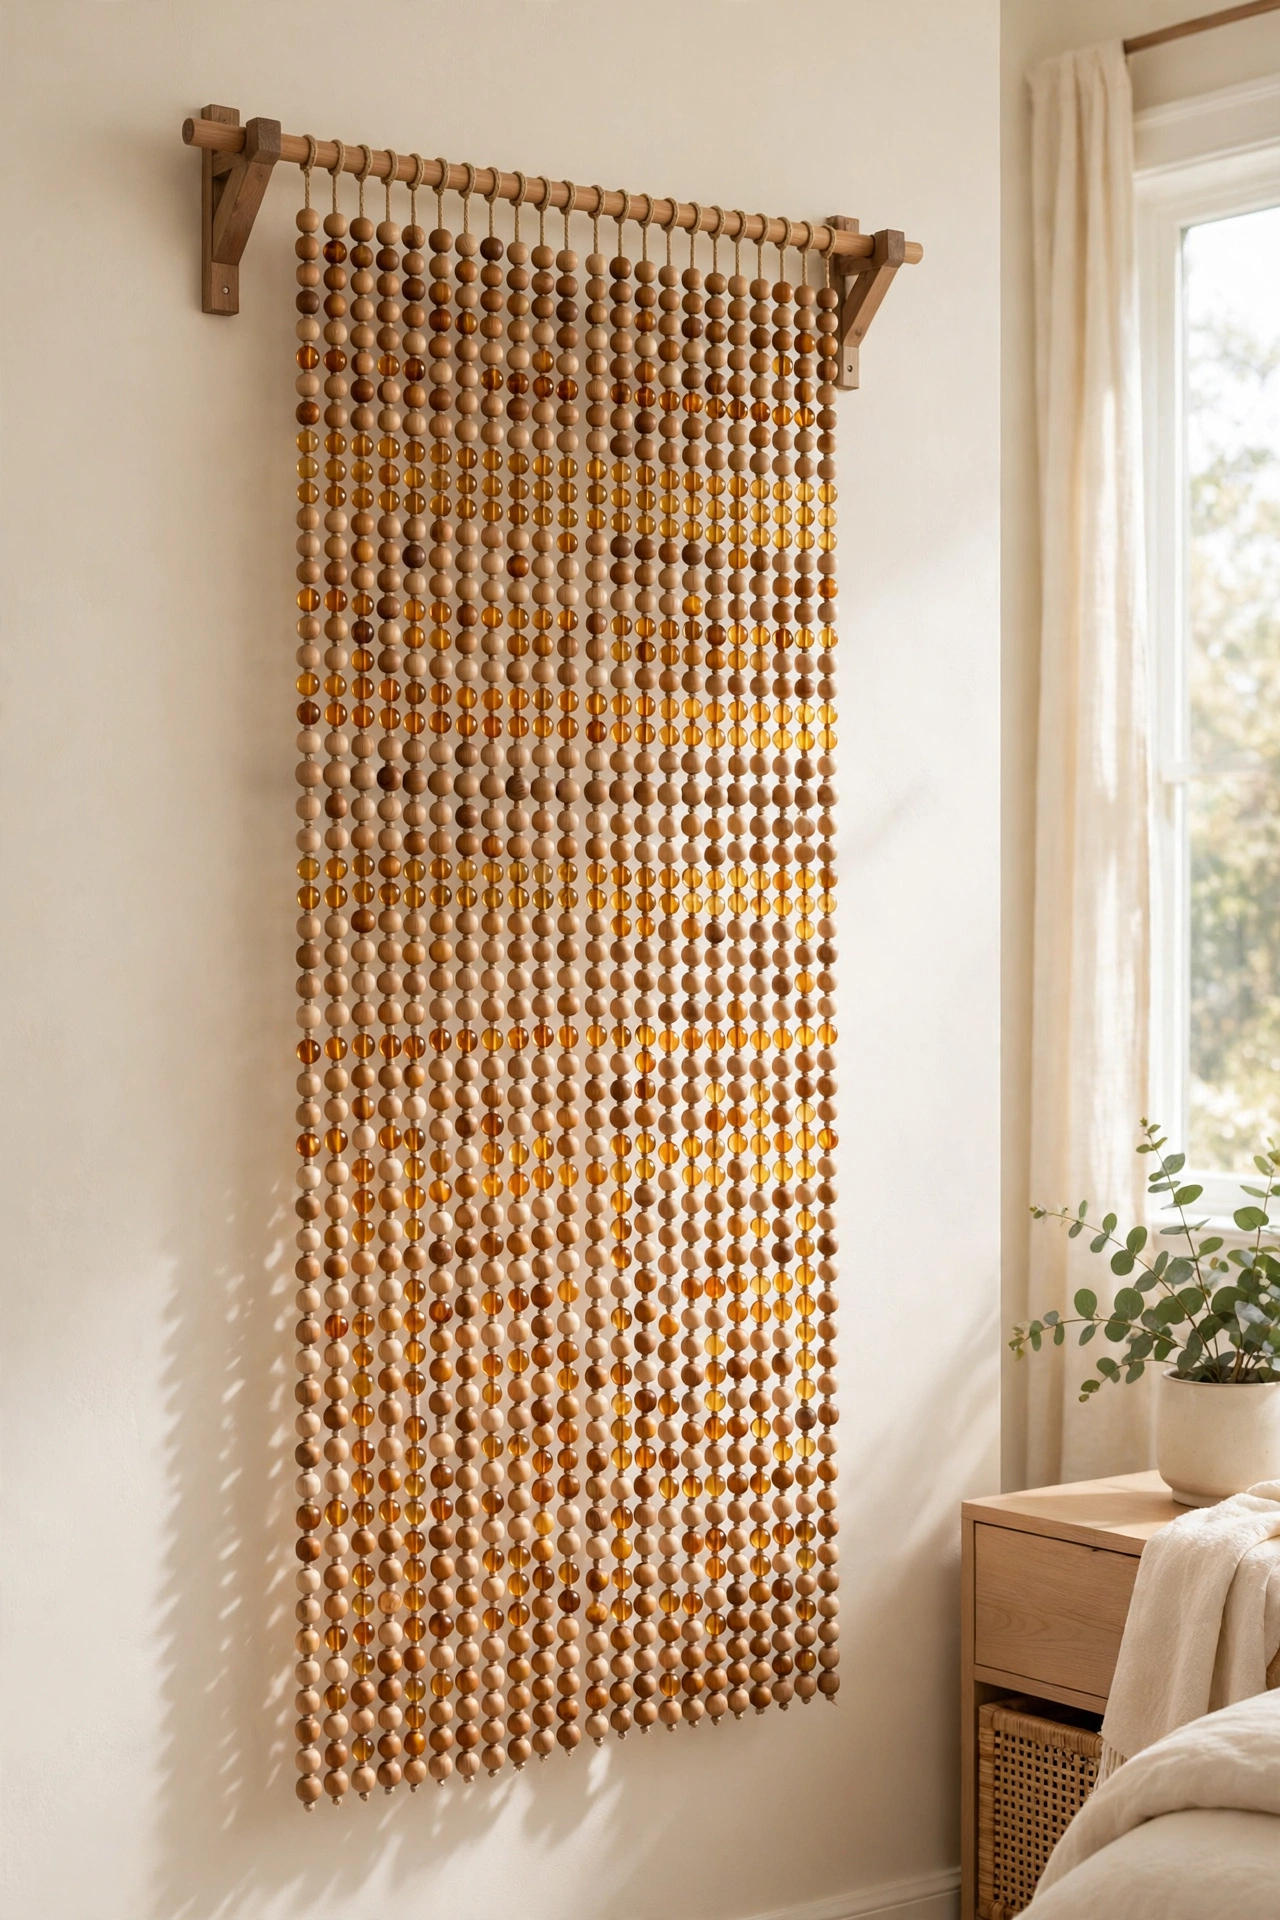
15. String a Beaded Curtain Wall Panel
Wooden beads are sold in bags for very little money, and strung on cords they make a soft, moving wall panel. Thread beads in a mix of natural wood and one accent color onto strong cotton cords, then tie the cords to a wooden dowel rod. Hang the rod on the wall and let the bead strands fall in gentle lines.
The beads click softly when a breeze moves them, which adds a sensory touch to a bedroom or a meditation corner. Keep the strands at different lengths so the bottom edge forms a wave. This panel is easy to take down and store, which makes it a good choice for a rented home.
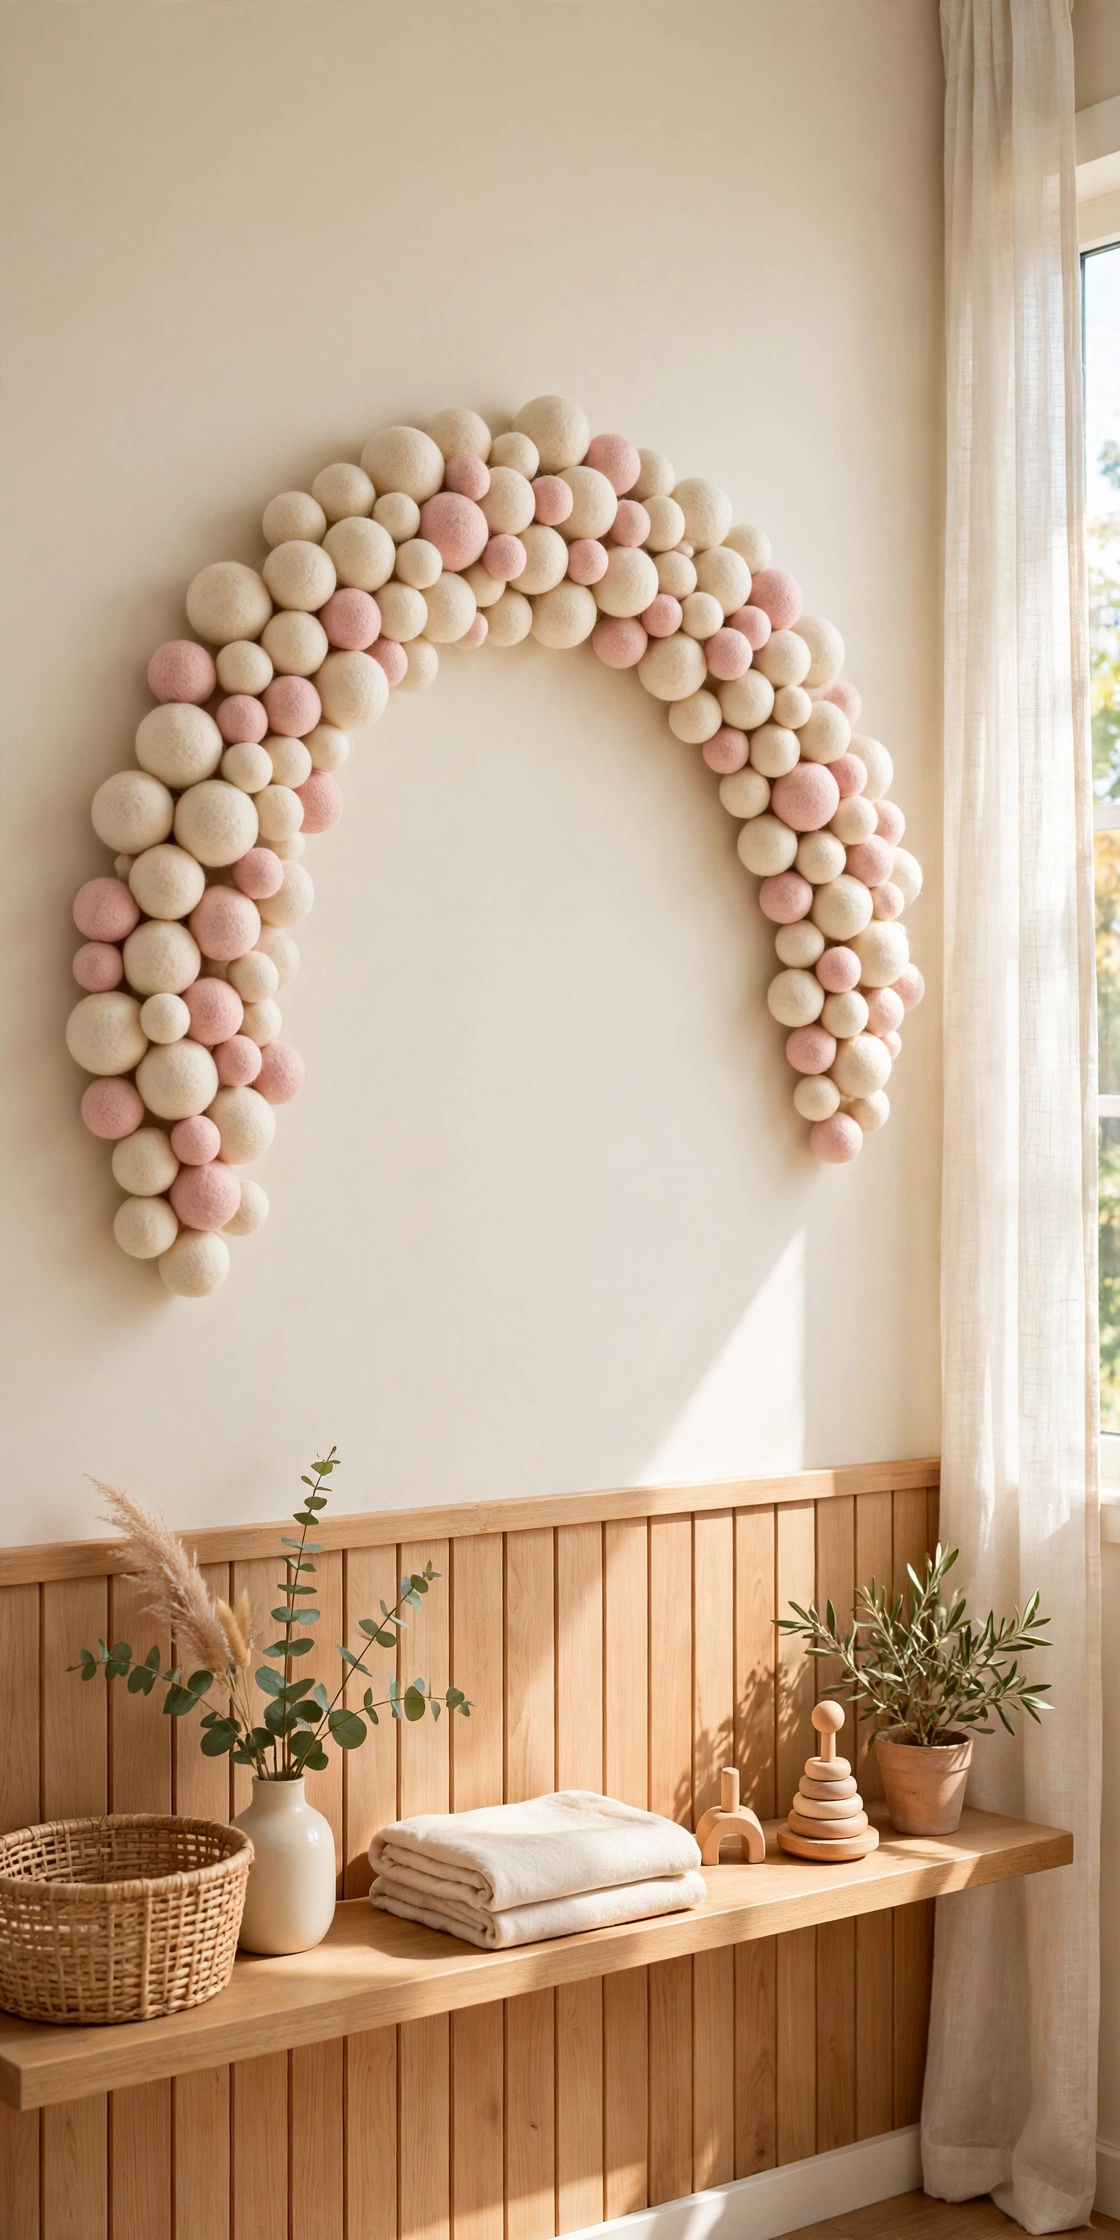
16. Cluster Felt Balls into Wall Art
Felt balls are soft, light, and sold in bulk bags for a few dollars, and clustered on a board they make cheerful 3D art. Glue the balls in tight rows onto a painted board, mixing cream with one accent color such as blush pink or soft blue. The round shapes and soft texture invite a touch.
Arrange the balls in a simple shape, such as a heart, a rainbow arc, or a plain grid, so the design reads clearly. This project suits a nursery or a playroom, where the soft materials are safe and the colors feel happy. The finished board is light enough to hang with a single picture hook.
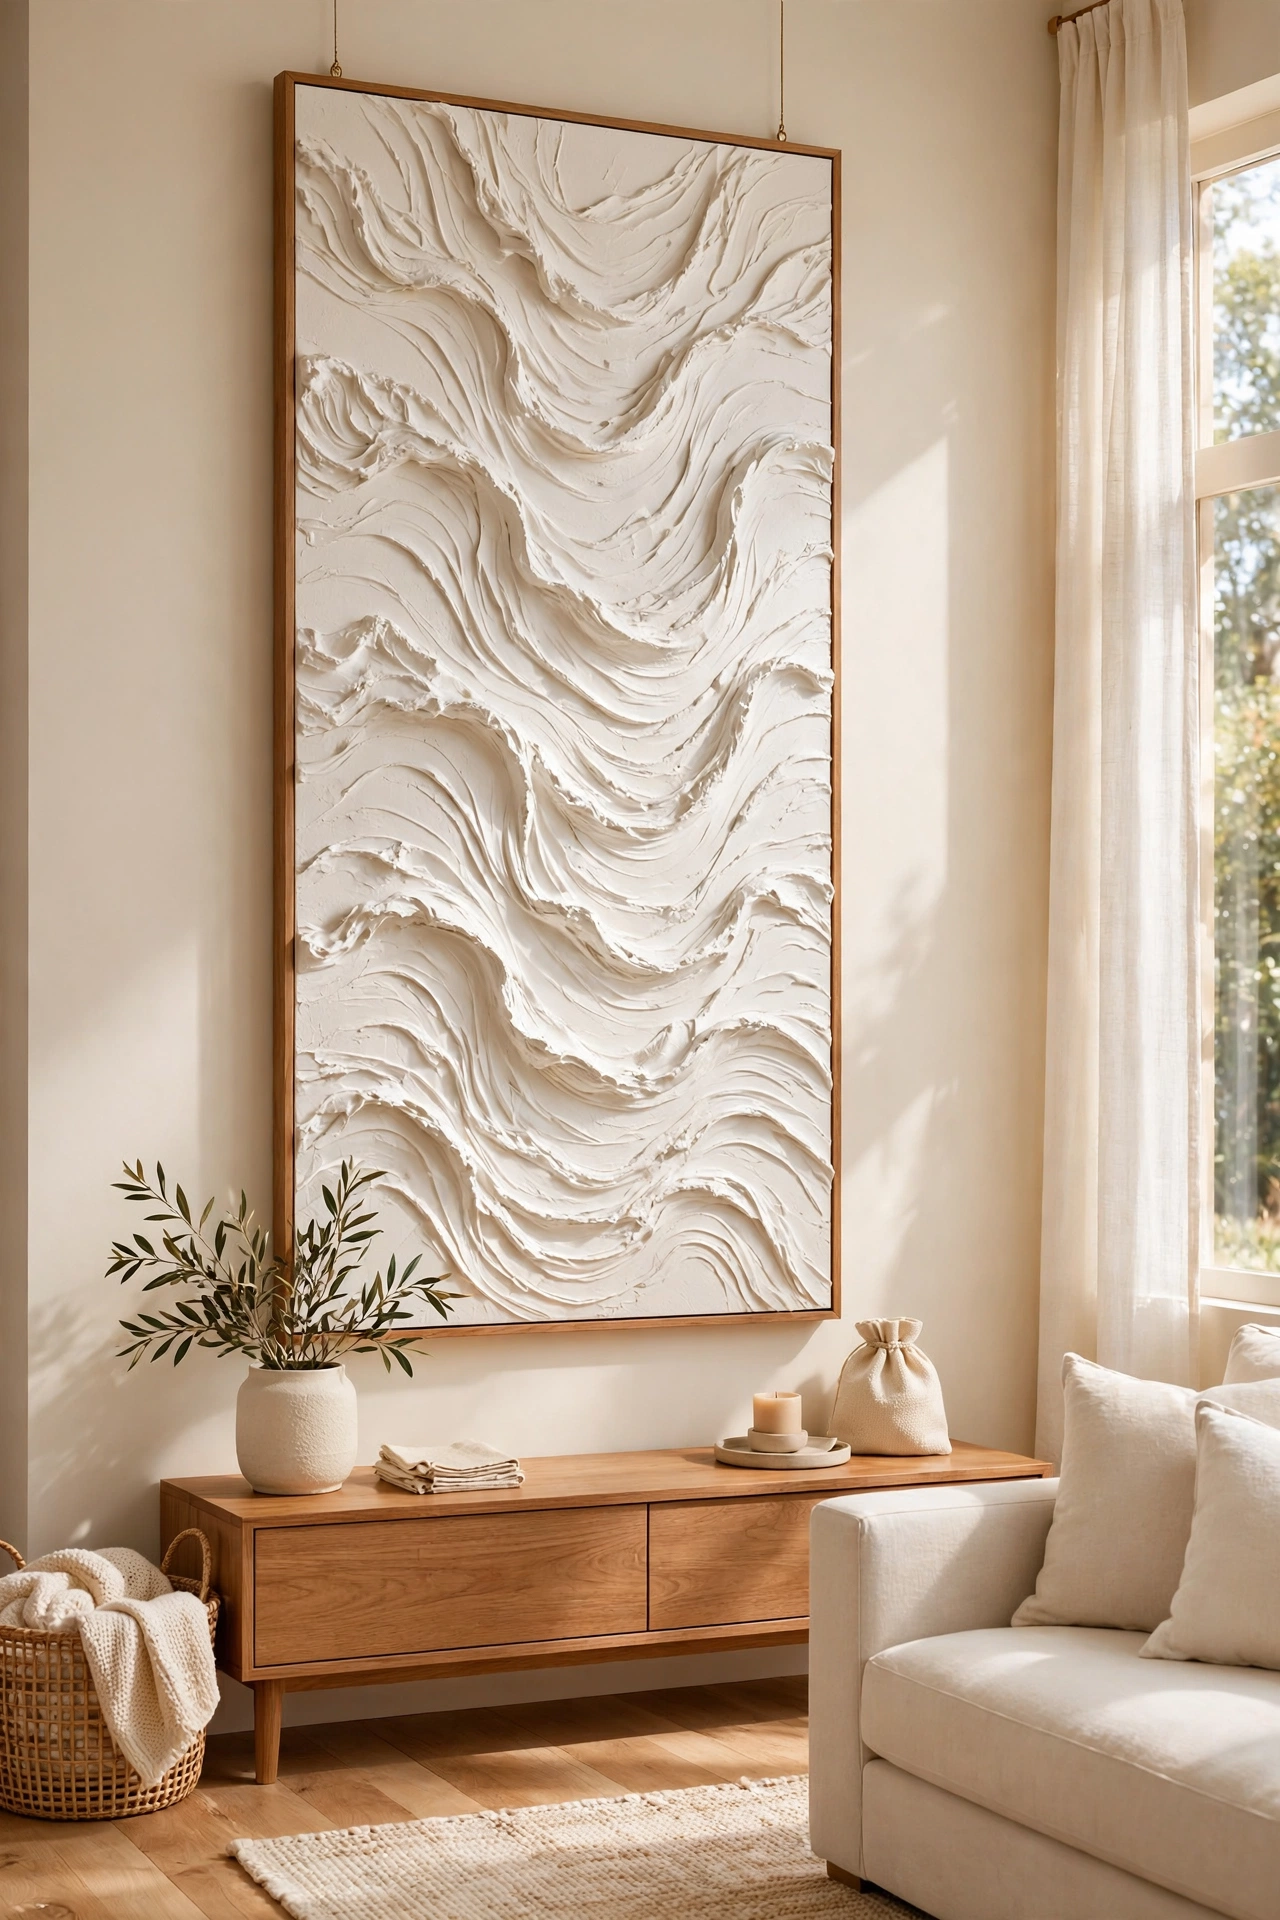
17. Texture Canvas with Joint Compound
Joint compound from a hardware store is one of the cheapest ways to make abstract 3D art. Spread it thickly on a canvas with a palette knife, then drag a fork or a comb through it to make waves, arcs, and ridges. Let it dry fully, then paint it in one warm color so the texture becomes the star.
A single color, such as warm white or soft sage, keeps the piece calm and modern. Hang the canvas where side light rakes across the surface, so every ridge casts a shadow. For more ideas on styling bold art in a room, see these abstract art styling ideas. One tub of compound covers several canvases, so you can make a matching set.
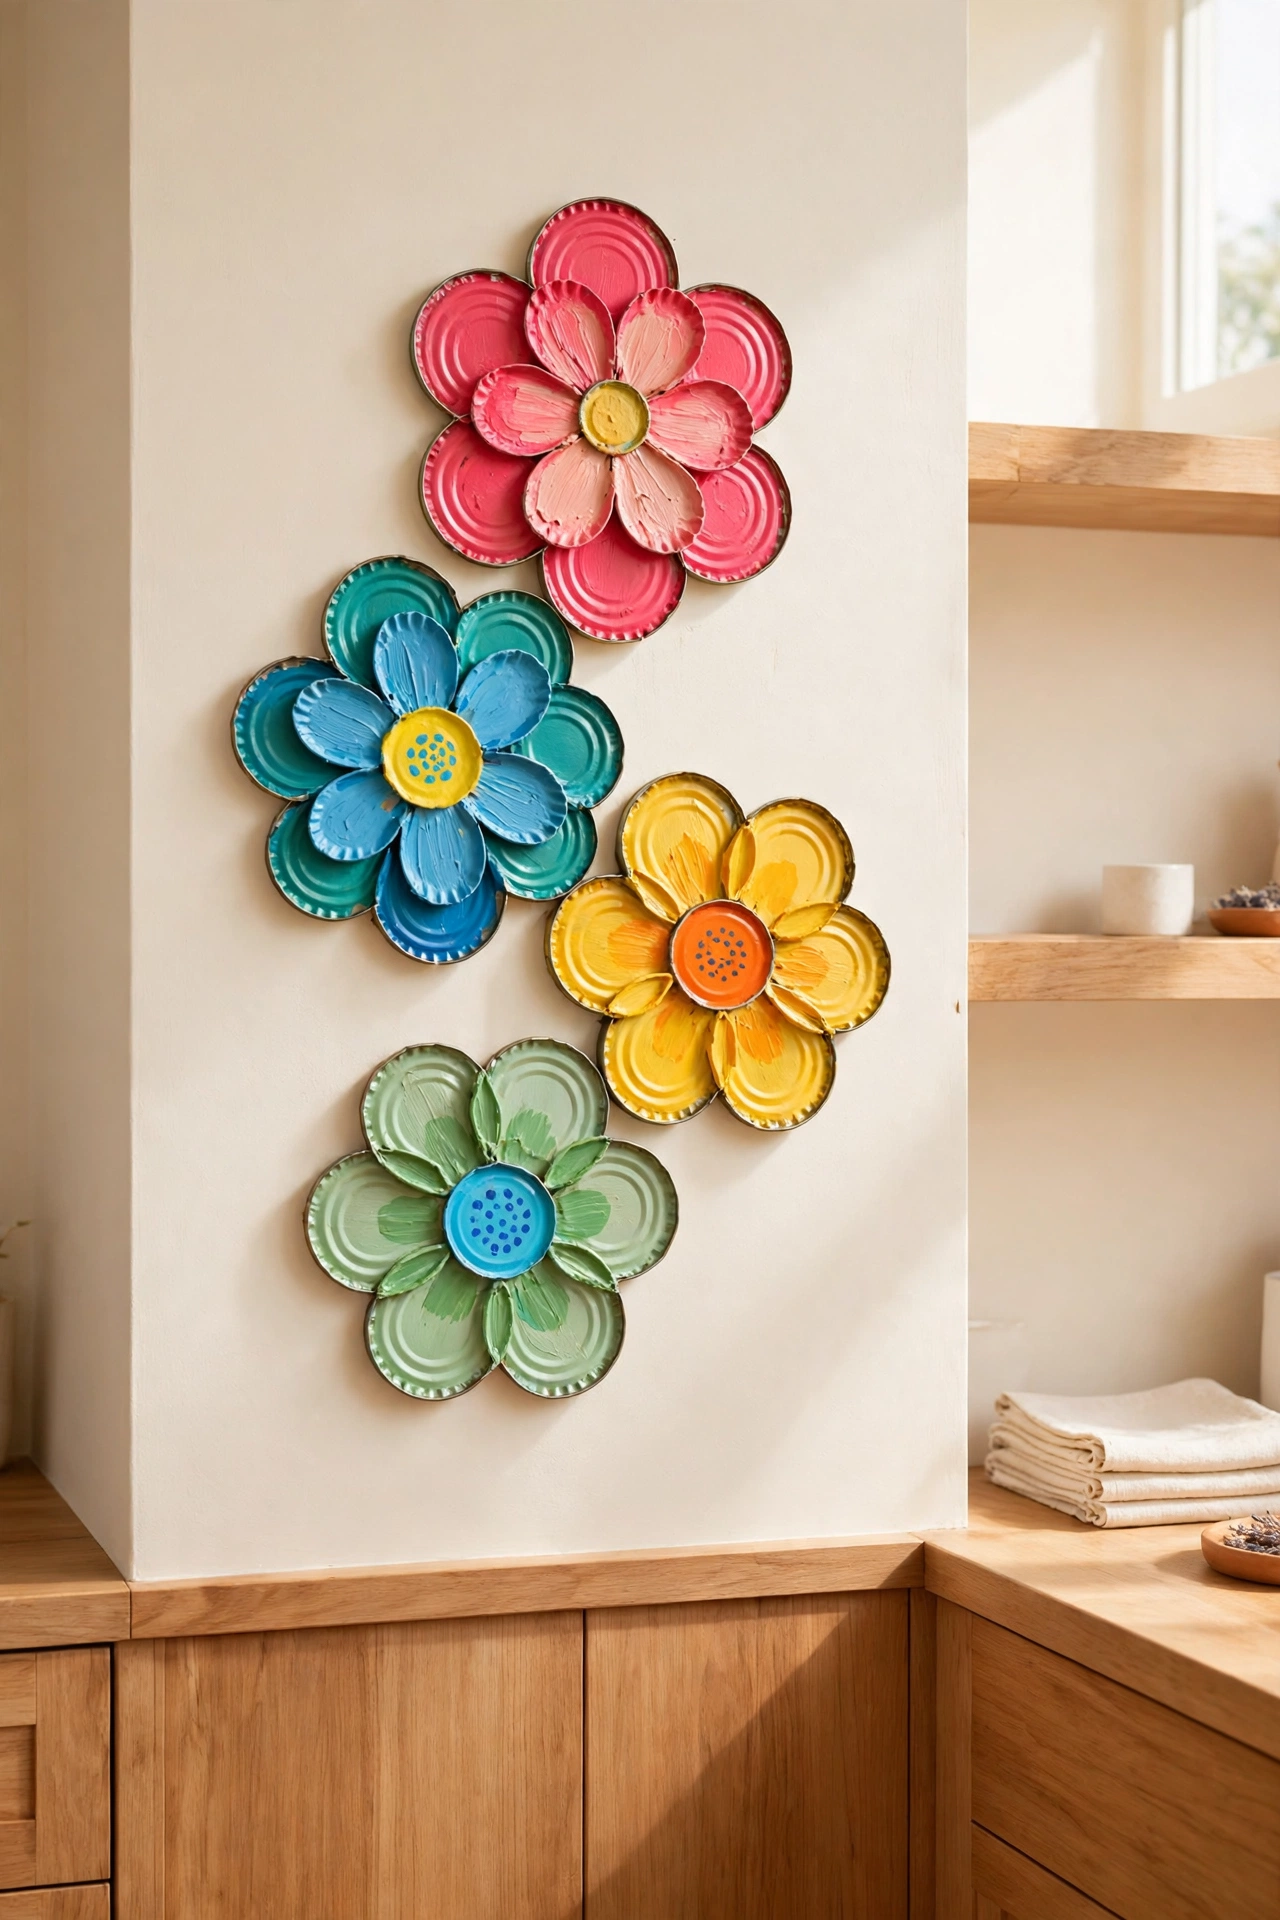
18. Turn Tin Can Lids into Flower Reliefs
Clean tin can lids are free, and shaped into petals they make a bright metal flower relief. Flatten the lids, cut petal shapes with strong scissors, and paint them in cheerful colors. Glue five or six petals around a round center on a board to form one large flower.
Make three flowers in different sizes and colors for a bold display on a kitchen or patio wall. Seal the finished piece with clear varnish to stop the metal from rusting. This project turns recycling into art and gives a plain wall a cheerful focal point for almost no money.
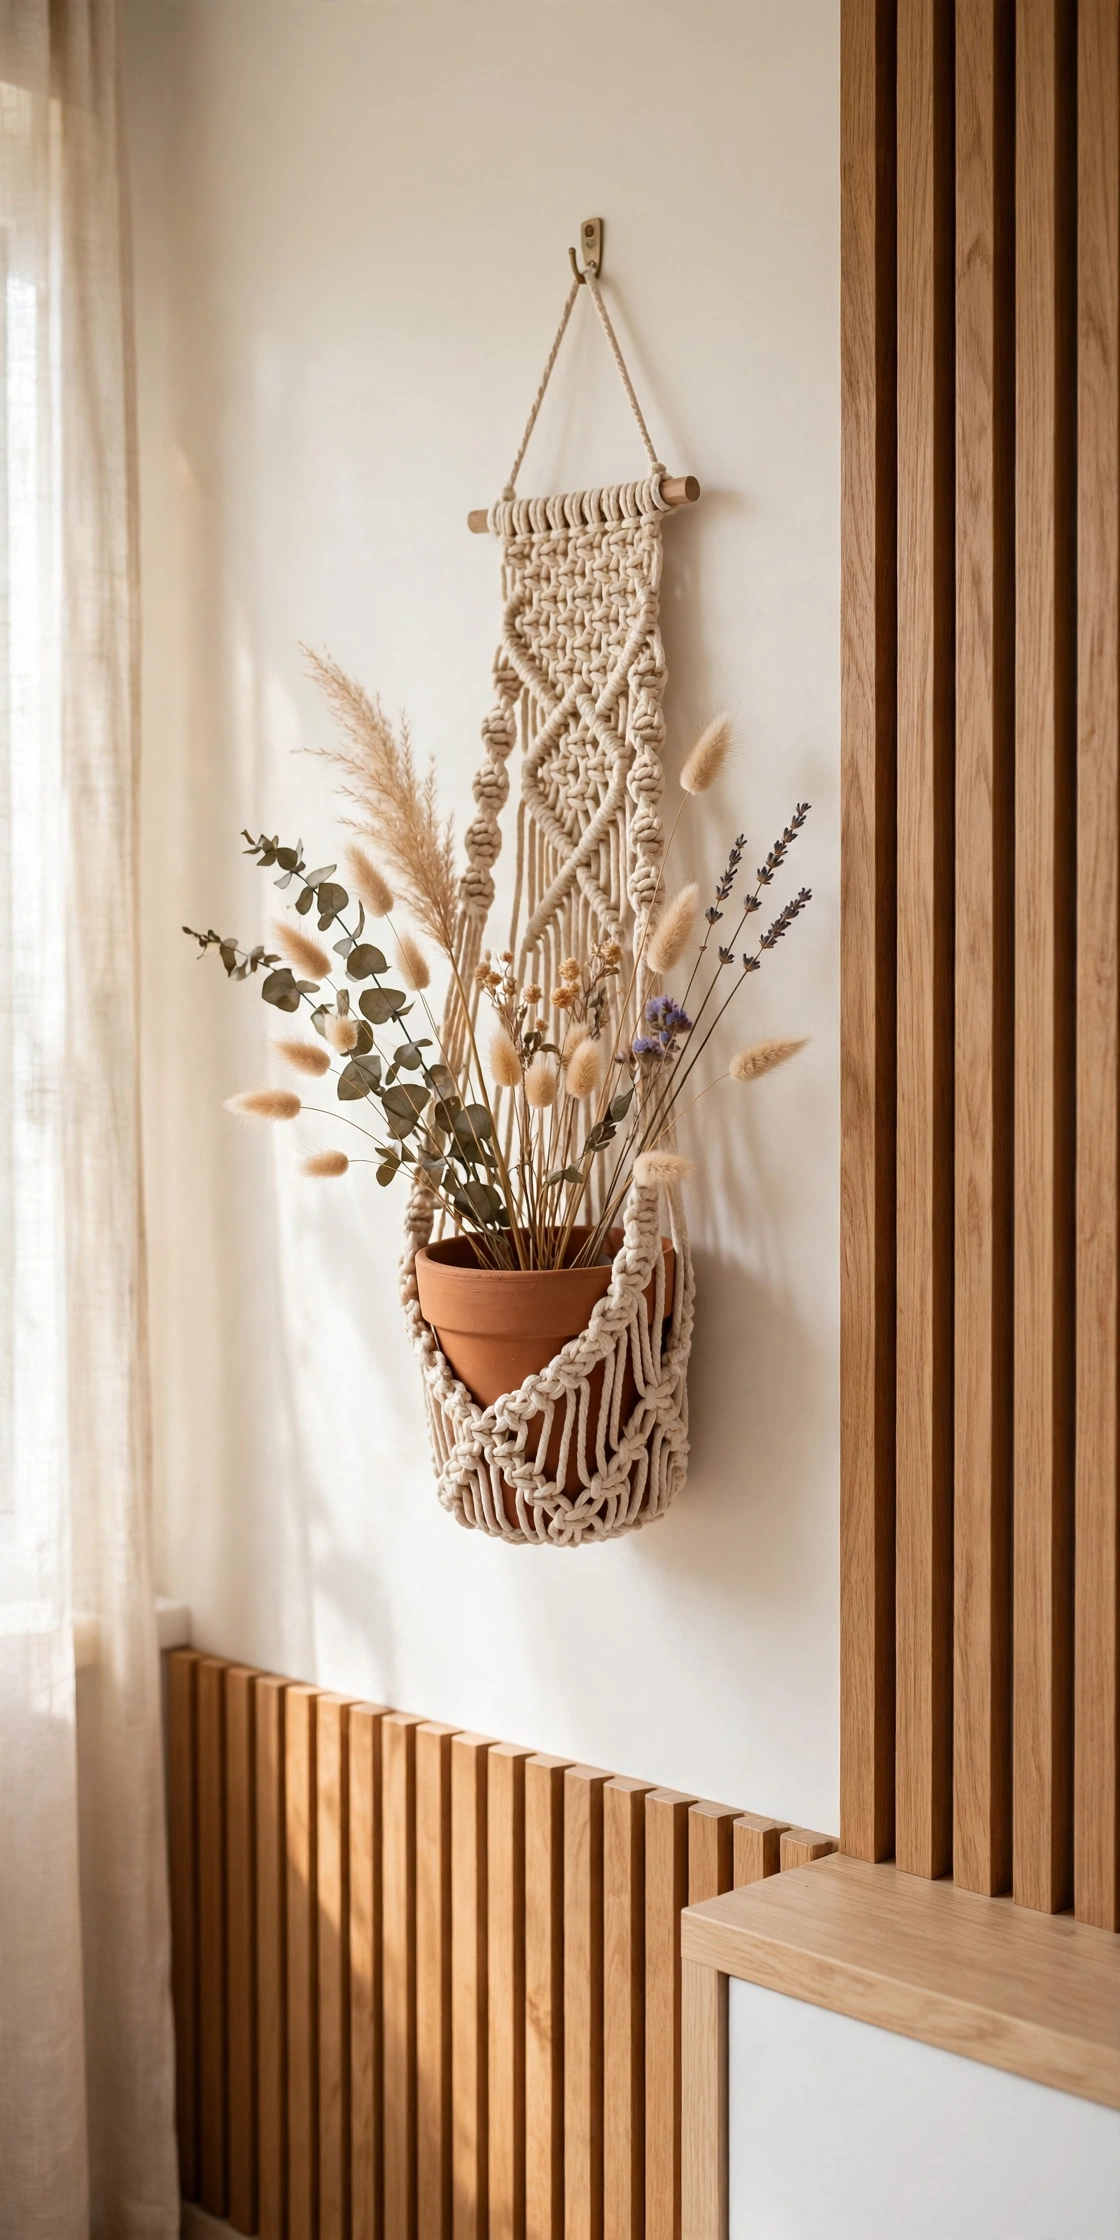
19. Weave a Macrame Wall Pocket
Macrame is just a series of simple knots, and a small wall pocket made from cotton cord holds both art and a plant. Knot a flat panel with a pocket at the bottom, hang it from a wooden dowel, and slip a small potted plant or a bundle of dried stems into the pocket. The knots give the wall soft texture while the plant adds life.
Start with a basic square knot pattern and keep the panel small, about the size of a pillow, so the project stays easy. A pocket in natural cream cord suits any room, and a single terracotta pot inside adds a warm accent. This is a lovely piece for a bathroom or a bedroom corner that needs a soft touch.
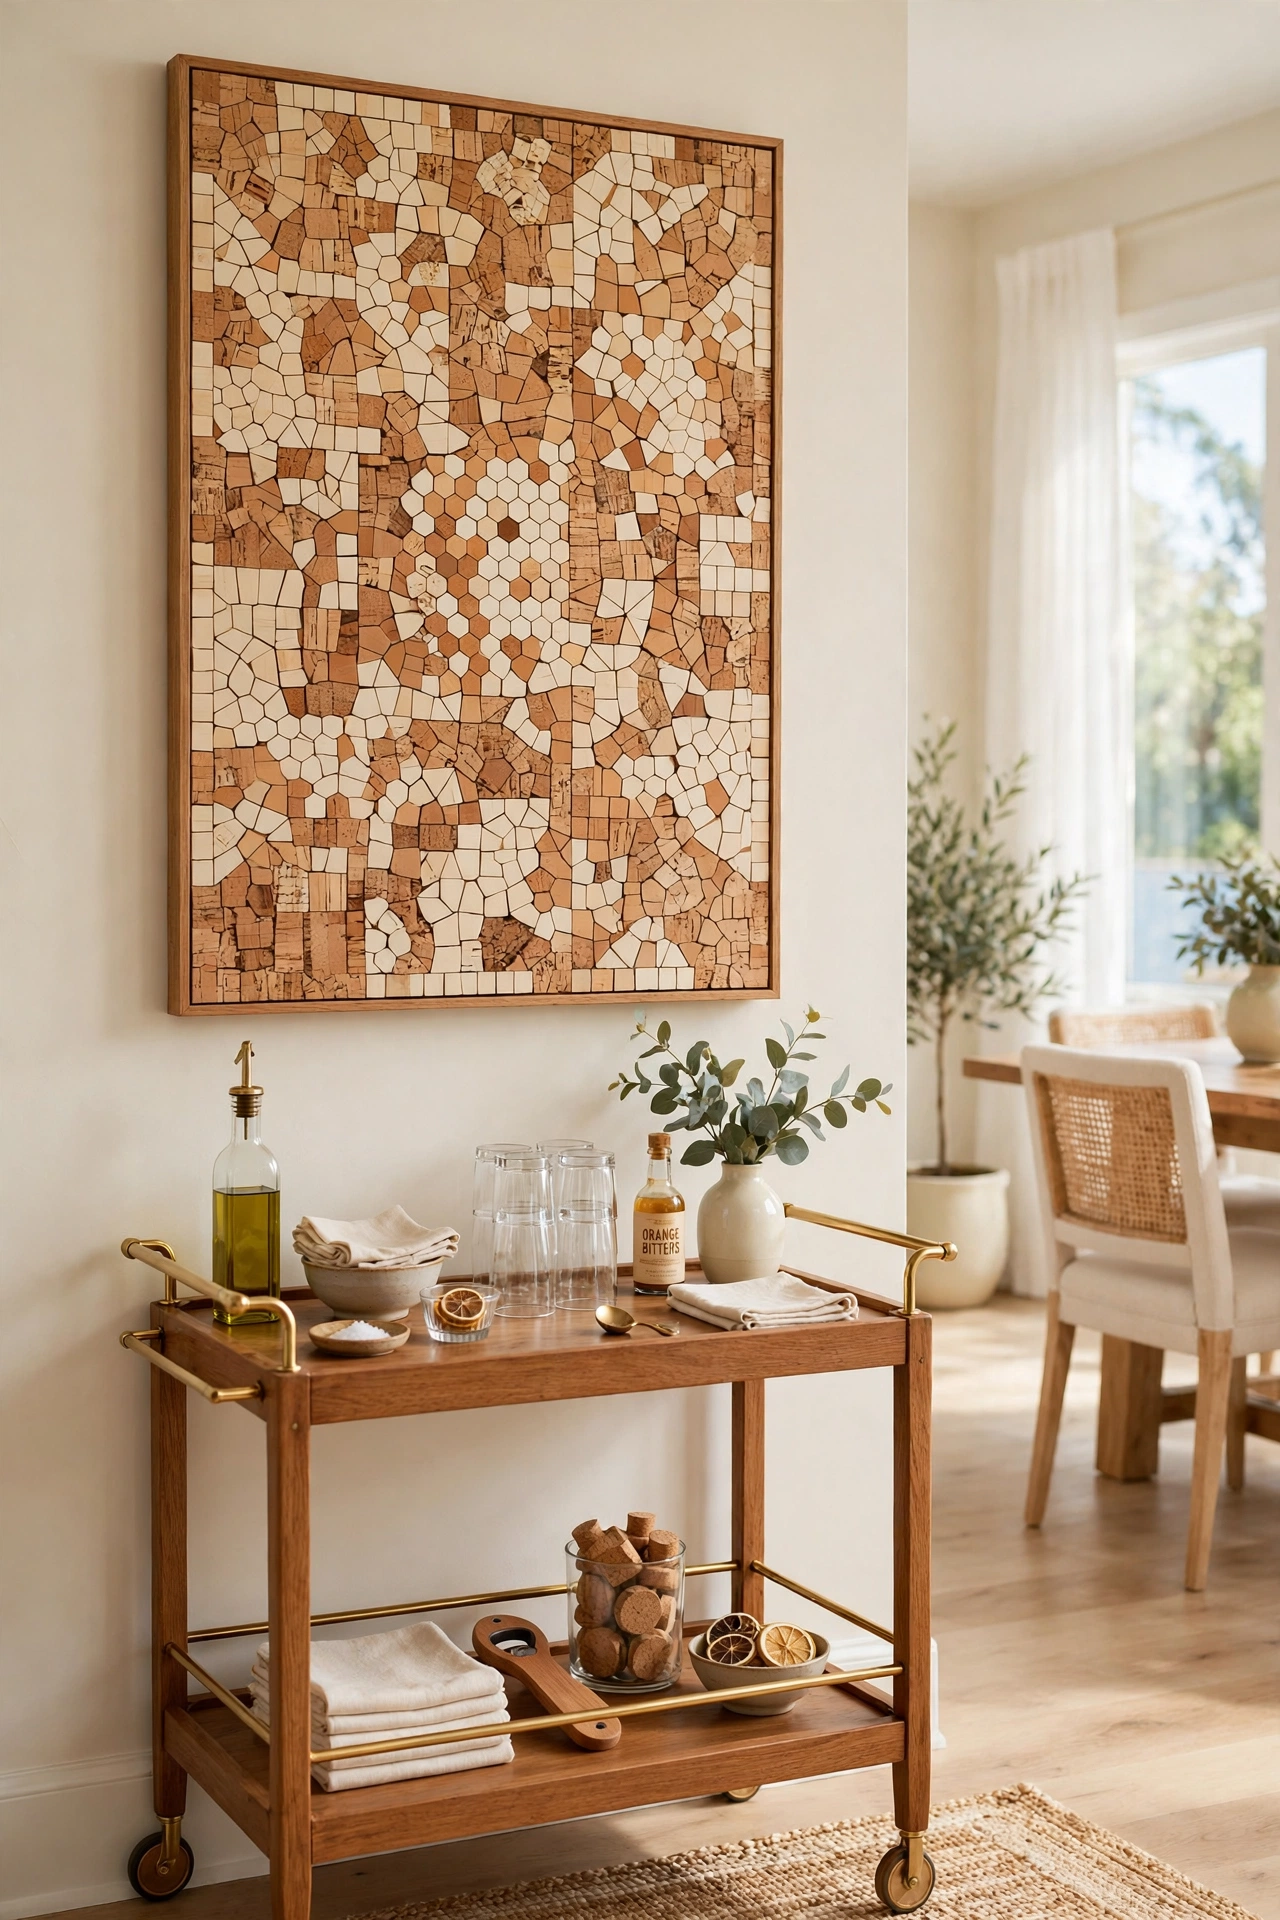
20. Paint a Cork Mosaic Panel
Wine corks are free if you save them, and sliced into thin rounds they make a warm mosaic panel. Cut the corks into even slices, paint the ends in a mix of cream, amber, and soft brown, and glue them in tight rows onto a board. The round shapes and natural cork texture give the wall a rich, earthy feel.
Arrange the slices in a simple pattern, such as stripes or a large circle, so the design is easy to read. Hang the panel in a dining room or above a bar cart, where the cork theme feels right at home. Ask friends to save corks for you and the supply will grow faster than you think.
Conclusion
Three dimensional wall art does not need a large budget or a professional studio. From cardboard panels and paper mache bowls to rope circles and cork mosaics, each idea here turns cheap supplies into textured art that makes a wall feel alive. The shadows and depth do the work that flat posters never can.
Pick one idea that fits your home and start this weekend. Gather the supplies, clear a table, and enjoy the process of making something with your own hands. For more ways to work with simple materials, see these DIY concrete decor ideas that turn a humble material into beautiful pieces for your home.
Frequently Asked Questions About DIY 3D Wall Art Ideas Using Affordable Supplies
What is the cheapest material for DIY 3D wall art?
Cardboard is the cheapest material, because it is free from delivery boxes and easy to cut and paint. Paper mache, egg cartons, bottle caps, and tin lids are also free if you save them from the kitchen. Start with what you already have at home before buying any new supplies.
How do I hang heavy 3D wall art safely?
Use picture hooks rated for the weight of your piece, and hang heavier boards from two hooks instead of one. For plaster or wood pieces, drive a screw into a wall stud or use a wall anchor. Always test the hold by pulling gently on the piece before you step away.
Can I make 3D wall art with no special tools?
Yes, most of these ideas need only scissors, glue, and paint. A craft knife helps with cardboard and foam, but it is not required. Choose projects that match the tools you already own, and borrow a saw only for the scrap wood sunburst.
How do I keep 3D wall art clean?
Dust raised art with a soft dry brush or a feather duster once a week. Avoid water on paper, cardboard, and felt pieces. Seal plaster, wood, and metal pieces with clear varnish so you can wipe them gently with a dry cloth when needed.
What colors work best for DIY 3D wall art?
Warm neutrals like cream, warm white, and natural wood suit almost every room, with one soft accent such as sage green, terracotta, blush pink, or soft blue. Keep the palette to two or three colors so the texture stays the focus and the wall does not feel busy.

Hi, I’m Emily! I turn messy corners into cozy, organized spots. DreamNestDecor is where I share simple, practical home ideas — decor, organization, and small-space solutions that work in real life, not just in photos. Every idea here is carefully researched before it’s shared.