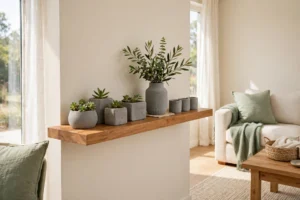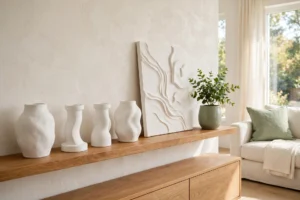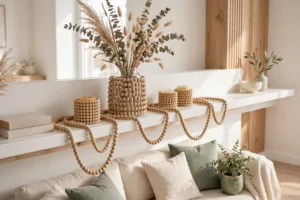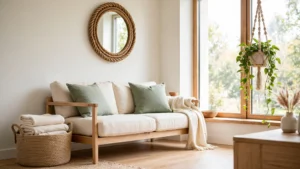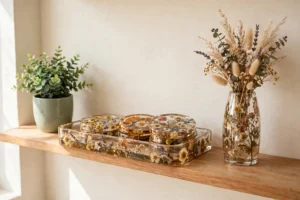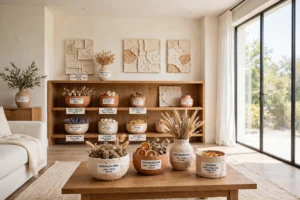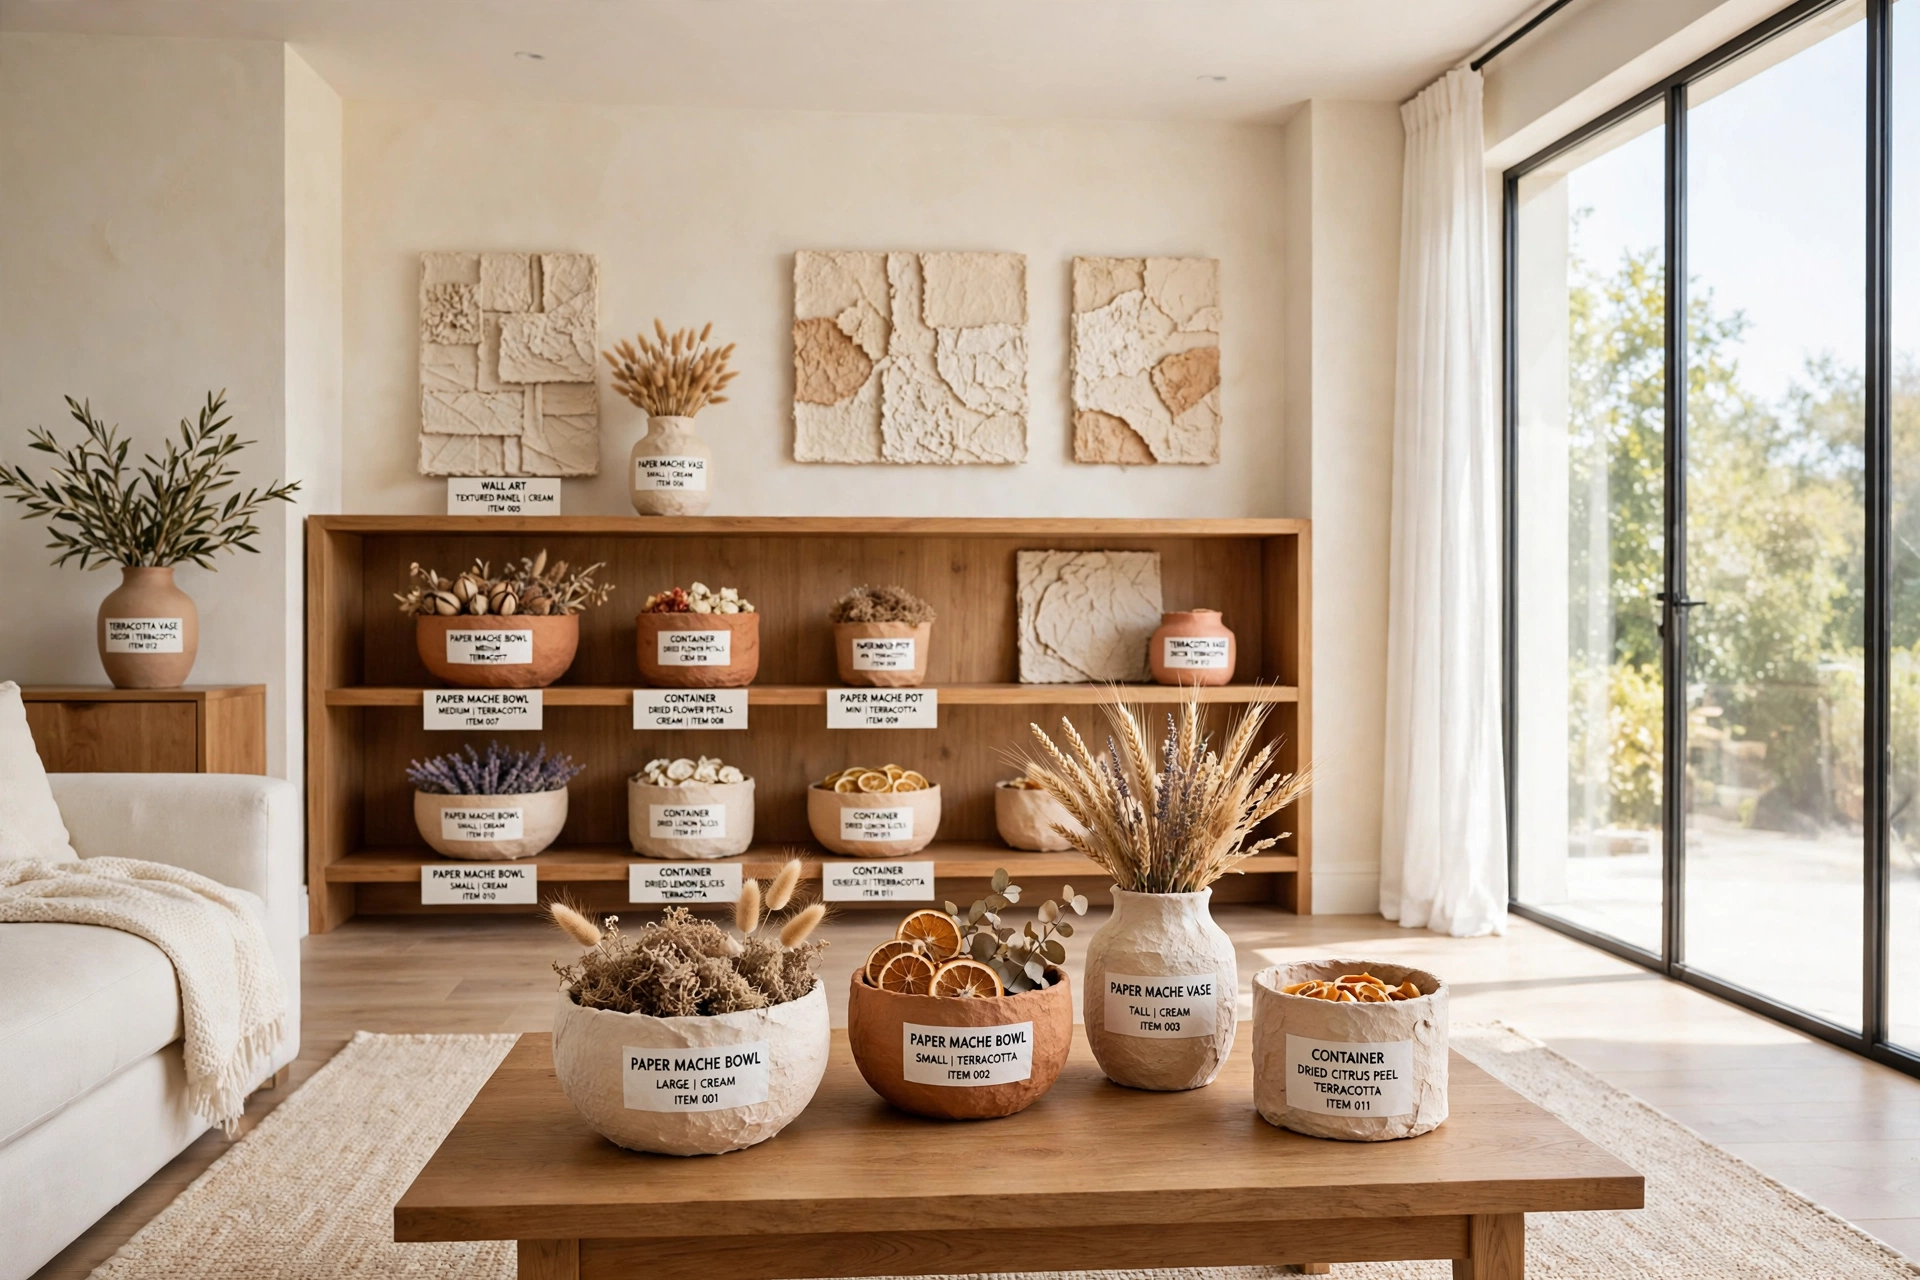
Picture this: you walk into a room where a bold sculptural bowl sits on the coffee table, a soft painted vase catches the light on the shelf, and a textured wall panel adds color above the sofa. Every piece looks like it came from an artisan studio, yet each one started as simple strips of paper and a bowl of paste. That is the quiet magic of paper mache decor.
You do not need a craft room full of supplies or years of experience to start. All you need is newspaper, flour paste, a little paint, and a free afternoon. These 32 DIY paper mache decor ideas will help you turn humble paper into beautiful handmade pieces for every room in your home.
1. Shape Paper Mache Bowls for Everyday Use
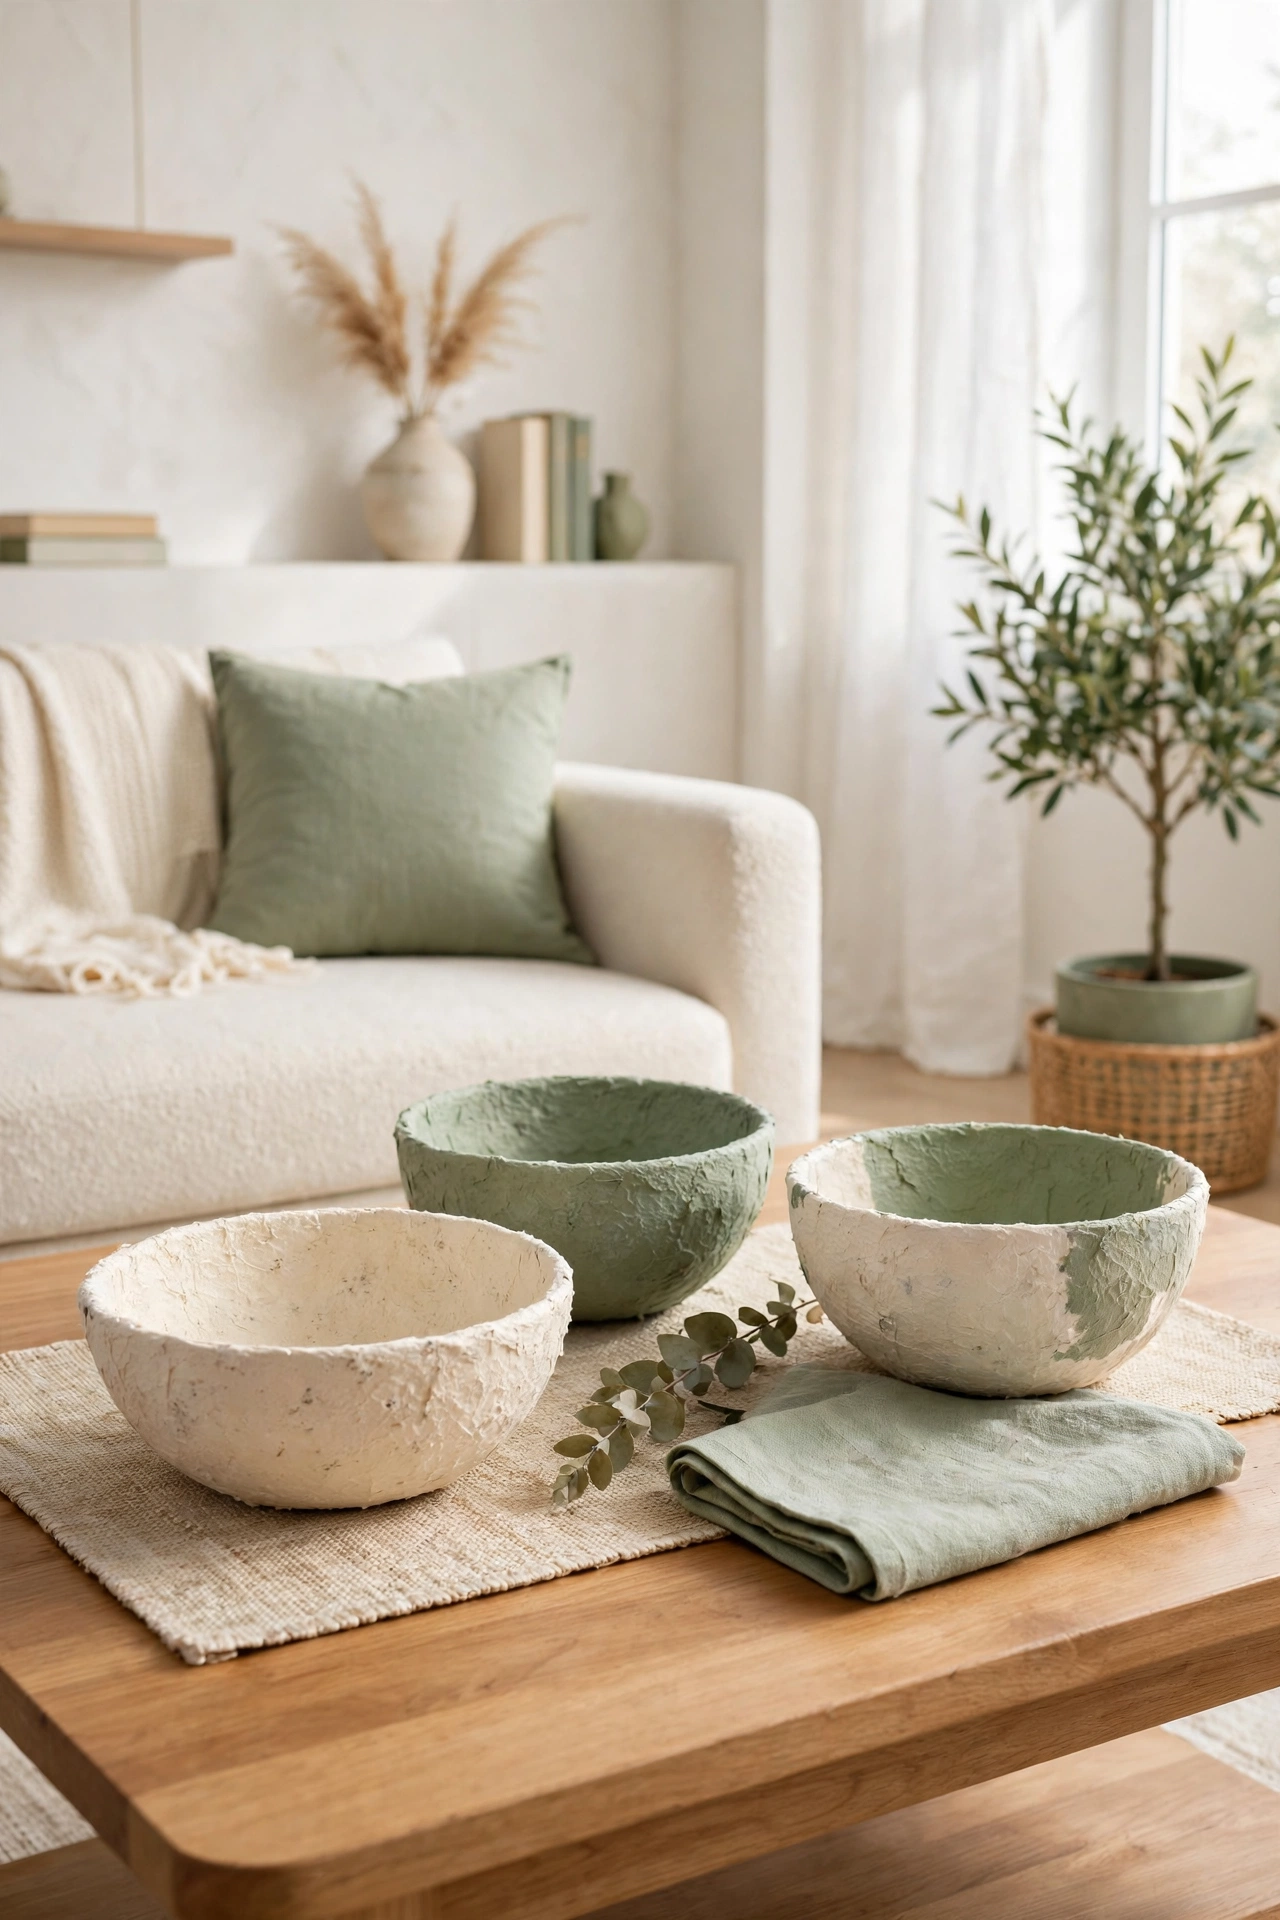
A paper mache bowl is one of the easiest projects to start with, and it is useful in every room. You build the shape over an upside down bowl, let the layers dry, then lift the finished piece away. The result is a light and sturdy bowl with a lovely handmade texture.
Paint the outside in a soft cream or a bold terracotta shade and leave the inside pale for contrast. Use the bowl on a coffee table for keys, on a dresser for jewelry, or in the kitchen for fruit. A set of three bowls in different sizes looks beautiful stacked or lined up on a shelf.
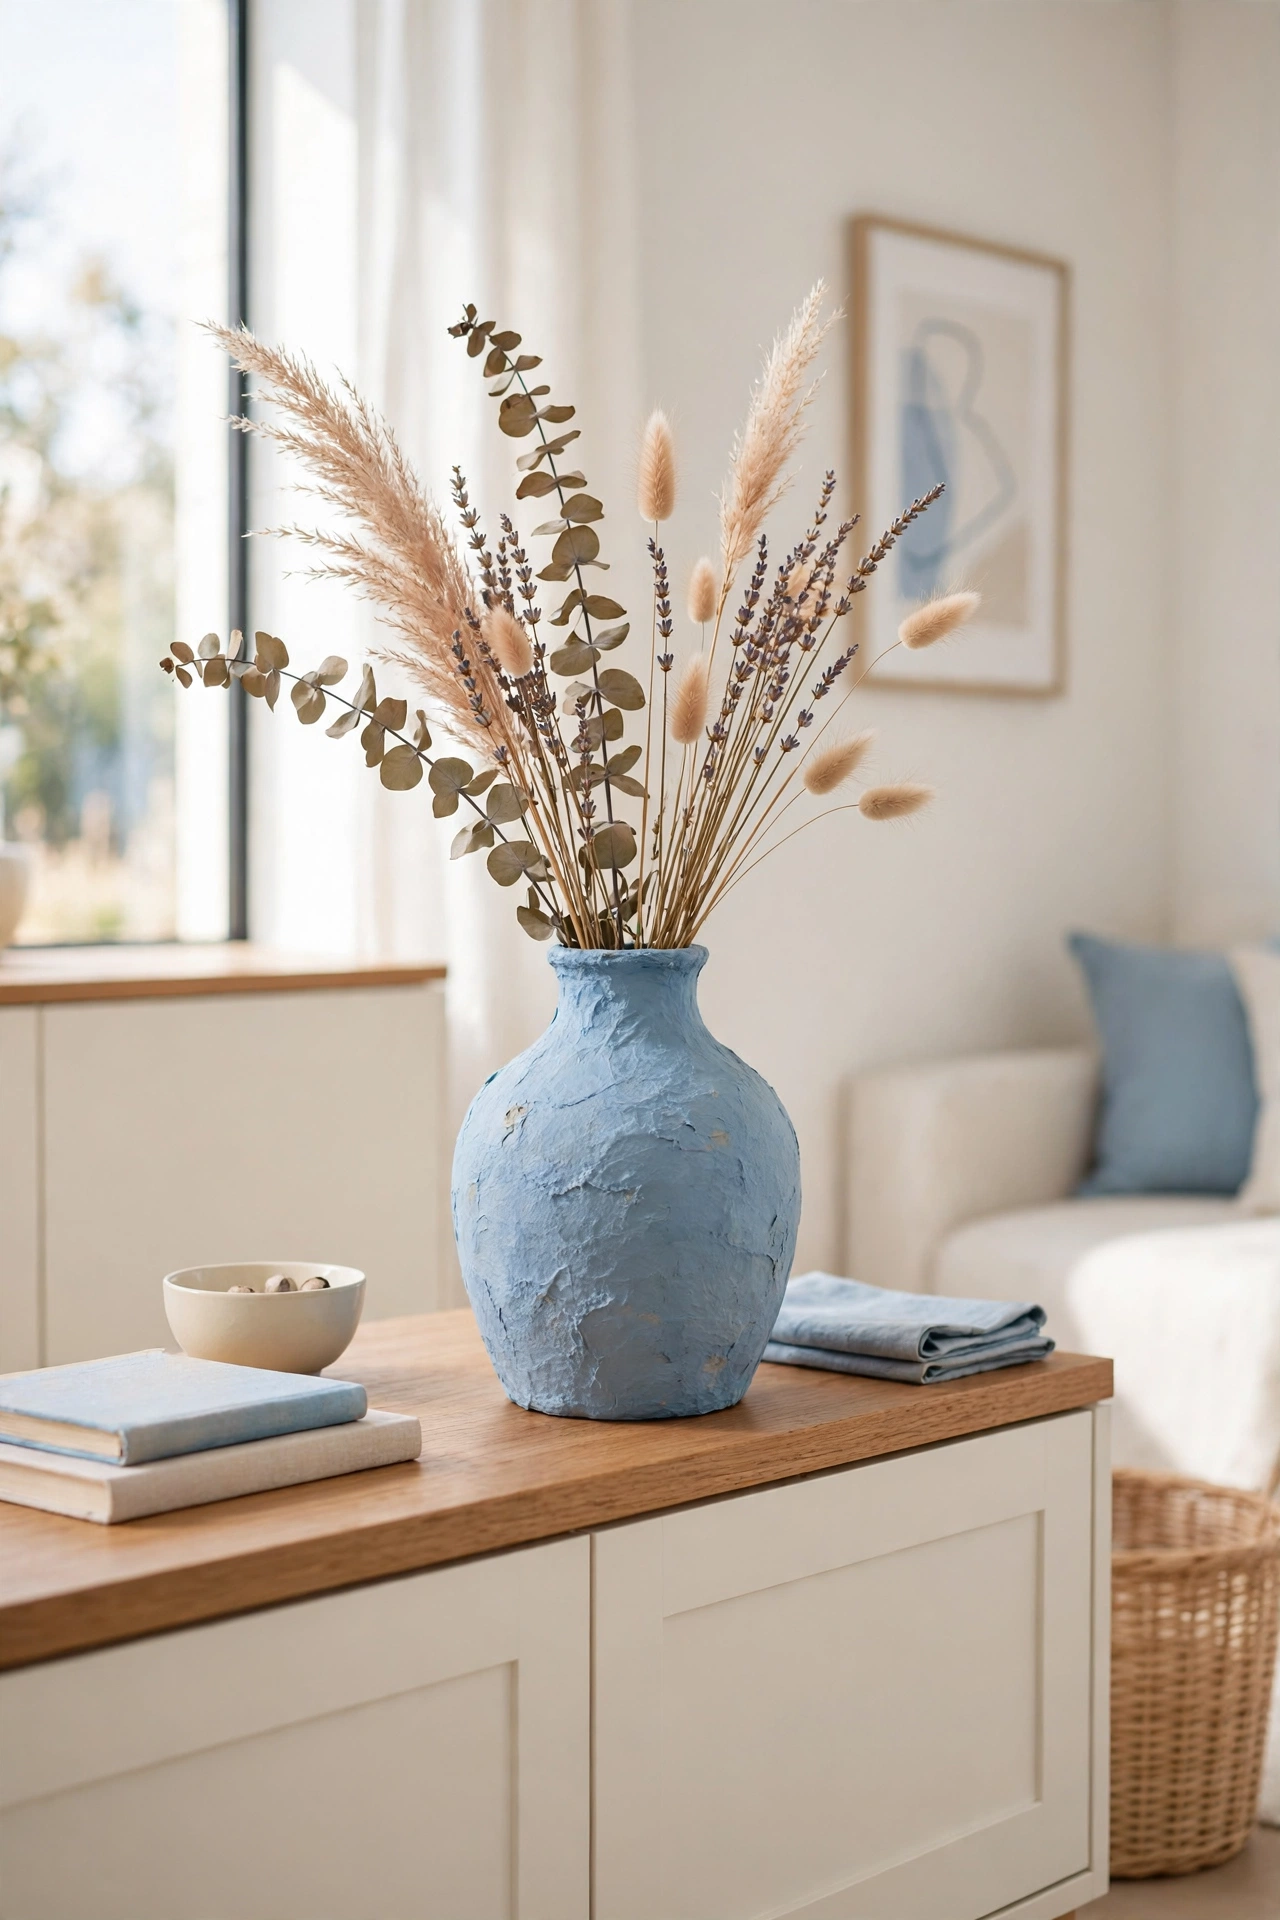
2. Craft Paper Mache Vases with Soft Curves
Paper mache vases bring graceful curves to a shelf or a side table without the weight or cost of ceramic. You shape the form around a balloon or a plastic bottle, then add layers until the walls feel firm. Once dry, the vase holds its shape beautifully.
Paint the vase in a matte finish and add a simple band of color near the rim for a finished look. Fill it with dried stems, paper flowers, or a few fresh sprigs in a small glass insert. For more ideas on dressing a shelf with handmade vessels, see these DIY decorative vase ideas.
3. Make Paper Mache Wall Art with Raised Texture
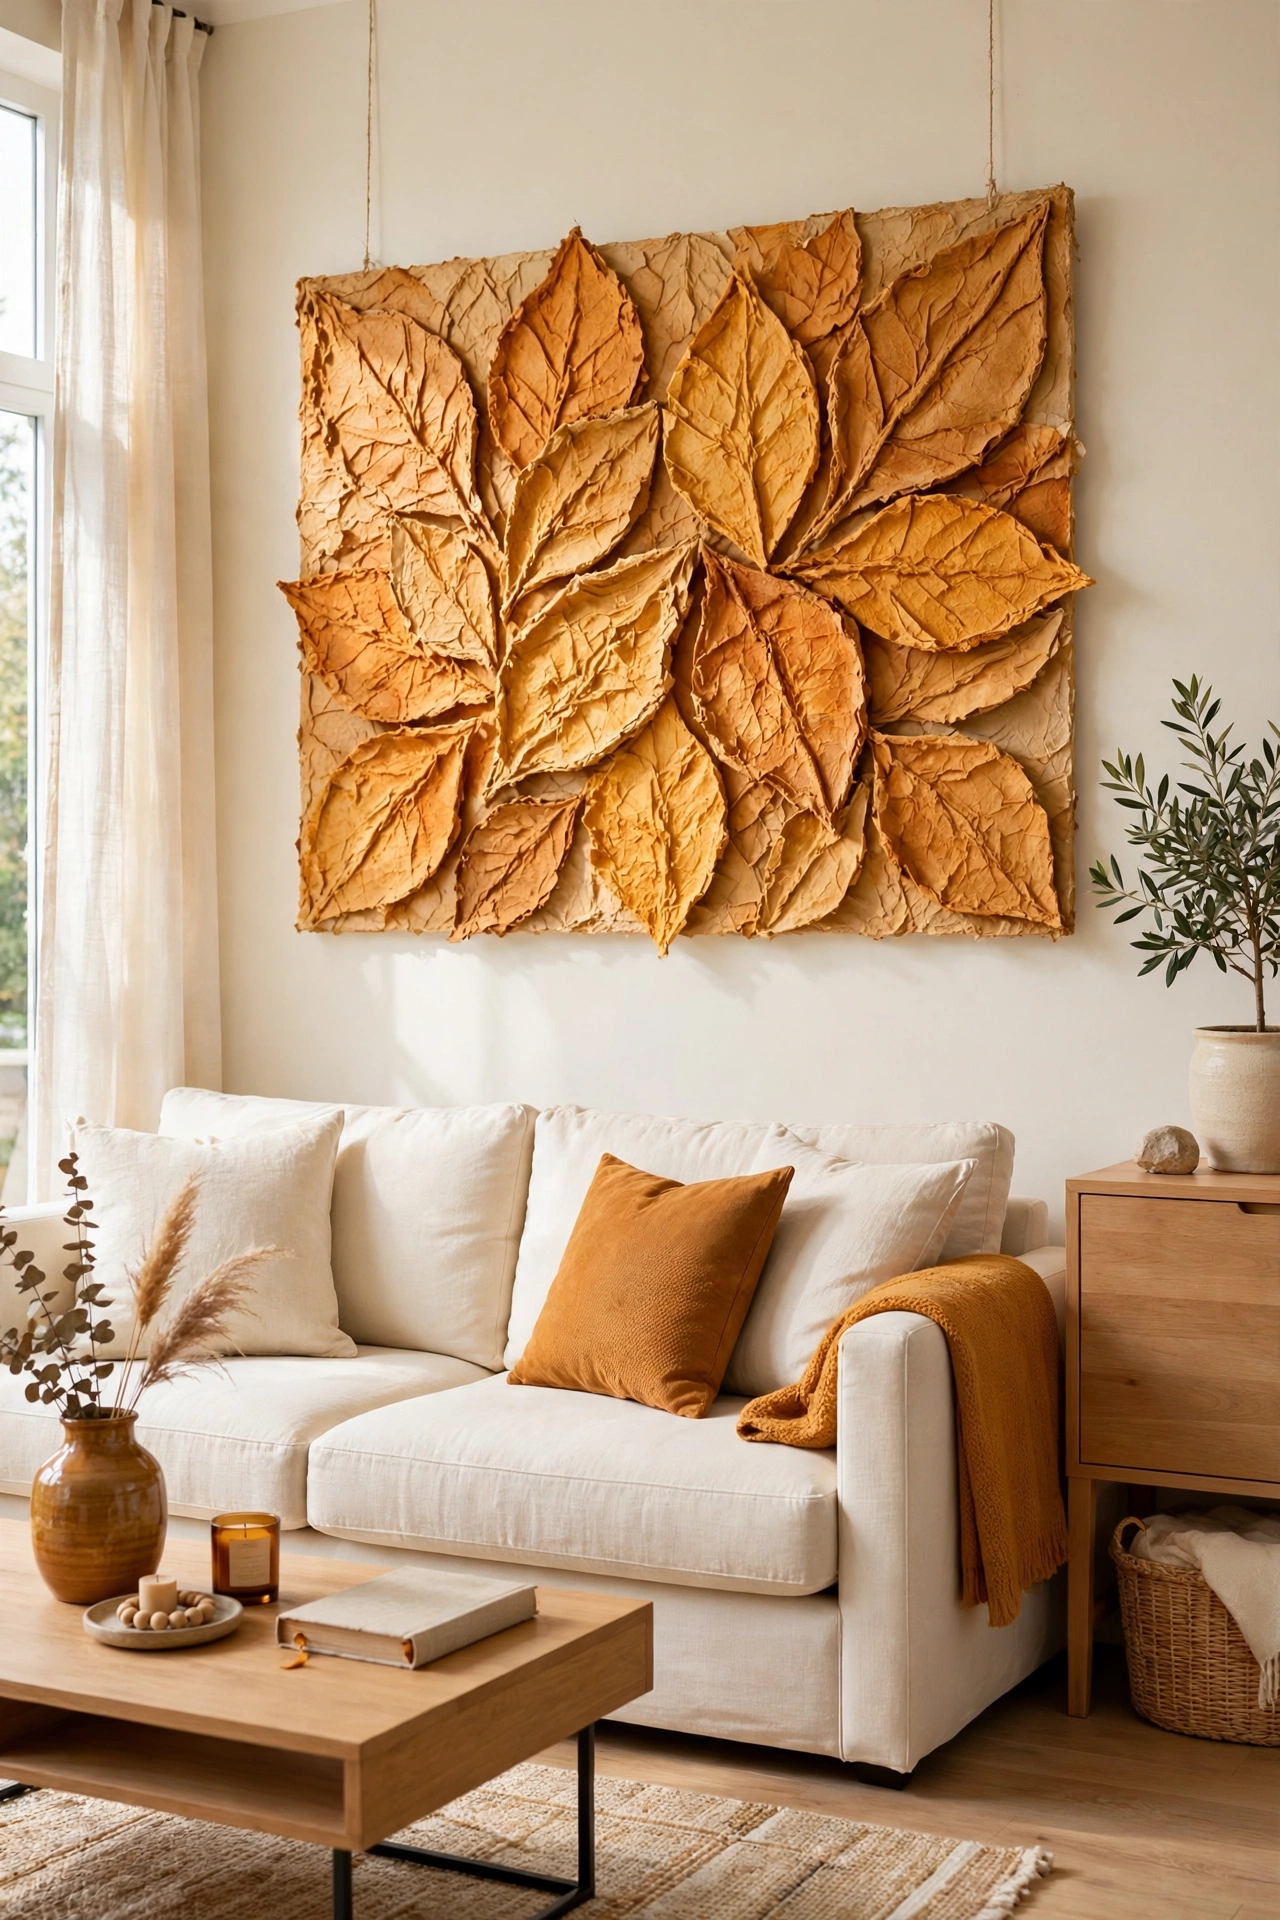
Paper mache wall art turns a flat wall into a surface full of depth and shadow. You press the damp pulp into a simple mold or shape it by hand on a flat board, then let it dry into a firm relief panel. The raised shapes catch the light in a way that paint alone never can.
Try simple forms first, like leaves, waves, or circles, and paint them in one calm color for a modern look. Hang a single large panel above the sofa or group three small panels in a row. This is a bold statement piece that costs almost nothing to make.
4. Build Paper Mache Planters for Indoor Greenery
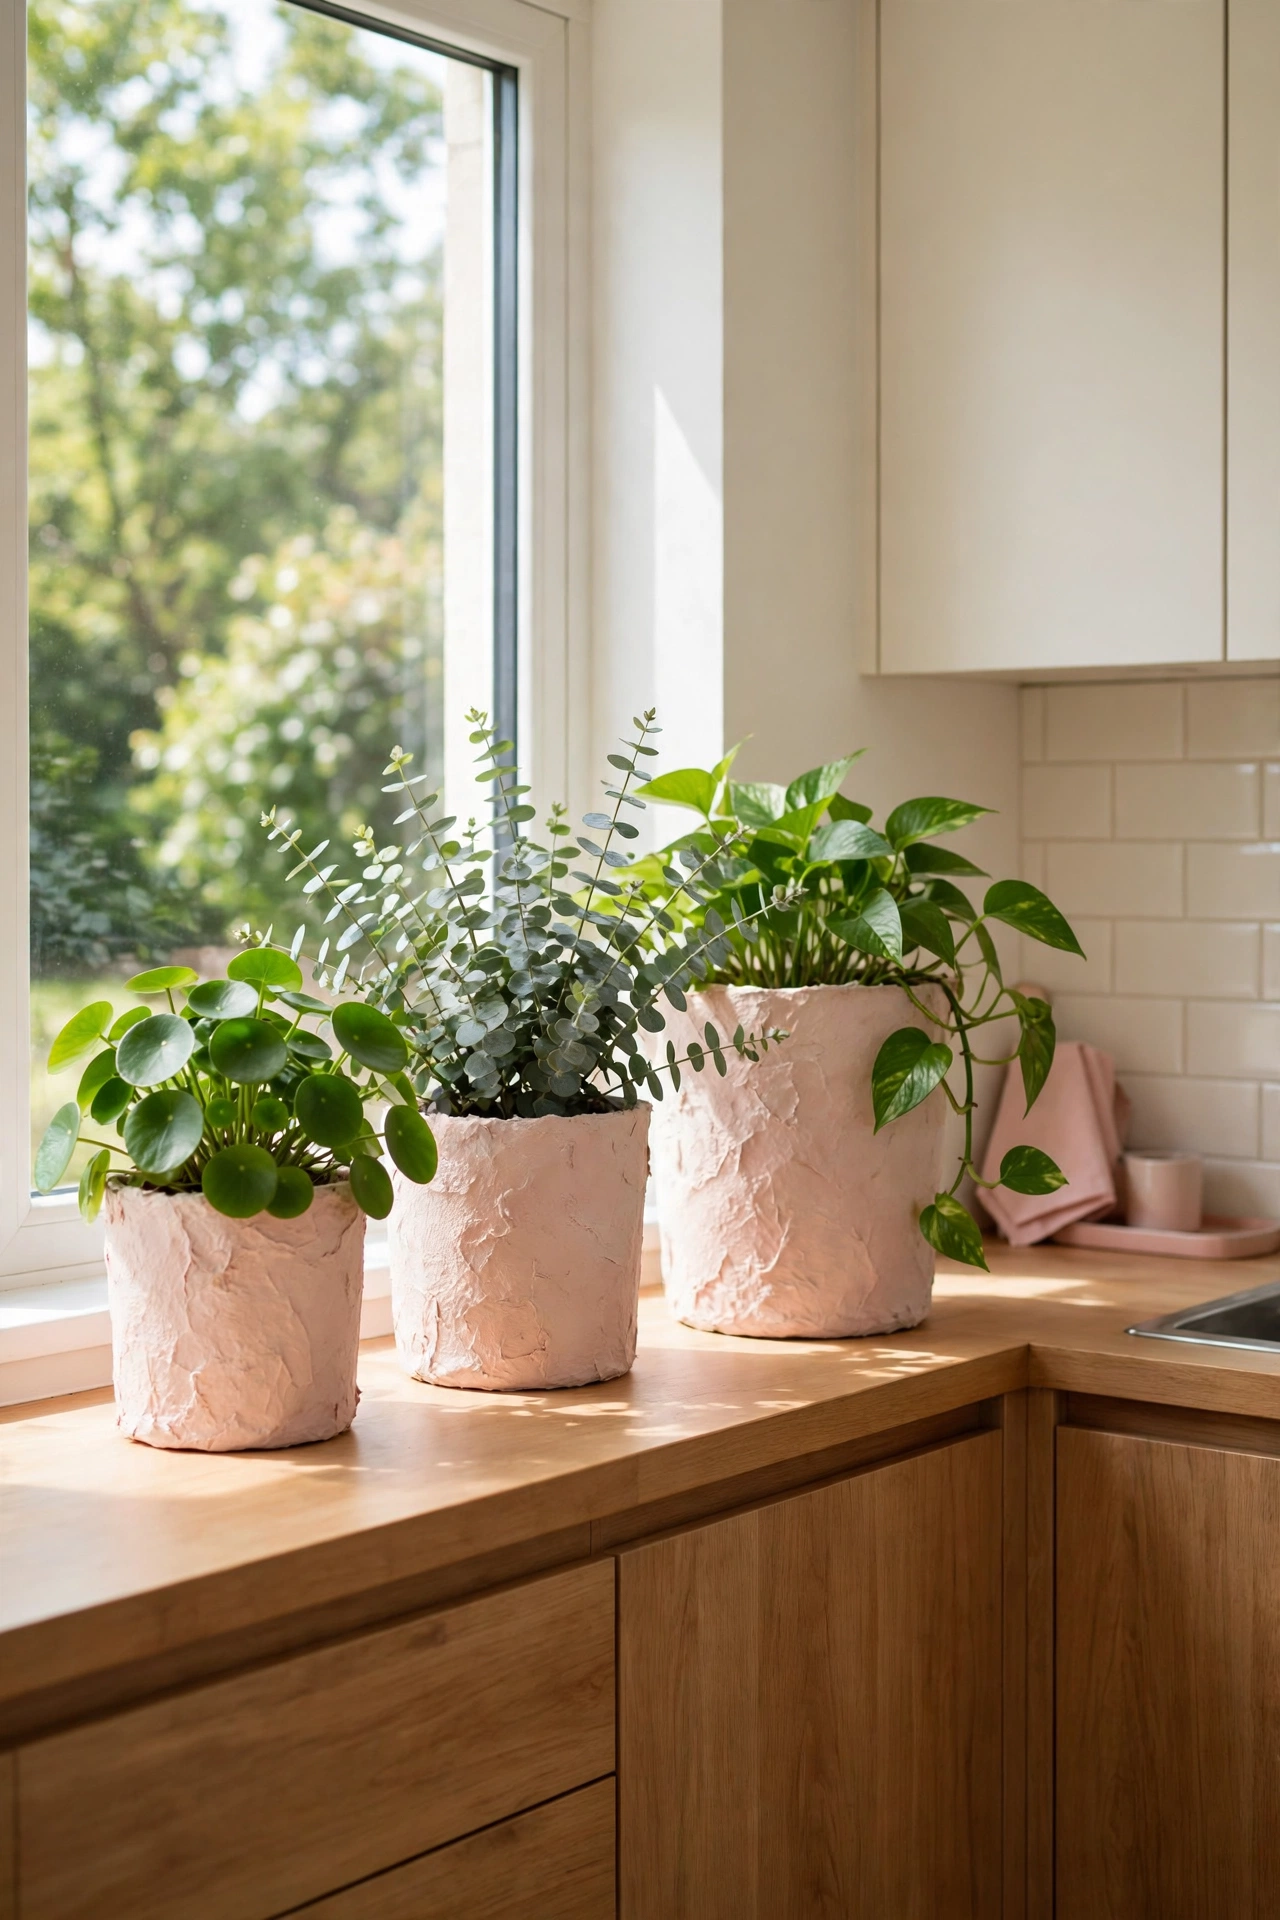
Paper mache planters are light, easy to move, and kind to your shelves. You form the planter over a pot or a bowl, seal the inside well, and set a small plastic liner inside to protect the paper from water. The outside can be painted to match any room.
Choose trailing plants or small leafy greens that suit the size of the planter. A row of small planters on a windowsill brings life to a kitchen, while one large planter makes a statement in a living room corner. The soft matte finish of paper mache suits plants better than shiny plastic ever will.
5. Sculpt Paper Mache Figures for Shelves and Mantels
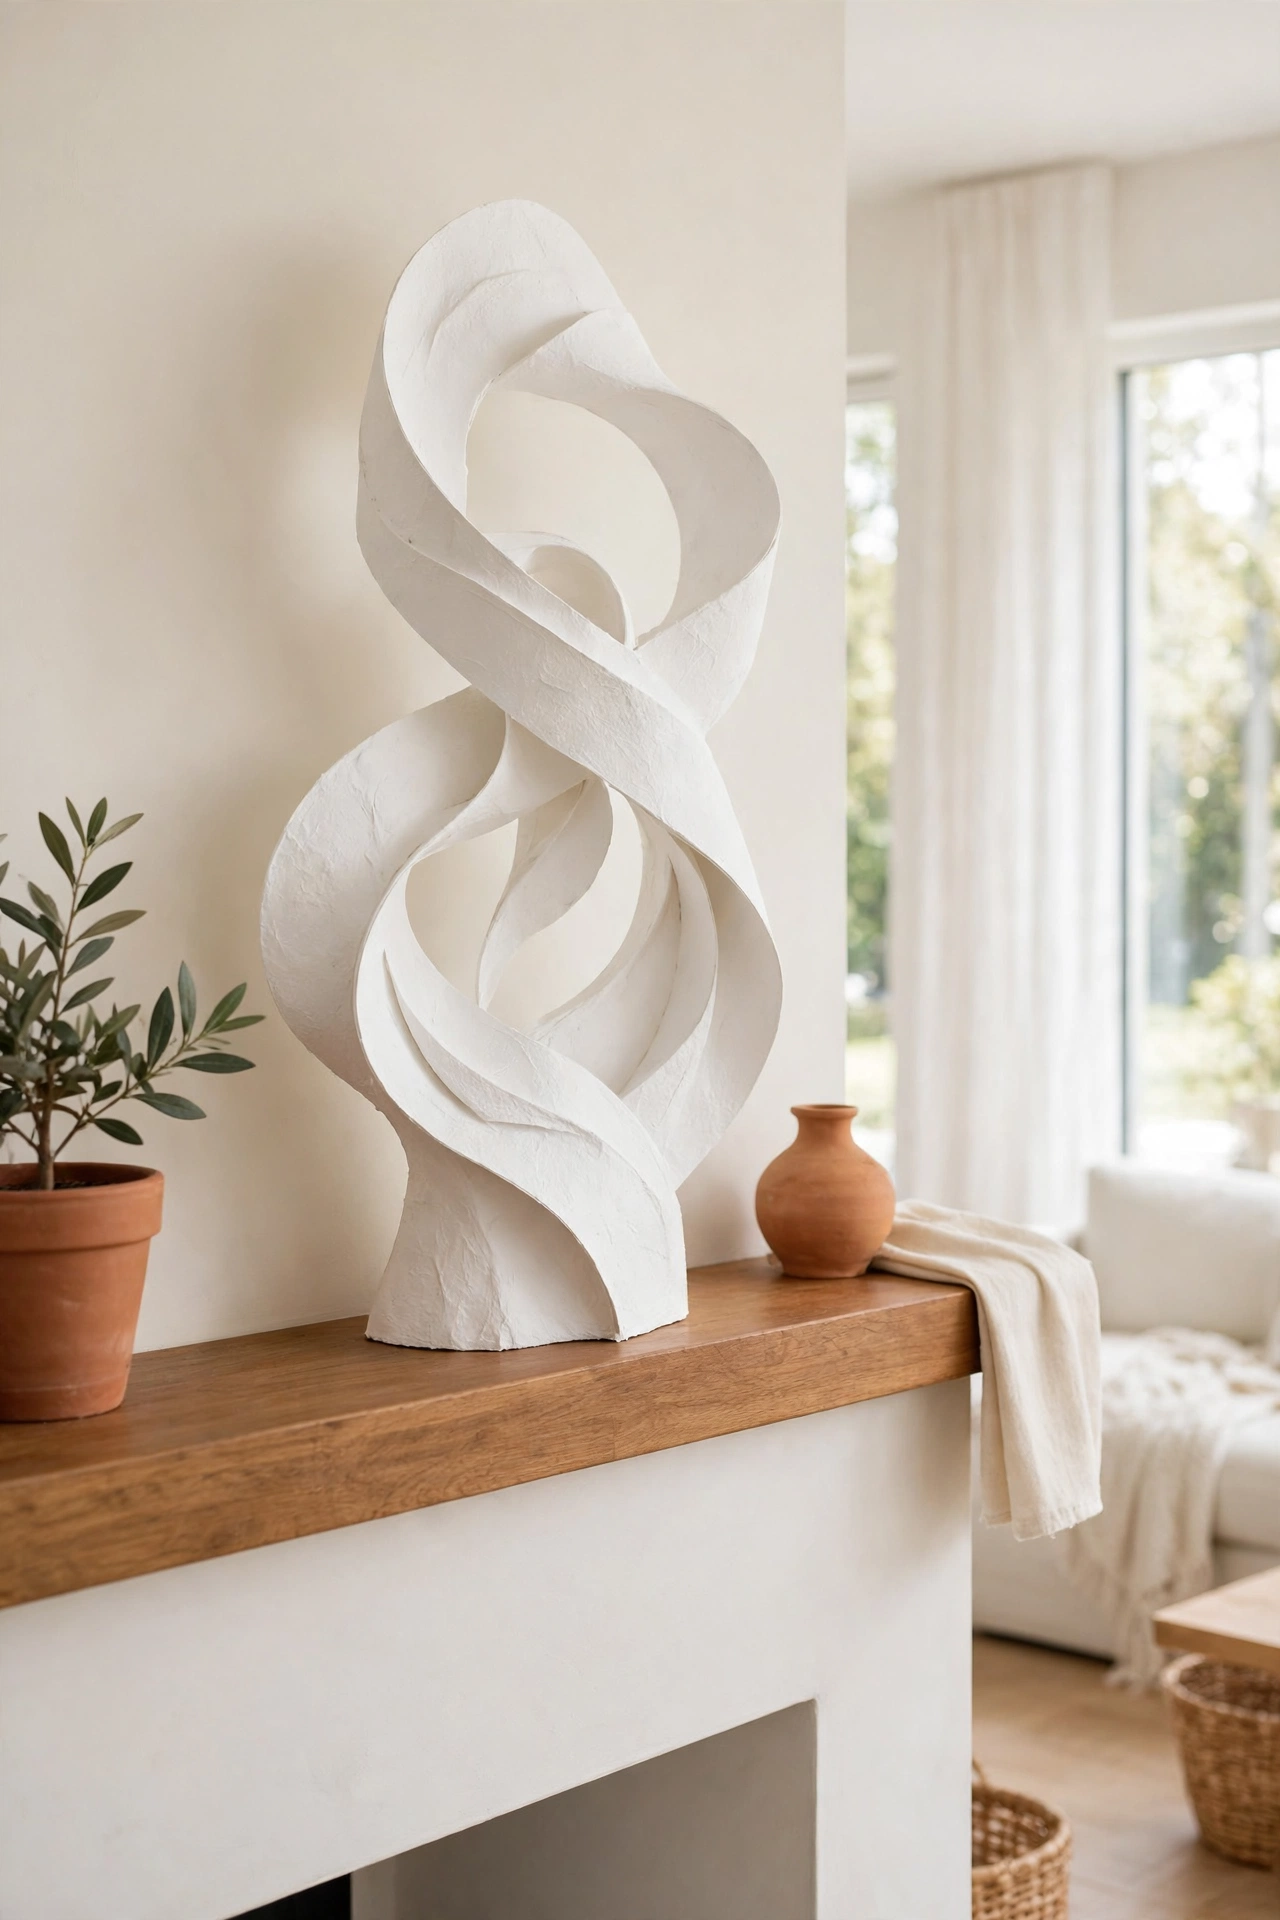
Paper mache sculptures let you bring art into your home in the most personal way. You build the shape with crumpled paper and wire, then cover it with strips until the surface is smooth. Animals, abstract forms, and simple human shapes all work well.
Paint the finished sculpture in a single color, like warm white or soft sage, for an elegant gallery look. Place one piece on a mantel or a console table where it can be seen from across the room. A handmade sculpture always starts a conversation, and no two are ever alike.
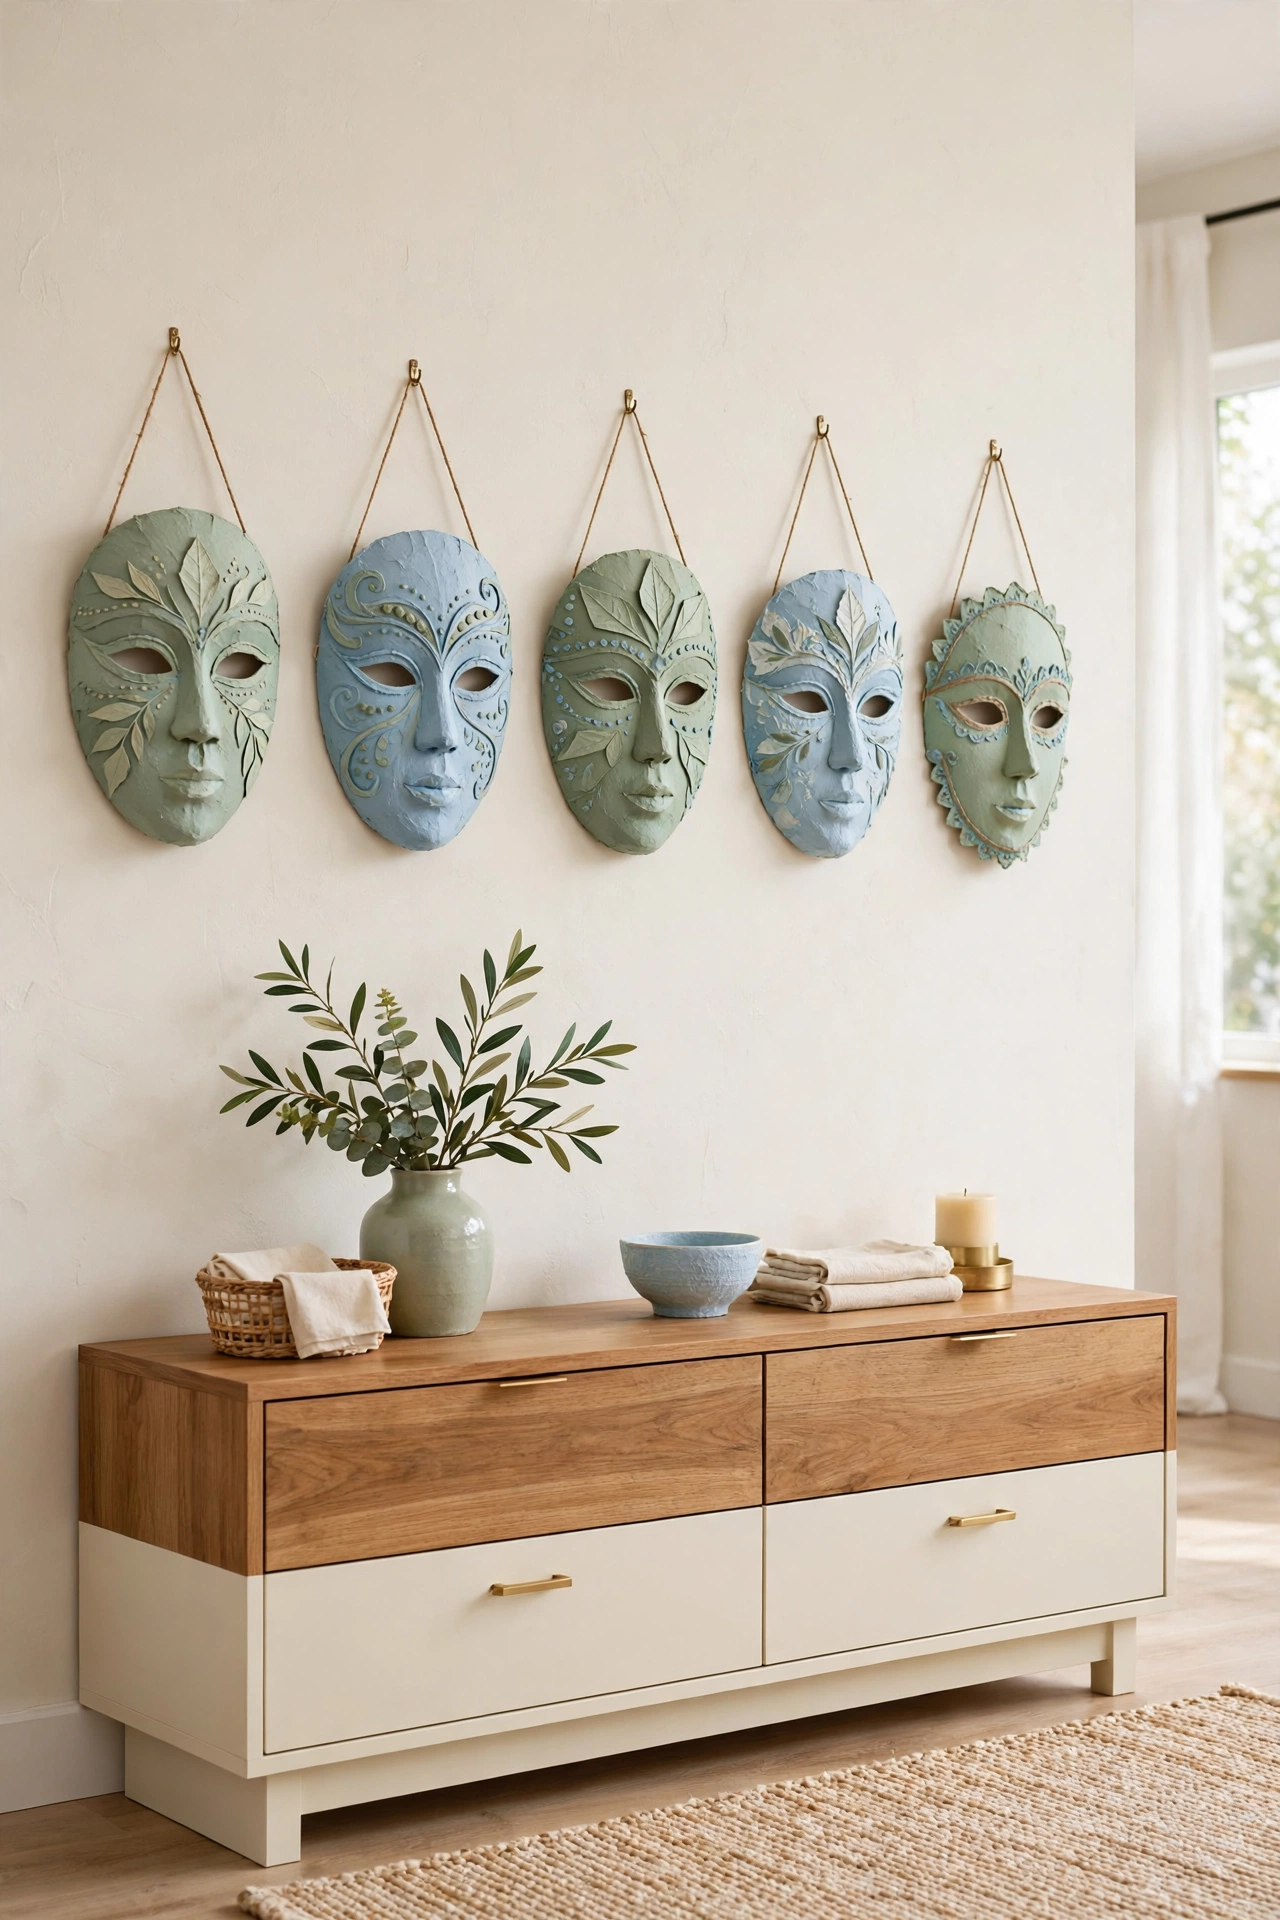
6. Hang Paper Mache Masks as Wall Decor
Paper mache masks have been made for centuries, and they make striking wall decor in a modern home. You shape the mask over a simple mold, add features like a nose or a brow, and paint it in colors that suit your room. The curved face catches light and shadow in a beautiful way.
Hang one large mask as a focal point, or group three smaller masks in a row along a hallway wall. Keep the colors calm and the design simple for an elegant look. Masks add culture and craft to a wall without the cost of a large artwork.
7. Create Paper Mache Trays for Coffee Tables
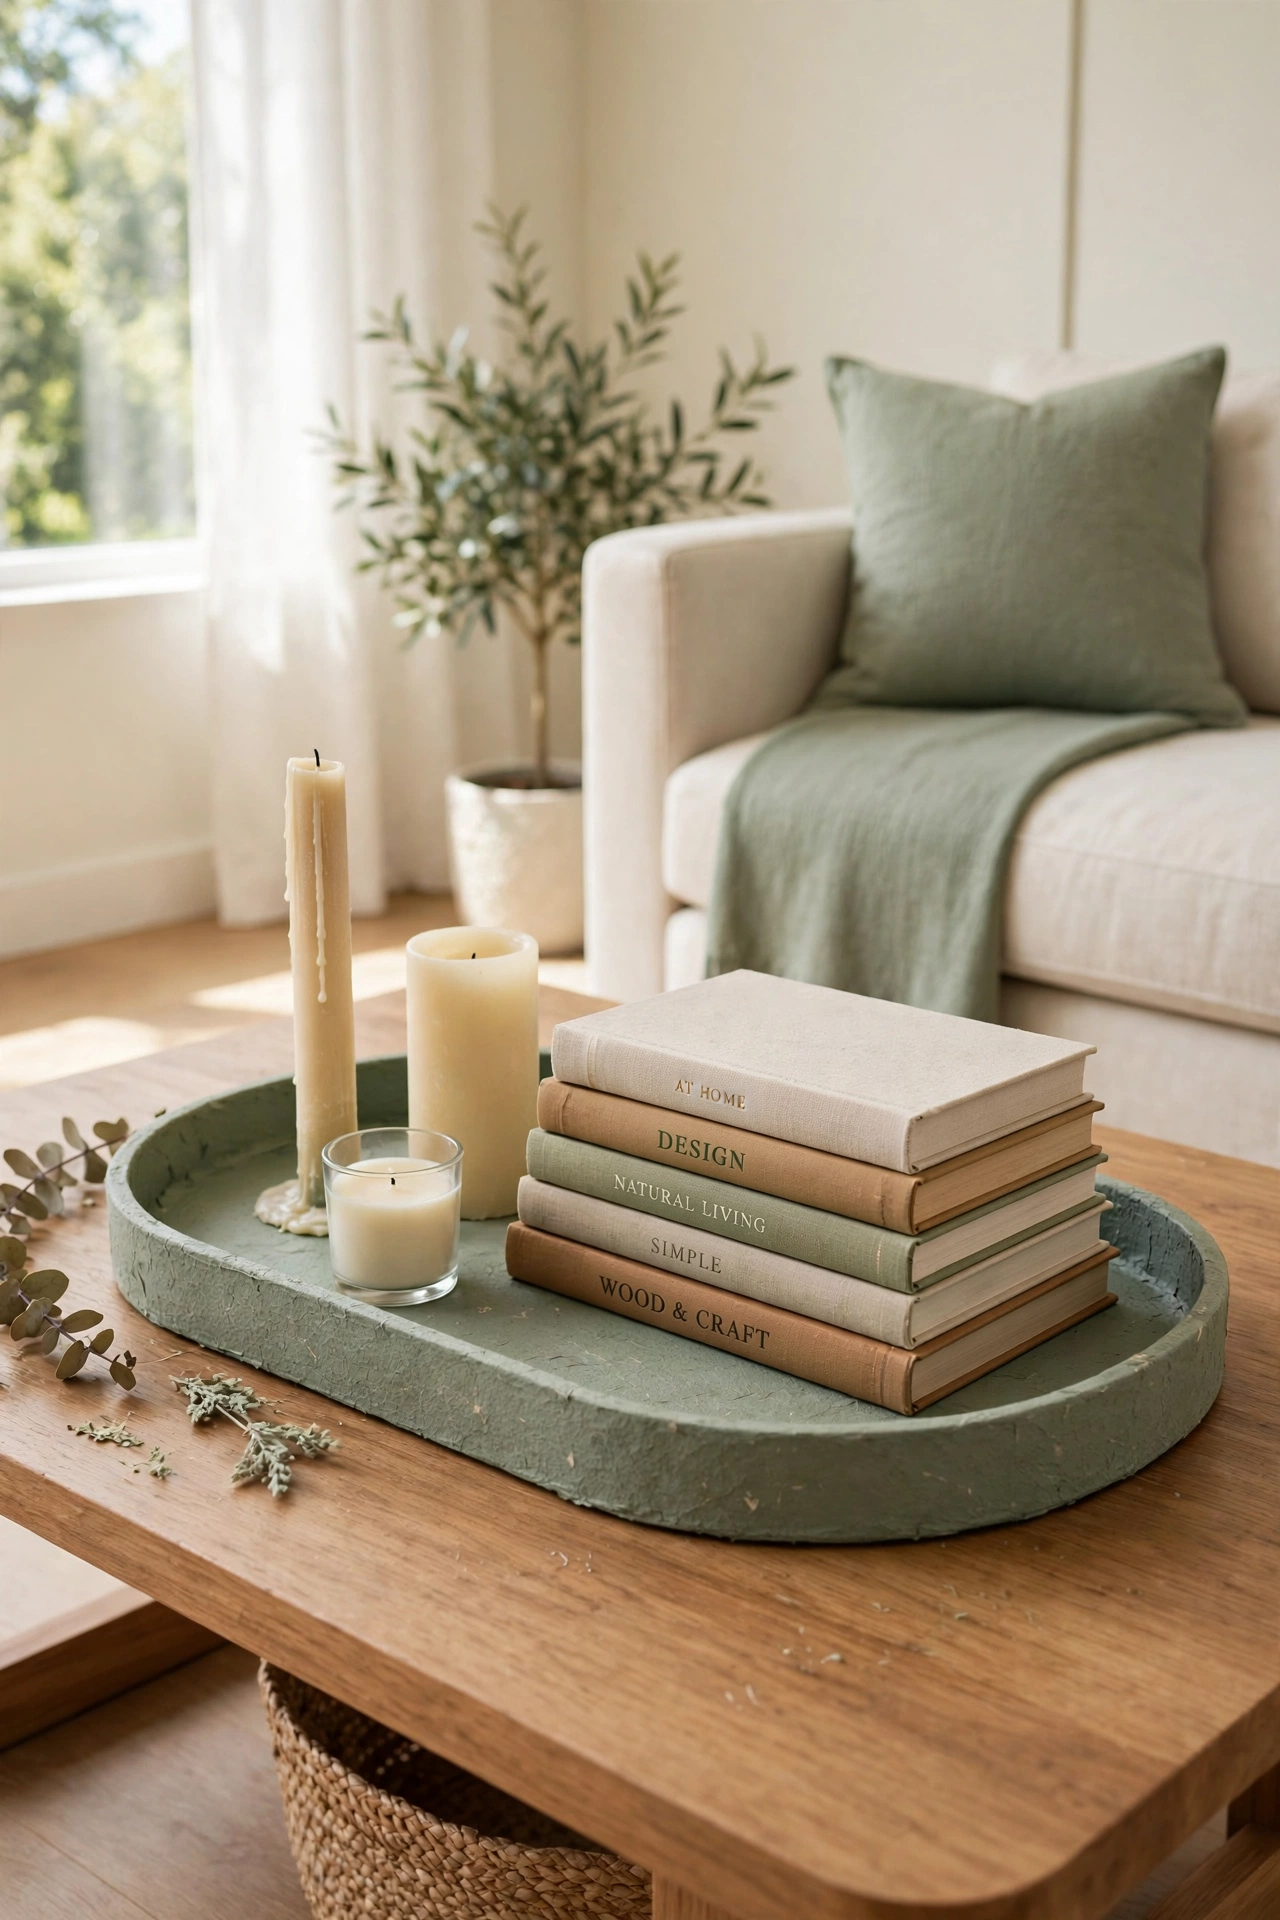
A paper mache tray is a practical piece that also looks handmade and warm. You build the tray over a flat baking pan or a shallow box, then add a rim by folding strips upward around the edges. Once sealed and painted, the tray is firm enough for daily use.
Use the tray to corral candles, a small vase, and a stack of books on a coffee table. A sage green tray with a cream interior looks calm and fresh, while a terracotta tray adds warmth. Trays also make lovely gifts, since they are useful in any home.
8. Mold Paper Mache Candle Holders for Soft Evenings
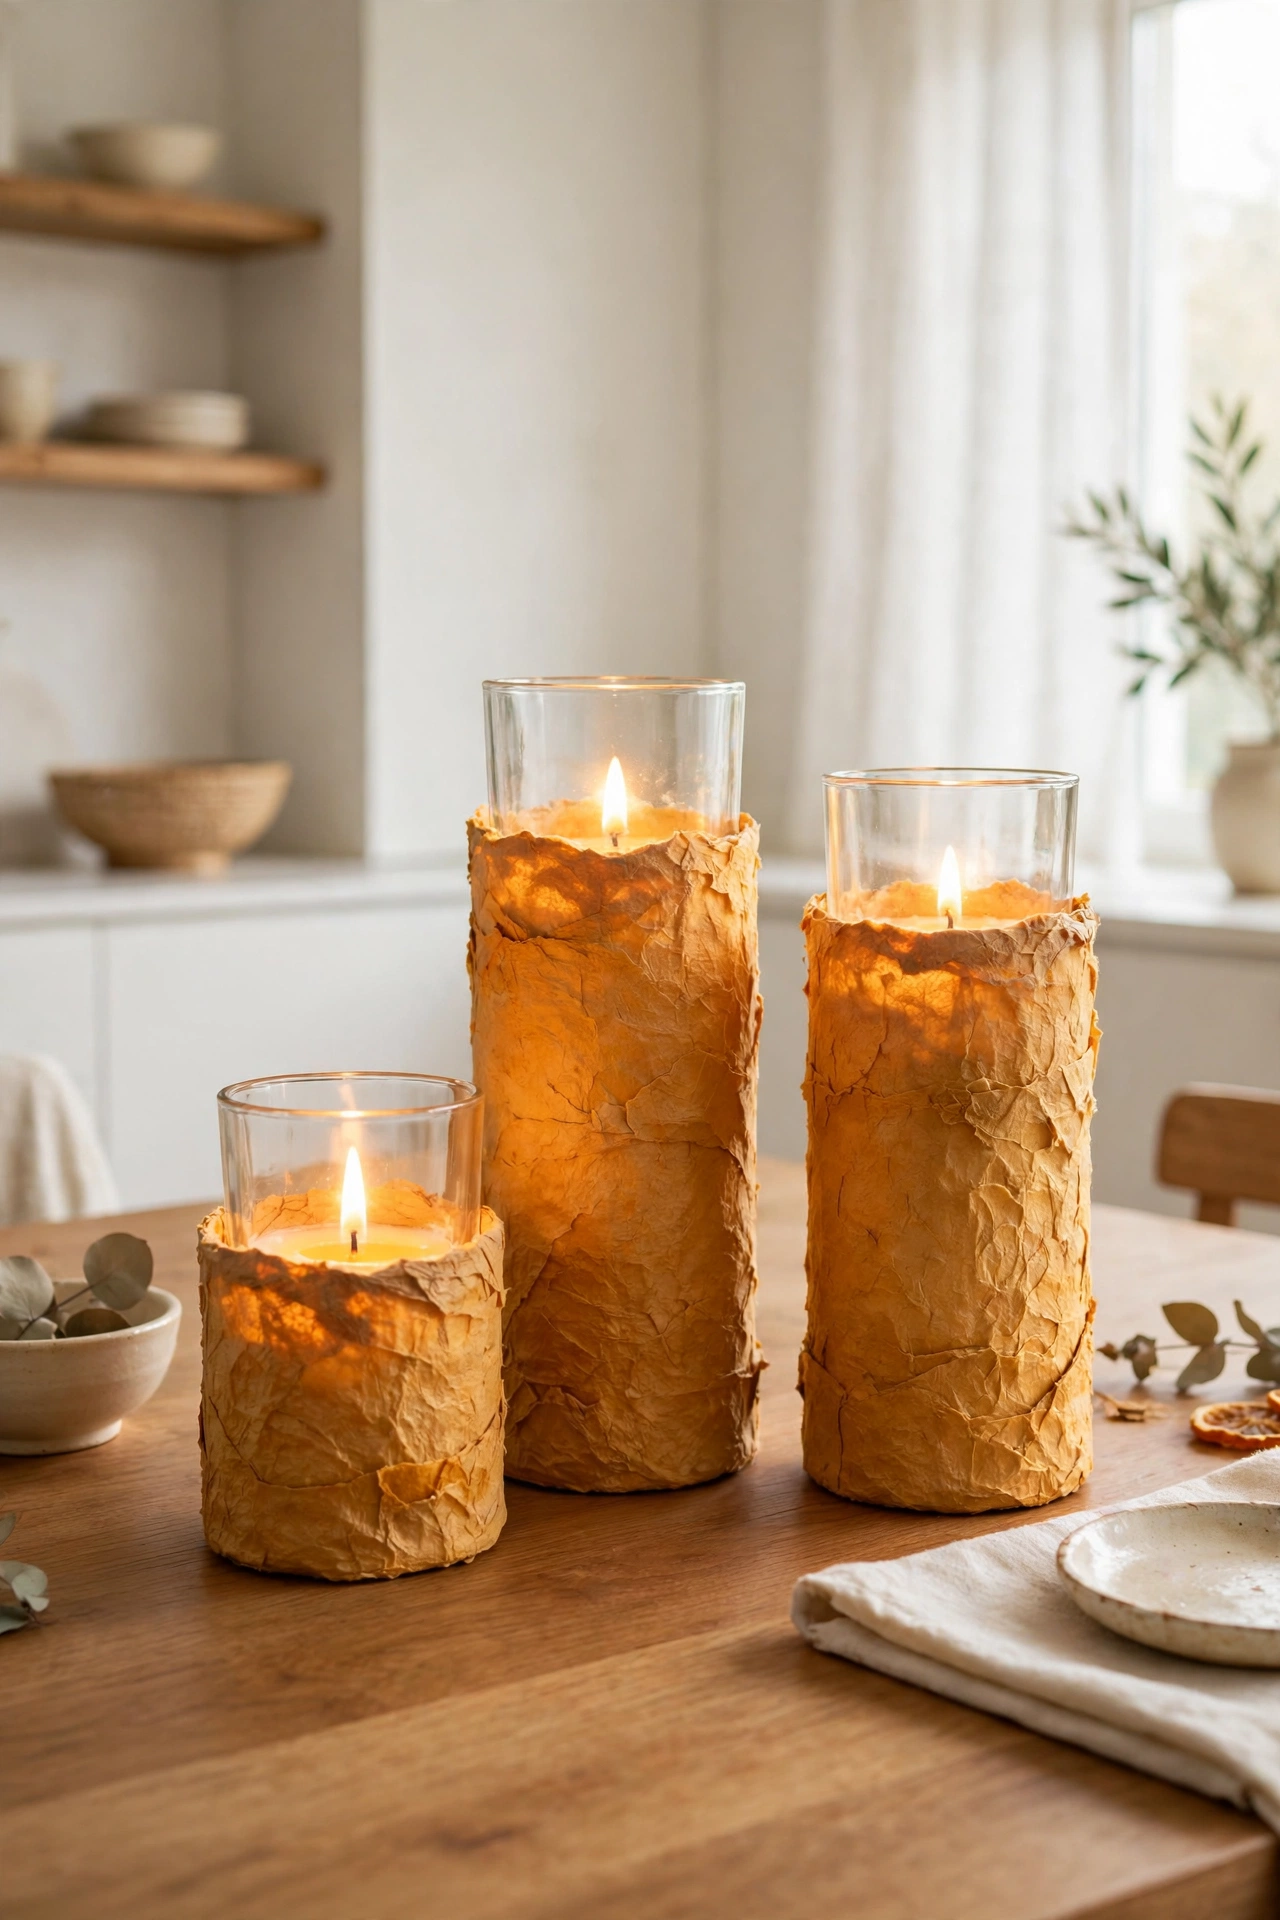
Paper mache candle holders bring a soft handmade glow to evening rooms. You shape the holder around a small jar or a cup, then remove the mold once the layers are dry. Always use a glass insert or a metal cup inside to keep the flame safely away from the paper.
Paint the holders in warm colors like amber or soft blush, and place them on a dining table or a mantel. A pair of matching holders looks intentional and calm. These holders are light and safe to move, so you can rearrange them for every season.
9. Press Paper Mache Coasters for Daily Drinks
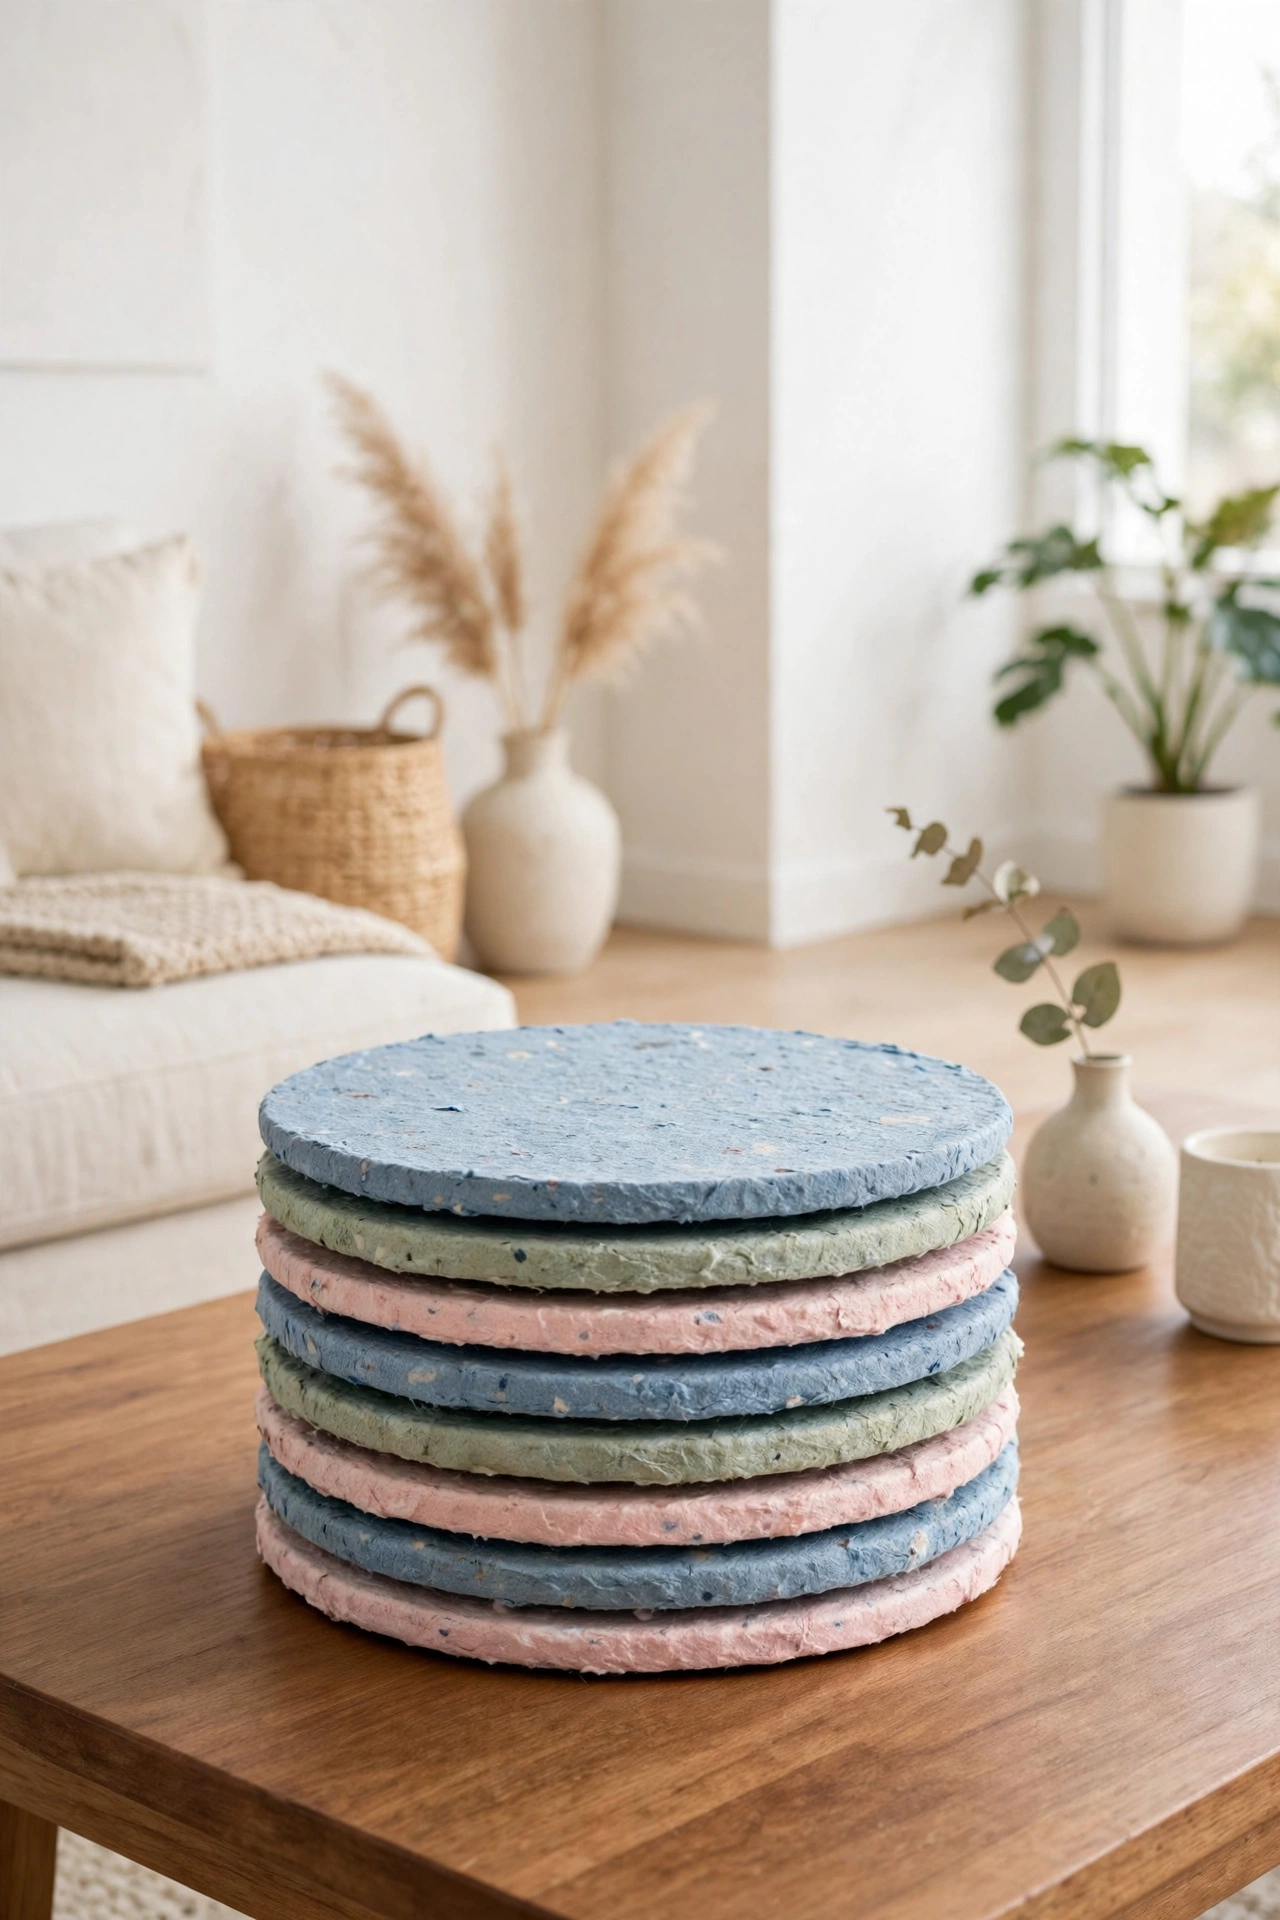
Paper mache coasters are a small project with a big payoff. You press the pulp into a round mold or cut circles from flat sheets, then seal them well so they resist moisture. A set of four or six coasters is a quick weekend project.
Paint each coaster in a different accent color, or keep them all in one calm shade with a painted rim. Stack them in a small holder on the coffee table so they are always within reach. Coasters protect your furniture while adding a handmade touch to every cup of tea.
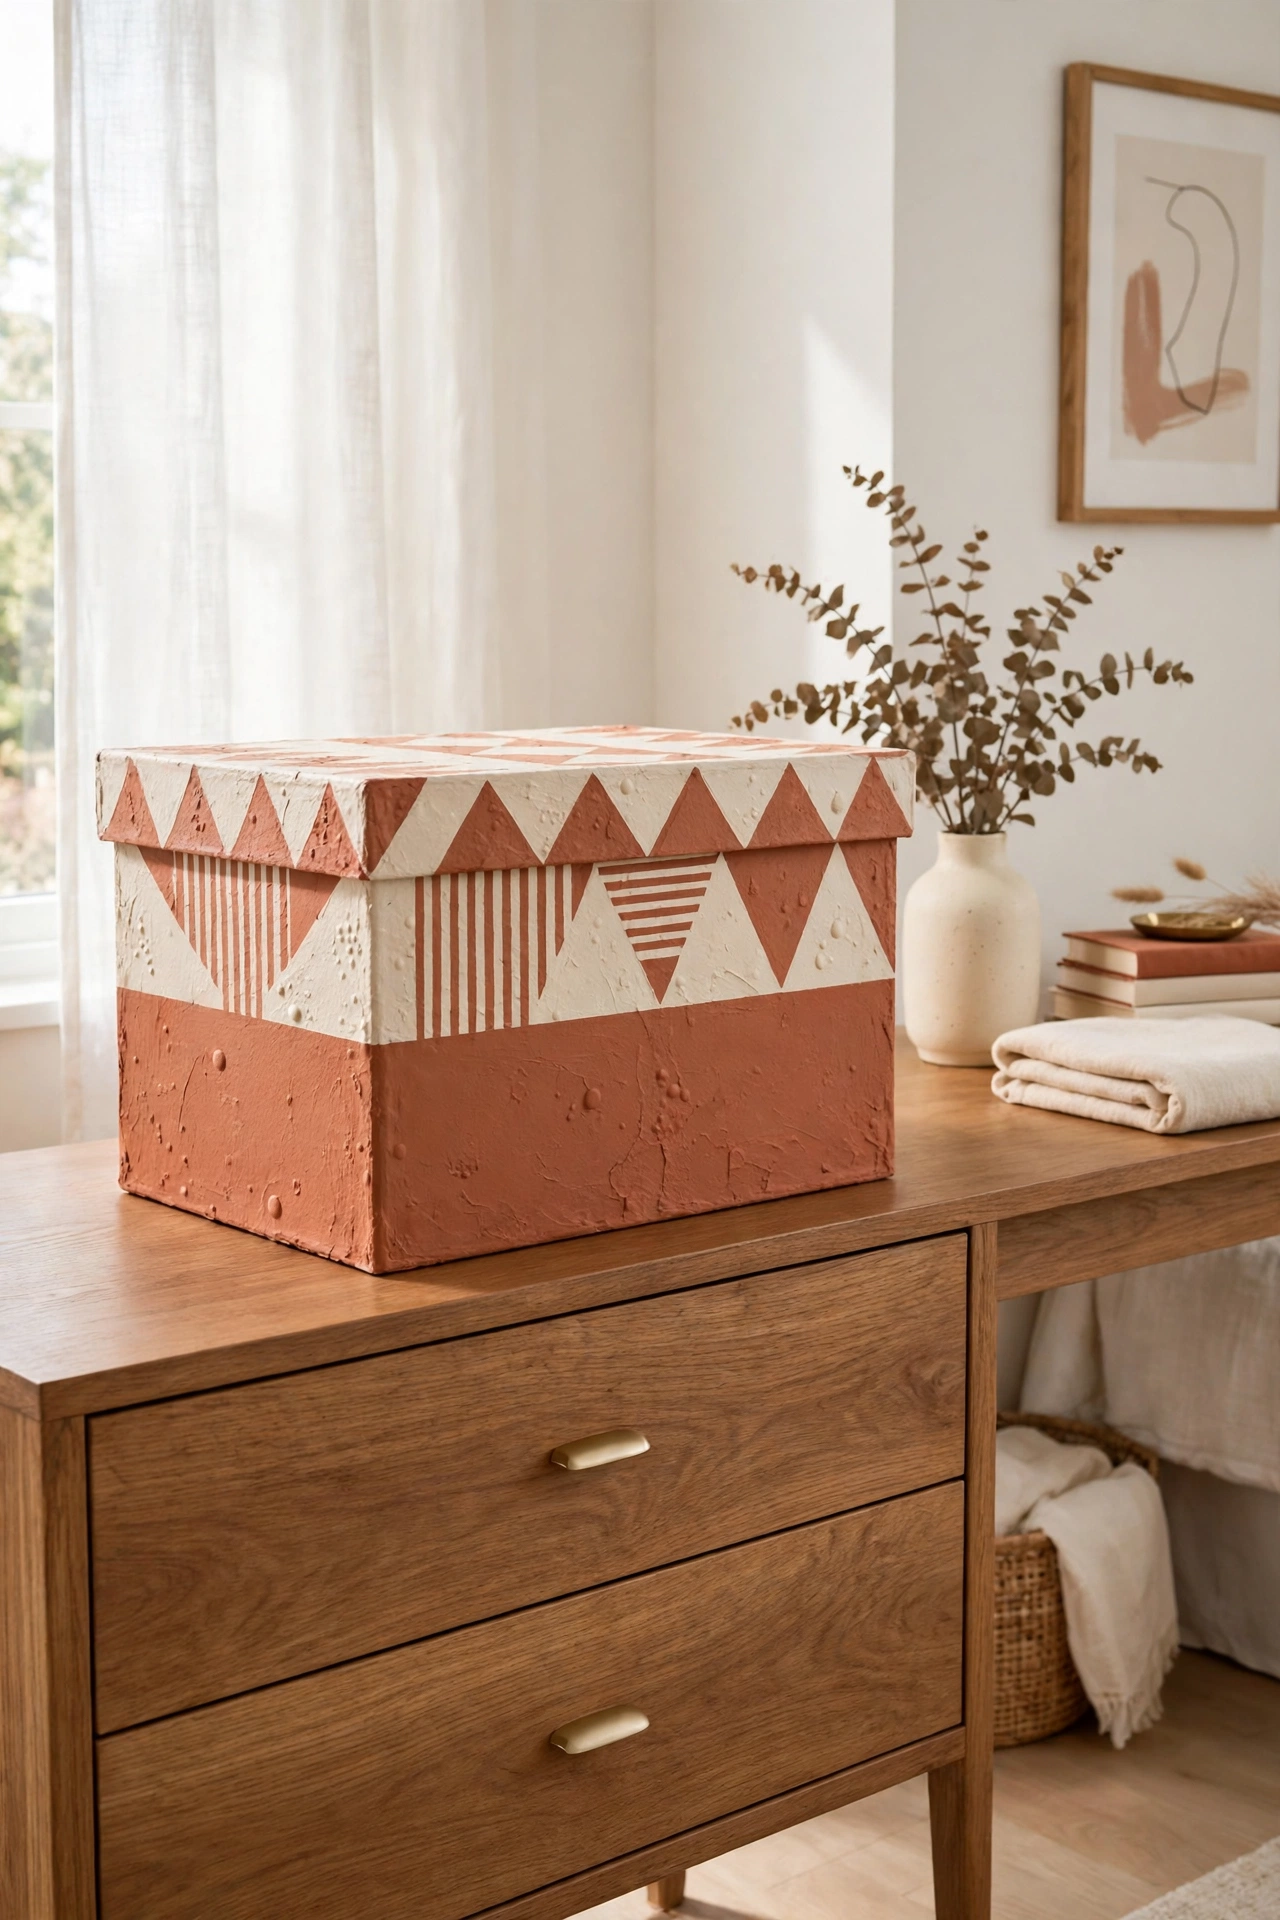
10. Build Paper Mache Boxes for Hidden Storage
Paper mache boxes are light, sturdy, and perfect for storing small treasures. You build the box over a cardboard form, let it dry, then lift it off and add a matching lid. The finished box can hold jewelry, letters, or craft supplies.
Decorate the lid with a painted pattern, a pressed flower design, or a simple band of color. Place the box on a dresser, a desk, or a bedside table. A handmade box feels far more special than a plain plastic container, and it costs almost nothing to make.
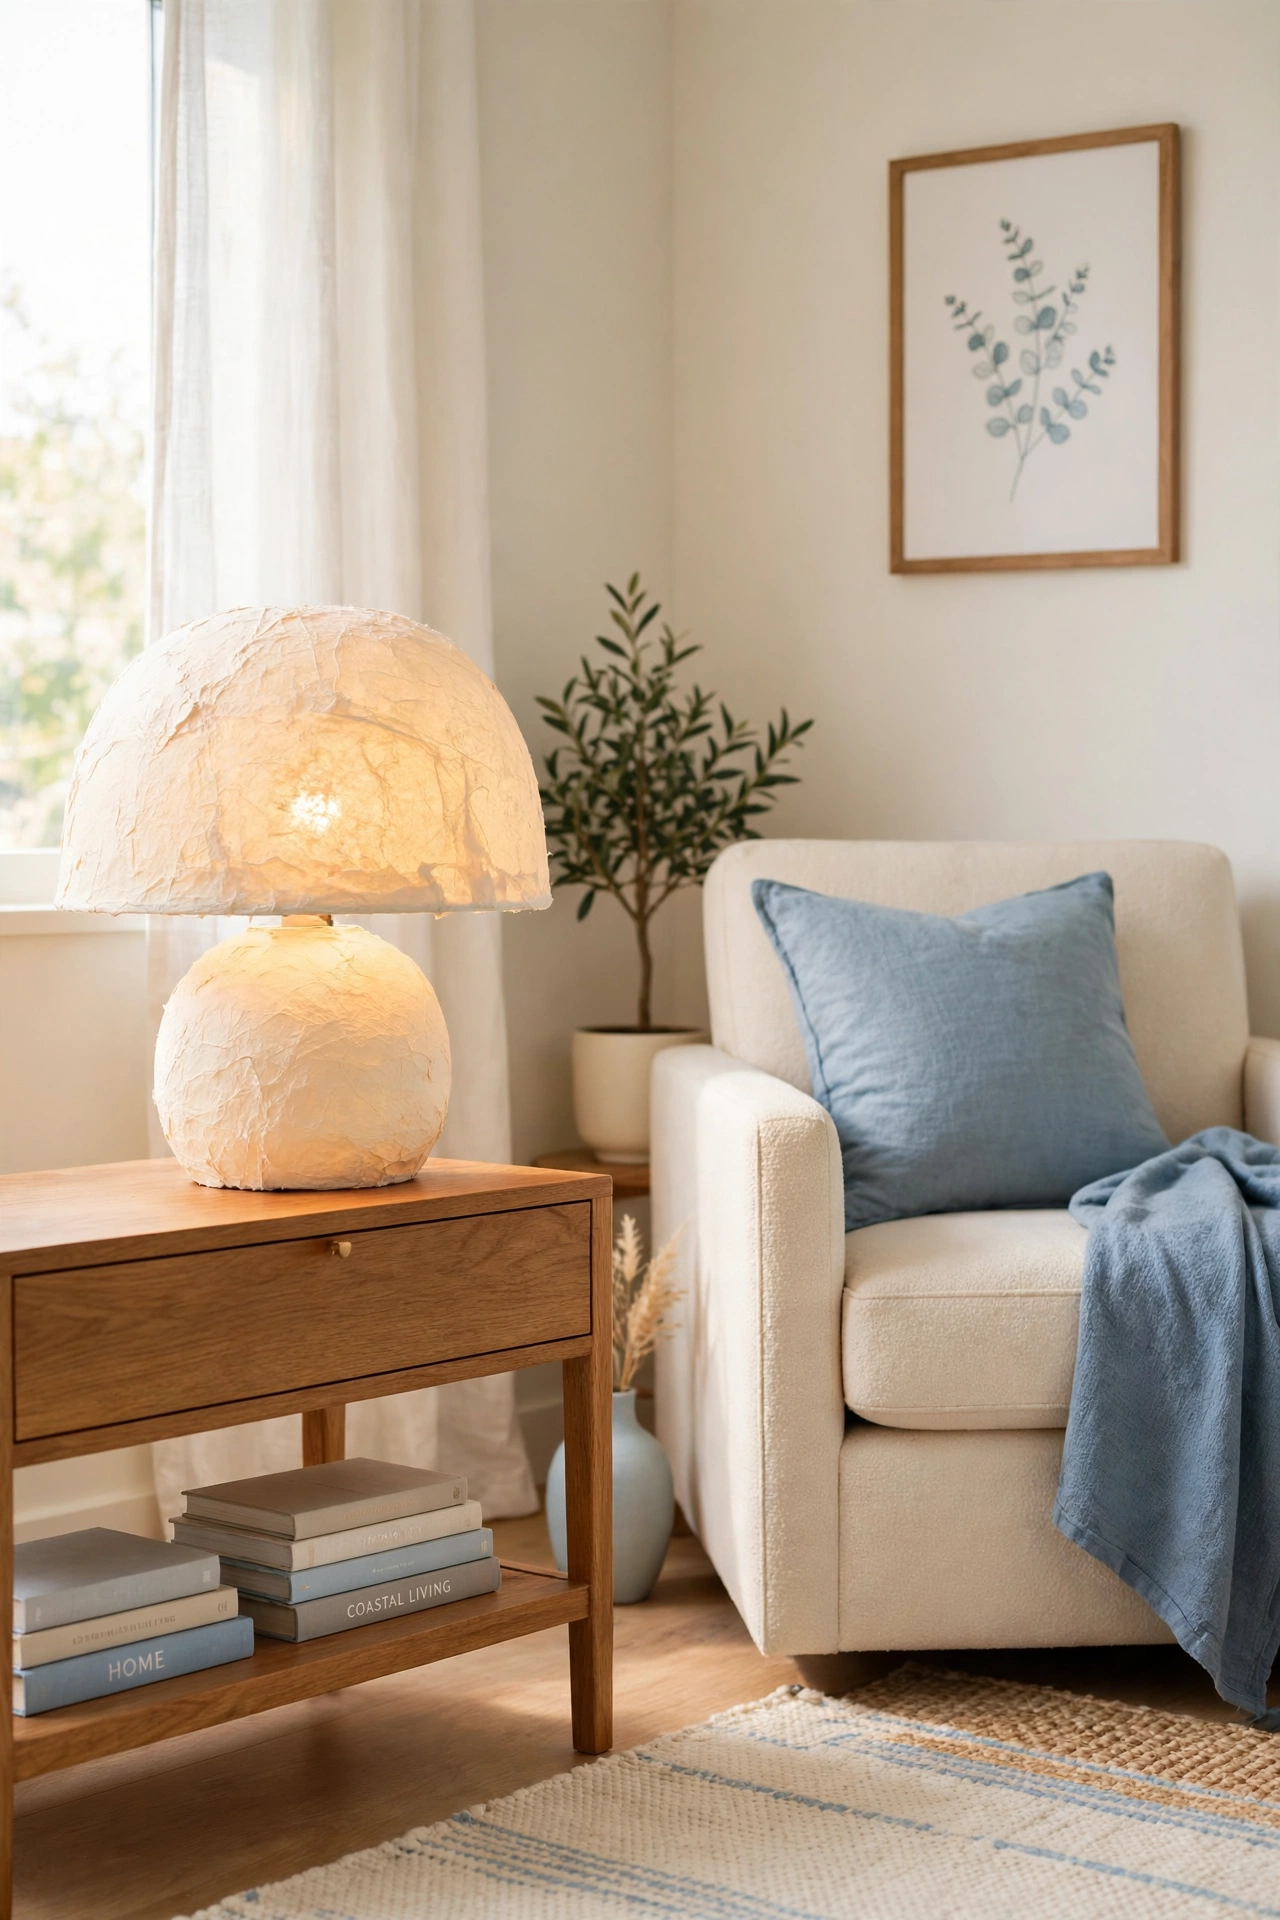
11. Shape Paper Mache Lampshades for Warm Light
A paper mache lampshade turns an ordinary lamp into a glowing piece of art. You shape the shade over a balloon or a wire frame, leaving an opening at the top and bottom for heat to escape. Use only low heat LED bulbs to keep the paper safe.
The shade casts a soft warm light and shows the gentle texture of the paper. Paint the outside in a pale color so the light shines through, or add cutout patterns that throw pretty shapes on the wall. For more ways to refresh a lamp on a budget, see these DIY lampshade makeover ideas.
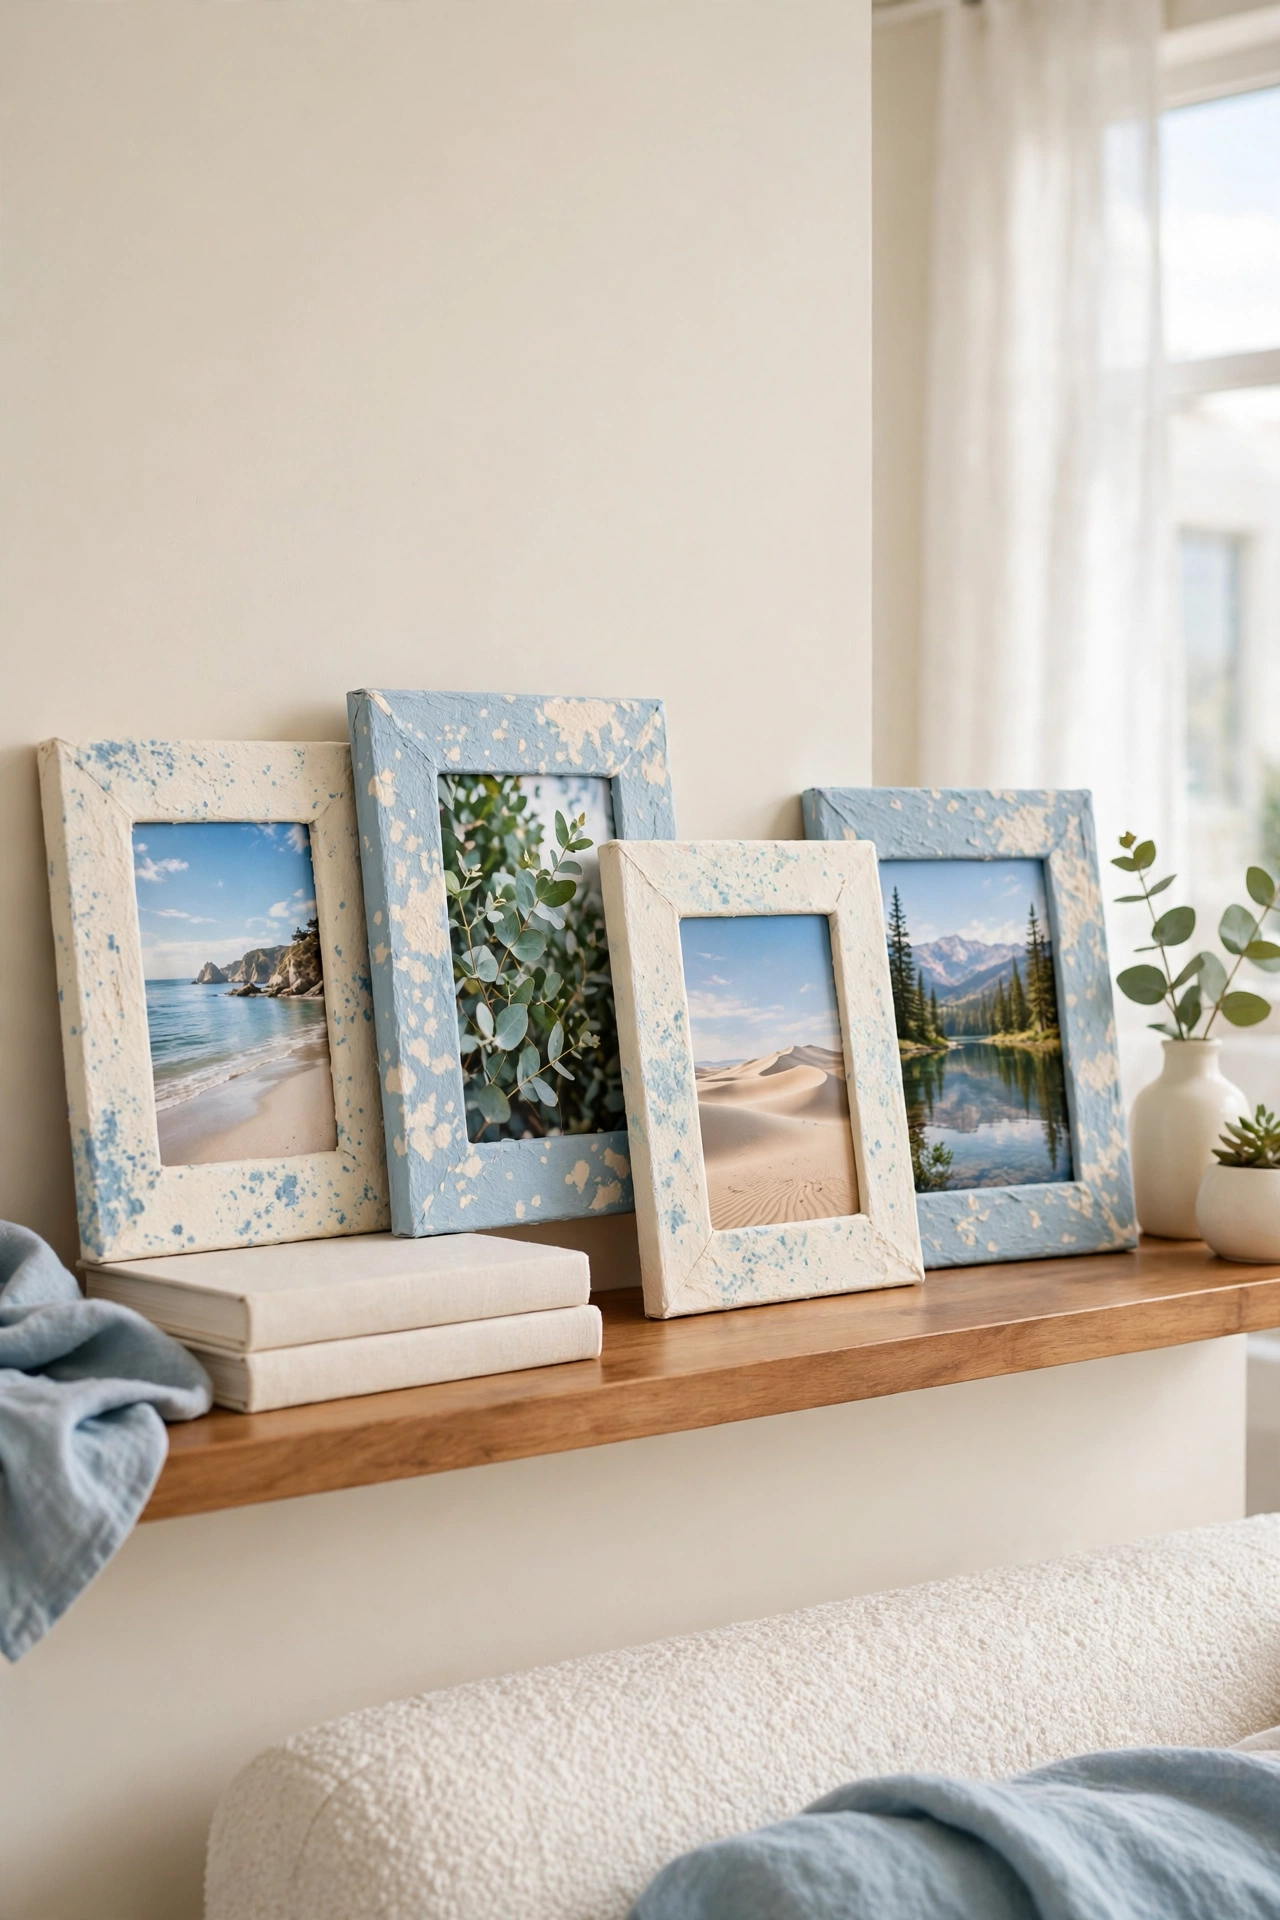
12. Frame Photos with Paper Mache Picture Frames
Paper mache picture frames add texture and charm to any wall or shelf. You build the frame around a cardboard base, then shape the edges with strips for a soft rounded look. The frame is light enough to hang anywhere without heavy hardware.
Paint the frame in a color that suits the photo inside, like soft blue for a beach picture or warm amber for a family portrait. A row of matching frames on a hallway wall looks calm and collected. These frames are also a lovely way to display children’s artwork.
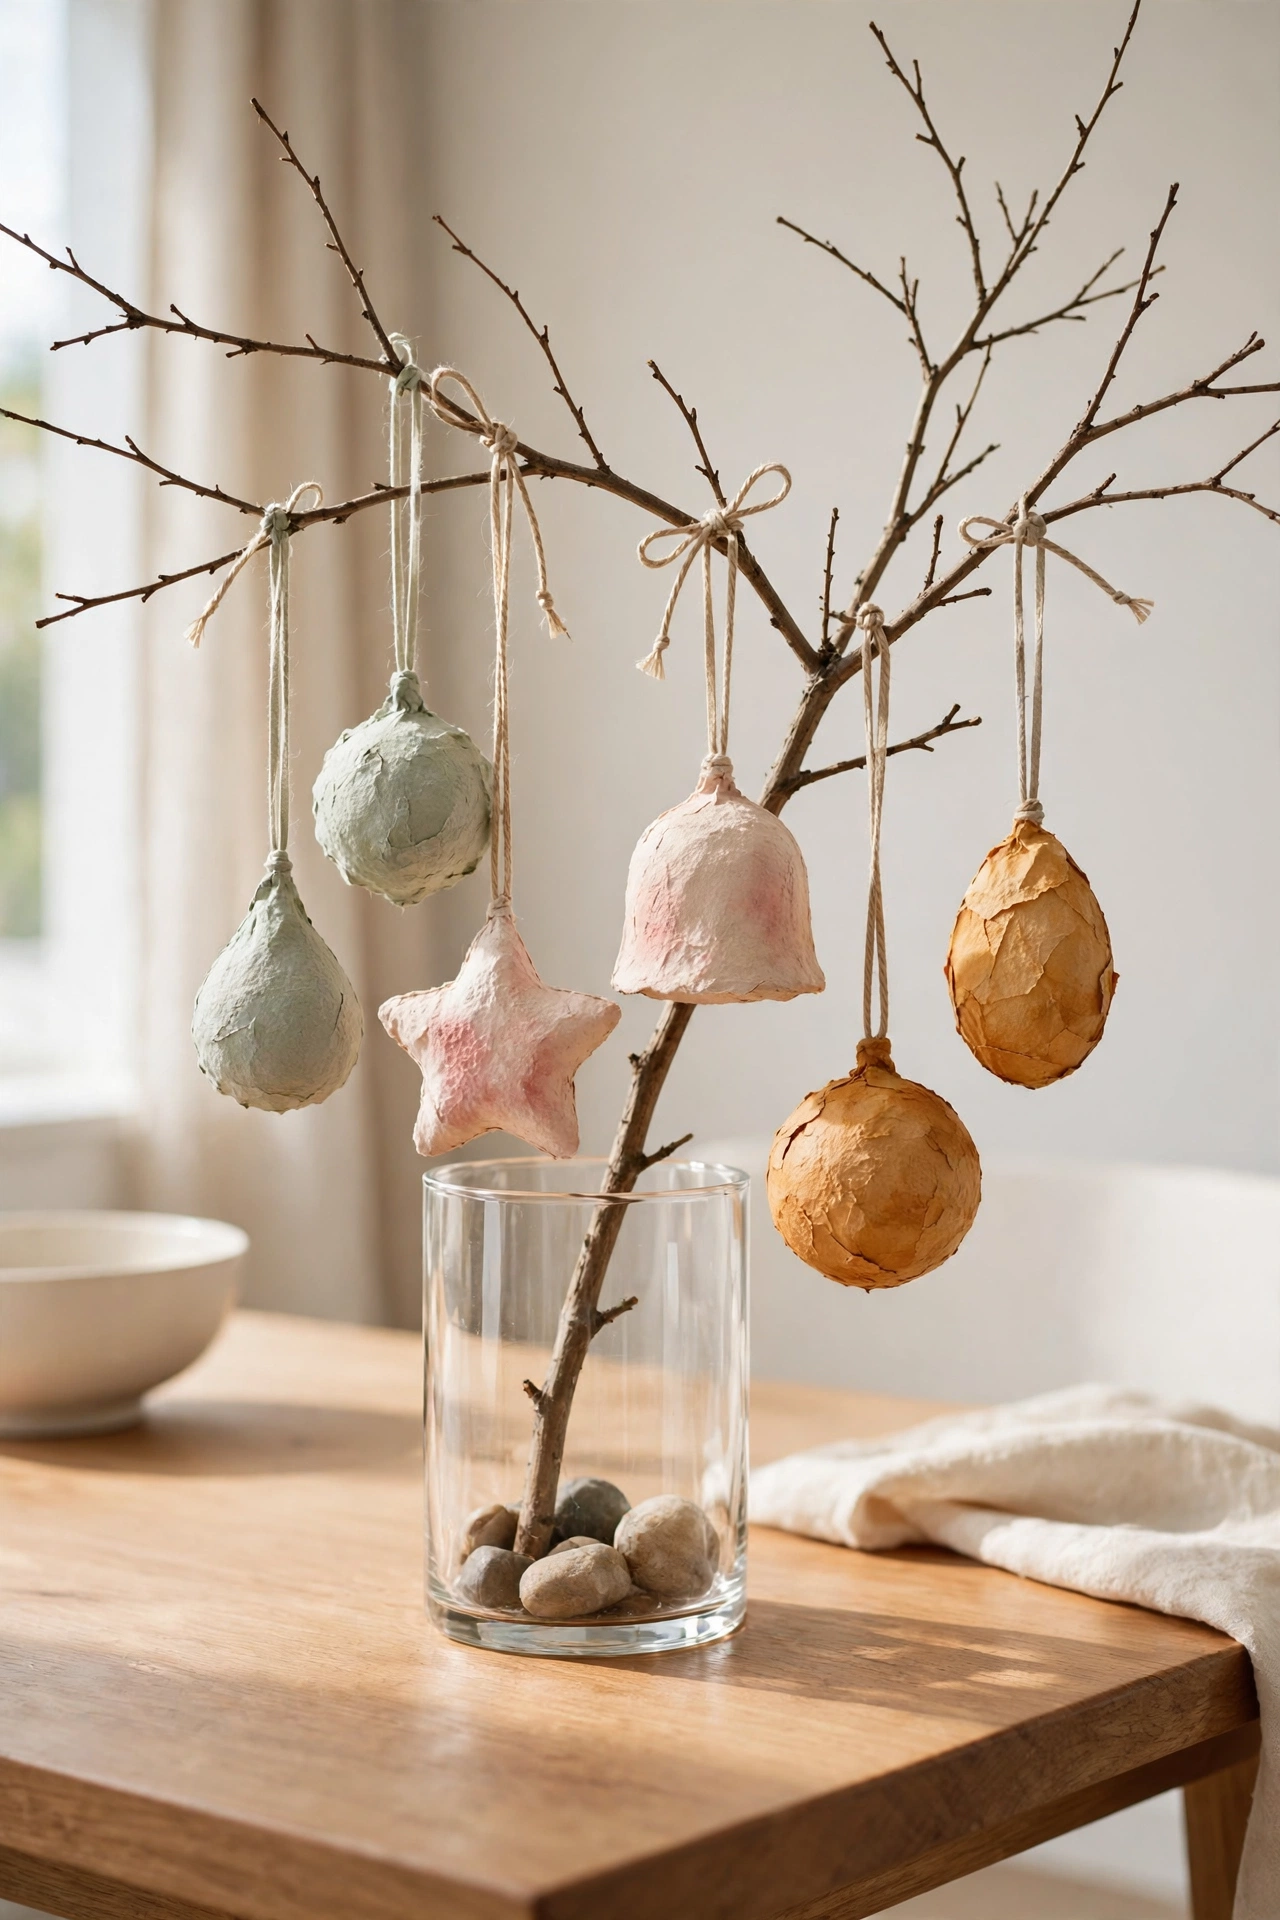
13. Craft Paper Mache Ornaments for Every Season
Paper mache ornaments are light, safe, and fun to make for every season of the year. You shape small balls, stars, or animals, then paint them in seasonal colors. They hang beautifully on a tree, a branch, or a wall hook.
Make a set of matching ornaments for the holidays, or craft simple shapes in soft colors for year round display. Ornaments are a wonderful project to share with children, since the materials are safe and the results are quick. Store them in a small box between seasons.
14. Model Paper Mache Animal Figures for Playful Charm
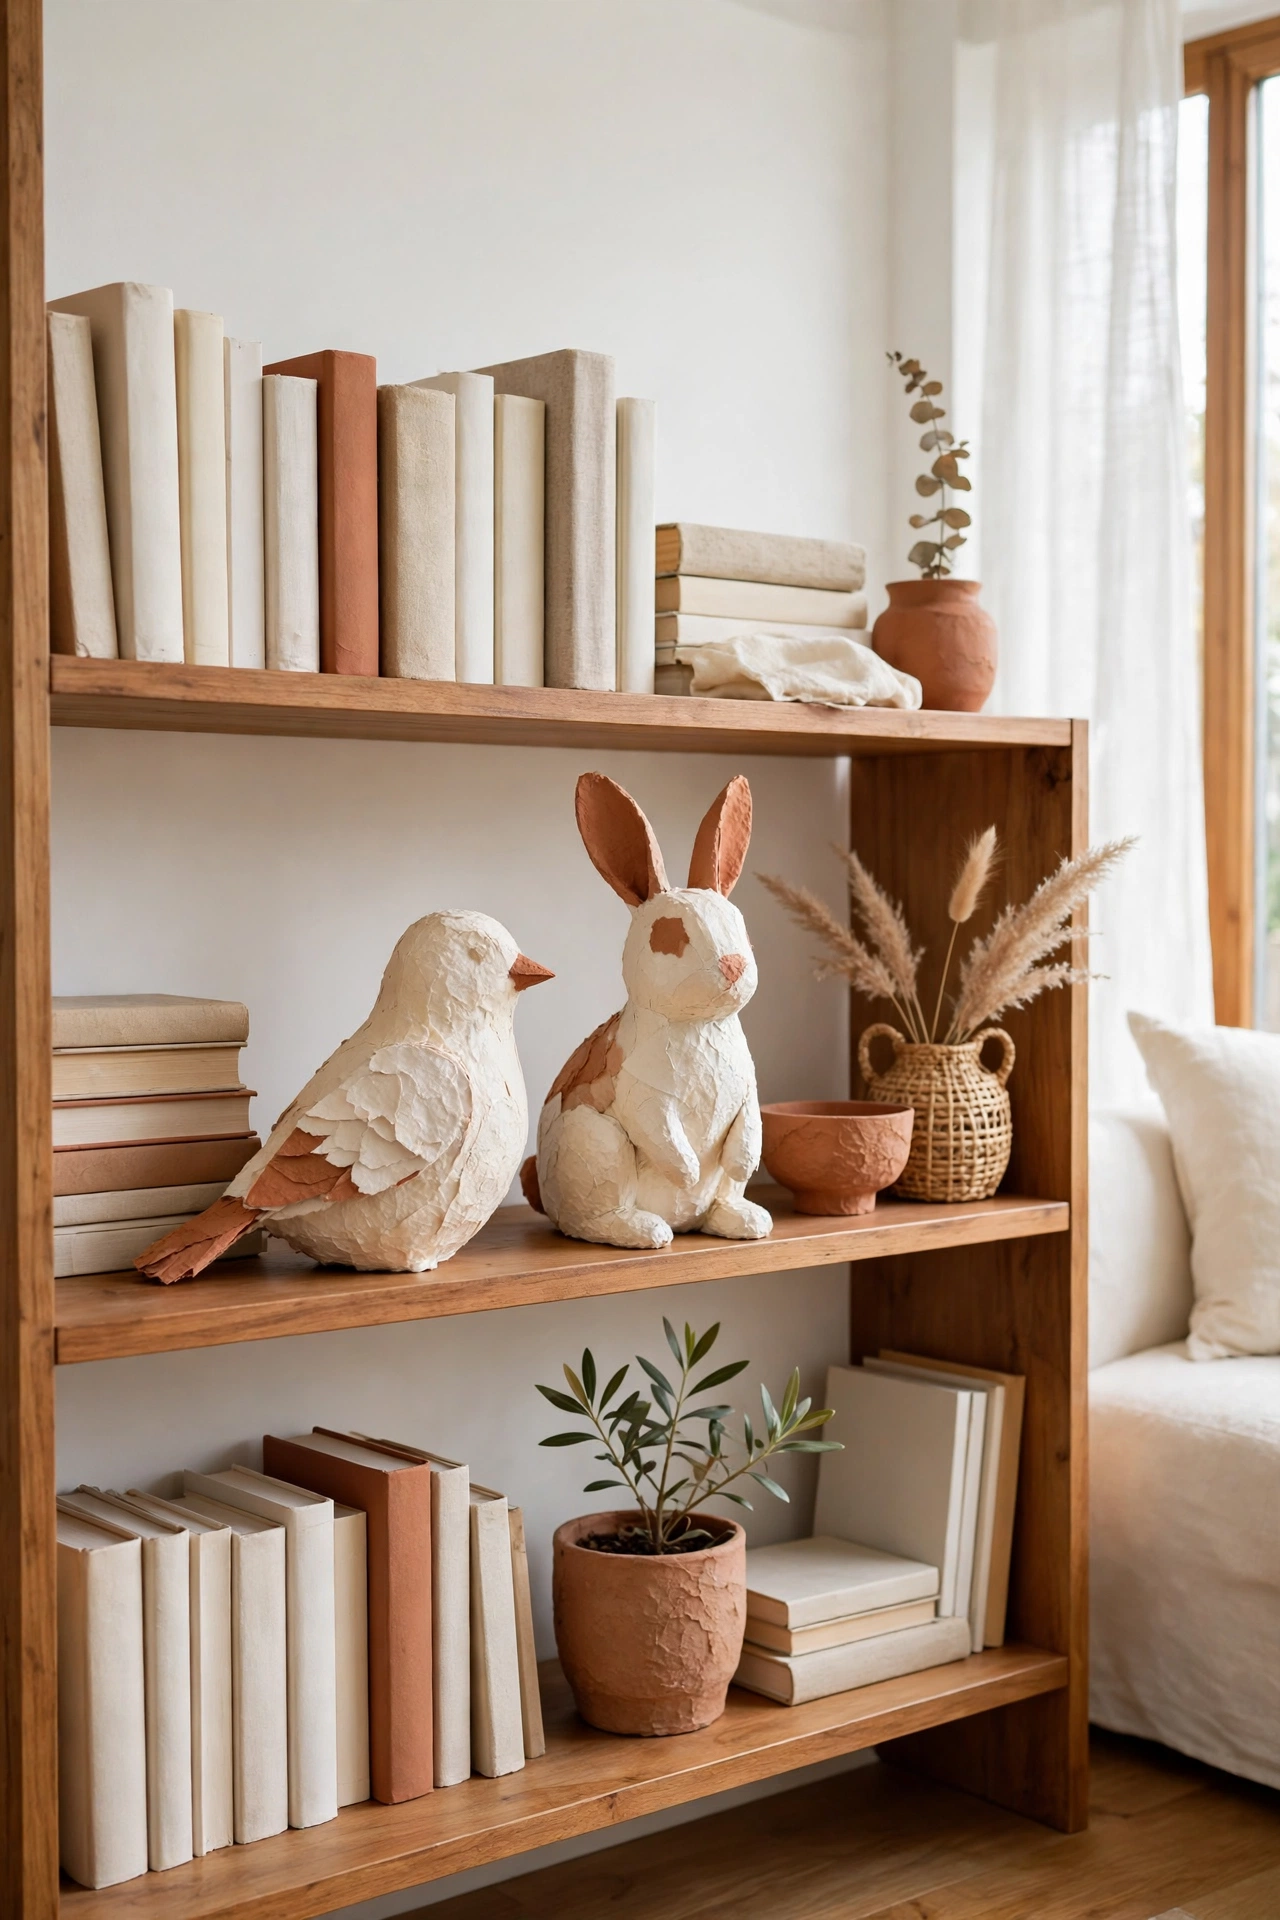
Paper mache animal figures bring a playful touch to shelves, desks, and children’s rooms. You start with a wire or foil armature, then build the body with crumpled paper and strips. Birds, cats, elephants, and rabbits are all good first projects.
Paint the finished animal in a single soft color for a modern look, or add details like spots and stripes for a lively feel. Place one figure on a bookshelf or group a small family of animals on a side table. These figures are light and sturdy, so they are safe in homes with children.
15. Fill Paper Mache Fruit Bowls with Color
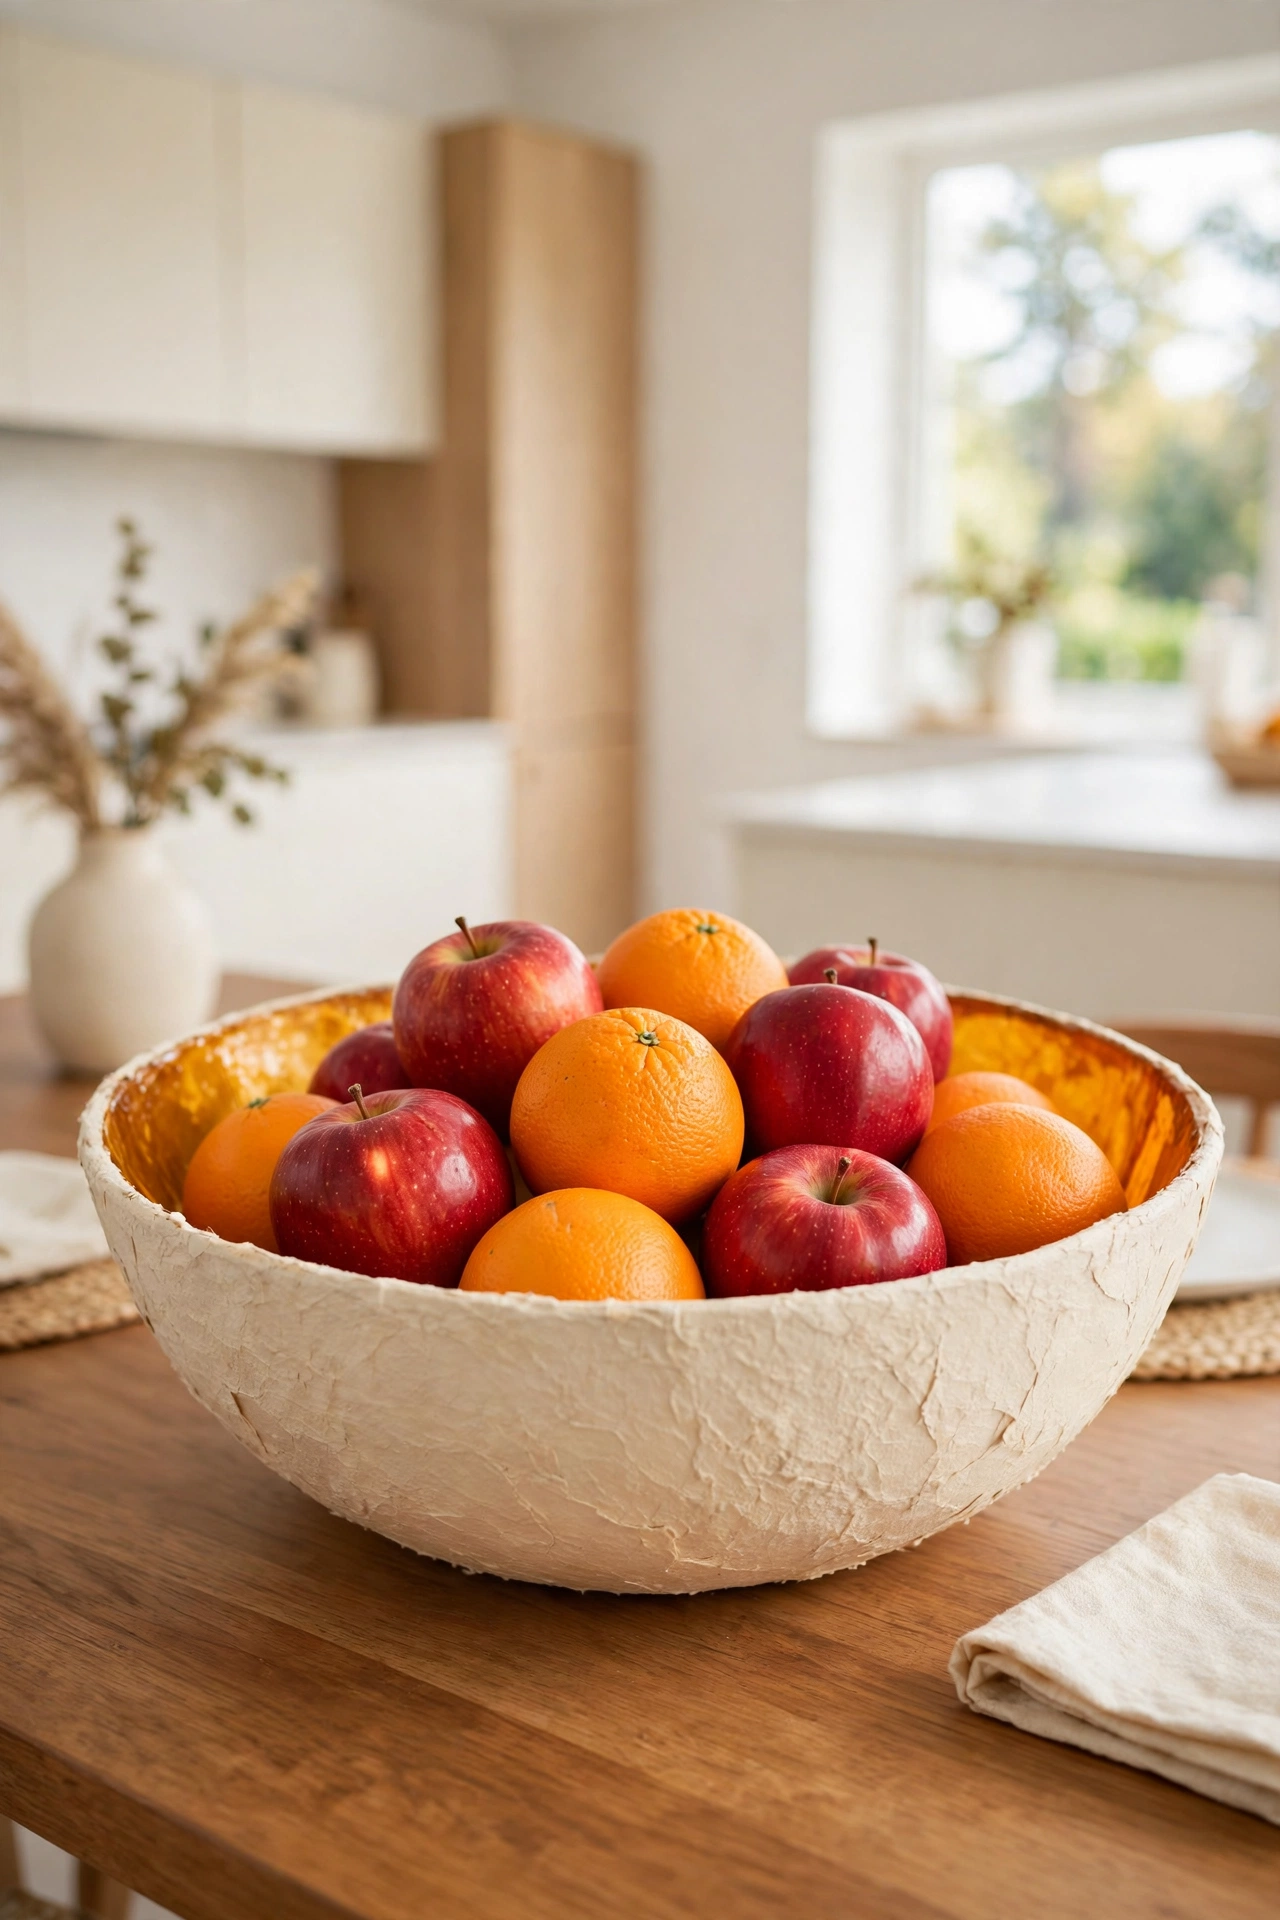
A paper mache fruit bowl is a cheerful centerpiece for a dining table or a kitchen counter. You shape the bowl over a large mixing bowl, then paint the inside in a bright color and the outside in a calm neutral shade. The wide shape shows off fruit beautifully.
Fill the bowl with real fruit for a fresh look, or use handmade paper fruit for a display that lasts all year. A fruit bowl also works as a catch all near the front door. The bold shape and soft texture make it a natural focal point in any room.
16. Weave Paper Mache Wall Hangings for Texture
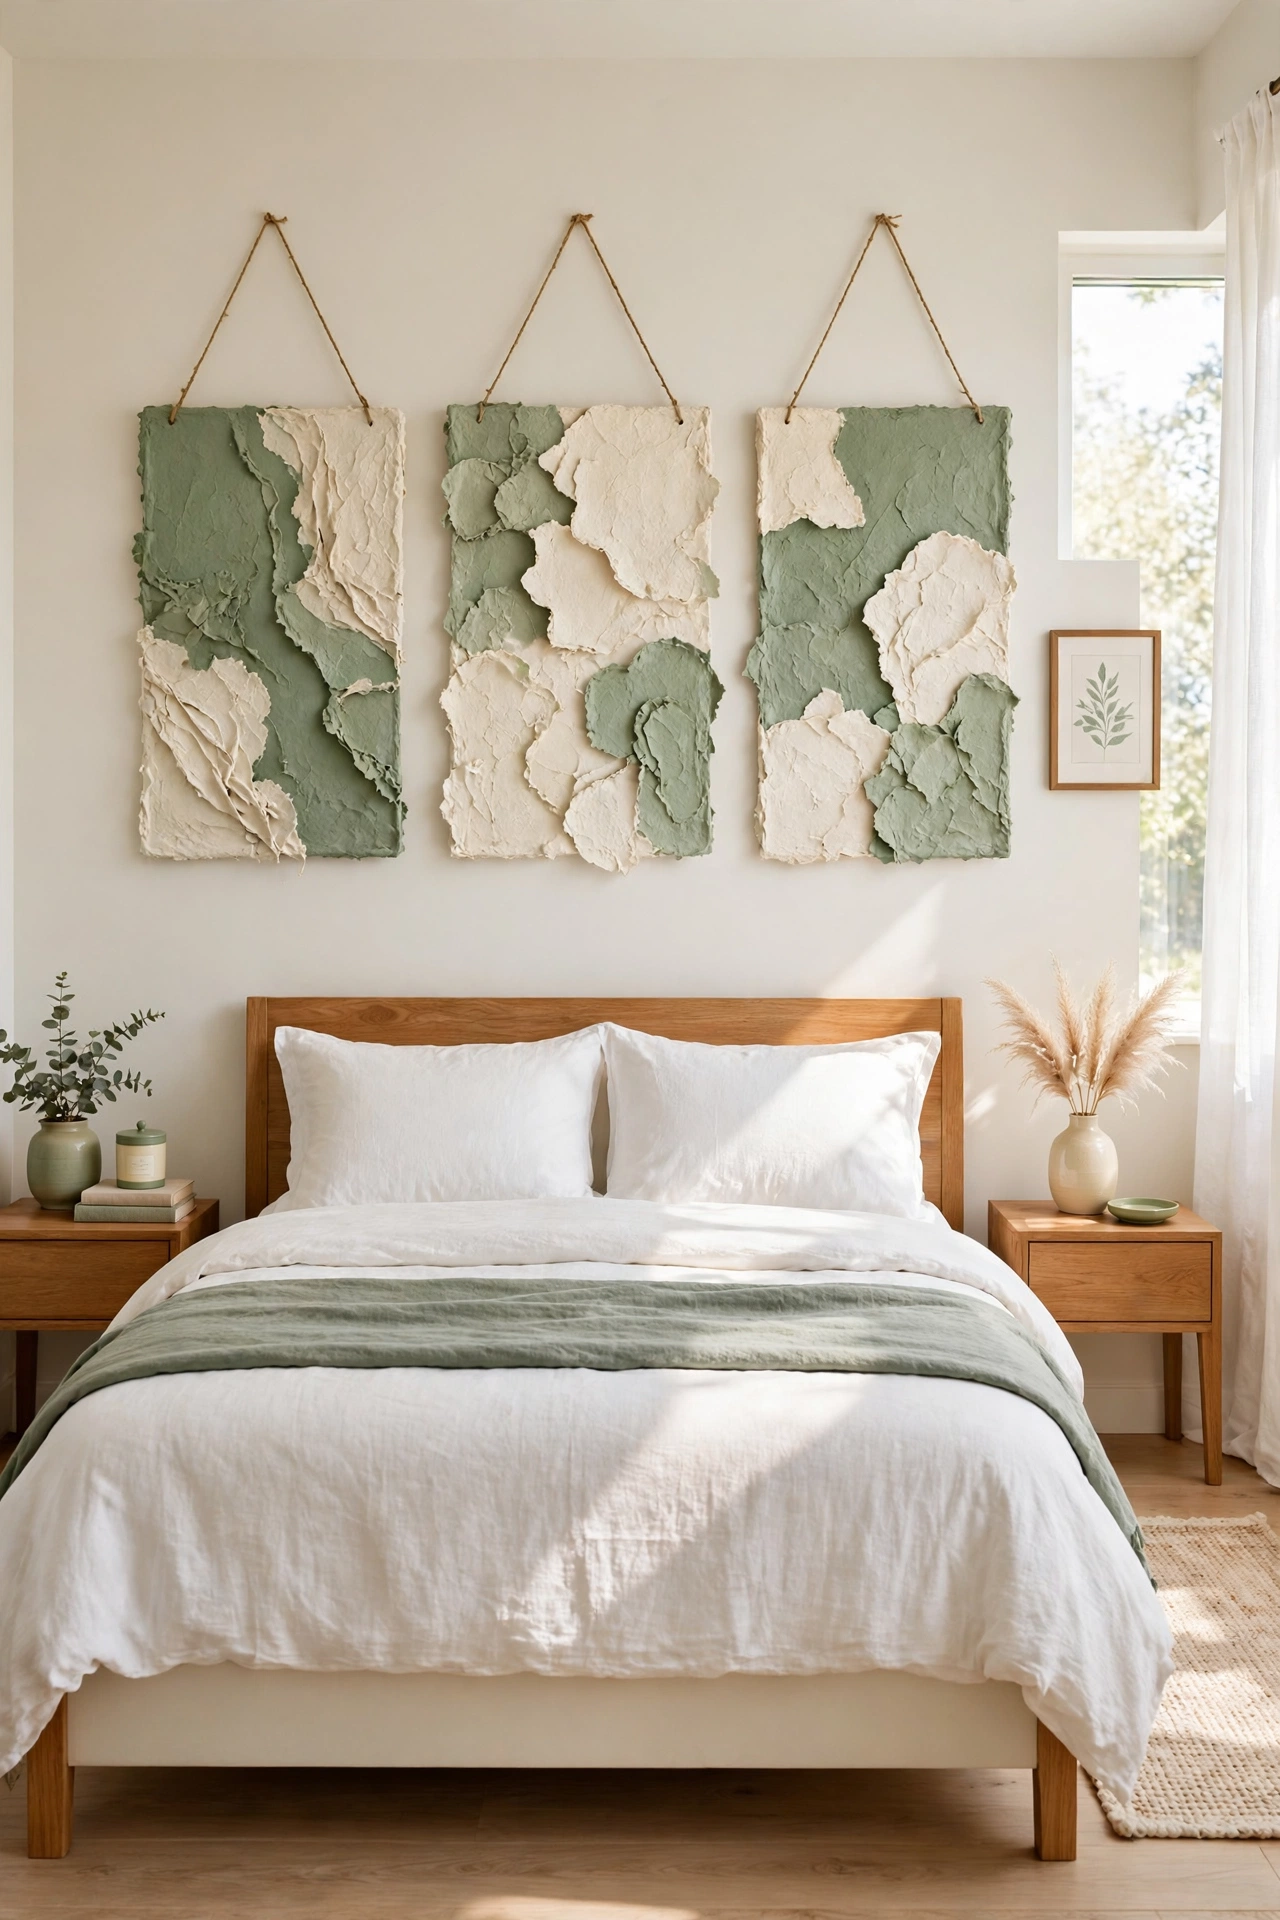
Paper mache wall hangings bring soft texture to a bare wall without the weight of wood or metal. You shape flat panels, circles, or flowing forms, then hang them from a wooden dowel or a simple cord. The light weight makes hanging easy.
Try a set of three round panels in different sizes, painted in soft sage and cream. Hang them in a bedroom above the bed or in a hallway where they catch the light. Wall hangings add warmth to a room and show off the handmade quality of the craft.
17. Stand Paper Mache Jewelry Holders on Dressers
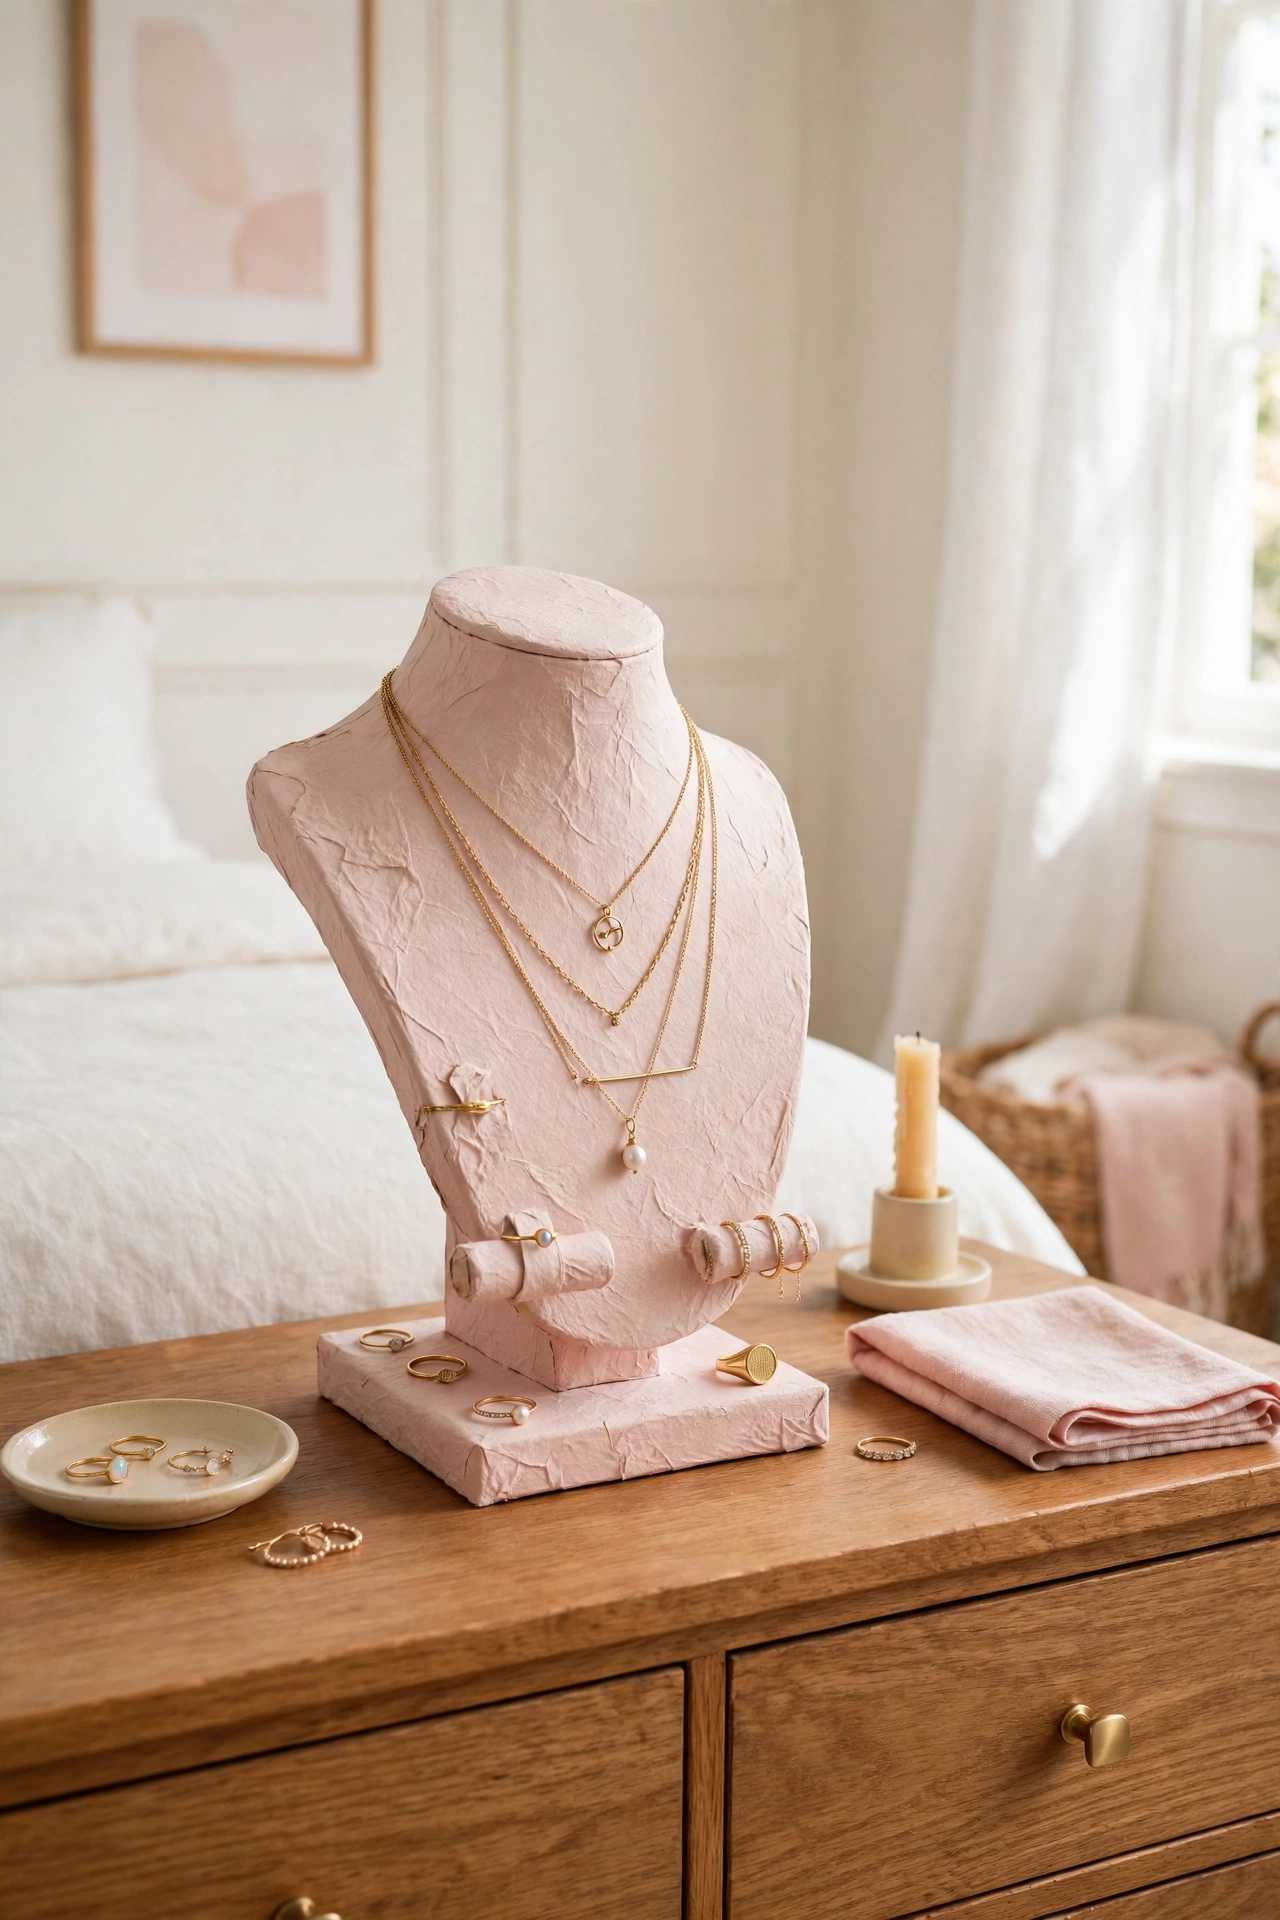
A paper mache jewelry stand keeps necklaces, rings, and bracelets tidy and visible. You shape a small tree or a tiered stand, then paint it in a calm color that suits your dresser. The light weight means it is easy to move when you clean.
Use the stand for the pieces you wear most often, so they are always within reach. A small dish at the base holds rings and earrings, while hooks on the sides hold necklaces. This is a pretty and practical project that makes mornings a little easier.
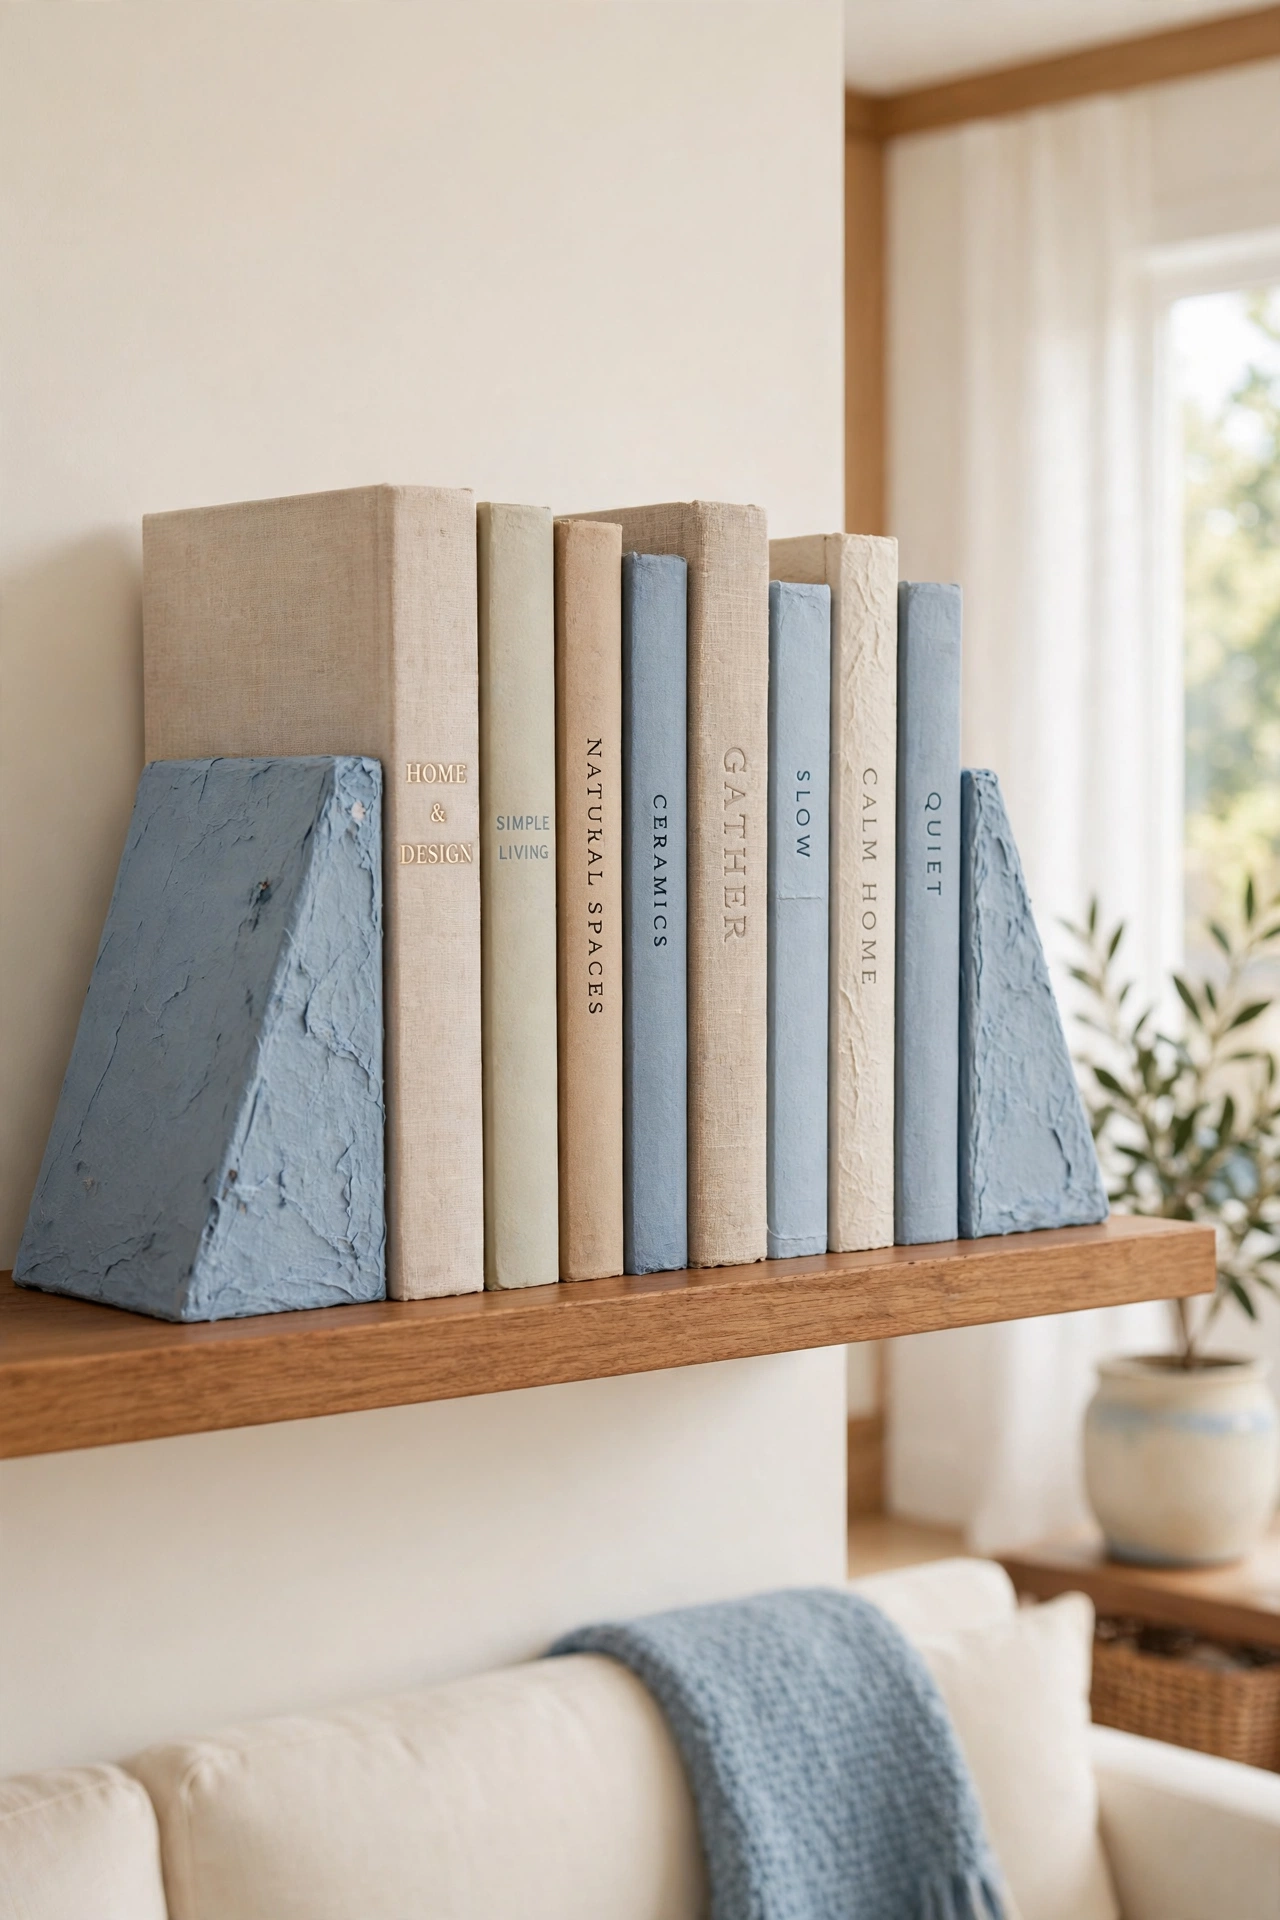
18. Stack Paper Mache Bookends for Shelves
Paper mache bookends are light enough to move easily, yet firm enough to hold a row of books upright. You build the bookend over a simple L shaped form, then paint it to match your shelf. The handmade surface adds character to a bookshelf.
Try bookends shaped like simple geometric blocks in soft blue, or sculpt a small animal for a playful touch. Place them at the ends of a row of favorite books on a living room shelf or a desk. Bookends keep shelves tidy while adding a personal detail.
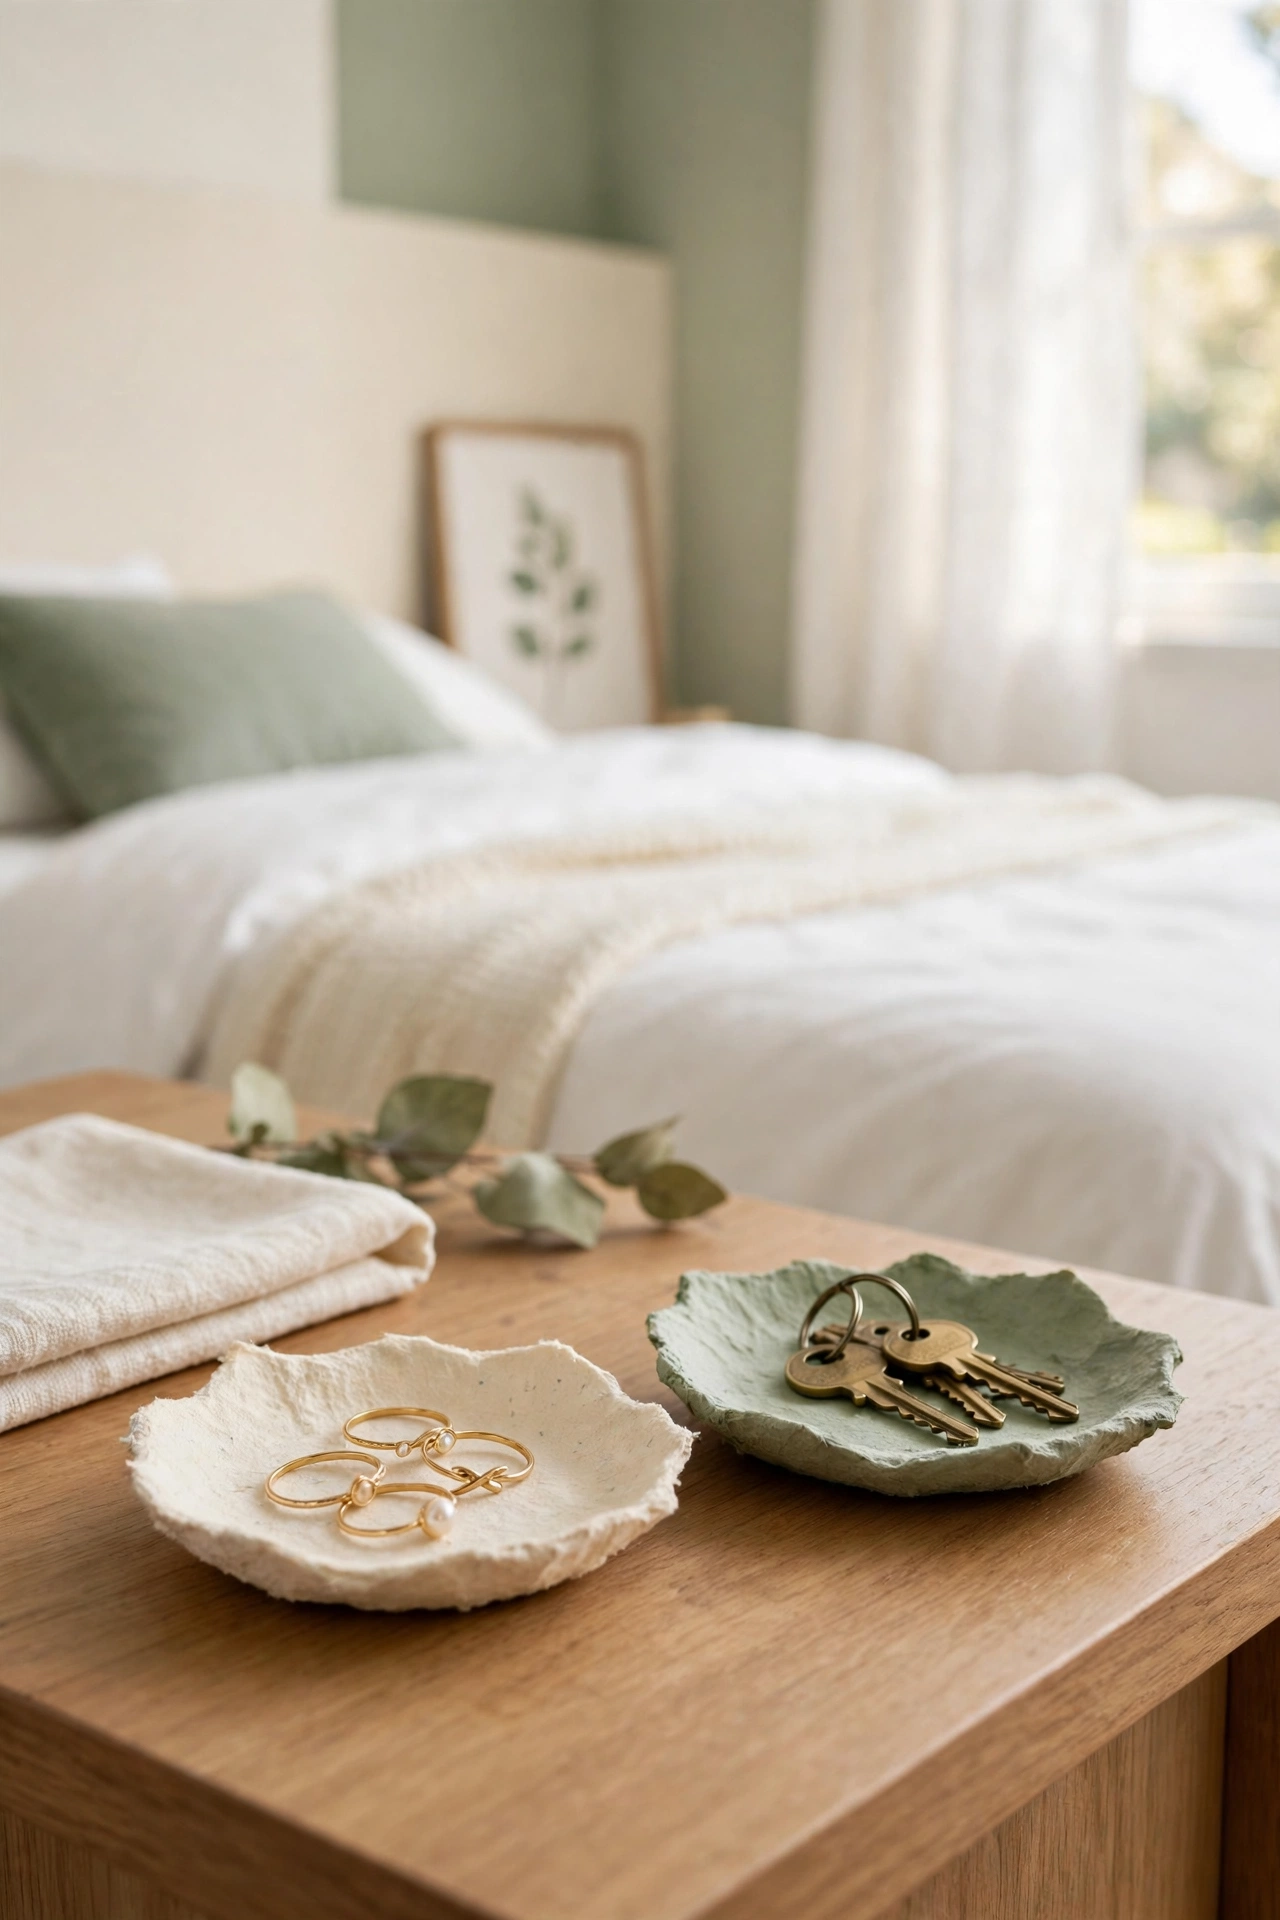
19. Set Out Paper Mache Trinket Dishes for Small Treasures
Paper mache trinket dishes are small, sweet, and useful in every room. You press the pulp into a small bowl or a saucer, then paint the dish in a soft color with a gold or cream rim. The finished dish is perfect for keys, coins, or jewelry.
Place one dish on a bedside table, one by the front door, and one on a desk. Small dishes keep tiny items from getting lost and add a handmade touch to everyday surfaces. A set of three dishes in different sizes makes a thoughtful gift.
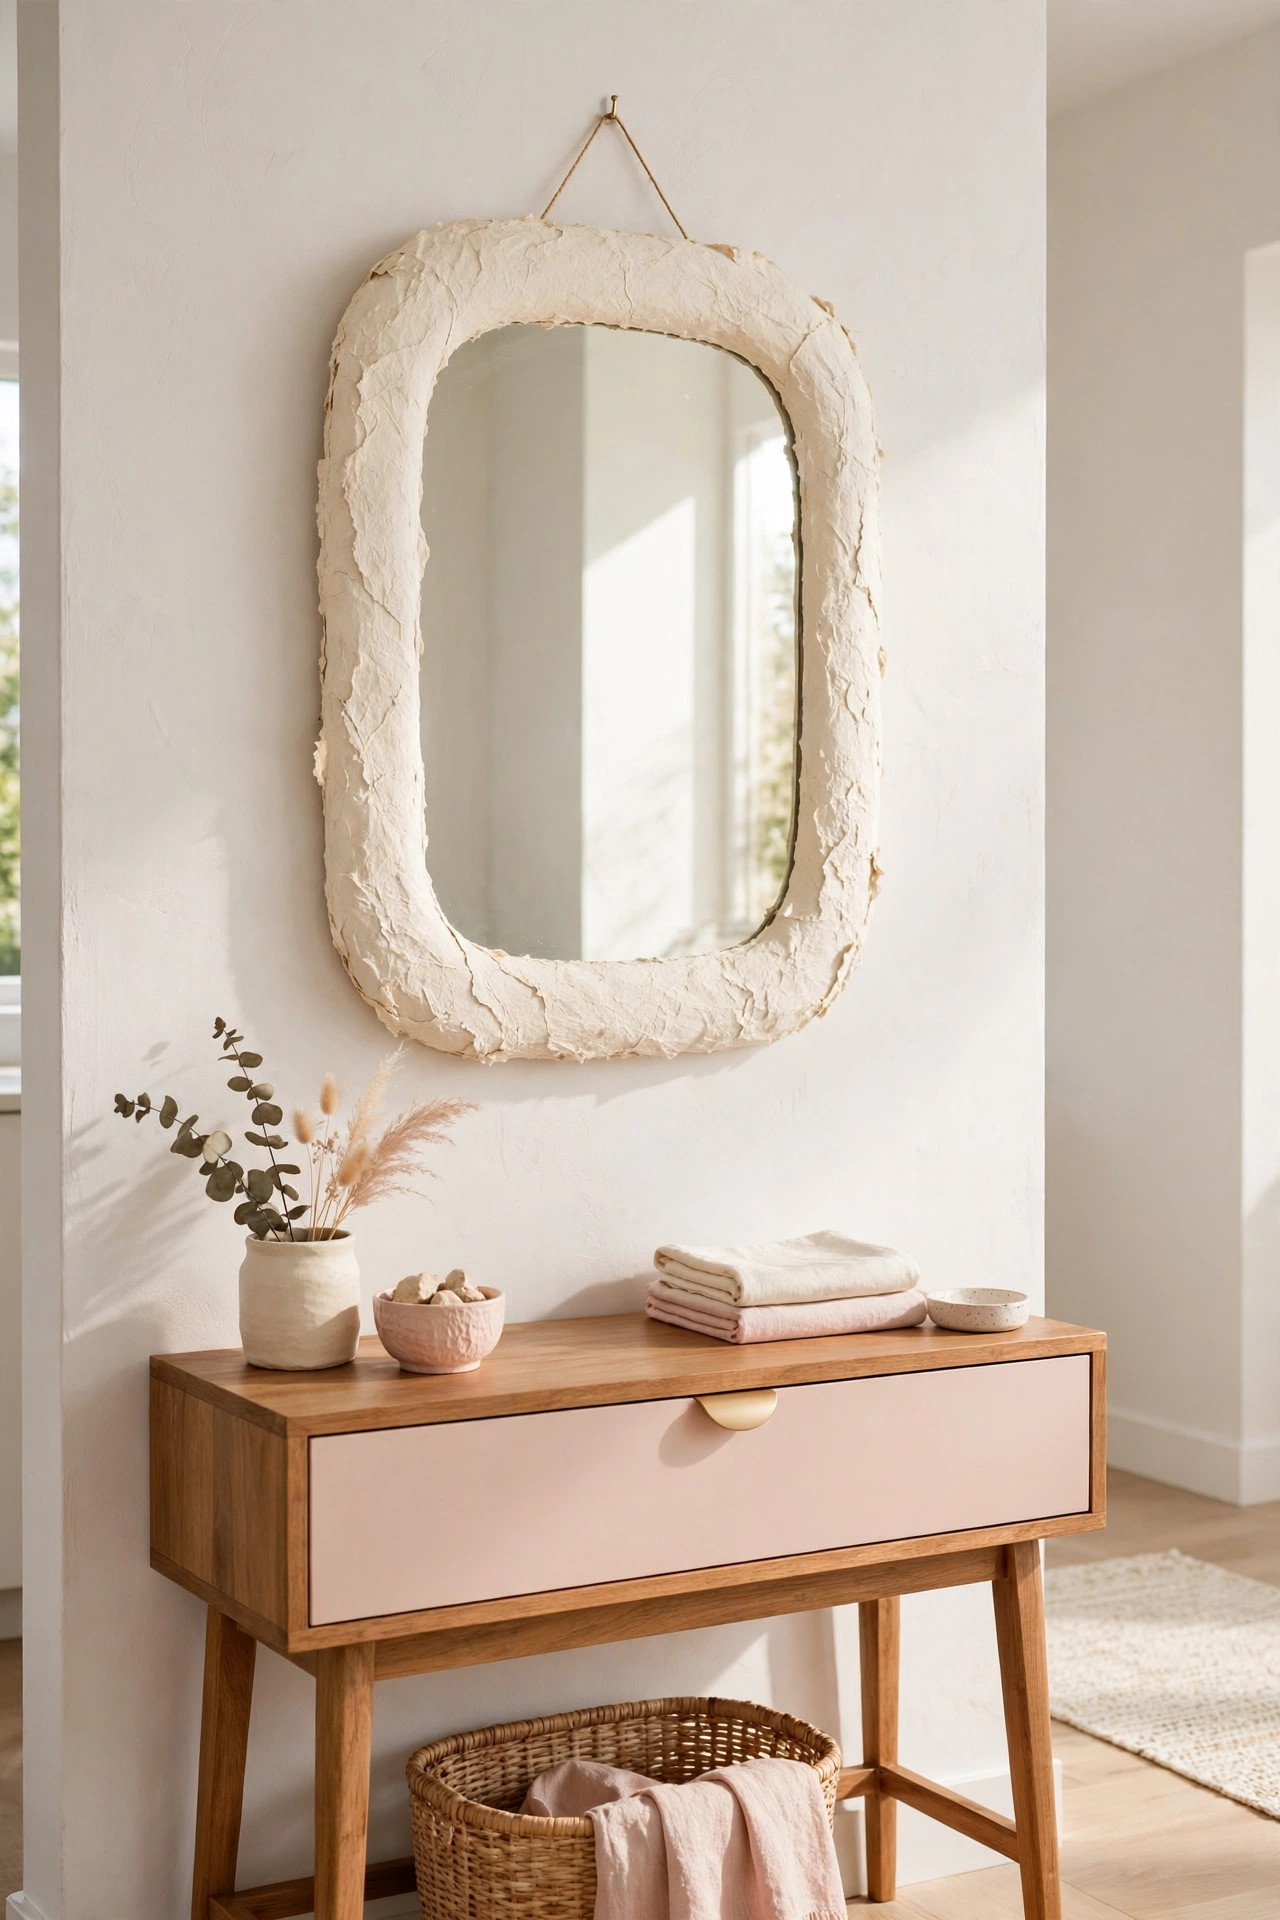
20. Frame Paper Mache Mirrors for a Soft Look
A paper mache mirror frame adds a soft handmade border to a plain mirror. You build the frame around a simple mirror, shaping the edges with strips for a rounded and organic look. The frame is light, so it hangs easily with a single hook.
Paint the frame in cream or soft blush for a gentle look, or add a textured finish for more drama. Hang the mirror in an entryway, a bedroom, or a bathroom where it catches the light. A handmade frame turns a basic mirror into a piece of decor.
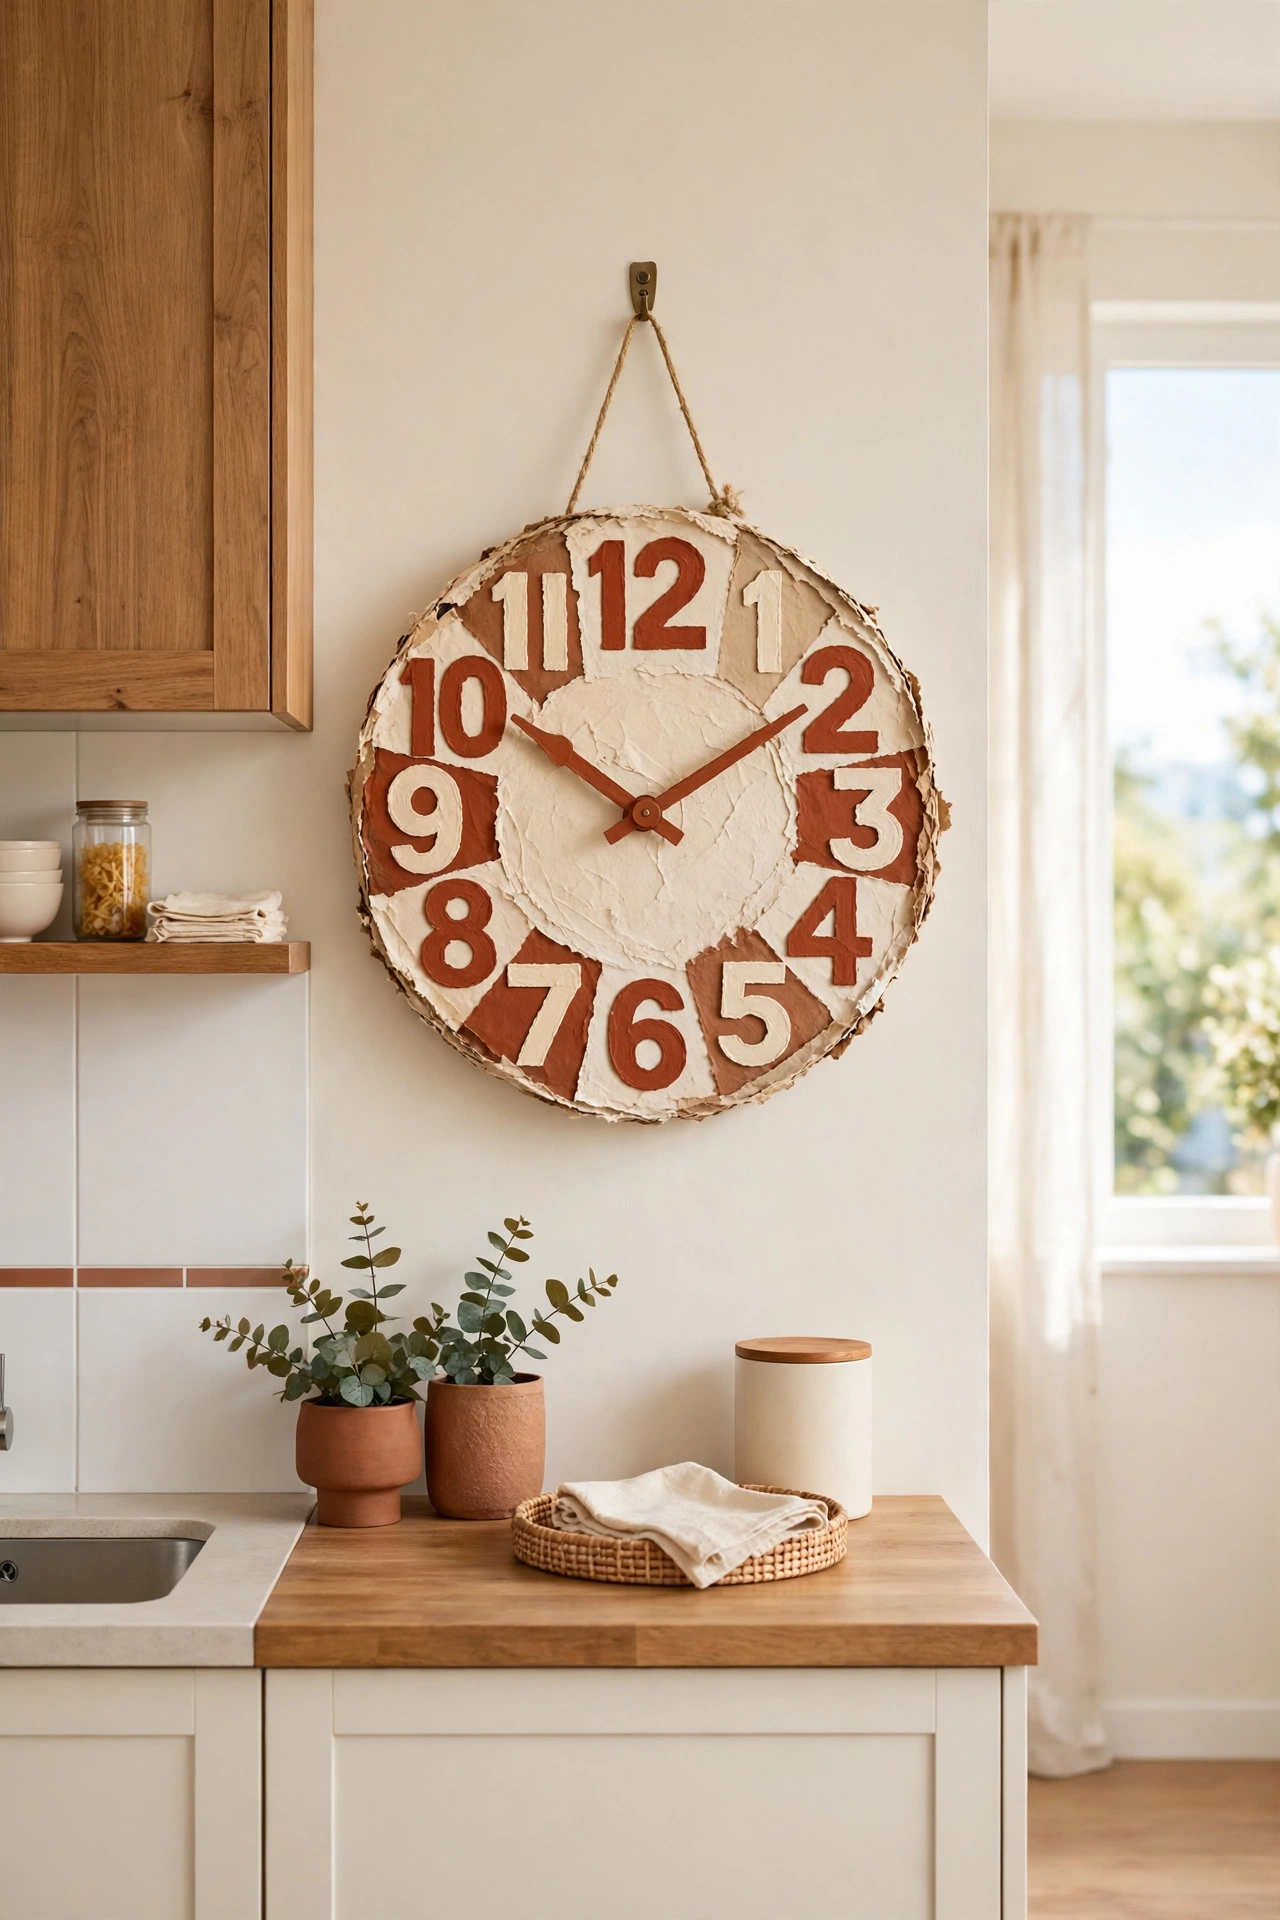
21. Build Paper Mache Clocks for a Handmade Touch
A paper mache clock brings craft and function together on one wall. You shape a round or square face, paint the numbers by hand, and fit a simple clock movement through the center. The light weight makes it easy to hang anywhere.
Keep the design simple with bold numbers and one accent color for a modern look. Hang the clock in a kitchen, a living room, or a home office where you check the time often. A handmade clock is a daily reminder that useful things can also be beautiful.
22. Arrange Paper Mache Centerpieces for the Table
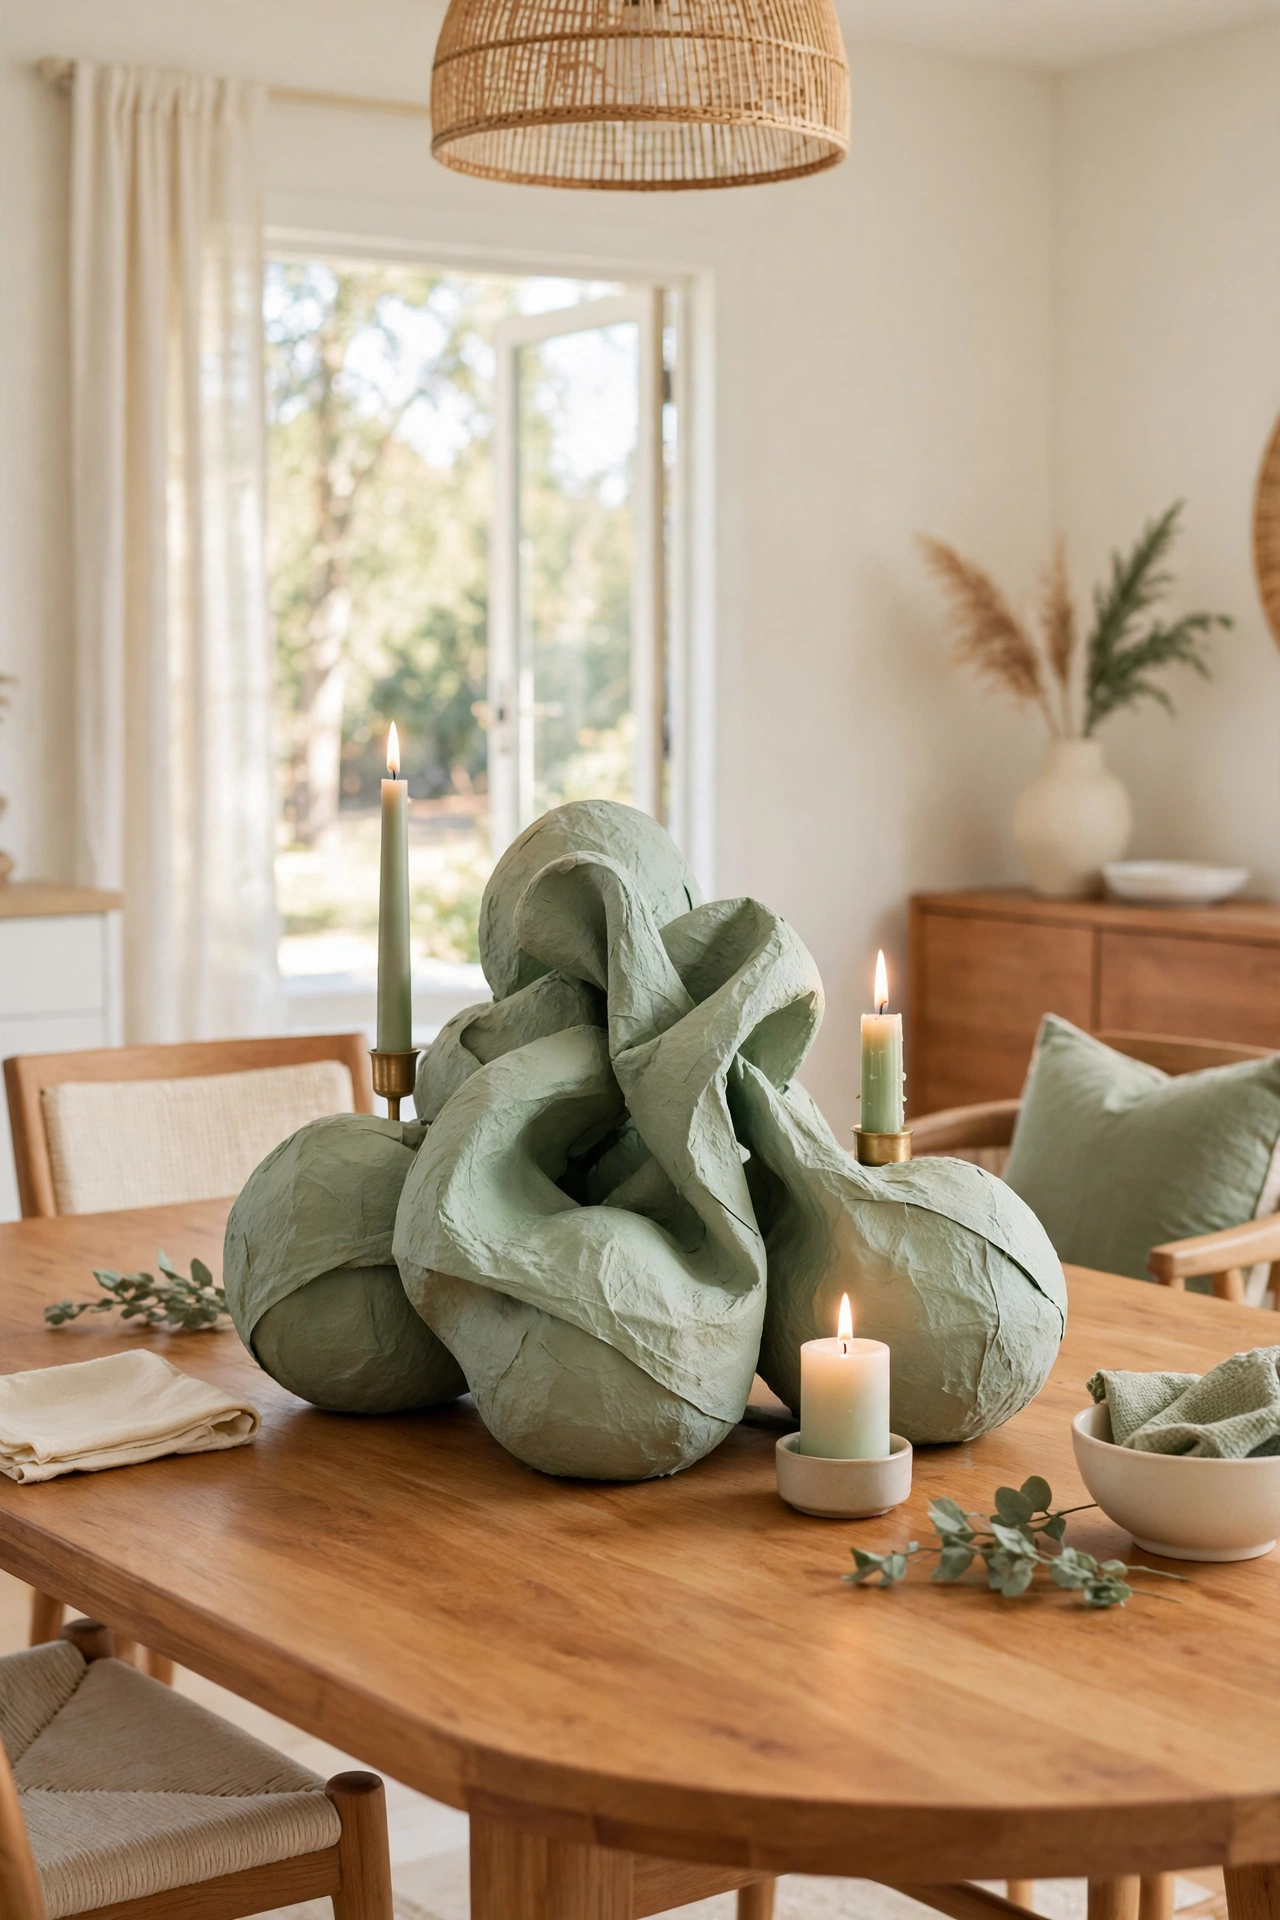
A paper mache centerpiece turns a plain table into a styled scene. You can shape a low bowl, a sculptural form, or a small village of tiny houses, then paint them in colors that suit the season. The light weight makes the centerpiece easy to move for meals.
Use the centerpiece on a dining table with a few candles and fresh greenery, or on a console table in the entryway. Change the colors with the seasons for a fresh look all year. A handmade centerpiece always draws the eye and starts a conversation.
23. Hang Paper Mache Pendant Lights for a Statement
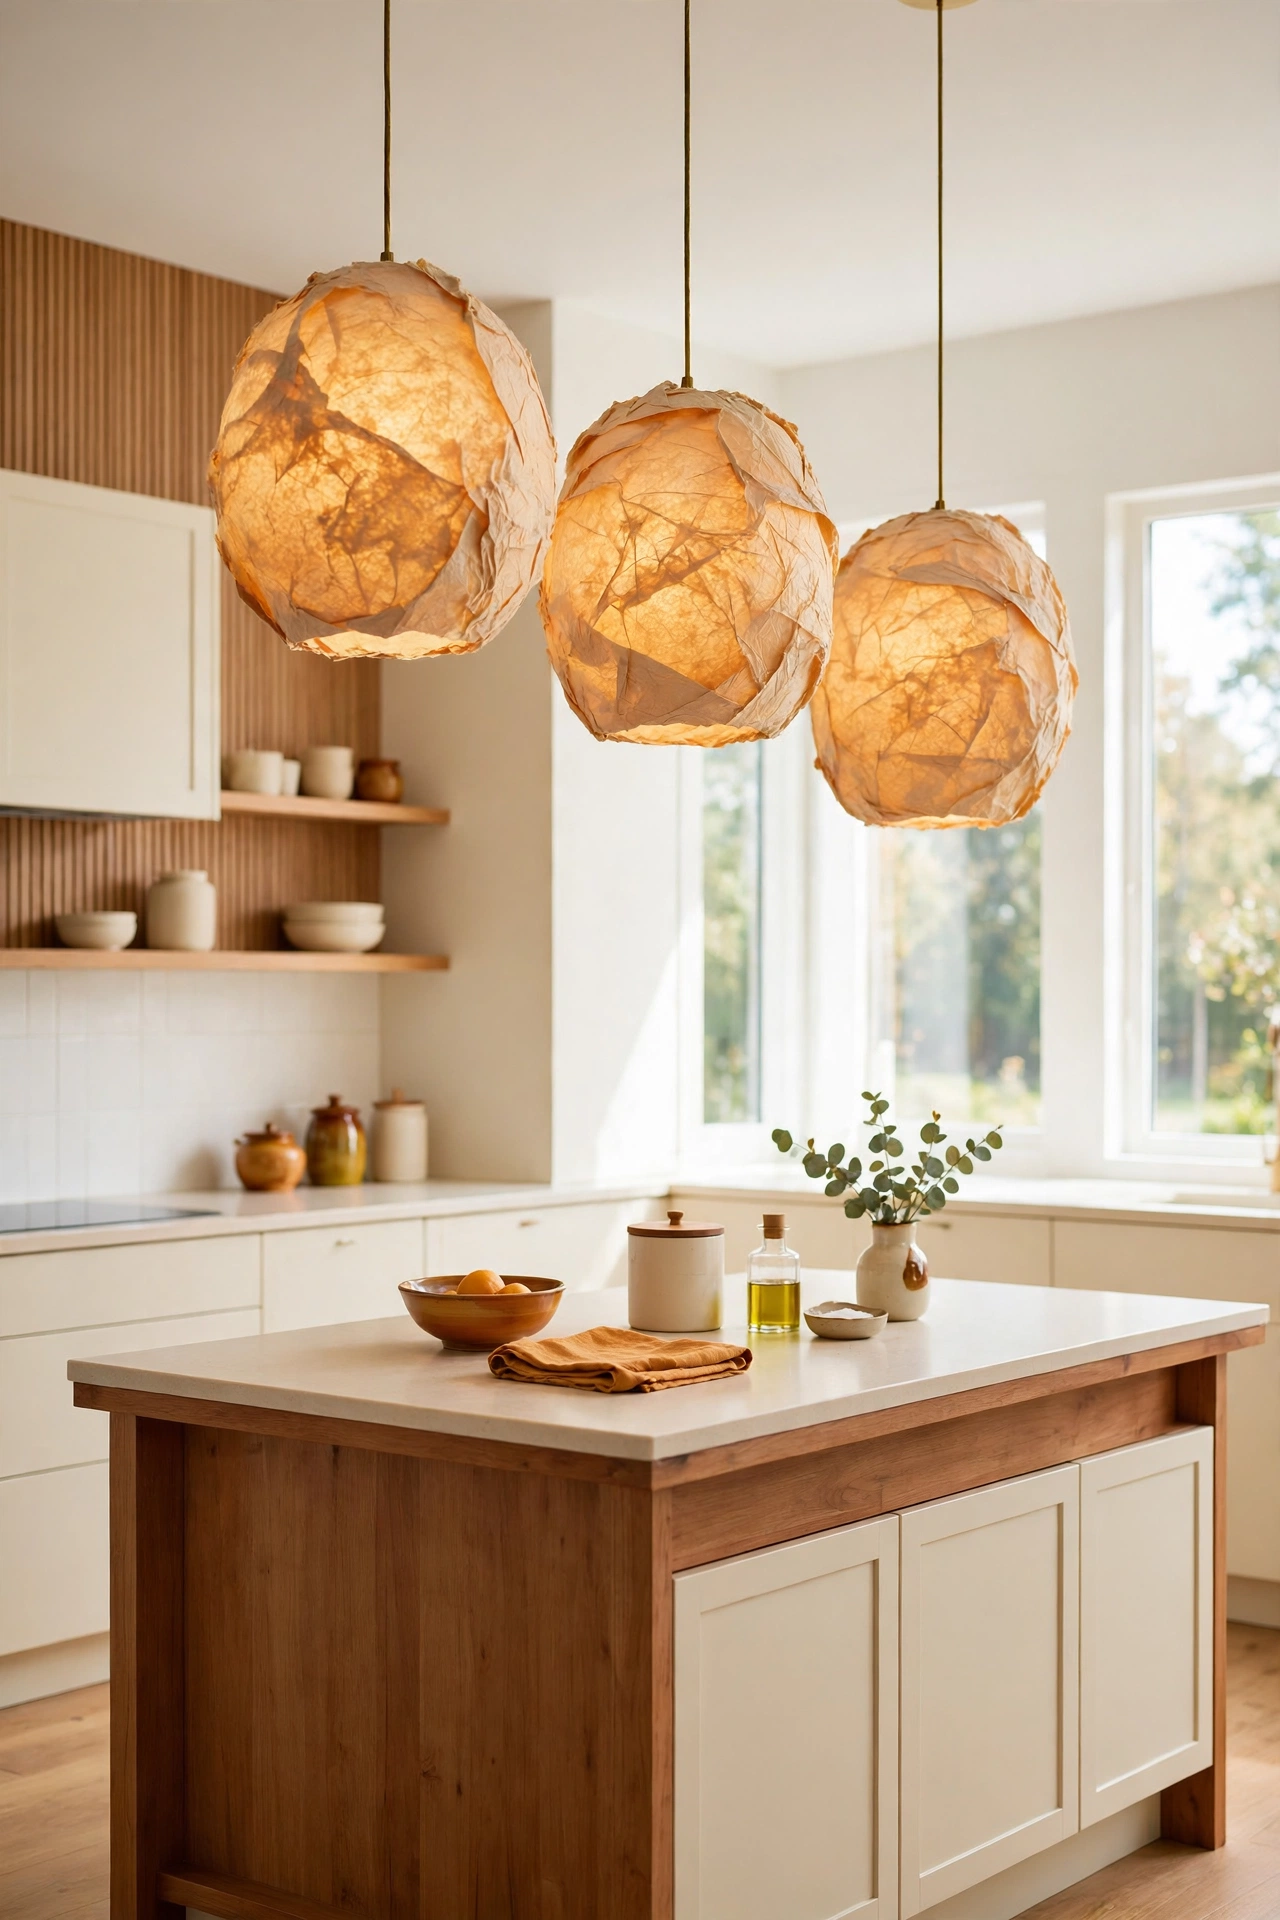
Paper mache pendant lights make a bold statement over a dining table or a kitchen island. You shape the shade over a large balloon or a bowl, then hang it from a simple cord with a low heat LED bulb. The shade casts a warm glow and shows the gentle texture of the paper.
Paint the outside in a calm color and leave the inside pale so the light reflects softly. A single large pendant suits a small table, while two or three in a row suit a long island. For more ways to refresh overhead lighting on a budget, see these budget pendant light makeover ideas.
24. Turn Paper Mache Drawer Knobs into Small Art
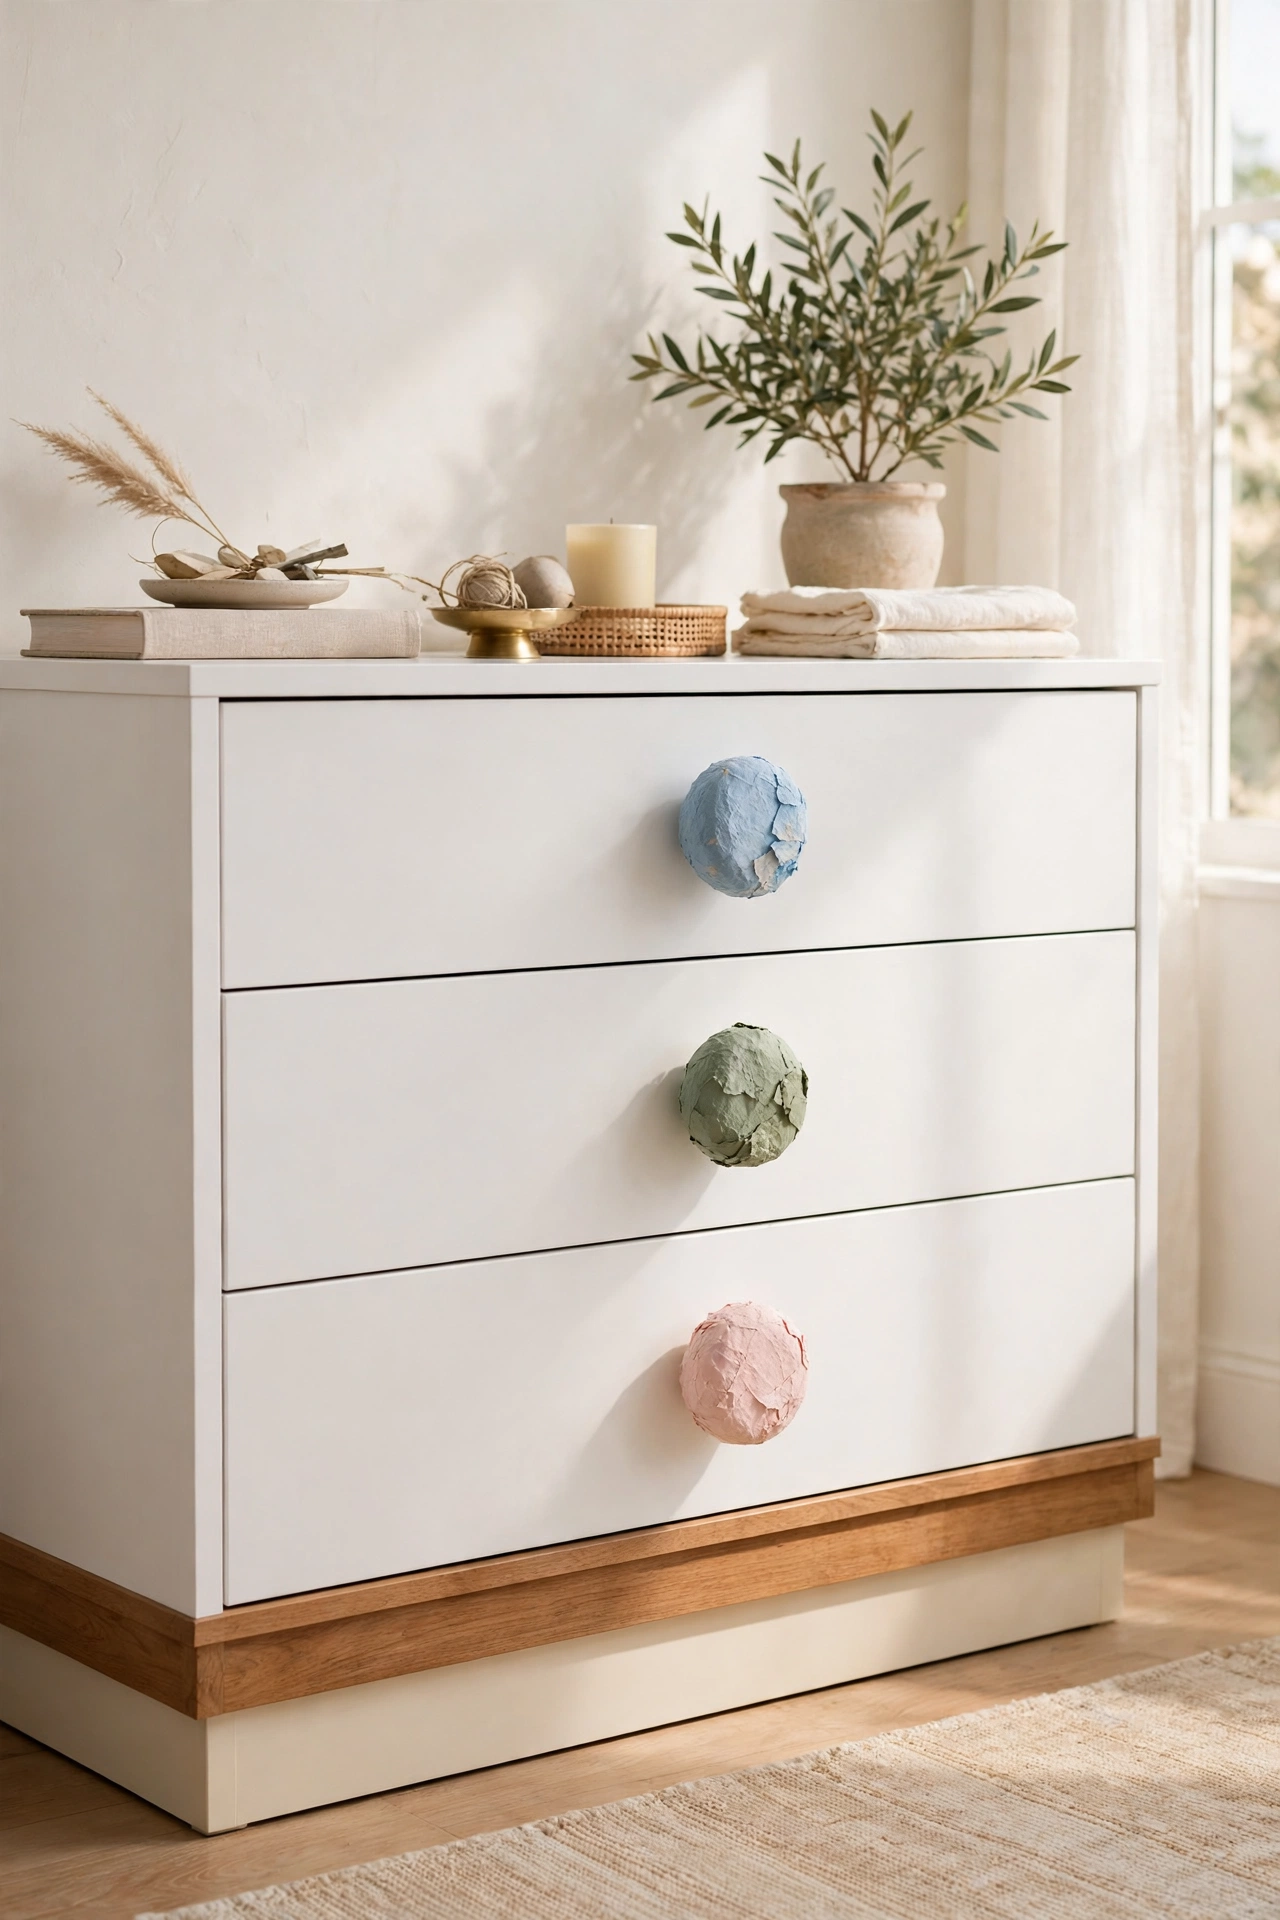
Paper mache drawer knobs are tiny pieces of art that change the whole look of a dresser or a cabinet. You shape small balls, flowers, or geometric forms, paint them in bright colors, and fit them onto a simple screw. The knobs are light and easy to replace.
Try a set of matching knobs in soft blue on a white dresser, or mix colors for a playful look in a children’s room. Small details like knobs make old furniture feel new again. This is a quick project that gives a big result.
25. Serve from Paper Mache Serving Bowls
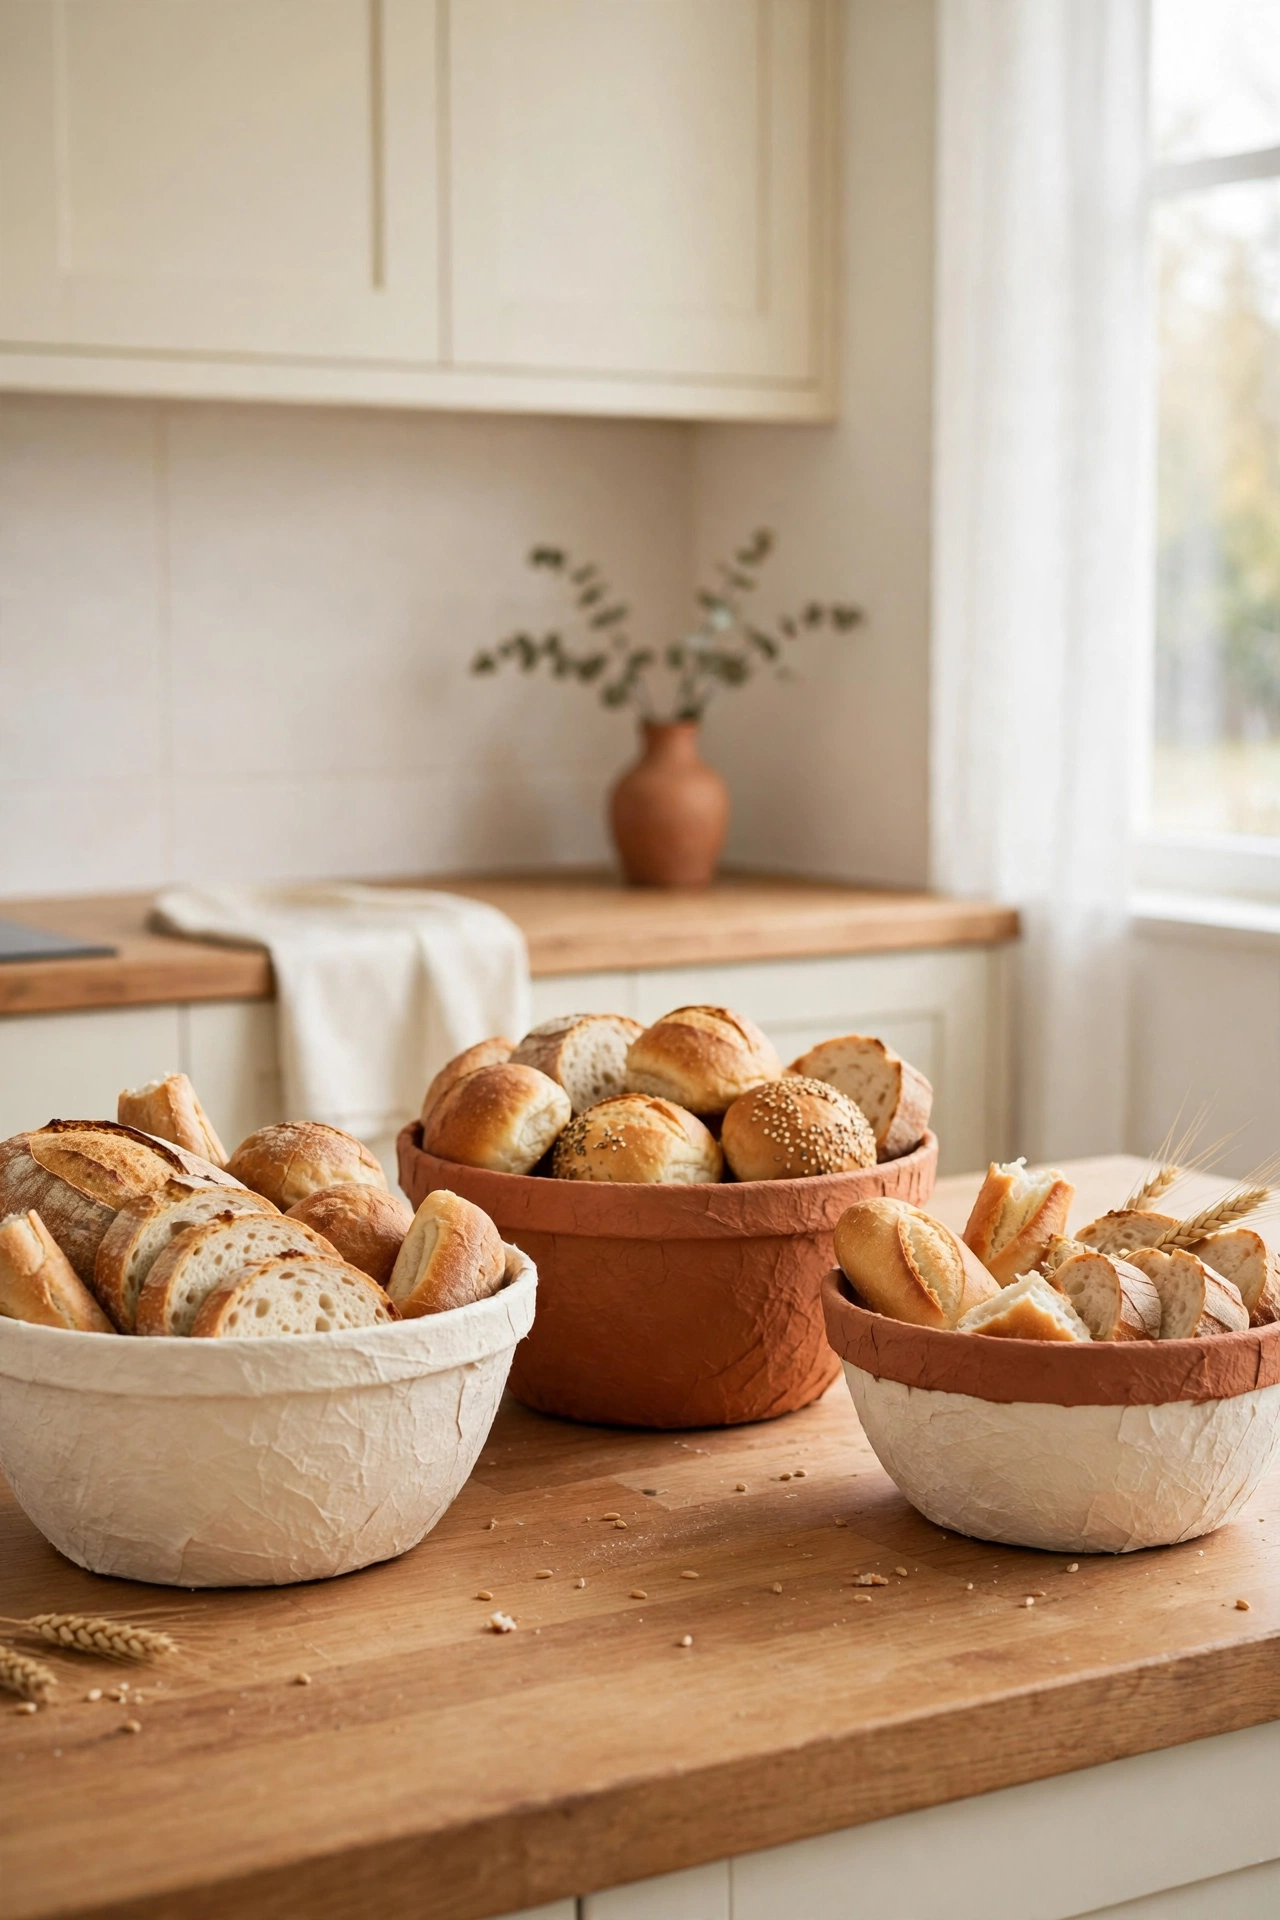
Paper mache serving bowls are light and beautiful for dry foods like bread, chips, or wrapped snacks. You shape a wide shallow bowl, seal it well, and paint the inside in a cheerful color. The bowl is easy to carry from kitchen to table.
Use the bowl for gatherings, picnics, or everyday snacks on the coffee table. A set of two bowls in different sizes covers most needs. For more ideas on styling a table with handmade pieces, see these DIY decorative bowl ideas.
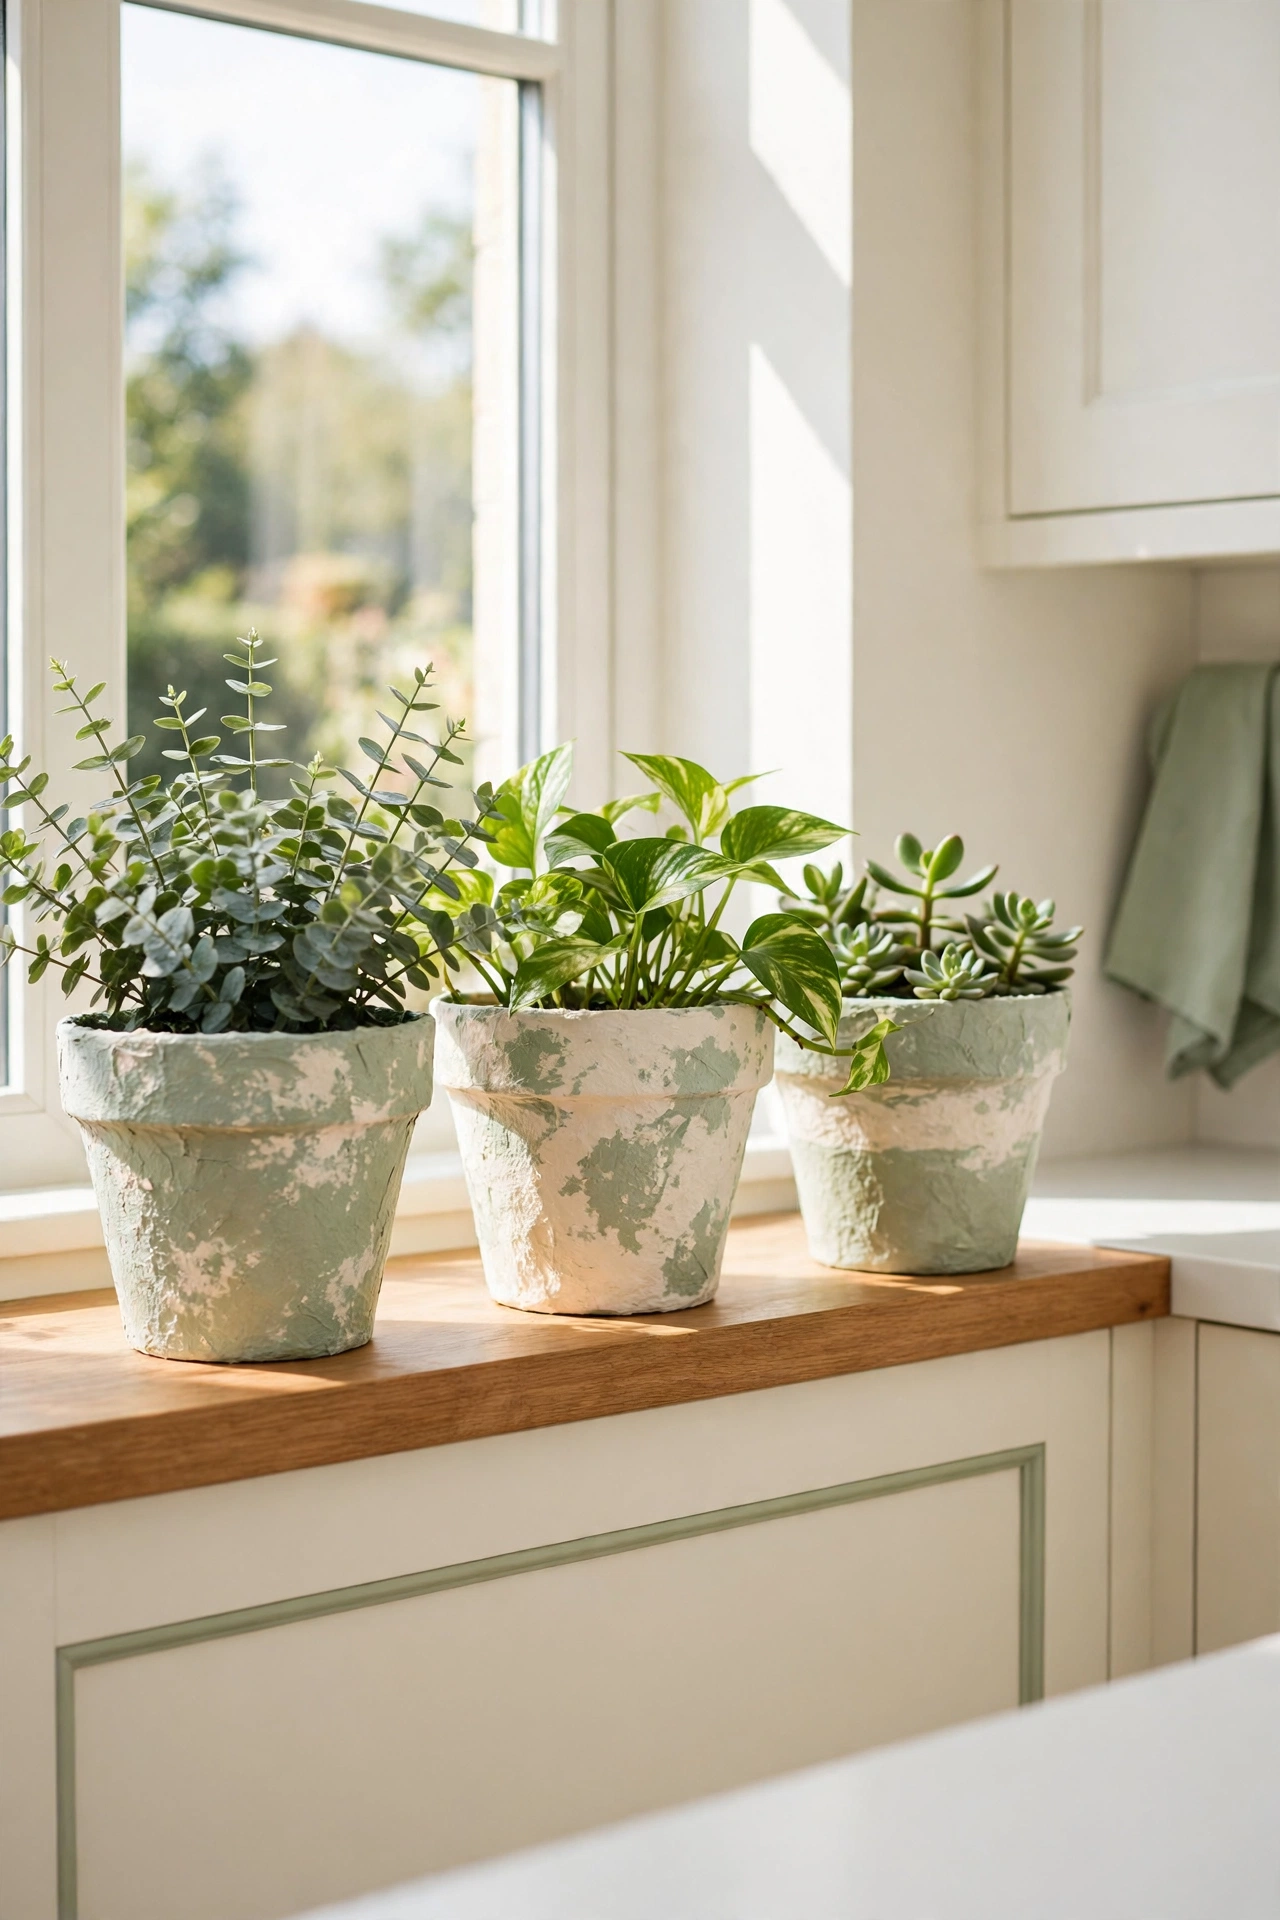
26. Pot Plants in Paper Mache Flower Pots
Paper mache flower pots are light, colorful, and kind to your shelves. You form the pot over a plastic container, seal the inside, and set a small liner inside to protect the paper. The outside can be painted in any color you like.
Choose small herbs for the kitchen, succulents for a desk, or trailing plants for a shelf. A row of matching pots on a windowsill looks tidy and cheerful. The soft matte finish of paper mache suits plants better than shiny plastic and costs far less than ceramic.
27. Mount Paper Mache Wall Sconces for Soft Light
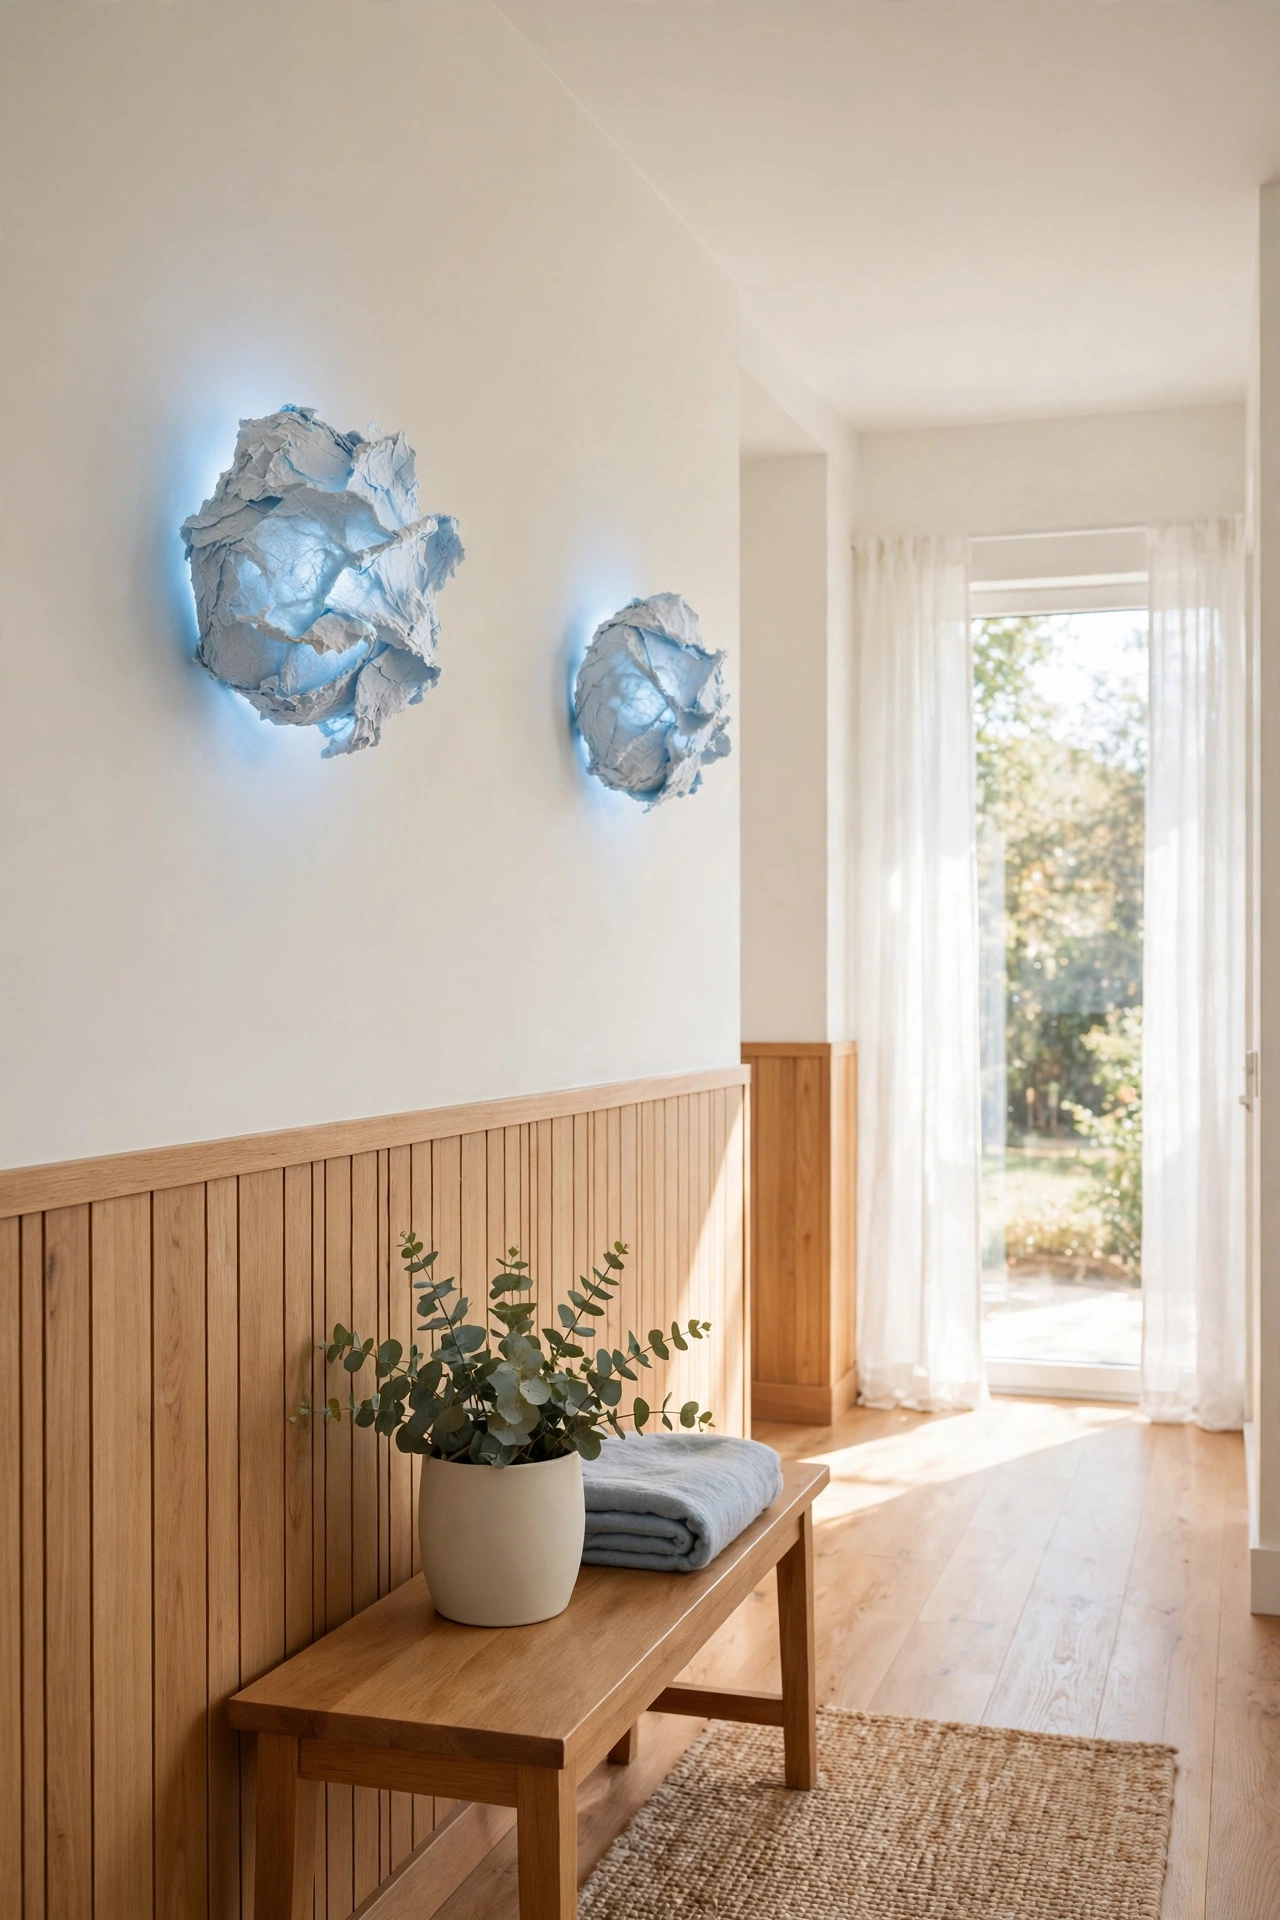
Paper mache wall sconces add a soft glow to hallways, bedrooms, and living rooms. You shape a small curved shade, mount it on a simple bracket, and use a low heat LED bulb inside. The shade casts gentle light upward and downward.
Paint the sconce in a color that matches the wall or in a bold accent shade for contrast. A pair of matching sconces on either side of a bed or a mirror looks calm and balanced. These sconces are light and easy to install with simple hardware.
28. Hide Tissues in Paper Mache Tissue Holders
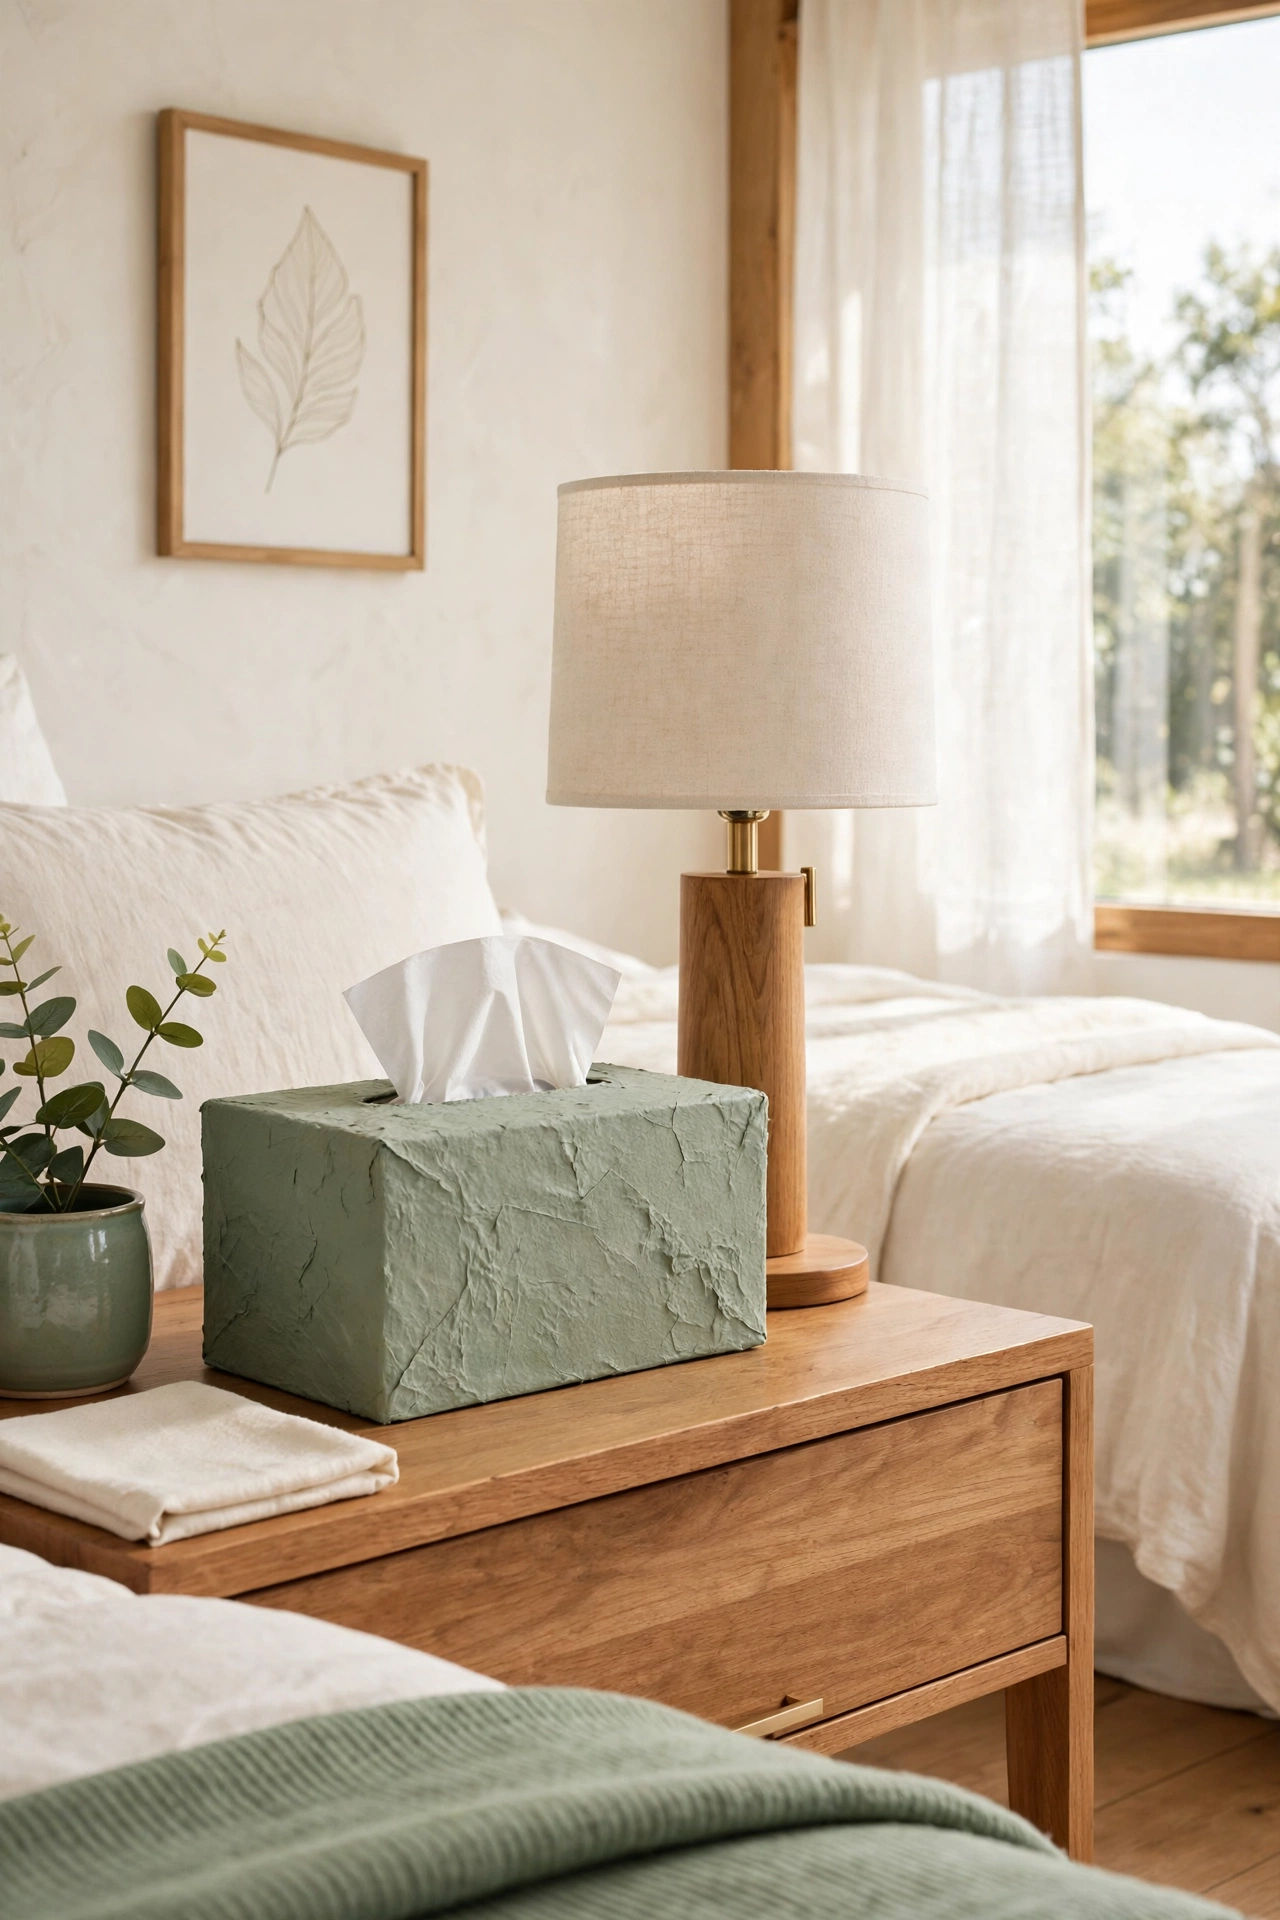
A paper mache tissue holder turns a plain box of tissues into a piece of decor. You build a cover over a tissue box, leaving a slot on top for the tissues to pull through. The holder is light and easy to lift when the box needs replacing.
Paint the holder in a color that suits the room, like soft sage for a bedroom or warm cream for a living room. Place it on a bedside table, a desk, or a bathroom shelf. This small project hides an everyday item in a beautiful way.
29. Display Photos in Paper Mache Photo Holders
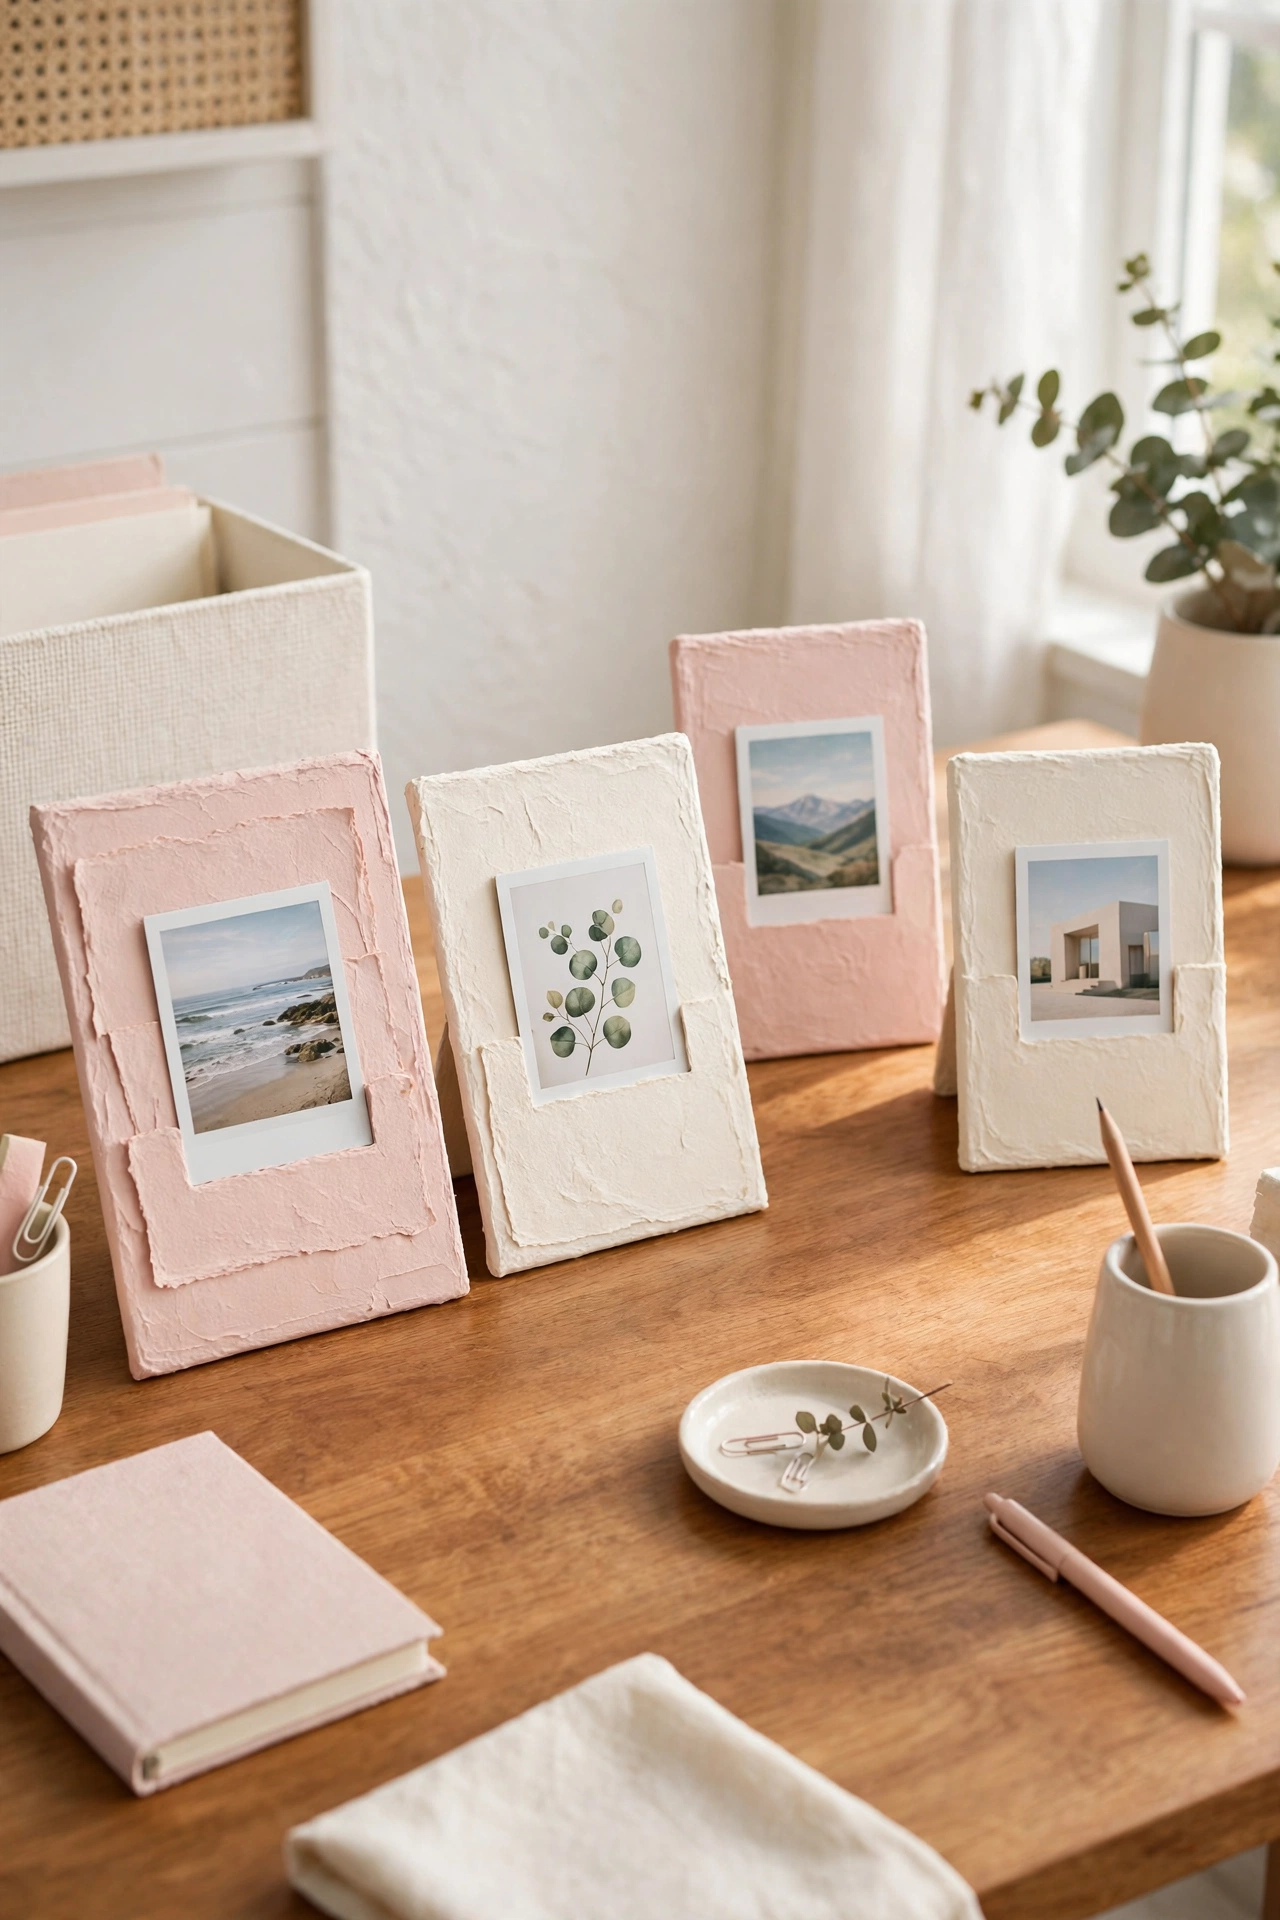
Paper mache photo holders are small stands that display a favorite picture on a desk or a shelf. You shape a small base with a slot or a clip, then paint it in a color that suits the photo. The holder is light and easy to move.
Use a photo holder on a desk, a bedside table, or a mantel to keep a loved one close. A set of three holders with different photos makes a sweet display on a shelf. These holders are also a lovely handmade gift for family and friends.
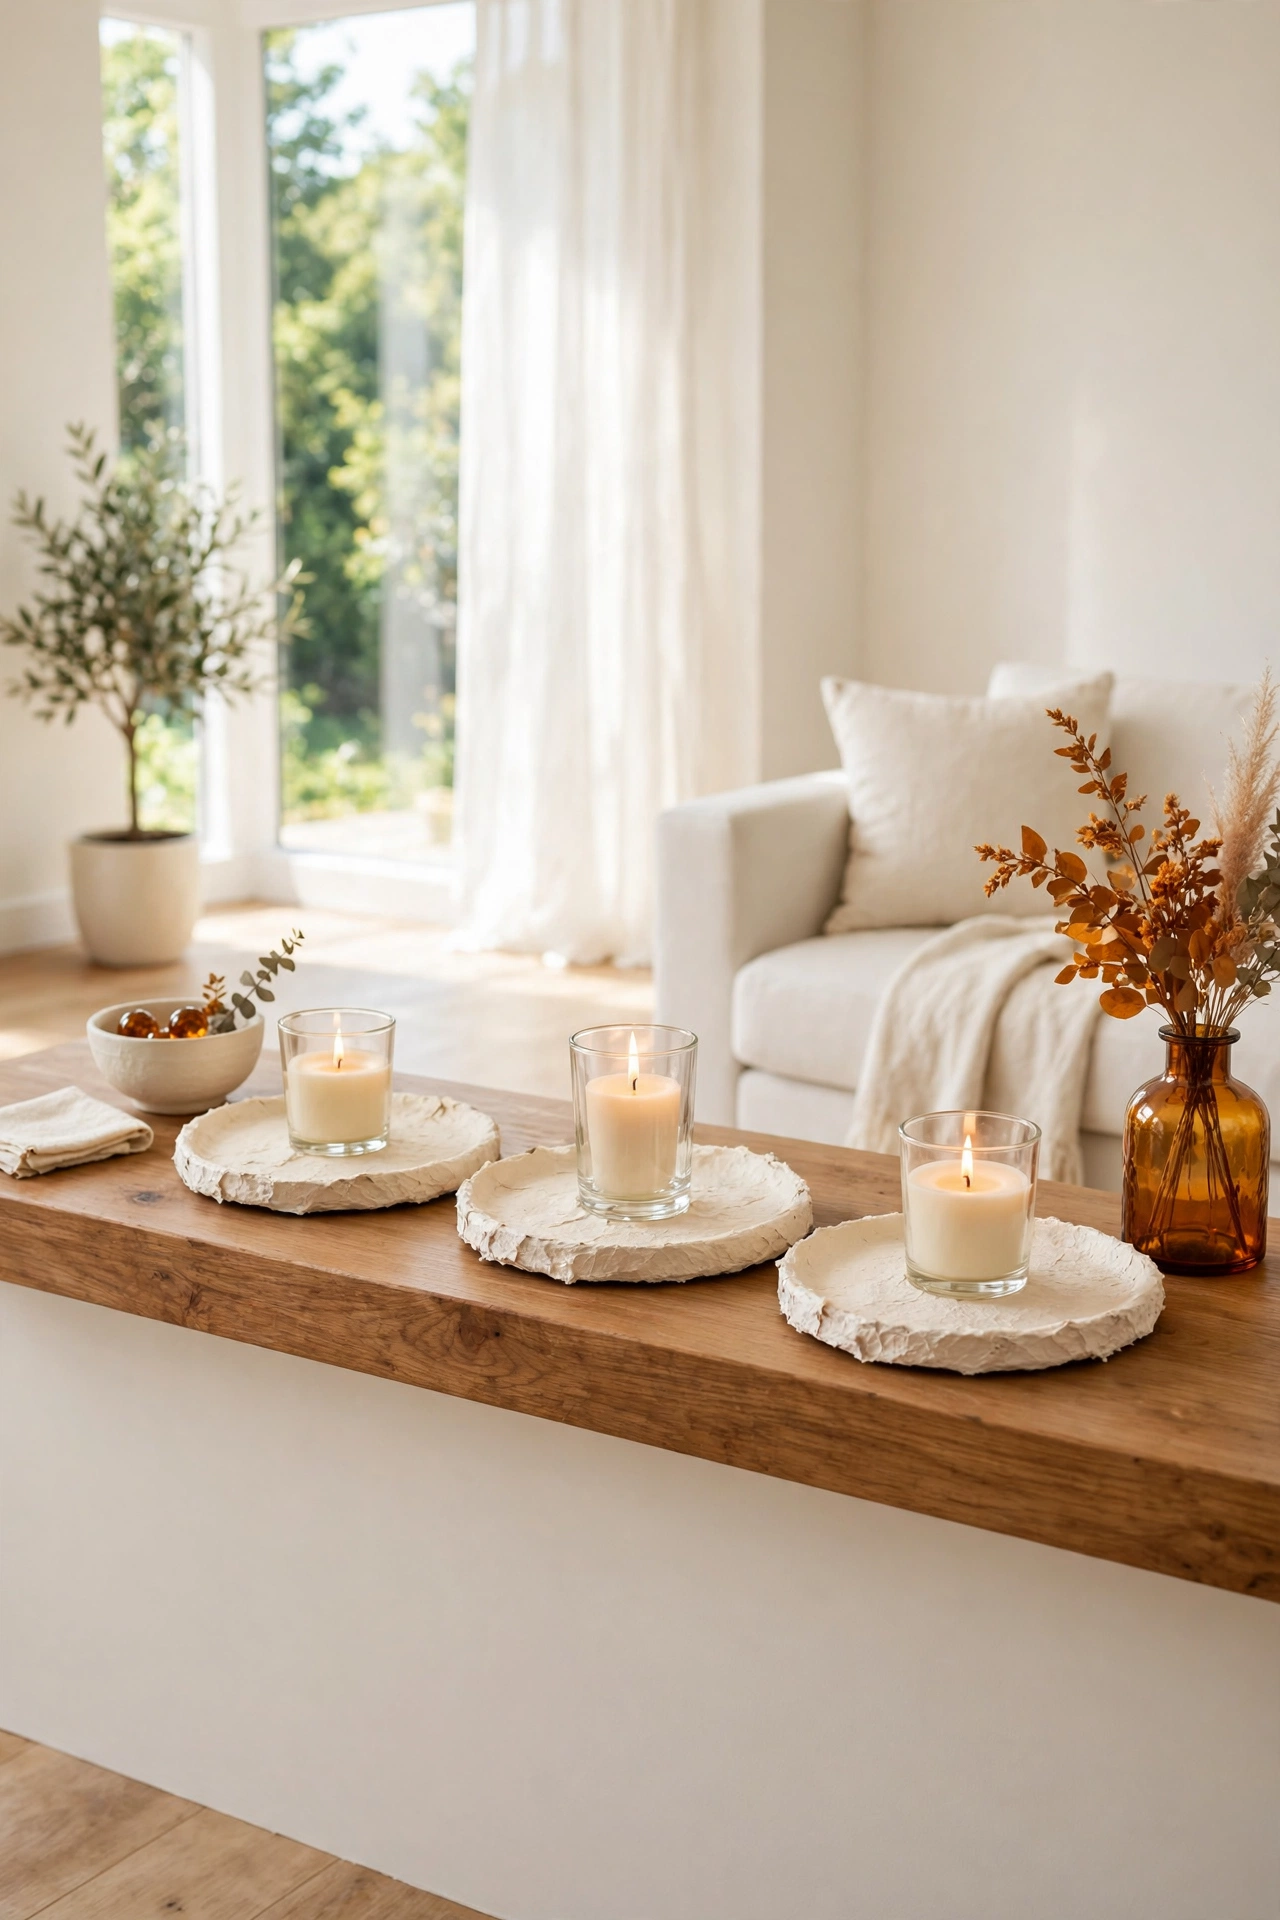
30. Rest Candles on Paper Mache Candle Plates
Paper mache candle plates are flat round dishes that catch drips and frame a candle beautifully. You press the pulp into a shallow plate mold, then paint the plate in a calm color with a decorative rim. Always place a glass or metal holder between the candle and the paper.
Use a candle plate on a dining table, a mantel, or a bedside table to protect the surface and add style. A set of plates in different sizes suits candles of every height. These plates are quick to make and useful in every room.
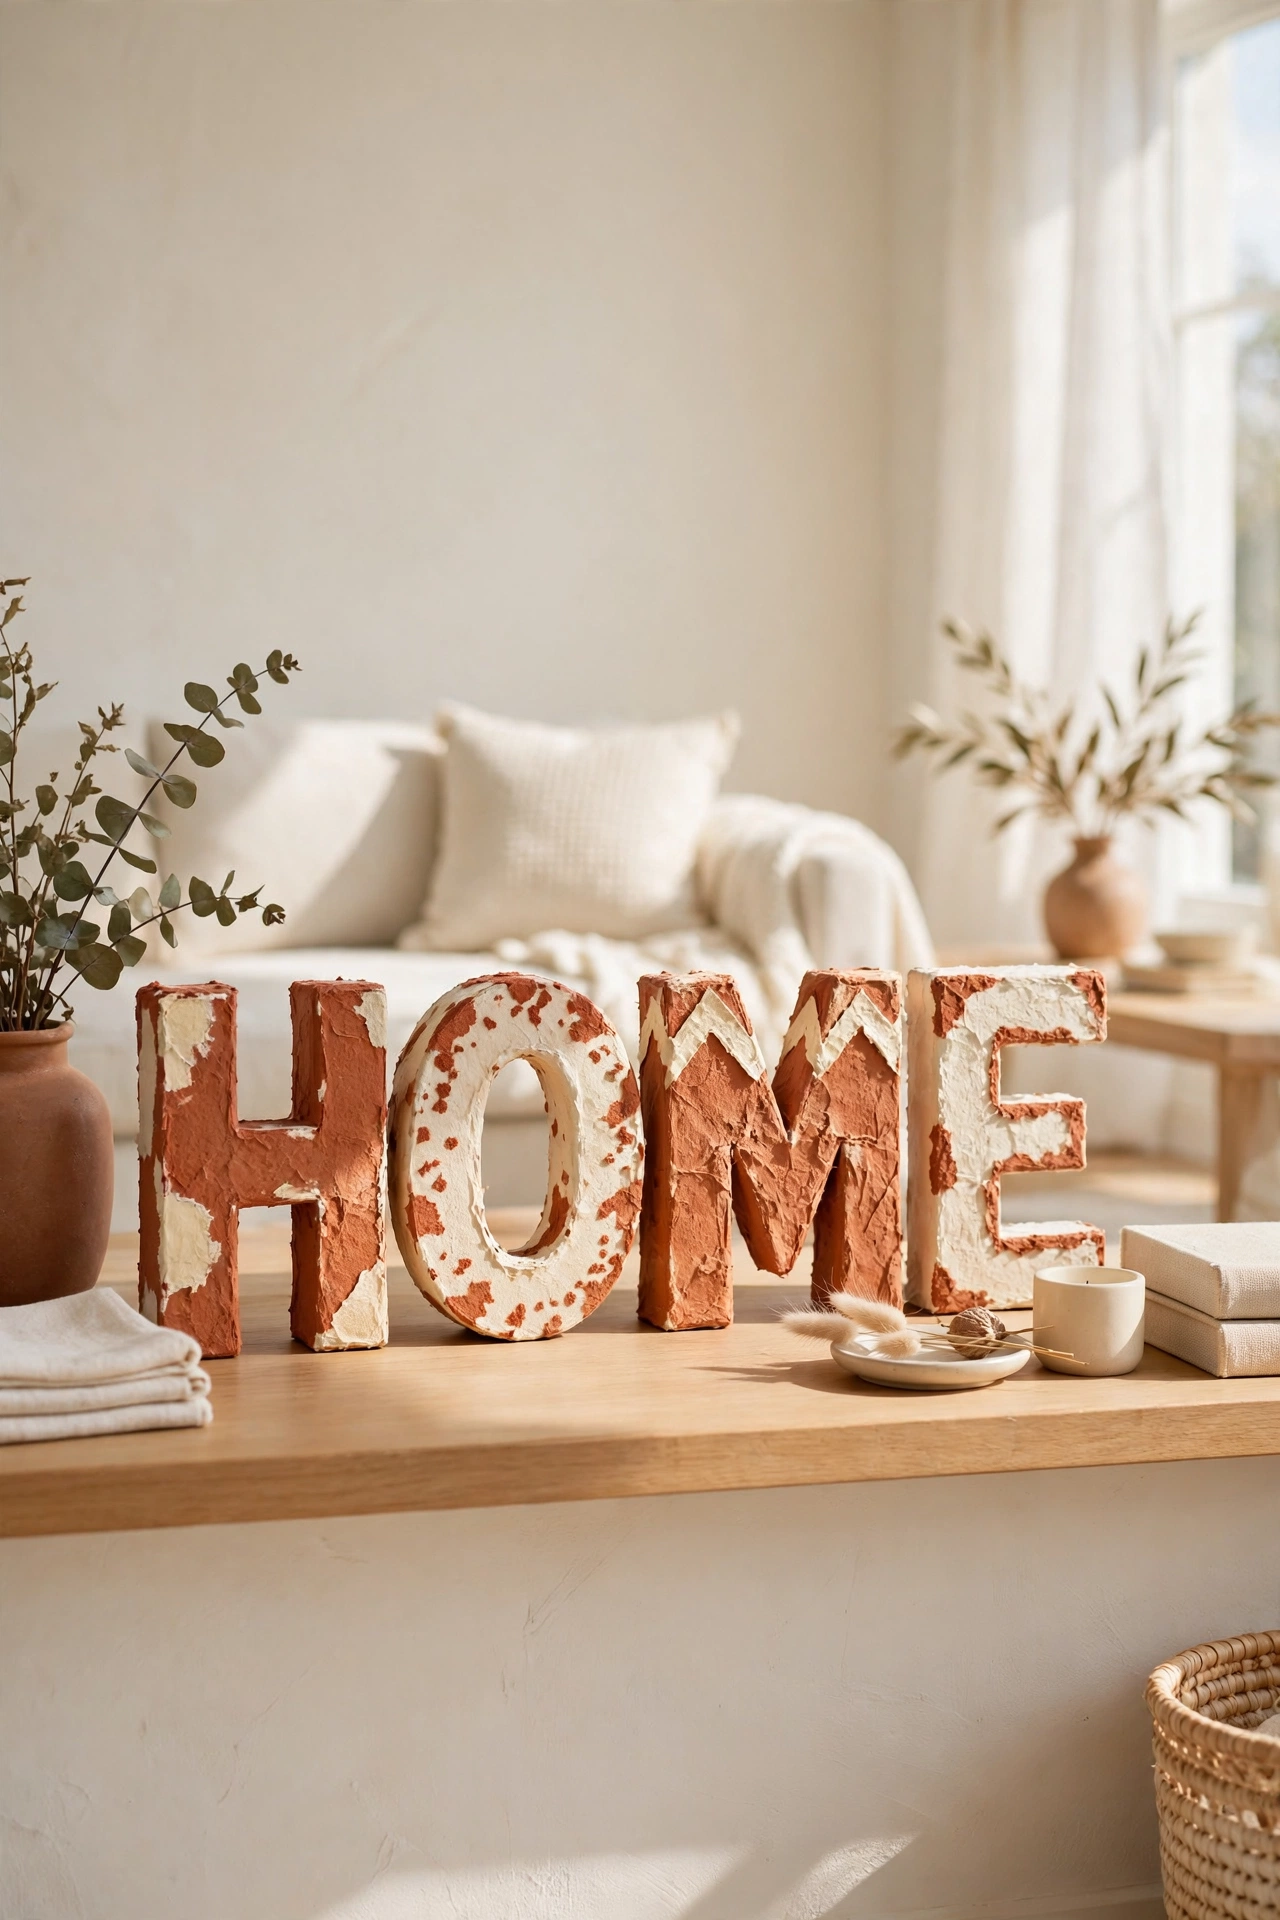
31. Spell It Out with Paper Mache Decorative Letters
Paper mache letters let you spell a word or a name in a bold handmade style. You build each letter over a cardboard form, then paint it in a color that suits the room. The letters are light and easy to hang or stand on a shelf.
Spell a word like HOME for an entryway, LOVE for a bedroom, or a family name for a living room wall. A single large letter also works as a monogram on a desk or a shelf. Letters add a personal touch that no store bought sign can match.
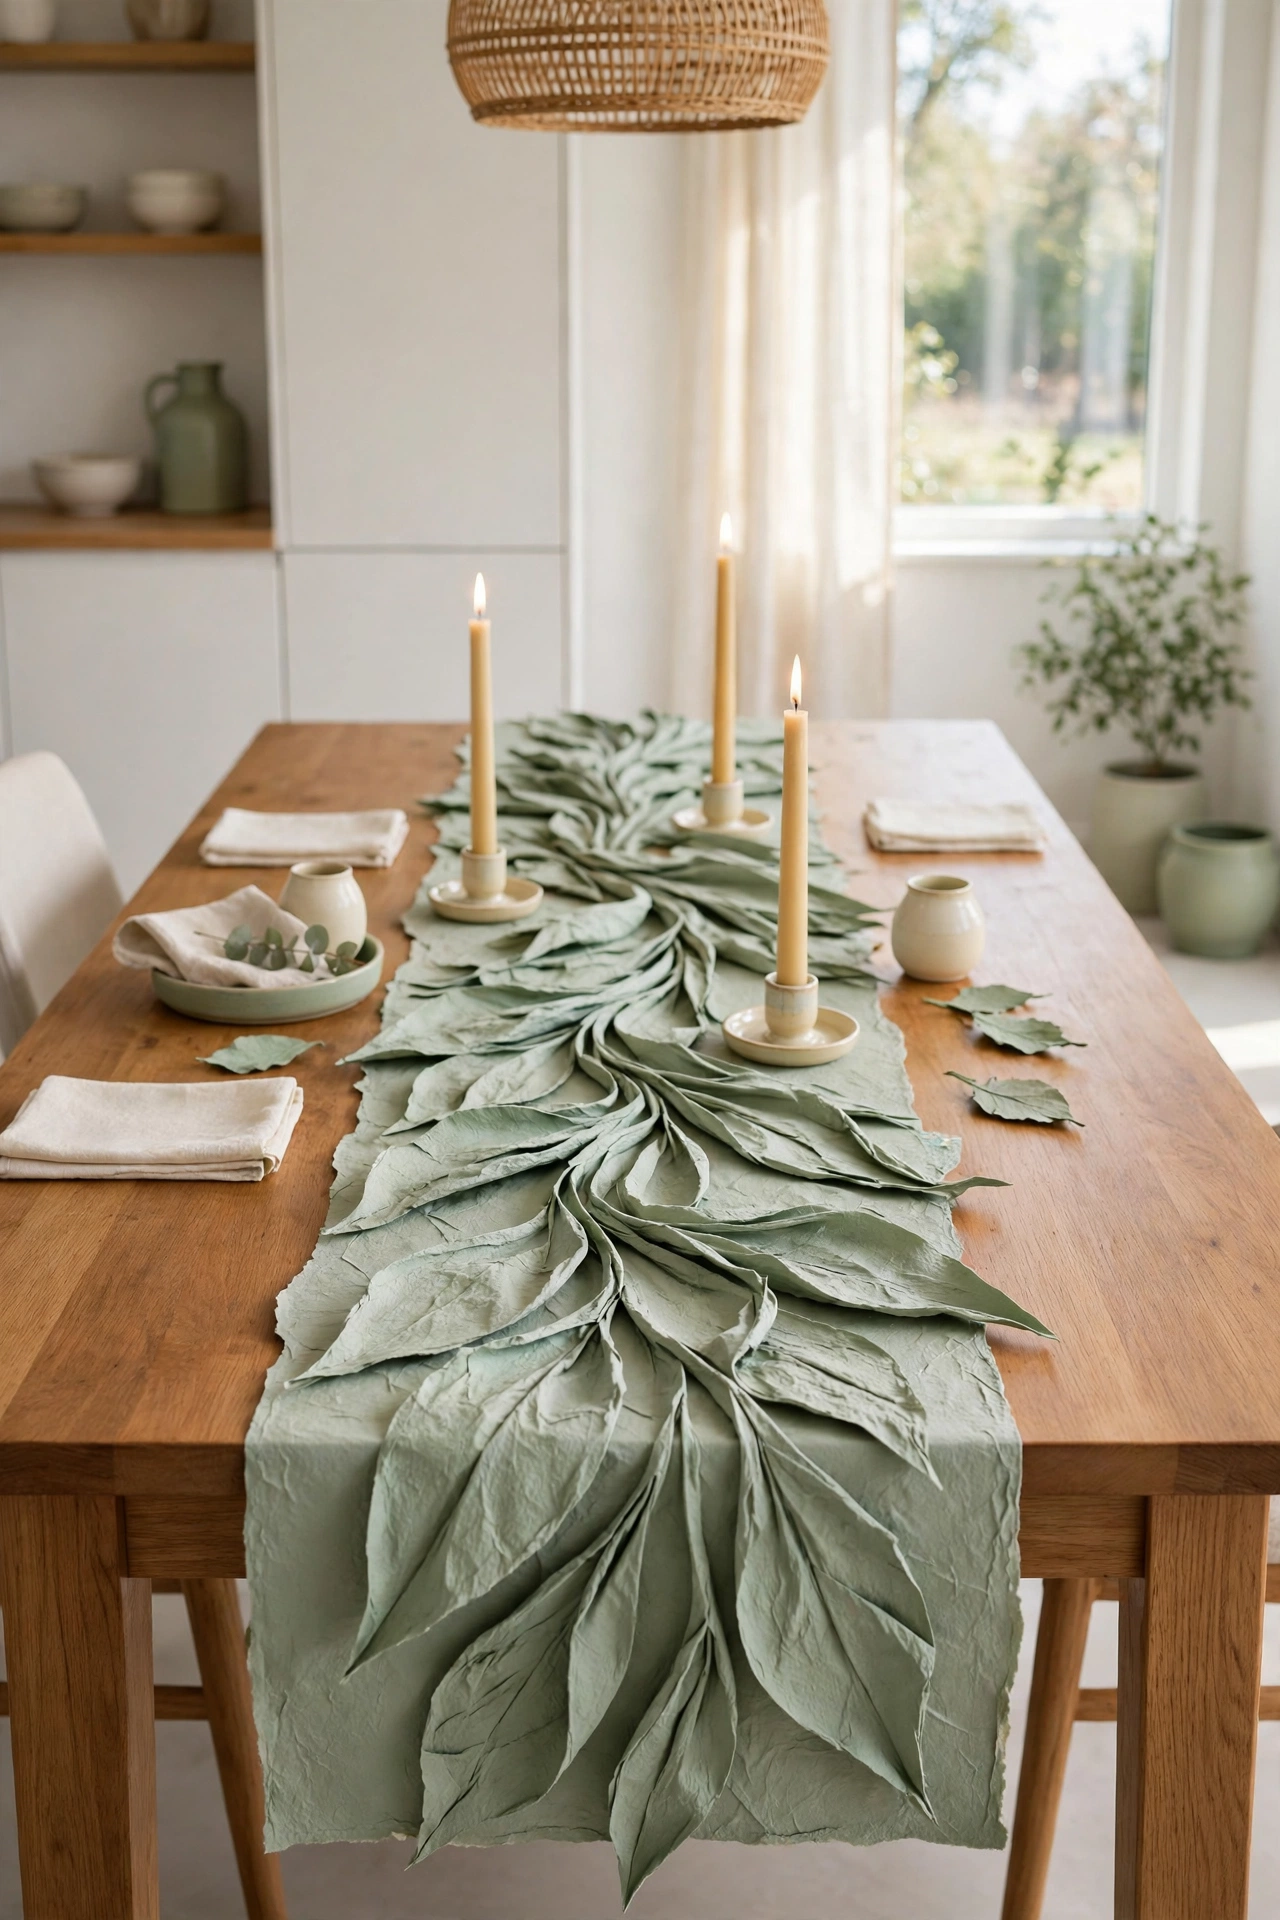
32. Sculpt Paper Mache Table Runners as Center Art
A sculpted paper mache table runner is a long low piece that runs down the center of a table like a work of art. You shape a series of connected forms, like leaves, waves, or soft hills, then paint them in one calm color. The runner stays in place and never needs washing.
Use the runner on a dining table with a few candles, or on a console table as a permanent display. The sculpted shape catches light and shadow along its length. This is a bold final project that shows just how far simple paper can go.
Conclusion
Paper mache decor proves that beautiful things do not have to be expensive or complicated. From a simple bowl on a coffee table to a sculpted runner down the center of a dining table, there is an idea here for every room and every skill level. The best part is that every piece carries your own hand in it.
Pick one or two ideas that fit your home and start this weekend. Gather old newspapers, mix a little paste, and let your hands shape something new. For a calm home beyond the decor, these nightly reset routine ideas will help you keep every room organized with just a few minutes each evening.
Frequently Asked Questions About DIY Paper Mache Decor Ideas for Creative Homes
What is paper mache made from?
Paper mache is made from strips or pulp of paper mixed with a paste of flour and water, or with a simple craft glue. You layer the strips over a mold, let them dry hard, then paint and seal the finished piece. The materials are cheap, safe, and easy to find in any home.
How long does paper mache take to dry?
Thin layers dry in about one day in a warm room with good airflow. Thick pieces or large projects can take two or three days to dry fully. Always let each layer dry before you add the next one, or the piece can stay soft inside.
Can paper mache decor be used outdoors?
Paper mache is best kept indoors, since rain and damp will soften it. If you want to use a piece on a covered porch, seal it well with several coats of outdoor varnish. Even then, bring it inside during wet weather to keep it in good shape.
How do I seal paper mache so it lasts?
Paint the finished piece with acrylic paint, then add two or three coats of clear varnish or Mod Podge. Sealing protects the surface from moisture and dust and gives it a smooth finish. For pieces that hold food, use a food safe sealant and a liner.
Is paper mache safe for children to make?
Yes, paper mache is one of the safest crafts for children. The paste is made from flour and water, and the paper is soft and easy to handle. Supervise young children with scissors, and use washable paints so cleanup stays simple.

Hi, I’m Emily! I turn messy corners into cozy, organized spots. DreamNestDecor is where I share simple, practical home ideas — decor, organization, and small-space solutions that work in real life, not just in photos. Every idea here is carefully researched before it’s shared.