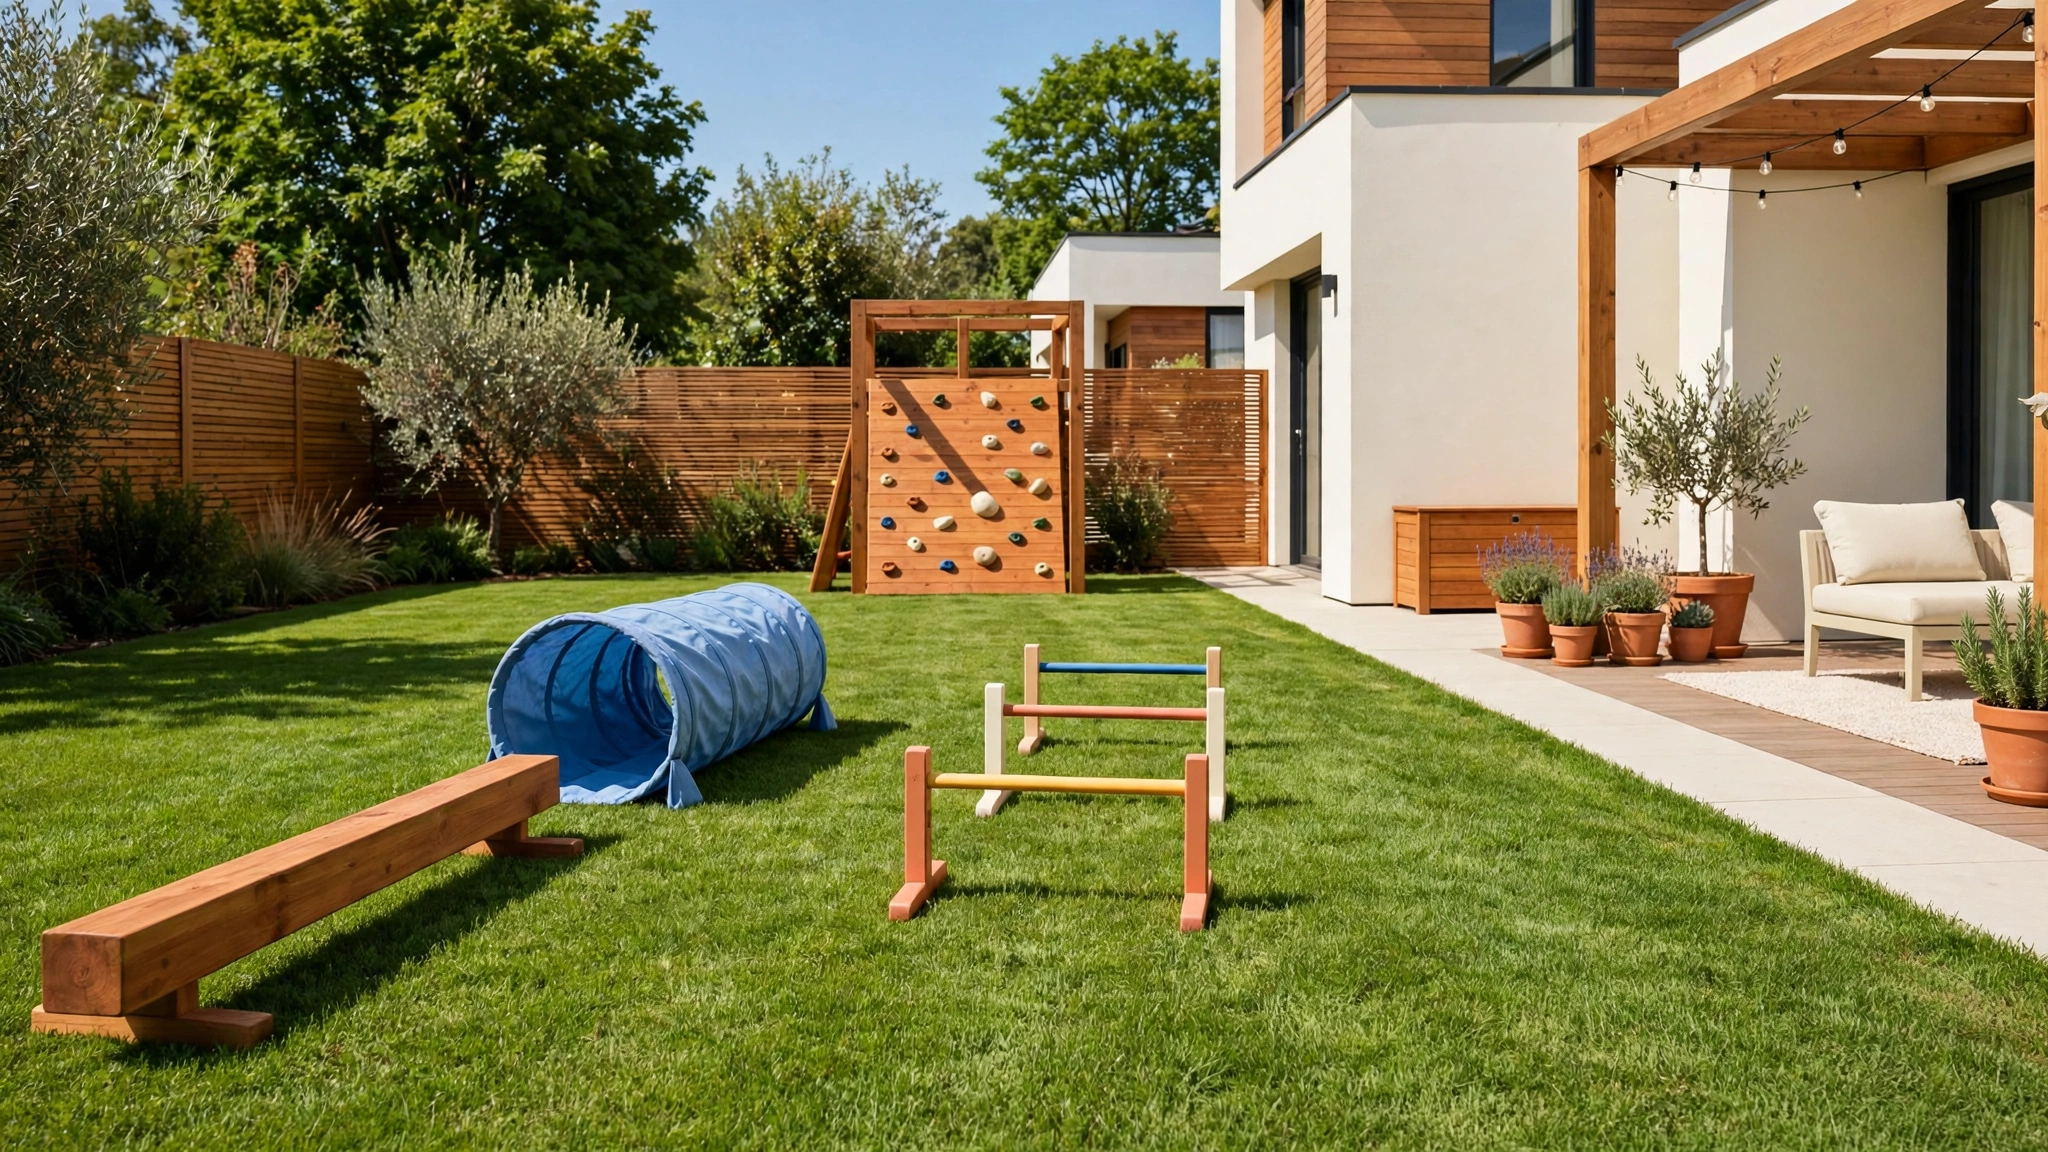
Picture this: you step into your backyard on a sunny morning and a cheerful obstacle course waits on the lawn. A low balance beam, a bright crawl tunnel, and a row of small hurdles turn an ordinary yard into a place where kids run, climb, and laugh for hours. The course costs very little to build, and it gives children a reason to play outside every single day.
You do not need a large yard or expensive equipment to make it happen. All you need is a clear plan, a few simple materials, and a safe layout that fits your space. These 14 backyard obstacle course ideas for kids will help you build a fun course that keeps children active, confident, and happily tired by the end of the day.
1. Lay a Low Balance Beam Across the Lawn
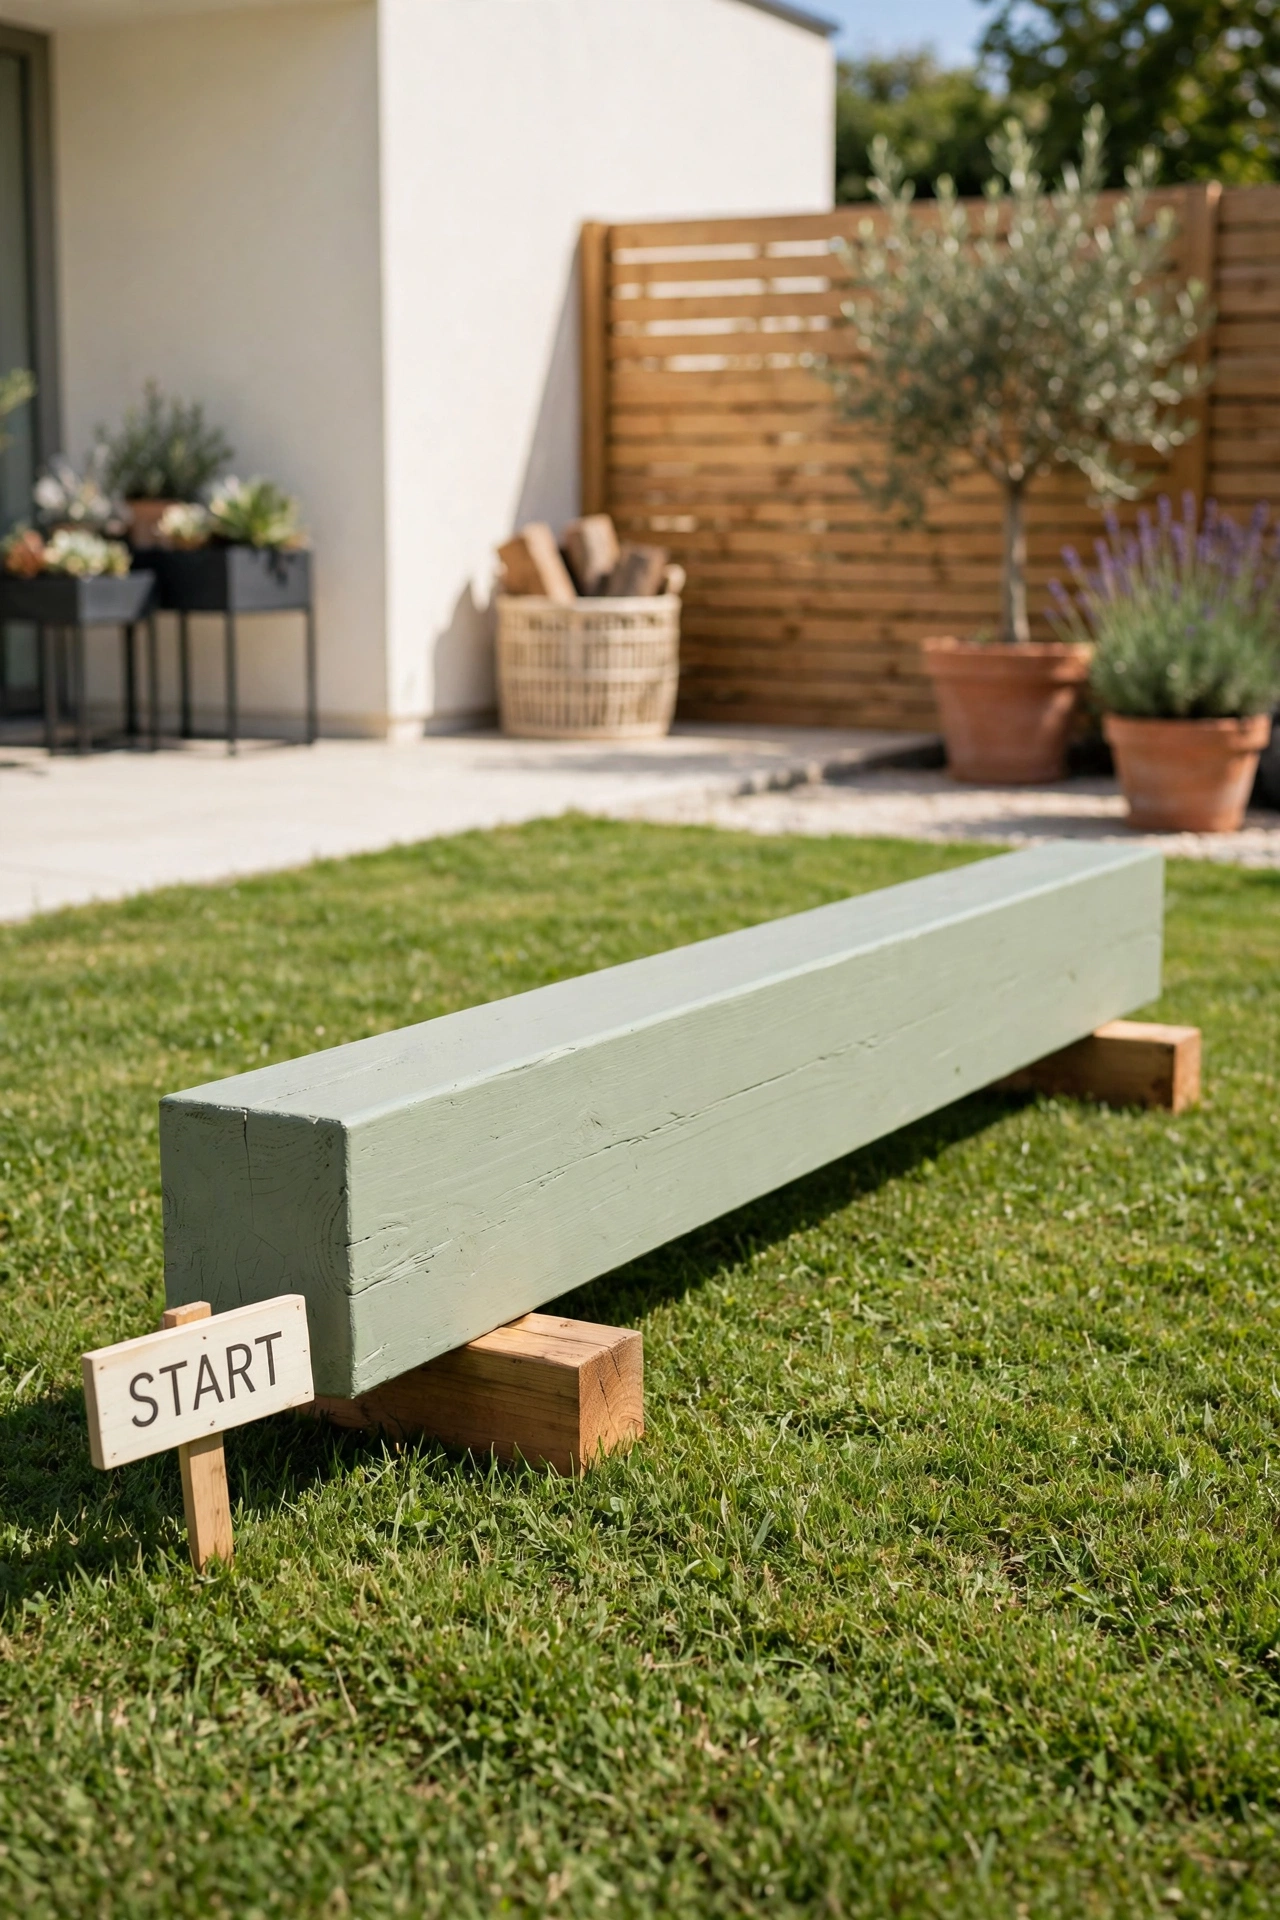
A low balance beam is the perfect first station for any backyard obstacle course. Choose a wide wooden beam that sits just a few inches above the grass, so kids can step on and off with ease. The beam teaches balance and focus while feeling safe enough for younger children to try again and again.
Place the beam on flat ground and anchor both ends with small wooden blocks so it never rolls or wobbles. Paint the beam in a soft sage green to match the lawn, and add a small wooden sign at the start that reads START in clear printed letters. A steady beam gives every child a proud first win on the course.
2. Set Up a Crawl Tunnel for Quick Adventures
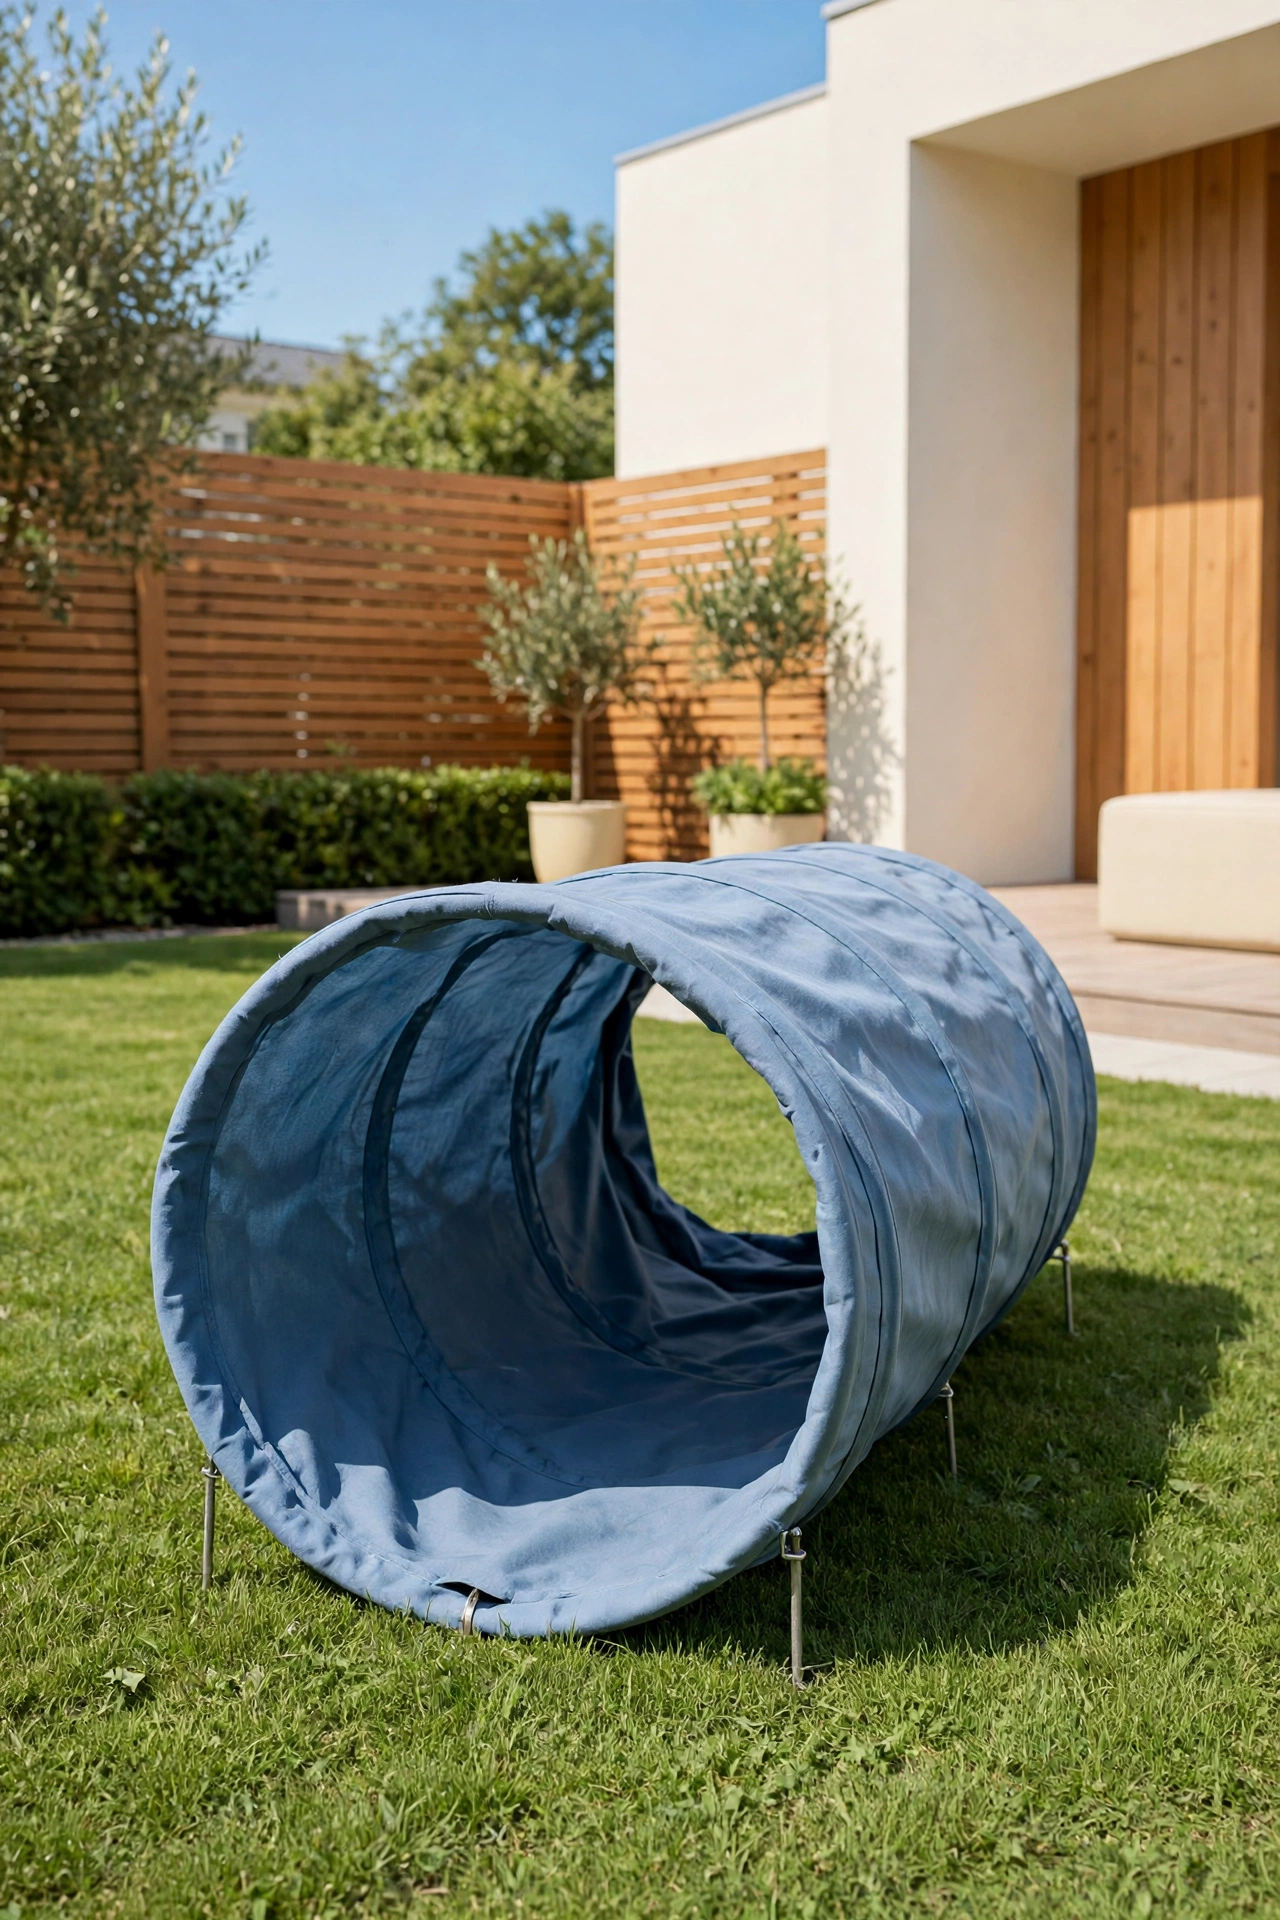
A crawl tunnel adds a fun hidden stretch to the course that kids love to race through. Choose a sturdy fabric tunnel in soft blue that holds its round shape even after many crawls. The tunnel feels like a secret passage, and it builds courage in children who are still learning to love new challenges.
Stake both ends of the tunnel to the ground so it stays open and never collapses mid-crawl. Place it on a flat patch of grass after the balance beam, so kids move from walking to crawling in a natural flow. A tunnel that stays put makes the course feel safe and exciting at the same time.
3. Build a Hurdle Hop with Pool Noodles
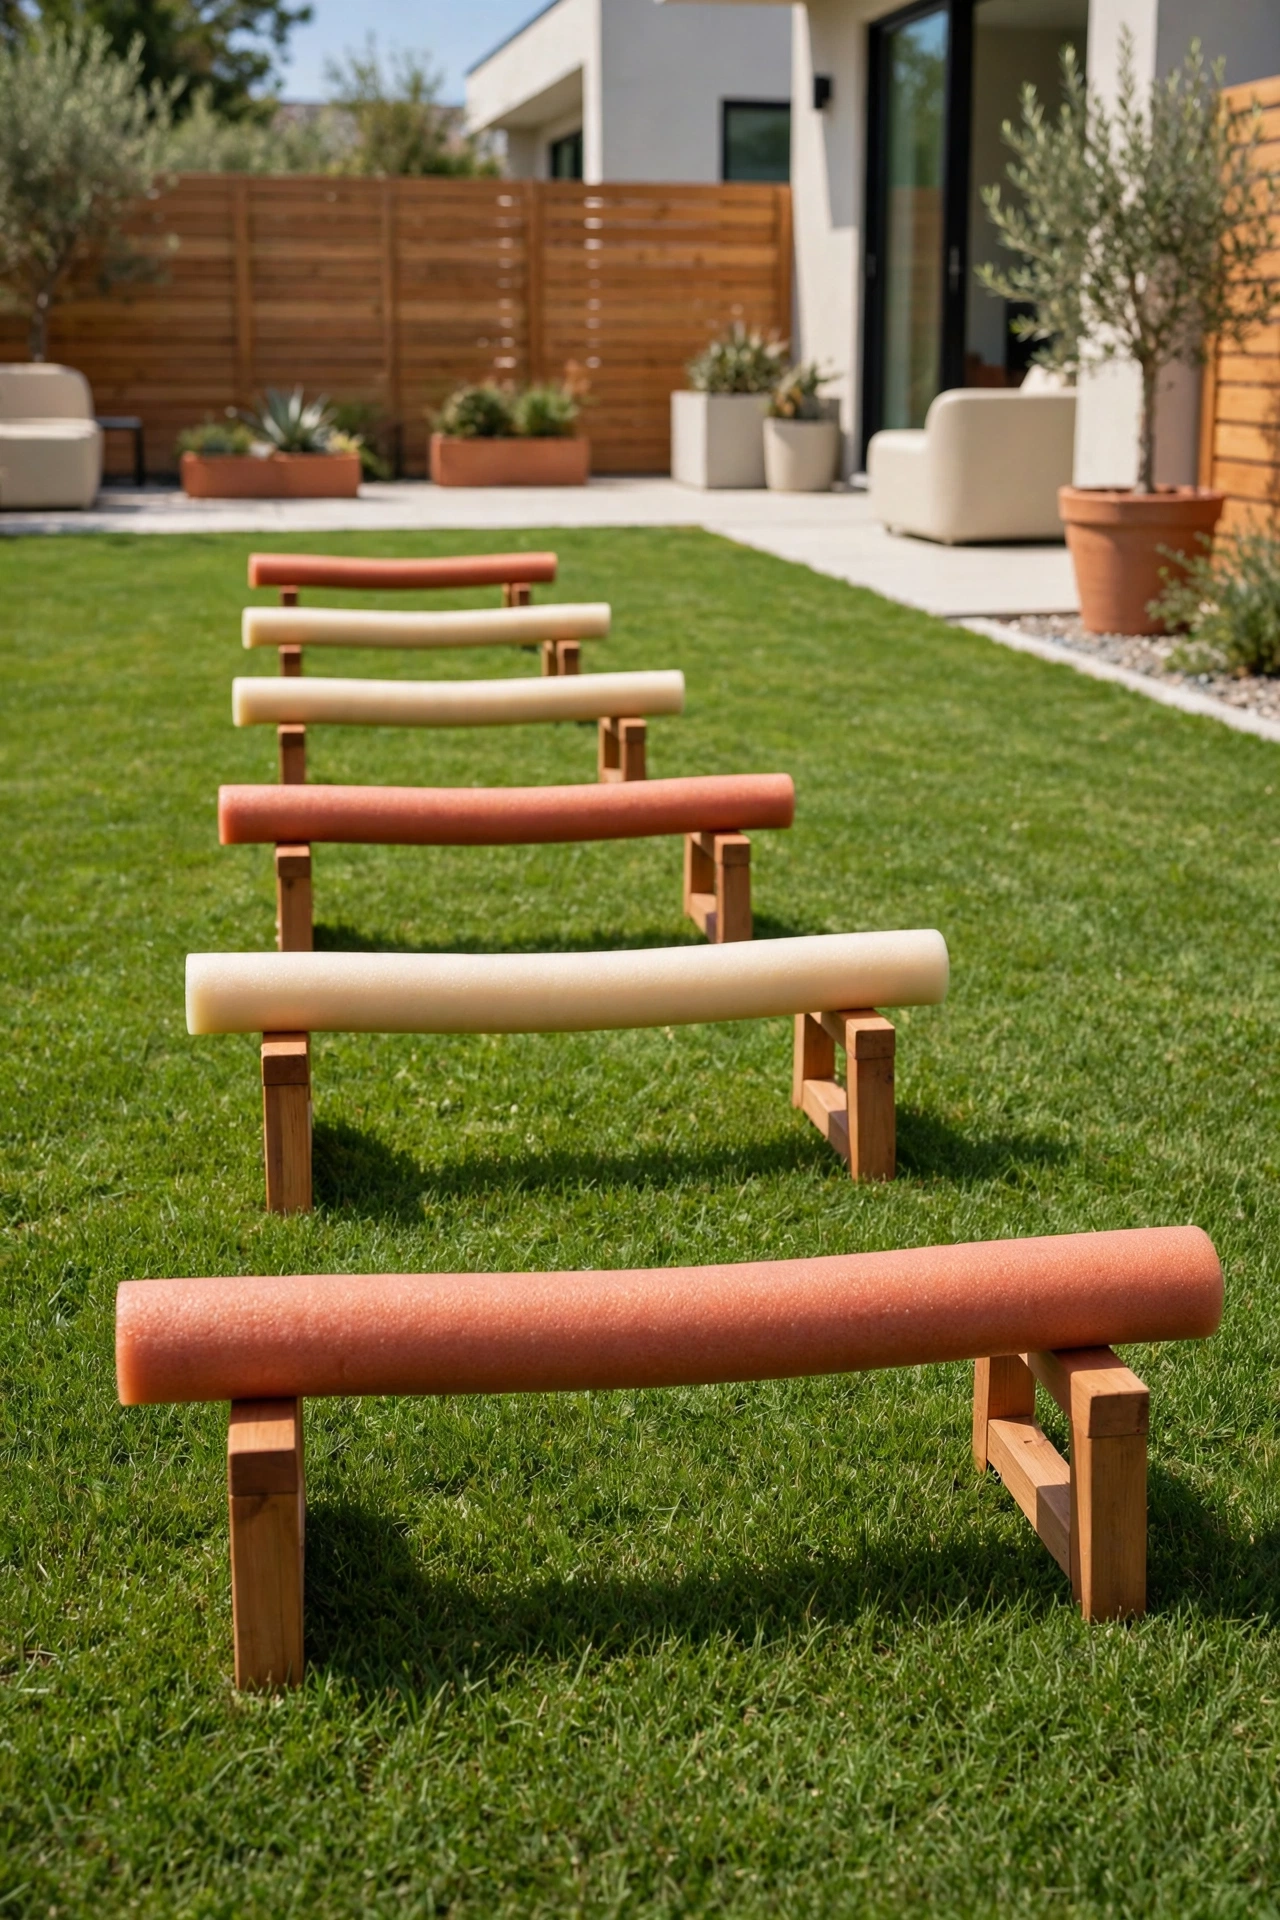
Pool noodles make the safest hurdles for a backyard course because they are soft, light, and easy to replace. Cut the noodles into short lengths and rest them across two low wooden stands, so each hurdle stands about knee high for a child. Kids can jump over them, knock them down, and set them back up without any tears.
Use noodles in warm terracotta and cream colors so the hurdles are easy to spot on the grass. Space them about three feet apart so kids can land and take one step before the next jump. These soft hurdles turn jumping into a game that even the smallest racers can enjoy.
4. Add a Tire Run for Steady Footwork
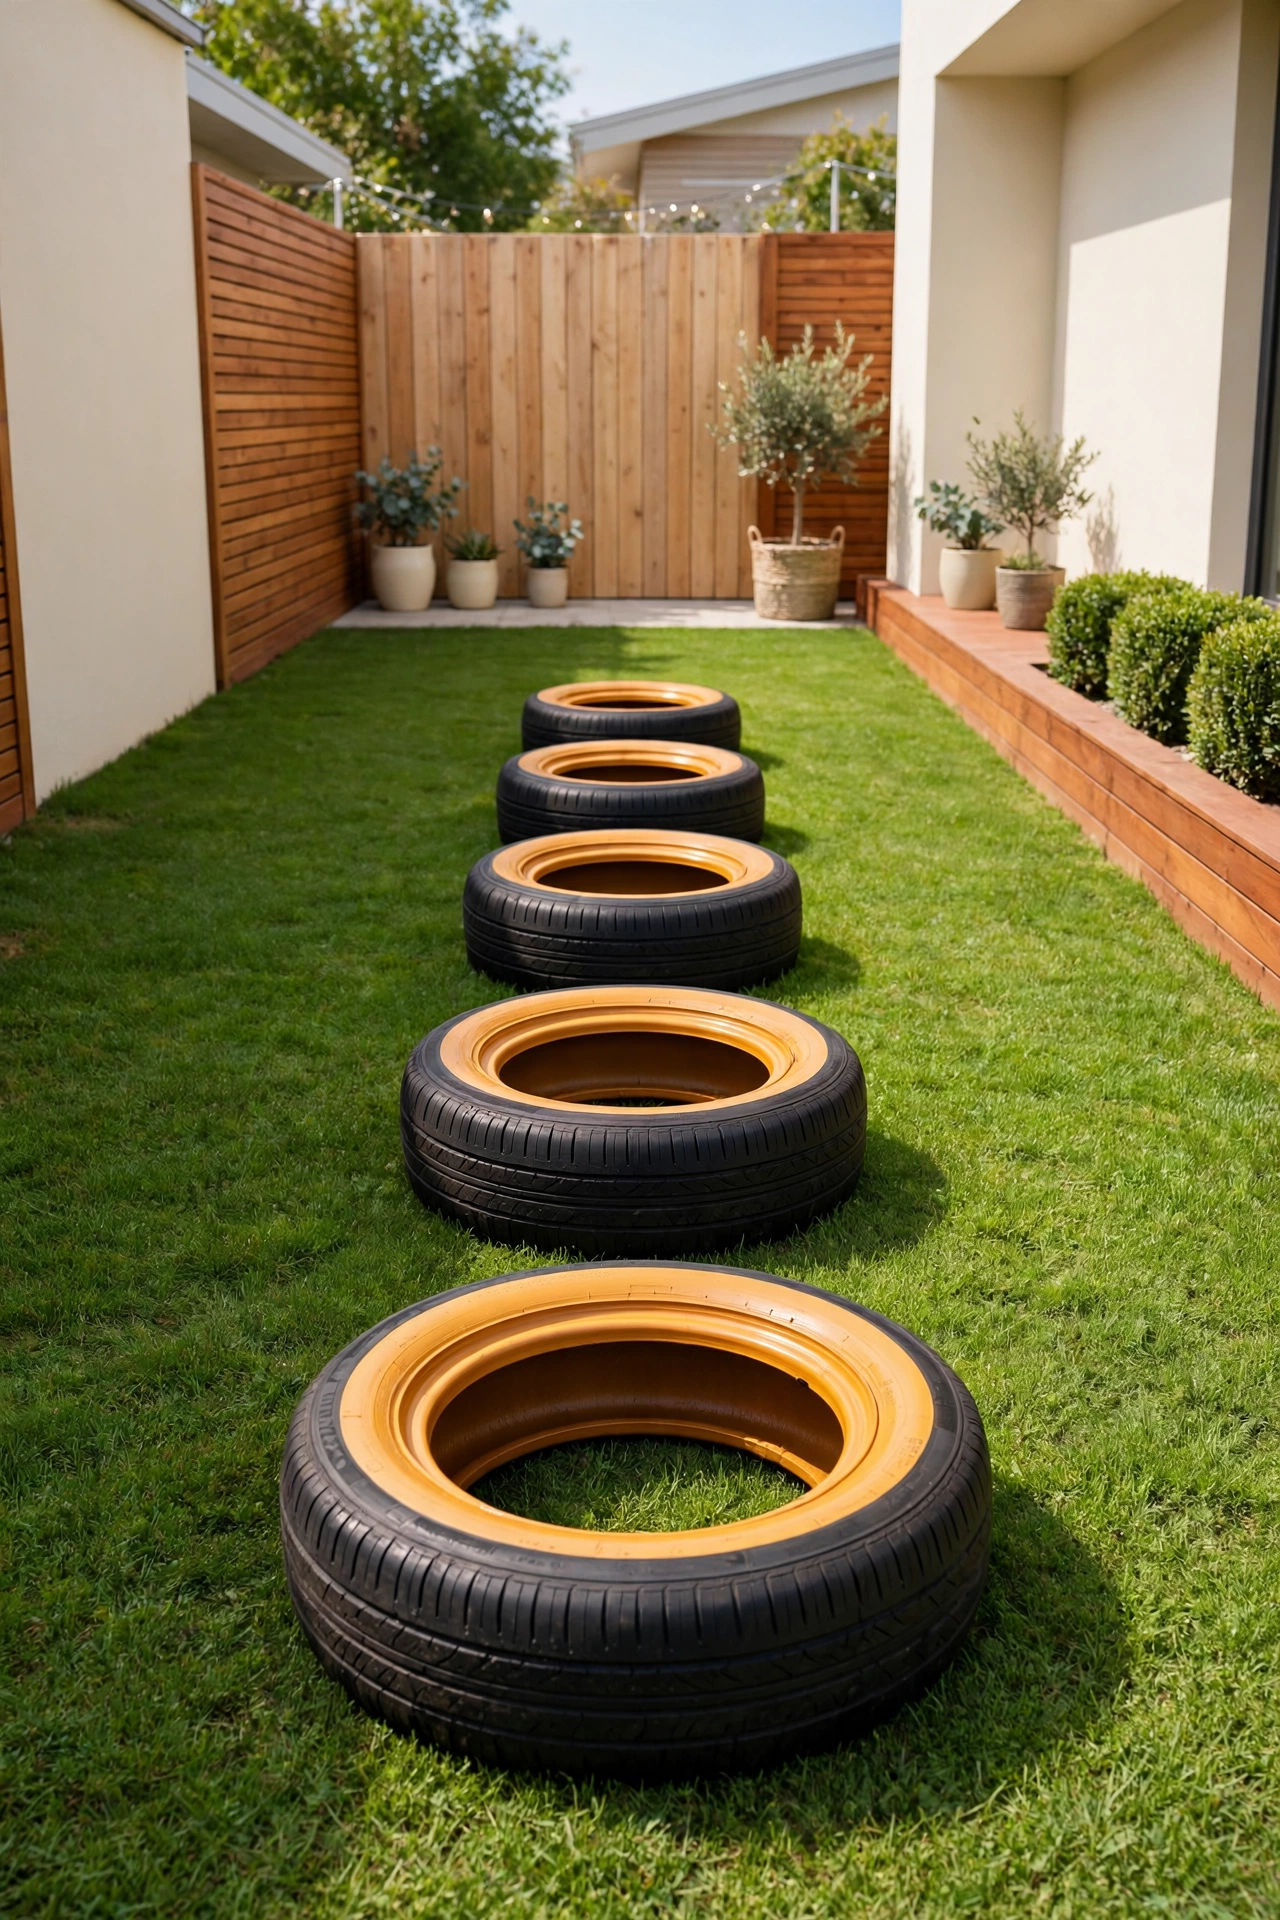
A tire run teaches quick feet and careful steps in a way that feels like a real training course. Lay five or six clean tires flat on the grass in a straight line, with a small gap between each one. Kids step in and out of the tires as fast as they can, which builds coordination and leg strength.
Scrub the tires clean and paint the rims in a warm amber color so they look bright and cheerful instead of dirty. Check that each tire sits flat and does not rock before the first race begins. A tire run is a classic station that never gets old, no matter how many times kids run it.
5. Hang a Rope Swing Between Two Trees
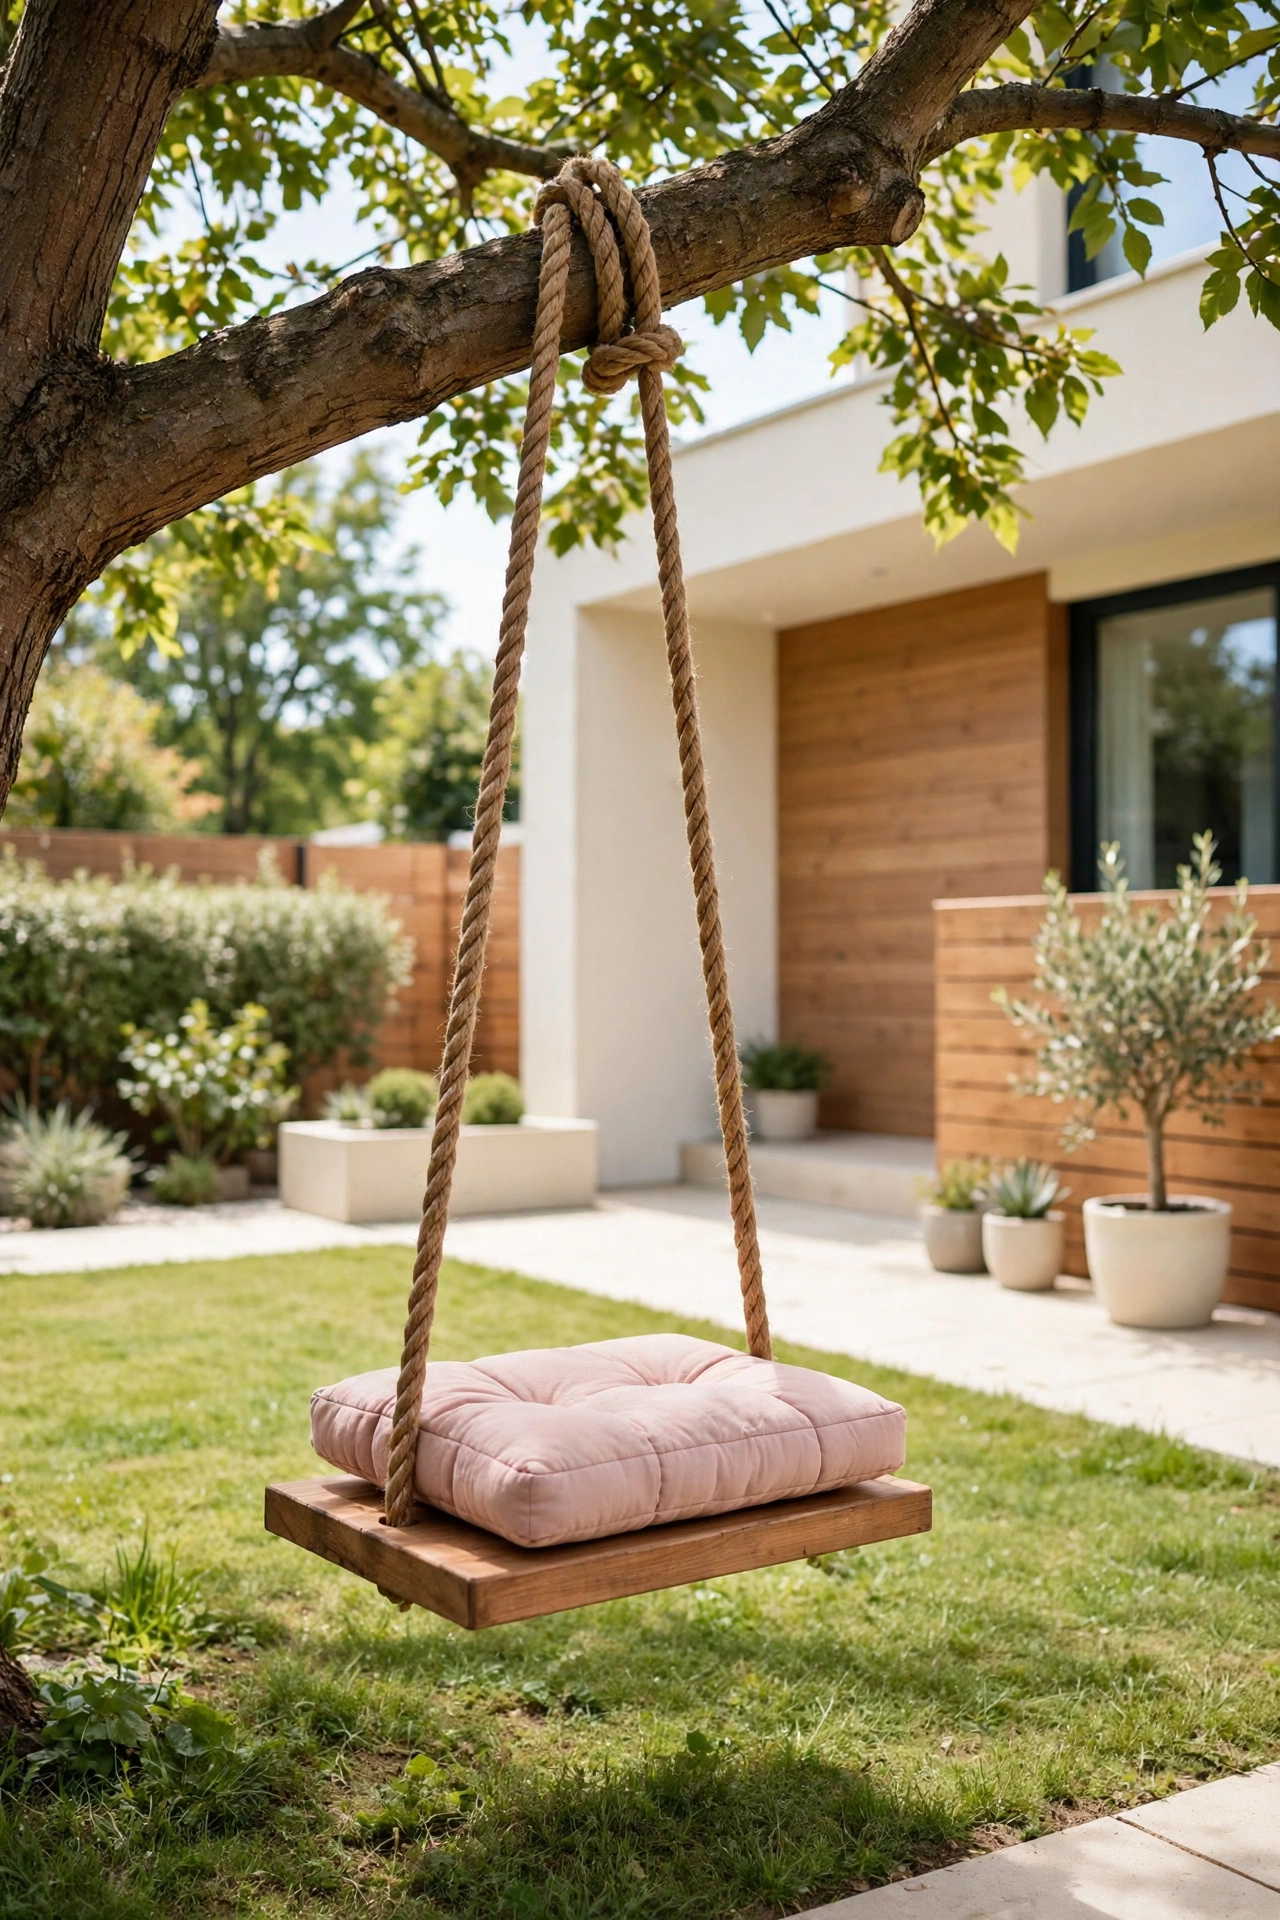
A rope swing between two sturdy trees gives the course a joyful flying moment that kids will race toward. Tie a thick natural rope to a strong branch and attach a wide wooden seat at the bottom, low enough for kids to climb on alone. The gentle swing builds arm strength and balance while feeling like pure fun.
Check the branch and the knots before every play session, and clear the landing area of sticks and stones. Hang the swing over soft grass, never over concrete or a hard patio. A well hung rope swing with a blush pink seat cushion becomes the favorite stop on the whole course.
6. Create a Stepping Stone Path
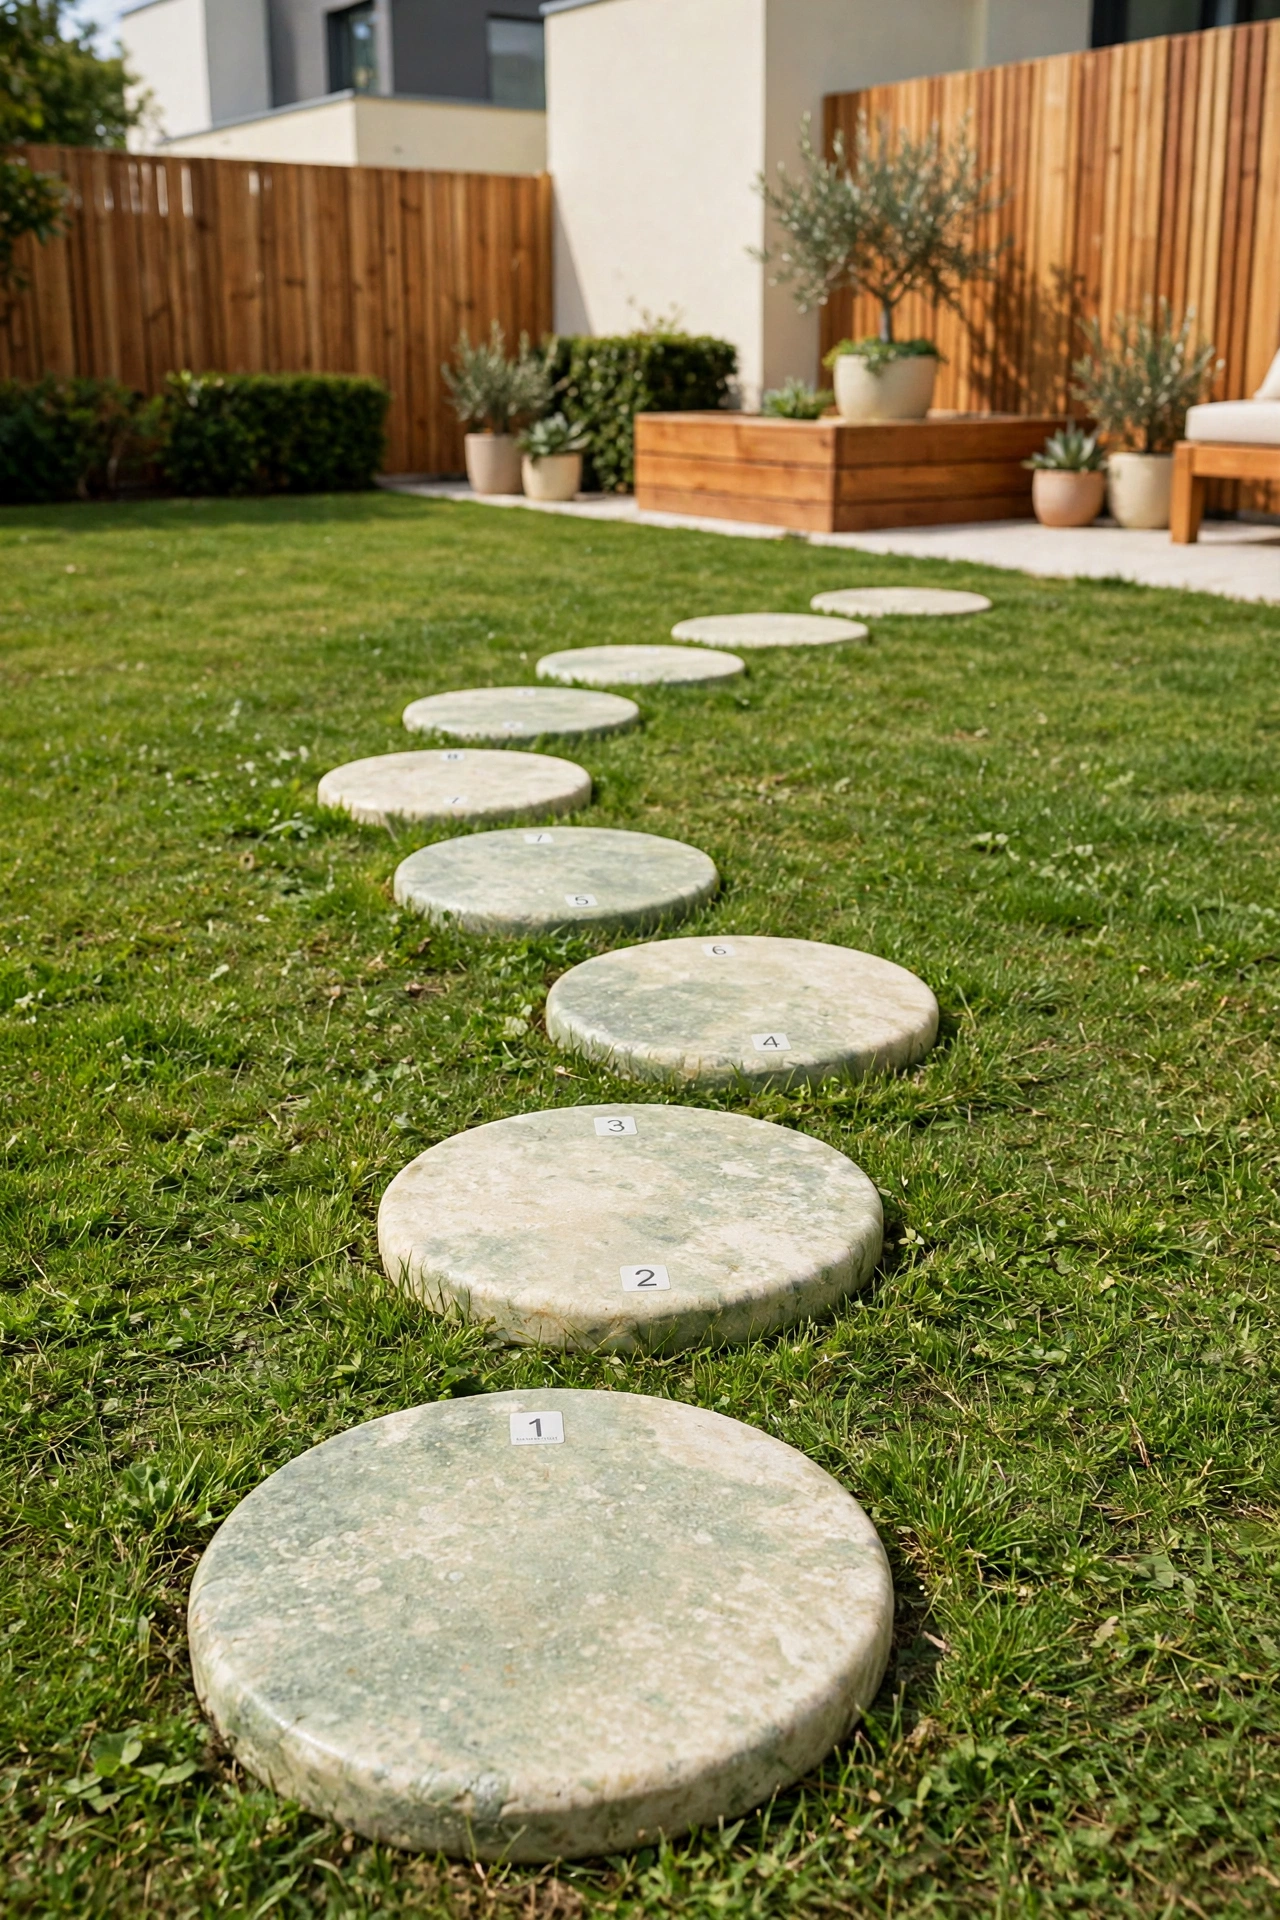
A stepping stone path turns a plain stretch of lawn into a careful balancing game. Place flat round stones in a winding line, with gaps just wide enough for a child to hop from one stone to the next. The path slows racers down and asks them to think about each step.
Choose smooth stones in soft sage and cream tones, and press each one firmly into the soil so it never tips. Number the stones with clear printed labels from one to eight, so kids can follow the order or race to touch them all. For more ideas on styling the outdoor space around the course, see these Mediterranean porch ideas. A stone path adds a calm, thoughtful station between the faster parts of the course.
7. Set Up a Cargo Net Climb
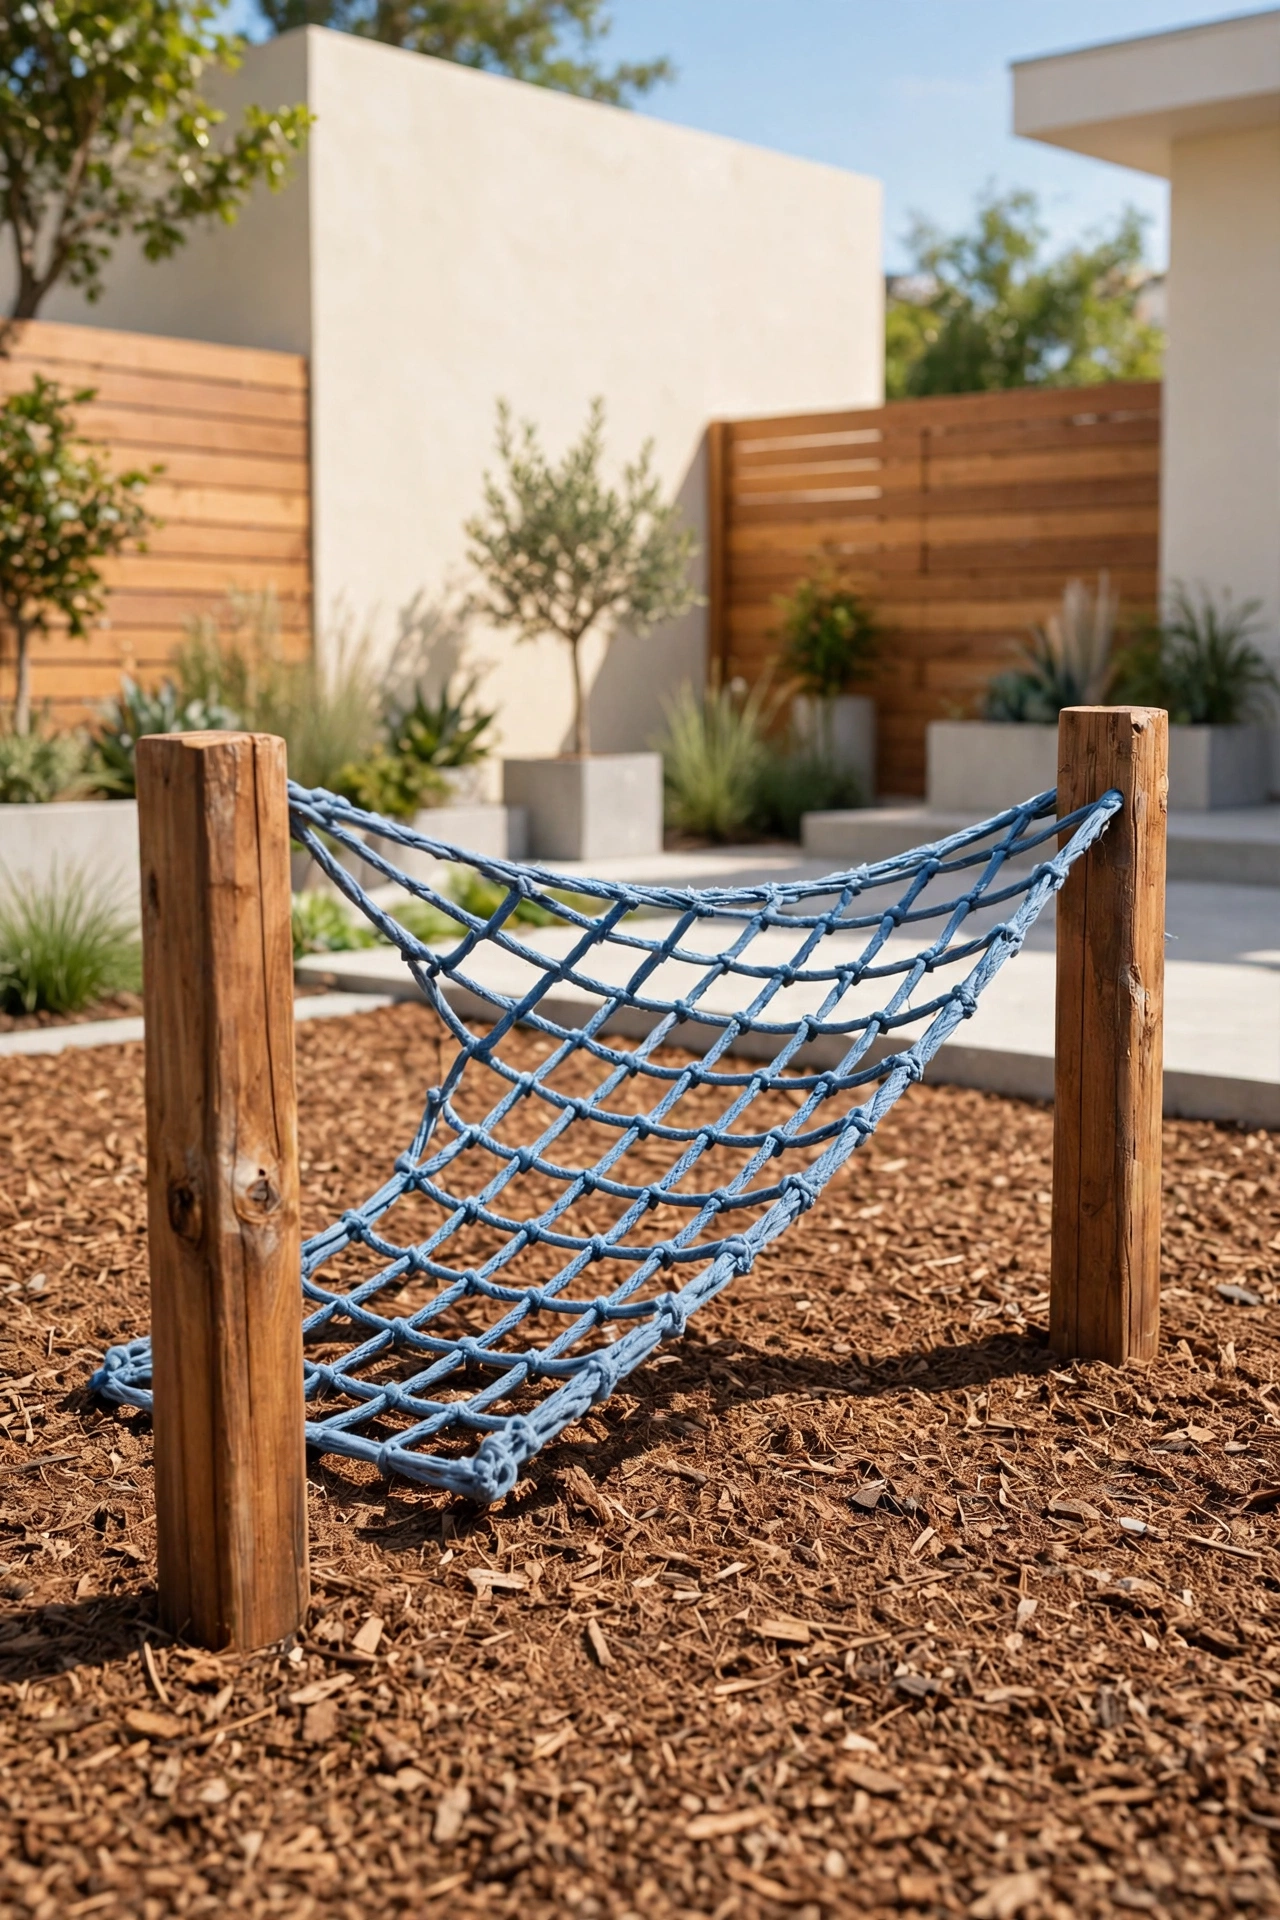
A cargo net climb gives brave kids a real climbing challenge in a safe, low setup. Stretch a strong rope net between two short wooden posts at a gentle angle, so the top sits no higher than a child shoulder height. Kids crawl up the net on hands and knees, which builds upper body strength and confidence.
Anchor the posts deep in the ground and pull the net tight so it never sags under weight. Place a thick layer of soft mulch or a foam mat under the net to cushion any slip. A low cargo net in soft blue rope looks inviting and gives older kids a station that truly tests their strength.
8. Add a Ring Toss Station
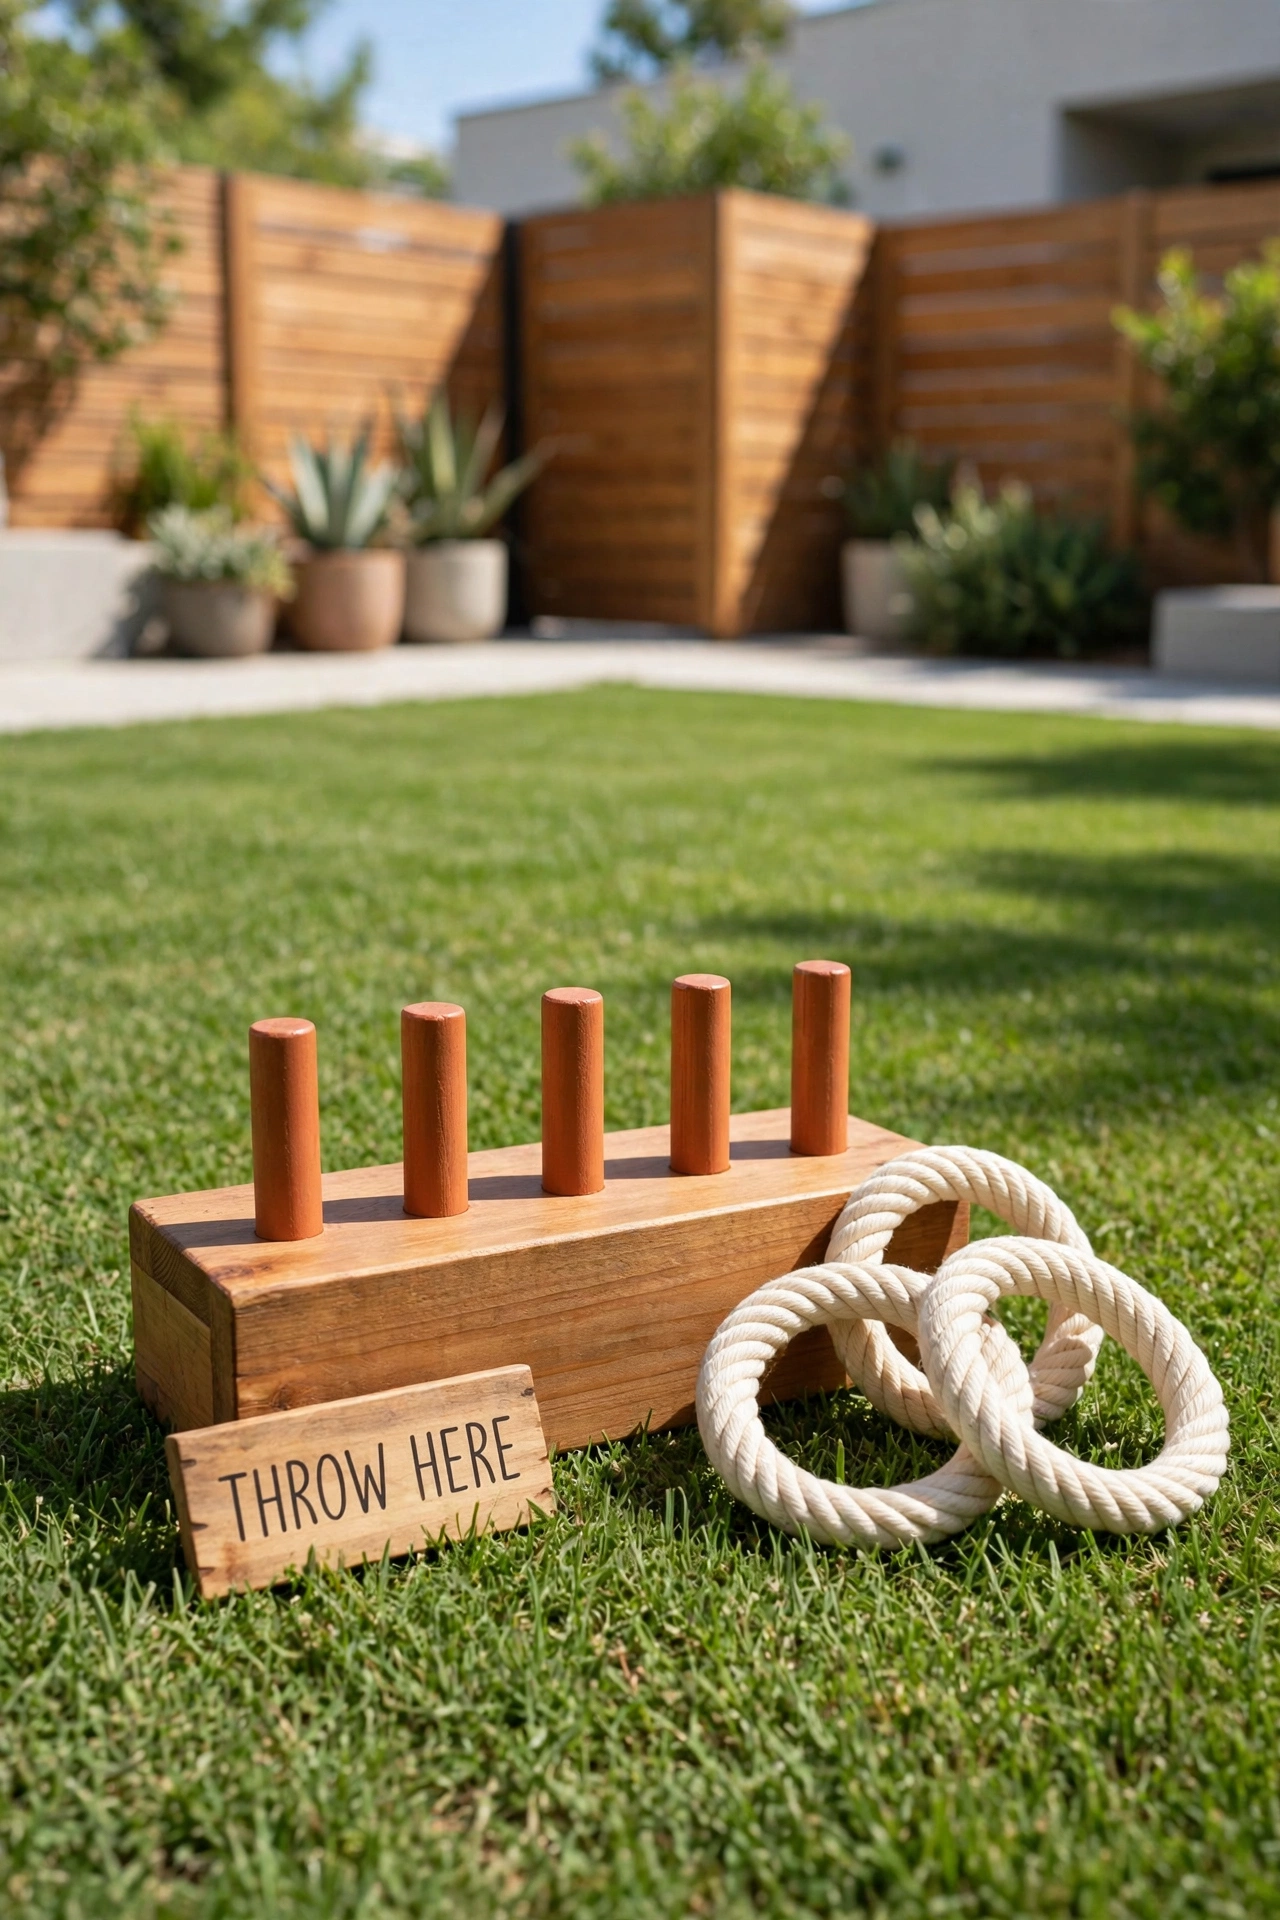
A ring toss station brings a quiet aiming game into the middle of a fast course. Set five short wooden pegs in a row on a small wooden base, and give kids three rope rings to throw from a marked line on the grass. The station rewards patience and a steady hand after all the running and jumping.
Paint the pegs in warm terracotta and the rings in cream, so the colors stand out clearly against the lawn. Mark the throwing line with a small wooden sign that reads THROW HERE in clear printed letters. A ring toss station is easy to build and it keeps kids practicing their aim long after the race ends.
9. Build a Mini Climbing Wall
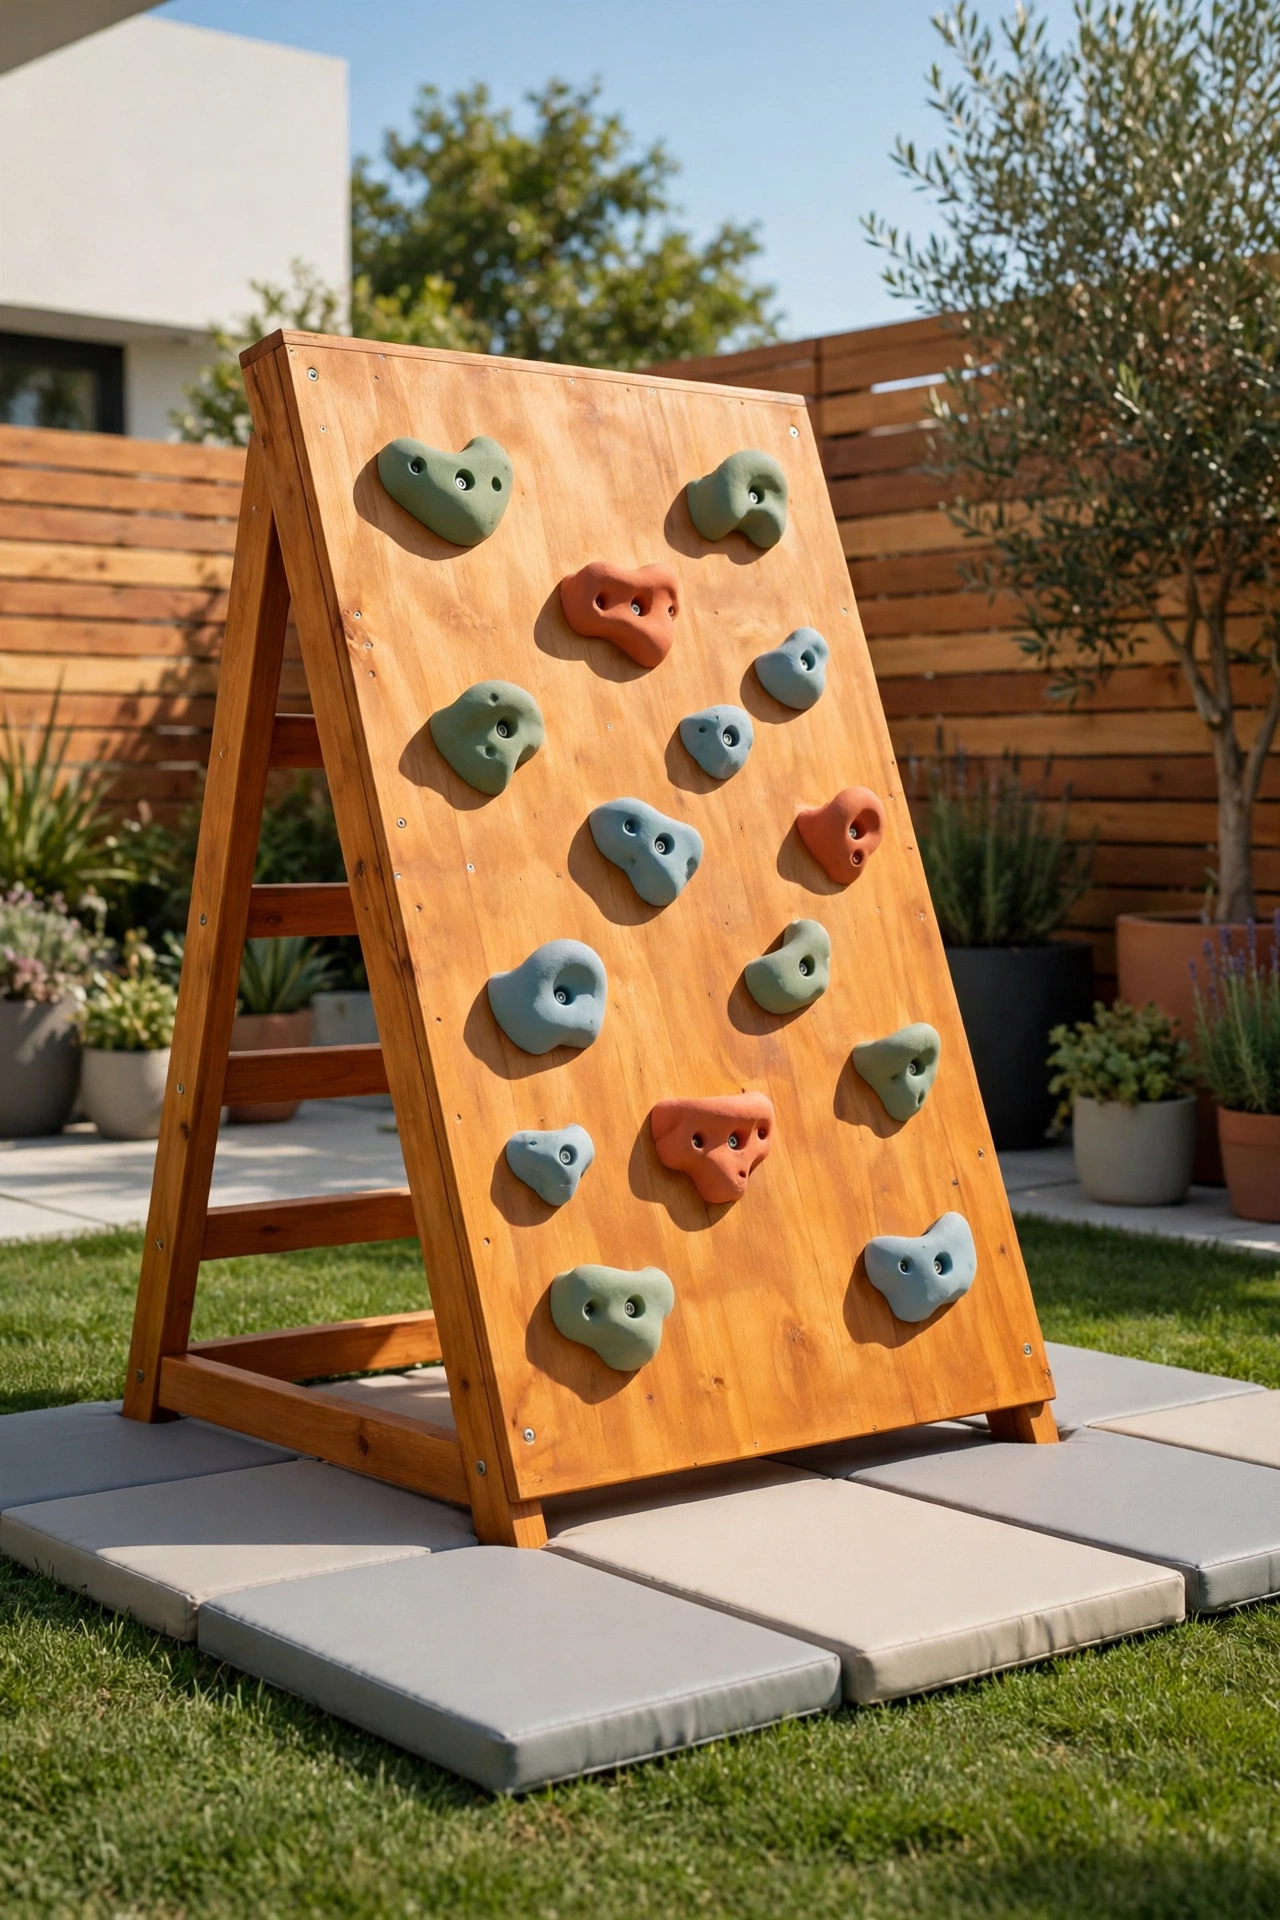
A mini climbing wall gives the course a proud centerpiece that kids will want to conquer. Build a low wooden wall about four feet high with large colorful handholds bolted on in a simple pattern. The wall should lean back just a little, so climbers feel secure as they reach for the next hold.
Place thick foam mats or a deep bed of soft mulch at the base, and always have an adult nearby when kids climb. Paint the wall frame in warm amber wood tones with handholds in sage, blue, and terracotta. For more backyard games and sports setups, see these backyard basketball court ideas. A small climbing wall turns the backyard into a real adventure ground.
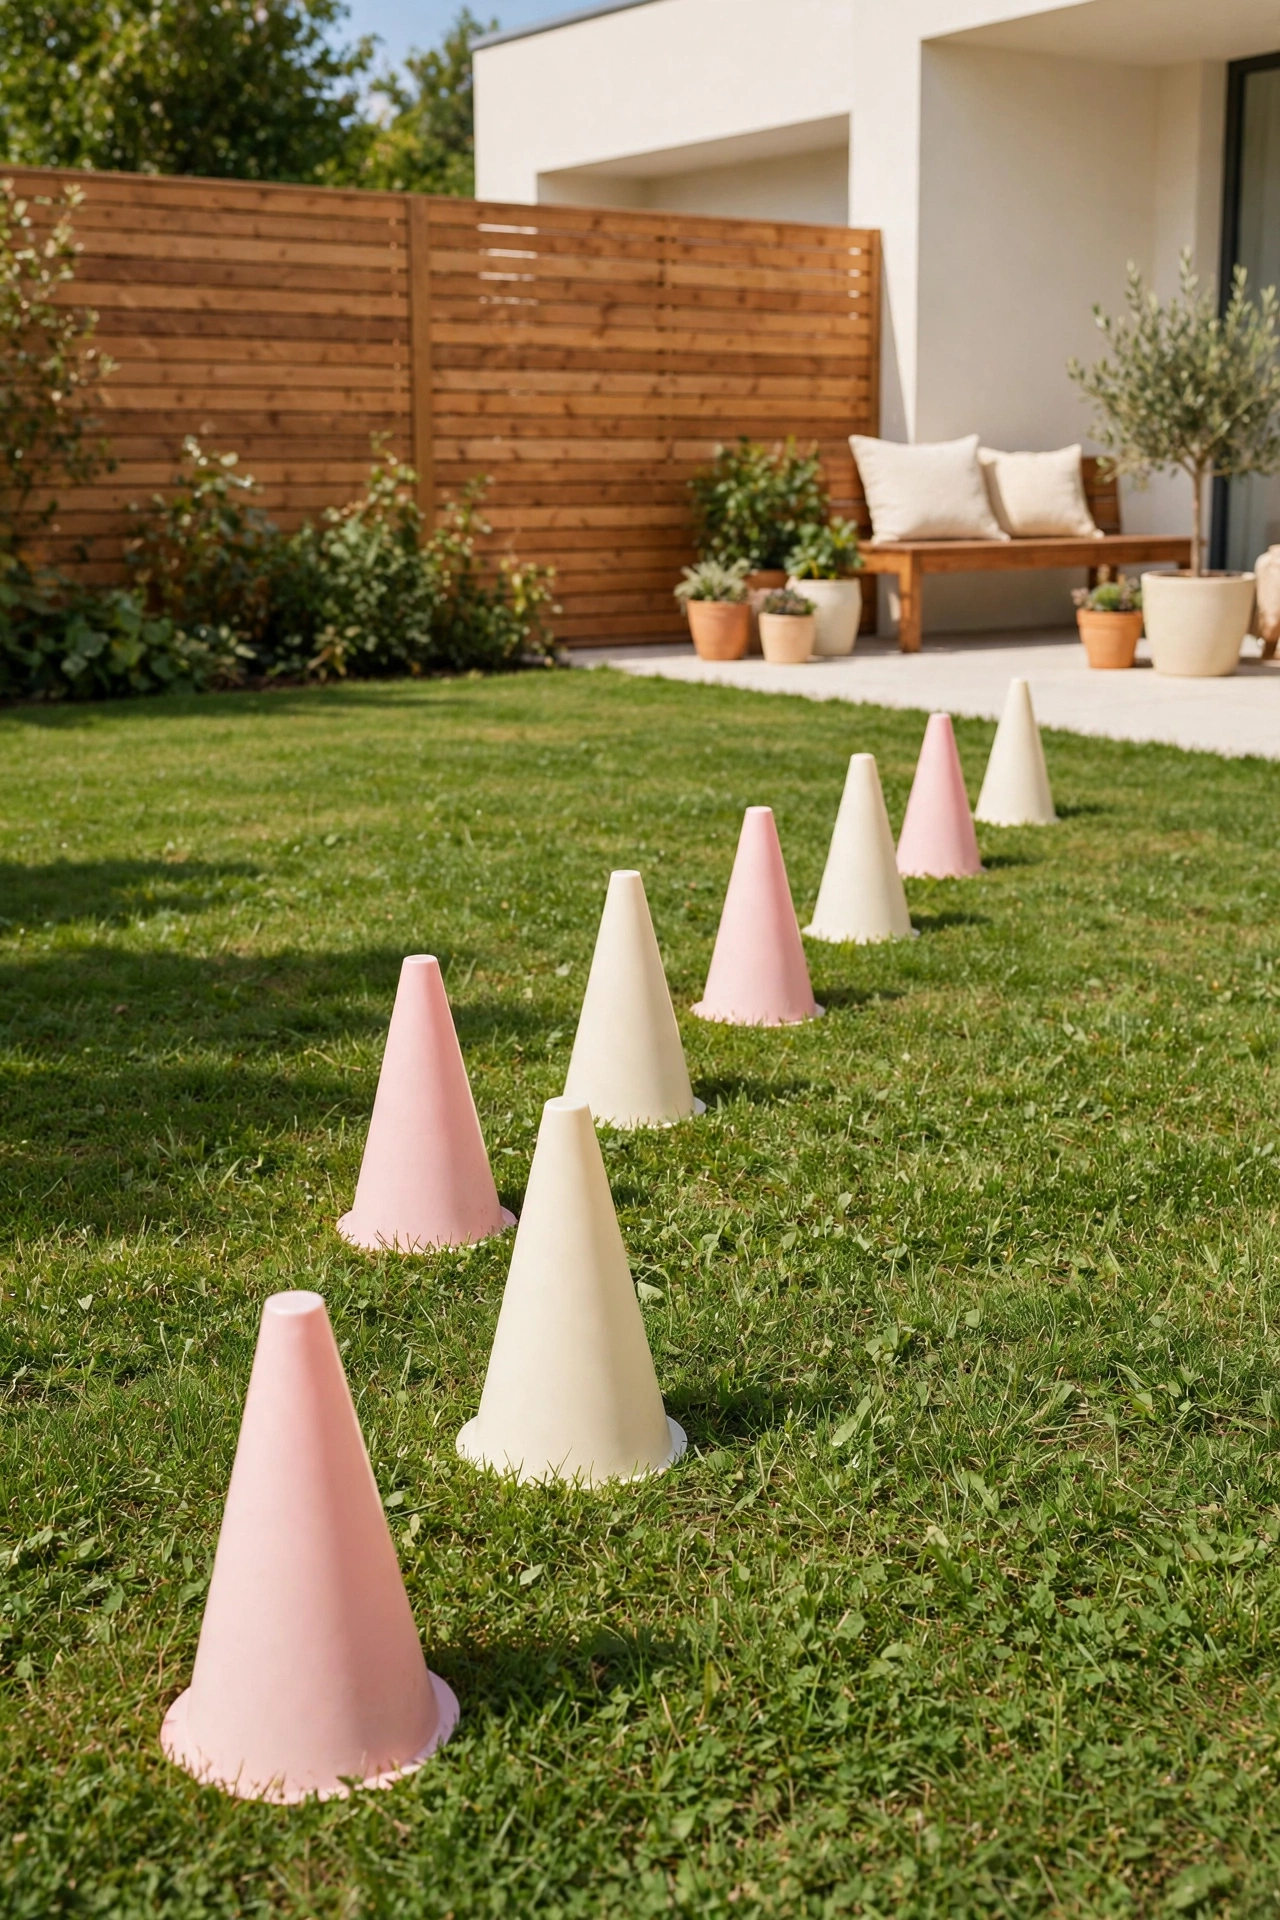
10. Lay Out a Zigzag Cone Course
A zigzag cone course is the simplest station to set up and one of the most fun to race through. Place eight bright cones in a zigzag line across the lawn, with enough space between them for kids to weave in and out. Racers run the line, touch each cone, and sprint to the next station.
Use lightweight plastic cones in blush pink and cream so they topple safely if a child bumps into one. Space the cones about four feet apart so the weave feels quick but not crowded. A cone course adds speed and laughter, and it packs away in a single basket when playtime ends.
11. Add a Sandbox Dig Station
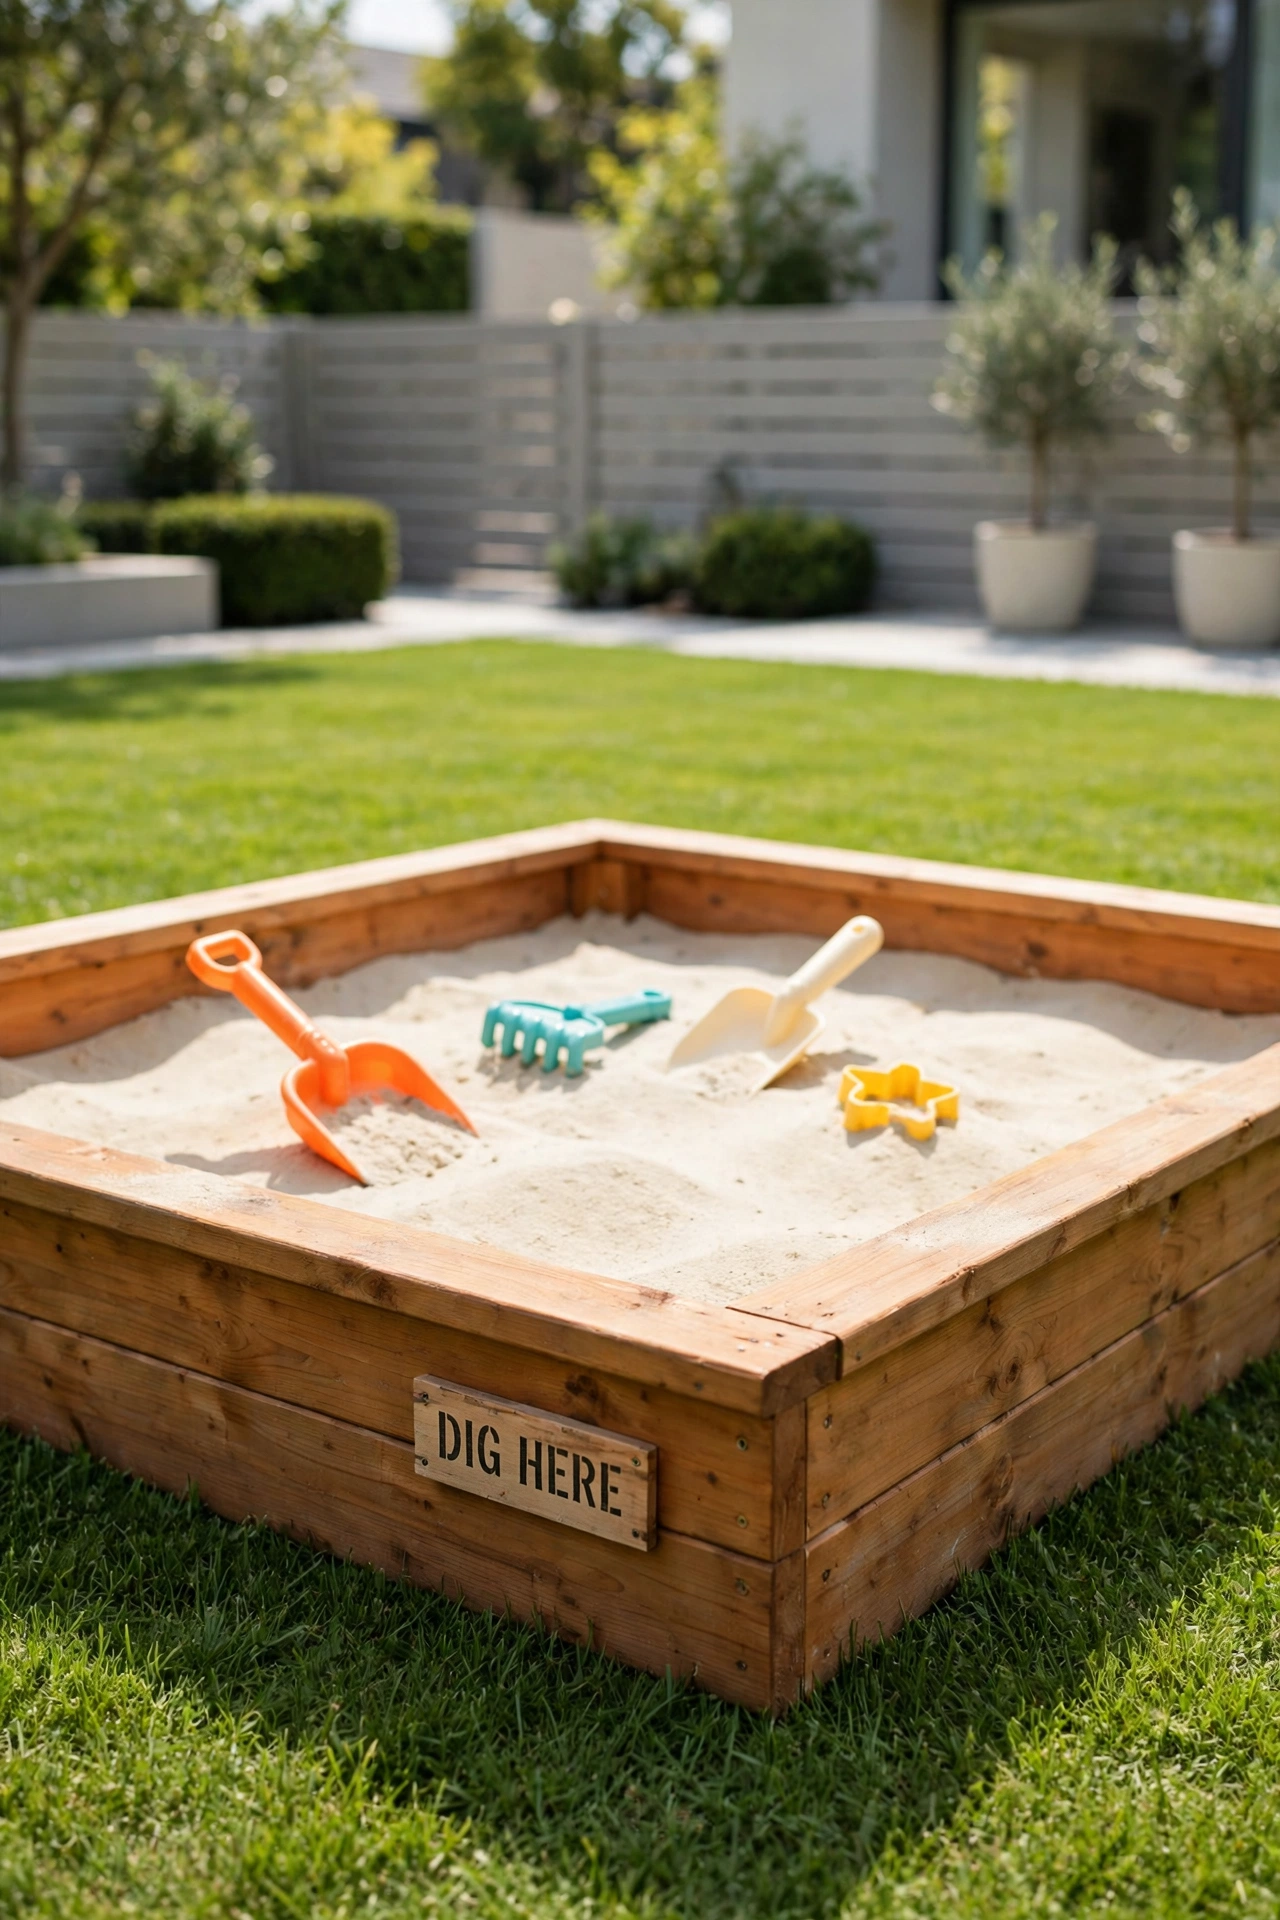
A sandbox dig station gives tired racers a calm place to slow down and play with their hands. Build a low wooden sandbox with clean, fine sand and bury a few small plastic tools and toy shovels just under the surface. Kids dig, scoop, and build, which rests their legs while keeping their minds busy.
Keep the sand clean by covering the box with a fitted lid each evening, and rake it smooth before play begins. Choose a sandbox frame in warm natural wood with a small printed label on the side that reads DIG HERE. A sandbox station makes the course welcoming for younger children who need a gentler pace.
12. Set Up a Water Bucket Relay
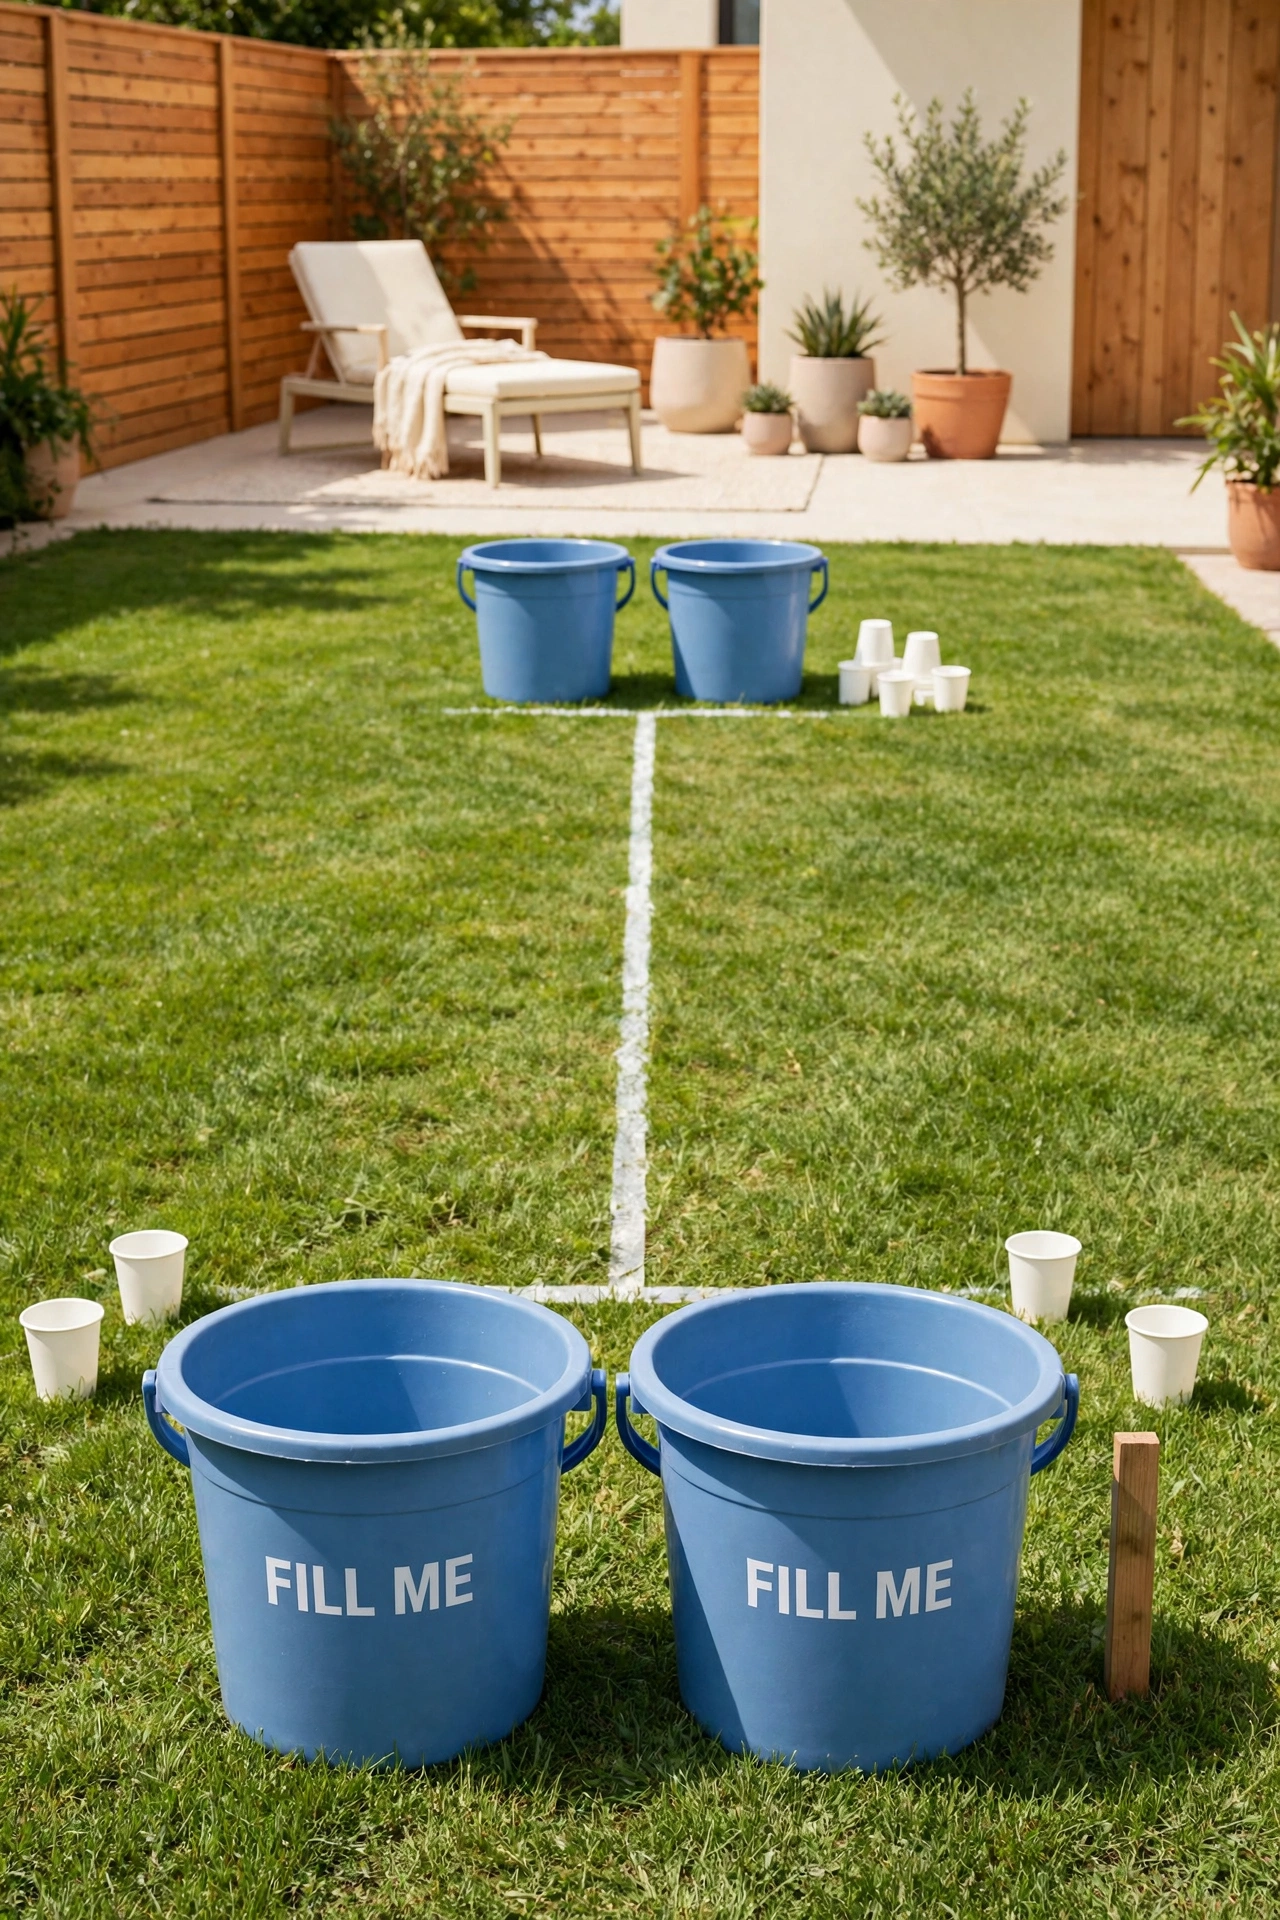
A water bucket relay is the perfect cooling station for a hot summer afternoon on the course. Place two buckets at one end of a short marked lane and two empty buckets at the other end, then give each racer a small cup to carry water back and forth. The team that fills its bucket first wins, and everyone gets a refreshing splash along the way.
Use sturdy plastic buckets in soft blue with clear printed labels that read FILL ME on the empty ones. Keep the lane on grass so spilled water simply soaks in, and lay a towel at the finish for wet hands. After the games, families often gather for a quiet evening, and these backyard fire pit ideas show how to end the day around a warm fire. A water relay turns an ordinary race into a summer memory.
13. Build a Low A-Frame Climb
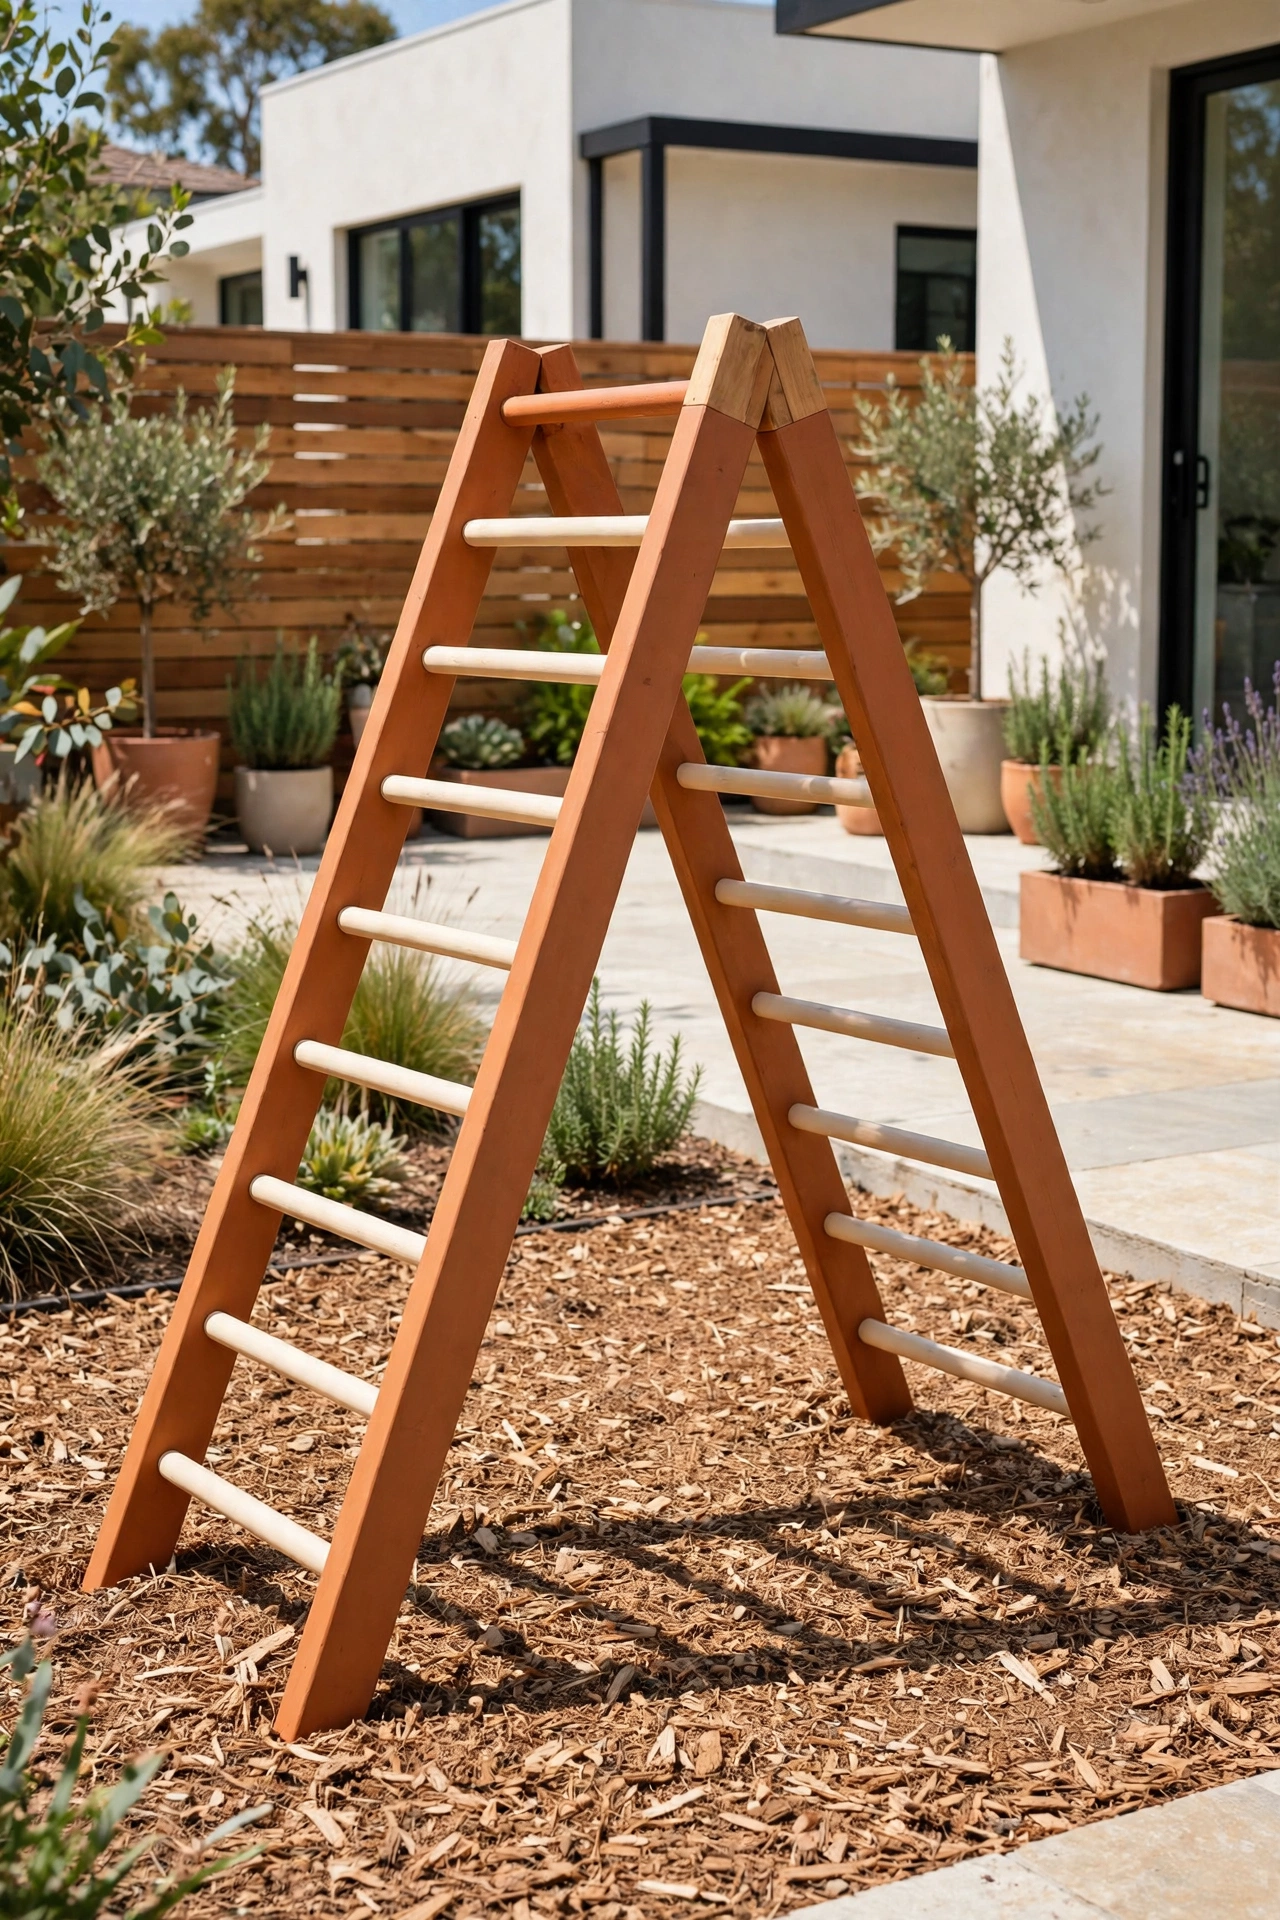
A low A-frame climb looks like a small wooden tent that kids scramble over from one side to the other. Build two slanted wooden panels joined at the top, with small rungs across each side for hands and feet. The frame stands about three feet high, so it feels exciting without ever feeling scary.
Bolt the frame together firmly and set it on flat ground over soft mulch for a safe landing. Paint the wood in warm terracotta with cream rungs, so the frame stands out clearly on the lawn. An A-frame climb teaches kids to plan their moves, and it becomes a favorite meeting spot on the course.
14. Finish with a Flag Finish Line
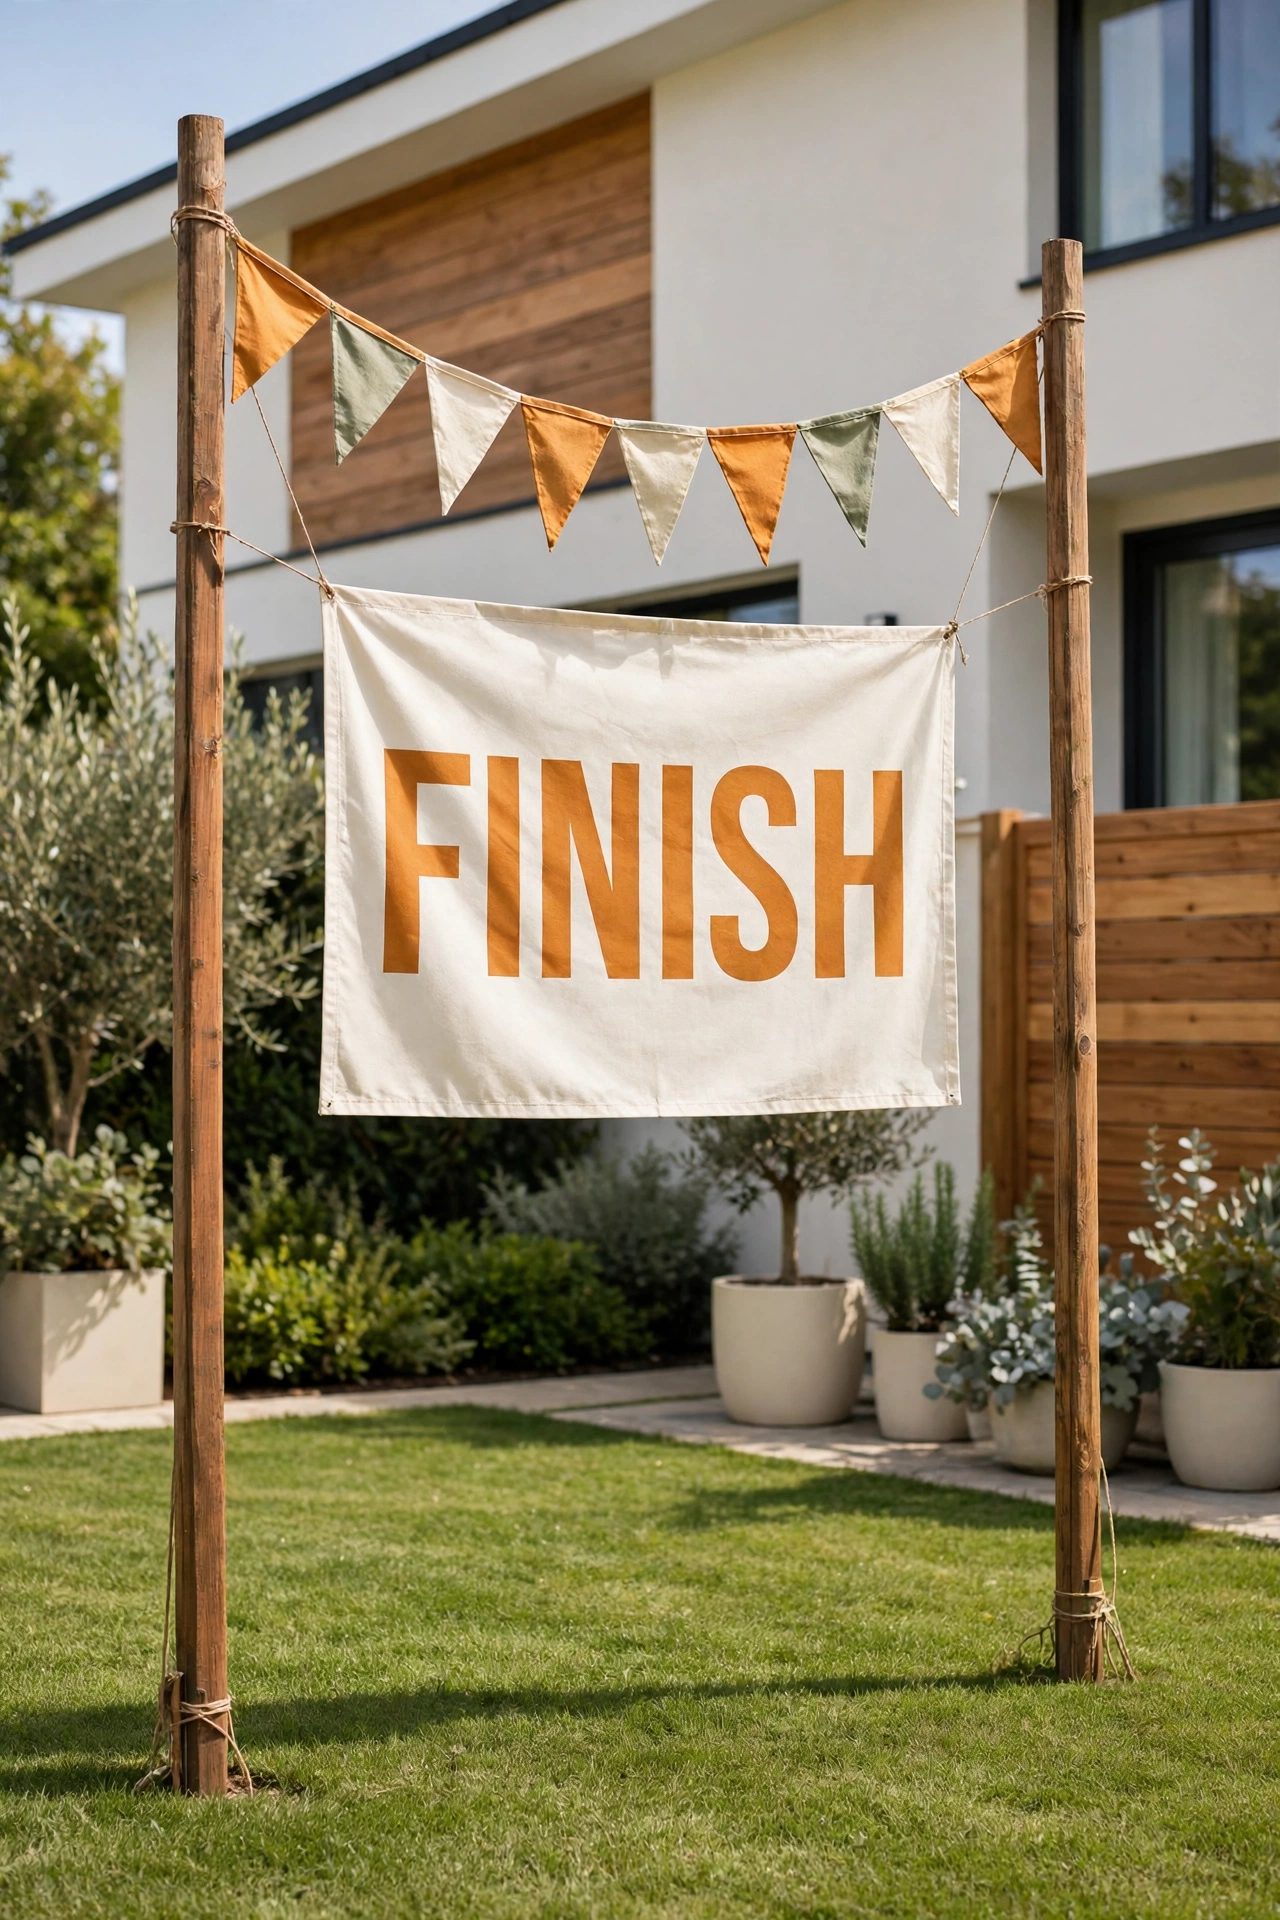
Every great course deserves a clear finish line that makes kids feel like champions. Set two tall wooden poles at the end of the last station and string a bright bunting banner between them with a large printed flag that reads FINISH in bold letters. Kids sprint under the banner and raise their arms, which is the moment the whole course builds toward.
Anchor the poles firmly in the ground and hang the banner high enough that no child can trip over it. Use bunting in amber, sage, and cream so the finish line looks festive from across the yard. A proud finish line turns a simple backyard race into a celebration worth repeating every weekend.
Conclusion
A backyard obstacle course does not need a big budget or a professional builder. From a low balance beam to a proud finish line flag, each idea here adds one more reason for kids to run outside and play. The best course is the one that fits your yard, your children, and the way your family loves to spend time together.
Pick one or two ideas that fit your space and start today. Lay out a beam, set up a tunnel, or hang a rope swing, and watch the backyard come alive. For a calm home beyond the garden, these nightly reset routine ideas will help you keep every room organized with just a few minutes each evening.
Frequently Asked Questions About Backyard Obstacle Course Ideas for Kids
How much space do I need for a backyard obstacle course?
A course fits in most backyards with a clear strip of lawn about thirty feet long and ten feet wide. Small yards work well too, because stations like a balance beam, a ring toss, and a cone course need very little room. Measure your lawn first, then choose stations that fit the space you have.
What is the safest age for a backyard obstacle course?
Children aged four and up enjoy most backyard obstacle courses when the stations stay low and soft. Keep beams, walls, and climbs under four feet high for younger kids, and always have an adult nearby. Older children can handle taller stations like a cargo net or a climbing wall with proper supervision.
How do I keep an obstacle course safe for kids?
Anchor every station firmly, check ropes and knots before each play session, and place soft mulch or foam mats under any climbing station. Keep the ground clear of sticks and stones, and remove broken or worn equipment right away. A quick safety check each morning keeps the course safe all day.
Can I build an obstacle course on a budget?
Yes, many stations cost very little to build. Pool noodles, old tires, wooden planks, and rope are cheap materials that make great hurdles, beams, and swings. Start with two or three stations and add more over time as your budget allows.
How do I store obstacle course equipment in winter?
Take fabric tunnels, rings, and cones indoors and store them in labeled bins in a garage or shed. Cover wooden stations with a waterproof tarp, or move smaller pieces under a porch roof. Dry everything fully before storage so wood and fabric stay in good shape until spring.

Hi, I’m Emily! I turn messy corners into cozy, organized spots. DreamNestDecor is where I share simple, practical home ideas — decor, organization, and small-space solutions that work in real life, not just in photos. Every idea here is carefully researched before it’s shared.