
Ranch houses were built for togetherness. One long level, no stairs to climb, and every room within easy reach. For a modern family, that simple shape is a gift.
But a small ranch can also feel cramped if every wall stays exactly where the builder put it. The good news is that ranch layouts are some of the easiest to open up and rethink, because single-story framing is simple and forgiving.
These 30 small ranch house floor plan ideas will help you see your single-story home with fresh eyes. Each one is a practical layout move with real measurements and placement tips that give your family more room to live.
1. Open Great Room Core
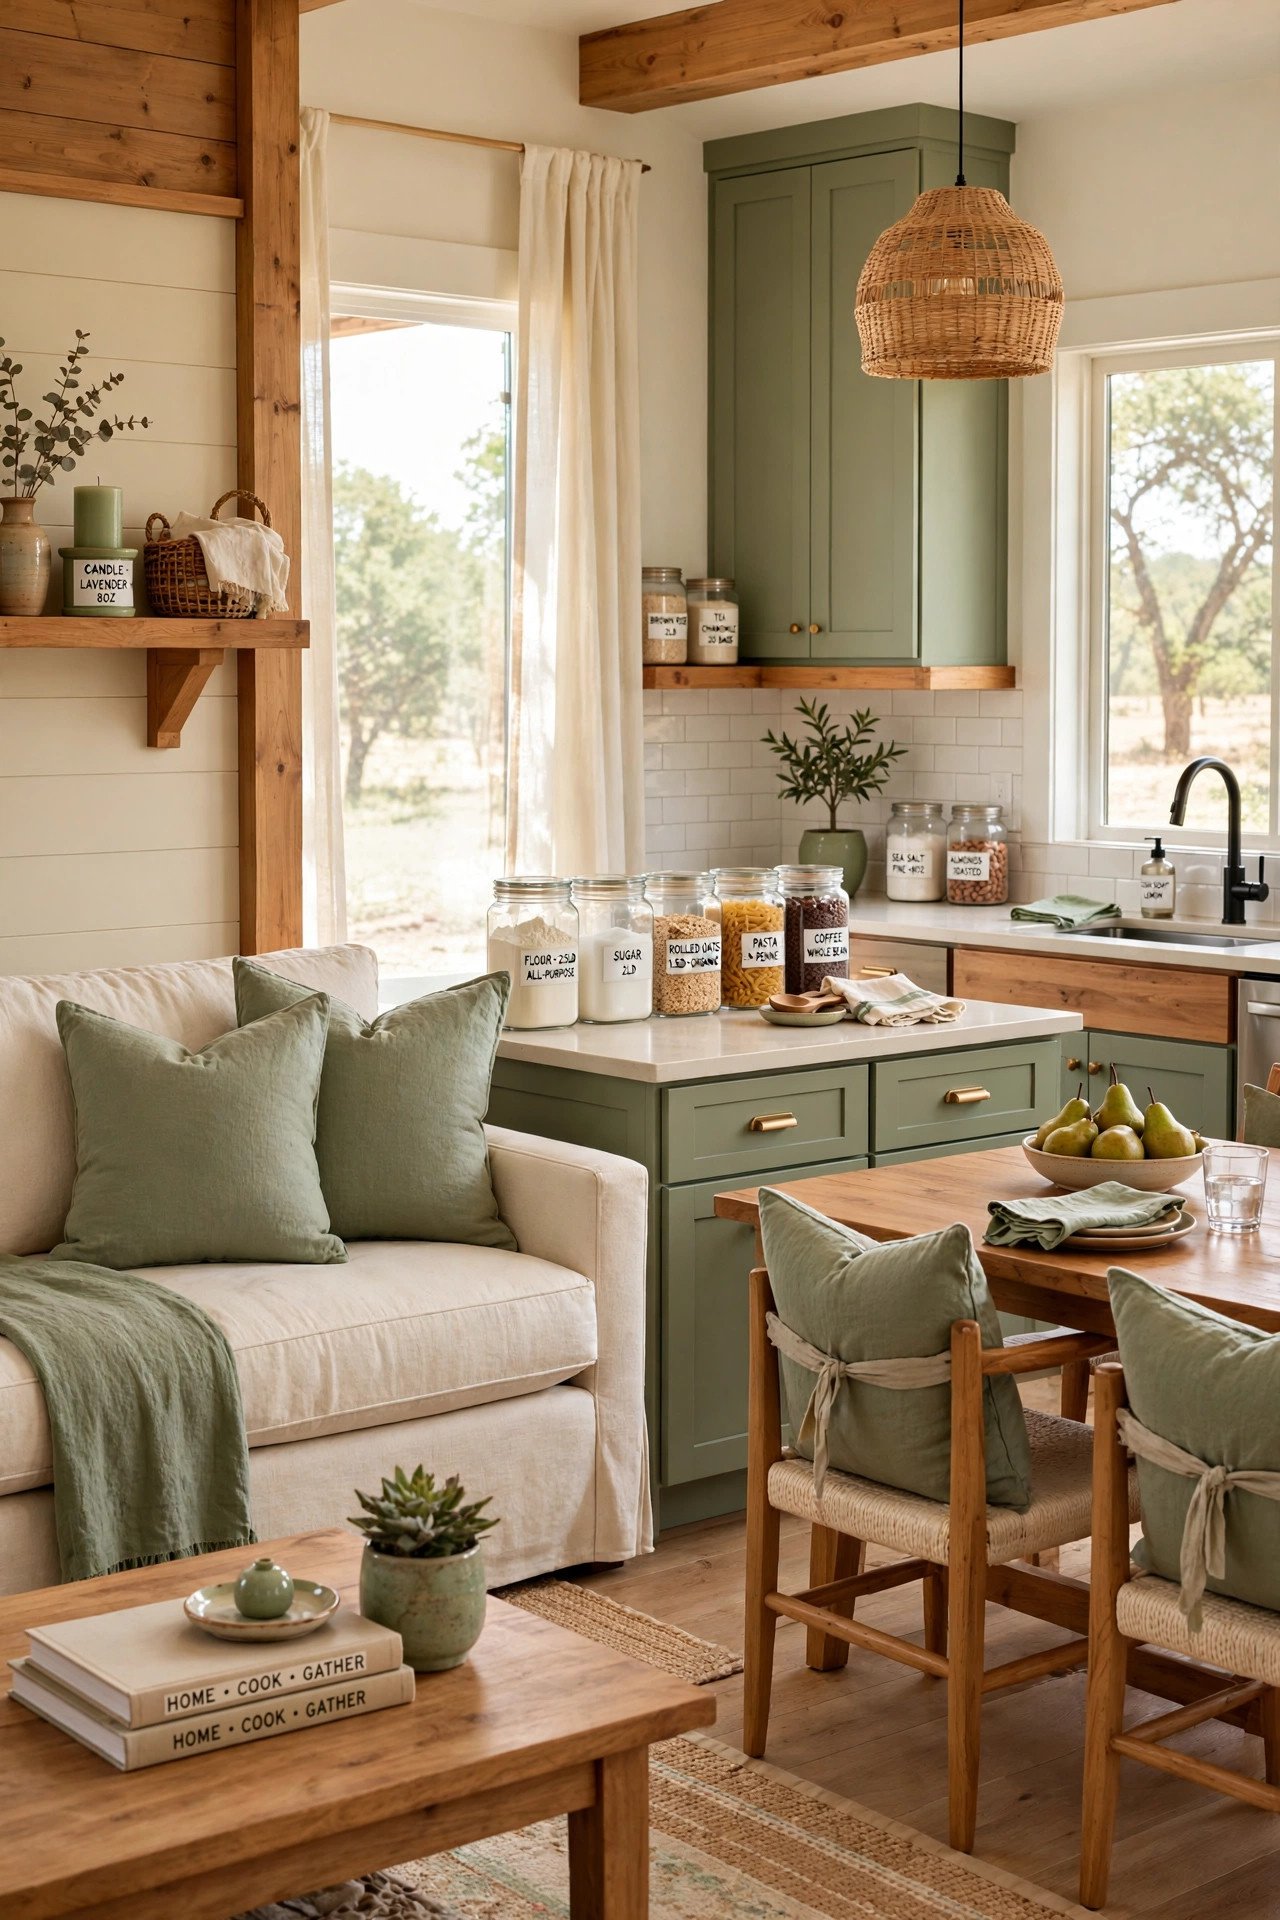
Remove the wall between the kitchen and living room to form one flowing great room, but check first whether it is load-bearing. In most ranches, interior walls running parallel to the roof ridge are not structural, while walls running across the narrow dimension often carry load. A structural engineer can confirm in one visit, and a load-bearing wall can still come down with an LVL beam sized for the span.
Keep at least 42 inches of clear walkway between the island or peninsula and surrounding counters so two people can pass with a laundry basket. Run one continuous flooring material across the new open zone so the eye reads it as a single room, then anchor the seating area with a rug at least 8 by 10 feet with the front legs of the sofa on it. You will feel the house double in size the day the wall comes down.
2. Split Bedroom Wings
Use the classic ranch long rectangle to your advantage by placing the primary bedroom at one end and the kids rooms at the other, with the living areas as a buffer in the middle. Sound drops dramatically when two closed doors and a living room sit between the bedrooms. If your hallway already connects everything, add a solid-core door at the entrance to the kids wing so bedtime noise stays contained.
Place closets back to back between adjacent bedrooms to create a free sound buffer of hanging clothes. Keep the kids bathroom inside their wing so nobody crosses the living room at night. This wing layout is the single best reason to choose a ranch for family life, and it costs nothing to adopt if the rooms already sit at opposite ends.
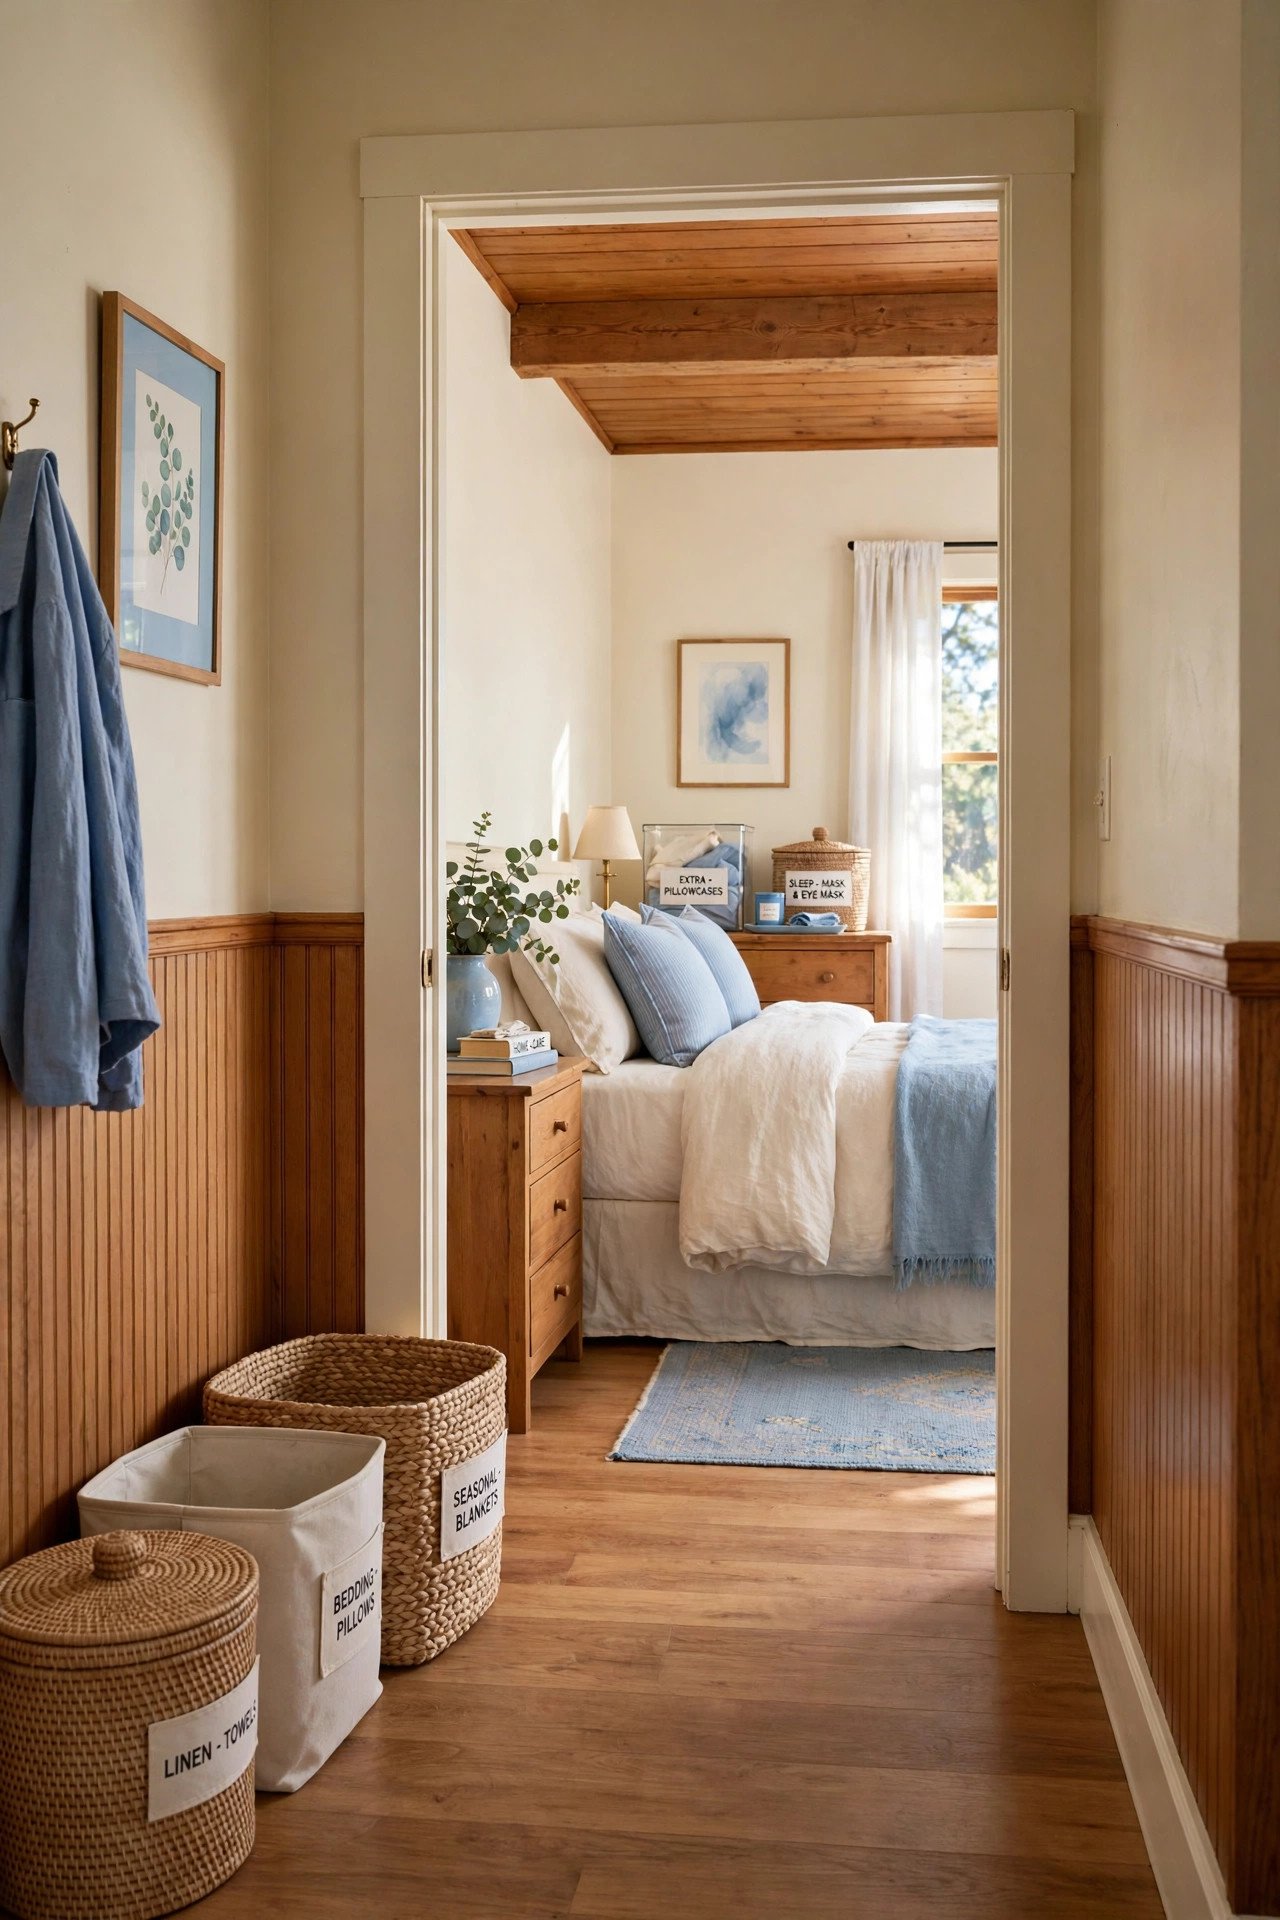
3. Front Porch Sitting Room
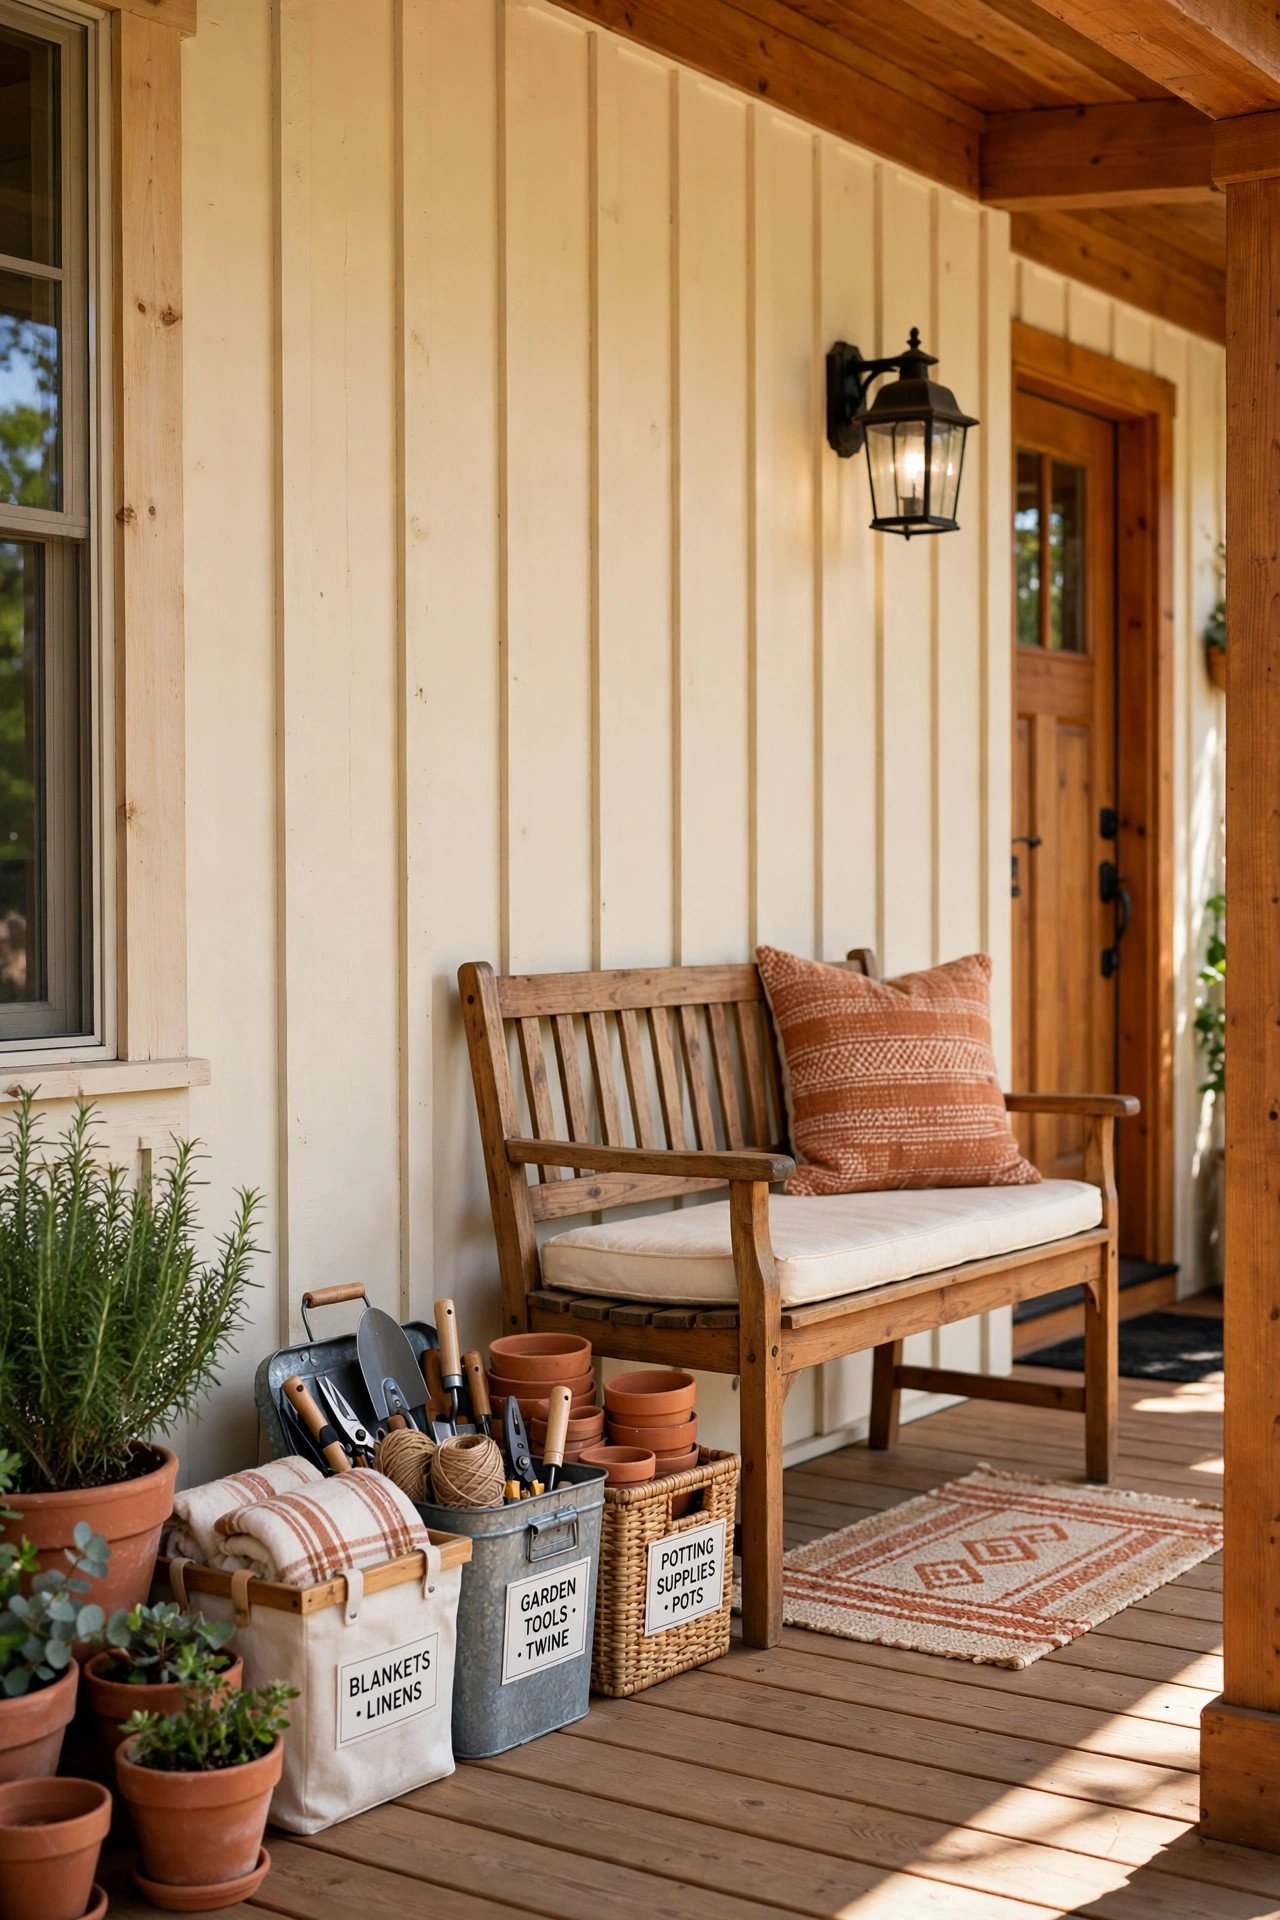
Turn a 6 to 8 foot deep front porch into a true outdoor entry hall. Place a bench at least 4 feet long against the house wall, flanked by two large planters, and mount a lantern-style light by the door at 66 inches high. A 3 by 5 foot outdoor rug defines the sitting zone and catches dirt before it reaches the threshold.
If your area has mosquitoes, screen the porch with a simple framed screen system so the space works on summer evenings. Add a small outdoor ceiling fan rated for damp locations to move air. The porch becomes a play zone, a greeting spot, and a mud buffer, which takes pressure off the interior entry all year.
4. Kitchen Island Command Center
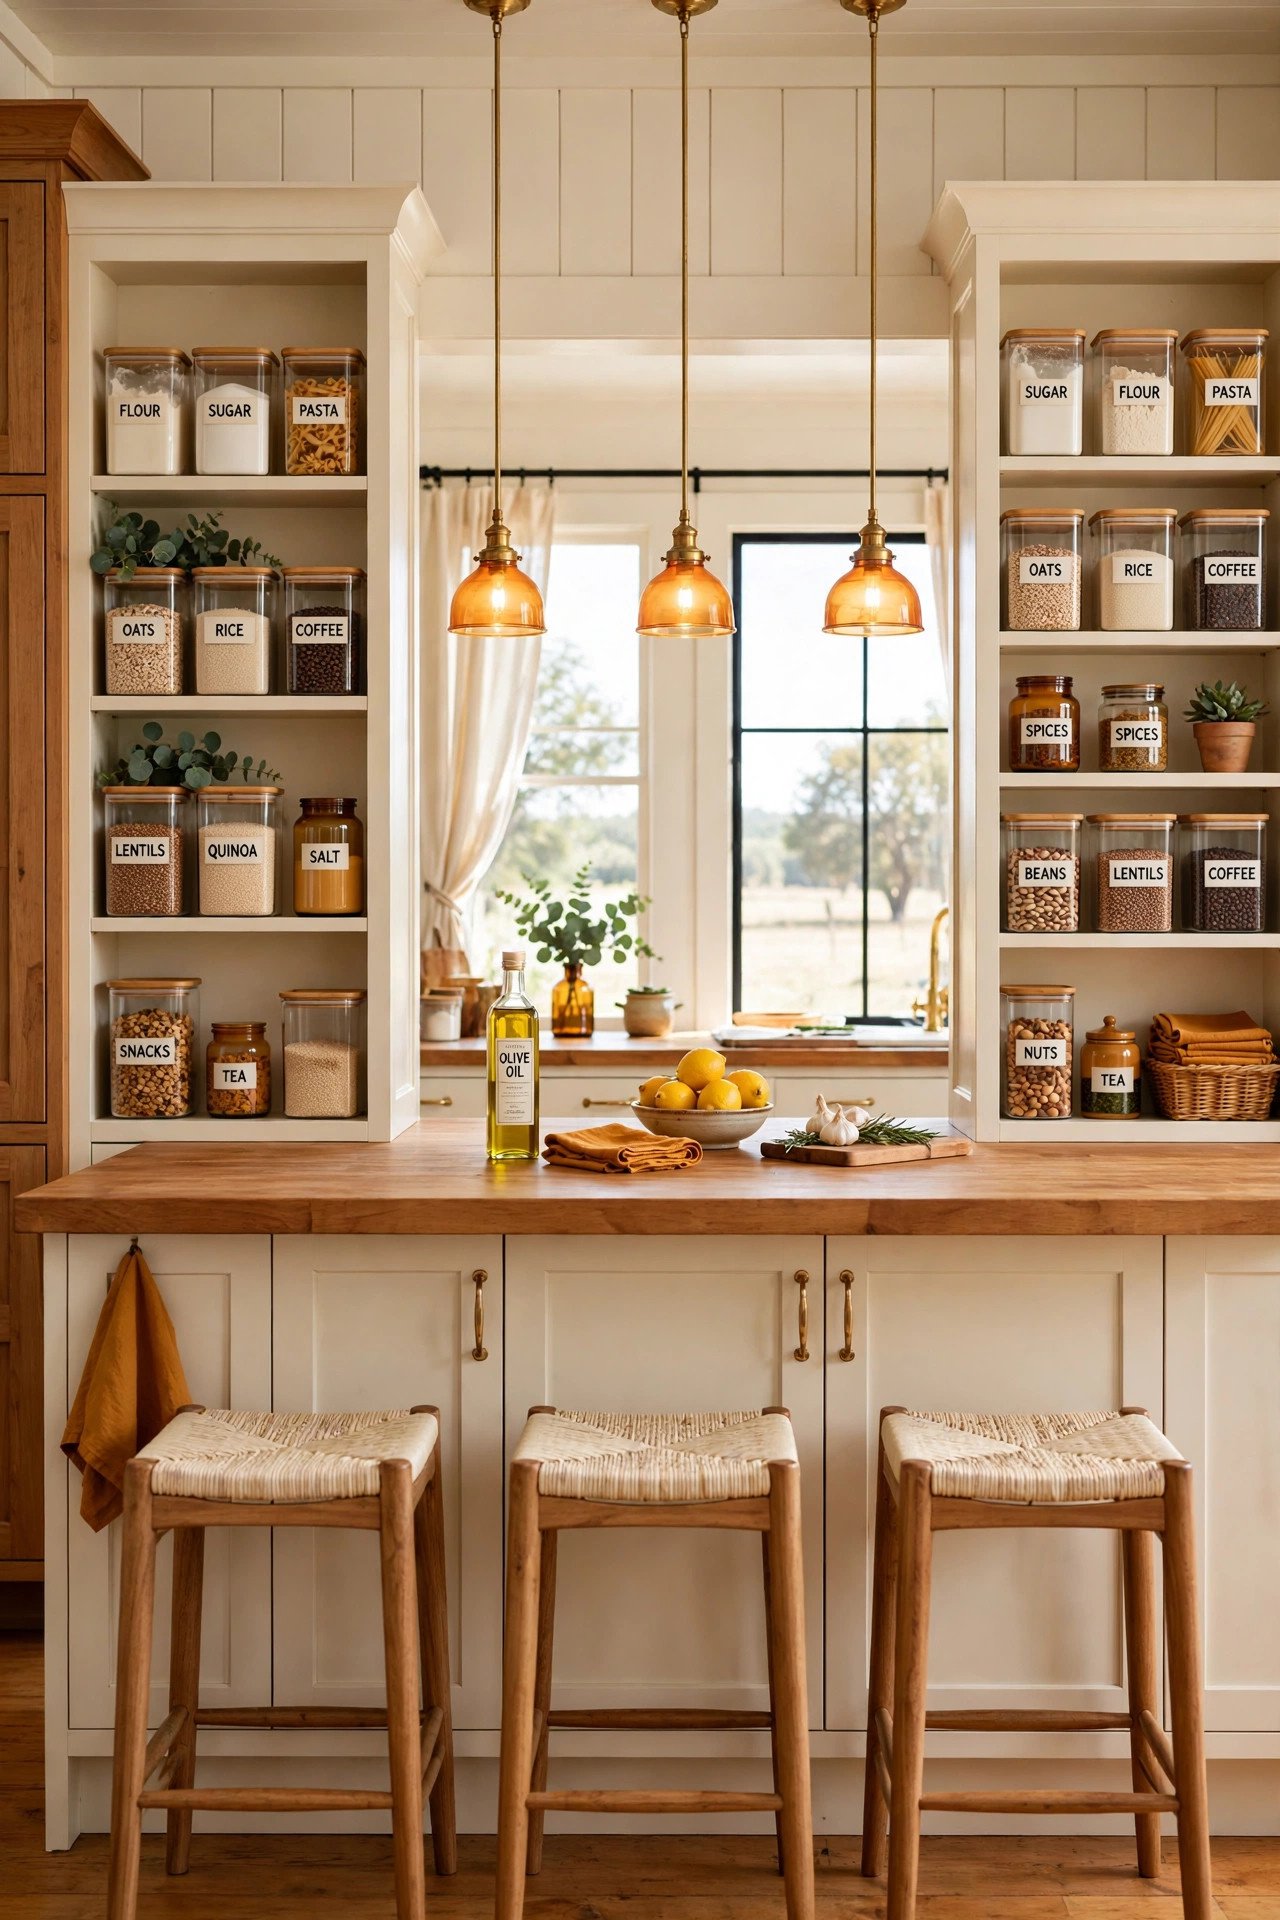
Replace a closed-off galley with an island that anchors the kitchen, but size it correctly. Allow 42 to 48 inches of clearance on all working sides so the dishwasher door and oven door can open without collision. Plan 24 inches of counter width per bar stool, and keep the island at standard 36 inch counter height so it works for both prep and homework.
Build storage into both sides of the island: deep drawers for pots on the kitchen side, and a bookshelf or file cubby on the living side for homework supplies. Hang two pendants 30 to 36 inches above the island surface for task light. One well-planned island replaces a desk, a snack bar, and half your base cabinets.
5. Mudroom Drop Zone by the Garage
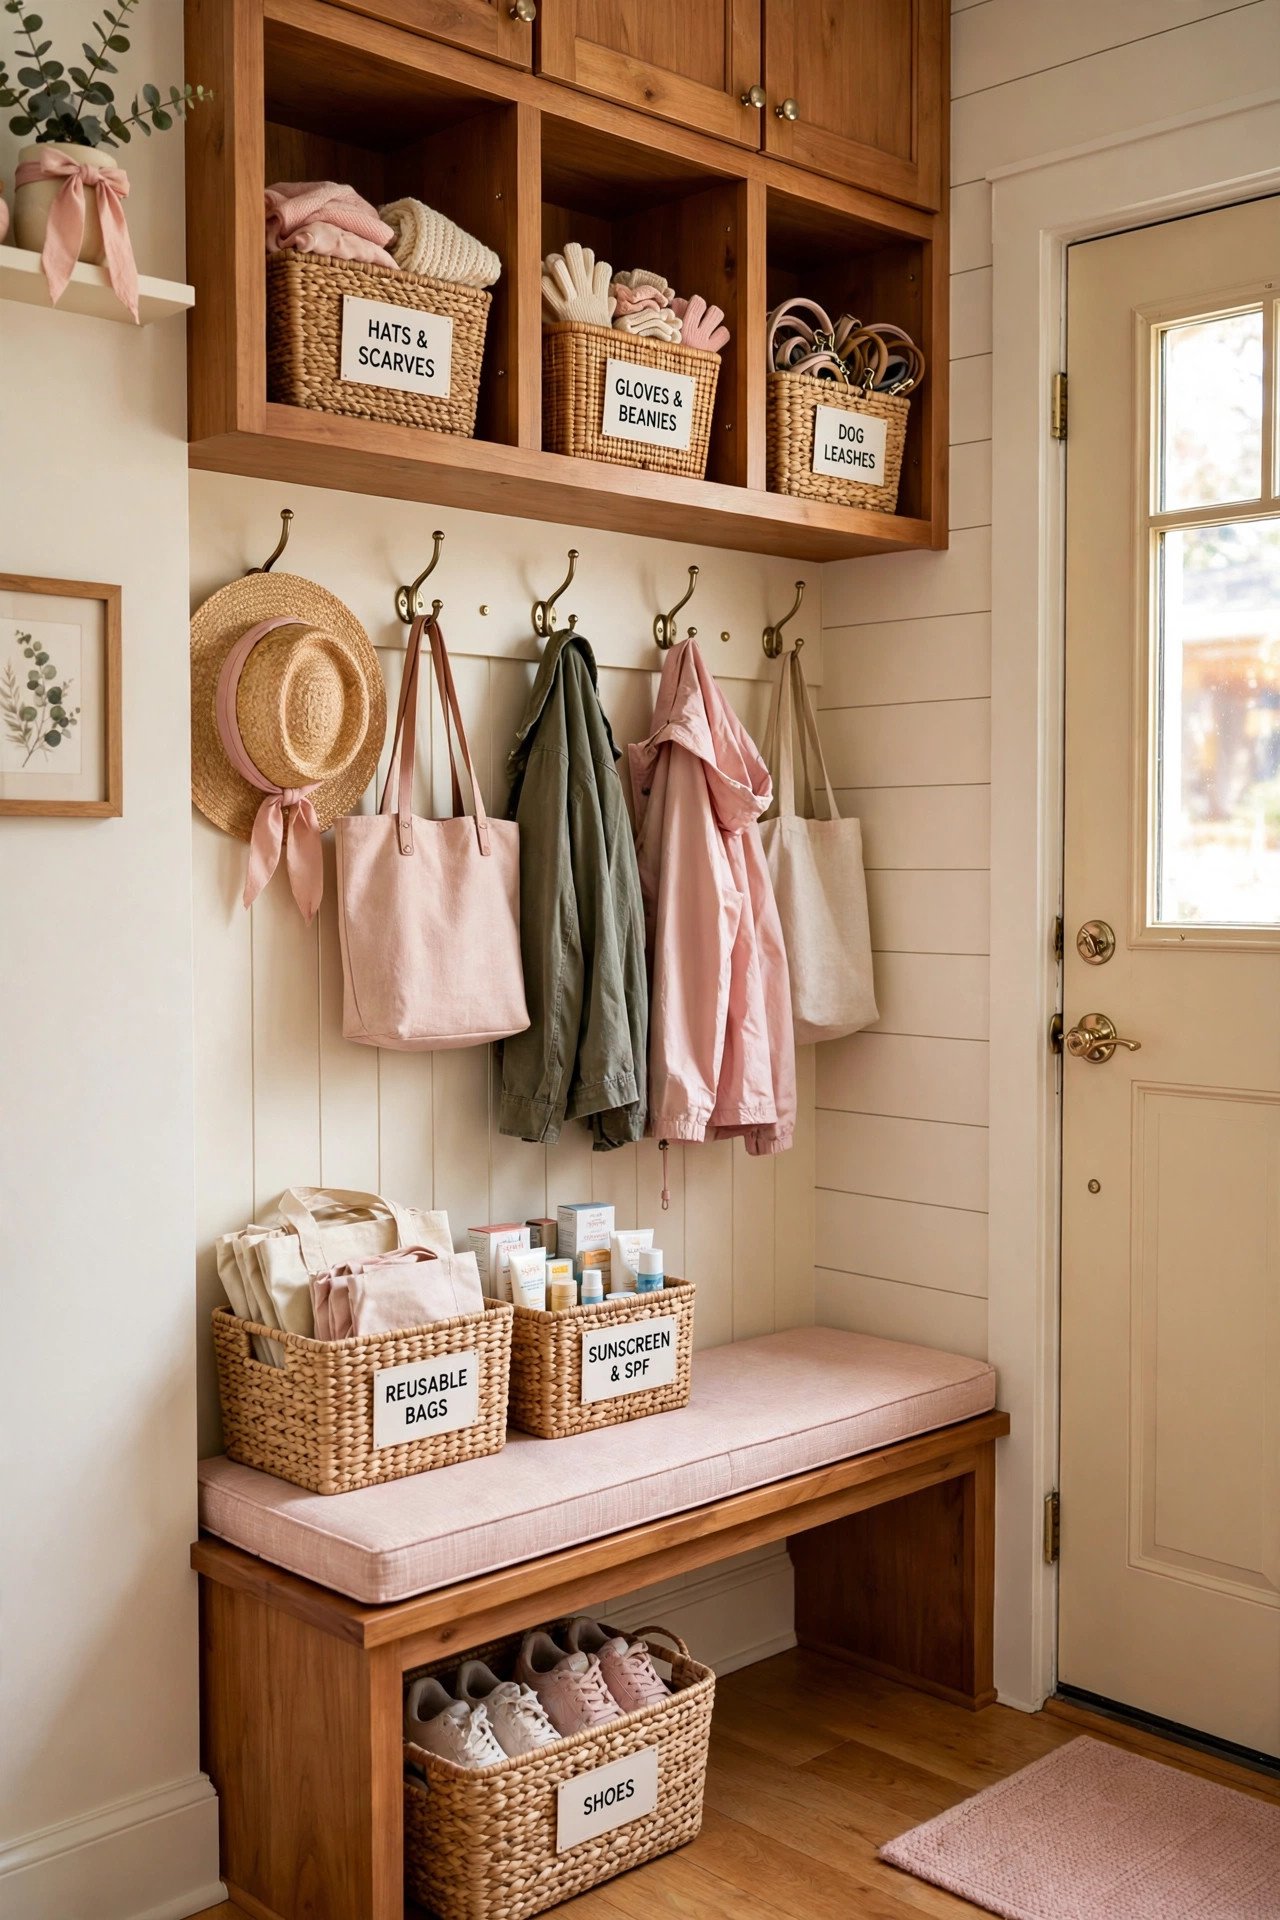
Carve a mudroom out of the first 5 feet inside the garage entry door. Mount double hooks at 48 inches high for kids and 60 inches for adults, one set per family member, and place a 14 inch deep bench below with shoe cubbies underneath. A 4 foot wide strip is enough if every inch is assigned.
Give each child a labeled canvas bin on a high shelf for gloves, hats, and sports gear, and keep a narrow boot tray by the door for wet days. If the garage entry opens directly into the kitchen, add a cased opening or a barn door to visually separate the drop zone. Mornings run on autopilot when bags, shoes, and coats each have a fixed home.
6. Wide Hallway Gallery Wall
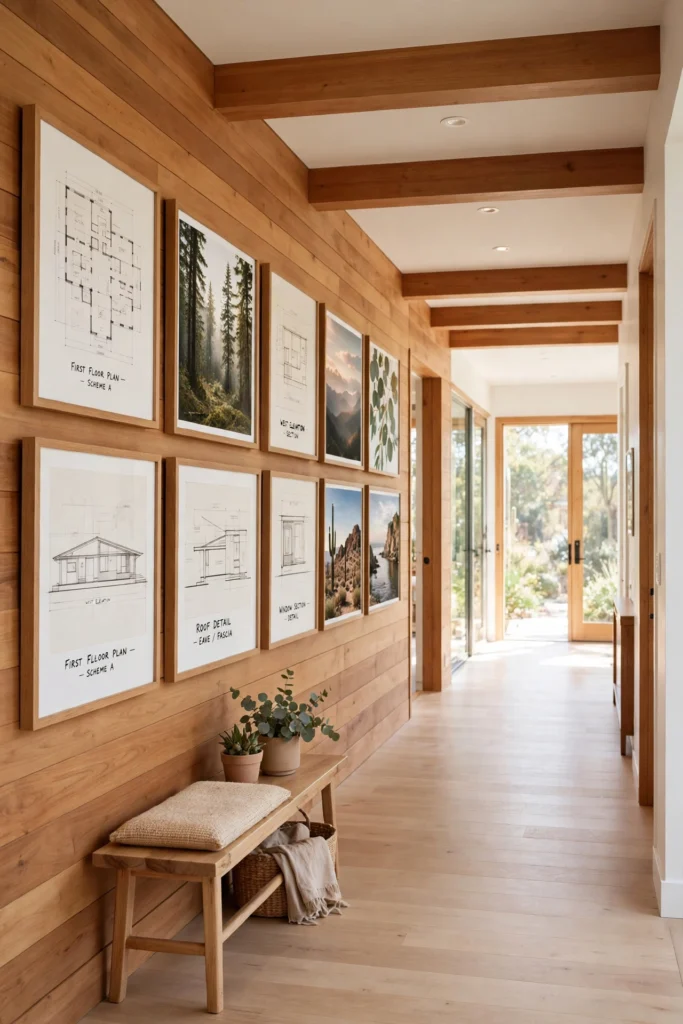
Ranch hallways often run 42 to 48 inches wide, which leaves room for both art and shallow storage. Hang frames in a single level line with centers at 57 inches from the floor, the gallery standard, and keep frame depths under 2 inches so shoulders never brush them. A 2.5 foot wide runner protects the floor and quiets footsteps.
Frame the whole display with simple decorative molding rectangles to give the hallway a built-in, intentional look. If the hall is at least 48 inches wide, add 12 inch deep book ledges on one side for a library effect while keeping 36 inches of clear passage. The most boring stretch of the house becomes its most personal.
7. Vaulted Ceiling Great Room
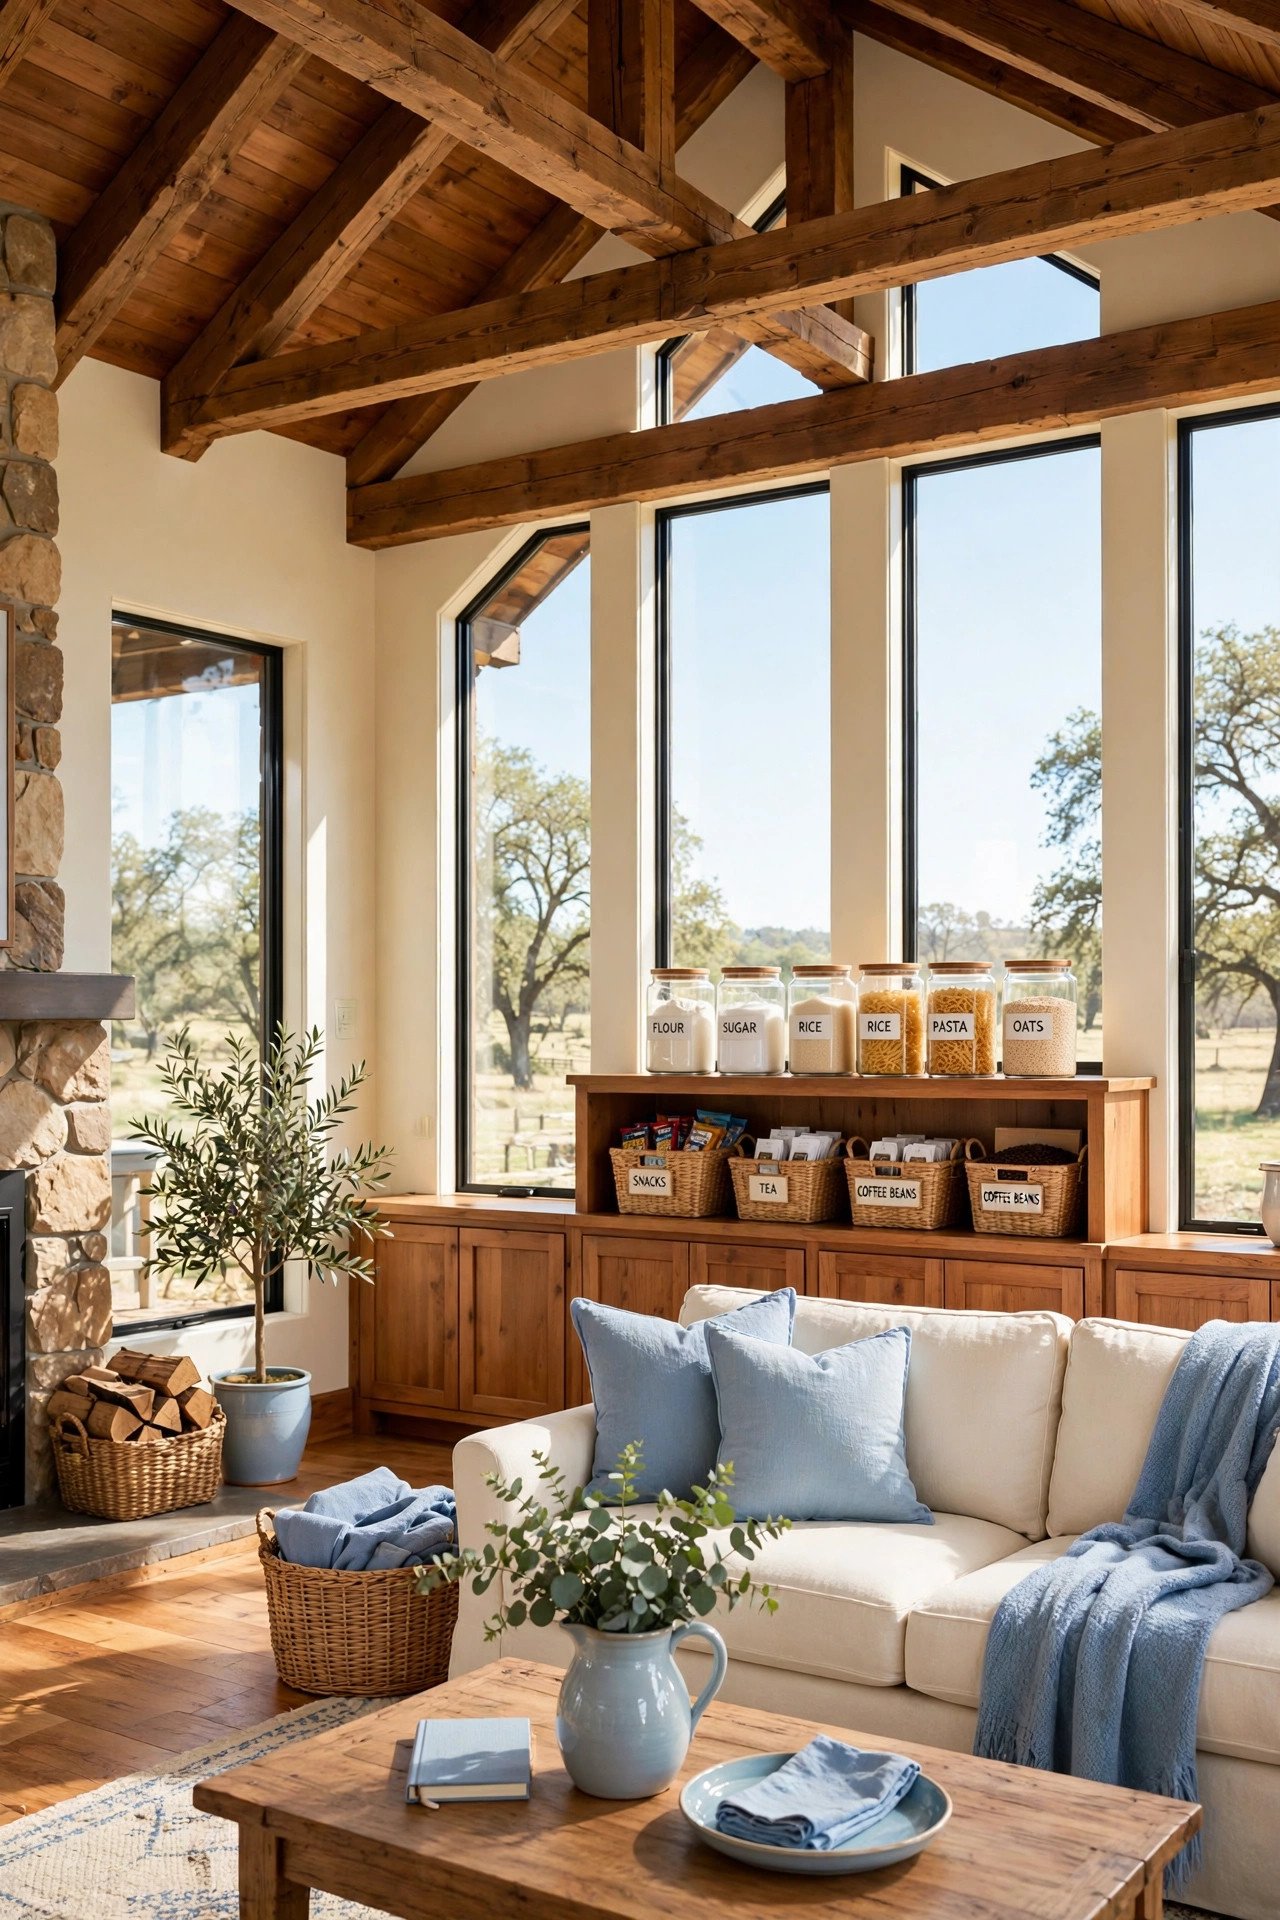
Open the flat ceiling over the living area up to the roof rafters to create a vaulted great room. A structural contractor will add a ridge beam and collar ties to keep the roof stable, which is routine work in single-story ranches. The added volume makes an 1,100 square foot living zone feel like 1,500.
Run the vault only over the main living space and keep bedroom ceilings flat to control heating costs. Add two skylights on the north-facing slope for even daylight without summer heat gain. For dressing that tall overhead plane, browse ceiling design ideas with exposed beams that suit ranch architecture.
8. Sunroom Turned Family Room
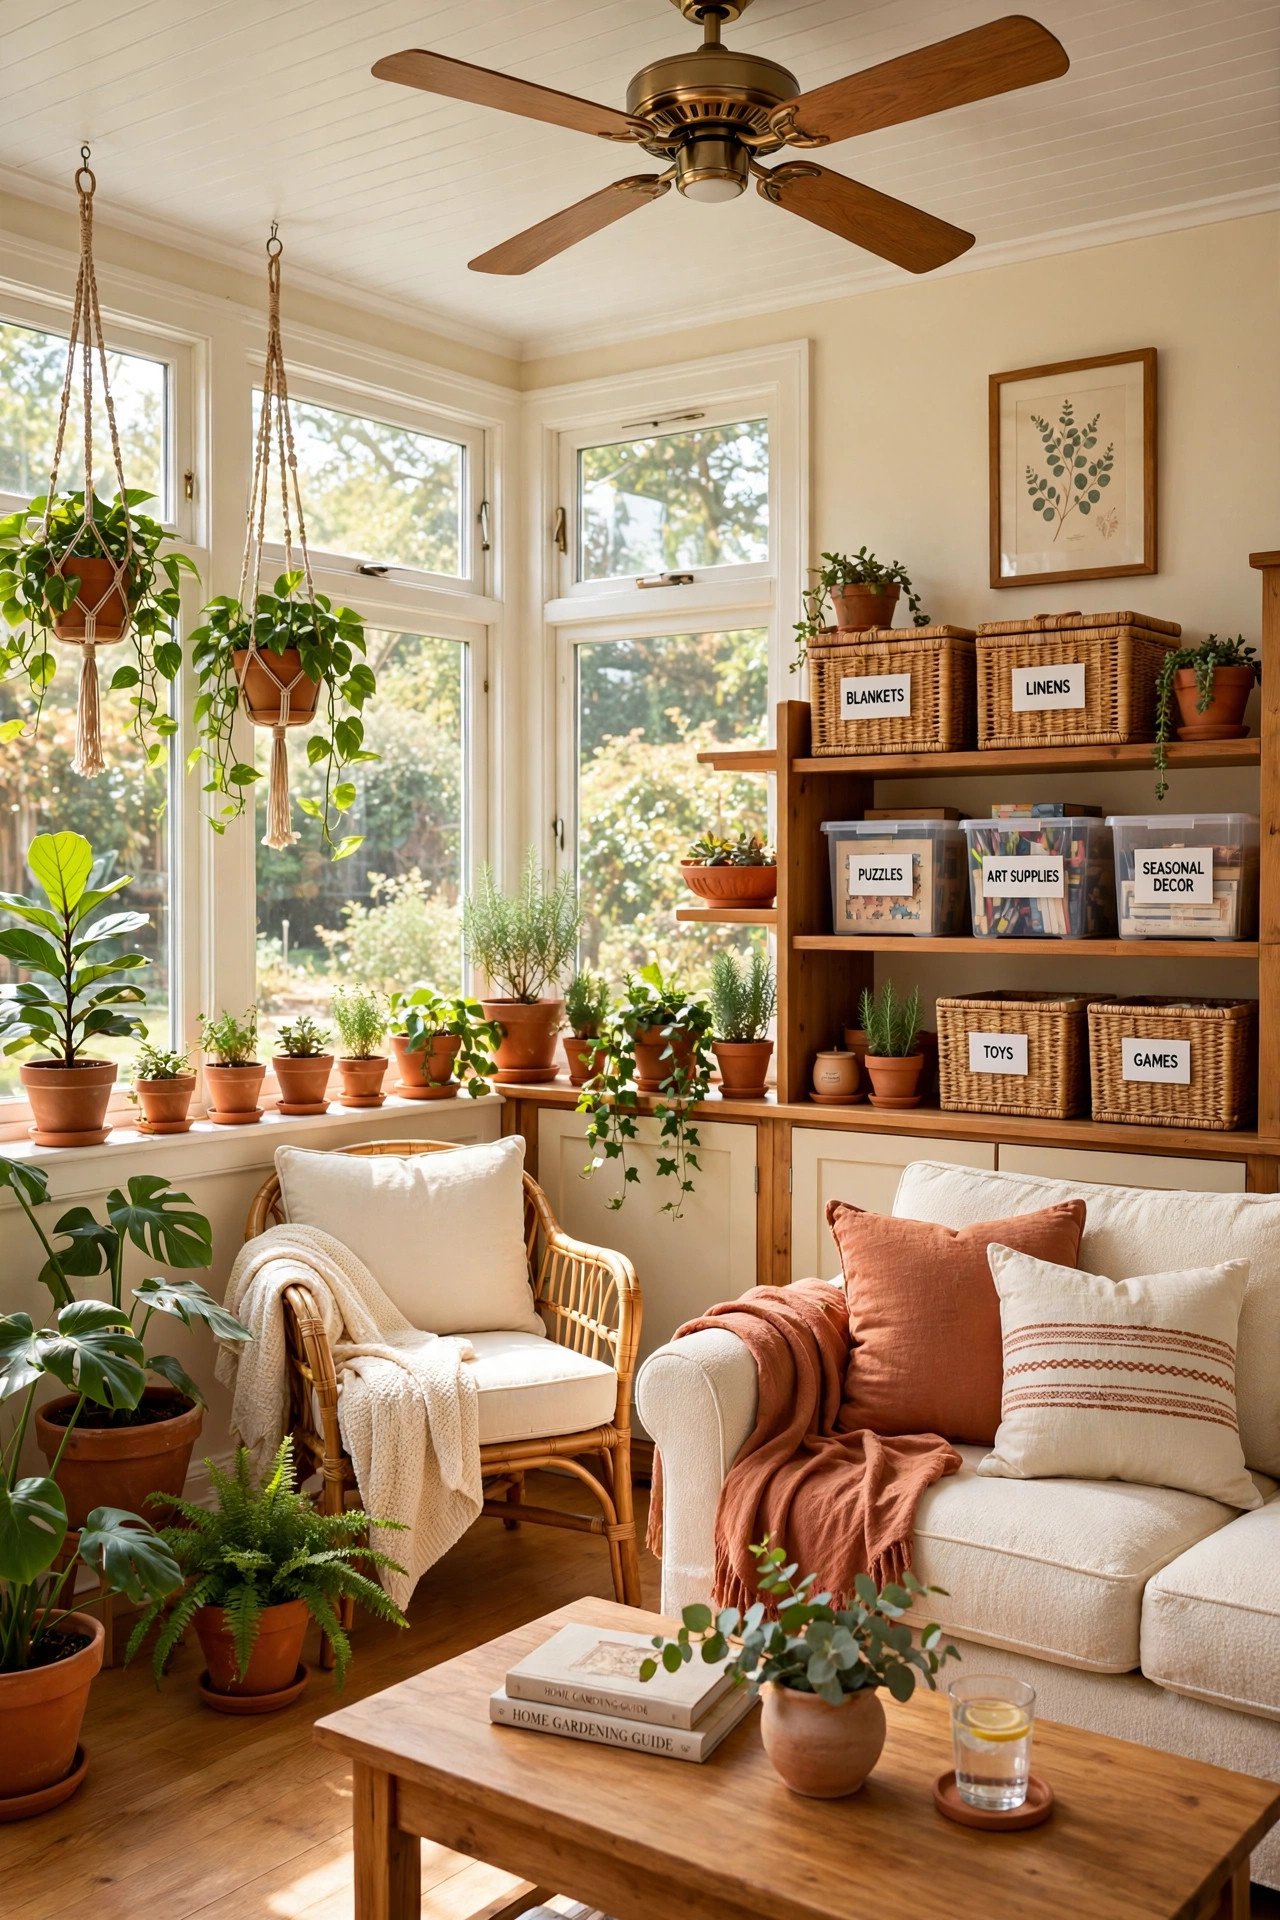
Convert an enclosed porch or sunroom into a true four-season family room by insulating the walls to at least R-13, adding a dedicated heating source like a ductless mini-split, and replacing single-pane glass with double-pane windows. Without insulation and heat, the room sits empty half the year, which wastes its footprint.
Choose lightweight, movable seating so the room can switch from homework hub to movie night in minutes. Keep a storage ottoman for blankets since sunrooms cool down fast at night. Once it holds temperature, this becomes the brightest, most-used room in the house.
9. Jack and Jill Bathroom
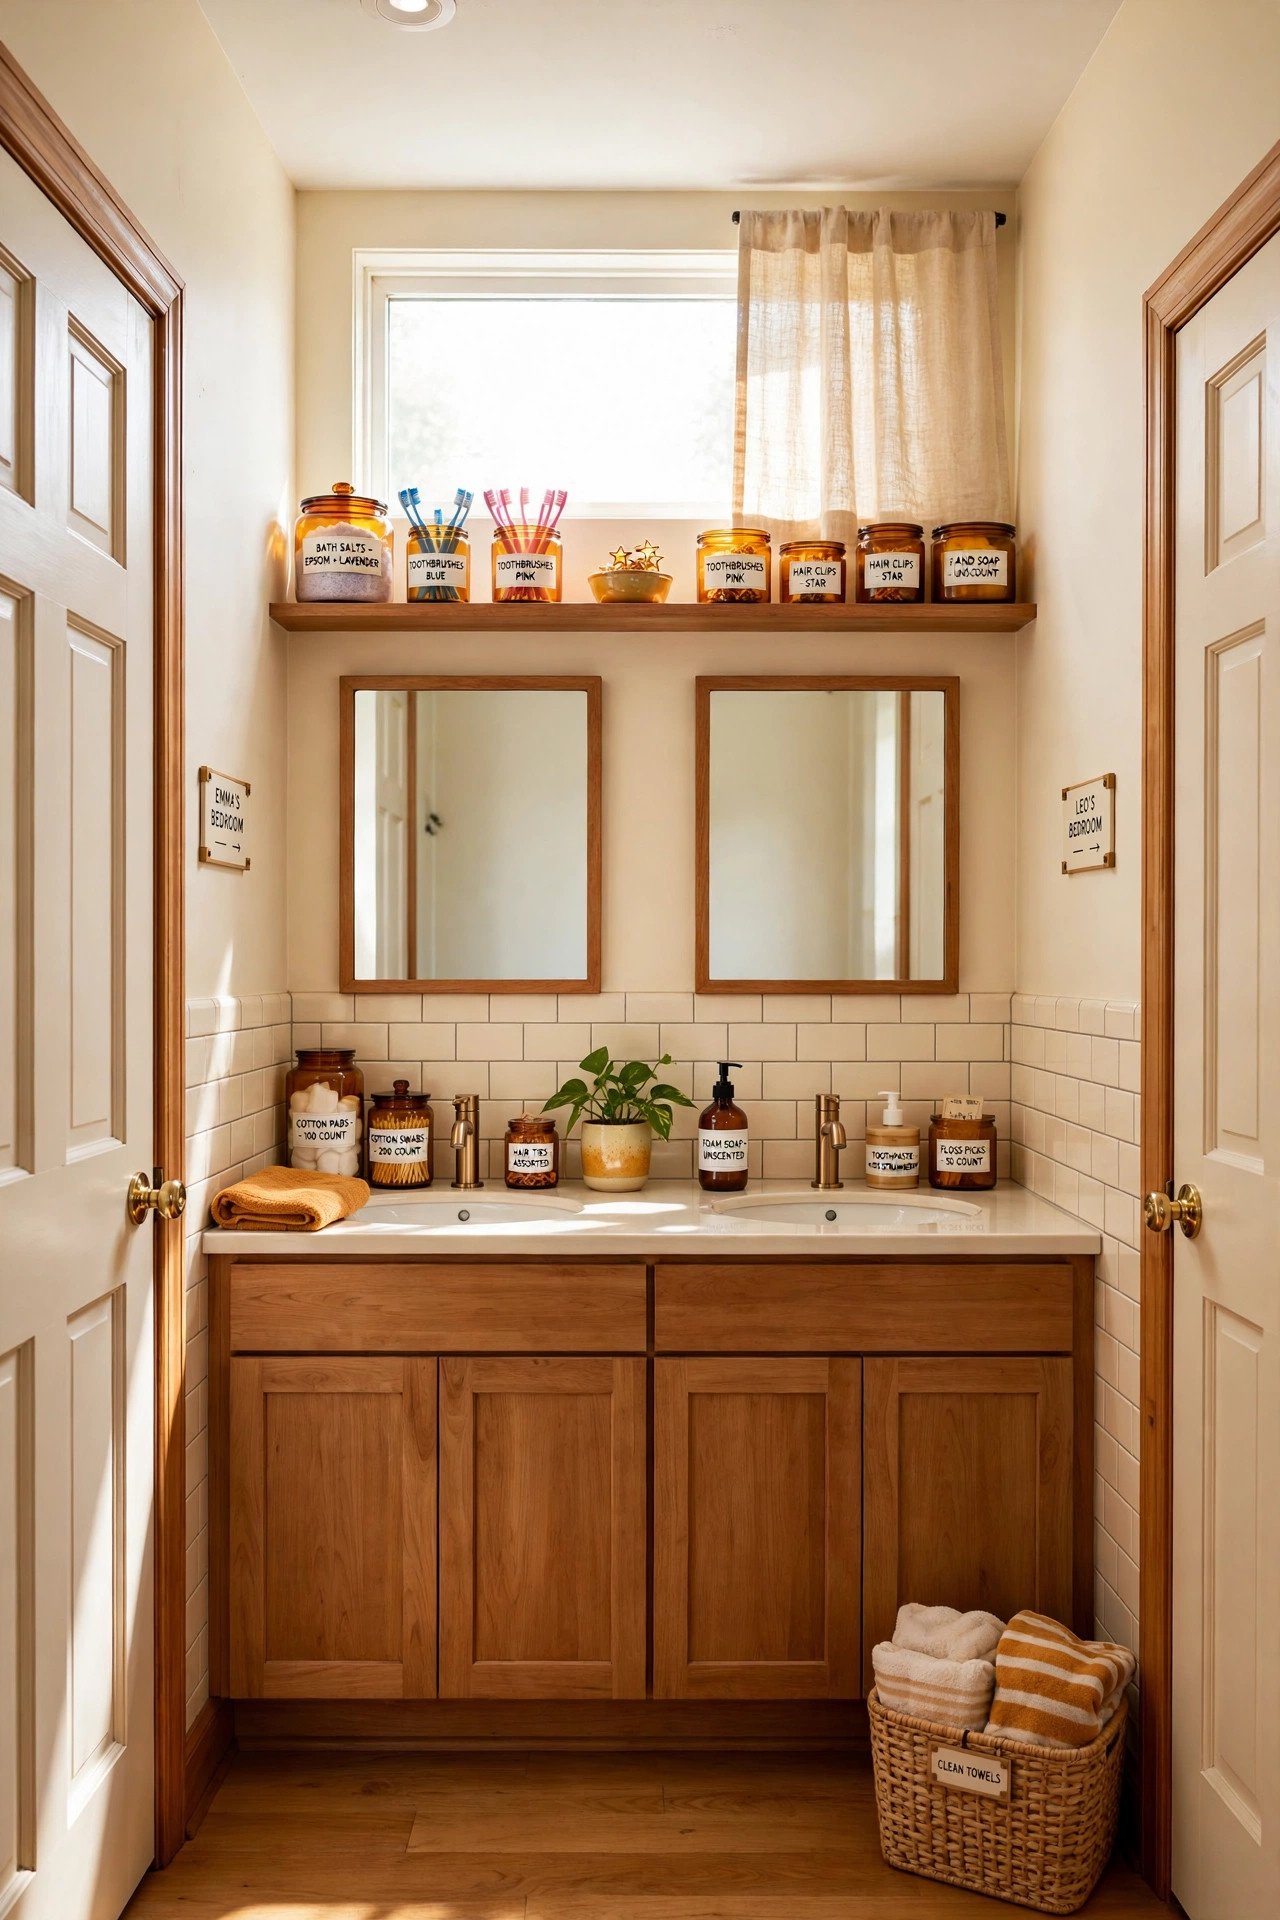
Place one full bathroom between two kids bedrooms with a locking door on each side, so siblings share plumbing without sharing a hallway. Put the locks on both doors and teach the simple rule that a locked door means occupied. Add a small linen niche in the wall between the doors for towels both rooms can reach.
If the room allows, install a double vanity with 30 inches of width per sink so two kids can brush teeth at once. Keep the toilet and tub in a separate water closet with its own door inside the bathroom, and morning routines stop colliding. One well-zoned bathroom serves two bedrooms better than two cramped ones.
10. Sliding Glass Wall to the Patio
Replace a standard 3 foot back door with a 12 to 16 foot multi-slide door system that stacks fully to one side. When open, the living room and patio function as one continuous family room. Size the patio slab or deck to match the interior zone so furniture can flow across the threshold.
Lay the same large-format tile inside and on the covered patio to erase the visual boundary, and choose an outdoor rug in colors pulled from the living room. Add a ceiling fan on the patio for air movement. From May to October, you gain a whole extra room for the price of a door upgrade.
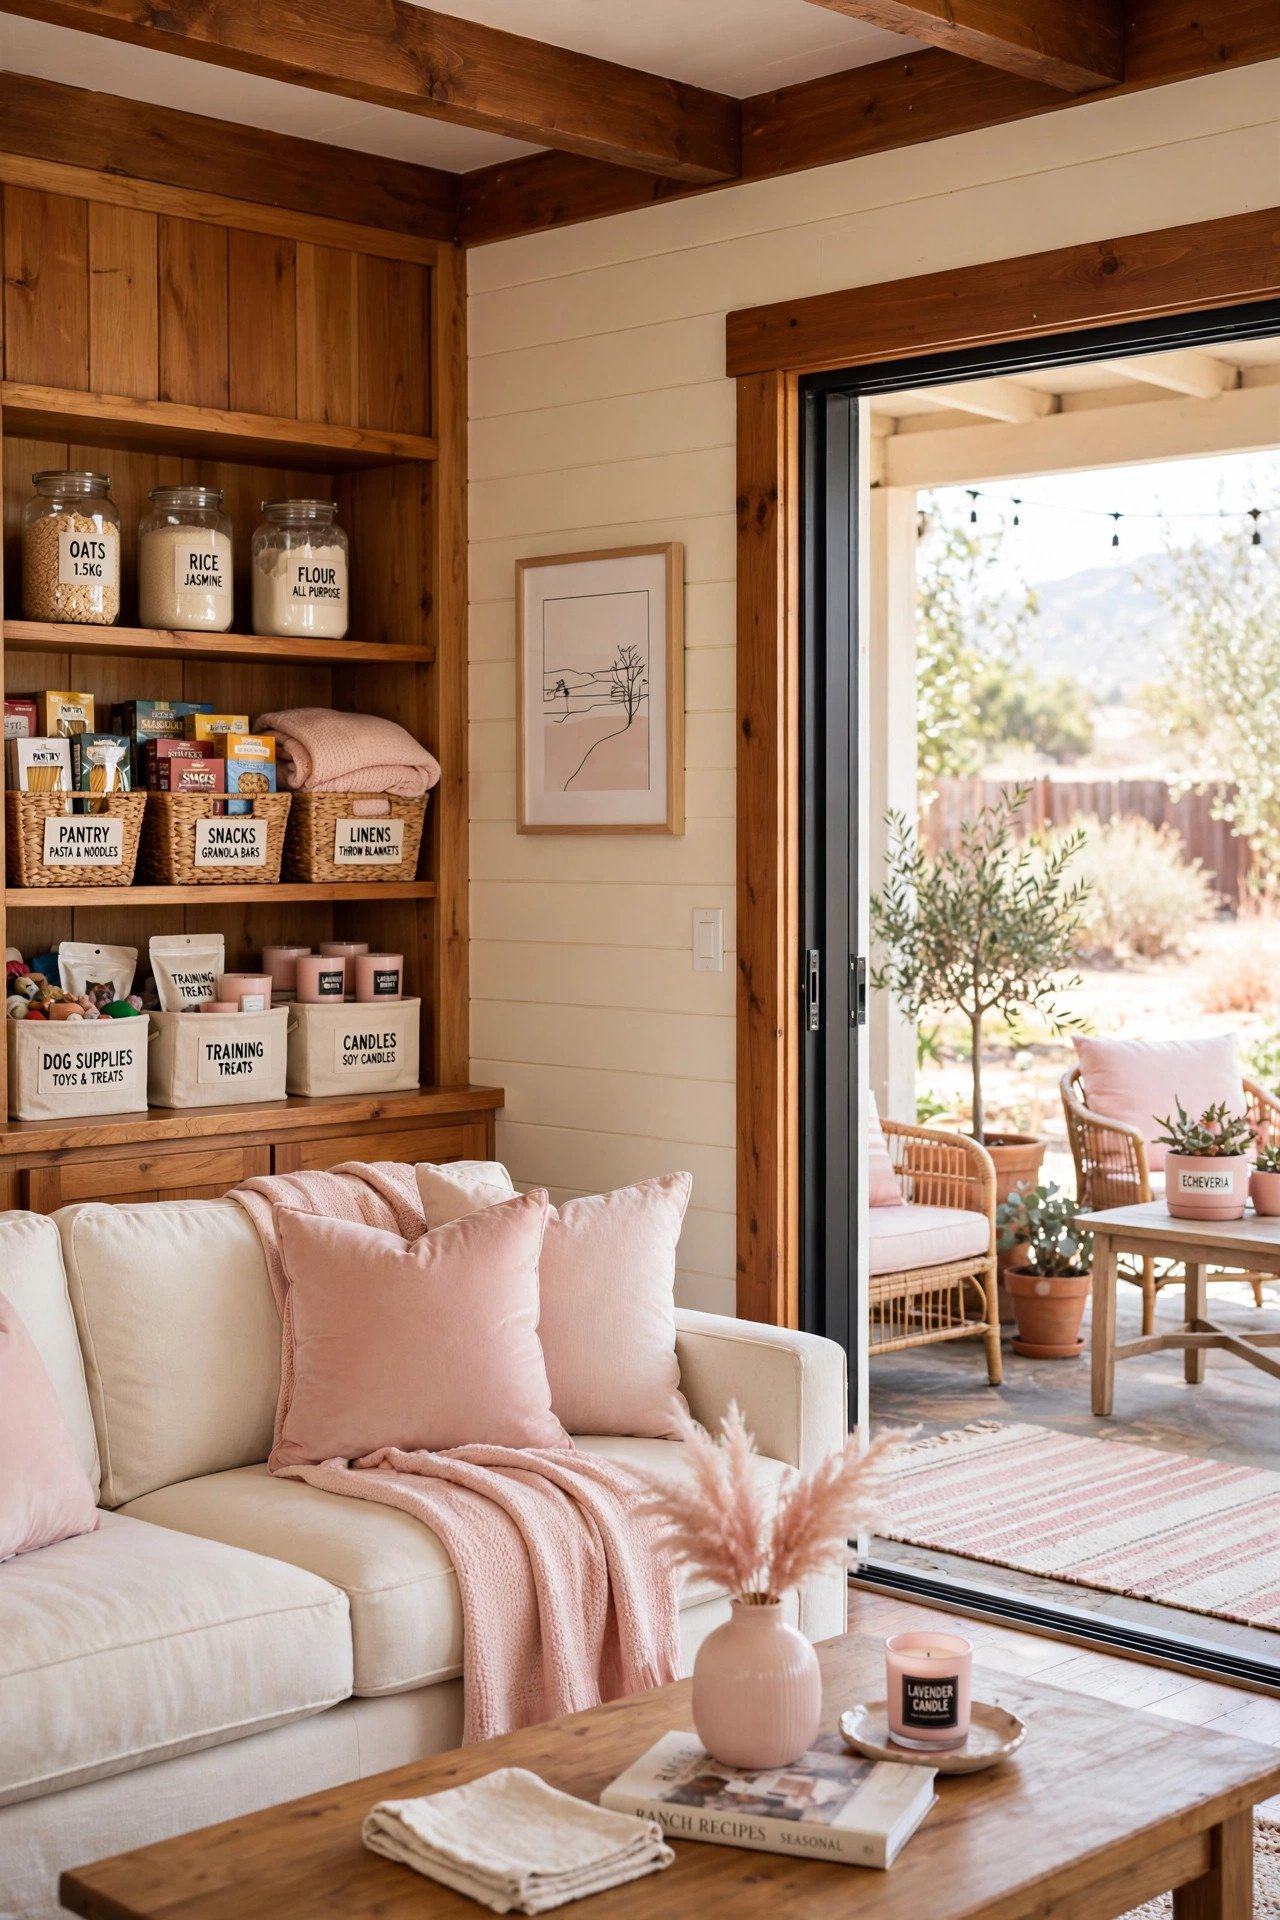
11. Hallway Office Nook
Tuck a work surface into a hallway at least 48 inches wide by mounting a 20 inch deep floating counter along one wall. That depth fits a laptop and a notebook while leaving 28 inches of walkway, which meets the minimum for comfortable passage. Mount the monitor or laptop riser on an arm to free the counter.
Face the counter toward the open room rather than the wall so the nook feels connected, and add a wall-mounted task light instead of a desk lamp to save surface space. A rolling file cabinet 15 inches wide slides underneath. You gain a full home office inside a hallway nobody was using.
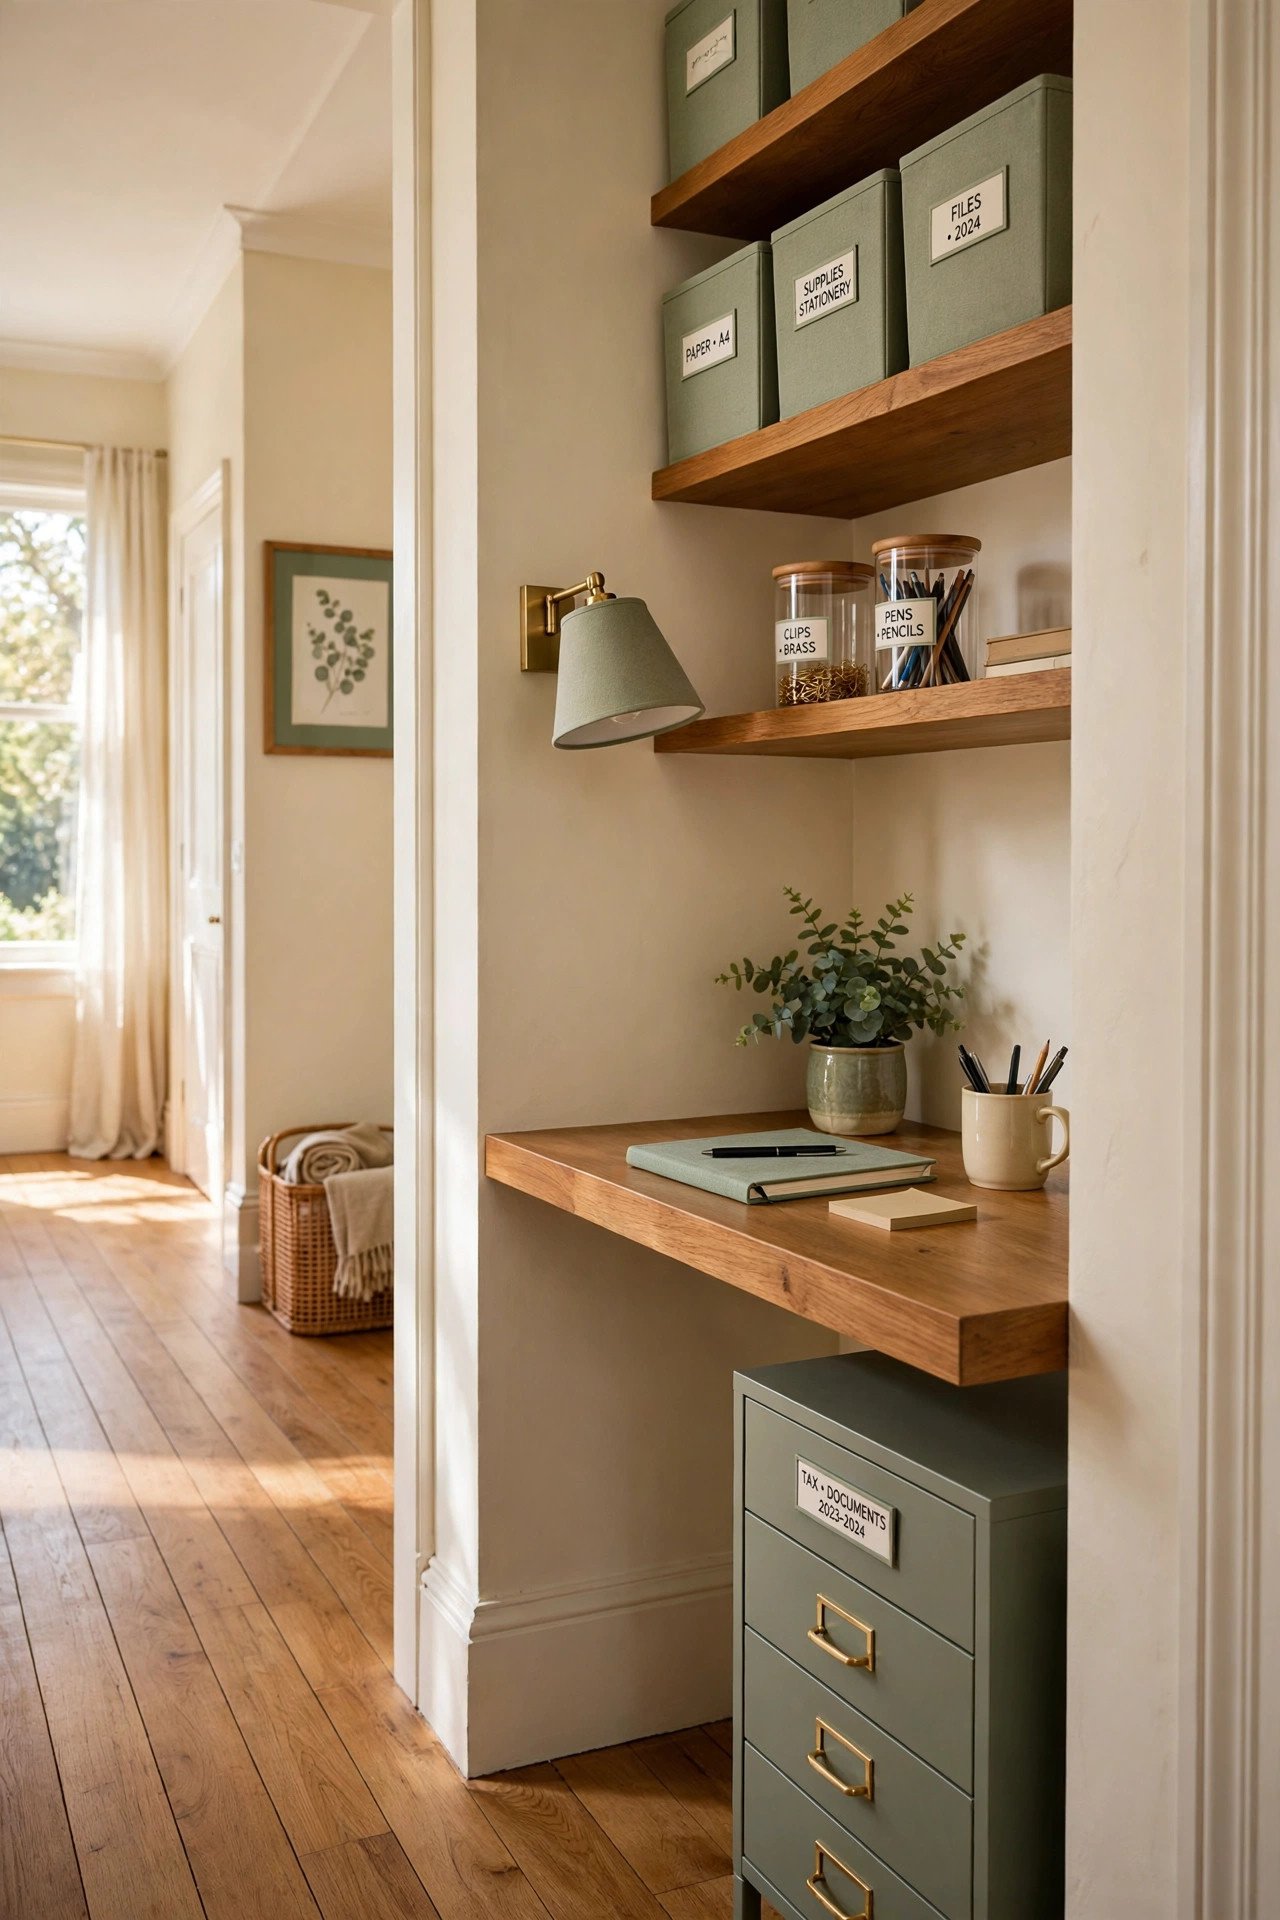
12. U-Shaped Kitchen With Peninsula
Shape the kitchen into a U with a peninsula instead of a freestanding island when the room is under 12 feet wide. The peninsula attaches to one wall, so it needs clearance on only three sides, and it still seats three on stools. Keep the work triangle of sink, range, and fridge legs between 12 and 26 feet total for efficient cooking.
Use the peninsula base for deep 24 inch drawers facing the kitchen and open shelving facing the living area for cookbooks or baskets. Hang pendants 30 inches above the peninsula to mark it as the social edge of the kitchen. It defines the space without ever blocking traffic.
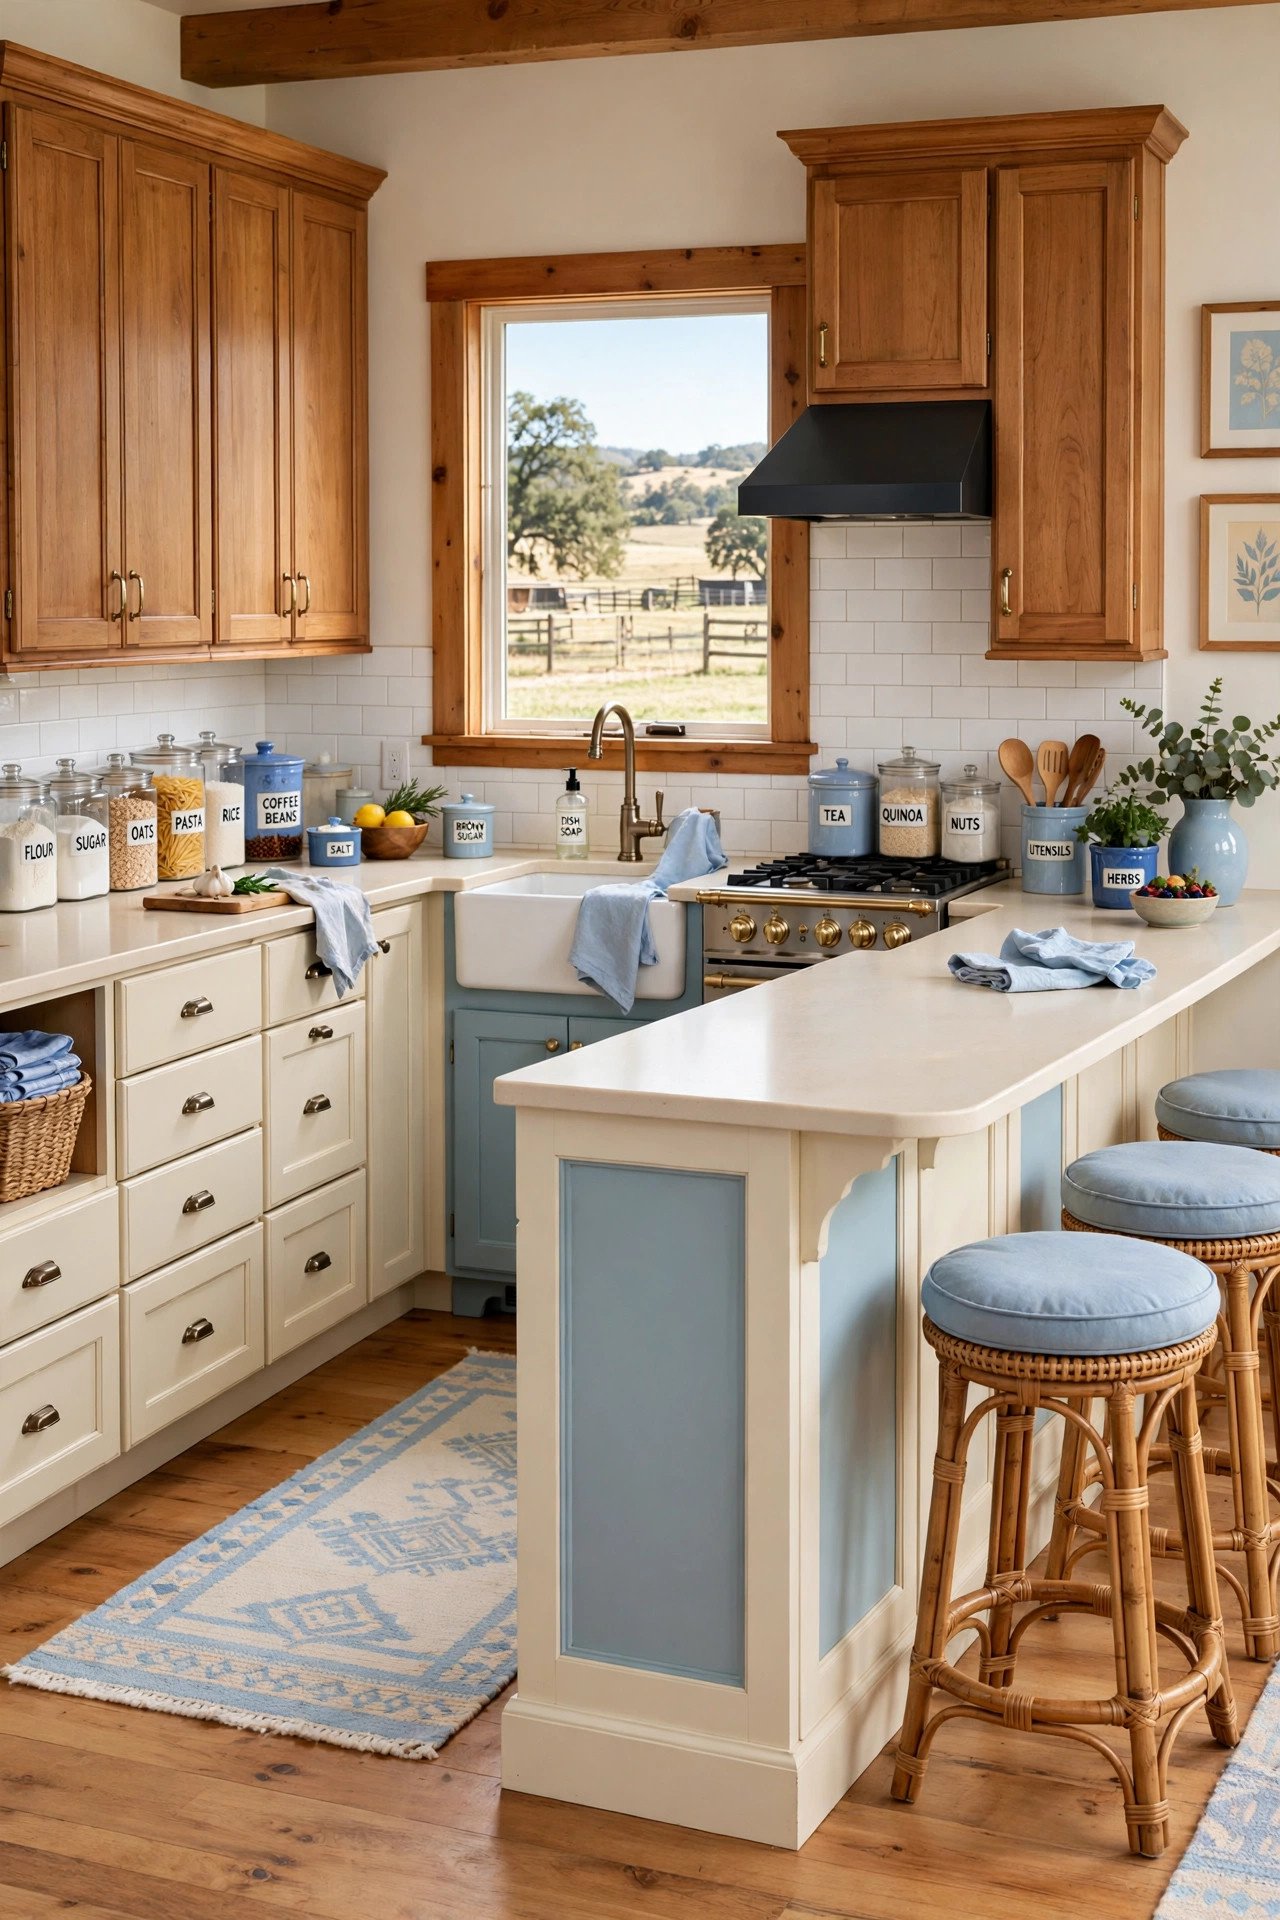
13. Laundry Room Near Bedrooms
Relocate the laundry to the bedroom hallway, because that is where roughly 80 percent of laundry is generated. A 5 foot wide reach-in closet fits a stacked washer and dryer with a 24 inch folding shelf above. Stack the units to reclaim floor space, and choose a front-load pair so the folding shelf stays reachable.
Add a pull-out drying rack on the side wall for delicates and a narrow rolling cart between the machines for detergent. Vent the dryer straight through the nearest exterior wall to keep the run short. When the machines sit steps from the bedrooms, laundry stops being a whole-house expedition.
14. Converted Garage Bonus Room
Convert one garage bay into finished living space by insulating walls to R-13 and the ceiling to R-30, then adding a heat source tied to the main system or a mini-split. Most codes require the new room to have an egress window or door, so plan a 5.7 square foot opening window on an exterior wall. Keep the conversion reversible if resale with full garage parking matters in your market.
Replace the overhead door with a wall of windows or keep the door and build an insulated partition wall inside it. Run the same flooring as the adjacent interior rooms so the addition feels original. A 20 by 20 foot bay becomes a playroom, gym, or teen lounge, which is the cheapest square footage you will ever add.
15. Sunny Breakfast Nook
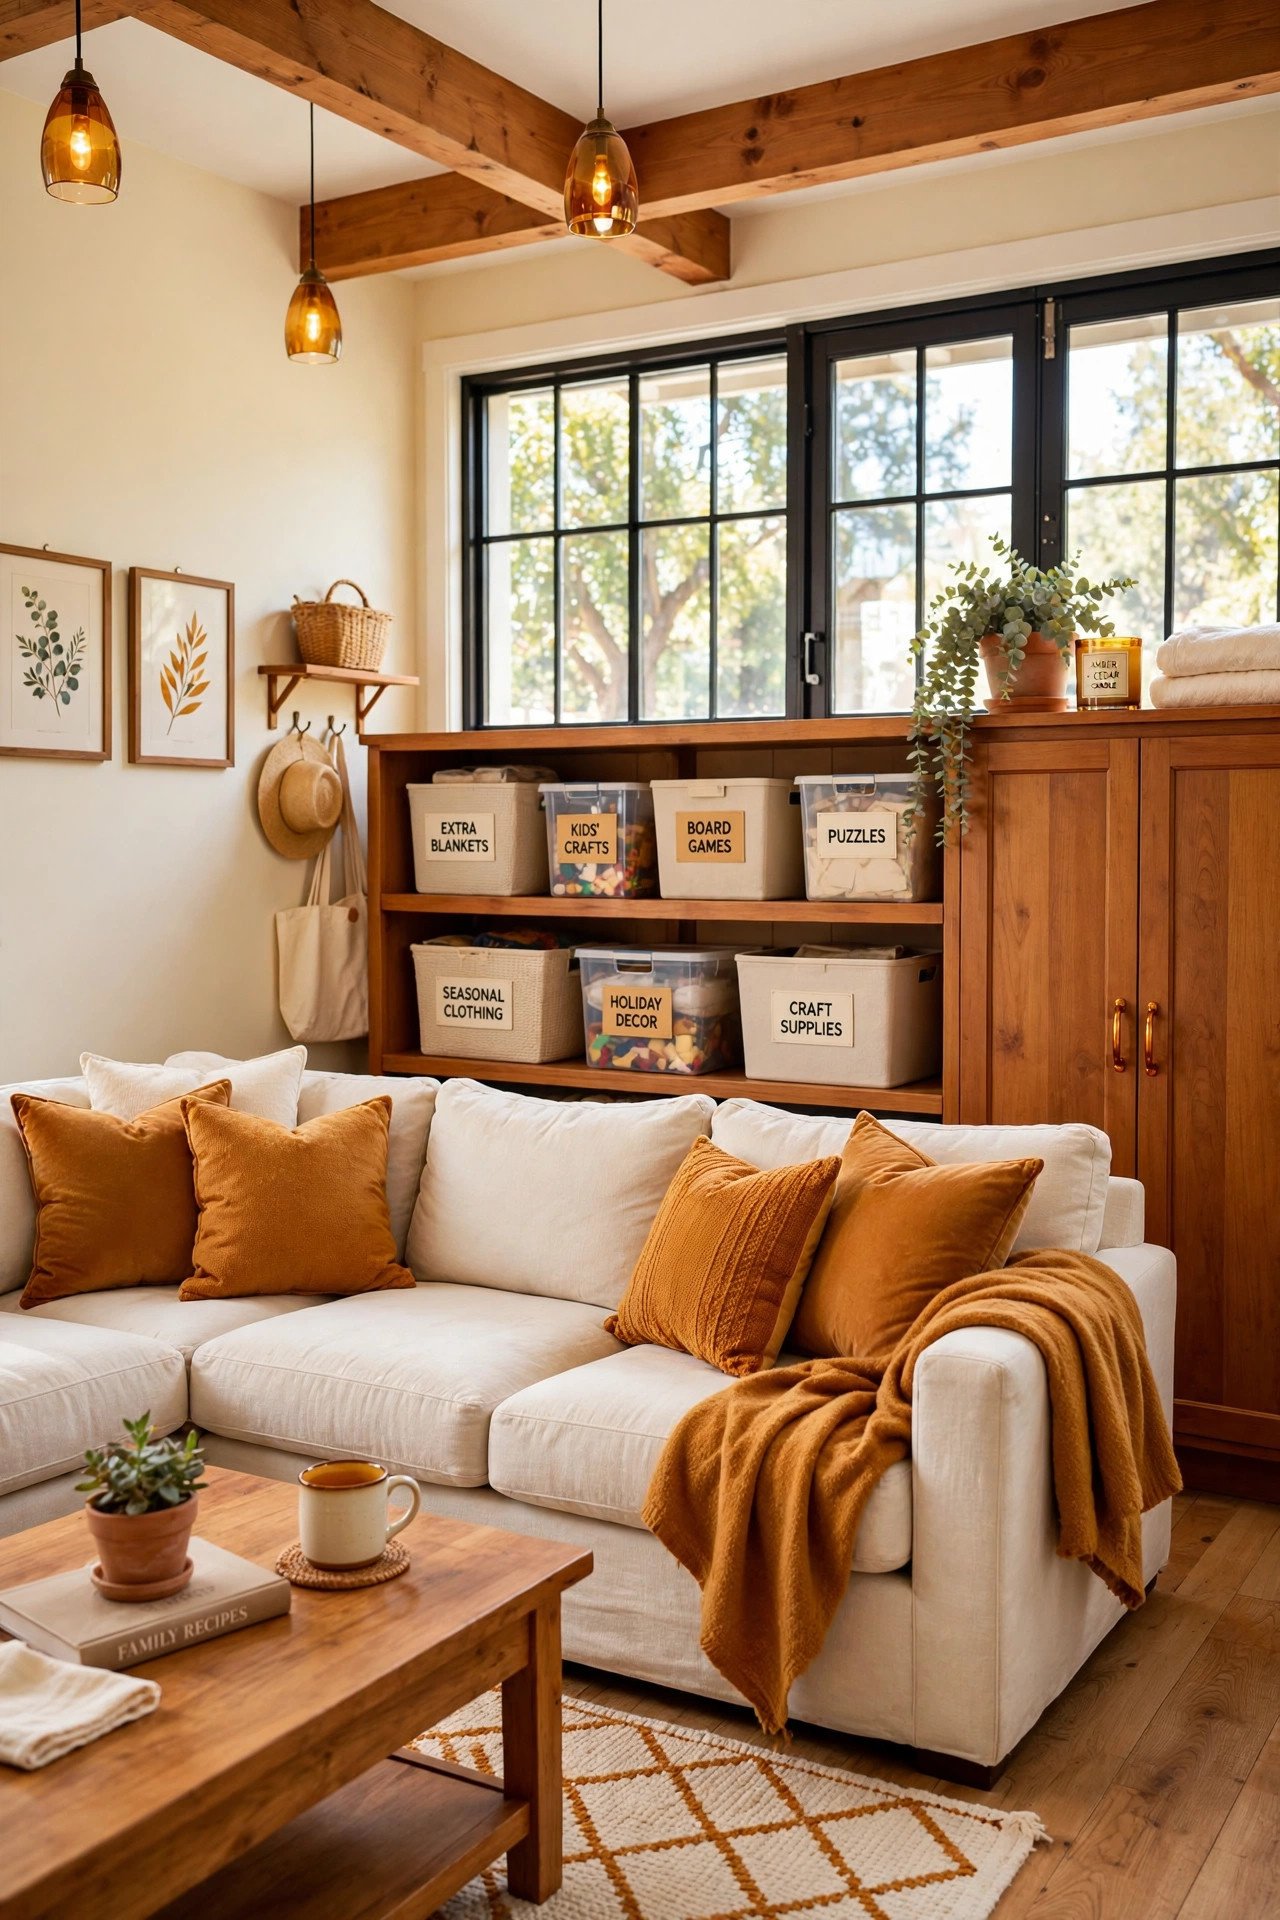
Build a breakfast nook into a bay window or bright corner with an L-shaped bench along two walls. A 42 inch round pedestal table seats four comfortably in the corner footprint, and the bench bases provide deep storage for table linens and craft supplies. Keep 18 inches of bench depth for comfortable sitting.
Choose cushions in a wipeable performance fabric, since this spot will see daily kid use. Mount a small pendant 30 inches above the table instead of a floor lamp to keep the tight space clear. The nook handles breakfast, homework, and puzzles, which frees the living room from small-table clutter.
16. Finished Basement Family Lounge
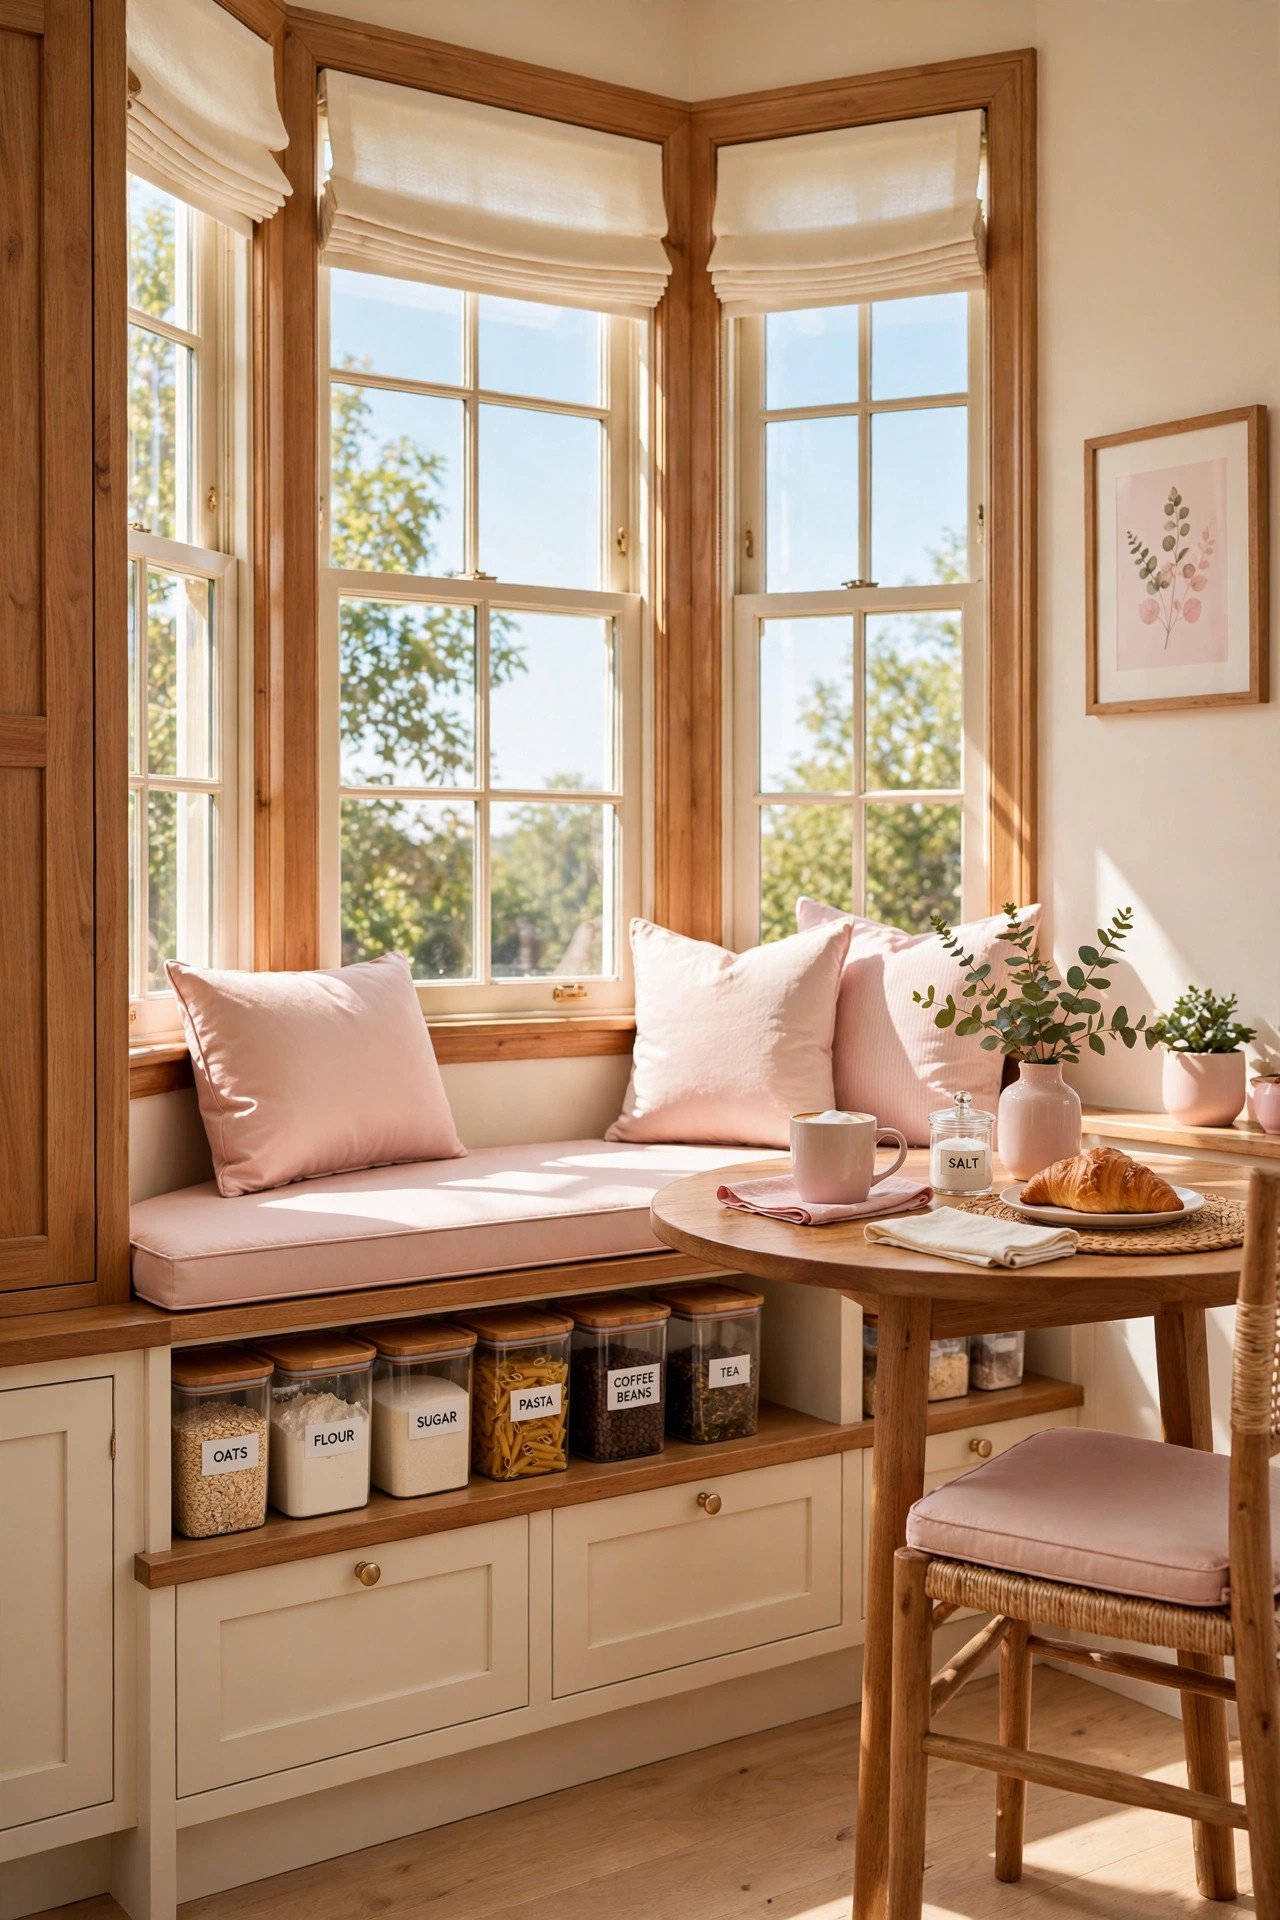
If your ranch sits over a full basement, finish it into a dedicated family lounge so noisy play moves downstairs and the main level stays calm. Every basement bedroom needs an egress window with at least 5.7 square feet of clear opening, and the sill can sit no higher than 44 inches from the floor. Frame interior walls with pressure-treated bottom plates and insulate foundation walls to control moisture.
Zone the basement with a sectional facing a media wall on one side and a game or craft table on the other, keeping 36 inch walkways between zones. Use luxury vinyl plank flooring, which handles concrete slabs and kid spills. The upstairs living room finally stays tidy because the mess has a proper home below.
17. Primary Suite Bump-Out
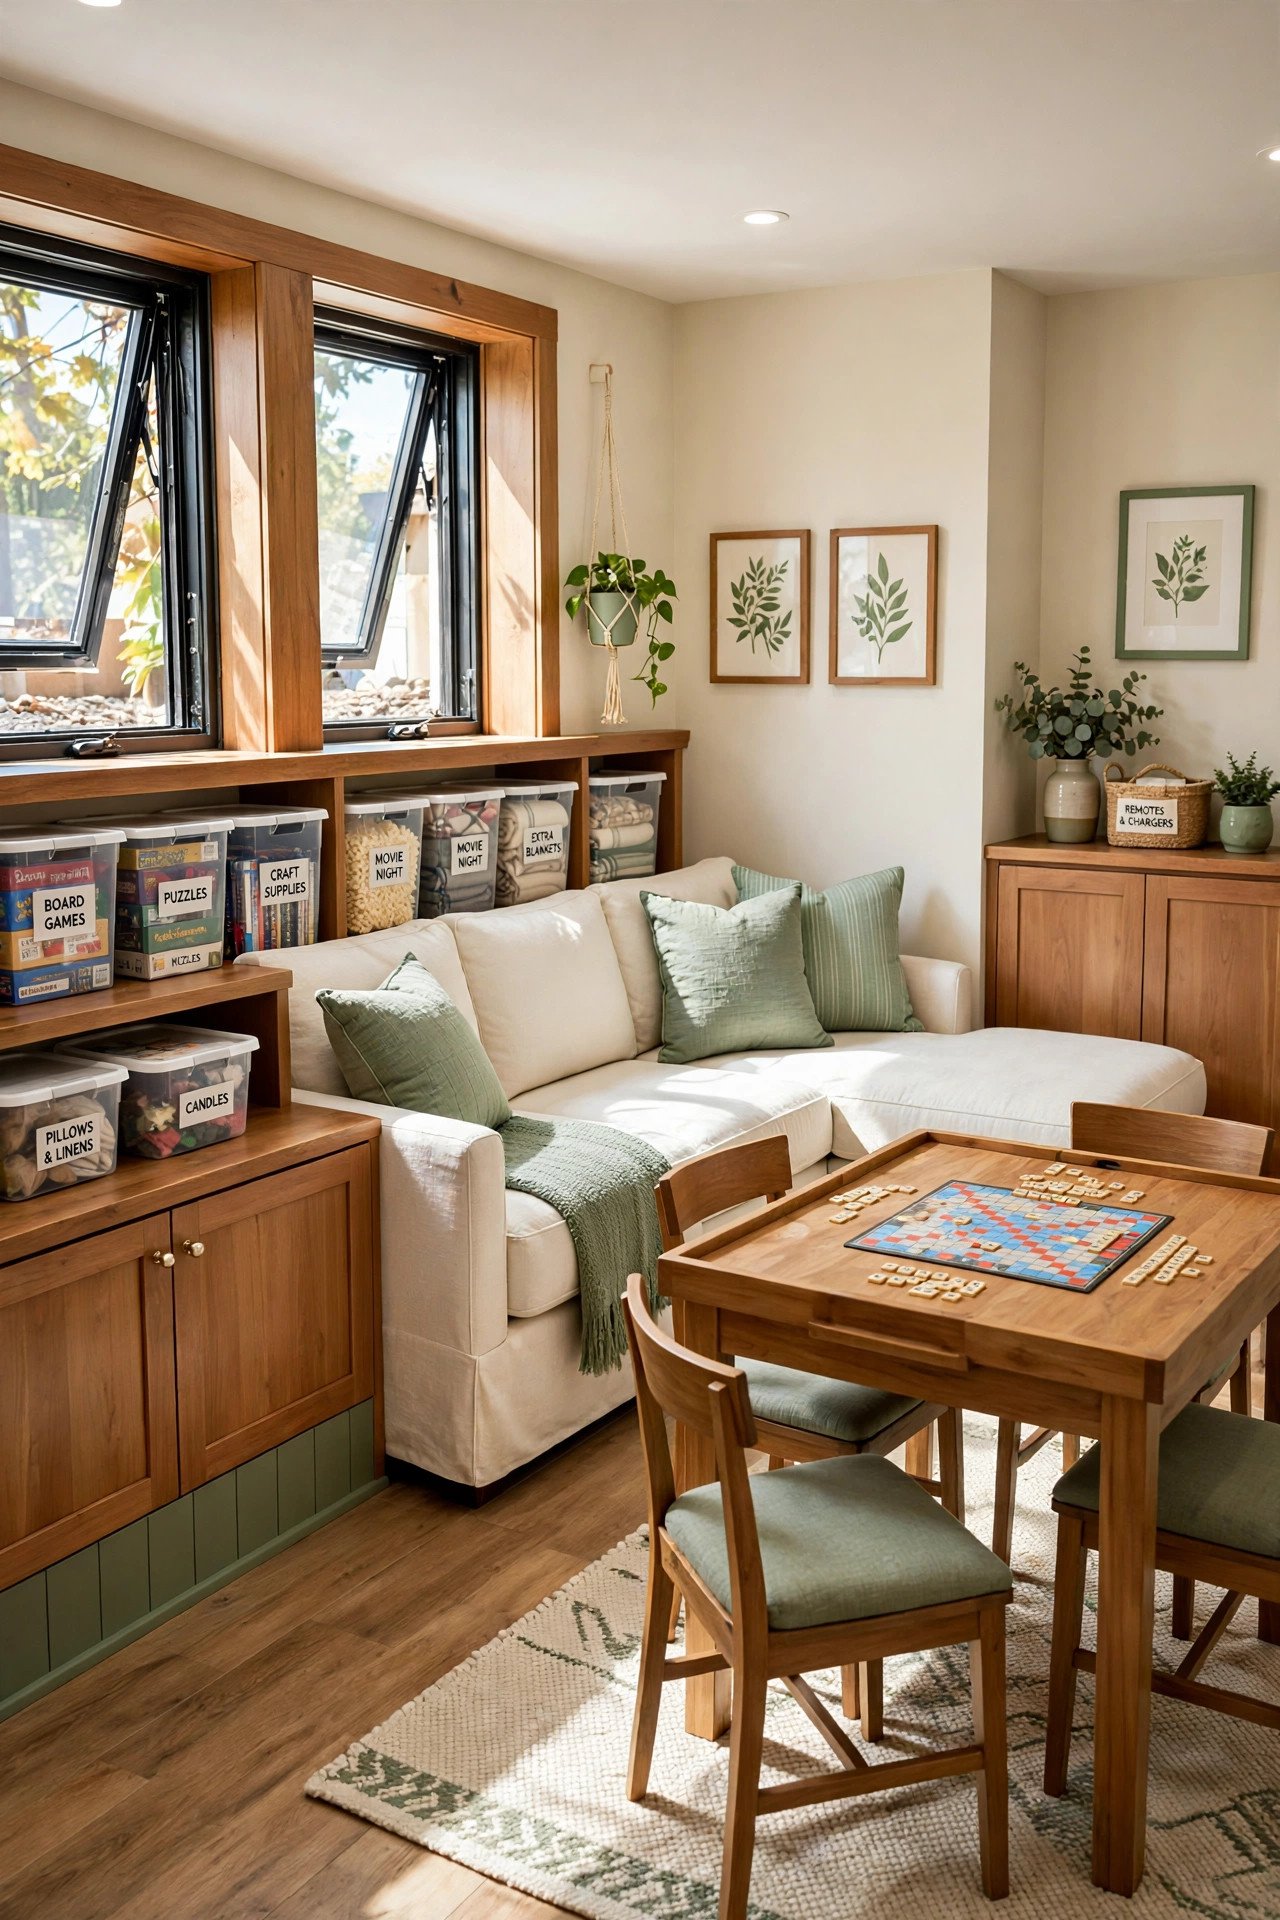
Add a 6 to 8 foot bump-out to the primary bedroom to create a true suite without a full addition. A cantilevered bump-out up to 2 feet deep often avoids new foundation work, while deeper push-outs need frost footings. Use the new space for a window seat reading corner or a 5 foot double vanity that the old bathroom could never fit.
Match the exterior siding and roofline so the bump-out looks original. Inside, run the bedroom flooring straight through with no threshold strip. Even 40 extra square feet gives parents a private retreat, which changes how the whole house feels at the end of the day.
18. Formal Dining as Playroom
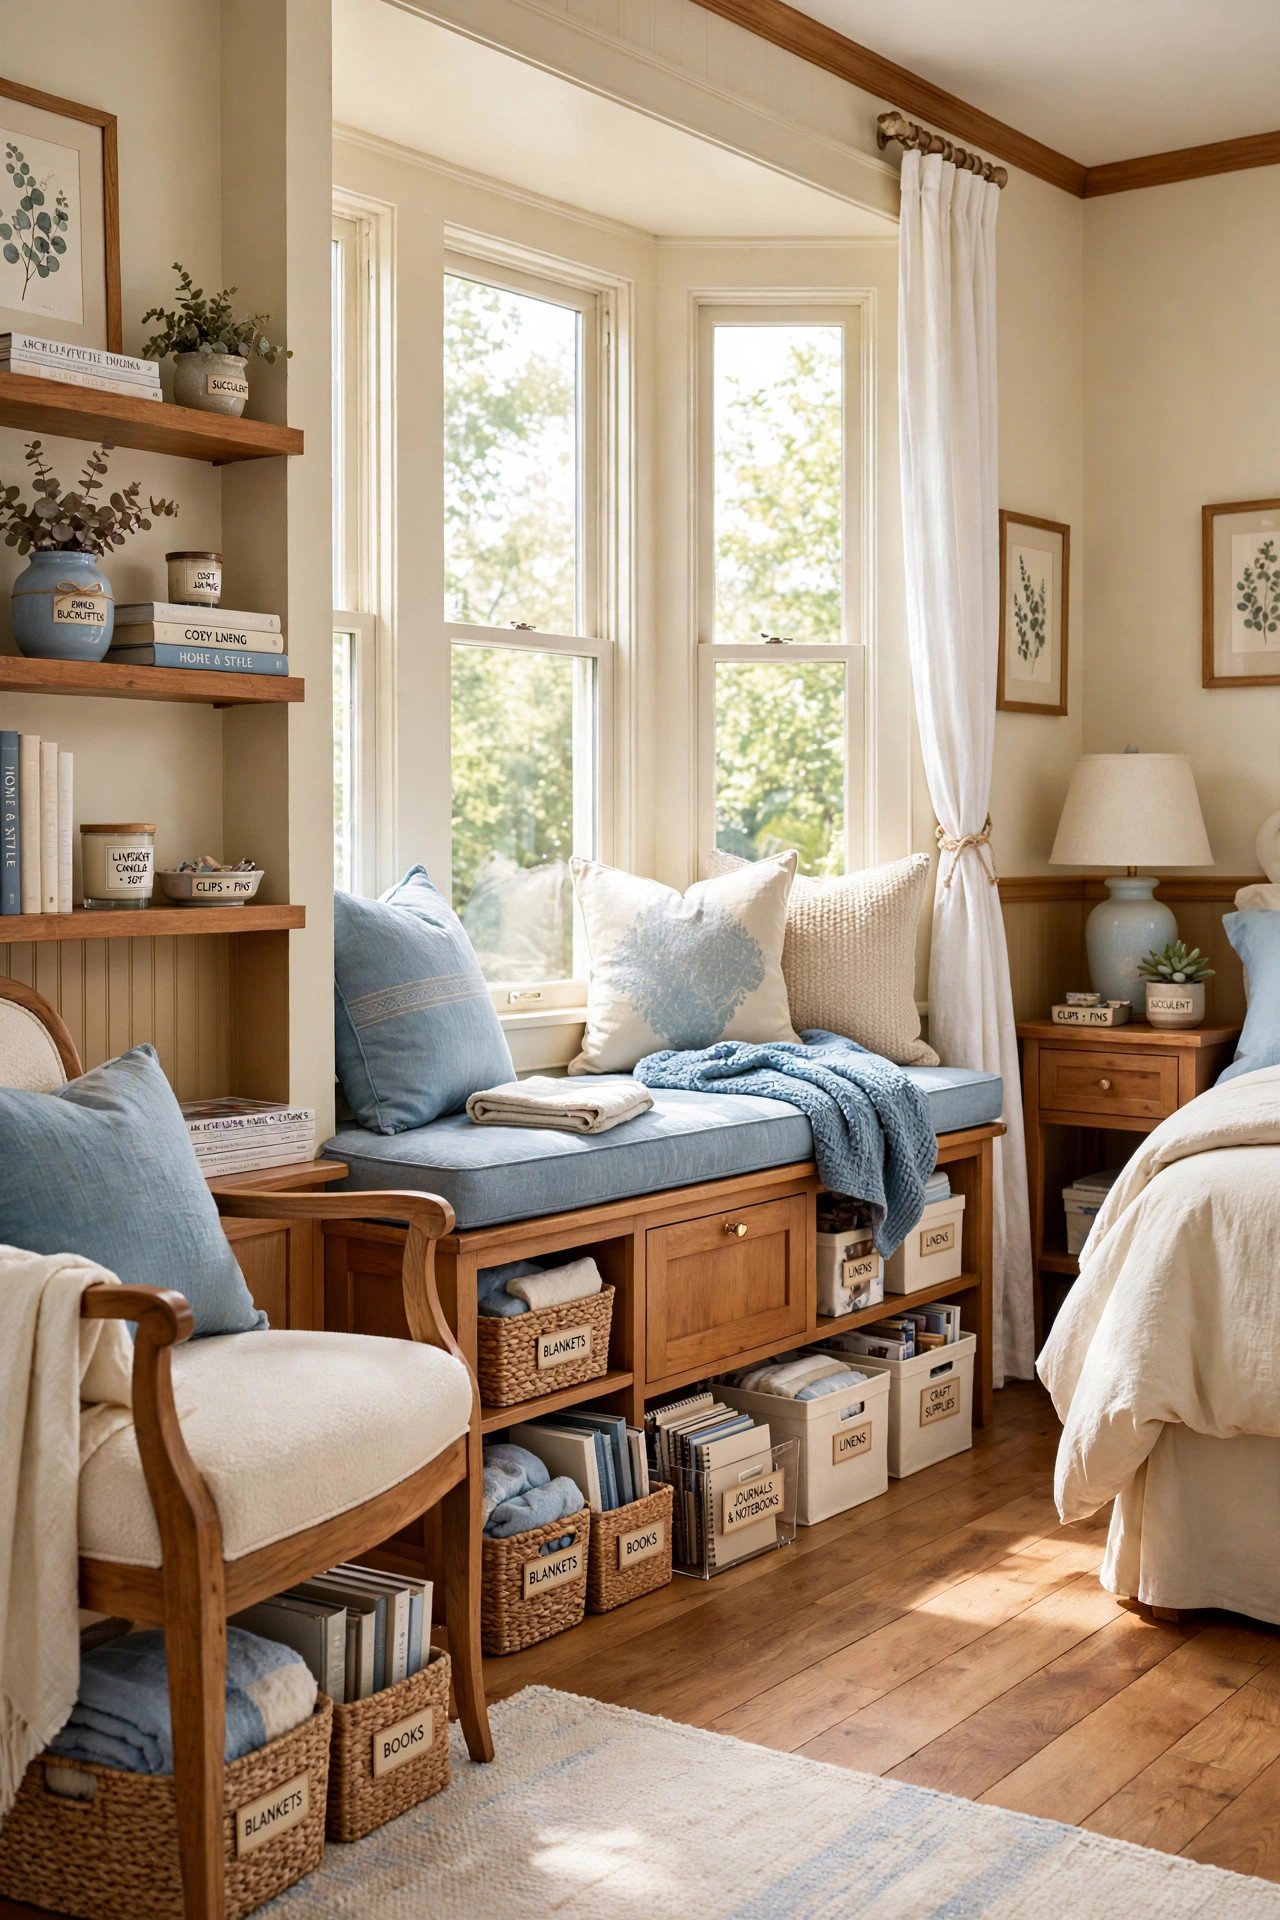
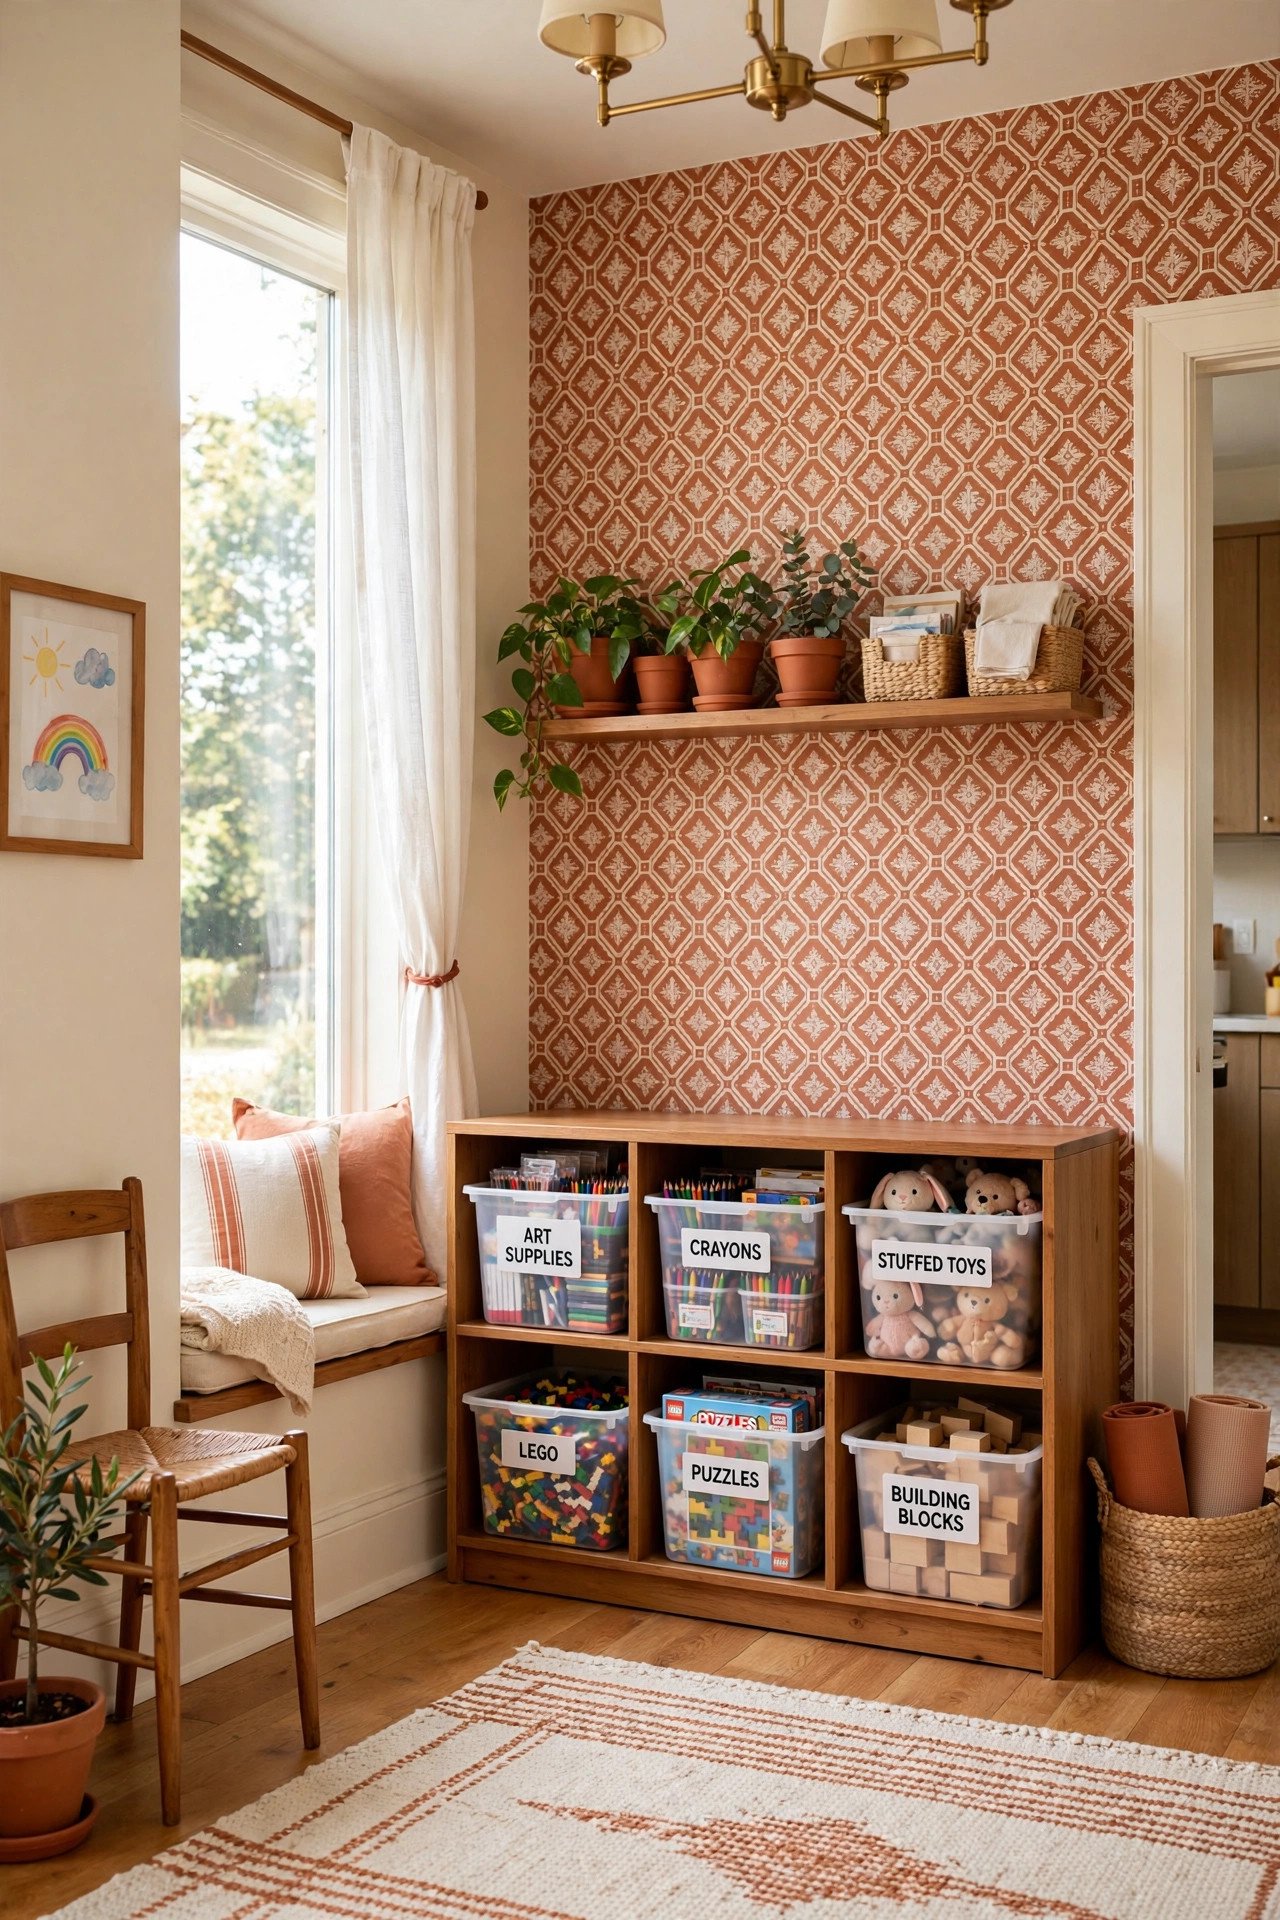
Reclaim the formal dining room that hosts Thanksgiving and little else, and turn it into a dedicated playroom. Kids get a door that closes, and toys stop colonizing the living room. Keep the room near the kitchen so you can supervise while cooking, which is usually already the case in ranch layouts.
Install low open shelving at 24 to 30 inches high so kids can reach every bin themselves, and use a playful wallpaper accent wall to make the conversion feel deliberate. Rotate toys monthly from a hallway closet stash to keep the room fresh. When the kids outgrow it, the room converts back to dining or becomes a study in a weekend.
19. Guest Room With Office Corner
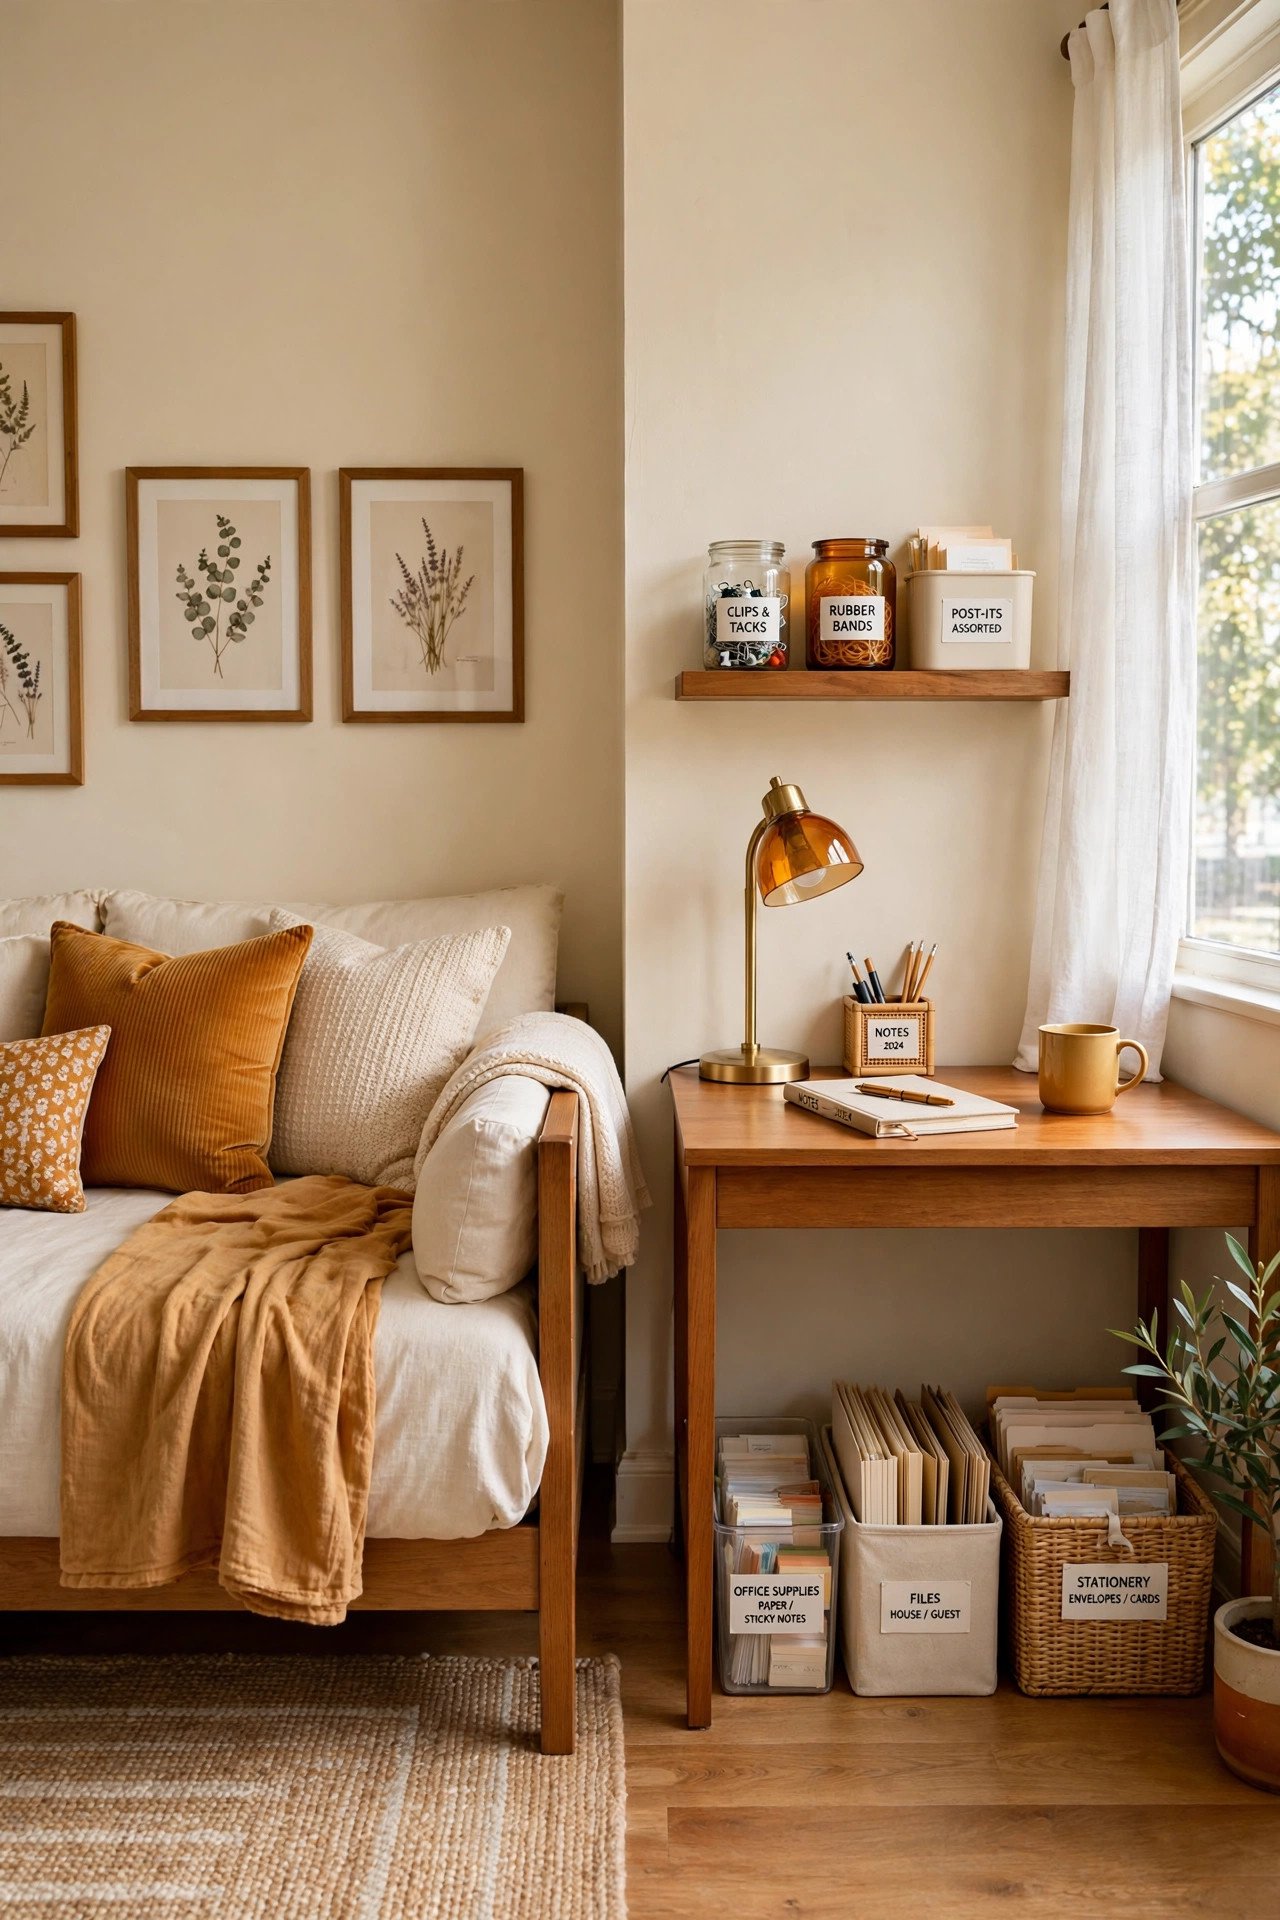
Let the guest room earn its keep with a compact office corner that serves you 350 days a year and guests for the rest. Place a 48 inch desk perpendicular to the window wall so daylight hits the work surface from the side, and choose a daybed with a trundle that reads as a sofa by day and sleeps two at night.
Hide office clutter with a folding screen or a curtain on a ceiling track when visitors arrive. Keep guest linens in the daybed drawers so the closet stays yours. One 10 by 12 foot room covers sleeping, working, and hosting without compromise.
20. Backyard-Facing Living Room
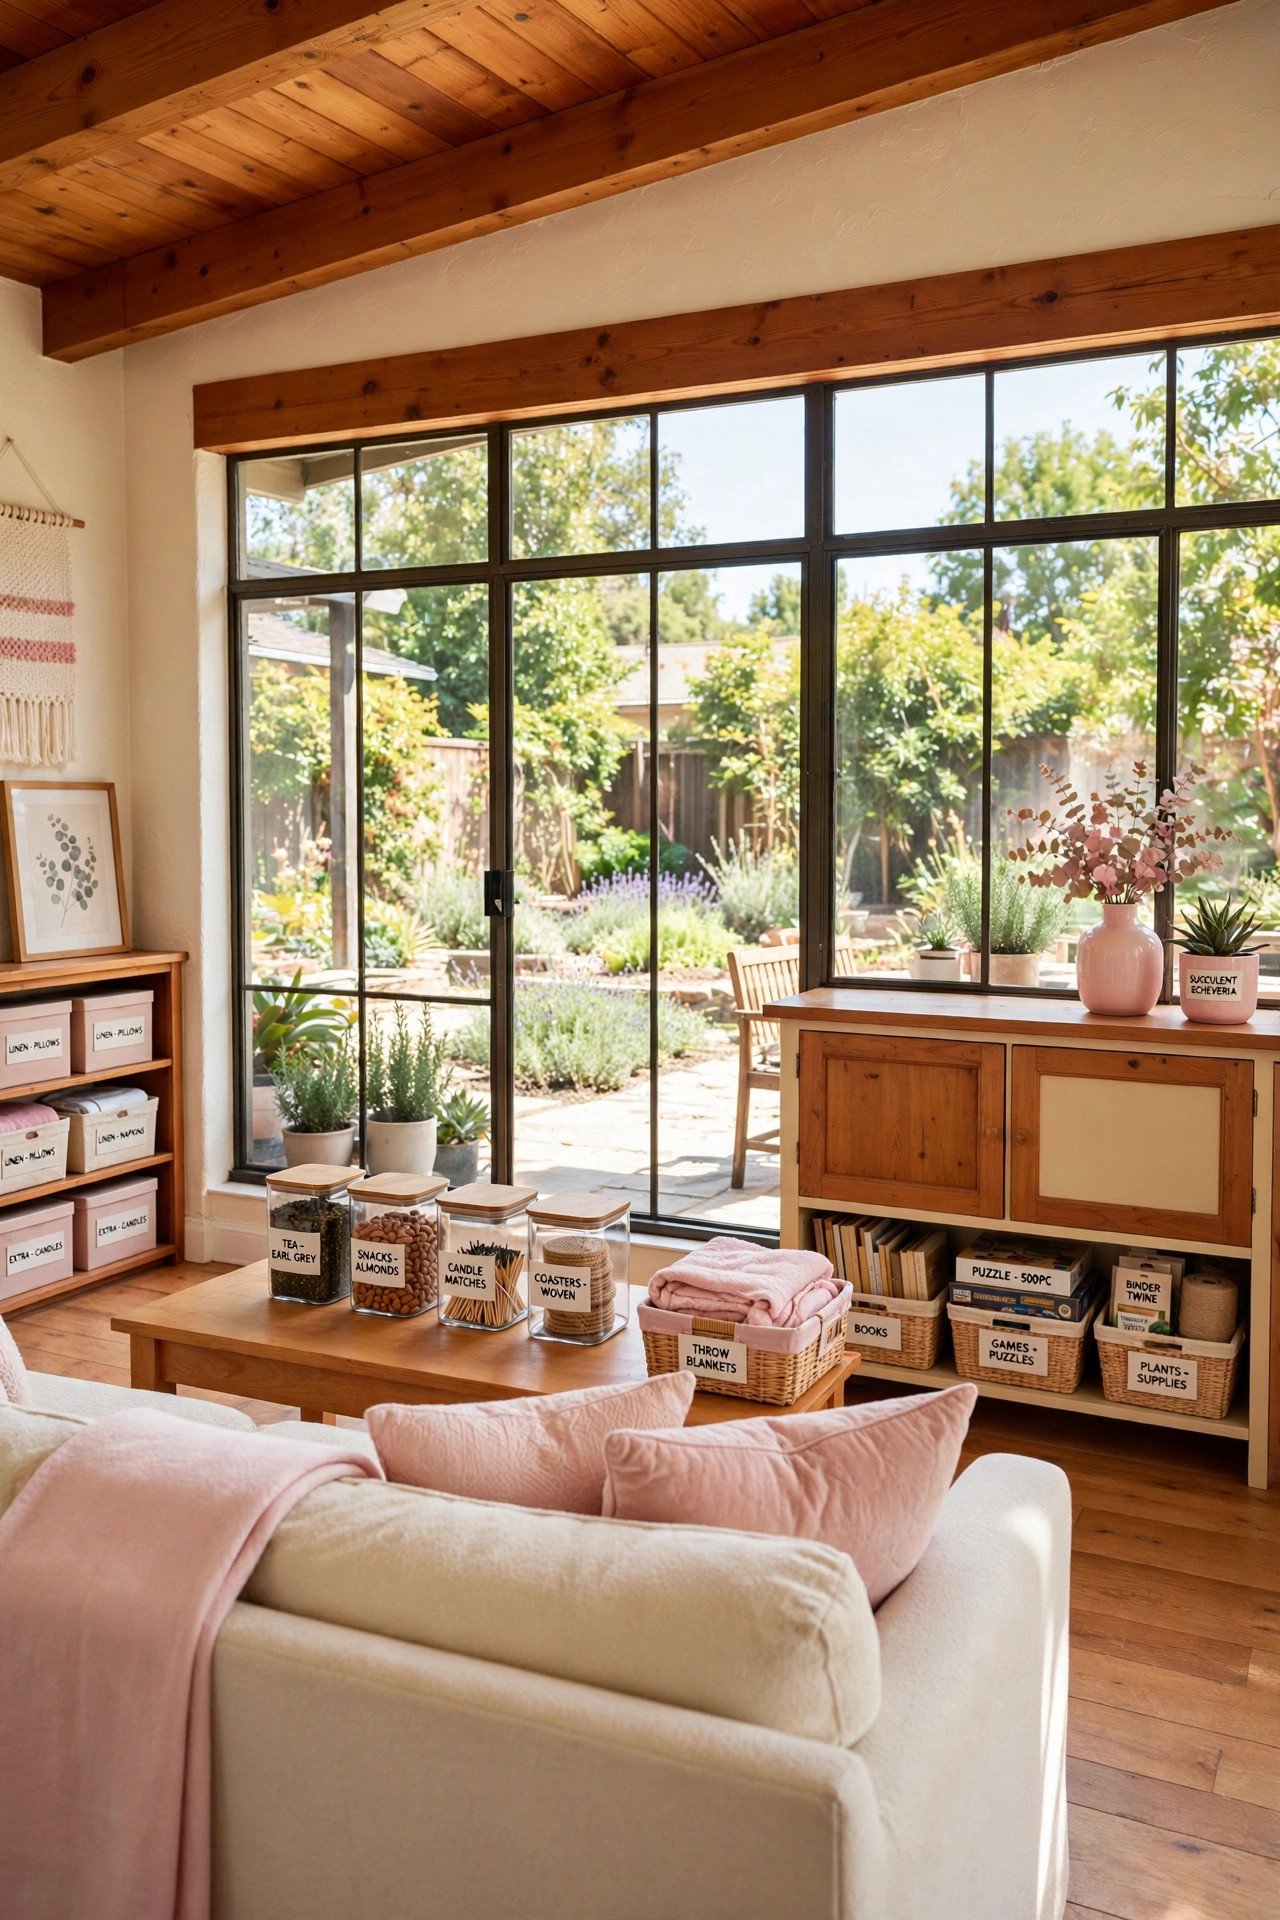
Flip the living room orientation so seating faces the backyard instead of the street. Move the sofa to the interior wall with its back to the front of the house, and let the garden become the view. Kids can play outside while you watch from the couch, which is the real prize of single-story living.
Place the TV on a swivel mount or a low console against a side wall so it never blocks the windows. Keep window treatments simple with top-down bottom-up shades for privacy without losing light. The whole house starts to orient around family life instead of the road.
21. Hallway With Built-In Storage
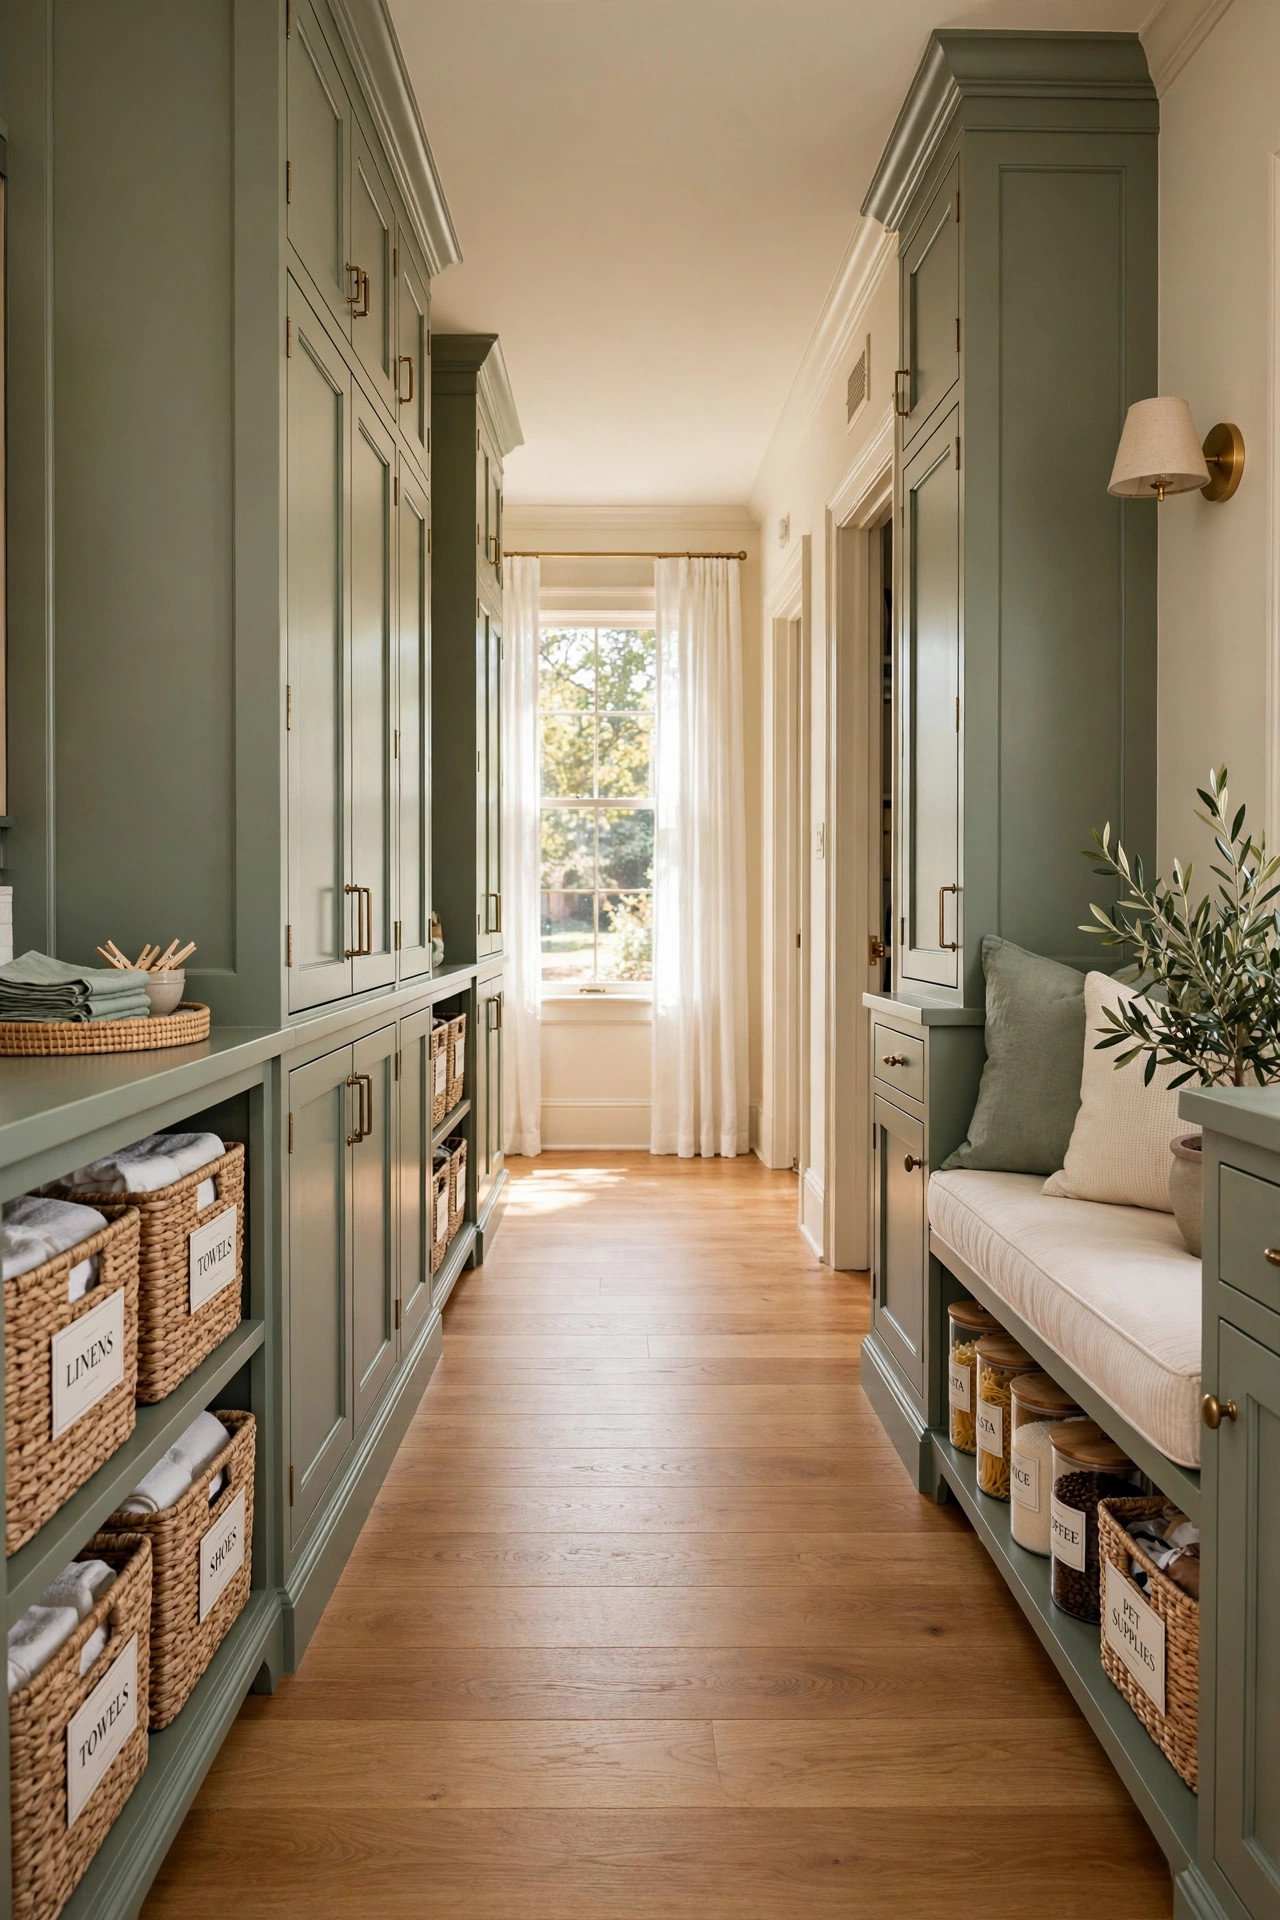
Line one side of a wide hallway with 14 inch deep built-in cabinets, which hold linens, games, and seasonal gear while leaving 34 inches of clear passage in a 48 inch hall. Build the cabinets floor to ceiling, and paint them the exact wall color so they read as architecture rather than furniture.
Face the cabinet fronts with classic board and batten trim for a crafted, original-to-the-house look. Include one open niche with a bench at 18 inches high for putting on shoes. Dead hallway space becomes the hardest-working storage wall in the home.
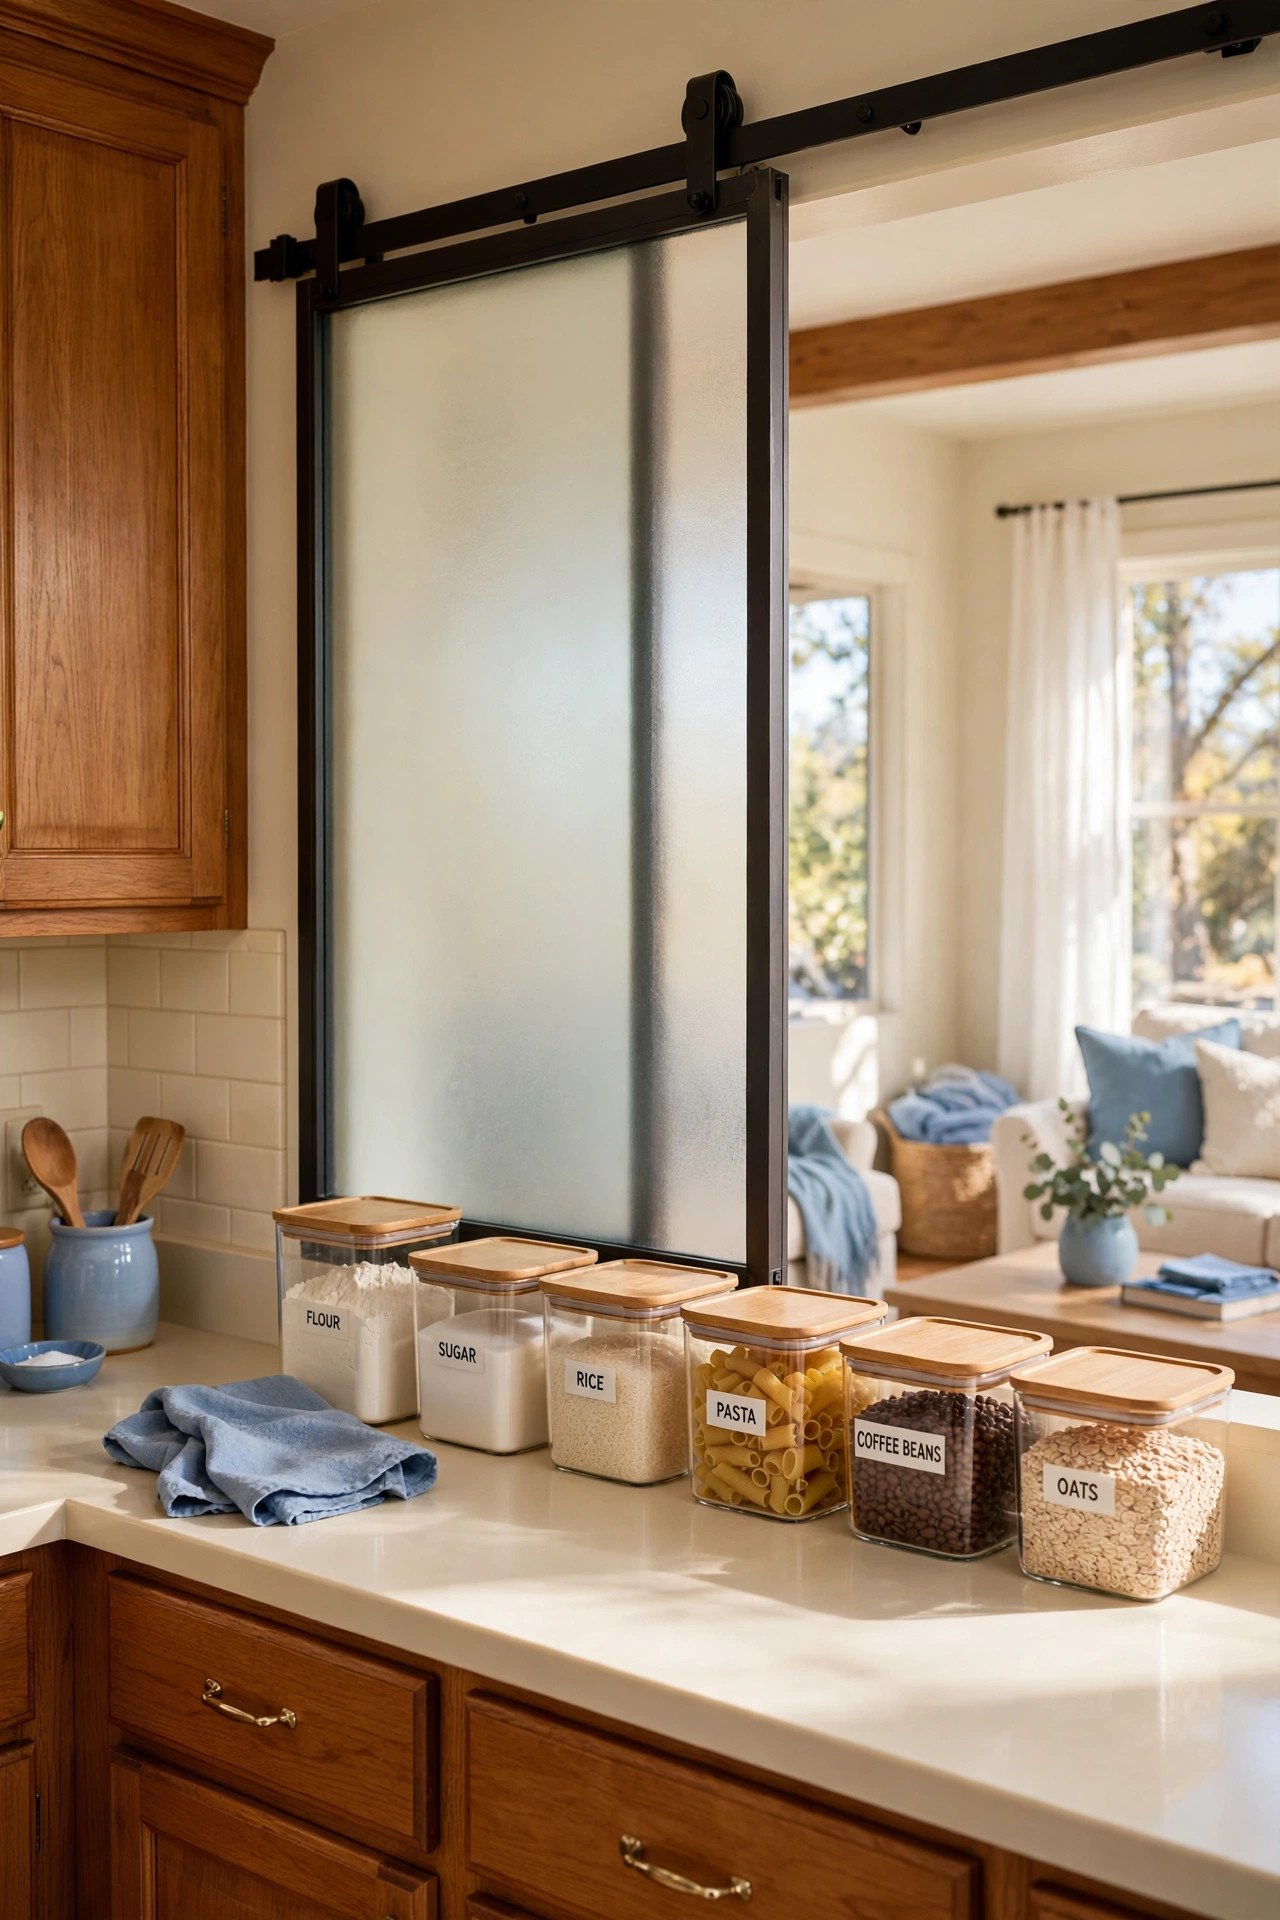
22. Pocket Doors Between Kitchen and Living
Install pocket doors in the cased opening between kitchen and living room to get flexible separation. Open them for parties and close them to contain cooking smells and noise. Pocket doors need a wall cavity twice the door width, so plan this during a remodel when framing is exposed, or use surface-mounted sliding hardware as a retrofit.
Choose frosted glass panels to borrow light while hiding a messy kitchen. Keep the track clean and the rollers adjusted so the doors glide with one finger. You keep the open-plan feel on demand and gain a closed kitchen whenever real life requires it.
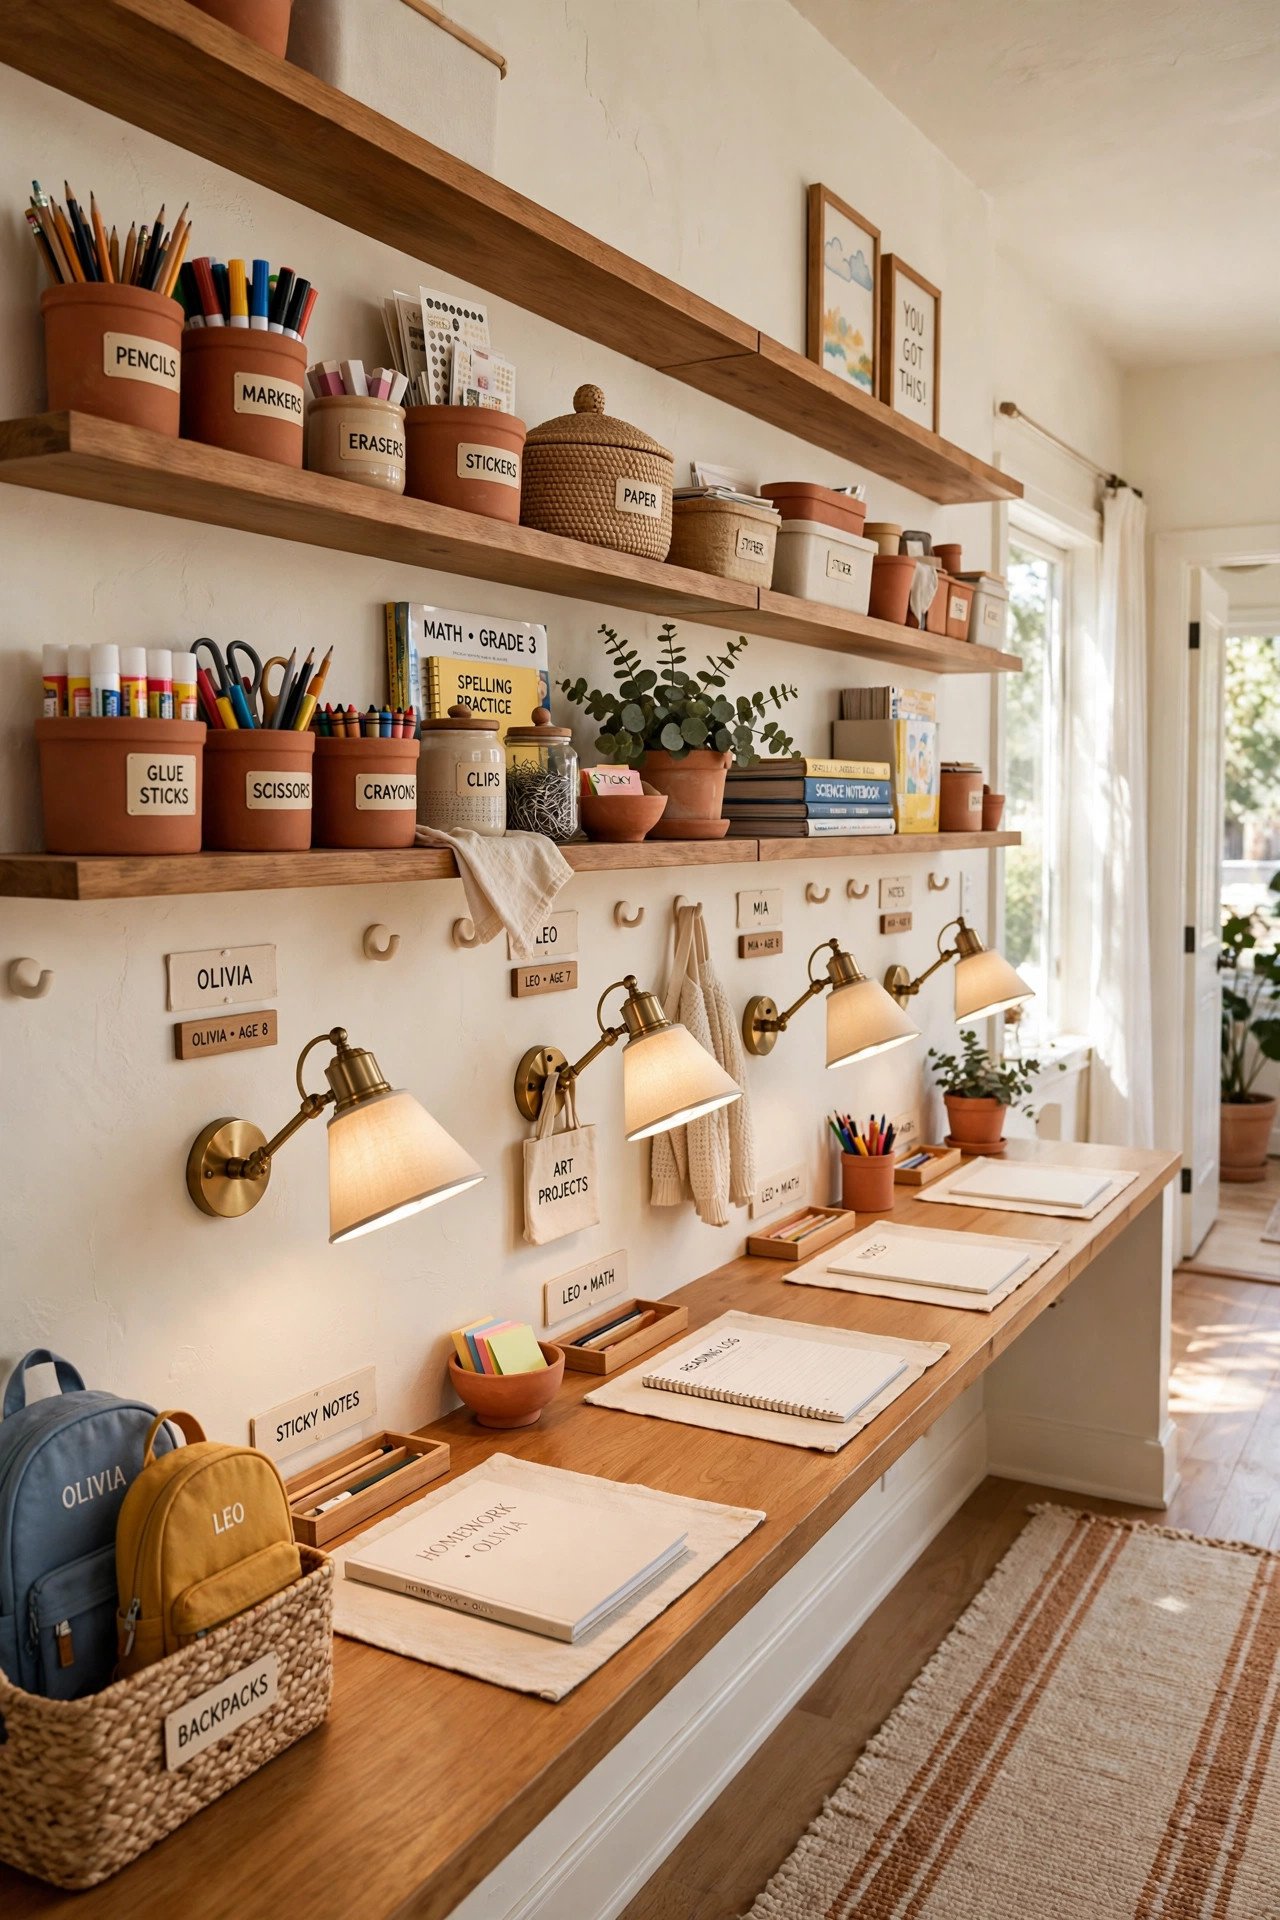
23. Kids Homework Station in the Hallway
Run a 16 inch deep counter along one hallway wall as a homework station, allotting 24 inches of counter width per child. At 16 inches deep, the counter holds a laptop and books while a 42 inch hallway still keeps 26 inches of walkway. Mount a power strip with USB ports under the counter so chargers never sprawl.
Give each child a wall-mounted task light and two floating shelves above for supplies, keeping shared items in the middle. Face the station toward the kitchen end of the hall so you can supervise while cooking. Homework happens in the open where help is near, and bedrooms stay free of desk clutter.
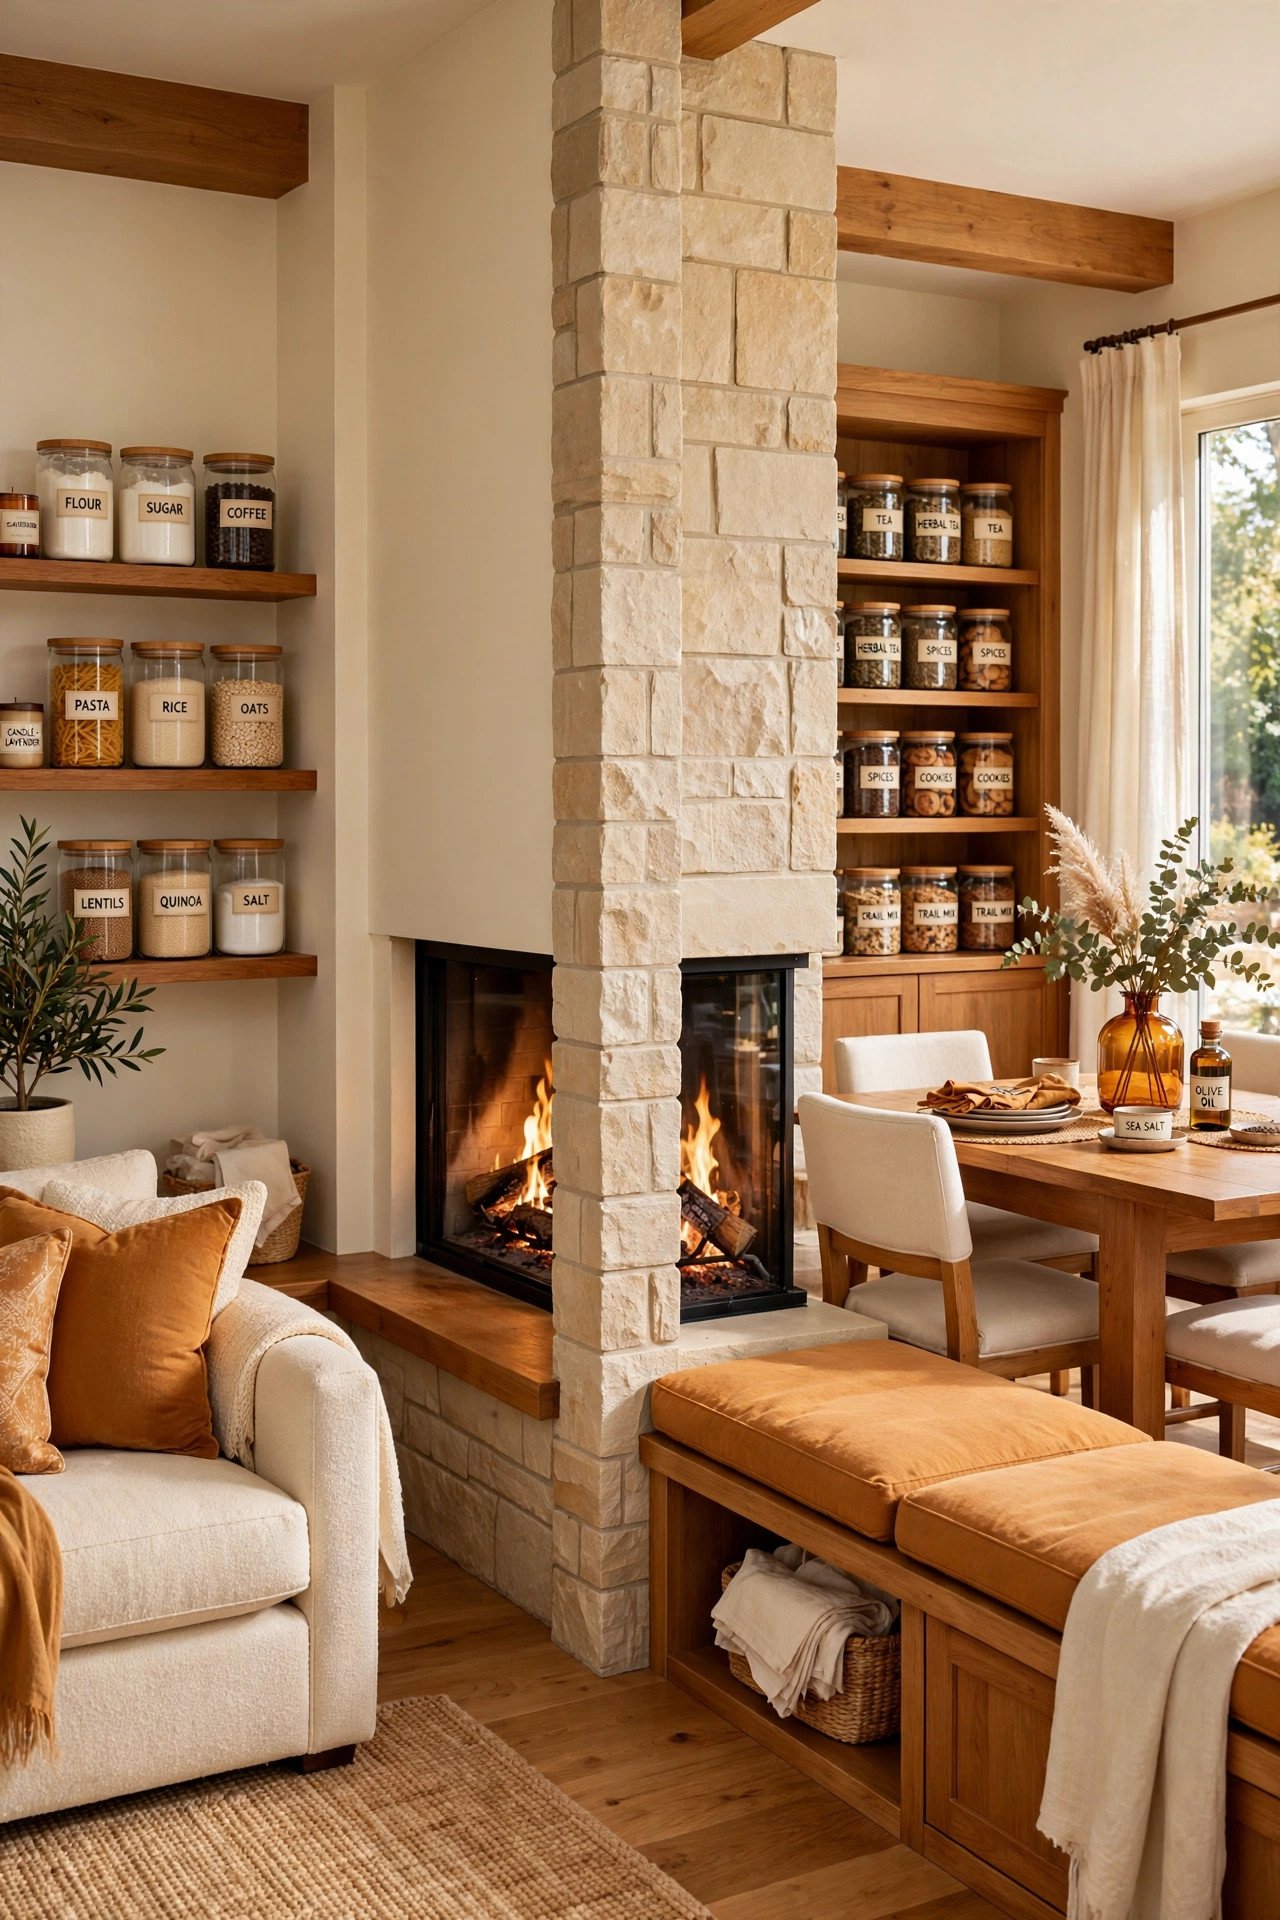
24. Double-Sided Fireplace Divider
Use a double-sided fireplace to divide the living and dining zones while heating both. Maintain manufacturer clearances, typically 36 inches from combustibles at the front, and keep furniture outside that zone on both faces. A raised hearth at 18 inches high doubles as extra seating for kids.
Keep the surround material consistent on both sides, such as stacked stone or simple plaster, so it reads as one architectural element. Place the seating groups in mirror arrangement facing the fire. The fireplace becomes the literal and visual heart of the home while solving the open-plan zoning problem.
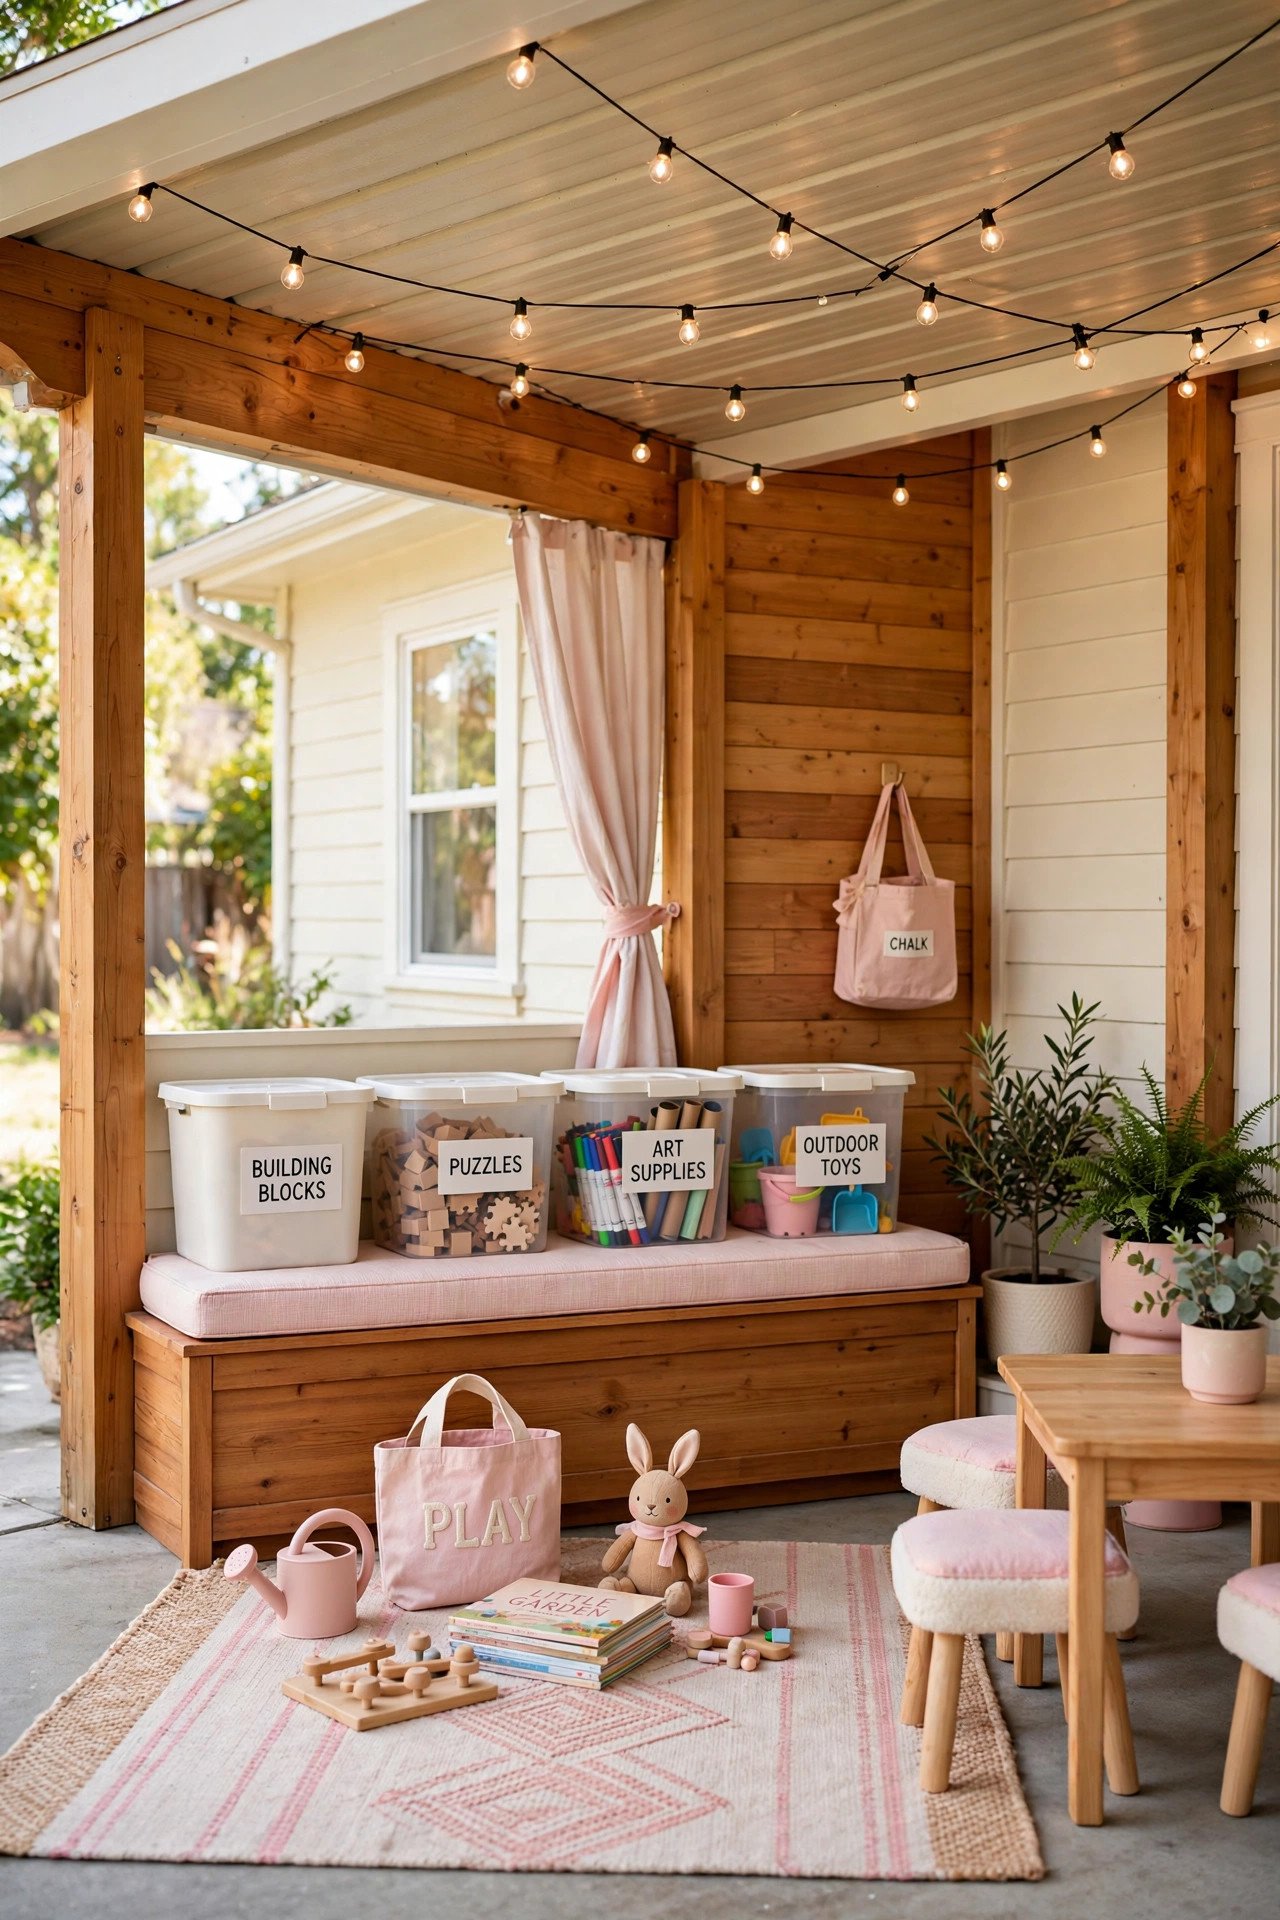
25. Covered Carport Play Patio
Convert an attached carport into a covered play patio, since the roof and slab already exist. Lay interlocking foam mats or an outdoor rug over the concrete, add a low storage bench along the house wall for toys, and hang string lights from the rafters. The roof keeps rain and harsh sun off, so kids play here most of the year.
Keep one parking bay clear if your household needs it, and use washable, fade-resistant fabrics for any seating. A small gate at the open end keeps toddlers contained. You gain a 200-plus square foot playroom for the cost of furnishings alone.
26. First-Floor Suite for Grandparents
Design one bedroom as a true accessible suite for grandparents or aging parents. Widen the doorway to 36 inches, install a curbless shower with a fold-down bench and grab bars, and use lever handles on every door. Place the suite adjacent to an existing bathroom to minimize new plumbing runs.
Add a small sitting area inside the room with a comfortable chair and good reading light, so guests have independence without leaving their space. Keep the path from bedroom to bathroom to kitchen step-free and well lit. Ranch single-level living is the ideal platform for multigenerational care, and this suite makes it dignified.
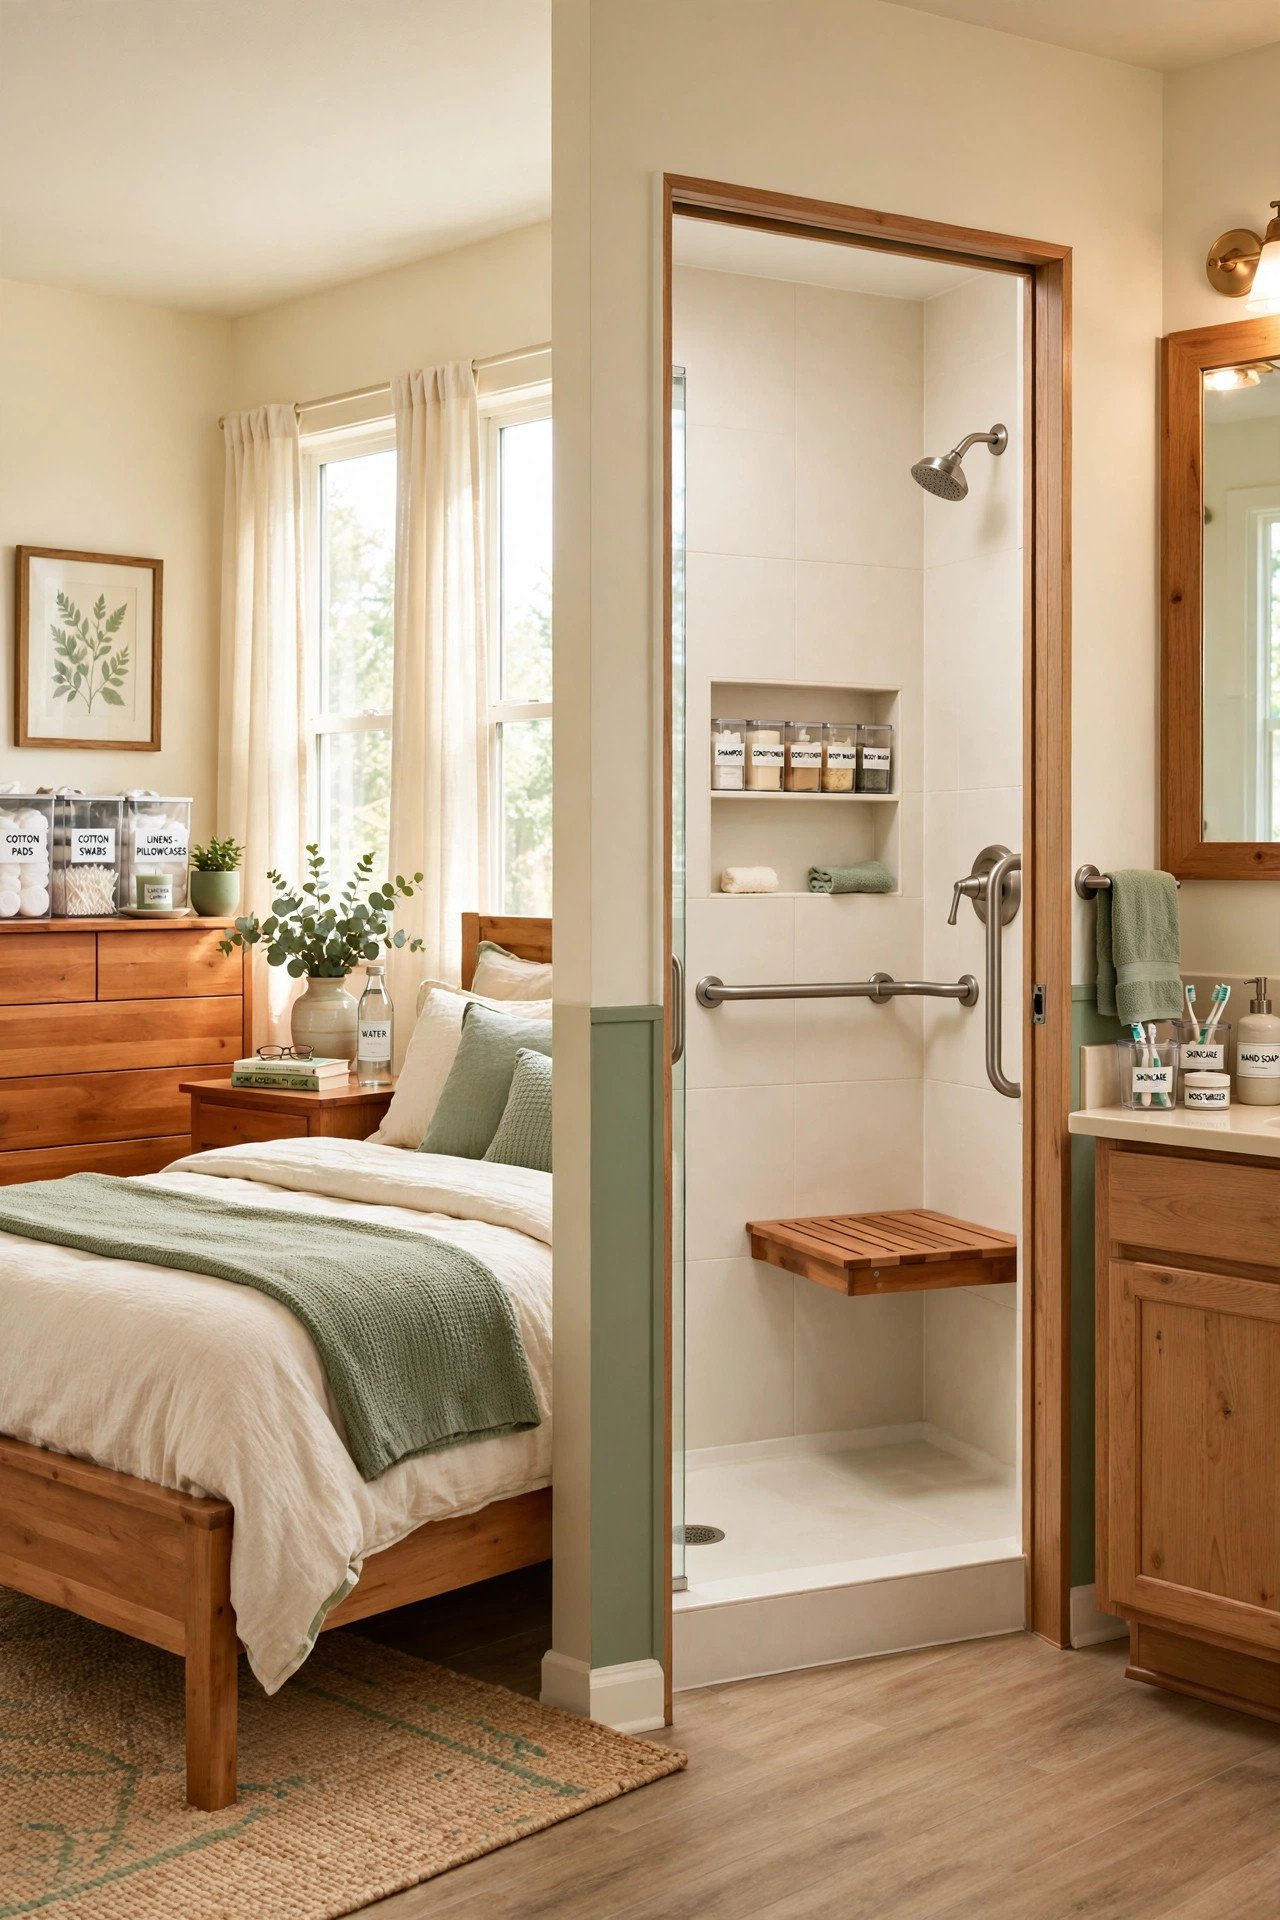
27. Barn Door Room Dividers
Hang sliding barn doors over wide cased openings to divide rooms without swing clearance. Each door needs clear wall space equal to its own width beside the opening, so measure before you buy. A 36 inch opening needs 36 inches of empty wall, which ranch hallways usually provide.
Paint the doors in confident interior door colors to turn them into a feature, and choose soft-close hardware so little fingers stay safe. Seal the gap at the floor with a brush sweep if you want real sound separation. They close off the living room for movie night and vanish for gatherings.
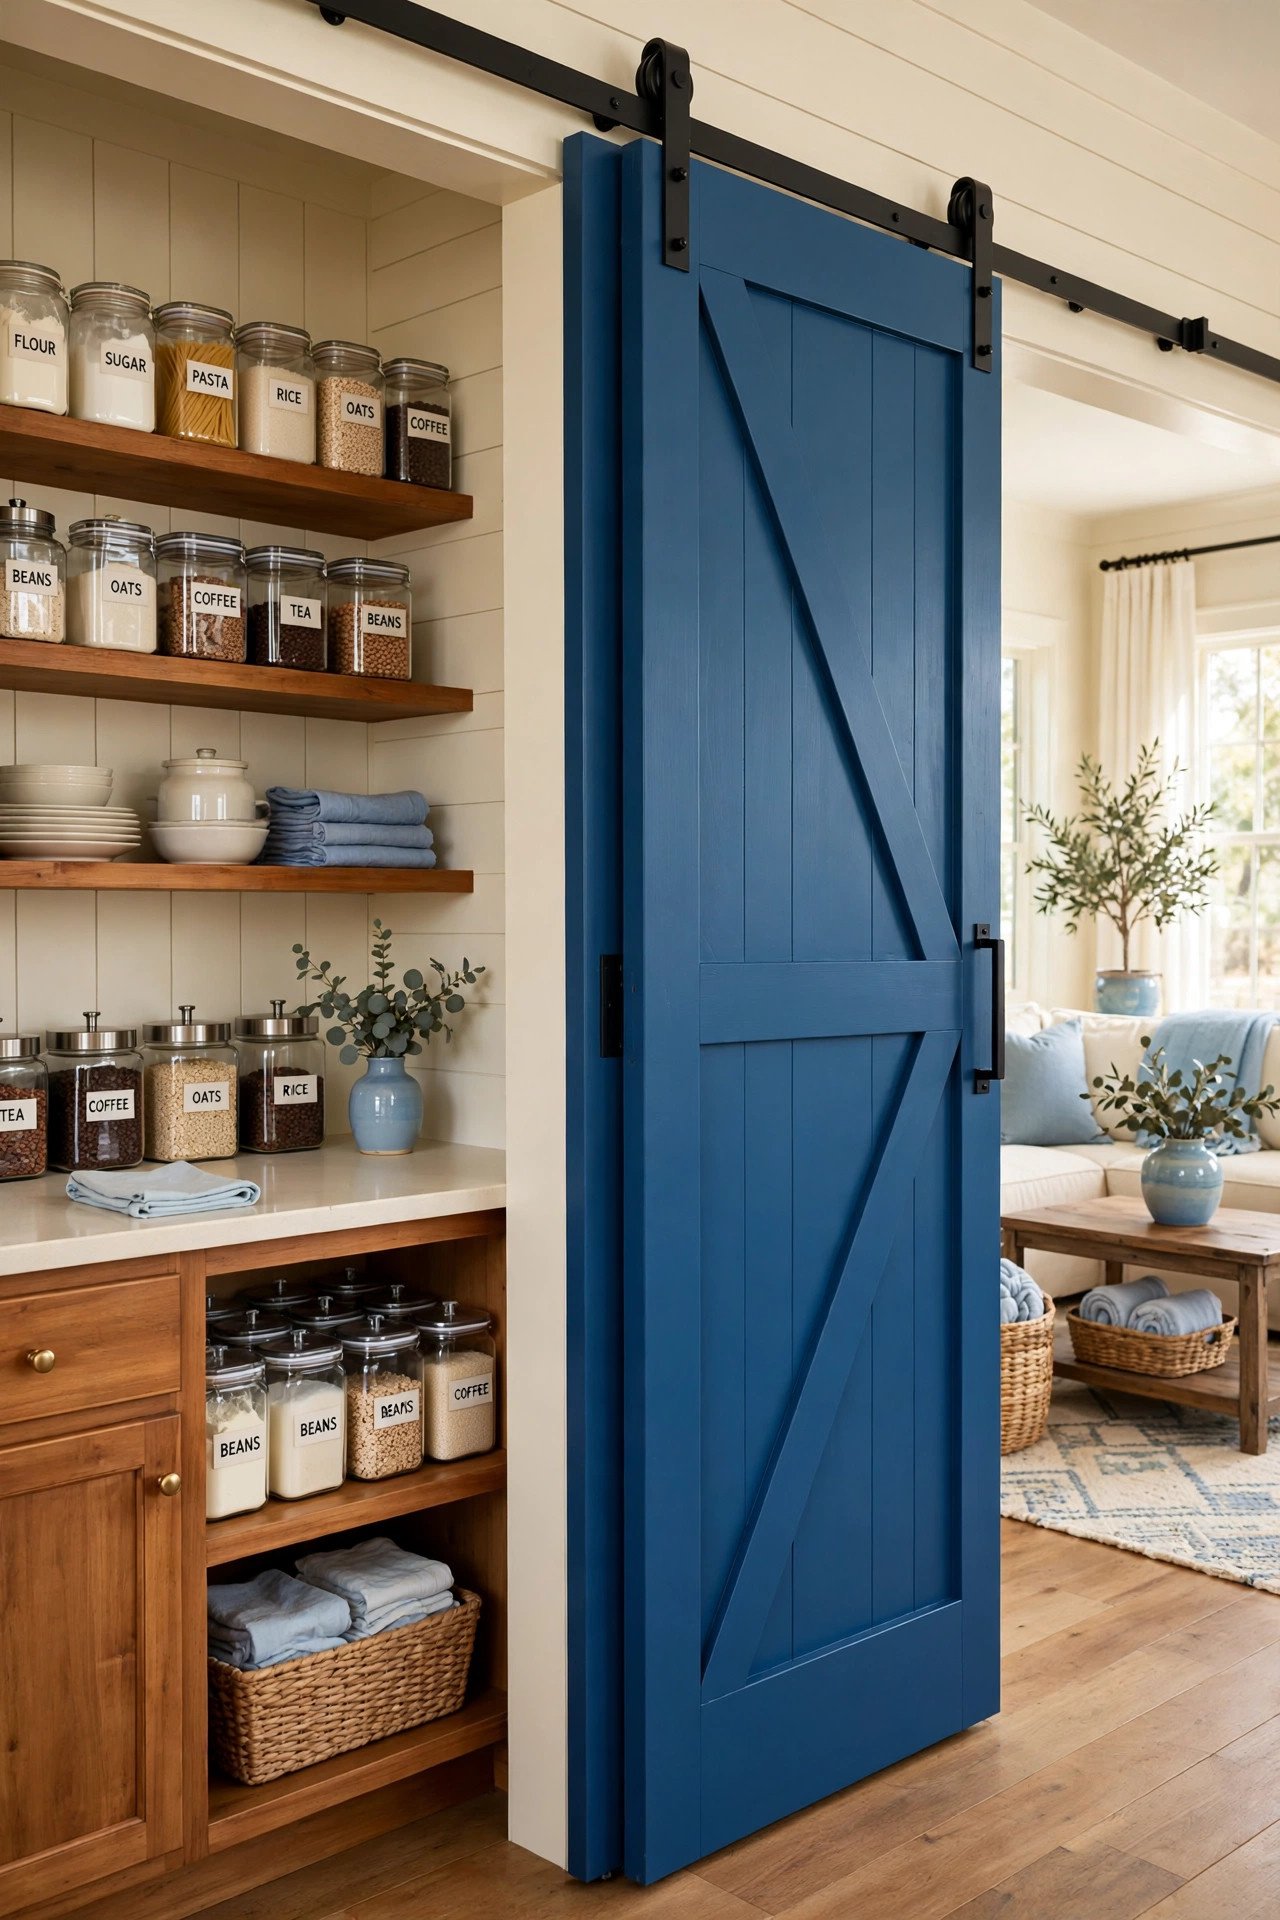
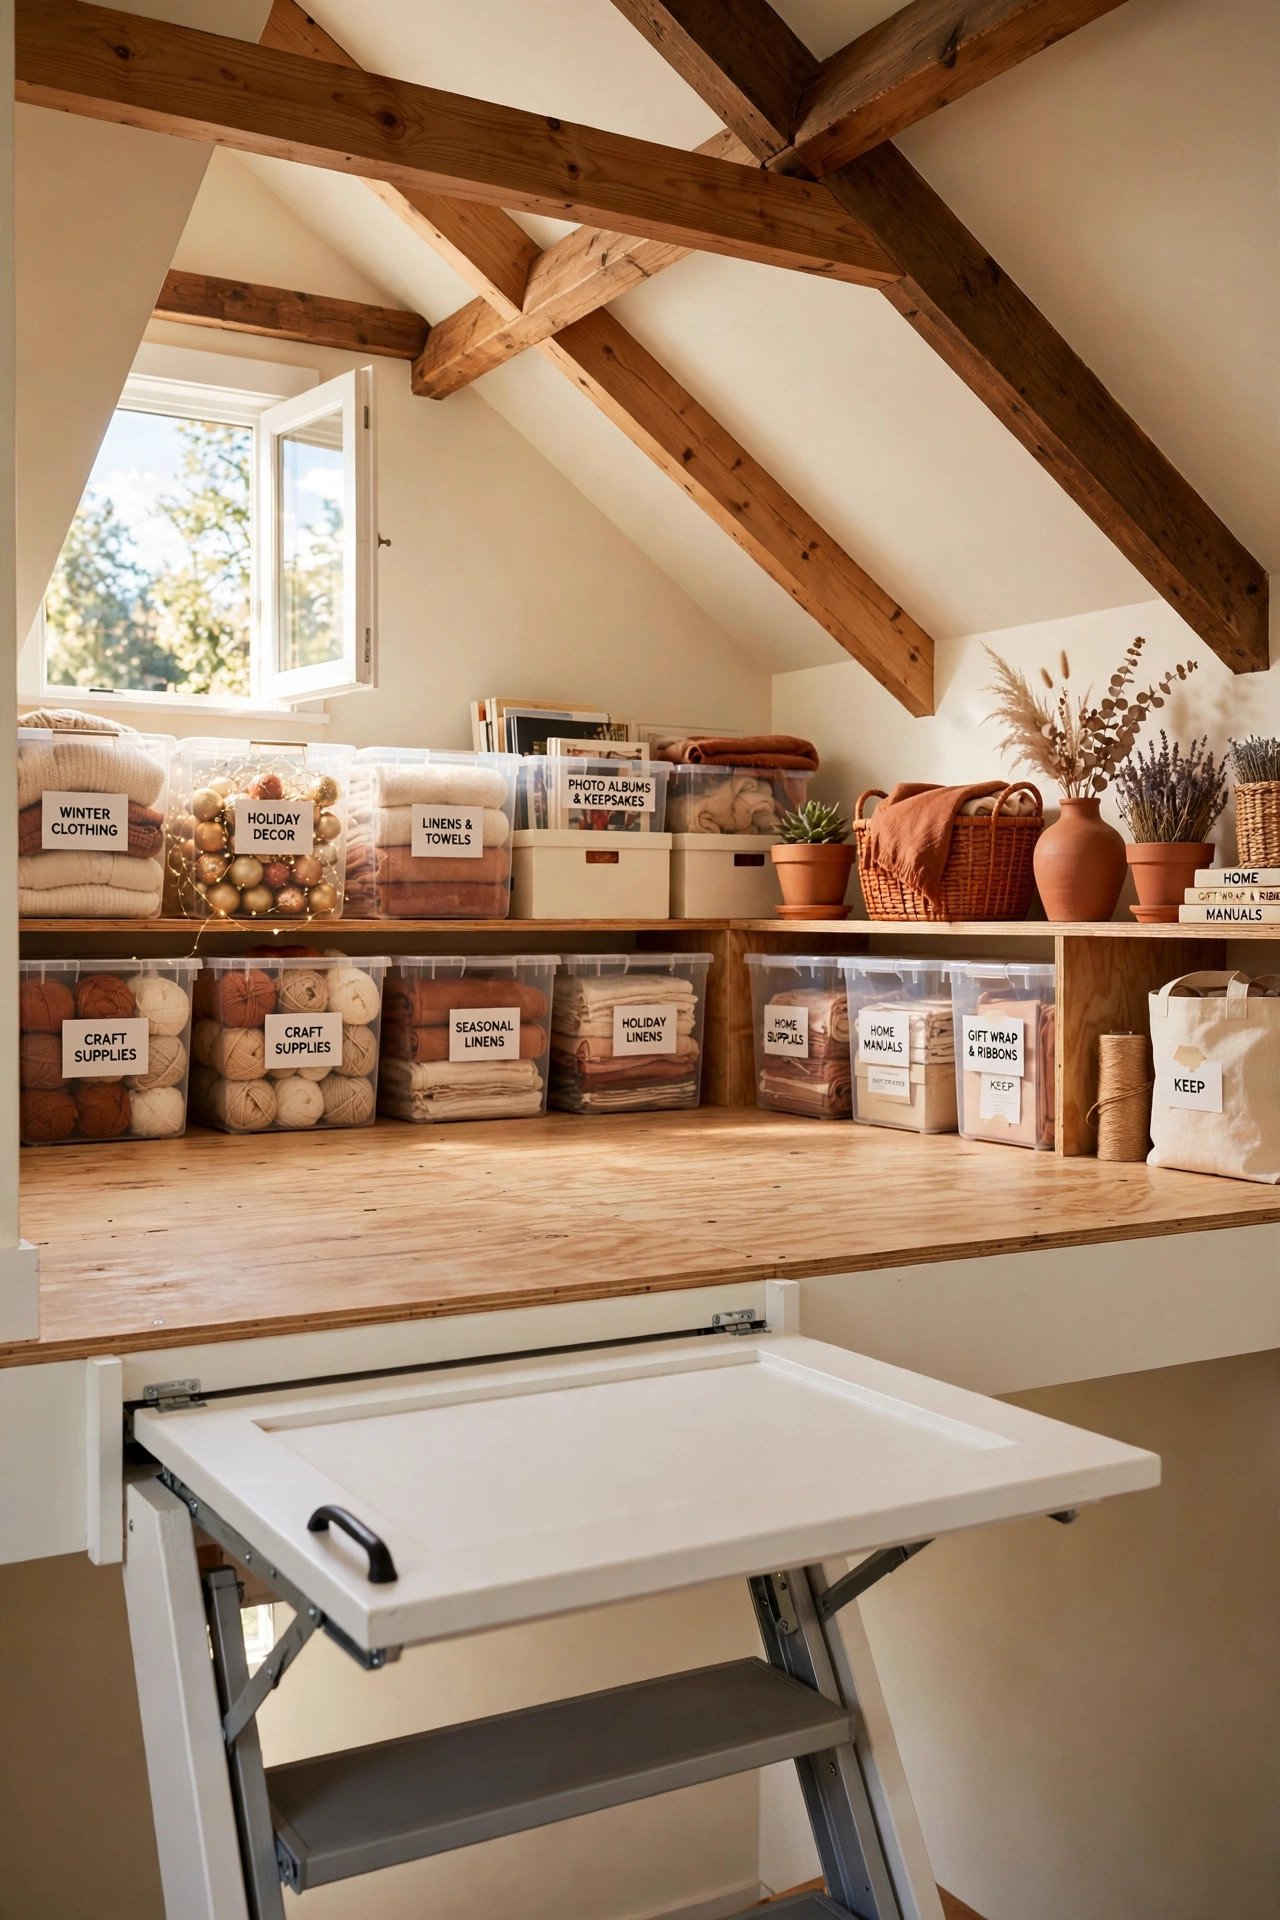
28. Attic Loft Storage Above
Put the attic above the ranch to work as organized storage with a pull-down stair in the hallway. Lay 3/4 inch plywood over the joists to create a walkable deck, but confirm the joists can carry storage loads before piling on weight. Keep storage to the center where headroom is highest.
Use clear labeled bins grouped by category, holiday decor, outgrown clothes, keepsakes, and add a battery LED light at the hatch. A 20 by 30 foot attic swallows the clutter of three closets. The whole main level breathes once the overflow moves upstairs.
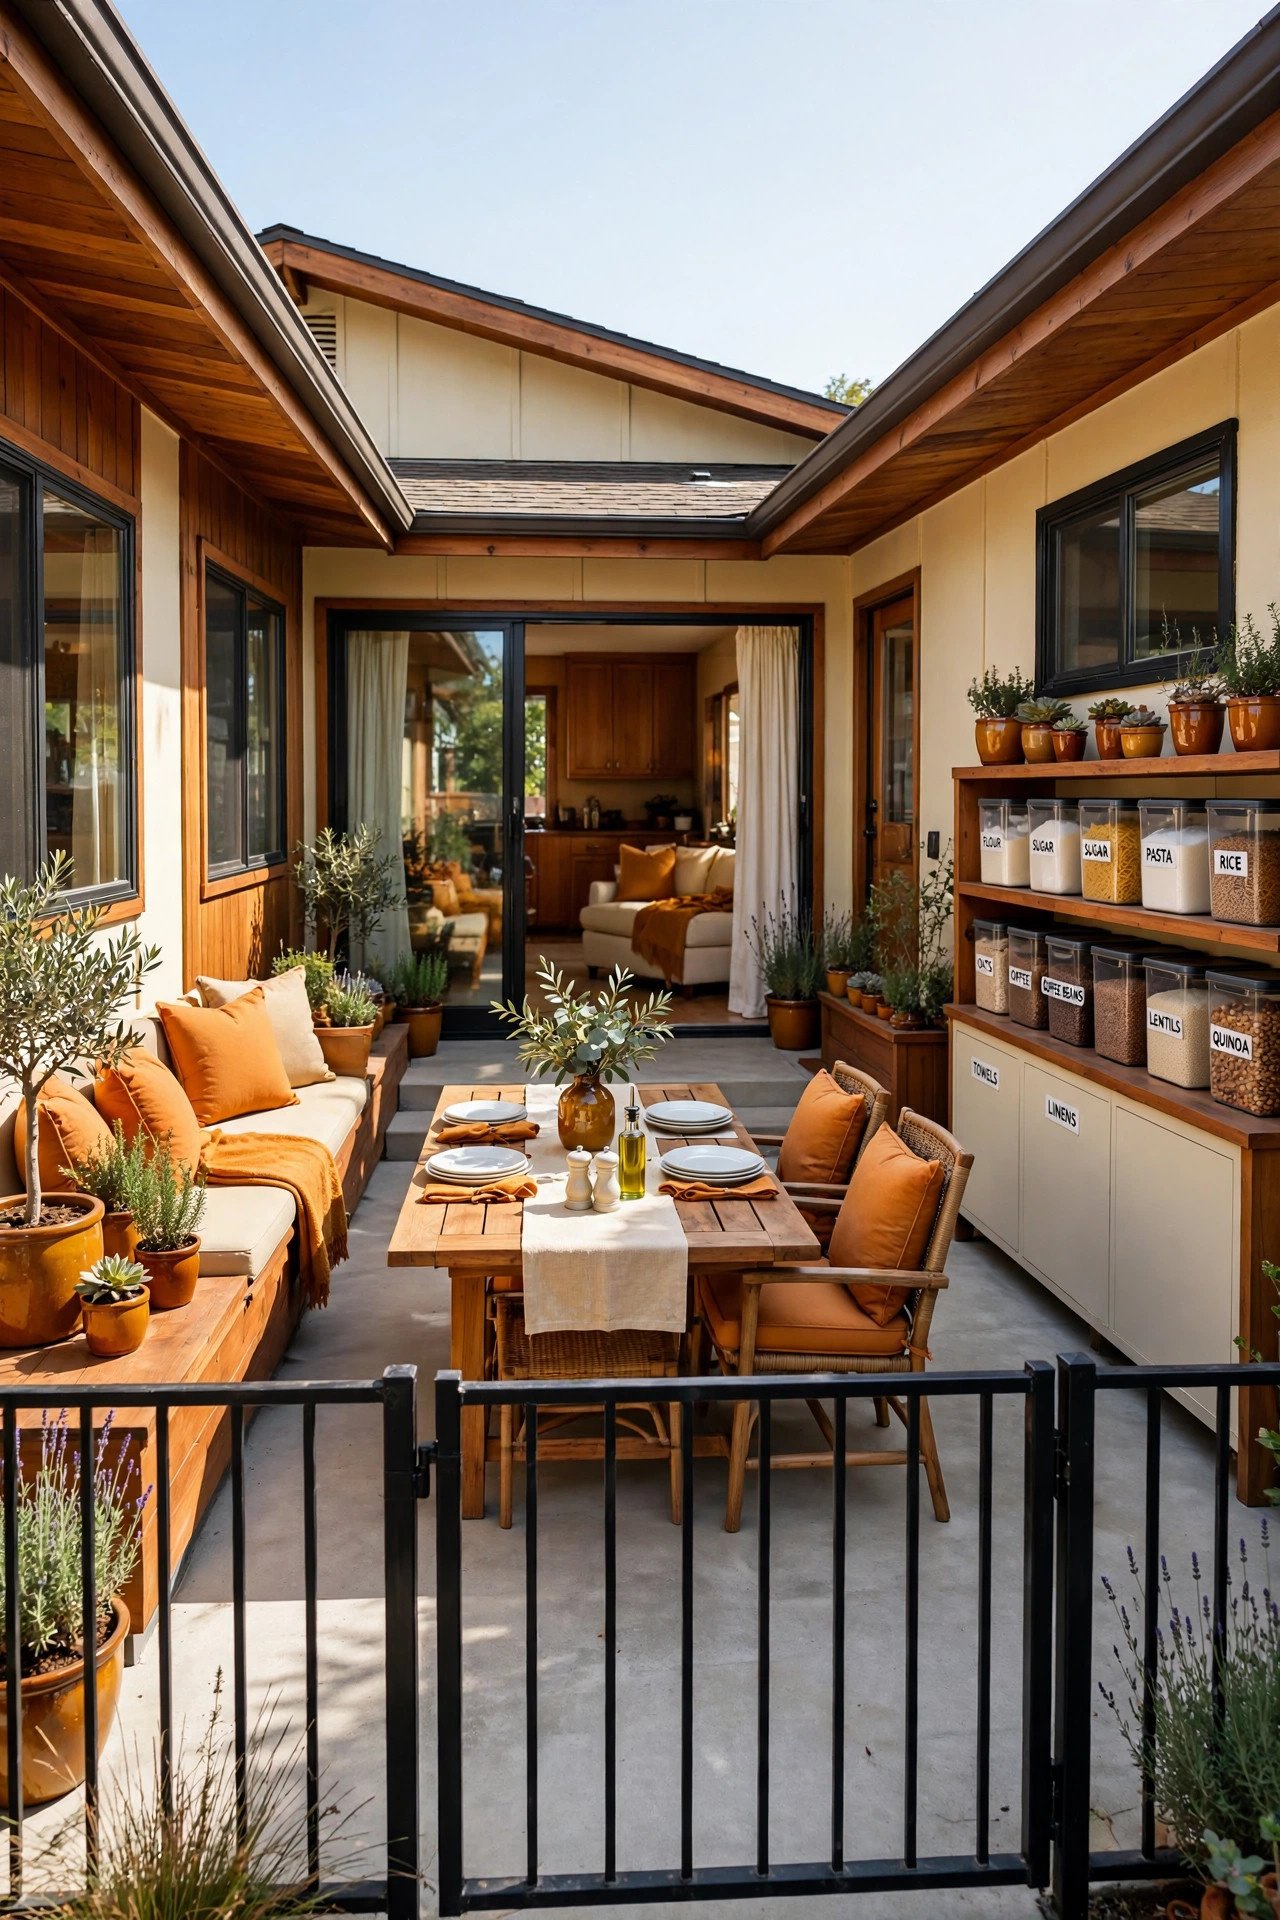
29. U-Shaped Courtyard Layout
If you are building or doing a major remodel, consider a U-shaped ranch wrapped around a private courtyard. Check local setback rules first, since the courtyard counts as open space but the wings still need side clearances. Every main room gets garden views, and the courtyard becomes a fully private outdoor room for kids.
Fence the open end of the U with a gate to enclose the courtyard completely, and place a small dining set at its center. Bedrooms on the courtyard side stay quiet because they face away from the street. The house wraps your family in its own sheltered world.
30. Straight Sightline Front to Back
Align doorways and cased openings to create one straight sightline from the front door to the backyard. Stand at the entry and note every wall that blocks the view, then widen those openings to at least 4 feet during your next remodel. Light travels the full depth of the house along this axis.
Keep the sightline corridor free of tall furniture, using pieces under 30 inches high like low consoles or benches. Hang one piece of art at the far end to give the eye a destination. This zero-cost alignment trick makes a 60 foot ranch feel twice as long.
Conclusion
A small ranch house is one of the most family-friendly footprints you can own. One level keeps everyone together, simple framing makes walls easy to rethink, and the long rectangle practically begs for split wings and straight sightlines. The right layout moves turn modest square footage into a home that fits your life.
Start with the change that solves your biggest daily frustration. Open the wall that darkens the kitchen, carve the mudroom that tames the mornings, or flip the living room toward the backyard. In a ranch, small structural moves pay off every single day.
Frequently Asked Questions
What is the best floor plan for a small ranch house?
An open great room with split bedroom wings works best for most families. It keeps living space social while giving parents and kids private zones at opposite ends.
How can I make a small ranch feel bigger without an addition?
Remove walls between the kitchen, dining, and living areas to create one flowing space. Consistent flooring and a straight sightline from front to back also add perceived size.
Where should the laundry go in a ranch house?
Near the bedrooms is ideal, since that is where most laundry starts and ends. A stacked setup fits into a hallway closet if space is tight.
Can I add a bedroom to a small ranch without building out?
Yes. Converting a garage bay or finishing a basement adds a bedroom without changing the footprint. Both options cost less than a traditional addition.
Are ranch houses good for multigenerational families?
They are excellent. Single-level living suits grandparents, and a split bedroom wing or converted garage gives everyone privacy. Wide hallways also adapt well to accessibility needs.

Hi, I’m Emily! I turn messy corners into cozy, organized spots. DreamNestDecor is where I share simple, practical home ideas — decor, organization, and small-space solutions that work in real life, not just in photos. Every idea here is carefully researched before it’s shared.