

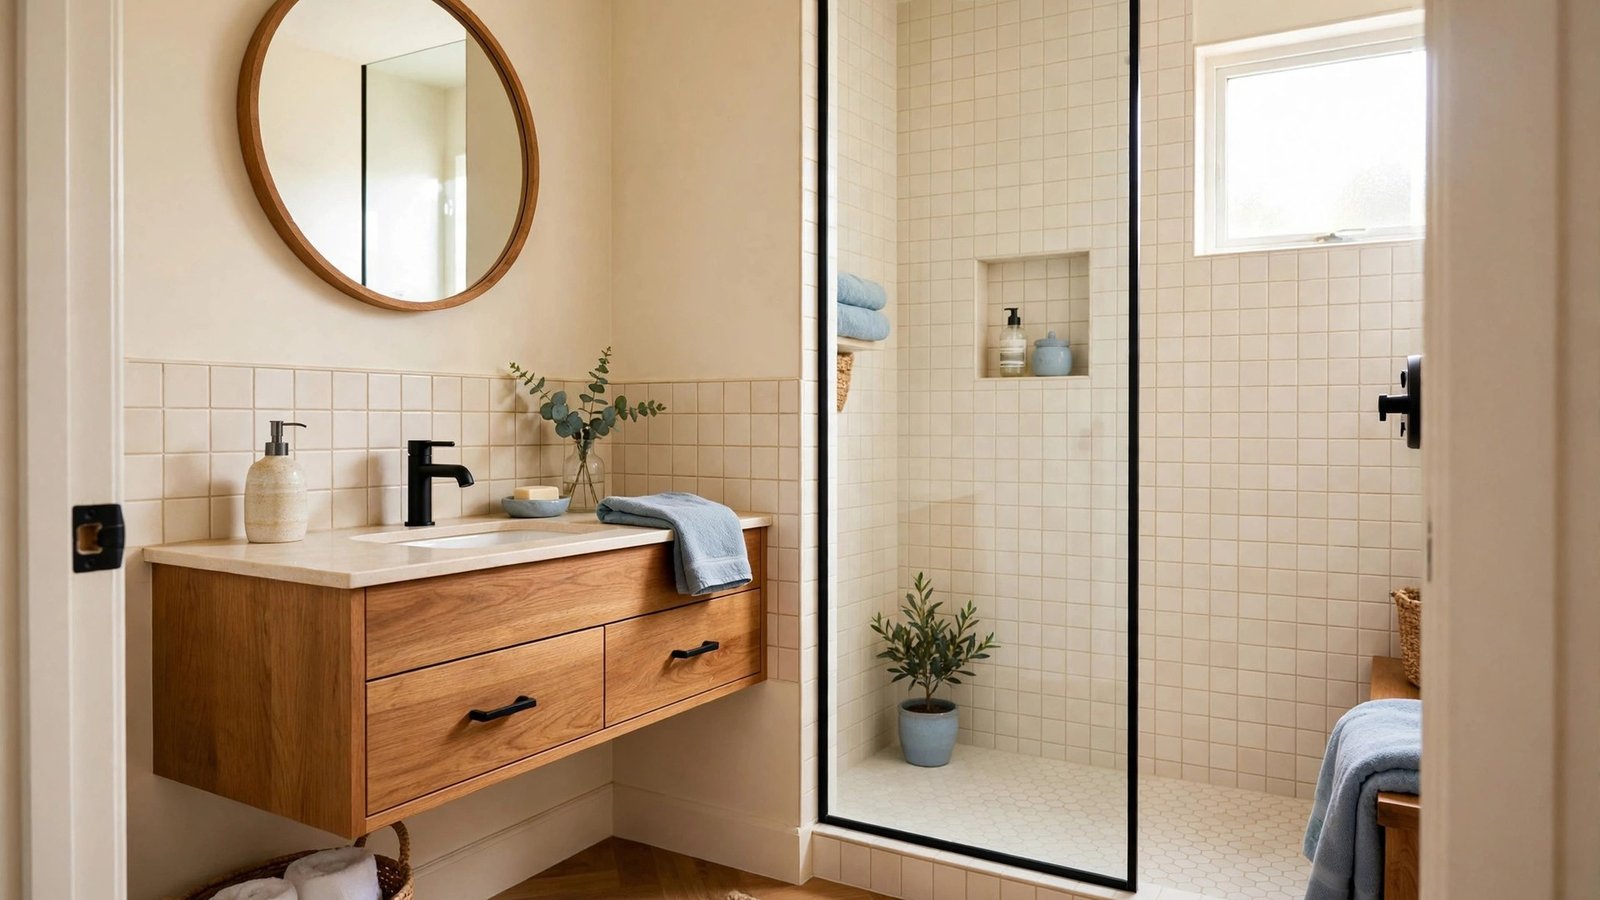
A walk in shower changes the math of a small bathroom. Removing the tub frees roughly 13 square feet of floor, and removing the curb and curtain removes the visual walls that chop the room into pieces. The result is one continuous space where light and air move freely, and the bathroom reads twice its actual size.
These 26 small bathroom layout ideas with a walk in shower are built on real bathroom engineering. You will get the slopes, clearances, glass sizes and waterproofing details that make a compact walk in shower work beautifully instead of leaking, splashing or feeling cramped.
1. Design a Seamless Wet Room
A true wet room needs a floor sloped at a quarter inch per foot toward the drain, across the entire bathroom floor. This single detail decides whether the wet room works: too flat and water wanders, too steep and the floor feels odd underfoot. Hire a tiler who has built wet rooms before, because the slope must be perfect before the tile goes down.
Waterproof the whole floor and run the membrane at least 6 inches up every wall; in the shower zone itself, take it to the ceiling. Continuous large-format tile with minimal grout lines stretches the room visually and gives water fewer places to linger. A linear drain at the far wall keeps the slope simple: one plane, one direction.
2. Open It Up with a Glass Corner Shower
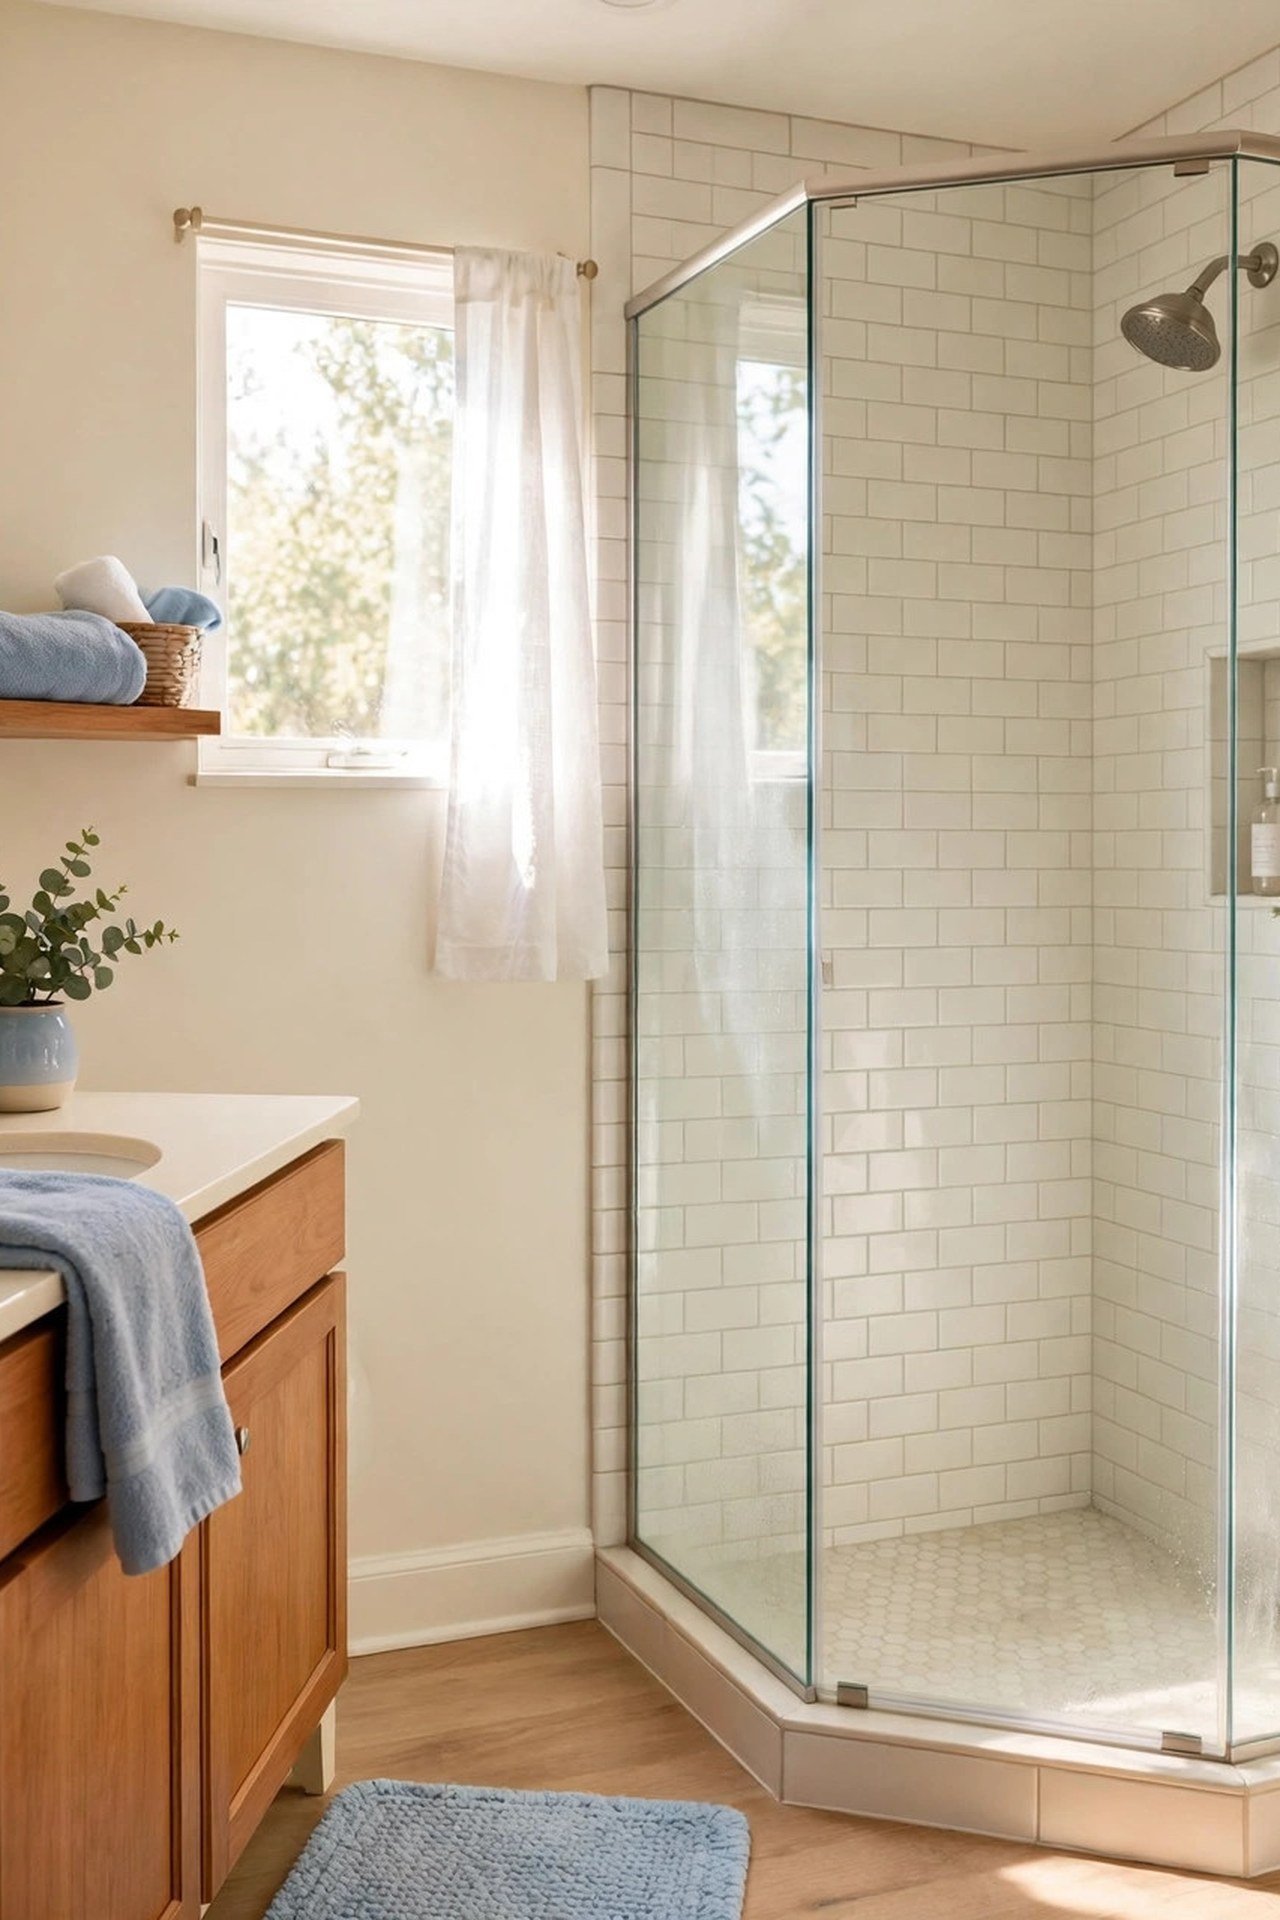
Glass works when it is sized right. For a 36 by 36 inch corner shower, a single fixed panel 30 to 34 inches wide on the open side contains most splash while keeping the entry generous. Go narrower than 28 inches and water escapes; go full enclosure and you lose the open feel that makes the bathroom look bigger.
Use 3/8-inch tempered glass with a water-repellent coating so it stays clear with a quick squeegee after each shower. Pair the glass with light wall tiles that reflect daylight through the panel. Keep the showerhead on the wall opposite the entry, aimed away from the opening, and the open corner stays dry.
3. Add Depth with Textured Tile
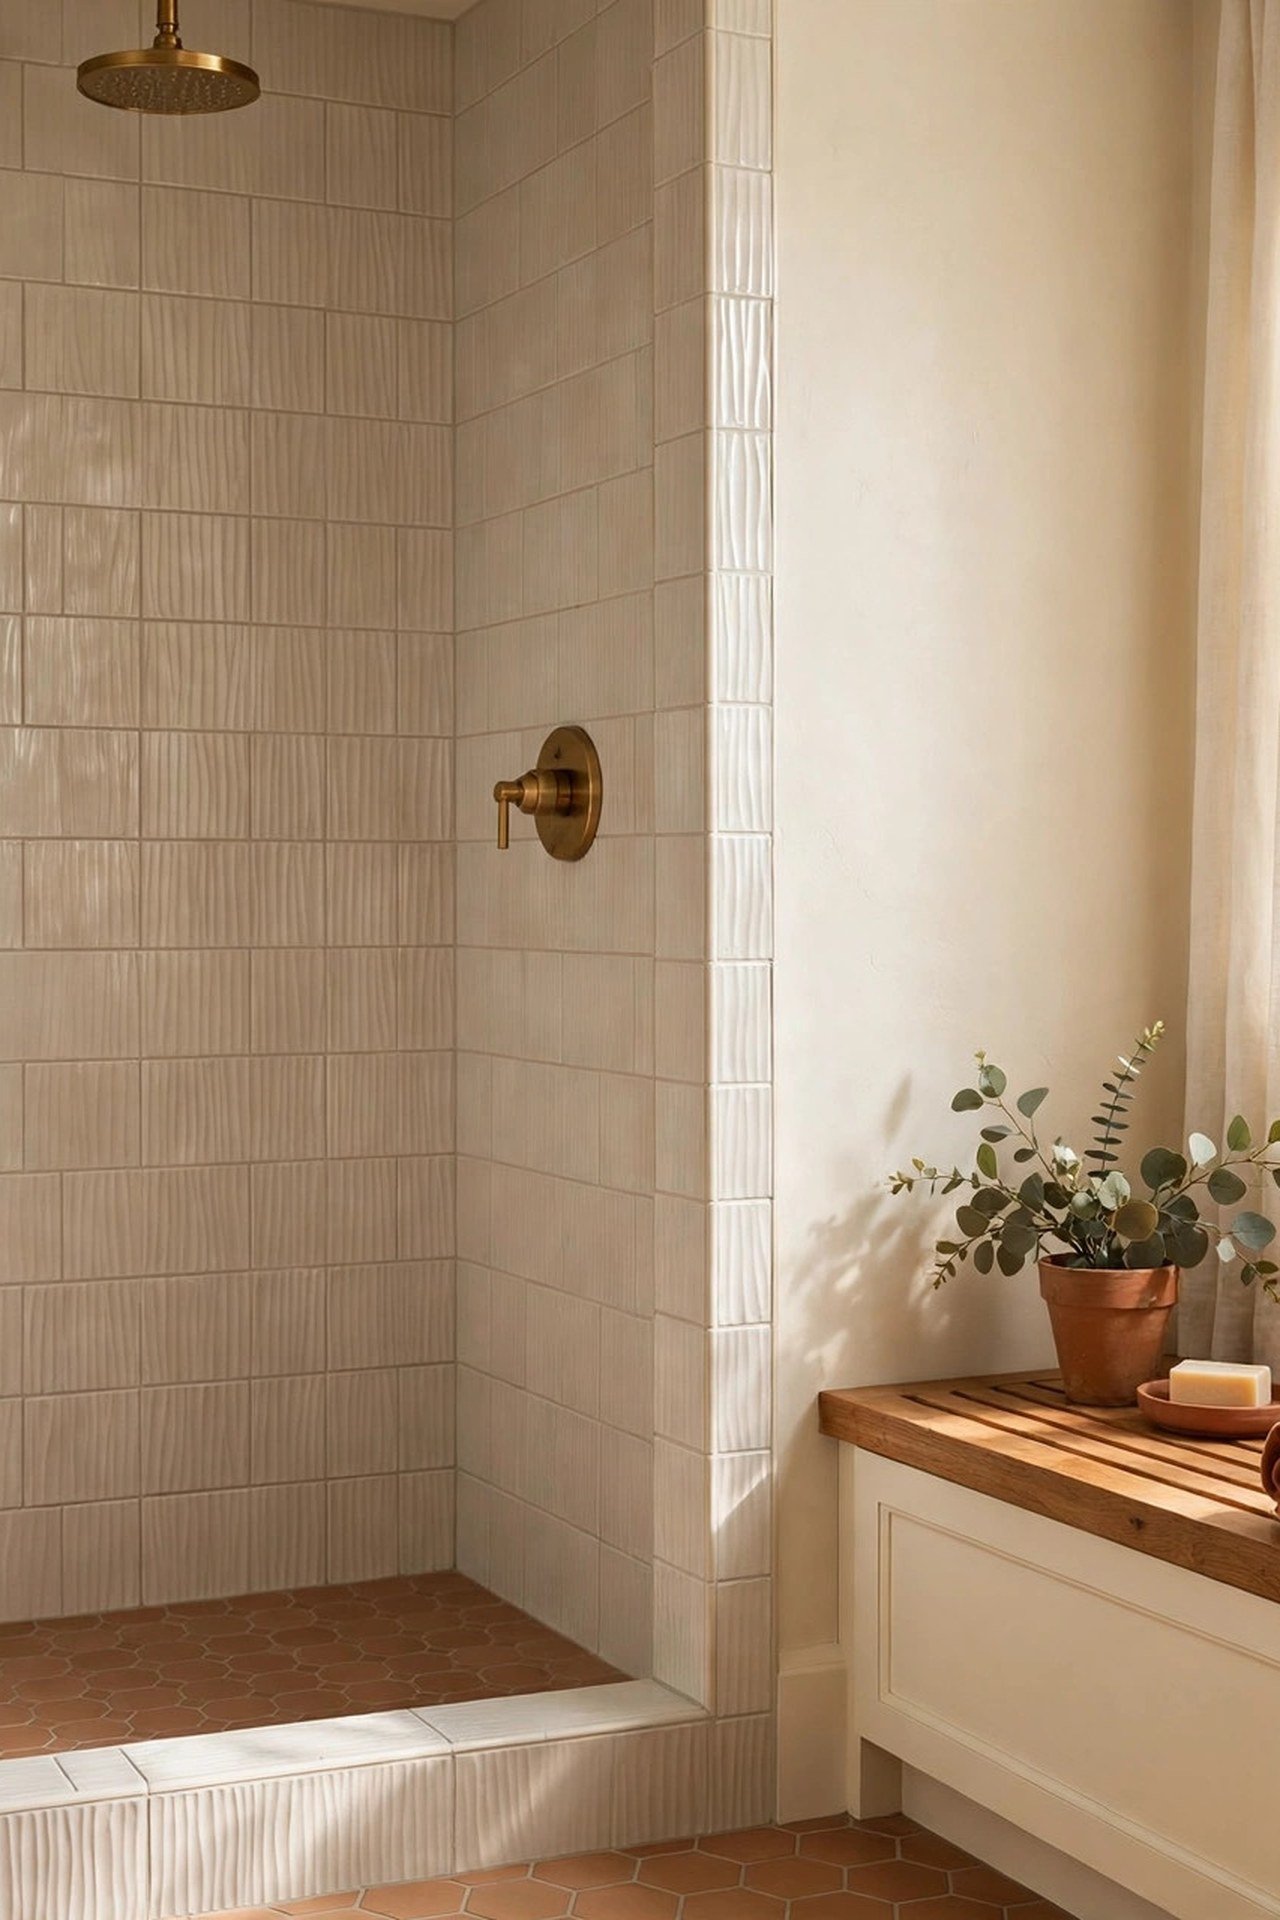
Textured tile in a shower is a maintenance choice as much as a style choice. Ridged or fluted tiles break up water sheets so spots and soap film show less between cleanings, which matters in a small bathroom where the shower wall is always in view. Matte finishes outperform gloss here for the same reason.
Limit texture to one wall, ideally the wall you face when you enter, so it reads as a feature rather than a pattern closing in. Keep the other walls in a smooth tile of the same color; the color continuity is what keeps the small room calm while the texture adds the interest.
4. Float a Teak Bench in the Shower
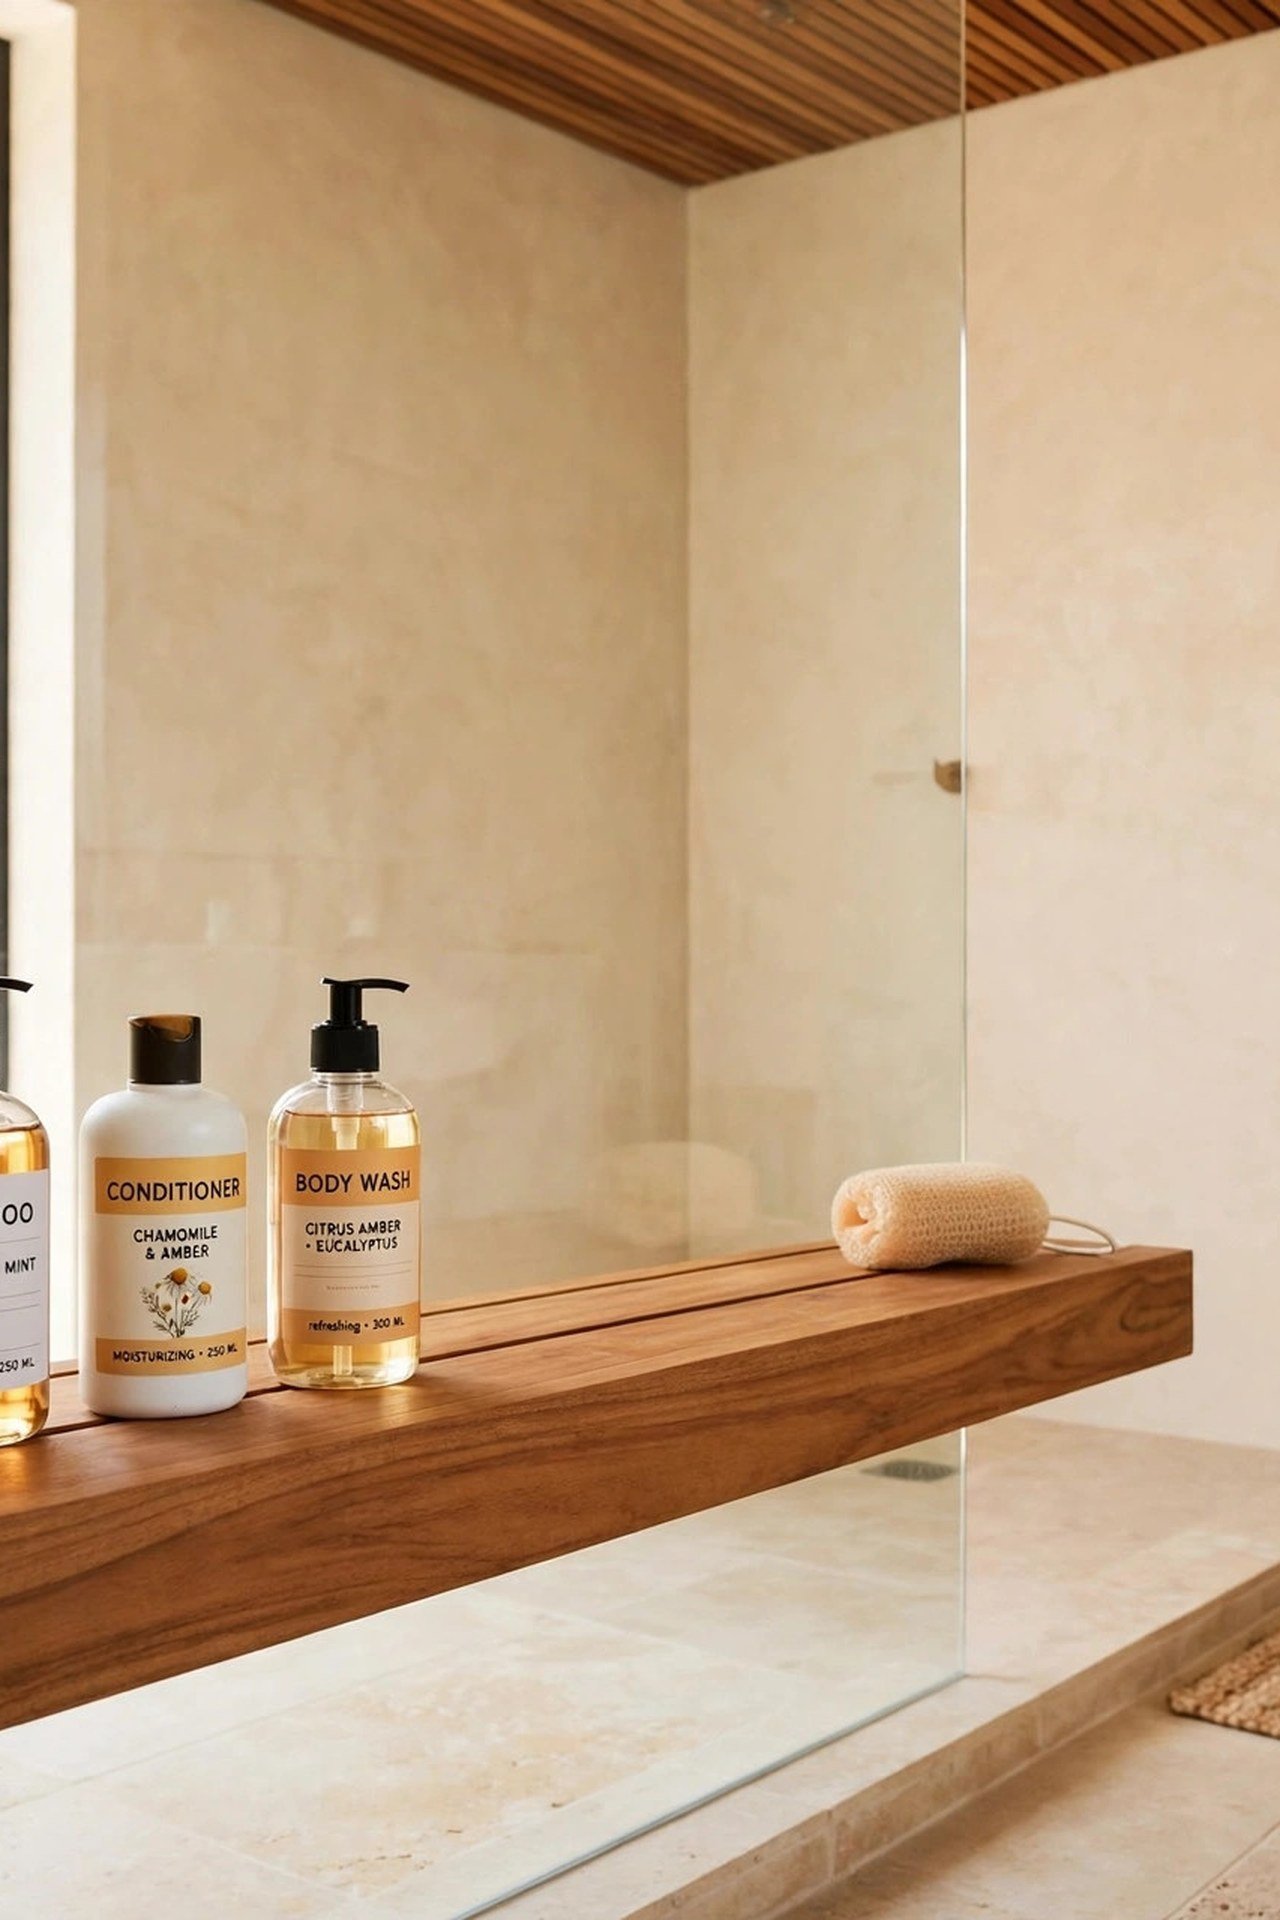
A floating bench needs a wall that can hold it: mount into studs or solid blocking, never into tile and backer board alone. A 12-inch-deep teak bench at 18 inches high gives a comfortable perch for shaving and a landing spot for shampoo, while the open floor beneath keeps the shower’s footprint visually clear.
Teak earns its price in wet rooms because its natural oils resist water and mildew. Oil it twice a year to keep the warm color; let it silver if you prefer the weathered look. Slope the bench top slightly toward the drain so water never pools on the seat.
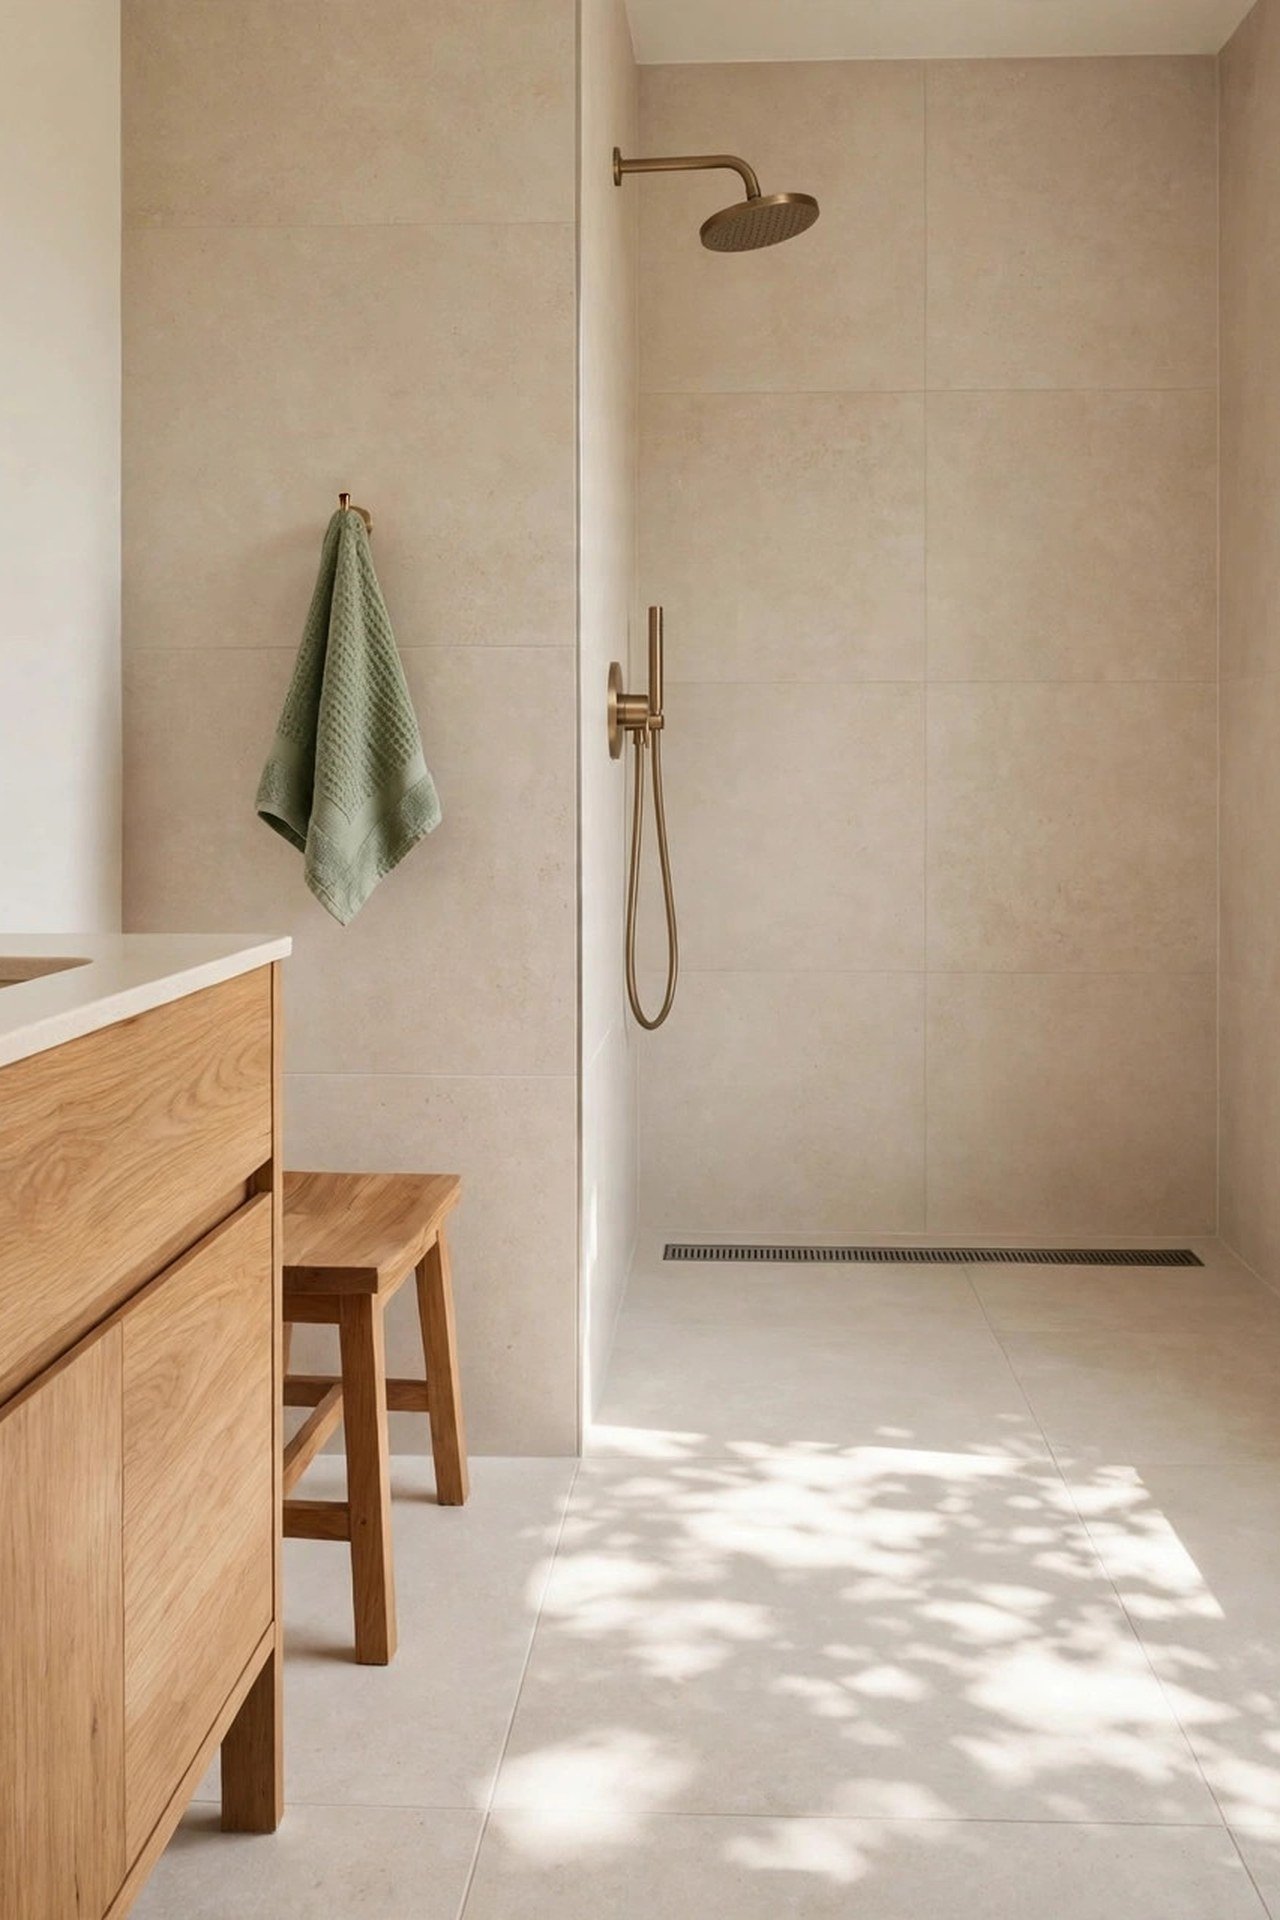
5. Anchor the Space with a Dark Accent Wall
One dark wall in a small bathroom works when it is the wall you see first: it becomes a focal point that gives the room depth, like looking into a jewel box. Charcoal or navy in the shower zone also hides the water spotting that shows on pale tile, so the shower looks cleaner between scrubbings.
Keep everything else light: pale floors, white fixtures, a clear glass panel. The contrast is what makes the dark wall dramatic instead of gloomy. If you love immersive color, color drenching a tiny bathroom in one deep tone can feel surprisingly cozy and cocooning rather than small.
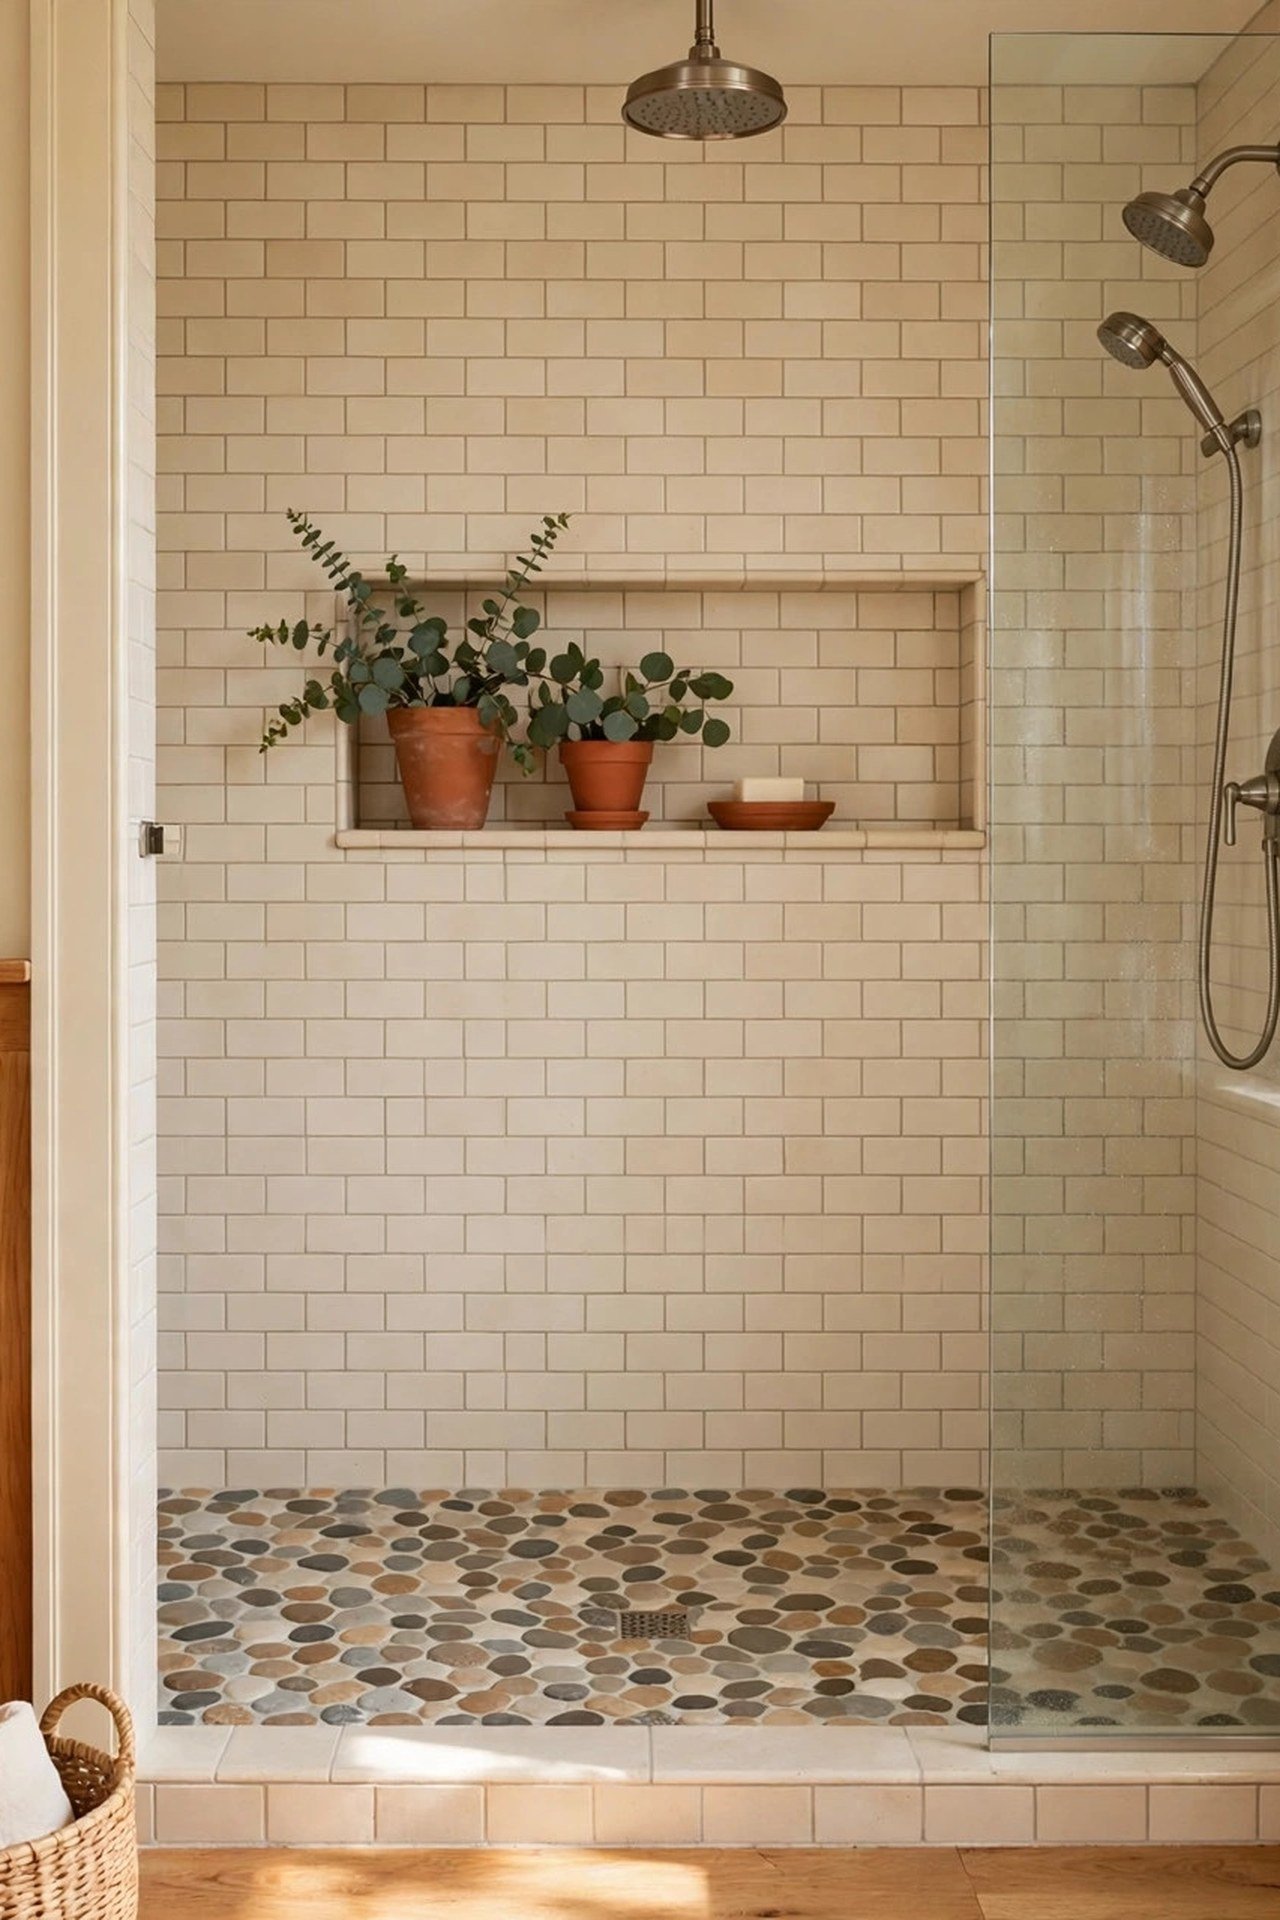
6. Bring in Natural Stone Texture
Natural stone on the shower floor must be sealed and slip-rated; choose a honed or tumbled finish, never polished, because wet polished stone is dangerously slick. Smaller stone tiles also follow the quarter-inch-per-foot slope to the drain more gracefully than large slabs, which cannot bend to the fall.
Stone’s color variation hides the soap and mineral marks that show on uniform tile, a real advantage in a hardworking family bathroom. Keep the palette neutral and let the stone be the only pattern in the room; against smooth glass and simple fixtures, its texture reads as calm luxury rather than busyness.
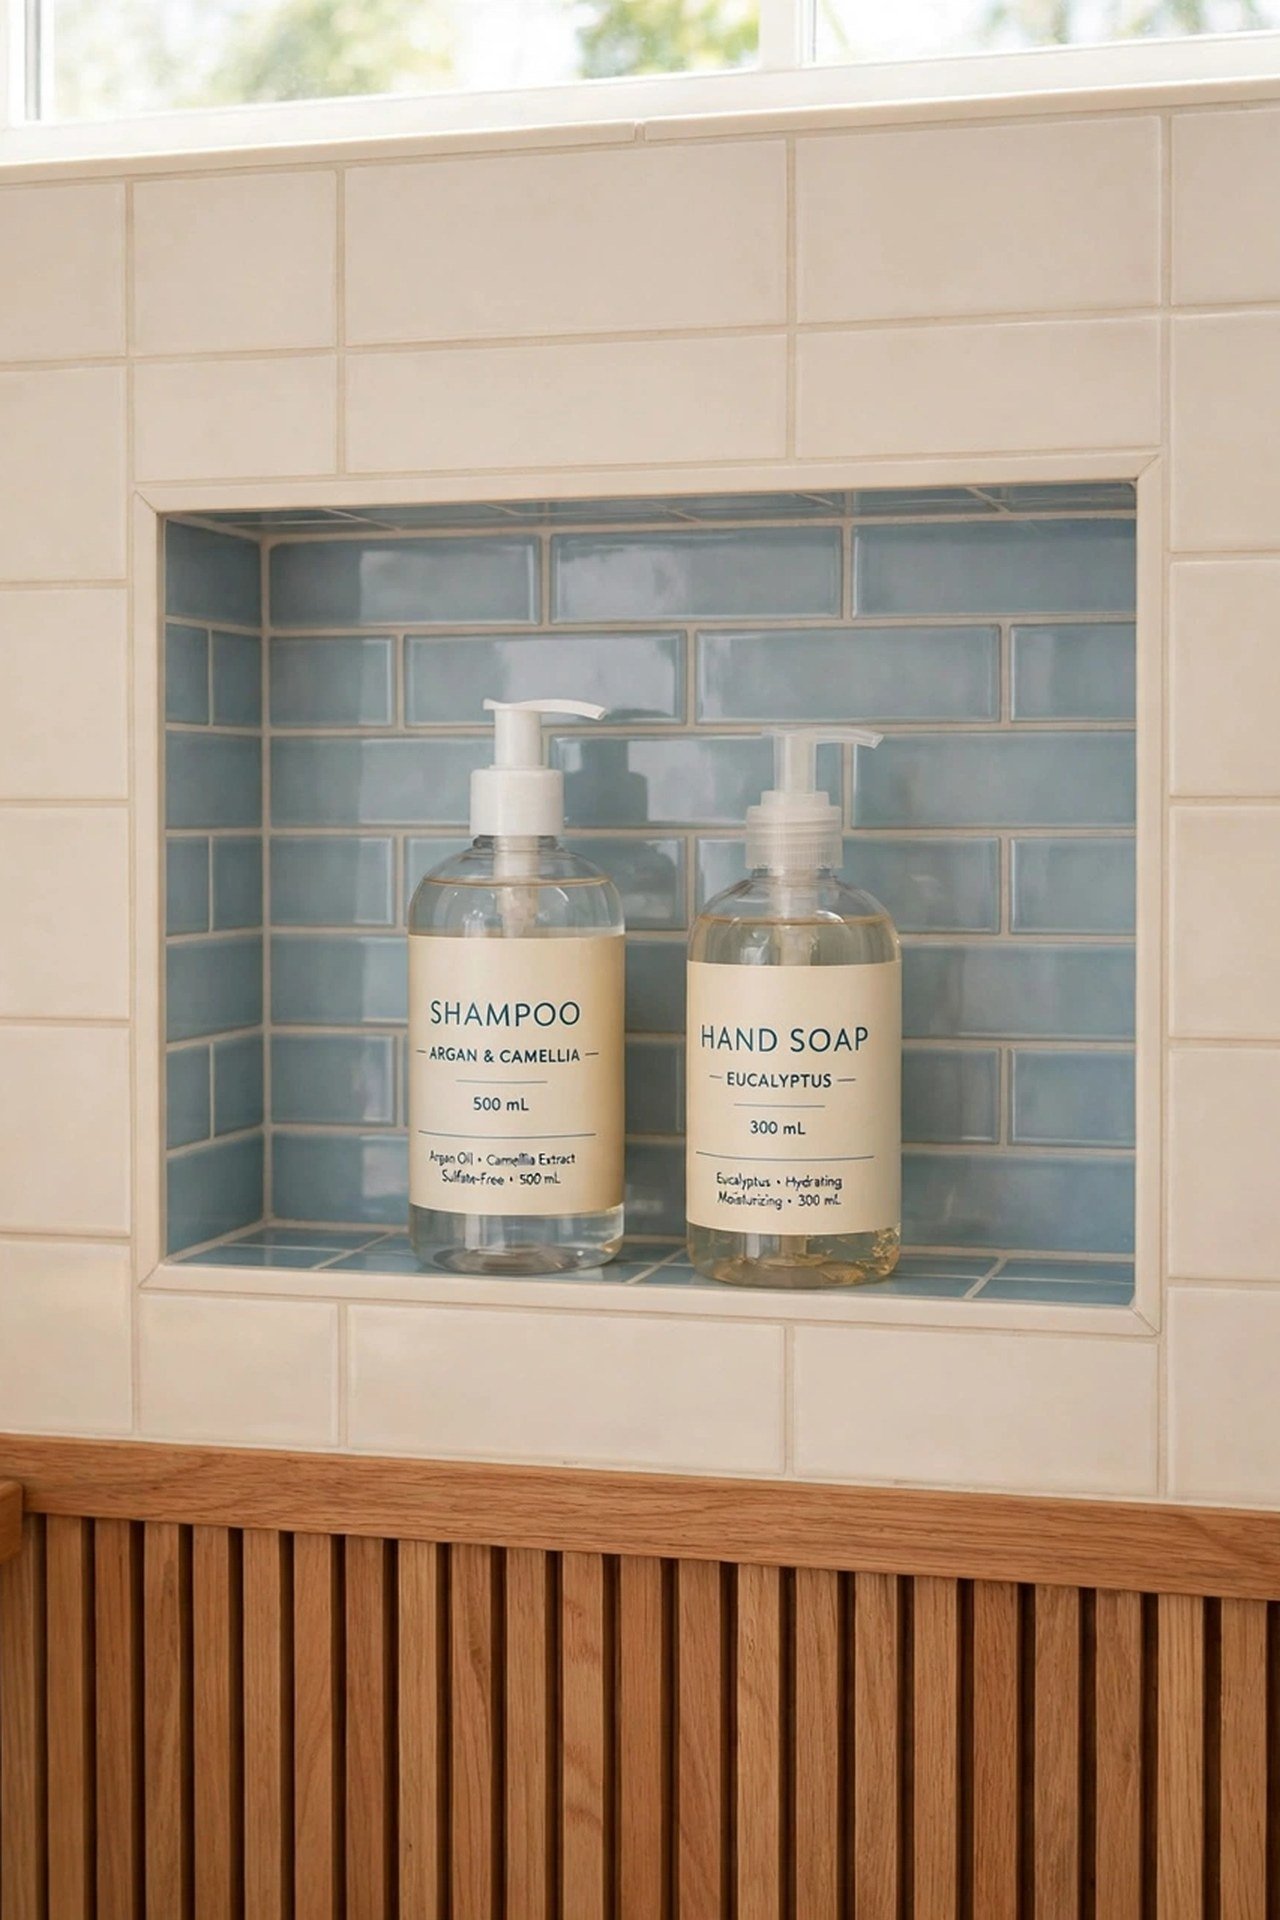
7. Build a Recessed Niche
Size the niche before the plumber and tiler arrive: 12 inches wide by 24 inches tall fits most bottle families, and centering it 48 inches from the shower floor puts everything at a natural reach height. Build it between studs, which are typically 16 inches apart, so the framing stays simple and the waterproofing stays intact.
Waterproof the niche like a tiny shower: membrane on all five sides, sloped sill so water drains out. Tile it to match the wall for a seamless look, or in a contrast mosaic for a jewelry-box moment. One wide niche beats two small ones; fewer edges mean fewer grout lines to scrub.
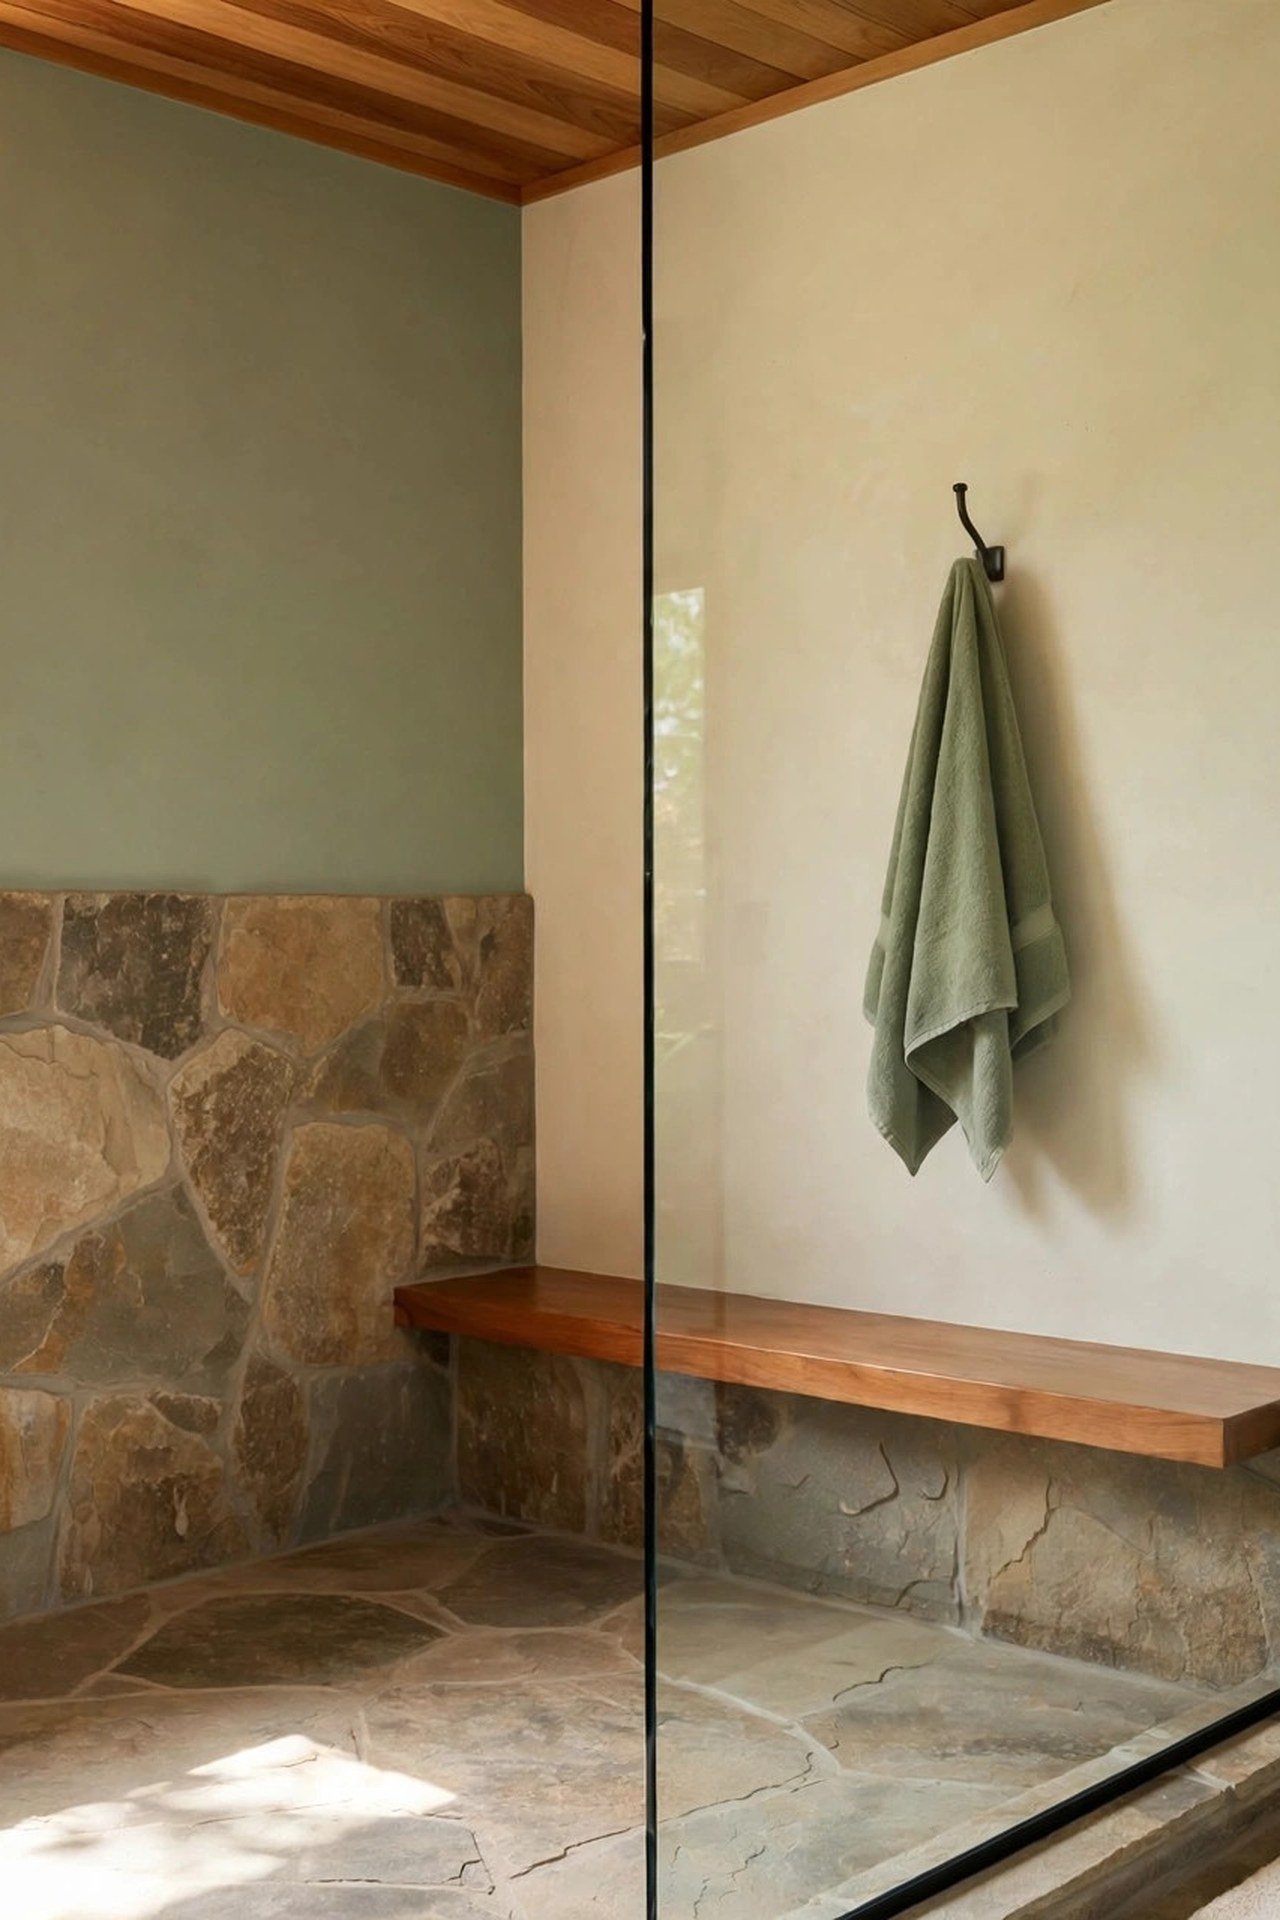
8. Step onto a Pebble Floor
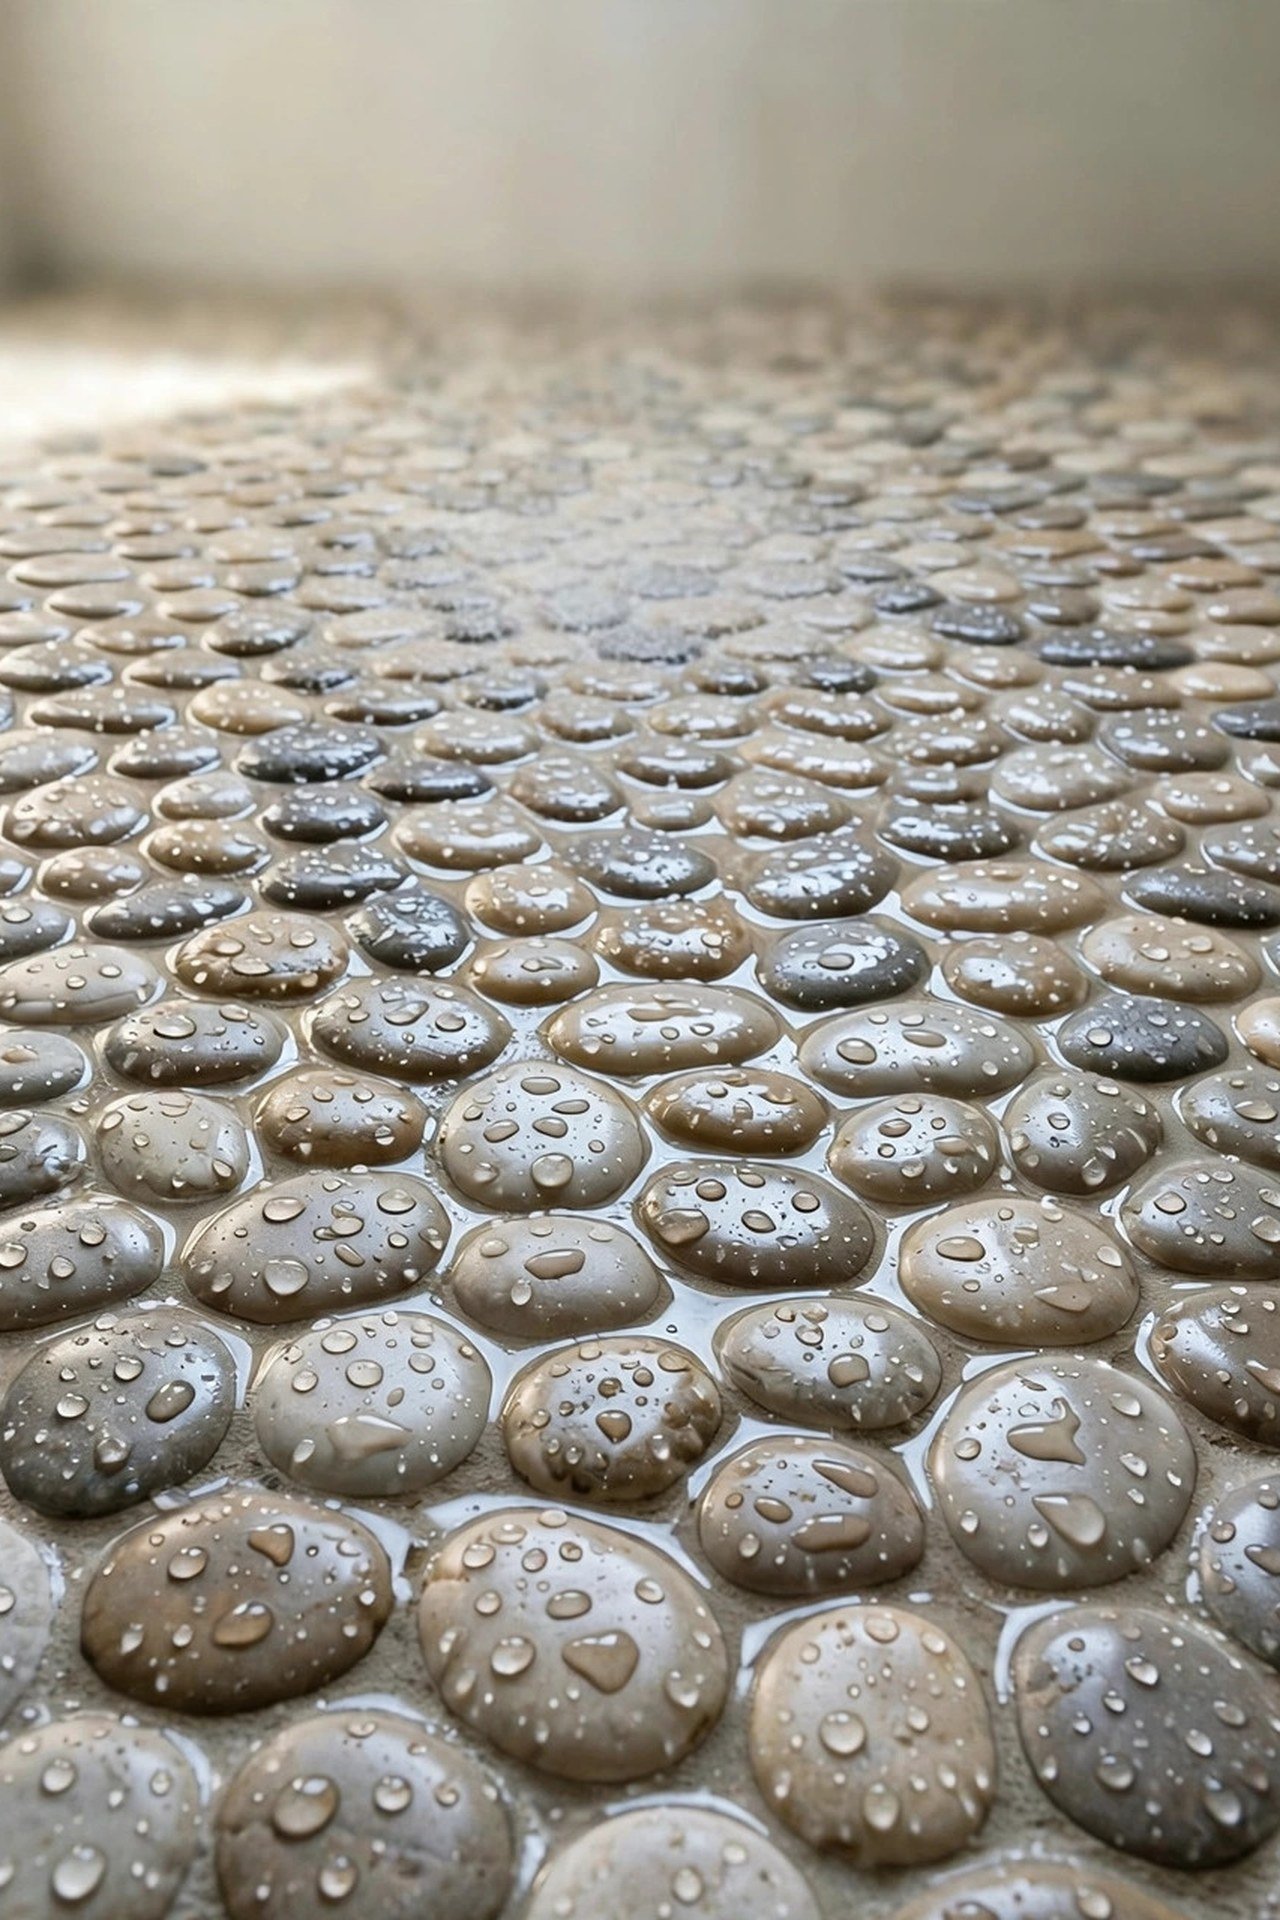
Pebble mosaic on the shower floor gives you the best slip resistance of any finish, because the rounded stones and their many grout lines grip wet feet. The stones also conform naturally to the slope toward the drain, which makes the tiler’s job easier and the drainage more reliable.
Choose flat-cut pebbles over fully rounded ones; they feel better underfoot and need less grout. Seal the grout well, since pebble floors have far more grout than tile floors. Pair the busy floor with calm, neutral walls so the texture underfoot is the star and the small room stays serene.
9. Run Tile from Floor to Ceiling
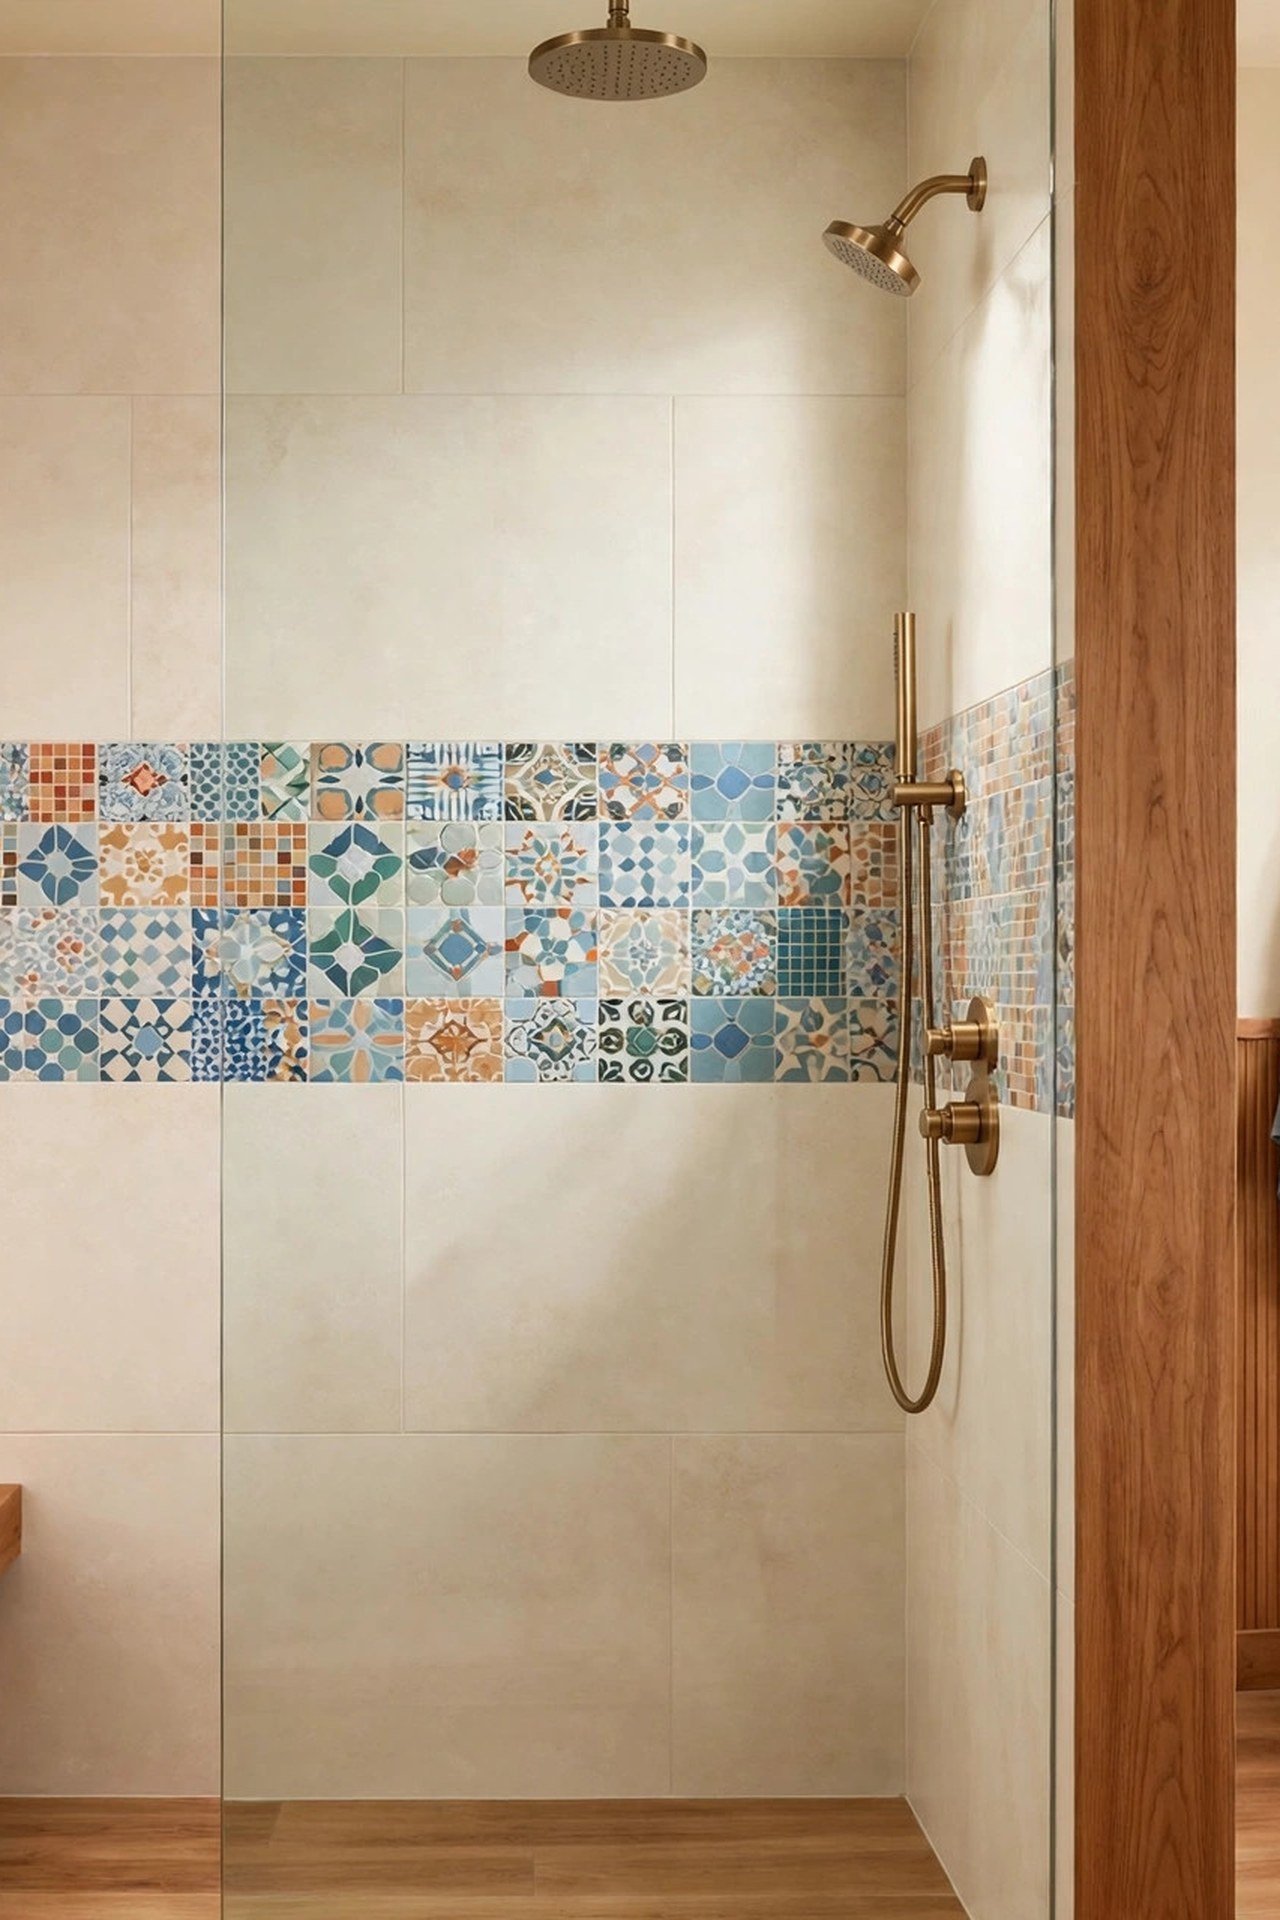
Floor-to-ceiling tile eliminates the painted drywall strip above the shower that peels in steamy bathrooms; the whole wet zone becomes waterproof by construction. Large-format tiles, 12 by 24 inches or bigger, mean fewer grout lines, which means less scrubbing and a calmer visual field.
The vertical lines of stacked large tiles draw the eye up and make an 8-foot ceiling feel taller. Use the same tile on the floor in a smaller size or a matte finish for slip safety; the color continuity erases the boundary between floor and wall, and the small room reads as one generous volume.
10. Frame the Glass with Black Metal
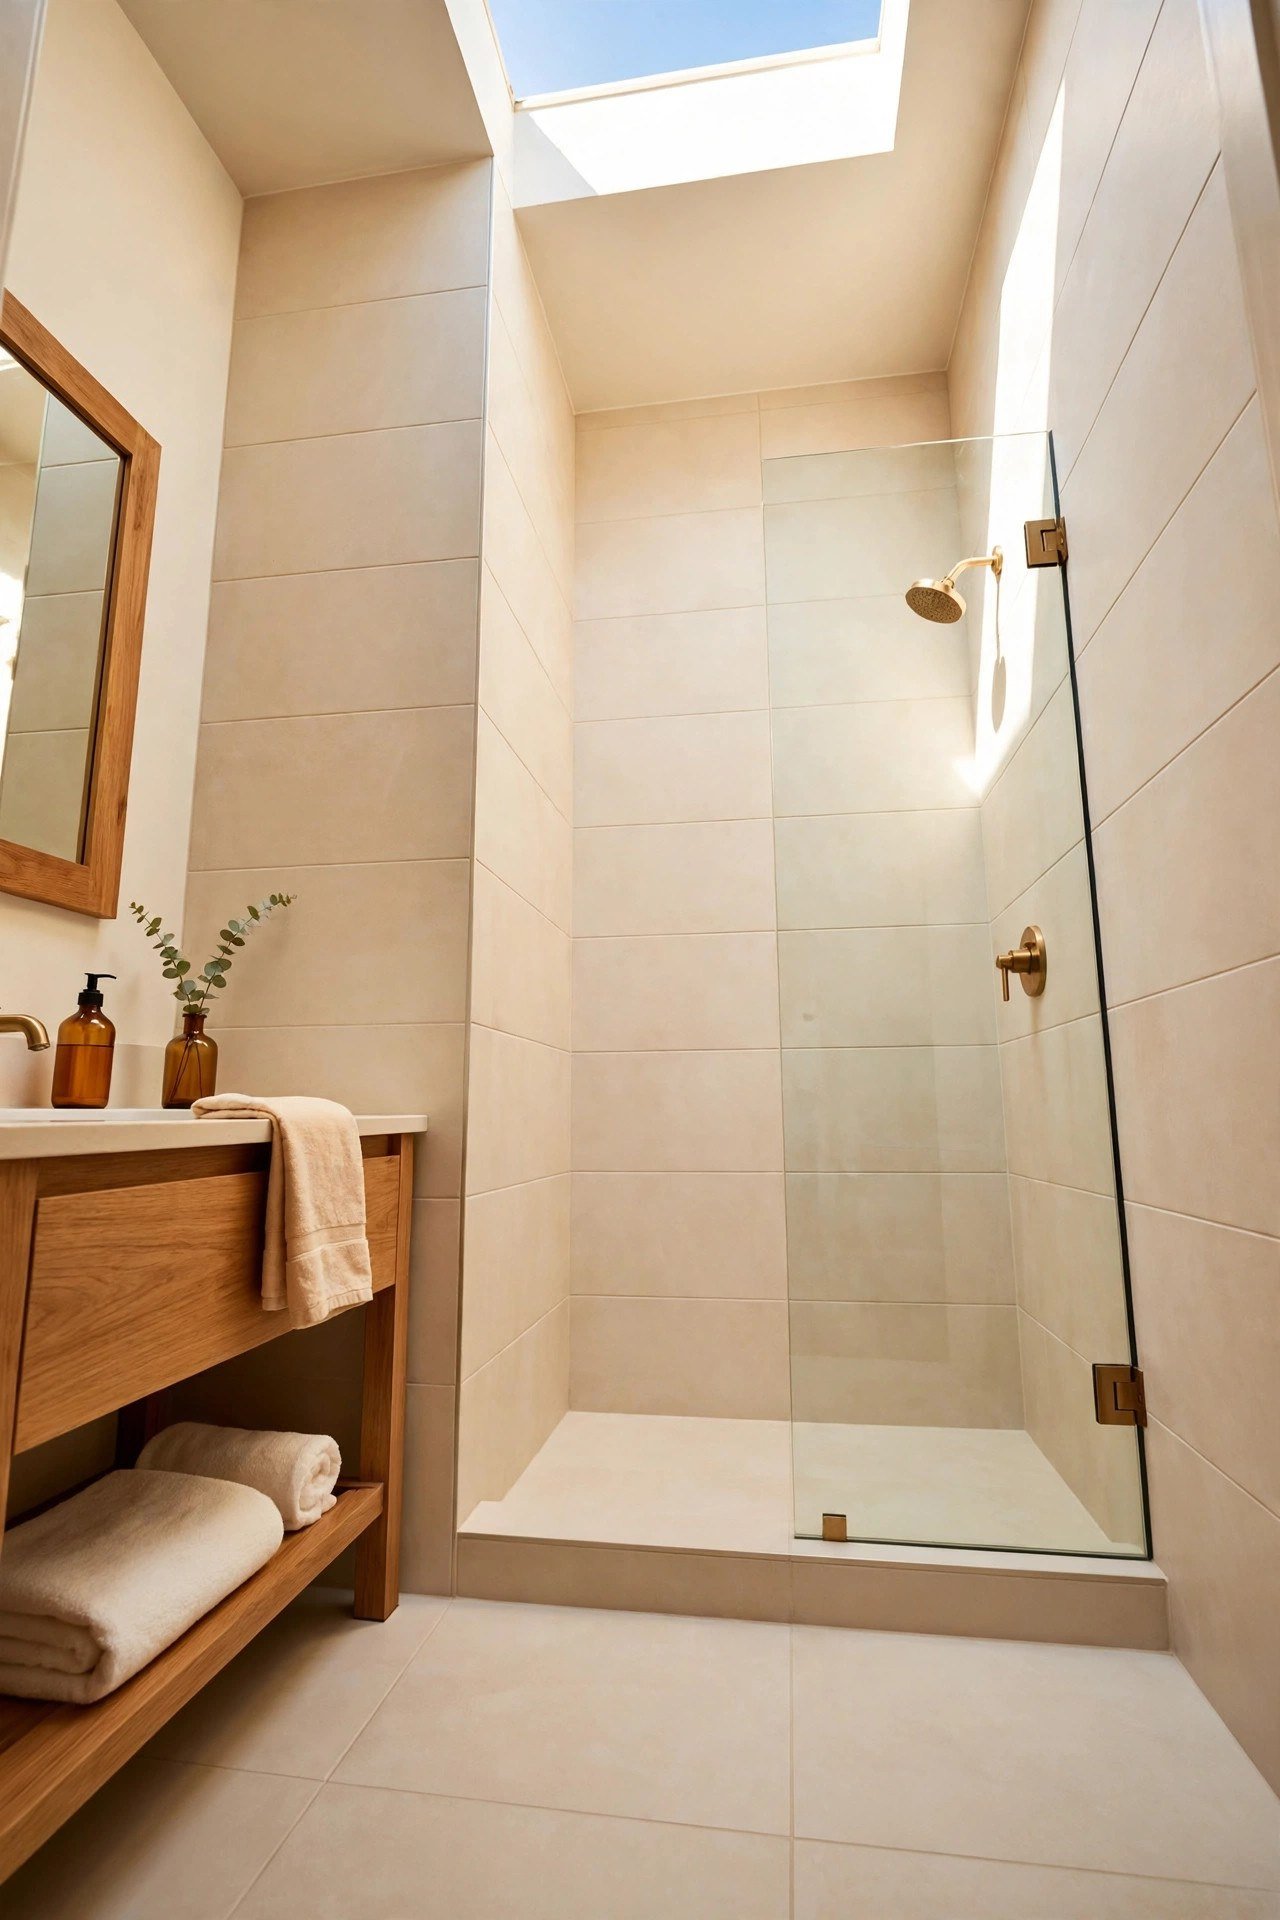
A slim black metal frame around the glass panel does the job of a full enclosure’s structure with a fraction of the visual weight. The dark lines define the shower zone architecturally, which helps in a small bathroom where zones blur together. Powder-coated aluminum resists the humidity that would rust raw steel.
Keep the frame profiles slim, half an inch or less, so they read as lines rather than bars. The black outline looks sharpest against white or pale tile. For trim confidence elsewhere in the bath, these decorative molding ideas show how a little applied detail elevates plain walls.
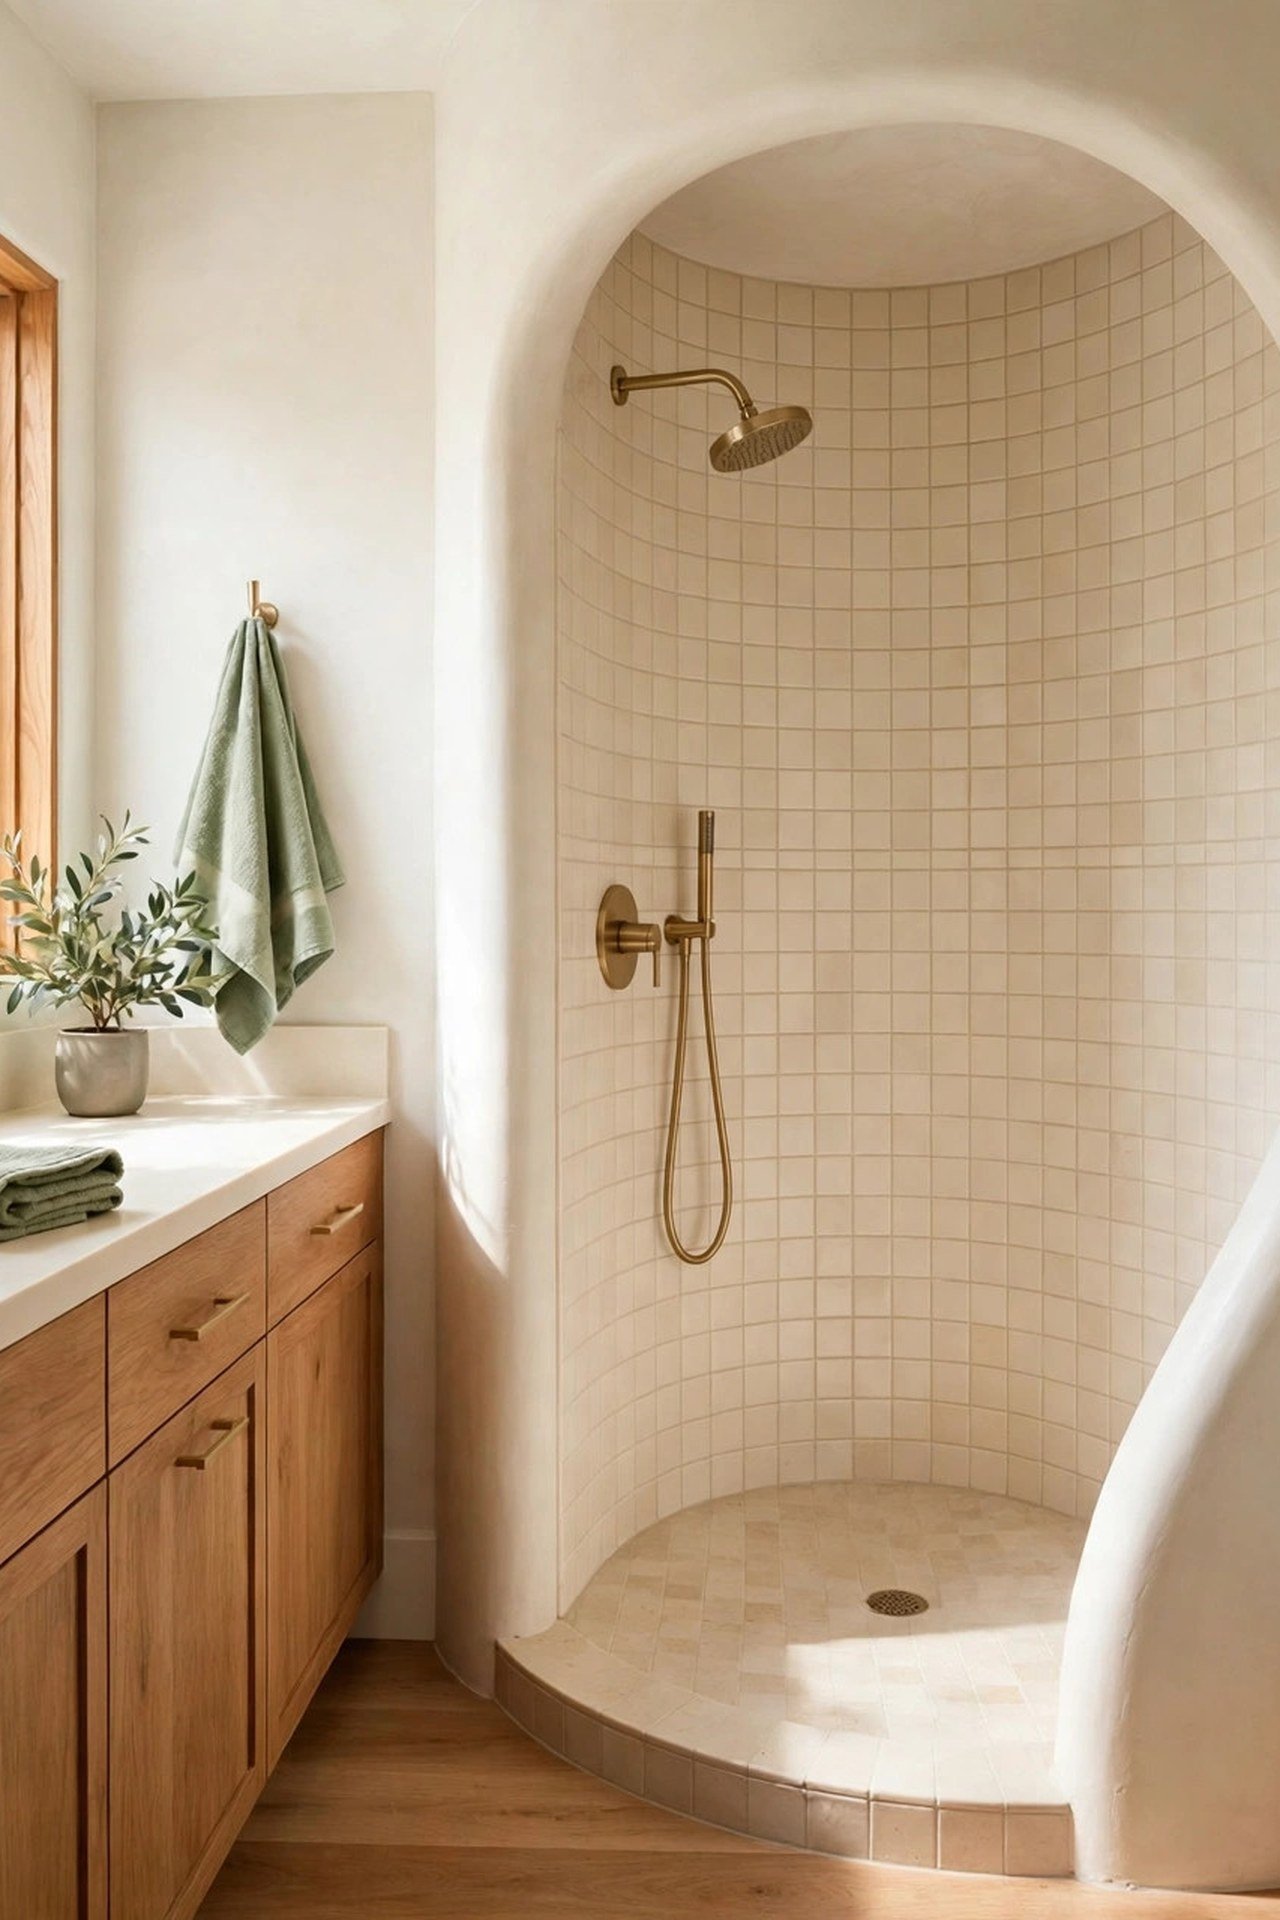
11. Soften Corners with a Curved Wall
A curved shower wall solves the small bathroom’s meanest geometry: the sharp inside corner where the shower meets the room. The curve lets you widen the showering area by several inches without extending the footprint, because the arc borrows space from the corner that a square shower wastes.
Build the curve with a flexible backer board or a kerfed framing technique, then tile it with small mosaics that bend around the radius; large tiles cannot follow a curve. Keep the tile simple so the sculptural shape itself is the feature. The soft line also improves traffic flow past the shower in a tight room.
12. Add Detail with a Mosaic Band
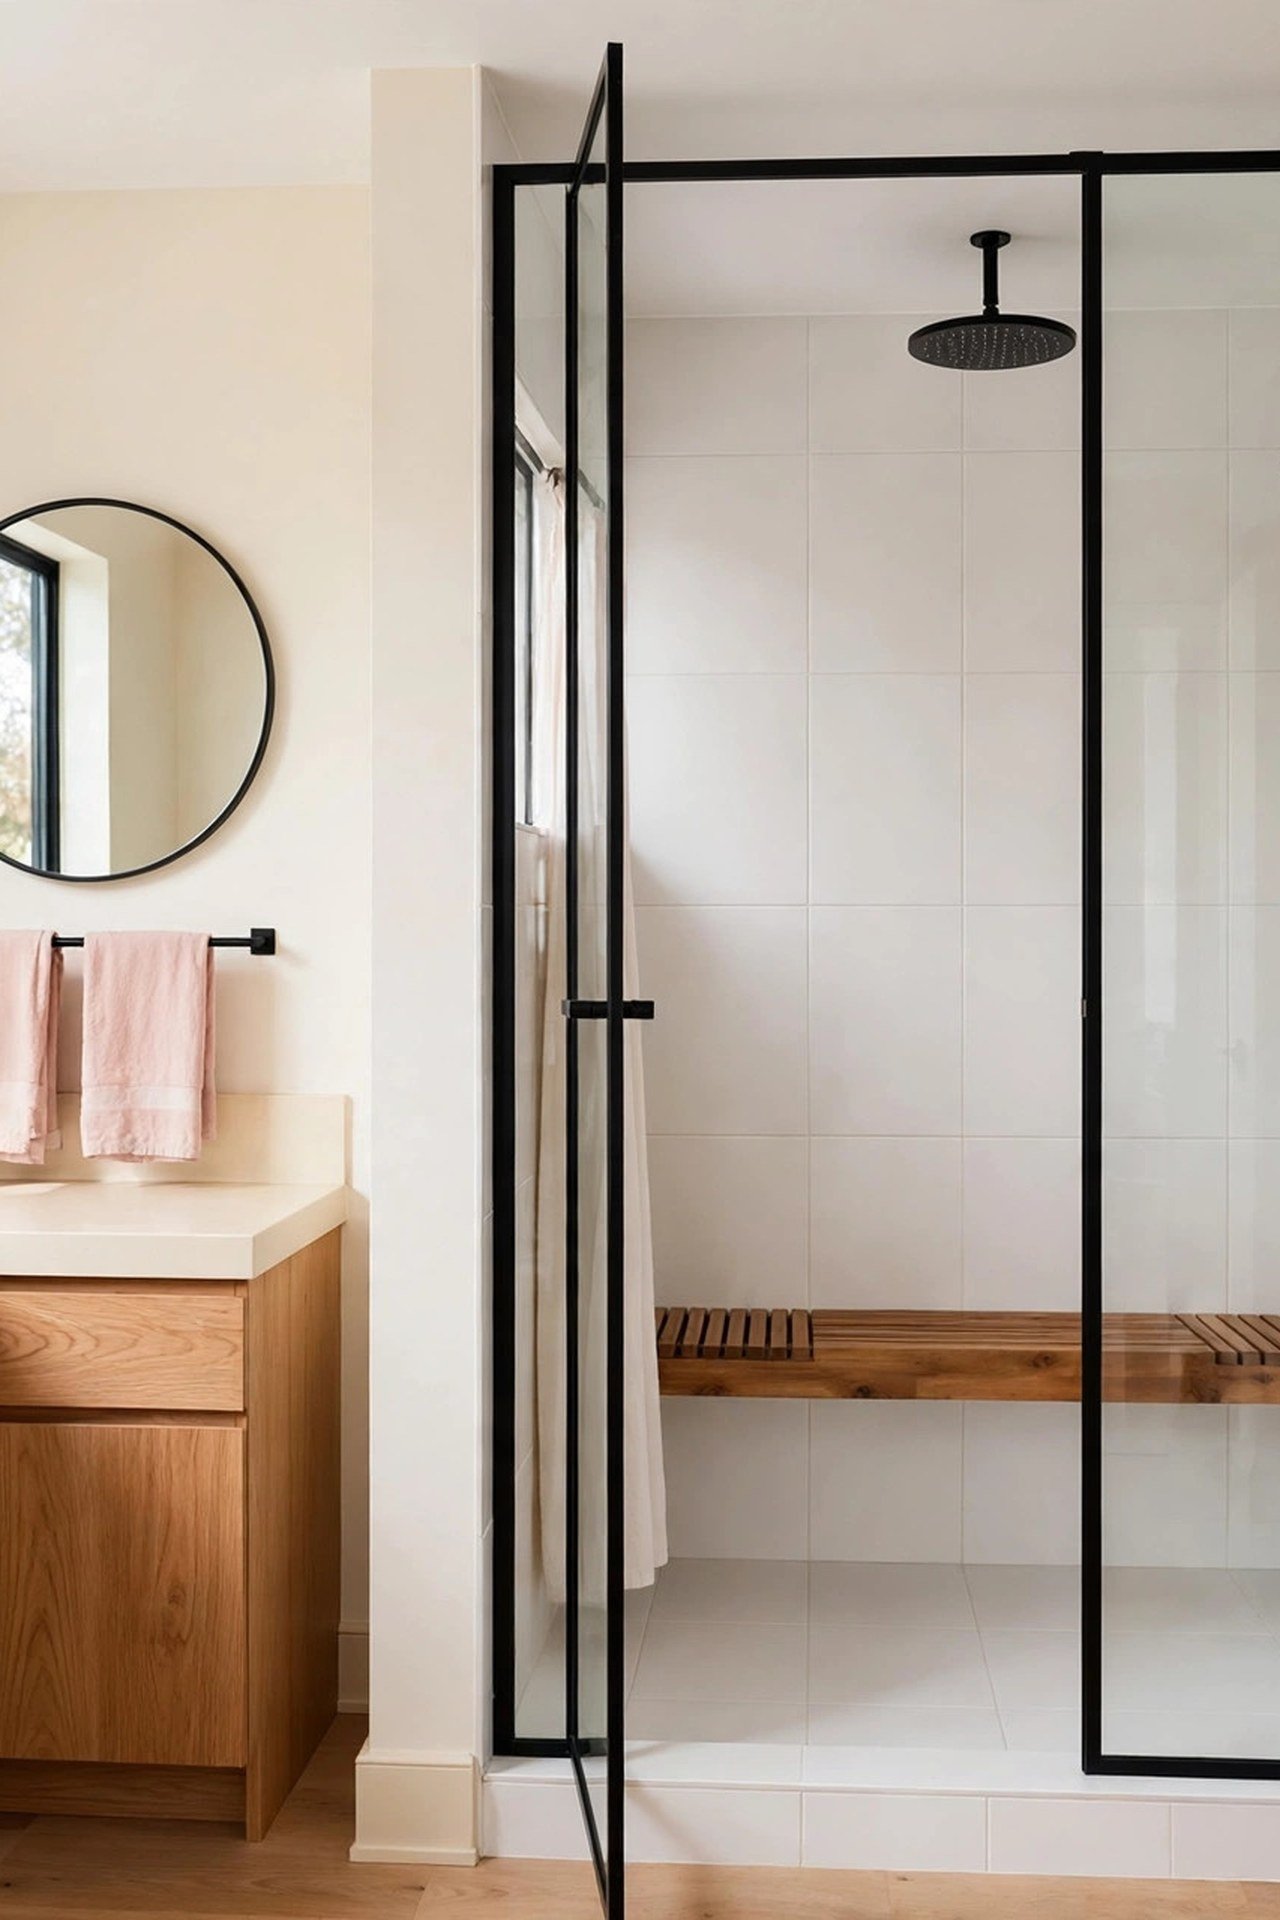
A mosaic band at eye level, about 60 inches from the floor, breaks up large tile fields exactly where your gaze rests. One horizontal stripe of handmade-look or patterned mosaic adds the artisan moment; the surrounding field tile stays quiet and affordable. This is the highest style-per-dollar move in shower tiling.
Run the band continuously around the shower, including across the niche if there is one, so it reads as one deliberate line. Match the band’s accent color to your towels or hardware for a coordinated look that costs nothing extra. Keep the band 4 to 6 inches tall; wider bands start to chop the wall instead of accenting it.
13. Choose a Curbless Entry
Curbless means the bathroom floor and the shower floor are one continuous plane, which requires the shower area to be recessed or the whole bathroom floor to be built up. The payoff is huge: no step to trip on, wheelchair and walker friendly, and a visual flow that makes the bathroom feel dramatically larger.
The engineering matters more here than anywhere: the full waterproofing membrane, the quarter-inch-per-foot slope, and a linear drain at the entry side to catch water before it wanders. This is not a DIY detail; a curbless shower done wrong floods the bathroom. Done right, it is the single most transformative small-bathroom upgrade.
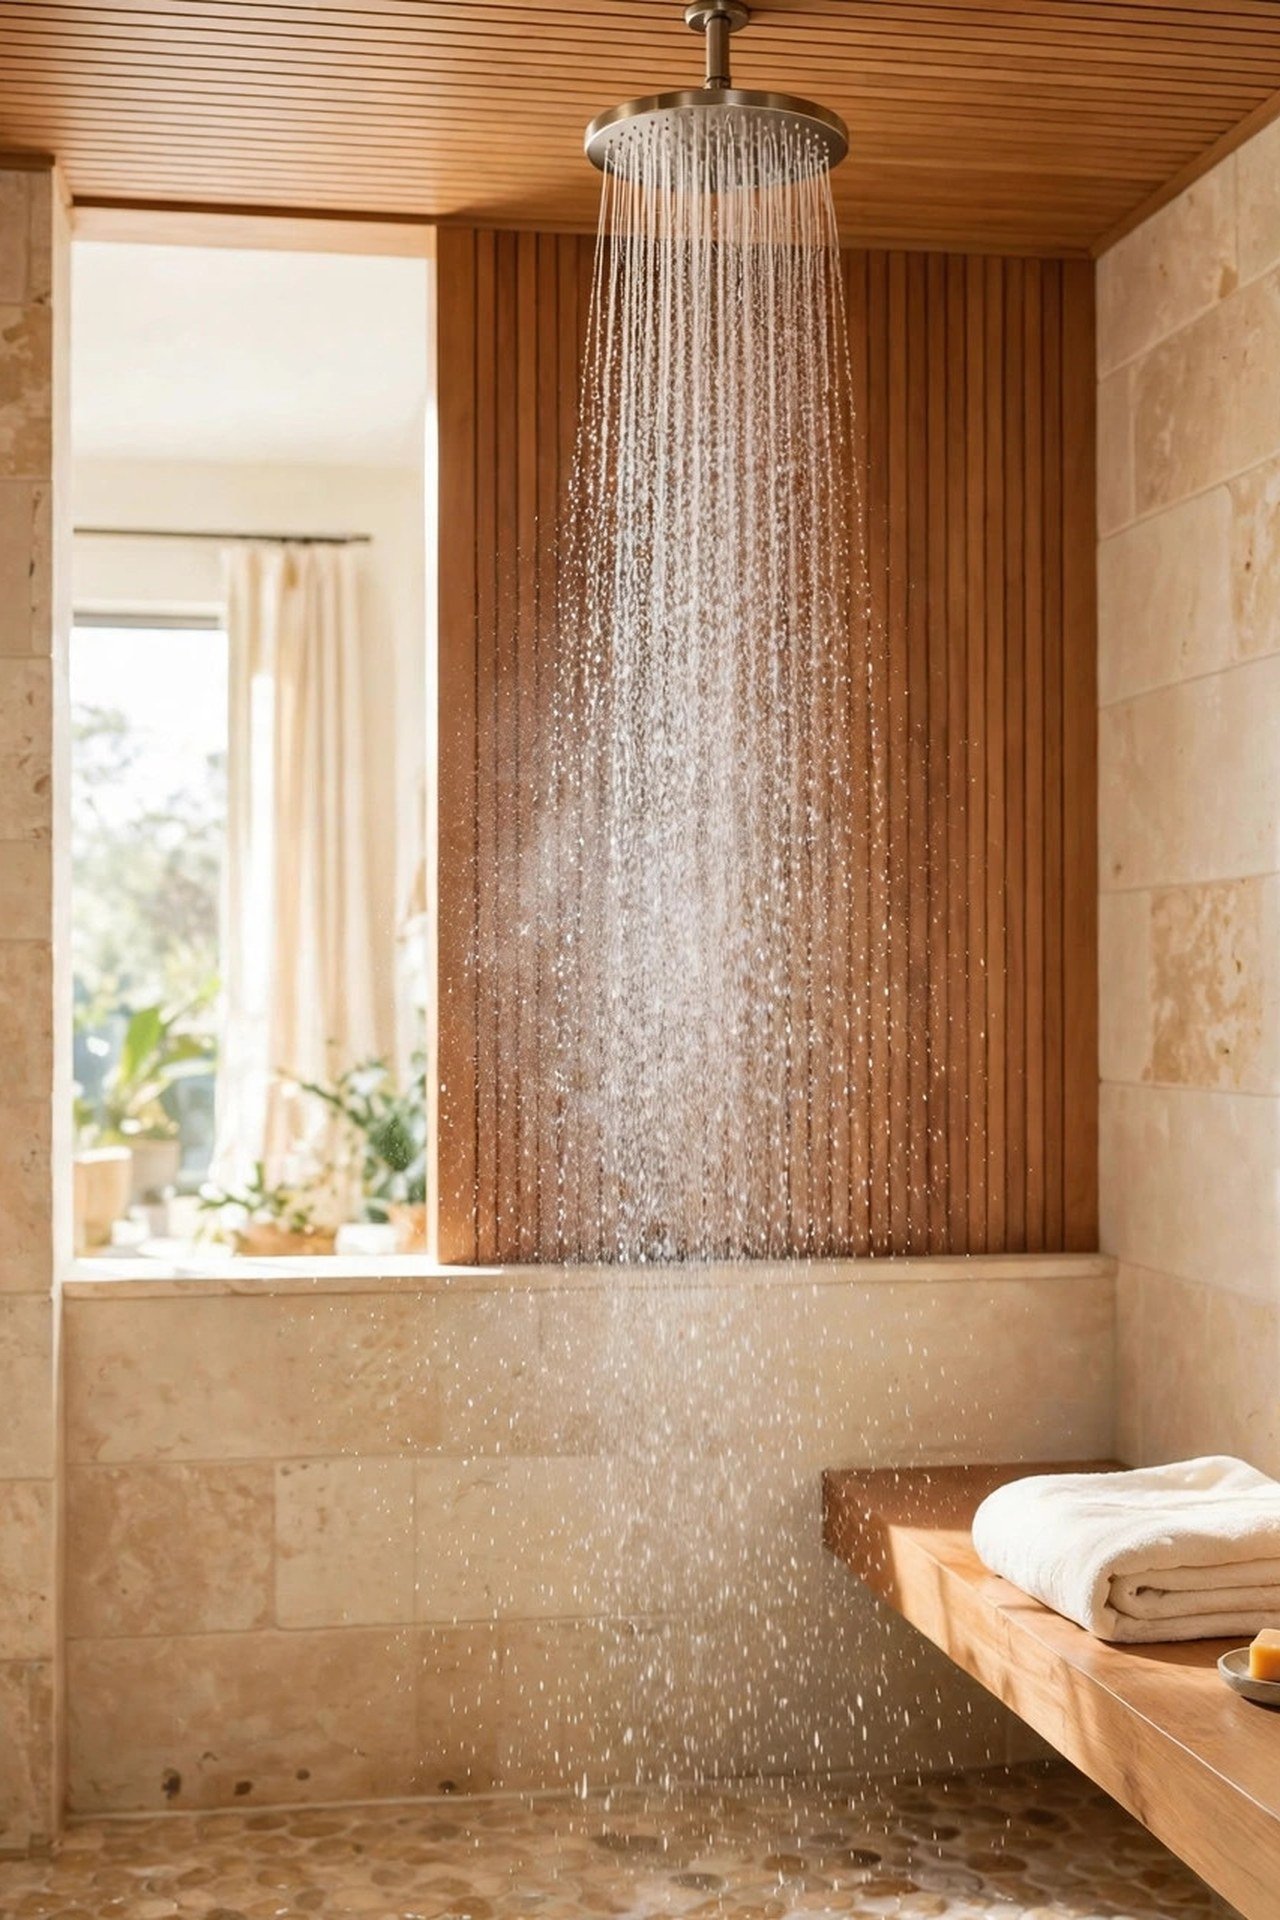
14. Install a Rainfall Showerhead
A rainfall showerhead needs height to work: mount it 80 to 84 inches from the shower floor so the spray has room to spread into its wide, gentle pattern. In a small shower, center it over the middle of the space rather than against the wall, so the full spray lands on you instead of the glass.
Check your water pressure first; rainfall heads feel weak below 45 psi. Pair the head with a separate handheld wand on a slide bar, which handles rinsing and cleaning the shower itself. The ceiling mount keeps the walls free for niches and benches, a real advantage in a compact shower.
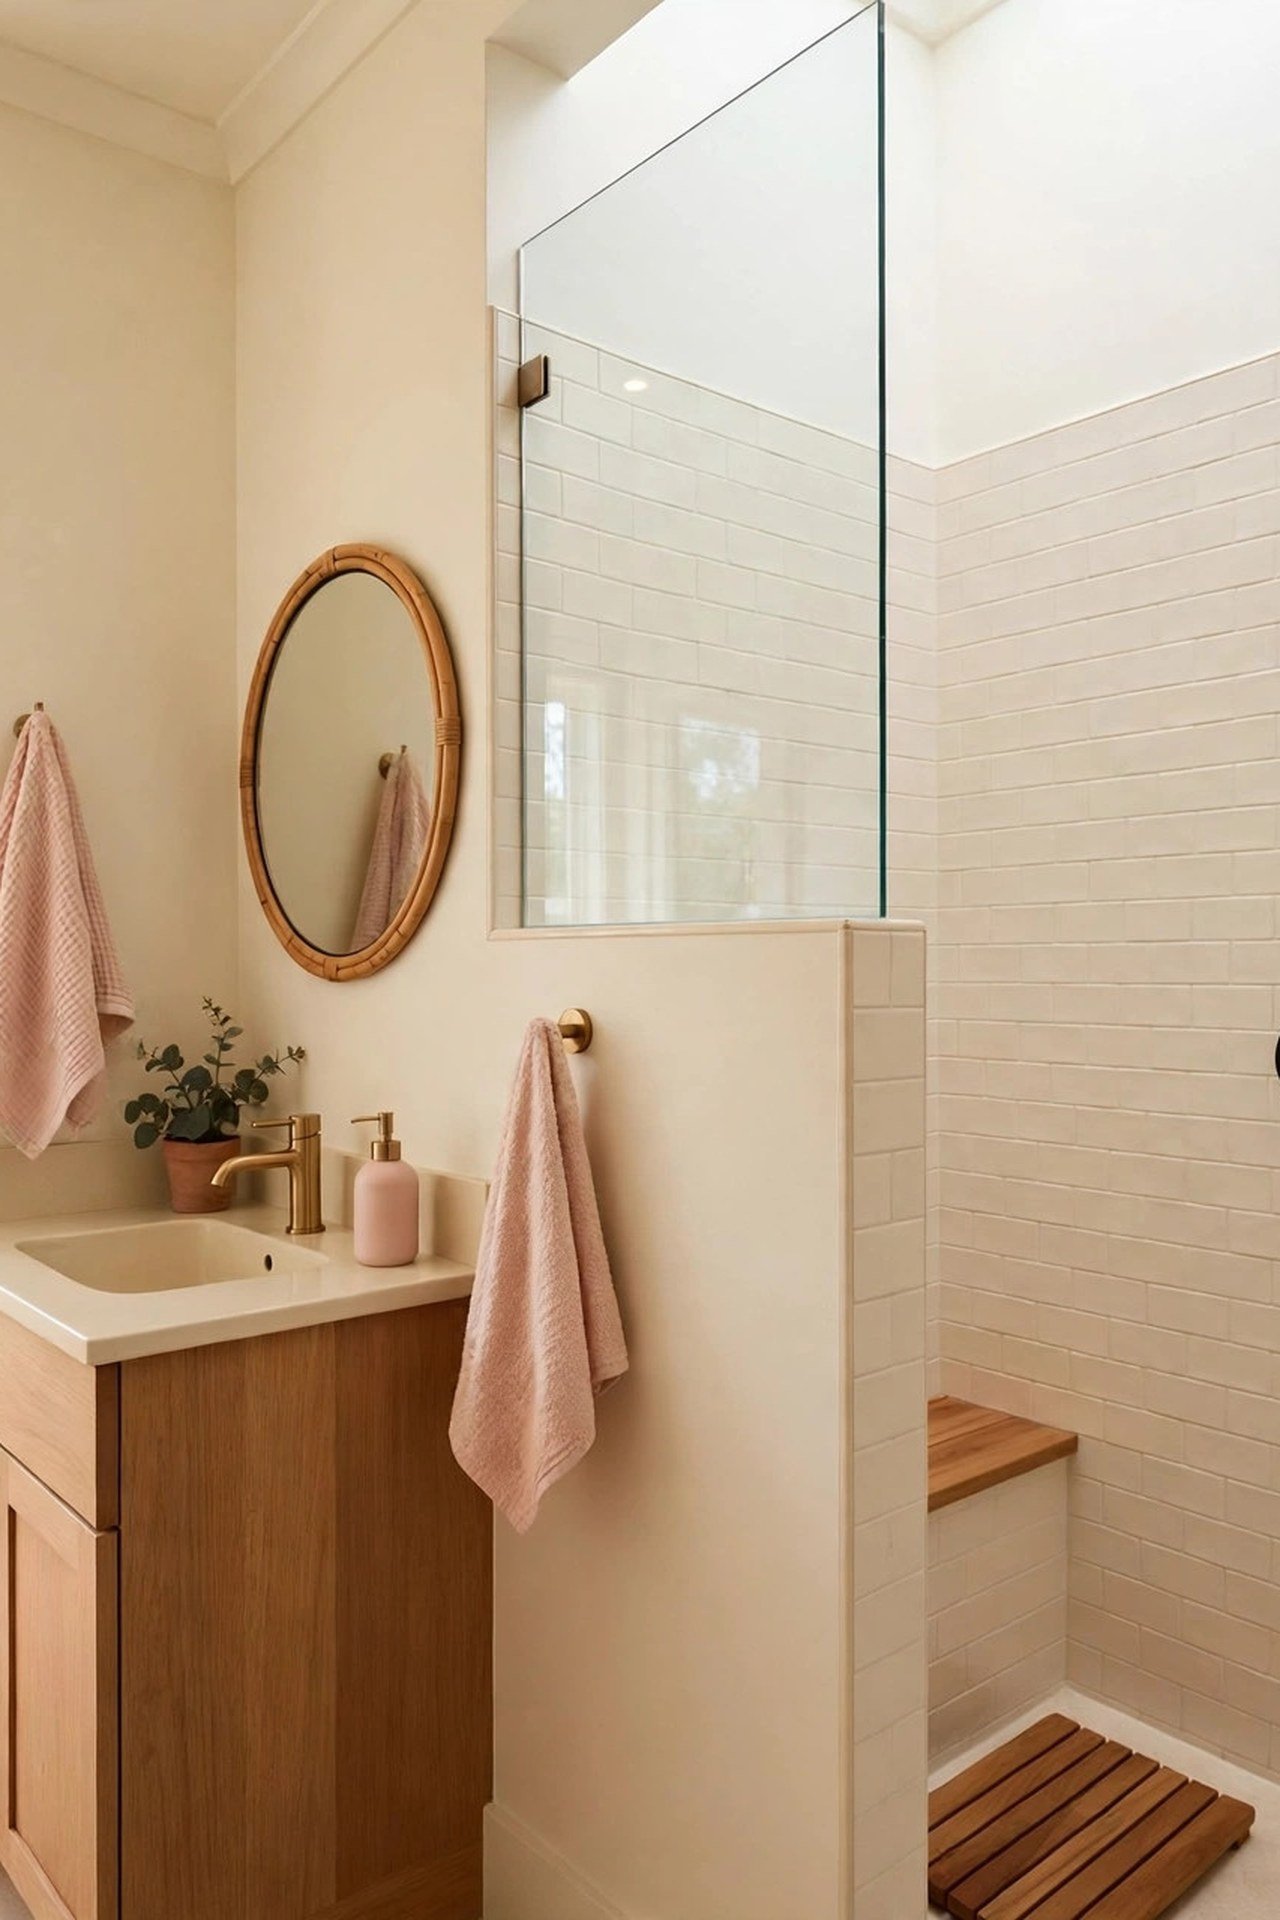
15. Hang a Glass Half-Wall
A half-height glass wall, typically 60 to 72 inches tall, blocks splash at body level while leaving the top open for light, air and steam to escape. It is the right answer when a full panel would make the shower feel boxed in but an open entry splashes too much. The open top also means no steamy glass box to ventilate.
Fluted or frosted glass on the lower half adds privacy without sacrificing light. Because the panel is shorter, it costs less than full-height glass and is easier to squeegee. Anchor it to the wall with solid blocking; a half-wall takes more bumps than a full panel, since people lean where it ends.
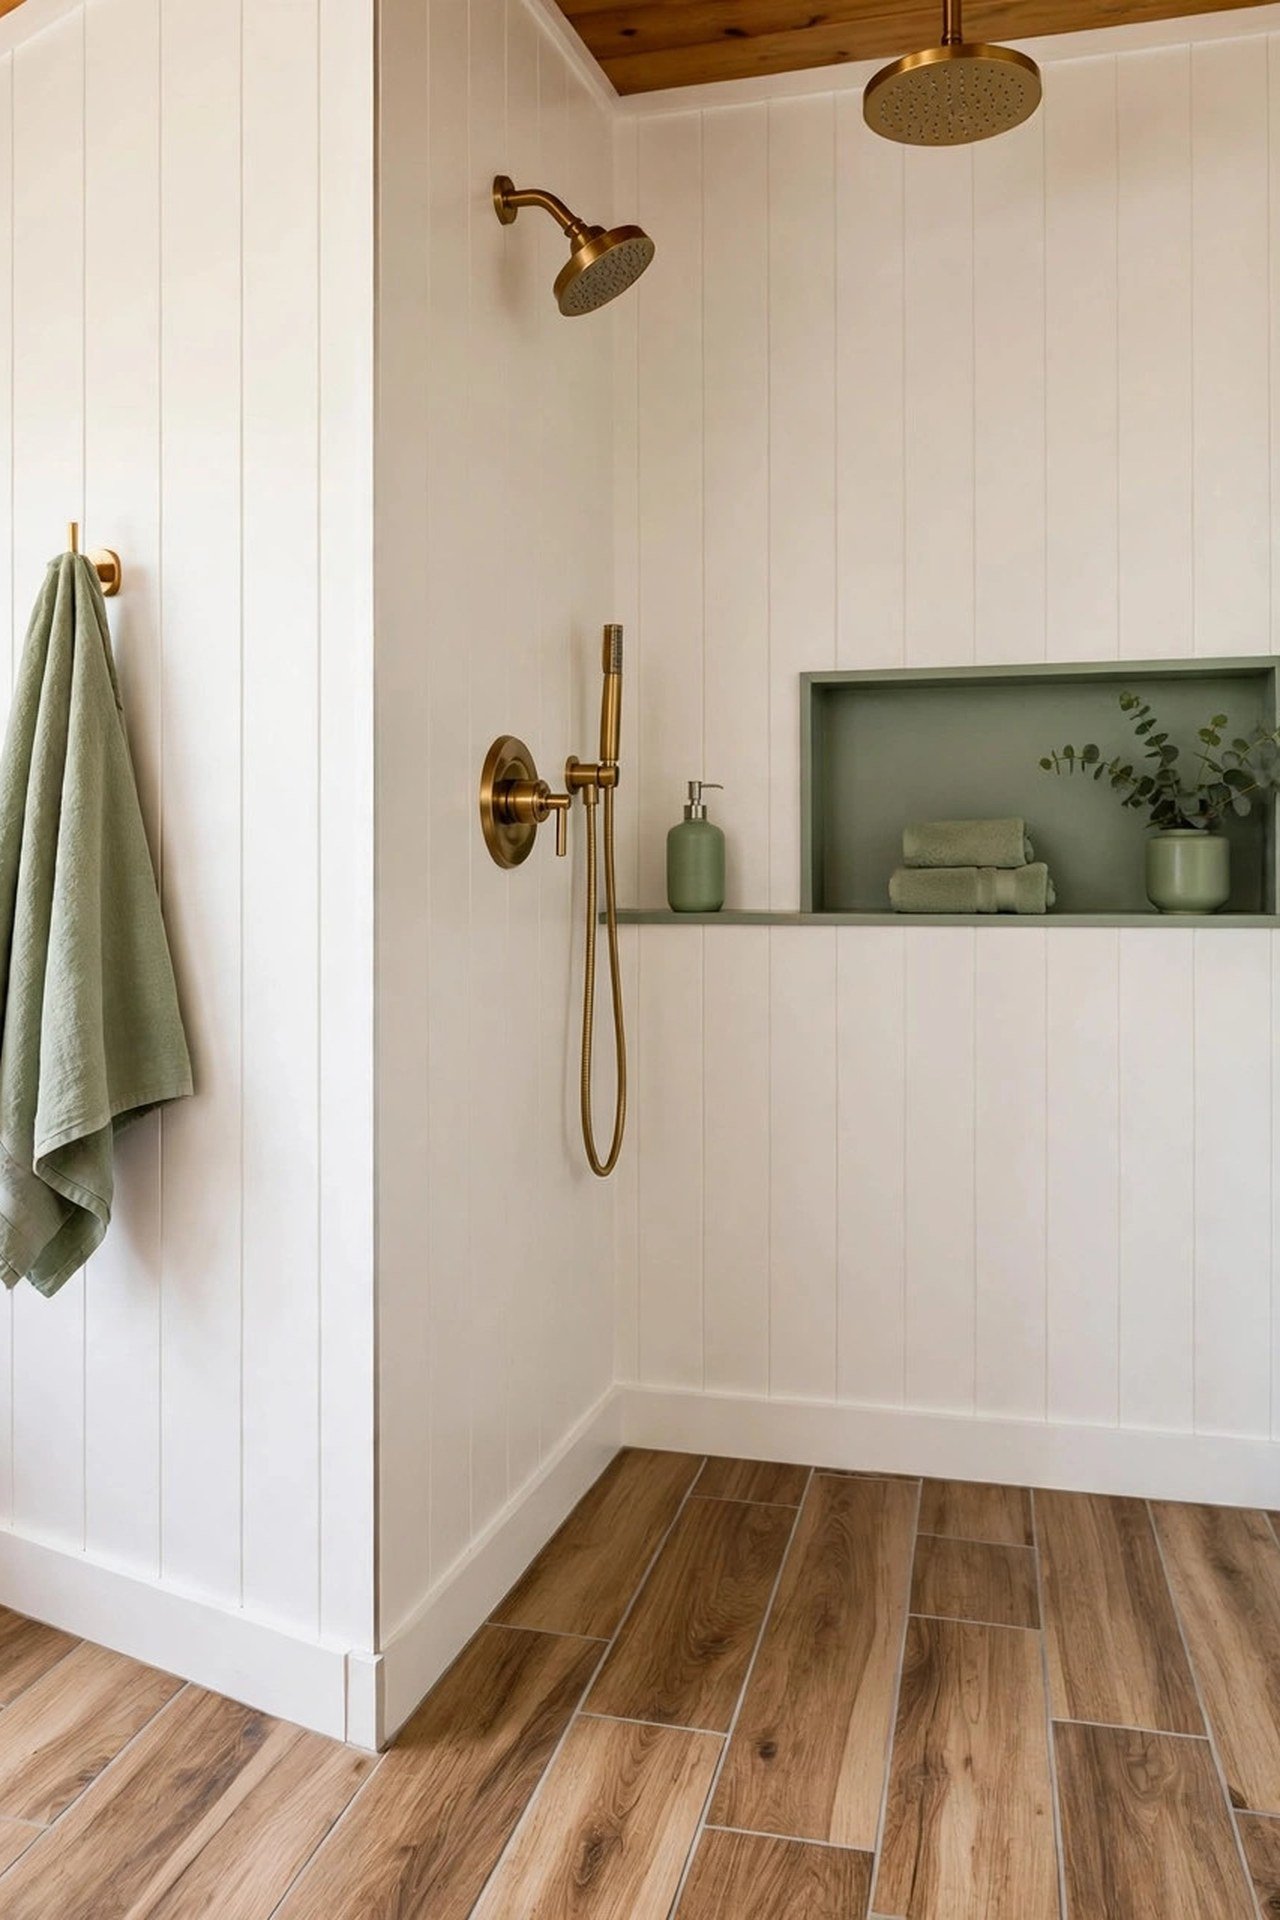
16. Warm It Up with Wood-Look Tile
Wood-look porcelain gives you timber’s warmth with zero moisture risk, and in a shower it must be a matte, textured plank rated for wet areas. Lay the planks toward the drain so the long grout lines channel water instead of fighting the slope. The result reads as a warm wooden shower floor that will never rot.
Keep the walls soft white so the wood-look floor is the warm note in the room. This pairing suits rustic and farmhouse bathrooms especially well, bringing cabin comfort to a space that usually feels cold. The porcelain needs no sealing and shrugs off every bathroom cleaner.
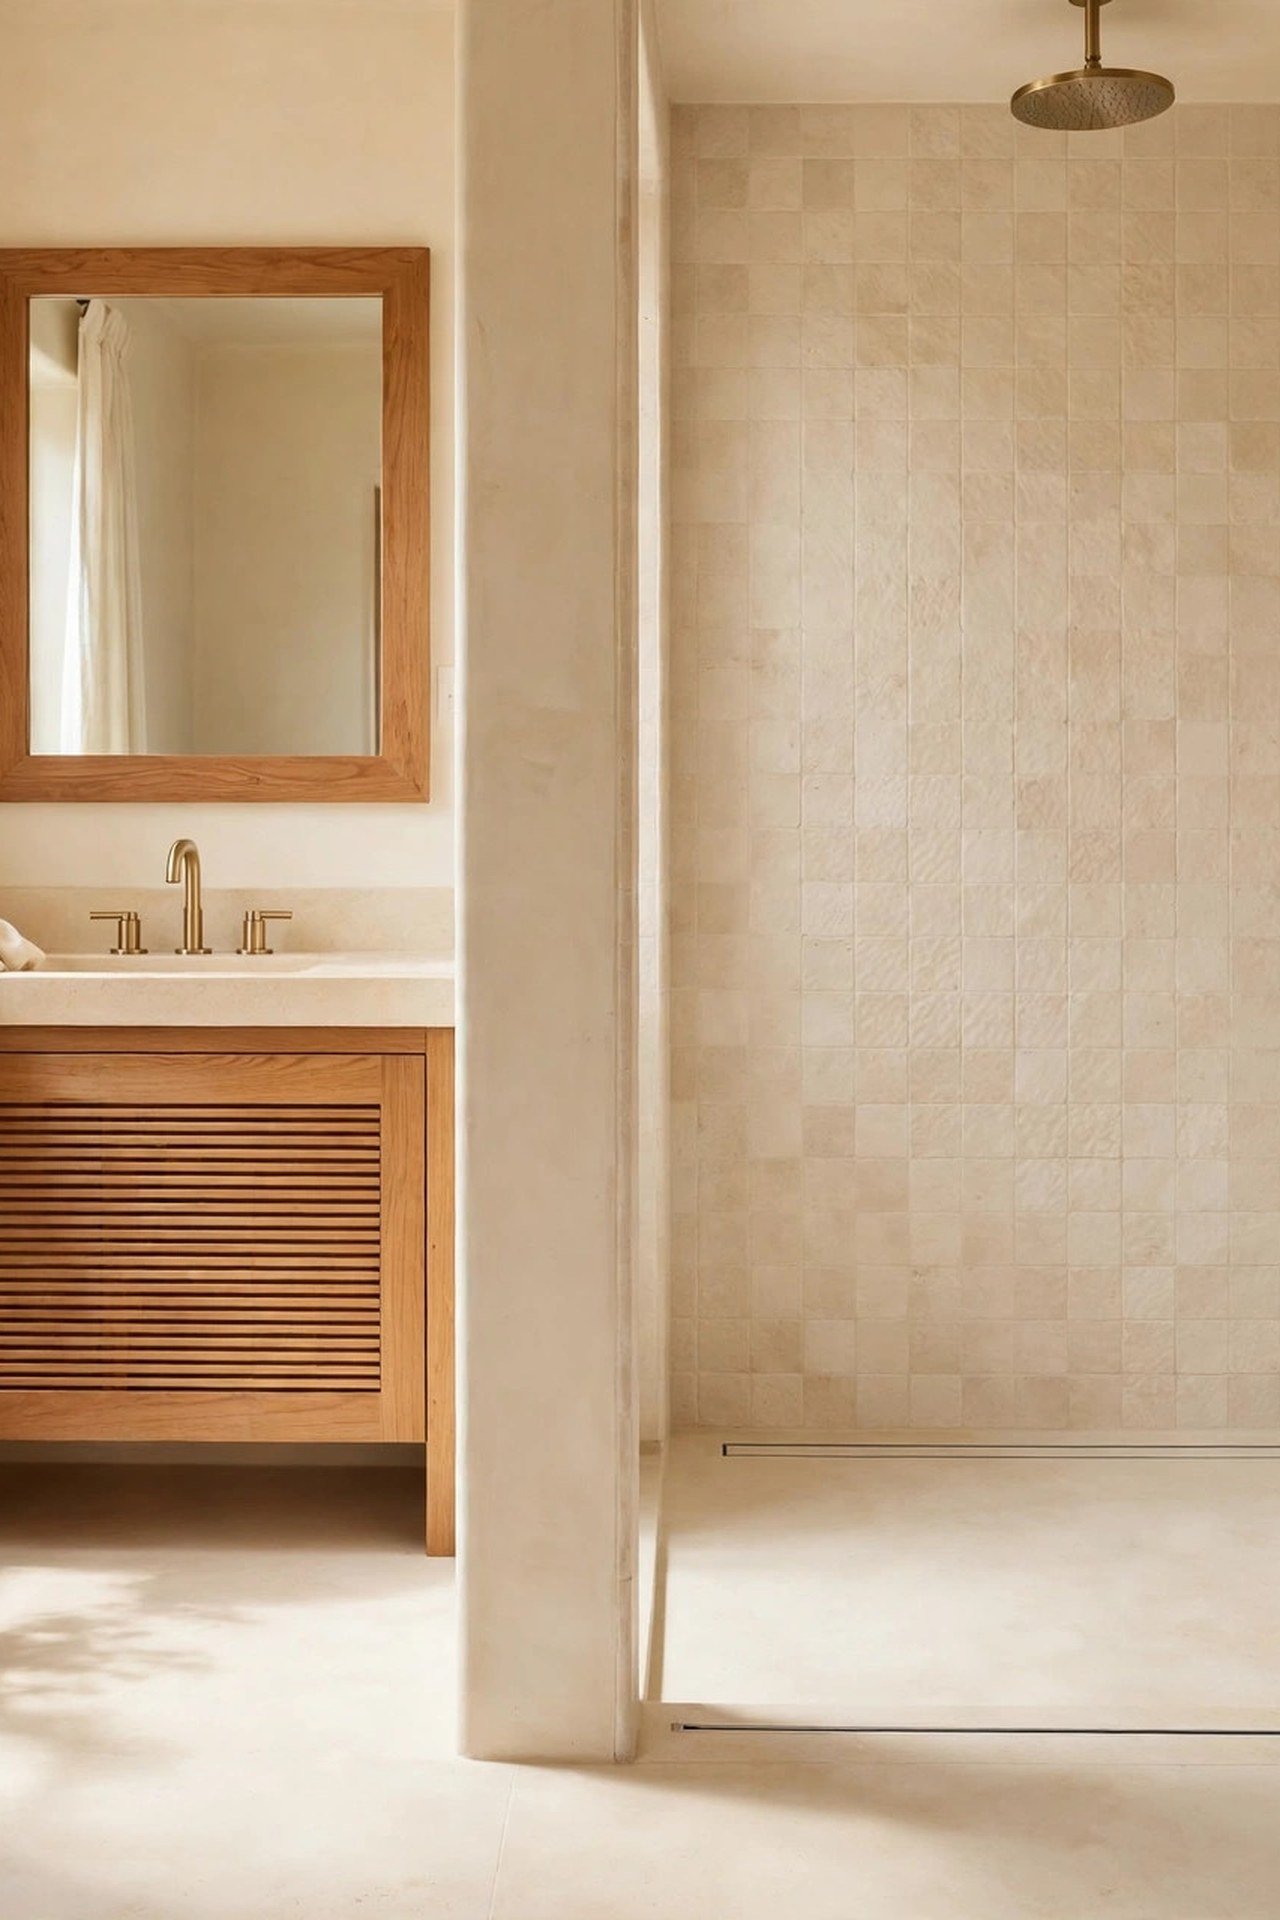
17. Tuck Storage into a Corner Niche
The corner where two shower walls meet is usually dead space; a corner niche turns it into the most efficient storage in the bathroom. A triangular or curved shelf set into the corner holds bottles within reach of the showerhead without protruding into the showering space at all.
Set shelves at two heights, around 40 and 55 inches, so tall shampoo bottles and short soap bars each have a home. Slope each shelf toward the shower so water drains off. In a shower under 36 inches wide, a corner niche beats a flat-wall niche because it steals zero inches from the already tight elbow room.
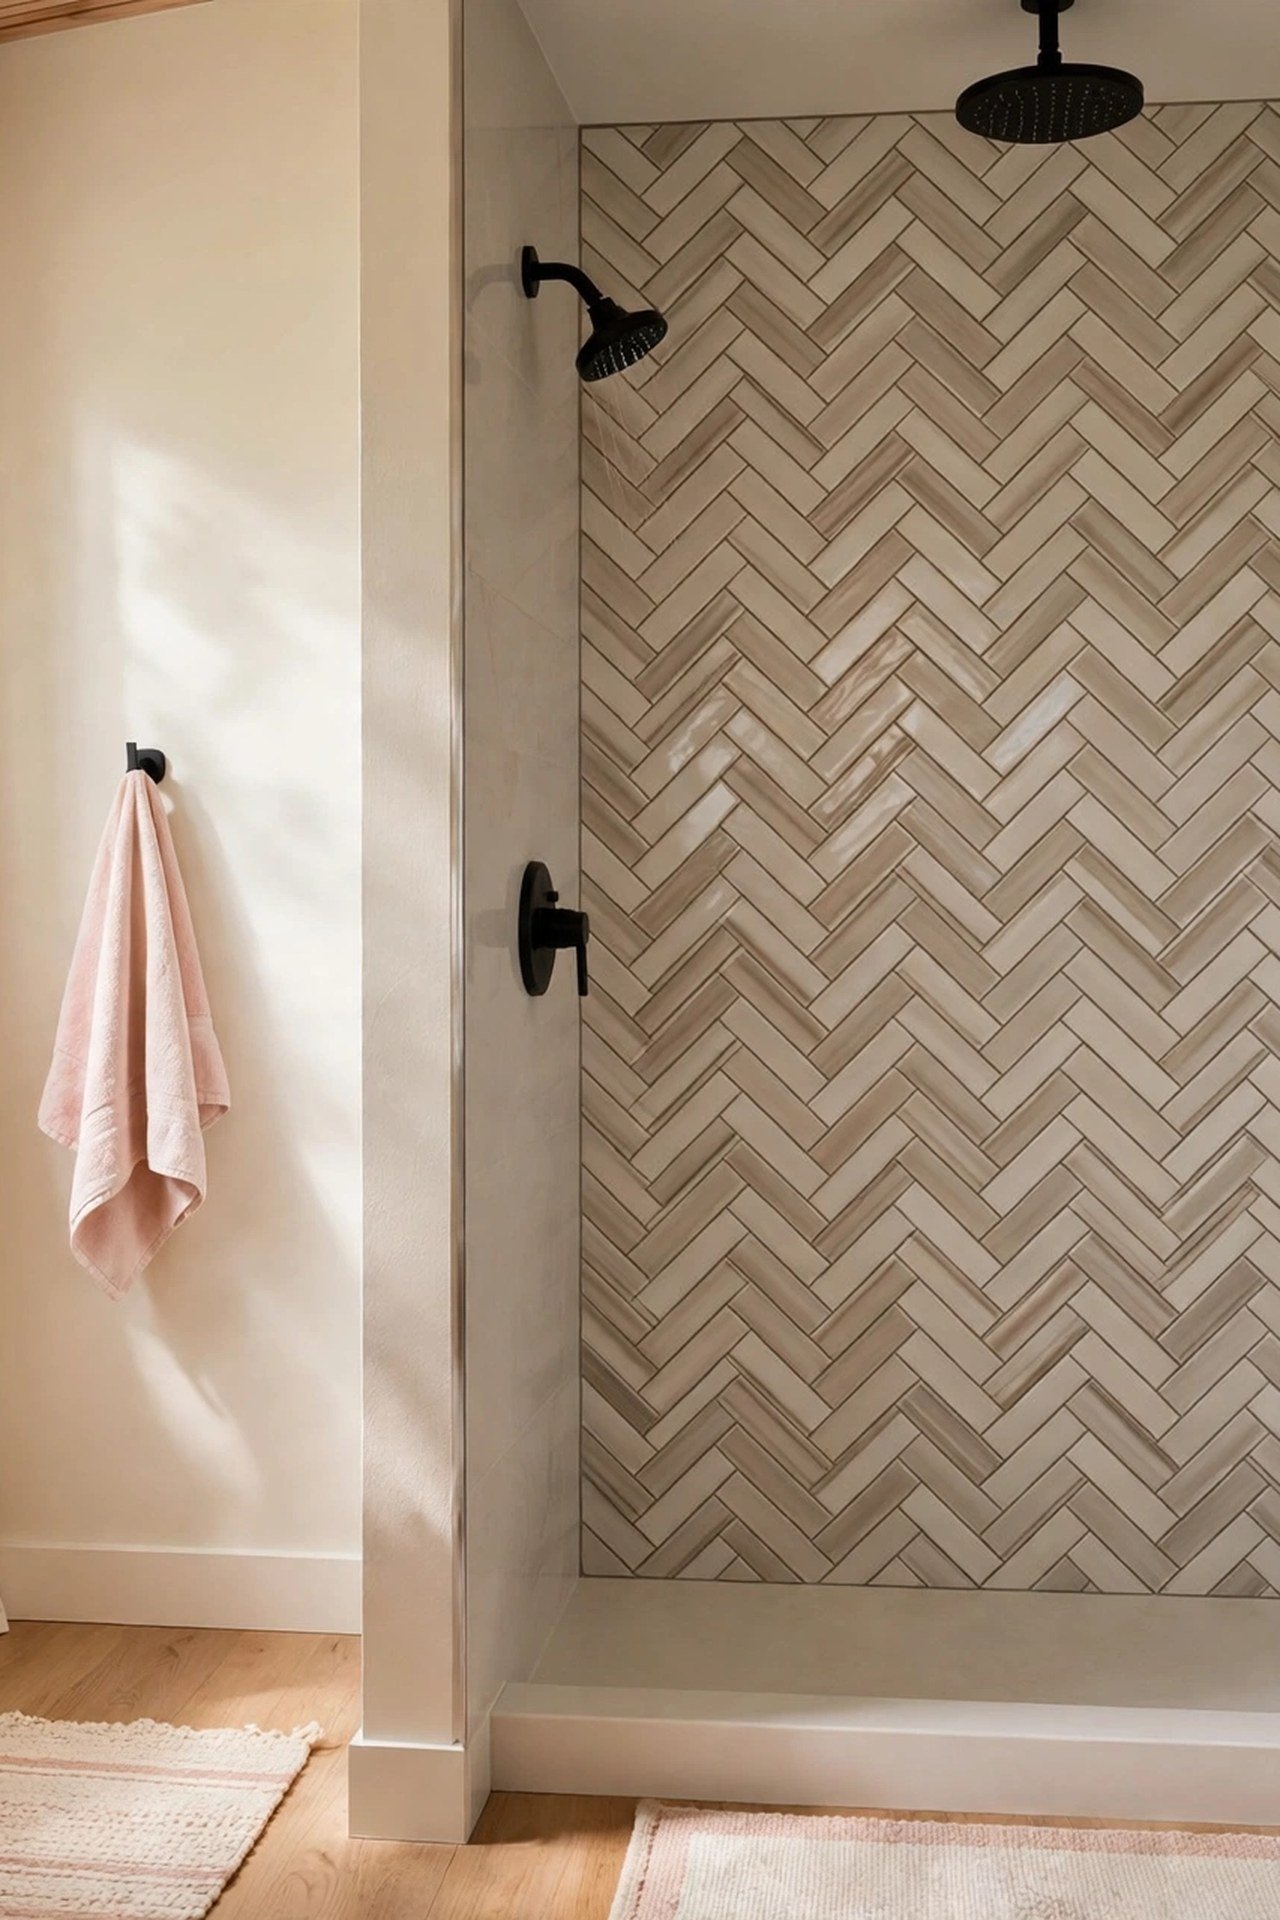
18. Finish It with Matte Black Fixtures
Matte black fixtures in a small shower read as one intentional set when you match the finish across the showerhead, handle, drain cover and glass clamps. The dark finish hides water spots and fingerprints far better than chrome, which means the shower looks cleaner between wipe-downs, a genuine advantage in a small bathroom that is always visible.
Black needs a light backdrop to avoid heaviness: pale tile, white grout, plenty of light. Buy all the fixtures from one manufacturer in one finish name, because matte blacks vary between brands and mismatched blacks look accidental. The cohesive dark line becomes the shower’s jewelry.
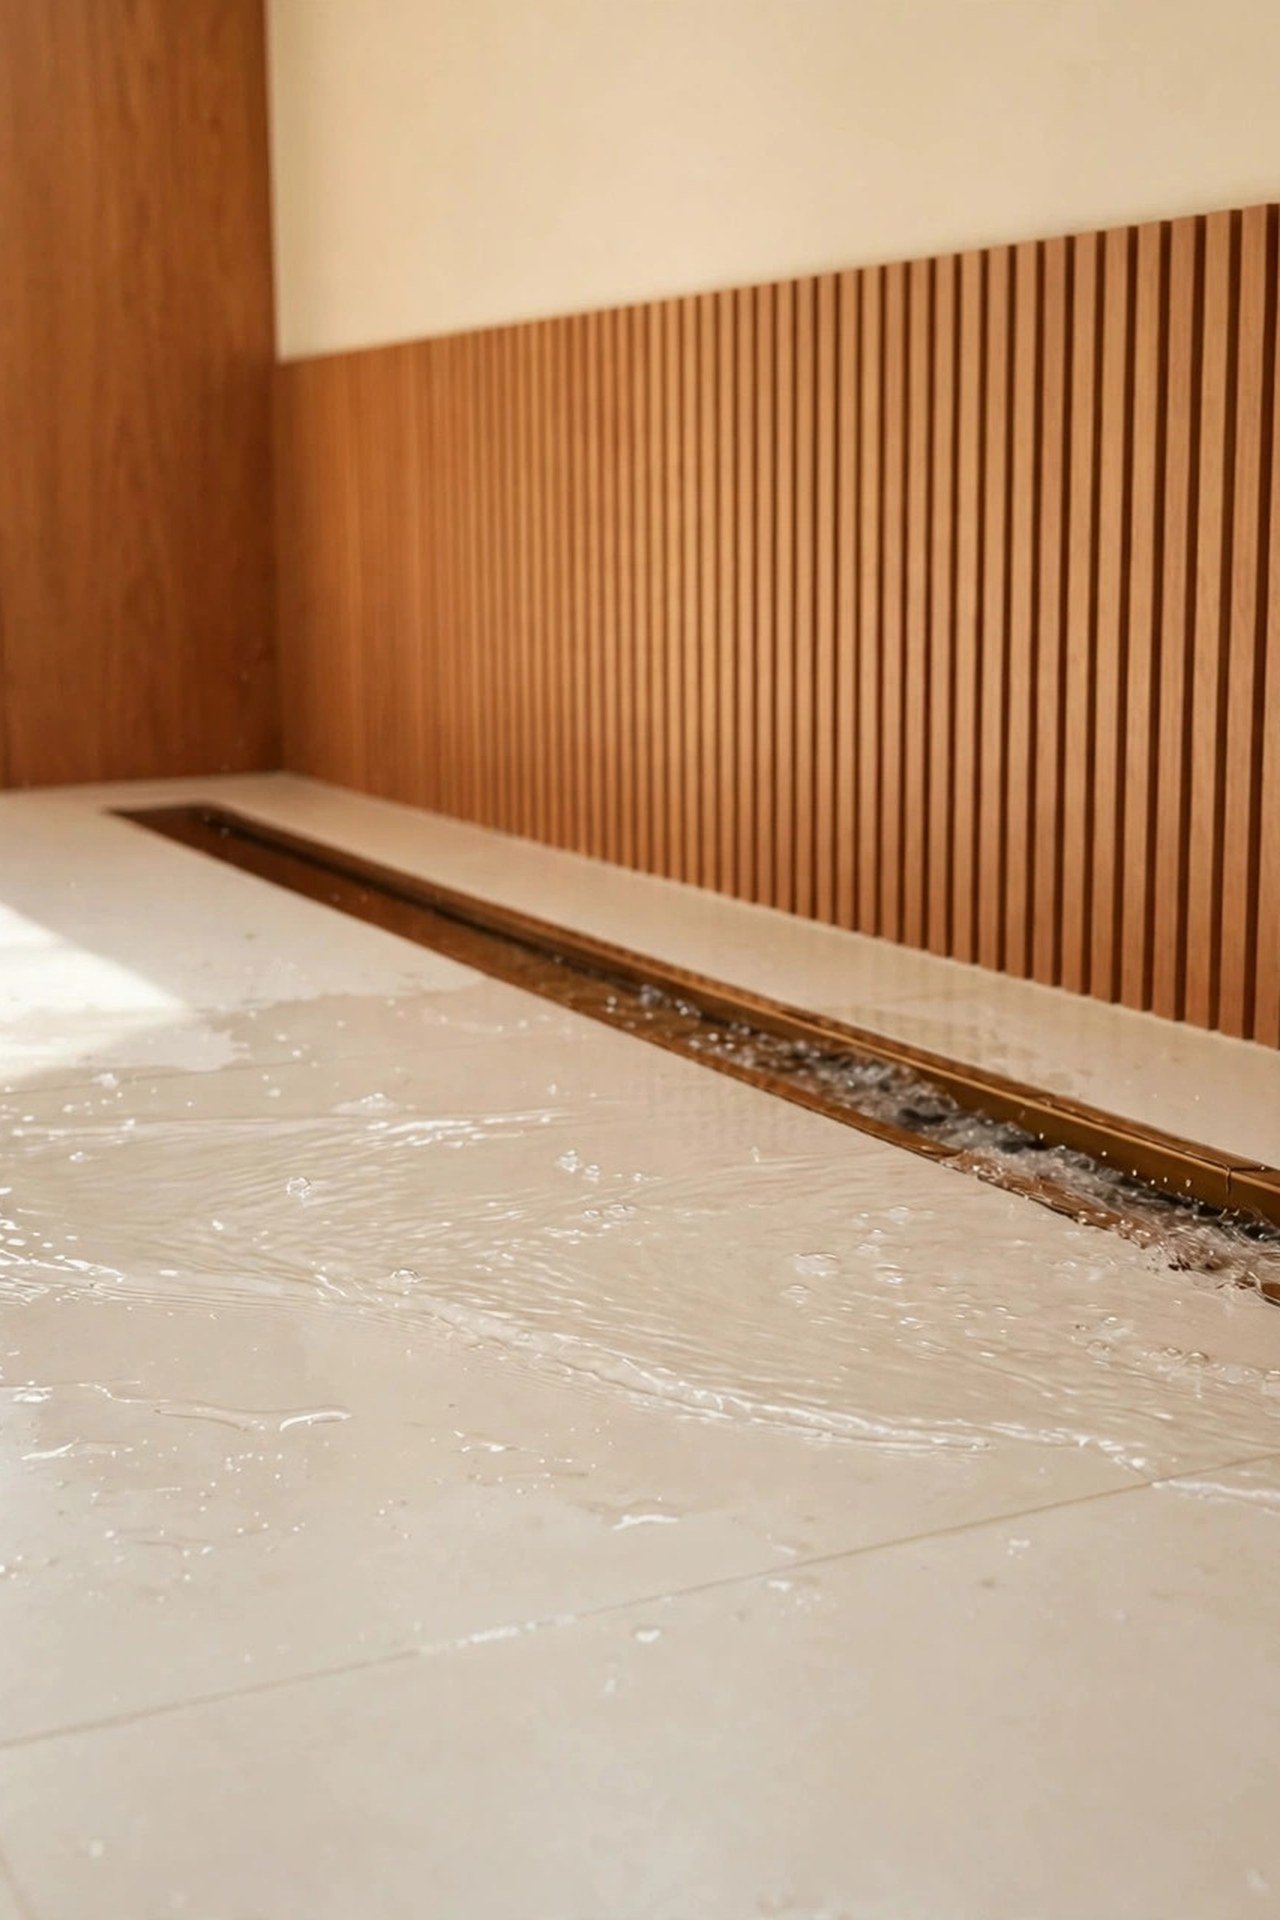
19. Lay a Sleek Linear Drain
A linear drain, typically 24 to 36 inches long, lets you tile the shower floor in large format with a single-plane slope instead of the complex four-way slope a center drain demands. Place it along the entry side or the back wall; the entry placement catches water before it can wander out of the open shower.
Choose a drain cover that tiles in, disappearing into the floor, or a slim stainless slot that reads as a deliberate detail. Size the drain to your rainfall or multi-head setup; high-flow showers need the longer drains. Clean the channel monthly, since hair collects in the linear track faster than in a round drain.
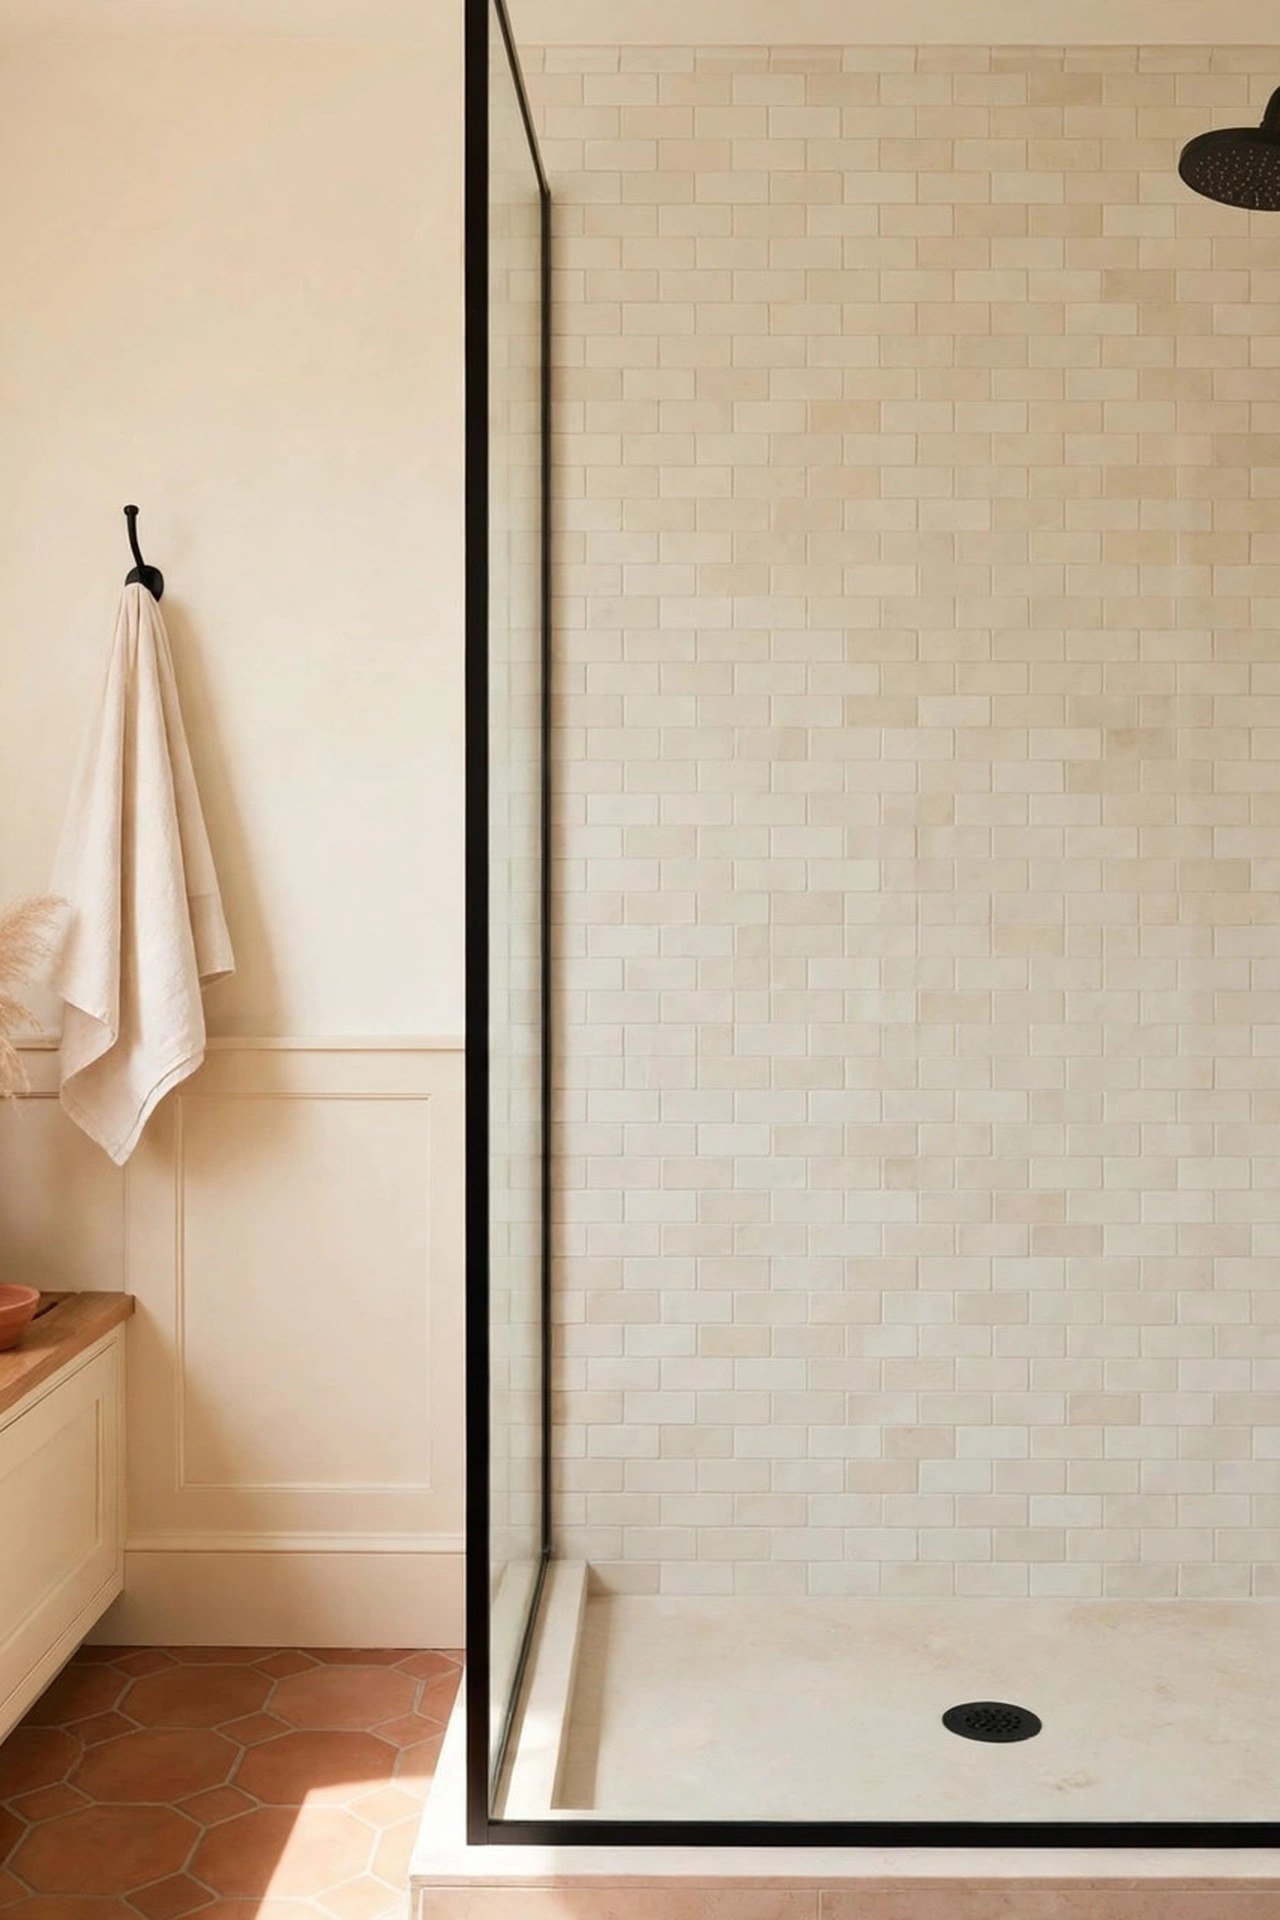
20. Add Movement with Herringbone Tile
Herringbone on the shower’s feature wall adds the energy of a textile to the hardest surface in the room. In a small shower, run the pattern vertically to stretch the wall taller; horizontal herringbone widens, which suits a narrow bathroom. Either way, the zigzag catches light and shadow all day.
Stick to neutral tiles so the pattern provides the interest and the color stays calm. Herringbone wastes more tile in cuts than straight layouts, so order 15 percent extra. Keep it to one wall; herringbone wrapping every surface of a small shower feels restless rather than rich.
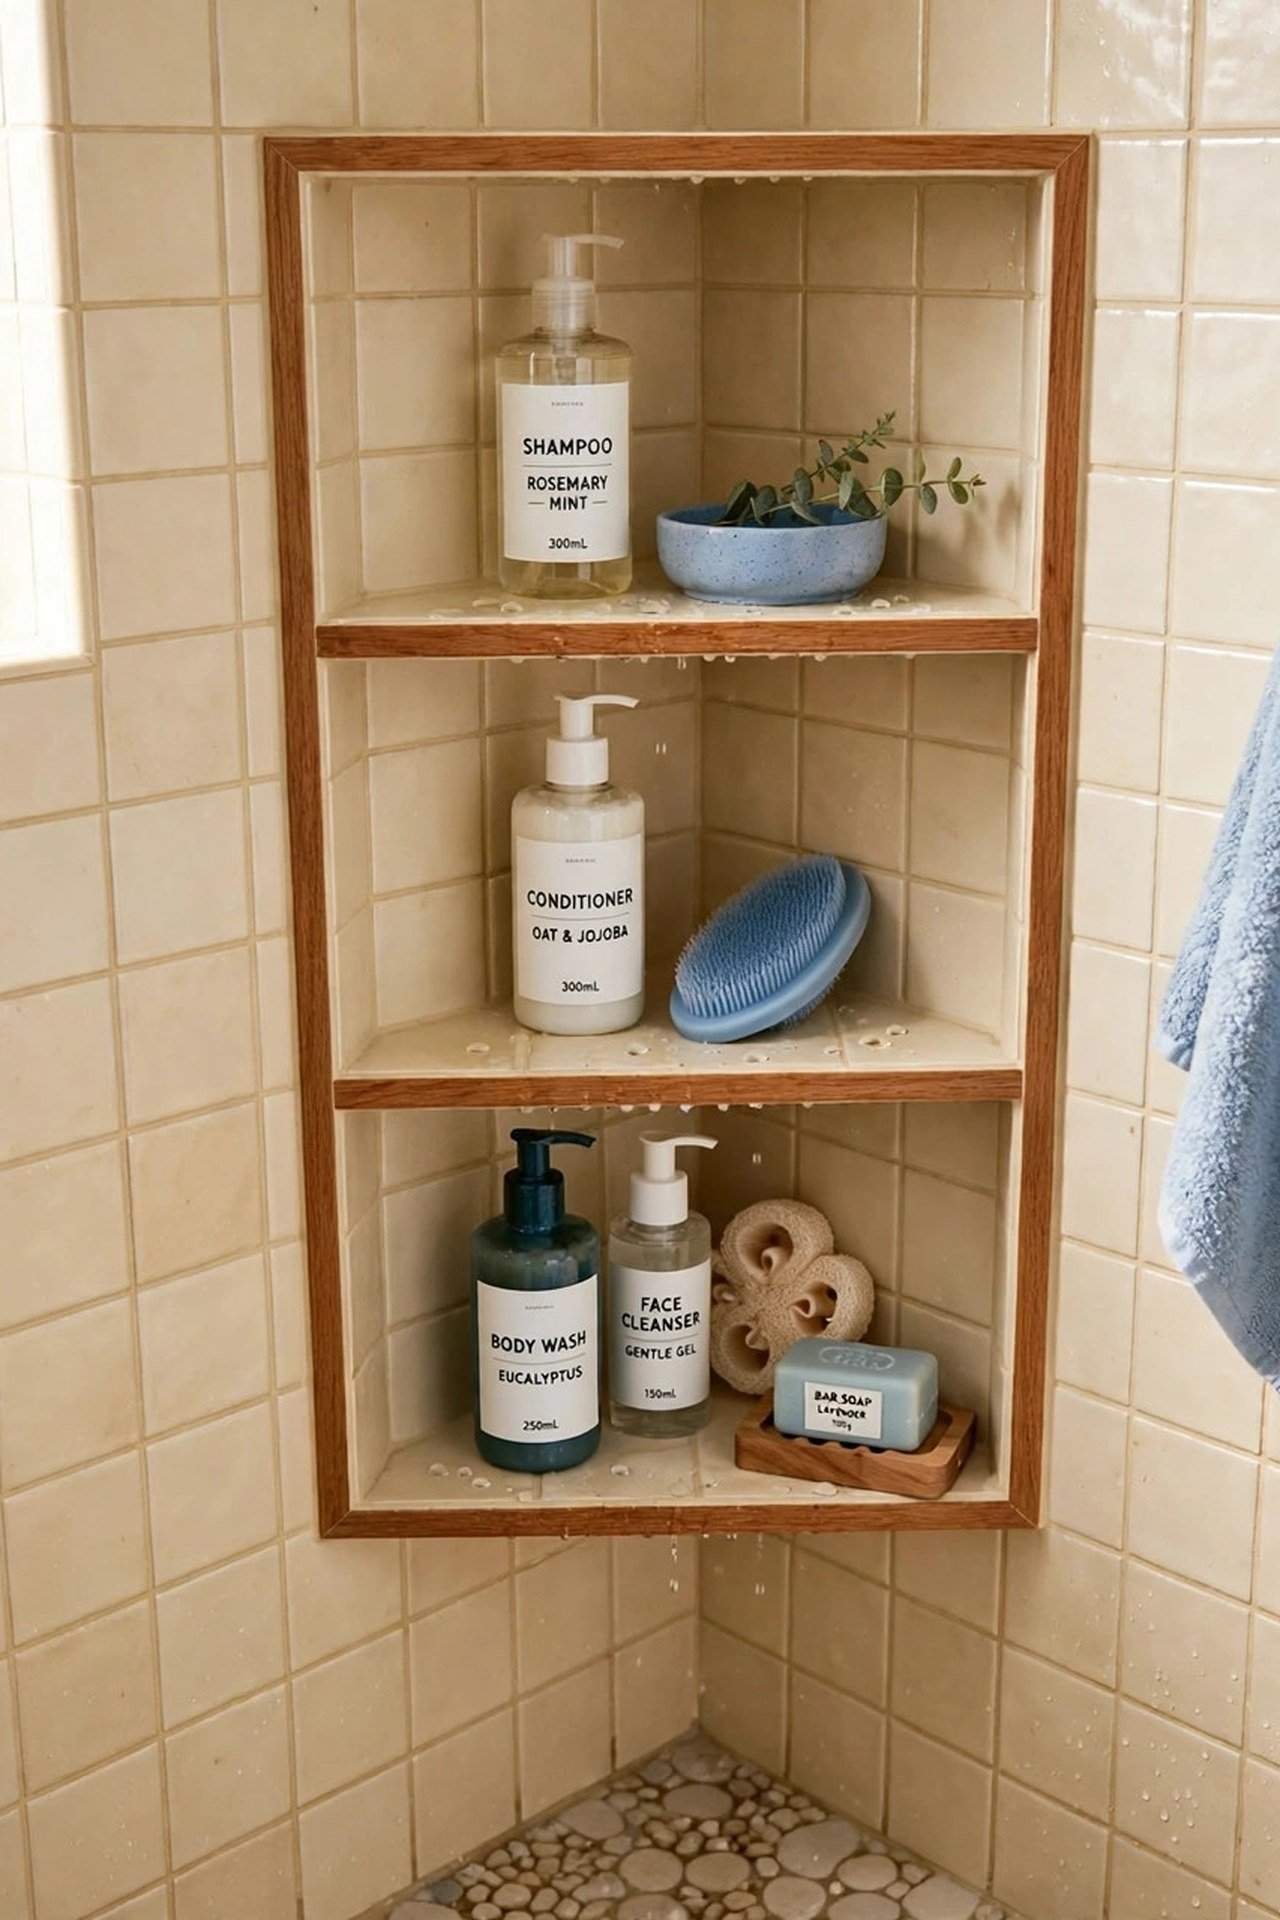
21. Widen the Look with Horizontal Grooves
Horizontal stacked tile or grooved panels trick the eye into reading a narrow bathroom as wider, because strong horizontal lines stretch any surface they cross. In a long, tunnel-like bathroom, run the lines along the long walls to emphasize width over length. The effect is purely optical and completely free.
Keep the grooves subtle, a half-inch reveal or a slim stacked tile, so the texture reads as refinement rather than stripes. This detail pairs well with a floating vanity below, since the uninterrupted floor continues the widening illusion. Avoid vertical stacks in a narrow bath; they do the opposite job.
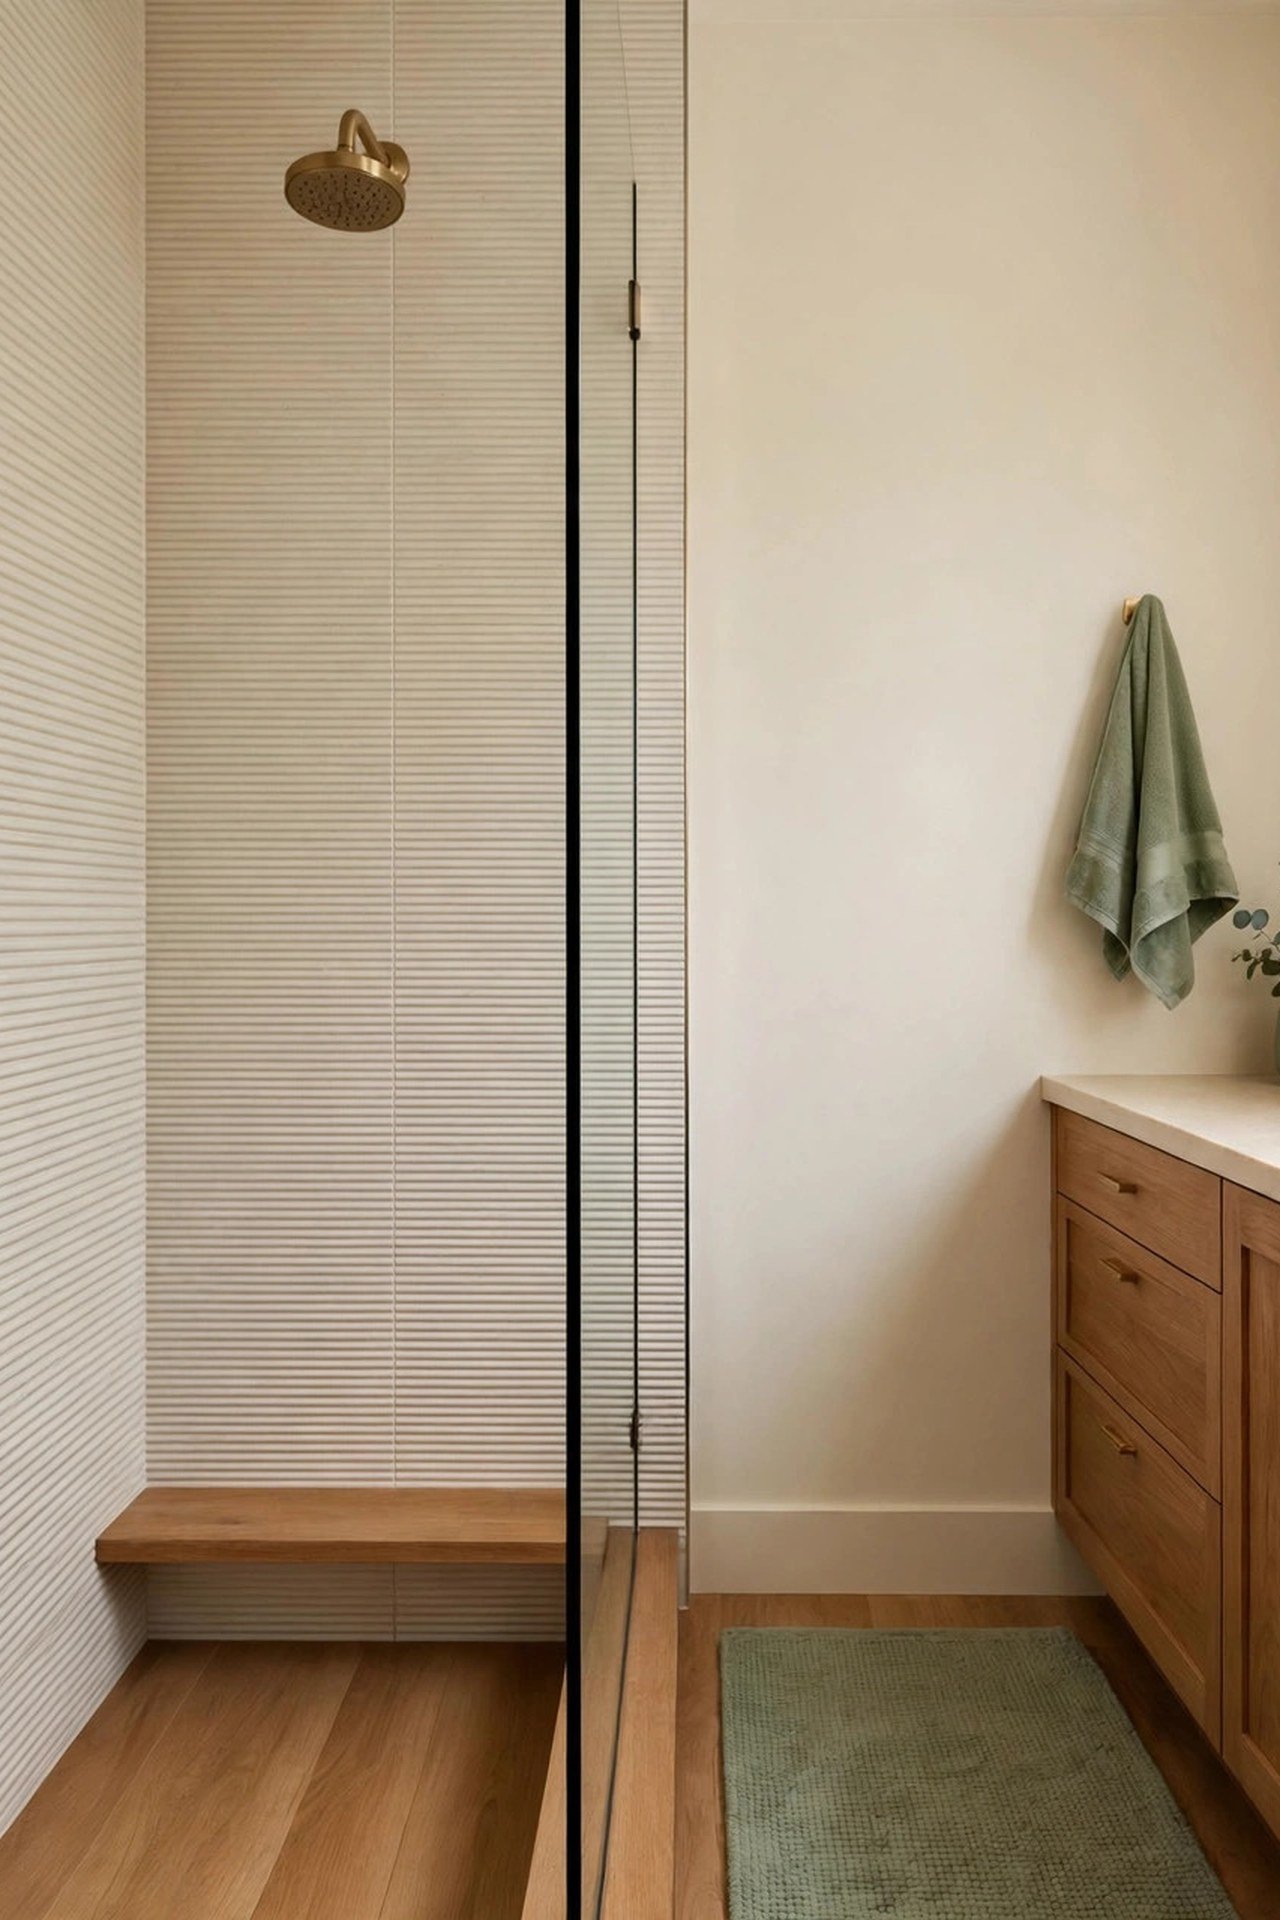
22. Brighten It with a Skylight
A skylight directly over the shower is the best light a small bathroom can get: daylight falls straight down into the wet zone, tile colors glow, and the room feels connected to the sky. A 2 by 2 foot venting skylight both lights and ventilates, releasing steam at its source instead of letting it drift to a far wall fan.
Frame the skylight shaft with the same tile as the shower so it reads as part of the design. If a real skylight is impossible, a daylight-balanced LED panel at 5000 kelvin in a ceiling recess fakes the effect surprisingly well. Either way, overhead light means fewer face shadows at the mirror.
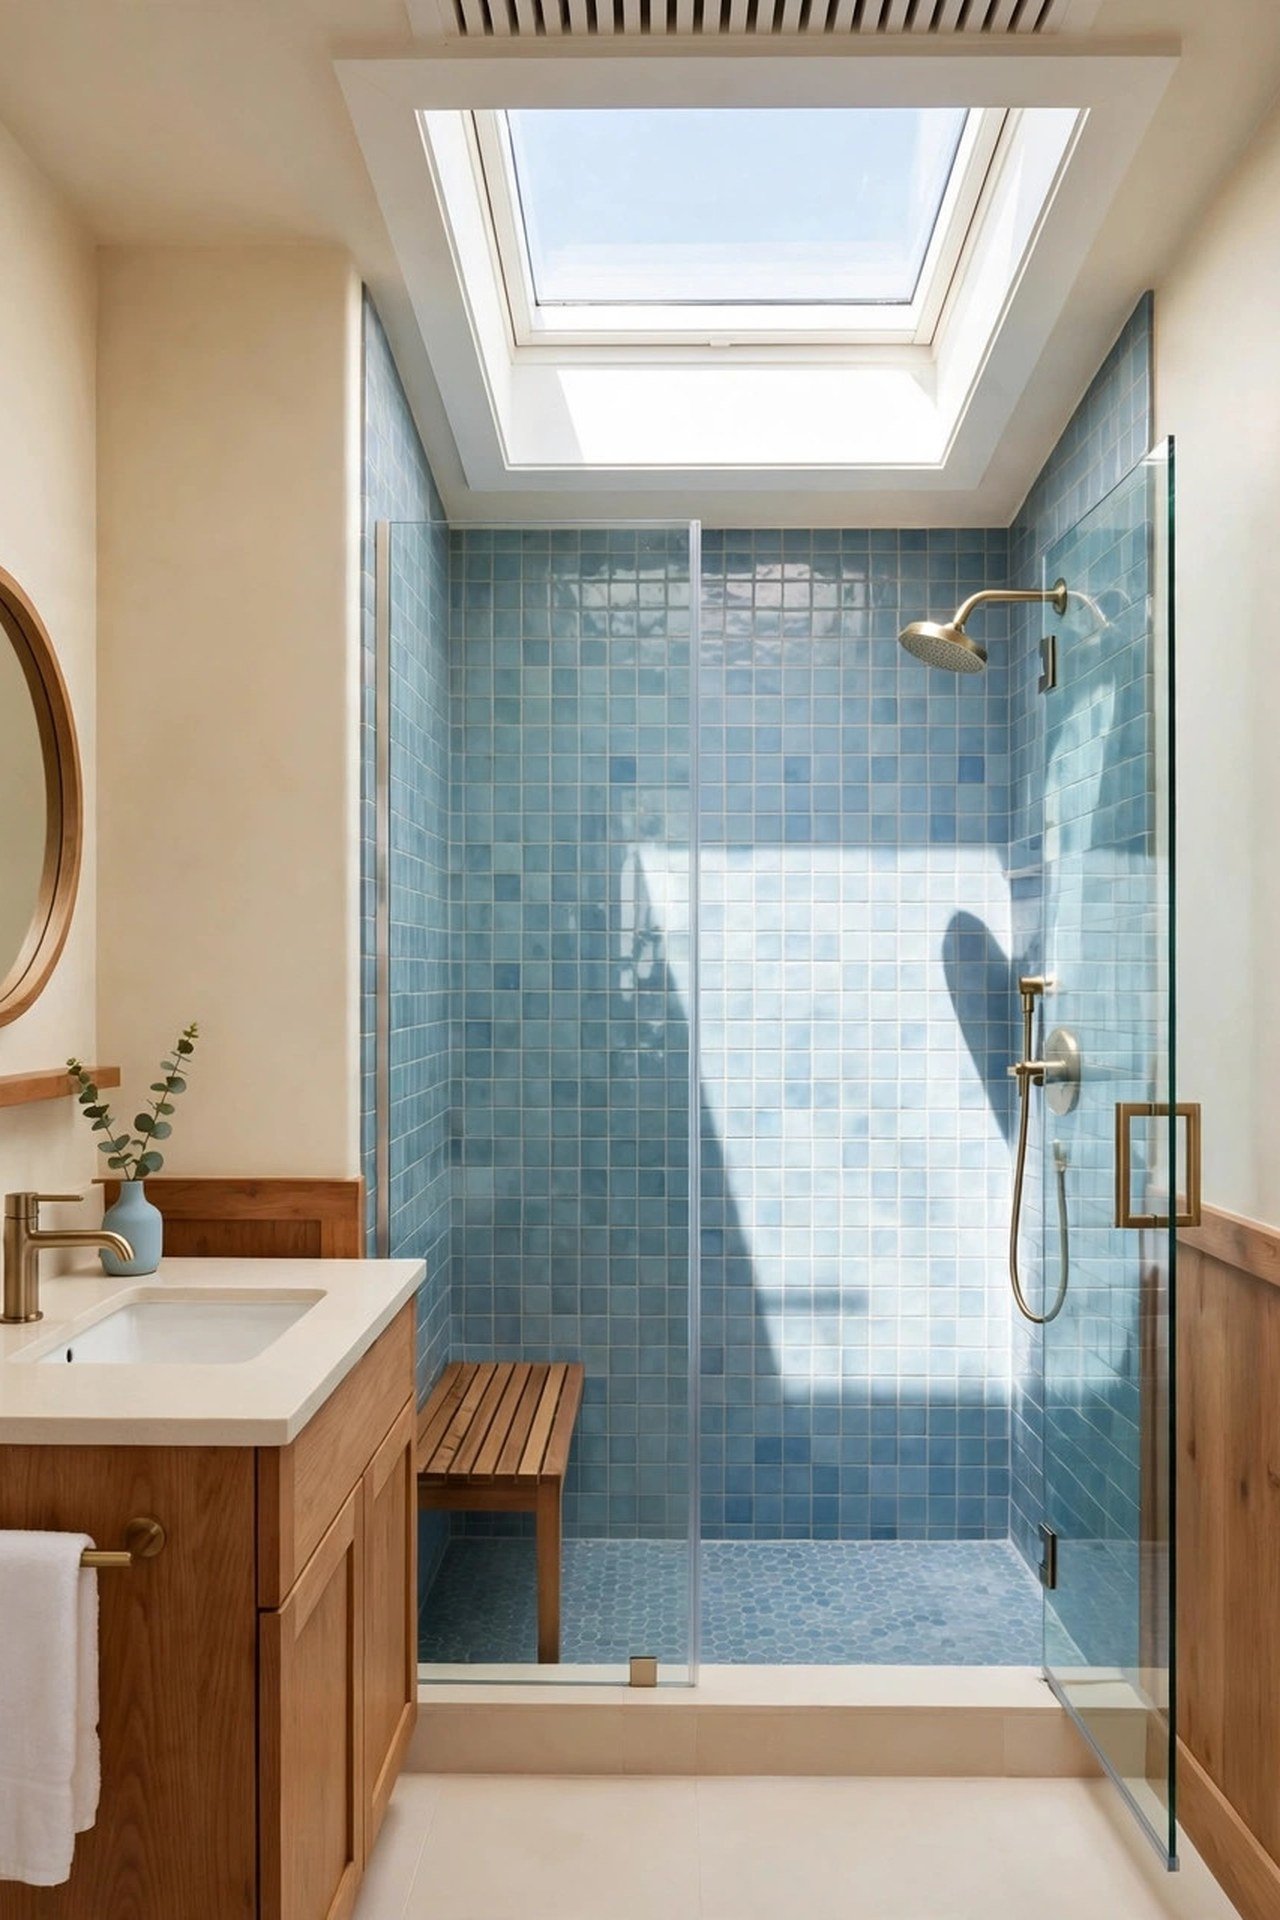
23. Glow with a Backlit Mirror
A backlit mirror throws a soft halo of light onto the wall around it, which reads as ambient glow rather than a harsh bulb. In a small bathroom, mount it on the wall opposite the shower so it bounces light back across the room and visually doubles the space. The indirect light is also kinder for morning faces than overhead downlights.
Choose a dimmable model so the same mirror shifts from bright task light to calm evening glow. Keep the mirror’s width proportional to the vanity below, about 75 percent of the vanity width, so the composition stays balanced. The halo effect needs a few inches of clear wall around the mirror to show.
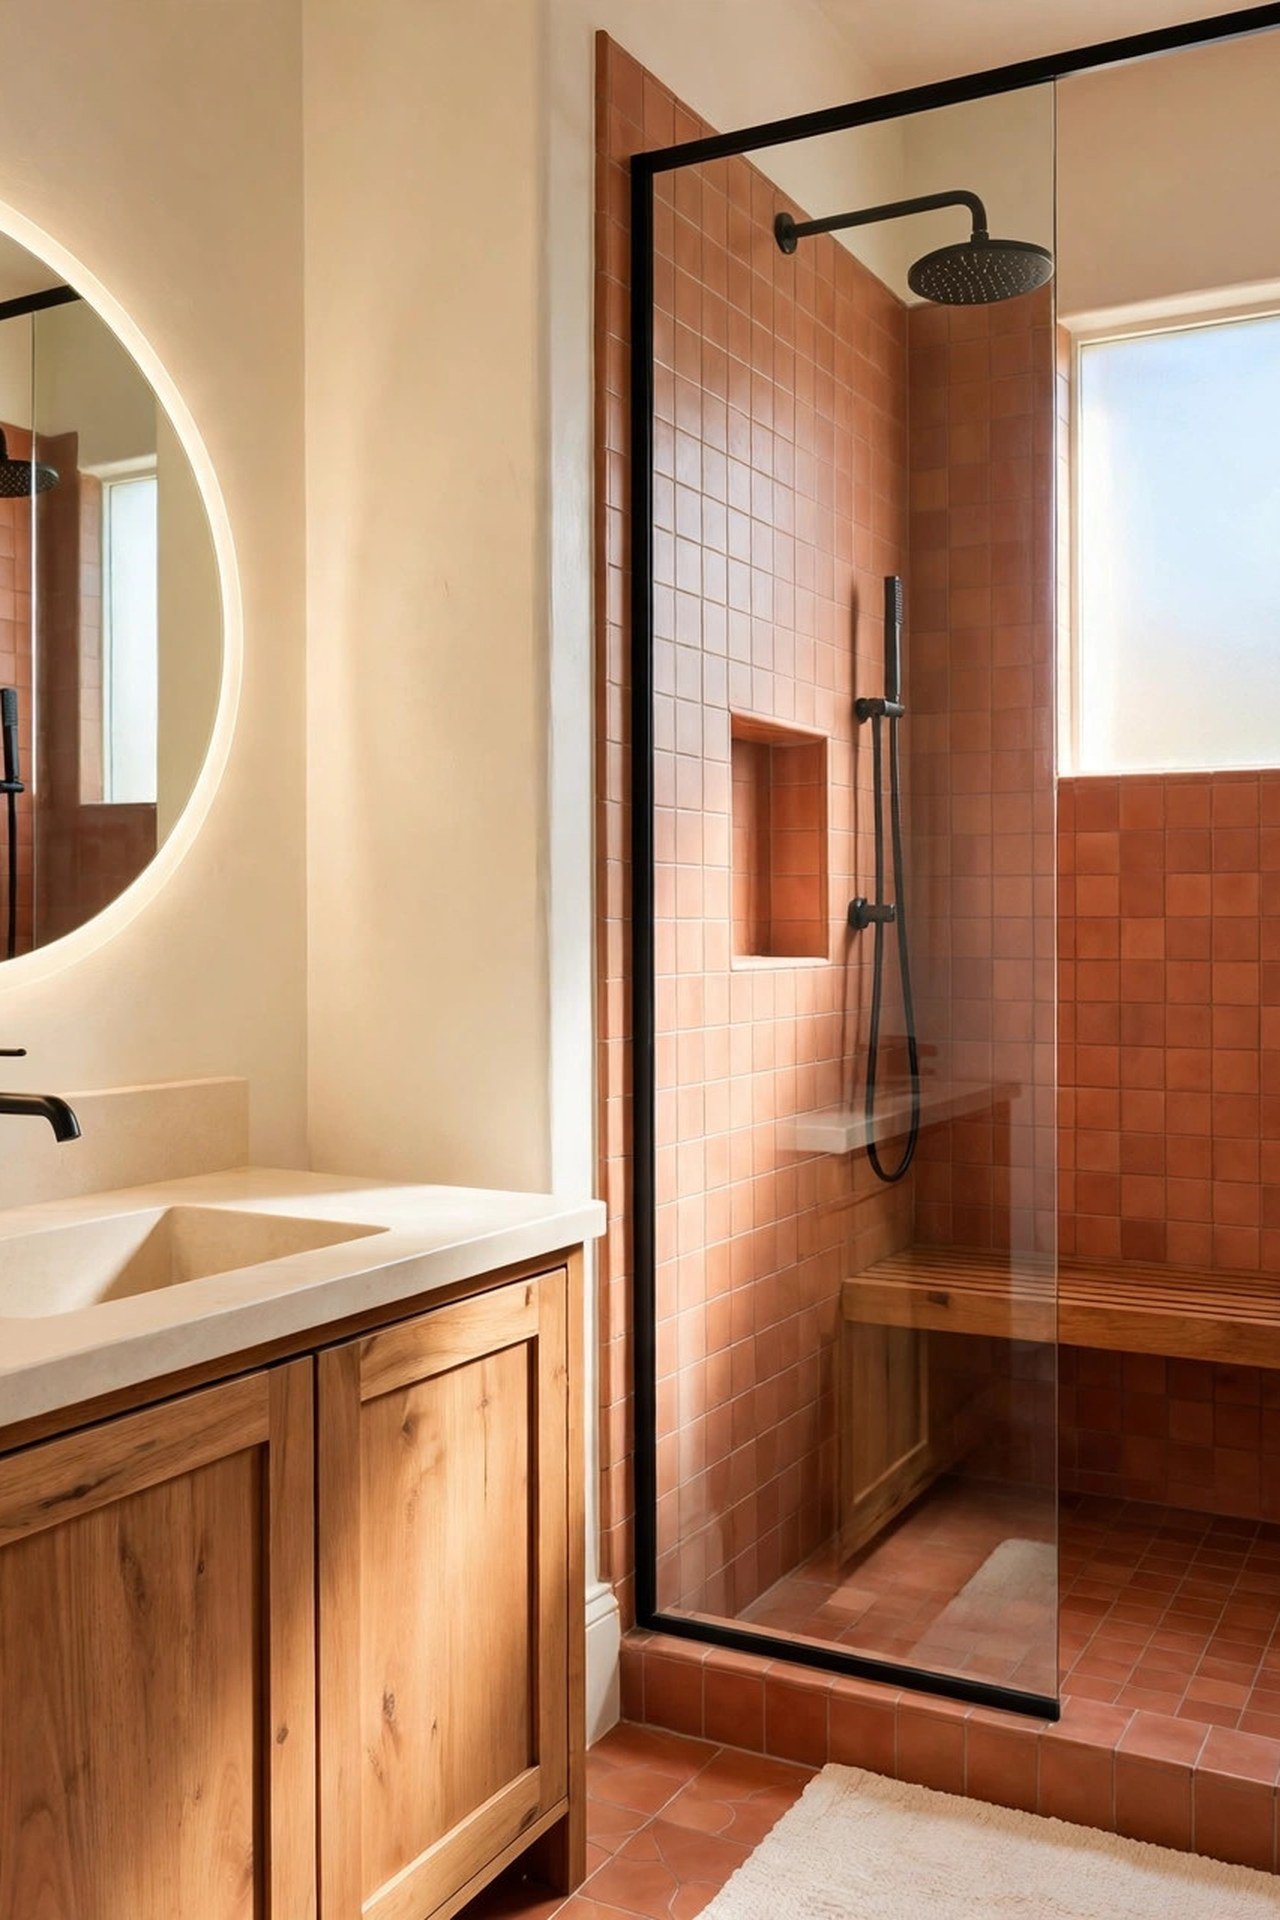
24. Keep It Simple with a Glass Shelf
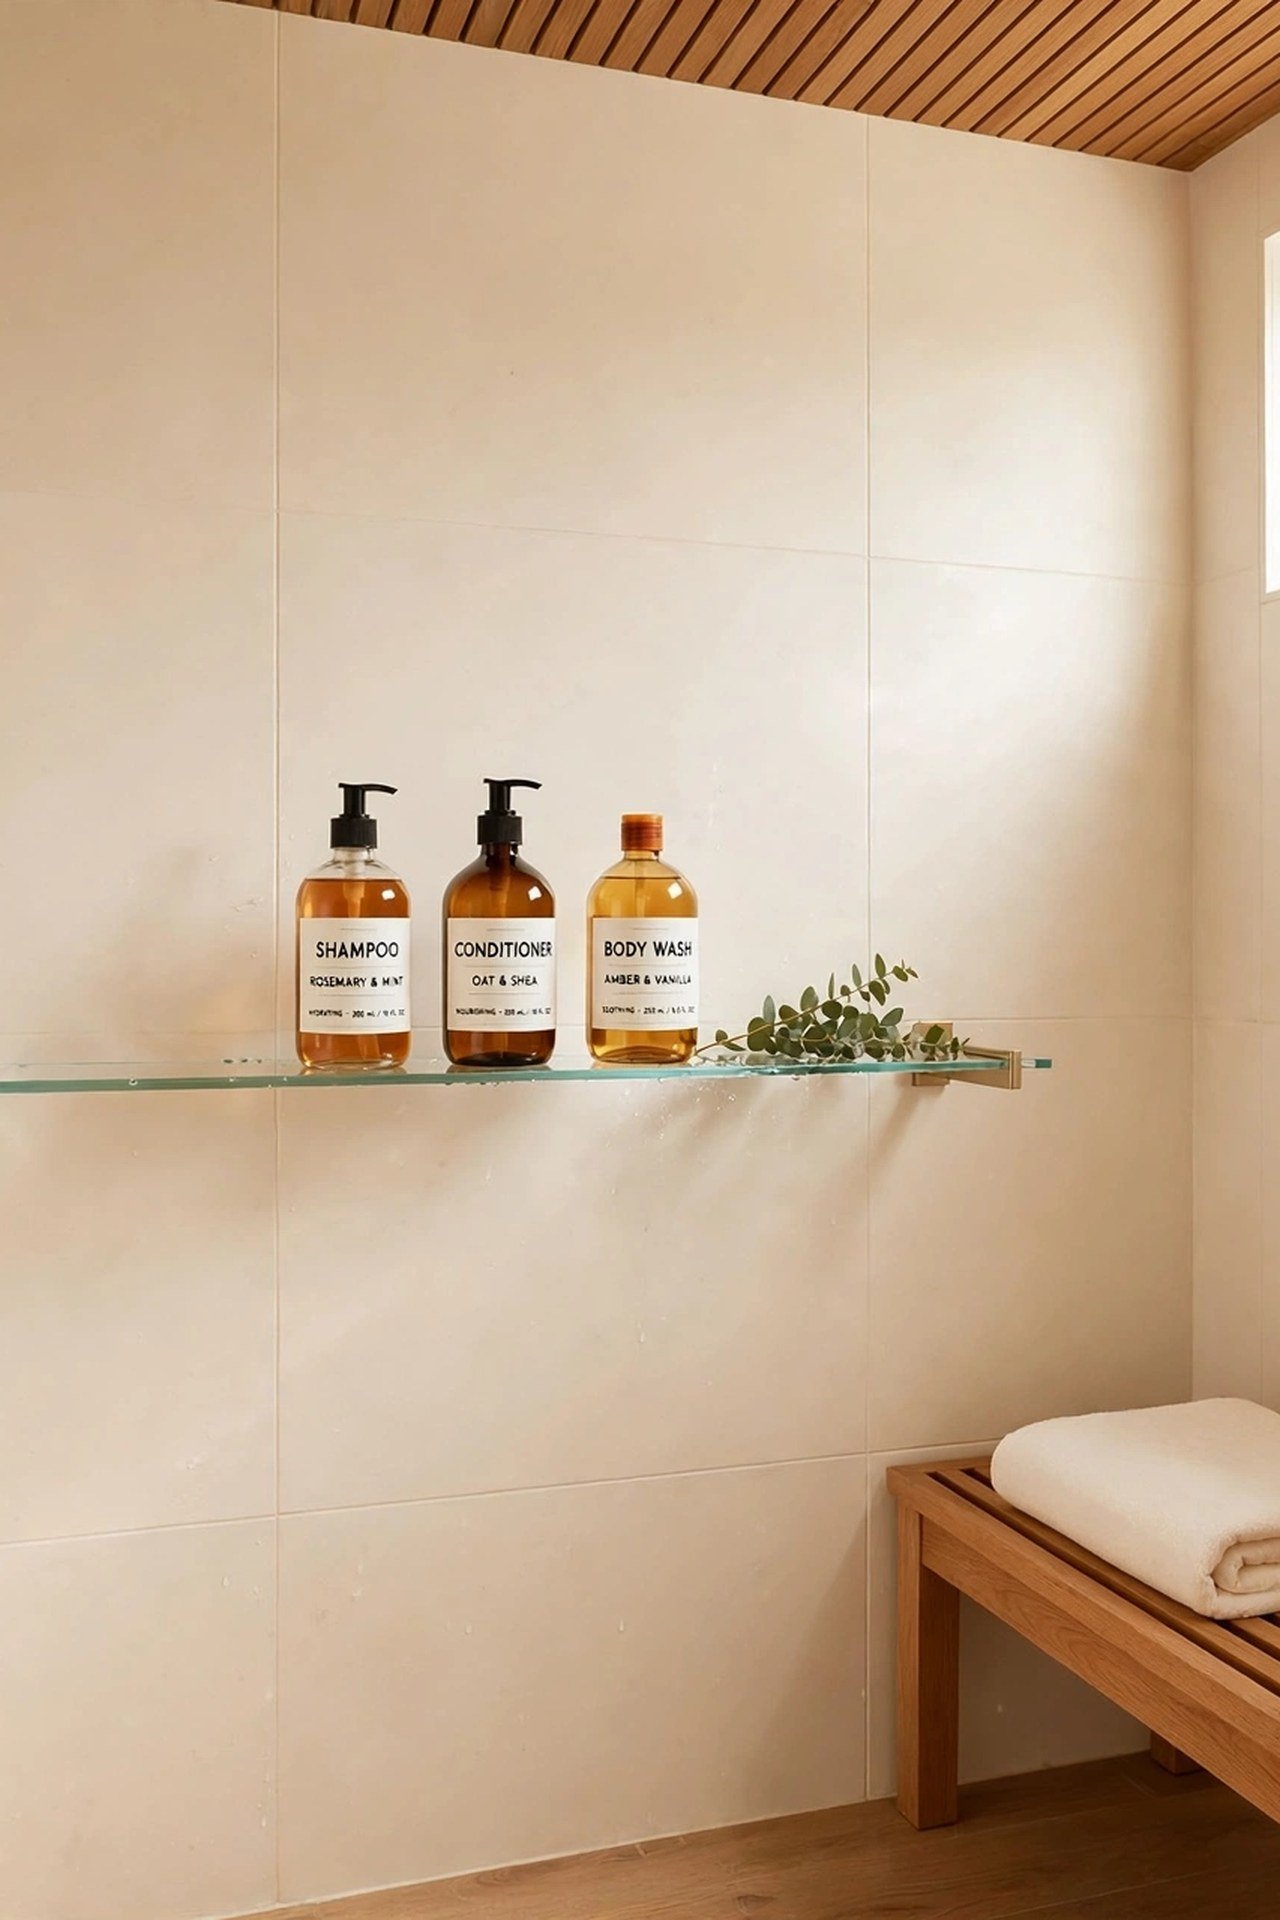
A single tempered glass shelf, 4 to 6 inches deep, holds daily bottles without any visual weight. Mount it with minimal brackets into studs or blocking at about 55 inches high, within easy reach but above the splash zone of the showerhead. The transparent surface virtually disappears against the tile.
Limit the shelf to what you use every day; overflow defeats the minimalist purpose. For soft depth on the surrounding walls, Venetian plaster adds a luminous texture that paint cannot match, and its subtle sheen brightens the small room.
25. Pattern the Floor with Hexagon Tile
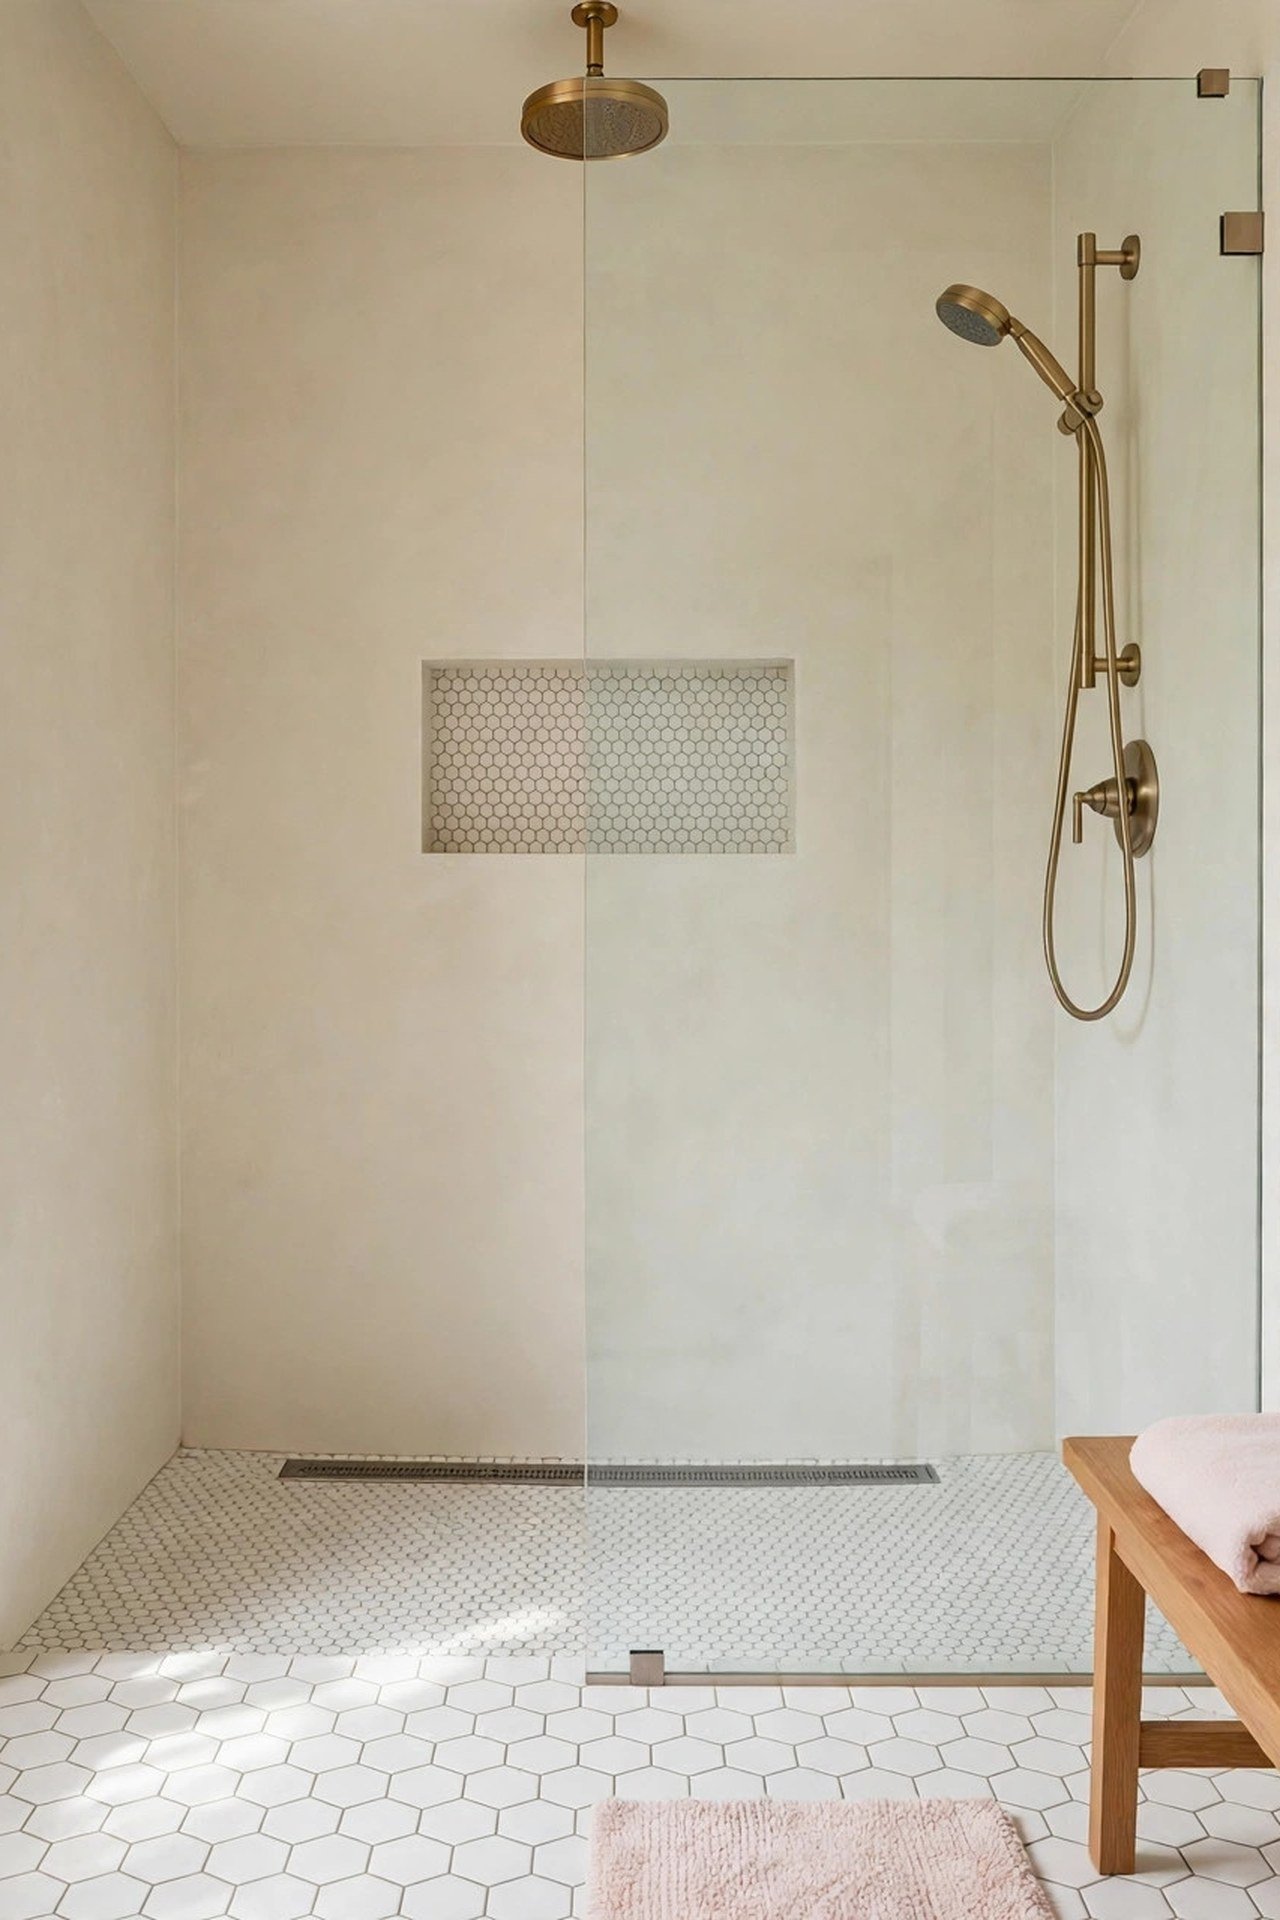
Hexagon tiles are the small shower floor’s classic answer: the small shapes follow the slope to the drain without lippage, the many grout lines grip wet feet, and the honeycomb pattern adds timeless charm. Two-inch hexagons are the sweet spot for a compact shower.
Classic white or soft gray hexagons suit every style and keep the small floor bright. Let the patterned floor be the room’s feature and keep the walls simple; a busy floor plus busy walls shrinks a small bathroom fast. Seal the grout, since hexagon floors have far more grout lines than large tile.
26. Unify the Room with a Monochrome Palette
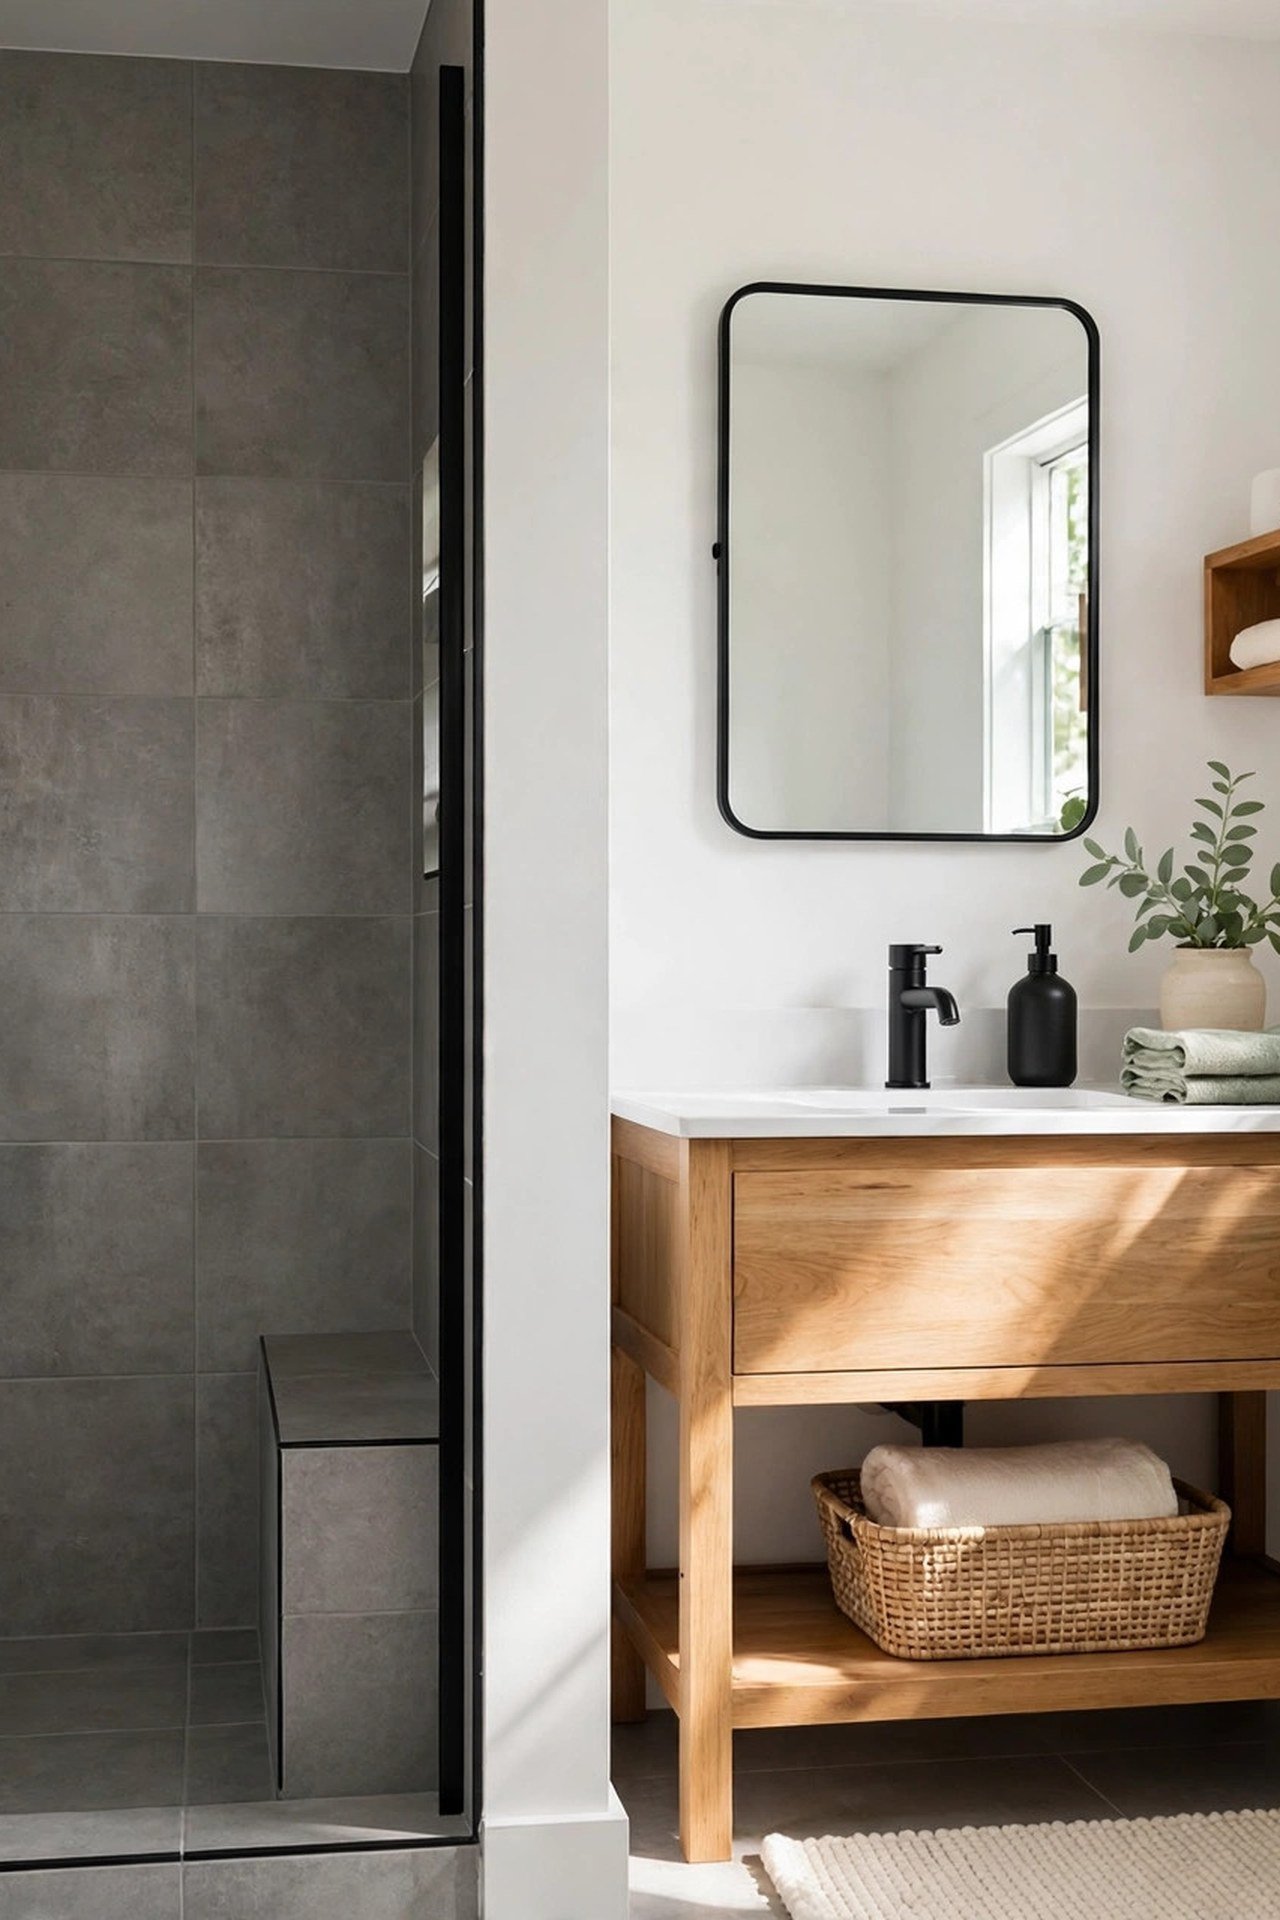
A monochrome palette of white, gray and black removes every color boundary in the small bathroom, and without boundaries the eye reads one continuous space. Use the darkest tone sparingly, on fixtures and thin grout lines, so the black accents read as crisp punctuation rather than weight.
Let texture do the talking within the single palette: a soft limewash wall paint finish adds subtle movement to the walls, matte black fixtures add edge, and pale tile keeps the light. Finish the composition with a door shade that blends in; these interior door color ideas help you pick a tone that disappears beautifully into the scheme.
Conclusion
A walk in shower rewards engineering over decoration. Get the slope, the glass sizing, the drain placement and the waterproofing right, and the style choices become the easy, joyful part.
Plan the wet details with your tiler before a single tile is ordered, then layer in the tile, glass and fixtures you love. A small bathroom built on solid fundamentals will feel like a retreat for decades.
Frequently Asked Questions
What is the smallest size for a walk in shower?
A comfortable walk in shower needs at least 36 by 36 inches. In very tight bathrooms, 32 by 32 inches can work if the entry is open and the showerhead is well placed.
Do walk in showers need doors?
No, most walk in showers are doorless. A fixed glass panel or half-wall keeps water in while the open entry maintains airflow and an open feel. Good slope toward the drain is essential.
How do you keep water inside a doorless walk in shower?
Slope the floor toward a linear or center drain, keep the showerhead aimed away from the entry, and use a glass panel on the splash side. A slightly recessed shower floor also helps contain water.
Are walk in showers expensive to install?
Costs vary widely, but a simple walk in shower with standard tile and a glass panel can be budget-friendly. Curbless entries and linear drains add cost because they need precise waterproofing and floor work.
Does a walk in shower need special waterproofing?
Yes. Every walk in shower needs a waterproof membrane behind the tile and under the floor, sealed corners and proper slope to the drain. Good waterproofing prevents mold and protects the rooms below and beside the bathroom.

Hi, I’m Emily! I turn messy corners into cozy, organized spots. DreamNestDecor is where I share simple, practical home ideas — decor, organization, and small-space solutions that work in real life, not just in photos. Every idea here is carefully researched before it’s shared.