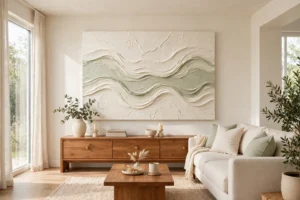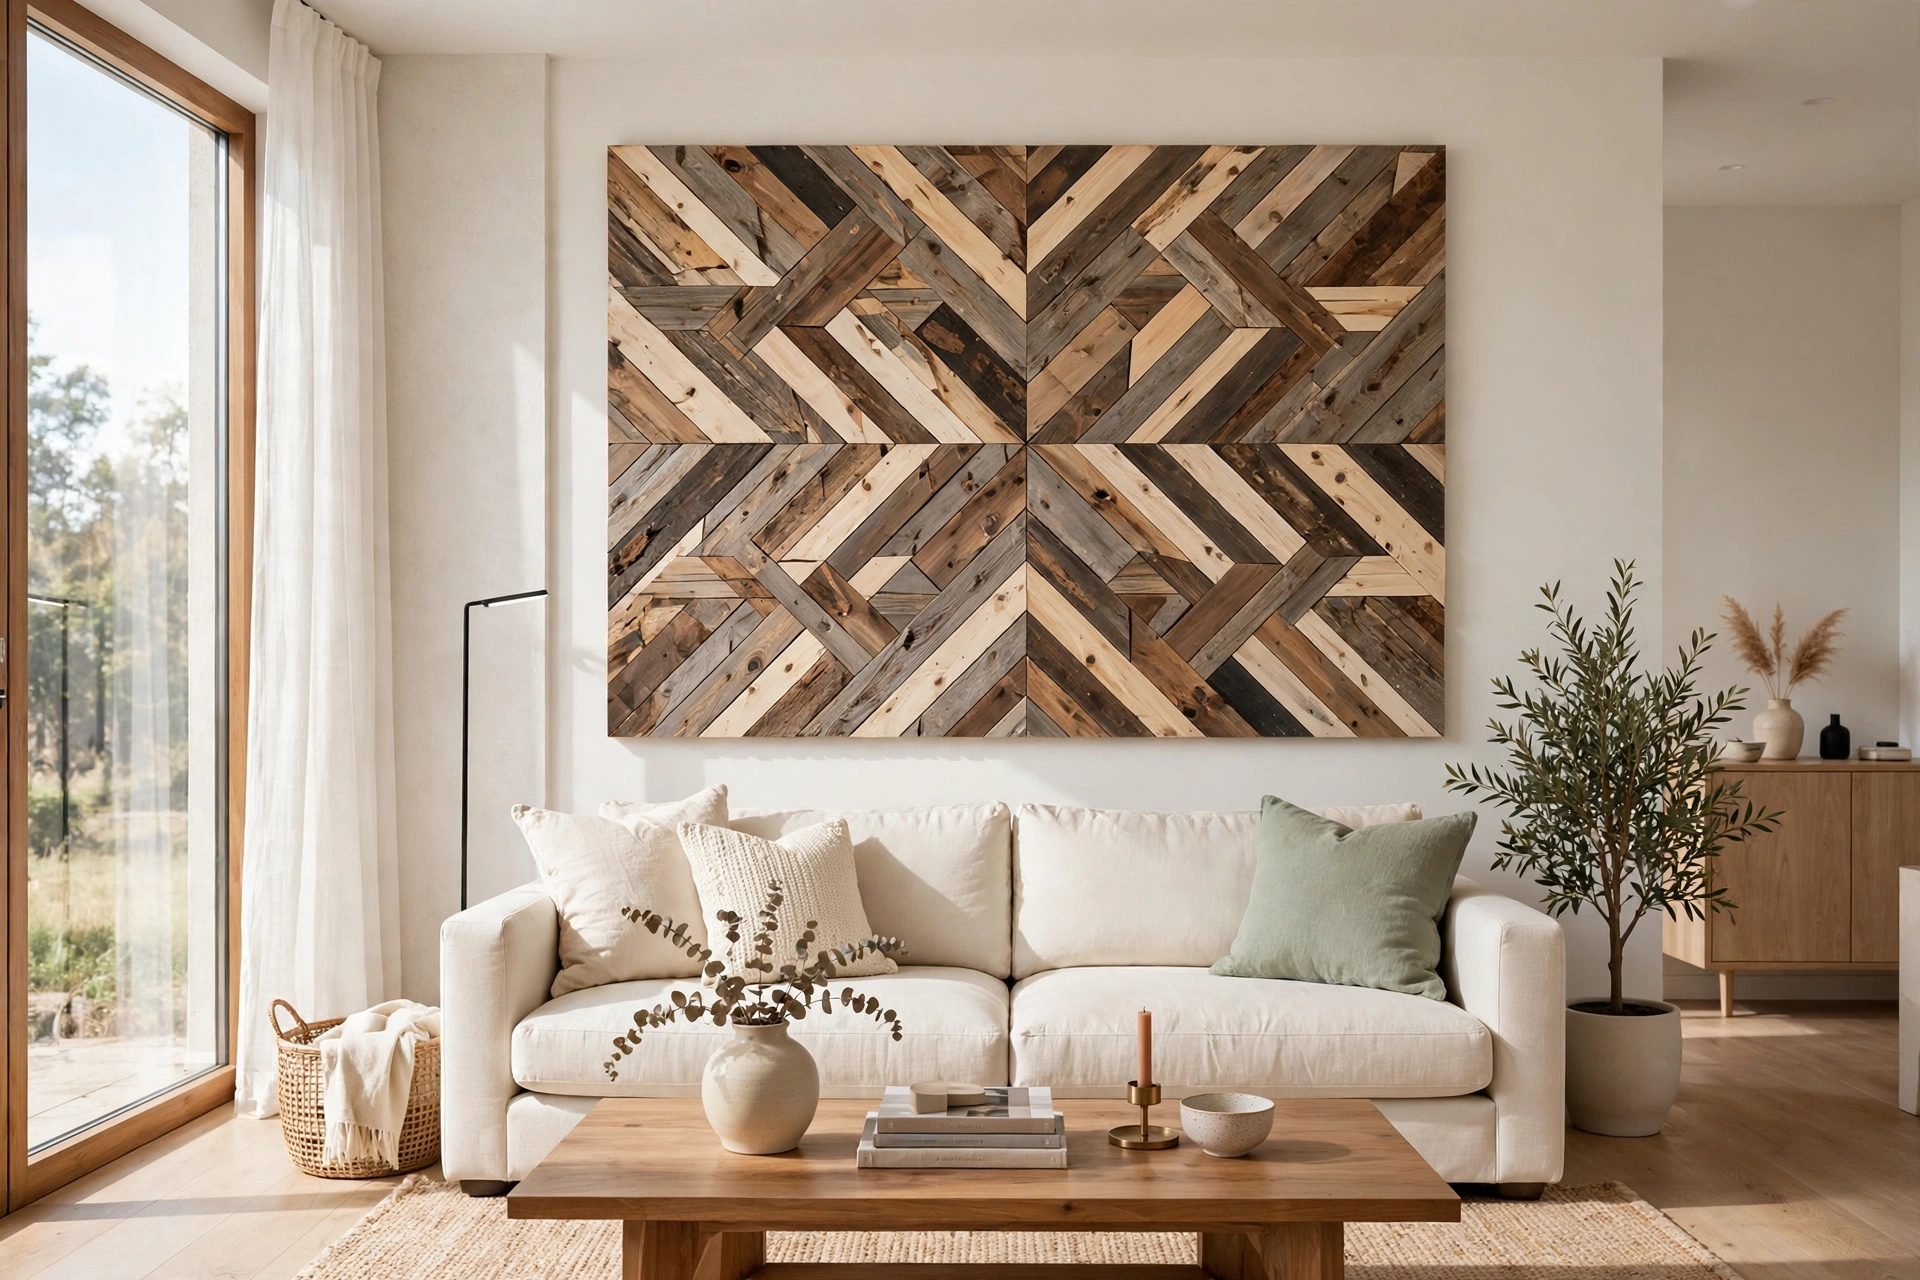
Picture this: a pile of leftover wood pieces from an old project sits in the corner of your garage, and instead of throwing it away, you turn it into a striking piece of wall art. A few cuts, some sanding, and a little glue later, that scrap wood becomes the most talked about feature in your living room. That is the magic of geometric wall art, where simple shapes and honest wood do all the work.
You do not need a big budget or a professional workshop to make it happen. All you need is a saw, some wood glue, and a handful of offcuts in different tones. These 13 DIY geometric wall art ideas using scrap wood will help you turn leftover boards into beautiful wall decor, one simple shape at a time.
1. Build a Herringbone Panel from Mixed Wood Tones
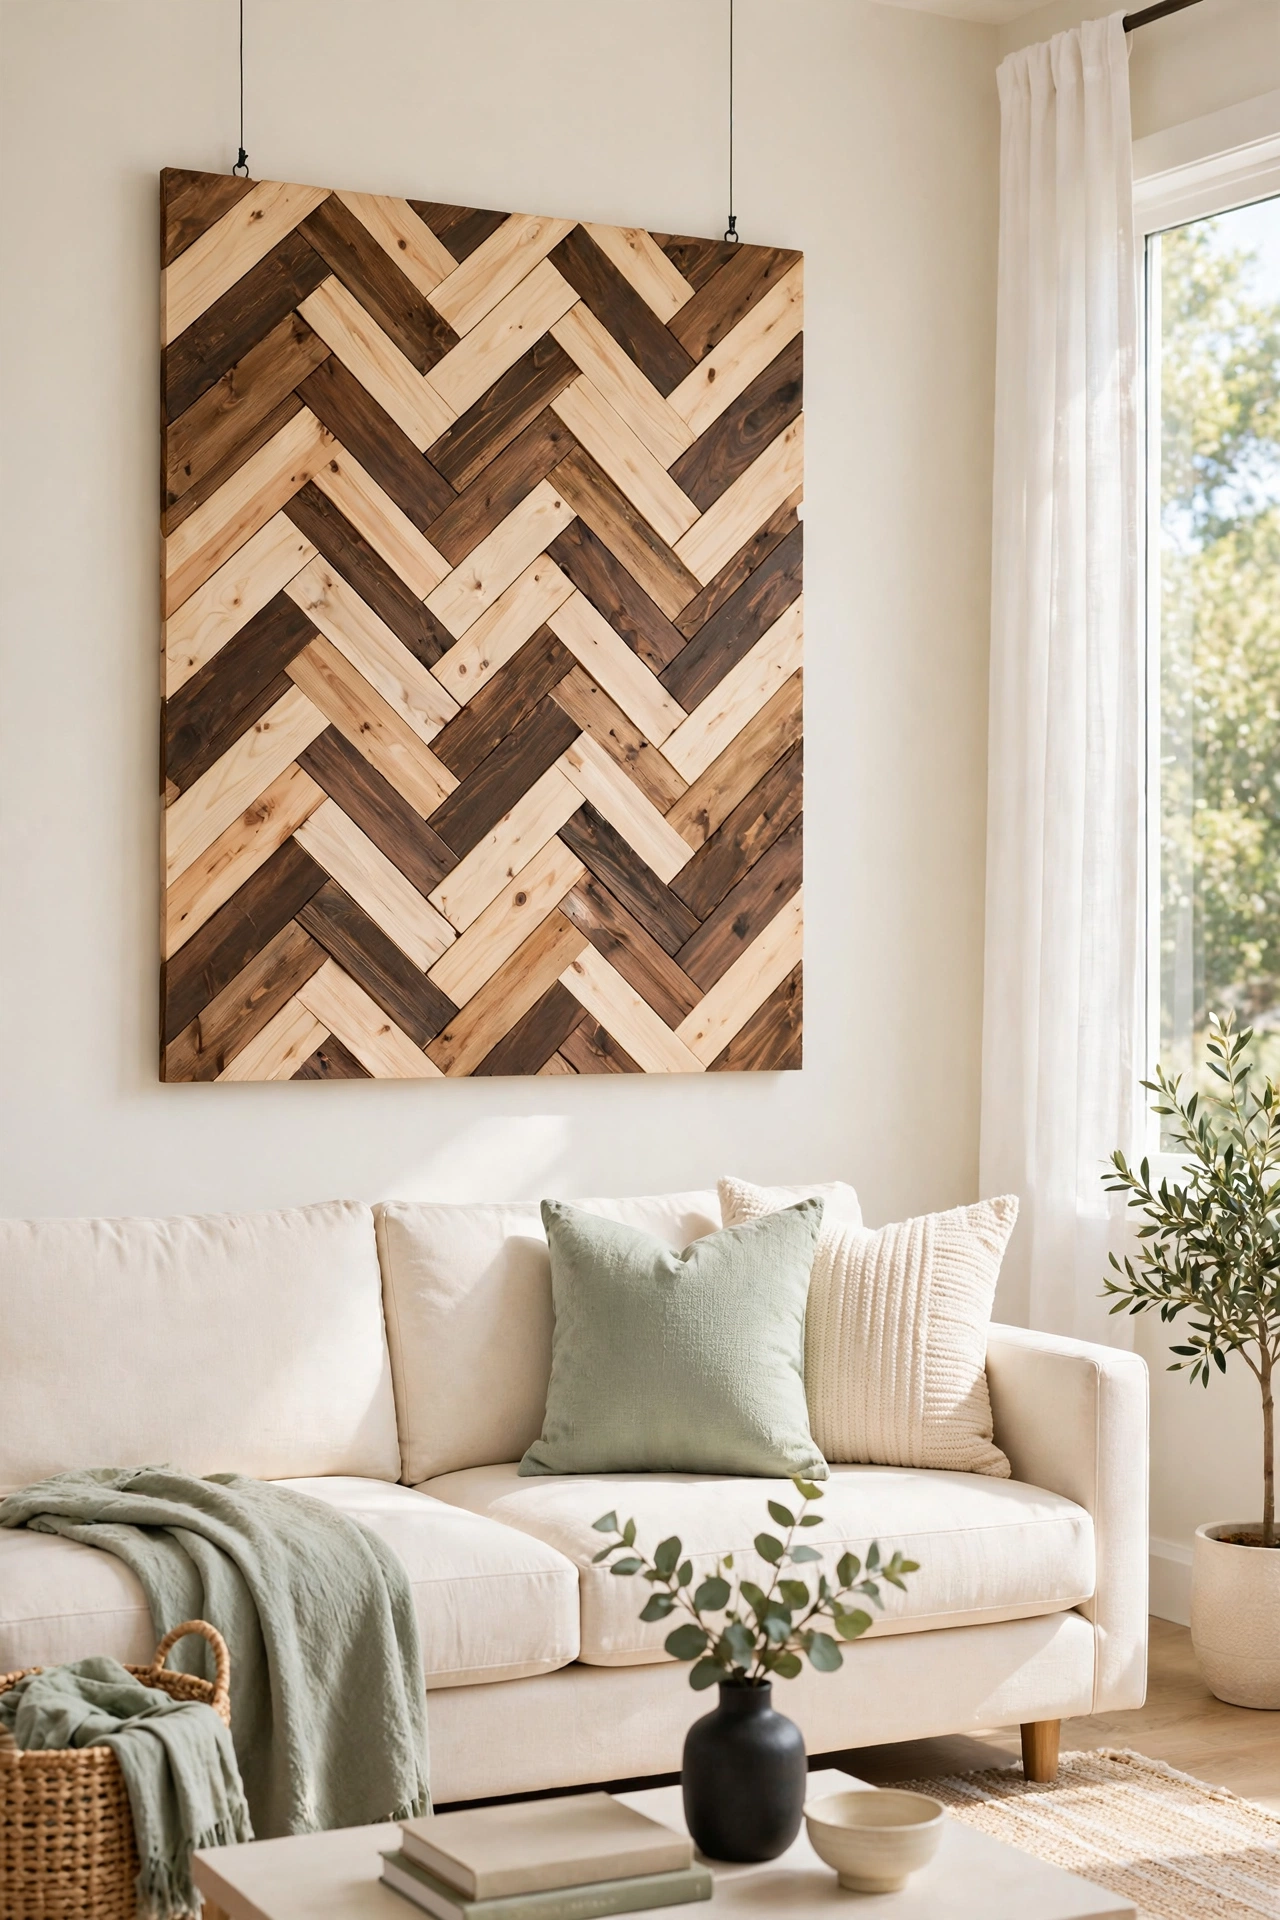
A herringbone panel is one of the most classic geometric patterns you can make from scrap wood. Short boards are cut at an angle and laid in a zigzag row so the grain runs in alternating directions. The pattern looks complex, but once you cut the first few pieces at the same angle, the rest fall into place like a puzzle.
Mix light pine with darker walnut offcuts so the pattern shows up clearly from across the room. Glue the pieces to a thin plywood backing and add a simple frame made from the longest offcut you have. A herringbone panel above a sofa or a sideboard gives the whole wall a tailored and finished look.
2. Create a Hexagon Honeycomb Wall Display
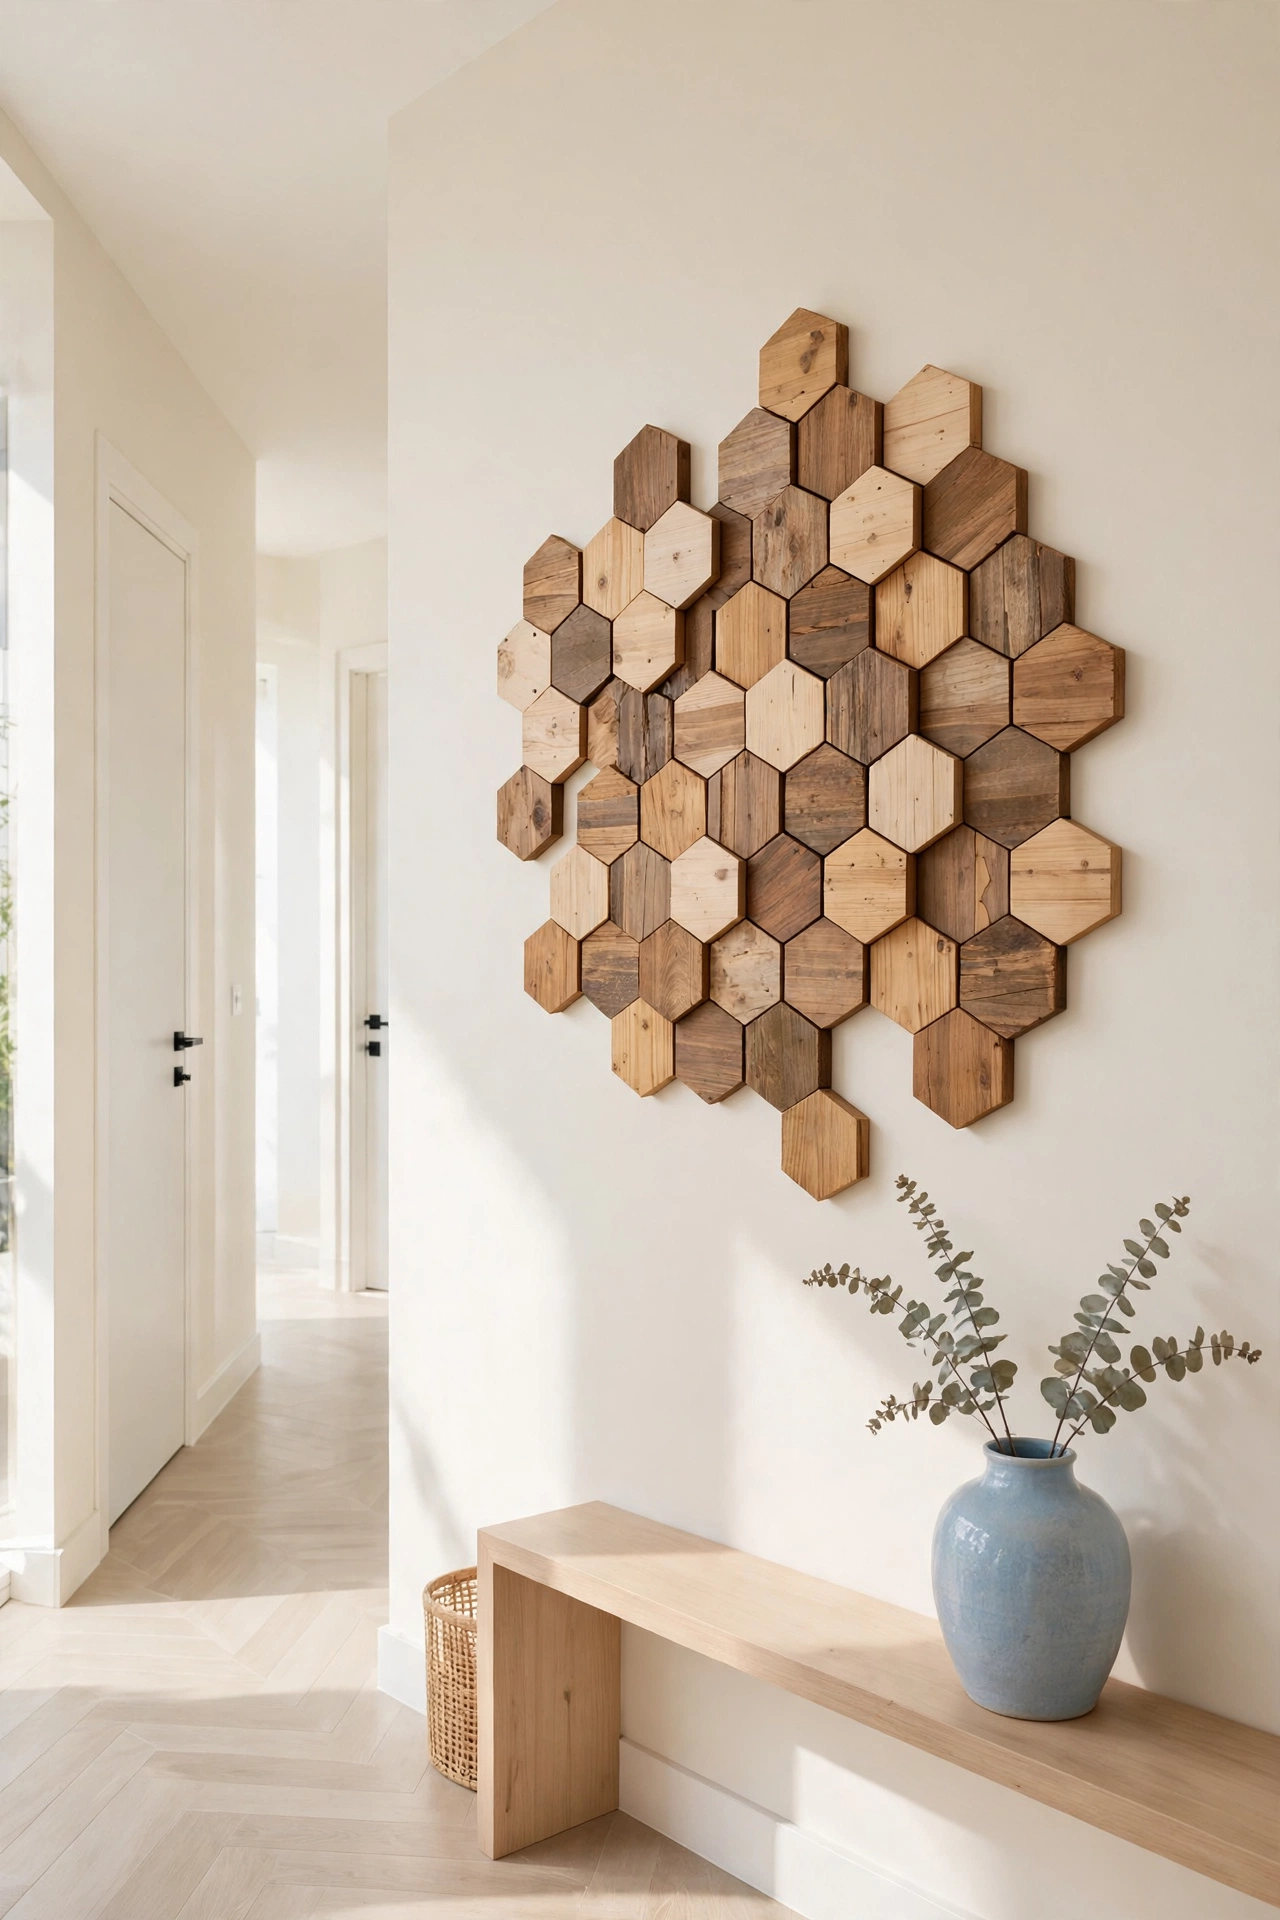
Hexagons are the friendliest shape in geometric wall art because they fit together with no gaps at all. Cut your scrap wood into short hexagon tiles, sand the edges smooth, and arrange them in a honeycomb cluster on the wall. Each tile can be a different wood tone, so the display grows organically as you add pieces.
Start with seven tiles in the center and build outward until the cluster feels balanced. Attach each tile with a small picture hanging strip so you can rearrange the layout whenever you like. A honeycomb display works well in a hallway, above a desk, or as a bold accent behind a bed.
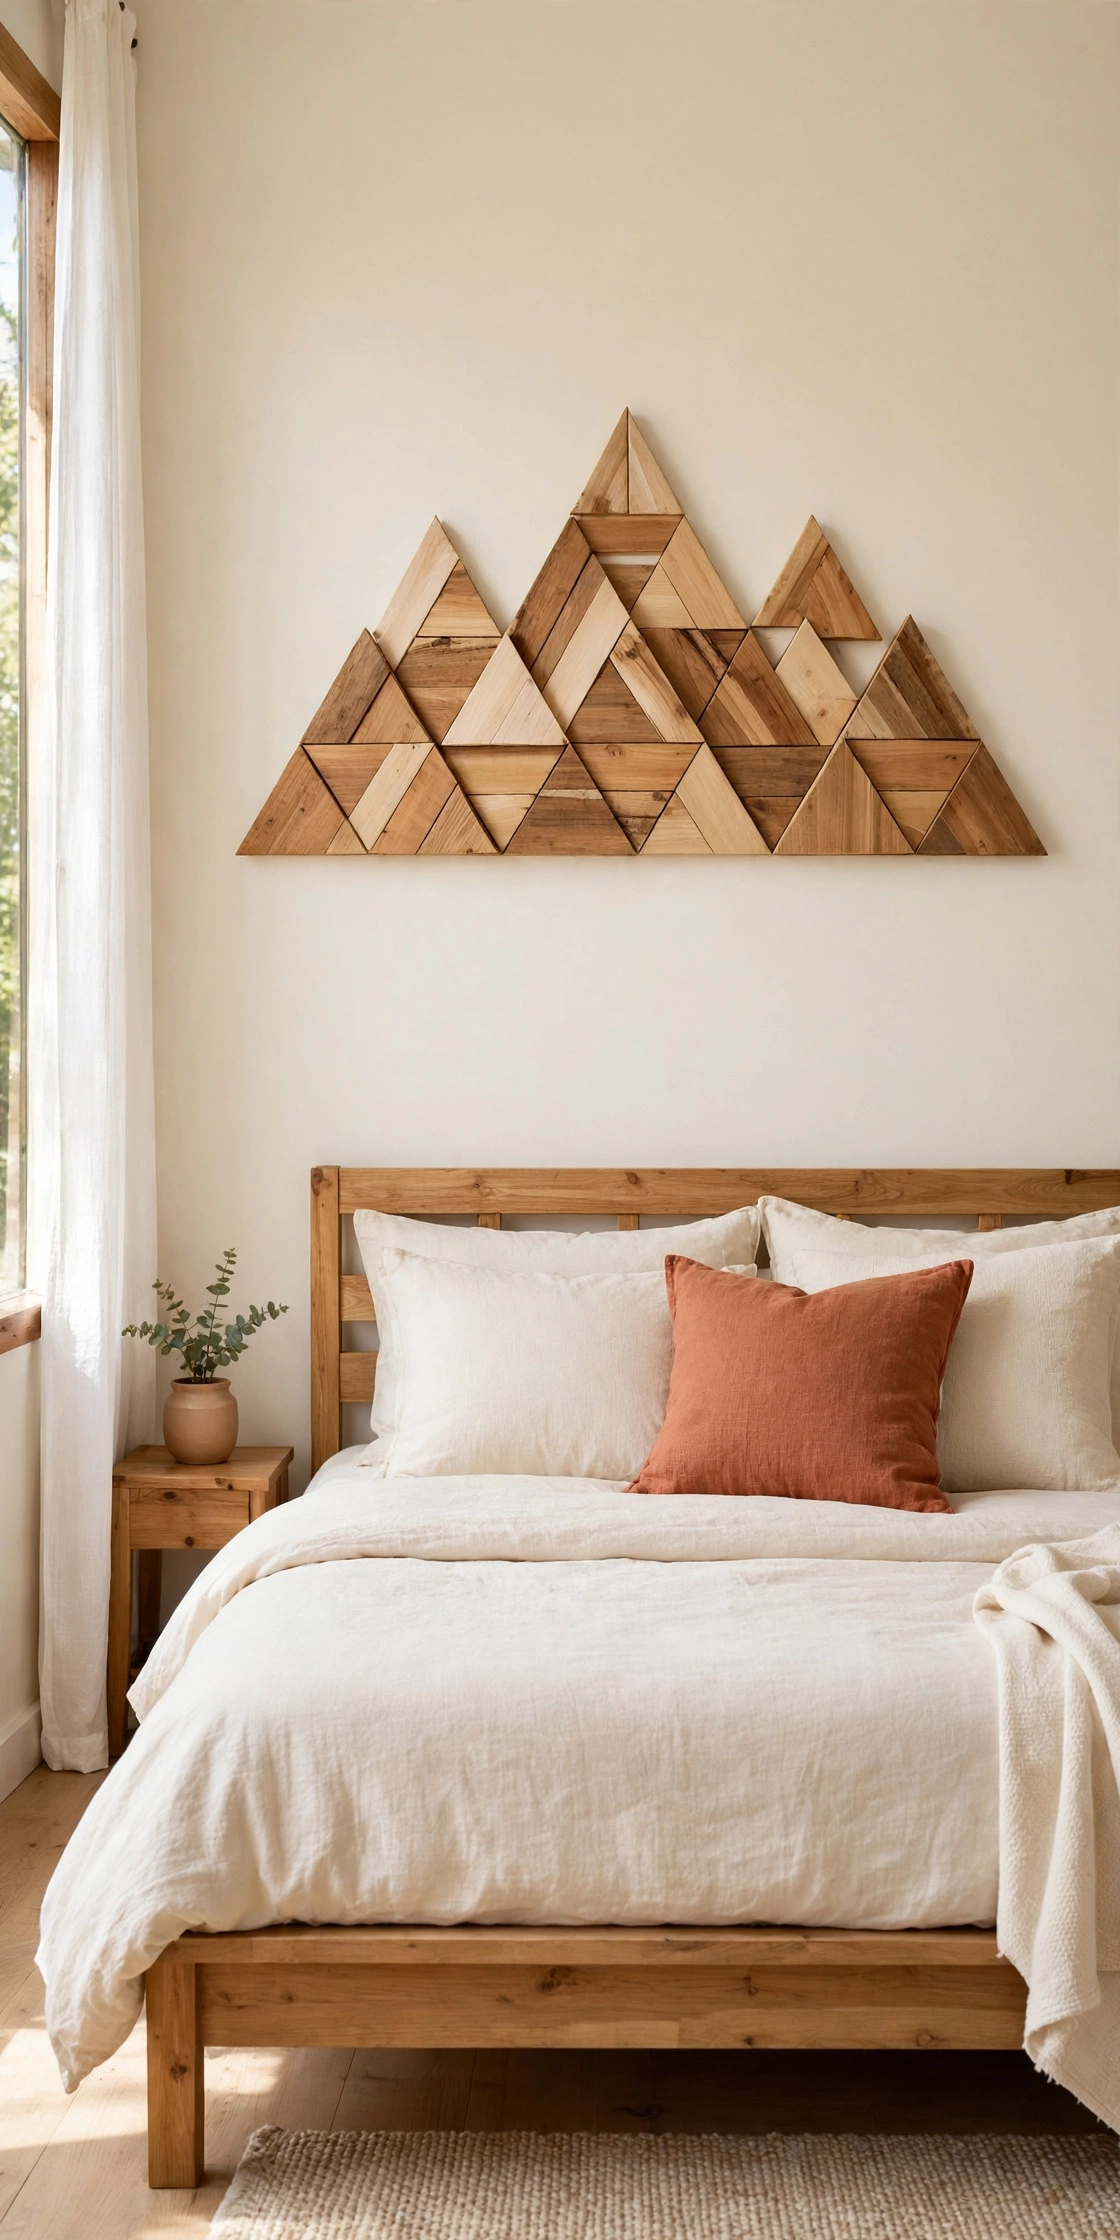
3. Make a Triangle Mountain Range
Triangles are the simplest shape to cut from scrap wood, and a row of them makes a beautiful mountain range on the wall. Cut boards into triangles of different heights, stain half of them in a warm honey tone, and leave the rest natural. When the triangles sit side by side, their peaks form a mountain skyline that feels calm and modern.
Mount the triangles on a single backing board so the whole piece hangs as one unit. A mountain range looks wonderful in a bedroom or a reading corner, where its quiet lines help the room feel peaceful. For a matching handmade touch on a smaller scale, see these DIY decorative mirror frame ideas that use the same scrap wood approach.
4. Design a Chevron Feature Wall Piece
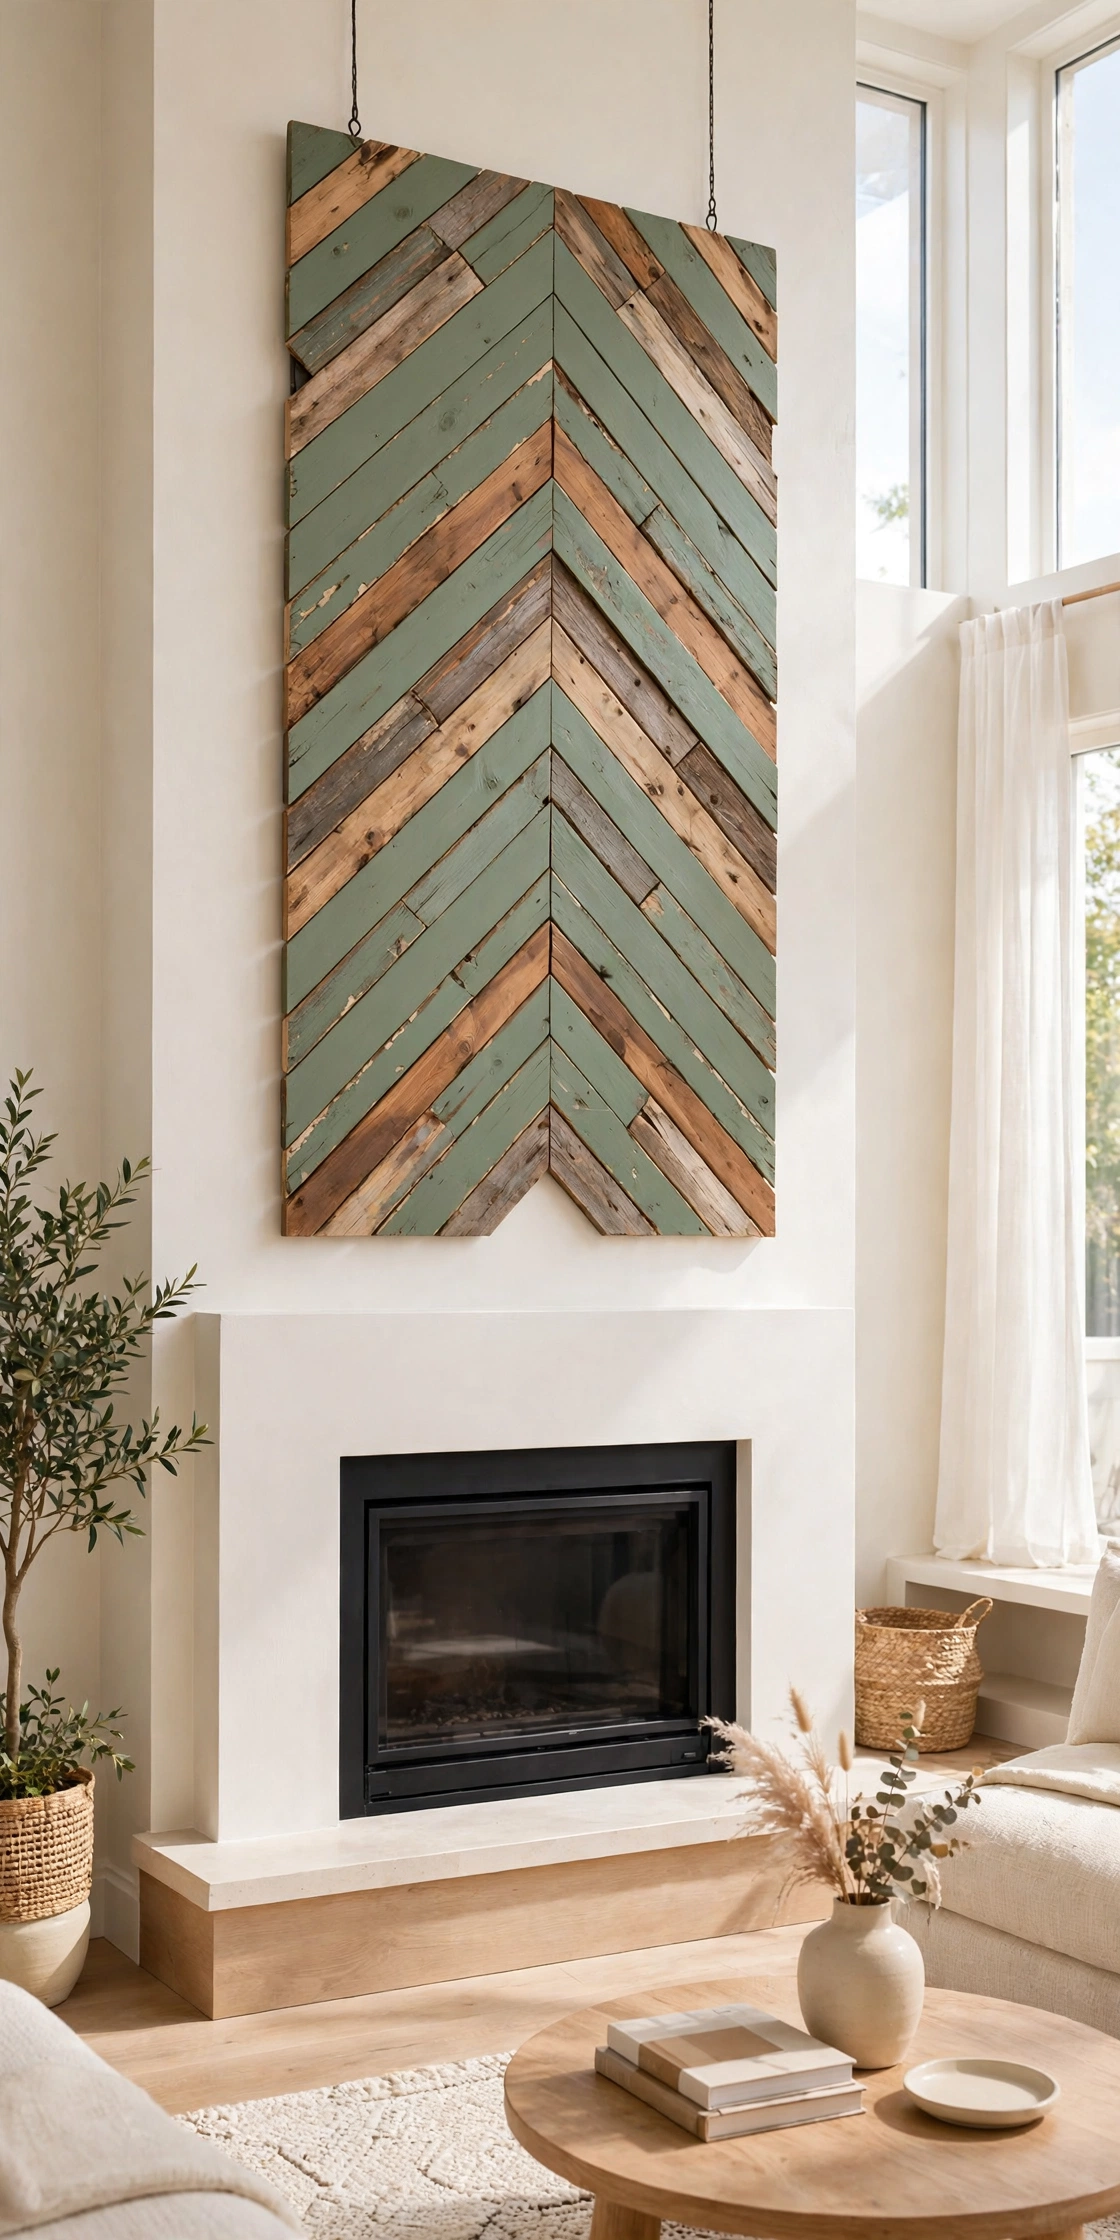
Chevron stripes bring bold energy to a plain wall, and scrap wood is the perfect material for them. Cut equal length boards at a 45 degree angle, then join them in pairs so each pair forms a sharp V shape. Stack the V shapes in rows and the wall comes alive with a strong graphic rhythm.
Paint every second row in a soft sage green and leave the rest in natural wood for a gentle contrast. A chevron piece makes a strong focal point above a fireplace or in an entryway. Keep the surrounding wall plain so the bold pattern has room to breathe.
5. Assemble a Diamond Grid from Offcuts
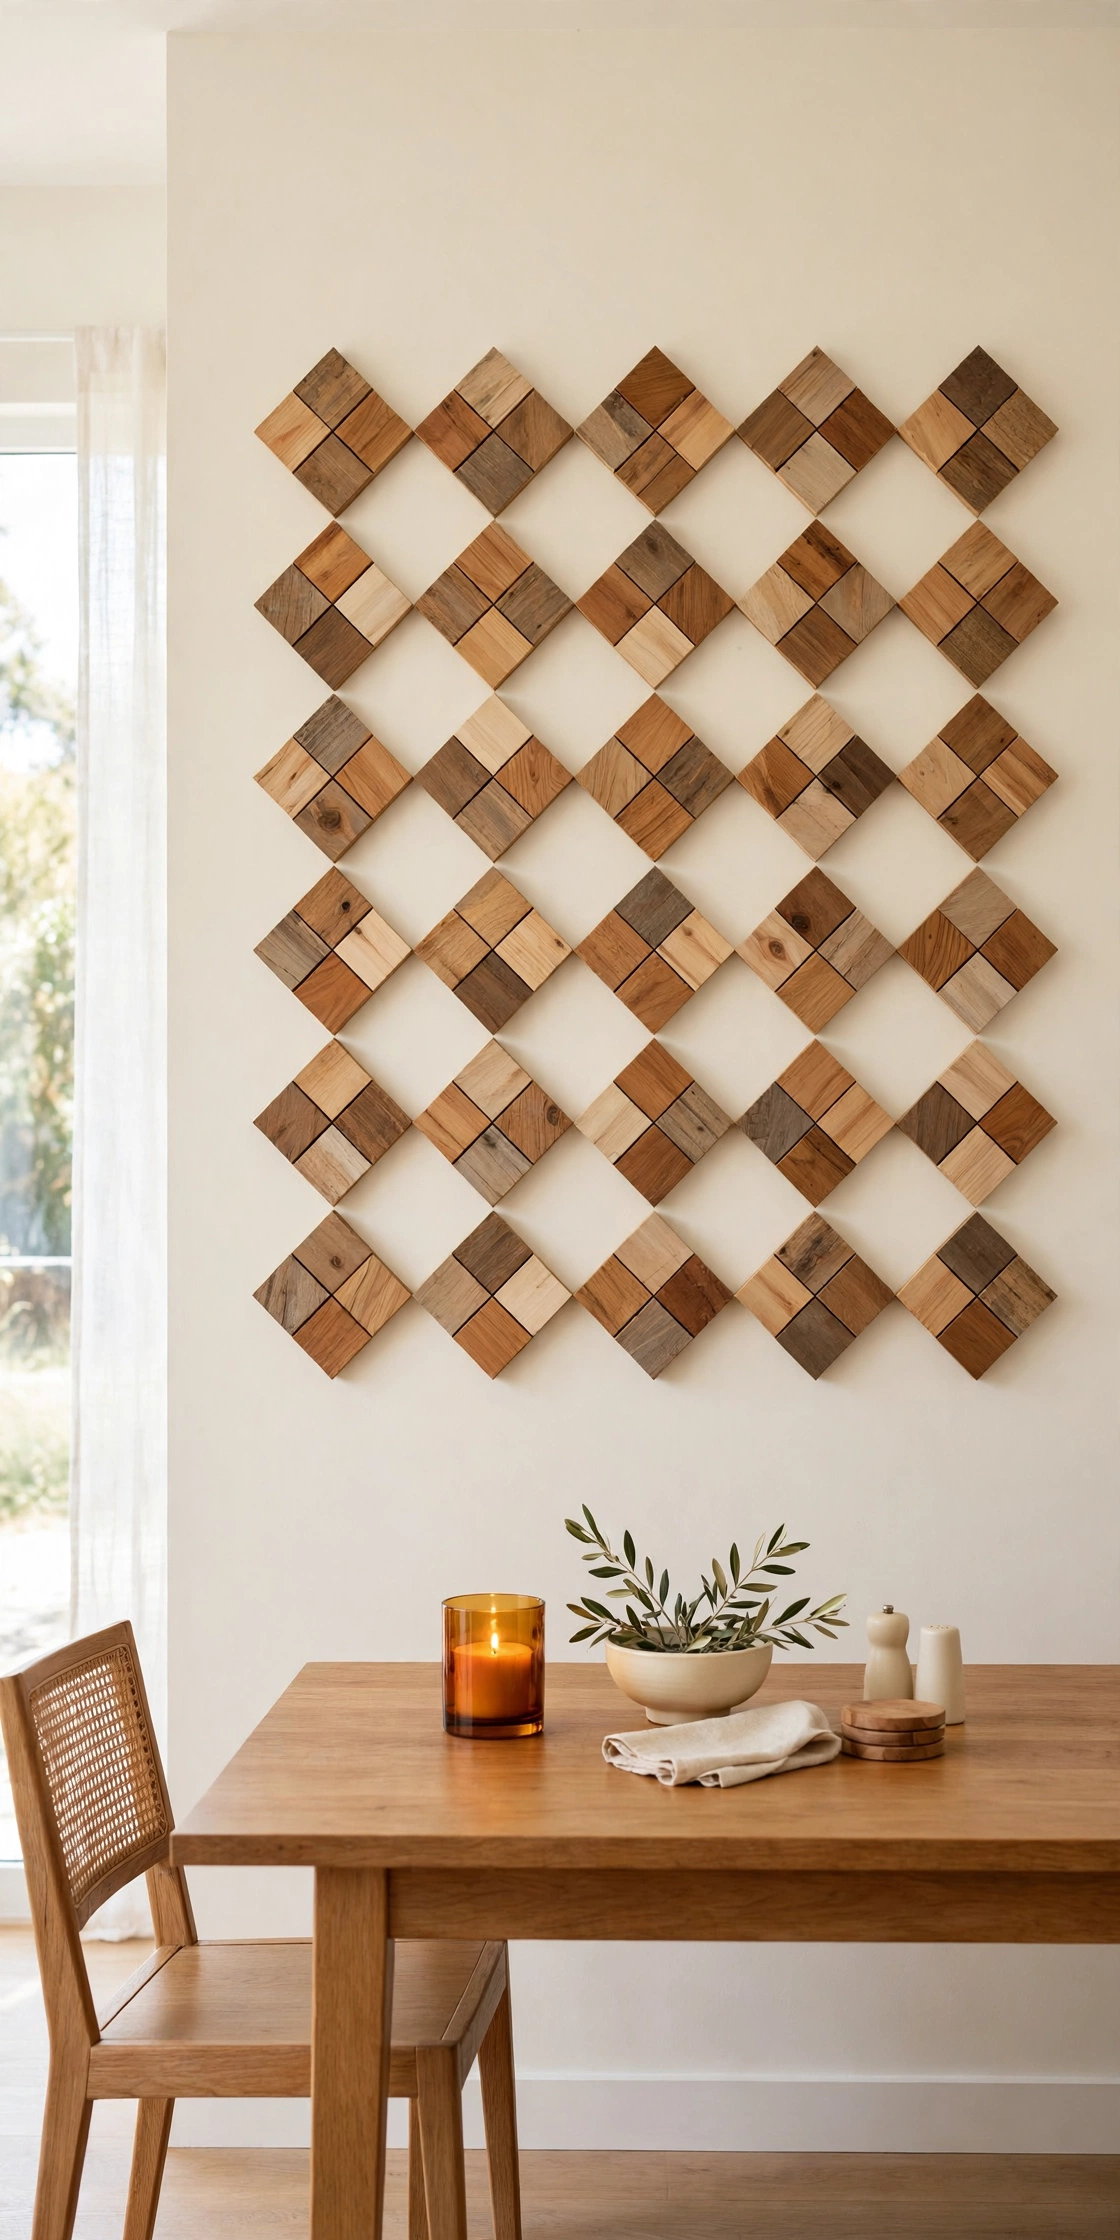
A diamond grid turns small offcuts into a piece of art that looks far more expensive than it is. Cut square pieces of scrap wood, rotate each one 45 degrees, and glue them to a backing board in neat rows. The diamonds catch the light at different angles, so the surface seems to shift as you walk past it.
Use offcuts of the same wood species for a calm and unified look, or mix species for a patchwork effect. A diamond grid works beautifully as a large piece above a dining table or as a set of two smaller panels flanking a mirror. Sand every edge well so the diamonds sit flush against each other.
6. Craft a Wooden Sunburst Wall Medallion
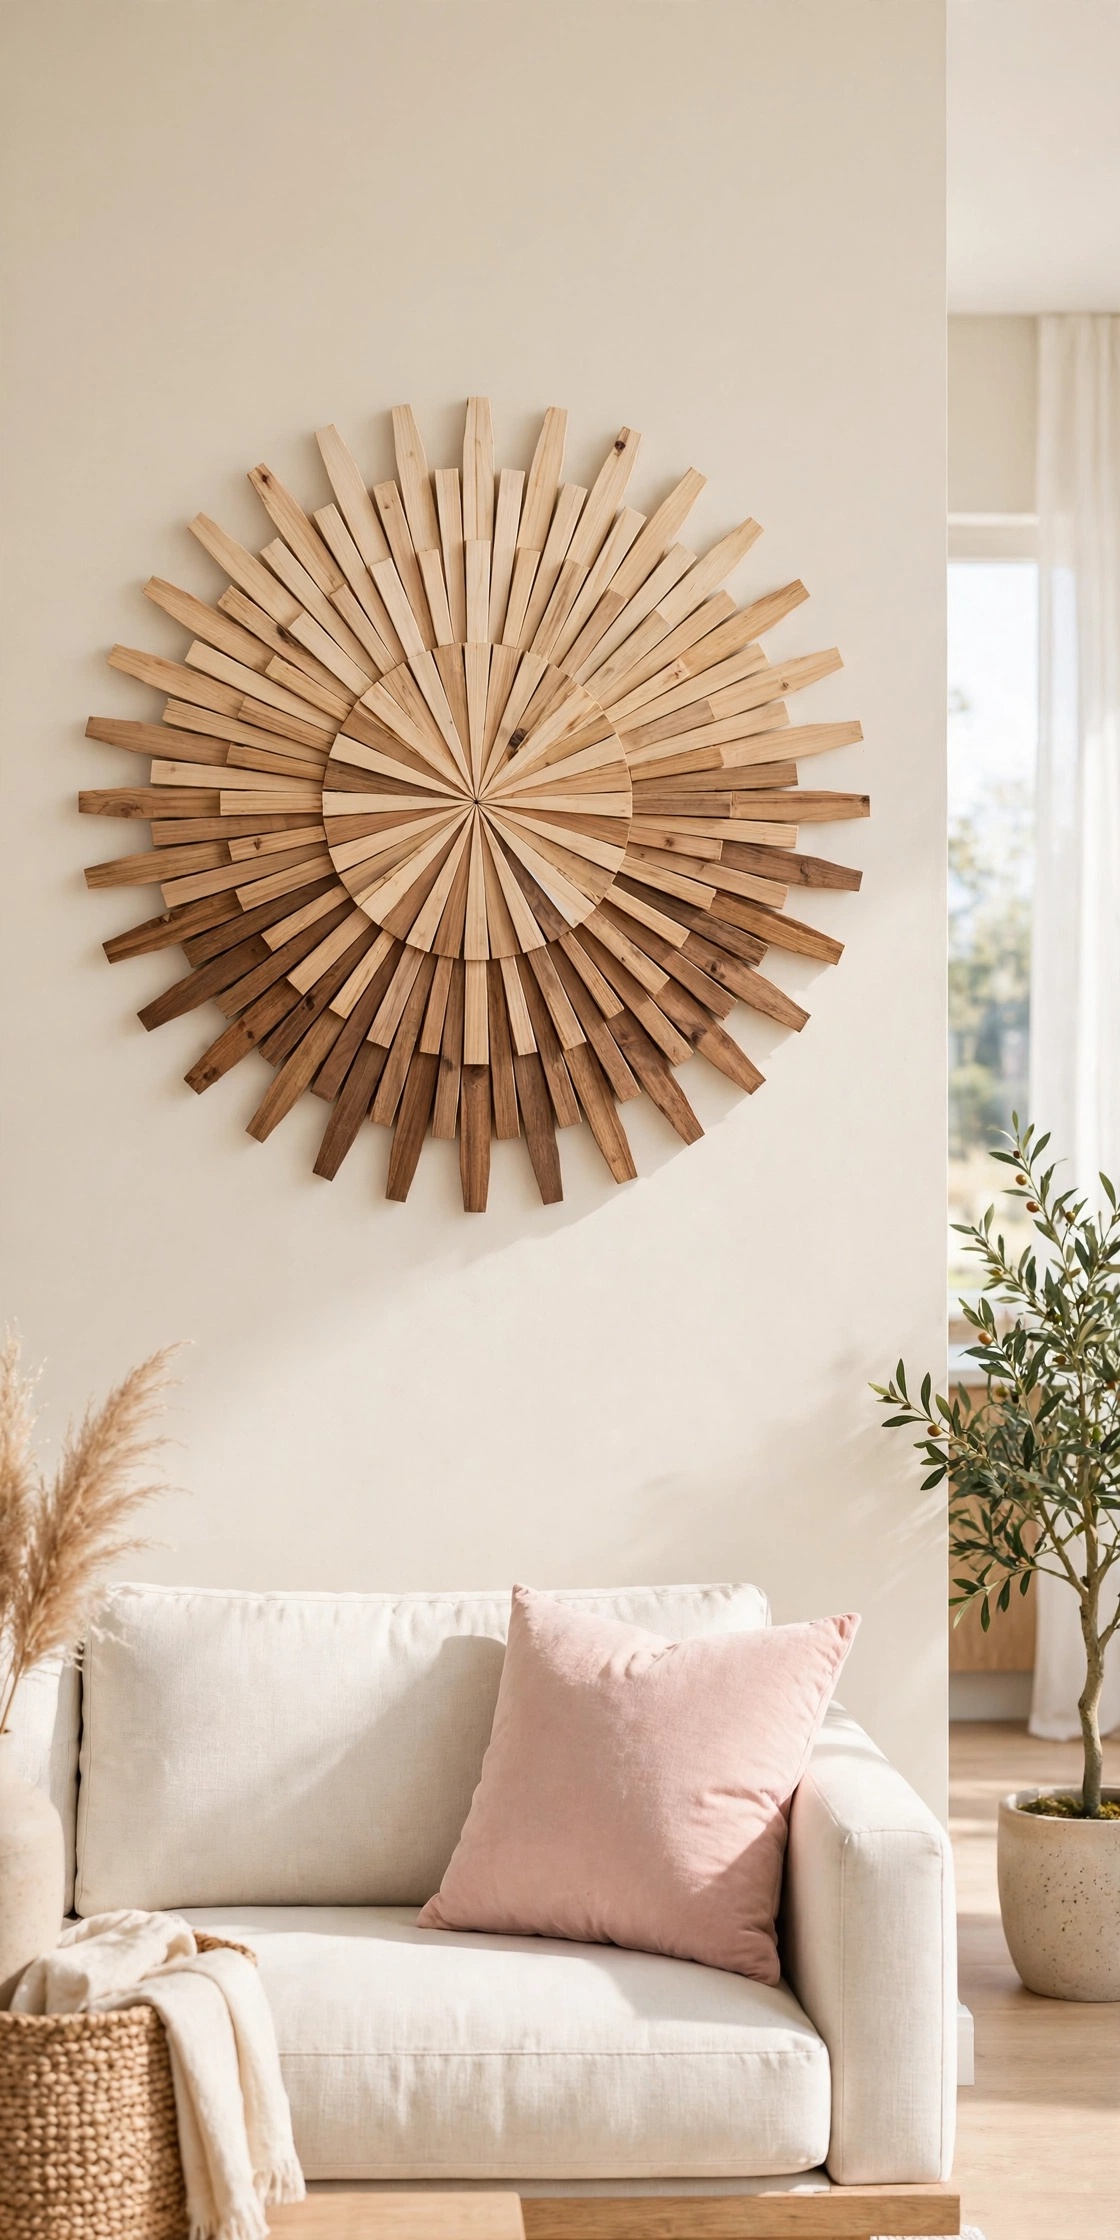
A sunburst medallion is a circle of thin wooden rays that spreads out from a center point like the rays of the sun. Cut your thinnest offcuts into tapered strips, arrange them in a fan around a small wooden disc, and glue them to a round backing board. The result is a warm and sculptural piece that draws the eye from anywhere in the room.
Stain the rays in three graduated tones, from pale maple in the center to deep walnut at the tips, for a glowing effect. A sunburst medallion suits a living room or a bedroom wall where you want one strong statement piece. For more ways to turn leftover wood into decor, see these DIY wooden bead decor ideas that use the same warm materials.
7. Build a Geometric Mountain Shelf
A geometric mountain shelf combines wall art with useful storage in one clever piece. Build a triangle frame from scrap wood, add one horizontal shelf board across the middle, and mount it on the wall. The triangle shape makes a bold statement while the shelf holds a small plant, a candle, or a stack of books.
Make two or three triangles in different sizes and hang them in a loose cluster for a mountain range effect. Use a level during installation so the shelves sit perfectly straight. A mountain shelf is perfect for a hallway or a home office where you want art that also earns its keep.
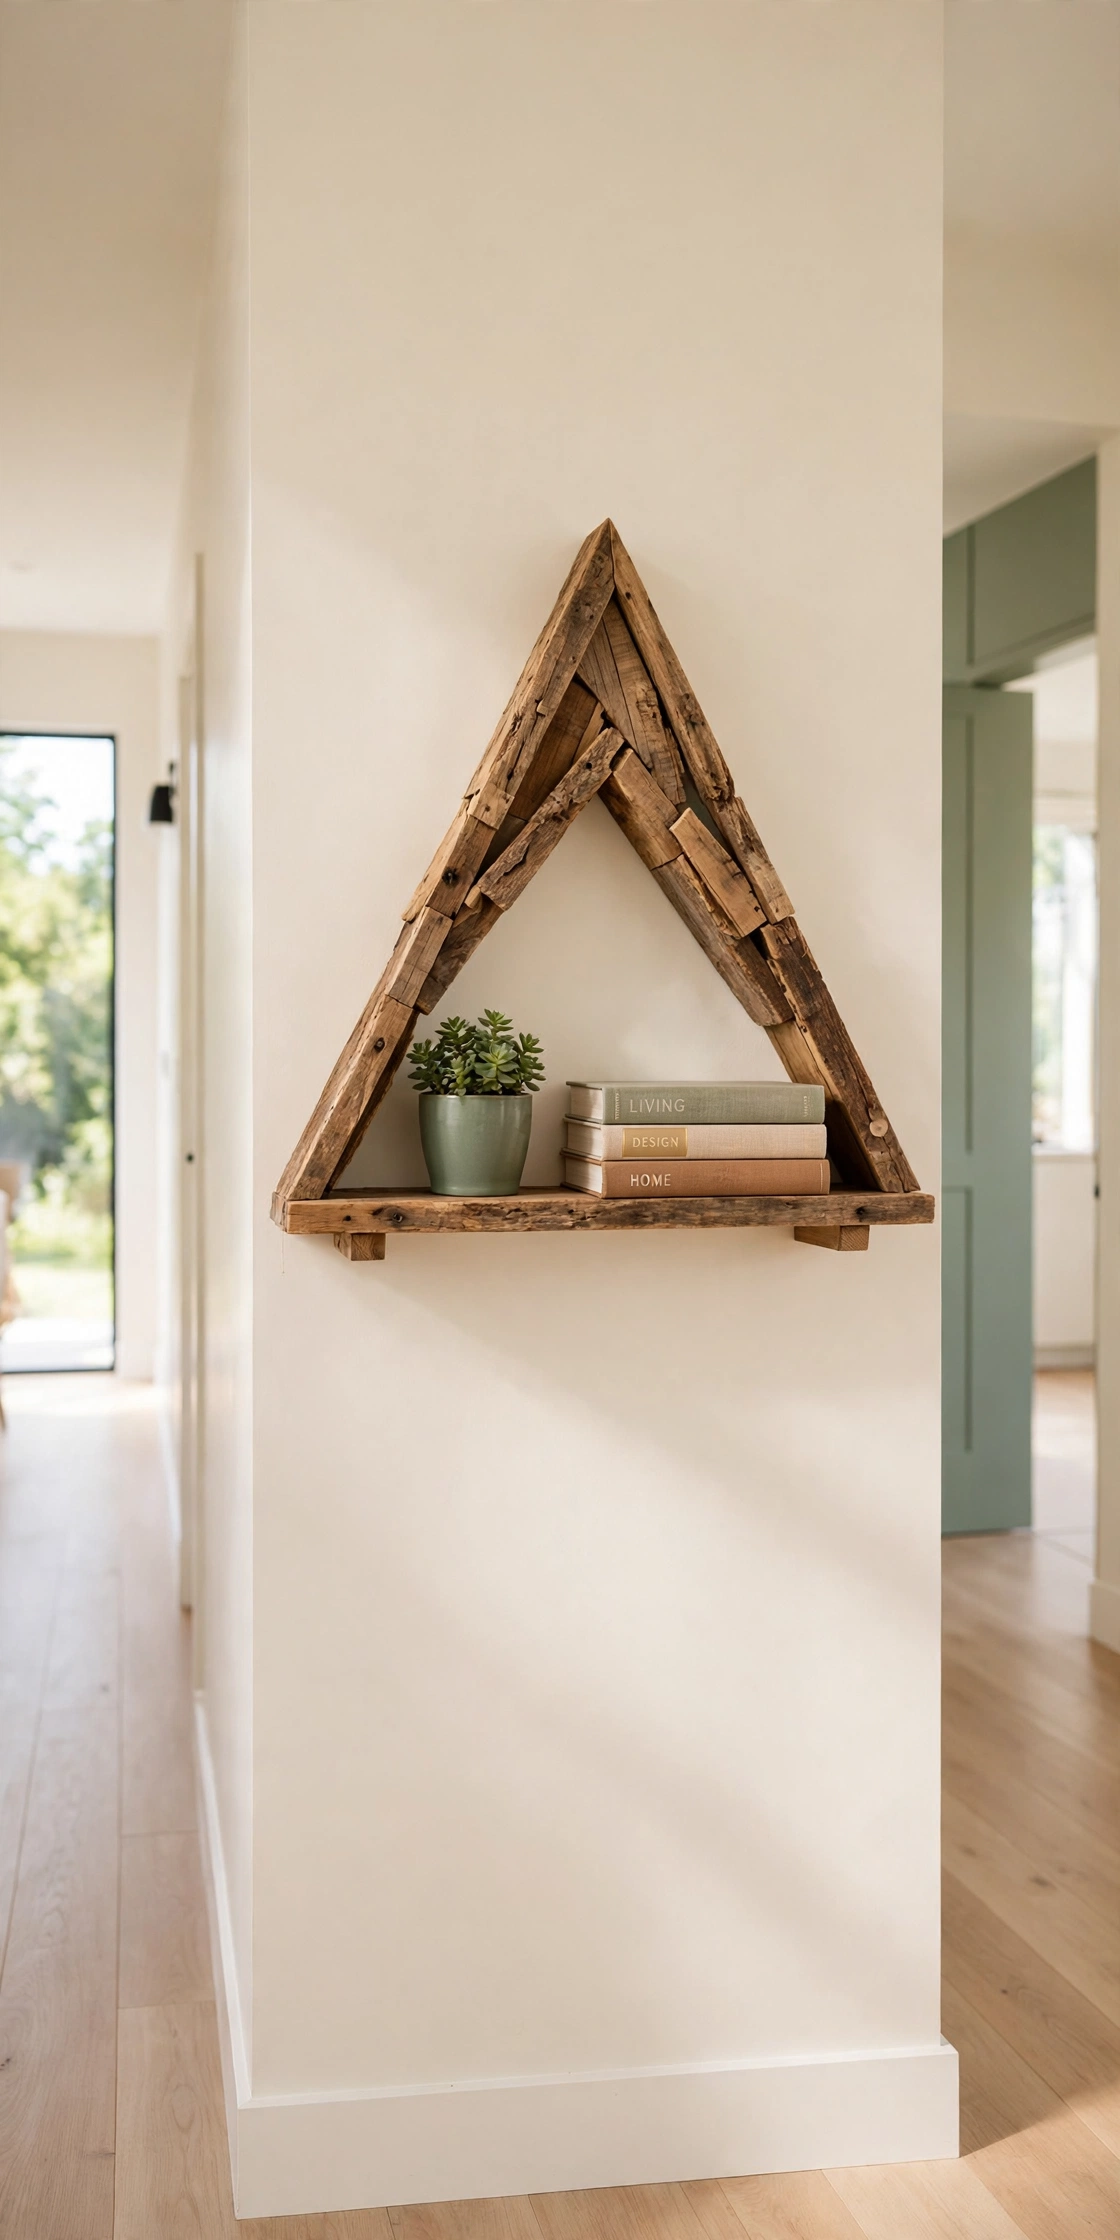
8. Make a Cube Illusion Wall Panel
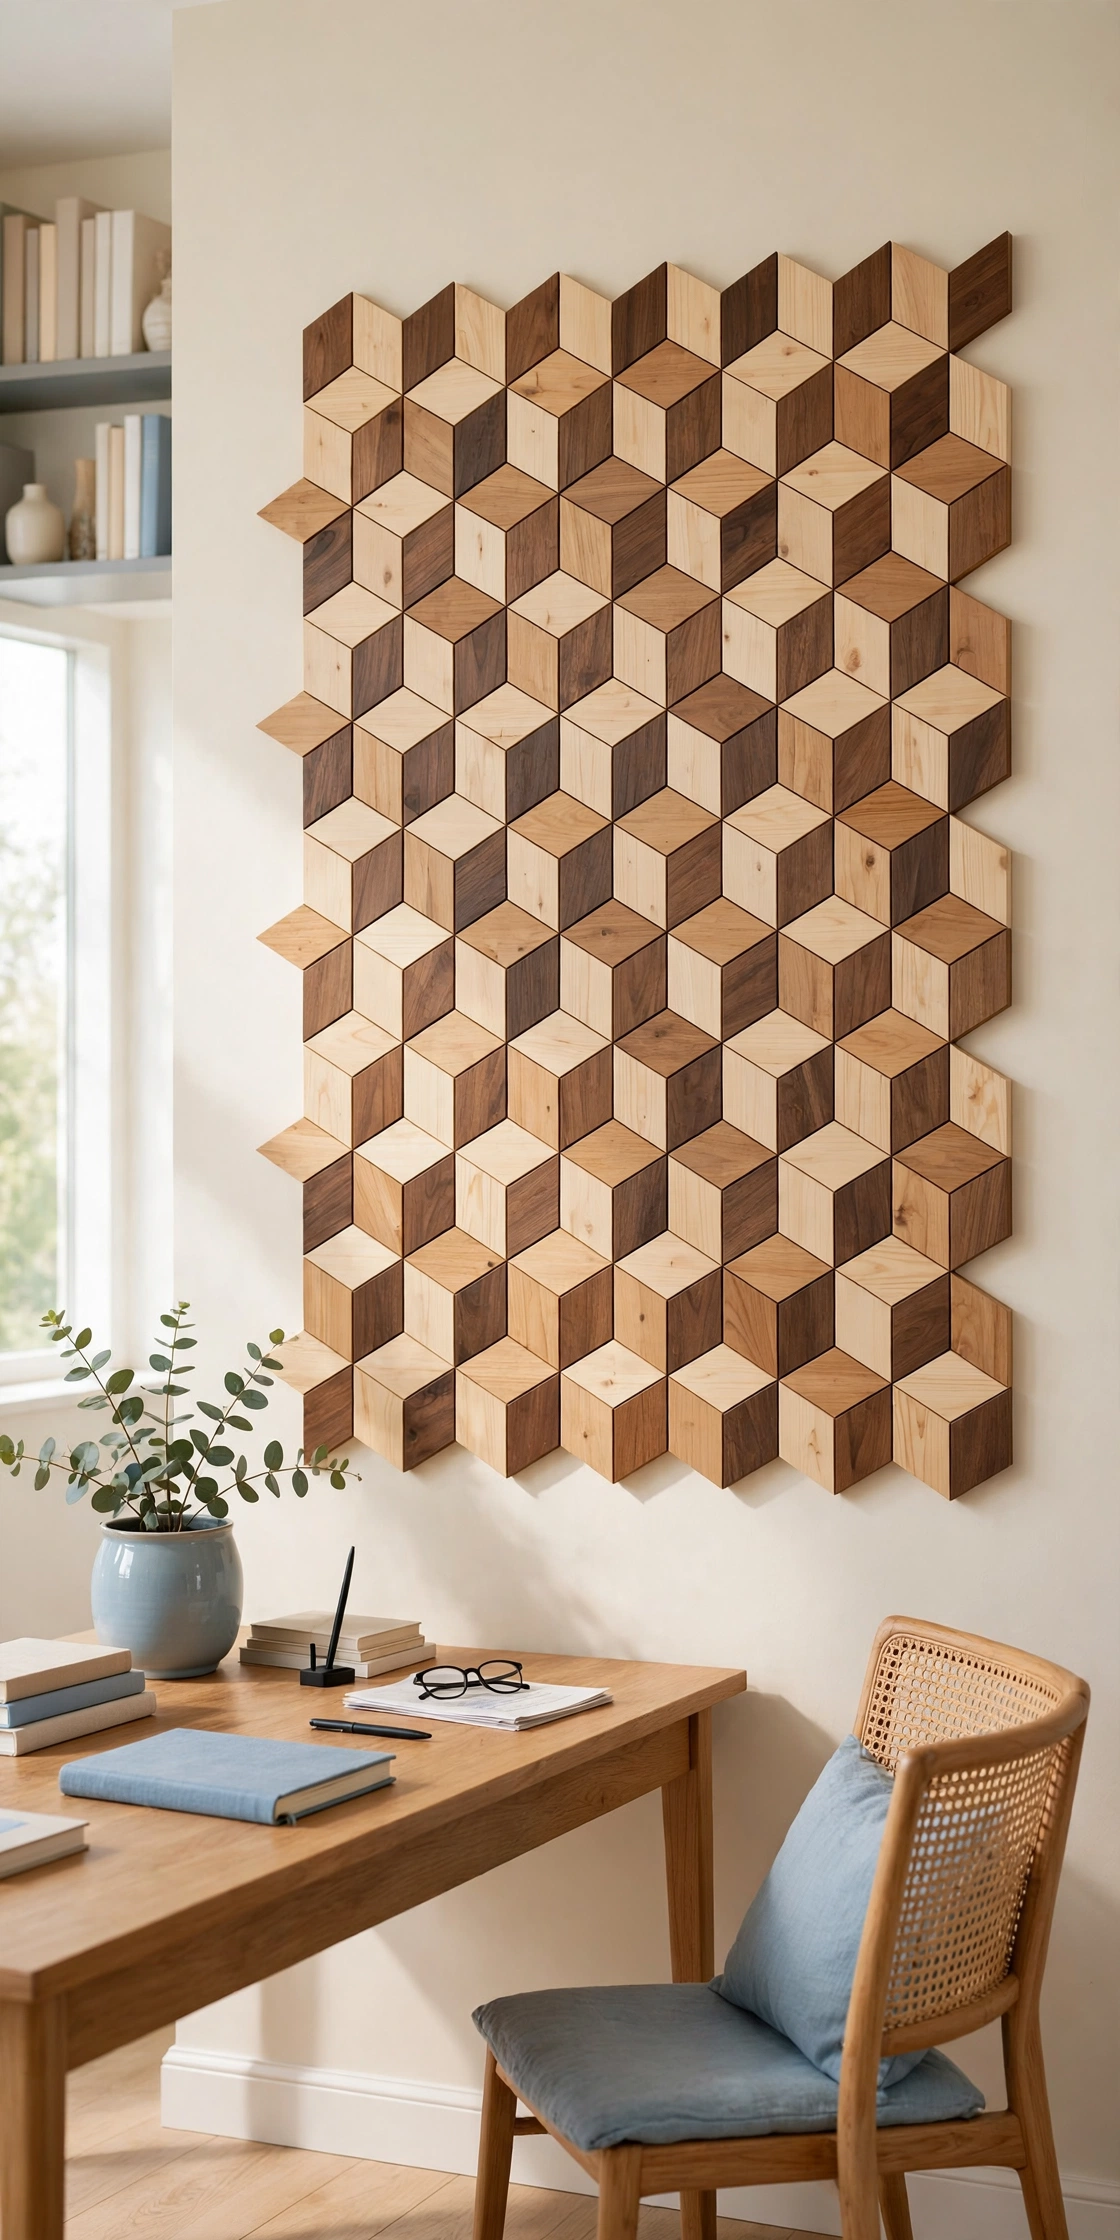
A cube illusion panel uses three tones of wood to create the look of three dimensional cubes on a flat surface. Cut small rhombus shapes from your offcuts and group them in sets of three, one light, one medium, and one dark. When the three rhombi meet at a point, the eye reads them as a cube floating off the wall.
Repeat the cube pattern across the whole panel for a mesmerizing optical effect. This piece is a wonderful conversation starter in a living room or a study. Take your time with the cuts, because the illusion only works when every edge lines up neatly.
9. Create a Starburst Wall Hanging
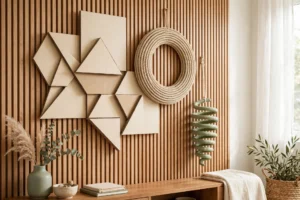
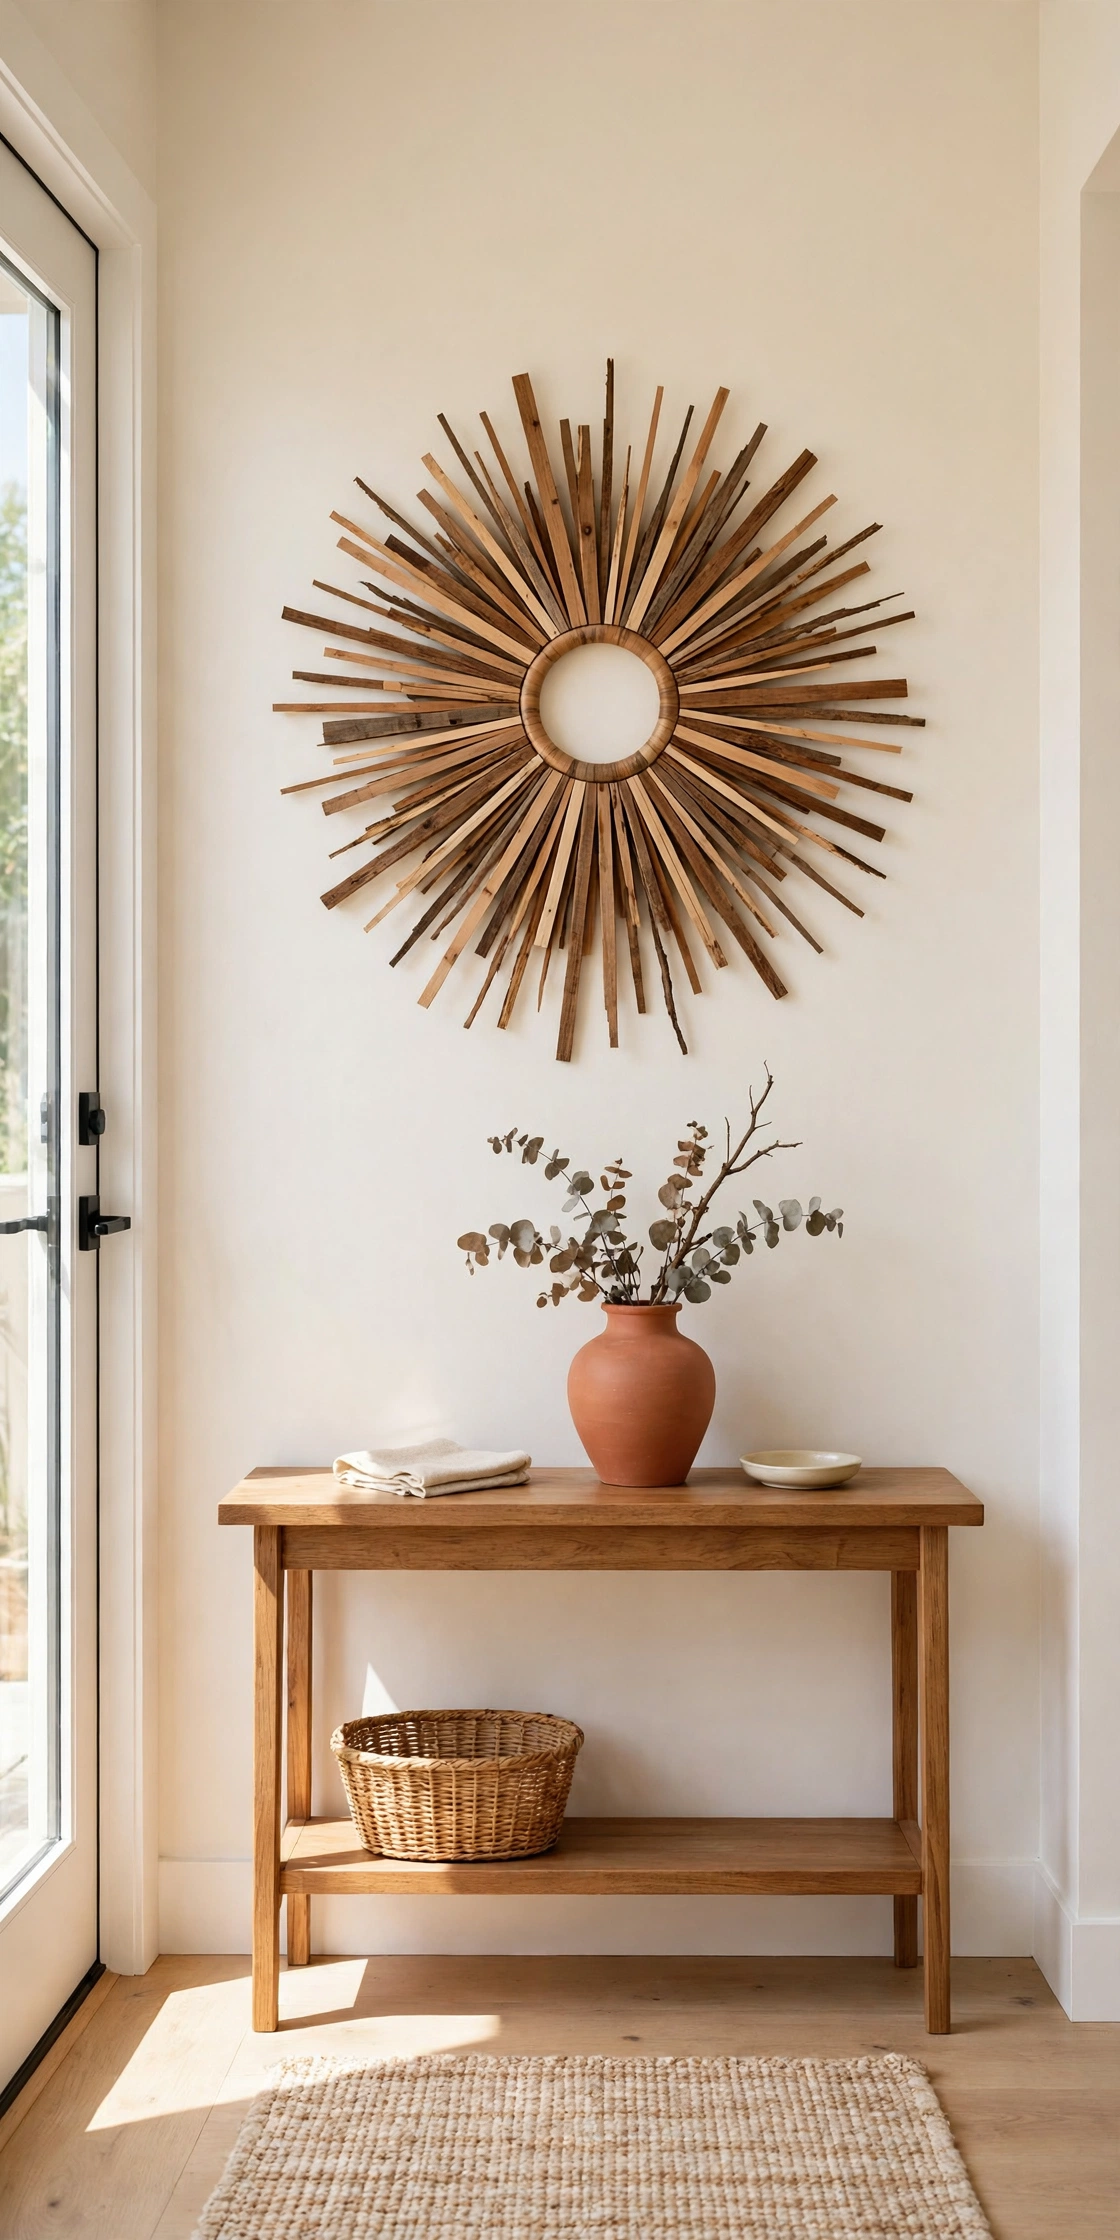
A starburst wall hanging takes the sunburst idea and gives it sharper and longer points. Cut thin dowels or narrow strips from your scrap wood, bundle them at the center with a wooden ring, and fan them out in all directions. The starburst shape adds drama to a plain wall without taking up much space.
Leave the wood natural for a Scandinavian feel, or paint the tips in soft terracotta for a warmer look. A starburst hanging works well above a console table or in a narrow hallway where a wide piece would not fit. For another project that turns small pieces into a bold pattern, see these DIY mosaic decor ideas for stylish walls.
10. Design a Wooden Arrow Wall Display
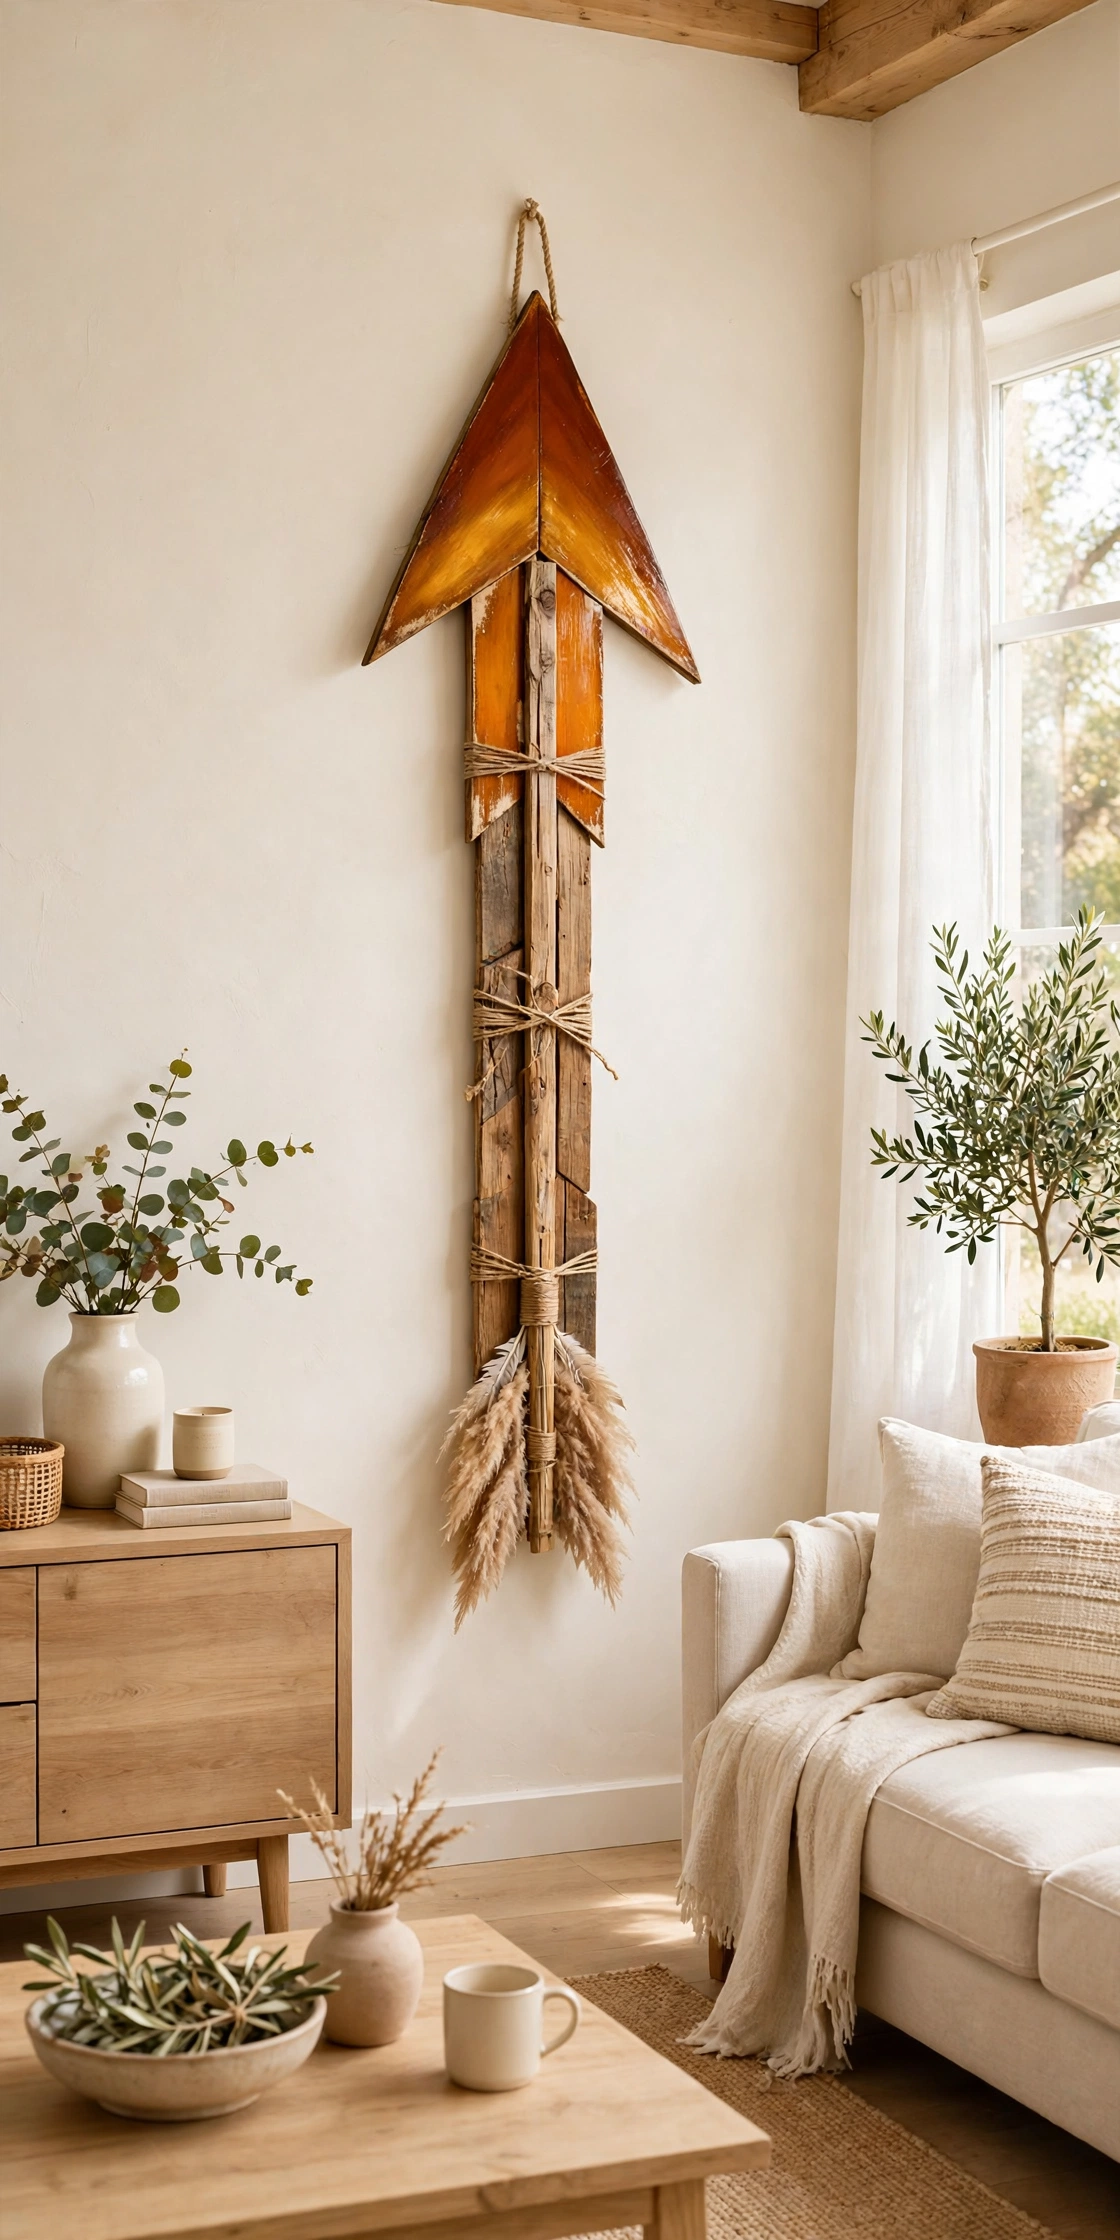
A wooden arrow is a simple shape with a lot of personality. Cut a long shaft and a triangular head from scrap wood, join them at an angle, and add small feather shapes at the tail end. A single large arrow makes a bold statement, while a row of three smaller arrows guides the eye along a hallway.
Paint the arrowhead in a deep amber tone and leave the shaft in natural wood for a striking contrast. Arrows suit a rustic or modern farmhouse room where their clean lines feel right at home. Hang the arrow so it points toward a feature you want to highlight, like a reading nook or a fireplace.
11. Make a Geometric Leaf Panel
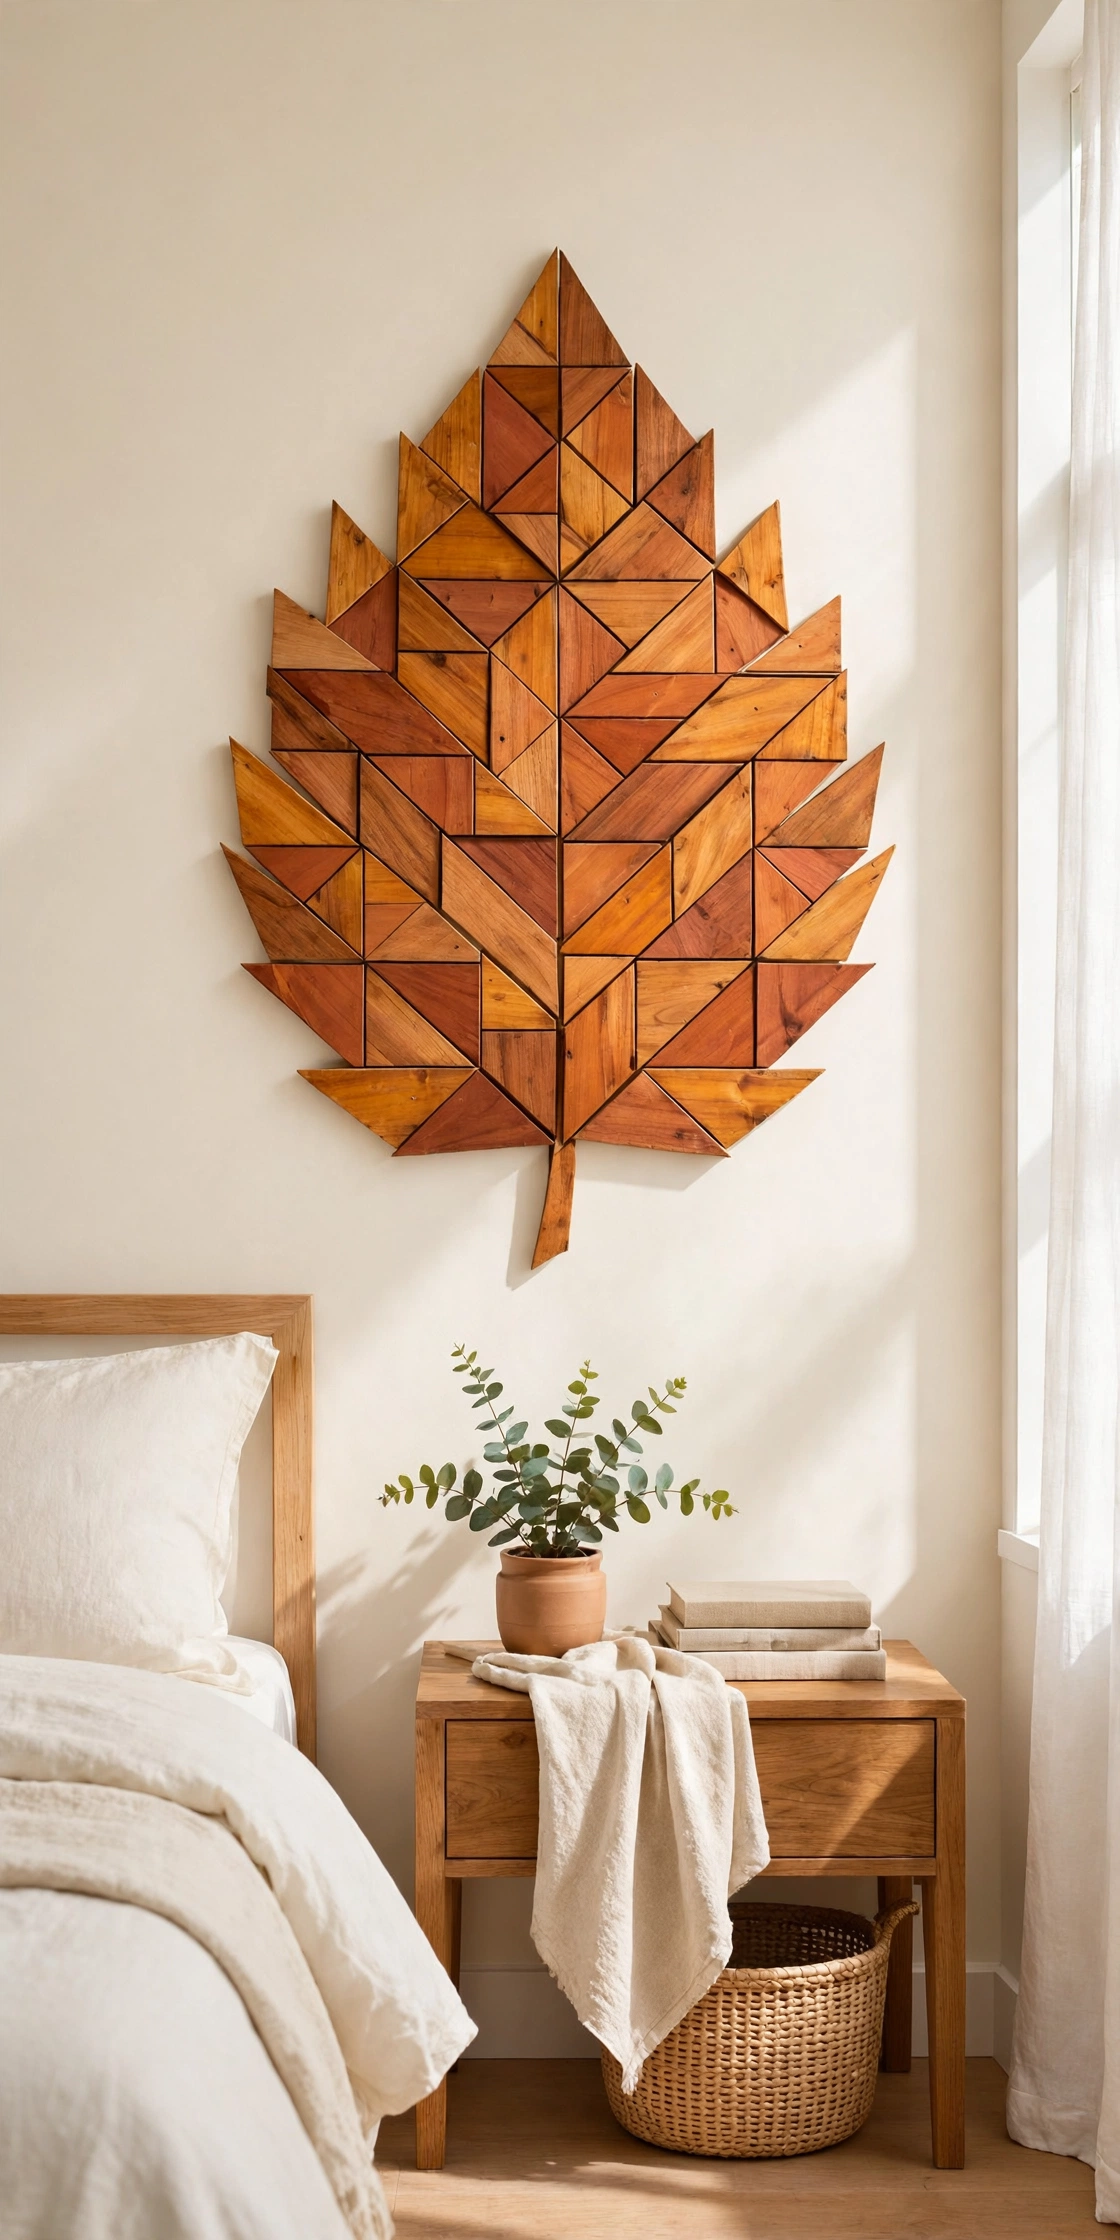
A geometric leaf panel breaks a leaf shape into flat facets, like a gemstone, and builds it from small wood triangles. Cut the triangles from offcuts in different wood tones, then arrange them inside a leaf outline drawn on a backing board. The faceted surface catches the light and makes the leaf look almost alive.
Choose warm autumn tones like amber, terracotta, and honey for a cozy feel, or cool sage and soft blue for a calmer look. A leaf panel is a lovely choice for a bedroom or a sunroom where nature inspired art feels natural. For a softer take on handmade wall decor, see these DIY rope decor ideas that pair beautifully with wood.
12. Build a Patchwork Triangle Mosaic
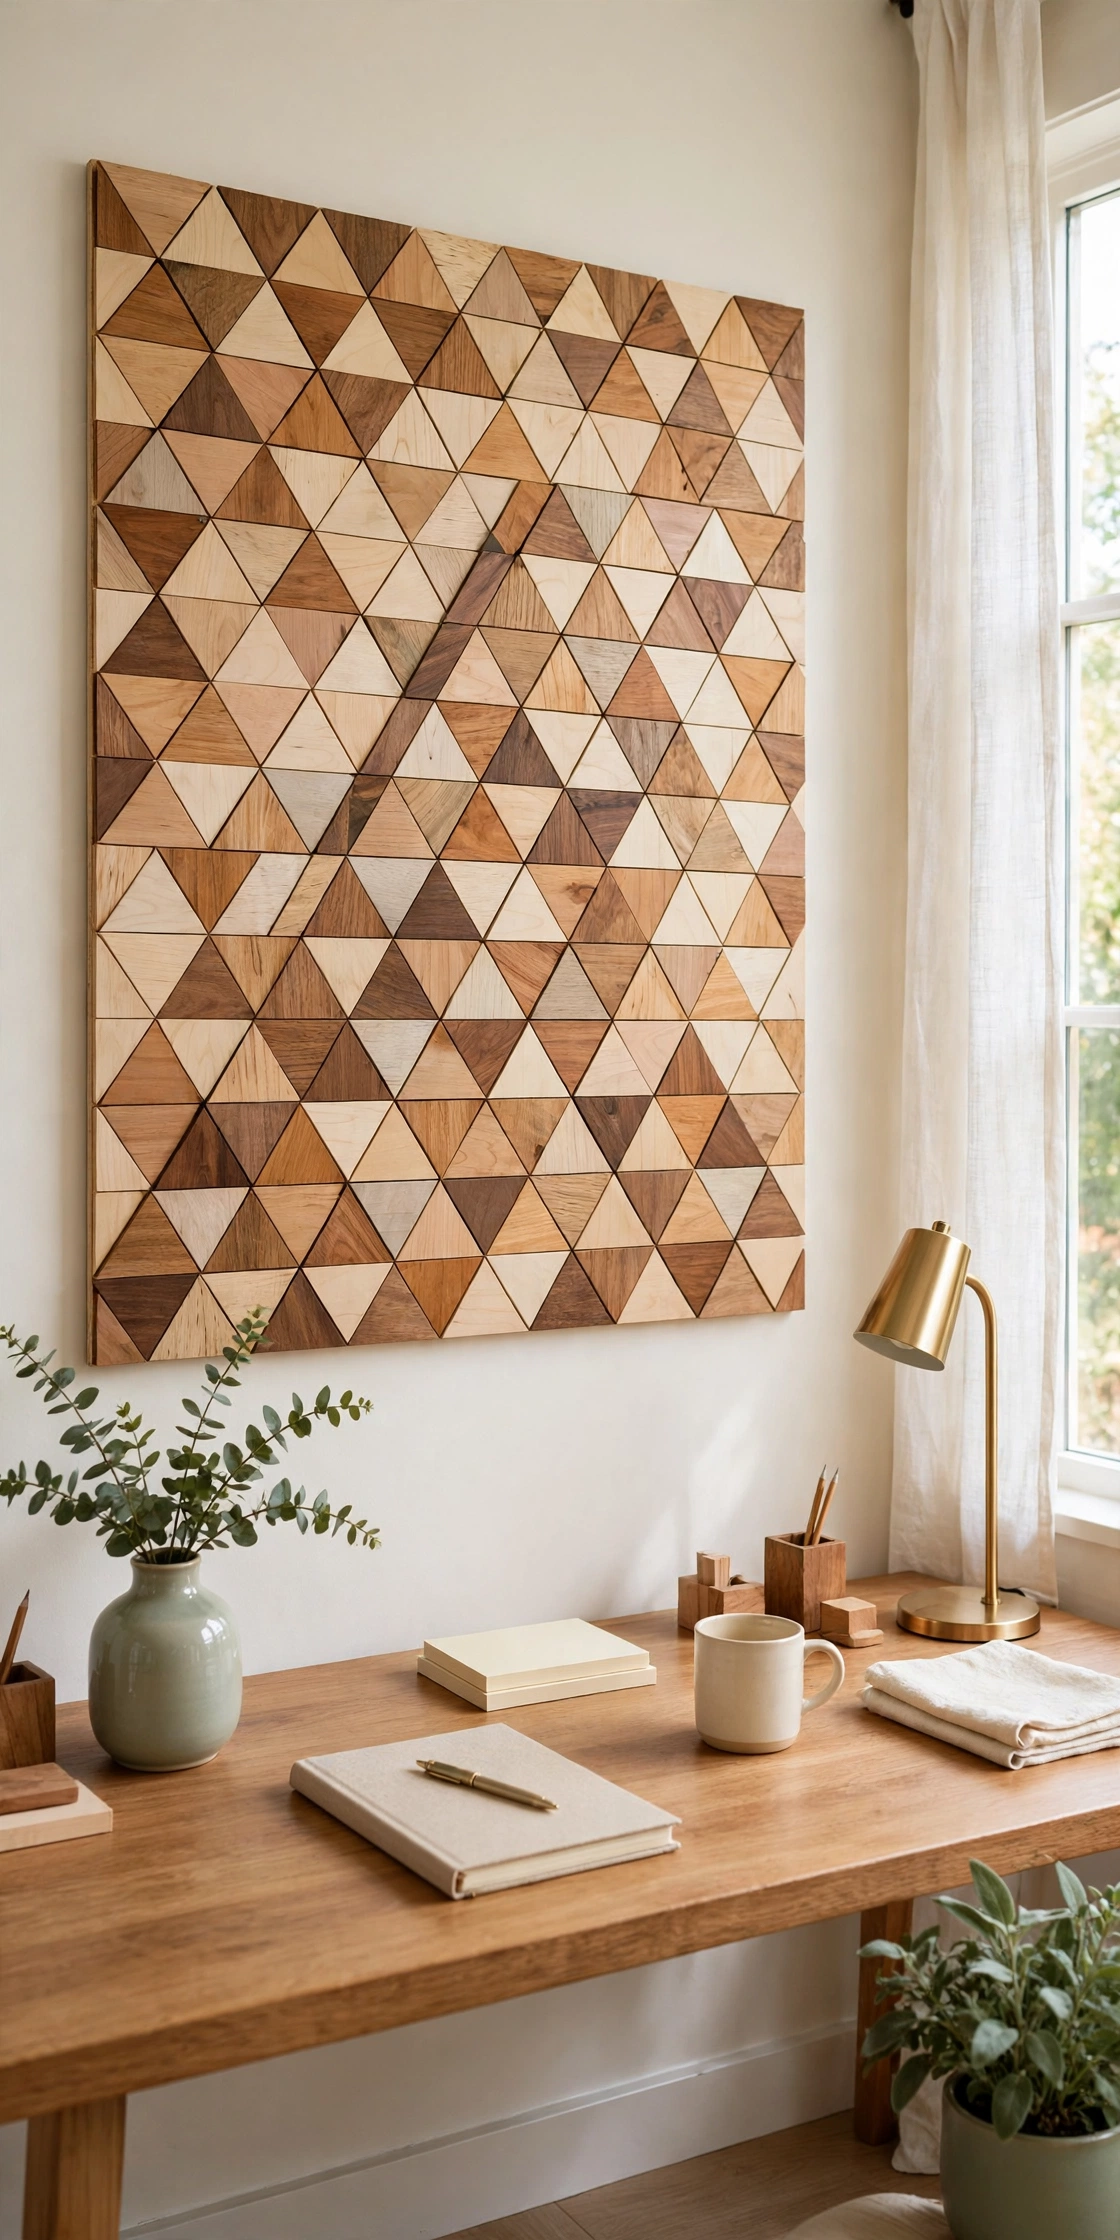
A patchwork triangle mosaic is the most forgiving project in this list because every triangle can be a different size and tone. Cut your smallest offcuts into triangles, then glue them to a backing board in a random pattern with no two neighbors the same color. The result is a lively quilt of wood that celebrates the variety in your scrap pile.
Leave small gaps between the triangles so the dark backing shows through and outlines each piece. A patchwork mosaic works well as a square panel above a desk or as a long horizontal piece above a sofa. It is also a wonderful first project if you are new to woodworking, since perfect cuts are not required.
13. Create a Layered Arch Wall Art
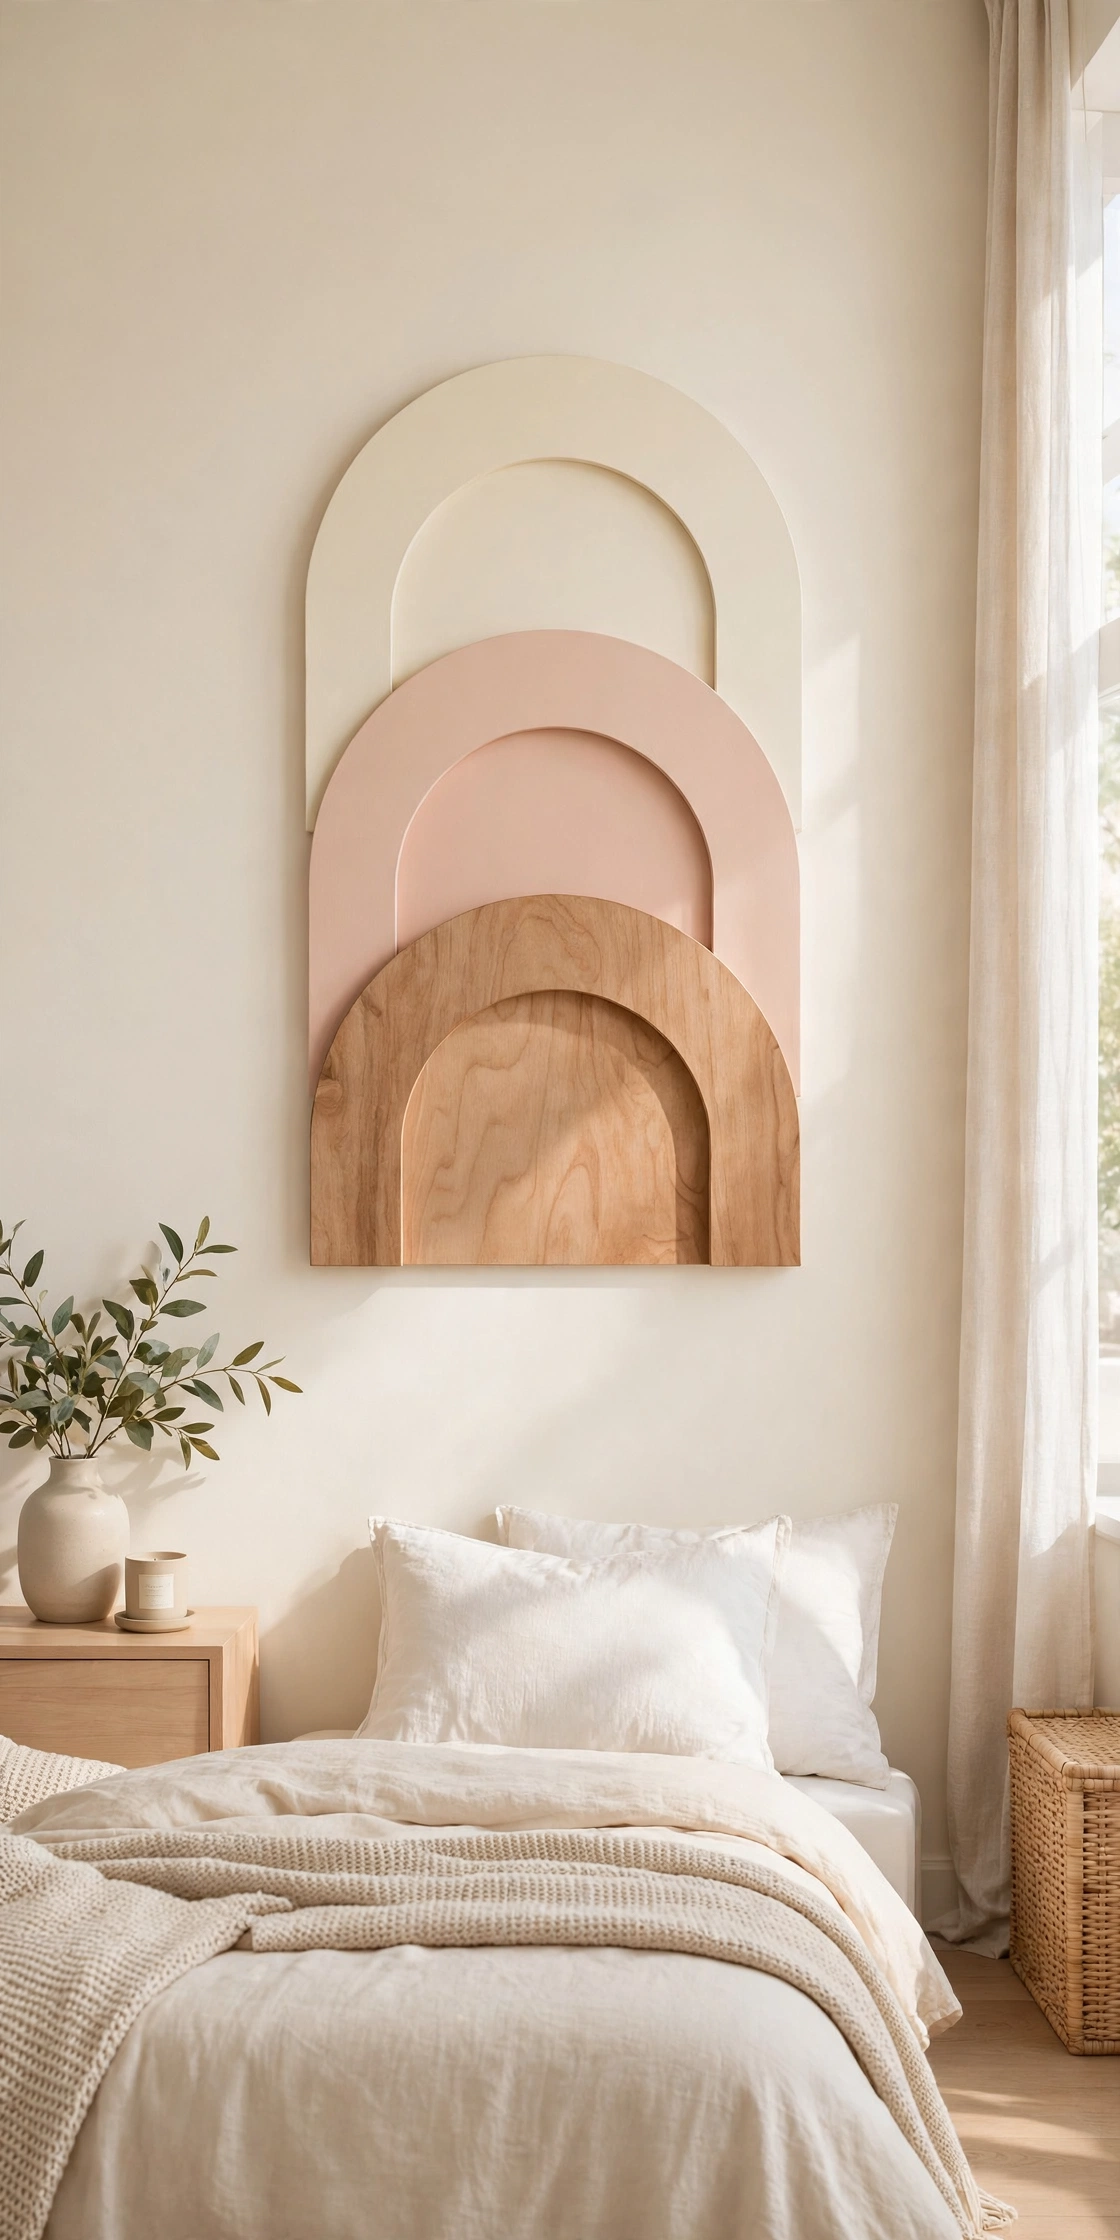
Layered arches bring soft curves into a world of straight lines. Cut three arch shapes from thin plywood or wide offcuts, each one smaller than the last, and stack them with small spacers so they stand slightly apart. The layers create gentle shadows that give the piece depth and movement.
Paint the largest arch in cream, the middle one in soft blush pink, and the smallest in warm wood for a soft and modern palette. A layered arch piece suits a bedroom or a nursery where its gentle curves feel calm and welcoming. It is a beautiful final project that uses up the last pieces in your scrap pile.
Conclusion
Scrap wood is only waste if you let it be. With a few simple cuts and a little patience, leftover boards become herringbone panels, honeycomb displays, and mountain ranges that no store can match. Each piece carries the marks of your own hands and the story of the wood itself.
Pick one idea that fits your scrap pile and start today. Cut a few triangles, glue a few diamonds, and watch a plain wall come alive. For another budget friendly way to fill a blank wall, these DIY decorative tray ideas use the same simple materials to make beautiful and useful decor.
Frequently Asked Questions About DIY Geometric Wall Art Ideas Using Scrap Wood
What type of scrap wood works best for geometric wall art?
Softwoods like pine and cedar are easiest to cut and sand, while hardwoods like oak and walnut give a richer finish. Use offcuts that are at least a quarter inch thick so they hold their shape. Avoid warped or cracked pieces, since they will not sit flat on the backing board.
Do I need power tools to make scrap wood wall art?
A handsaw and a sanding block are enough for most of these projects, though a miter saw makes angled cuts much faster. Wood glue holds most pieces in place, and a brad nailer adds extra strength for heavier panels. Always wear safety glasses and work on a stable surface.
How do I hang heavy wood wall art safely?
Use a French cleat or two sturdy D ring hangers screwed into the backing board, and anchor them into wall studs whenever possible. For panels under five pounds, strong adhesive picture strips work well on smooth walls. Check the hanging hardware once a month to make sure everything stays secure.
Can I paint scrap wood wall art instead of staining it?
Yes, paint works beautifully on scrap wood and lets you match any room color. Sand the wood smooth, apply a primer, then add two thin coats of paint for an even finish. Chalk paint gives a soft matte look, while satin paint highlights the geometric shapes with a gentle shine.
How do I stop scrap wood wall art from looking messy?
Stick to a palette of two or three wood tones or colors per piece, and keep the spacing between pieces even. A simple frame or a clean backing board gives the whole piece a finished edge. Step back and look at the piece from across the room before you glue the final pieces in place.

Hi, I’m Emily! I turn messy corners into cozy, organized spots. DreamNestDecor is where I share simple, practical home ideas — decor, organization, and small-space solutions that work in real life, not just in photos. Every idea here is carefully researched before it’s shared.