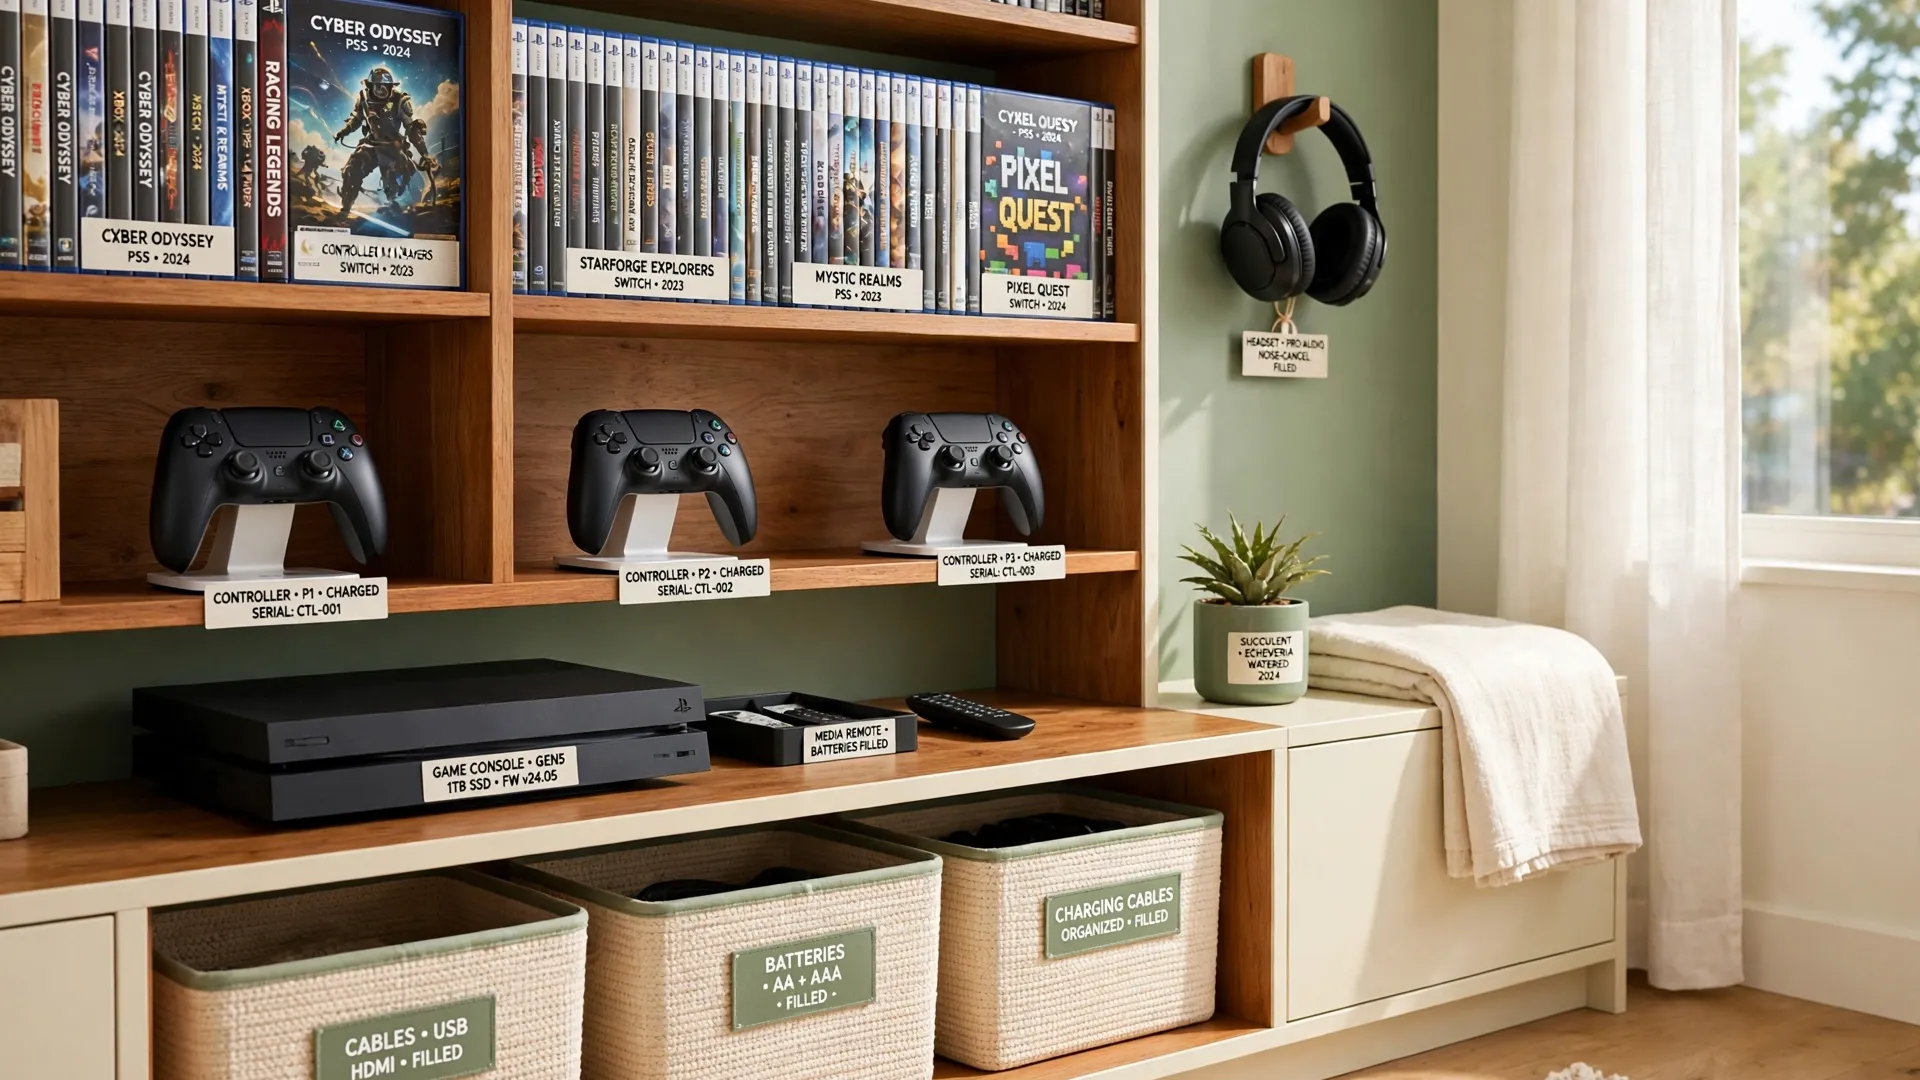
Picture this: you sit down for a game night, reach for your favorite controller, and it is right there on its stand with a full charge instead of lost under a pile of cables. That small moment of calm is exactly what smart video game organization gives you every single day. When every game, controller, and cable has a proper home, your play area feels calmer and your gaming time starts faster.
You do not need a bigger room or expensive furniture to get there. All you need is the right storage idea for your collection and your space. These 31 video game organization ideas will help you keep every controller, game, and accessory tidy, visible, and ready whenever you want to play.
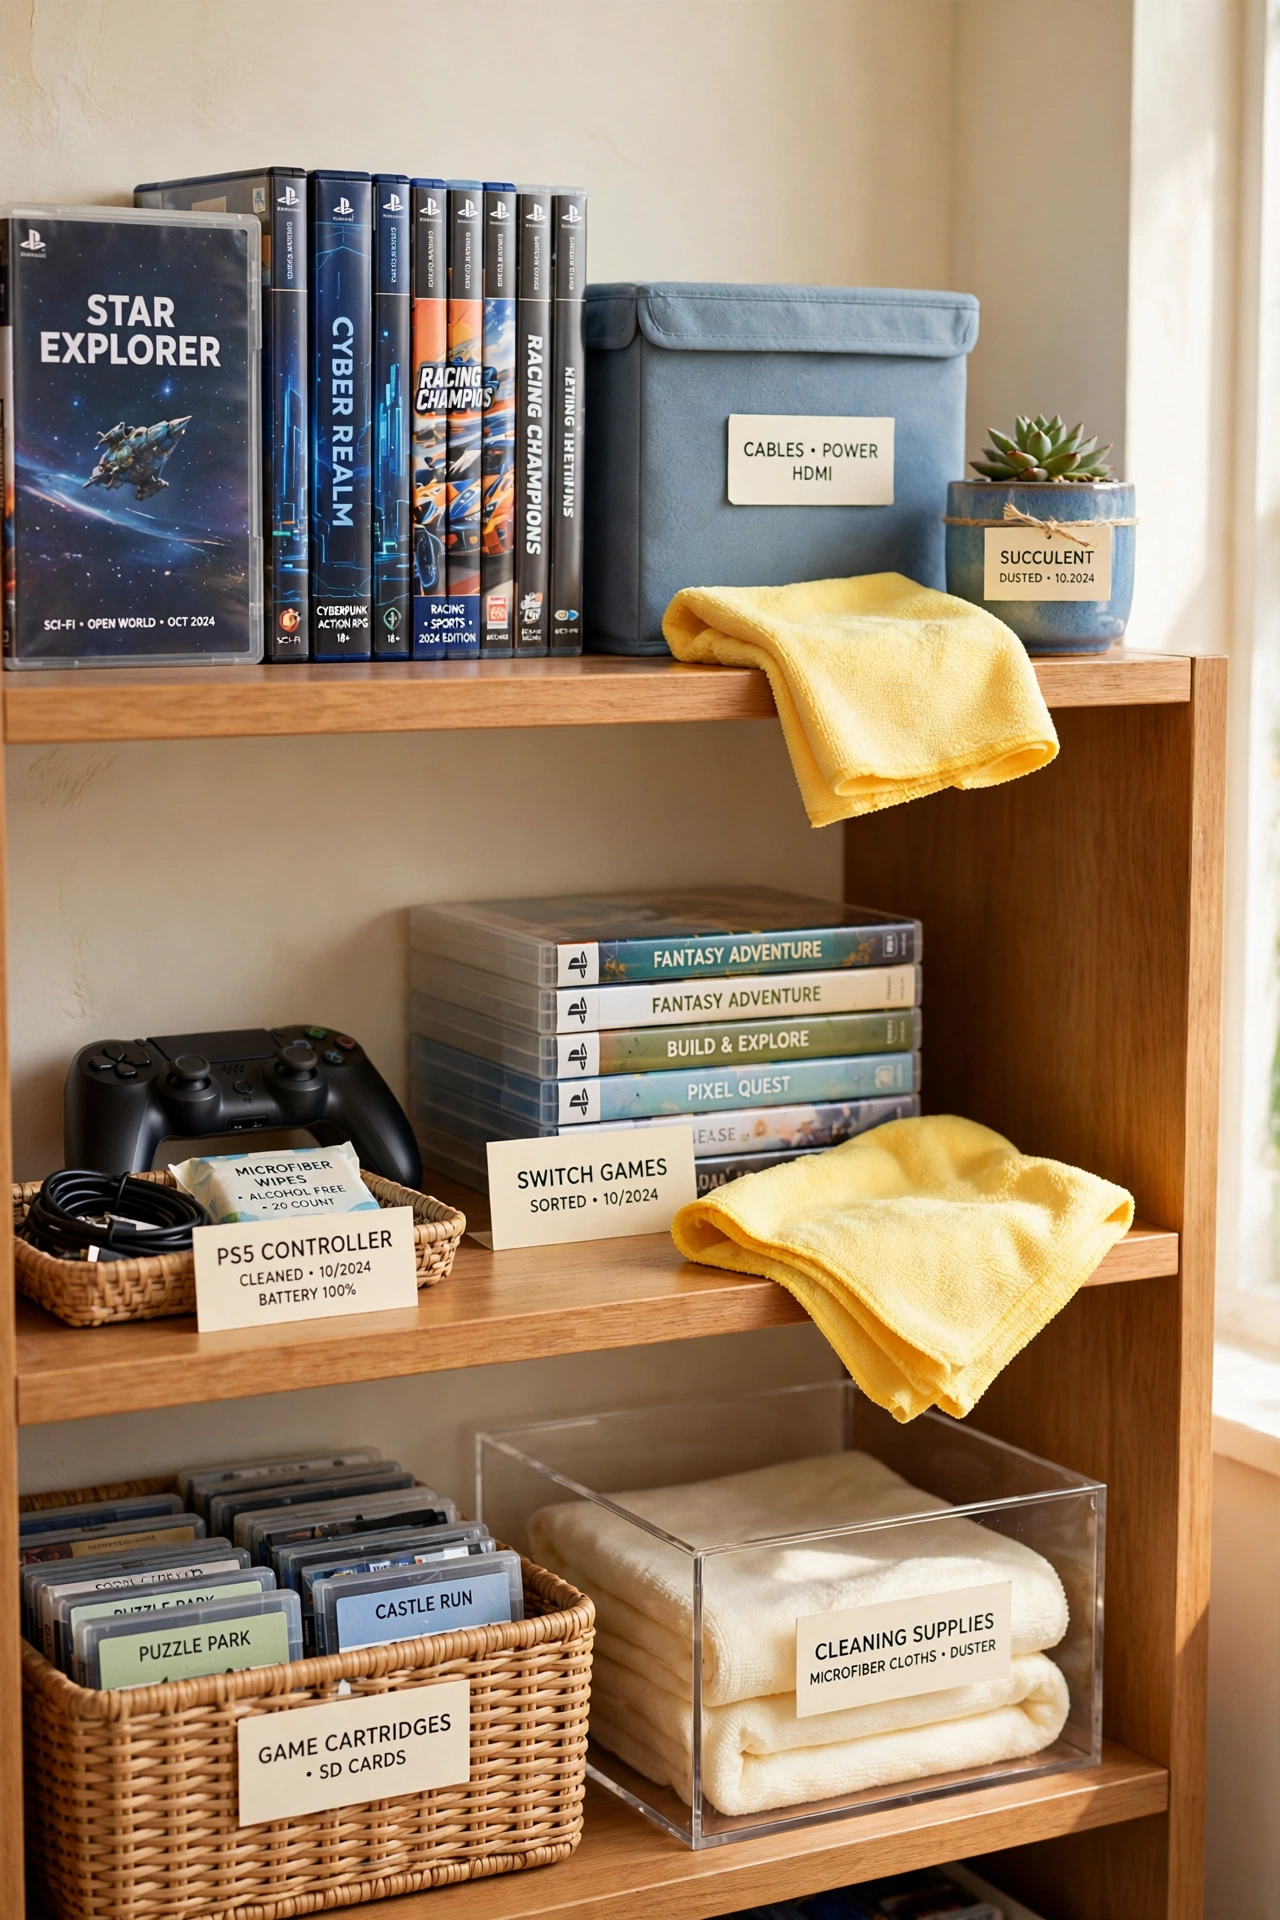
1. Clear the Shelf and Sort First
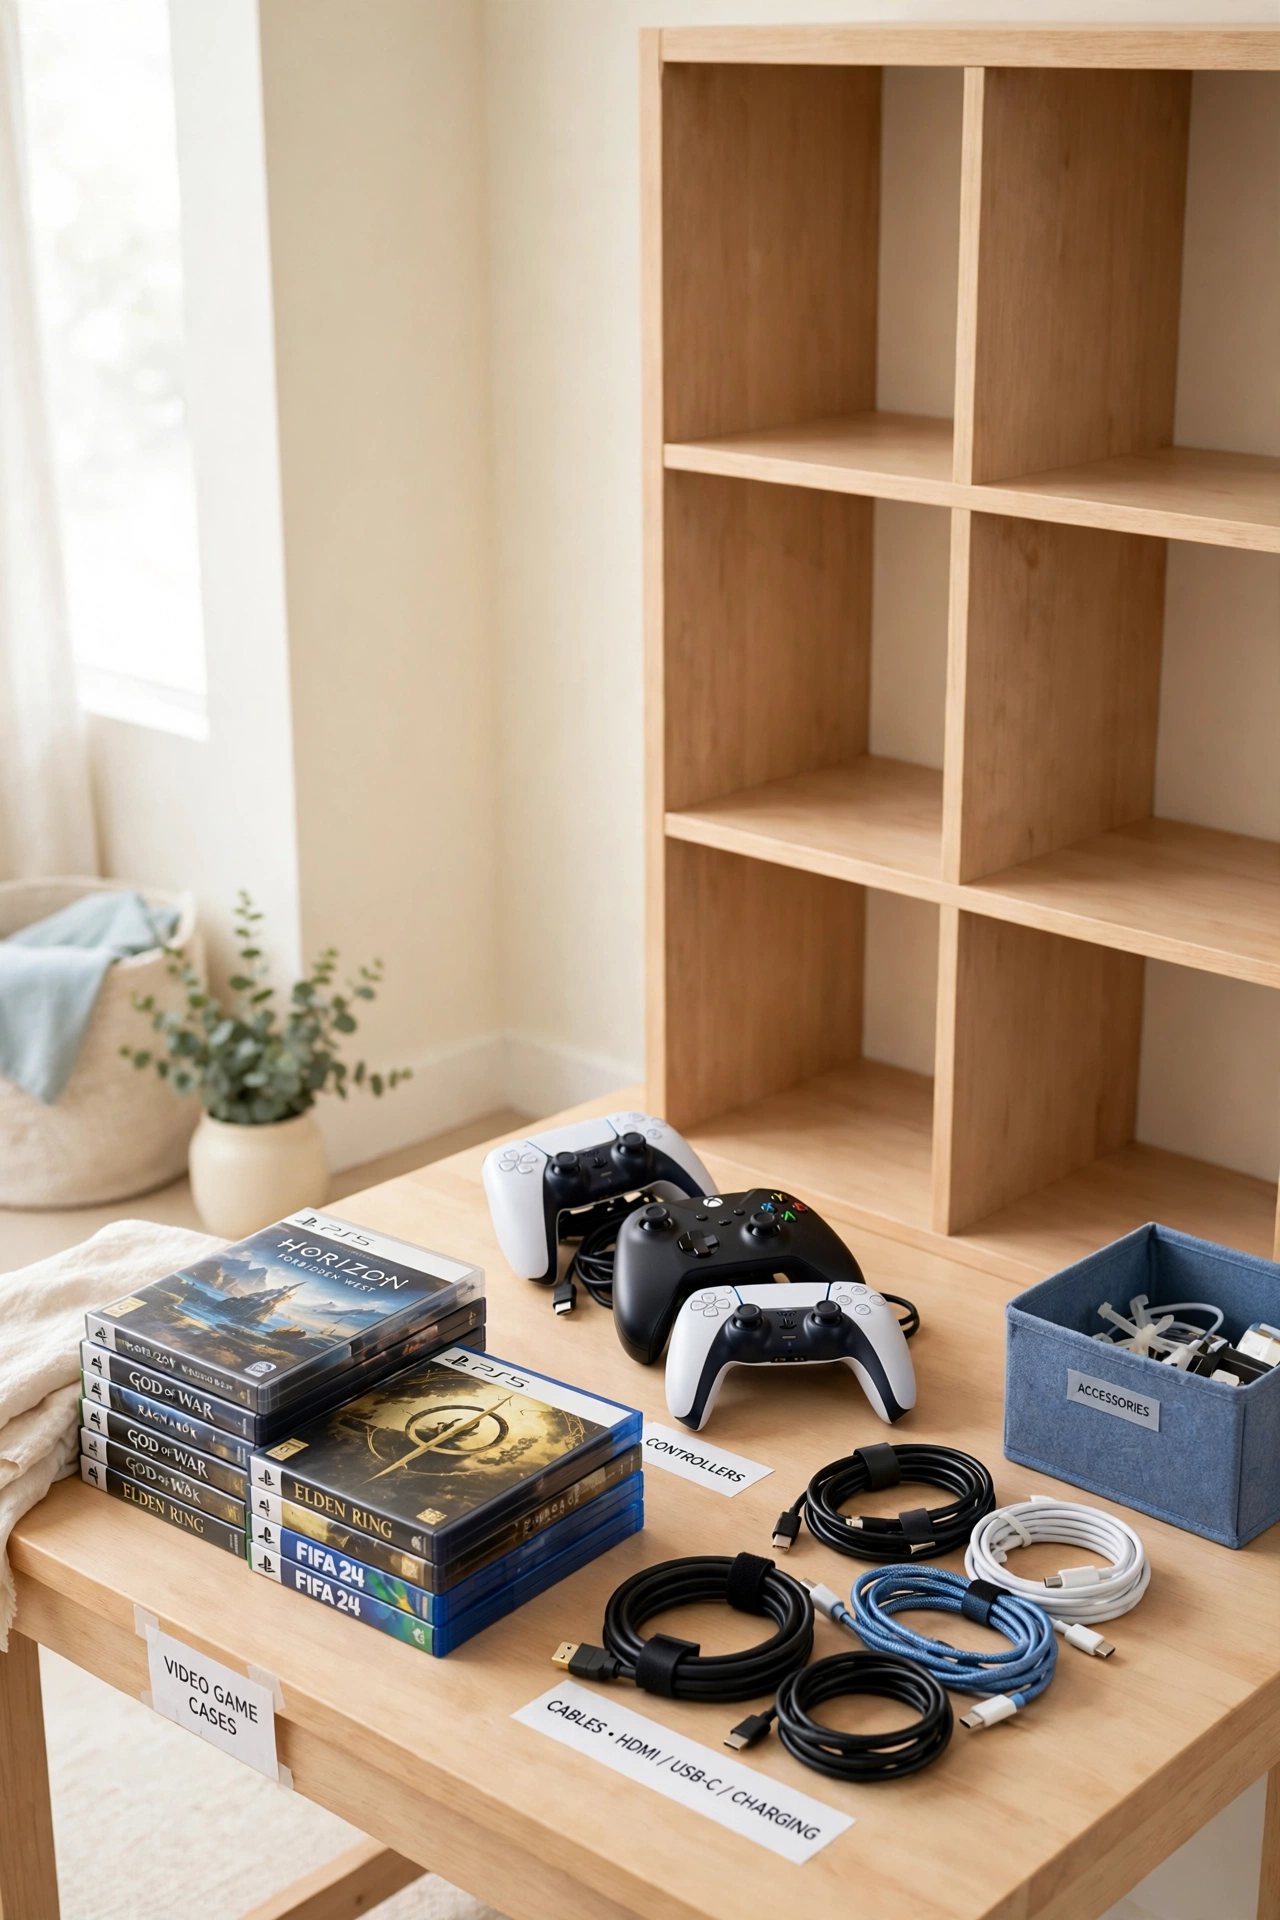
Before you buy a single bin or stand, empty the shelf completely and sort everything on a clean table. Group the games, controllers, cables, and accessories into keep, store, and remove piles. Broken controllers, empty cases, and games nobody plays should leave the shelf right away.
This fresh start shows you exactly how much space you really have and what you actually need to store. Wipe the shelf clean while it is empty so your new system starts on a spotless base. A clear shelf is the first step toward a setup that stays tidy for months.
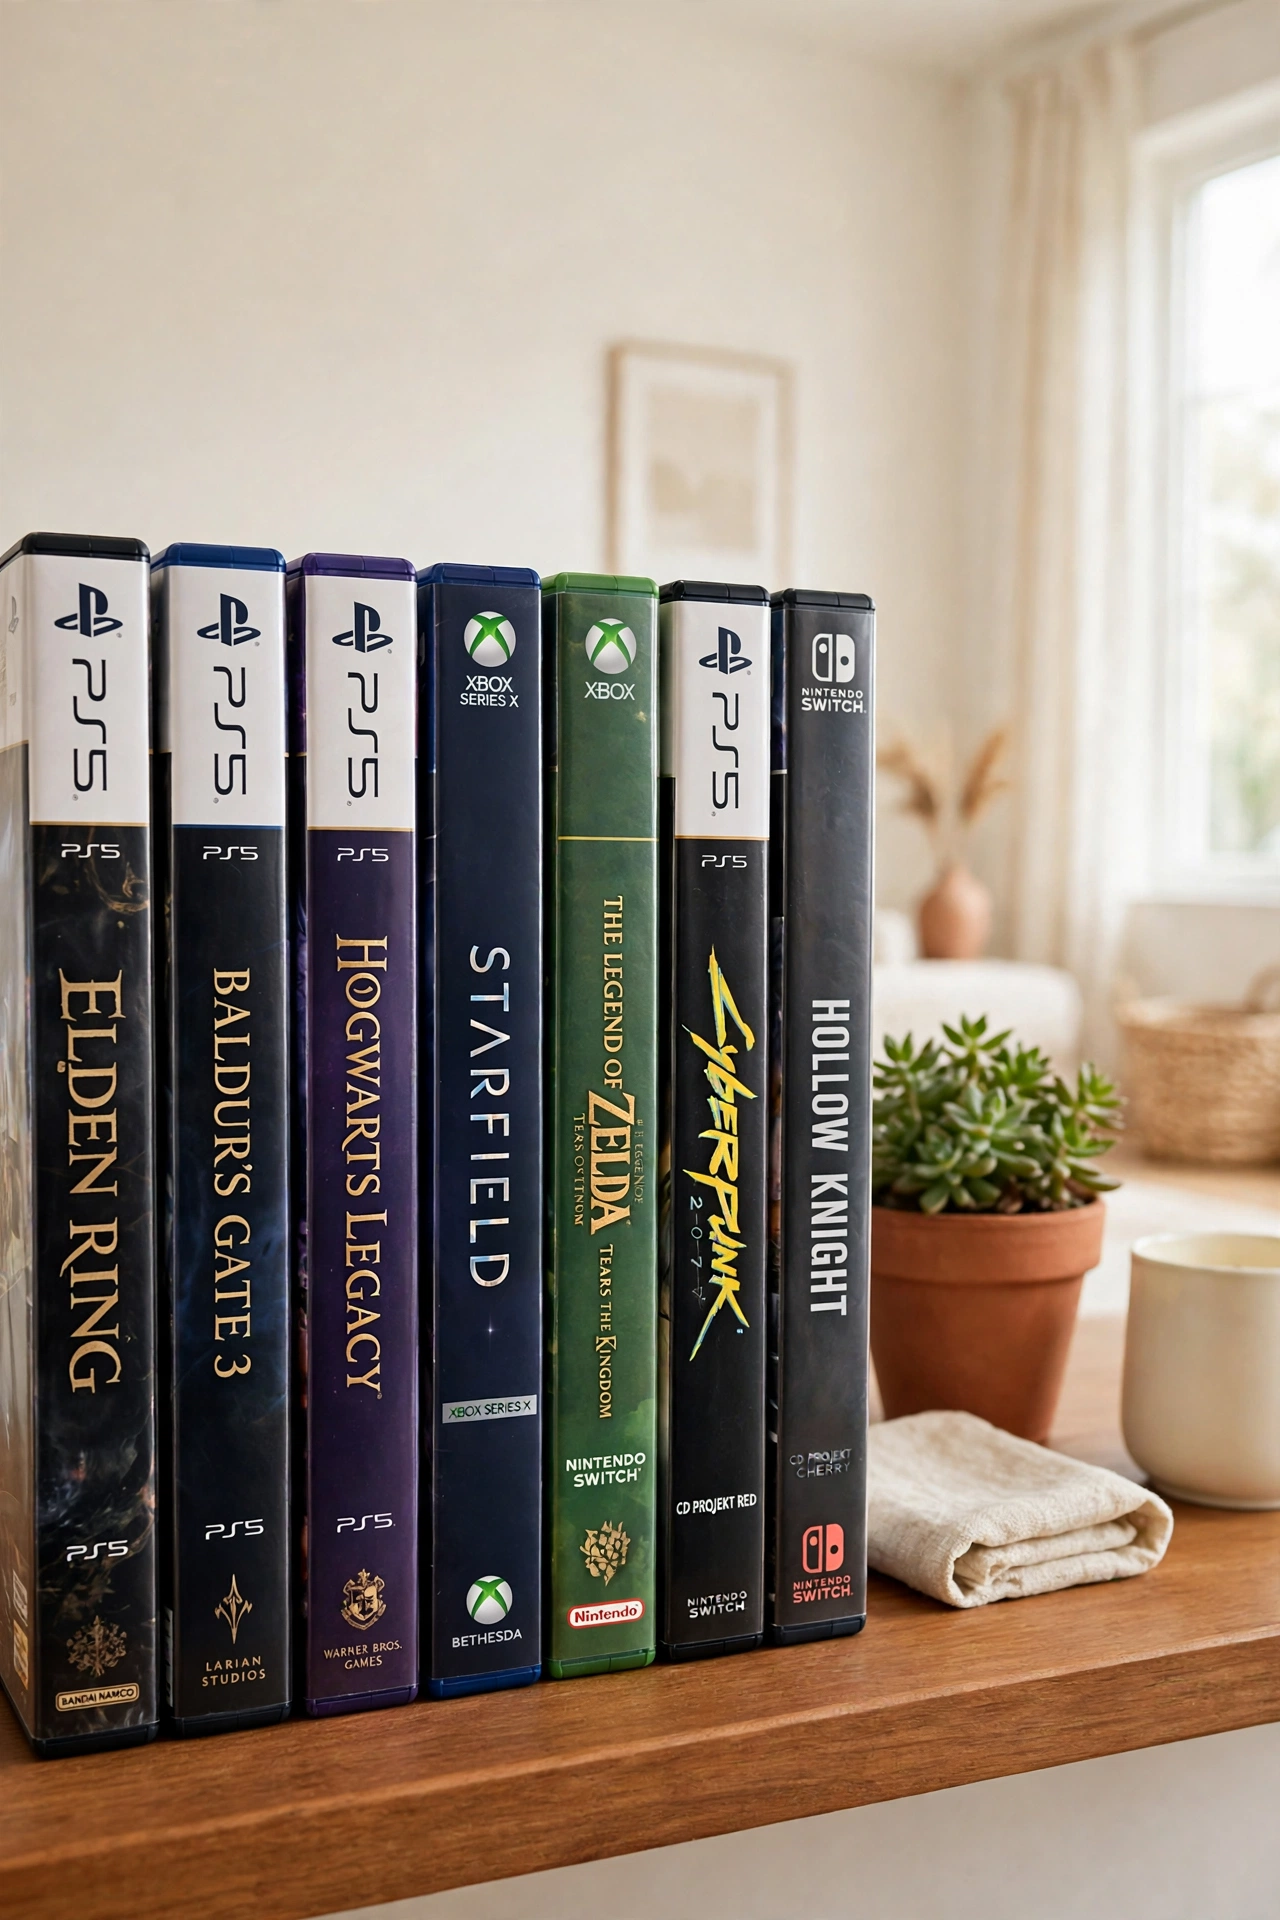
2. Game Cases in One Row
Game cases look their best when they stand in one neat row on a shelf. Line them up spine out, side by side, so you can read every title at a glance. A single row also stops cases from stacking into wobbly piles that slide over when you pull one out.
Leave a little space at the end of the row so you can slide a case out without disturbing the rest. If the shelf is too tall for the cases, add a small riser underneath so the row looks intentional. One tidy row turns a messy shelf into a display you are proud to show.
3. Controller Stands and Docks
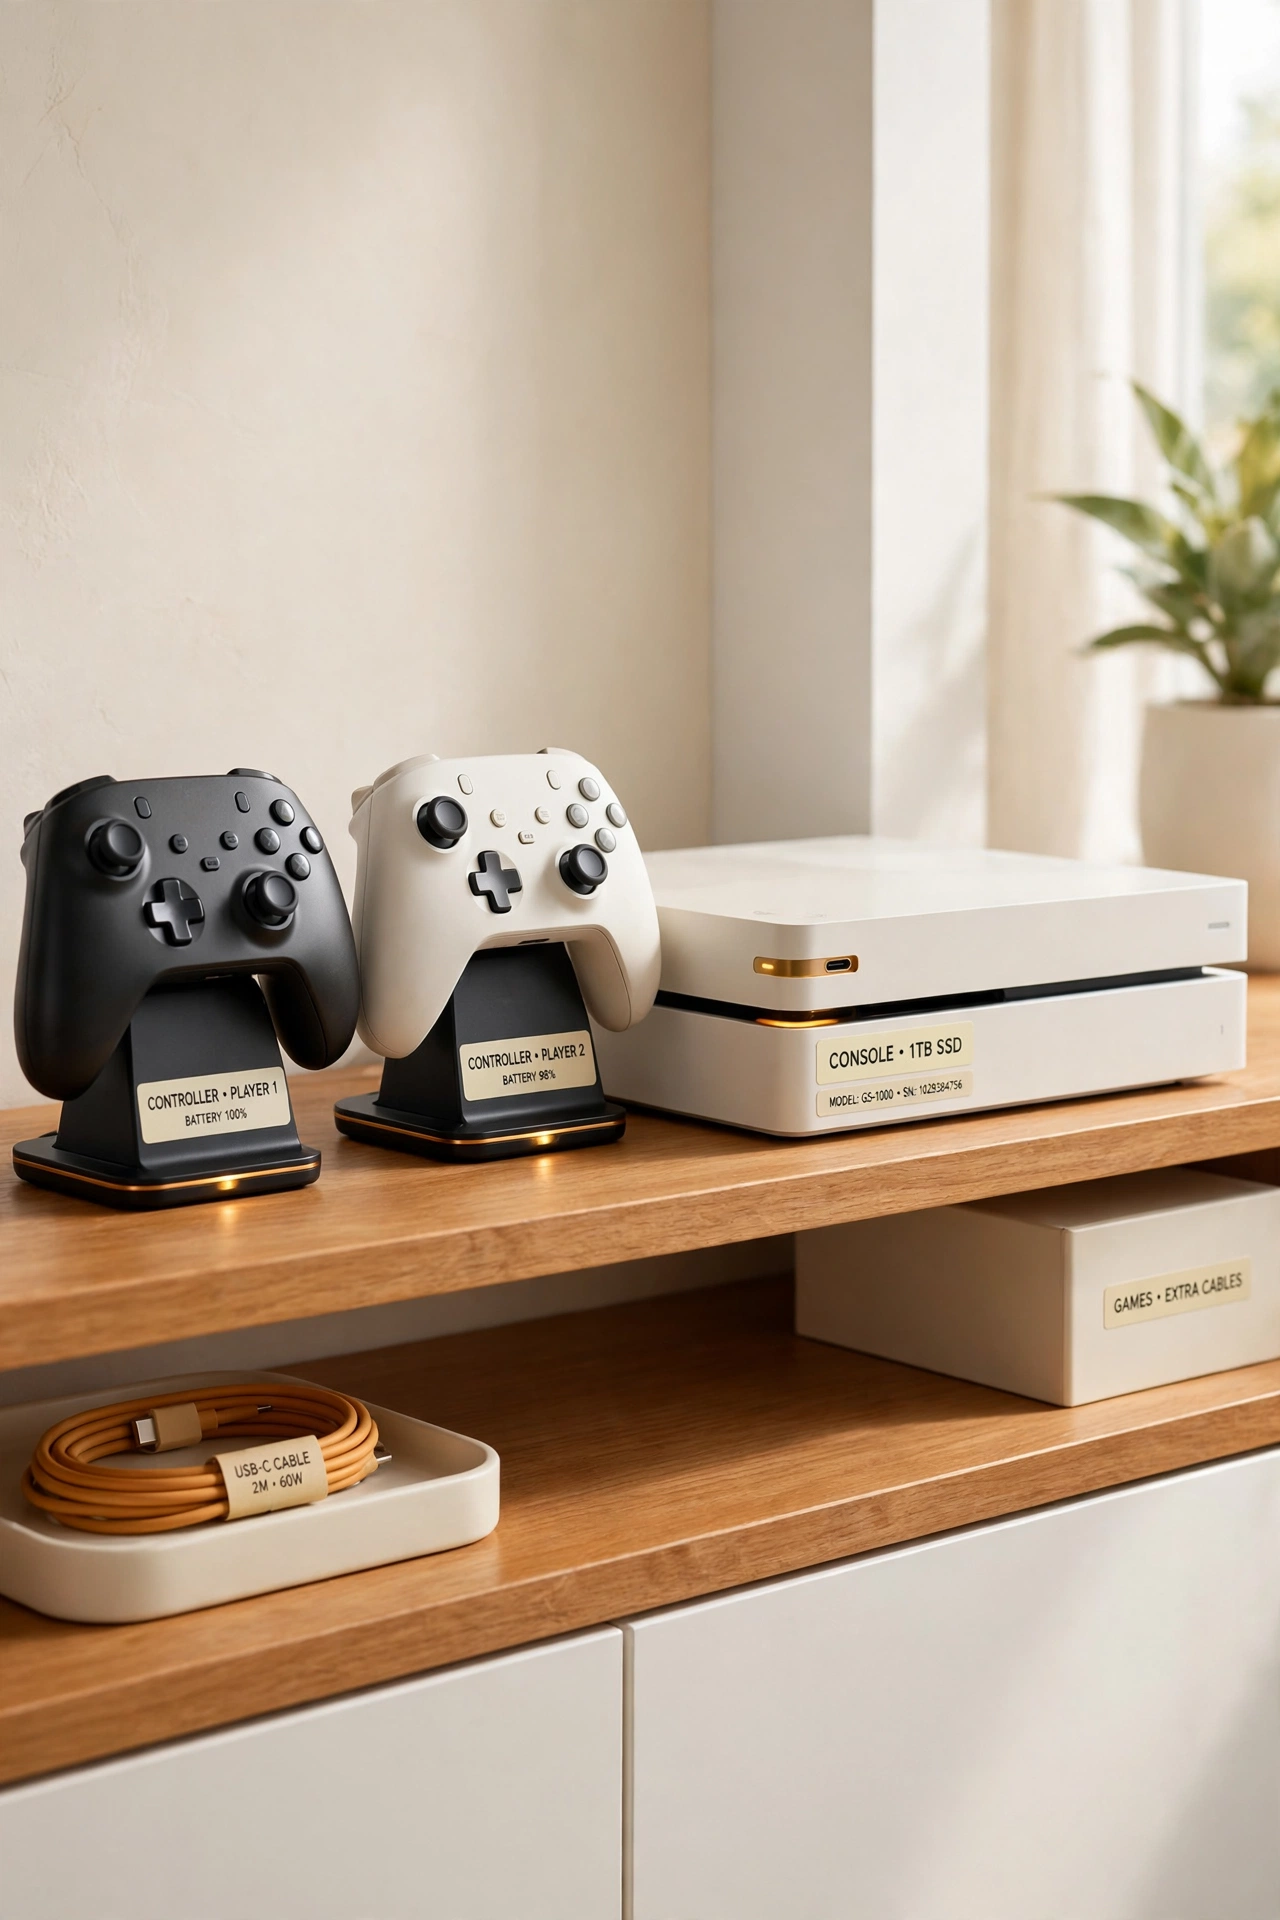
A controller stand or dock gives every controller a proper home instead of a spot on the floor or the sofa. Stands hold the controller upright and keep the sticks and buttons safe from bumps and spills. A dock also looks neat beside the console, like a small display for your gear.
Choose a stand that fits your controller shape so it sits firmly without tipping over. If you own several controllers, use a multi-controller dock that holds them all in one place. A controller that lives on a stand is always charged, always clean, and always easy to grab.
4. A Charging Station for Controllers
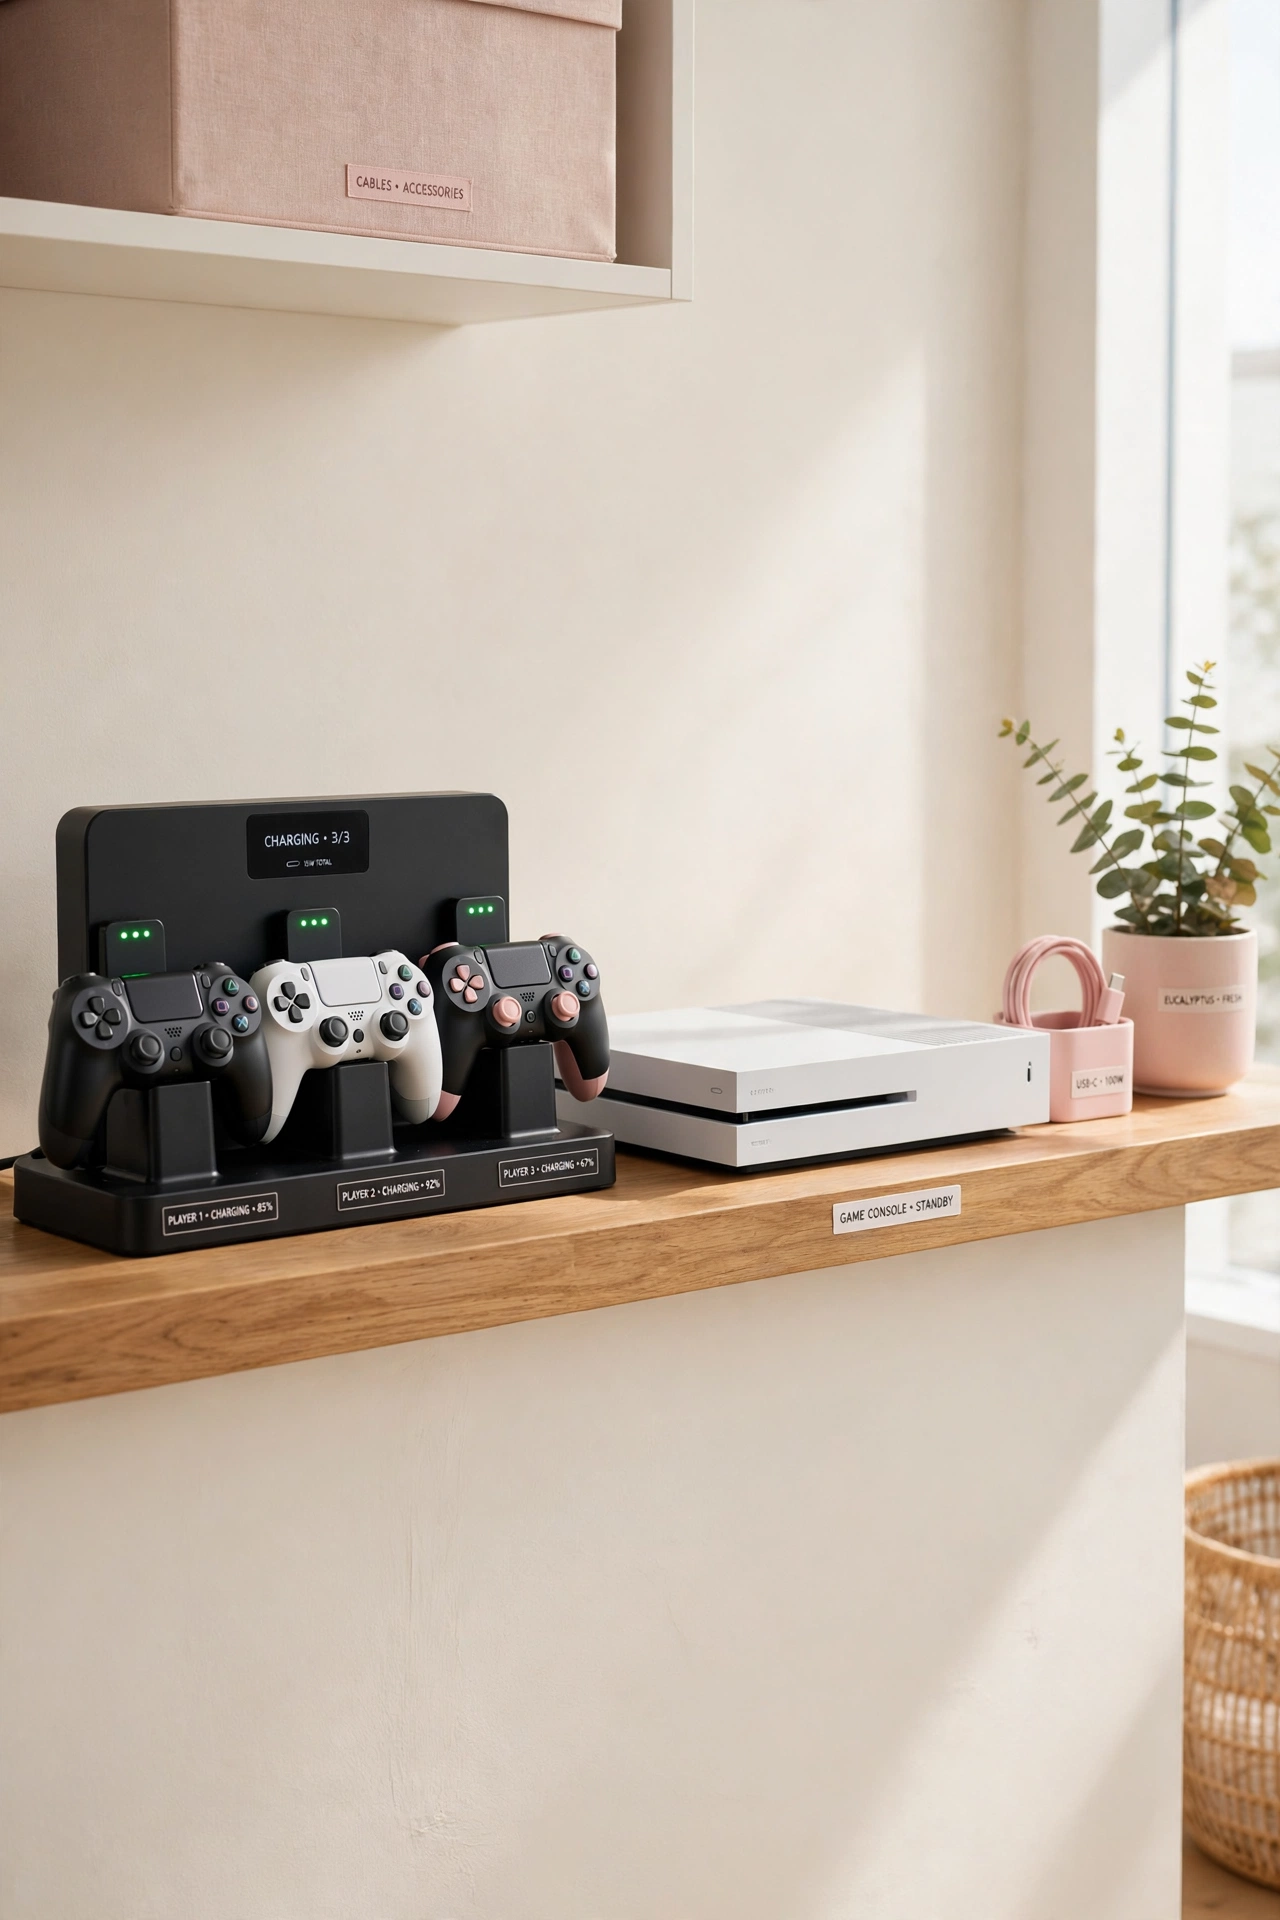
A charging station keeps every controller powered and ready without a tangle of loose cables. Dock each controller after a gaming session and it charges while it waits for the next game. You never start a game night with a dead controller again.
Place the charging station beside the console so the cables stay short and hidden. A station with two or four slots suits most families, and the lights on the dock show at a glance which controllers are ready. This one habit ends the daily search for a charged controller.
5. Cable Management Box
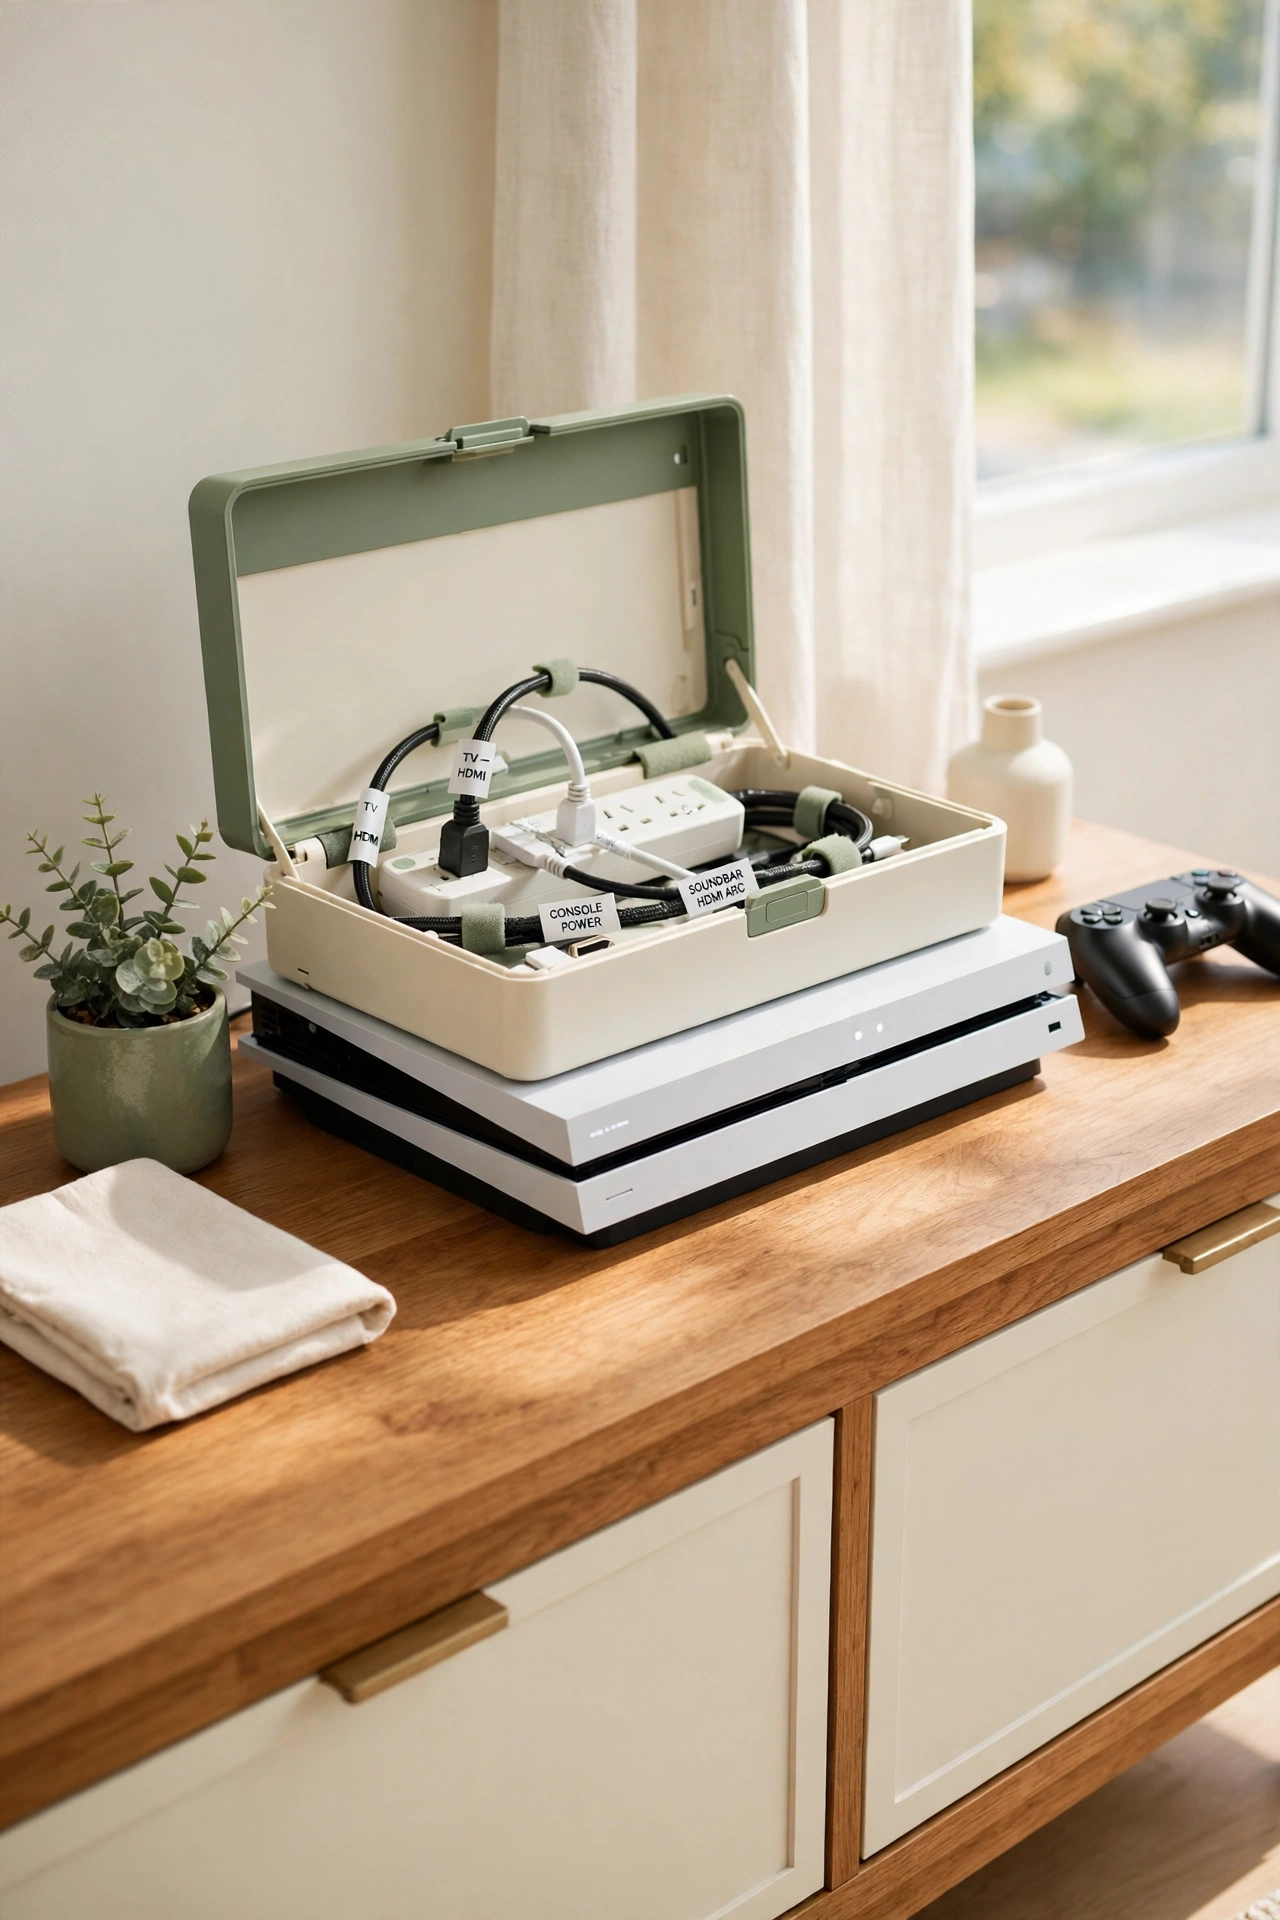
A cable management box hides the power strip and the mess of cords behind the console in one tidy container. Cables enter through slots in the sides and the power strip sits inside, so only the cords you need come out. The top of the box stays flat and clean.
Choose a box large enough for your power strip plus a little spare room for extra cables. Label the cords inside the box so you can trace each one without pulling everything out. A single box turns a nest of cables into a calm corner of the room.
6. Labeled Bins for Discs
Labeled bins give loose game discs a safe home when their cases are lost or broken. Use small bins with lids, one for each console or each family member, and label the front clearly. Discs stored upright in a bin stay scratch-free and easy to find.
Keep the bins on the same shelf as the game cases so everything lives in one place. A bin with a soft lining protects the disc surface even better. When a disc has a labeled bin, it never ends up in a drawer or under the sofa again.
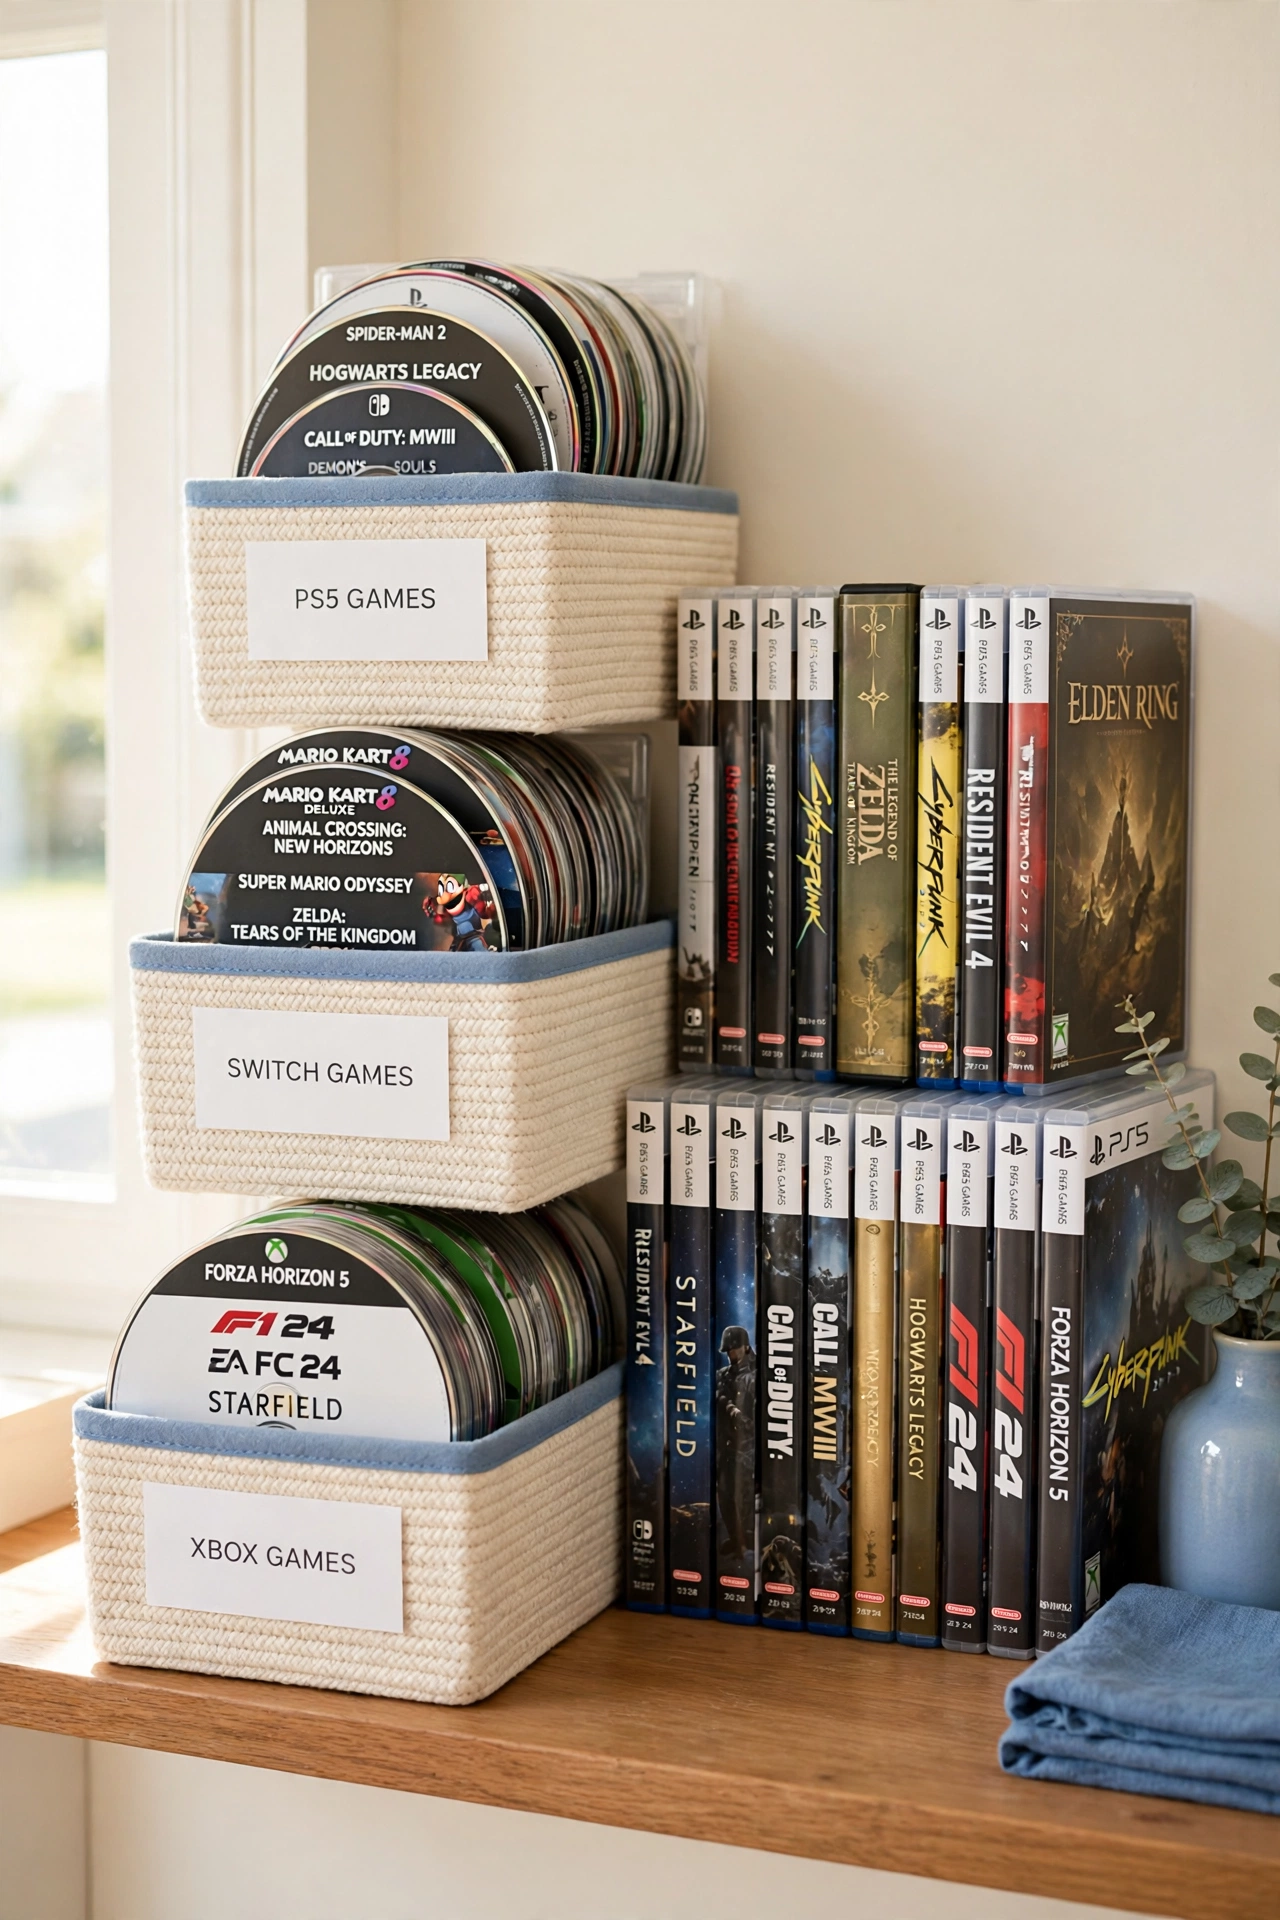
7. Wall-Mounted Shelves for Games
Wall-mounted shelves turn a plain wall into game storage that uses zero floor space. Mount two or three slim shelves above the console and line the game cases up in neat rows. The games stay visible, and the wall becomes a display of your whole collection.
Mount the shelves at a height that is easy to reach while you sit on the sofa. Stagger the shelf lengths for a stylish look, with the longest shelf at the bottom. This idea works best when you have a growing collection that deserves a real display.
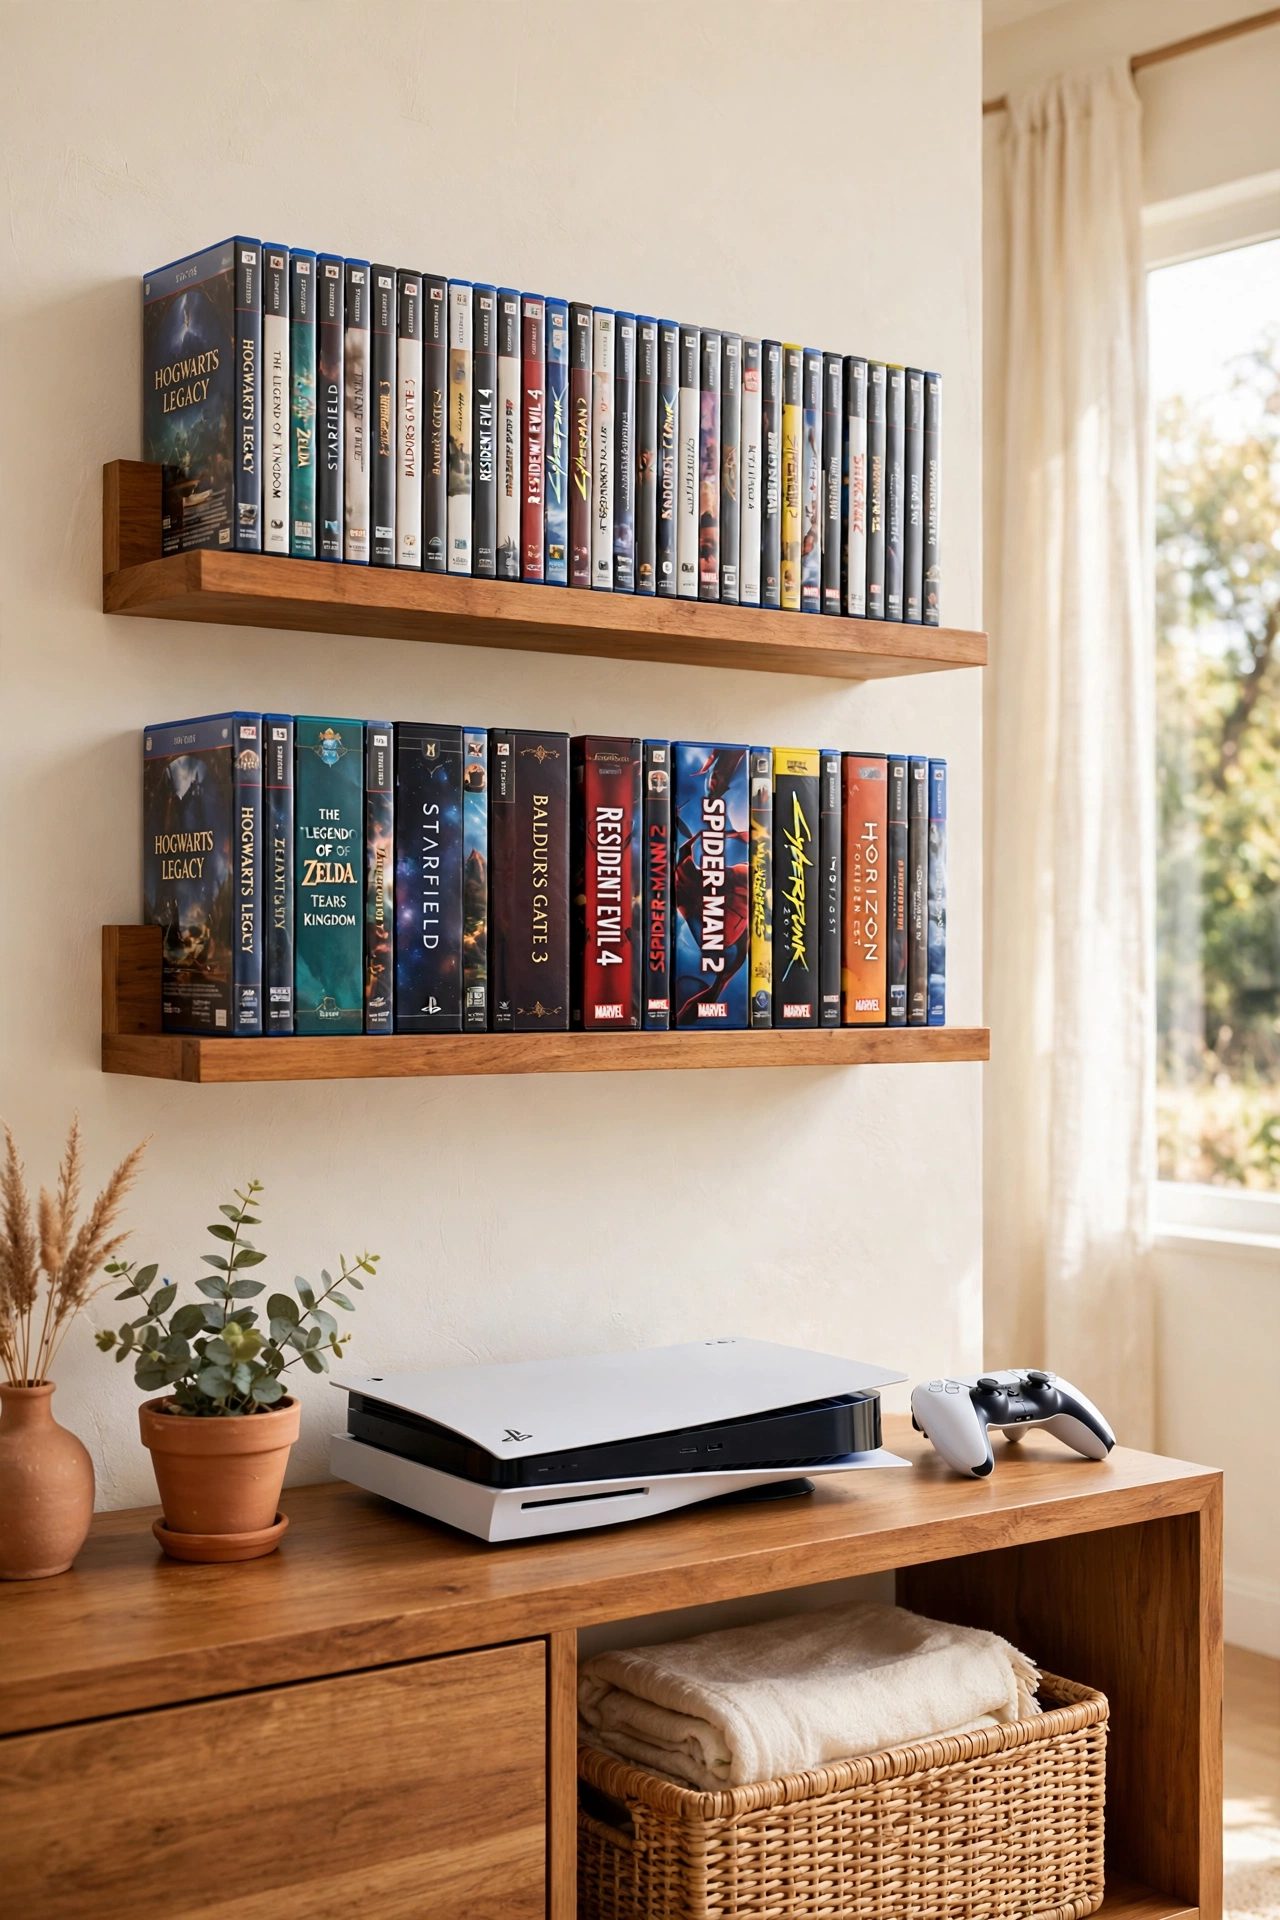
8. A Dedicated Gaming Drawer
A dedicated gaming drawer gives controllers, cables, and small accessories a closed home inside your TV stand or dresser. Use drawer dividers to create sections for each controller, each cable type, and each small accessory. When the drawer closes, the whole setup disappears.
Measure the drawer before you buy dividers so each section fits snugly without sliding. Keep the items you use every day in the front section and the extras at the back. A drawer that belongs to gaming alone stops controllers from wandering into every room of the house.
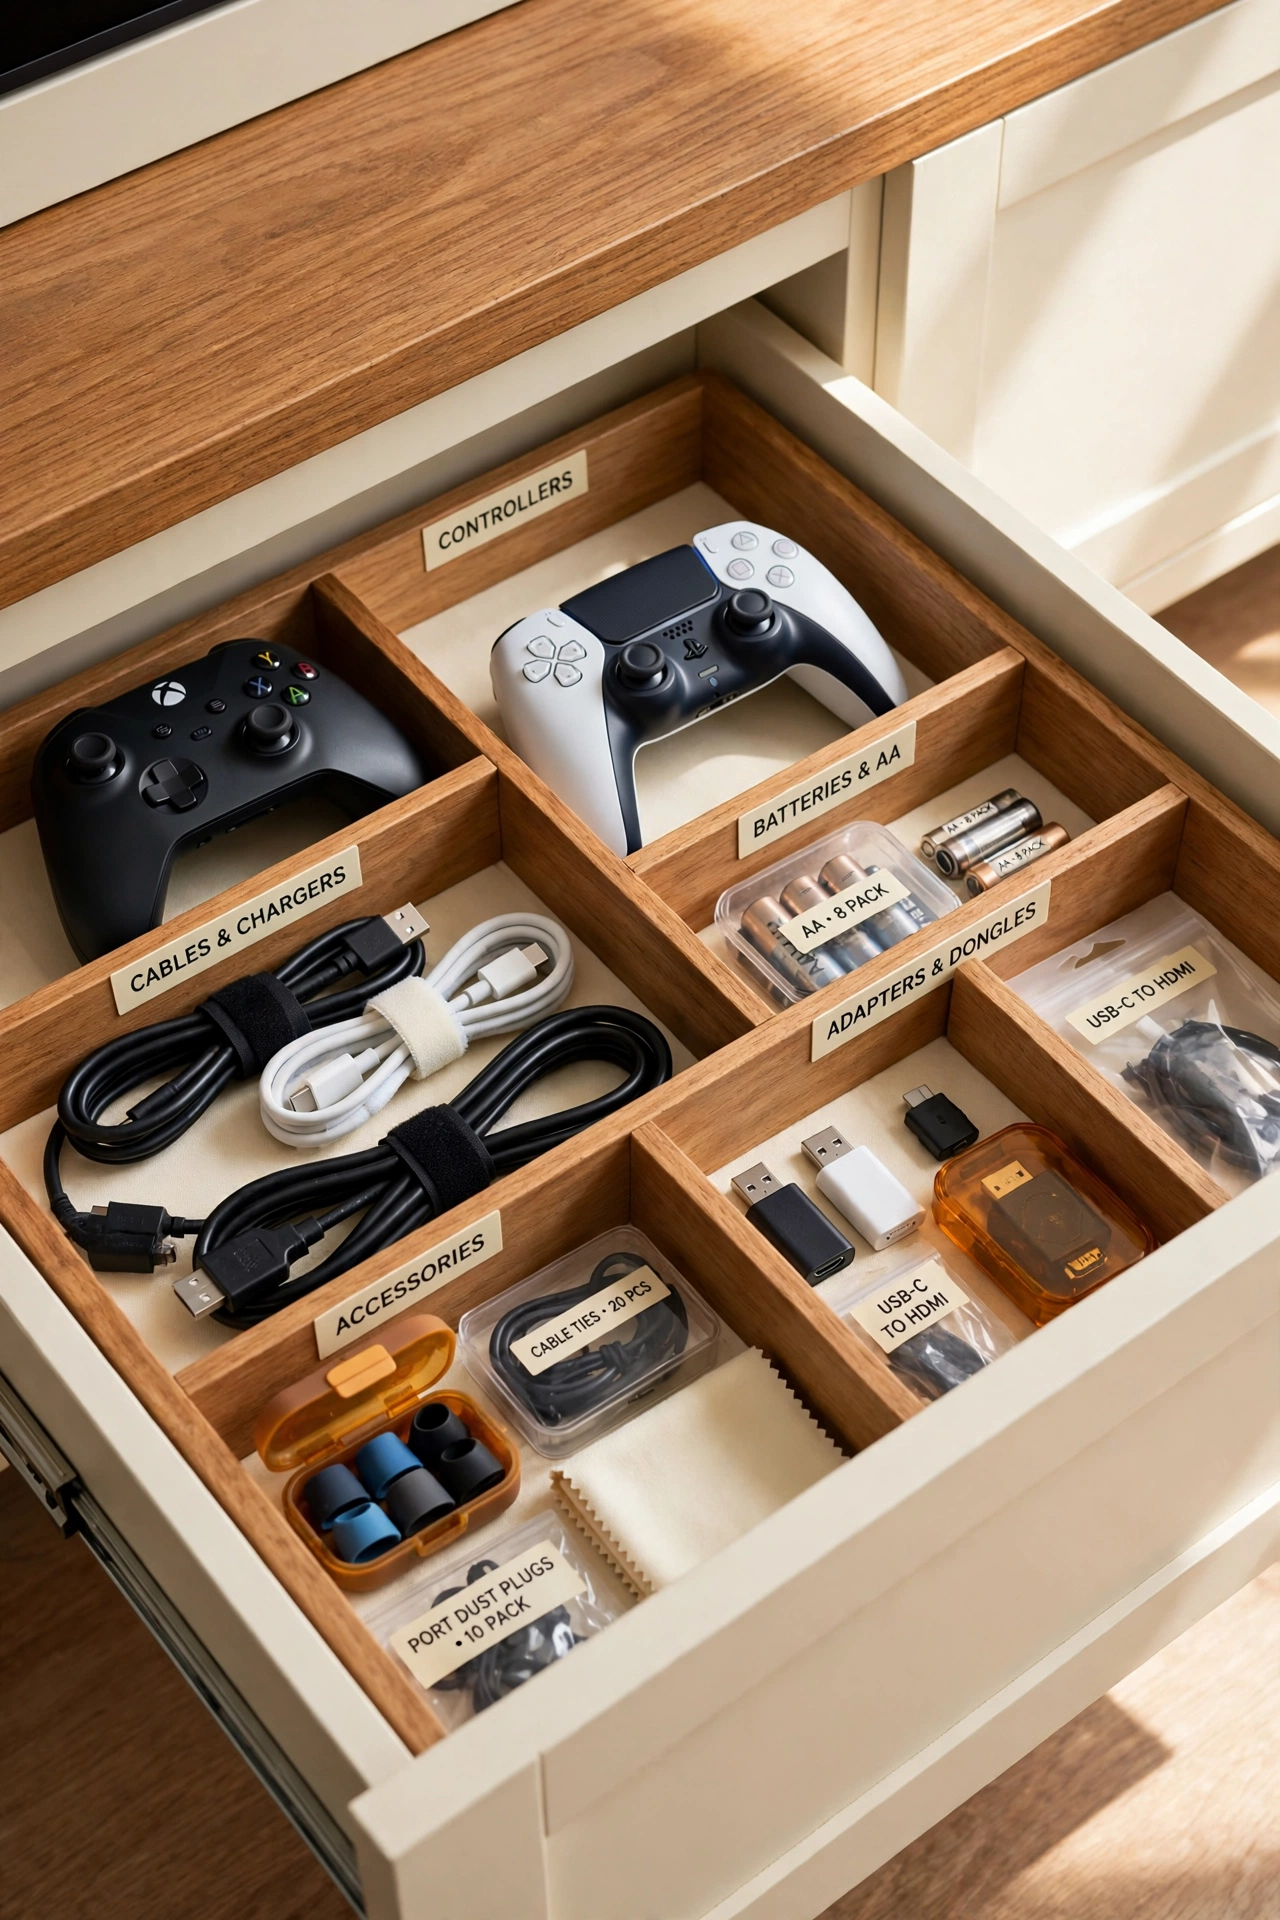
9. Headset Hook on the Wall
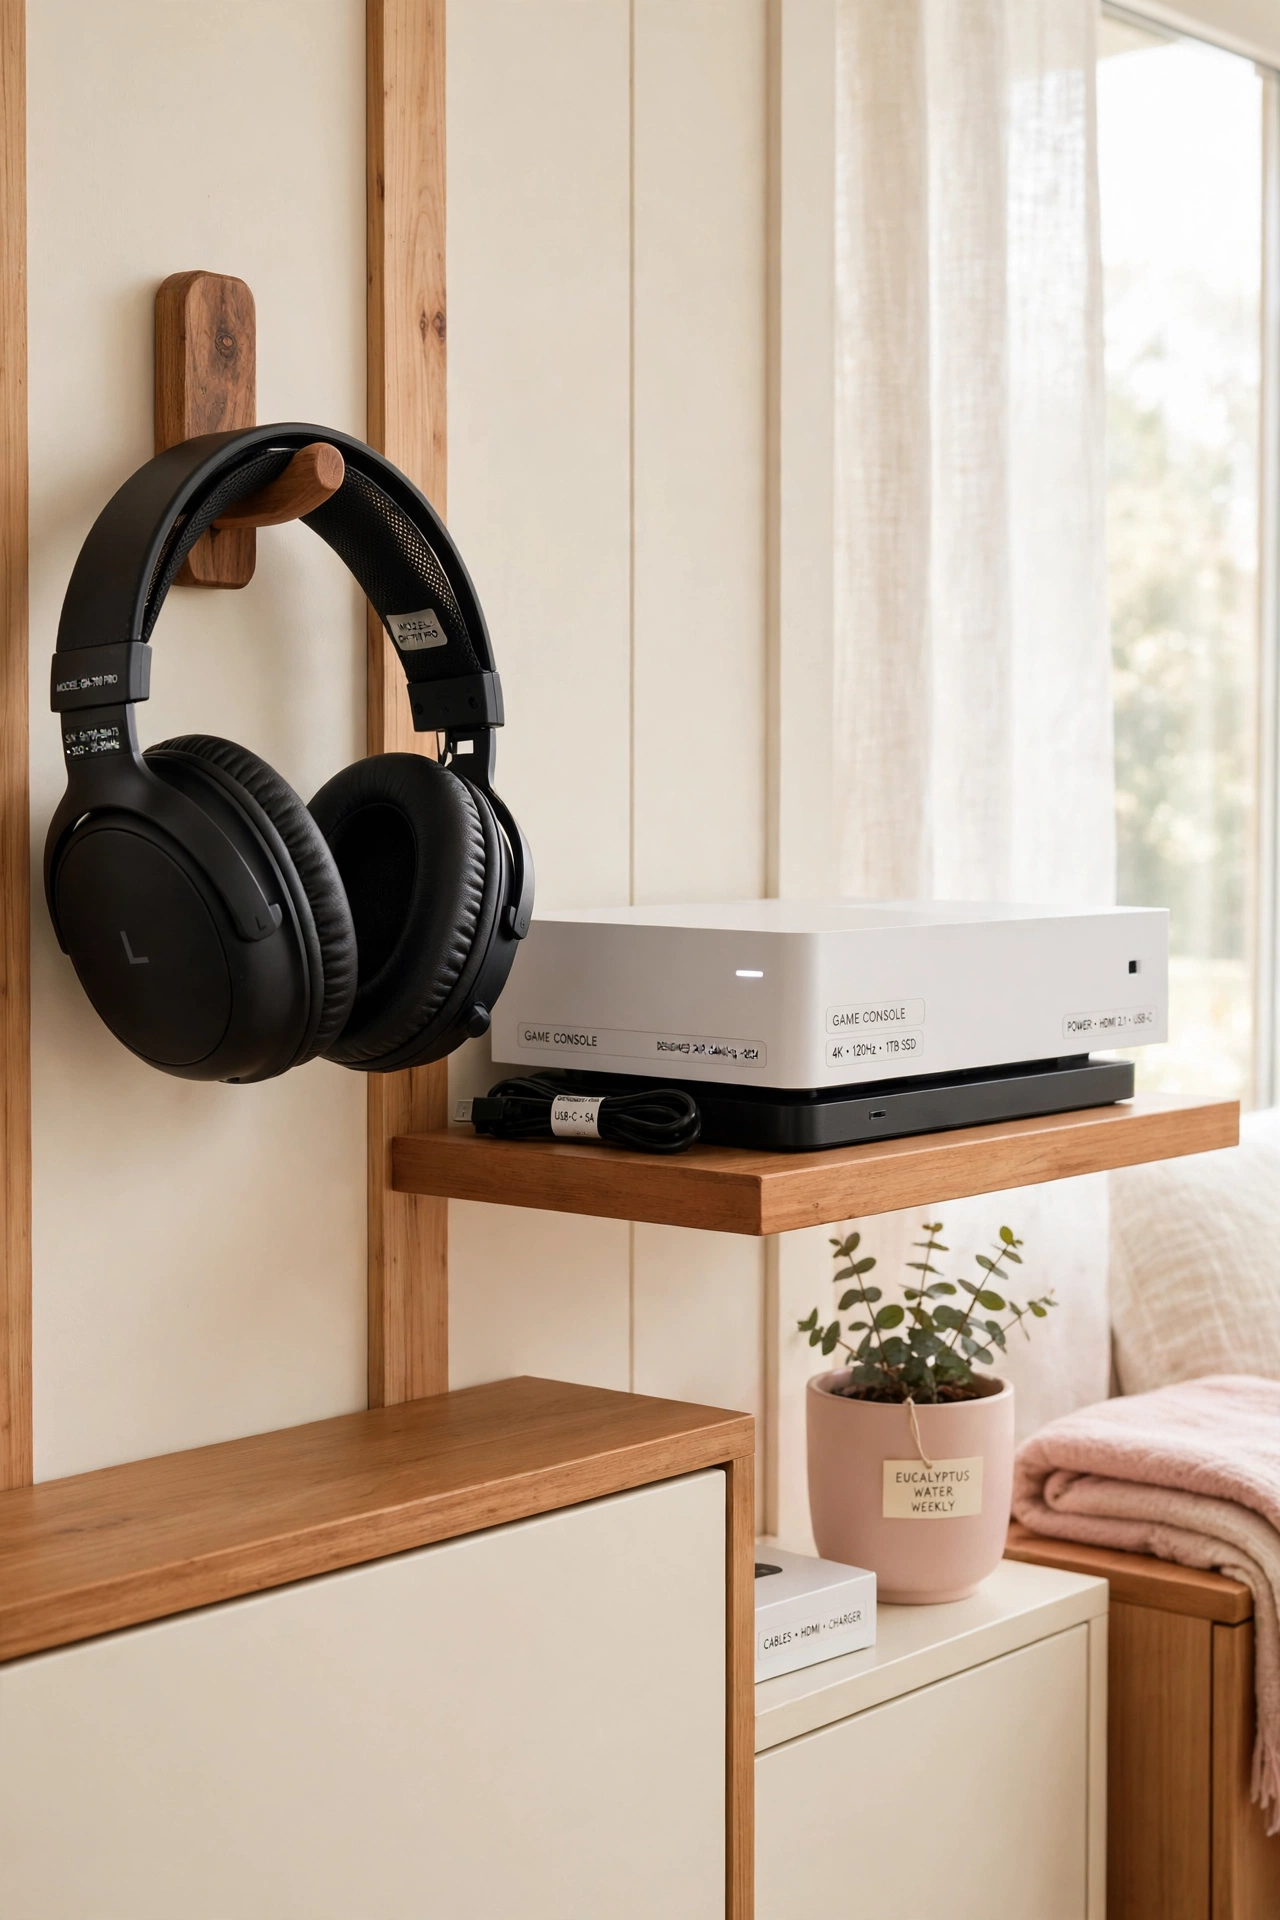
A headset hook on the wall keeps your gaming headset safe and within easy reach. Hang the hook beside the console or under a shelf, and the headset rests on it between sessions instead of on the floor or the sofa arm. The ear cups stay clean and the headband keeps its shape.
Choose a hook with a wide, padded curve so it supports the headband without pressing a dent into it. If several people game in your home, add one hook per headset so each has its own spot. A headset on a hook is always ready and never tangled in a pile of cables.
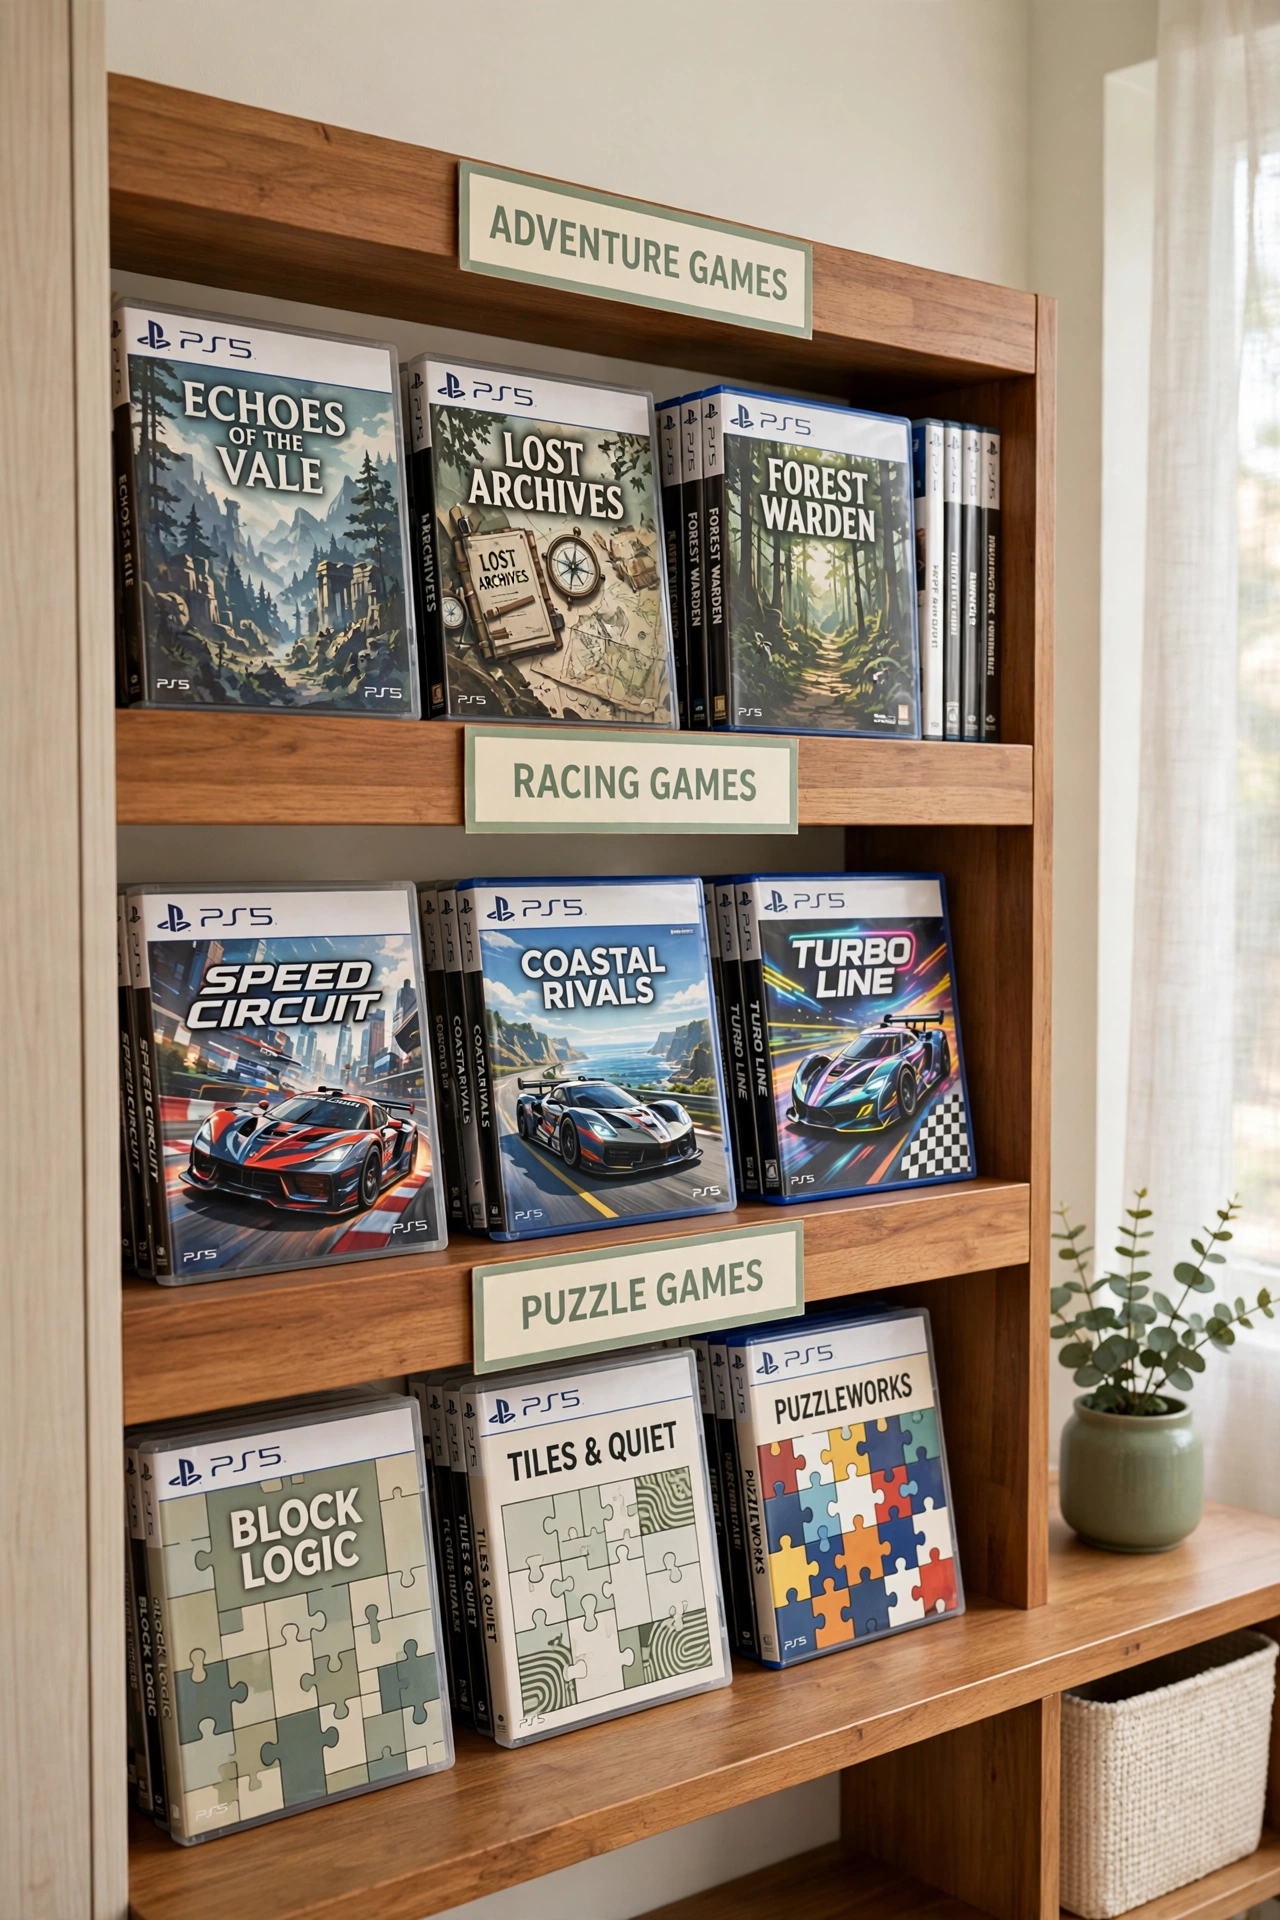
10. Sort Games by Genre
Sorting games by genre turns a long shelf into a library you can browse in seconds. Group adventure games together, racing games together, and puzzle games together, with a small label or a gap between each group. You can find the mood you want without scanning every spine.
This system also helps when friends visit, because anyone can spot the genre they like best. Review the groups once a season and move new games into the right group as soon as they arrive. A genre-sorted shelf makes choosing a game part of the fun.
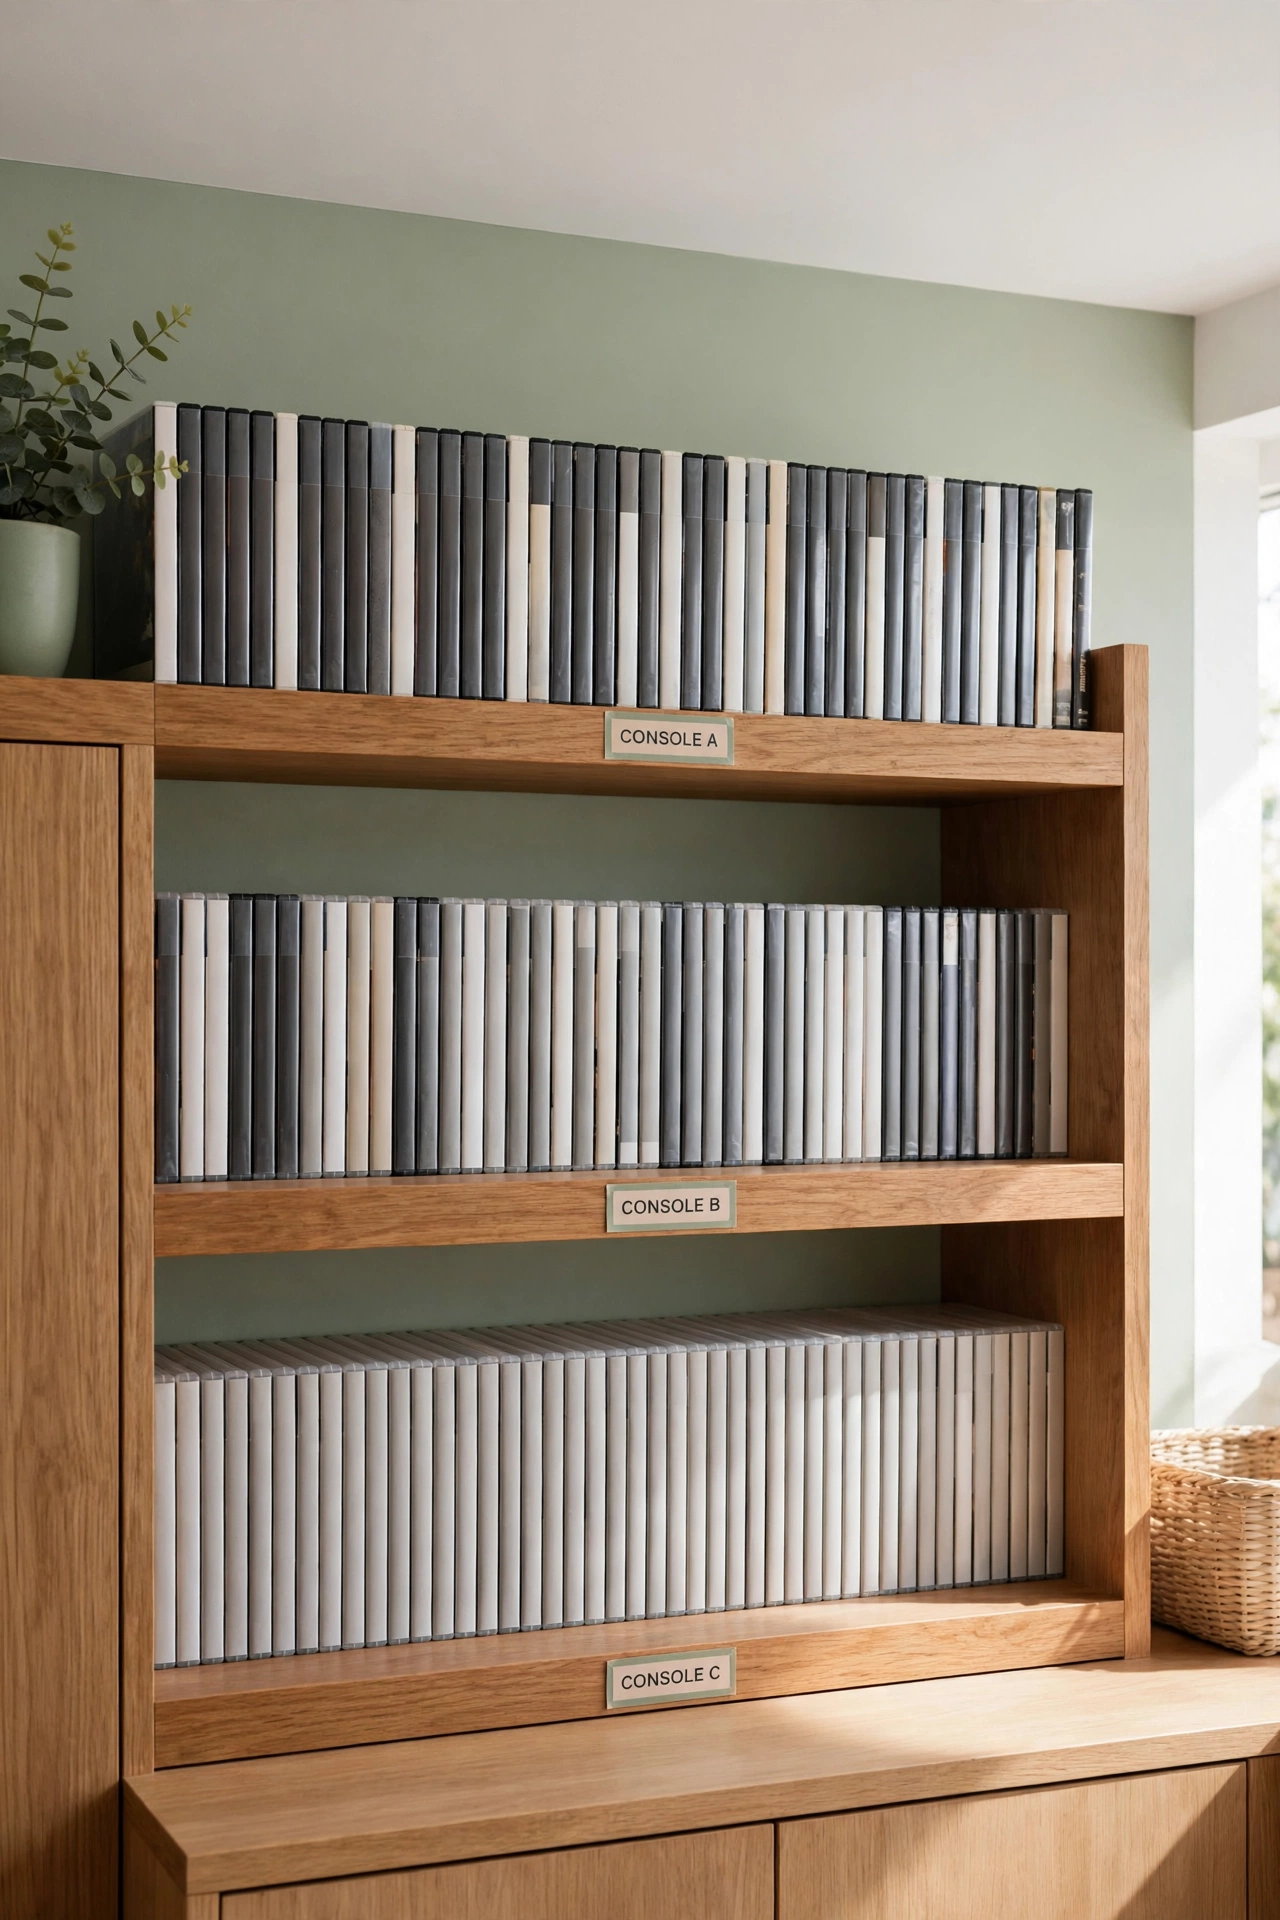
11. Sort Games by Console
When your family owns more than one console, sort the games by console so each system has its own shelf section. Give the newest console the most space and the older ones a smaller section each. A clear divide stops you from grabbing the wrong disc for the wrong console.
Use a different colored label or a small bookend for each console section so the split is easy to see. Keep each console’s controllers on the same shelf as its games. This simple split keeps a multi-console collection calm instead of confusing.
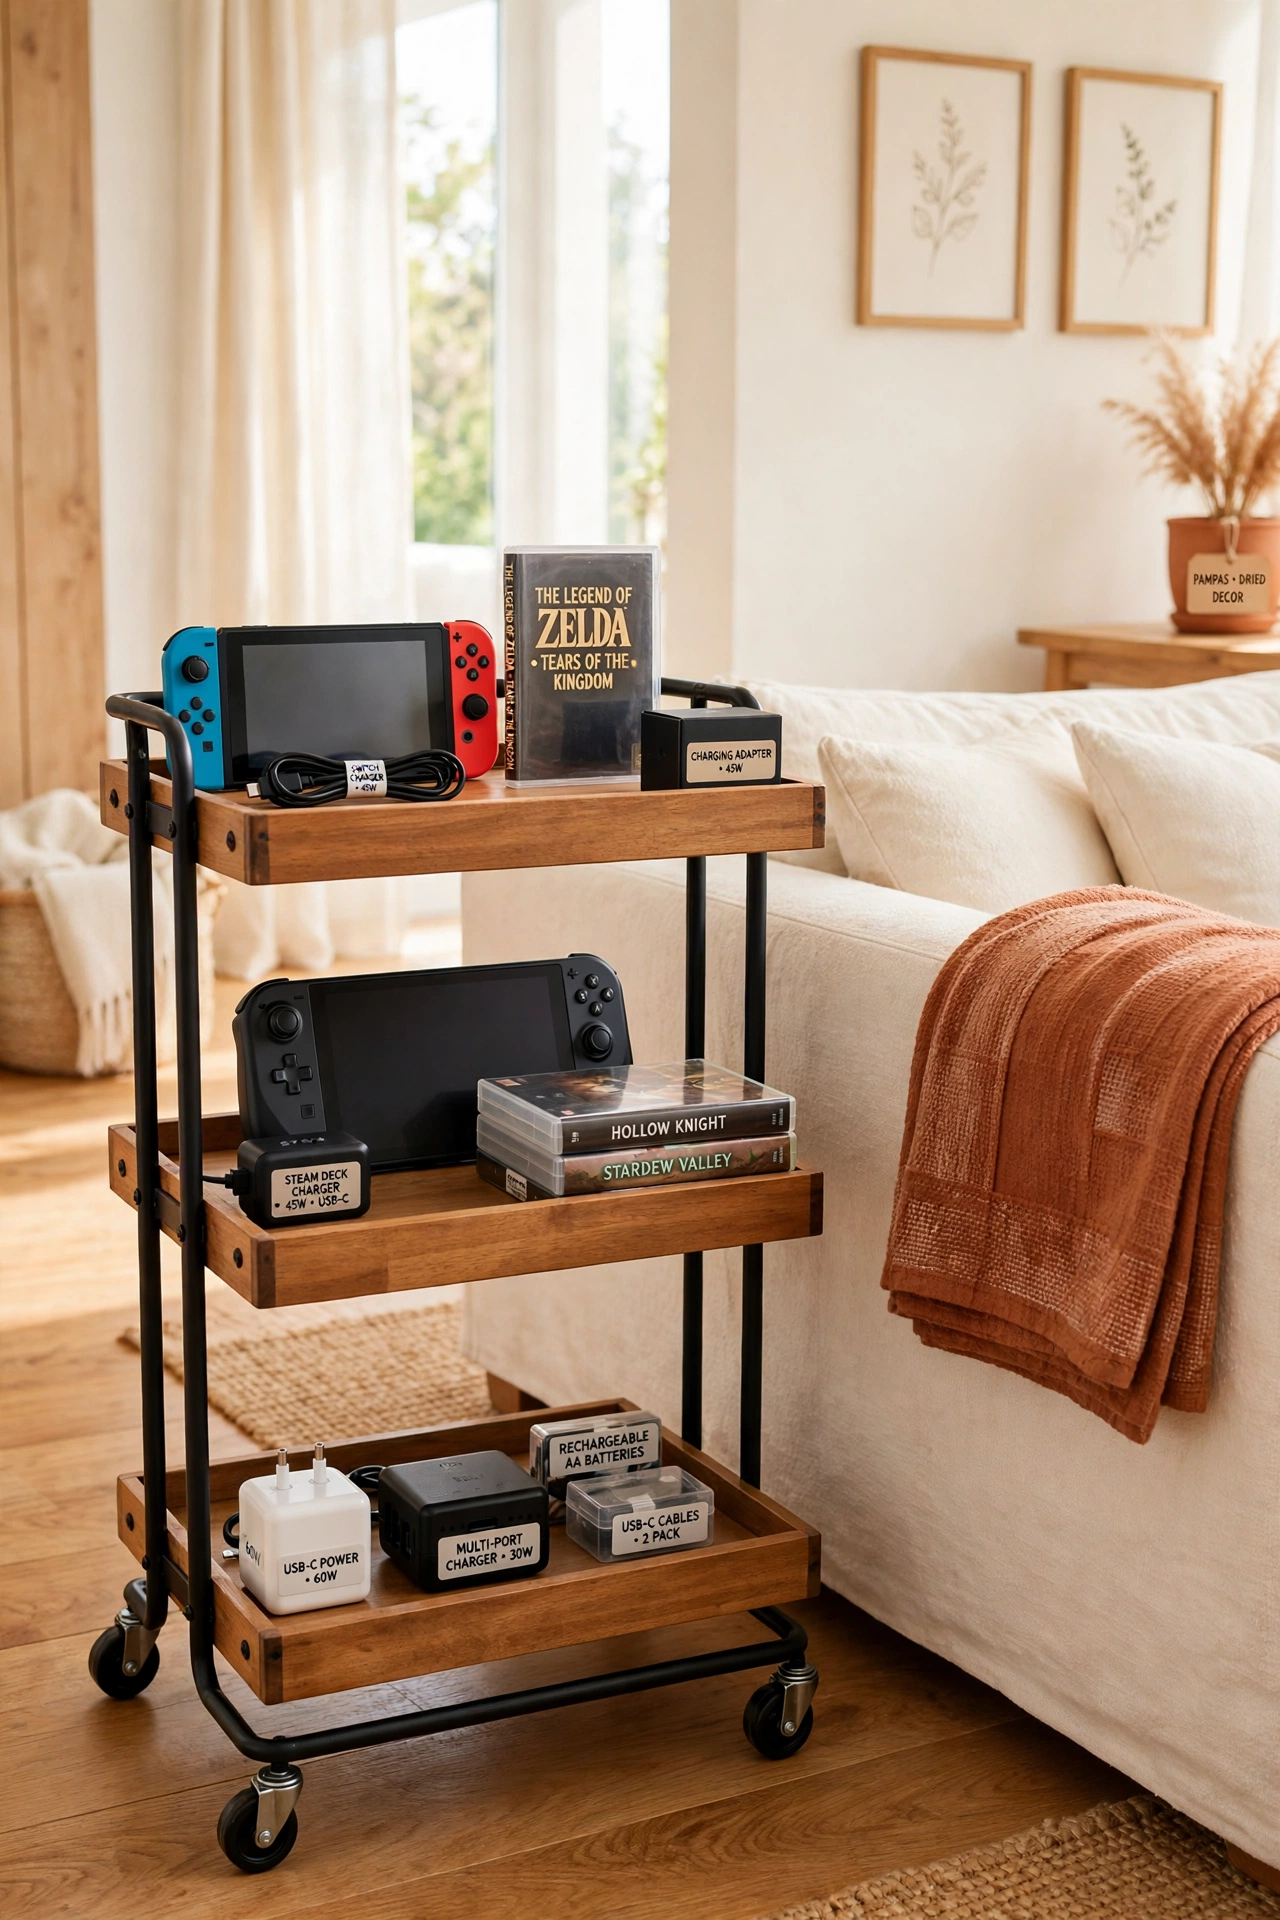
12. A Cart for Handheld Consoles
A small cart gives handheld consoles and their games a home that moves with you. Fill the tiers with the handheld devices, their cases, and their chargers, then roll the cart beside the sofa when it is time to play. When you finish, roll it back into a closet or a corner.
Pick a cart with at least two tiers so the consoles and the games each get their own level. A cart with small wheels and a handle is easy to move across carpet or hard floors. This is the best choice when handheld gaming happens in different rooms.
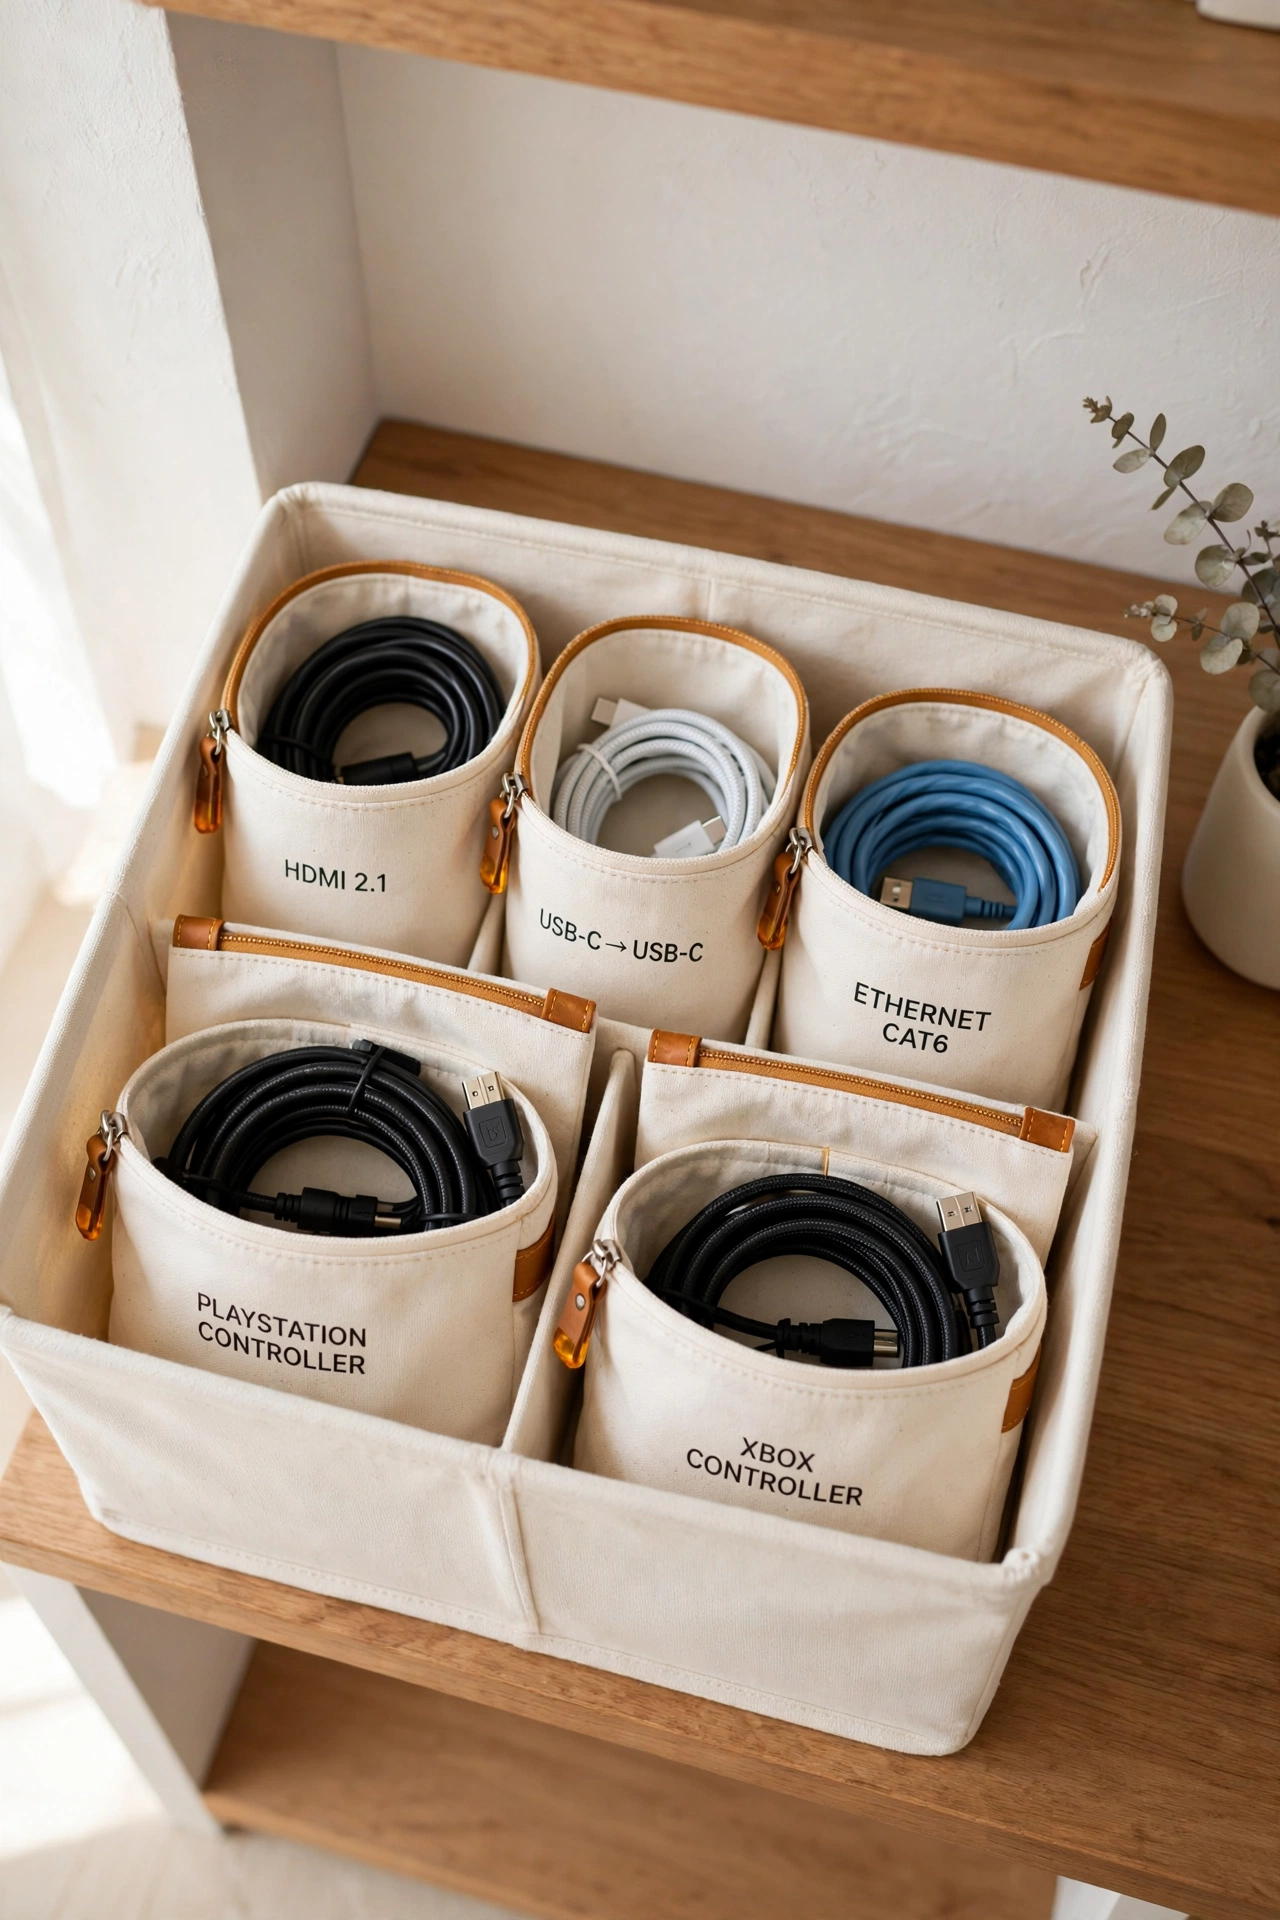
13. Keep Cables in a Labeled Pouch
A labeled pouch keeps every gaming cable coiled and separate instead of tangled in a drawer. Coil each cable neatly, slip it into its own pouch, and label the pouch with what it connects. HDMI cables, charging cables, and controller cables each get their own home.
Use small cable ties or Velcro straps to keep each cord coiled tight inside the pouch. Store the pouches upright in a bin or a drawer so you can read every label at a glance. A pouch system ends the daily untangling that eats into your gaming time.
14. A Tray for Batteries and Chargers
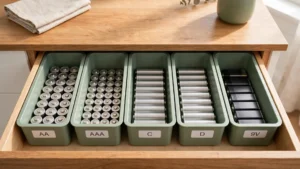
A small tray holds rechargeable batteries and their chargers in one visible spot. Place the tray on the gaming shelf with batteries standing upright in rows, chargers beside them, and a label for each battery type. When a controller runs low, the fresh batteries are right there.
Keep dead batteries in a separate marked section of the tray so they never mix with the fresh ones. A tray with low sides works best, since it keeps everything visible while stopping batteries from rolling away. This simple tray keeps game night running without a pause.
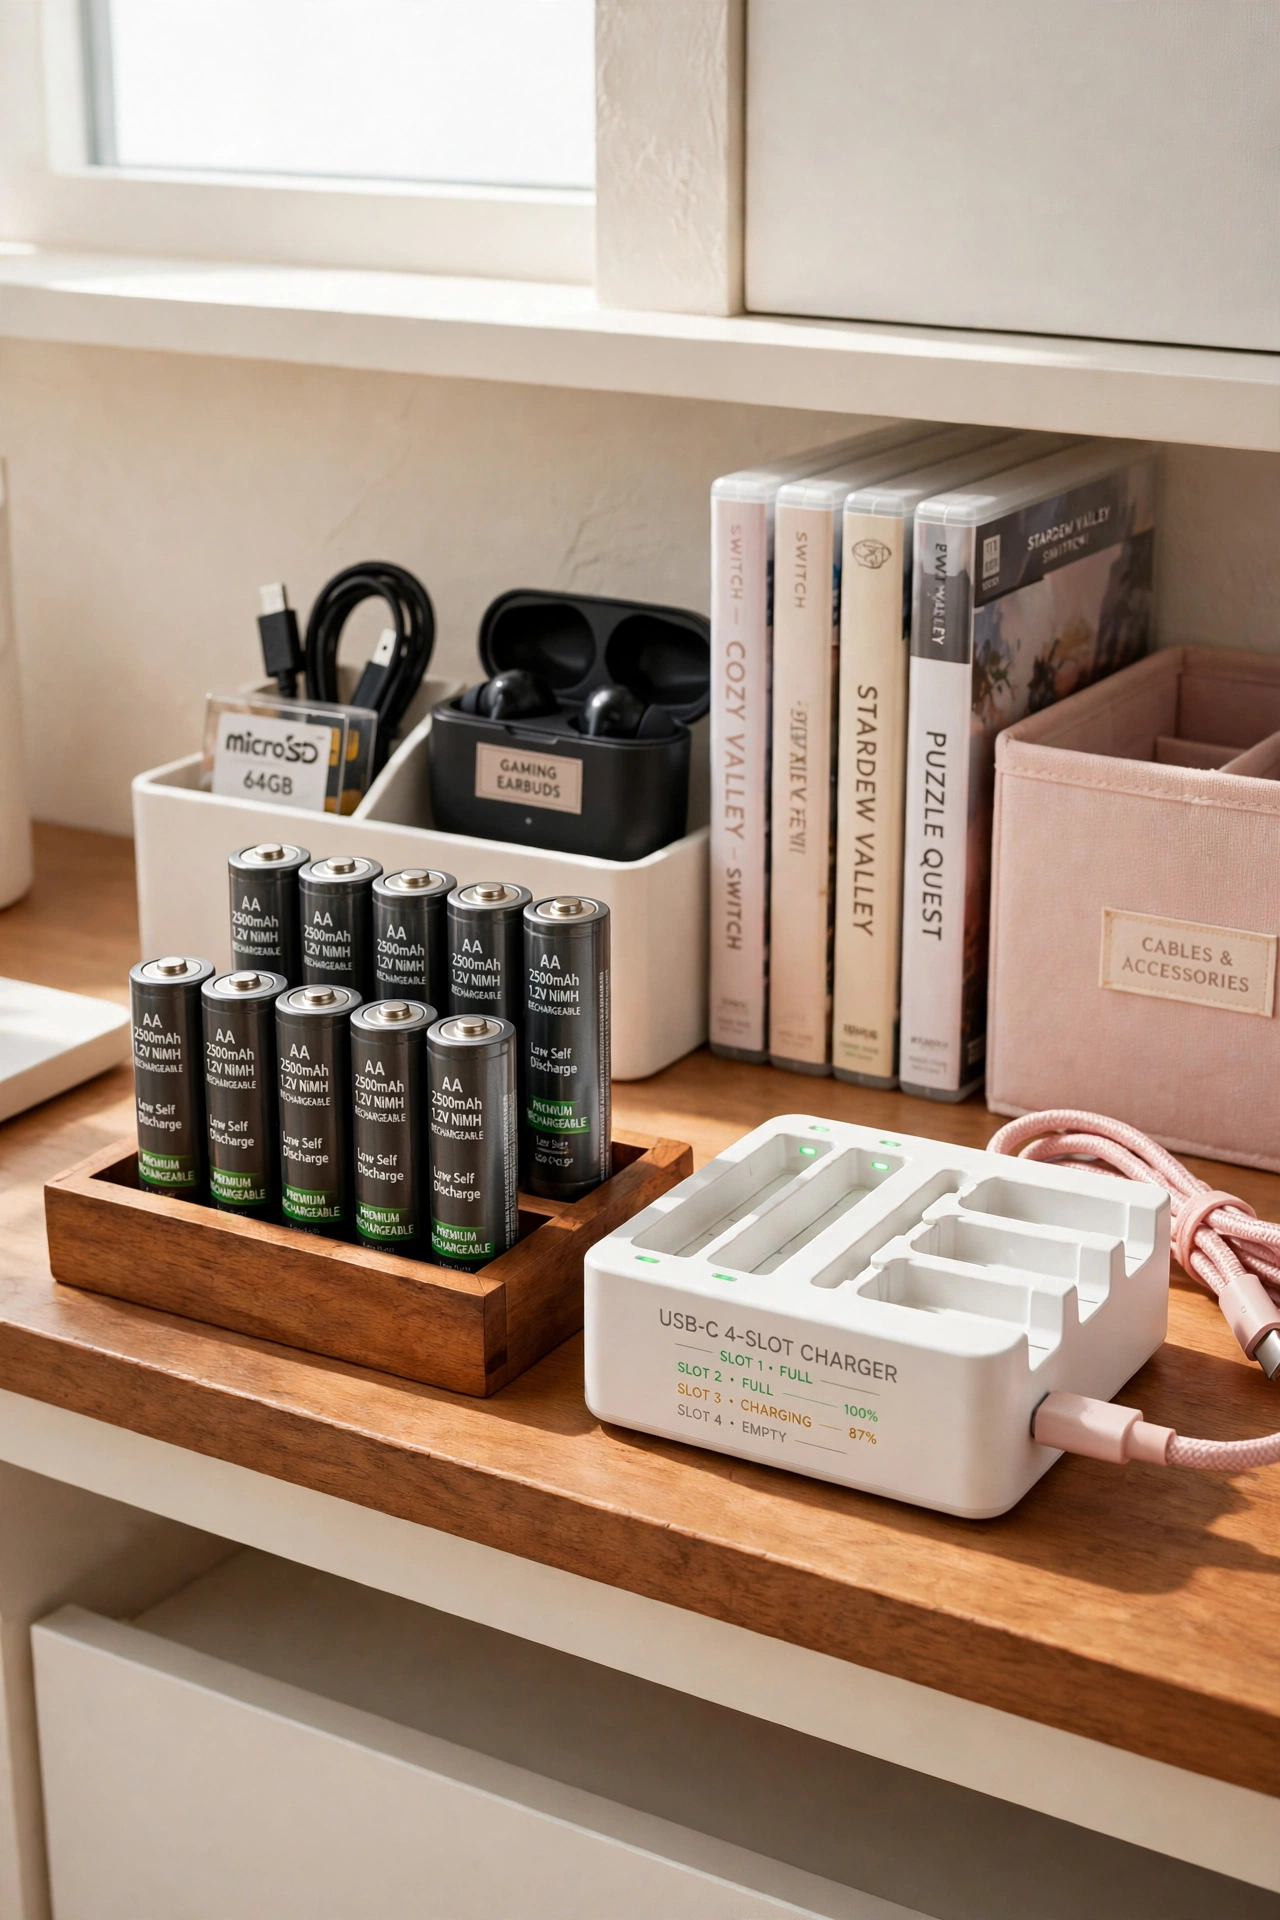
15. Store Retro Games Separately
Retro games deserve their own shelf section, away from the newest titles. Older cartridges and discs are harder to replace, so give them a dedicated spot with a little extra care. A separate section also turns your retro collection into a display that tells the story of your gaming history.
Store retro cartridges upright in a small crate or a labeled bin so the labels stay readable. Keep them away from direct sunlight and damp corners. When retro games have their own home, they stay safe and they look like the treasures they are.
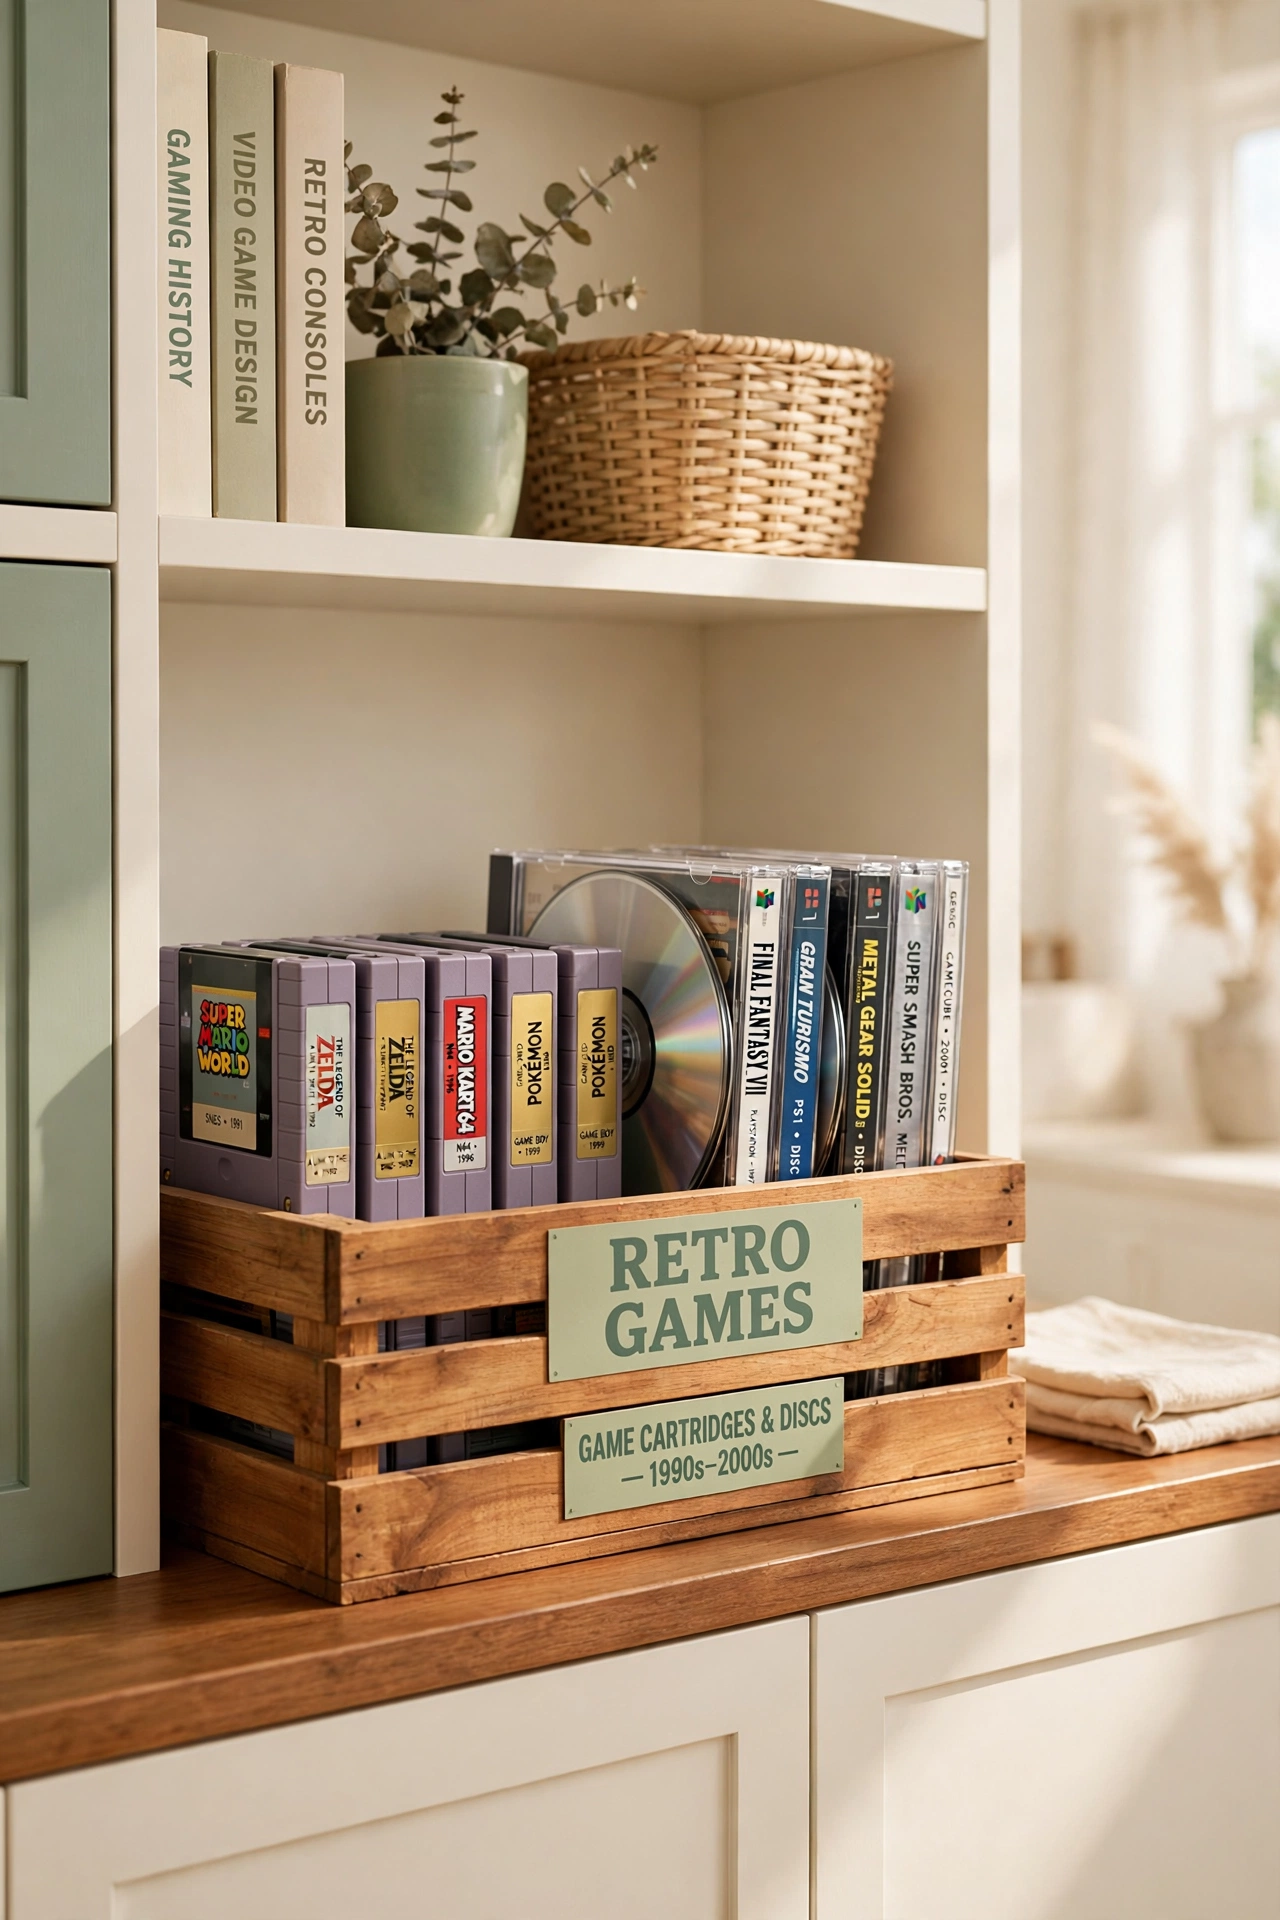
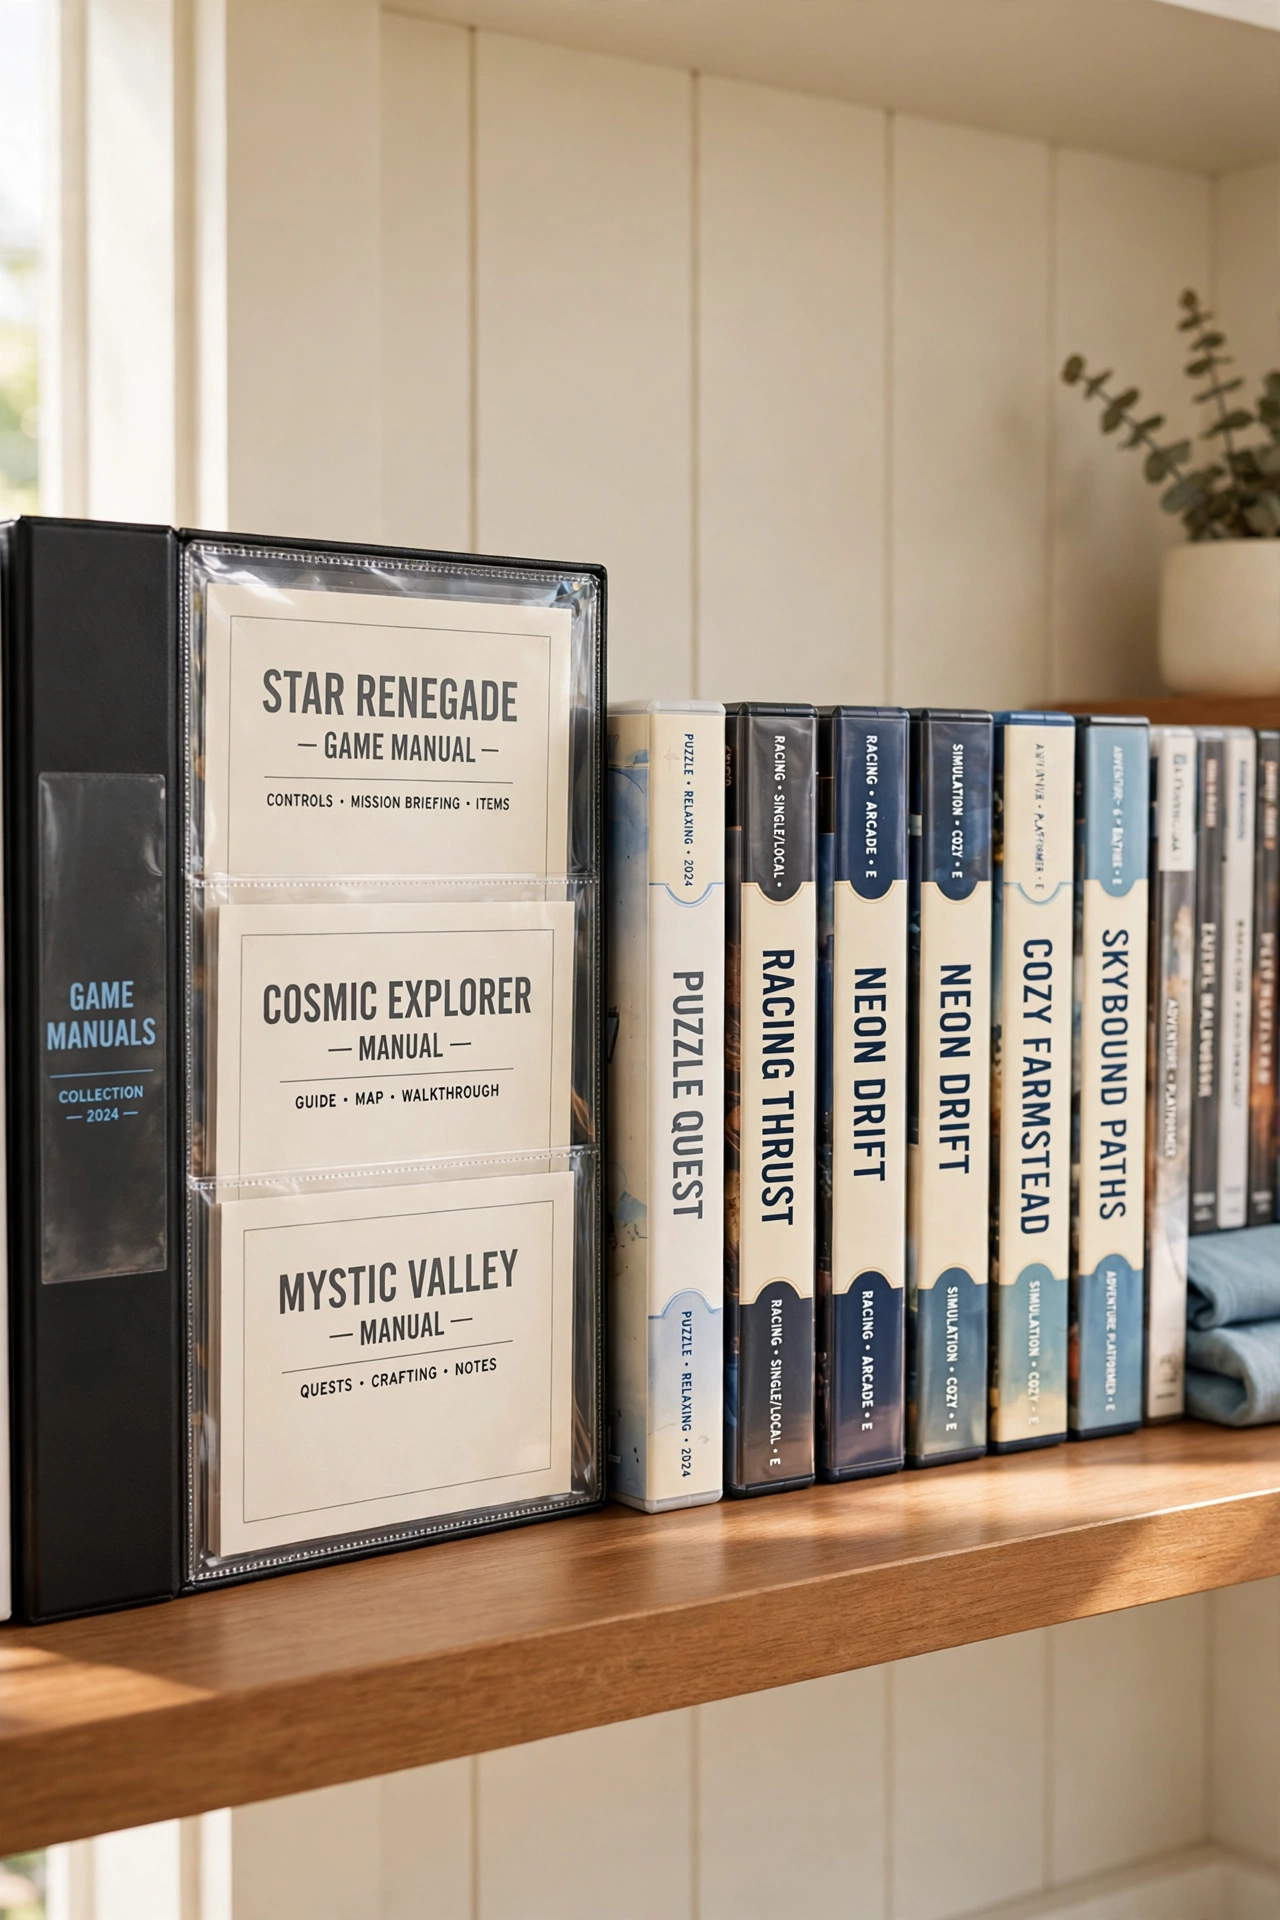
16. A Binder for Game Manuals
A binder with clear sleeves gives every game manual a safe home in one place. Slip each manual into its own sleeve and label the binder spine with the console name. Manuals stop vanishing into drawers, and you can find the instructions for any game in seconds.
Keep the binder on the same shelf as the games so it is always close when you need a hint. For a full system for the rest of your playroom, these board game organization ideas use the same binder trick for cards and rule books. A single binder protects the paper that came with your whole collection.
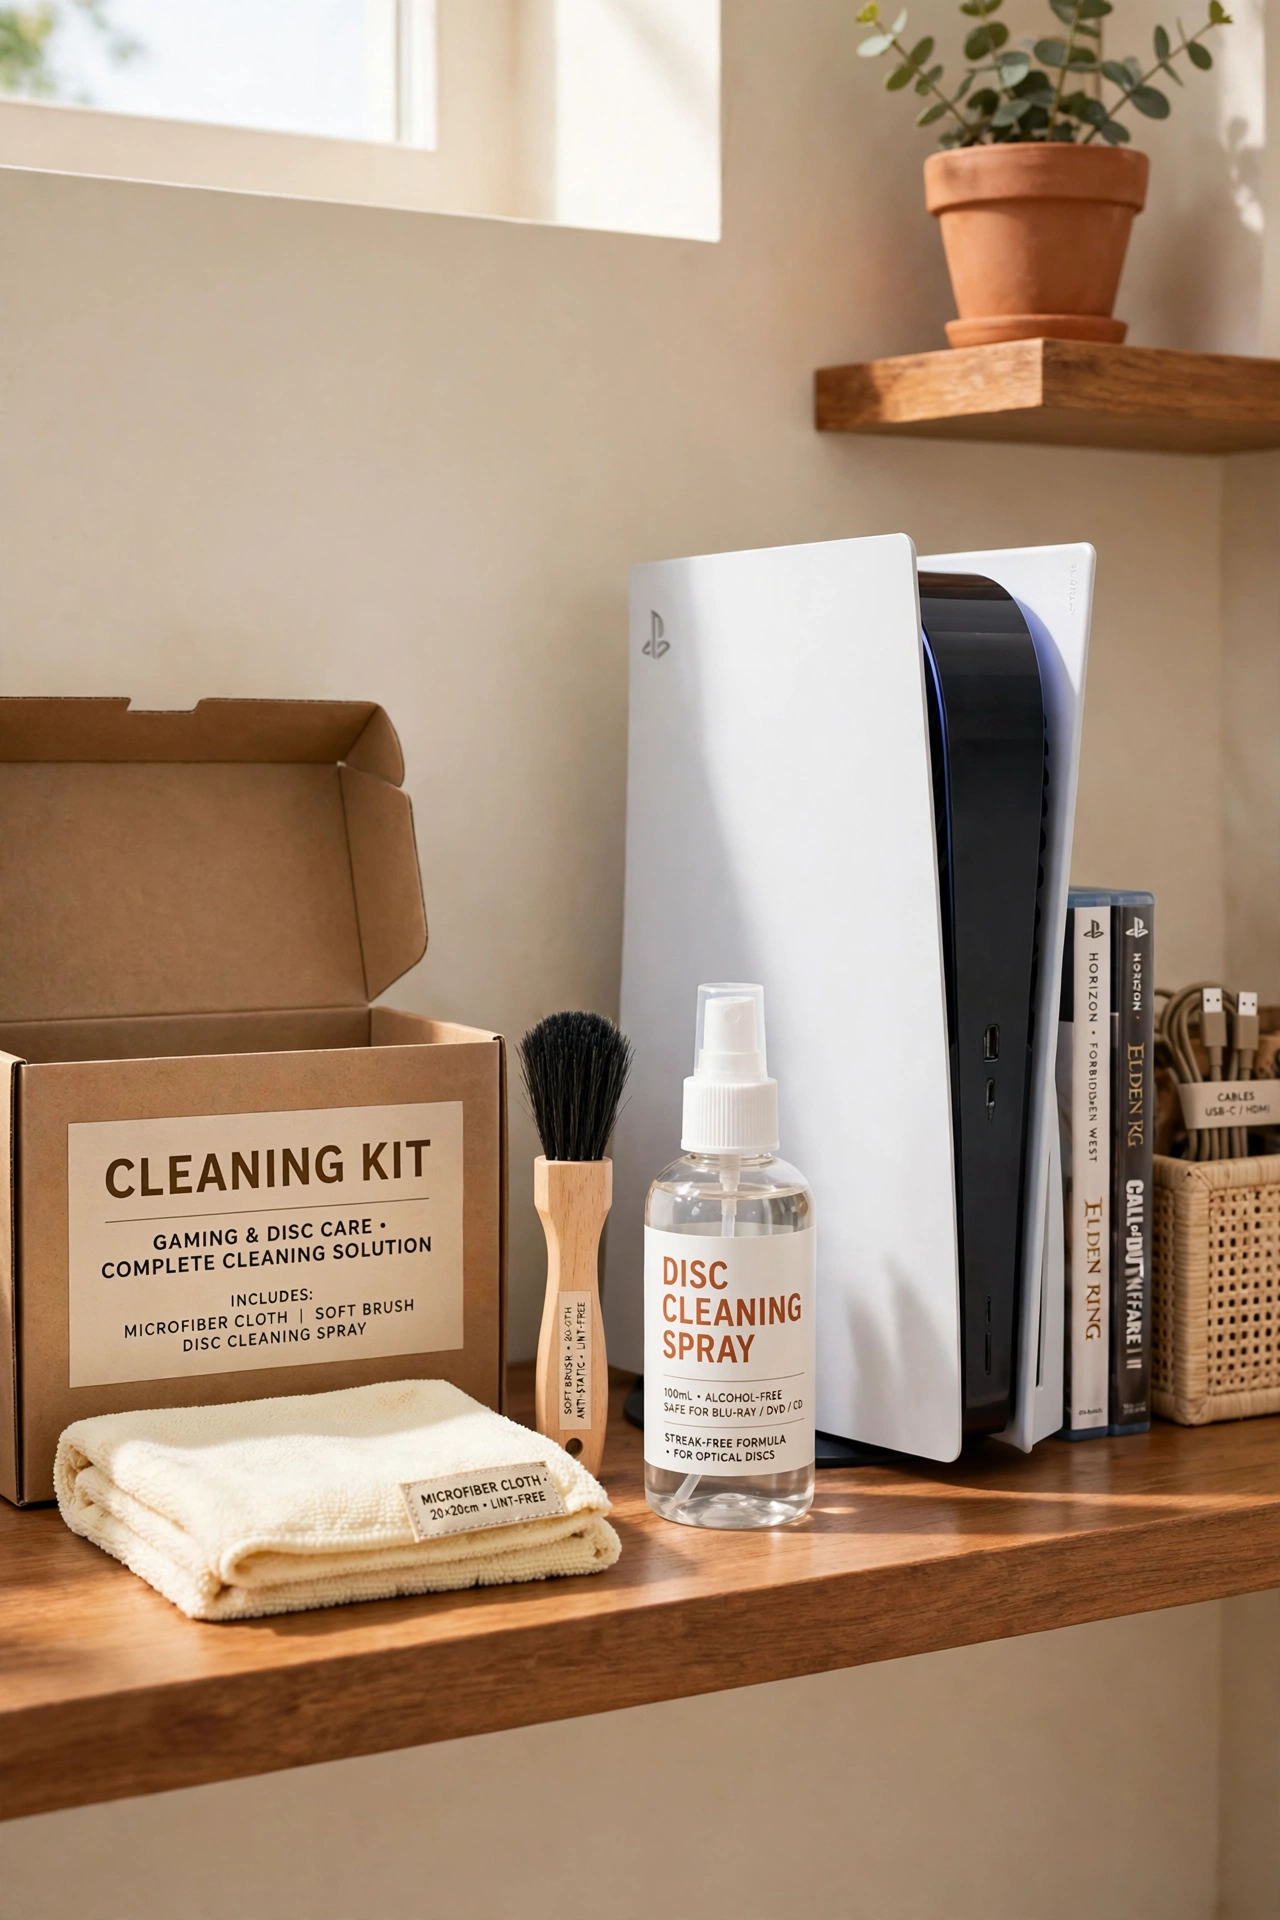
17. Keep a Cleaning Kit Together
A cleaning kit keeps your discs, controllers, and console dust-free when everything lives in one small box. Pack a microfiber cloth, a soft brush, a disc cleaning spray, and cotton swabs into a labeled container. When the screen smudges or a disc skips, the kit is already in your hand.
Store the cleaning kit on the gaming shelf, not in another room, so you actually use it. Check the kit every few months and replace the spray and cloths when they run low. A clean console and clean discs last longer and play better.
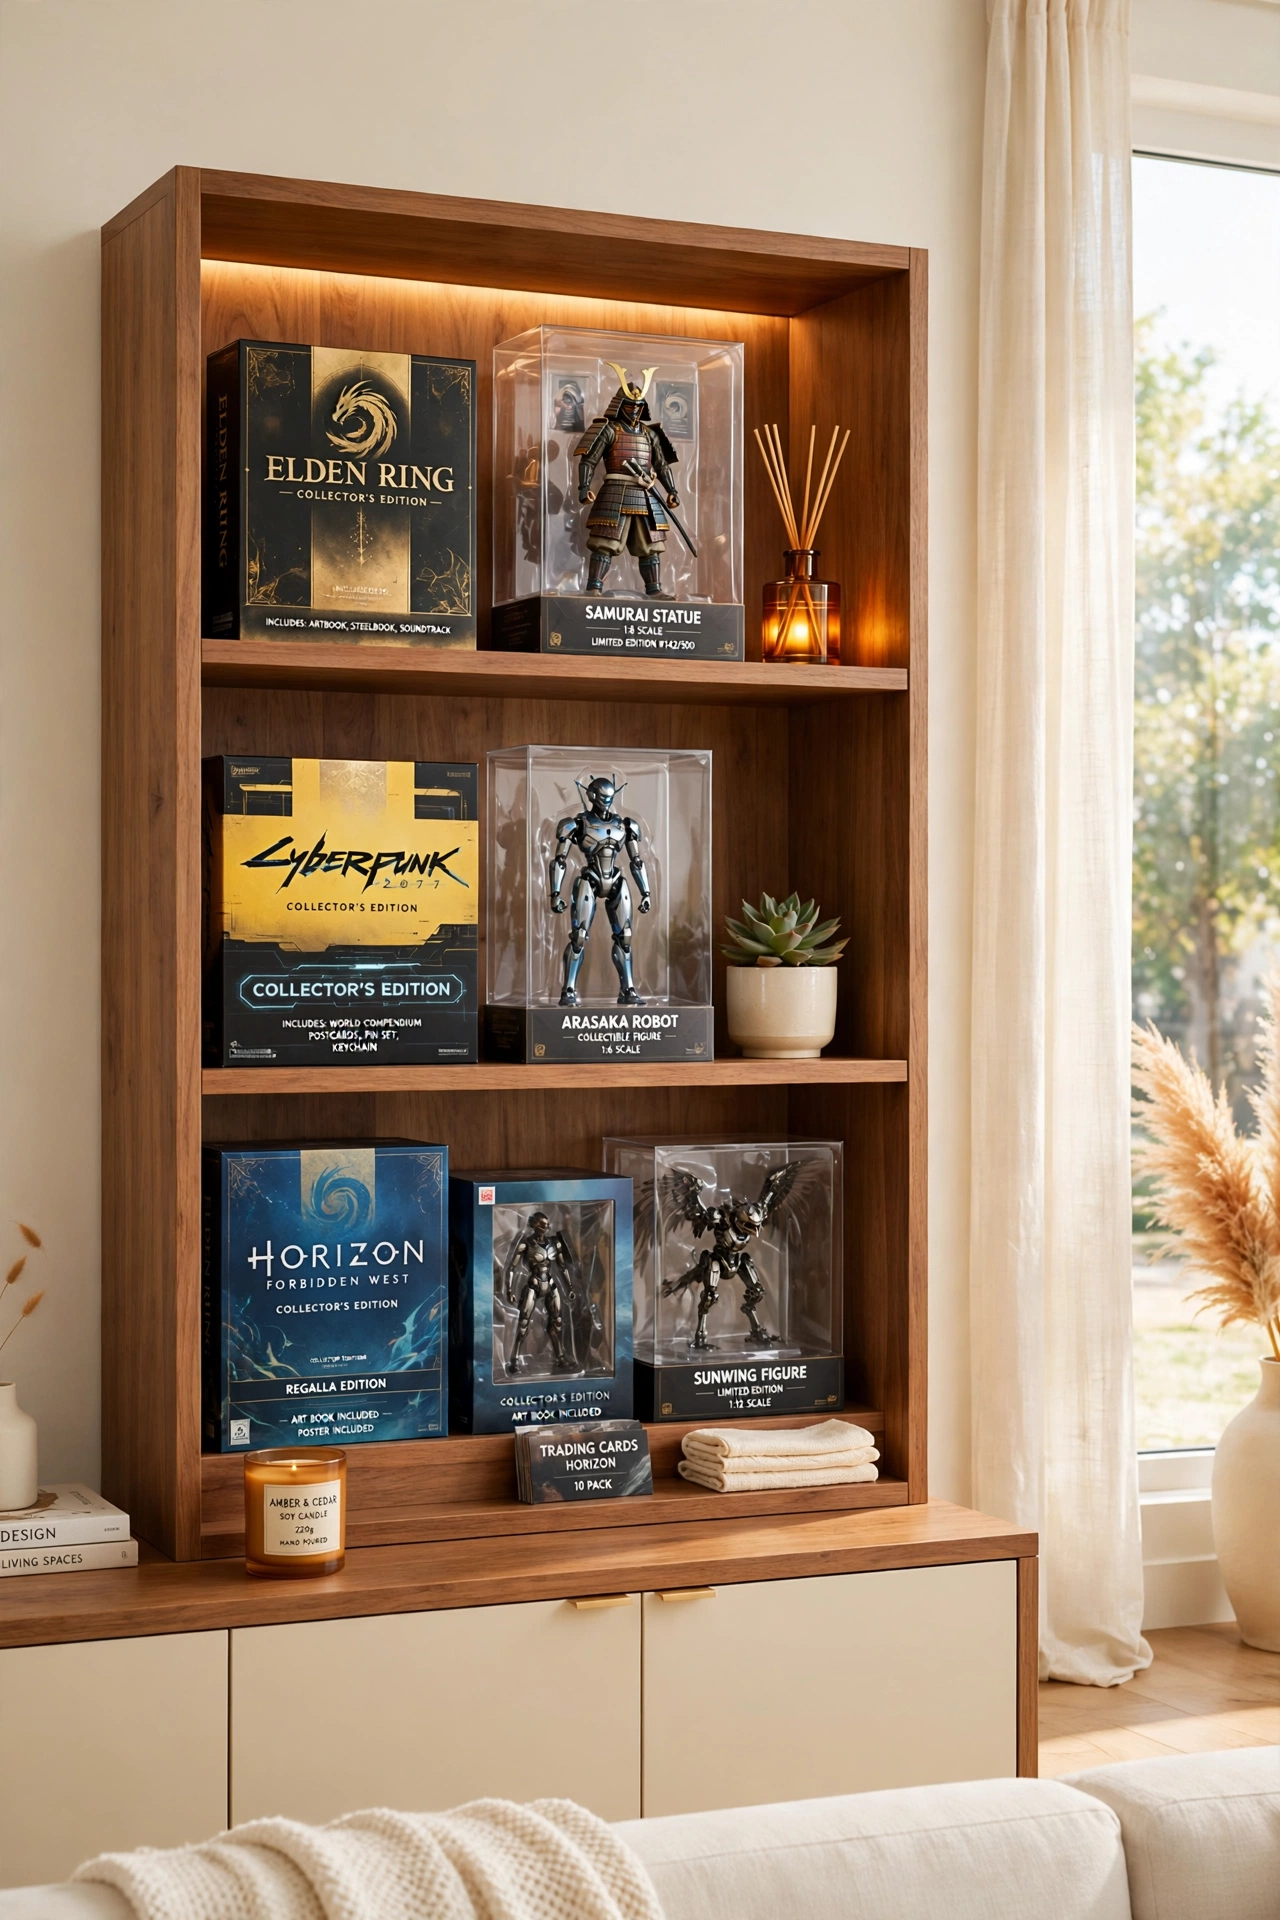
18. A Shelf for Collector’s Editions
Collector’s editions deserve a shelf of their own, where the special boxes and figures can be seen and enjoyed. Give them the top shelf or a dedicated display section, away from the everyday games that get pulled out daily. Good lighting makes the display feel like a small museum of your collection.
Keep collector’s items in their boxes when you can, and dust the shelf once a week so the display always looks its best. Do not stack heavy items on top of special edition boxes. A shelf that honors your favorites also reminds you why you collected them.
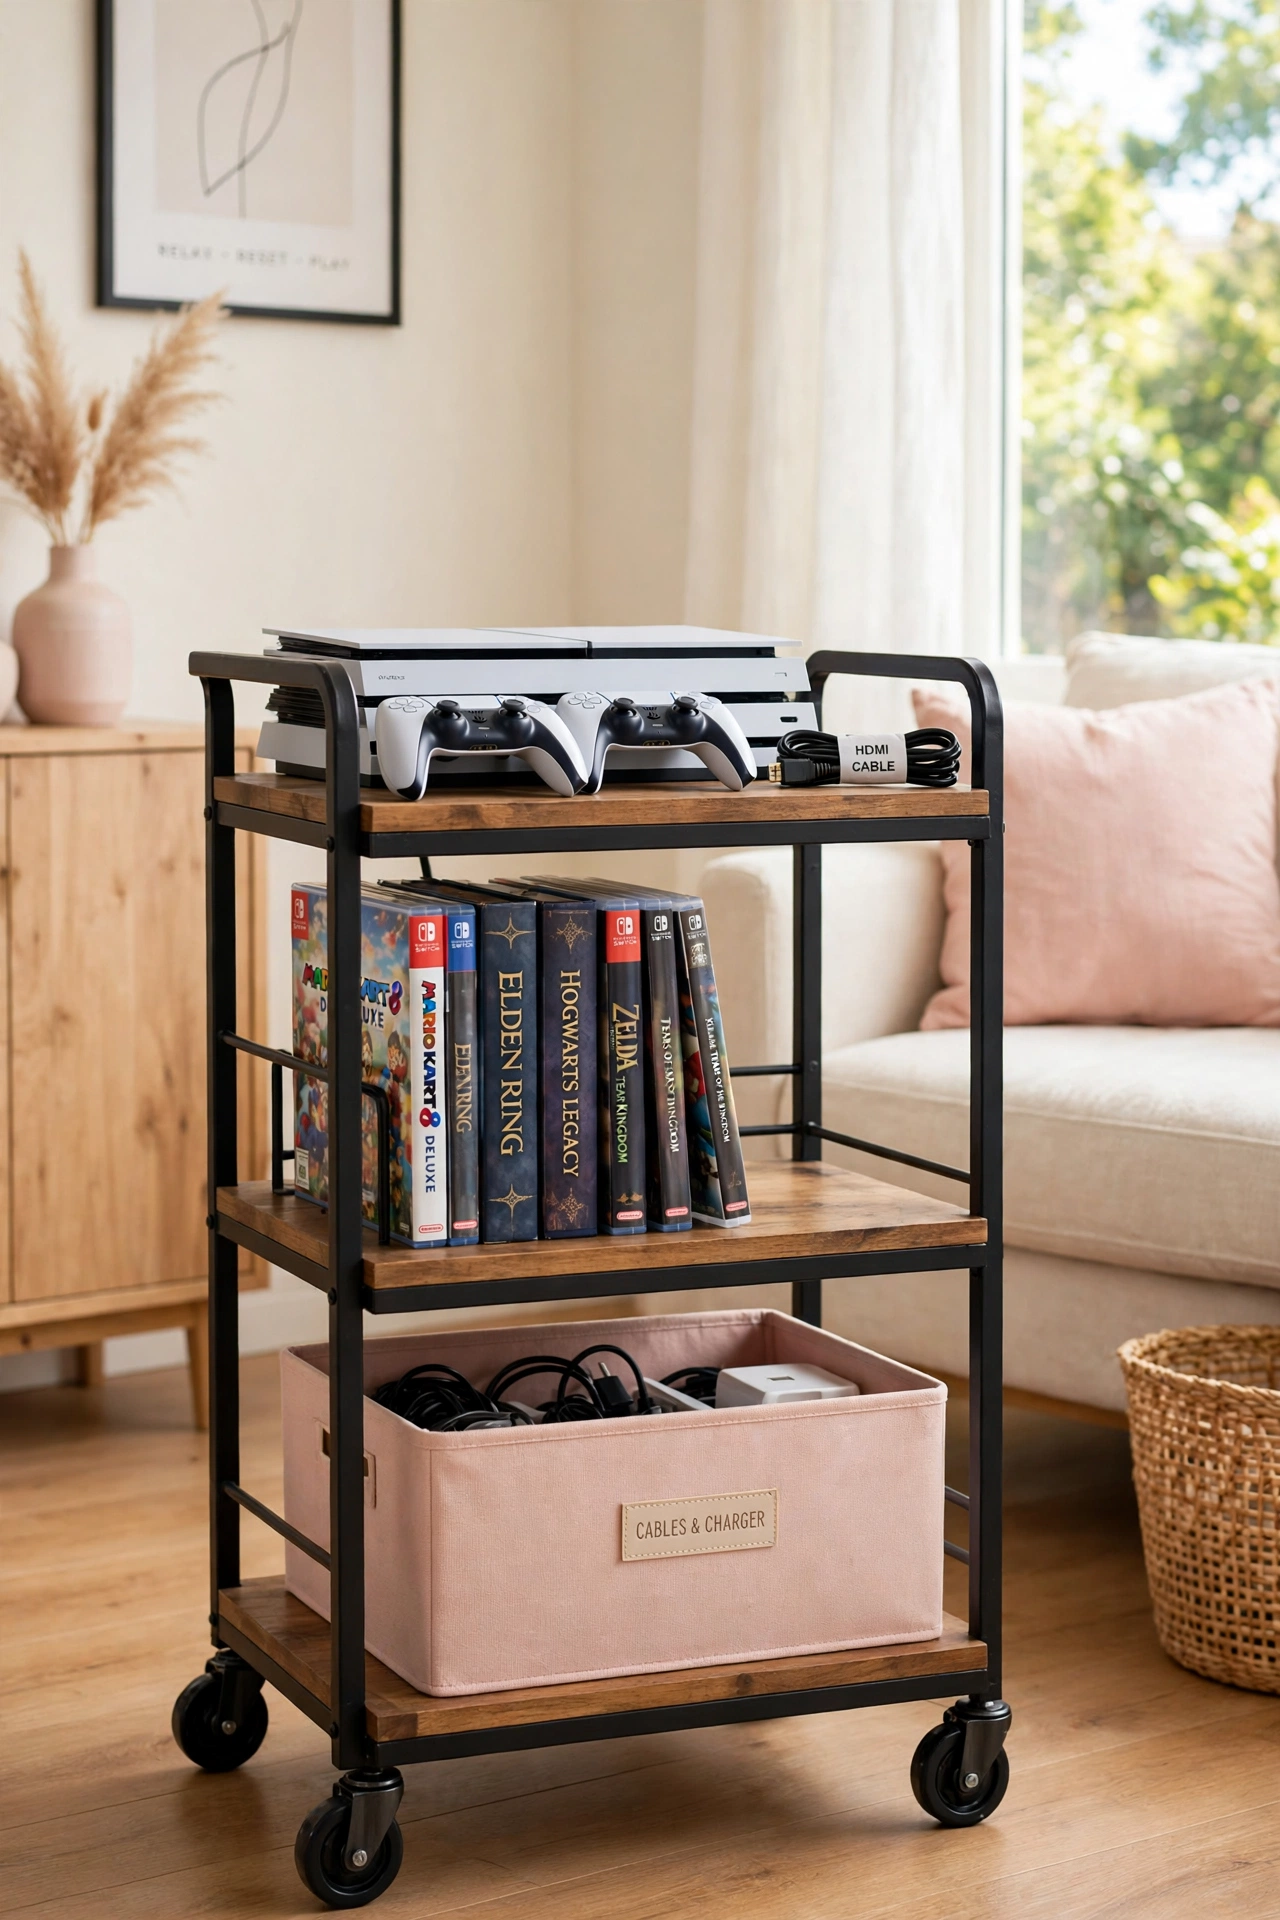
19. Use a Rolling Cart for the Setup
A rolling cart turns a whole gaming setup into something you can move wherever the family gathers. Fill the tiers with the console, the controllers, and the games, then roll the cart to the living room for game night. When the night ends, roll it back to its corner.
Choose a sturdy cart with locking wheels so it stays put while you play. Keep the cables in a tray on the bottom tier so they never drag on the floor. A rolling setup suits small homes where one room must serve many purposes.
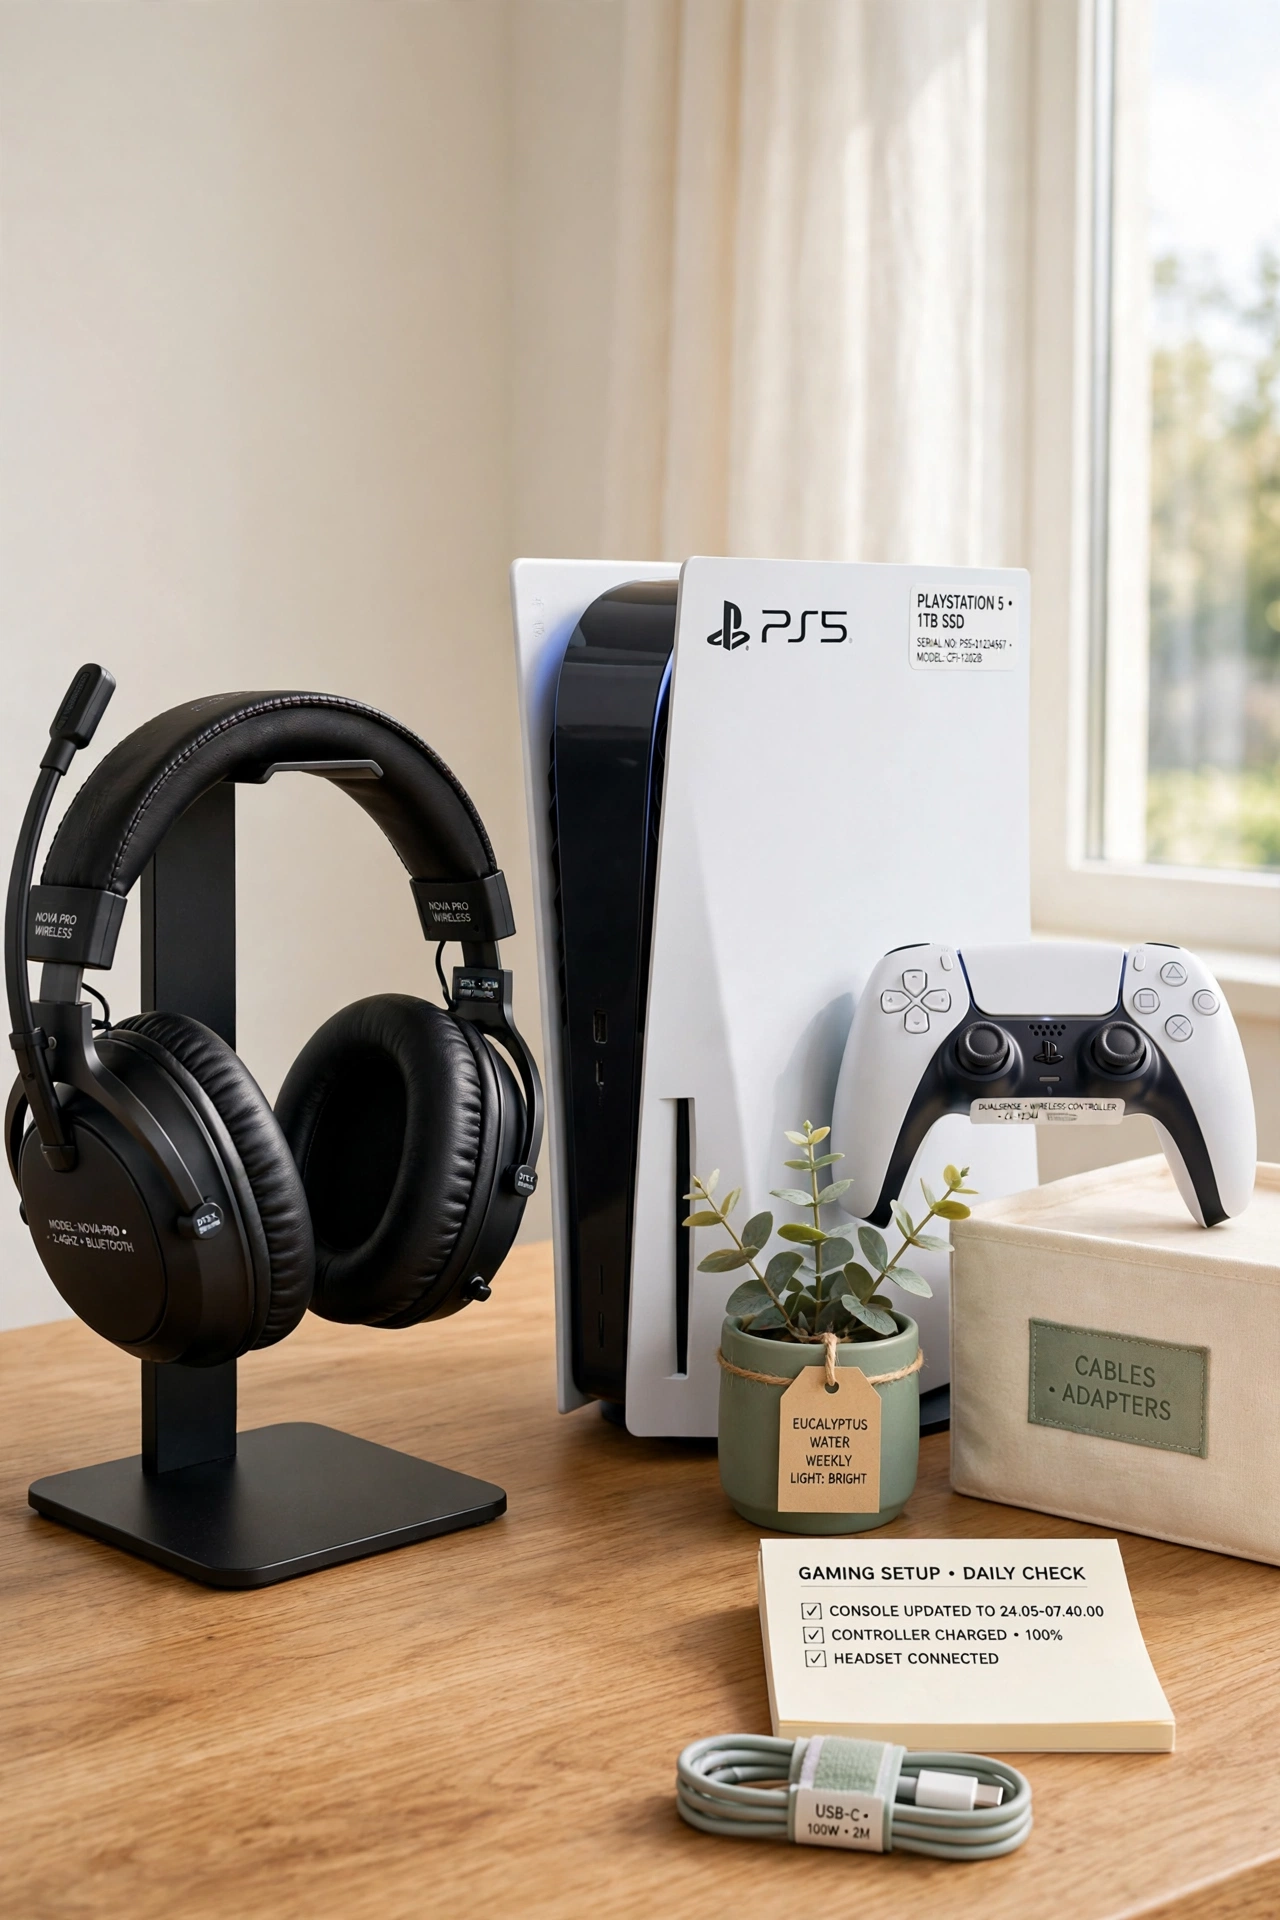
20. Keep Headphones on a Stand
A headphone stand keeps your gaming headphones safe between sessions and ready in seconds. Rest the headphones on the stand beside the console and the ear cups keep their shape while the cable hangs neatly below. The stand also stops the headphones from sliding off the desk onto the floor.
Pick a stand with a weighted base so it never tips when you lift the headphones off. If you own two headsets, use a double stand so both have a home. Headphones on a stand last longer and look far tidier than headphones in a drawer.
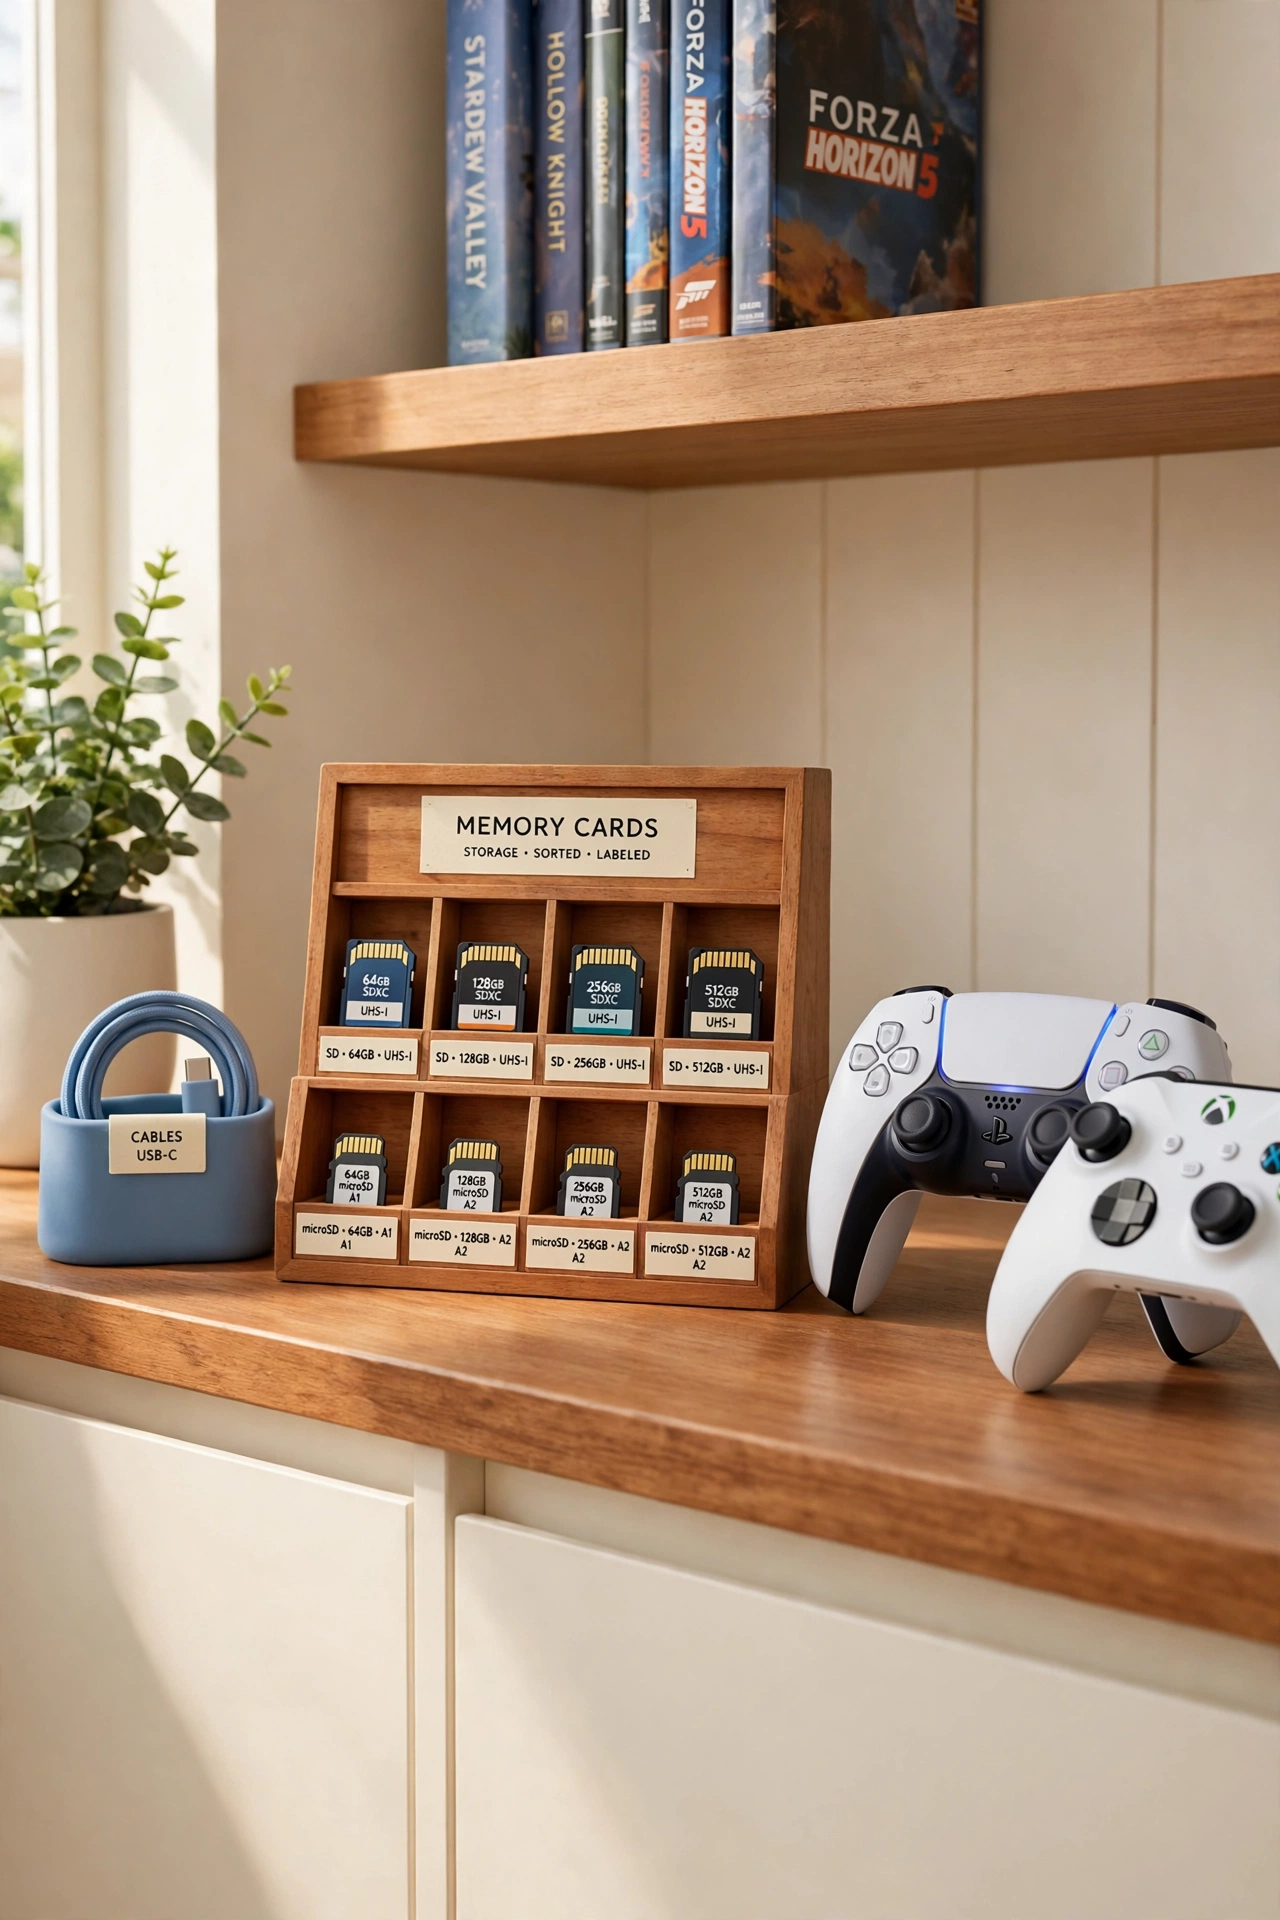
21. A Small Box for Memory Cards
A small box with tiny compartments gives memory cards a safe home where they never get lost. Label each compartment by console or by game, and keep the box on the gaming shelf beside the controllers. Memory cards are small and easy to lose, so a dedicated box is worth the effort.
Choose a box with a snap-shut lid so the cards stay inside even if the box tips over. For more ideas on storing small pieces safely, these lego organization ideas use the same small-compartment trick for tiny parts. Check the box once a month and remove cards you no longer use.
22. Label Every Shelf Clearly
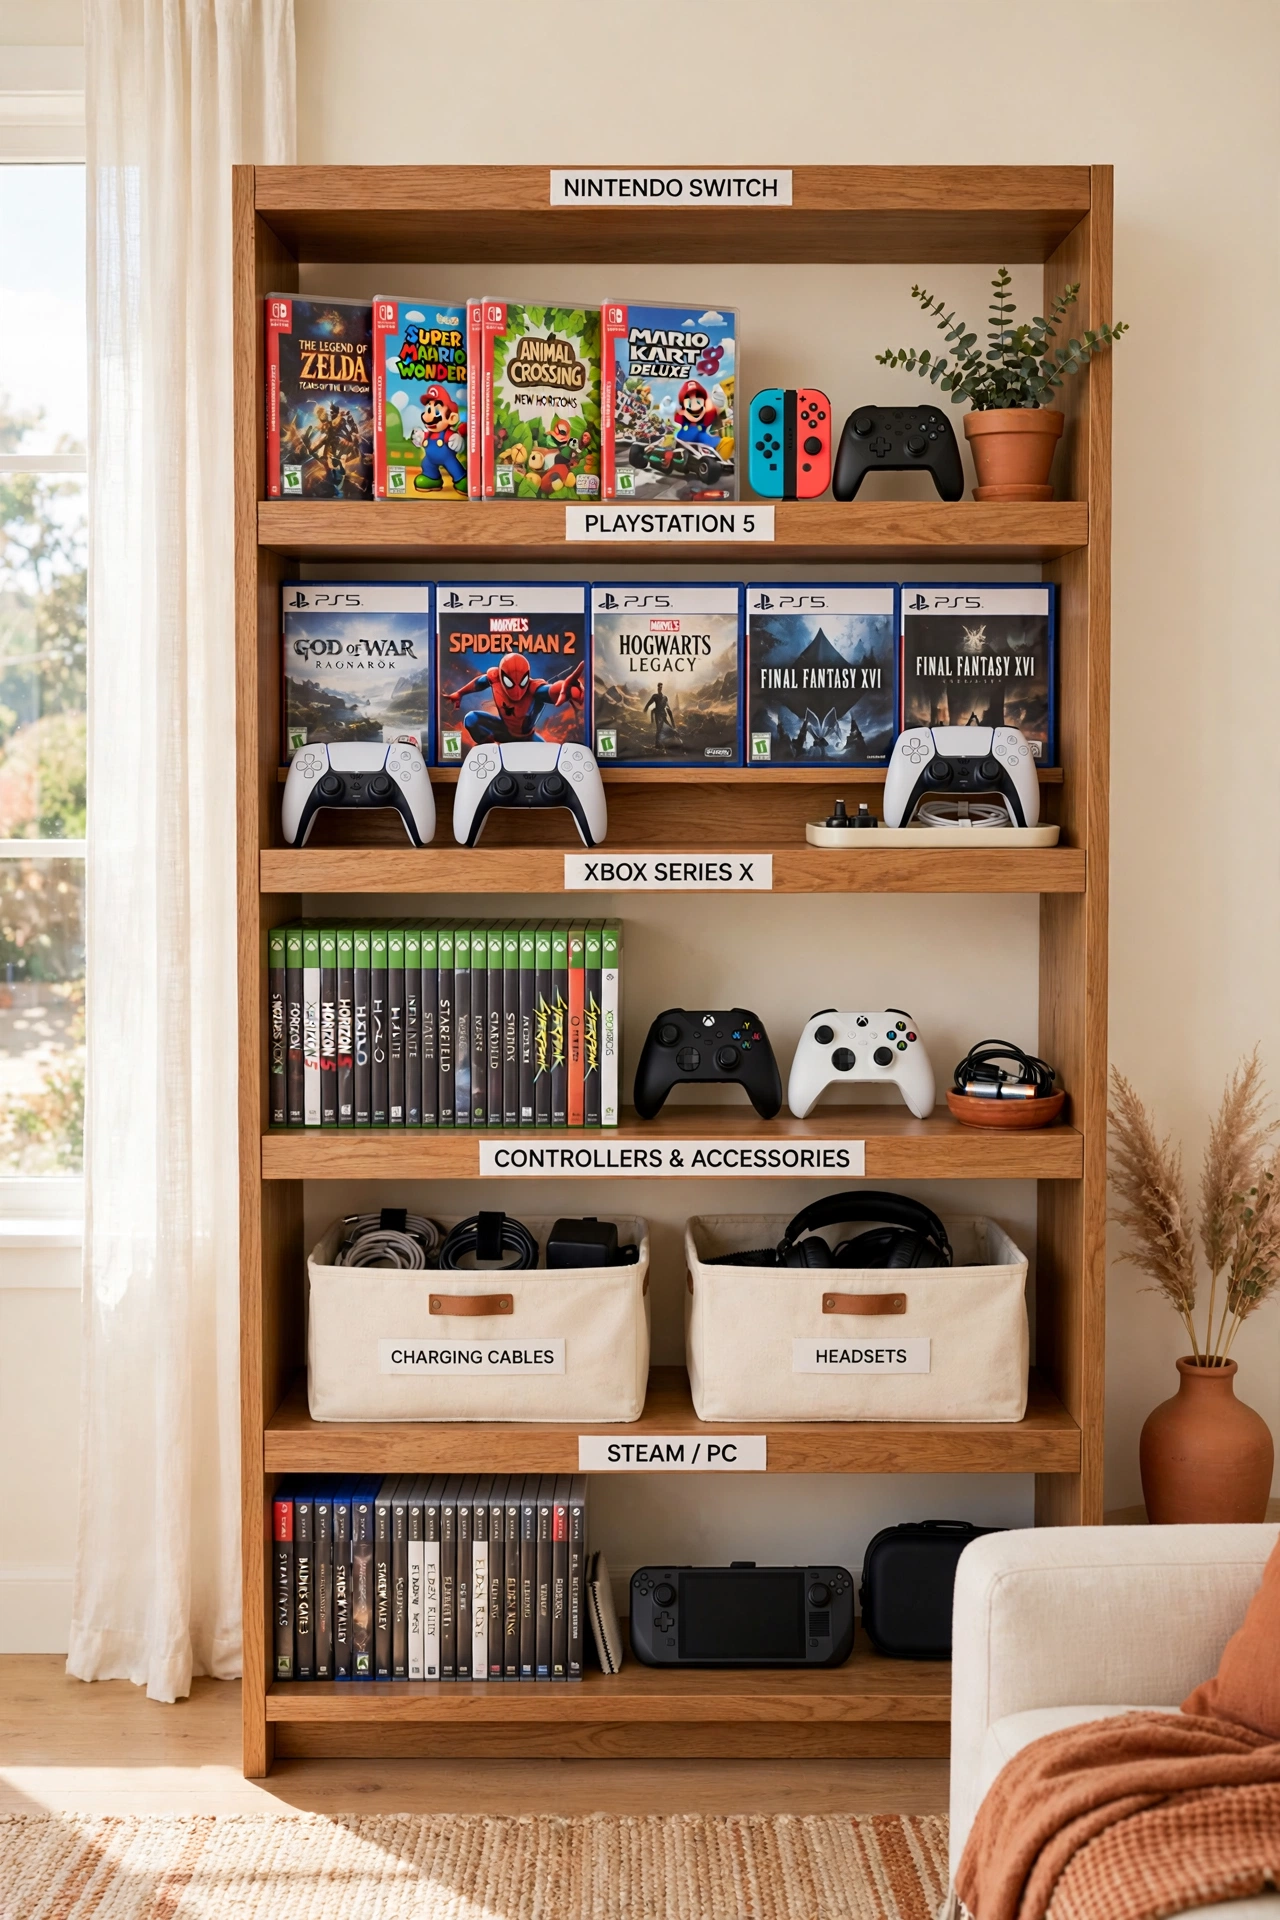
Labels turn a shelf full of games into a system anyone in the family can use. Label each shelf section with its contents, such as racing games, controllers, or charging cables, using large print that anyone can read in a hurry. A label maker gives the neatest result, but neat handwritten tags work just as well.
Place each label on the front edge of its shelf so you can read it the moment you walk into the room. Replace labels when the contents of a shelf change so the system stays accurate. Good labels mean you never have to open five bins to find one small controller.
23. Keep the Play Area Clutter Free
A clutter-free play area starts with one rule: everything returns to its home when the game ends. Controllers go back on their stands, discs go back in their cases, and cables go back in their pouches. The room stays ready for the next session without a big cleanup.
Give the play area a small basket for the bits that appear during a session, like snack wrappers and drink coasters, and empty it every evening. For a full system for the whole room, these playroom organization ideas keep every toy and game in its place. A tidy play area makes every game night feel more relaxed.
24. A Travel Case for Away Games
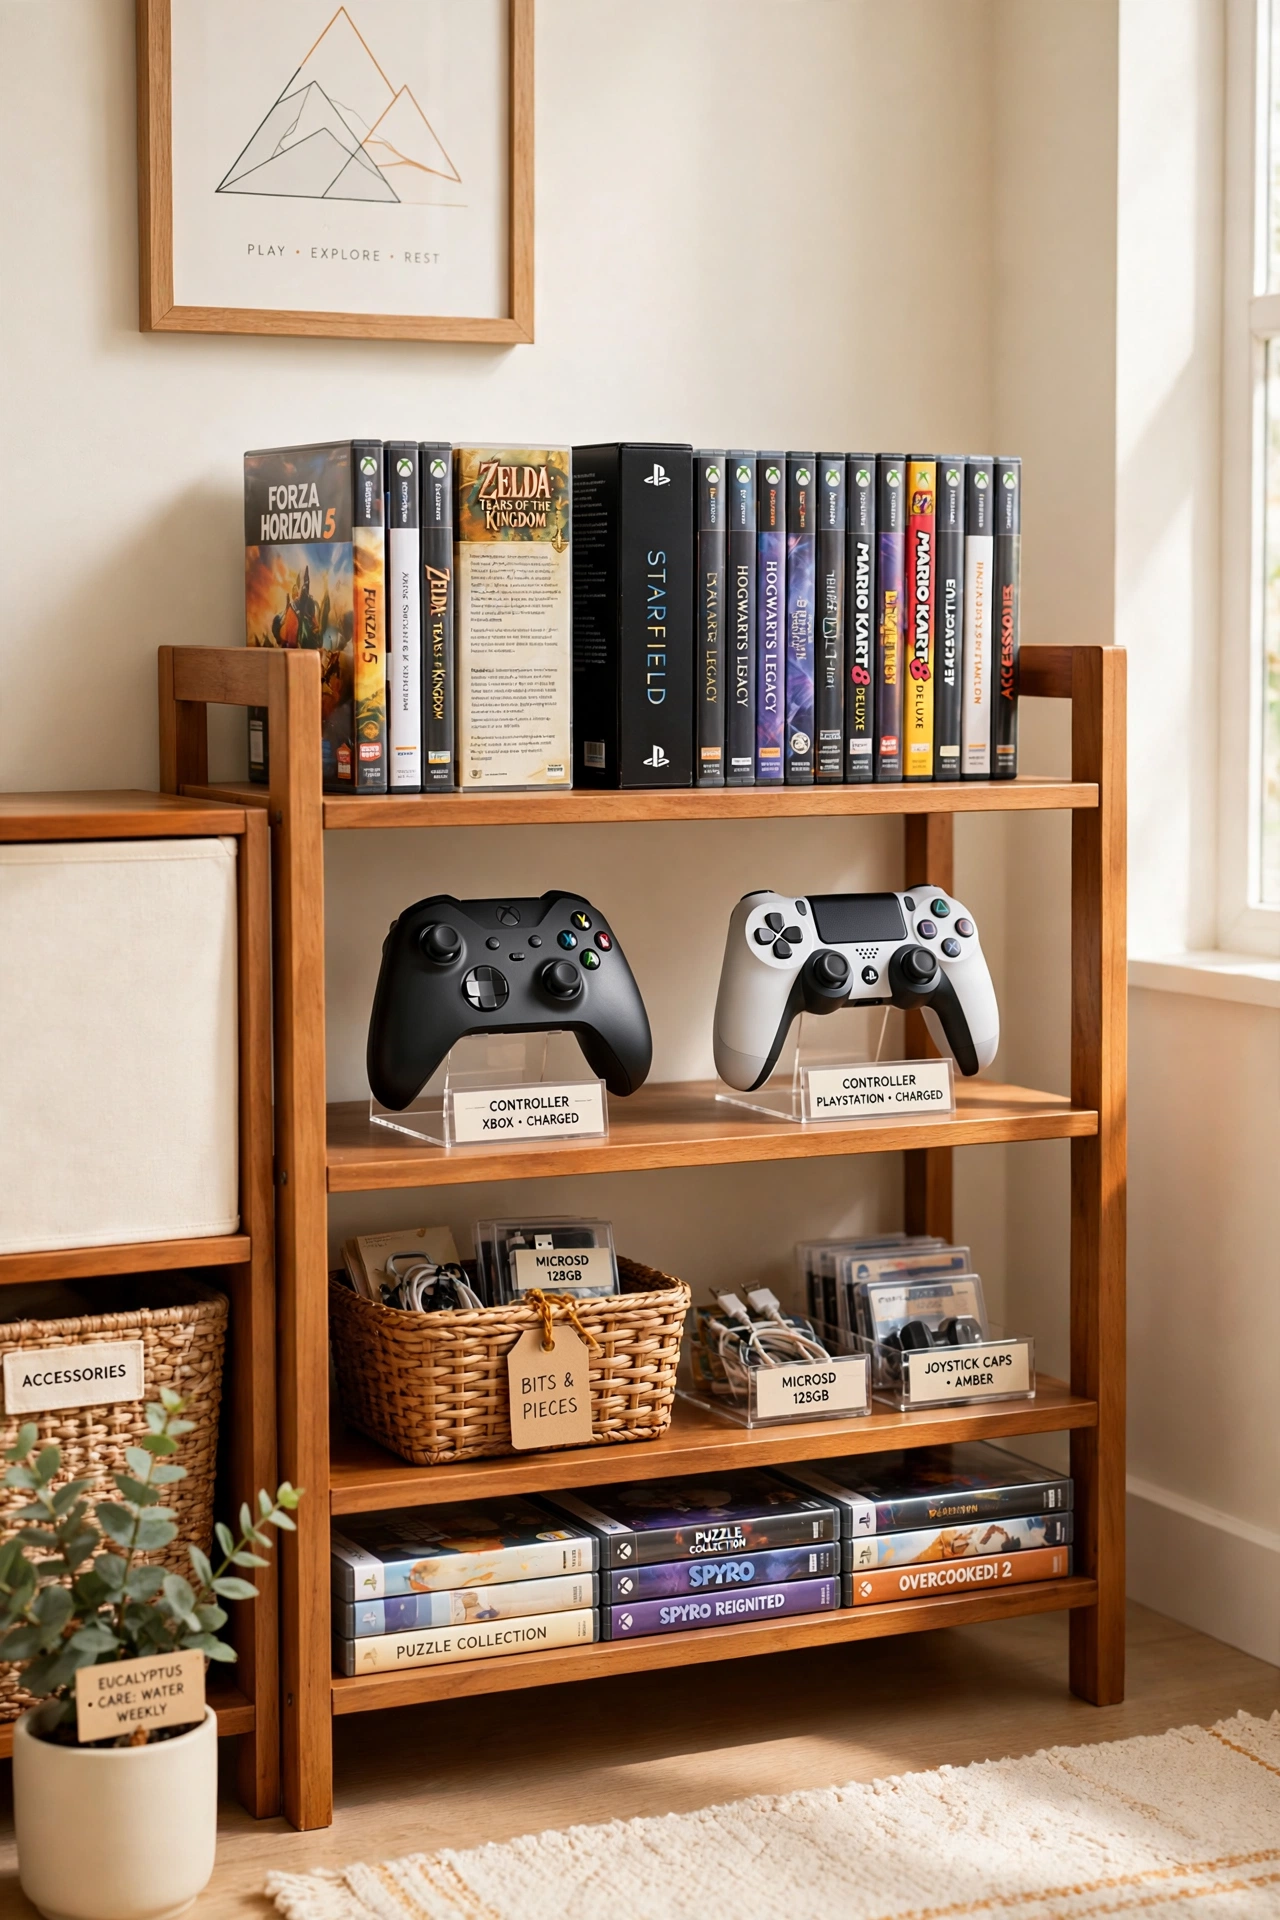
A travel case packs your handheld console, a few games, and a charger into one protected bag for trips and visits. Choose a hard case with padded slots so the console and the games stay safe in a backpack or a car. The whole kit travels as one unit, so nothing gets left behind.
Keep the travel case packed and ready on the gaming shelf, with the games you play most often already inside. Check the case before every trip and swap in the games you want for that journey. A ready travel case means game night can happen anywhere.
25. Store Extra Controllers in a Bin
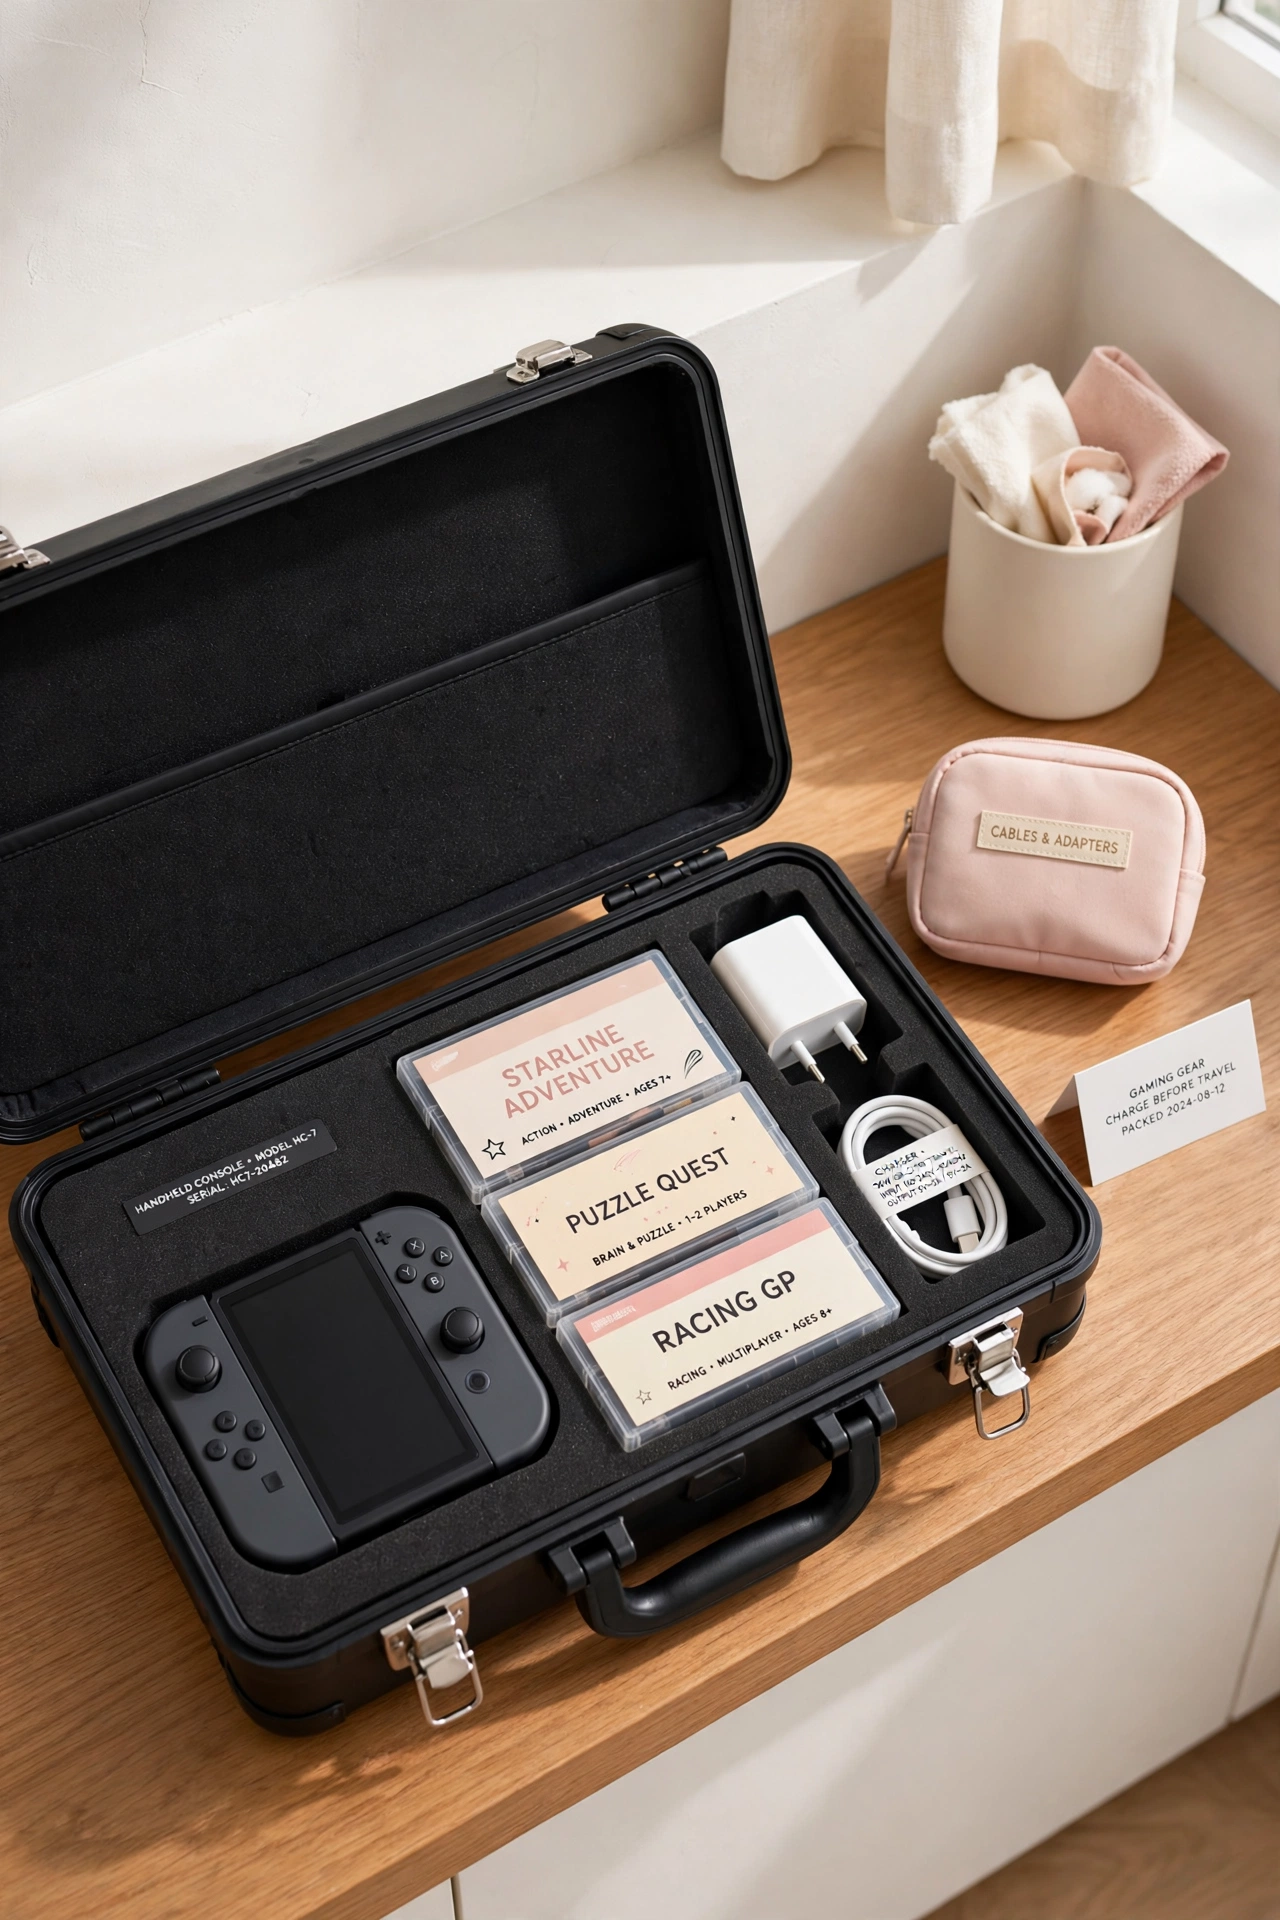
Extra controllers that are not in daily use belong in a labeled bin on the gaming shelf. Use one bin for each console and stack the controllers inside with a little padding between them. The bin keeps spare controllers dust-free and stops them from piling up on the sofa.
Label the bin clearly so you can find a spare in seconds when a friend joins the game. Keep the bin on a lower shelf where it is easy to reach. When every spare controller has a bin, the living room never looks like a controller graveyard.
26. A Monthly Dust and Declutter Routine
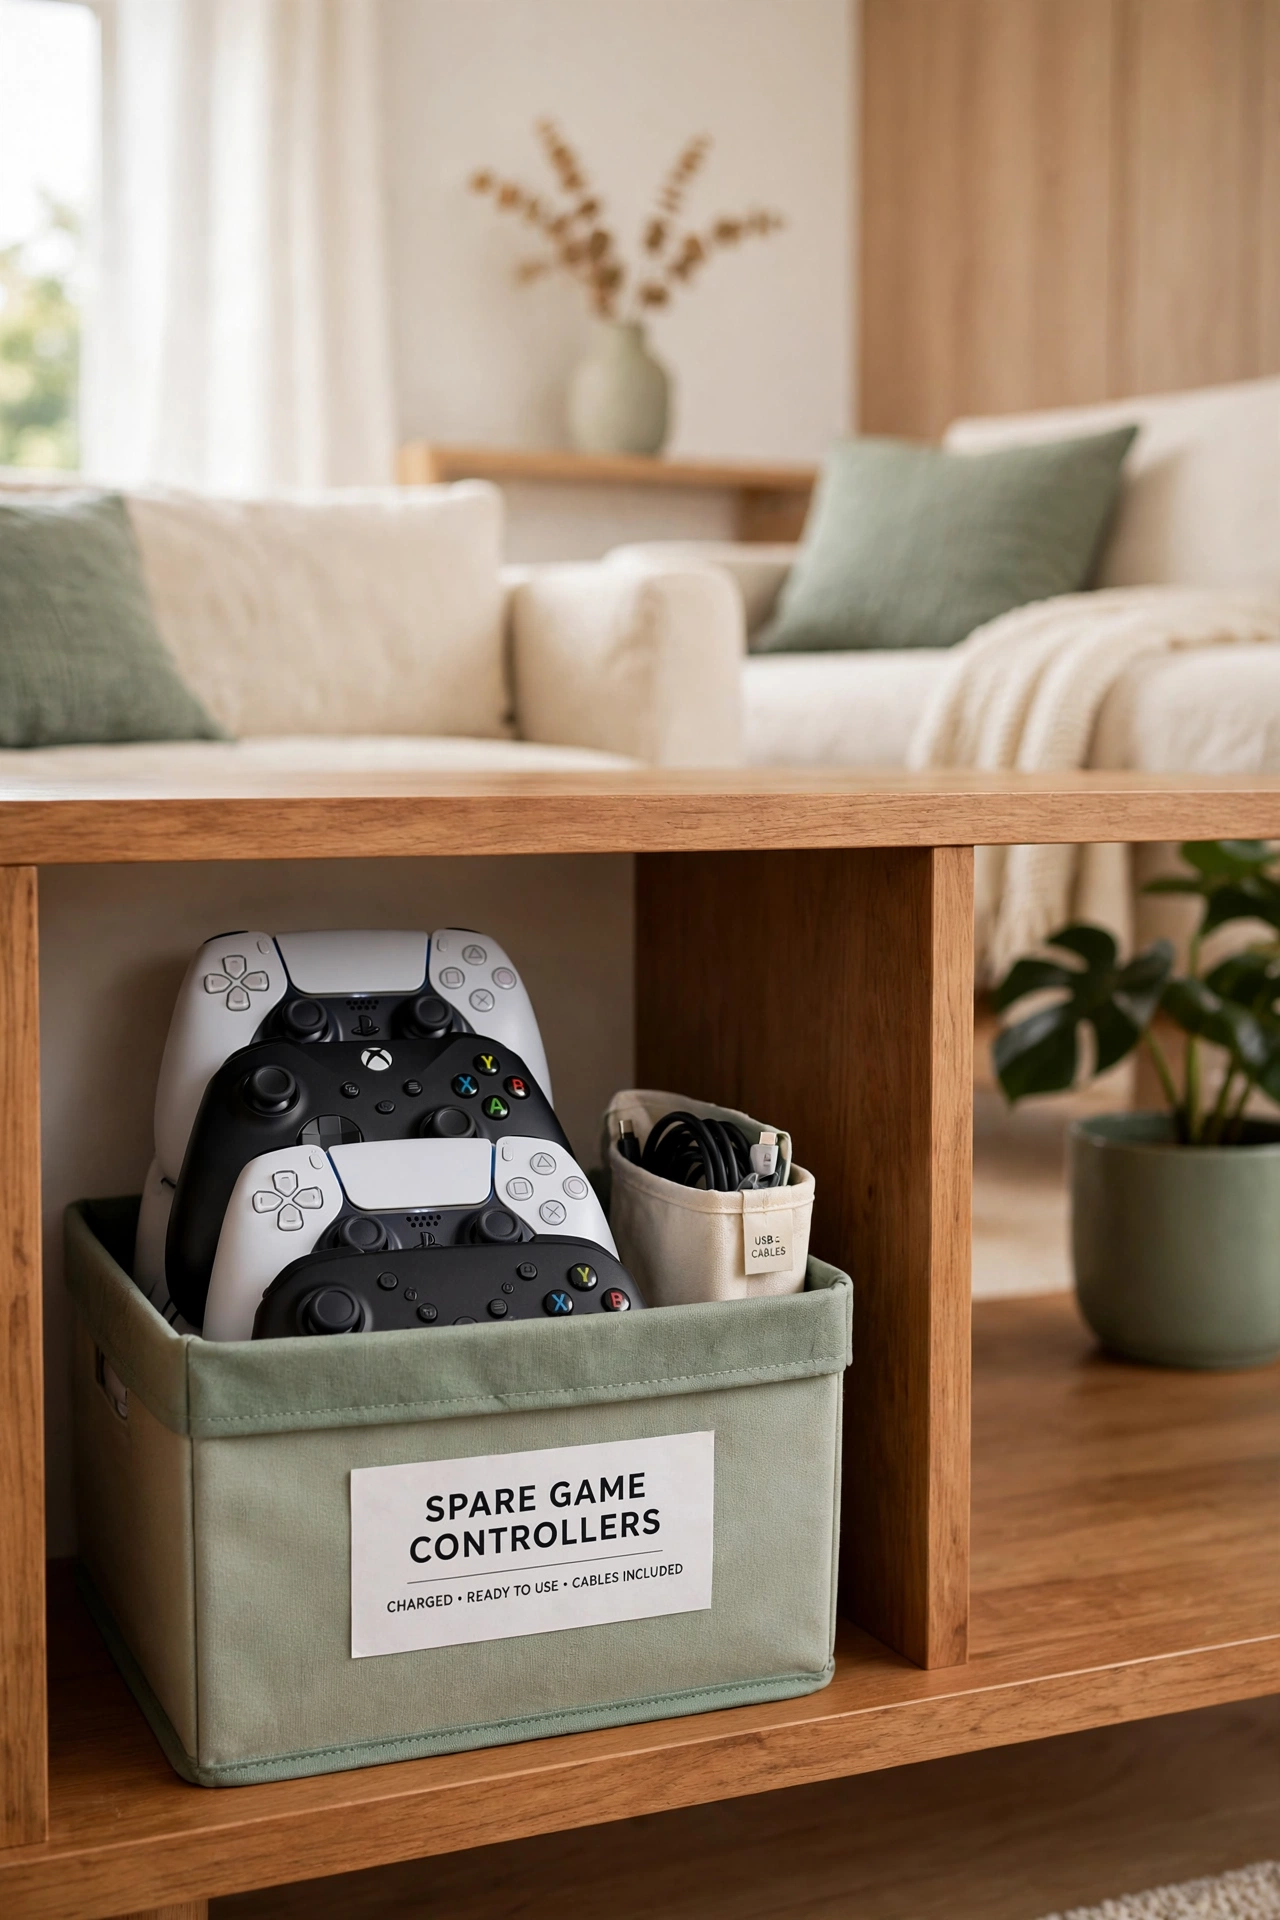
A monthly dust and declutter routine keeps your gaming setup healthy and tidy all year. Once a month, wipe every shelf, dust the console vents, and check each game case for damage. Remove the games nobody played in the last few months and move them to storage or a trade pile.
Set a phone reminder for the first Sunday of each month so the routine never slips. For a simple system that keeps the rest of the house just as tidy, these toy rotation ideas use the same monthly rhythm for playroom toys. A short monthly check stops small messes from growing into a full cleanup.
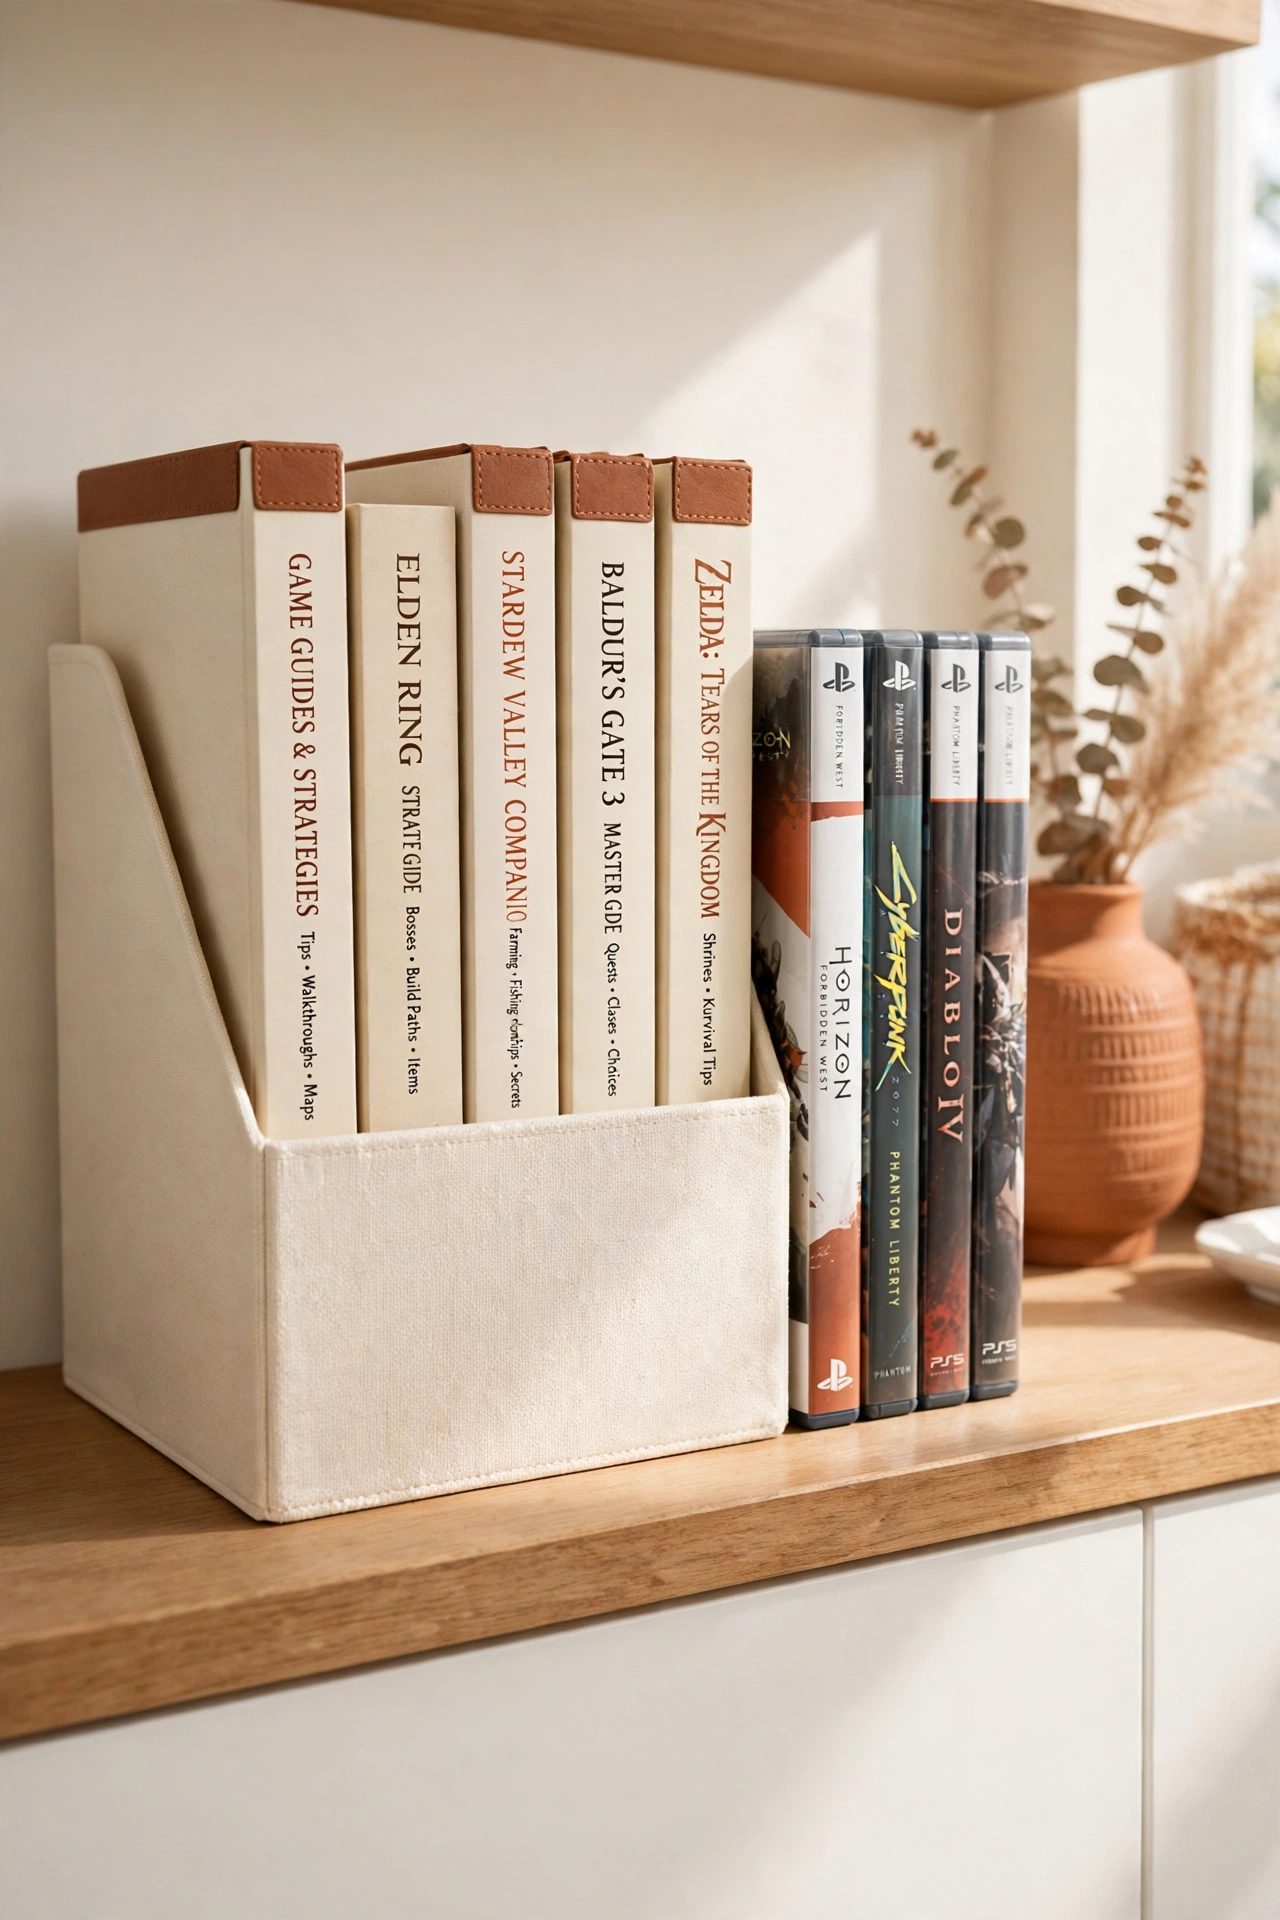
27. Keep Game Guides in One Spot
Game guides and strategy books belong together in one spot on the gaming shelf. Stand them upright in a magazine file or a small bookend row, sorted by game name. When you get stuck on a level, the guide is right there beside the game it belongs to.
Keep printed guides with the binder of manuals so all the paper for your games lives in one place. If you prefer digital guides, save the links in one folder on your phone or computer. One spot for every guide means no more hunting through drawers mid-game.
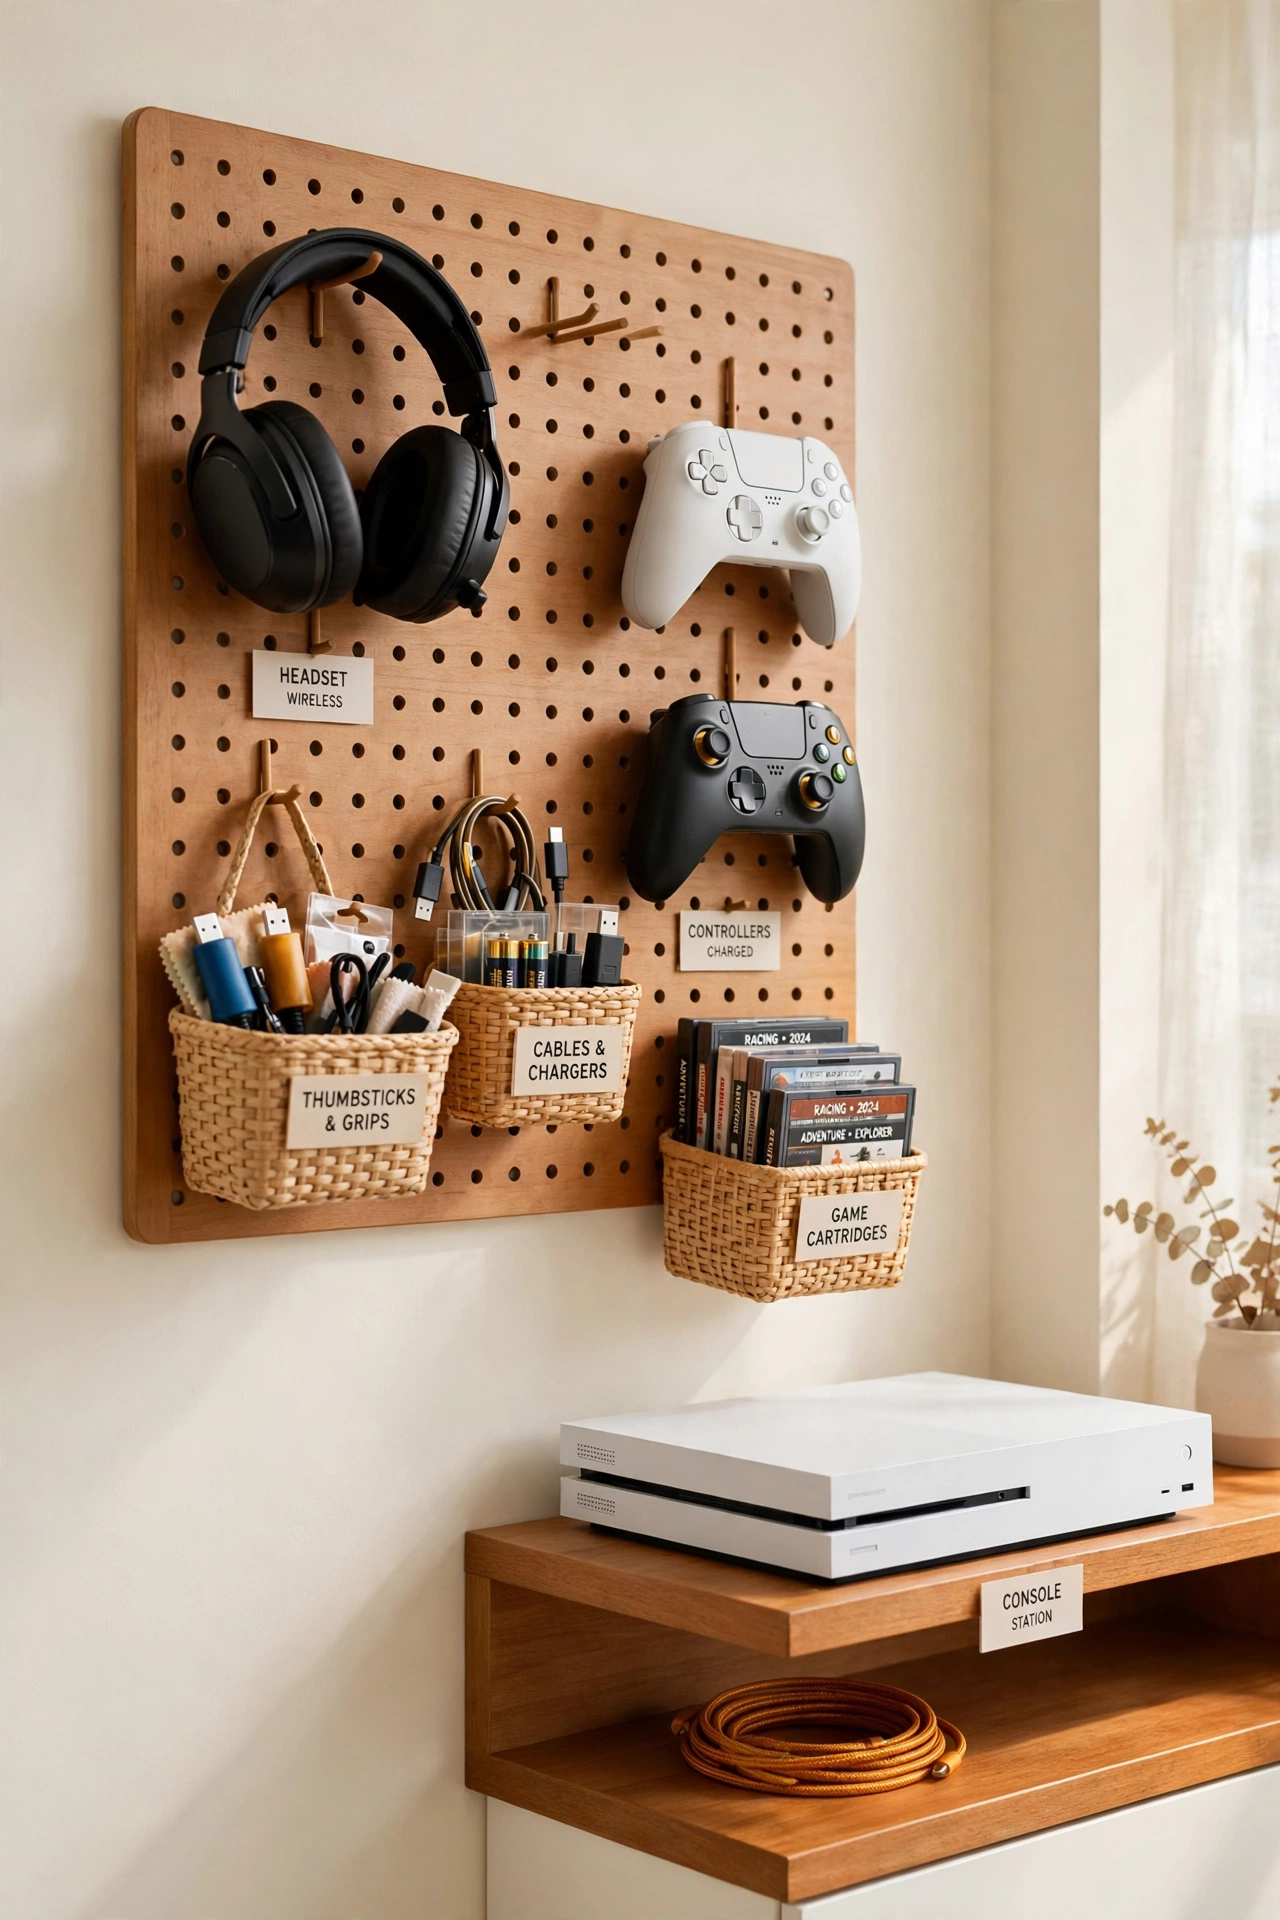
28. A Pegboard for Accessories
A pegboard on the wall turns small gaming accessories into a tidy display. Hang hooks and small baskets from the board to hold cables, spare batteries, controller grips, and cleaning cloths. Every accessory hangs in plain sight, so you can grab what you need without opening a drawer.
Mount the pegboard beside the console at arm height so everything stays within easy reach. Rearrange the hooks whenever your collection changes, since a pegboard adapts in minutes. This flexible wall turns clutter into a display that looks smart and stays useful.
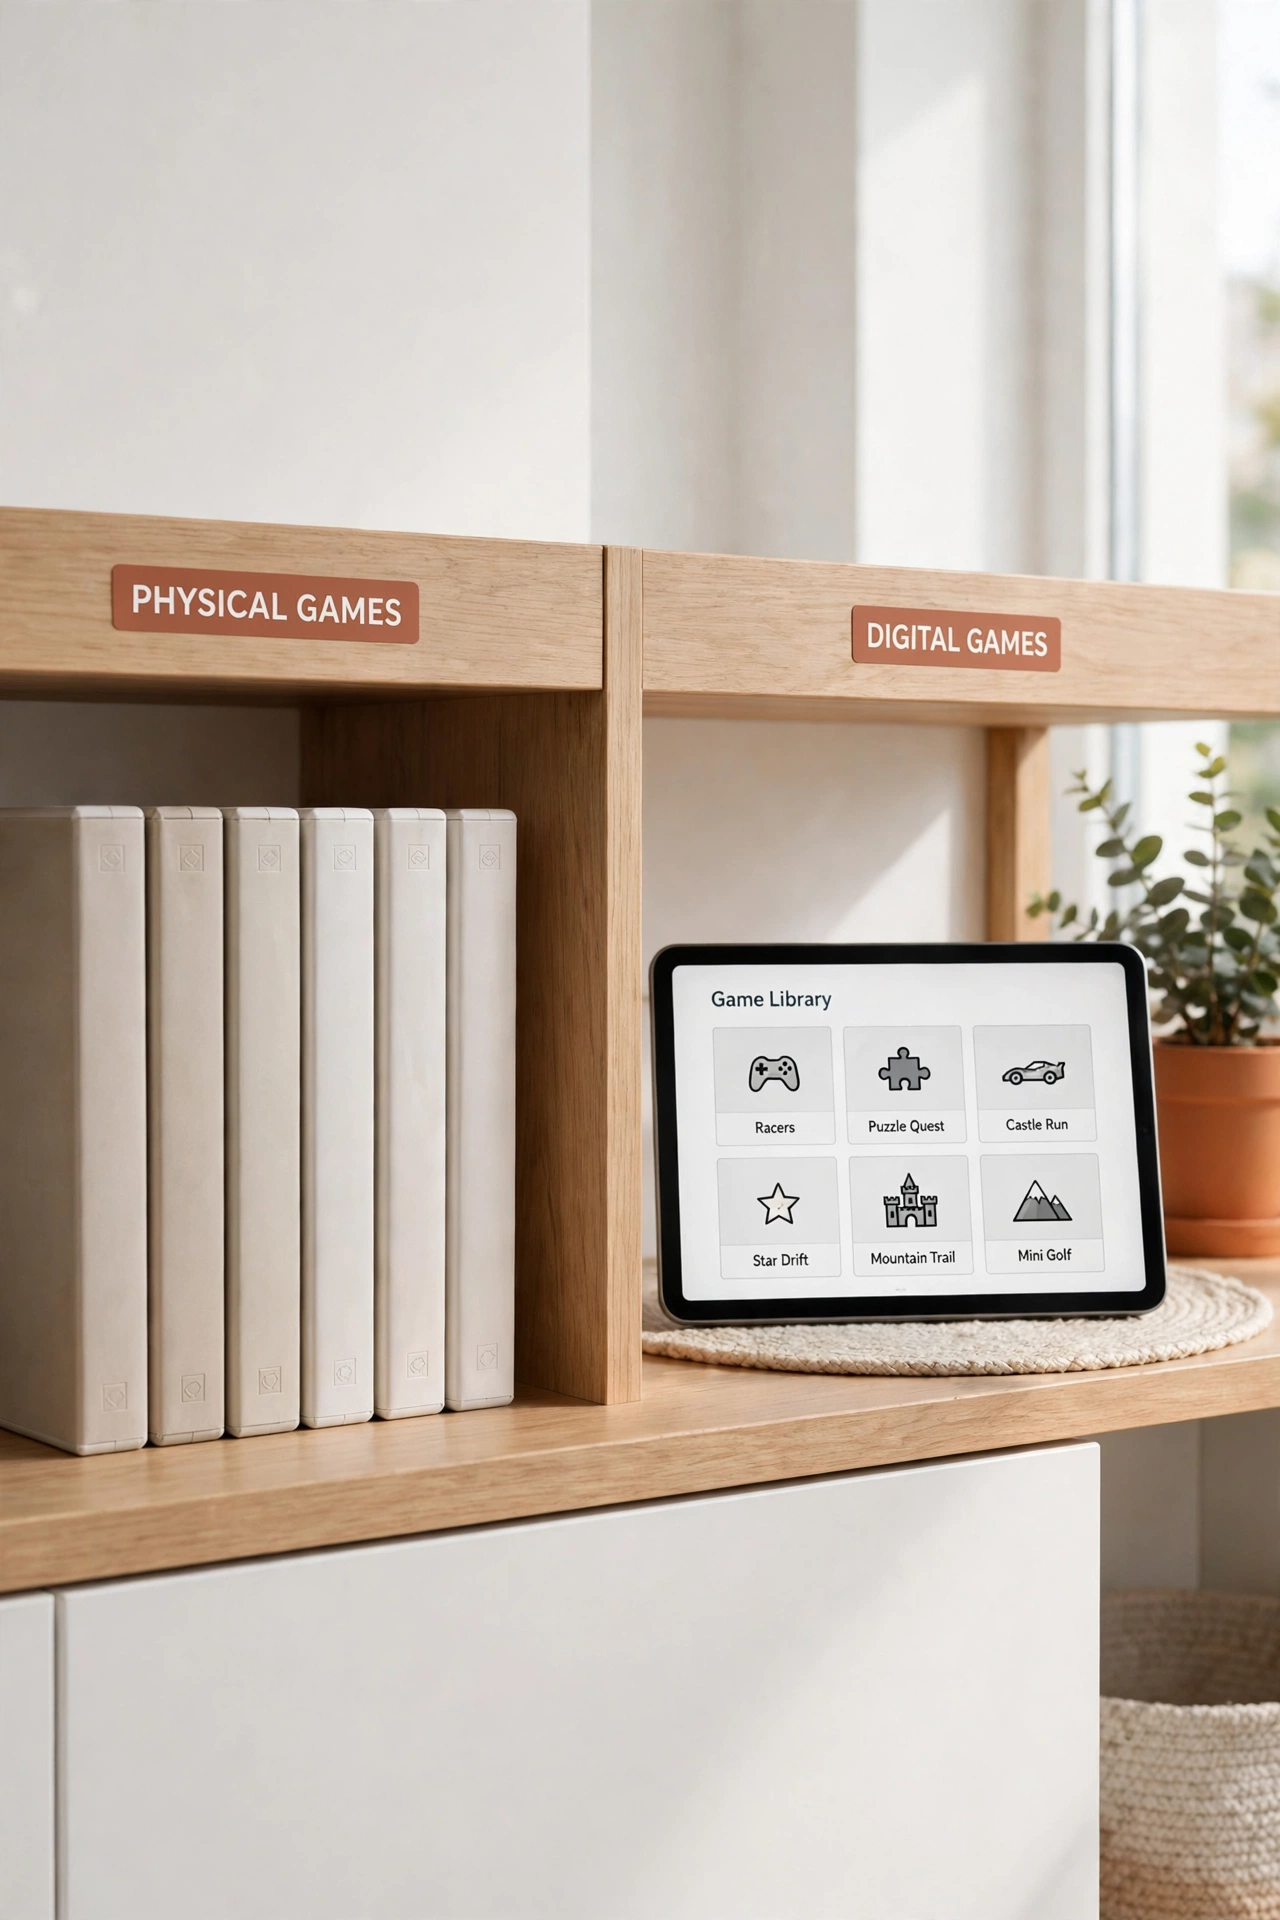
29. Sort Digital and Physical Games
Keep a clear split between your digital and physical games so you always know where each title lives. Physical games stay on the shelf in their cases, while digital games get a simple list on paper or on your phone. When you want a game, the list tells you whether to reach for the shelf or the console menu.
Update the digital list whenever you buy a new download, and remove games you deleted. A short list on the inside of a cabinet door works well and stays out of sight. This split stops you from buying a physical copy of a game you already own digitally.
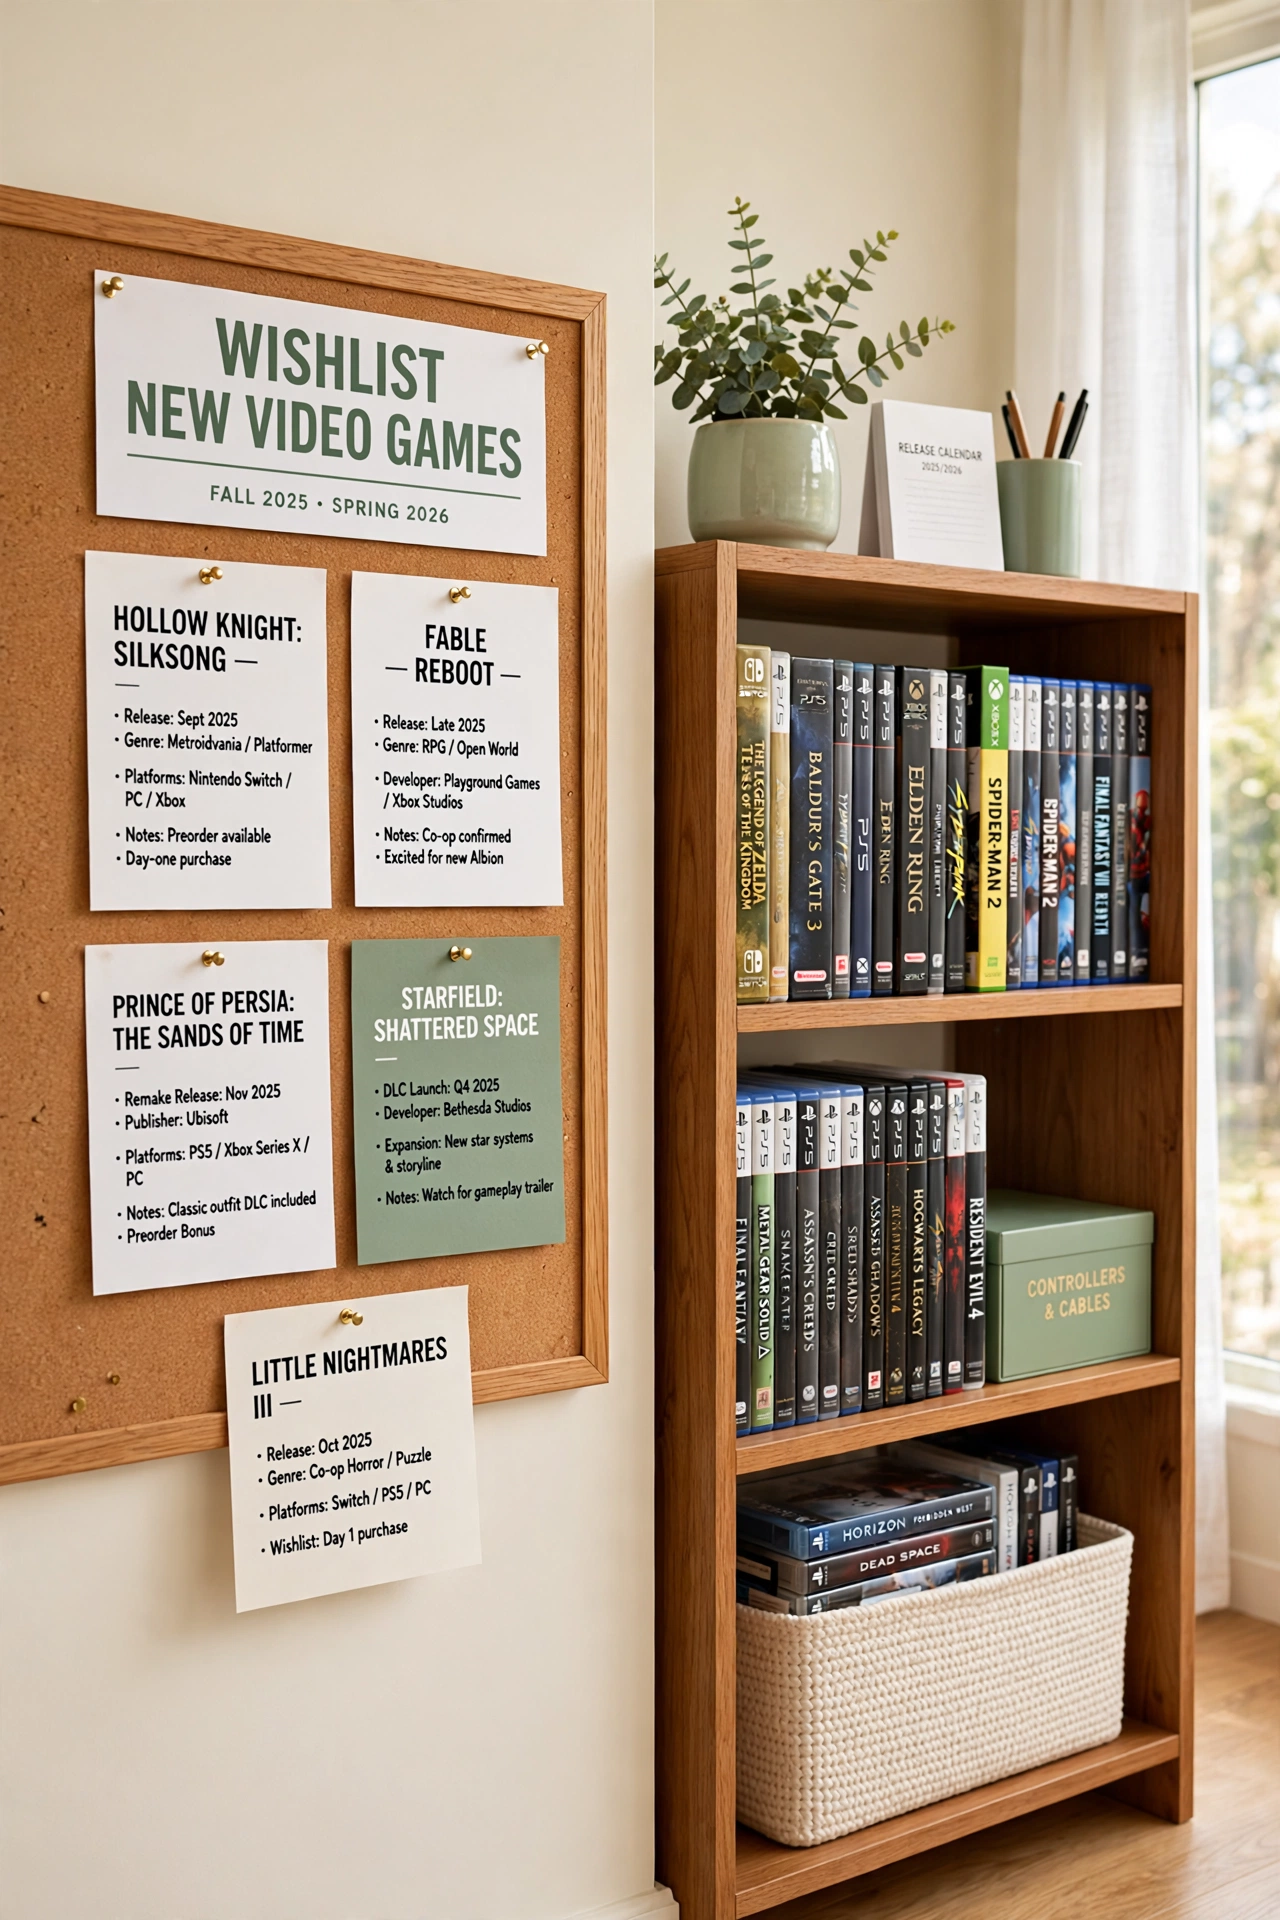
30. Keep a Wishlist for New Games
A wishlist keeps your future games organized before you even buy them. Write down the titles you want, with the console and the price, on a list pinned inside a cabinet door or saved in a notes app. When a sale appears, the list tells you exactly what to look for.
Review the wishlist once a month and remove the games you no longer want. A wishlist also stops impulse buys, since every purchase must earn its place on the list first. Your collection grows with purpose instead of piling up by accident.
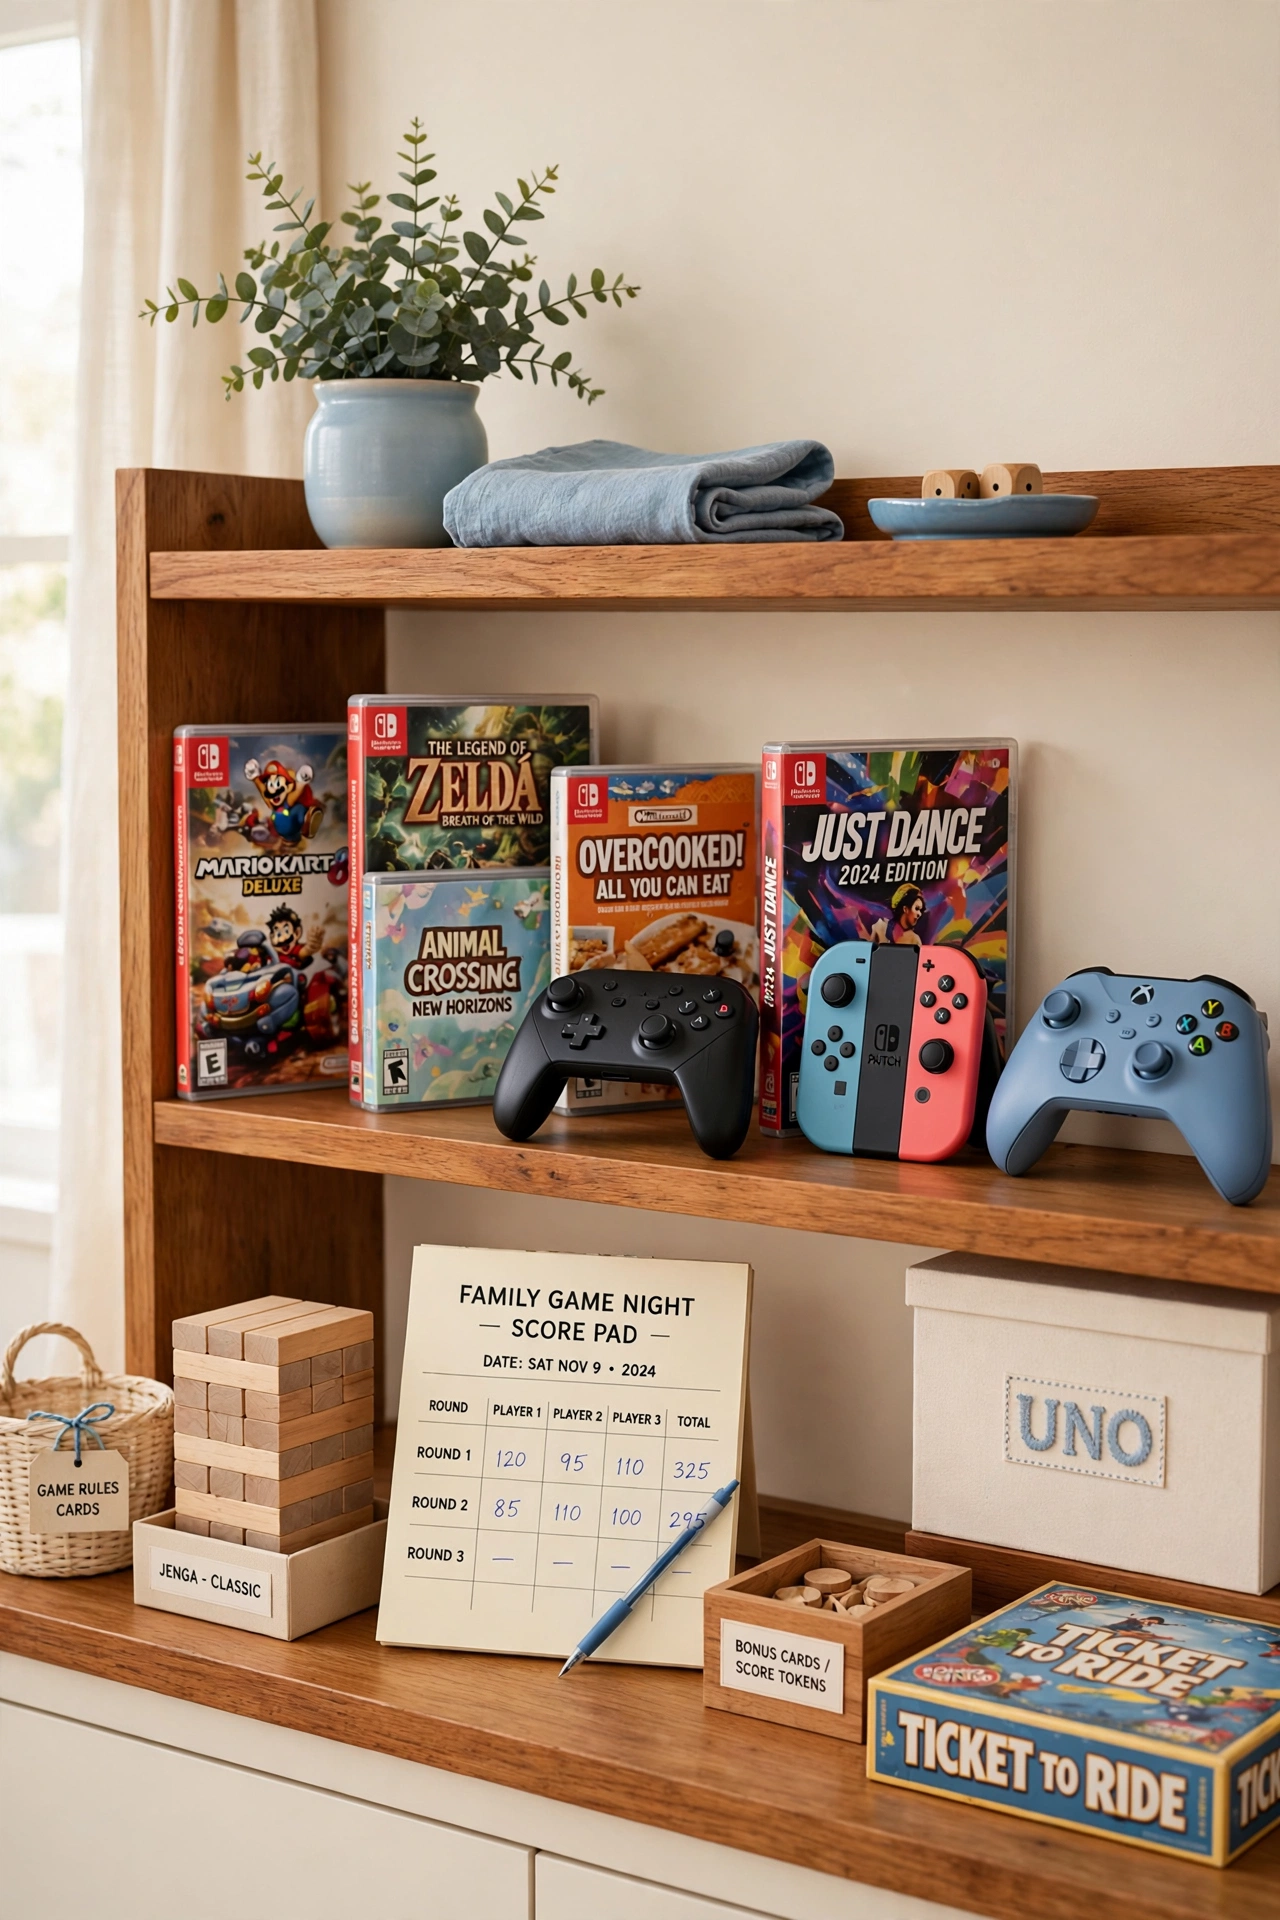
31. A Family Game Night Shelf
A family game night shelf holds everything you need for a weekly game night in one place. Keep the family favorites, two or three controllers, a snack tray, and a score pad on one dedicated shelf. When Friday night arrives, everything is ready before anyone sits down.
Rotate the games on the shelf every month so game night always feels fresh. Let each family member pick one game for the shelf so everyone has a favorite waiting. A shelf built for game night turns a weekly habit into a tradition the whole family looks forward to.
Conclusion
Video game organization does not have to be complicated or expensive. From a simple labeled bin to a full wall of shelves, there is an idea here for every collection and every room. The best system is the one that gets you playing faster and keeps your gear safe between sessions.
Pick one or two ideas that fit your space and start today. Sort your games, give each controller a home, and enjoy a play area that stays tidy without effort. For a calm home beyond the gaming corner, these nightly reset routines will help you keep every room organized with just a few minutes each evening.
Frequently Asked Questions About Video Game Organization Ideas for Controllers and Games
How should I store video game controllers?
Store controllers on stands or in charging docks so they stay upright and protected. A stand keeps the sticks and buttons safe from bumps, and a dock keeps the battery charged. Avoid tossing controllers into a drawer, since loose controllers scratch each other and tangle their cables.
What is the best way to organize video game discs?
Keep discs in their original cases and stand the cases in one neat row on a shelf. If a case is lost, store the disc upright in a labeled bin with a soft lining. Never stack discs in a pile, since the weight and friction can scratch the surfaces.
How do I hide gaming cables?
Use a cable management box to hide the power strip and a cable tray under the desk or shelf to guide the cords. Coil spare cables and store them in labeled pouches inside a bin. Label every cable so you can trace it later without pulling the whole setup apart.
How can I organize games for several consoles?
Give each console its own shelf section with its games and controllers together. Use a different colored label or bookend for each console so the split is easy to see. Keep the newest console in the largest section and the older ones in smaller sections beside it.
How often should I clean my gaming setup?
Dust the shelves and wipe the console once a week, and do a full declutter once a month. Clean the vents with a soft brush so the console stays cool. A short weekly wipe and a monthly check keep the whole setup healthy and ready to play.

Hi, I’m Emily! I turn messy corners into cozy, organized spots. DreamNestDecor is where I share simple, practical home ideas — decor, organization, and small-space solutions that work in real life, not just in photos. Every idea here is carefully researched before it’s shared.