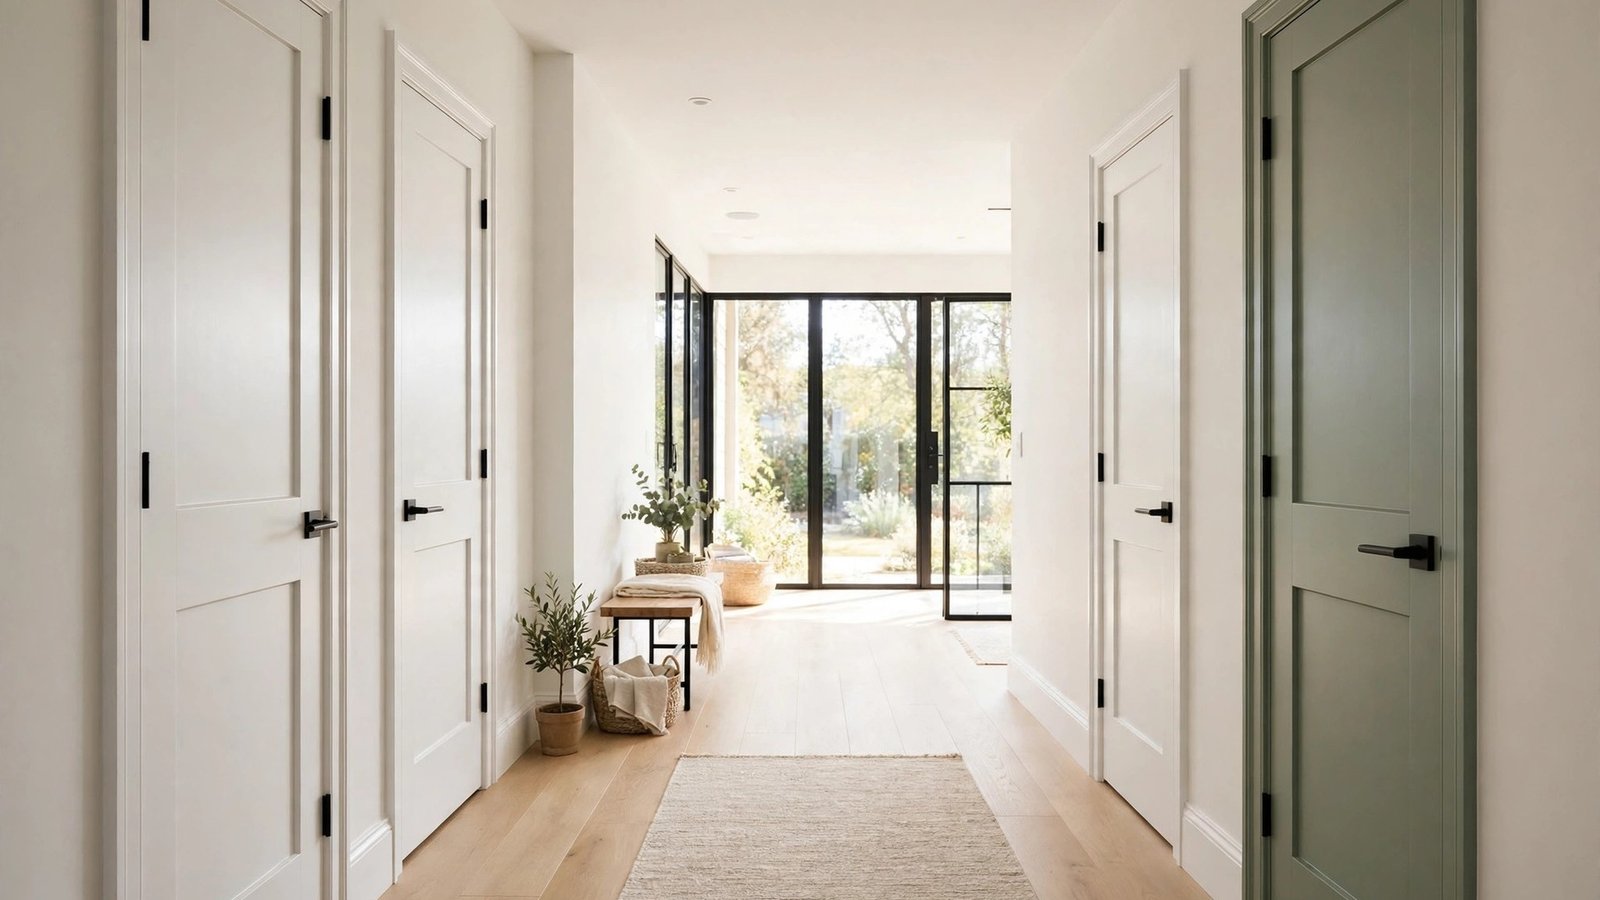
Doors are some of the hardest-working surfaces in your home, yet most of us ignore them completely. A door makeover delivers outsized impact because doors sit at eye level in every room and greet every visitor. Best of all, doors are small, which means one quart of paint and a single afternoon can transform them.
The ideas below focus on paint and hardware, the two cheapest ways to upgrade any door. Most cost under fifty dollars and need no special skills. Whether you are refreshing a front door or a plain hollow-core interior door, pick an idea and get started this weekend.
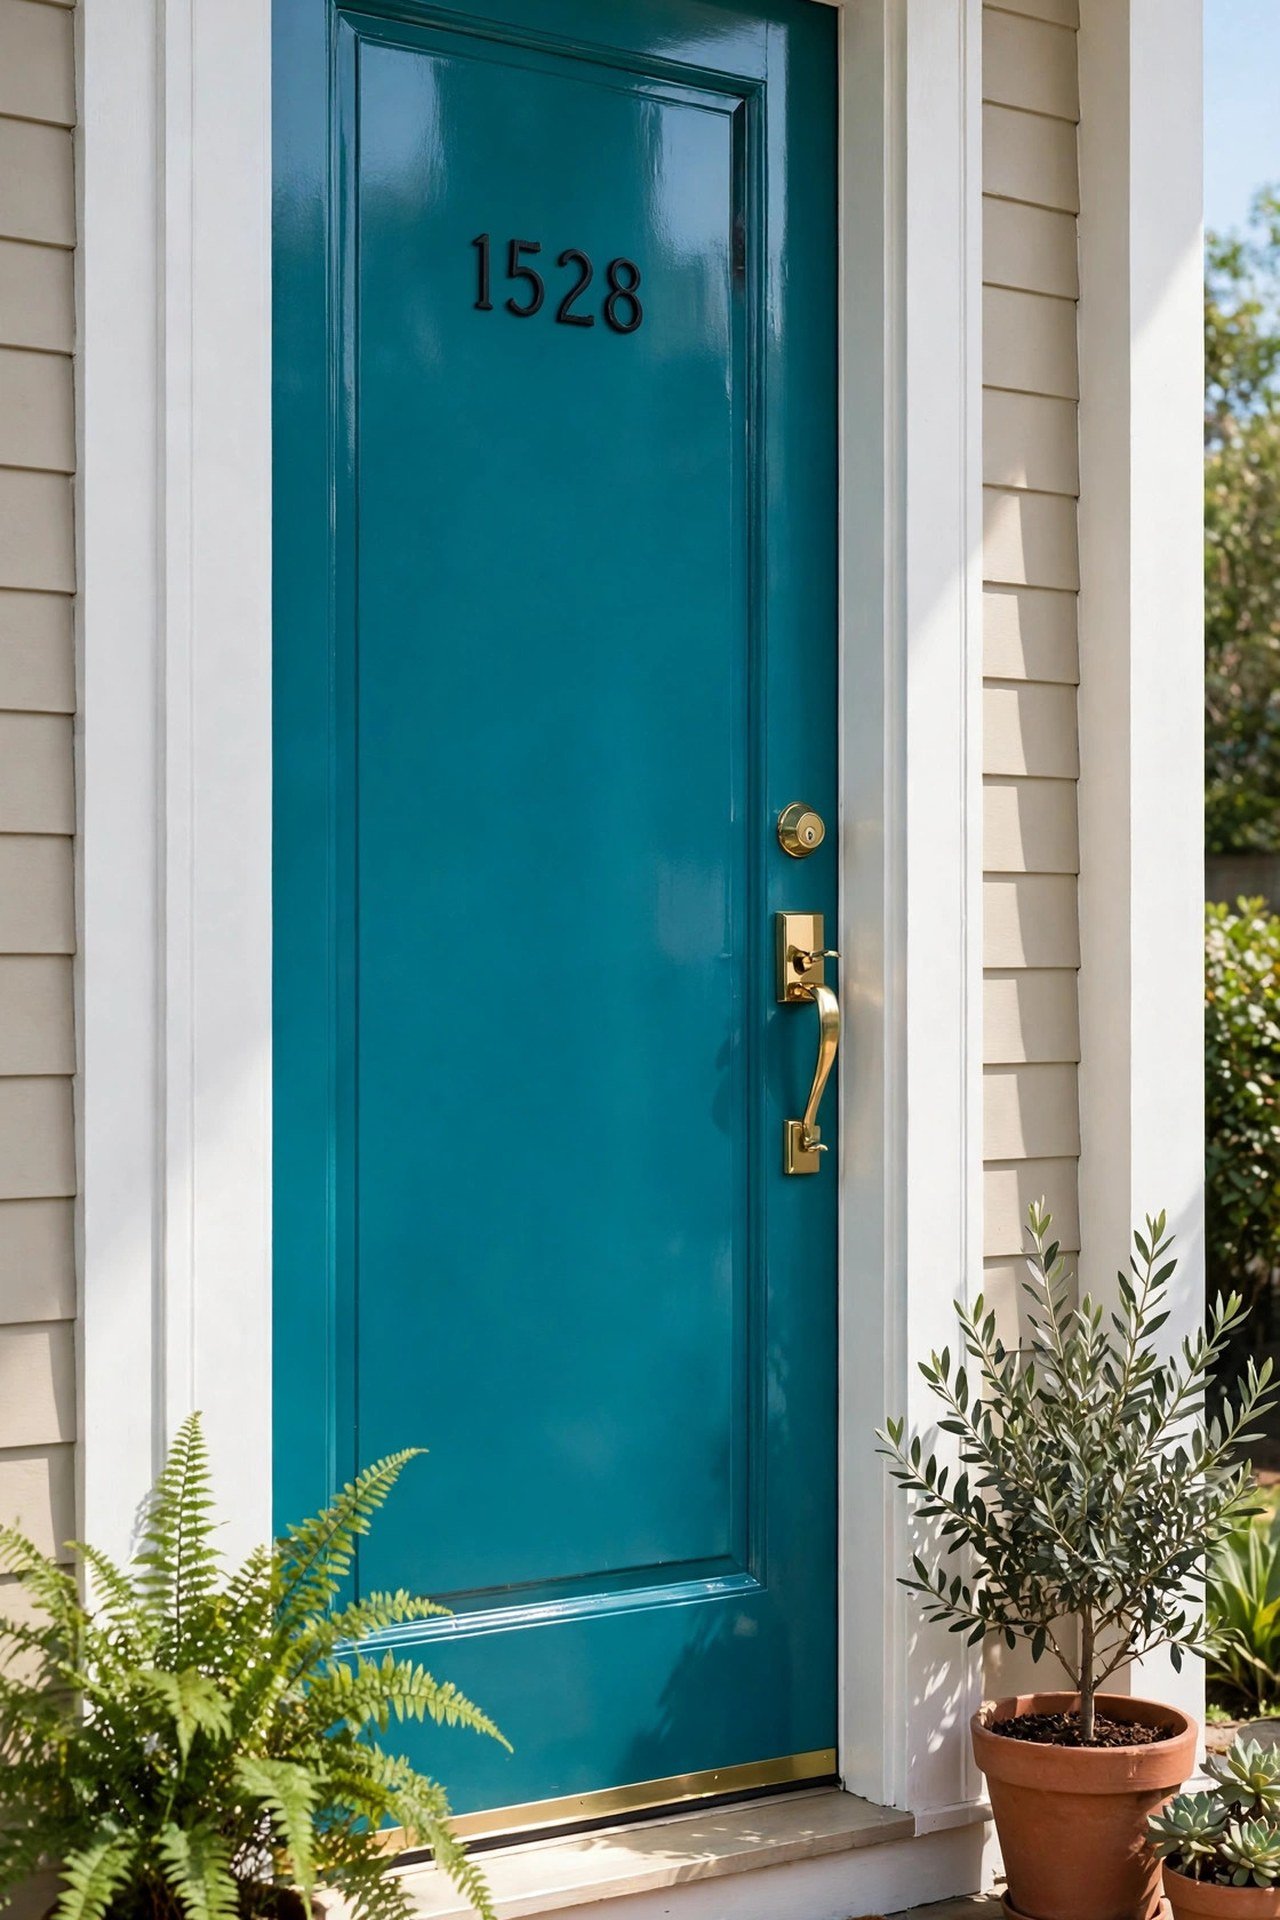
1. Bold Front Door Paint Color
A bold front door color is the cheapest high-impact exterior upgrade you can make. One quart of satin or semi-gloss exterior paint covers a door with two coats. Deep teal, classic red, or sunny yellow each create a completely different welcome.
Remove the hardware instead of taping around it for the cleanest finish. Sand lightly, prime bare spots, and apply two thin coats. For color inspiration, explore these interior door color ideas that work on front doors too.
2. Matte Black Hardware Swap
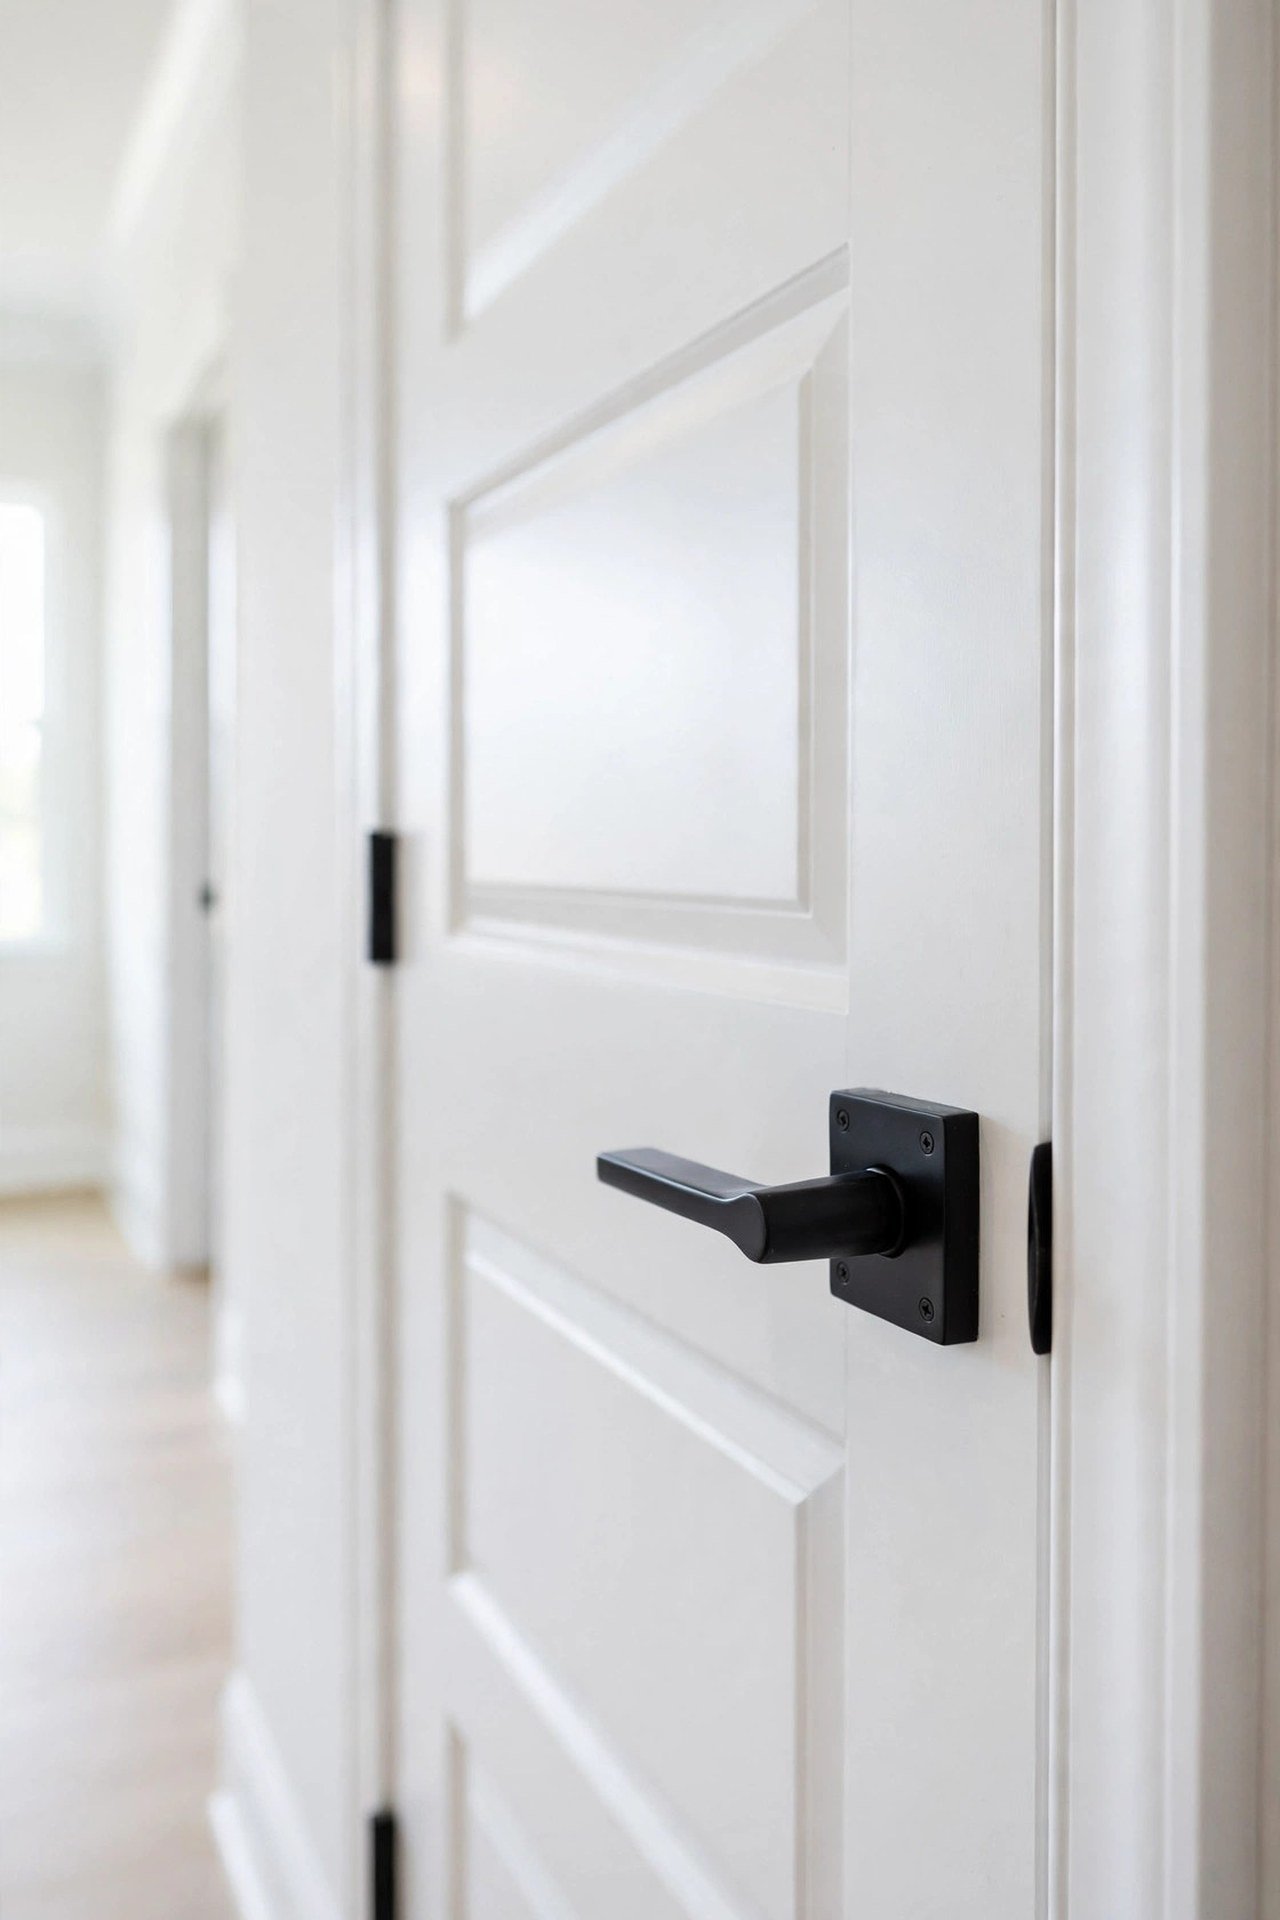
Replacing dated brass or chrome handles with matte black hardware instantly modernizes any door. Knobs, levers, and hinges use standardized measurements, so a direct swap needs only a screwdriver. The whole project takes under thirty minutes per door.
Choose one finish and use it on every door in the hallway for a cohesive, intentional look. Mixed metals read as accidental. This single change makes builder-grade doors feel custom.
3. Shaker-Style Trim Molding
Flat hollow-core doors look instantly custom with applied trim molding. Measure and cut thin MDF or pine strips into rectangles, attach them with wood glue and small brad nails, then paint everything one color for a classic shaker-panel look.
Sand the edges smooth and use a quality enamel paint for a crisp profile. This upgrade costs little more than trim strips and paint, yet the result looks like an expensive panel door. See more trim inspiration in these decorative molding ideas.

4. Spray-Painted Hinges
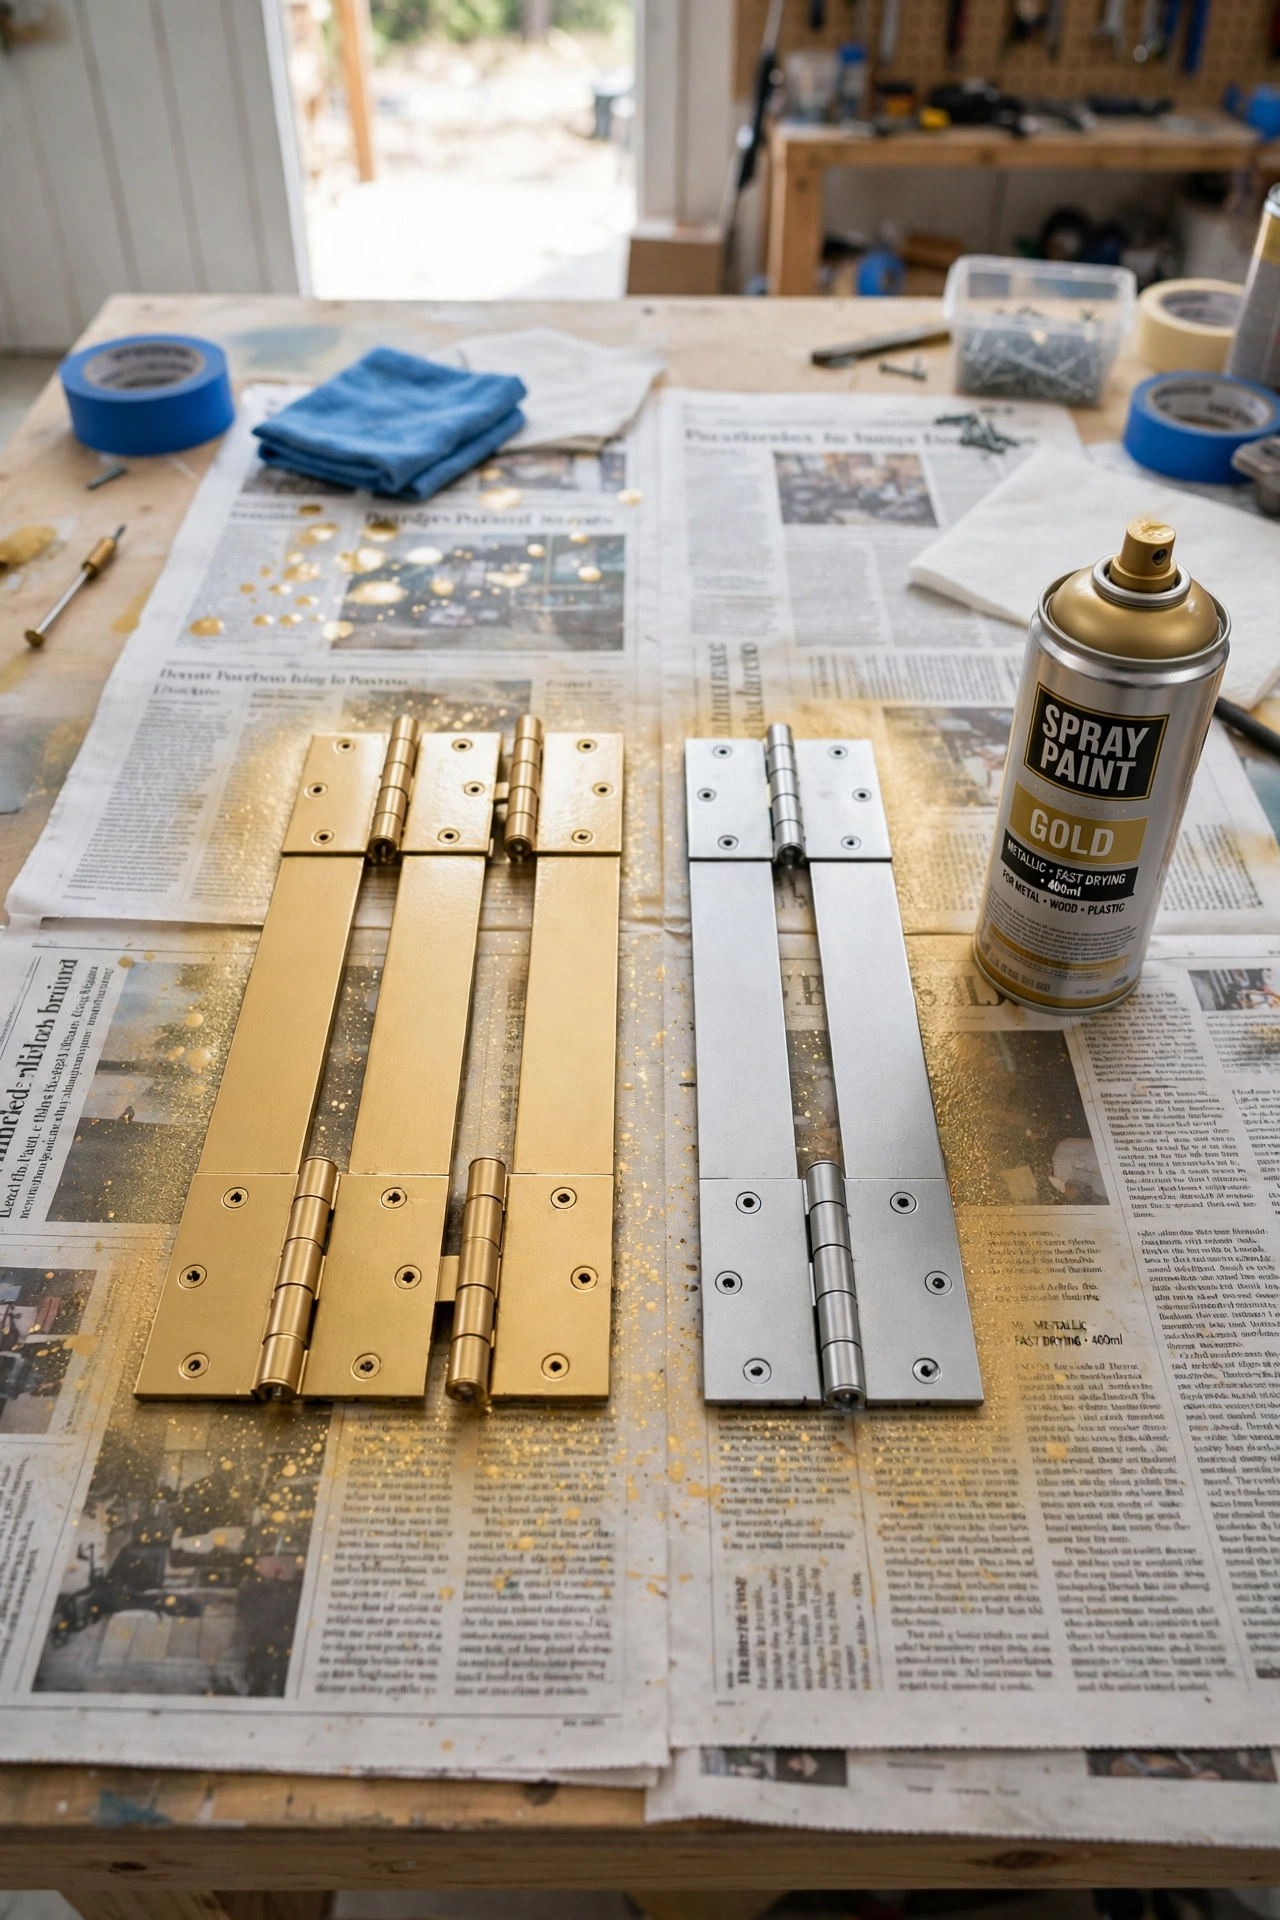
Do not overlook your hinges. Mask the door around each hinge with painter’s tape, shield the surrounding area with cardboard, and spray dated gold hinges with black or oil-rubbed bronze spray paint. The whole job takes minutes per hinge.
Let the paint cure fully before closing the door to avoid sticking. Matching your hinges to your new handles is a small detail that makes the whole door look professionally finished. It might be the easiest upgrade on this entire list.
5. Peel-and-Stick Wallpaper Panels
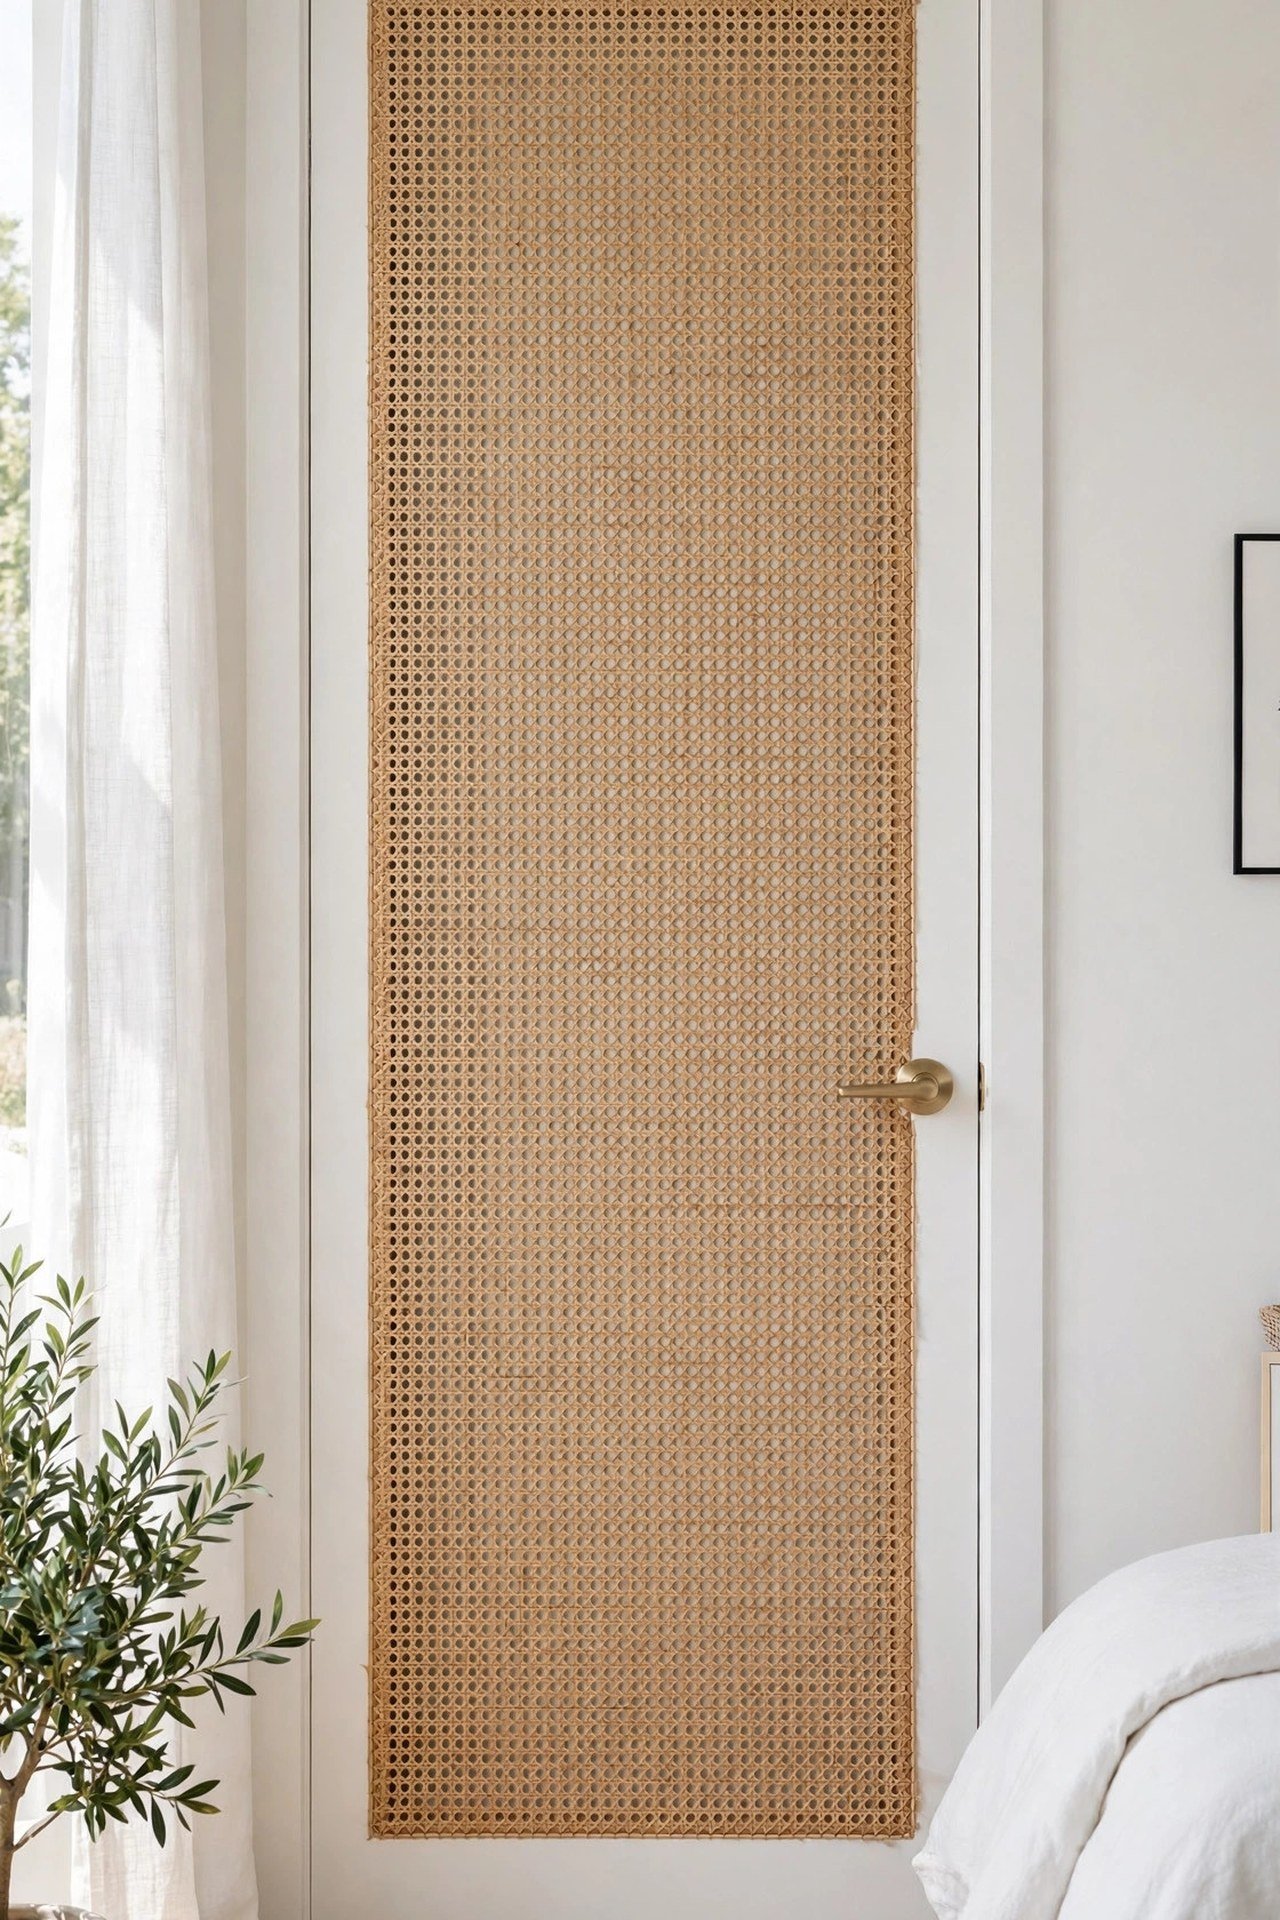
Peel-and-stick wallpaper turns a flat door into a designer statement with zero permanence. Wood grain, cane weave, linen texture, or bold patterns all apply smoothly to a clean, flat door surface. Trim the edges neatly with a craft knife.
This is ideal for renters because it peels off cleanly at move-out. Try a rattan pattern for a cozy natural vibe in bedrooms or hallways. One roll covers several doors, making this extremely budget-friendly.
6. Full-Length Mirror on Closet Door
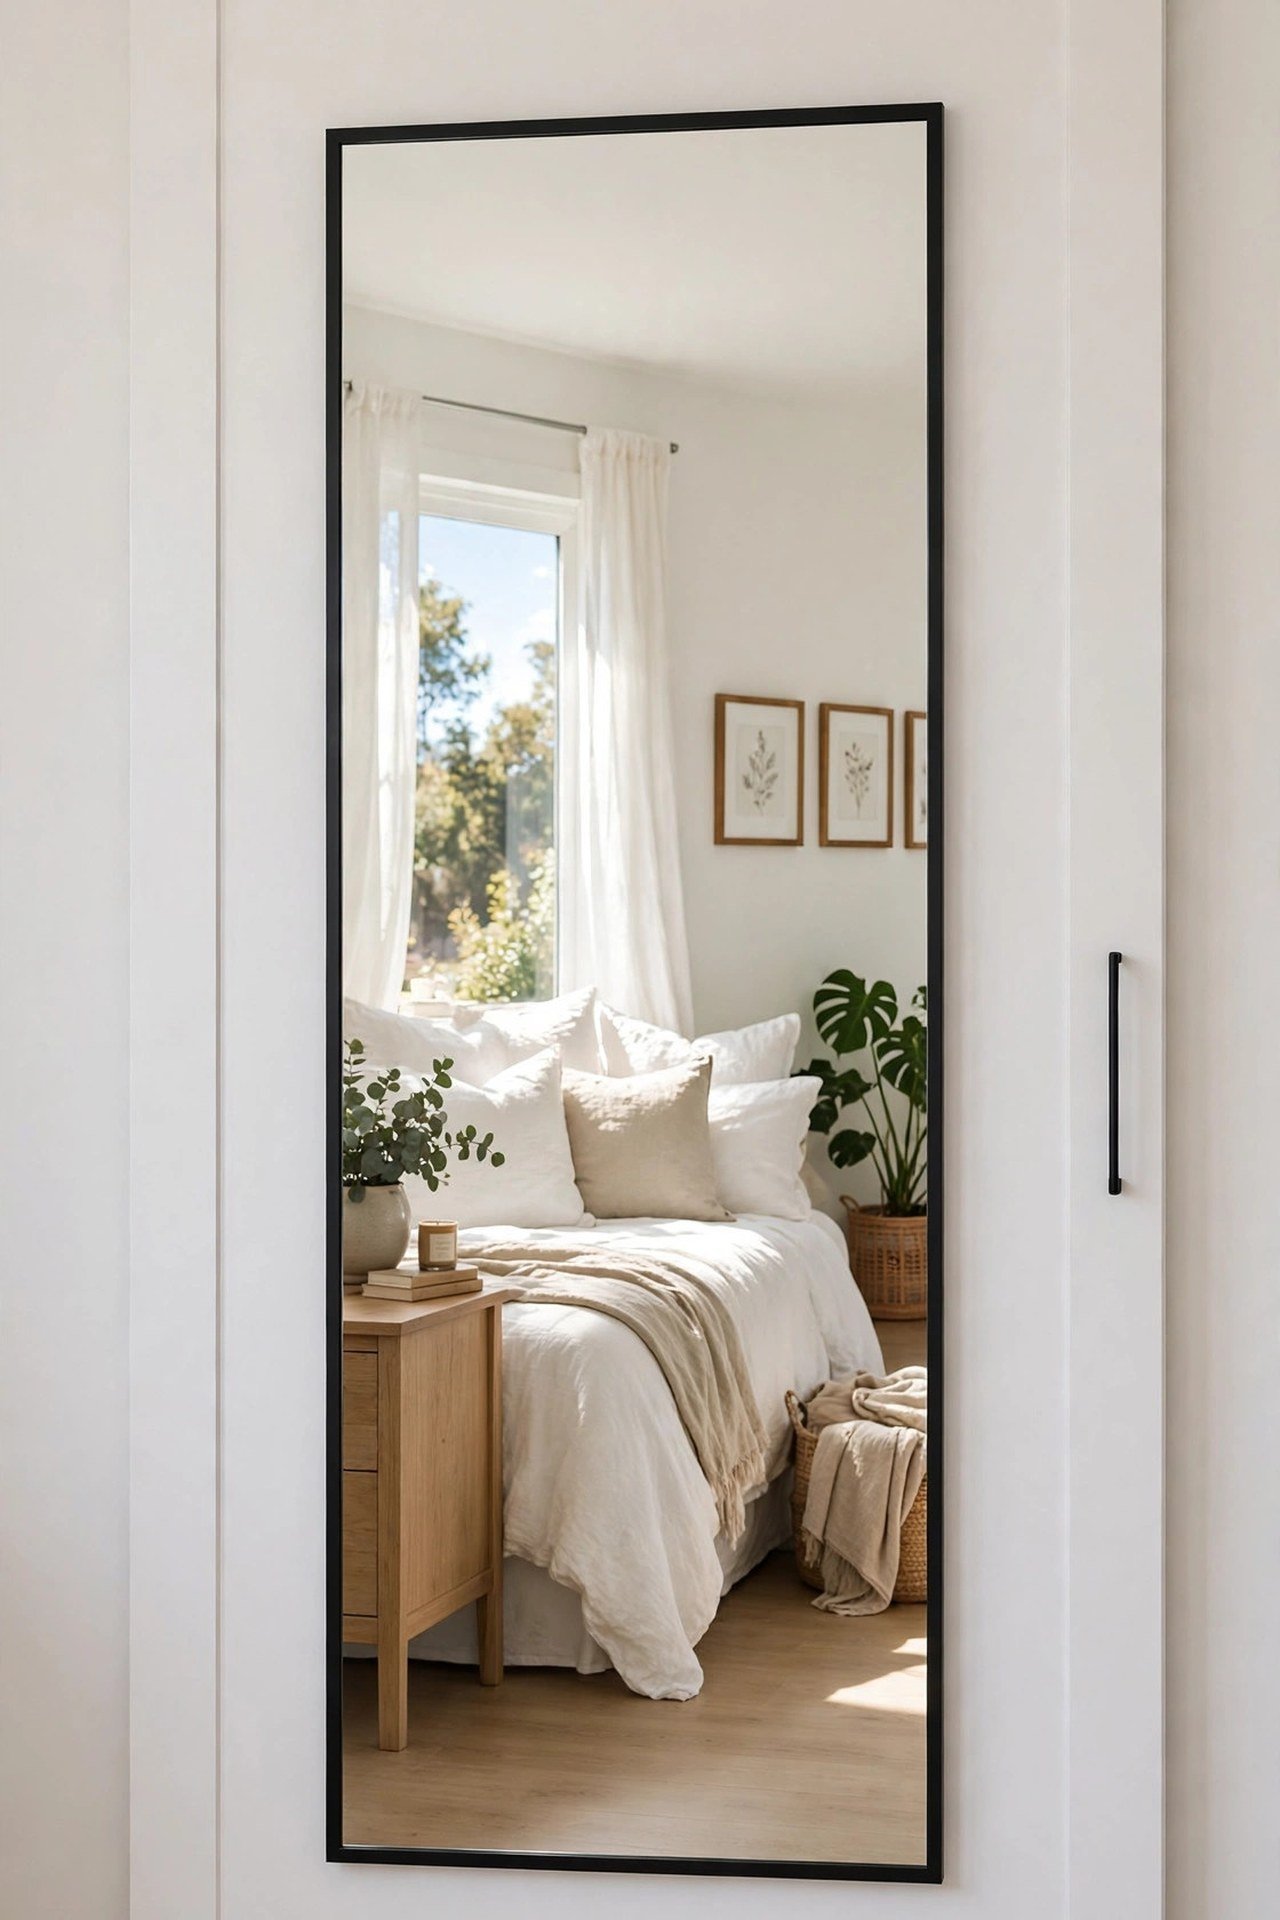
Stick a full-length mirror on a closet door and watch the whole room open up. The reflection makes the space look bigger, brighter, and far more elegant. Lightweight mirror panels or peel-and-stick mirror sheets keep this safe and affordable.
Center the mirror carefully and secure it with mirror adhesive rated for the weight. In small bedrooms, this trick doubles your perceived space while giving you a dressing mirror exactly where you need it.
7. Painted Vertical Stripes
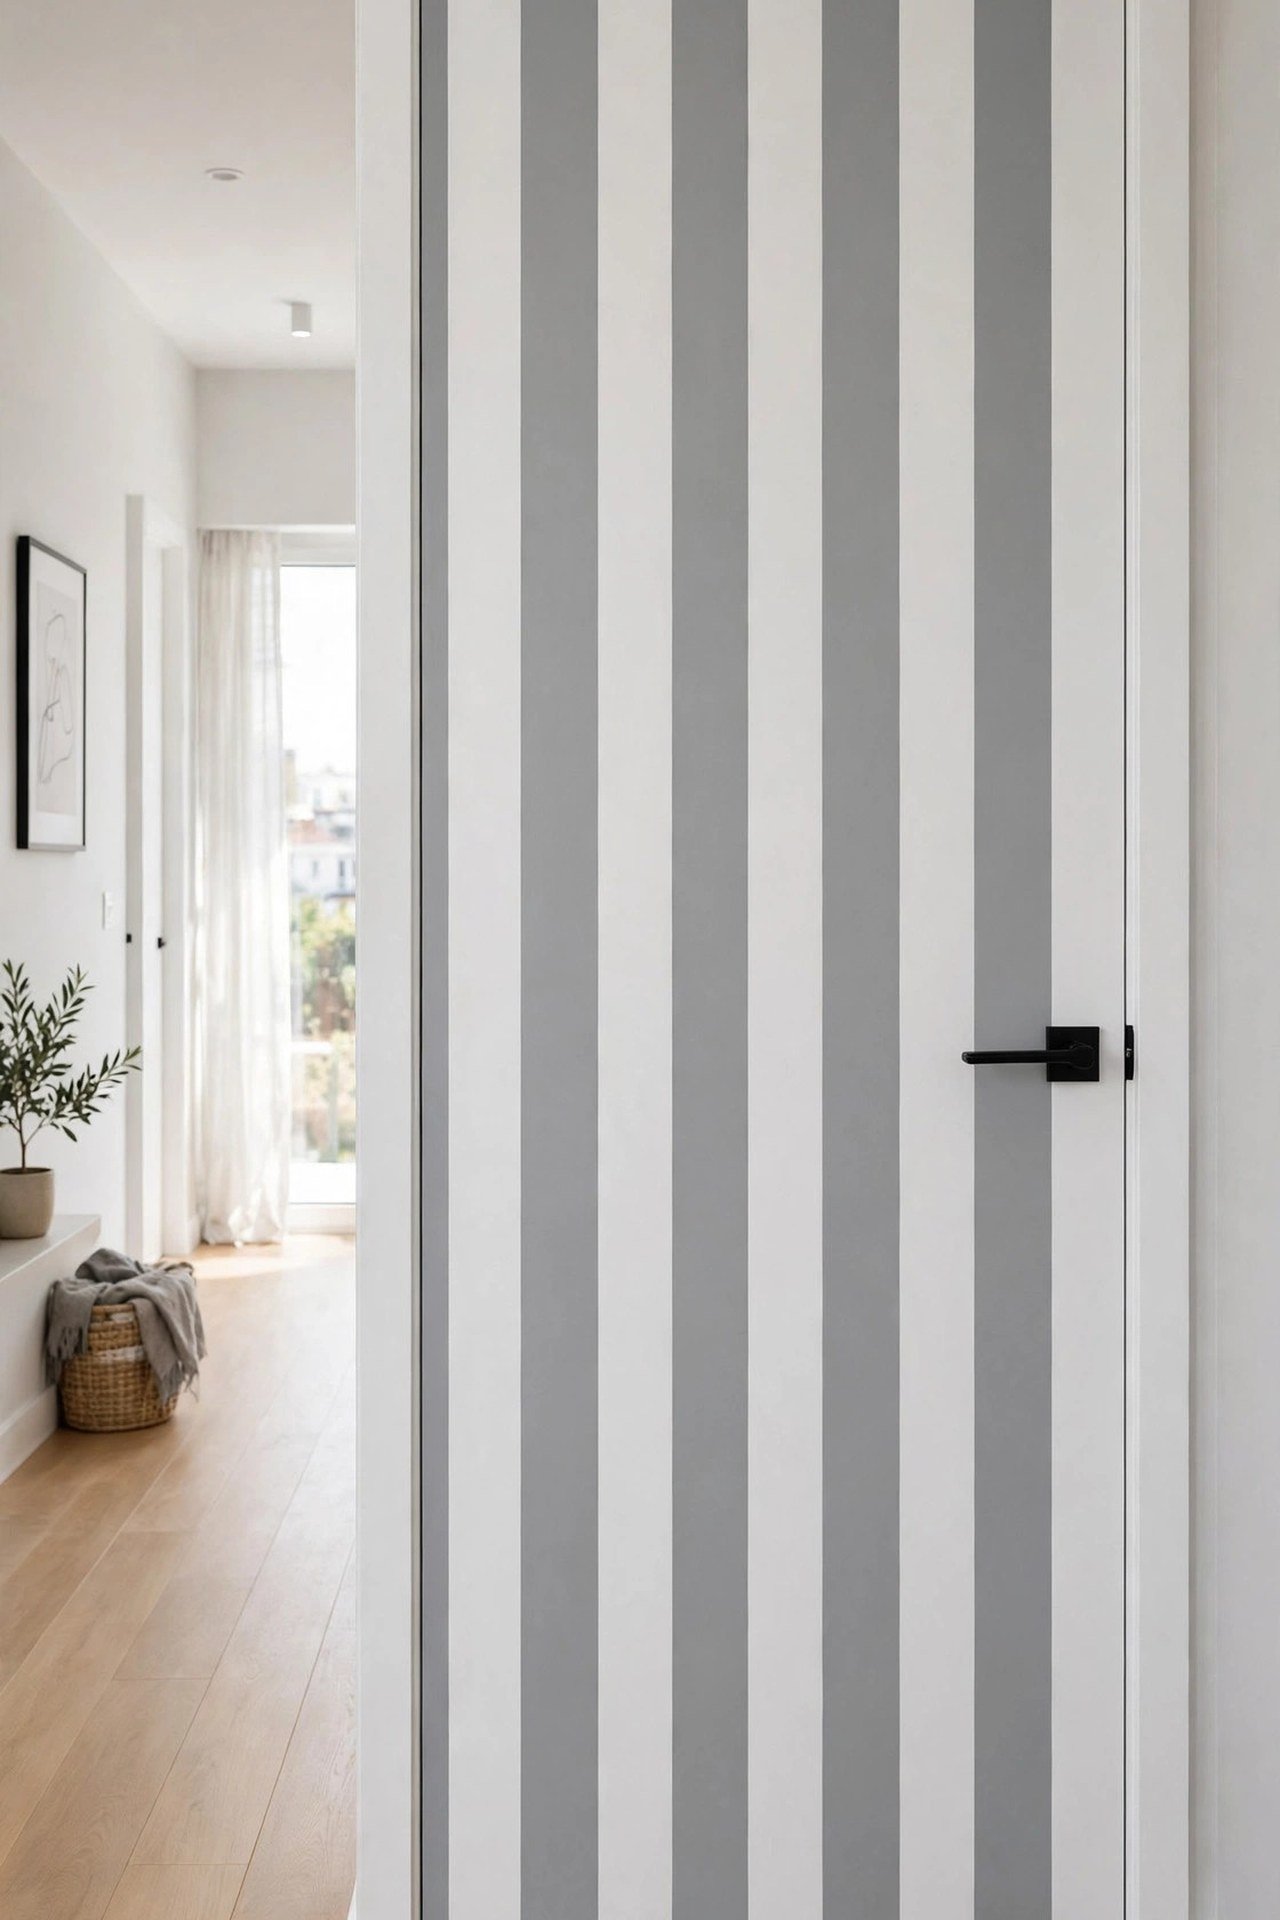
Grab painter’s tape and two paint colors for an easy striped door that looks polished and custom. Vertical stripes make doors appear taller and more elegant. Soft gray with white feels calm, while black with cream feels boldly modern.
Measure carefully so the stripes are even, seal the tape edges with the base color to prevent bleeding, then paint the stripe color. Remove the tape while the paint is slightly tacky for the crispest lines.
8. Modern Lever Handles
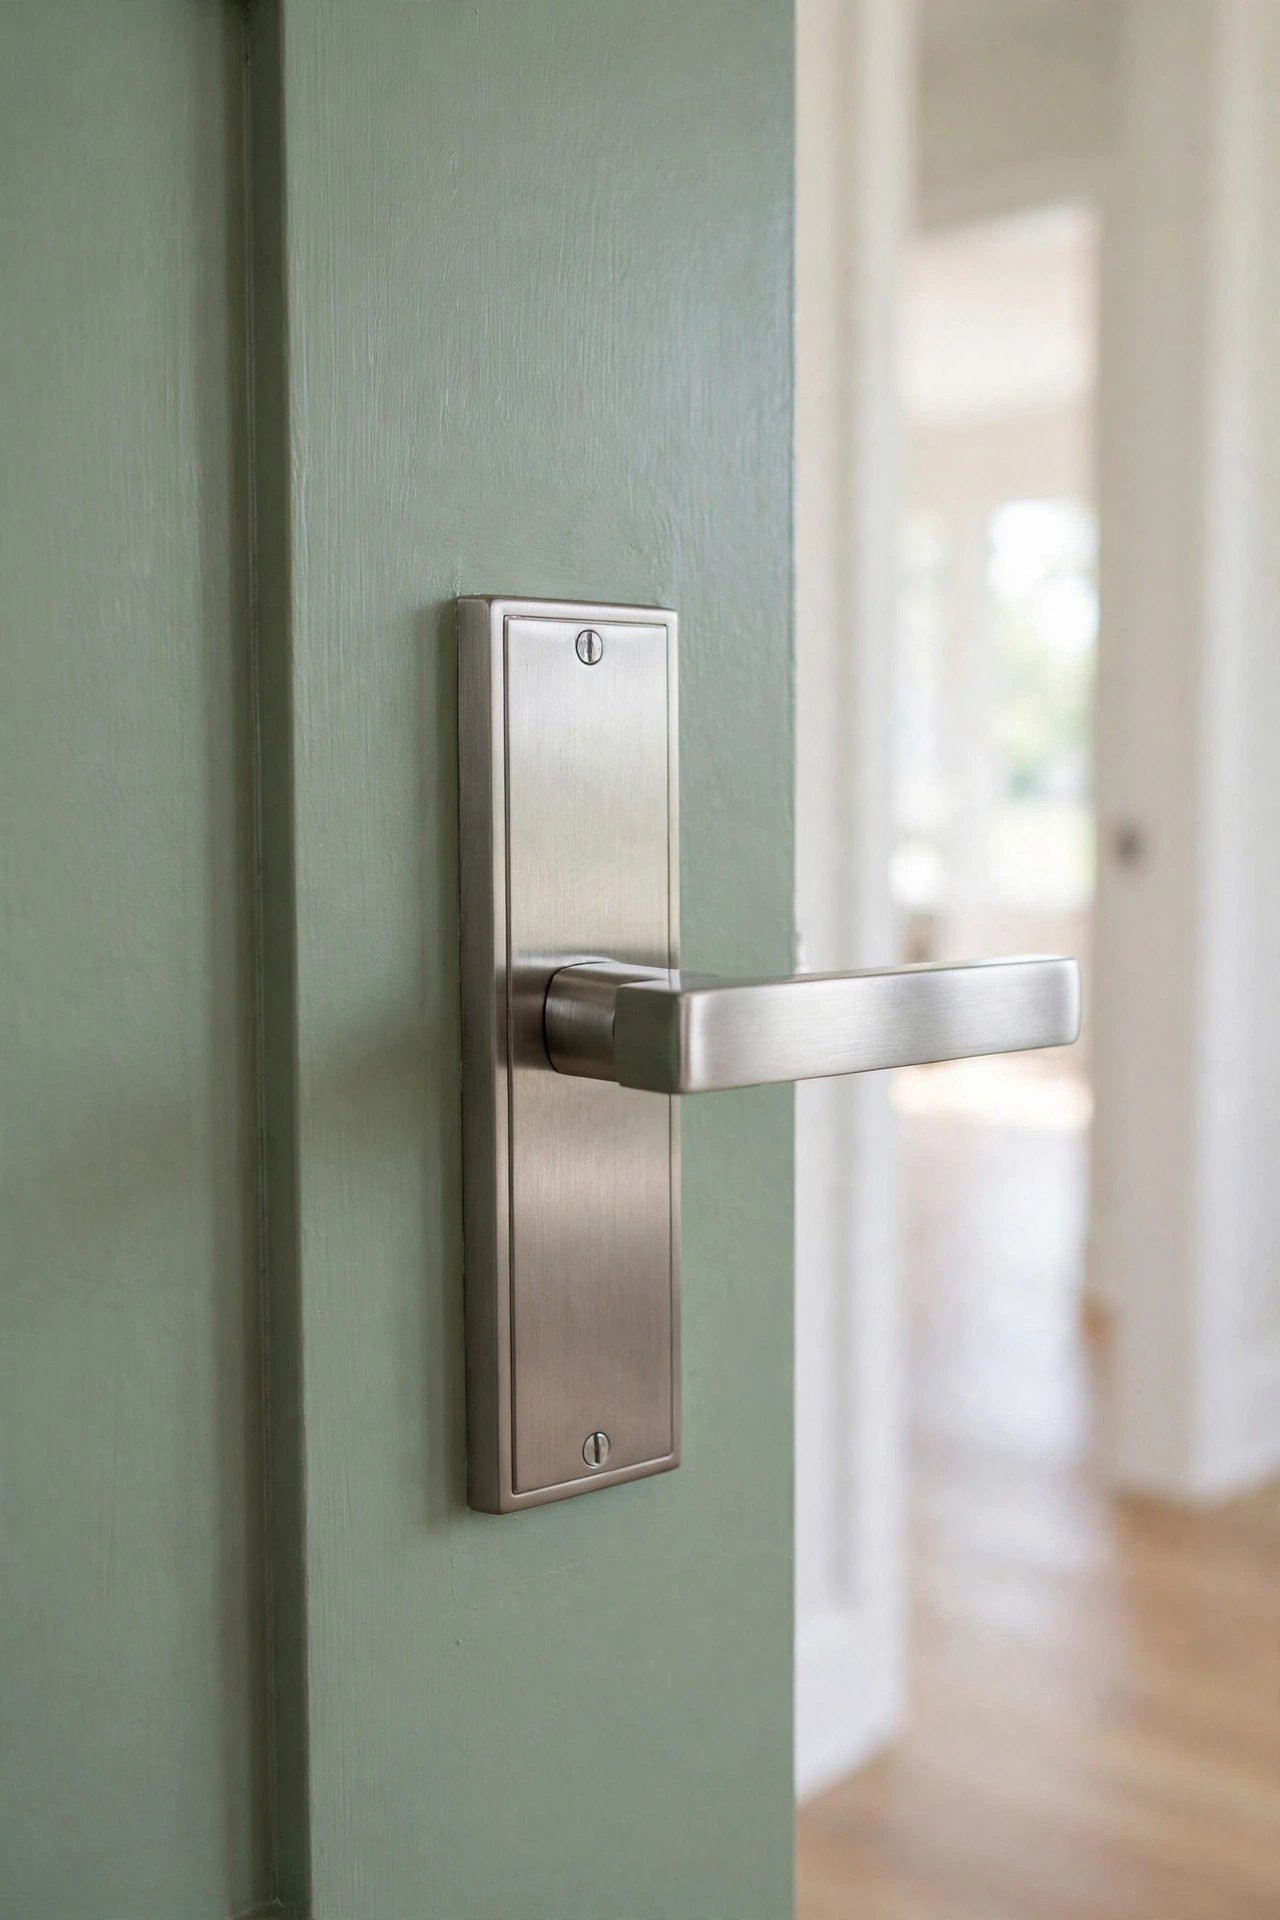
Swapping knobs for modern lever handles is both a style and comfort upgrade. Levers are easier for children, older adults, and anyone carrying groceries to operate. Mount them at a comfortable height for the household.
Choose a lever with a matching backplate to cover old marks around the bore hole. Brushed nickel, matte black, and brass all look fresh against a newly painted door. The improved feel is noticeable every single day.
9. Brass Knob Upgrade
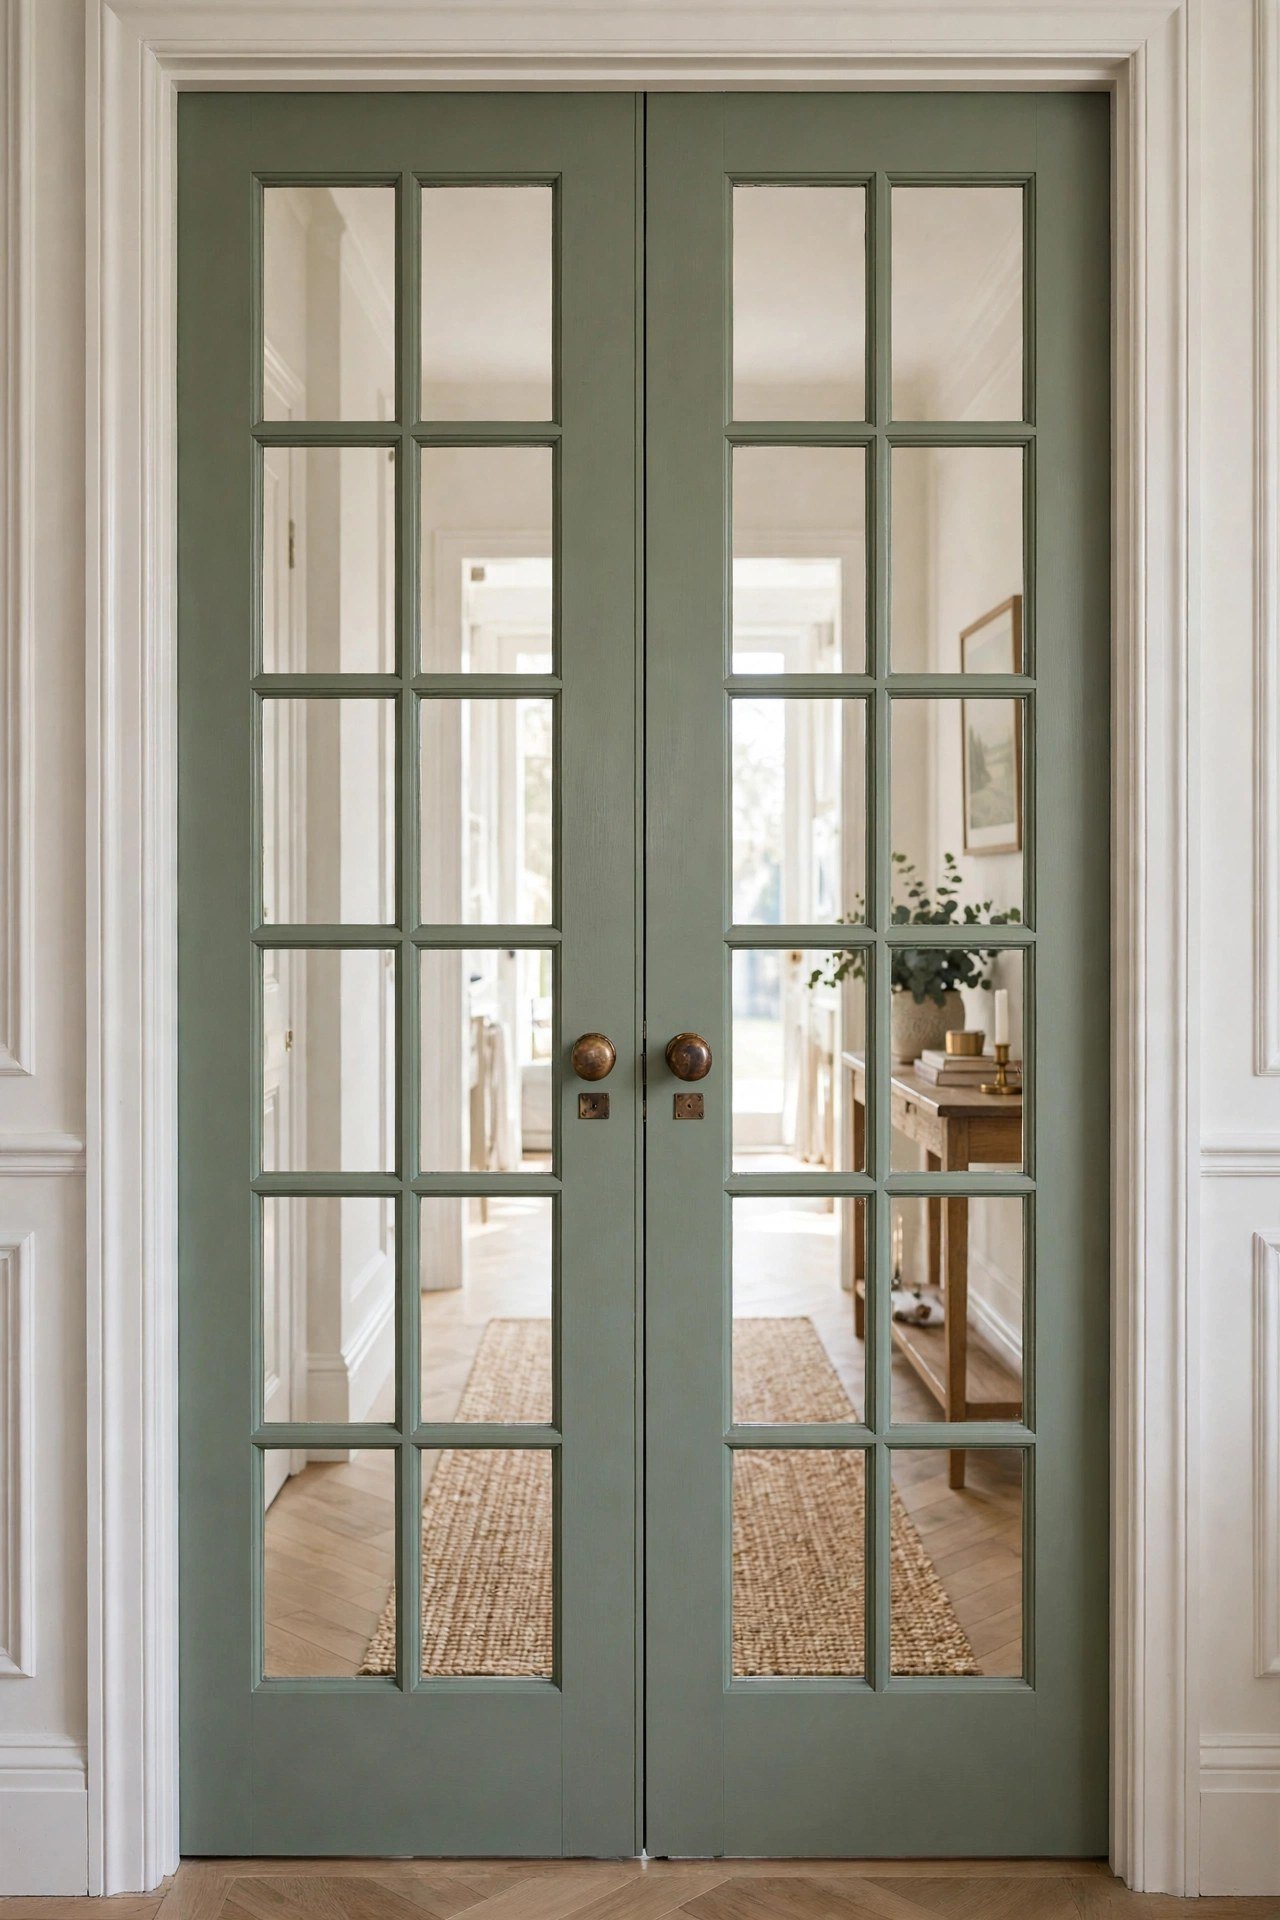
Unlacquered brass knobs bring warmth and vintage charm to painted doors. They develop a beautiful natural patina over time that lacquered finishes cannot match. A pair of brass knobs on white or sage doors looks especially elegant.
Clean new brass with a soft cloth and let it age gracefully, or polish occasionally to keep it bright. Small brass details like these elevate an entire hallway for very little money.
10. Frosted Privacy Film
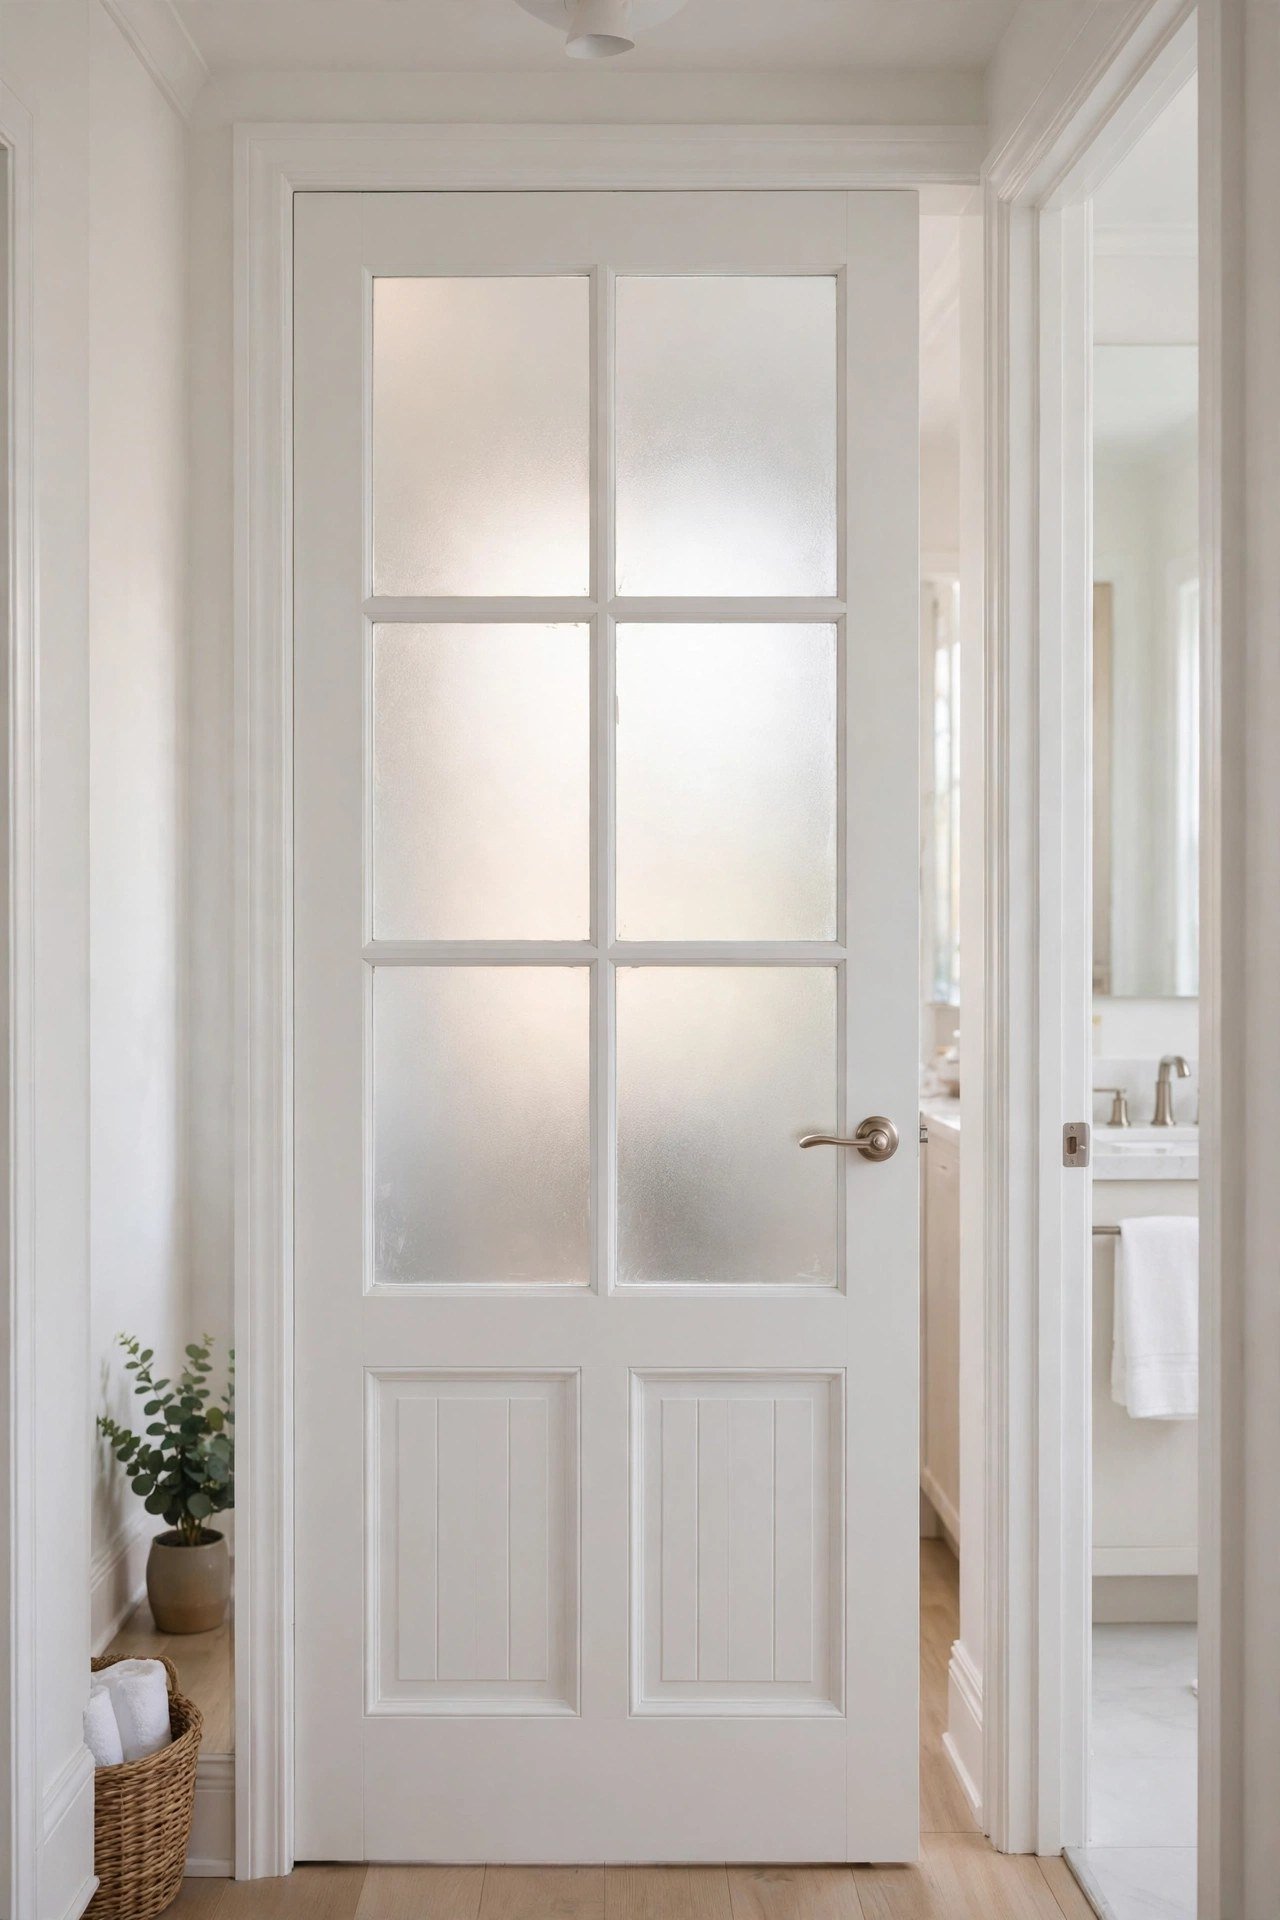
Glass-paneled doors gain privacy instantly with frosted window film. The static-cling type applies with just water and a squeegee, needs no adhesive, and removes cleanly. It lets light through while obscuring the view completely.
This is perfect for bathroom doors, front door sidelights, or any glass that faces neighbors. Patterned films add a decorative etched-glass look for the price of a roll. Renters love this completely reversible upgrade.
11. Statement Door Knocker
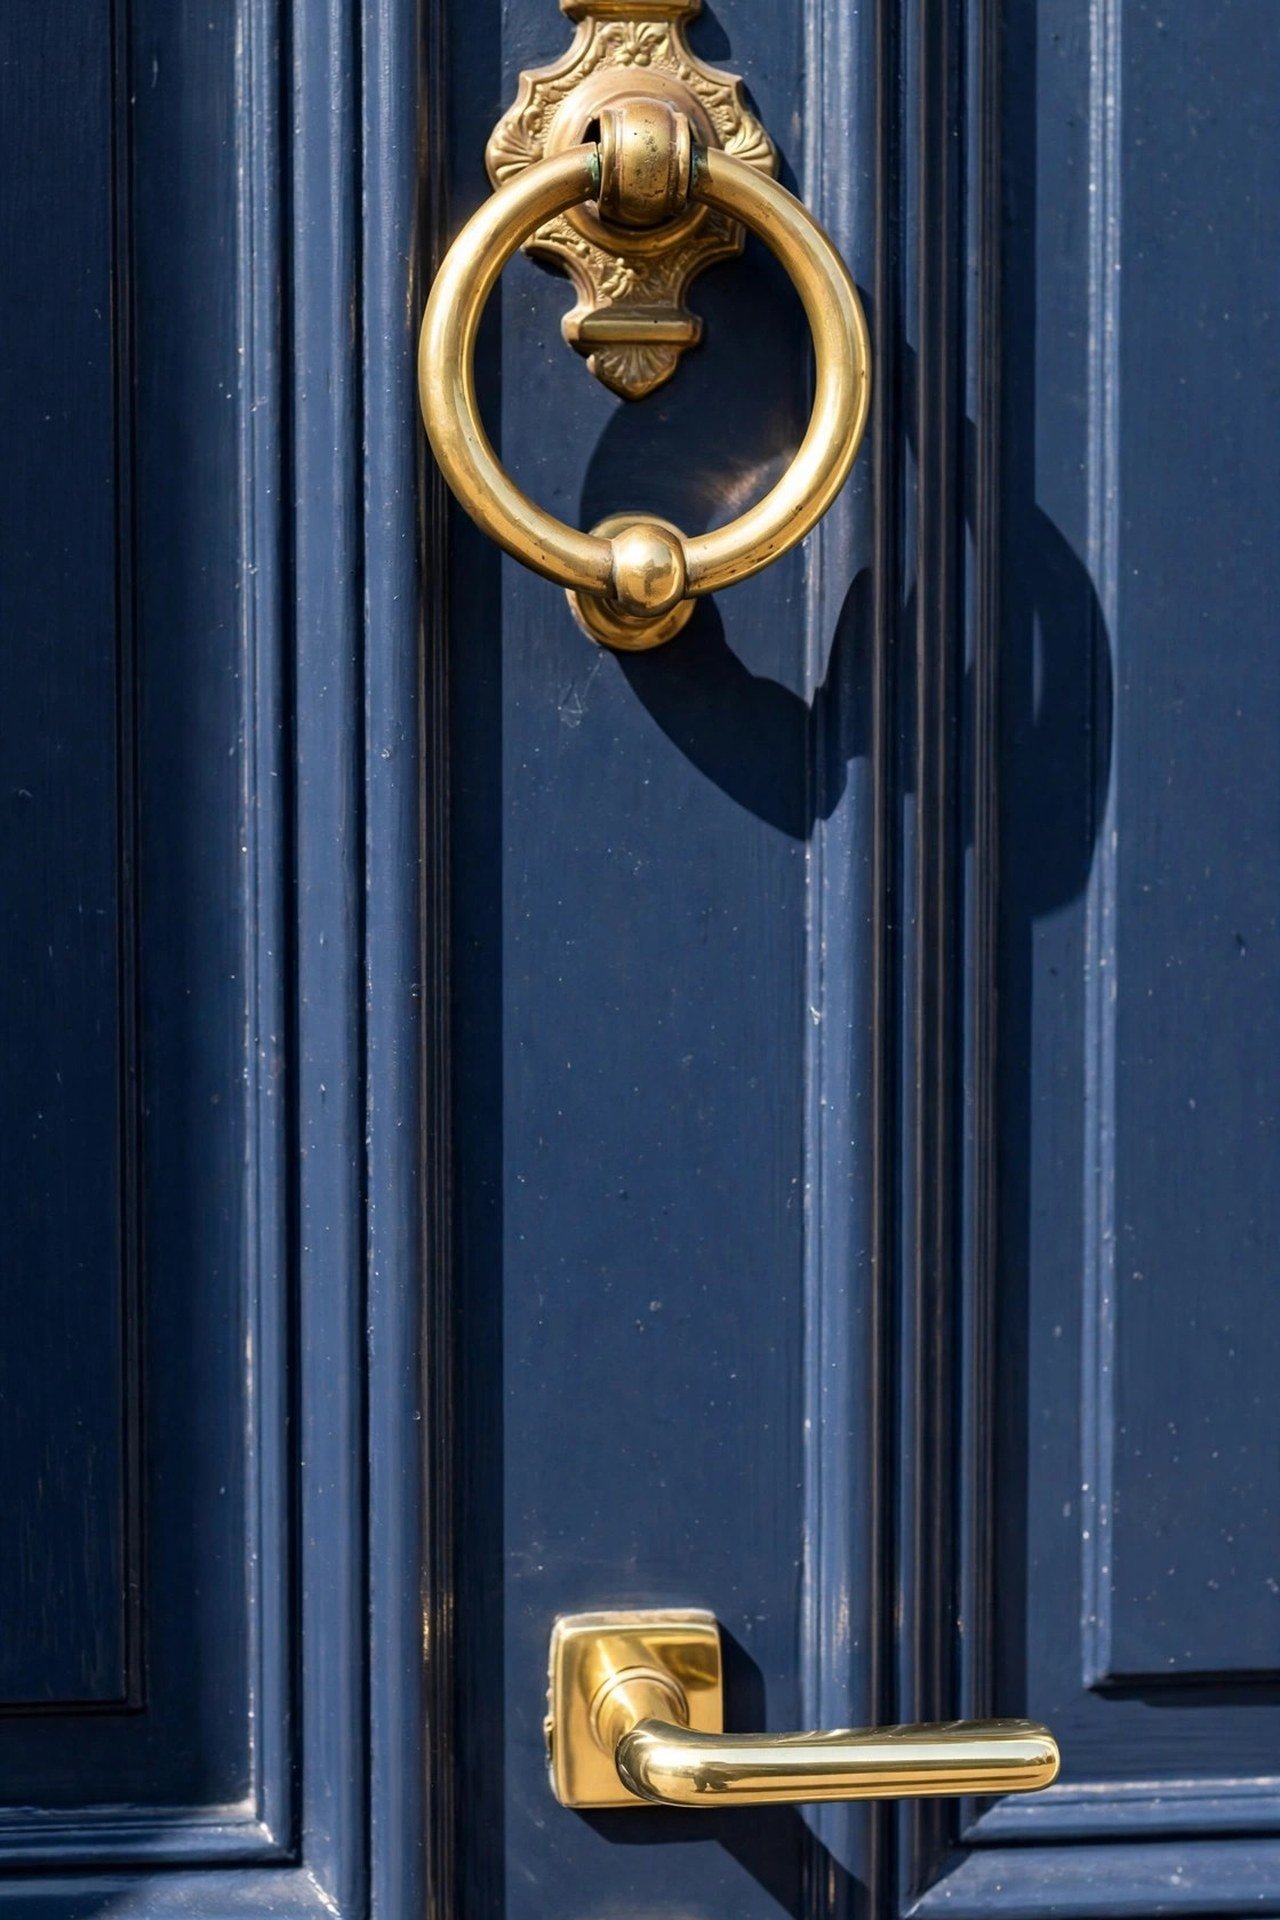
A beautiful door knocker gives your front door jewelry-like polish. Brass lion heads, modern ring pulls, and matte black knockers each set a different tone before anyone steps inside. Installation needs only a drill and a few minutes.
Match the knocker finish to your handle and house numbers for a coordinated entry. This small addition photographs beautifully and makes your front door feel considered rather than forgotten.
12. Fresh House Numbers
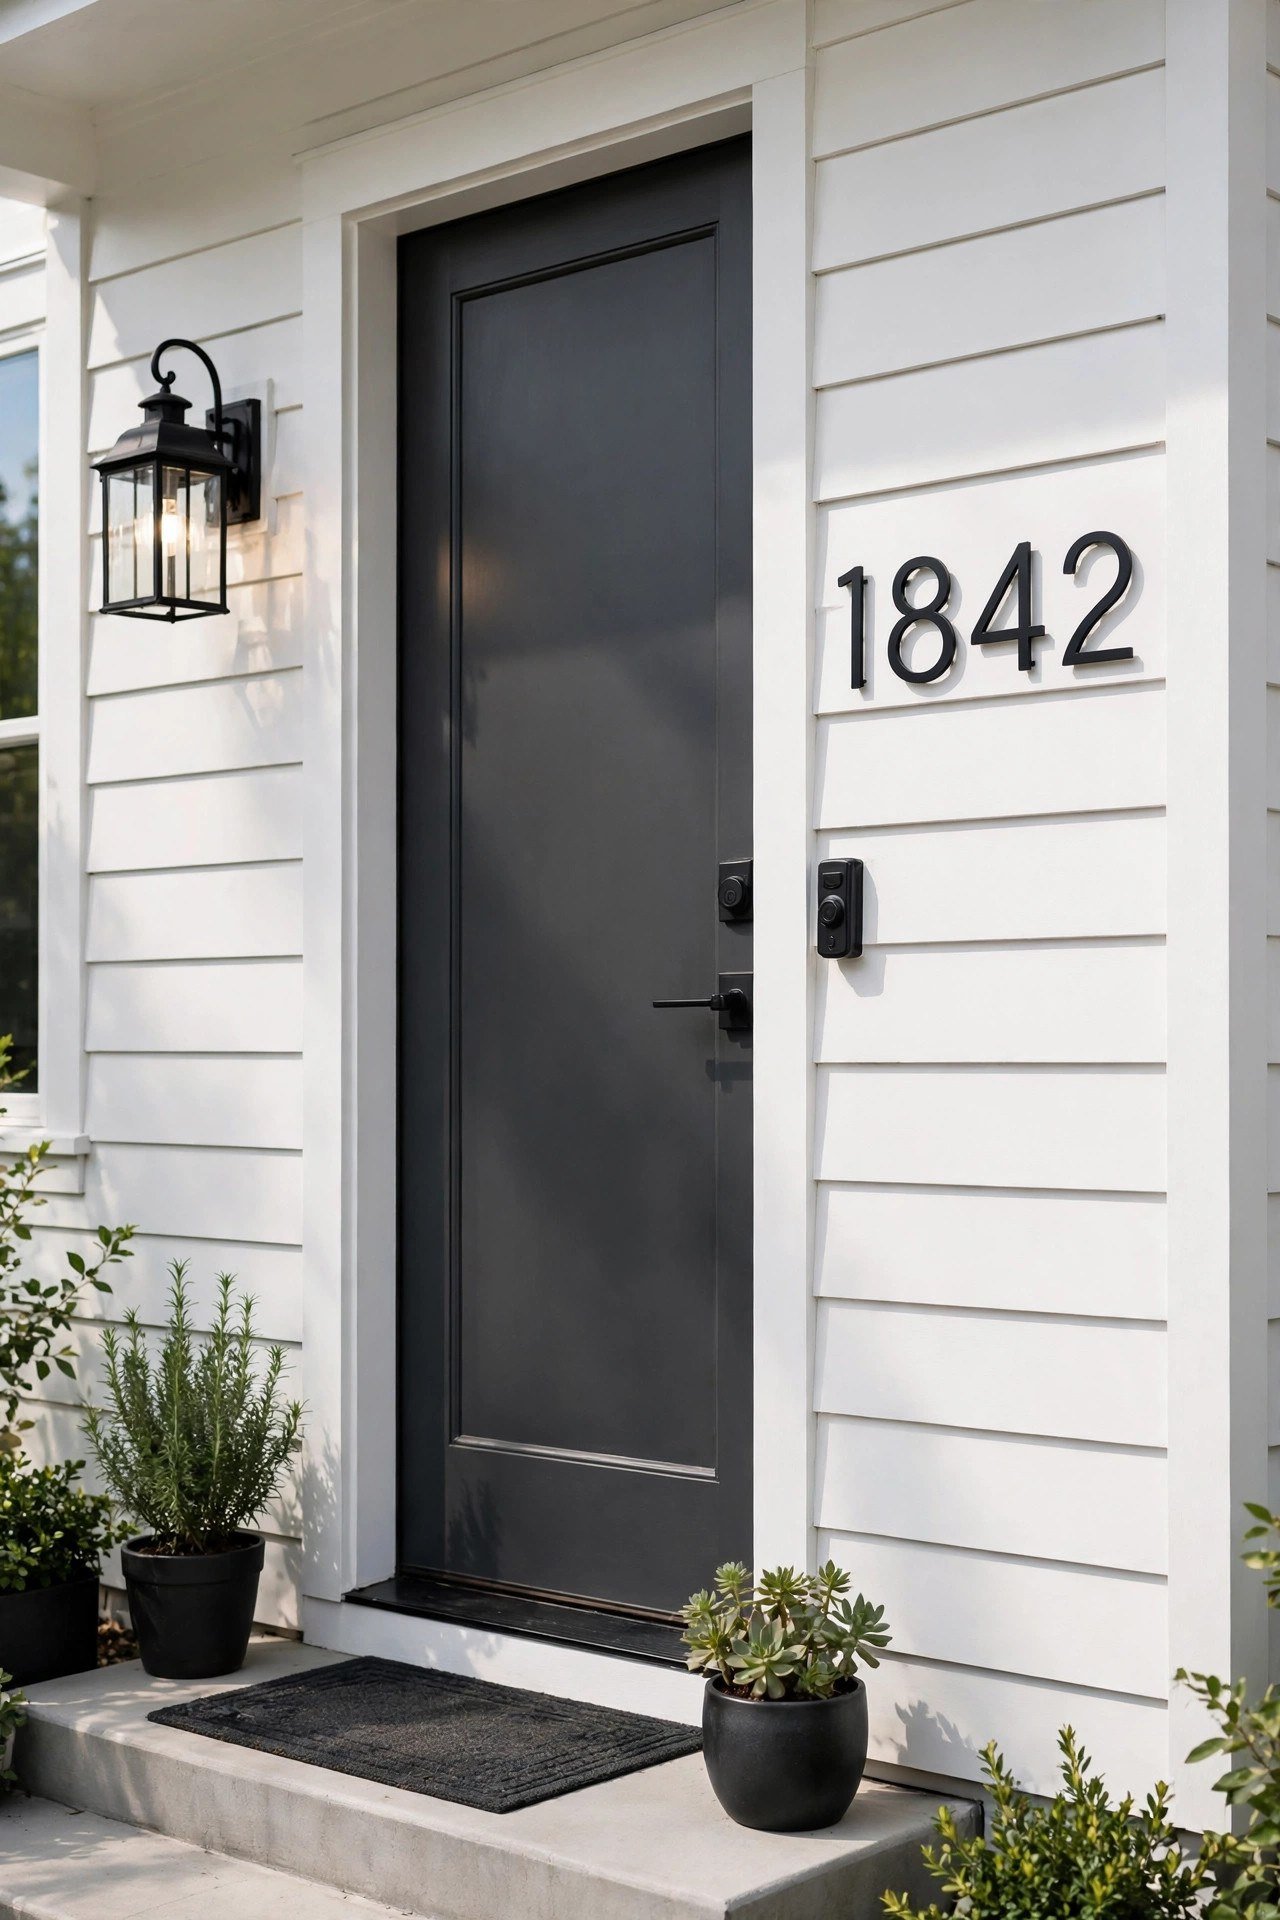
Replacing faded house numbers with crisp modern ones sharpens your whole entry. Choose a style that matches your home: sleek sans-serif for modern houses, traditional serif for classic ones. Mount them at eye level beside the door.
Pair the numbers with a matching mailbox and doorbell in one finish for a fully coordinated look. This tiny project costs little but makes your home look cared for from the street.
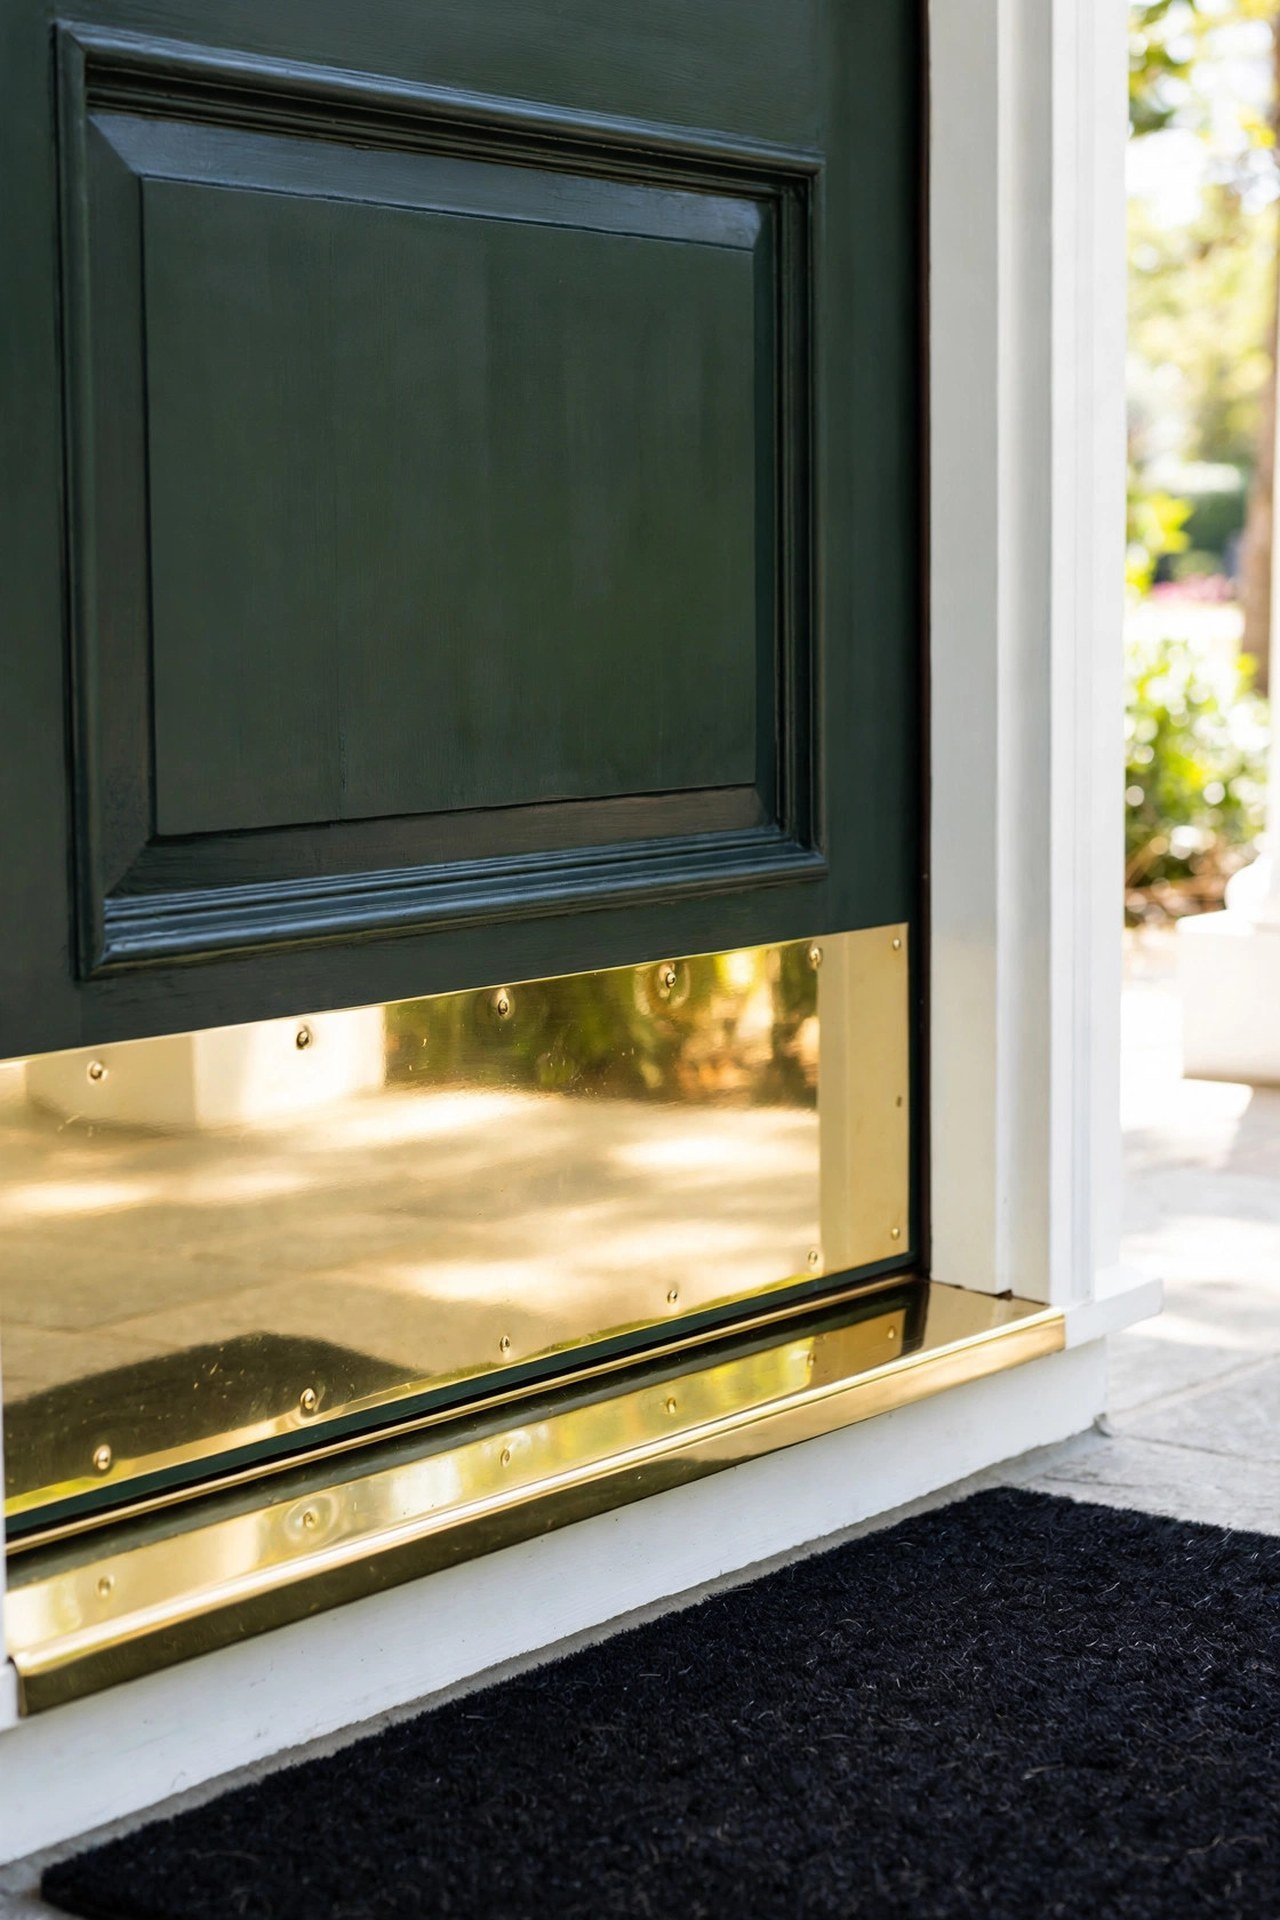
13. Protective Kick Plate
A brass or stainless kick plate protects the bottom of your front door from scuffs while adding a tailored, traditional detail. It screws on in minutes and instantly makes a door look more substantial and finished.
Choose a plate that spans most of the door’s width and matches your other hardware. Beyond the looks, it genuinely extends the life of your paint job in high-traffic entries with kids and pets.
14. Weatherstripping and Door Sweep
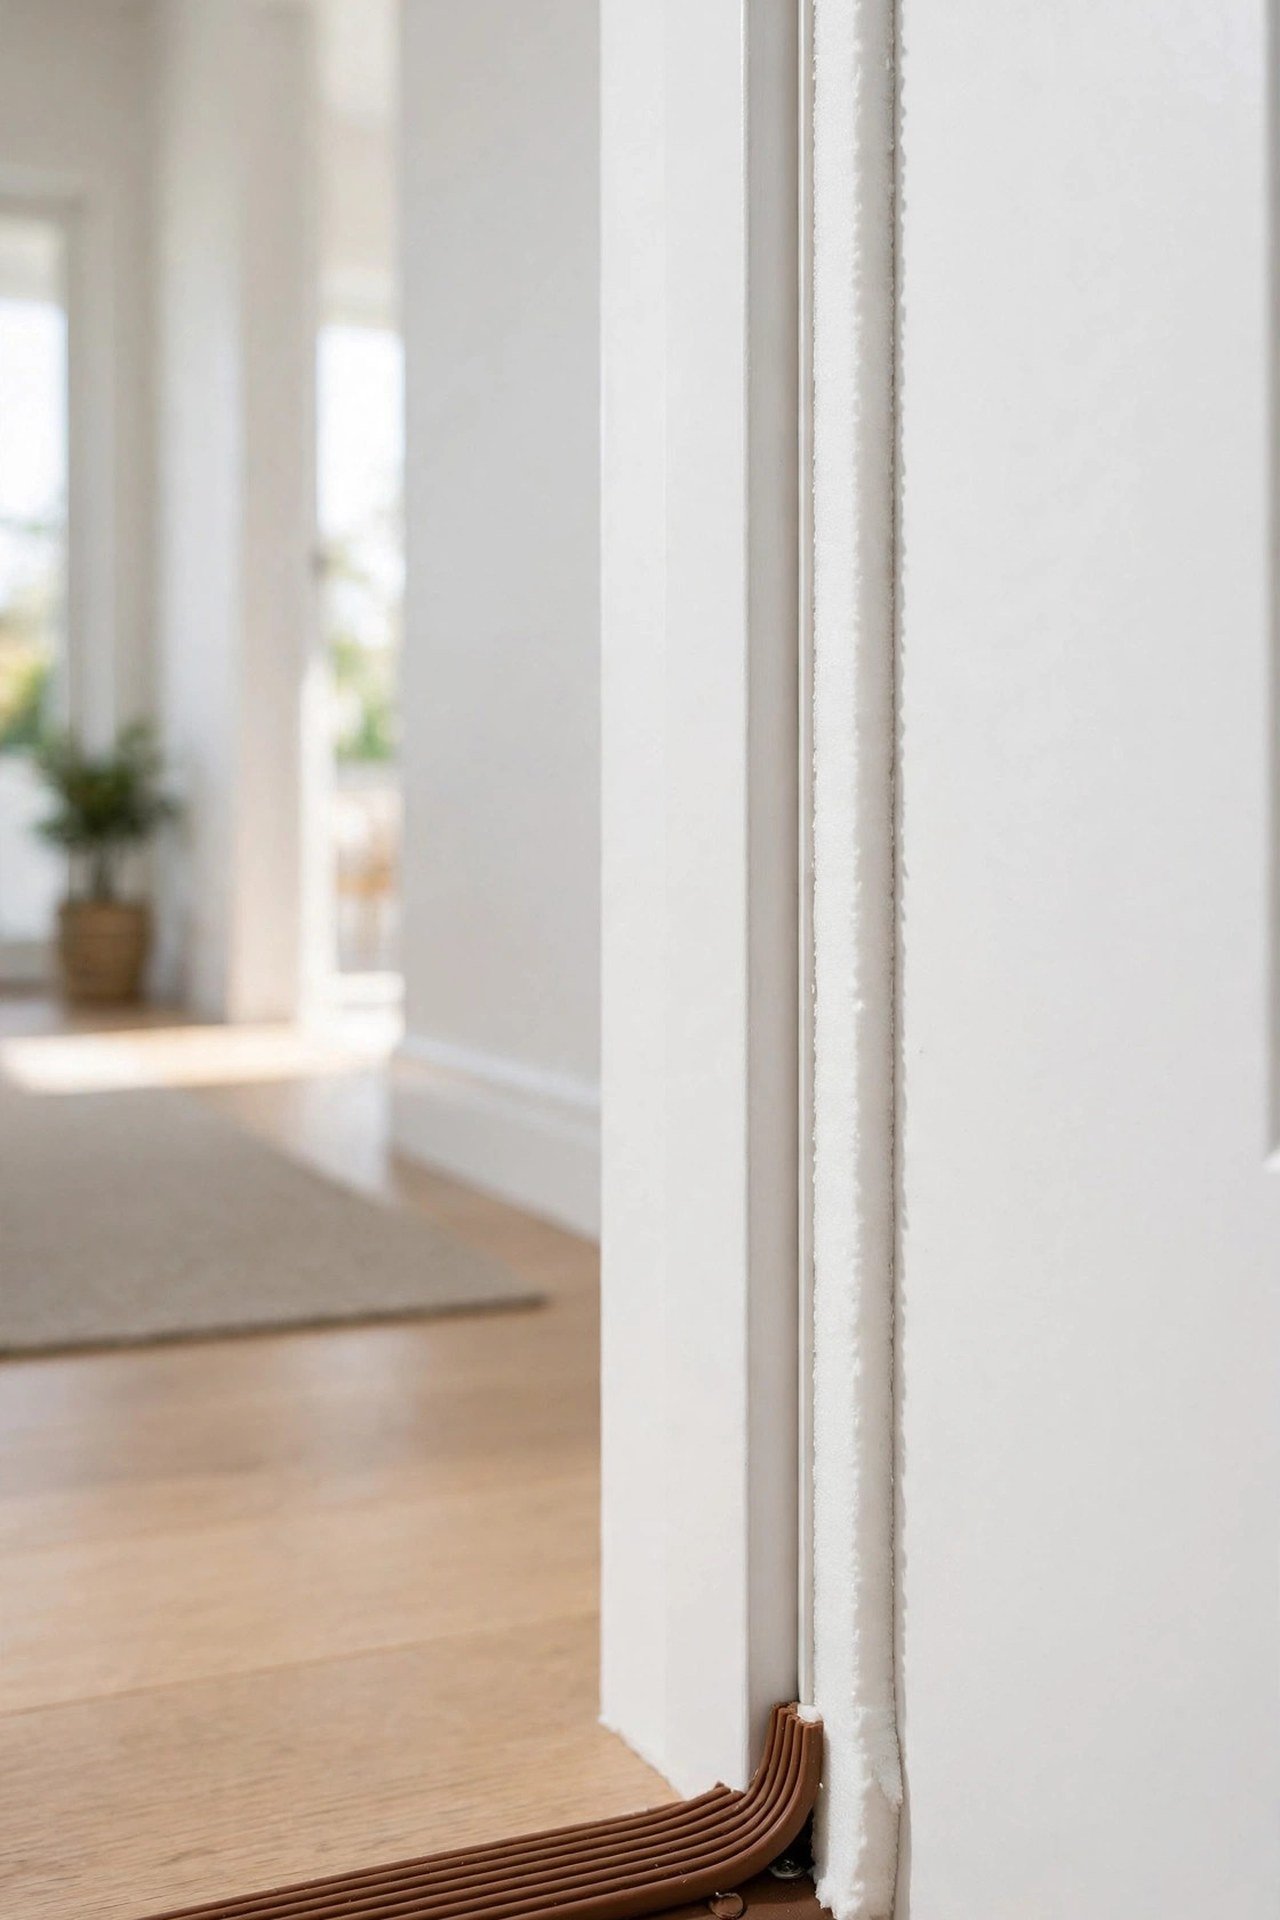
New weatherstripping and a door sweep are invisible upgrades that pay for themselves. They seal drafts, quiet rattling, and keep dust and insects out. Adhesive foam strips press into the frame in minutes with no tools.
Choose a sweep that matches your door’s finish for a tidy look. While purely functional, a door that closes with a solid, quiet thunk feels far more premium than one that rattles. Comfort is a form of luxury.
15. Two-Tone Door and Frame
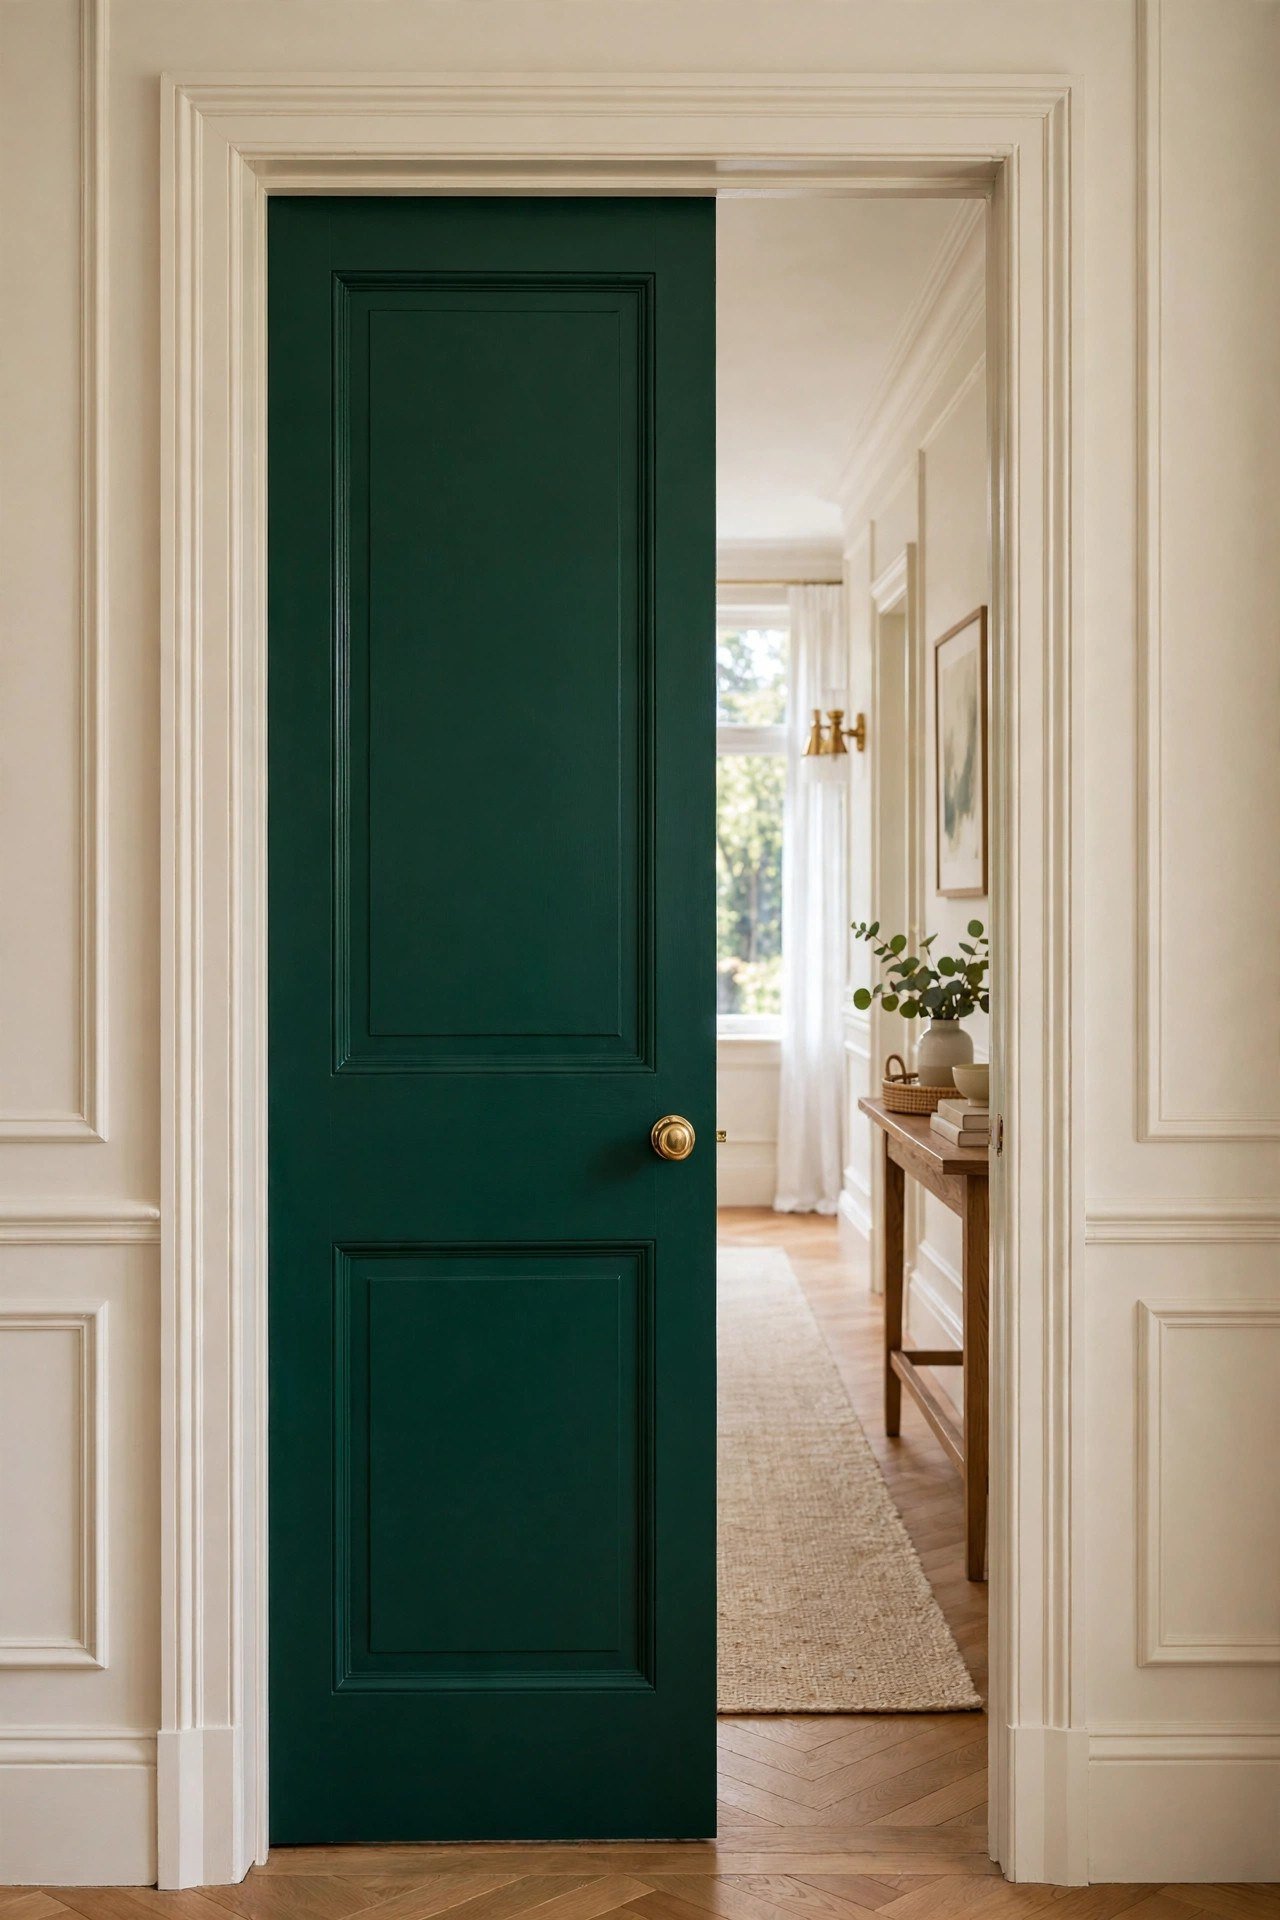
Paint the door one color and the frame a contrasting shade for a designer two-tone effect. A deep green door in a cream frame, or a black door in a white frame, looks intentional and custom. The contrast defines the doorway beautifully.
This works especially well in hallways where doors repeat, creating rhythm down the corridor. For more two-color inspiration, browse these two-tone wall paint ideas that share the same bold spirit.
16. Chalkboard Paint Panel
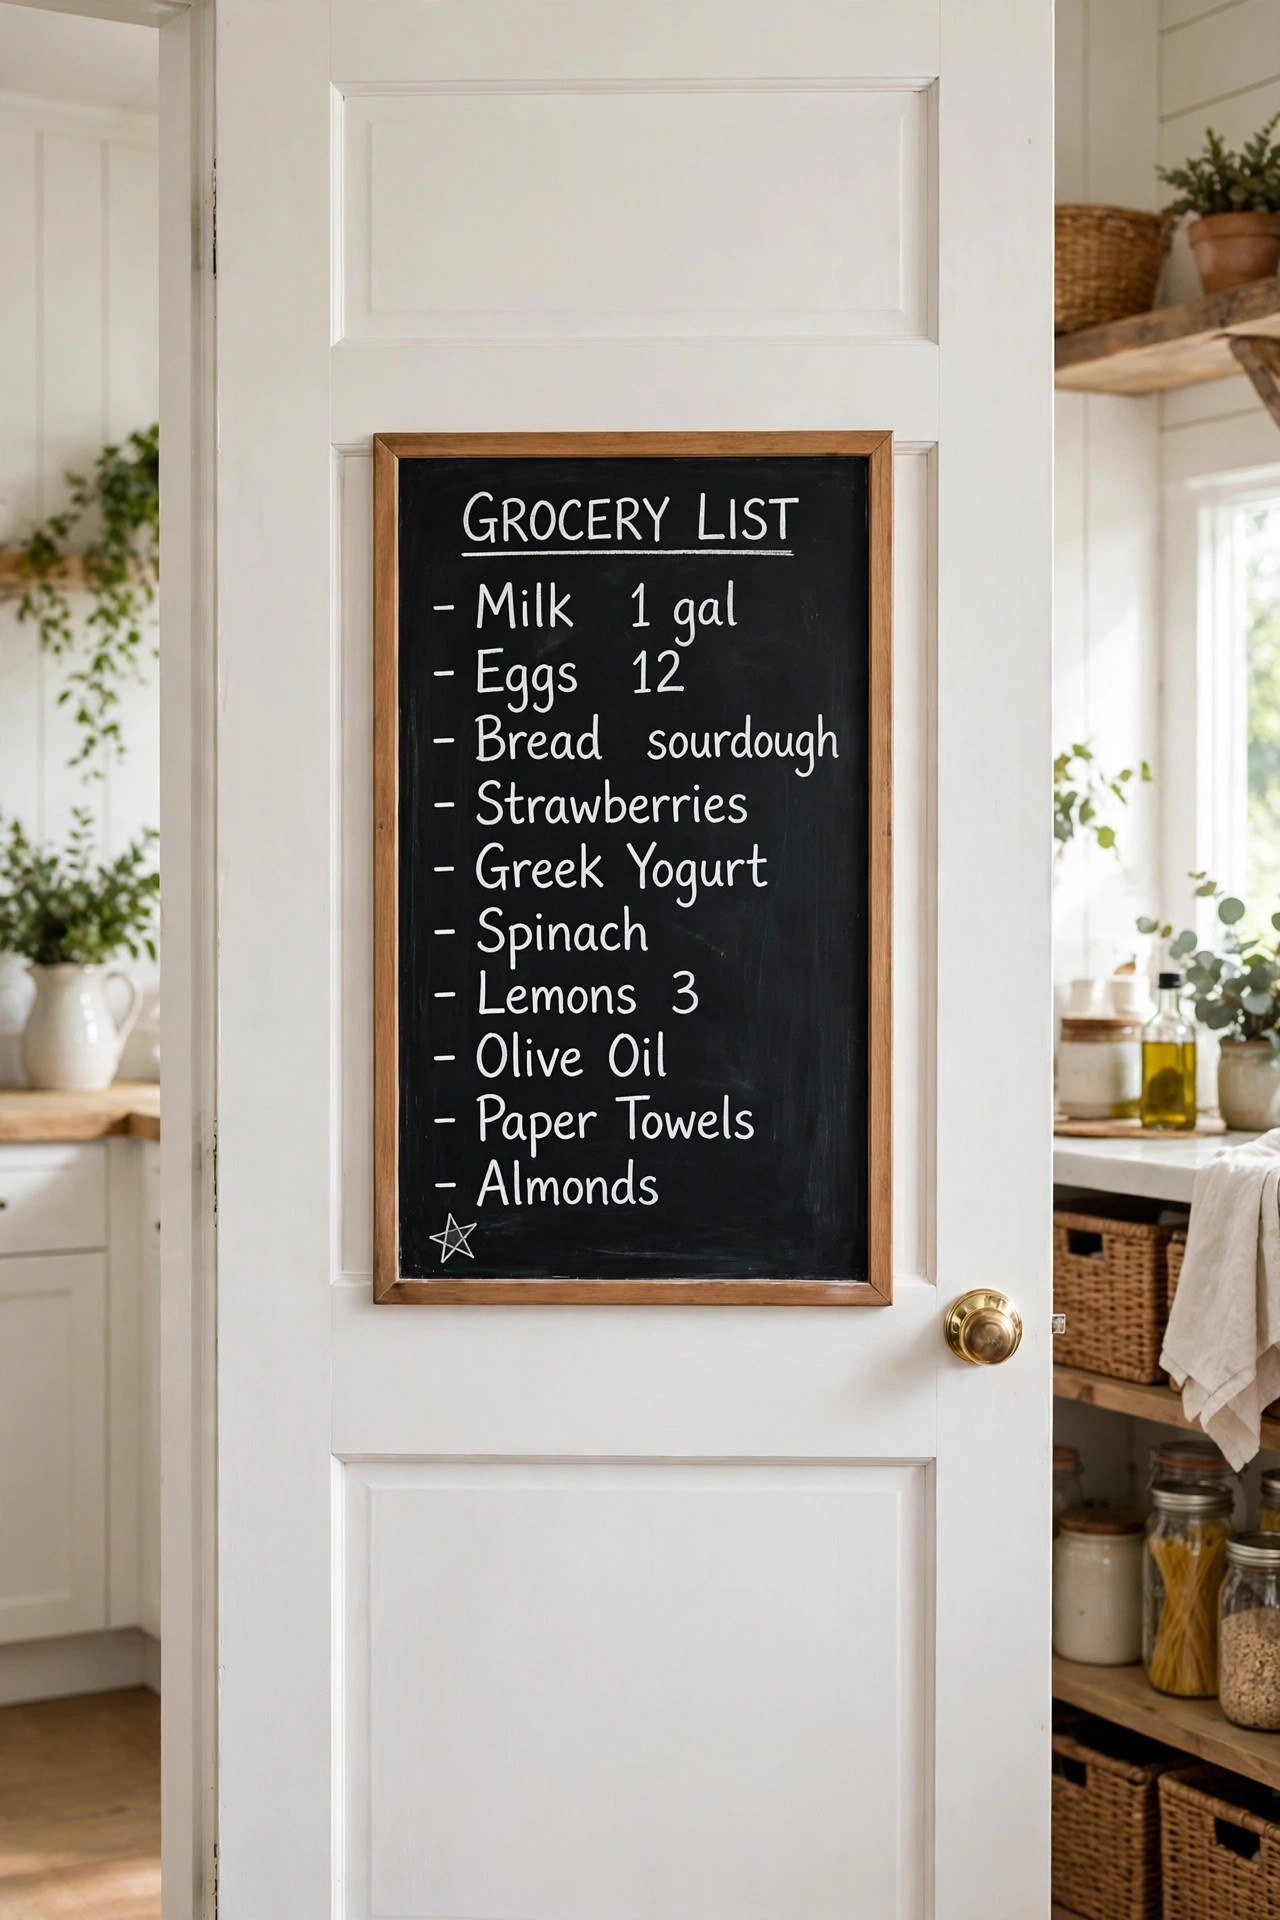
A chalkboard paint panel on a pantry or kitchen door is equal parts fun and functional. Paint a rectangle or the whole lower panel with chalkboard paint, then use it for grocery lists, menus, or doodles. It wipes clean with a damp cloth.
Frame the chalkboard area with thin trim for a finished look. Kids love having a sanctioned drawing surface, and the ever-changing messages keep the kitchen feeling alive. Two coats of specialty paint is all it takes.
17. Seasonal Wreath Styling
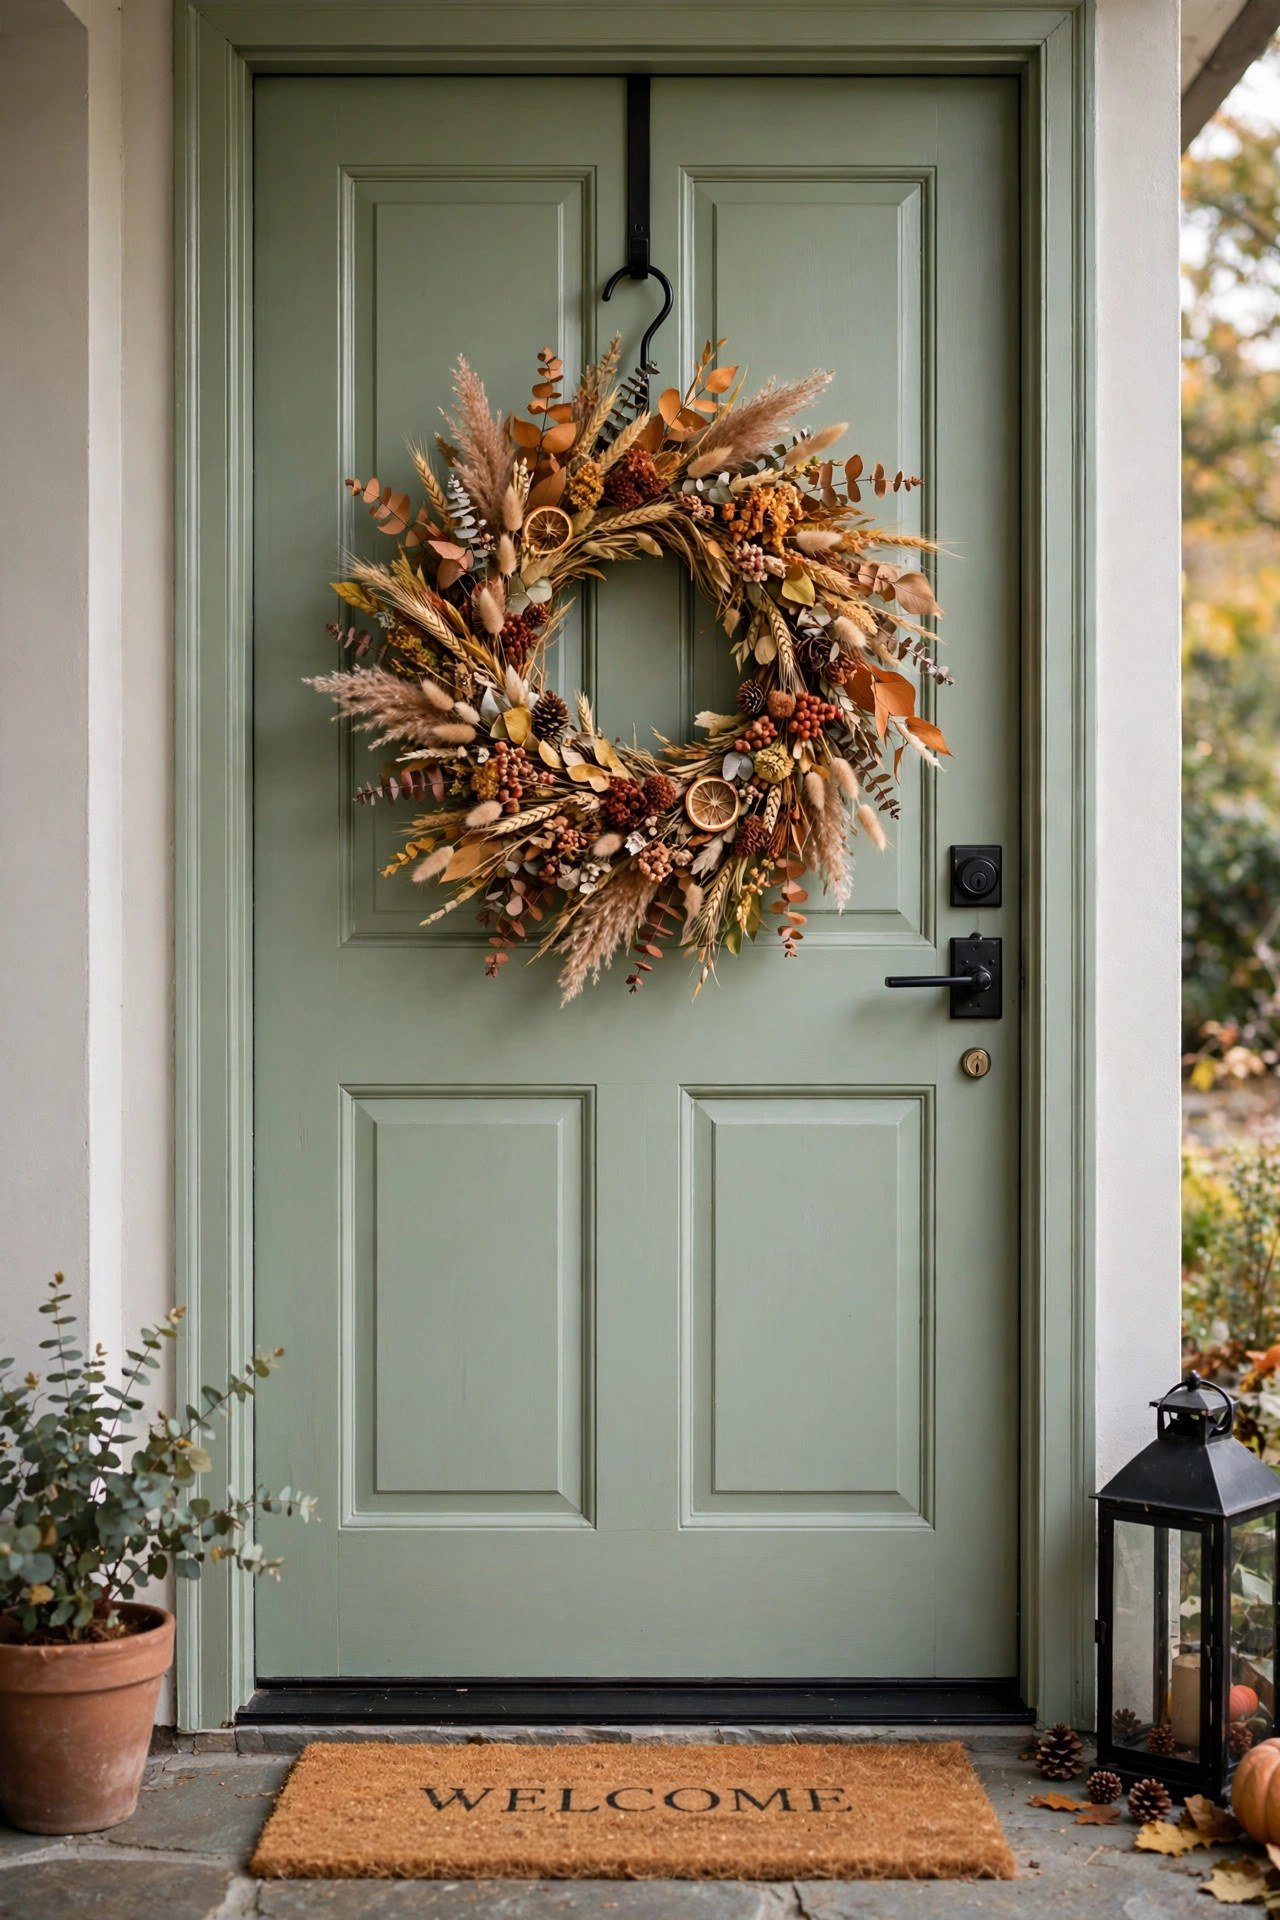
A wreath is the fastest door makeover of all, needing zero tools and zero commitment. Swap it seasonally: fresh greenery for winter, dried flowers for fall, faux blooms for spring. An over-the-door hanger needs no nails.
Scale the wreath to your door so it does not look lost or overwhelming. This five-minute change refreshes your entry more than you would expect, and wreaths store flat between seasons.
18. Contrasting Painted Door Frame
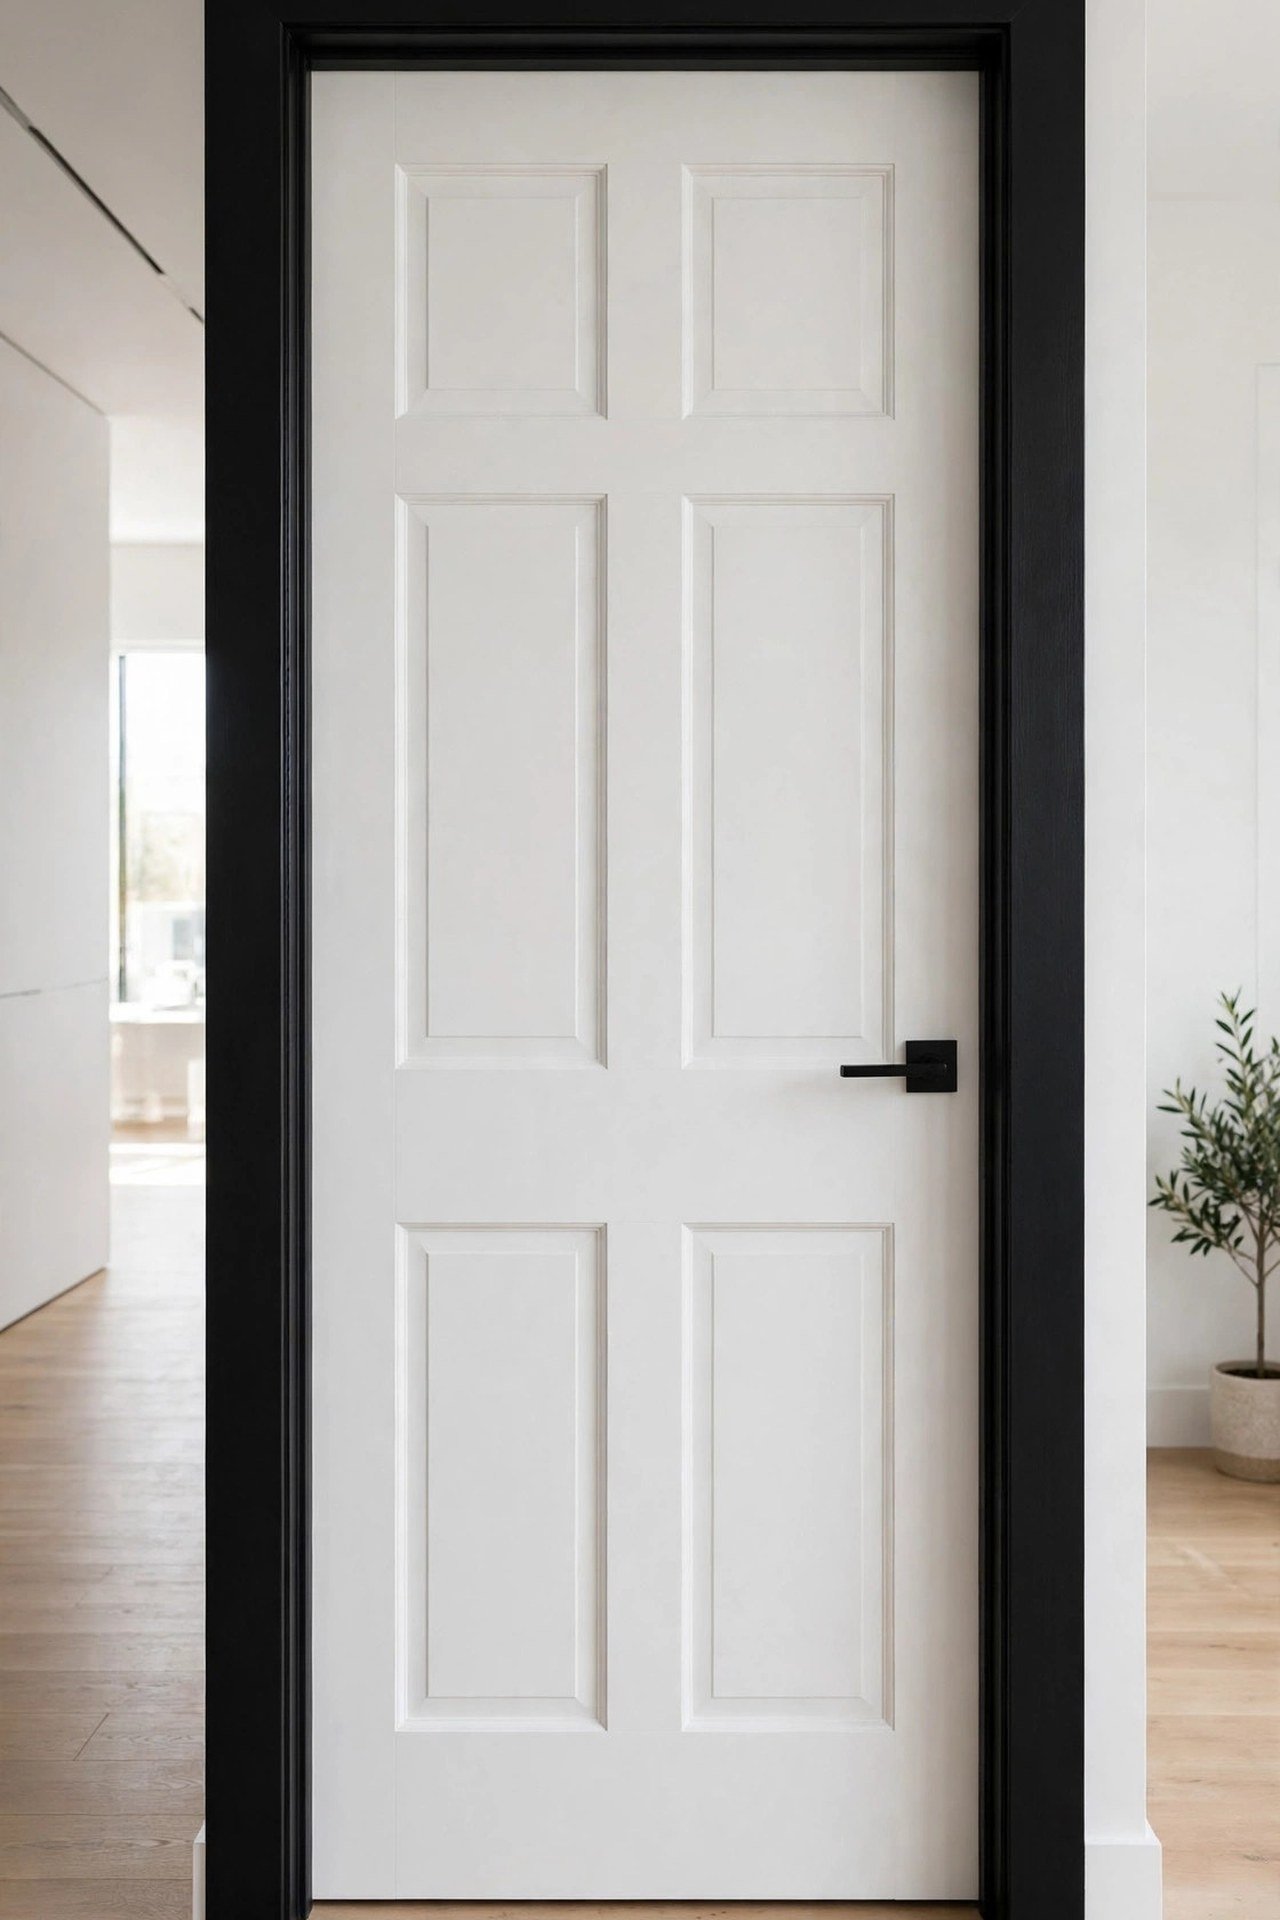
Leave the door itself alone and paint only the frame in a contrasting color. A black frame around a white door, or a sage frame around a natural wood door, creates a picture-frame effect that draws the eye. It is unexpected and chic.
This uses even less paint than a full door repaint, so it is perfect for testing bold color. The crisp outline makes plain doors look architecturally intentional.
19. Beadboard Overlay Panels
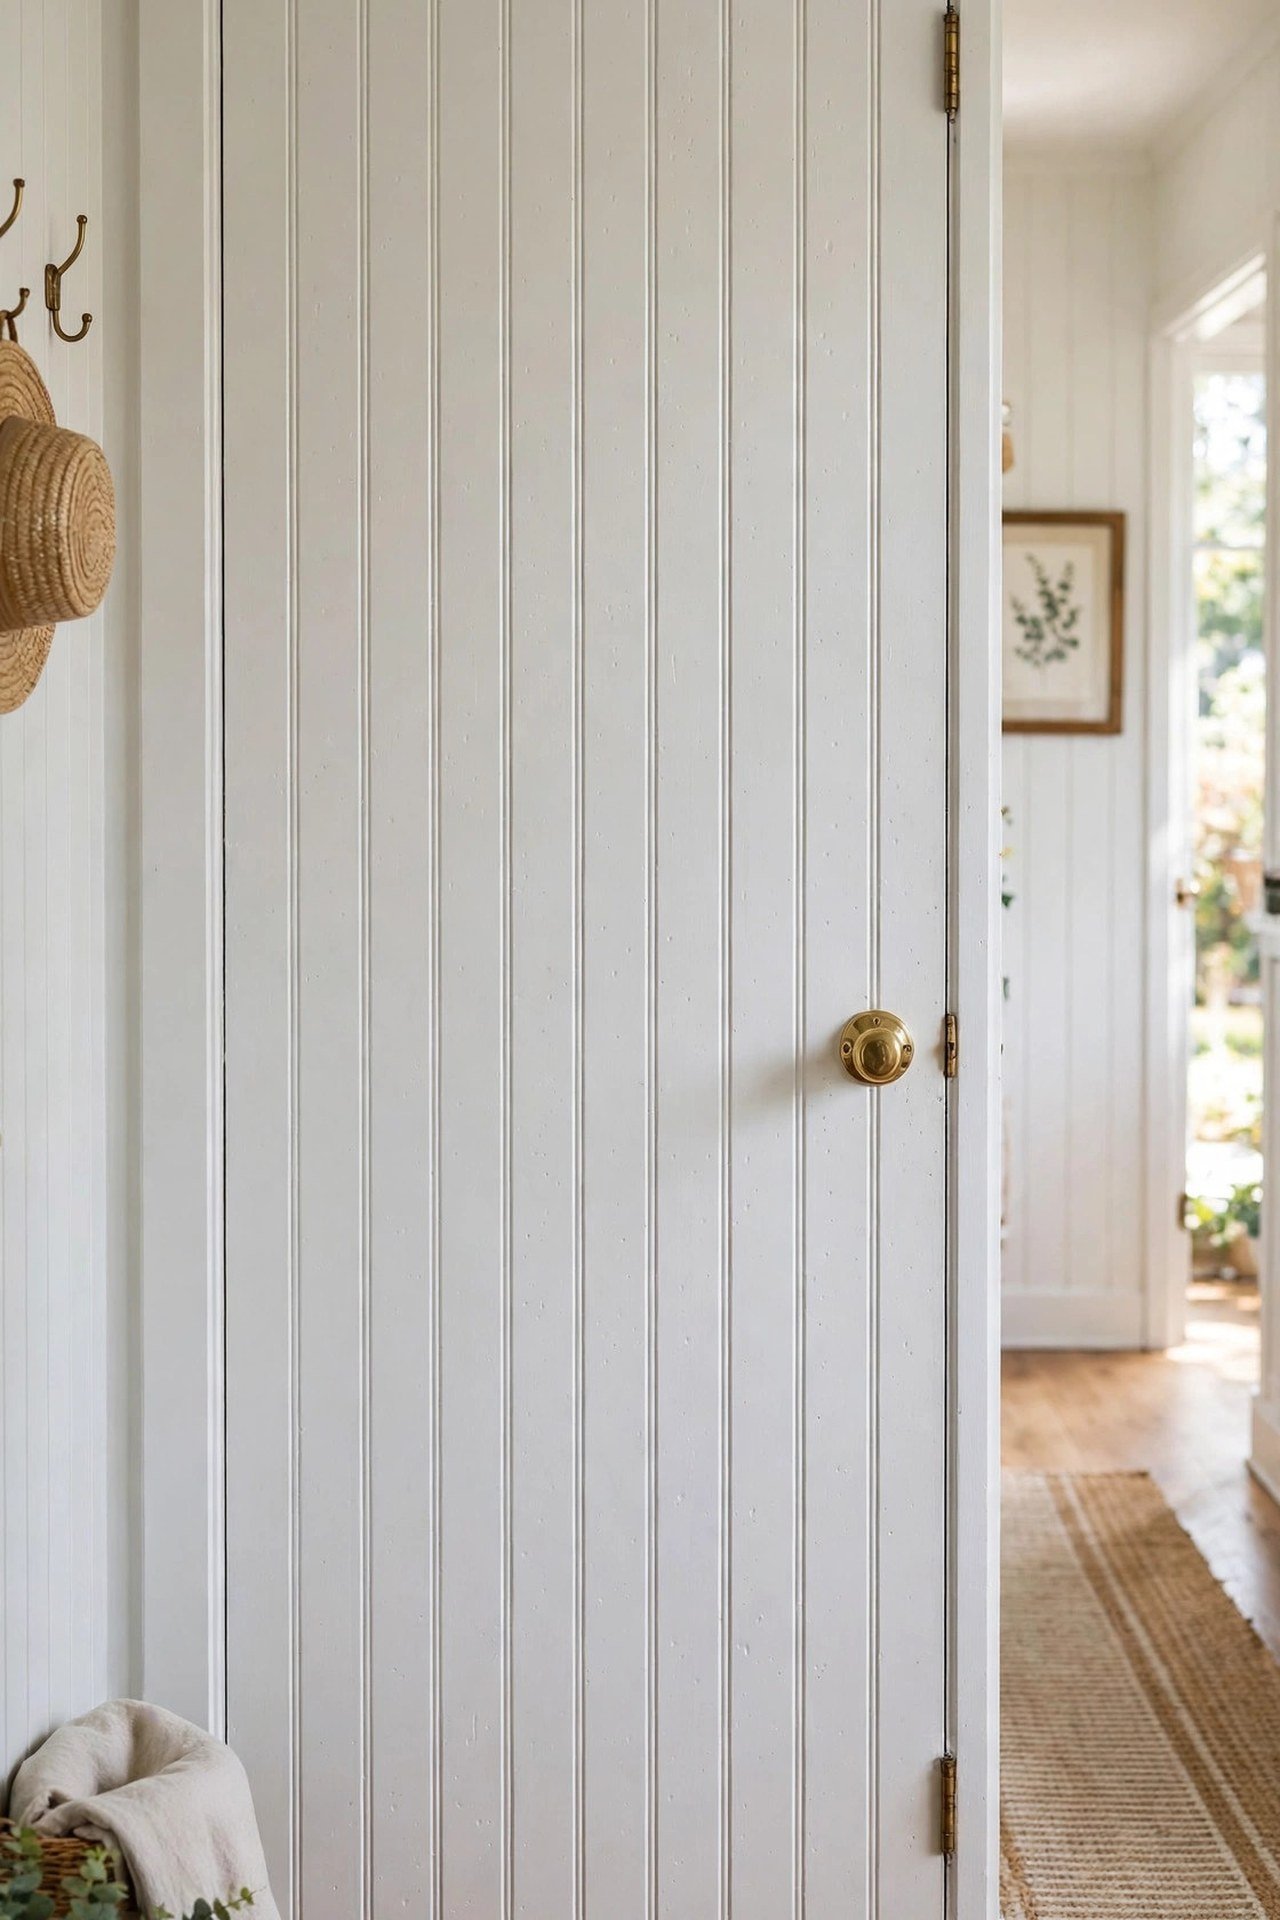
Thin beadboard panels glued to a flat door add cottage texture and dimension. Cut the panels to fit inside the door’s edges, attach with construction adhesive, caulk the seams, and paint everything one fresh color.
The vertical grooves catch light beautifully and hide the flatness of hollow-core doors completely. This weekend project costs little more than a sheet of beadboard and paint, yet looks like a custom cottage door.
20. New Latch and Strike Plate
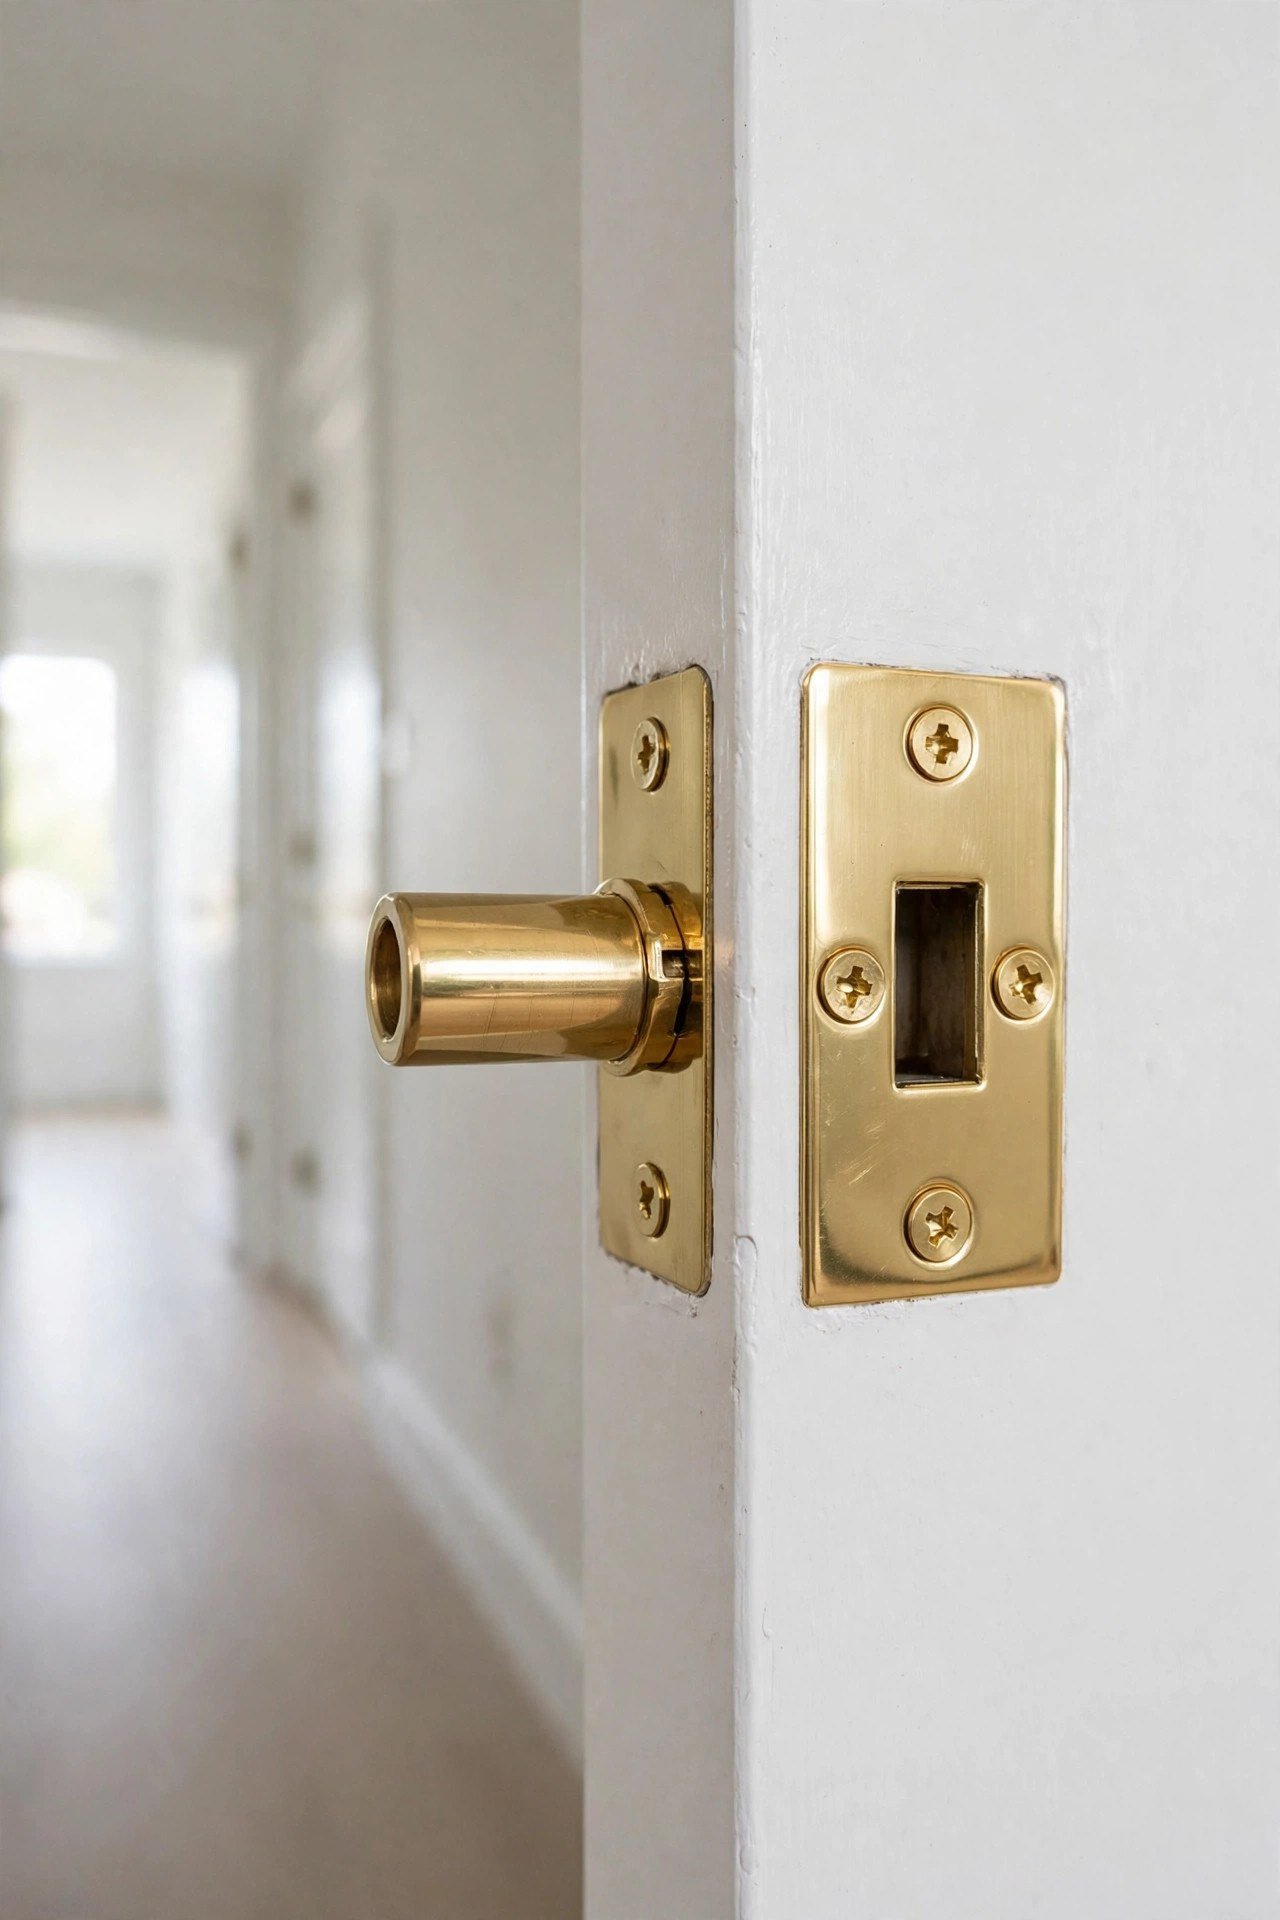
A new latch and strike plate with longer screws makes doors close tighter and quieter. Old hardware loosens over time, causing rattling and drafts. The swap needs only a screwdriver and costs just a few dollars.
Match the finish to your handles for a cohesive look. While you are at it, add a magnetic catch to stop any remaining rattle. Doors that latch with a satisfying click feel brand new.
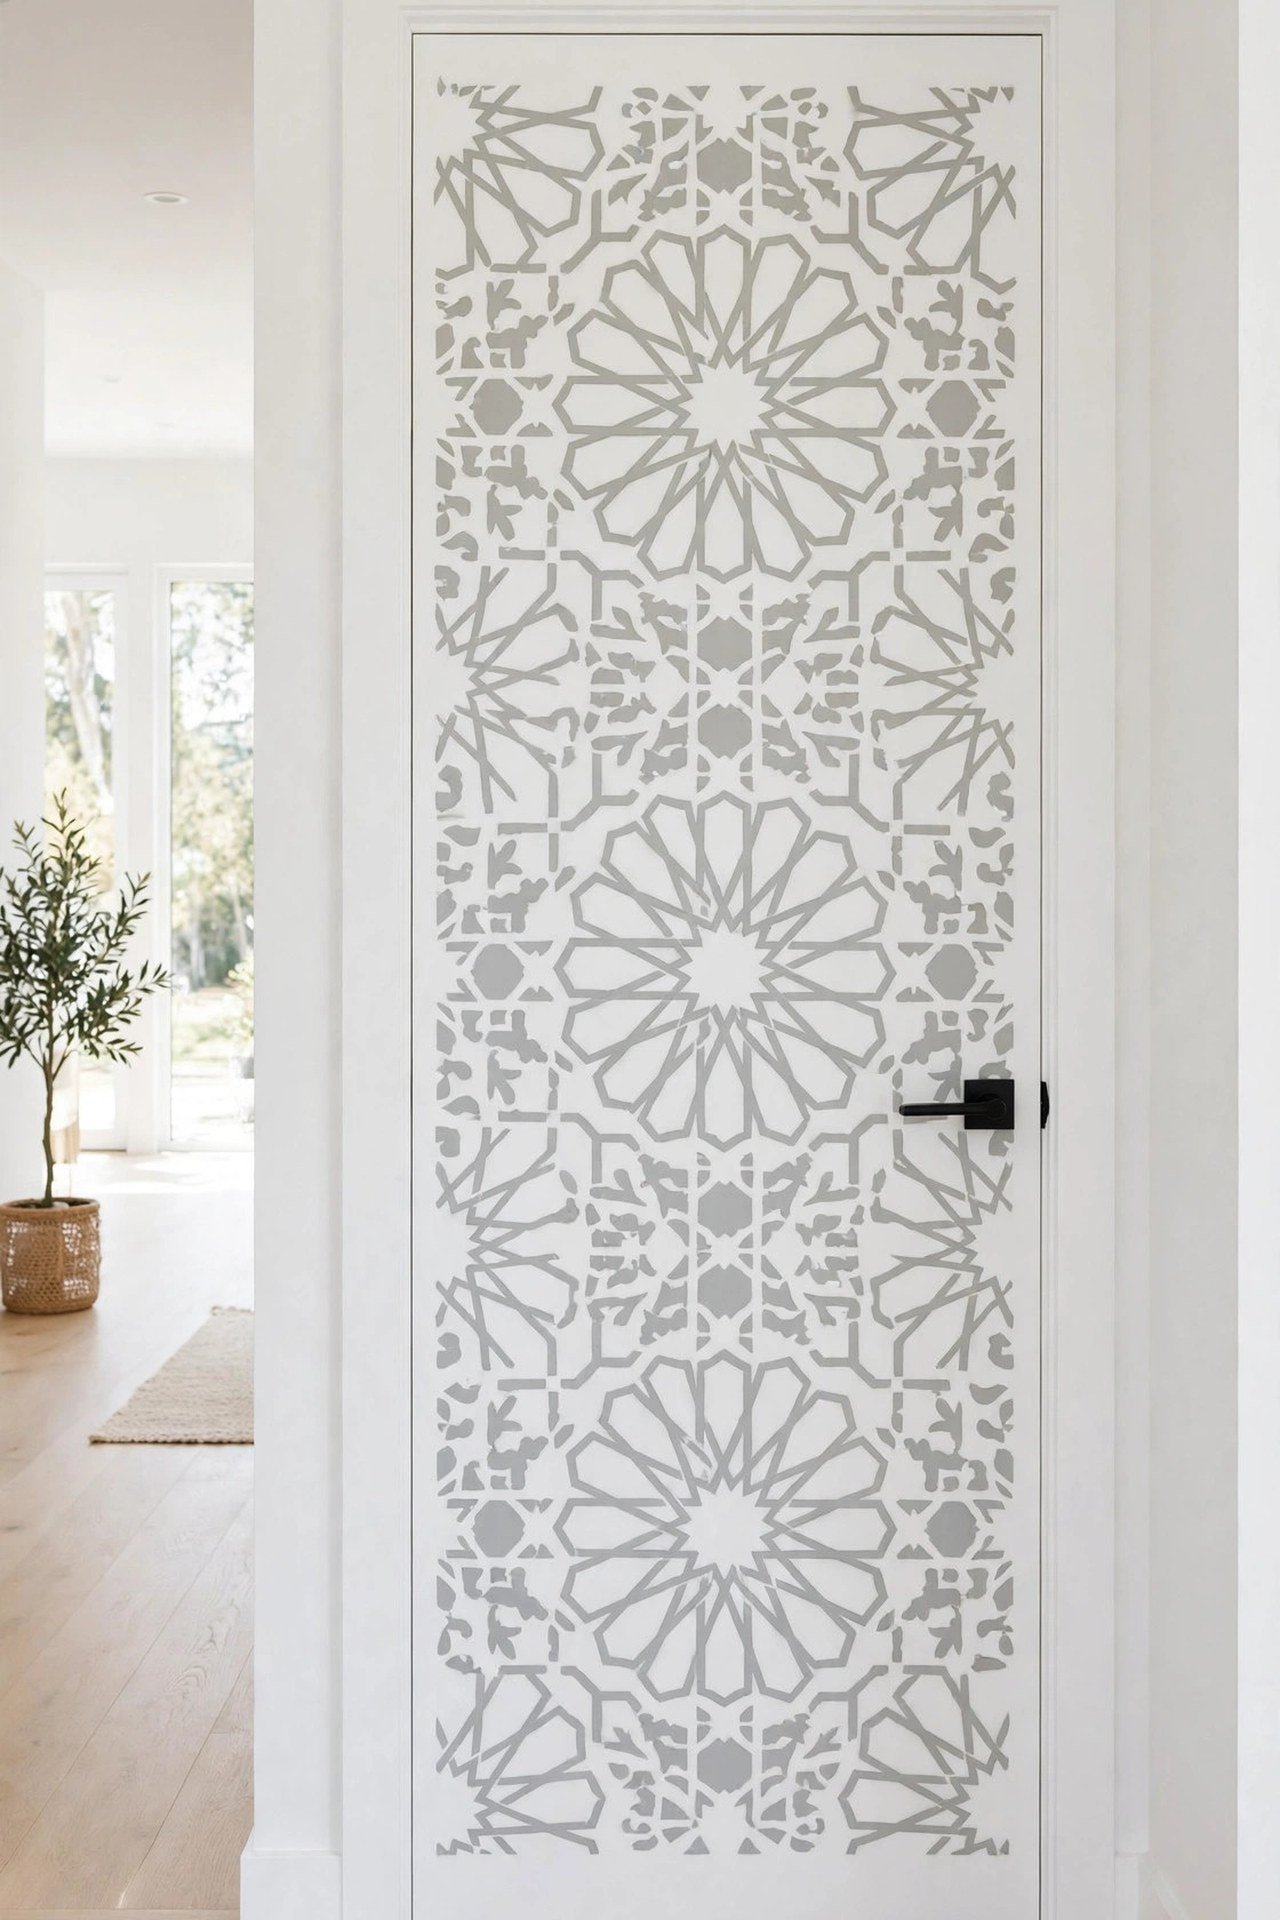
21. Stenciled Door Pattern
A stencil adds wallpaper-like pattern to a door for the price of craft paint. Moroccan, damask, and geometric stencils all work beautifully on flat doors. Use a dense foam roller and very little paint to prevent bleeding under the stencil.
Work in a grid from the center outward so the pattern stays symmetrical. An all-over stencil in tone-on-tone paint looks sophisticated, while a bold contrast reads playful. Seal with a clear topcoat for durability.
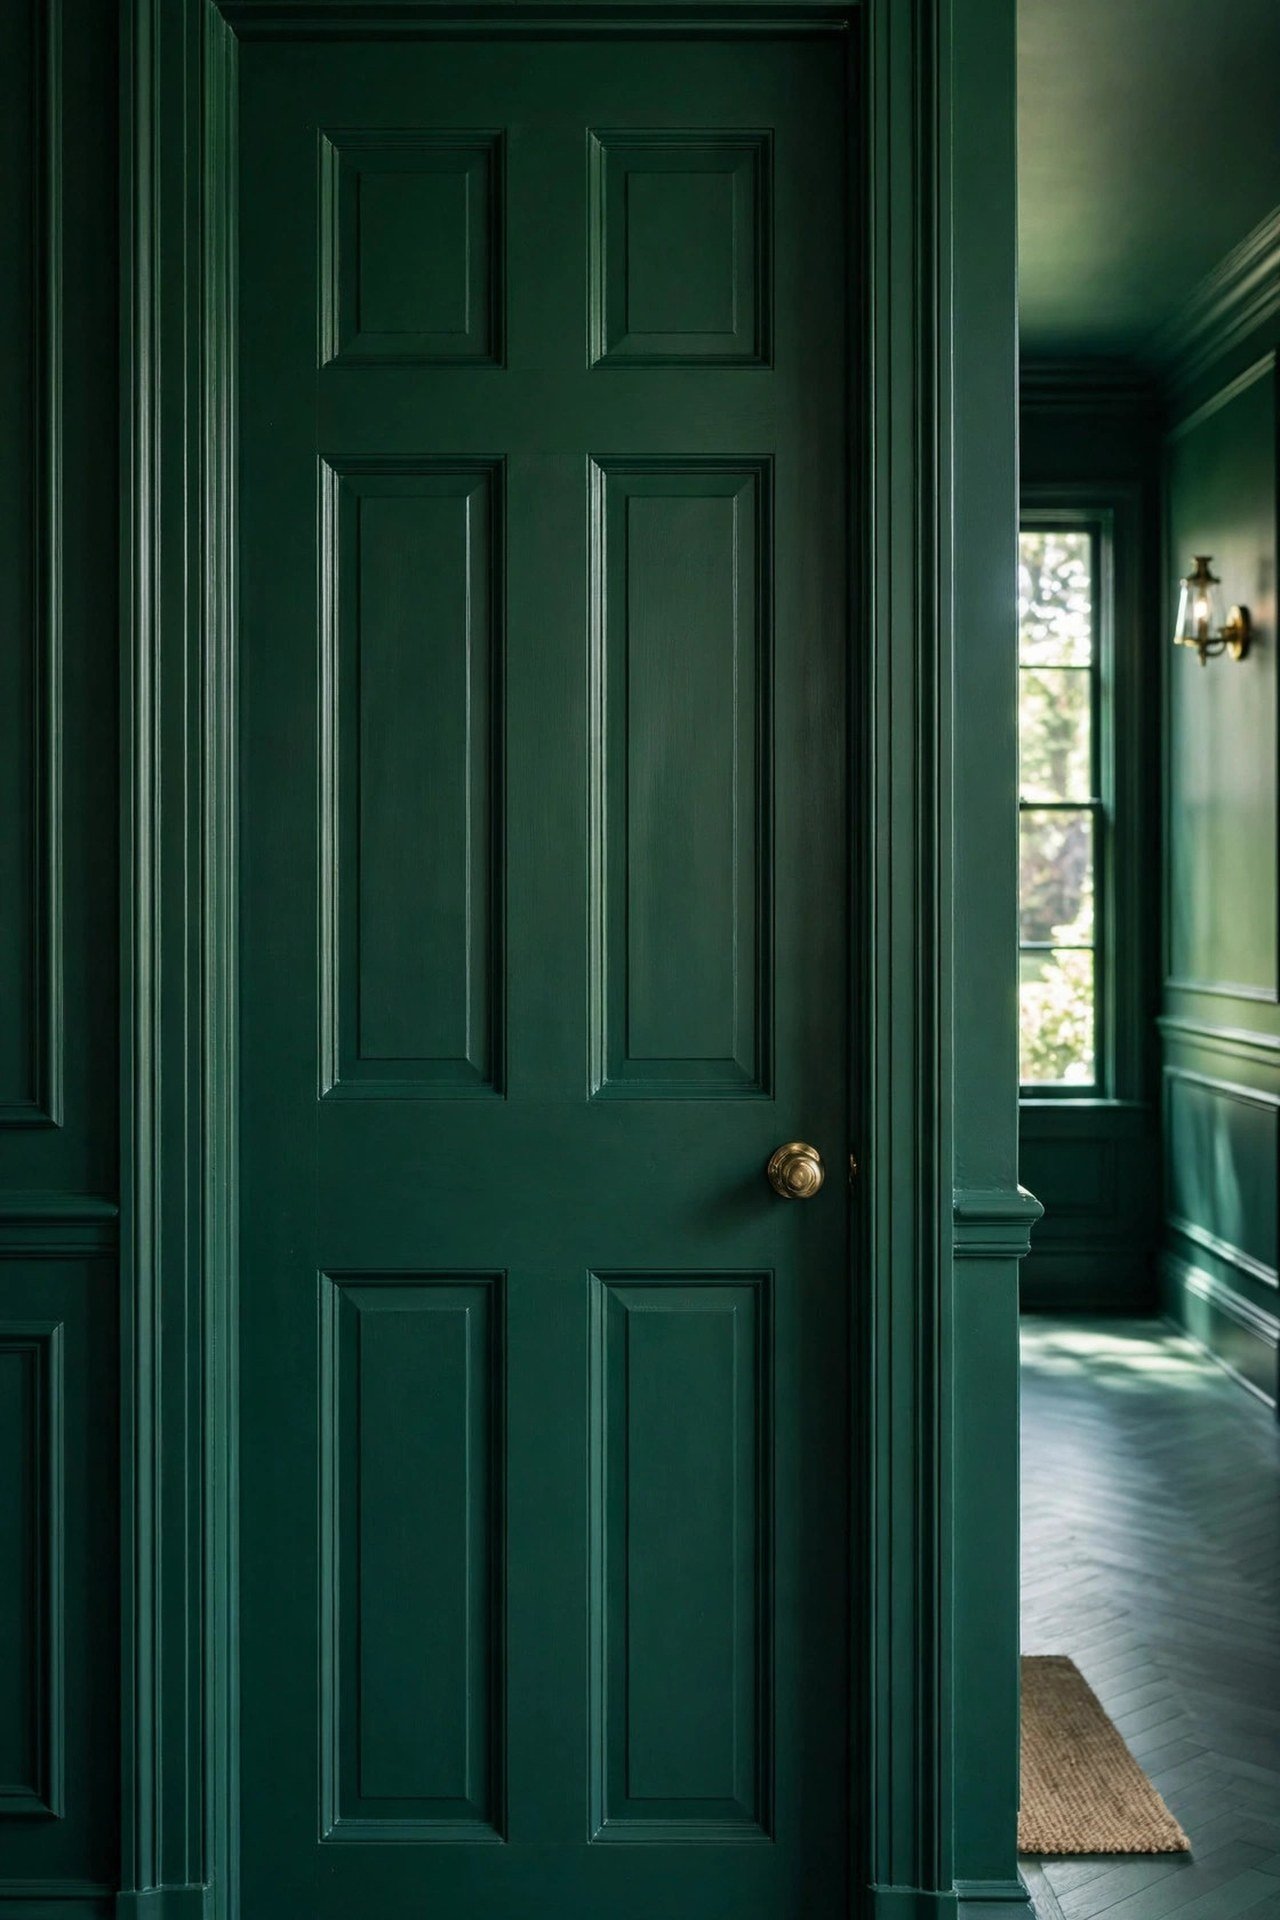
22. Color-Drenched Door and Trim
Color drenching means painting the door, frame, and surrounding trim all in one rich color. The monochrome envelope makes doorways feel architectural and dramatic. Deep green, inky blue, and warm terracotta all drench beautifully.
This works best on doors in rooms that already lean moody or in hallways you want to feel intentional. One color across every surface hides imperfections and creates a cocooning effect.
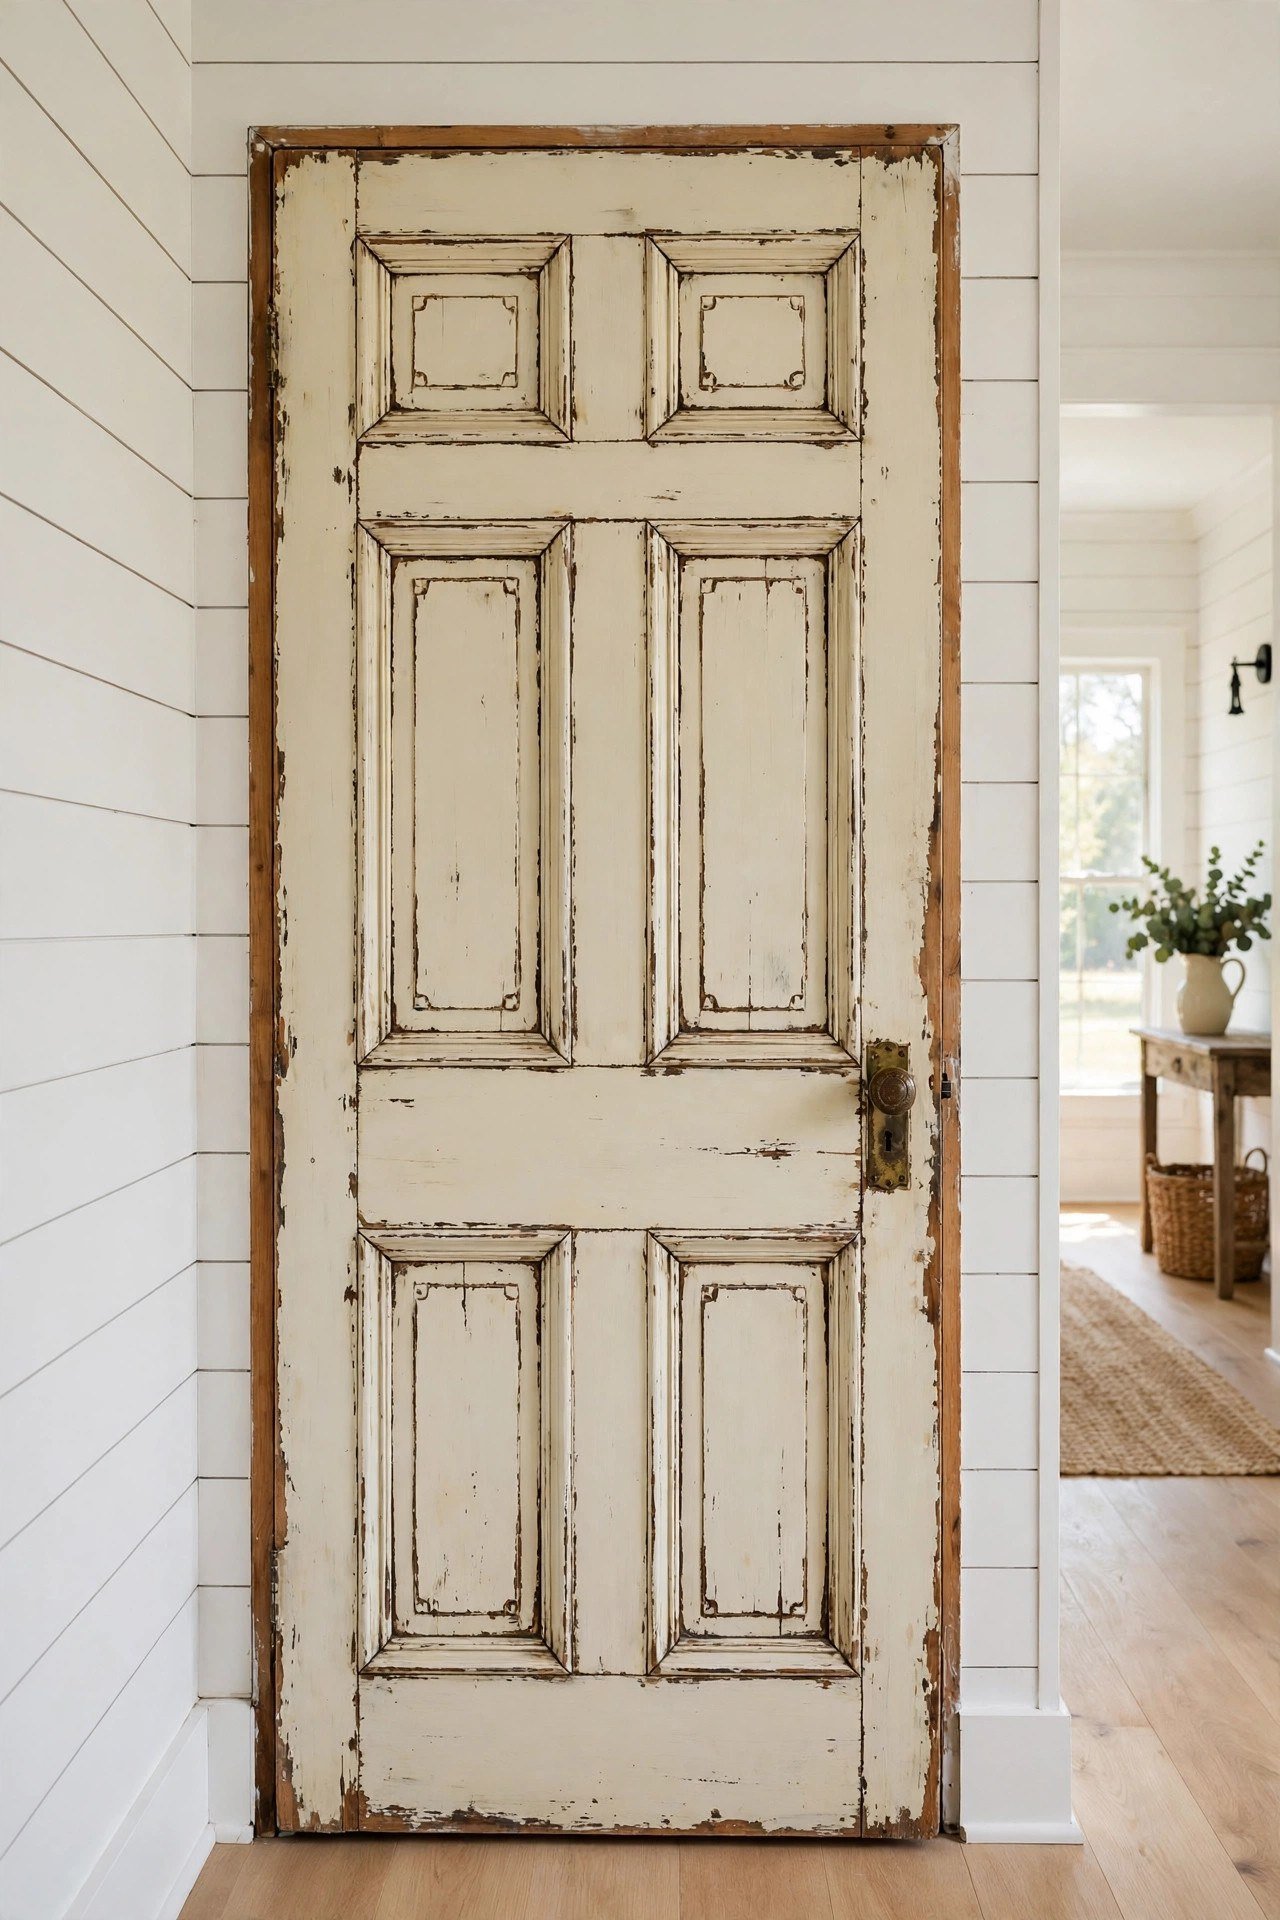
23. Distressed Vintage Finish
A distressed finish gives new doors instant antique character. Paint the door in your chosen color, then sand the edges and raised areas lightly to reveal the wood or base coat beneath. Finish with dark wax rubbed into the distressed spots.
Focus distressing where natural wear would occur: edges, around the knob, and along the bottom. This farmhouse favorite suits cottages and vintage-style homes. For more no-permanence vintage charm, see these rental friendly decor hacks.
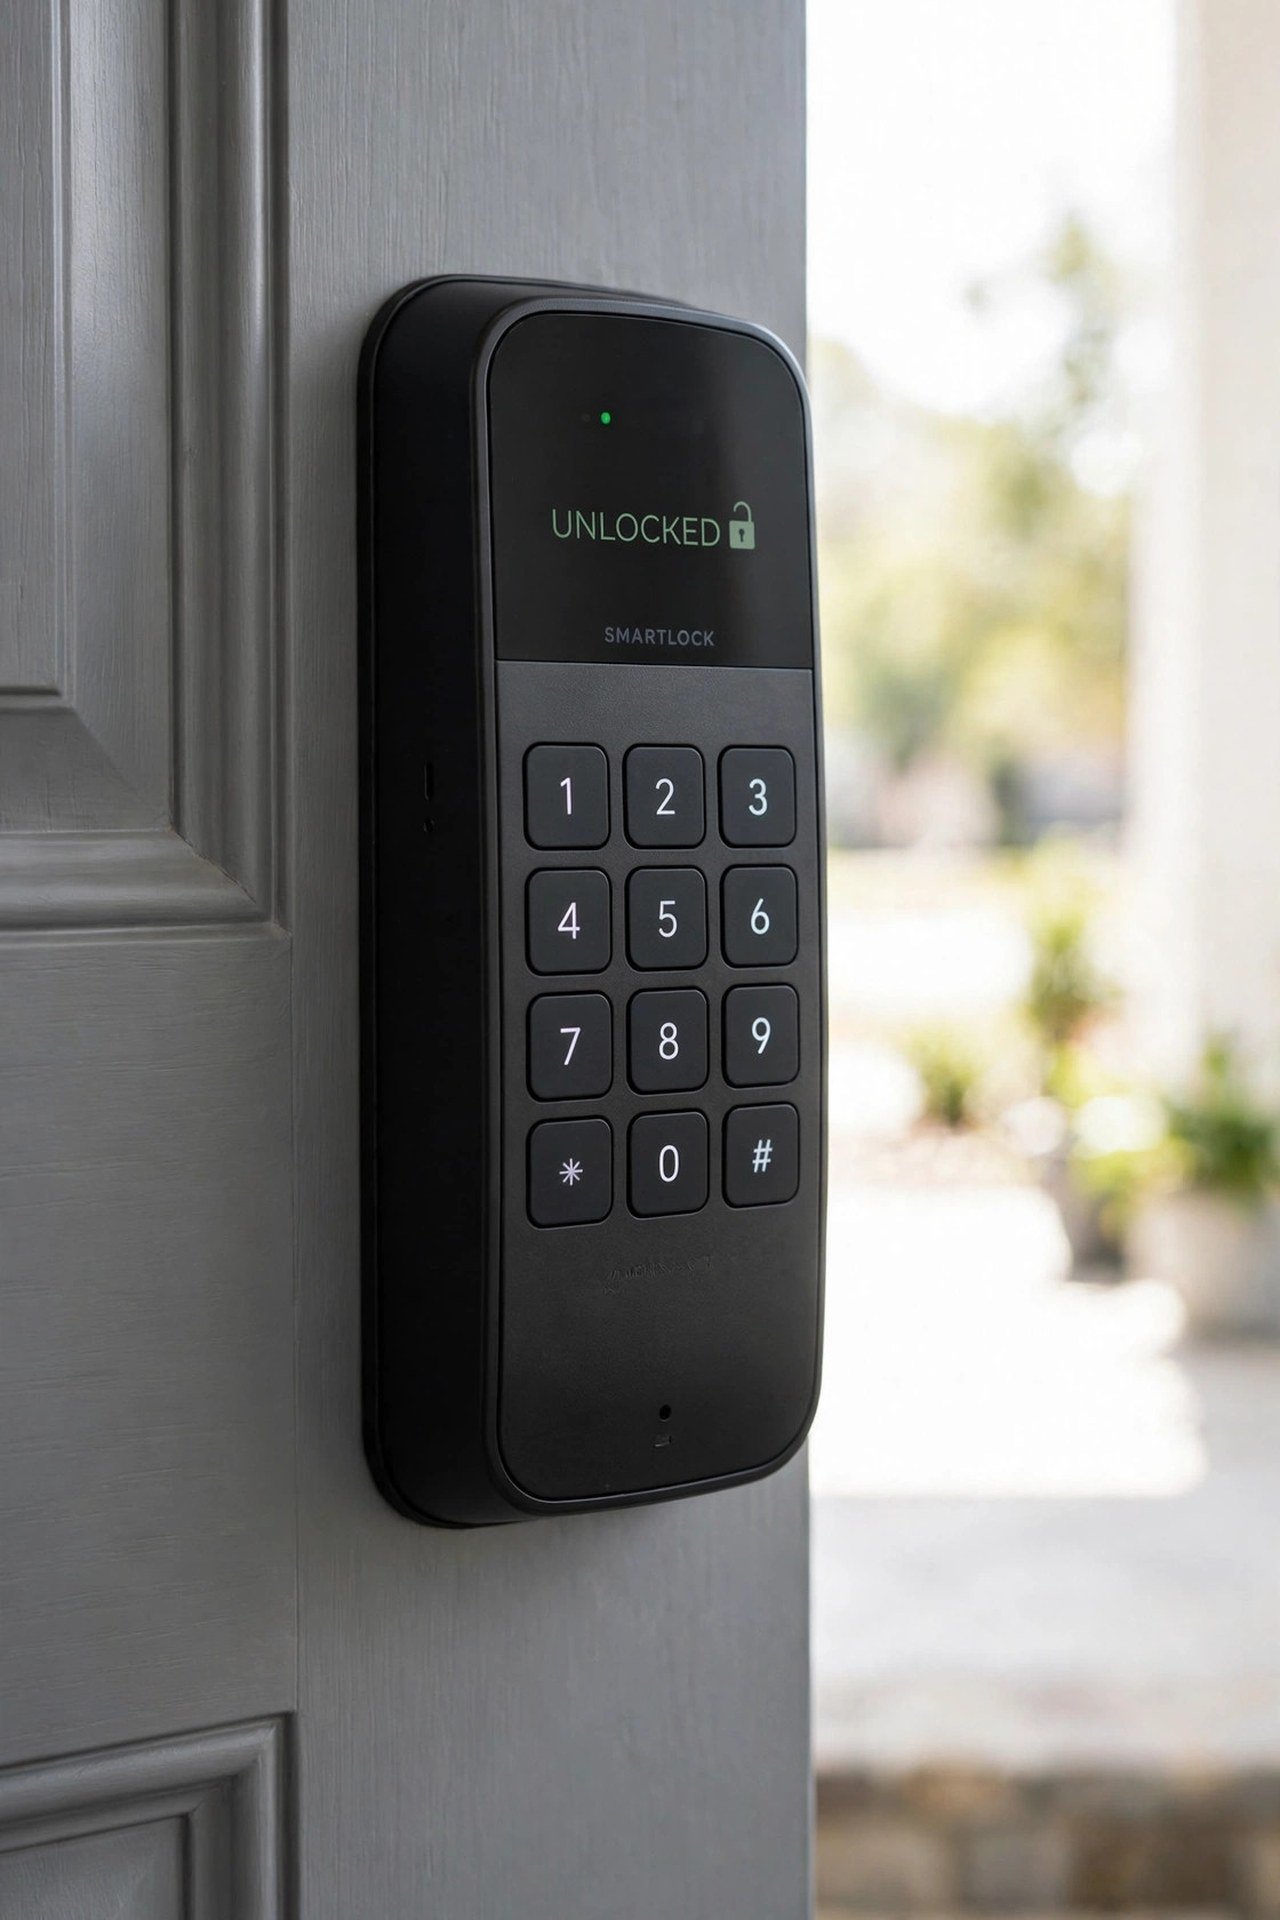
24. Keyless Smart Lock Upgrade
A keyless smart lock is a hardware upgrade that adds daily convenience. No more fumbling for keys with full hands; enter a code and walk in. Many models fit standard door prep with just a screwdriver.
Choose a finish that matches your other hardware so the technology blends in. Beyond convenience, keypad locks are wonderful for kids, guests, and service visits. It is the most functional upgrade on this list.
25. Painted Arch Around the Door
Paint a large arch on the wall around your door for an artistic, architectural moment. Use a pencil, string, and steady hand to mark the curve, then fill it with a color that complements the door. The arch frames the doorway like a piece of art.
This mural-like detail costs one small can of paint and looks completely custom. Soft arches in earthy tones suit boho and modern rooms alike. A painted arch accent also pairs well with these wallpaper accent wall ideas for layered walls.

Conclusion
Doors prove that the smallest surfaces can make the biggest difference. With a quart of paint, a hardware swap, or a clever trim trick, any door can go from forgotten to featured. Every idea above costs little and most finish in a single afternoon.
Start with the door you see most often, since you will enjoy the transformation daily. Once you see how dramatic one door looks, do not be surprised if you find yourself eyeing every other door in the house.
Frequently Asked Questions About Cheap Door Makeover Ideas Using Paint and Hardware
What is the cheapest way to update an old door?
A fresh coat of paint is the cheapest update, often under thirty dollars for a quart of quality enamel and basic supplies. Spray-painting the hinges to match costs just a few dollars more and completes the transformation.
What paint finish is best for doors?
Satin or semi-gloss enamel finishes hold up best on doors because they resist fingerprints and wipe clean easily. Always prime first, especially over old oil-based finishes, and sand lightly between coats for a smooth result.
Can you make a hollow-core door look expensive?
Yes. Applied trim molding creates a shaker-panel look, beadboard overlays add cottage texture, and peel-and-stick wallpaper gives a designer finish. Paint unifies everything so the flat door reads as custom.
How do you update door hardware on a budget?
Replace knobs or levers with a modern finish like matte black or brass using only a screwdriver, and spray-paint the hinges to match. Buying multi-packs and using one finish throughout the house keeps costs low and looks cohesive.
Are door makeovers renter-friendly?
Many are. Peel-and-stick wallpaper, frosted film, wreaths on over-door hangers, and mirrors with removable adhesive all come down cleanly. For paint and hardware, check your lease first or keep the original hardware to reinstall at move-out.

Hi, I’m Emily! I turn messy corners into cozy, organized spots. DreamNestDecor is where I share simple, practical home ideas — decor, organization, and small-space solutions that work in real life, not just in photos. Every idea here is carefully researched before it’s shared.