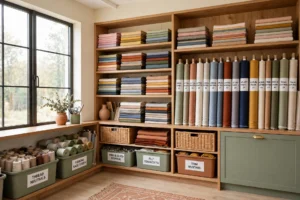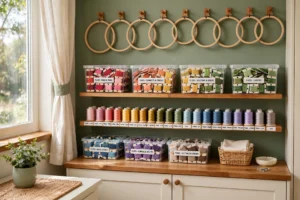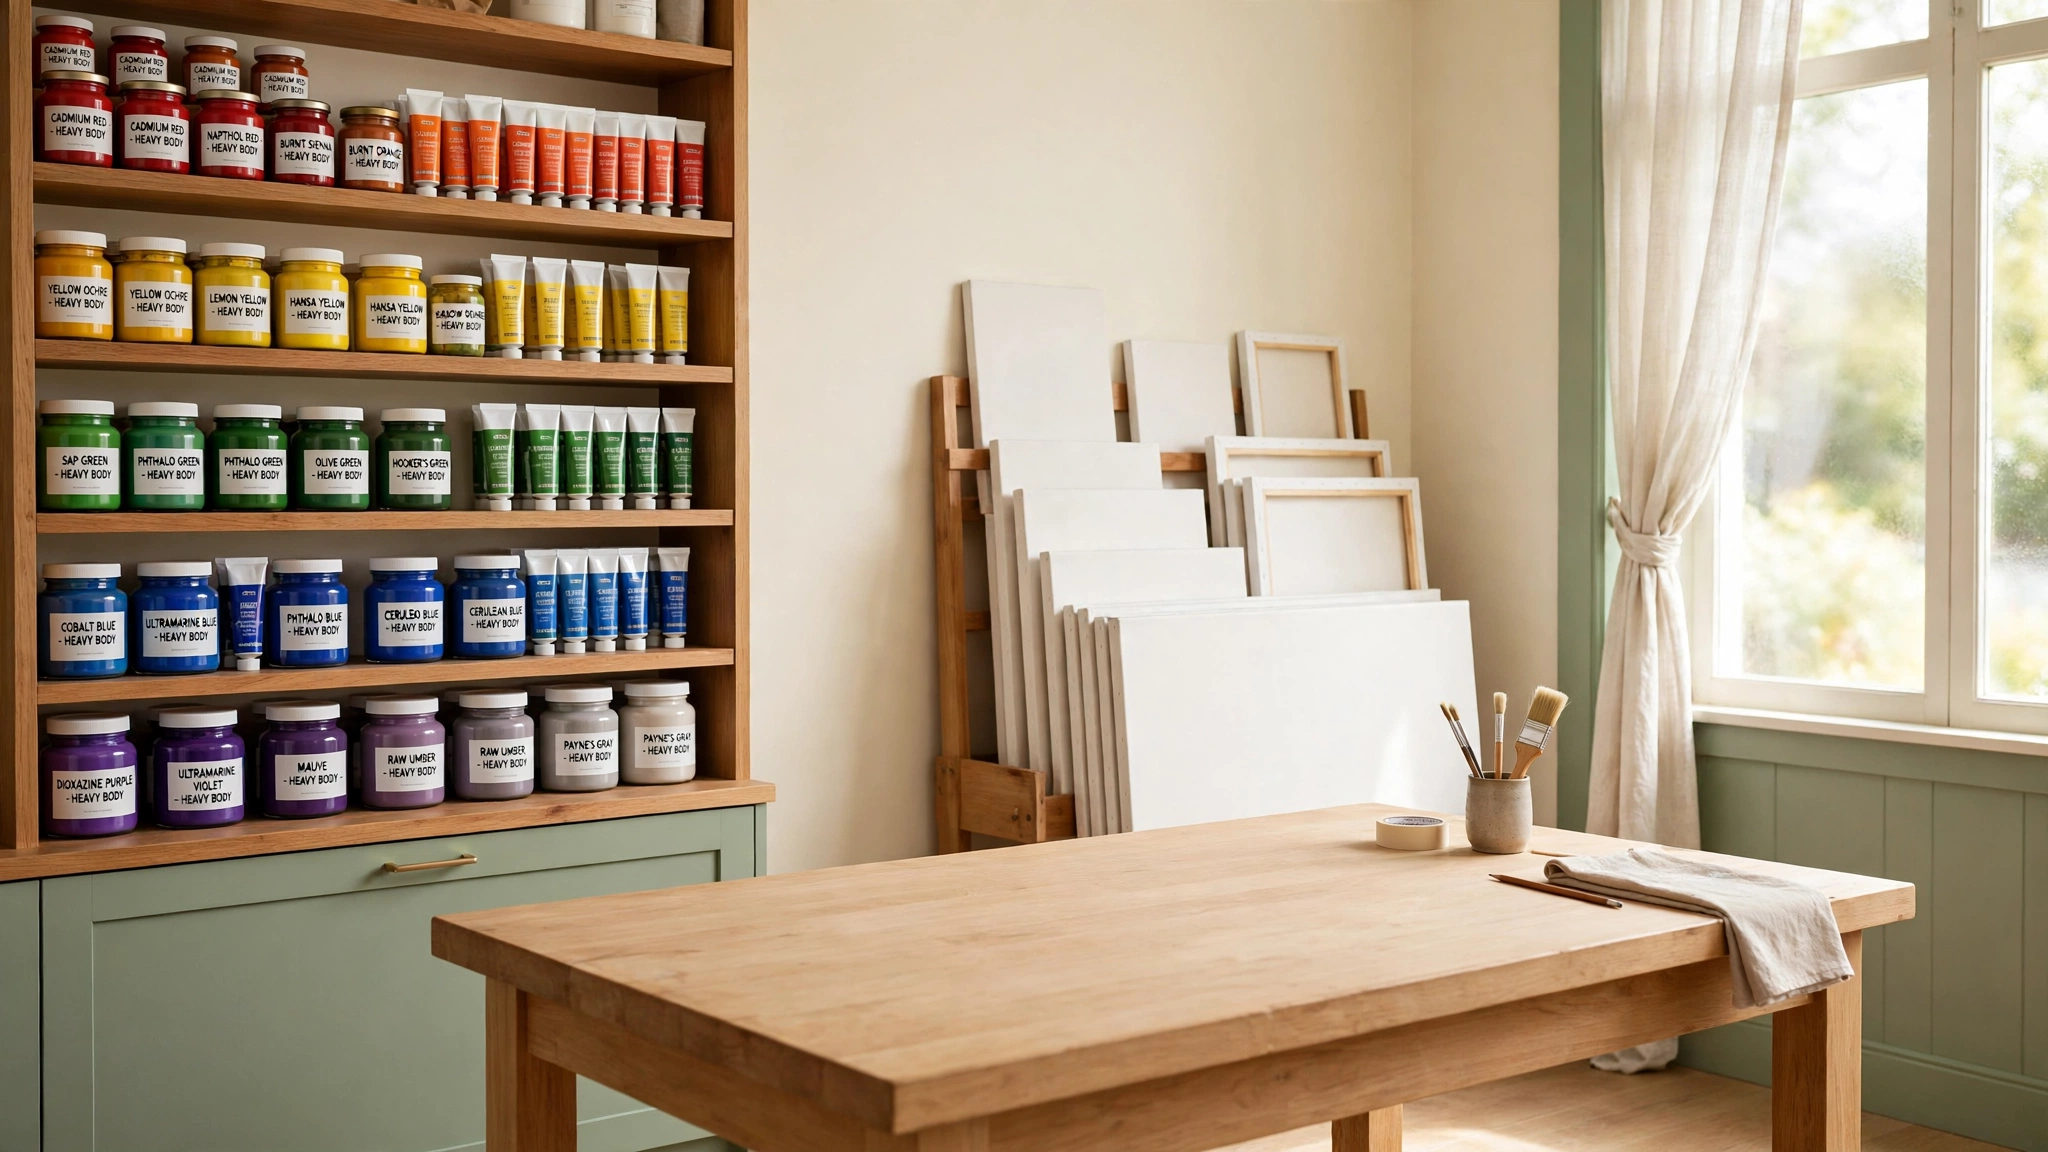
Picture this: you sit down to paint, and every brush, tube, and sheet of paper is exactly where you left it. The table is clear, the colors are lined up in rainbow order, and you can start creating within seconds instead of searching through piles. That calm start changes the whole session.
You do not need a bigger room or a bigger budget to get there. You need storage that matches the way you actually work. These 24 art studio organization ideas will help you sort supplies, set up zones, and keep your creative space ready for the next idea whenever it arrives.
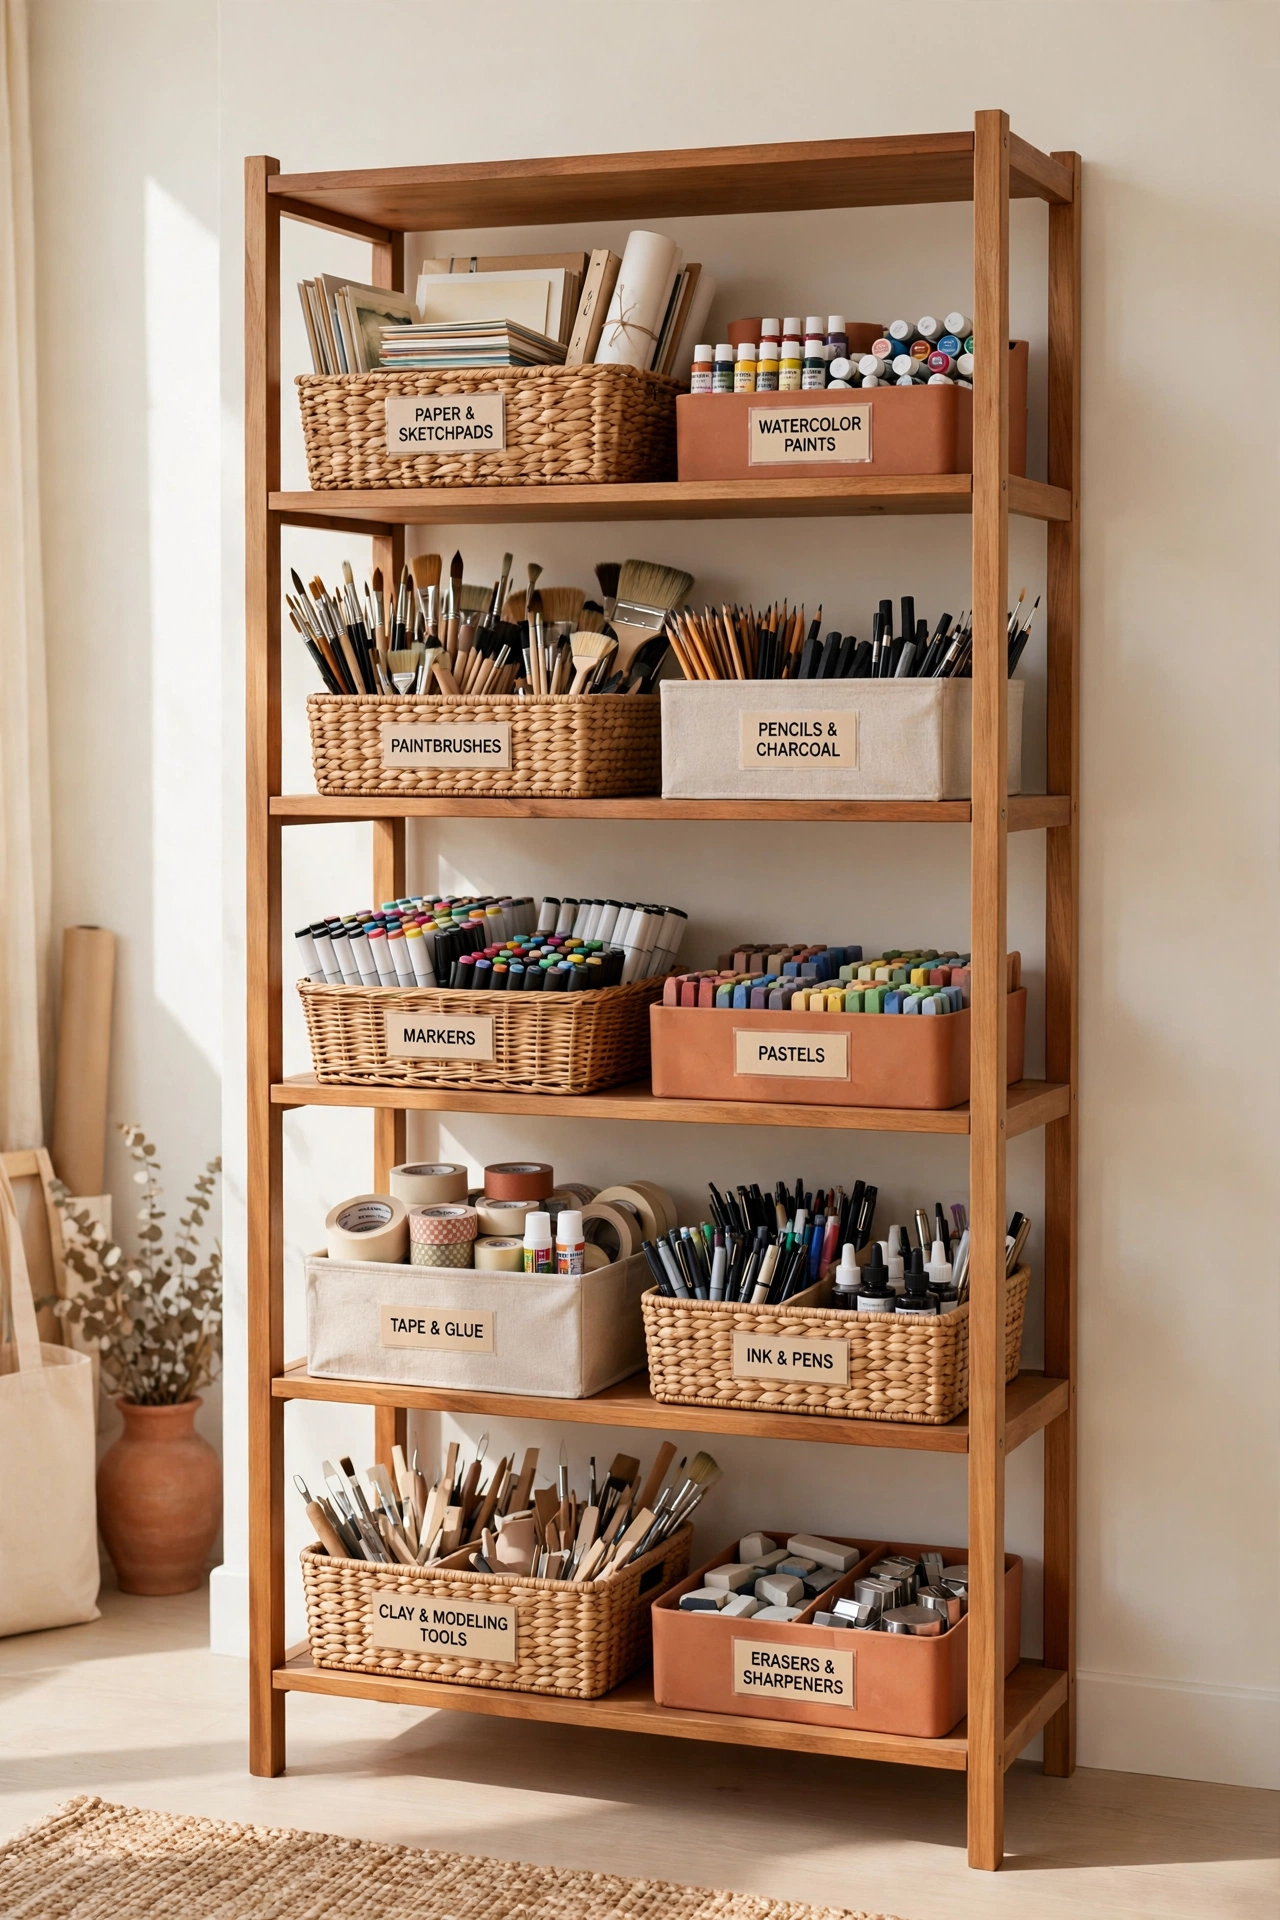
1. Line Open Shelves With Color-Coded Paints at Eye Level
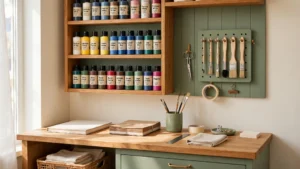
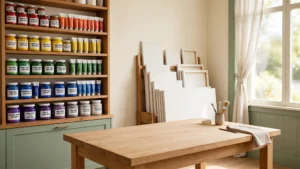
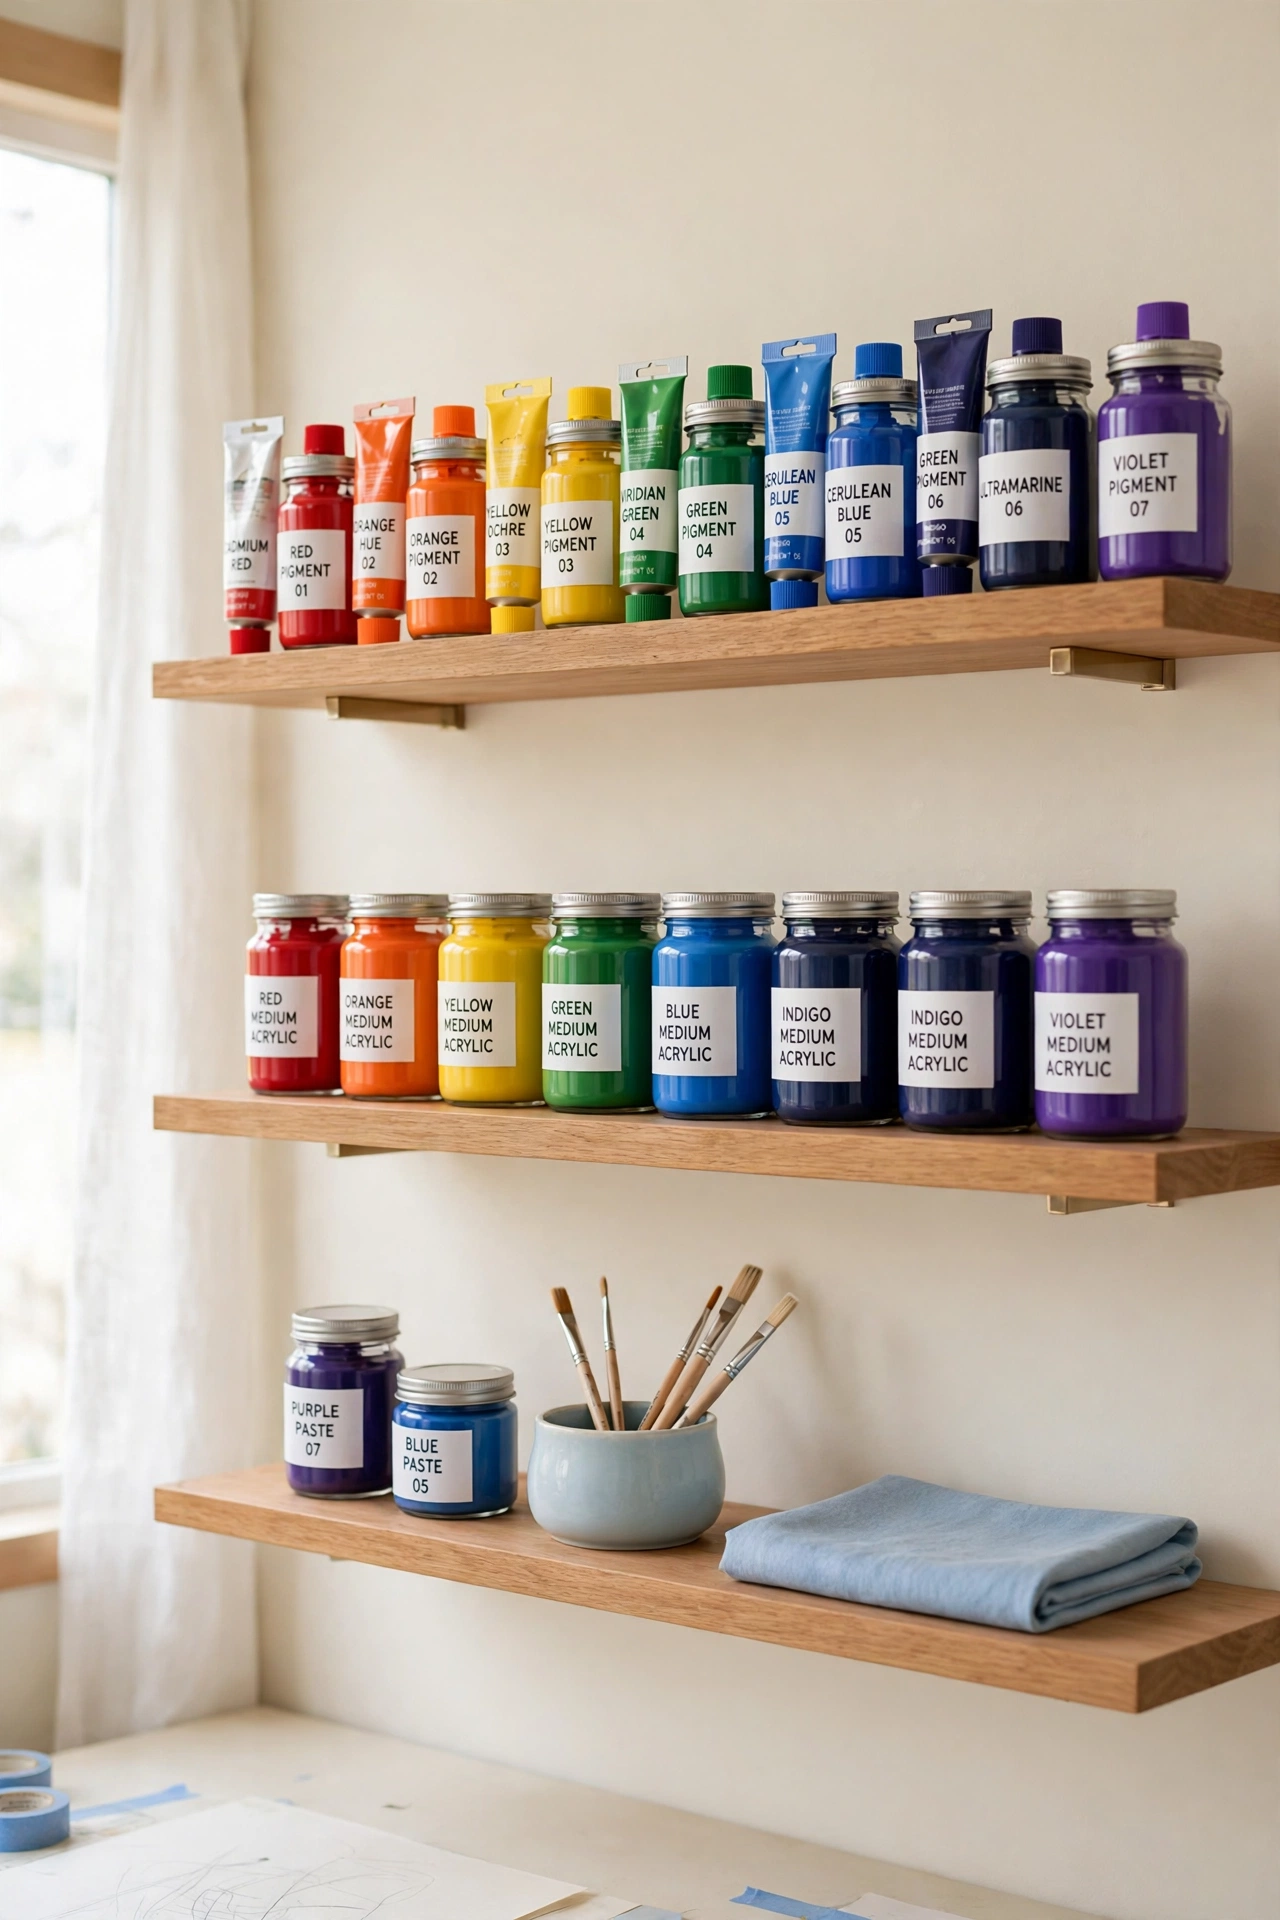
Open shelves turn paint storage into instant visual order. Line up paint tubes and jars by color family on floating shelves at eye level, so you can spot the exact shade you need without opening a single drawer. The rainbow of colors also makes the studio feel bright and inspiring.
Floating shelves work especially well in compact studios because they free up desk space that bulky cabinets would eat. Keep the most used colors at arm height and the rarely used shades higher up. When supplies stay visible and sorted, choosing a color becomes the fastest part of the process.
2. Let the Walls Hold Art and Hide Supplies
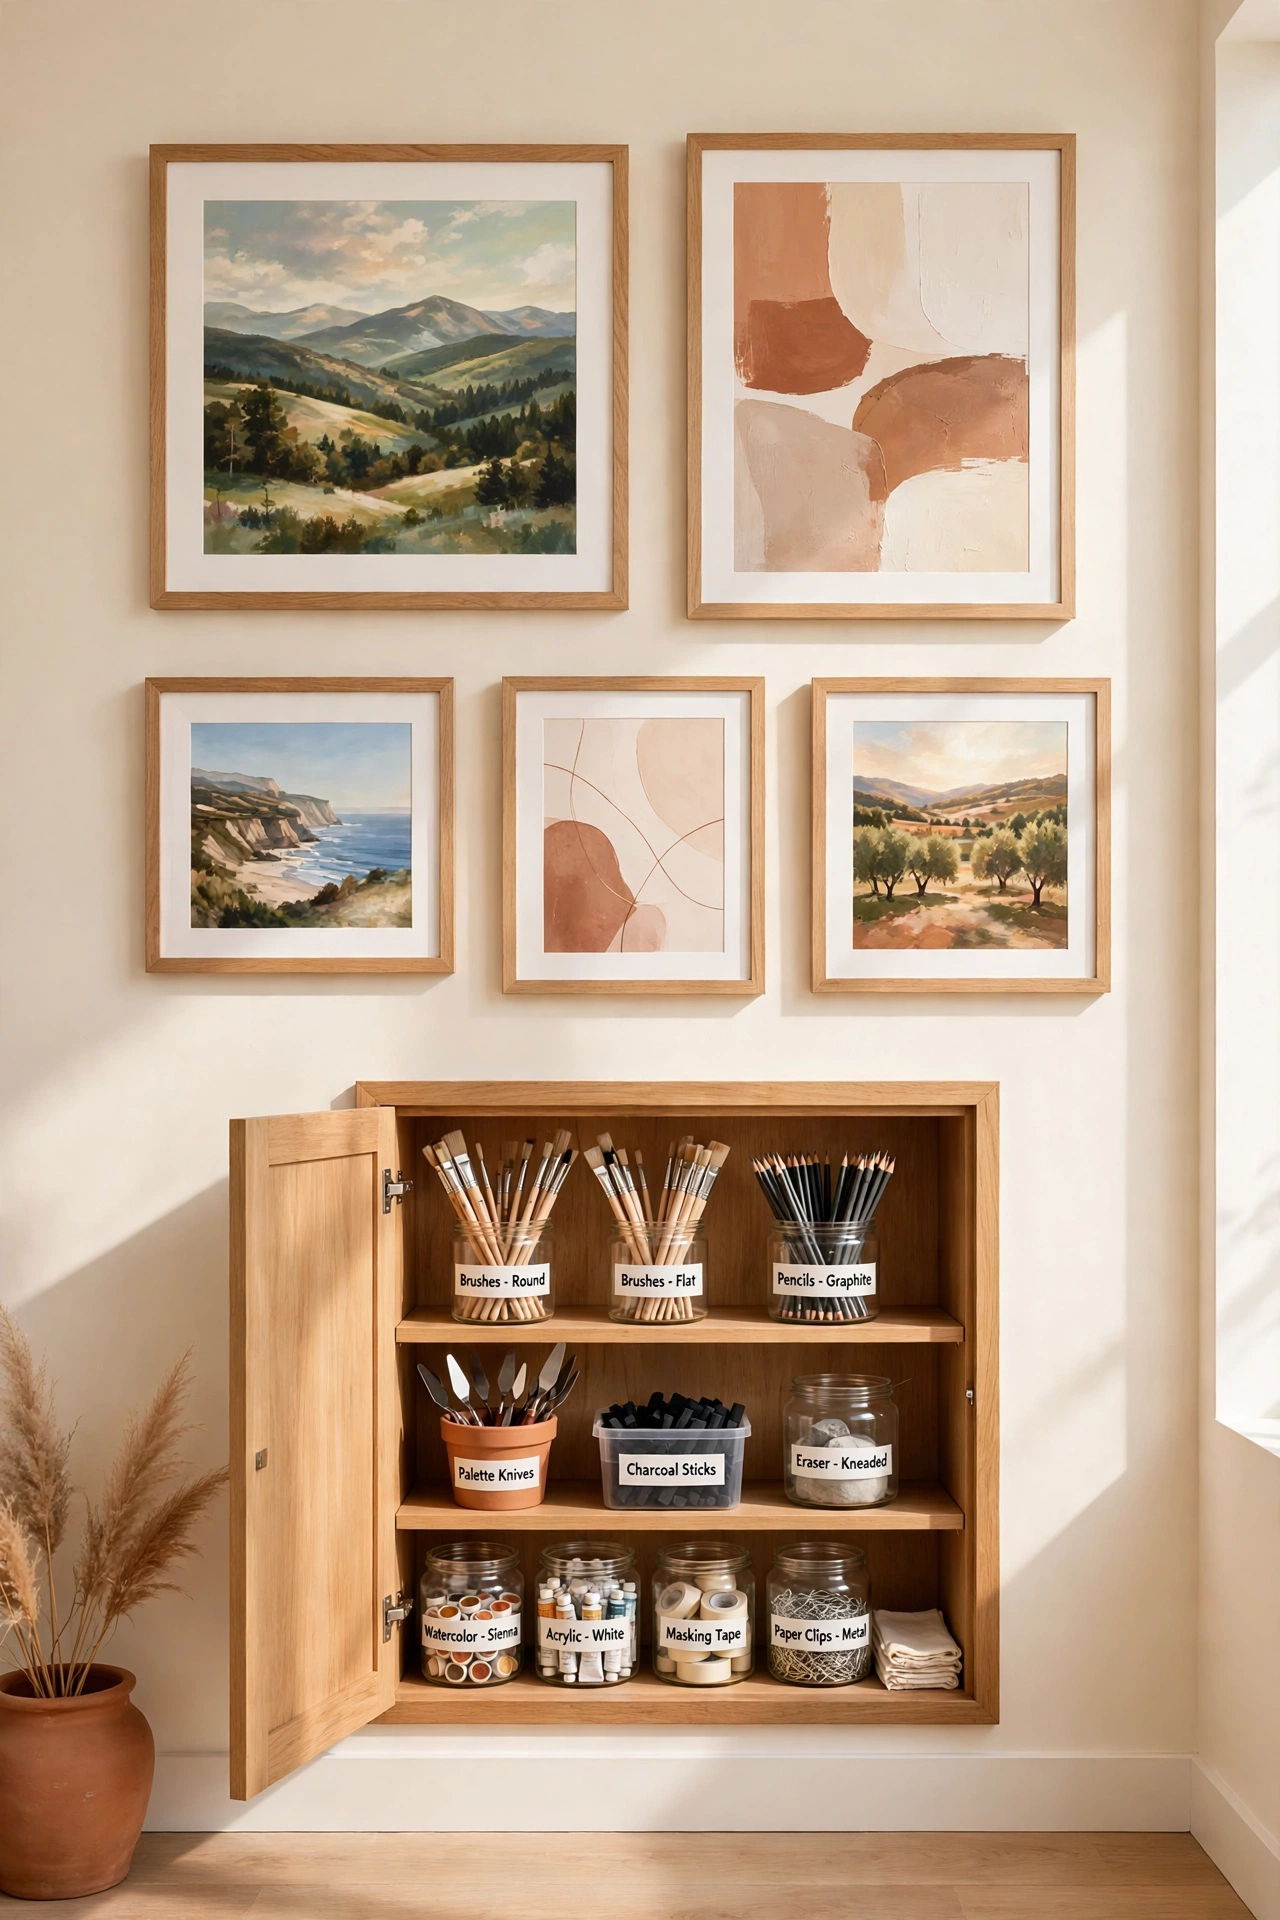
Studio walls can pull double duty as both gallery and storage. Hang finished pieces and works in progress on the wall, and tuck a recessed cabinet behind the display to hold the supplies you want out of sight. The room stays inspiring without looking cluttered.
Change the artwork often so the wall feels alive and fresh. When a session ends, put materials back in the cabinet right away to keep the clean visual line. This habit matters most in small studios, where a few stray items can make the whole room feel cramped.
3. Sort Supplies Into Color-Coded Bins by Shade Family
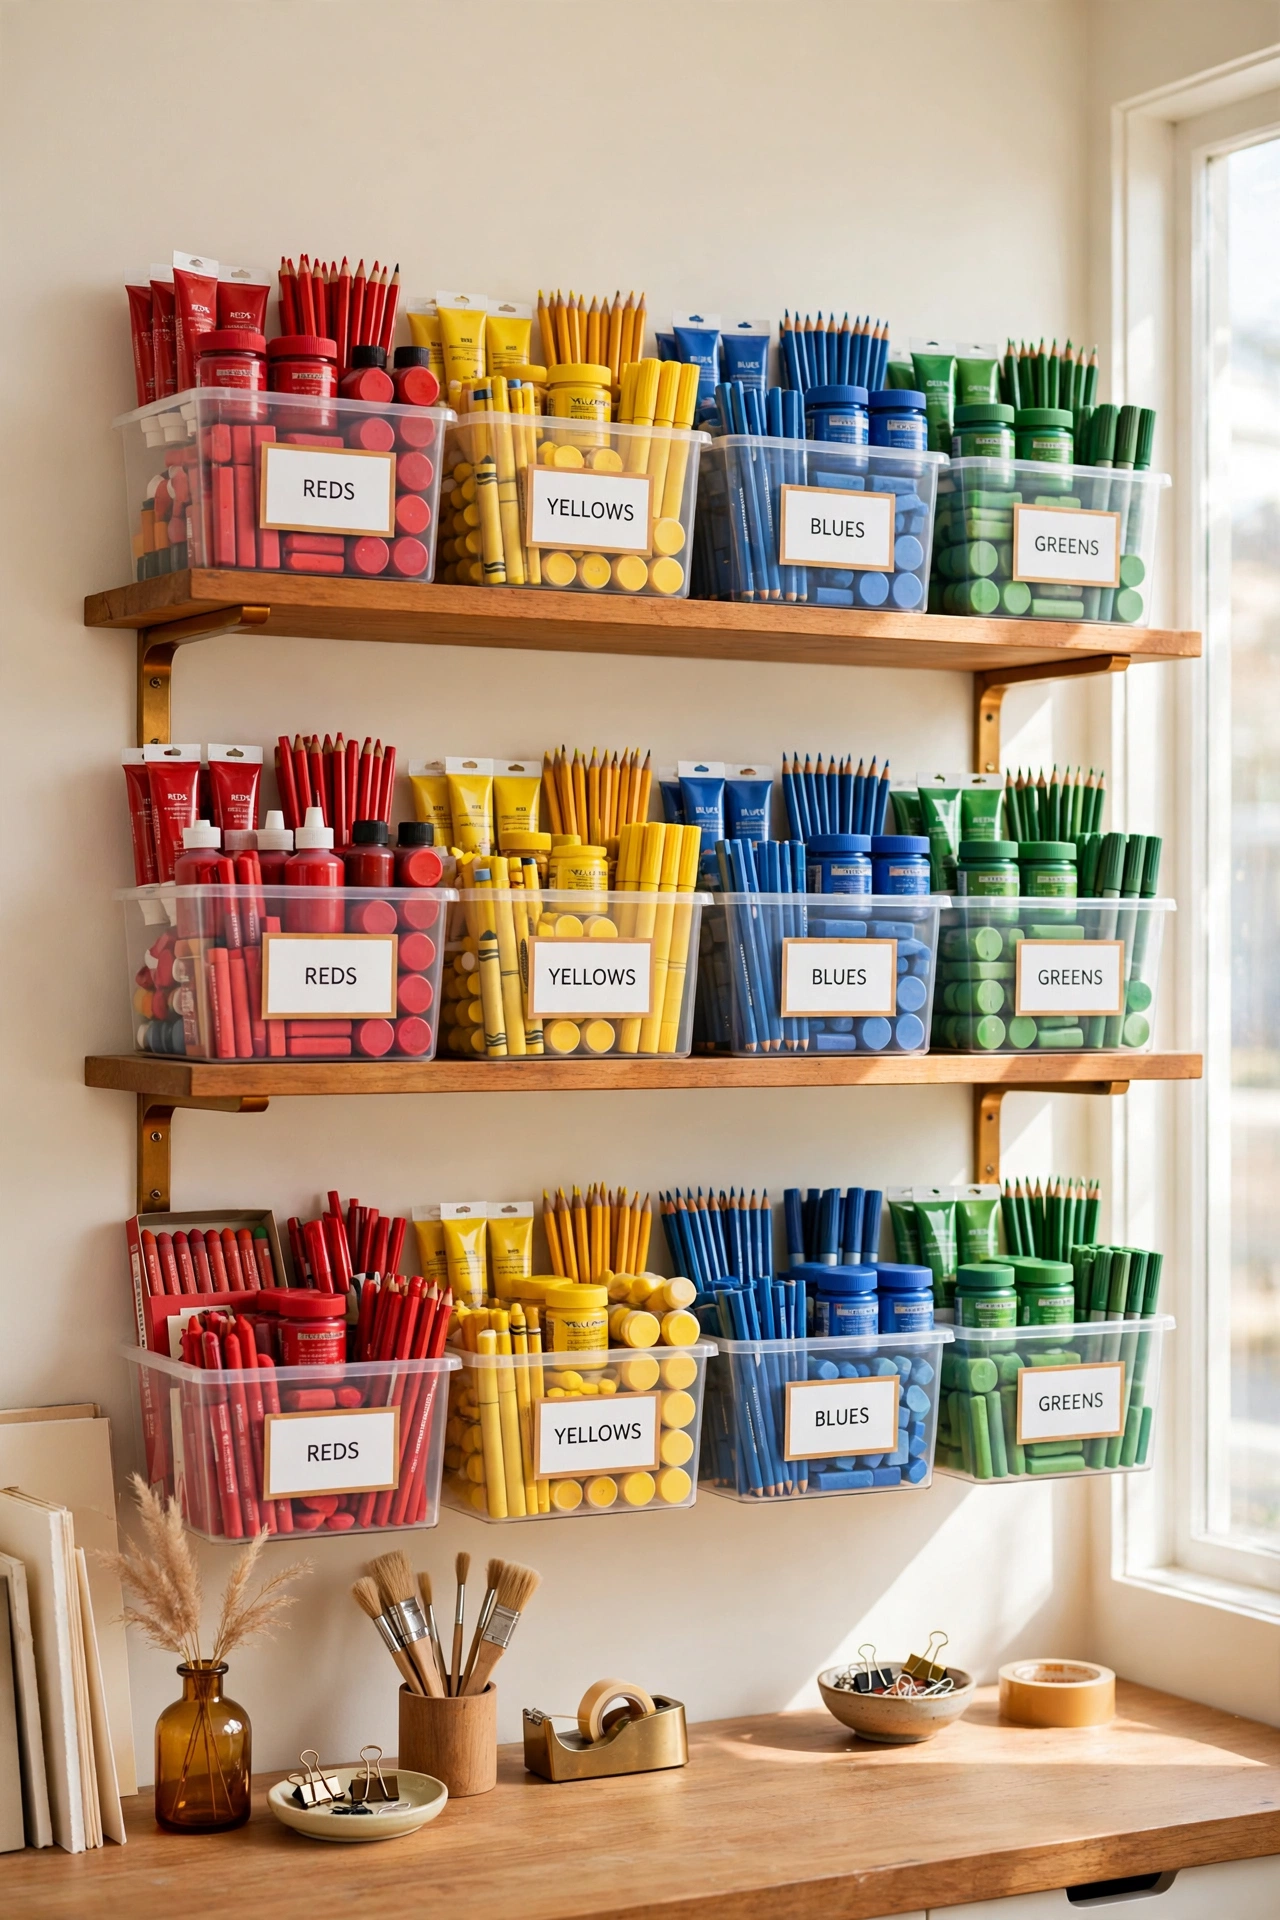
Color-coded bins turn cleanup into muscle memory. Give each shade family its own labeled container, so reds live with reds, blues live with blues, and every item has one obvious home. Your hands learn where things belong, and putting supplies away takes seconds instead of minutes.
This system shines in busy studios, classrooms, and shared spaces because anyone can grab what is needed and return it without asking questions. Use clear or brightly colored bins so the system is easy to read at a glance. When every bin has one color family, sorting never needs a second thought.
4. Build a System From Stackable Drawers and Cubbies
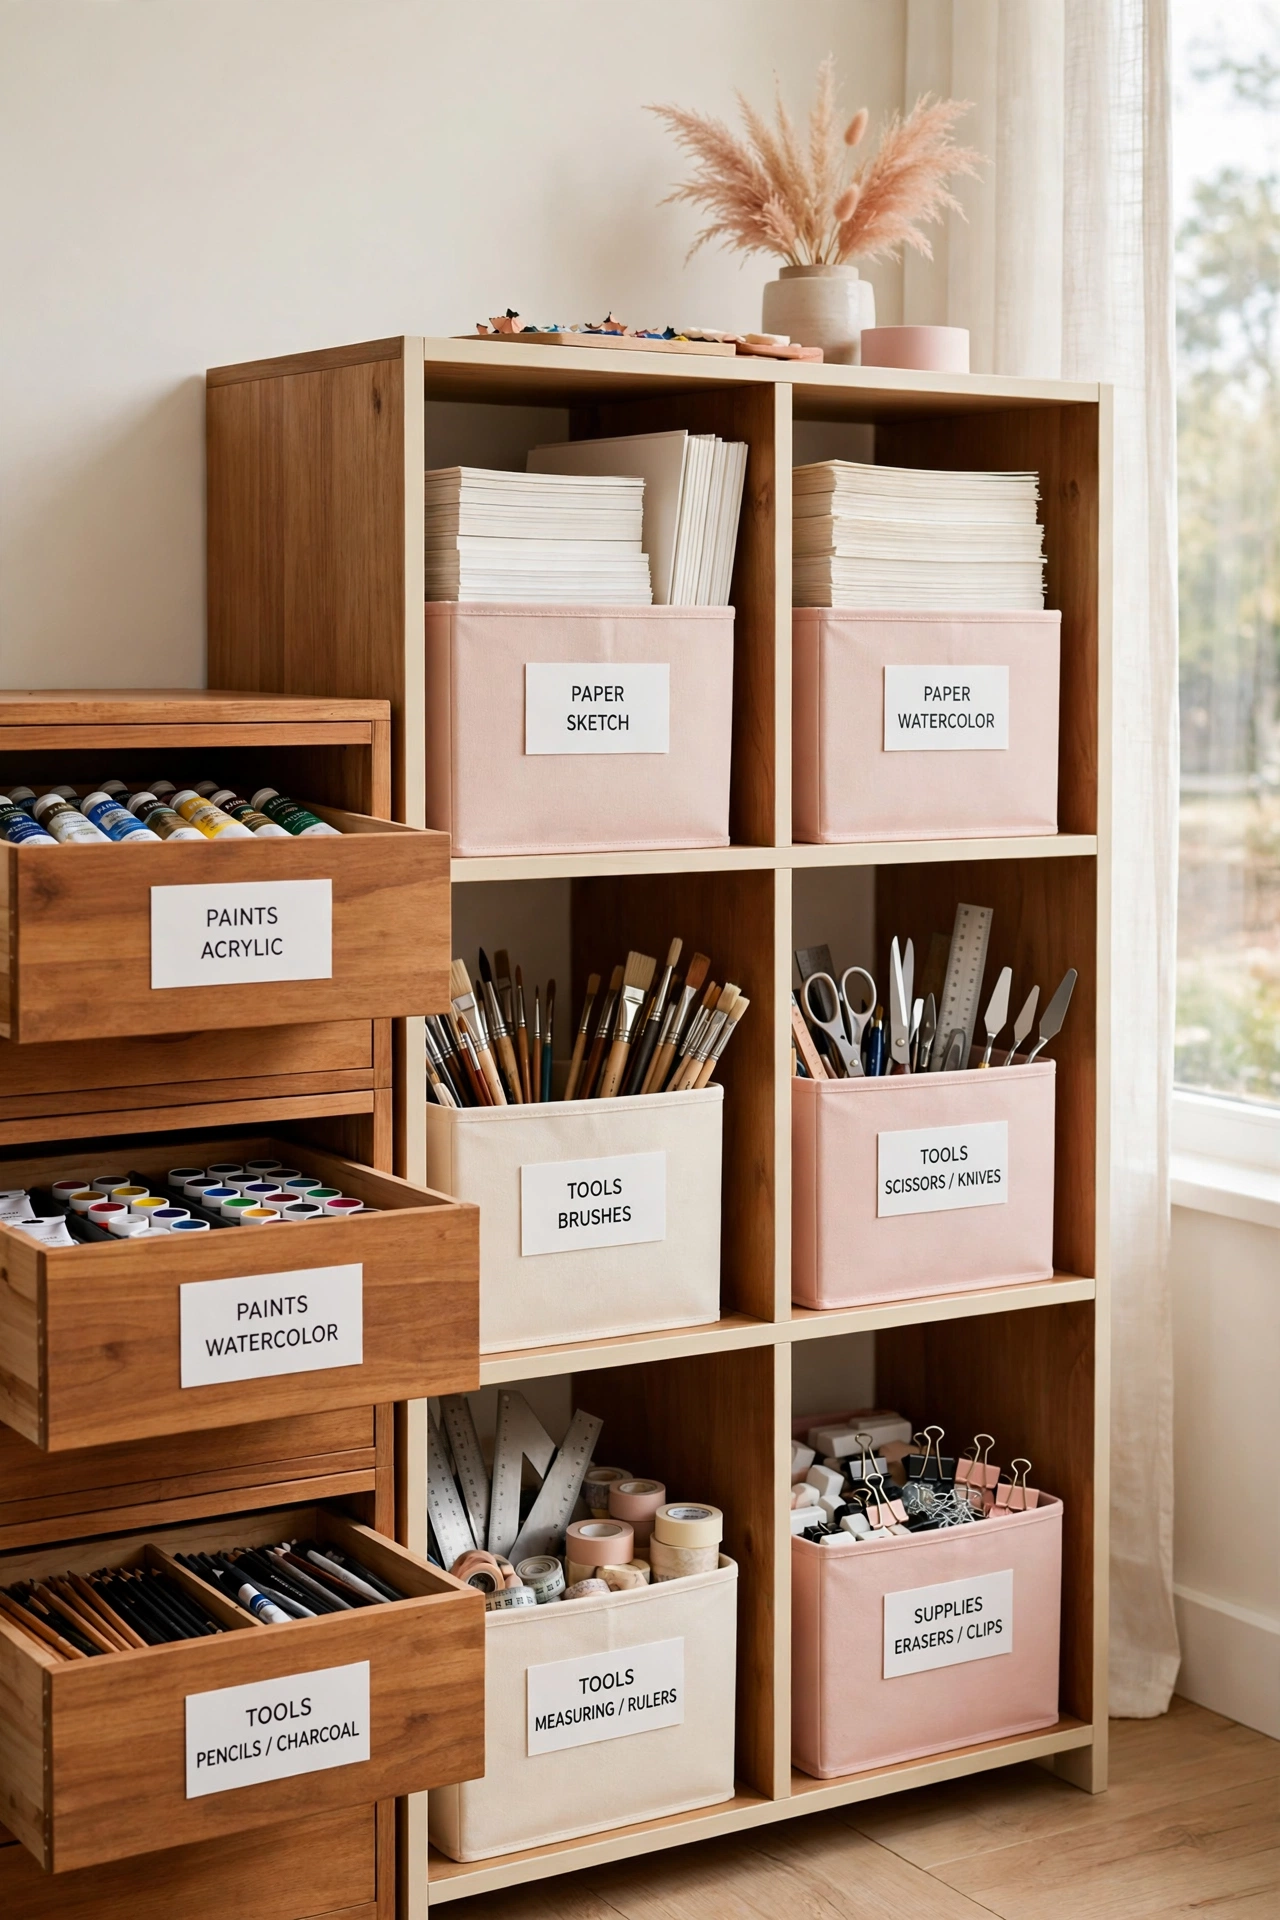
Stackable drawer units and cubby shelves create a storage system that grows with your collection. Sort paints, paper, tools, and small supplies by category into bins and trays that slide neatly into the cubbies. Everything has a category, and every category has a place.
Use matching modules so drawers, bins, and trays stay interchangeable as your tools change. When a new medium enters the studio, you can reconfigure the same system instead of buying new furniture. Modular storage works best in studios that juggle many different materials at once.
5. Give Every Rolling Cart One Clear Job
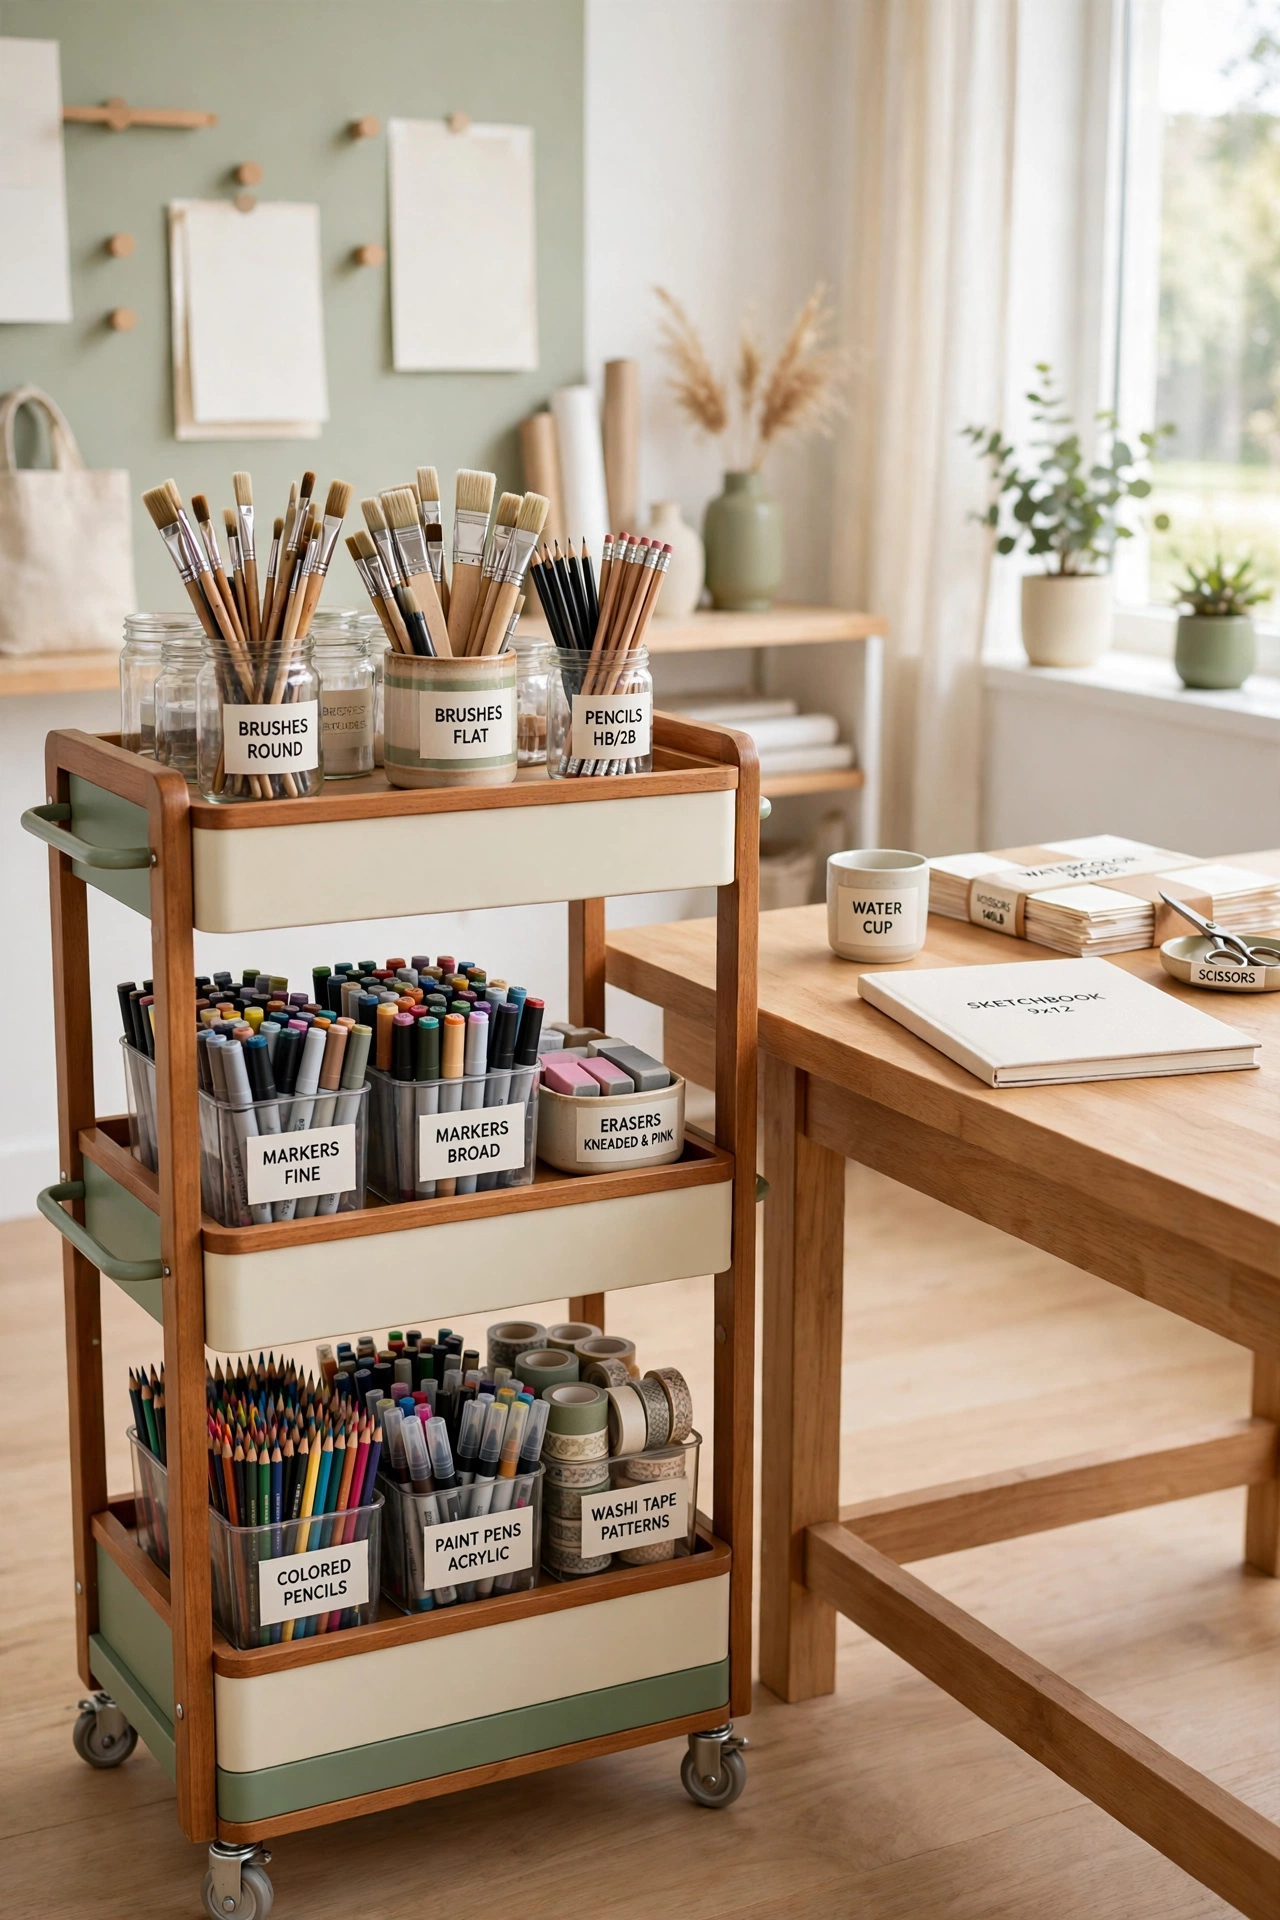
A rolling cart lets supplies travel to wherever the work happens instead of piling up on one table. Give each cart a single function, such as one cart for paint, one for tools, and one for mixed media, so you always know which cart to roll over. When the session ends, roll the cart away and the room resets itself.
Small studios gain the most from this approach because carts prevent supplies from spreading across every surface. For more ways to use carts well, these rolling cart organization ideas show how to sort each tier for maximum use. Keep each tier sorted by task, and the cart becomes a mobile workstation instead of a clutter magnet.
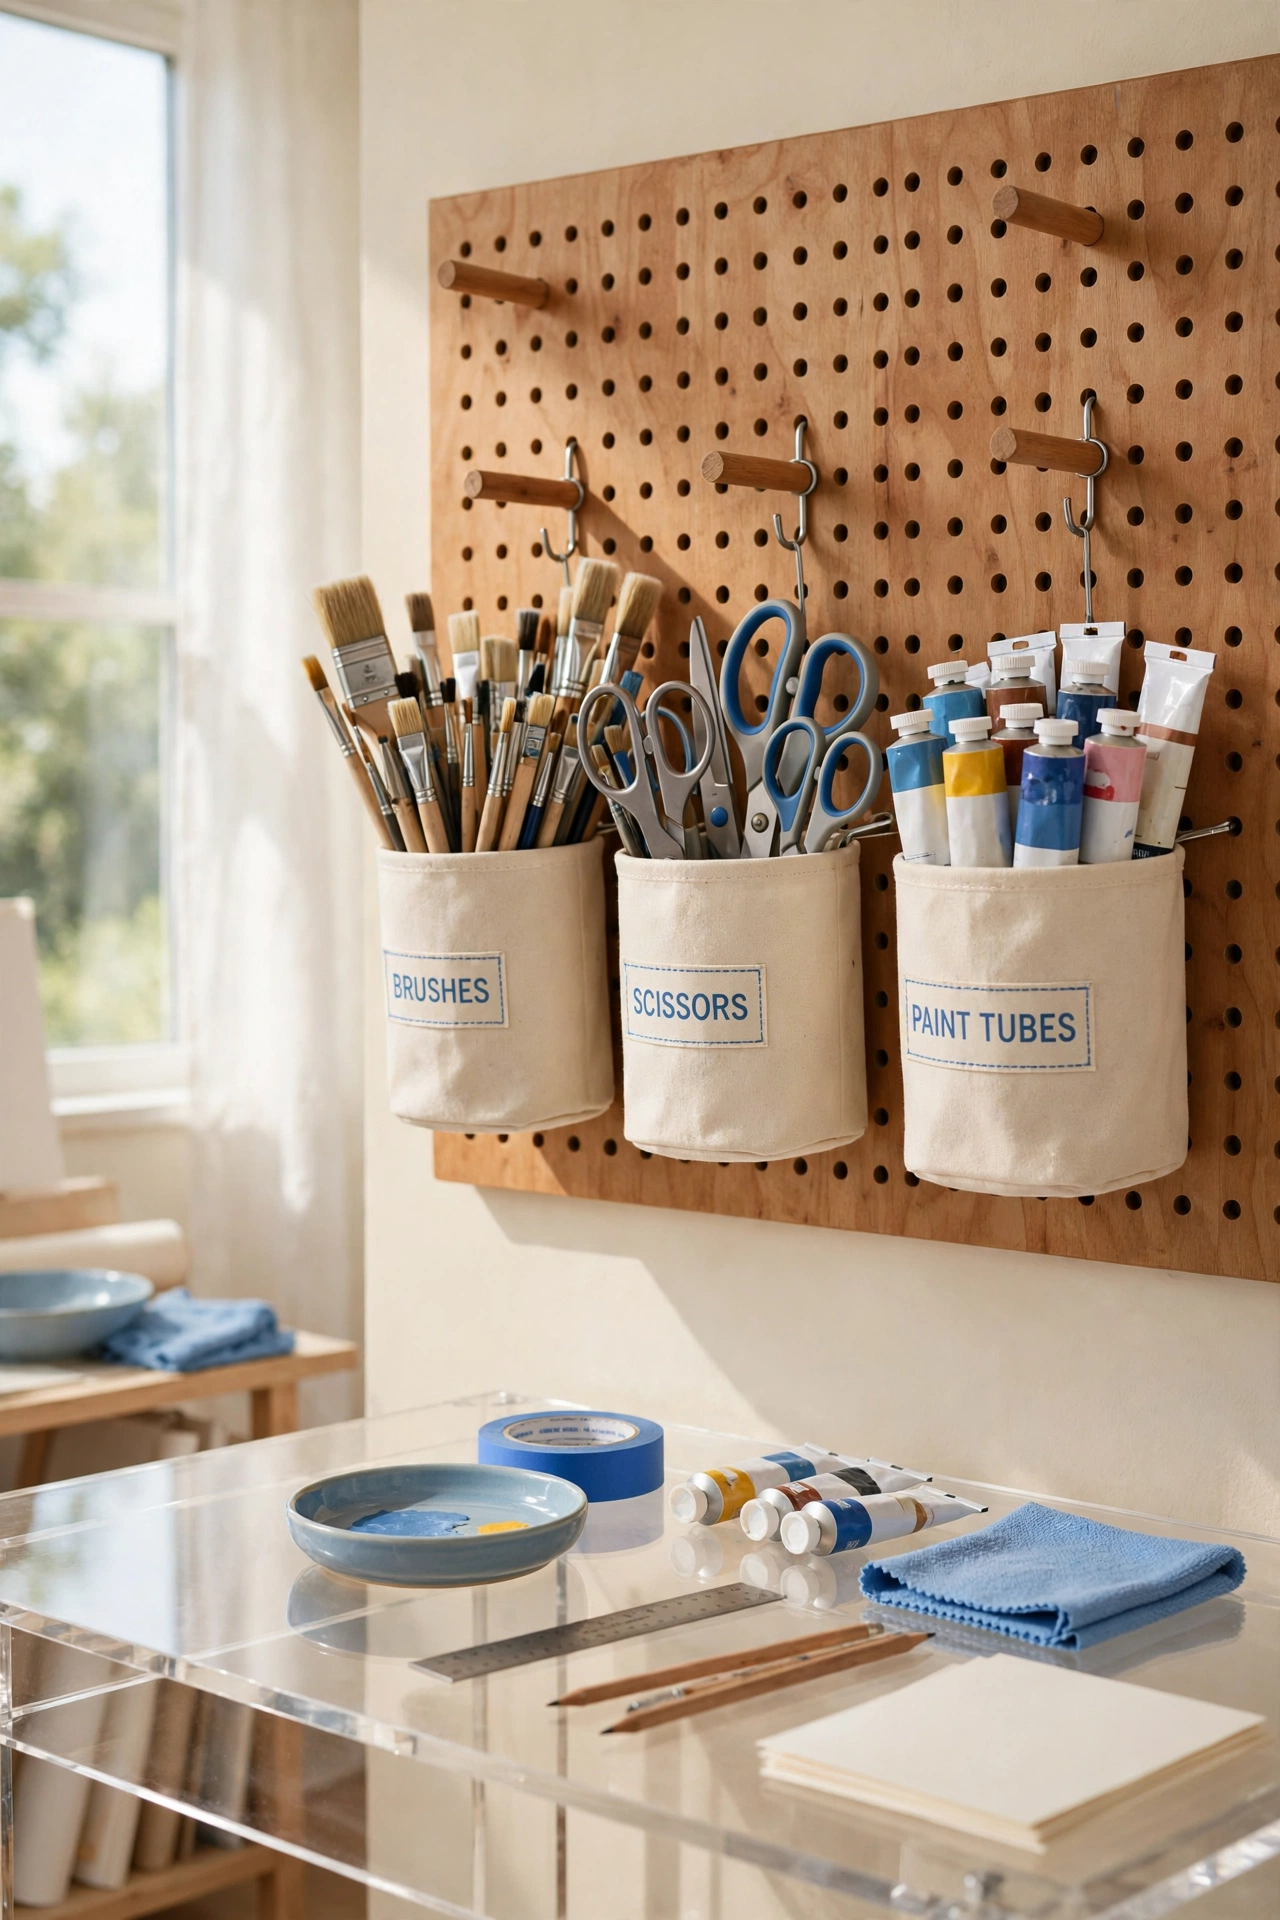
6. Hang Tools on a Pegboard Wall in Plain Sight
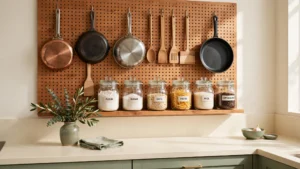
A pegboard wall keeps brushes, scissors, paint tubes, and small tools visible while freeing up the entire work surface. Hooks and cups hold each tool in its own spot, so you can grab what you need without digging through a drawer. Ideas stay alive when tools stay in your line of sight.
Tailor the hooks and cups to the tools you reach for most often, and adjust the layout whenever your projects change. Pegboards work especially well in small studios where traditional drawers feel limiting. The wall does the storing, and the desk stays clear for actual work.
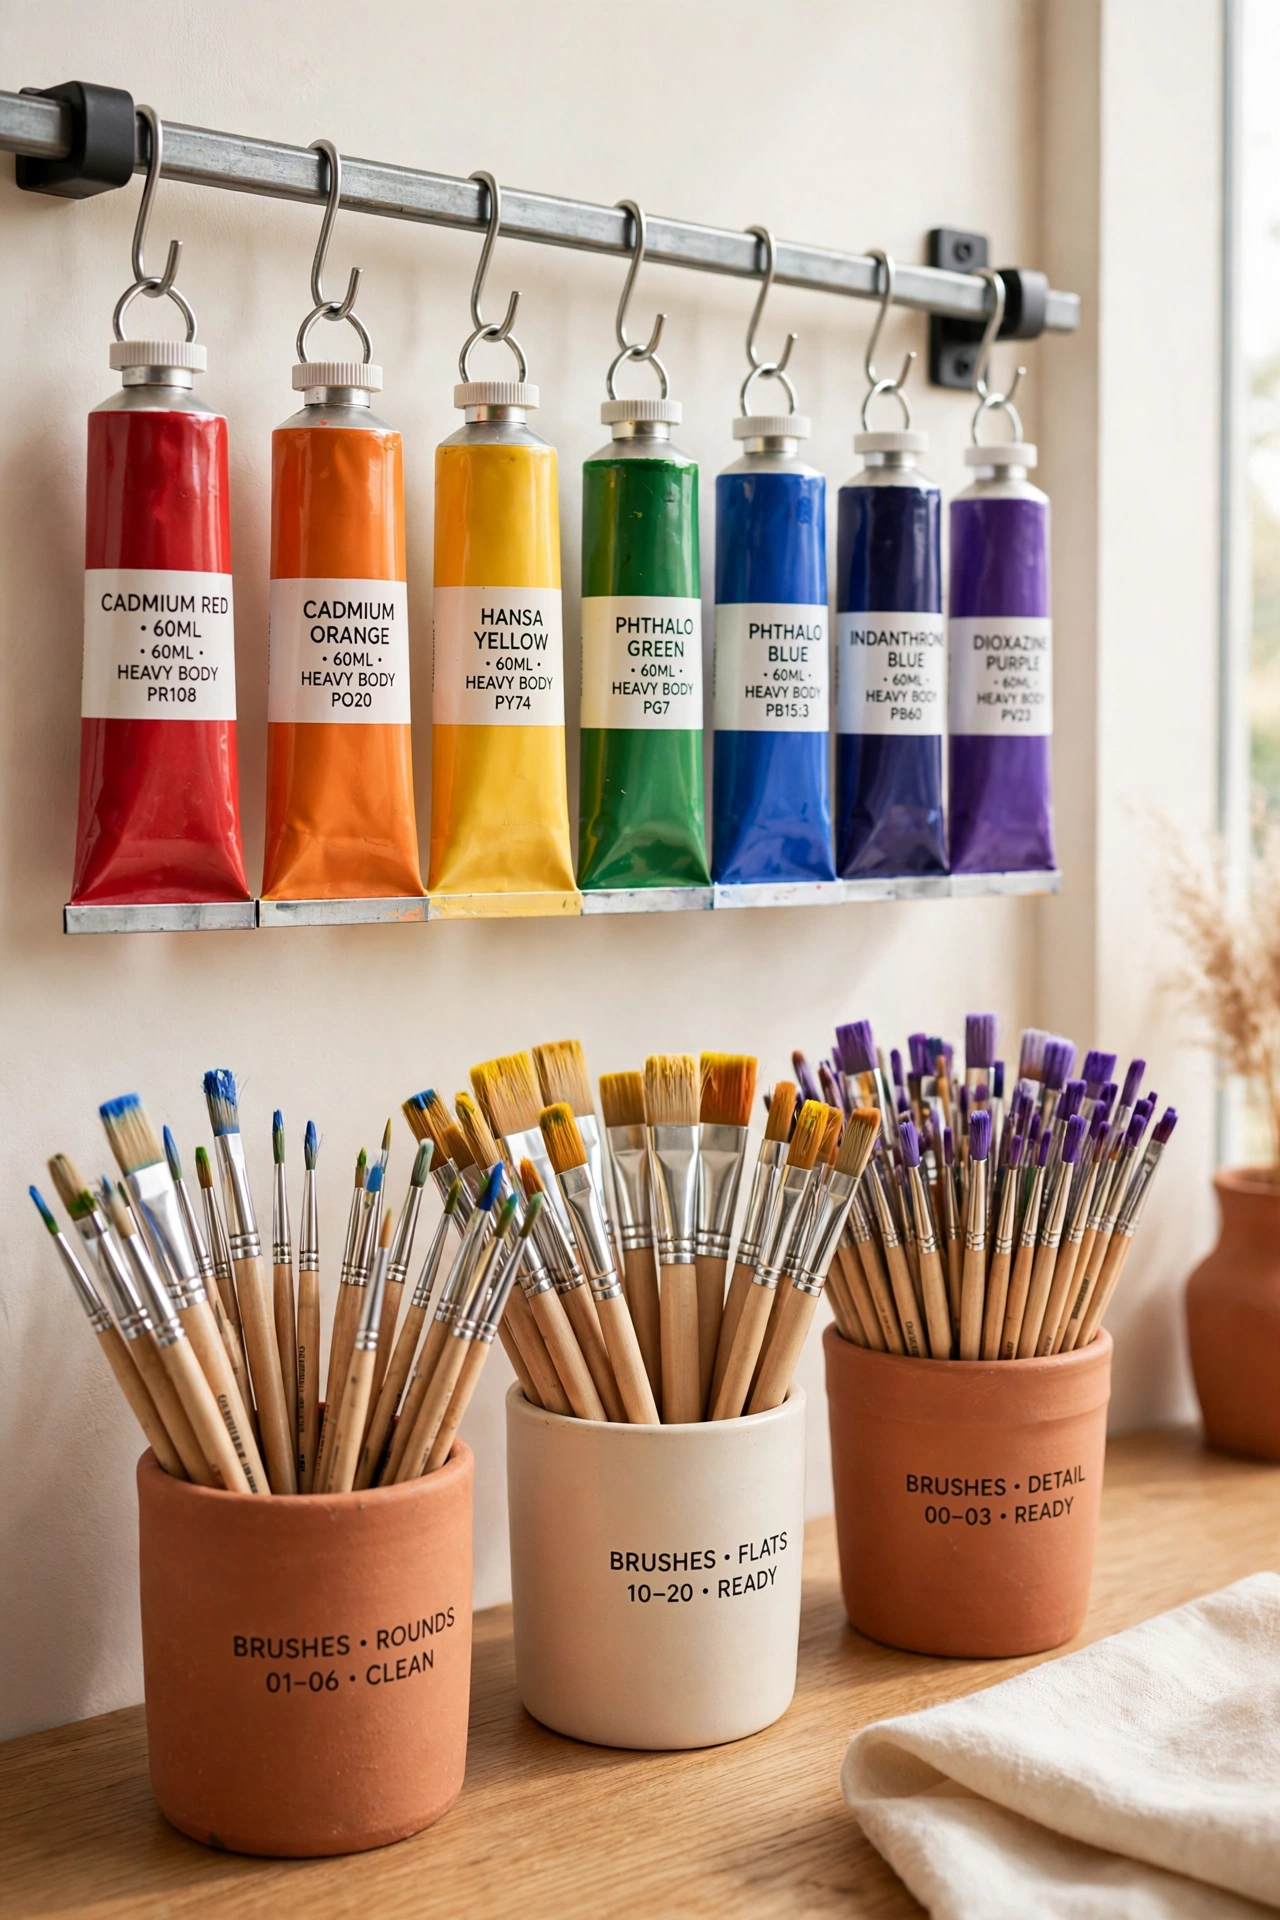
7. Hang Paint Tubes Where You Can Grab Them Instantly
Paint tubes hung in plain sight remove the pause between an idea and the first brushstroke. Use small hooks or a rail to hang tubes by size or color, so selection becomes instinctive and fast. The display also shows you at a glance which colors are running low.
Add small cups for brushes beside the tubes to keep the whole painting station in one spot. This setup suits busy studios and family studios because tools stay visible yet off the desk. When paint is always within reach, the workspace stays functional from the first minute of a project to the last.
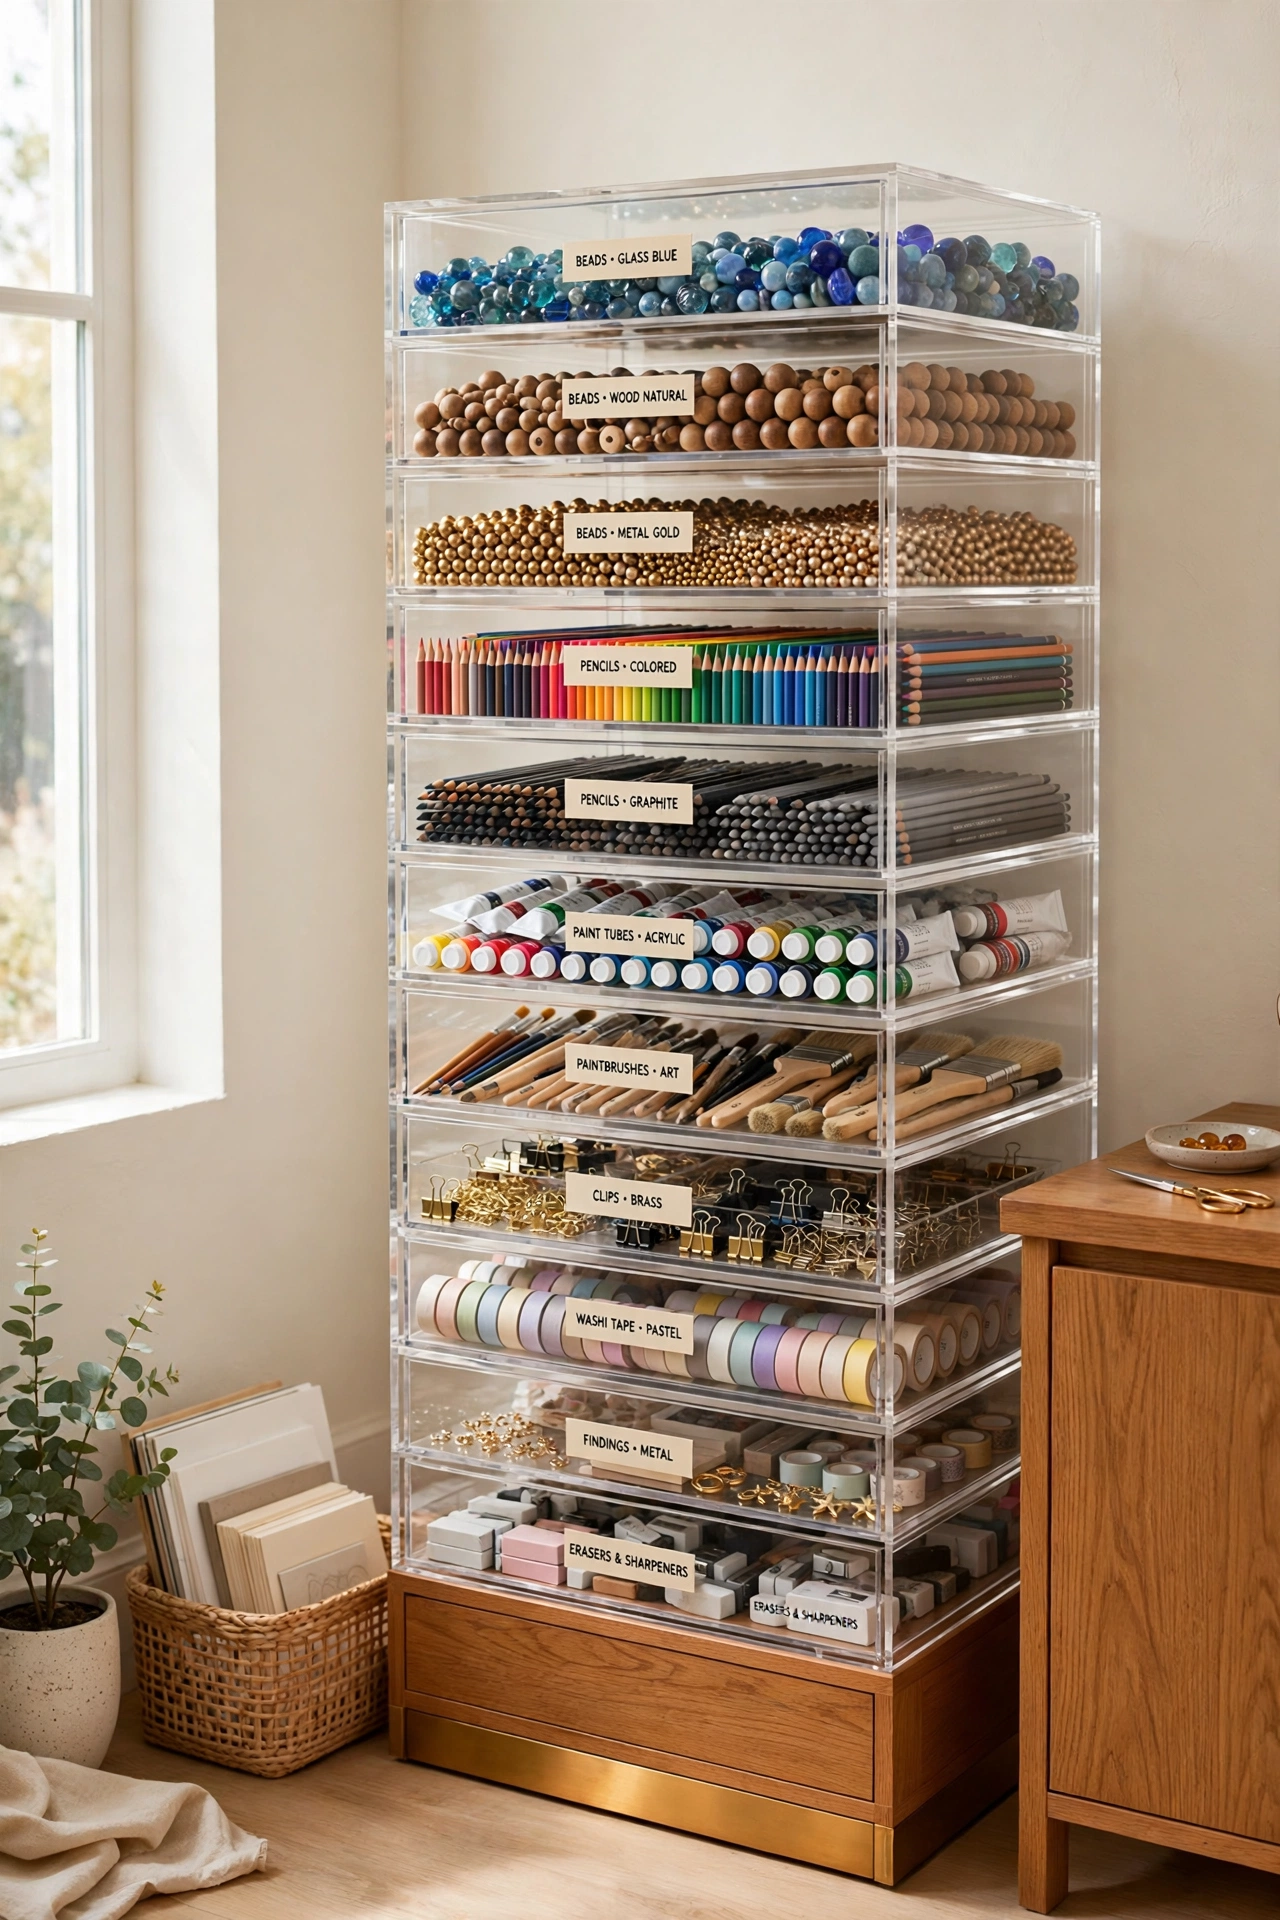
8. Switch to Clear Drawers So Nothing Gets Forgotten
Transparent drawers let you see exactly what you own, so nothing gets overbought, forgotten, or buried at the bottom of a deep bin. Sort small supplies by purpose and by how often you reach for them, with daily tools in the top drawers and backups below. Visibility keeps the collection honest.
Clear drawer units also make use of vertical space that often goes overlooked in a studio. For drawer systems that stay tidy inside, these desk drawer organization ideas offer layouts that work for small supplies of every kind. When everything is visible, putting things away becomes quick and automatic.
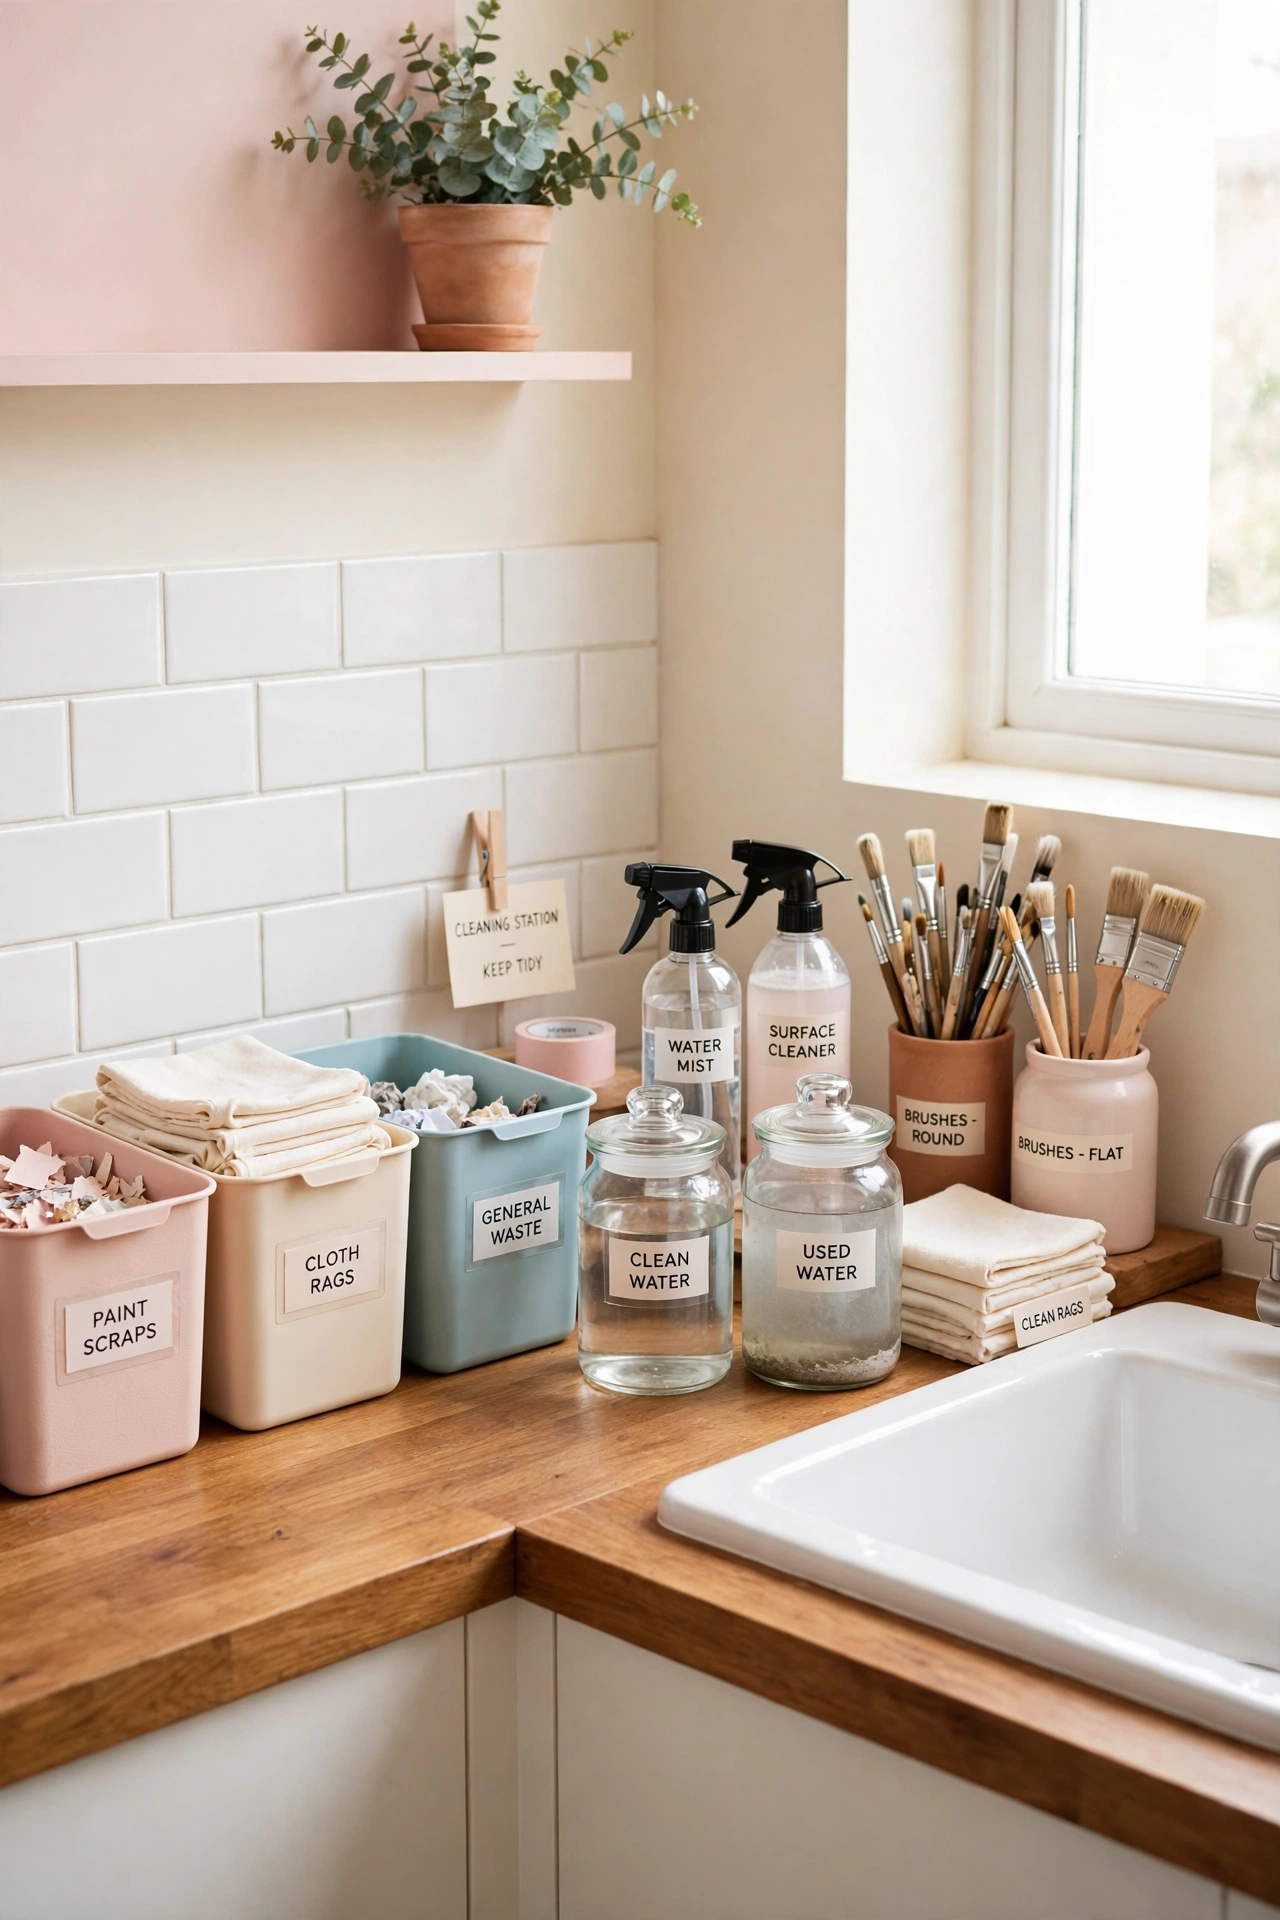
9. Set Up a Dedicated Cleanup Station by the Sink
Paint sessions stay stress-free when cleanup has a dedicated home. Set up a sink-side station with color-coded bins for water jars, sprays, rags, and brushes, so every cleaning tool stays contained in one spot. Instead of scattering supplies across tables, you have one place where the messy part of art happens.
This approach works best in classrooms and in studios that handle messy materials like paint and clay. Keep cleaning supplies accessible and organized so wrapping up a session feels swift and easy. When cleanup has a station, ending a project never feels like starting another job.
10. Pair Framed Art With Low Shelves for Supplies
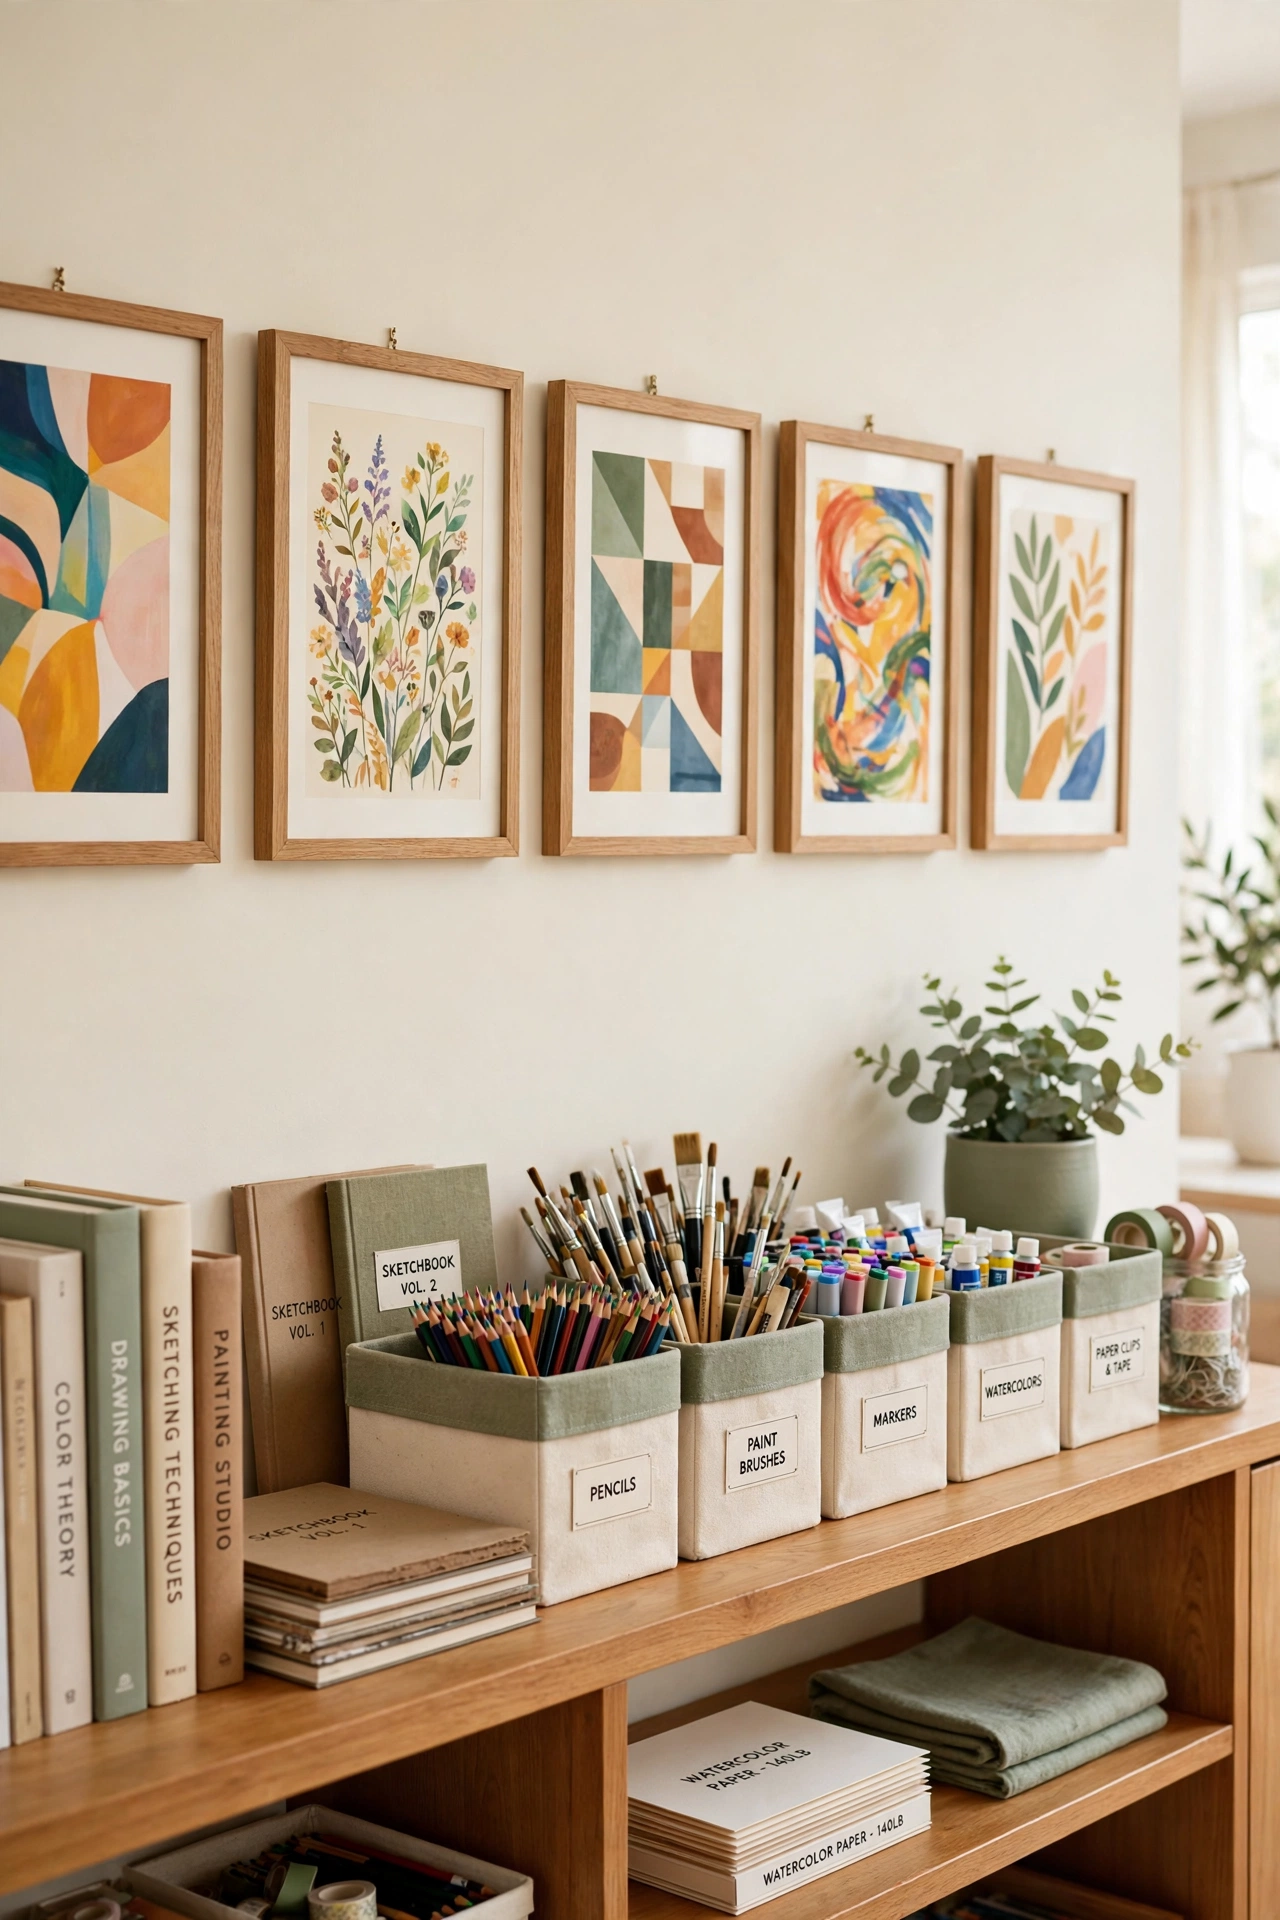
Finished art earns wall space without stealing storage space. Hang framed pieces in a row along the wall, and run low shelving underneath to hold books, sketchbooks, and supply bins. The display looks like a gallery while the shelves quietly handle the practical side.
Keep the shelves thin and organized so storage supports the exhibition instead of competing with it. If children share the studio, these kids art display ideas show how to rotate young artists’ work alongside grown-up pieces. This arrangement suits shared and family studios where art needs to be seen but tools need some control.
11. Hide Studio Storage Behind Curtains in a Closet
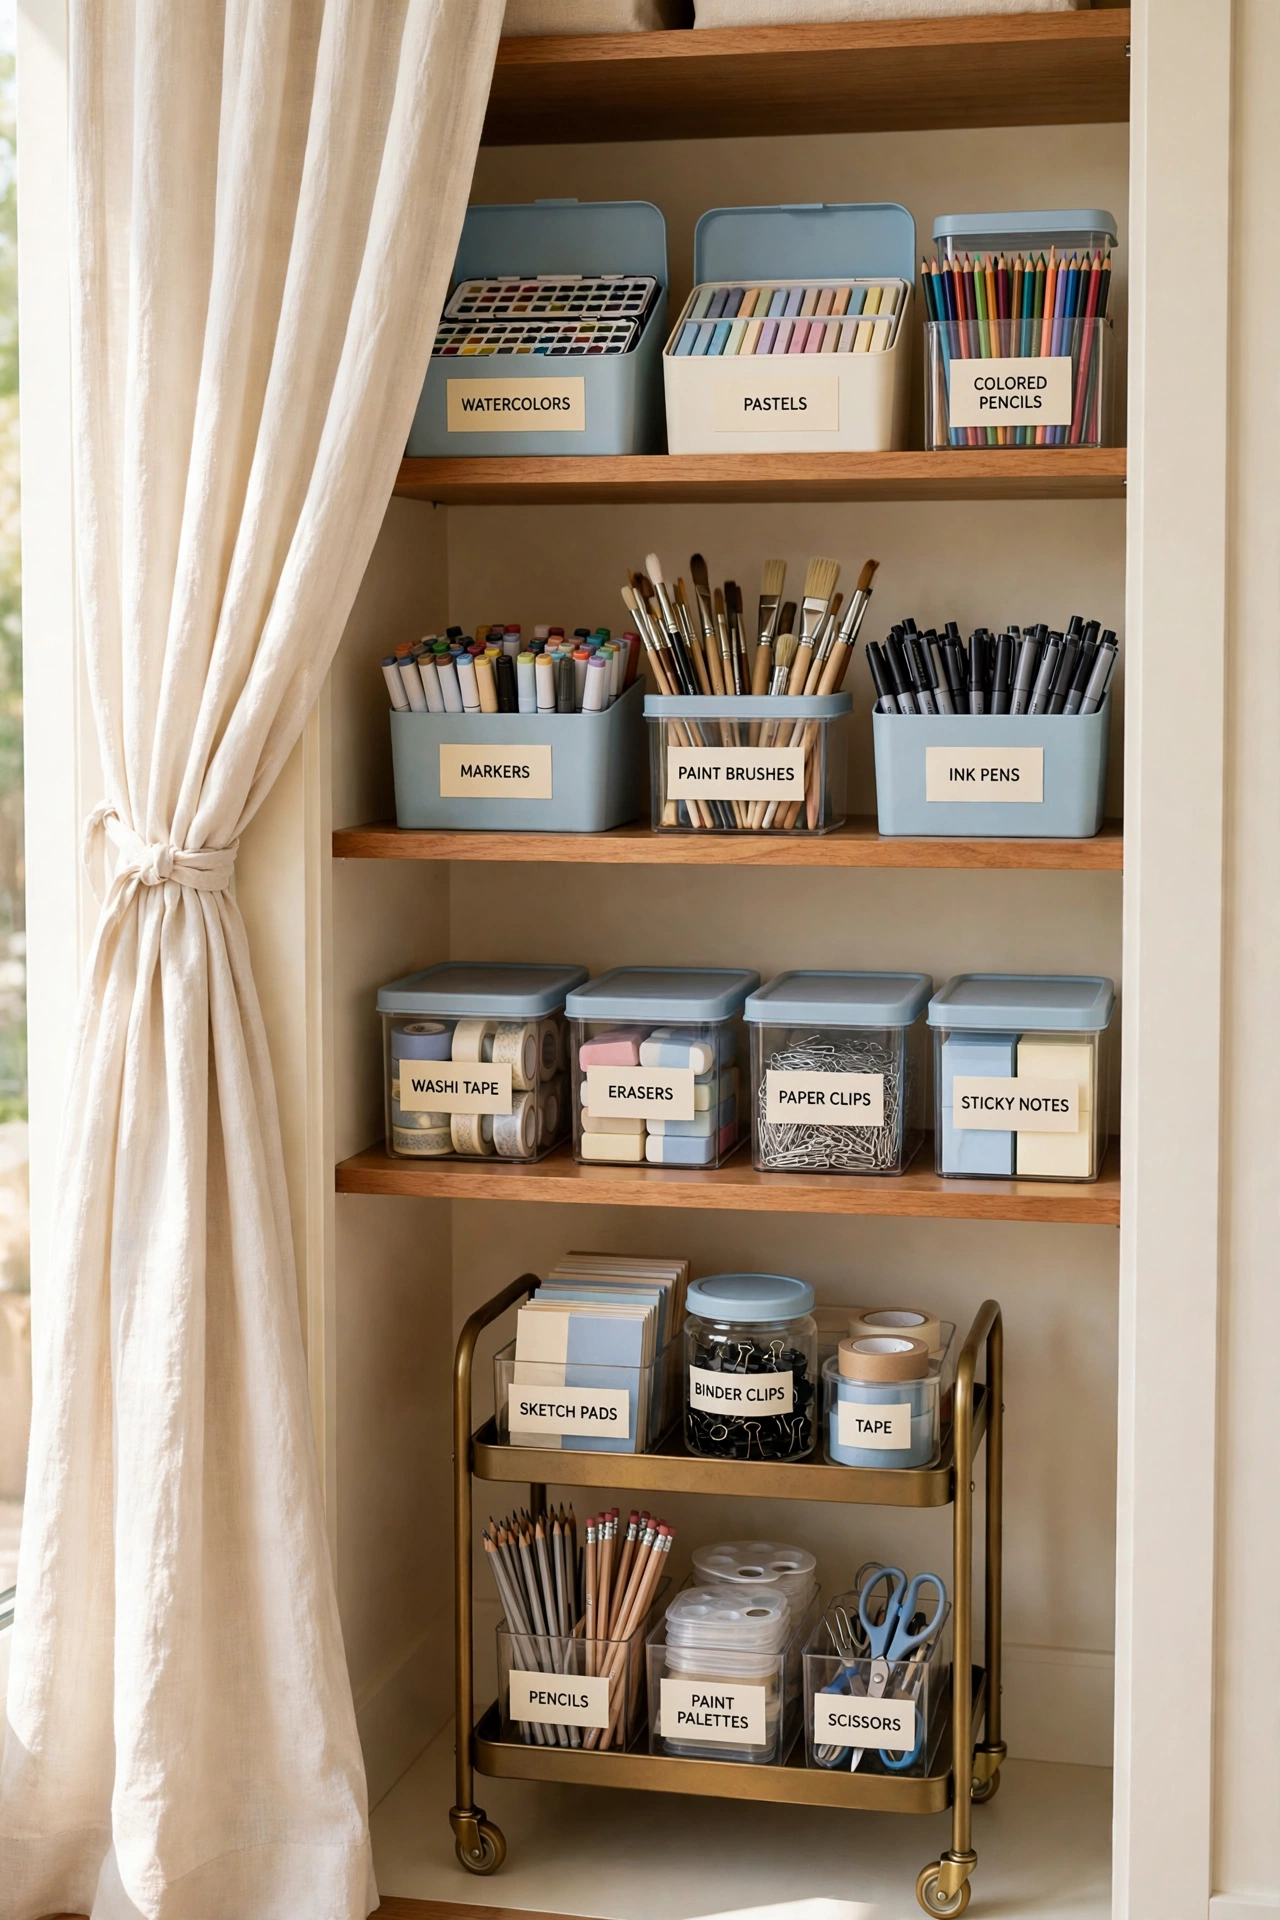
Curtains turn a storage closet into a clean reset button. Fill the closet with open shelves and rolling carts, then draw a curtain across the front when the workday ends. Supplies stay organized inside, and the room instantly returns to a calm living space.
Place the items you reach for most often at waist level, and reserve the upper shelves for seasonal or rarely used tools. This approach shines in bedrooms and shared areas where visual calm matters. For more closet storage tricks, these closet door organization ideas help you use every inch of the door and the space behind it.
12. Anchor the Studio Around One Large Worktable
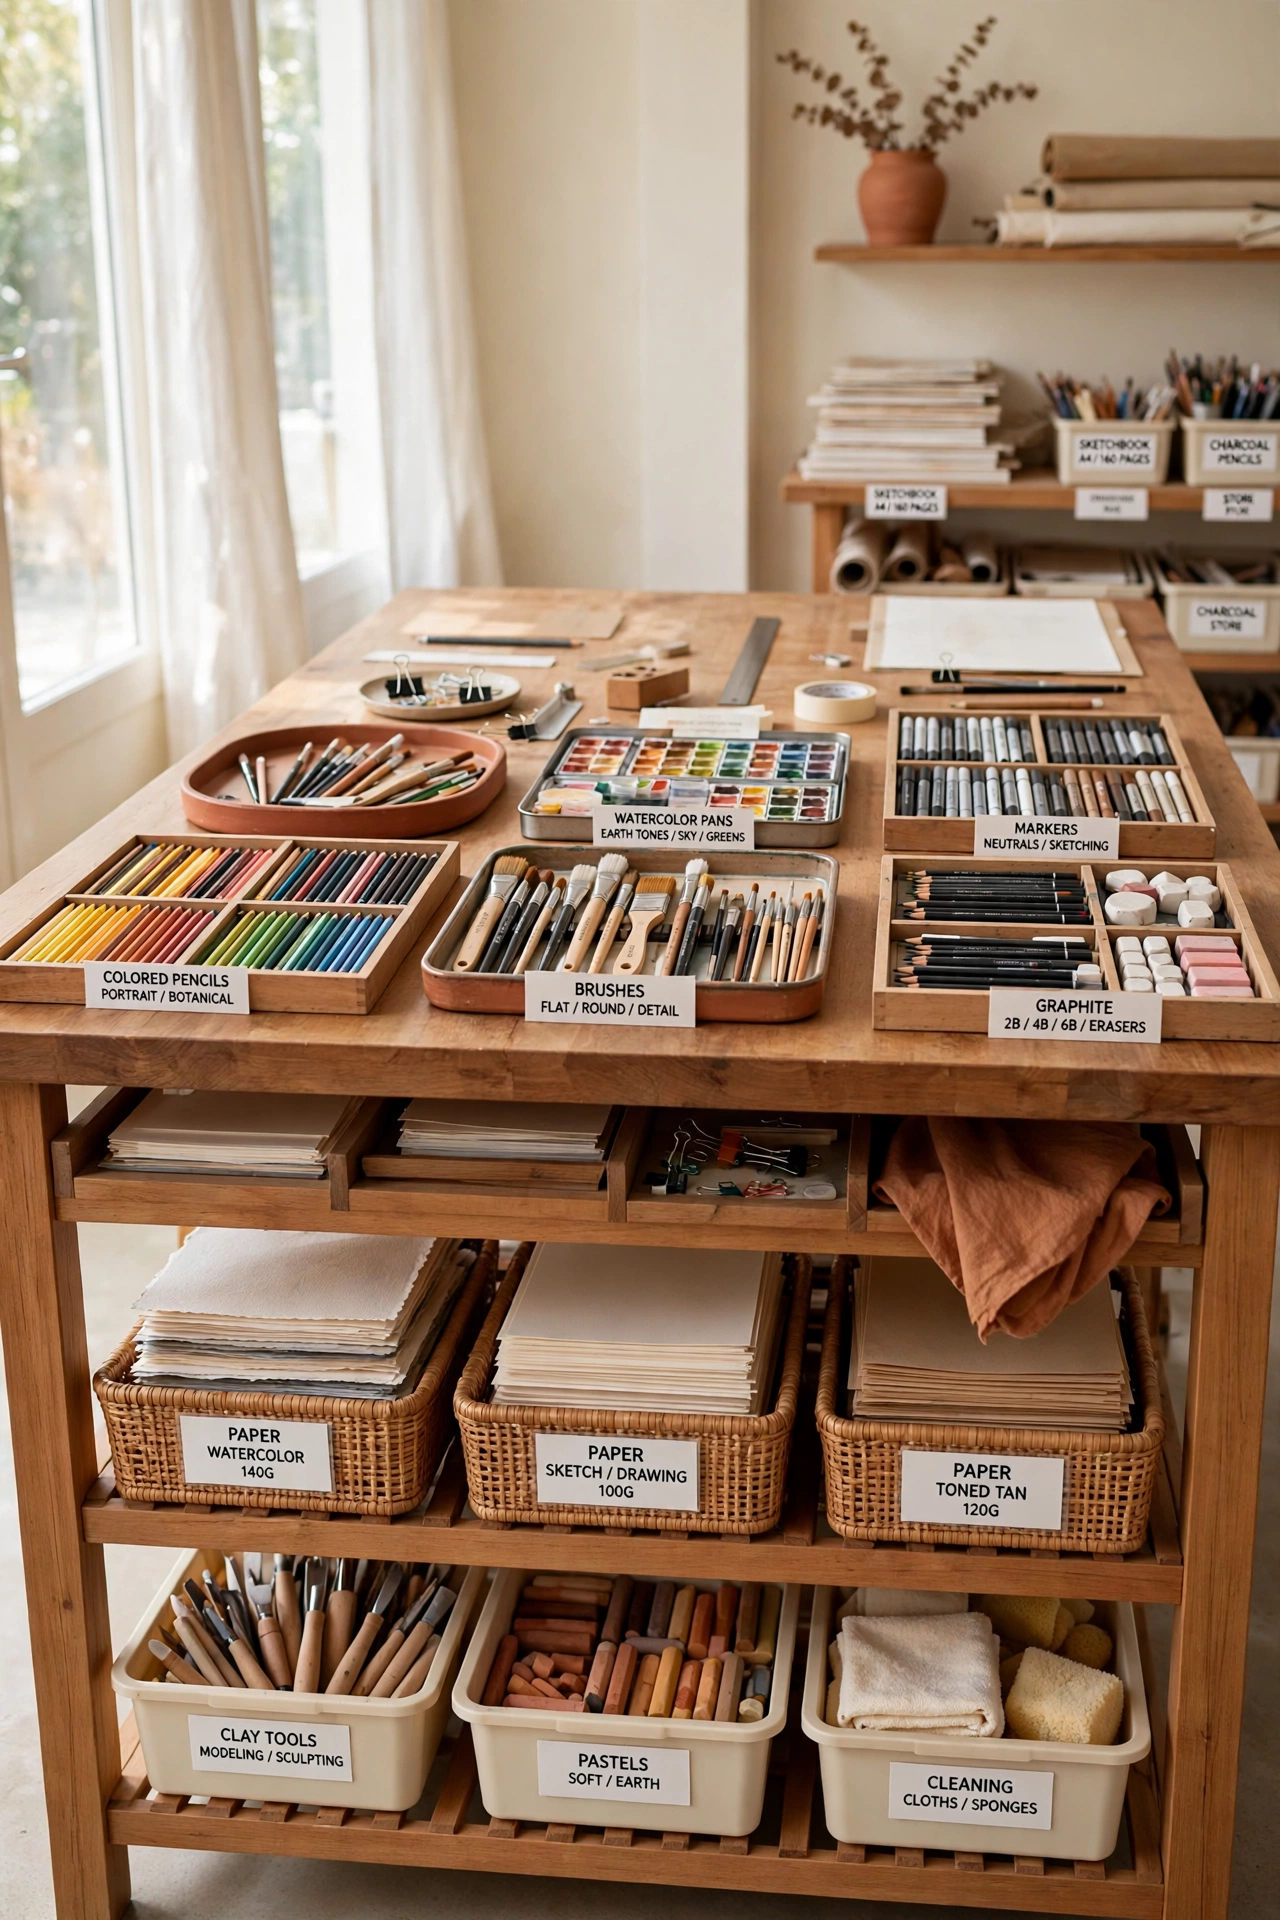
Everything in a well organized studio revolves around one solid surface. A large central table anchors tools, storage, and active projects, so nothing drifts across the room or disappears into corners. The table becomes the heart of the workflow.
Add shallow trays and under-table racks to keep frequently used items within easy reach of your chair. This setup suits studios that juggle many materials and heavy production, because the table holds the work while the storage stays close. A strong worktable core keeps the studio functional without letting it slide into disarray.
13. Fill a Tight Grid Wall With Small Finished Pieces
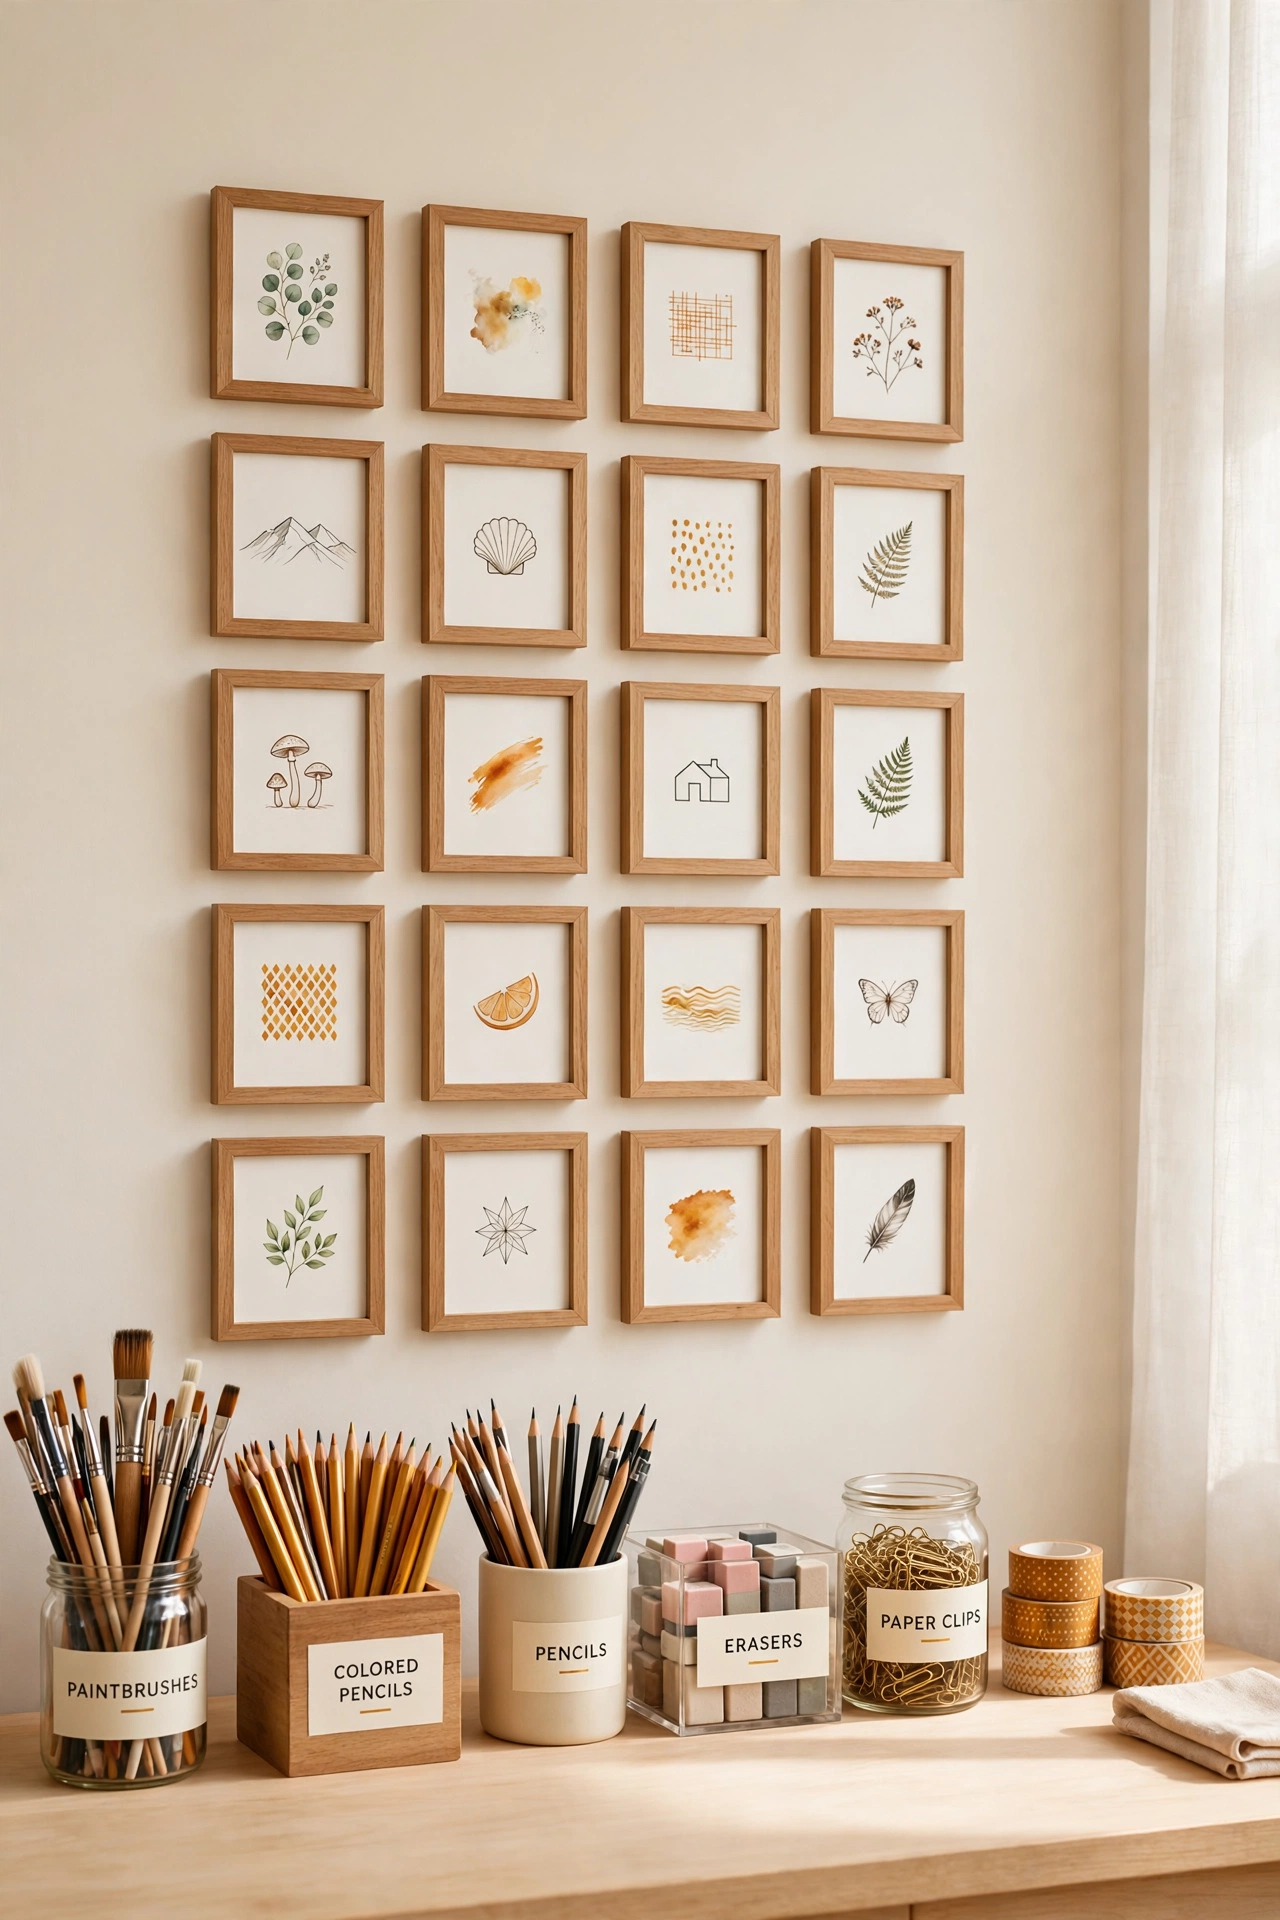
Finished pieces crowding the desk disappear once the wall takes over the thinking. Hang a tight grid of small artworks above the desk to keep inspiration visible without stealing a single inch of workspace. The grid looks intentional and makes the wall feel like a living sketchbook.
Rearrange the pieces as projects evolve, and keep the display casual rather than overly fussy. This idea works beautifully above desks in small studios, where every surface counts. A grid wall stays dynamic when you swap pieces in and out instead of treating it as a permanent exhibit.
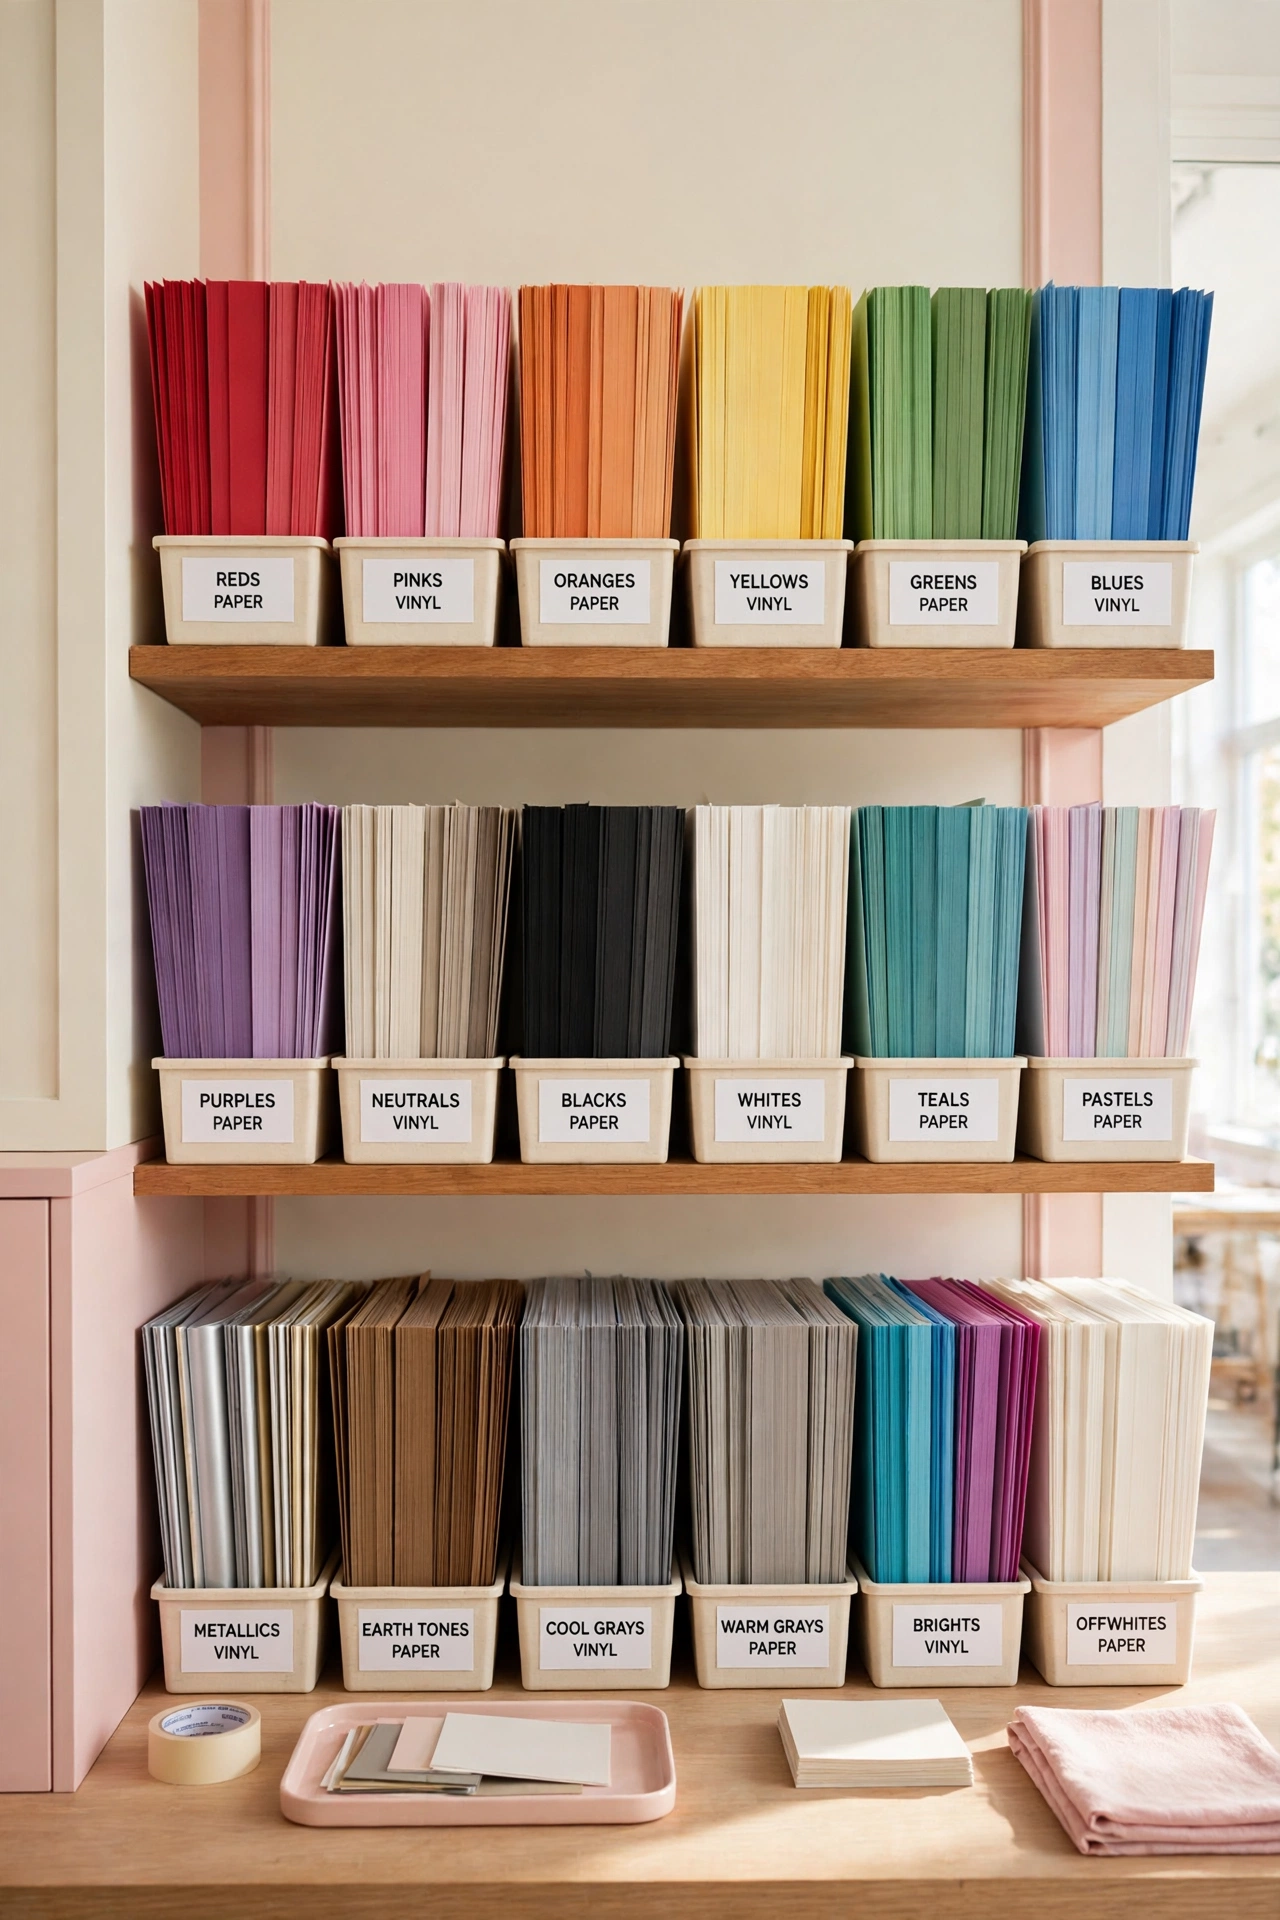
14. File Paper and Vinyl in Shallow Bins by Shade
Stacks of paper and vinyl stop turning messy once every color gets its own lane. File sheets upright in shallow, clearly labeled bins arranged by shade, so you can spot gaps, repeats, and exactly what a project needs next. No more digging through a leaning tower of paper.
Keep the bins shallow so sheets stay visible and easy to pull out without disturbing the order. This setup suits studios overflowing with paper, cardstock, or vinyl, where color is the fastest way to find the right sheet. Labeled lanes keep the archive neat even during a busy week.
15. Keep Reference Books and Ideas on Shelves Above the Desk
Work stays focused when inspiration lives slightly above it. Mount open shelves above the desk for reference books, finished pieces, and ongoing ideas, so visual cues stay close without crowding the work surface. The desktop stays clear for making, while the shelves do the reminding.
This arrangement suits illustrators and designers who constantly switch between thinking and creating. Keep the shelves relatively uncluttered and let a few chosen pieces carry the inspiration. When ideas live at eye level, they stay accessible without interrupting the flow of the work itself.
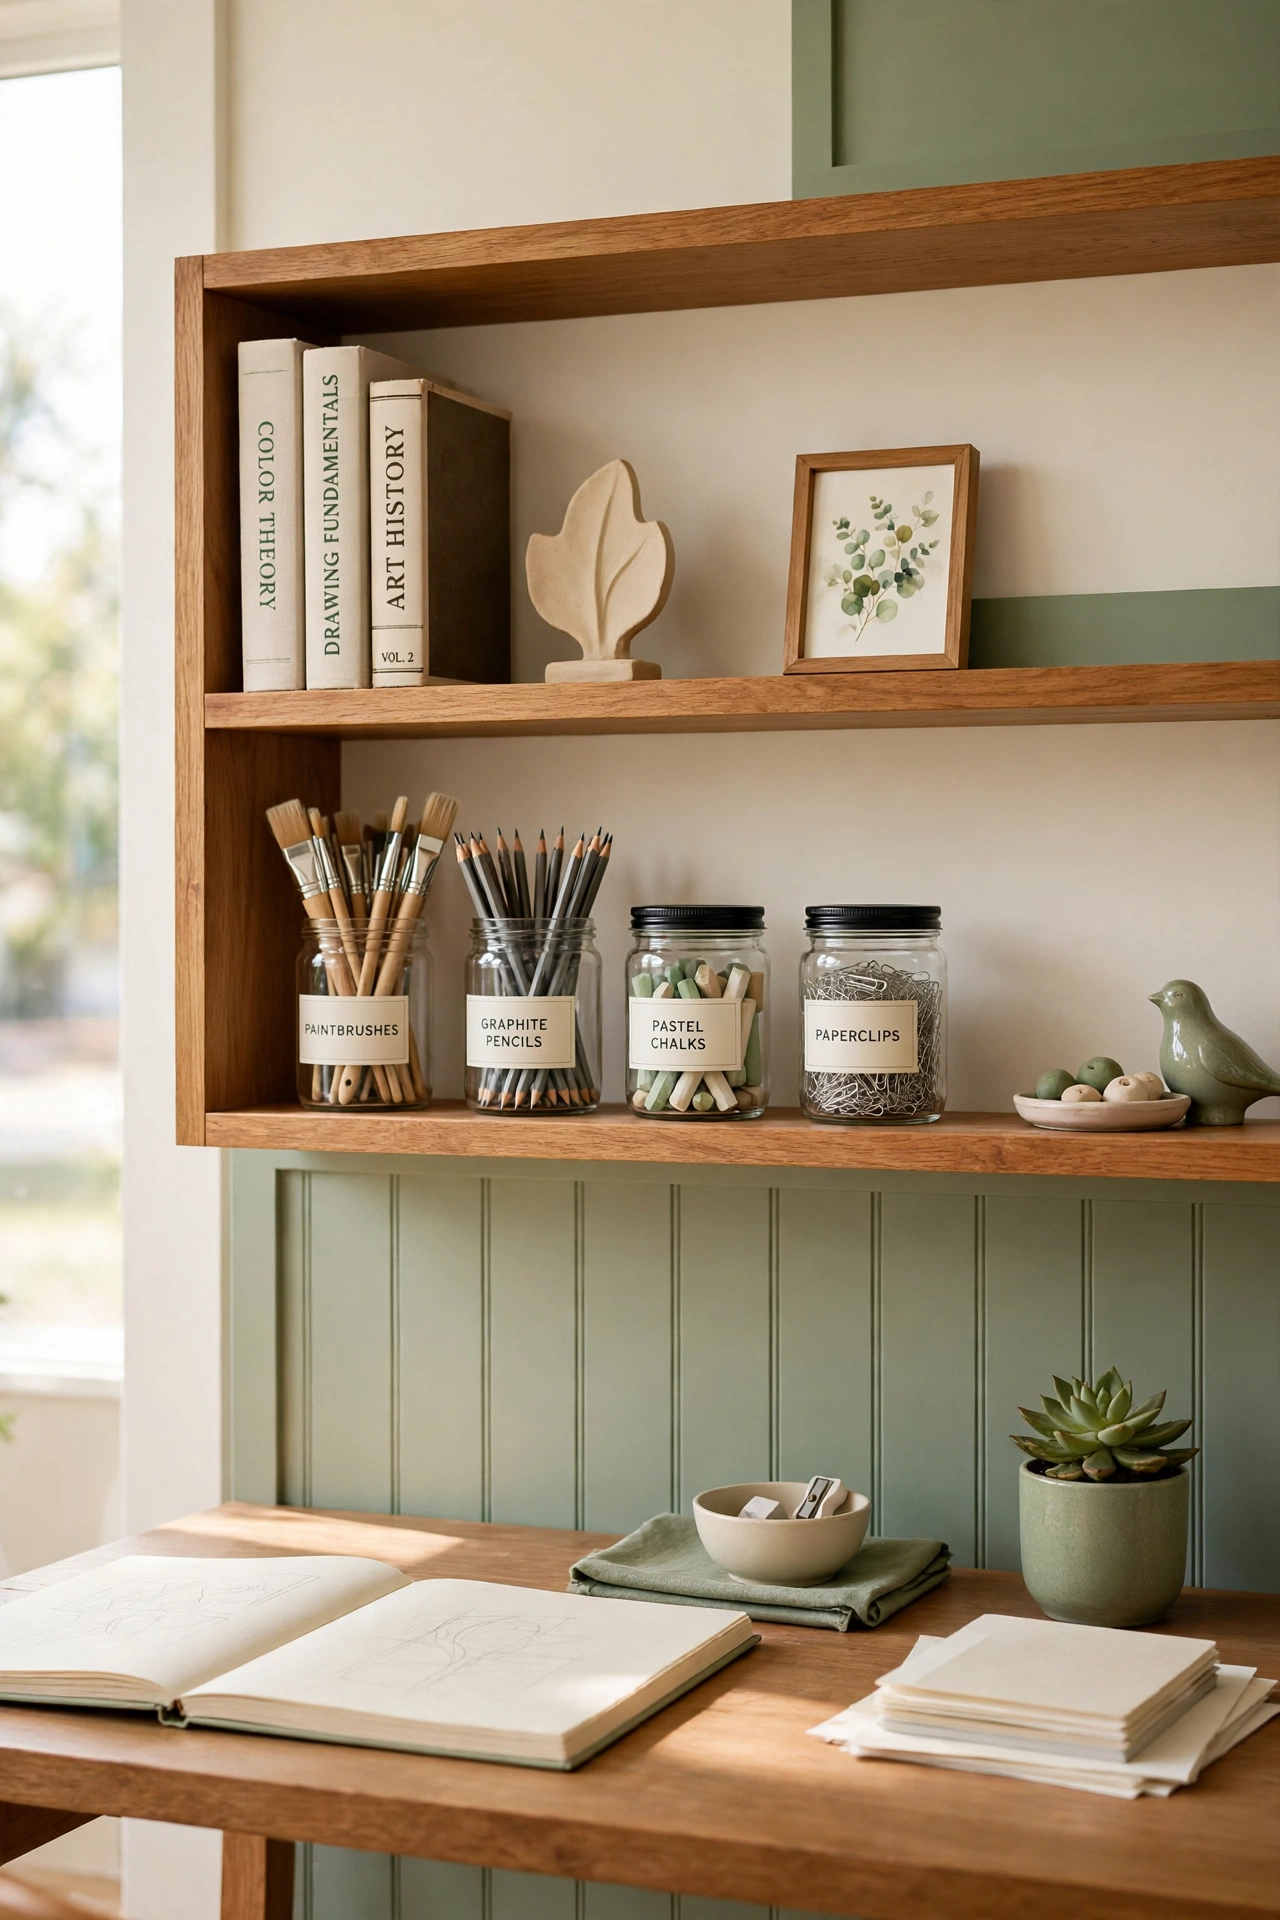
16. Arrange Shelves Within One Turn of Your Chair
Flow improves when tools circle the workspace instead of spreading outward. Stack shelves close to the desk so paints, mediums, and brushes all sit within a single turn of your chair. Everything you need stays in one tight loop, and nothing requires a trip across the room.
Keep everyday equipment within easy reach, store backups further down, and use a rolling cart to fill any gaps in the loop. This arrangement suits tiny studios where quick access matters more than display. A compact loop saves steps, and saved steps add up to more time for making art.
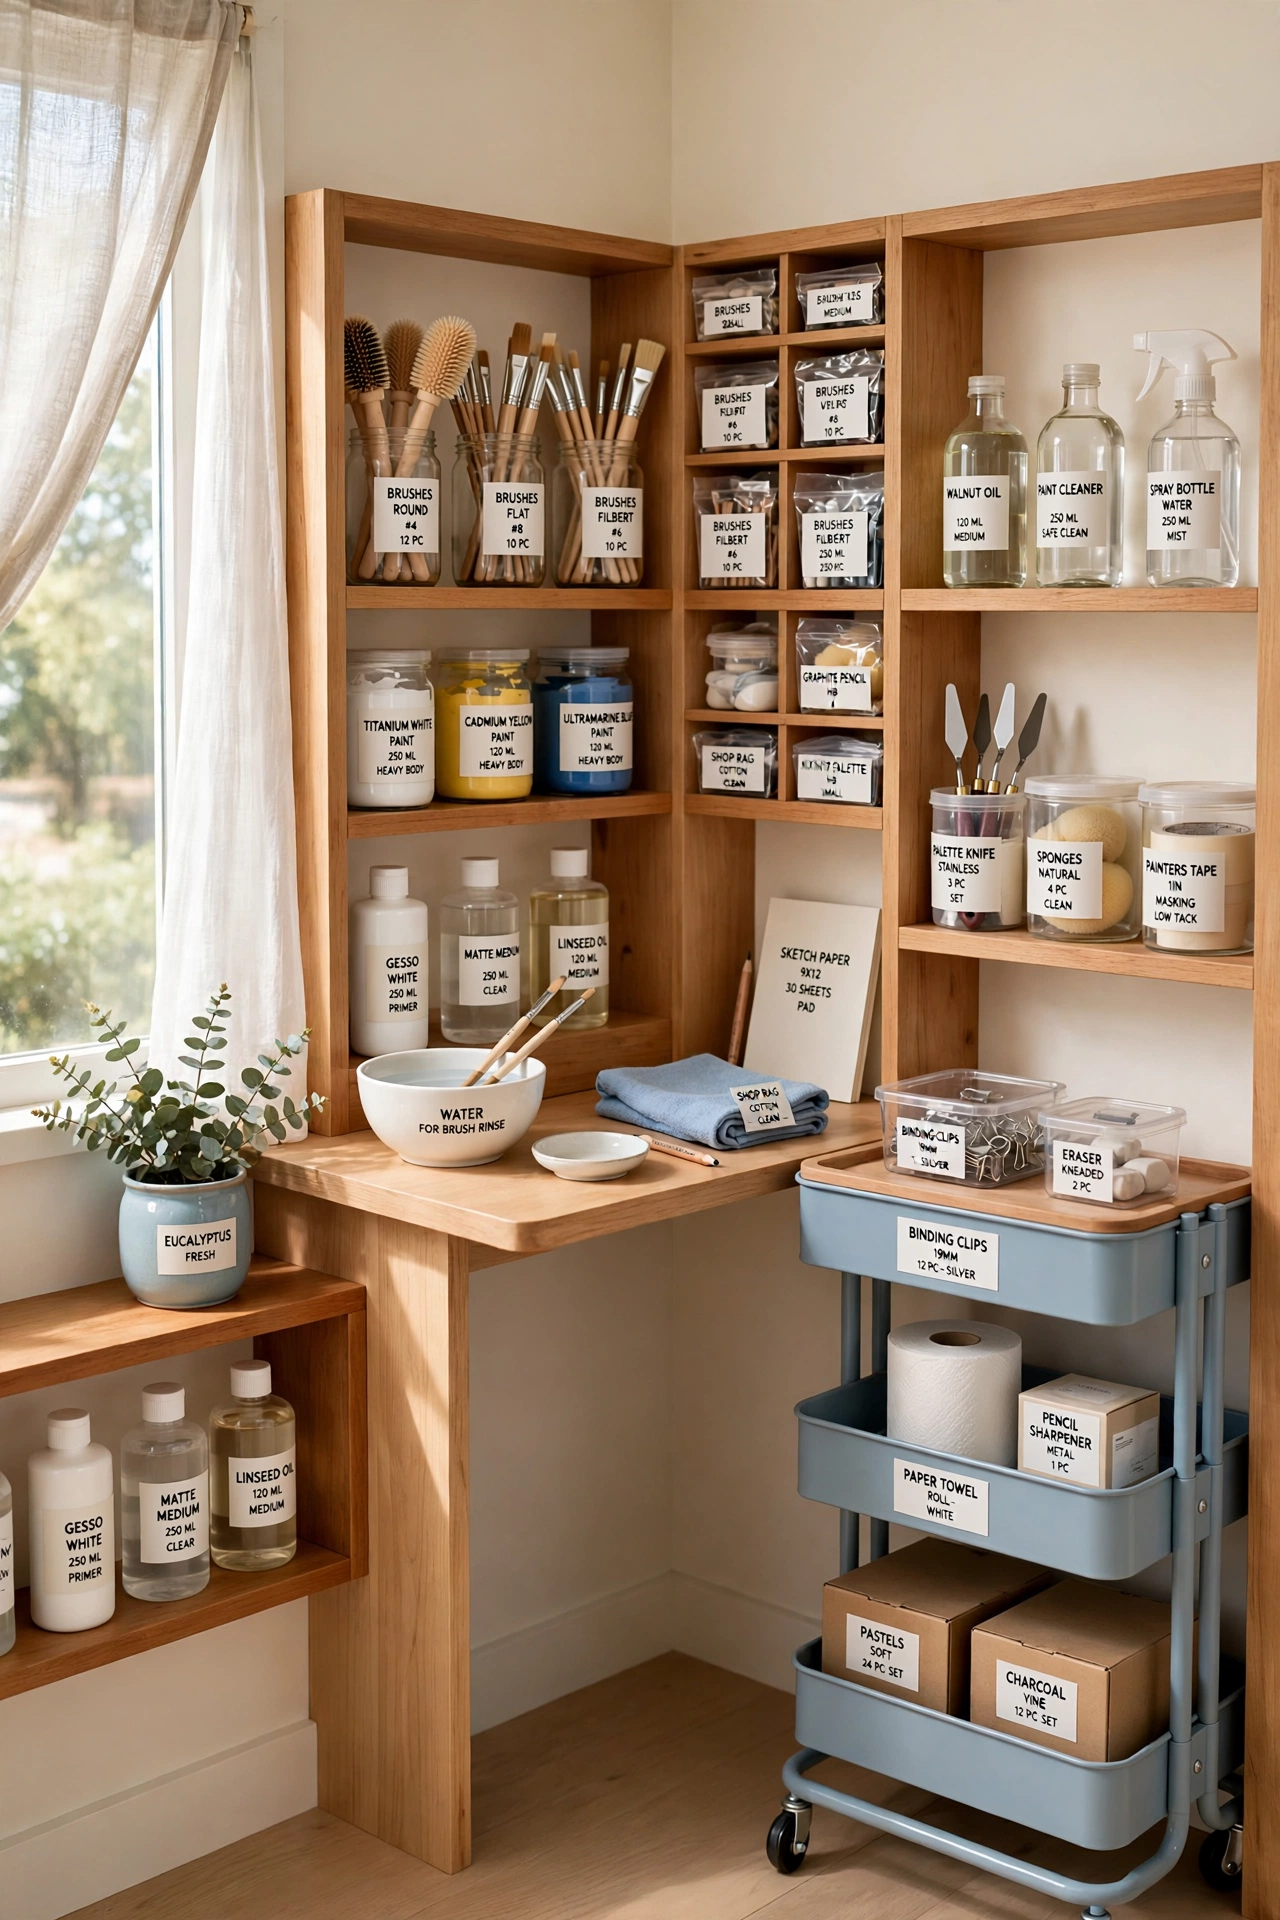
17. Label Every Shelf in an Open Shelving System
Nothing hides, so nothing gets forgotten. Open shelving paired with labeled bins keeps supplies visible while still grouped by purpose, so starting a session becomes straightforward instead of daunting. Each shelf has a category, and each container manages the clutter inside it.
This approach shines in studios that see constant use, where getting things done quickly matters more than a flawless look. Categorize every shelf clearly and let the containers do the work. When everything is visible at a glance, you spend your energy on art instead of searching.
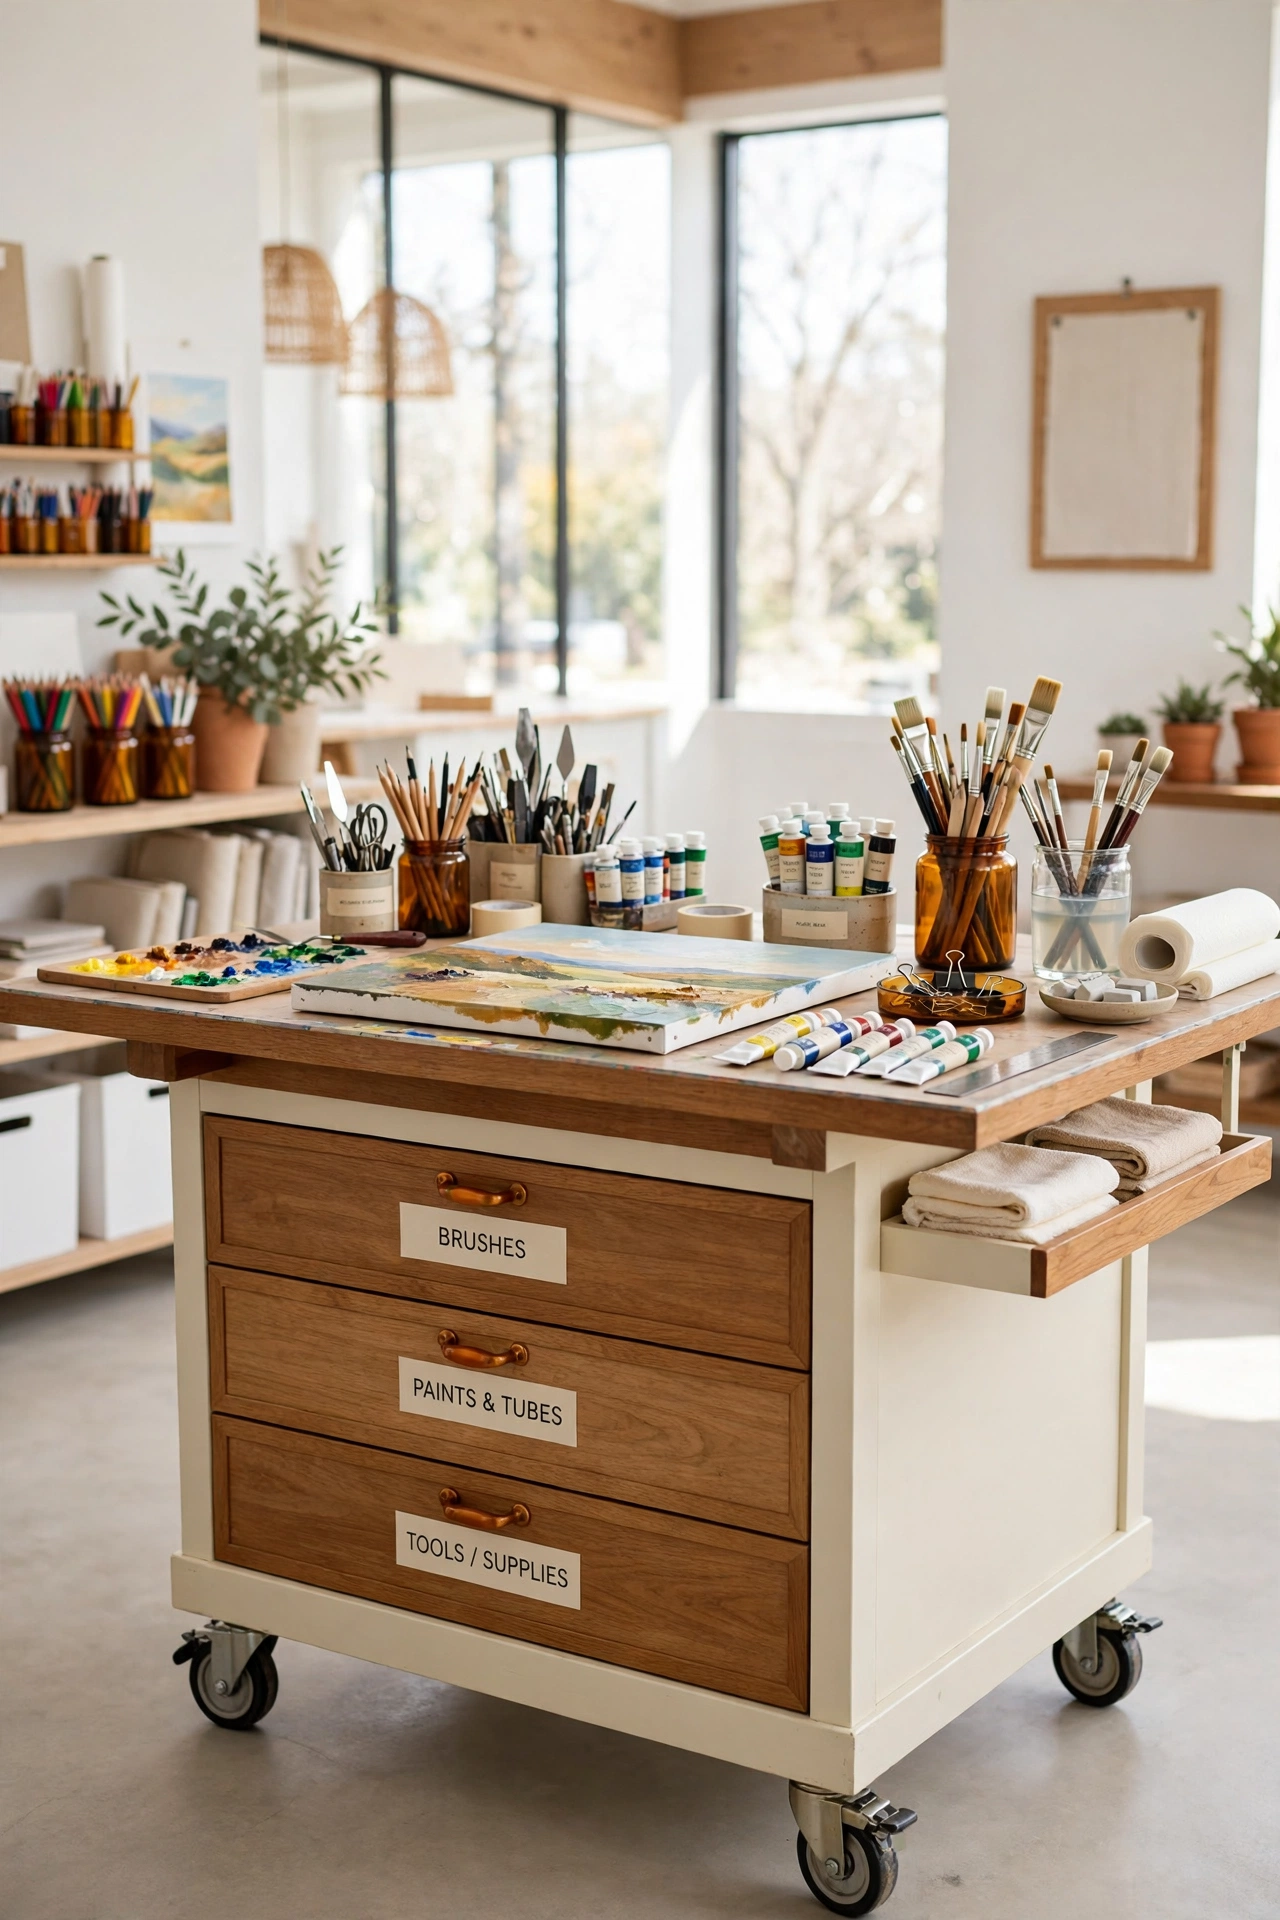
18. Use Large Rolling Tables for Active Projects
Heavy work stays flexible when tables move instead of locking the layout in place. Large rolling surfaces hold active projects, wet work, and shared tools without eating permanent floor space. When a project finishes, the table rolls aside and the room opens up again.
Add drawers or trays beneath the work surface so materials travel with the table as projects evolve. This setup suits studios where several projects run at once, because the space can shift without a disruptive cleanup in the middle of the creative process. Rolling islands keep the studio fluid and ready for whatever comes next.
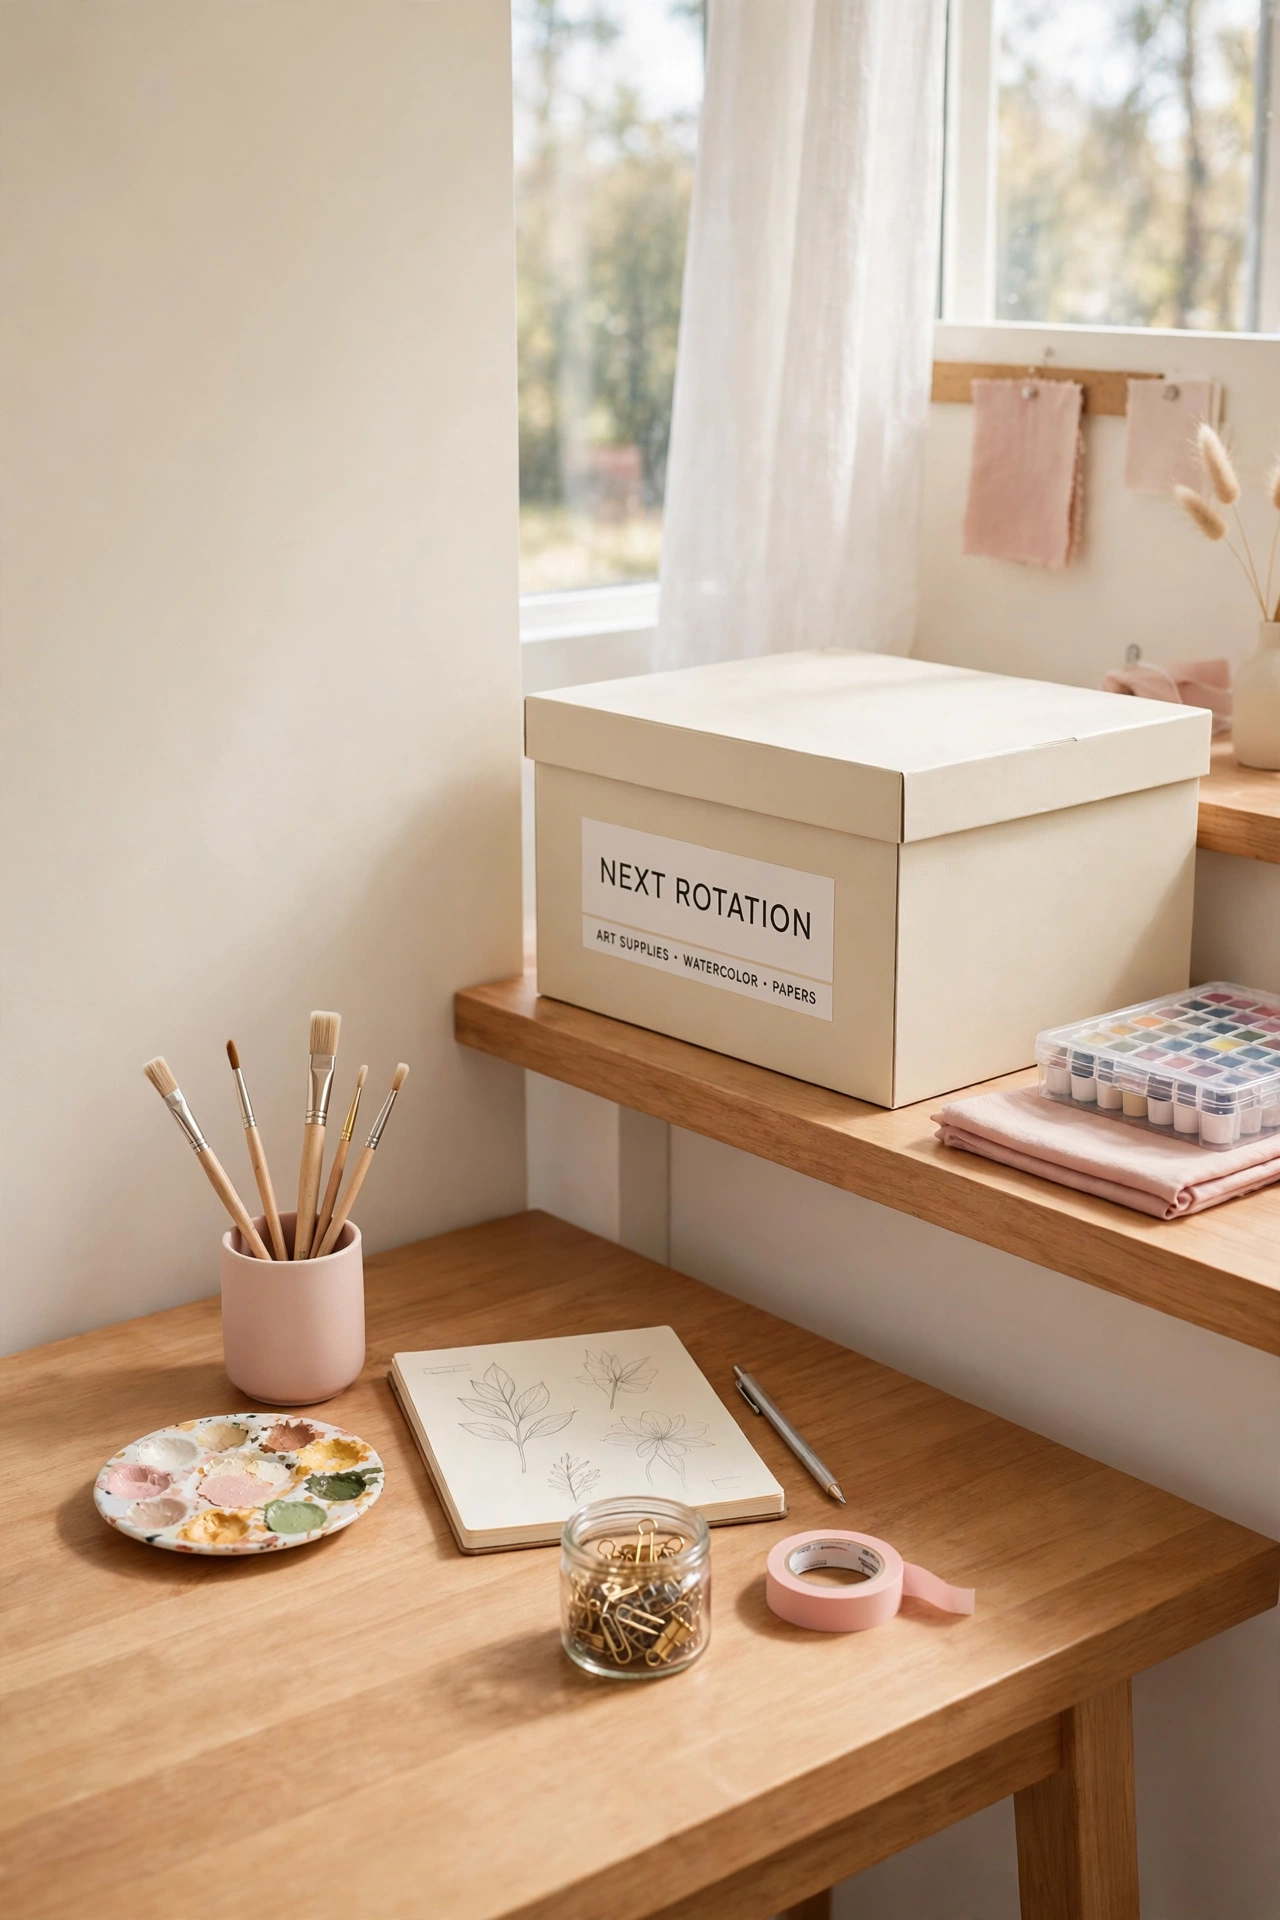
19. Rotate Tools Weekly and Rest the Rest
Creativity shifts, but storage usually does not. Rotate your tools weekly so only the materials for the current project stay within reach, while everything else rests out of sight in a labeled box or drawer. A box marked “next rotation” holds the backups until their turn comes.
This approach helps artists who switch between mediums often, because fewer visible choices mean faster decisions and less mental clutter. When the week changes, swap the kits and the studio feels fresh again. Rotation keeps the workspace honest about what you are actually using right now.
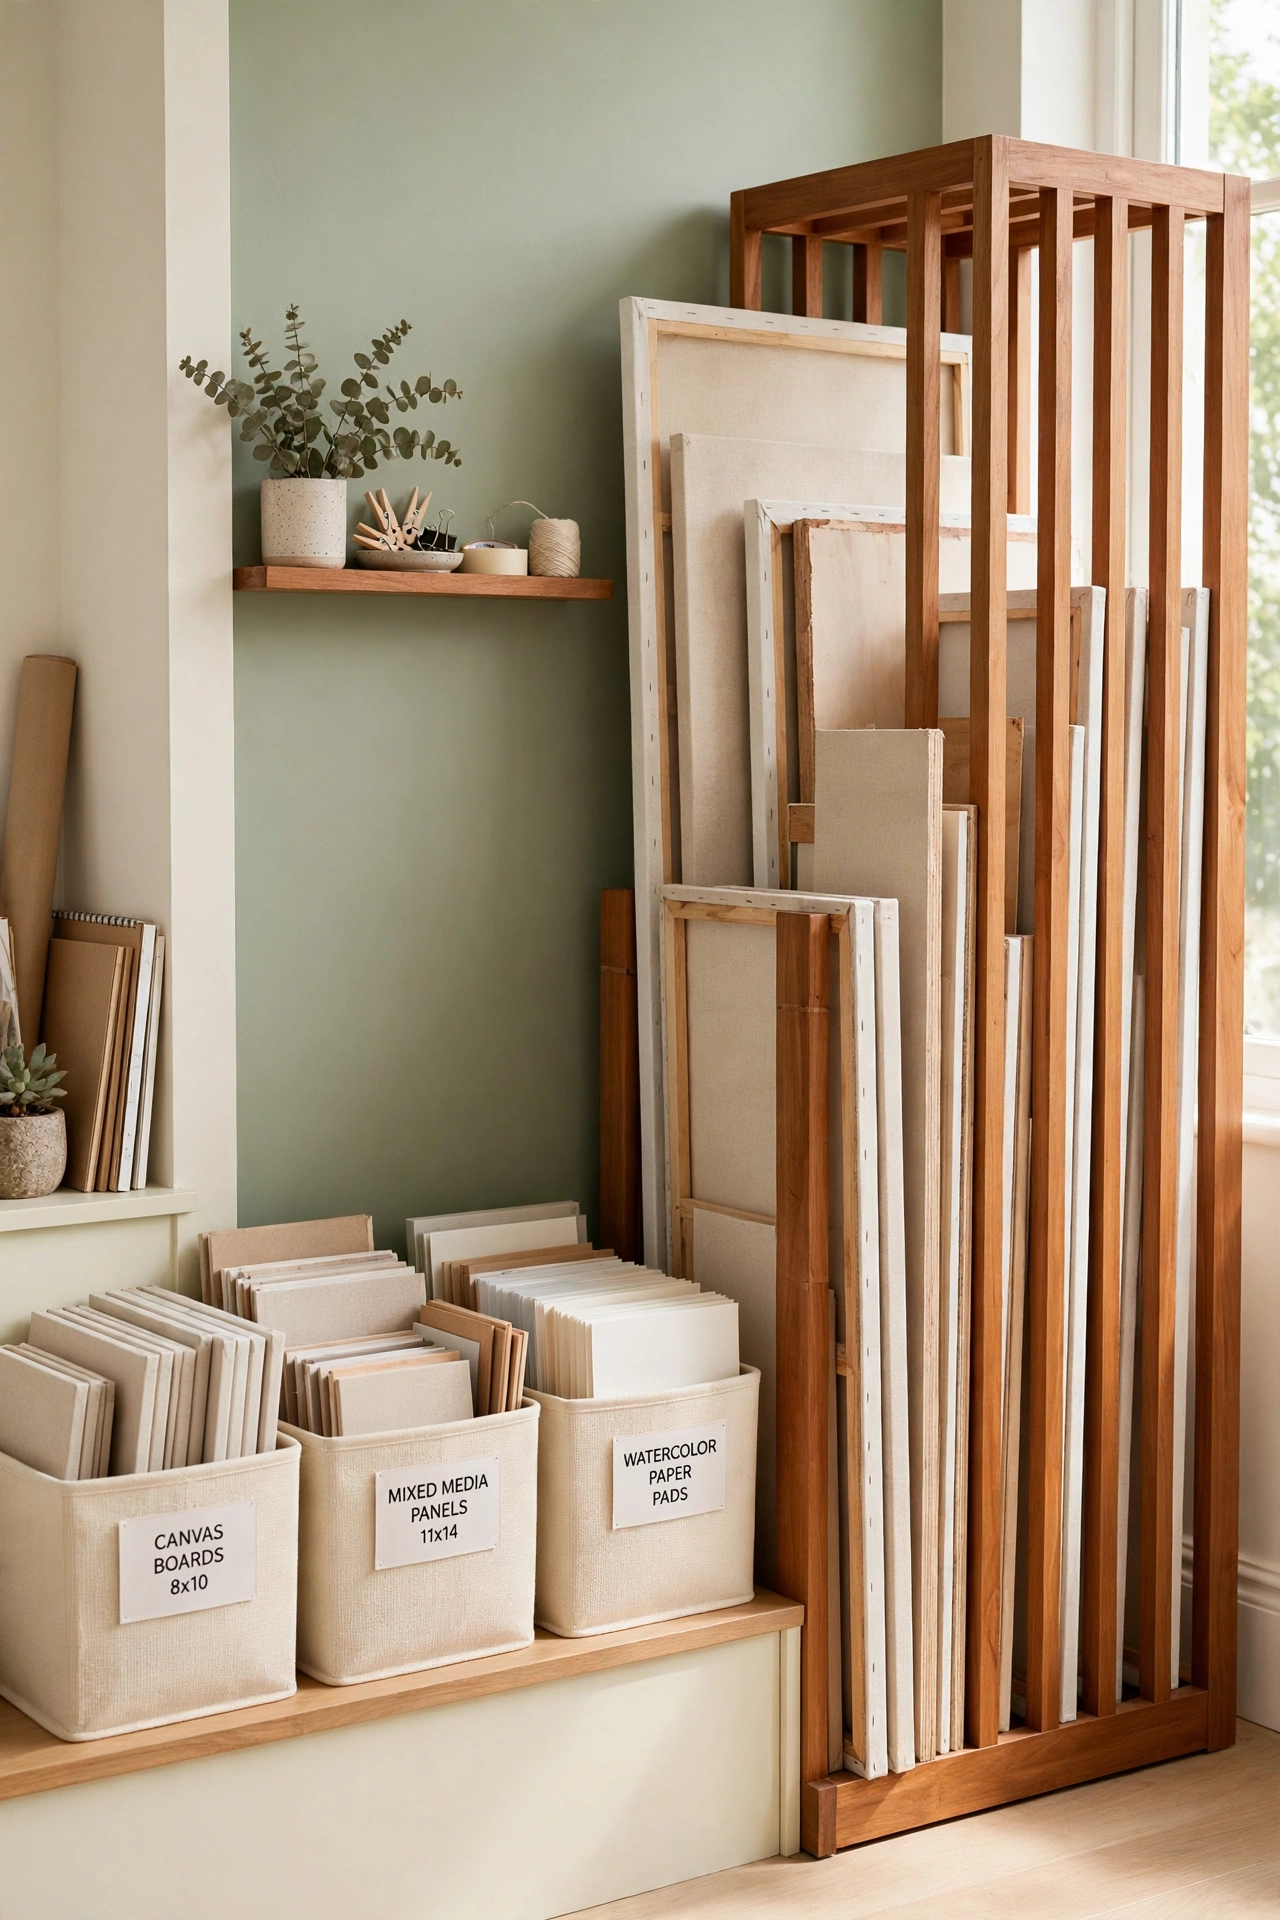
20. Park Unfinished Work in a Vertical Rack
Unfinished work causes more mess than supplies do. Give in-progress pieces their own home in a vertical rack or on a shallow shelf, so every paused project has a parking spot. Slide the work in when you pause, and pull it out when you are ready to continue.
This approach works especially well in smaller studios, where tidying the desk should not mean discarding ideas. A dedicated rack protects wet or delicate pieces from damage while keeping them visible enough that you never forget them. Project parking gives every idea a pause button instead of a pile.
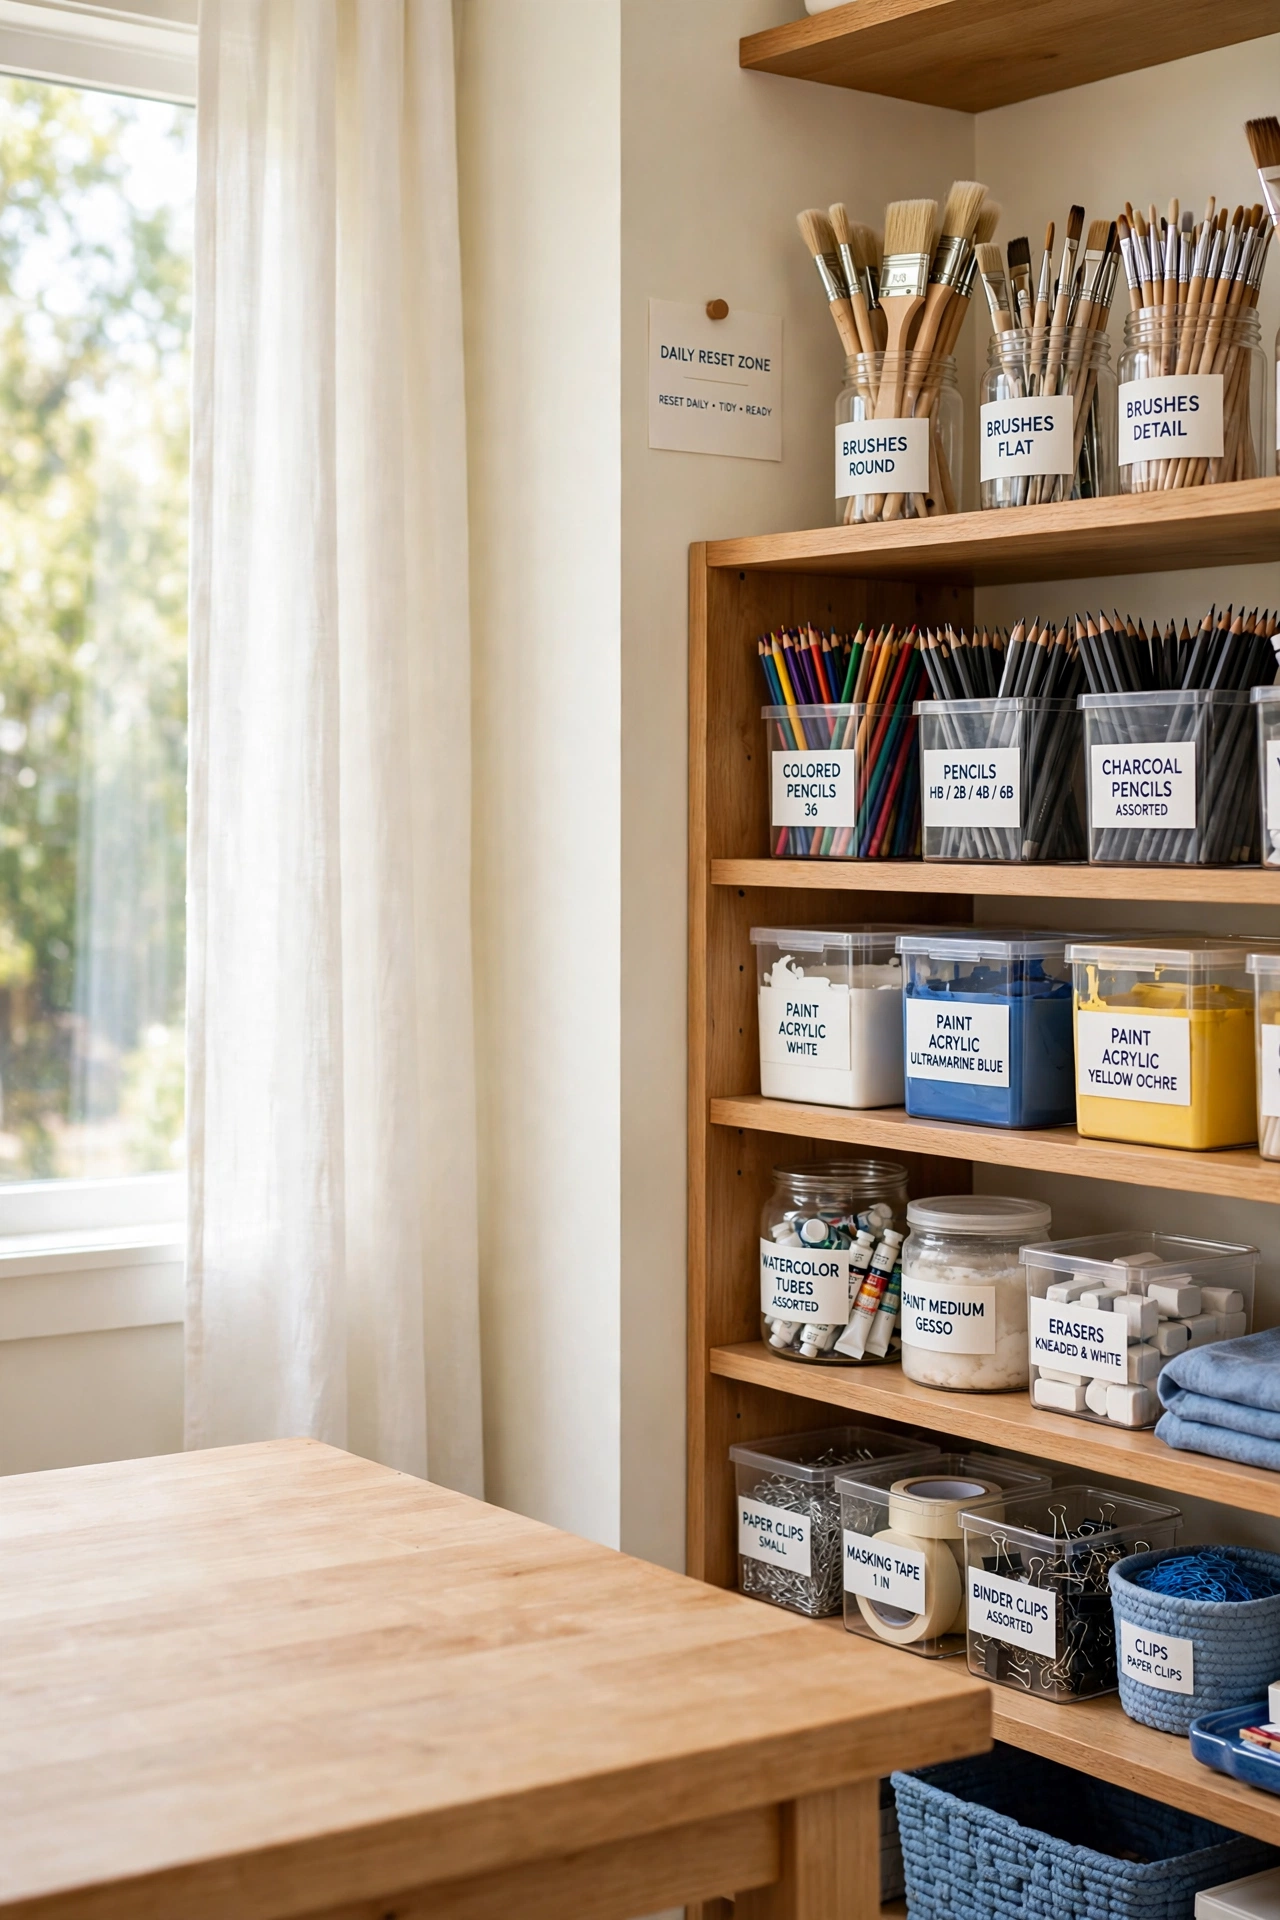
21. Keep One Surface Clear as a Daily Reset Zone
Mess sticks when surfaces have no rules. Assign one clear surface as a daily reset zone where nothing stays overnight, and use it for sorting, drying, or containing the inevitable clutter of a work session. The rule is simple: the zone gets cleared after every use.
By resetting this space daily, you stop clutter from taking over the rest of the studio. This habit suits artists who work every day but dread big cleanups, because a small daily reset is far easier than a weekly overhaul. One clear surface keeps the whole studio feeling under control.
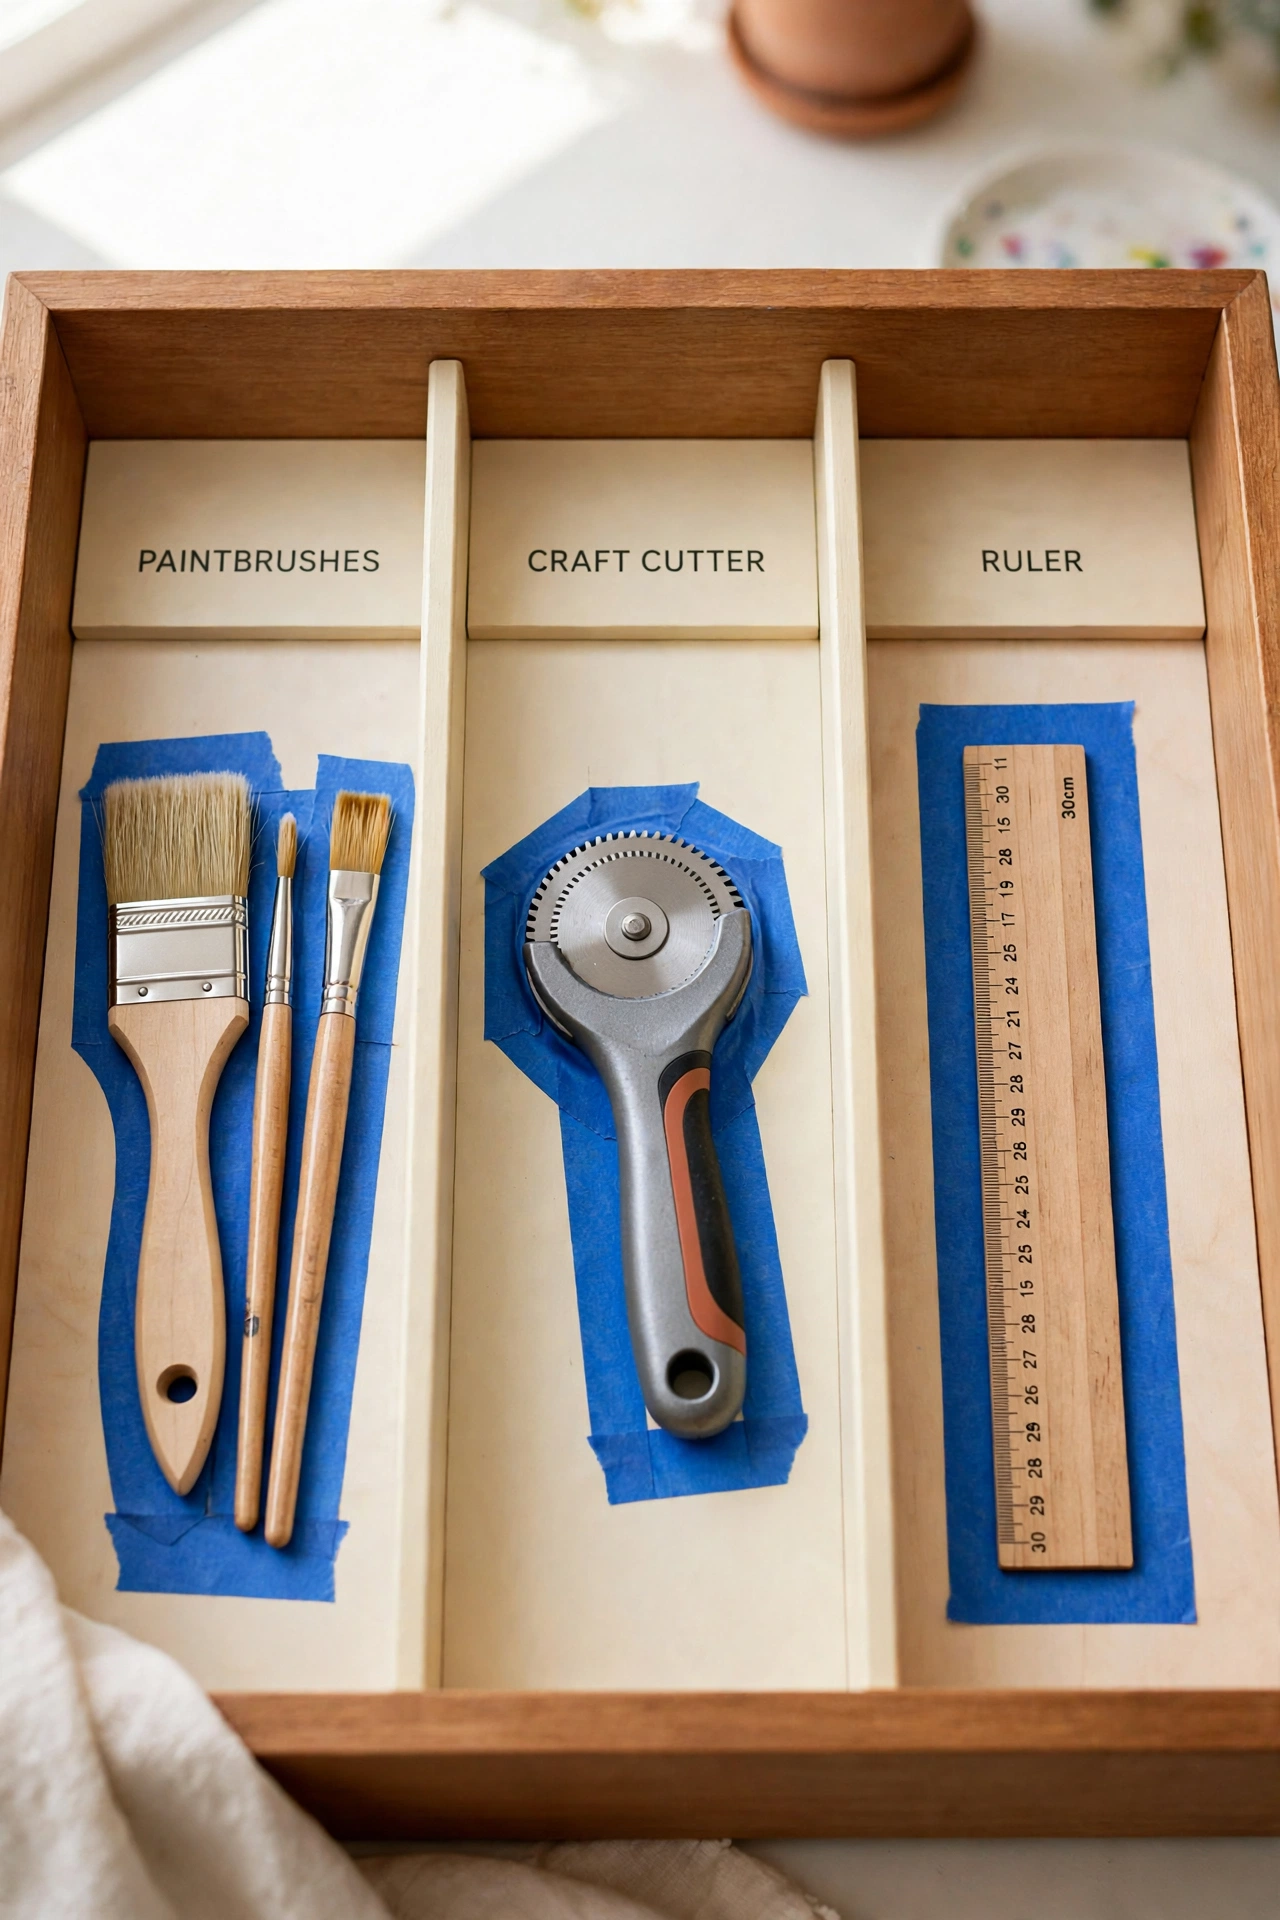
22. Outline Tool Shapes Inside Drawers and Trays
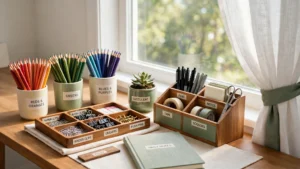
Missing tools waste time because nothing signals where they belong. Outline your most used brushes, cutters, and rulers inside drawers or trays using tape or marker lines, so every tool has a visible shadow waiting for it. An empty outline instantly shows what is missing and where it should return.
This trick works especially well for brushes, cutters, and rulers that tend to wander around the studio. The outlines quietly encourage good housekeeping without conscious effort, because putting a tool back feels like completing a puzzle. Supply shadows turn tidying into a habit instead of a chore.
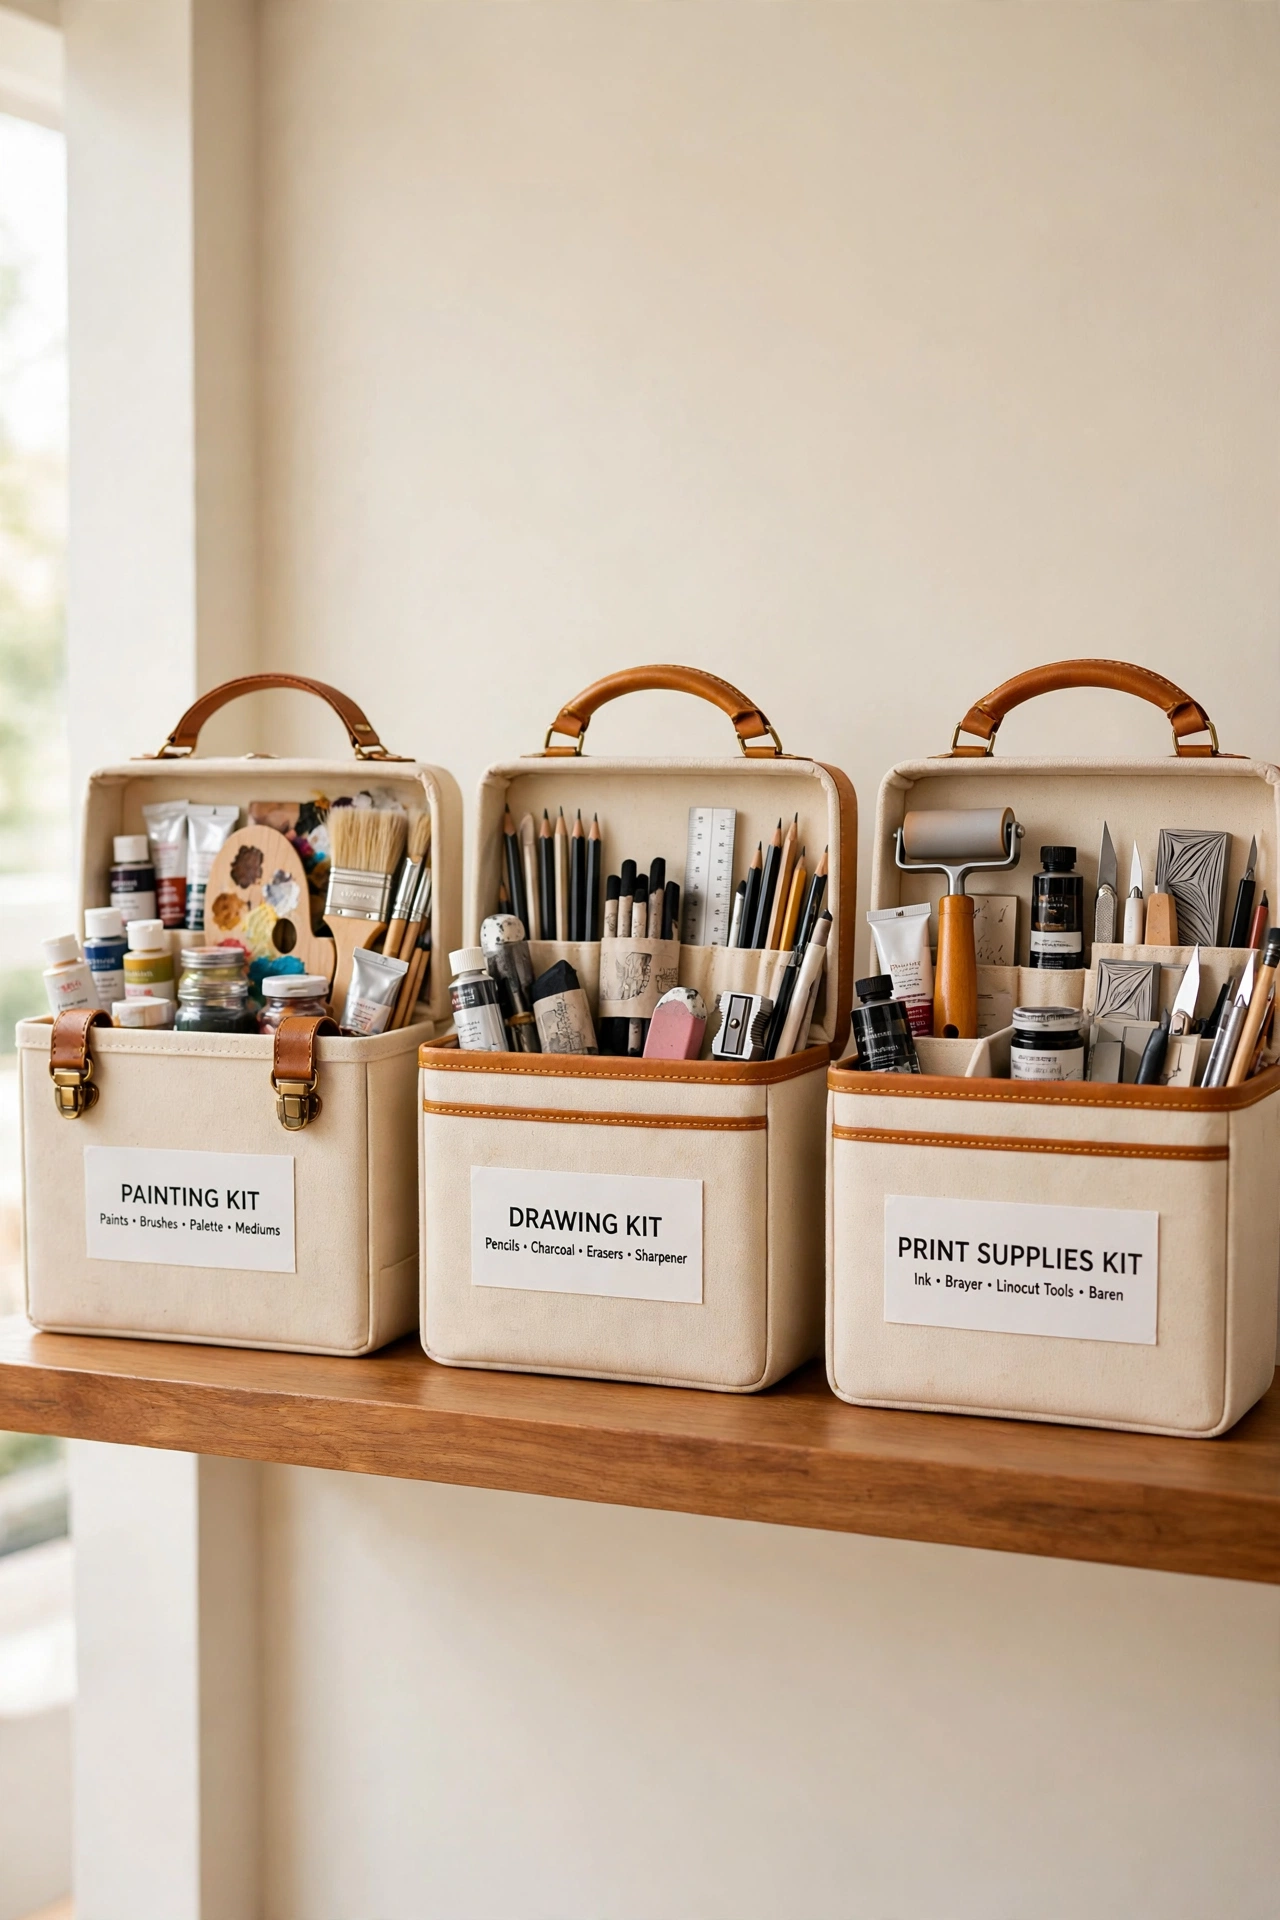
23. Pack Each Medium Into Its Own Portable Kit
Switching between art forms creates chaos when supplies are scattered across the studio. Group everything by medium into complete kits: a painting kit, a drawing kit, and a print kit, each in its own portable container. Grab the kit, and you have everything that medium needs.
Each kit should have its own container and stay portable, so setup and cleanup become a single action instead of a series of scattered steps. This approach helps artists who work in multiple disciplines, because the studio never needs a full reorganization when you switch from paint to pencil. Medium batching keeps every discipline self-contained and ready.
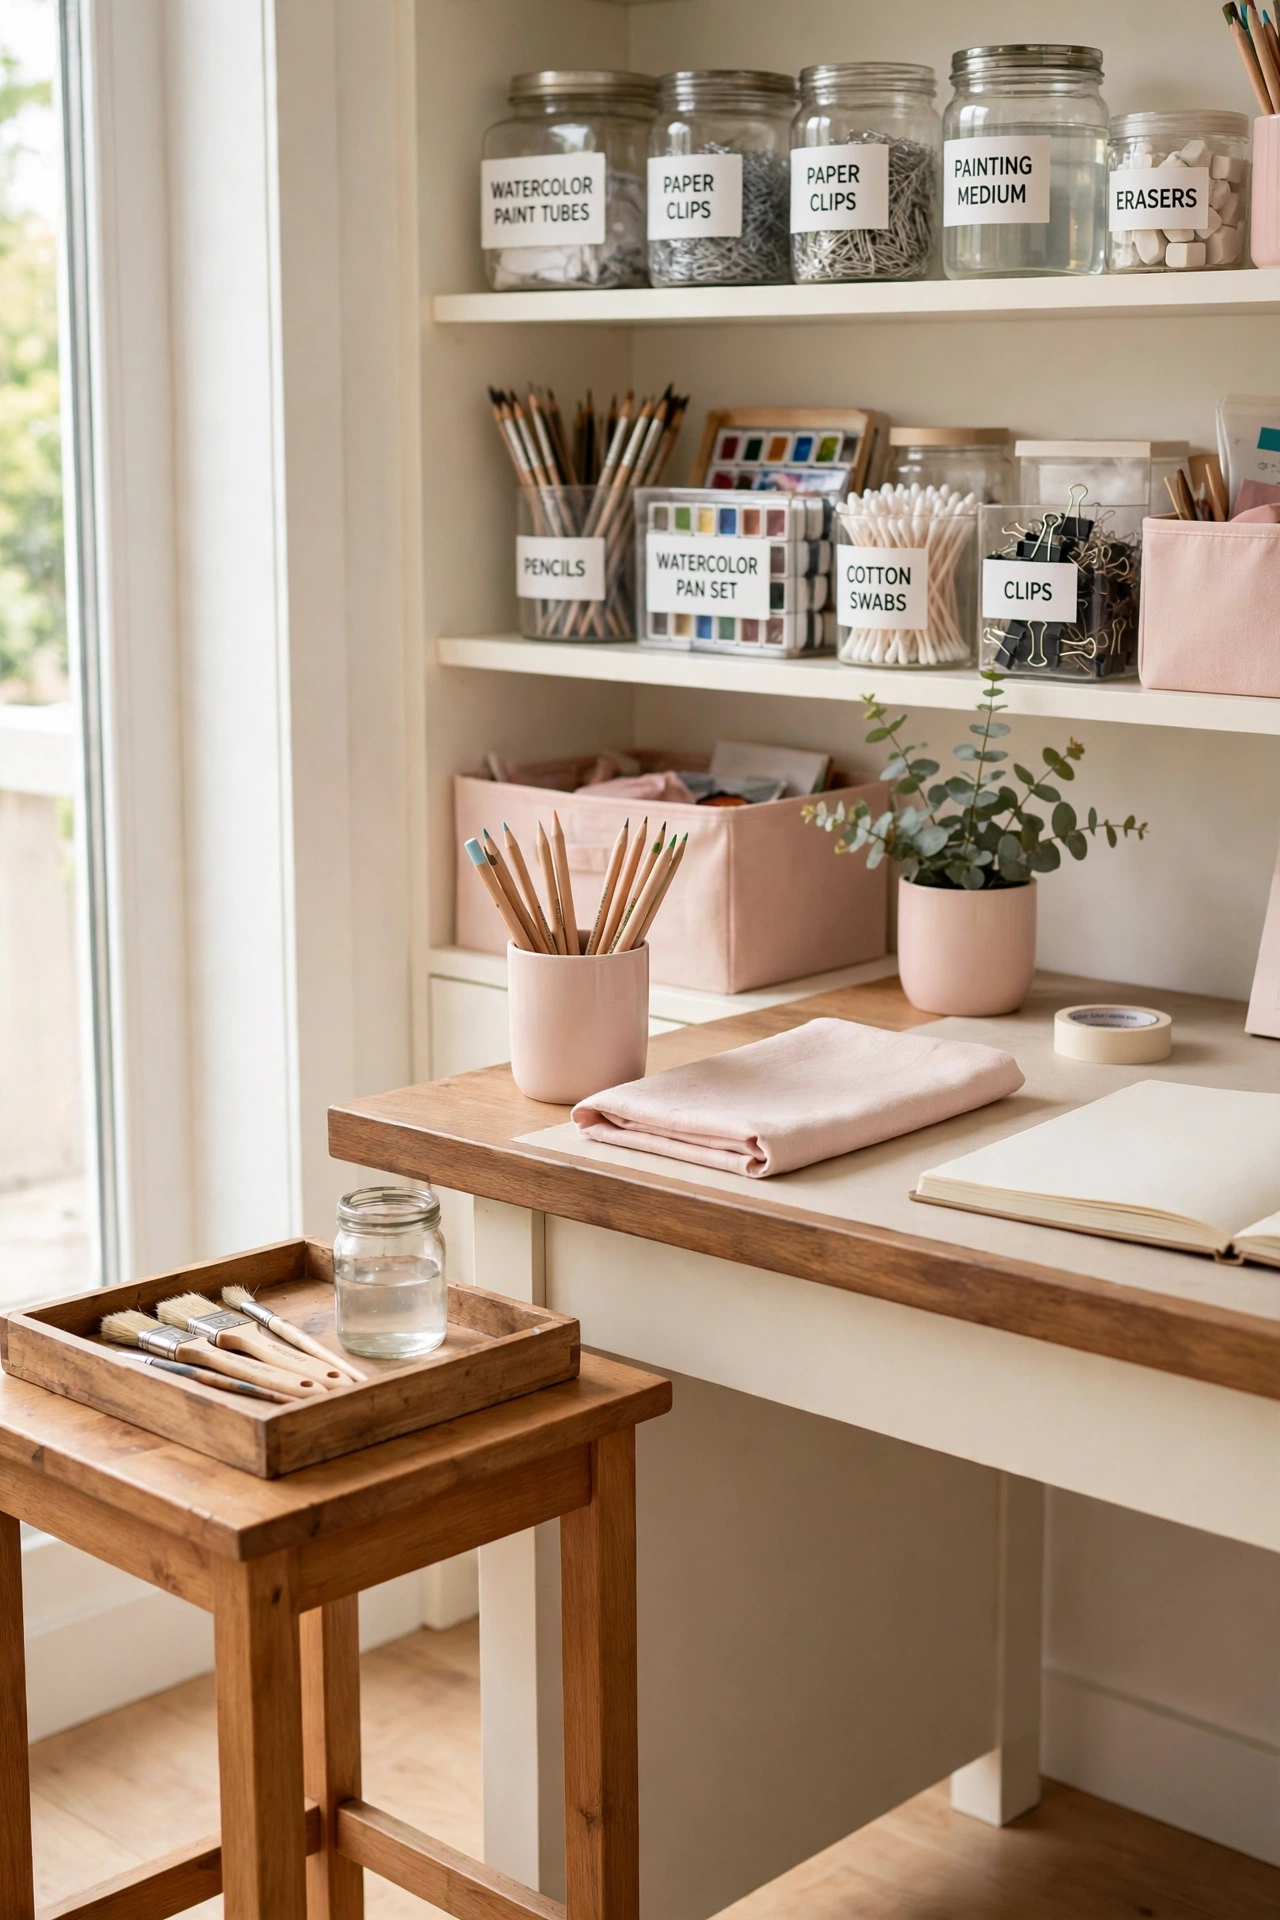
24. Add a Small Buffer Table Between Storage and Work
Energy wanes when a studio jumps straight from storage to the work surface with no space in between. Add a small buffer, such as a stool, a tray, or a side table, where tools can rest briefly during a session. This in-between space catches clutter before it reaches the main work area.
The buffer suits projects that demand precision and use many tools that do not need a permanent spot. Keep the buffer small and clear it at the end of each session, so it stays a landing pad instead of becoming another pile. A little breathing room between storage and work keeps the whole studio calmer.
Conclusion
An organized art studio does not need to look perfect. It needs to respond quickly when inspiration strikes, with tools in reach, colors sorted, and surfaces ready for work. From pegboard walls to rolling carts and color-coded bins, the ideas in this guide work together to keep creativity flowing.
Start with the system that matches your biggest frustration, whether that is lost brushes, buried paints, or a desk that never stays clear. Build one zone at a time, and the studio will start working with you instead of against you. For a quick daily habit that keeps every room tidy, these nightly reset routines will help you close each day with a clean studio and a clear mind.
Frequently Asked Questions About Art Studio Organization Ideas
How do I stop my art studio from getting messy again after organizing it?
Most studios fall back into disorder because the storage does not match the actual workflow. Keep the tools you use most within easy reach, limit the number of supplies left visible, and reset one surface at the end of every session. When tidying becomes a small daily habit instead of a big chore, clutter stops building up.
Is it better to organize art supplies by type or by project?
It depends on how you create. If you switch between mediums often, organizing by project saves time because each kit holds everything one piece needs. If you focus on one medium at a time, grouping tools by type works better. Choose the method that gives you fewer decisions to make when you sit down to create.
How do I organize a very small art studio?
Use the walls instead of the floor. Floating shelves, pegboards, and hanging rails store supplies at eye level without taking up desk space. Keep one rolling cart for daily tools, rotate the rest out of sight, and give every item a single labeled home. Even a tiny corner studio feels spacious when storage follows the workflow.
What is the best way to store paint tubes and brushes?
Hang paint tubes in plain sight on hooks or a rail, sorted by color family, so you can see every shade and spot low supplies quickly. Store brushes upright in labeled cups or jars, with the bristles facing up and the cups sorted by size. Keep both within reach of the worktable so painting starts without a search.
How often should I reorganize my art studio?
A light reset after every session and a deeper review once a season keeps the studio working well. During the seasonal review, remove dried paints, broken tools, and supplies you no longer use, then adjust zones to match your current projects. Regular small resets prevent the big overwhelming cleanouts that steal creative time.

Hi, I’m Emily! I turn messy corners into cozy, organized spots. DreamNestDecor is where I share simple, practical home ideas — decor, organization, and small-space solutions that work in real life, not just in photos. Every idea here is carefully researched before it’s shared.