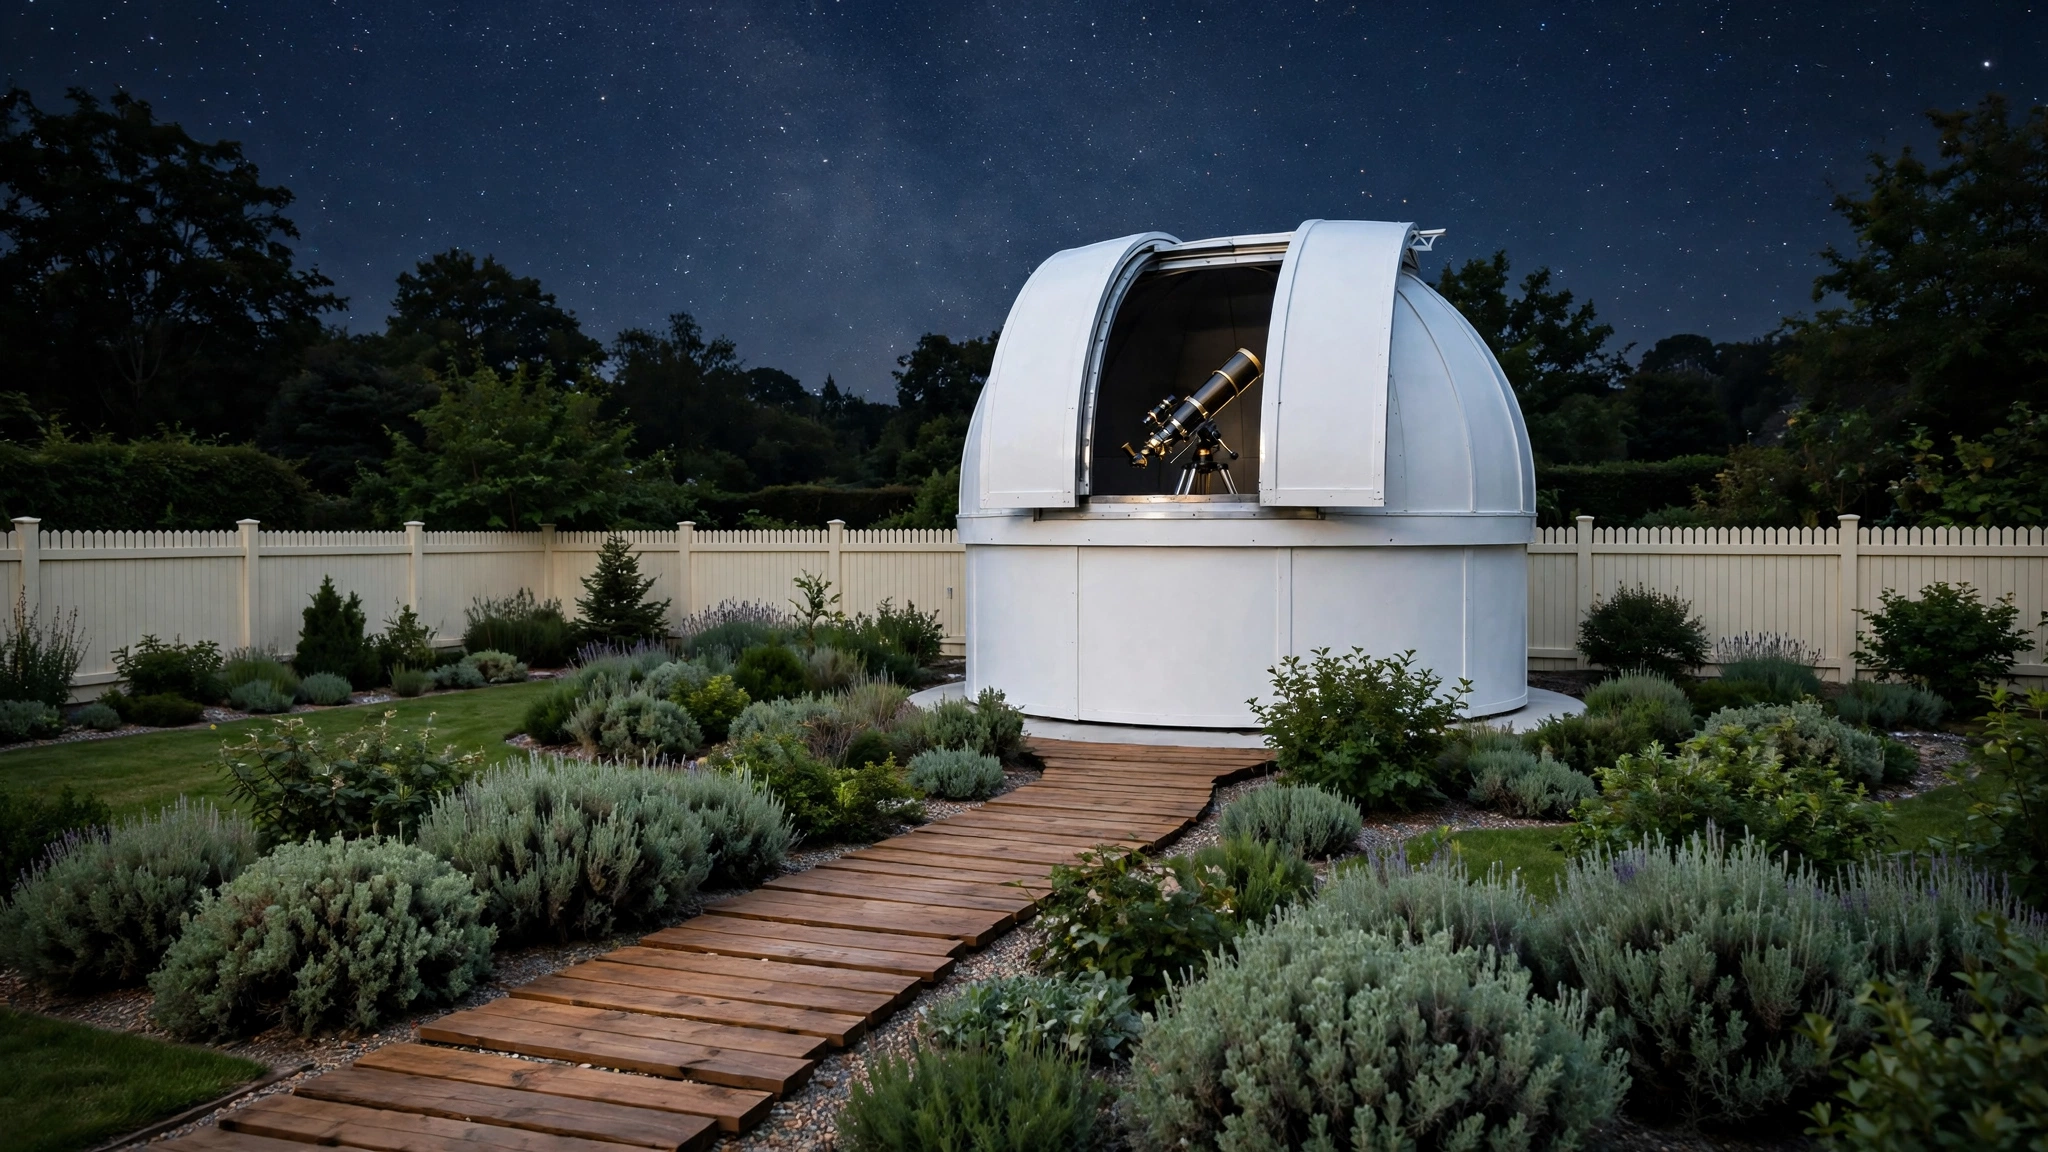
Picture this: the sun sets, the sky deepens to indigo, and you step into your own backyard observatory. The dome shutter slides open, the telescope points toward Saturn, and for the next hour the whole universe feels close enough to touch. You do not drive to a dark site or unpack gear from the car, because your observatory is already waiting, aligned and ready, just a few steps from the back door.
A backyard observatory does not have to be a grand building or an expensive project. It can be a simple pier on a deck, a converted shed with a sliding roof, or a cozy stargazing deck with recliners and red lights. These 30 outdoor observatory ideas will help you build, adapt, or arrange a stargazing setup that fits your yard, your budget, and the way you love to look up.
1. Build a Classic White Dome on a Concrete Pad
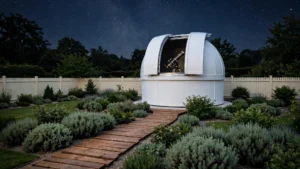
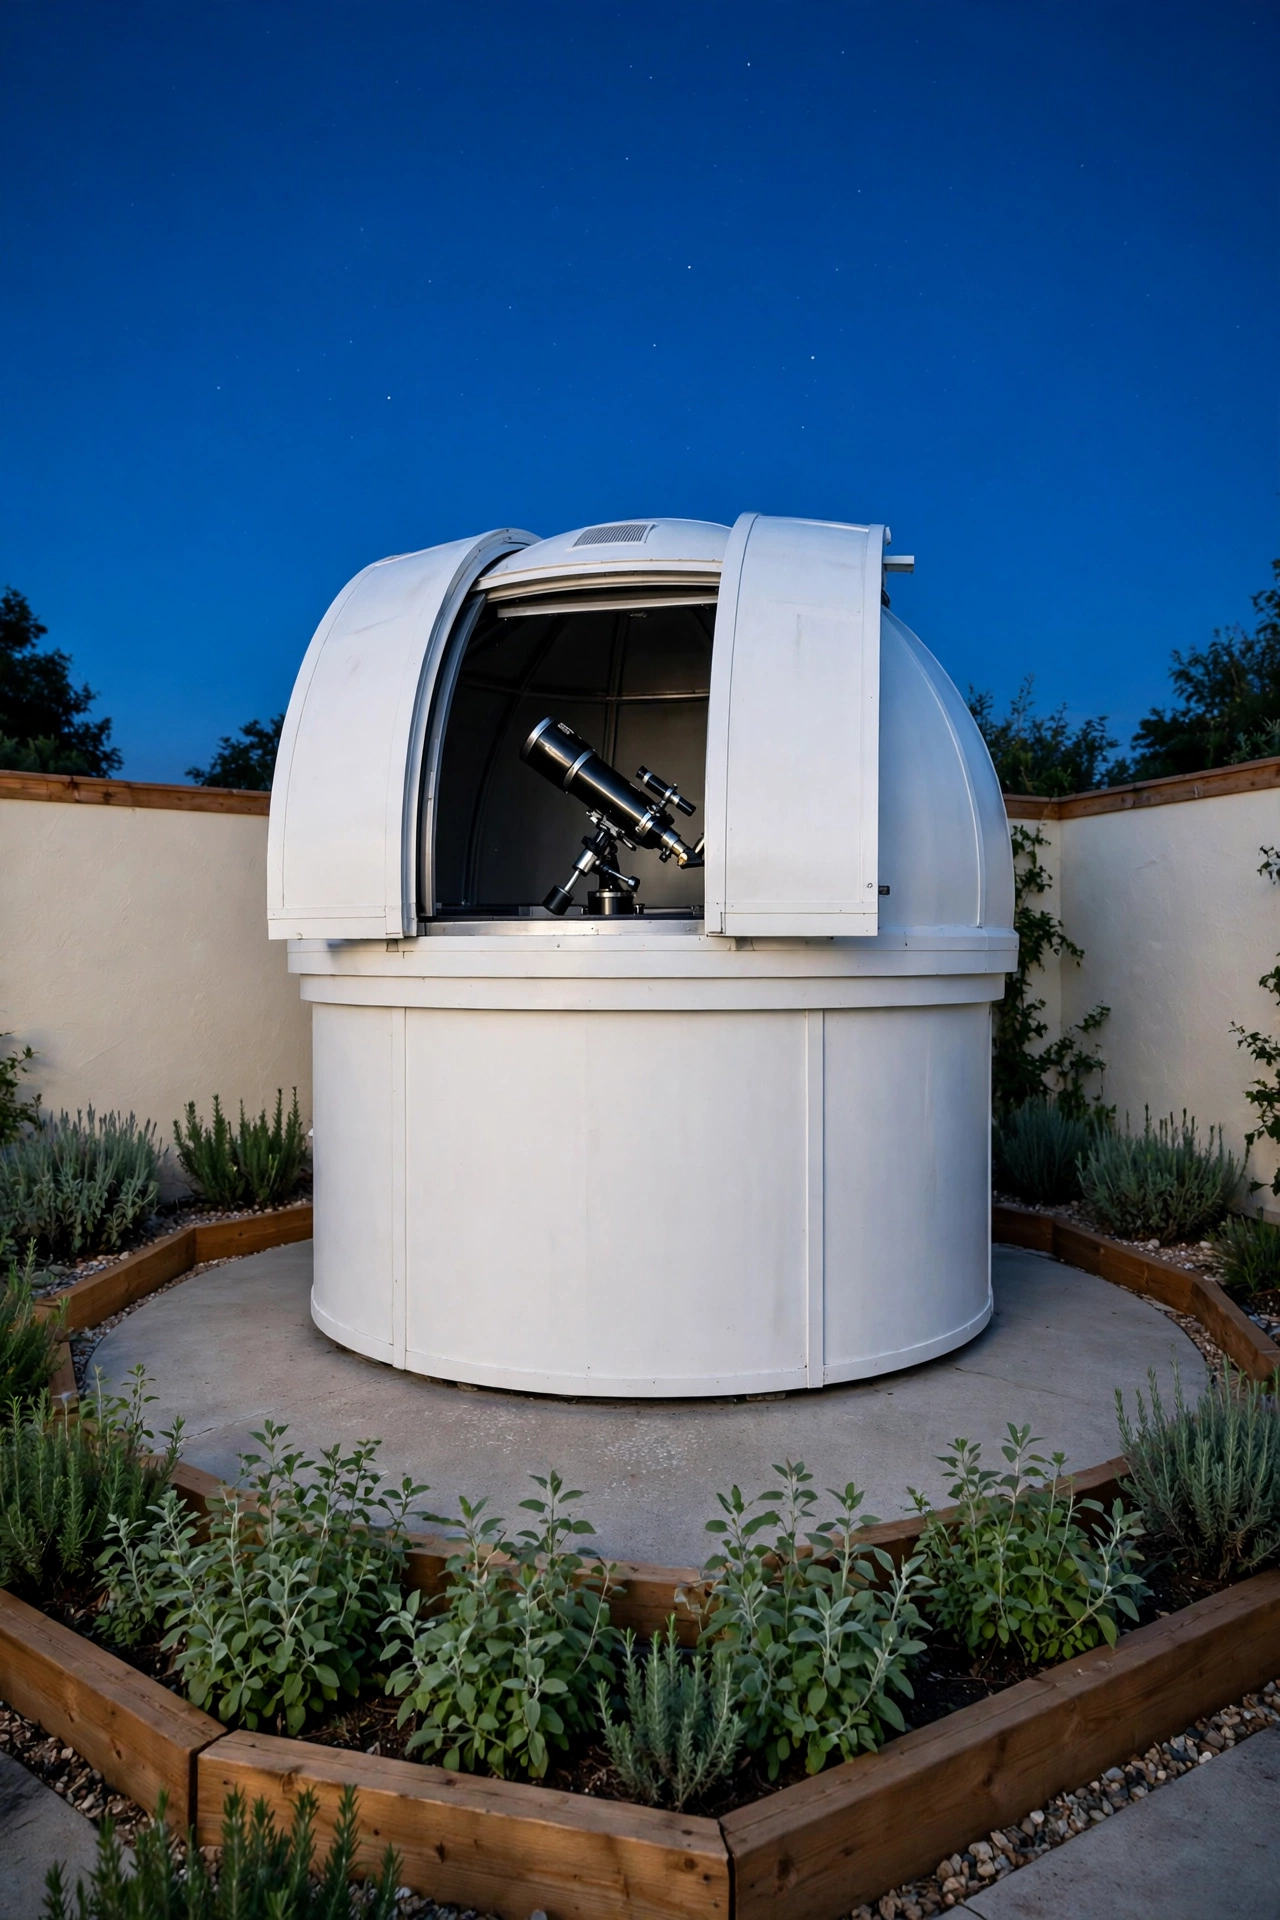
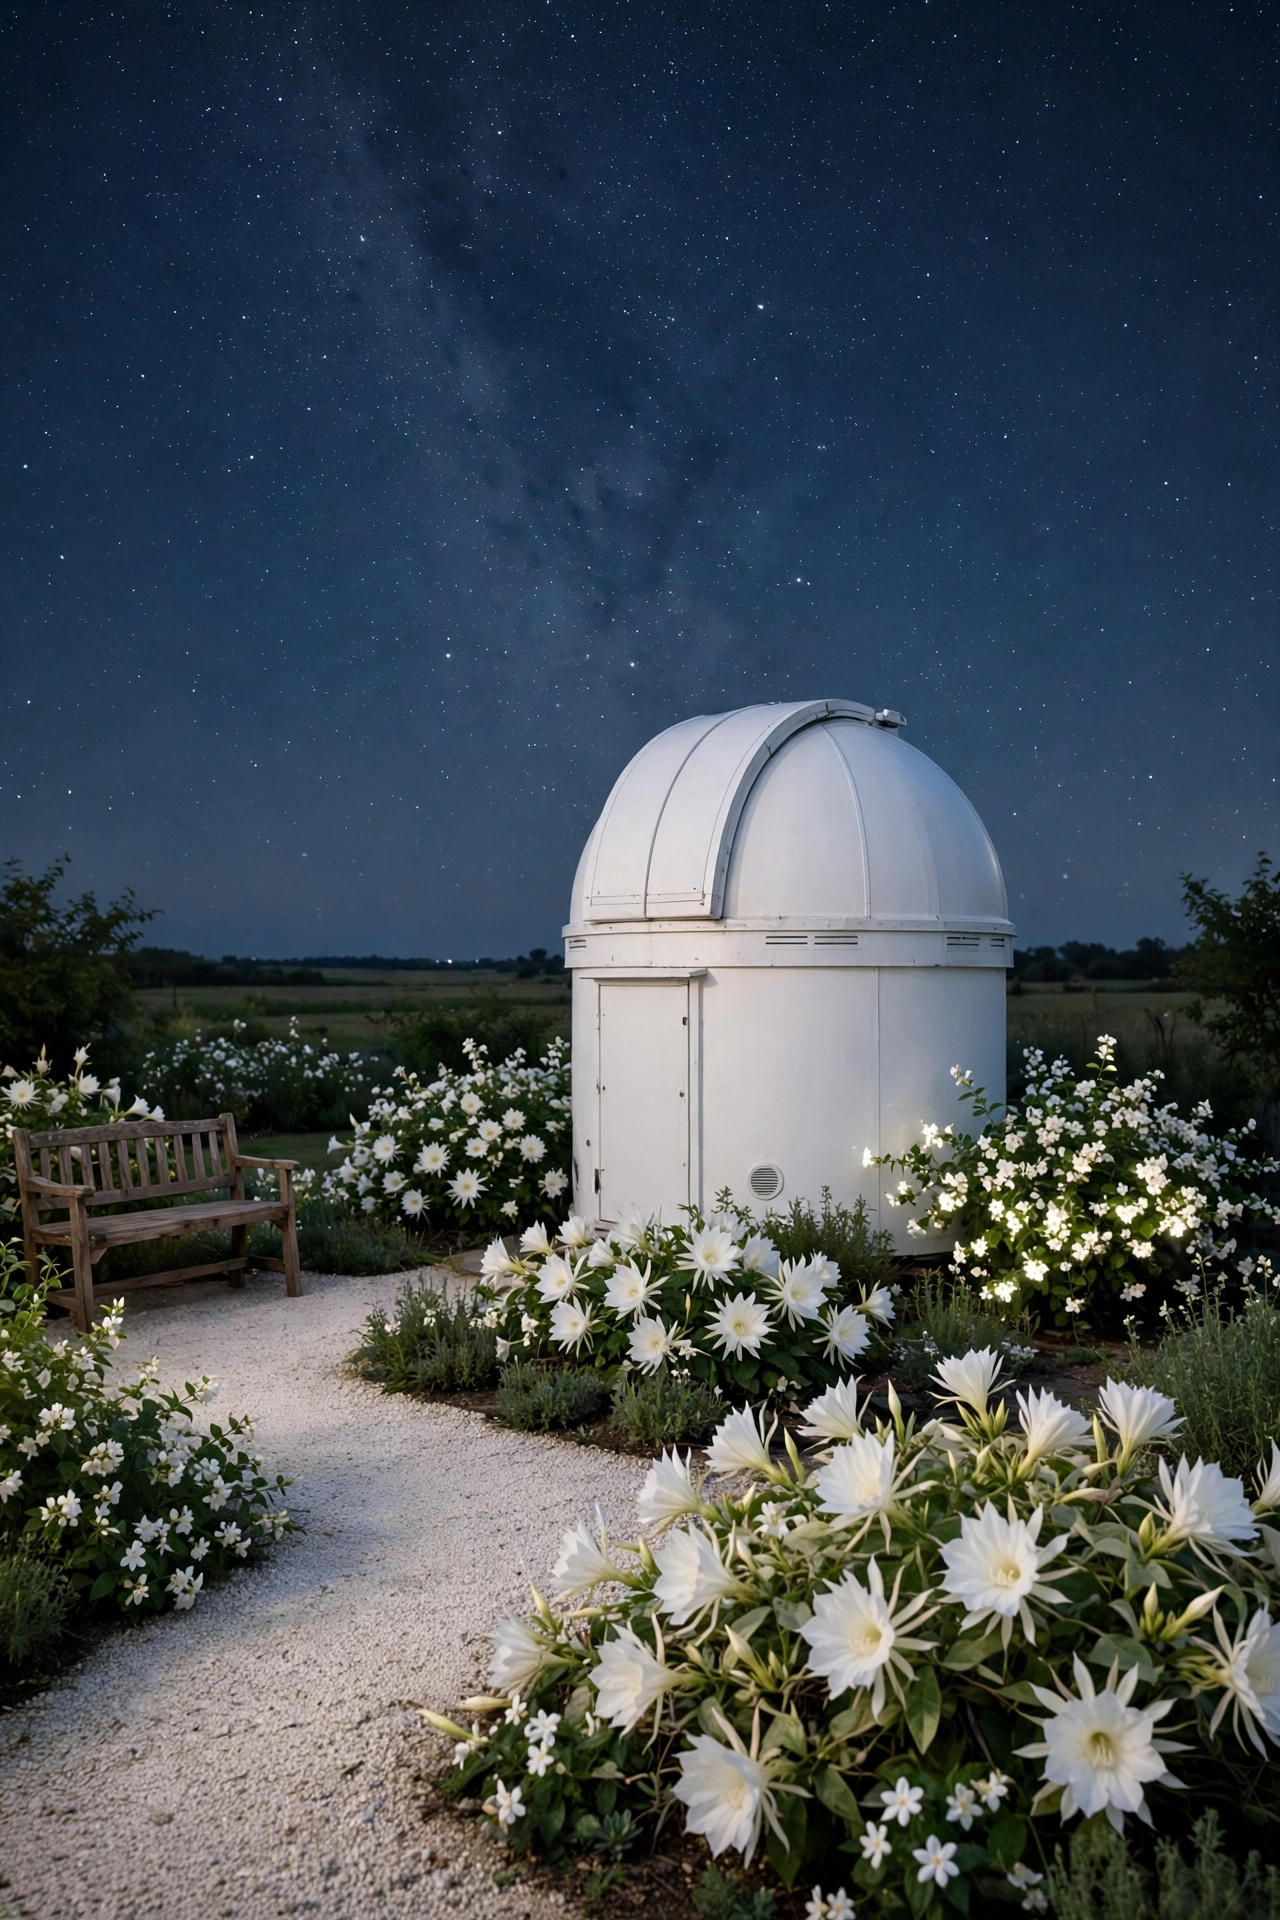
A white dome is the most recognizable observatory shape in the world, and a small version works beautifully in a backyard. The dome sits on a round concrete pad, and a shutter slit opens to reveal the sky while the dome walls block wind, stray light, and dew. The telescope inside stays assembled, aligned, and protected, so a clear night never goes to waste.
Choose a dome just large enough for the telescope and one chair, since a compact dome costs less and cools down faster after sunset. Paint the outside bright white to reflect daytime heat, and add a small step and a low door that seals tightly against rain and insects. A classic dome turns an ordinary yard into a landmark that neighbors admire and guests never forget.
2. Roll the Roof Off a Shed Observatory
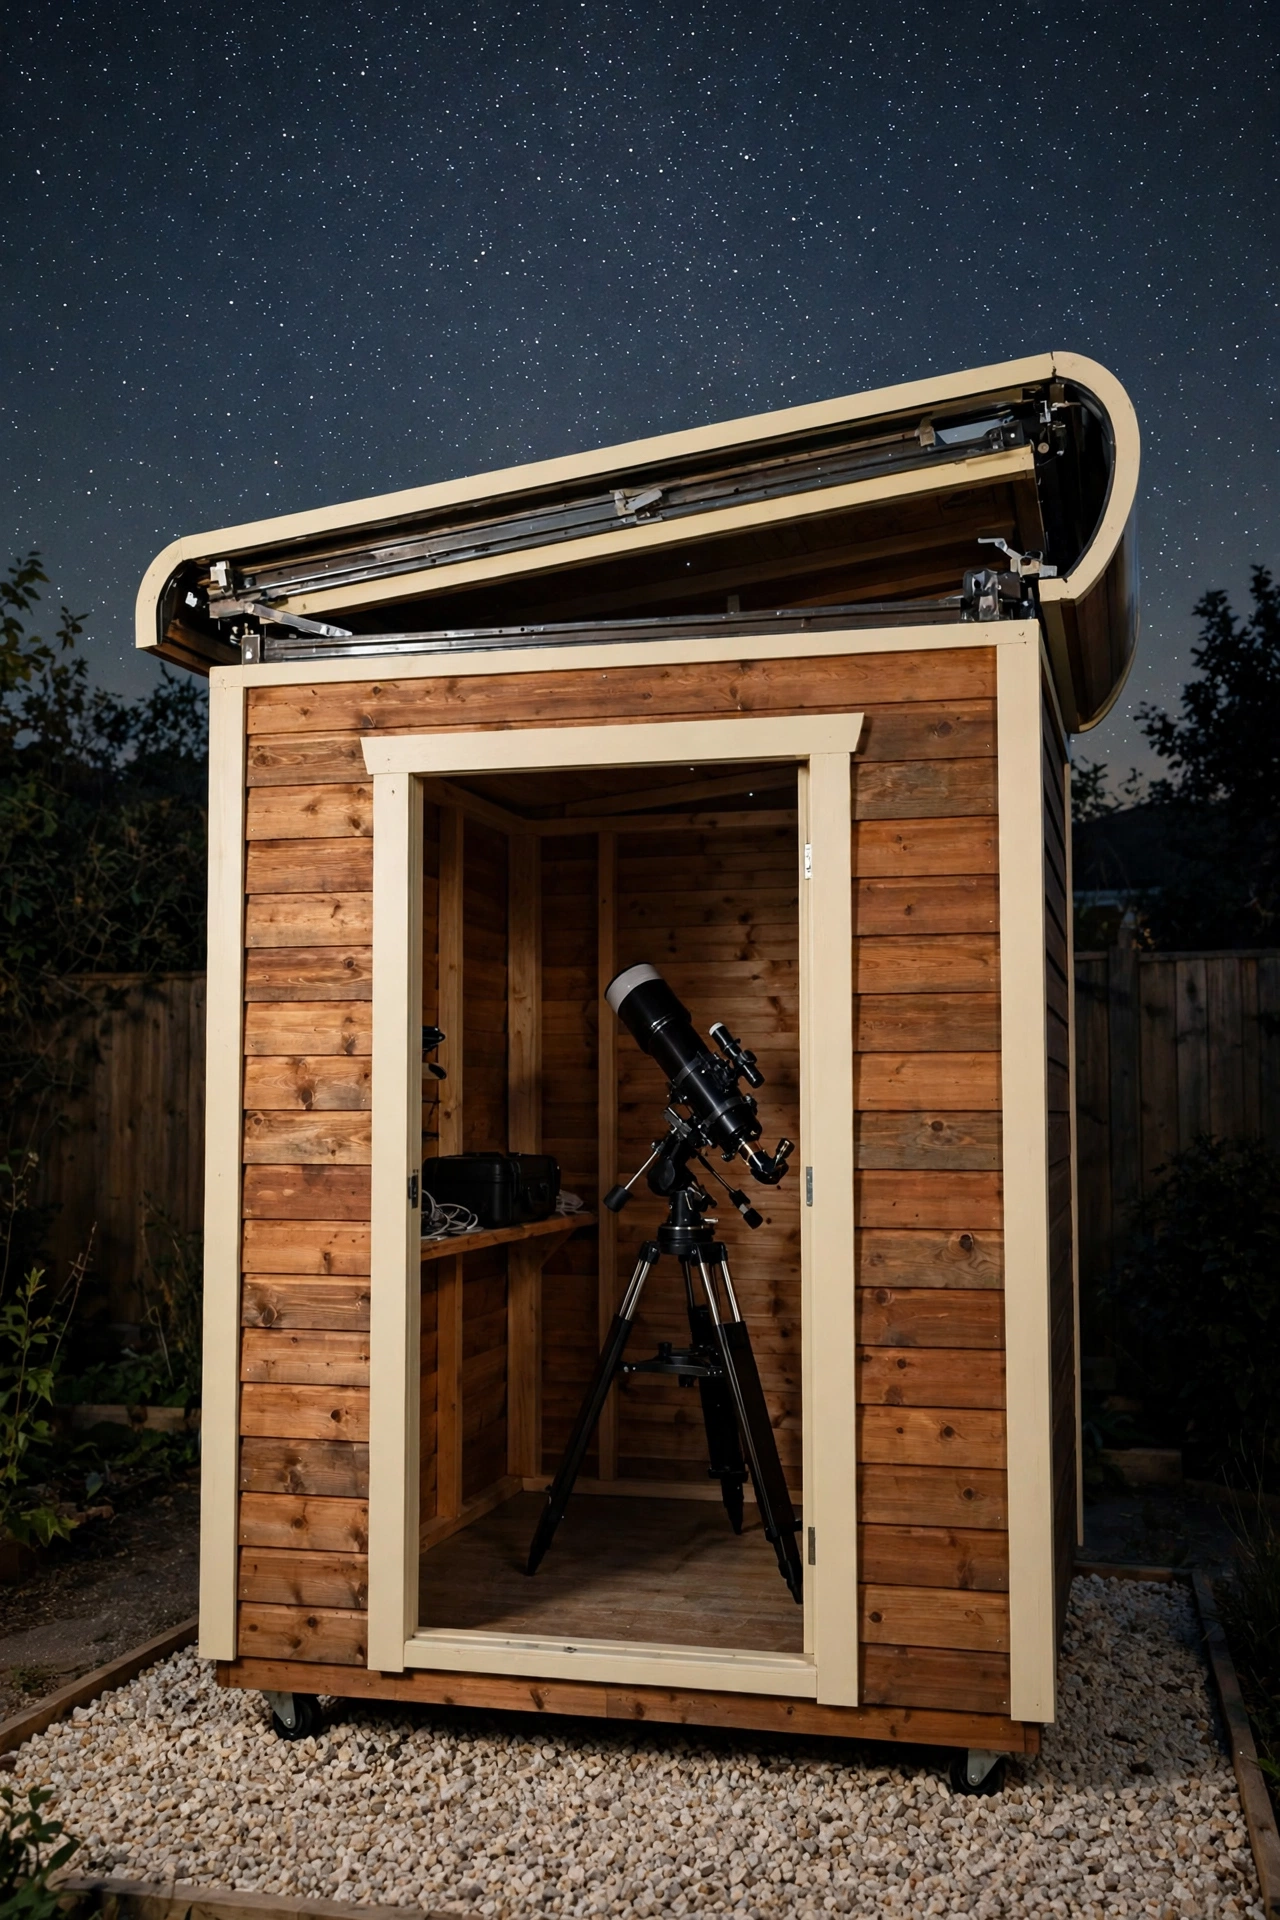
A roll-off roof observatory looks like an ordinary garden shed until the whole roof slides away on rails. Once the roof rolls back, the telescope has a full open view of the sky from horizon to horizon, with no dome walls blocking any direction. When the session ends, the roof rolls back and the telescope stays safe and dry inside.
Build the rails from sturdy steel or heavy timber, and make sure the roof section rolls smoothly with one hand. A small shed footprint keeps the project affordable, and the walls give you room for shelves, a chart table, and a power strip. This is one of the most practical observatory designs for a backyard, because it gives you total sky access and total protection in one simple move.
3. Set a Telescope Pier on a Raised Wooden Deck
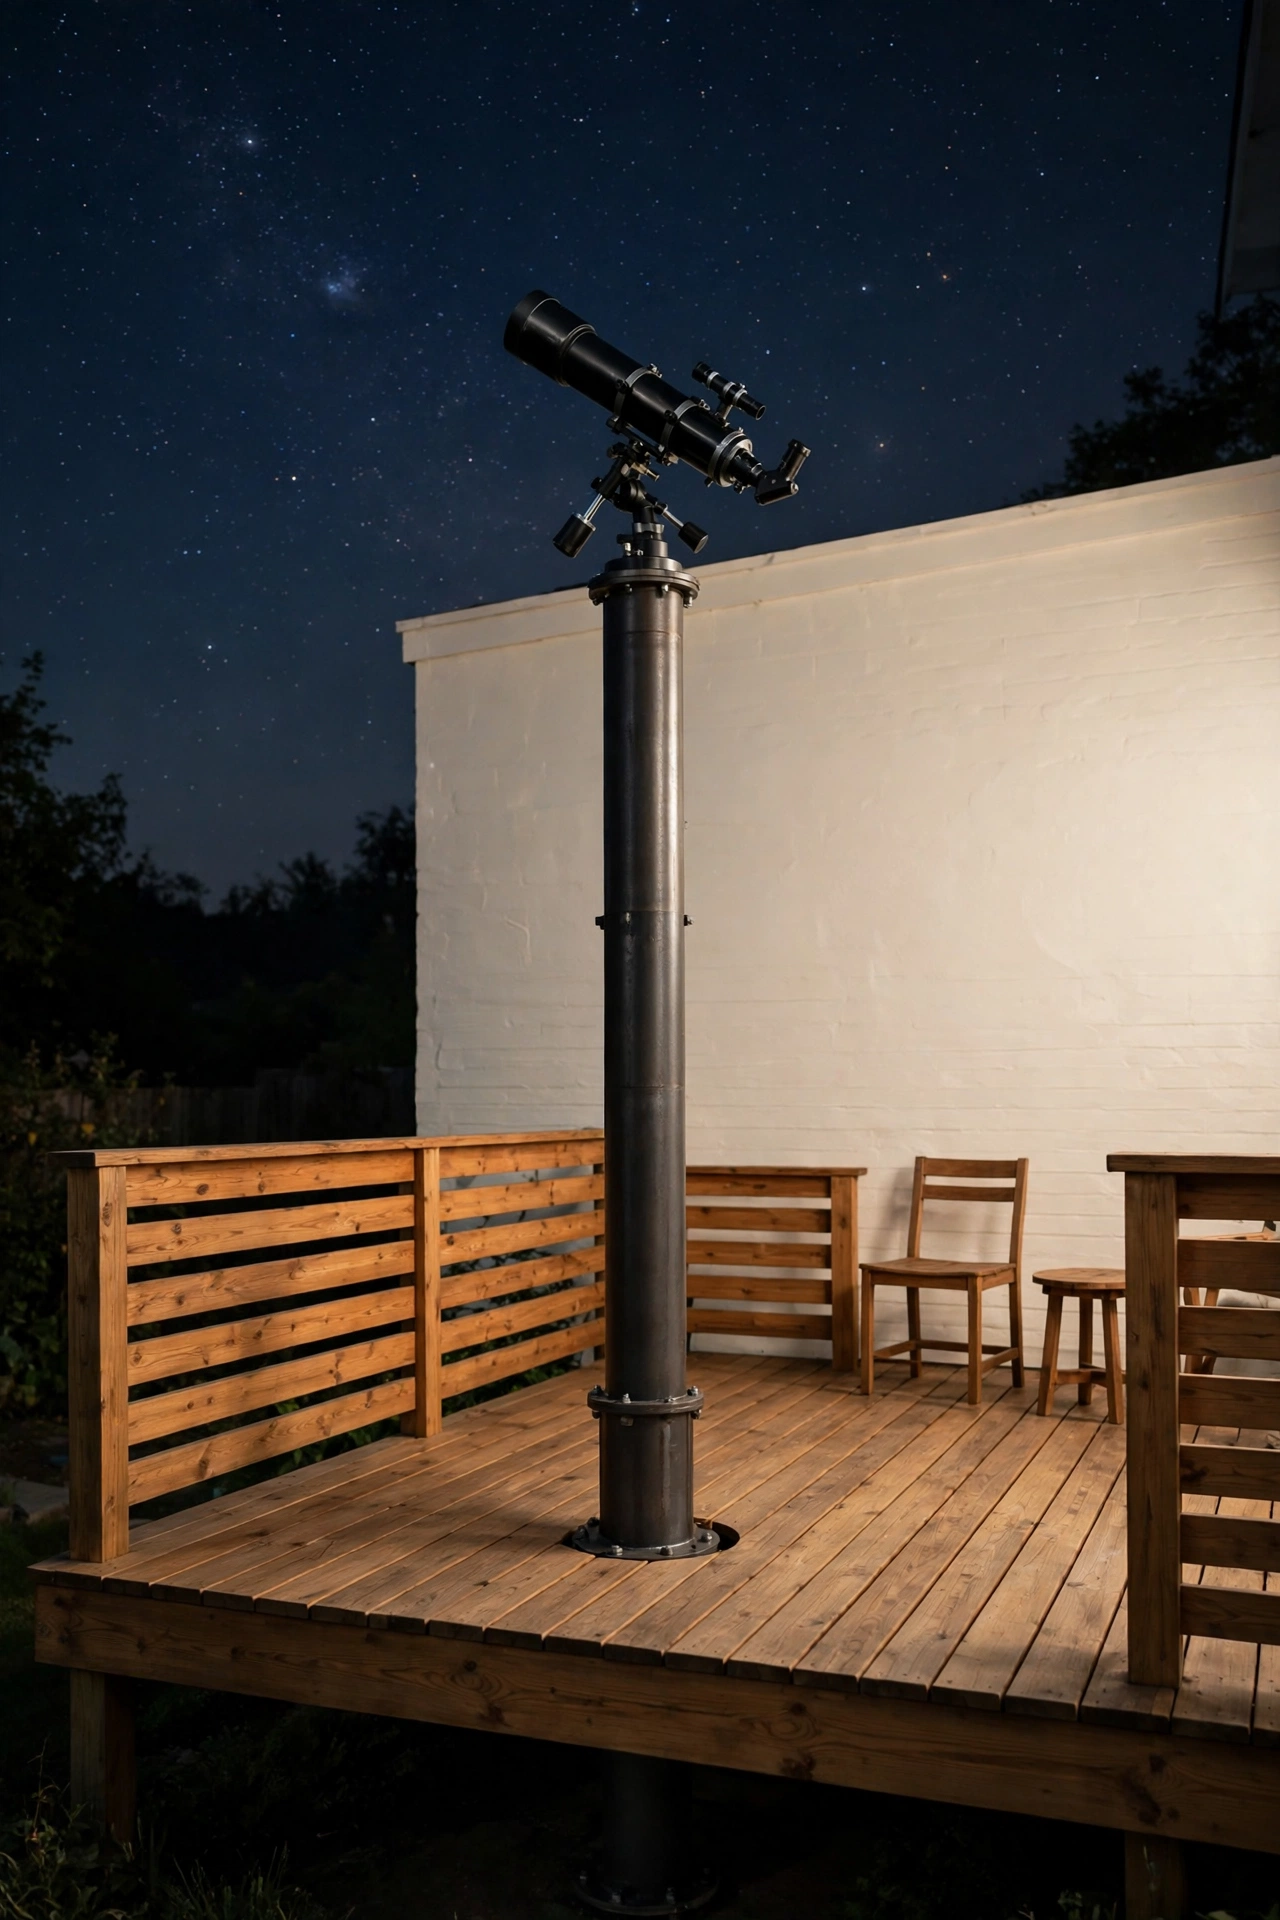
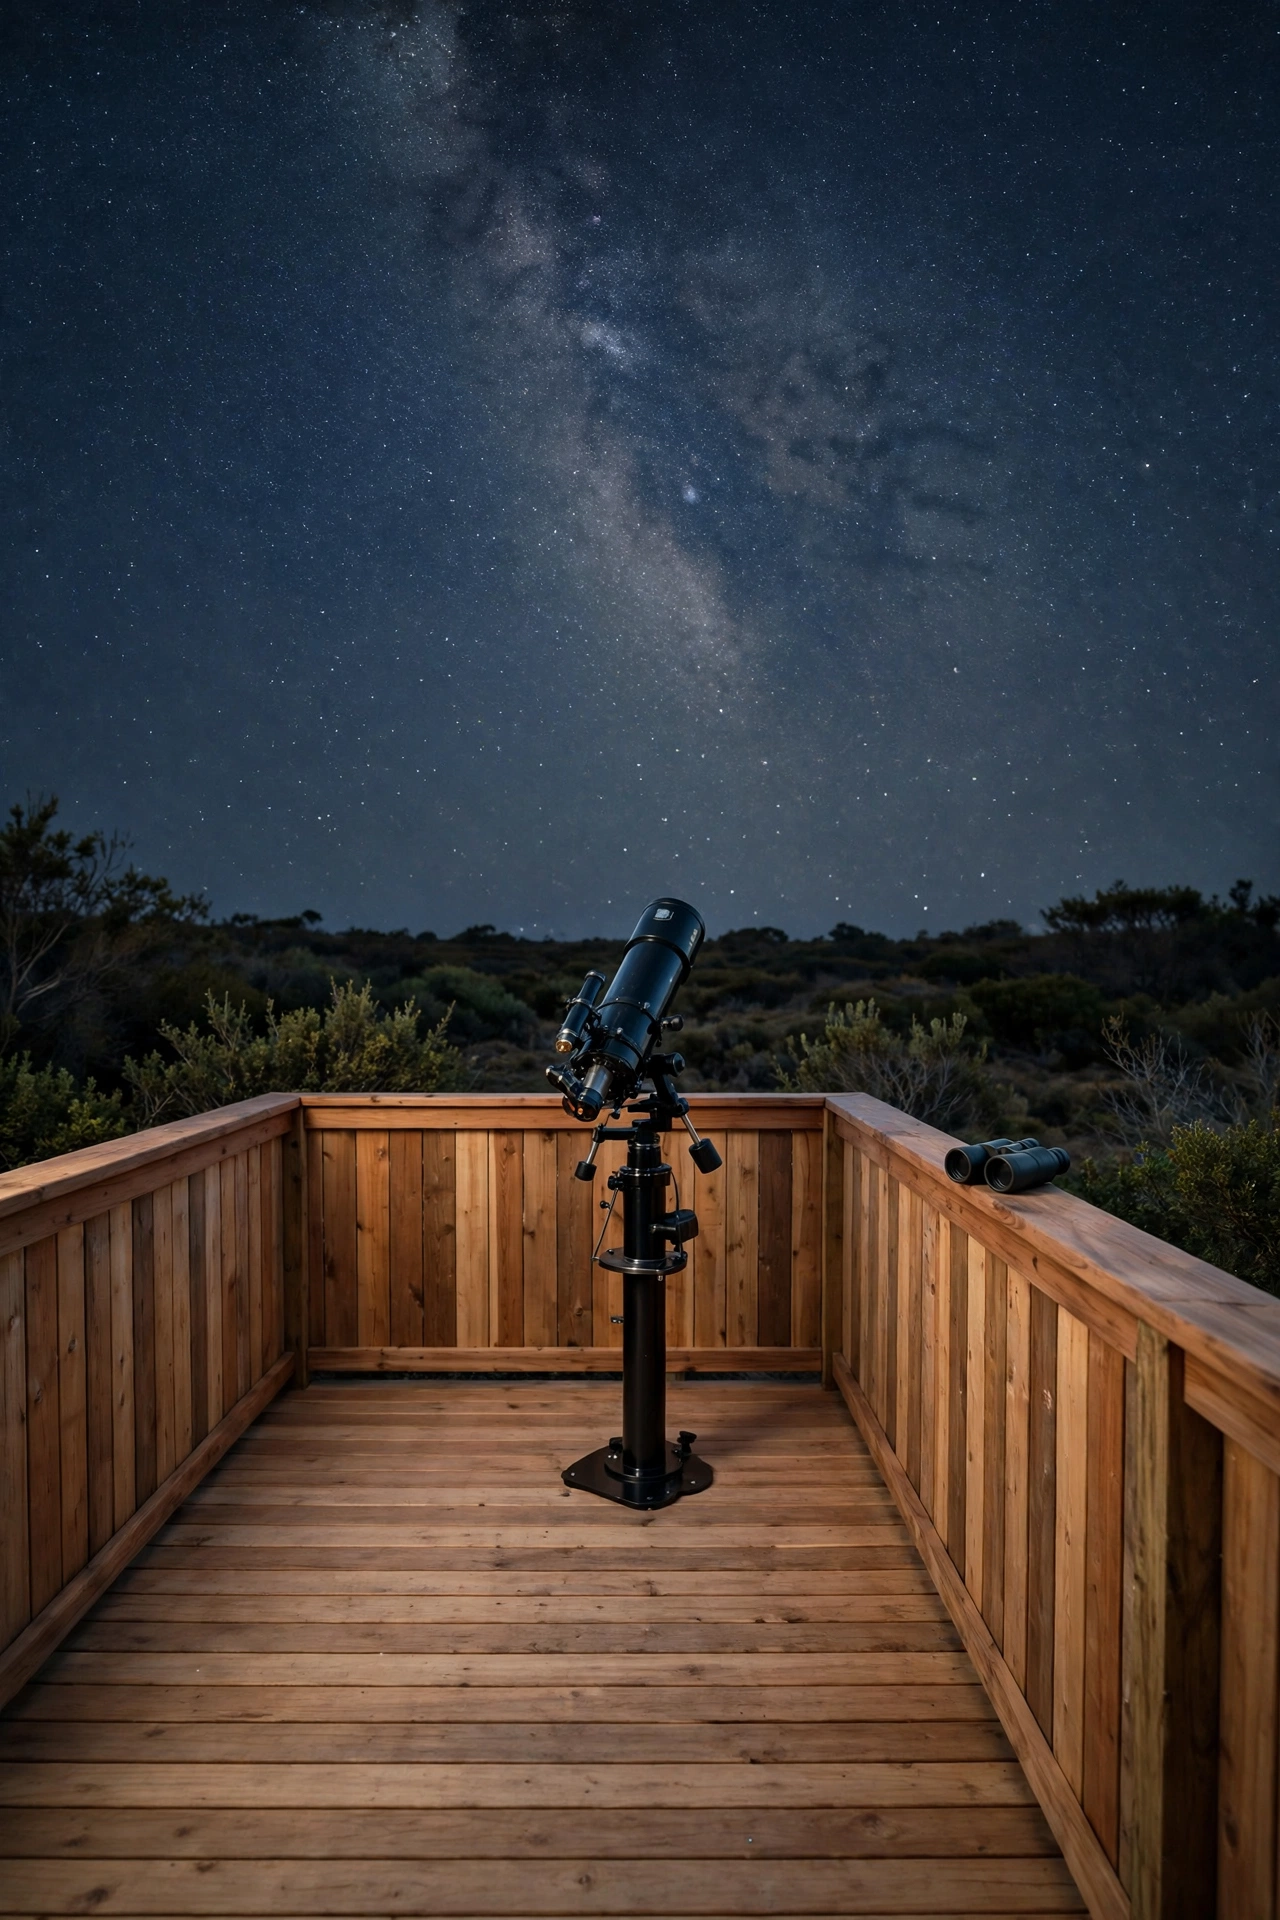
A raised wooden deck lifts the telescope above fences, shrubs, and low ground mist, which gives you a clearer and steadier view. A steel or concrete pier rises through the deck boards and stands on its own footing in the ground, so footsteps on the deck never shake the telescope. The deck surface stays clean and level for chairs, cases, and star charts.
Keep the deck modest in size, with room for the pier, a chair, and a small table, and stain the boards a warm wood tone that blends into the garden. A low railing keeps the edges safe without blocking the sky, and a ramp or wide steps make it easy to carry equipment up and down. This setup suits yards where the ground is uneven or where the best sky sits above a fence line.
4. Arrange a Stargazing Deck With Reclining Lounge Chairs
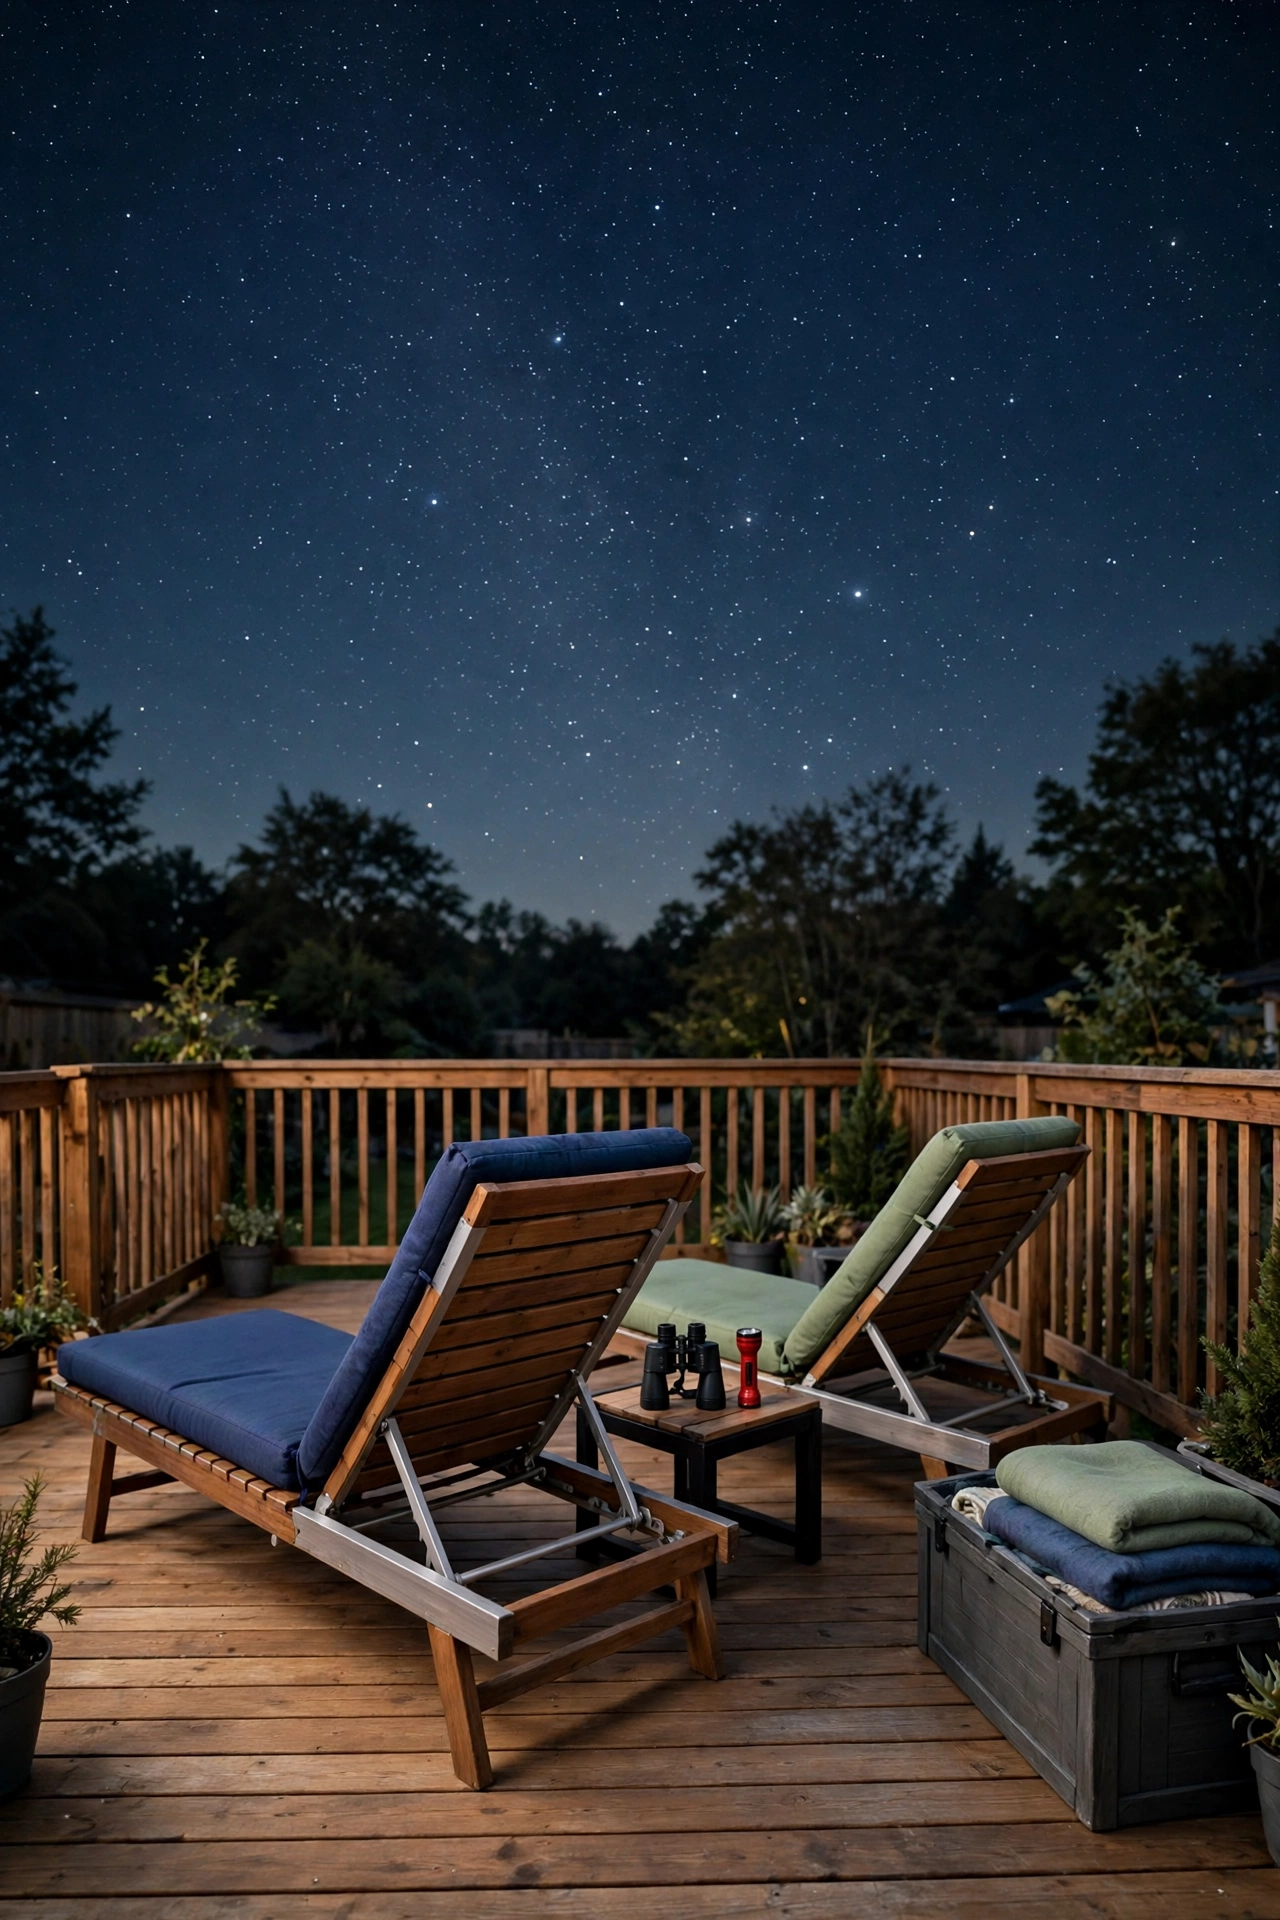
Not every observatory needs a telescope. A stargazing deck with reclining lounge chairs is built for naked-eye observing, meteor showers, and quiet evenings under the stars. The recliners tilt back so you can watch the sky in comfort, and a low side table holds warm drinks, binoculars, and a red flashlight.
Place the deck in the darkest corner of the yard, away from porch lights and streetlights, and add soft cushions in deep blue or sage green for comfort on long nights. A stack of folded blankets in a weatherproof box keeps everyone warm after midnight. For a similar calm corner that invites slow evenings outdoors, these outdoor reading garden ideas show how a quiet deck can serve more than one peaceful purpose.
5. Convert a Garden Shed With Sliding Roof Panels
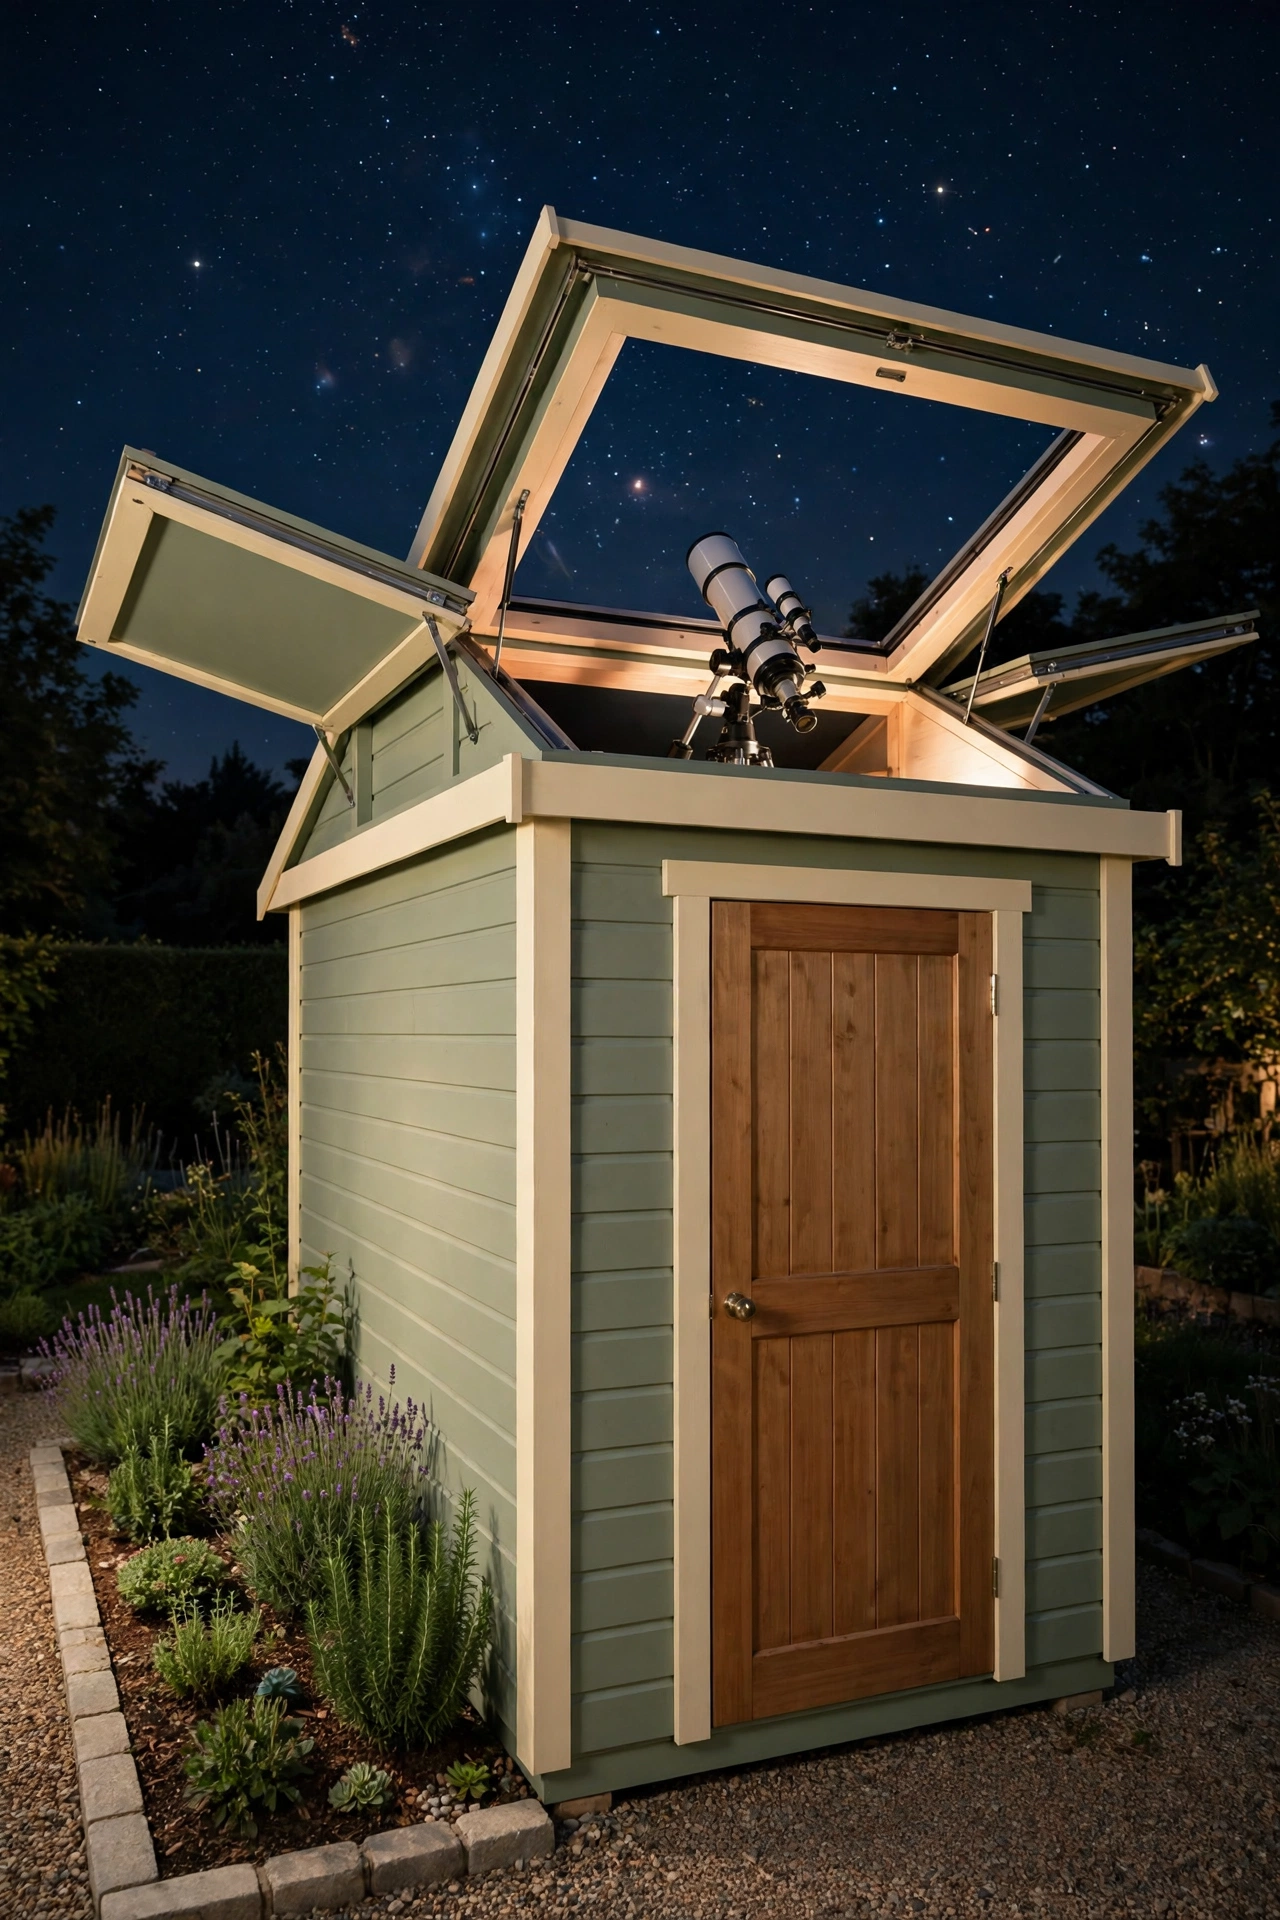
An existing garden shed can become an observatory with one smart change: roof panels that slide open. Replace a section of the fixed roof with two or three panels that glide apart on tracks, and the telescope inside gains a wide window to the sky. The shed walls protect the equipment from wind and weather, and the door locks everything up when the session ends.
Keep the inside of the shed organized with wall hooks for cables, a shelf for eyepiece cases, and a folding chair that tucks away when not in use. Paint the shed in a soft cream or sage tone so it still looks like a charming garden building during the day. This conversion is one of the most budget friendly ways to own a real observatory, because the walls and floor already exist.
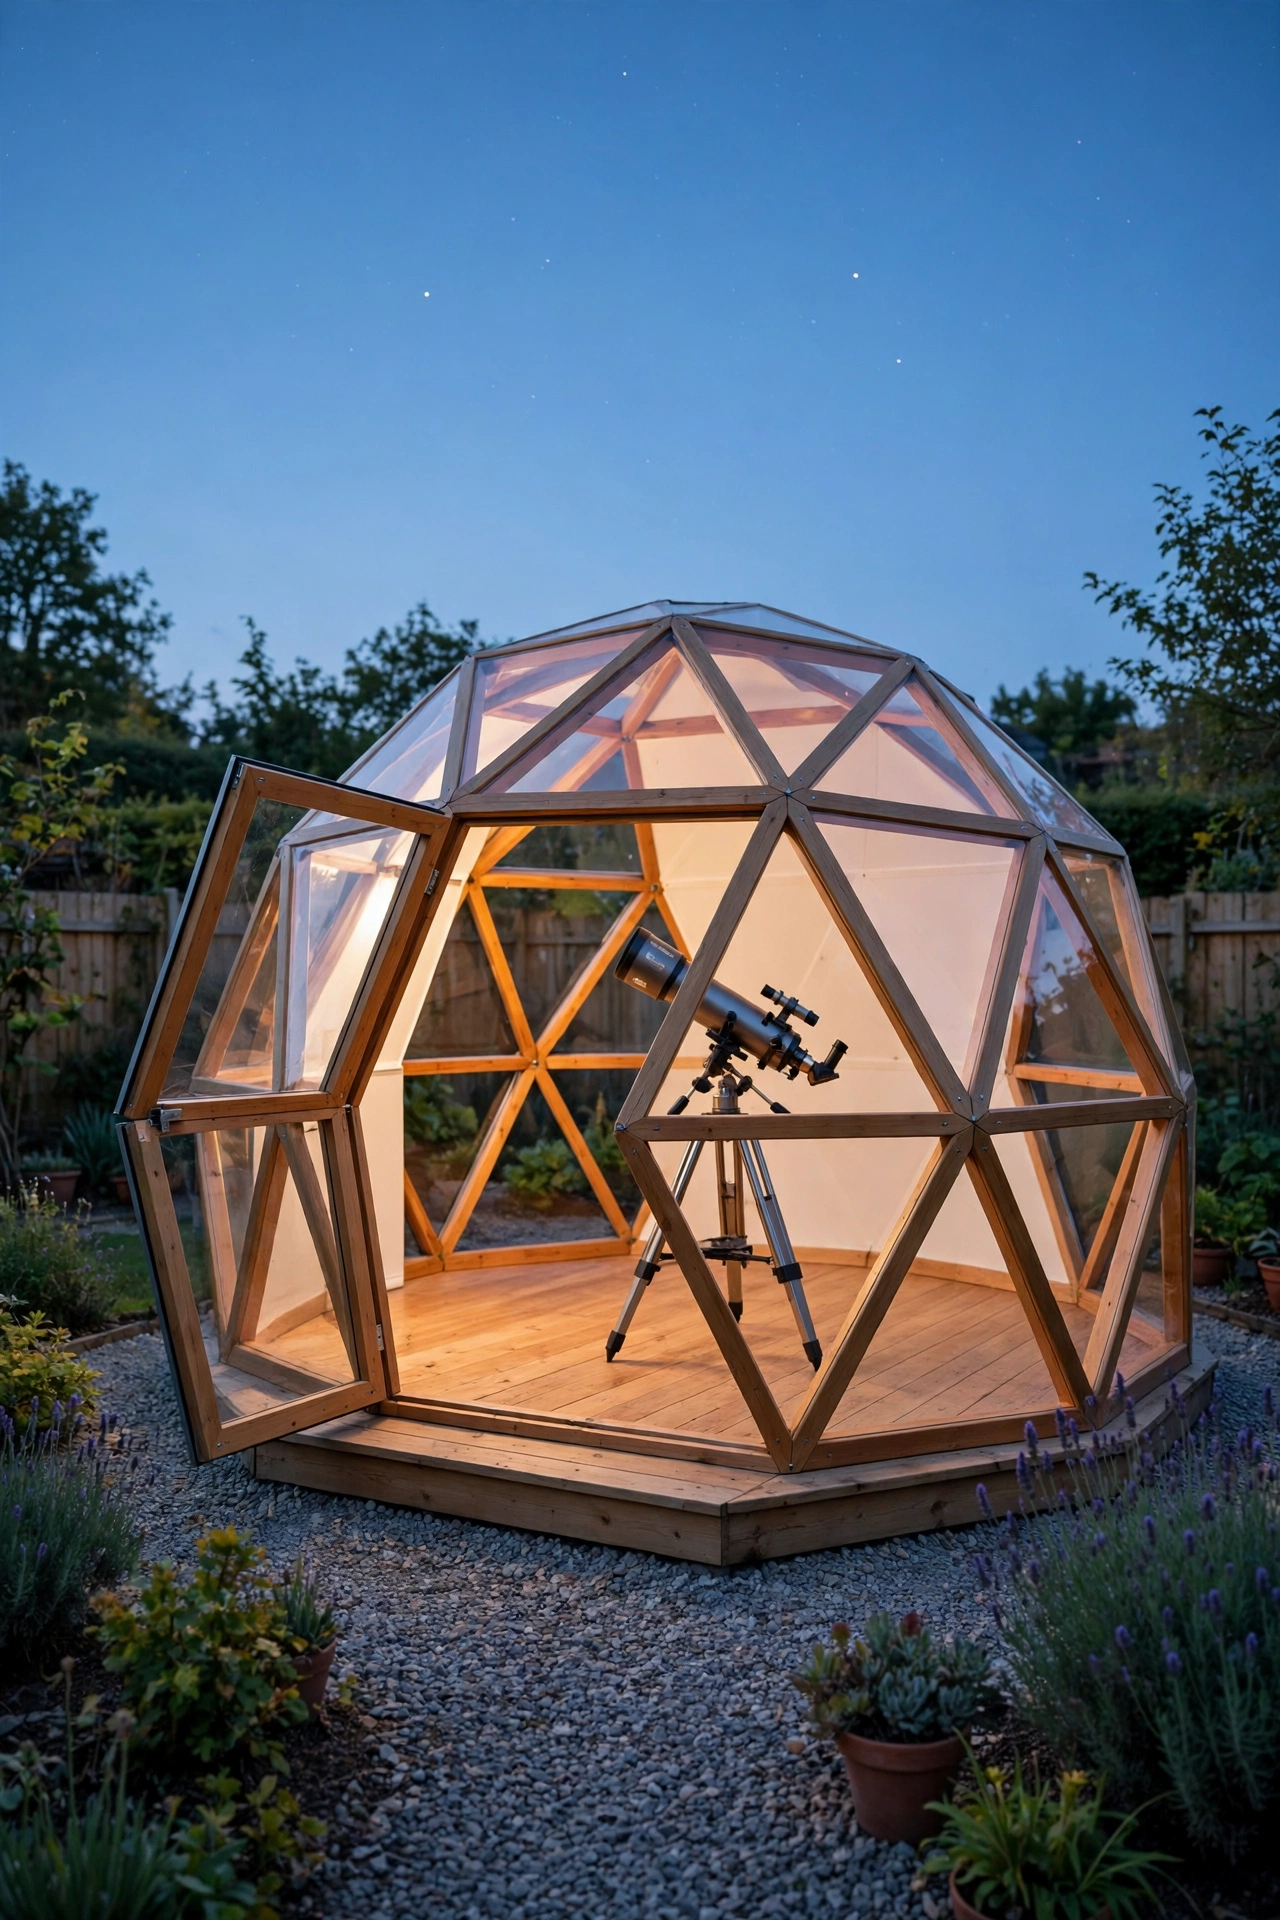
6. Raise a Geodesic Dome Observatory
A geodesic dome observatory uses a frame of triangles to create a strong, lightweight shelter with a striking modern shape. Clear or translucent panels cover some sections, while an opening panel or a removable section gives the telescope a view of the sky. The dome goes up quickly, needs no heavy foundation, and stands up well to wind and snow.
Place the dome on a level gravel or paver base, and add a wooden floor inside to keep feet dry and equipment clean. The open geometry of the frame makes the inside feel spacious, with room for two chairs and a small table beside the telescope. If you love the look of glass and timber garden structures, these backyard greenhouse ideas share the same spirit of bringing a beautiful structure into the garden.
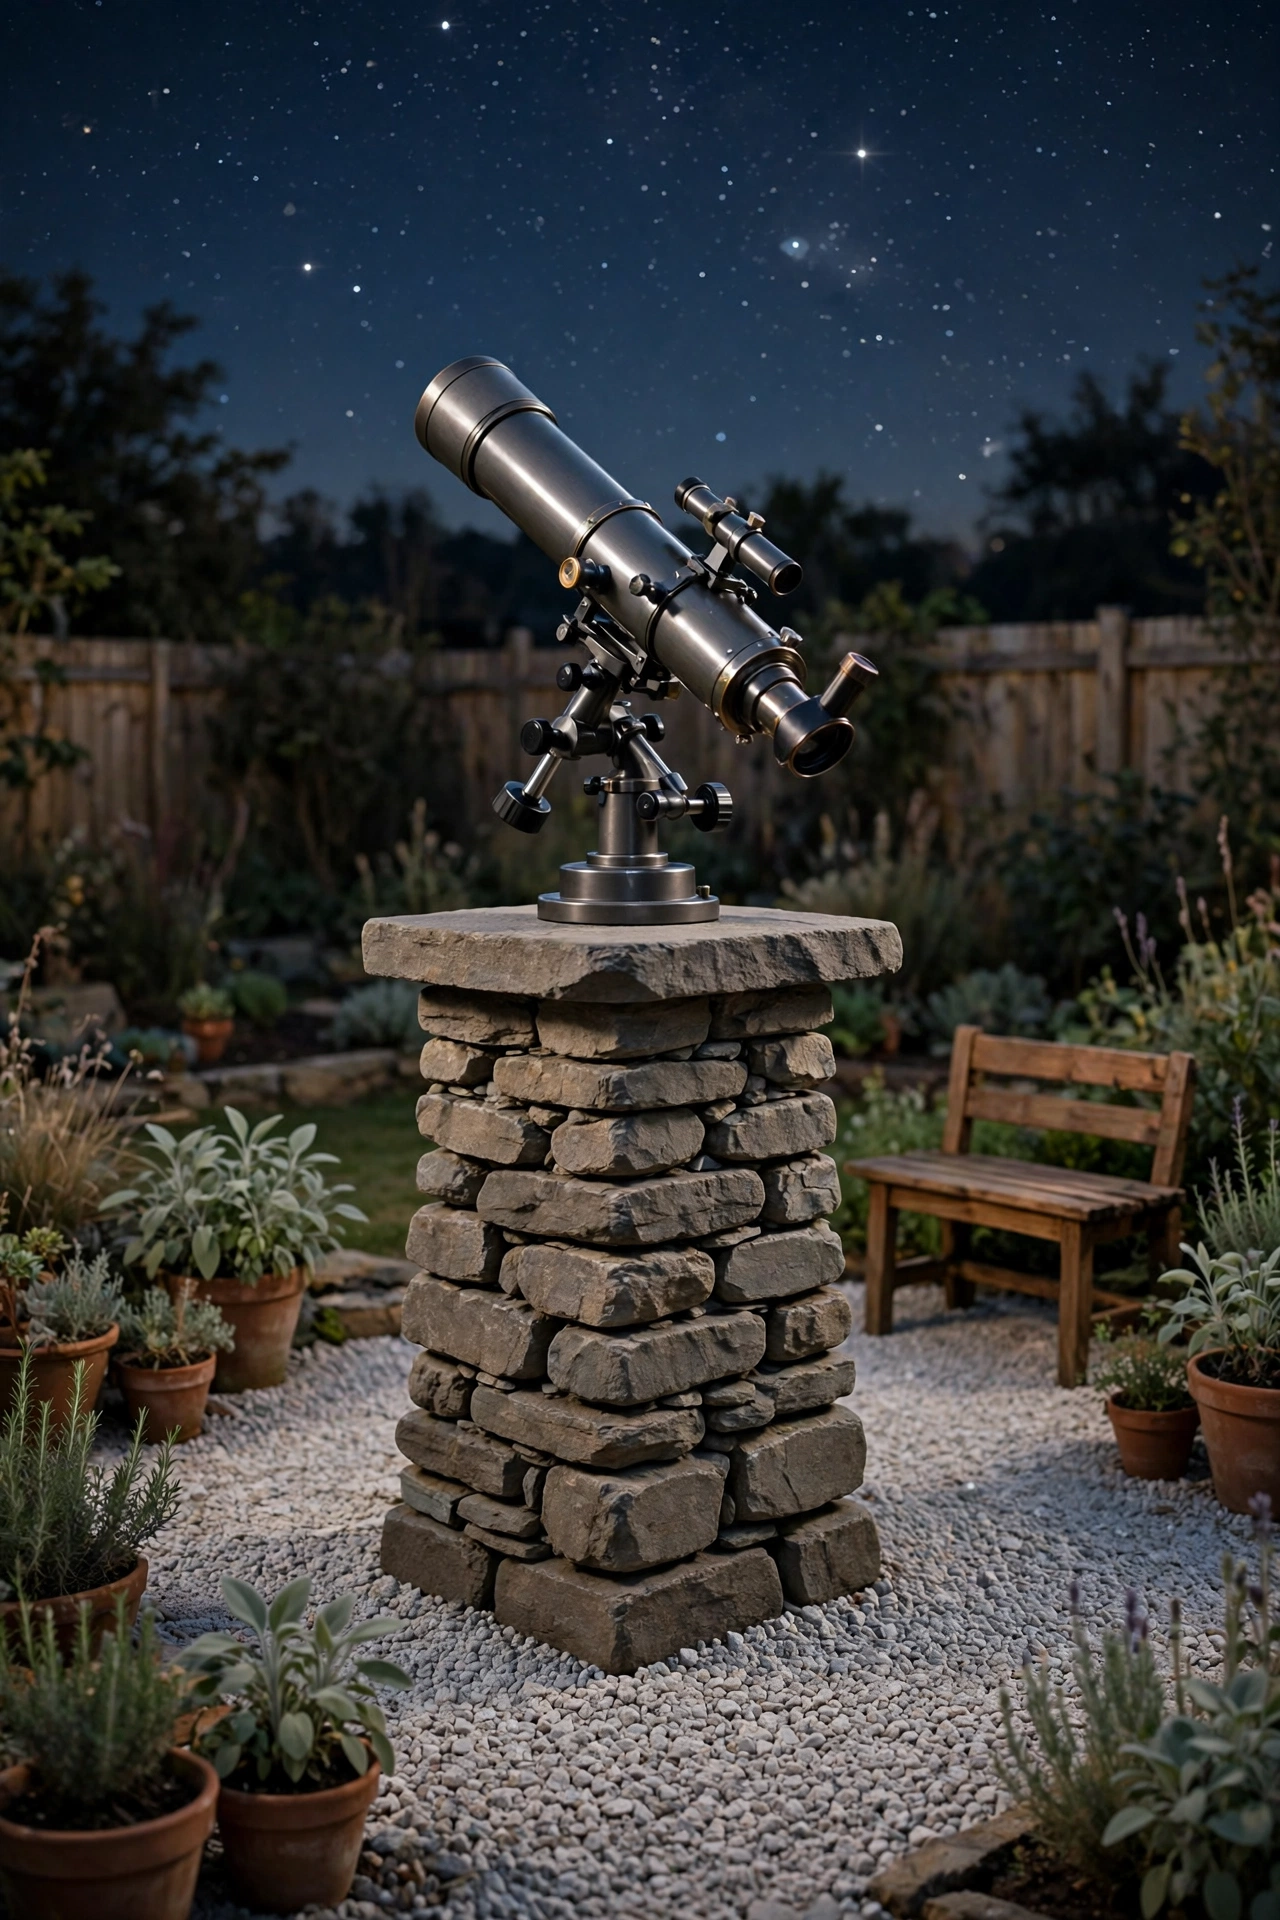
7. Mount a Telescope on a Stone Pier in a Gravel Pad
A stone pier is a permanent, rock-steady mount for a telescope, and it looks like a natural part of the garden. The pier rises from a concrete footing buried in the ground, and the telescope bolts to a steel plate on top. A gravel pad around the pier keeps the area mud-free and gives you a clean, level surface to stand on.
Build the pier from stacked stone or brick with a warm, natural finish, and cap it with a flat stone slab for a finished look. When the telescope is not in use, a fitted cover protects the mount from rain, and a small nearby bench holds eyepieces and charts. A stone pier suits gardeners who want the observatory to feel like part of the landscape rather than a separate building.
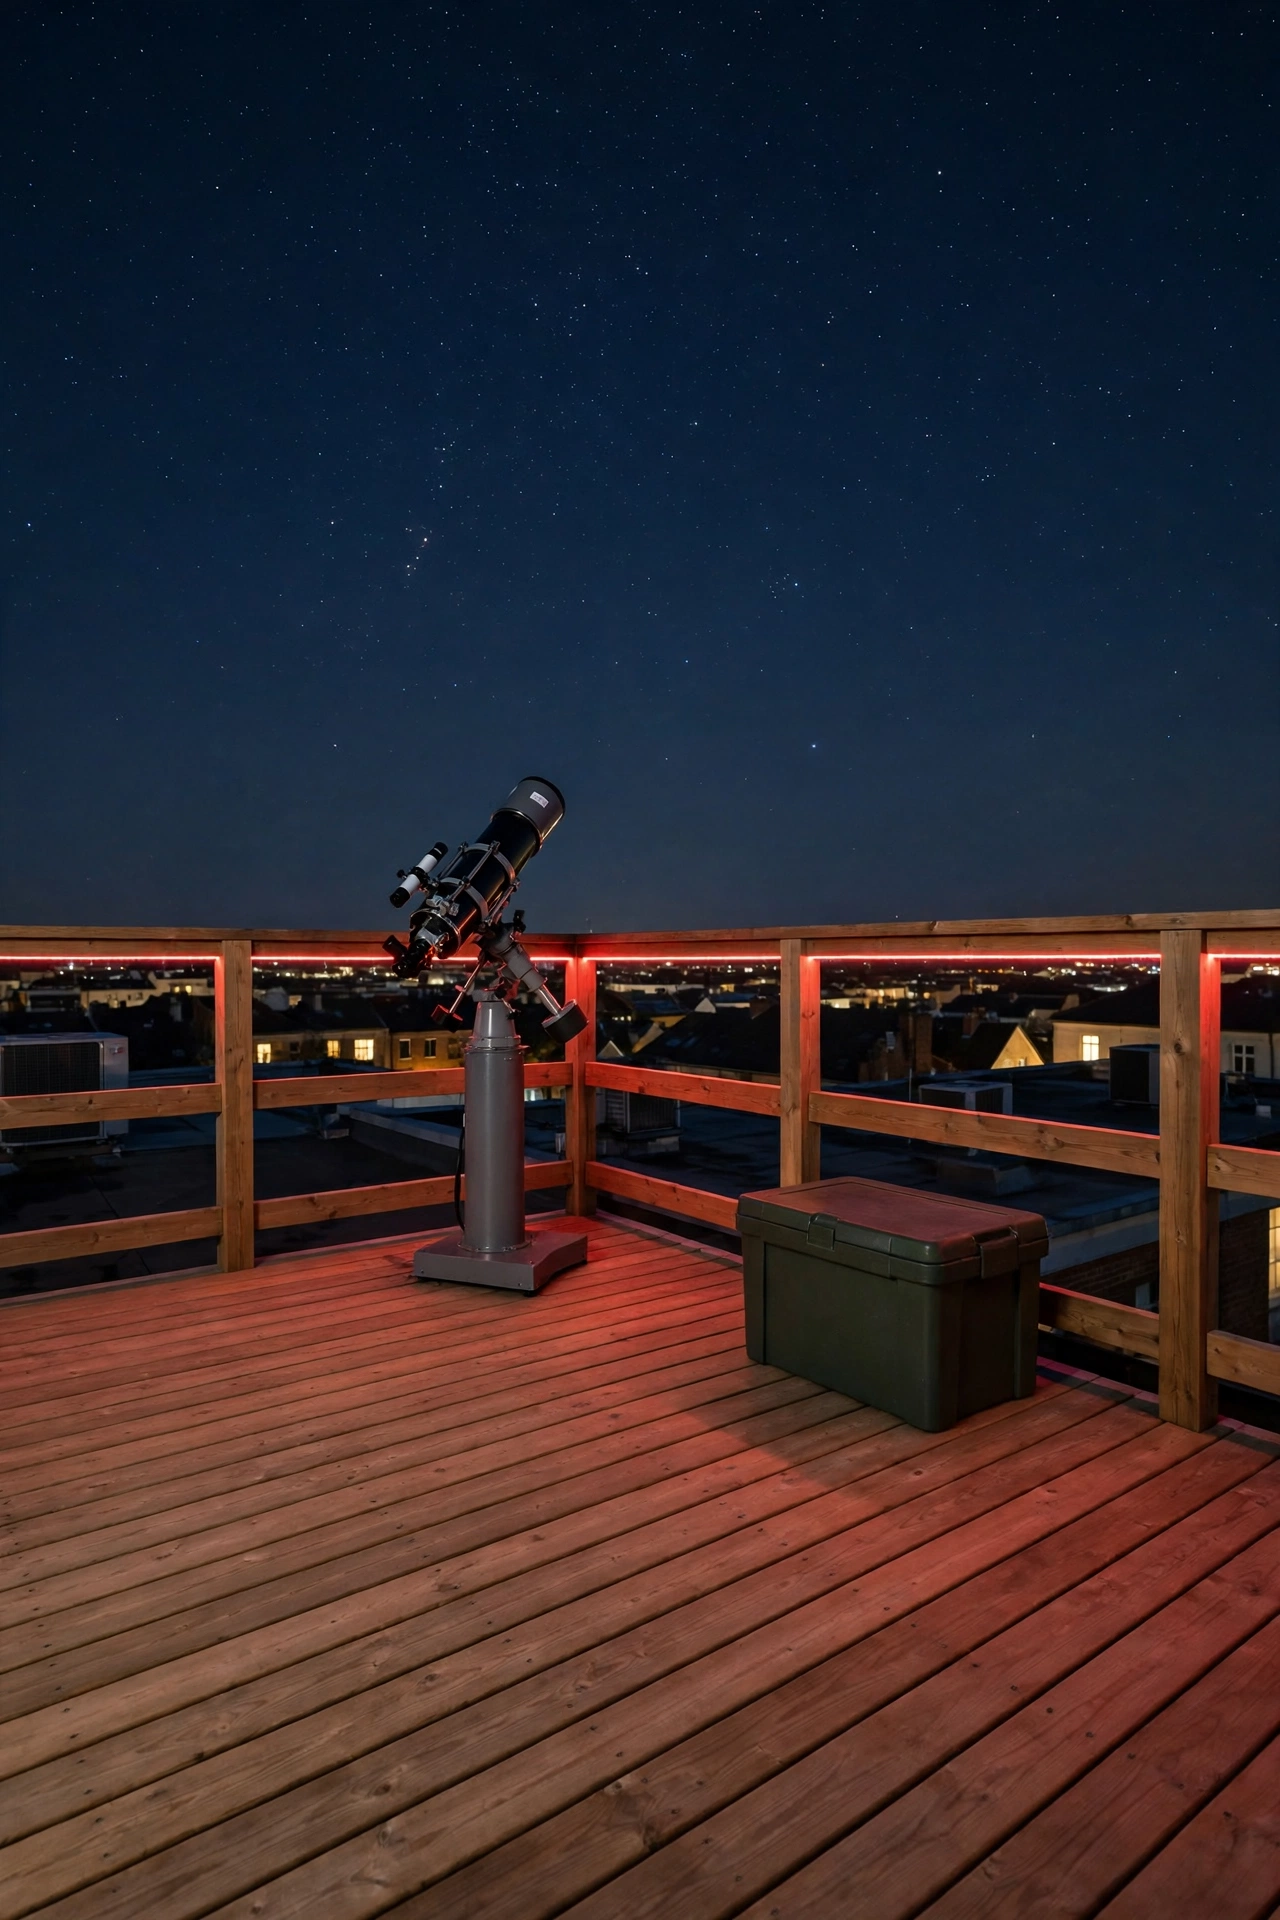
8. Create a Rooftop Observatory Platform
A flat roof or a sturdy garage roof can hold a rooftop observatory platform that rises above trees, fences, and ground-level lights. The platform gives the telescope the widest possible horizon, and the height puts you above the warm air and haze that hover near the ground on summer evenings. A simple railing and a secure ladder or stair make the roof safe to use at night.
Check the roof load rating before you build anything, and use a lightweight deck frame with a telescope pier that bolts through to solid structure below. Add a small storage box for eyepieces and a red light strip along the railing so the edges stay visible without ruining night vision. A rooftop platform is a smart answer for small yards where the ground is crowded but the sky is wide open.
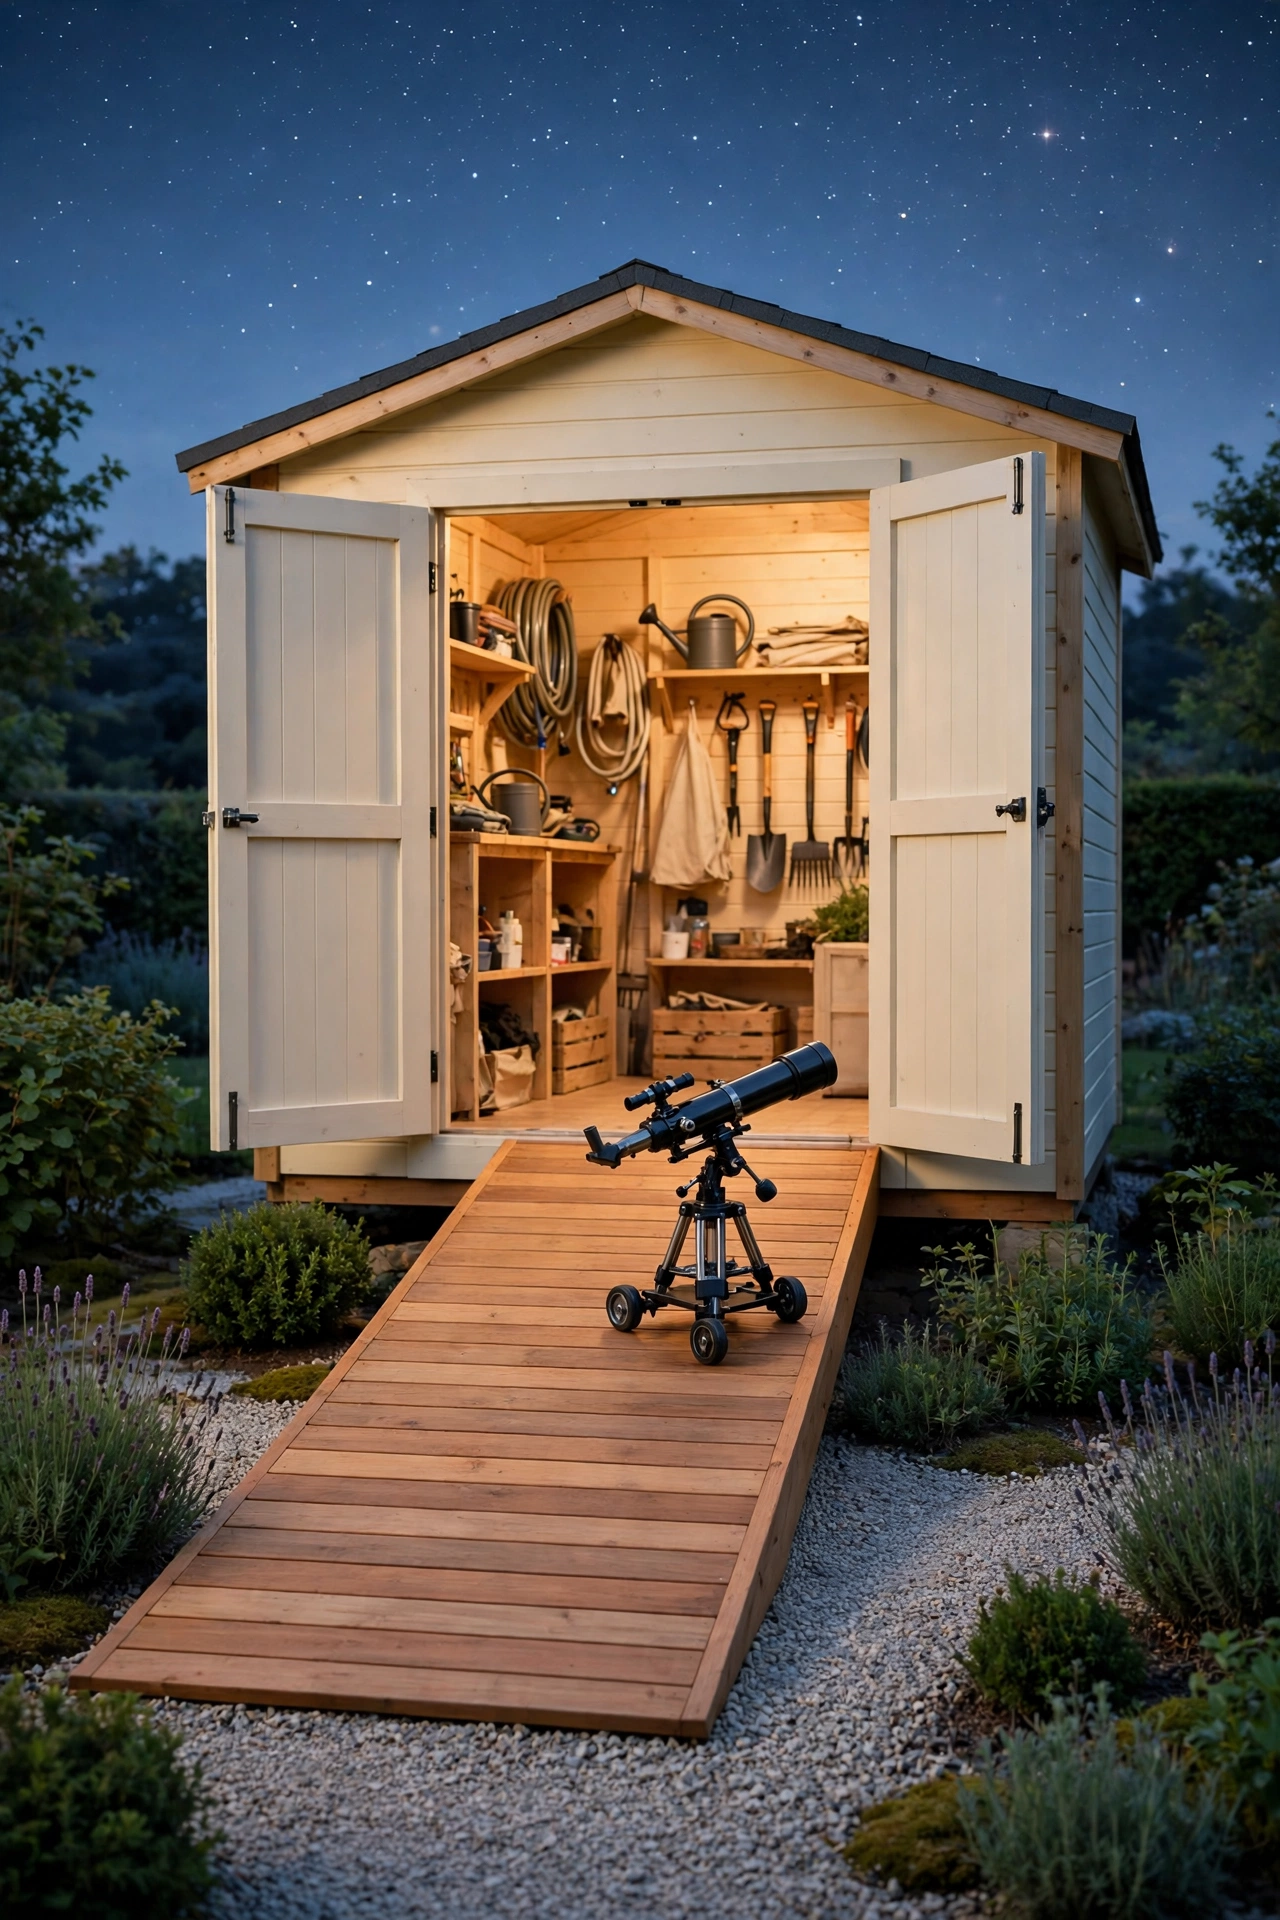
9. Roll the Telescope Out of a Storage Shed With a Ramp
A storage shed with a wide door and a gentle ramp lets you roll a telescope on its wheeled mount straight out to the observing spot. The telescope lives in the shed during the day, protected from dust and weather, and rolls out in minutes when the sky clears. The ramp removes all lifting, which protects both the telescope and your back.
Build the ramp from weatherproof boards with a non-slip surface, and keep the path from the shed to the pad smooth and level. Inside the shed, add a charging shelf for batteries, hooks for cables, and labeled bins for eyepieces and filters. This setup is ideal for heavier telescopes that are too awkward to carry but too valuable to leave outside.
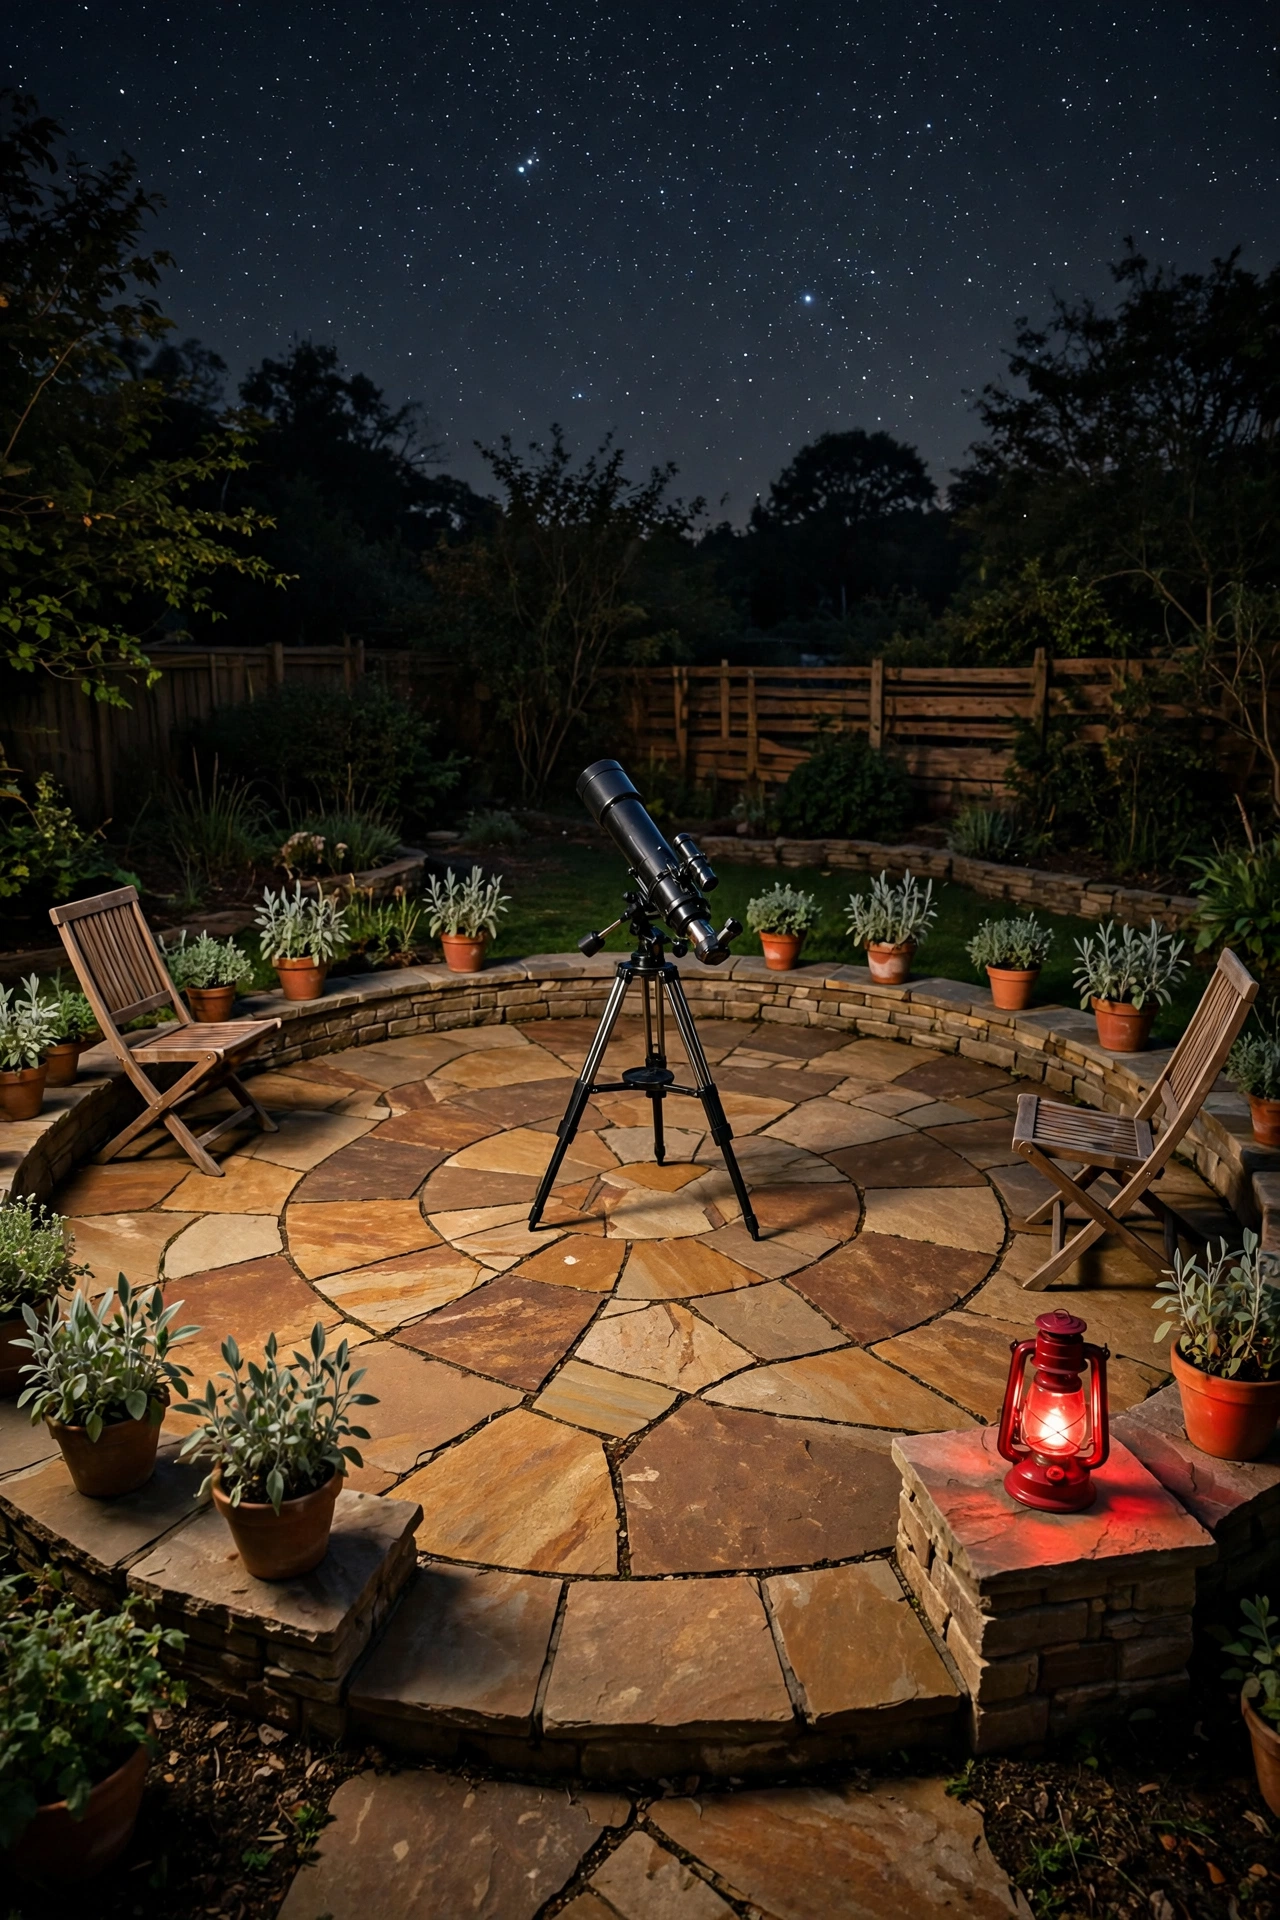
10. Lay a Circular Stone Patio as an Observatory Pad
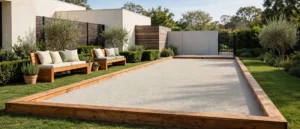
A circular stone patio makes a beautiful and practical observatory pad, with a shape that echoes the dome of the sky above it. The flat stone surface keeps tripod legs steady, stays dry after rain, and gives you a defined observing area that feels intentional. A low stone border marks the edge of the pad and keeps gravel and soil from creeping onto the stones.
Choose warm-toned pavers or natural flagstones, and leave the center of the circle open for the telescope while chairs sit around the edge. A small stone plinth at one side can hold a star atlas or a red lamp, and potted plants around the border soften the hard edges. The patio doubles as a seating area during the day, so the observatory never feels like wasted space.
11. Add a Warm Room Beside the Observatory
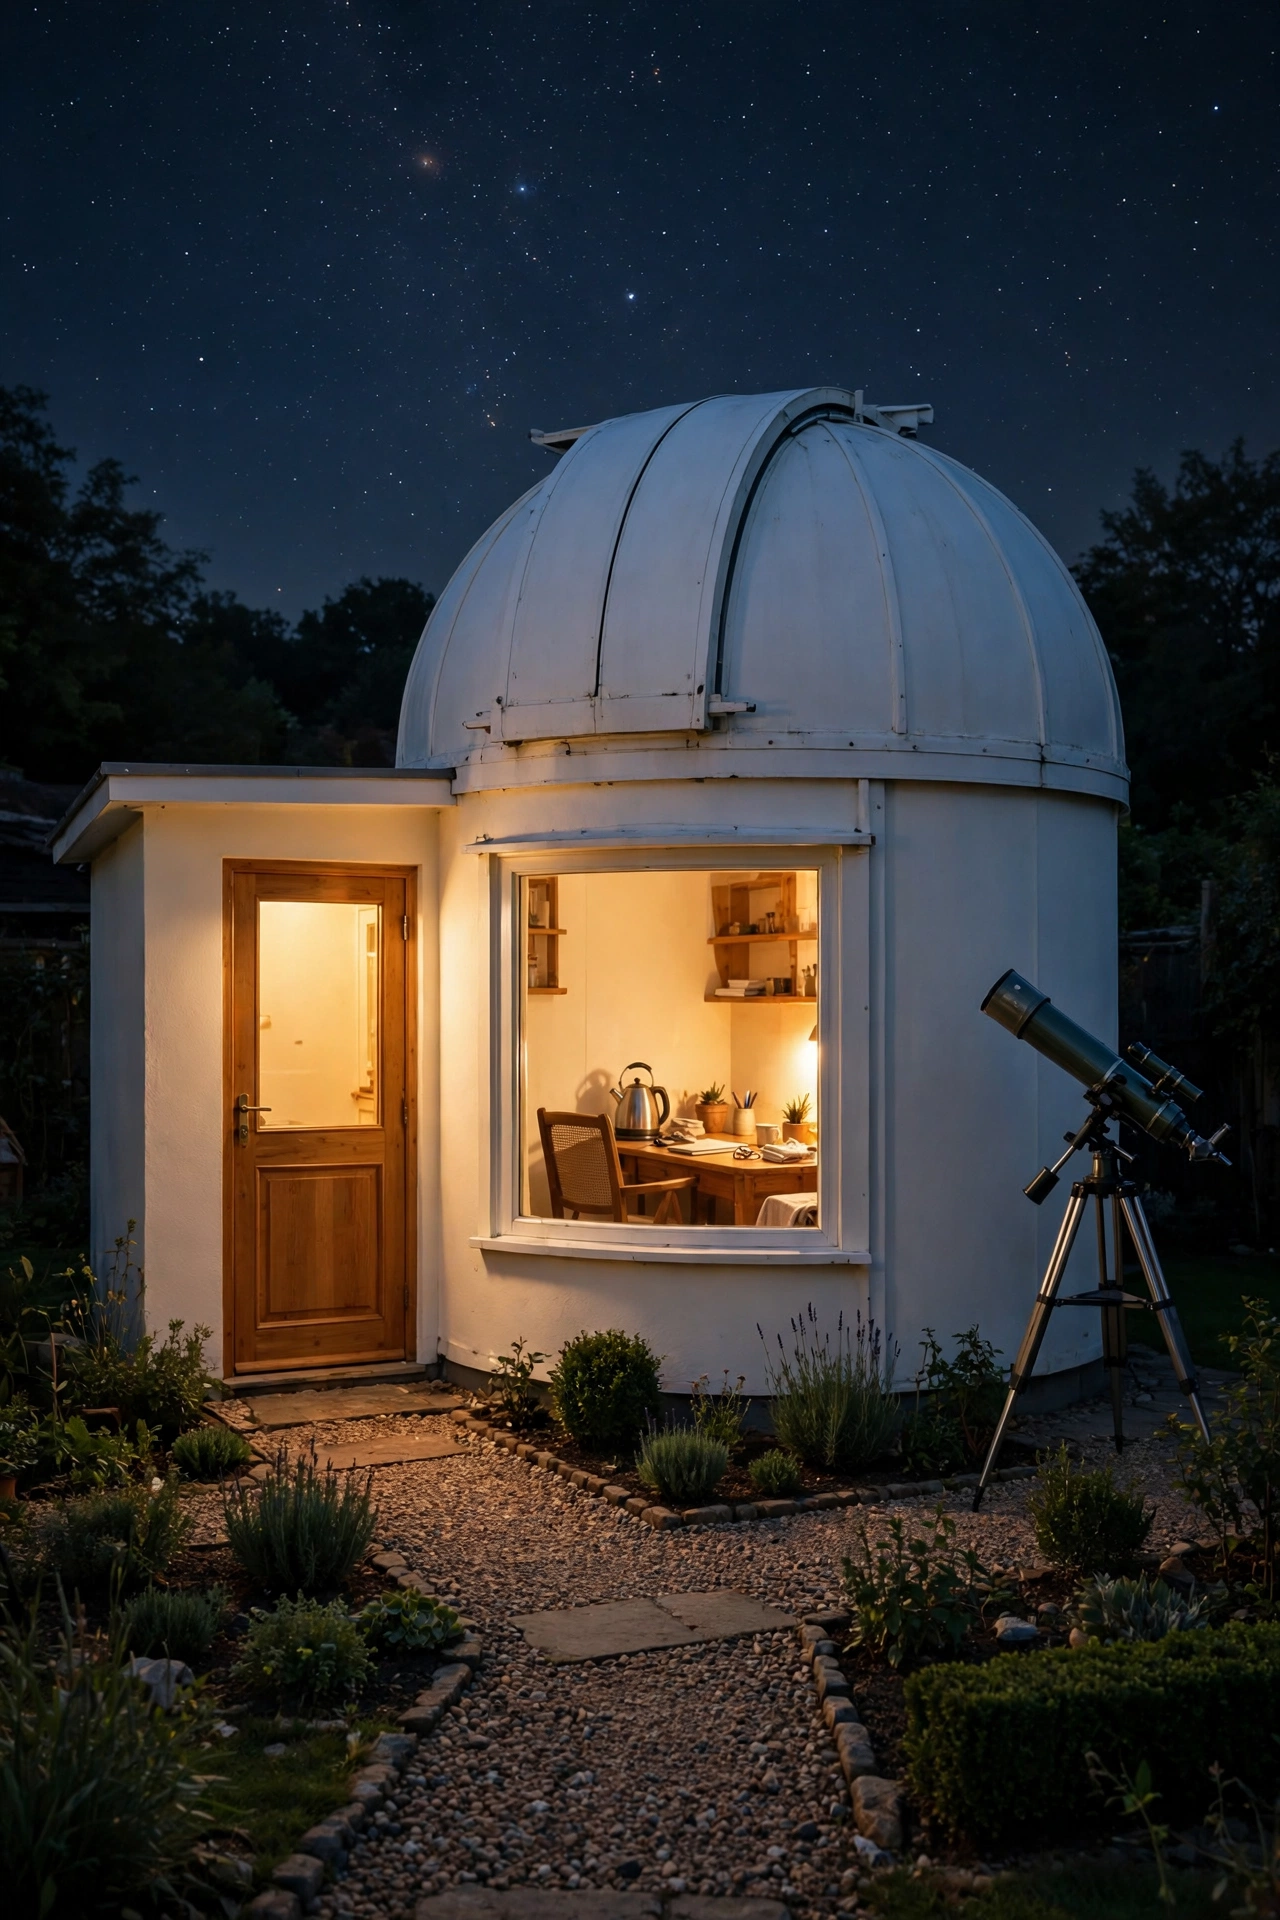
A warm room is a small heated space attached to the observatory where you can step in, warm up, and check charts without ending the session. The room holds a desk, a kettle, and a computer for planning the next target, while the telescope waits outside in the cold, steady air. A window between the warm room and the observatory lets you keep an eye on the equipment.
Insulate the warm room well and add a small electric heater, a comfortable chair, and warm lighting that stays contained behind a closed door. Keep the door sealed so no white light leaks out to ruin night vision at the telescope. A warm room turns winter observing from a test of endurance into a pleasure, and it gives guests a cozy place to wait for their turn at the eyepiece.
12. Open a Clamshell Dome in Two Halves
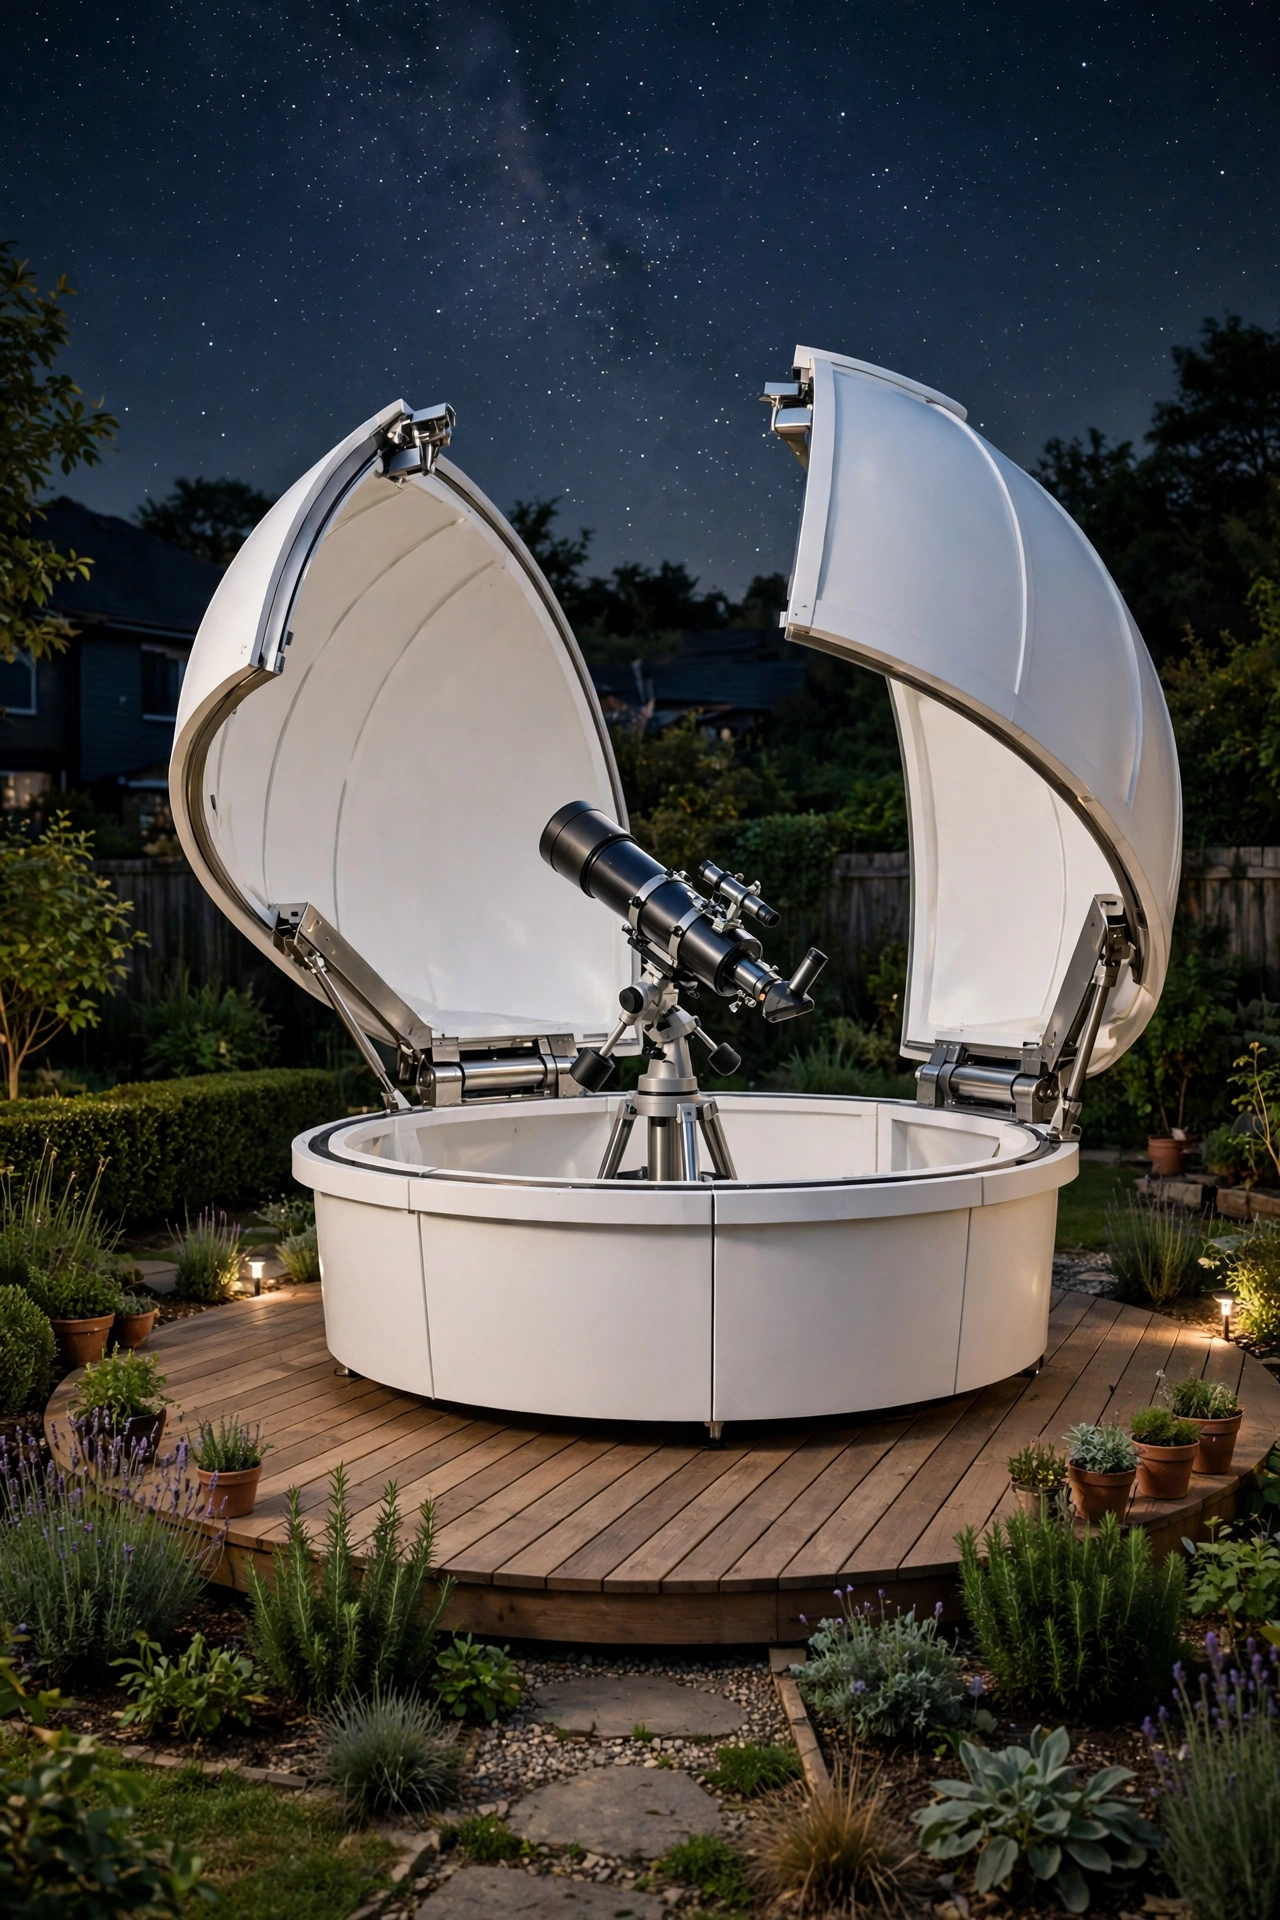
A clamshell dome opens like a shell, with two halves that swing apart to expose the telescope to the whole sky at once. The design gives you the weather protection of a dome with the open-sky freedom of a roll-off roof, and it closes again in seconds when clouds roll in. The curved halves look elegant in a garden, like a piece of sculpture that happens to house a telescope.
Mount the clamshell on a round deck or concrete pad, and add a counterweight or gas strut so each half opens with a gentle push. The inside stays compact, with room for the telescope, a chair, and a small shelf for accessories. A clamshell dome suits observers who want fast setup and full-sky views without building a full shed.
13. Build a Wheeled Pier That Rolls Onto a Deck
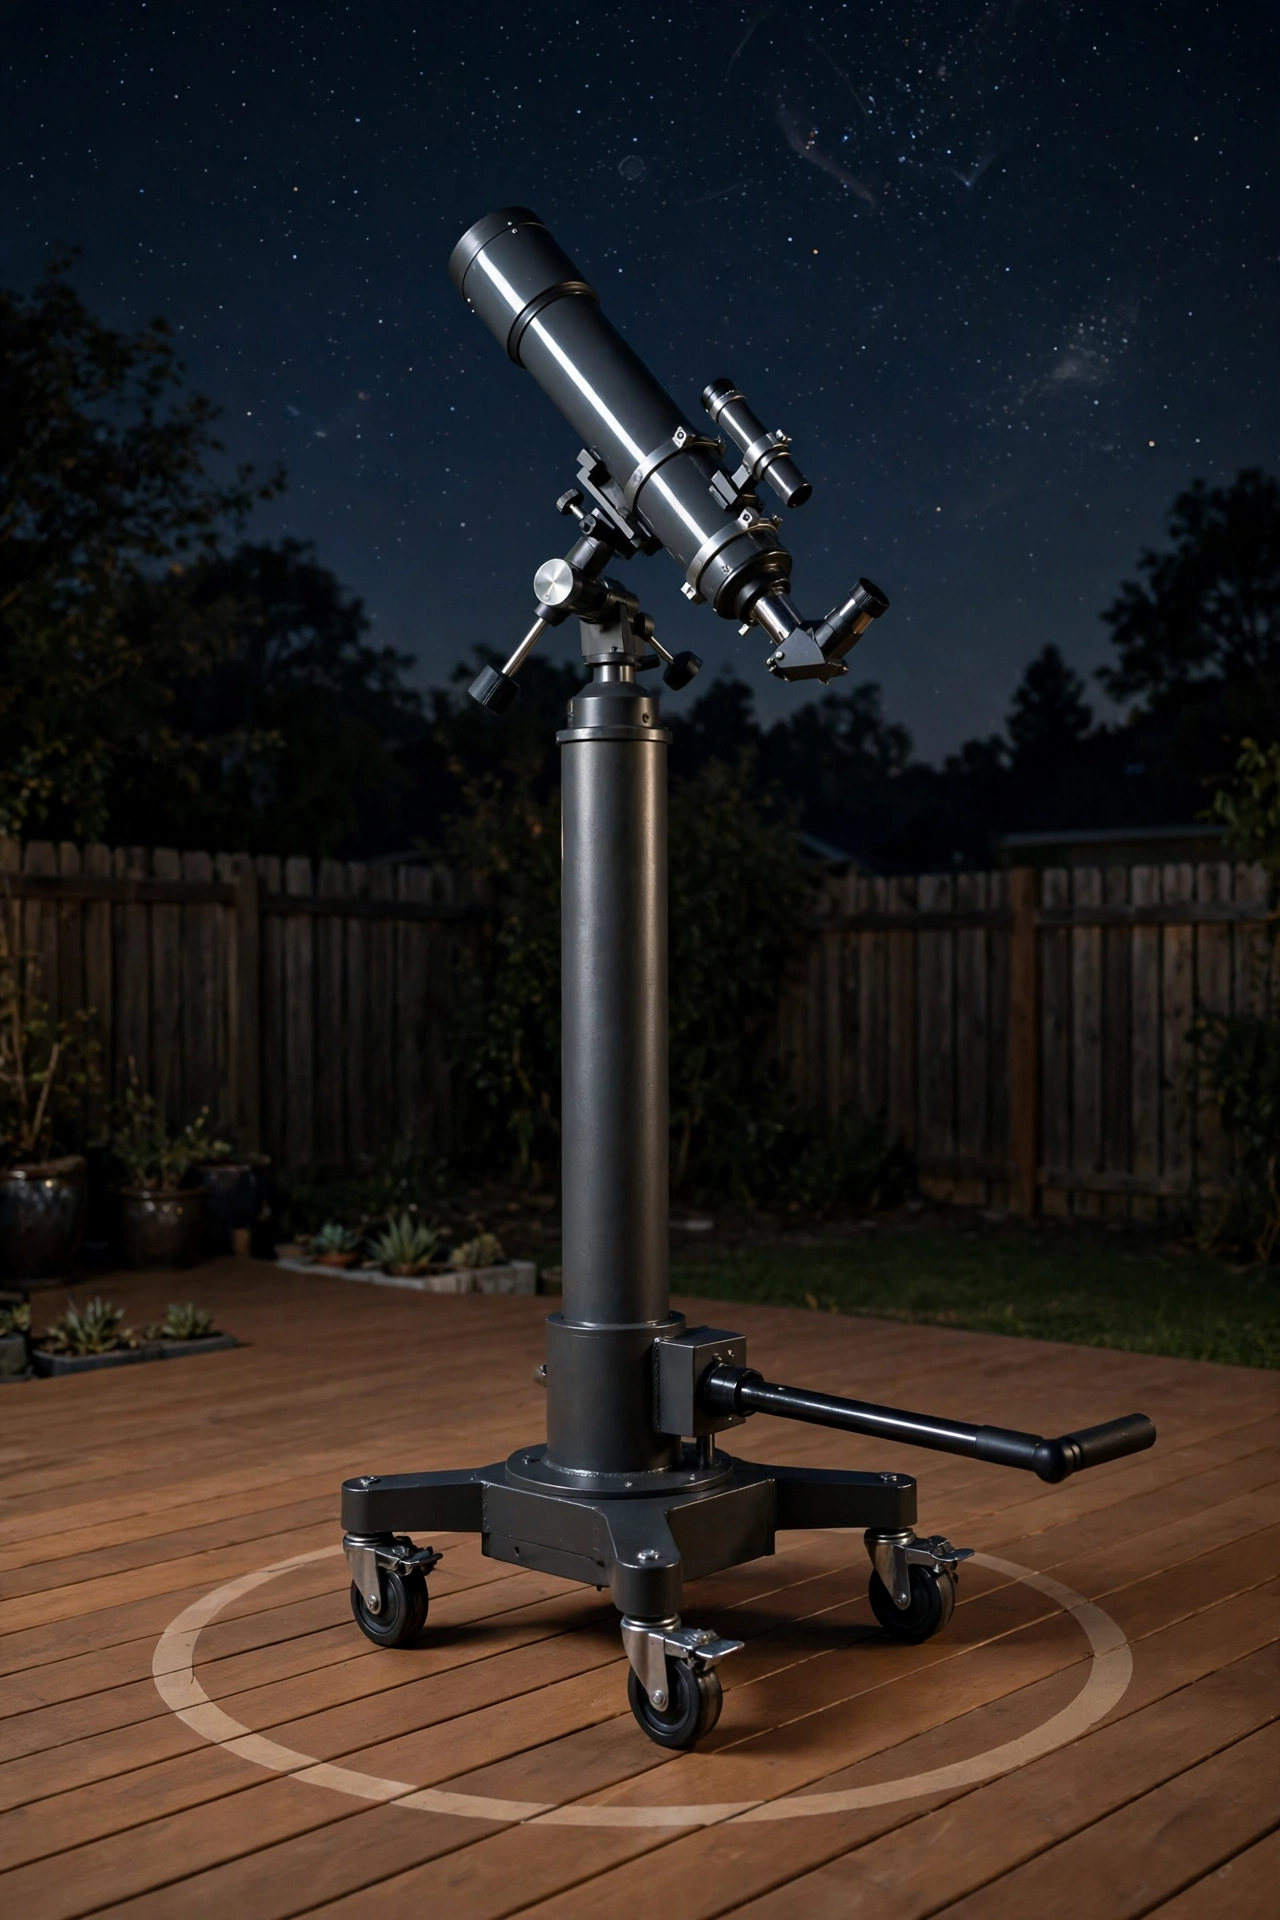
A wheeled pier is a telescope mount on a sturdy rolling base that you push from a storage spot onto an observing deck. Locking casters hold the pier rock steady once it is in place, and a marked spot on the deck shows exactly where the pier stops so alignment stays quick. The pier rolls back under cover when the night is done.
Build the base from heavy steel or thick hardwood so the pier resists vibration, and add a handle at a comfortable height for easy pushing. A deck with a smooth, level surface makes the roll effortless, and a small ramp bridges any step between storage and deck. This design is perfect for observers who need flexibility, because the same pier can serve a deck, a patio, or a lawn pad.
14. Frame a Stargazing Nook With a Pergola
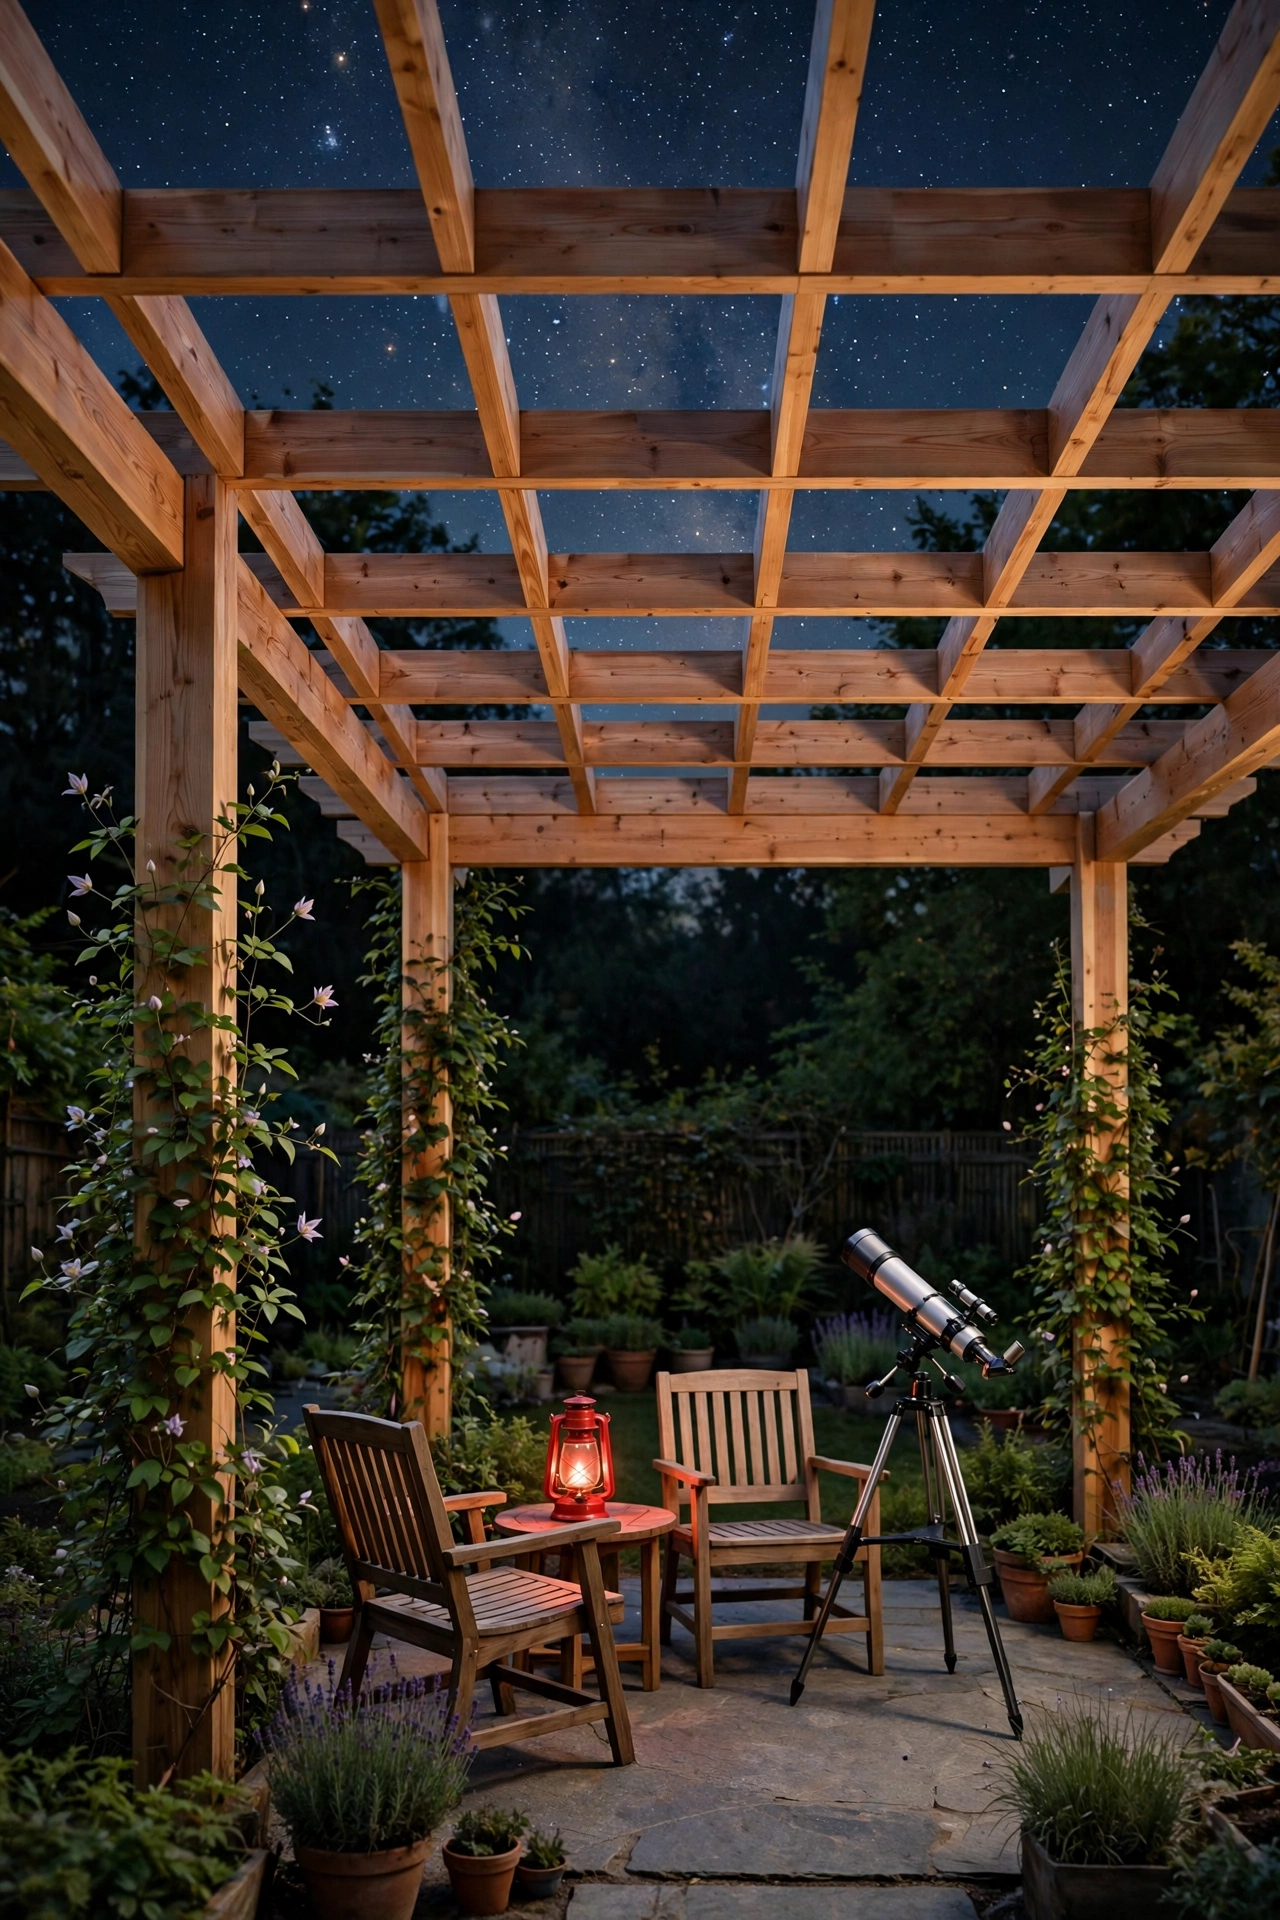
A pergola frames a stargazing nook with open beams overhead that leave the sky in full view while giving the space structure and charm. Climbing plants can grow up the posts, but the top stays open or holds a retractable canopy that slides away on clear nights. Under the beams, a telescope, two chairs, and a small table create a complete observing corner.
Build the pergola from warm cedar or painted timber, and keep the beams slim so they block as little sky as possible. String lights stay off during observing, and a single red lantern on the table gives just enough light to read charts. A pergola nook blends the observatory into the garden so gracefully that it looks like a seating area by day and a gateway to the stars by night.
15. Raise an Observatory Tower With a Viewing Deck
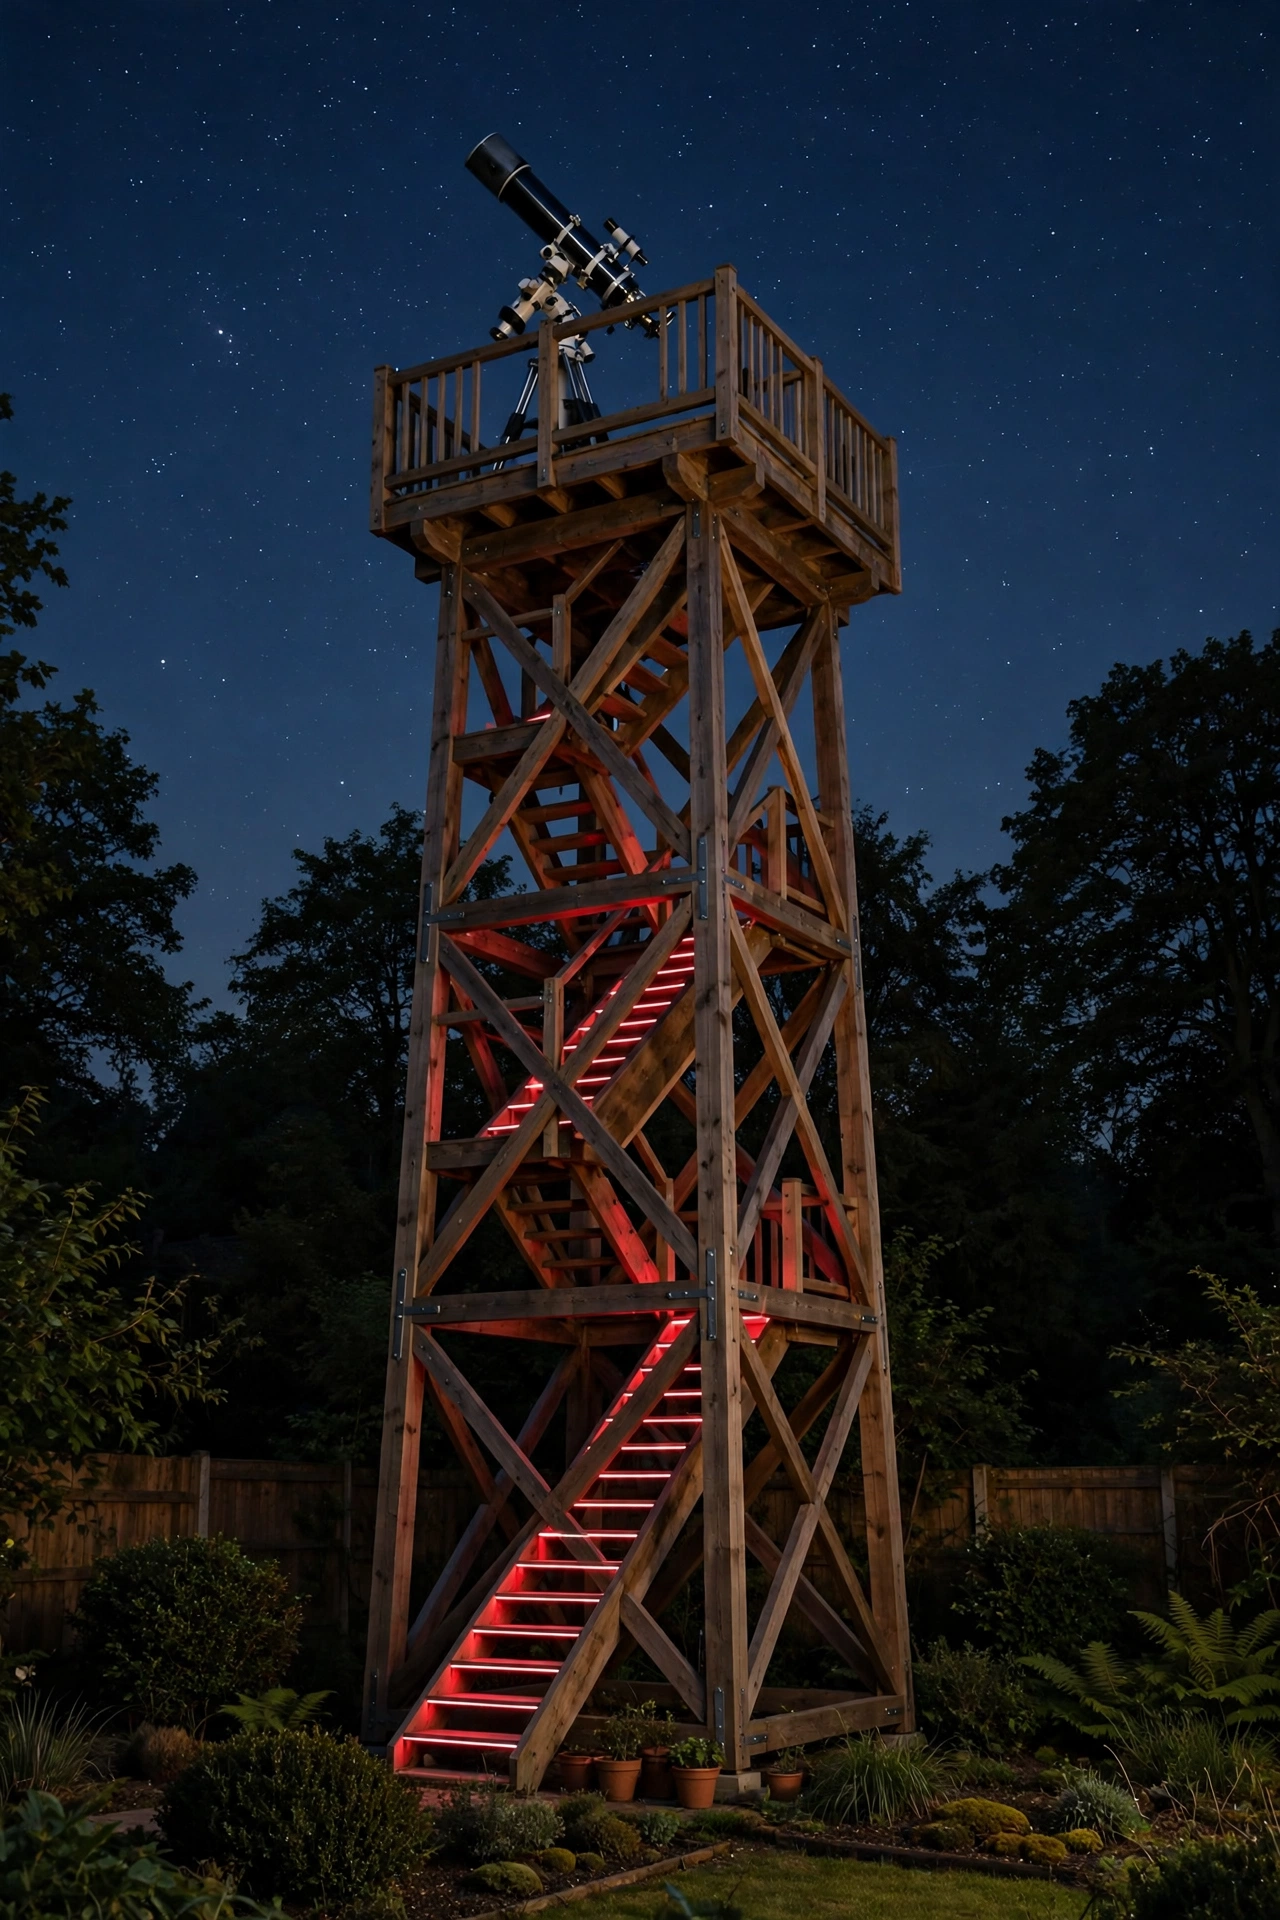
An observatory tower lifts the telescope above the whole neighborhood, with a viewing deck reached by a sturdy stair. The height clears rooftops, trees, and fences, and the deck railing keeps the edges safe while the sky opens up in every direction. A small shelter or dome on top protects the telescope between sessions.
Build the tower from pressure-treated timber with diagonal bracing, and anchor it firmly to concrete footings so it never sways in the wind. Add a storage cabinet under the stairs for eyepieces and a red light strip along each step for safe climbing at night. A tower is a bold project, but for yards hemmed in by tall trees or buildings, height is the simplest way to win back the sky.
16. Sink a Stargazing Pit With Built-In Bench Seating
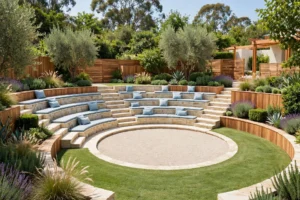
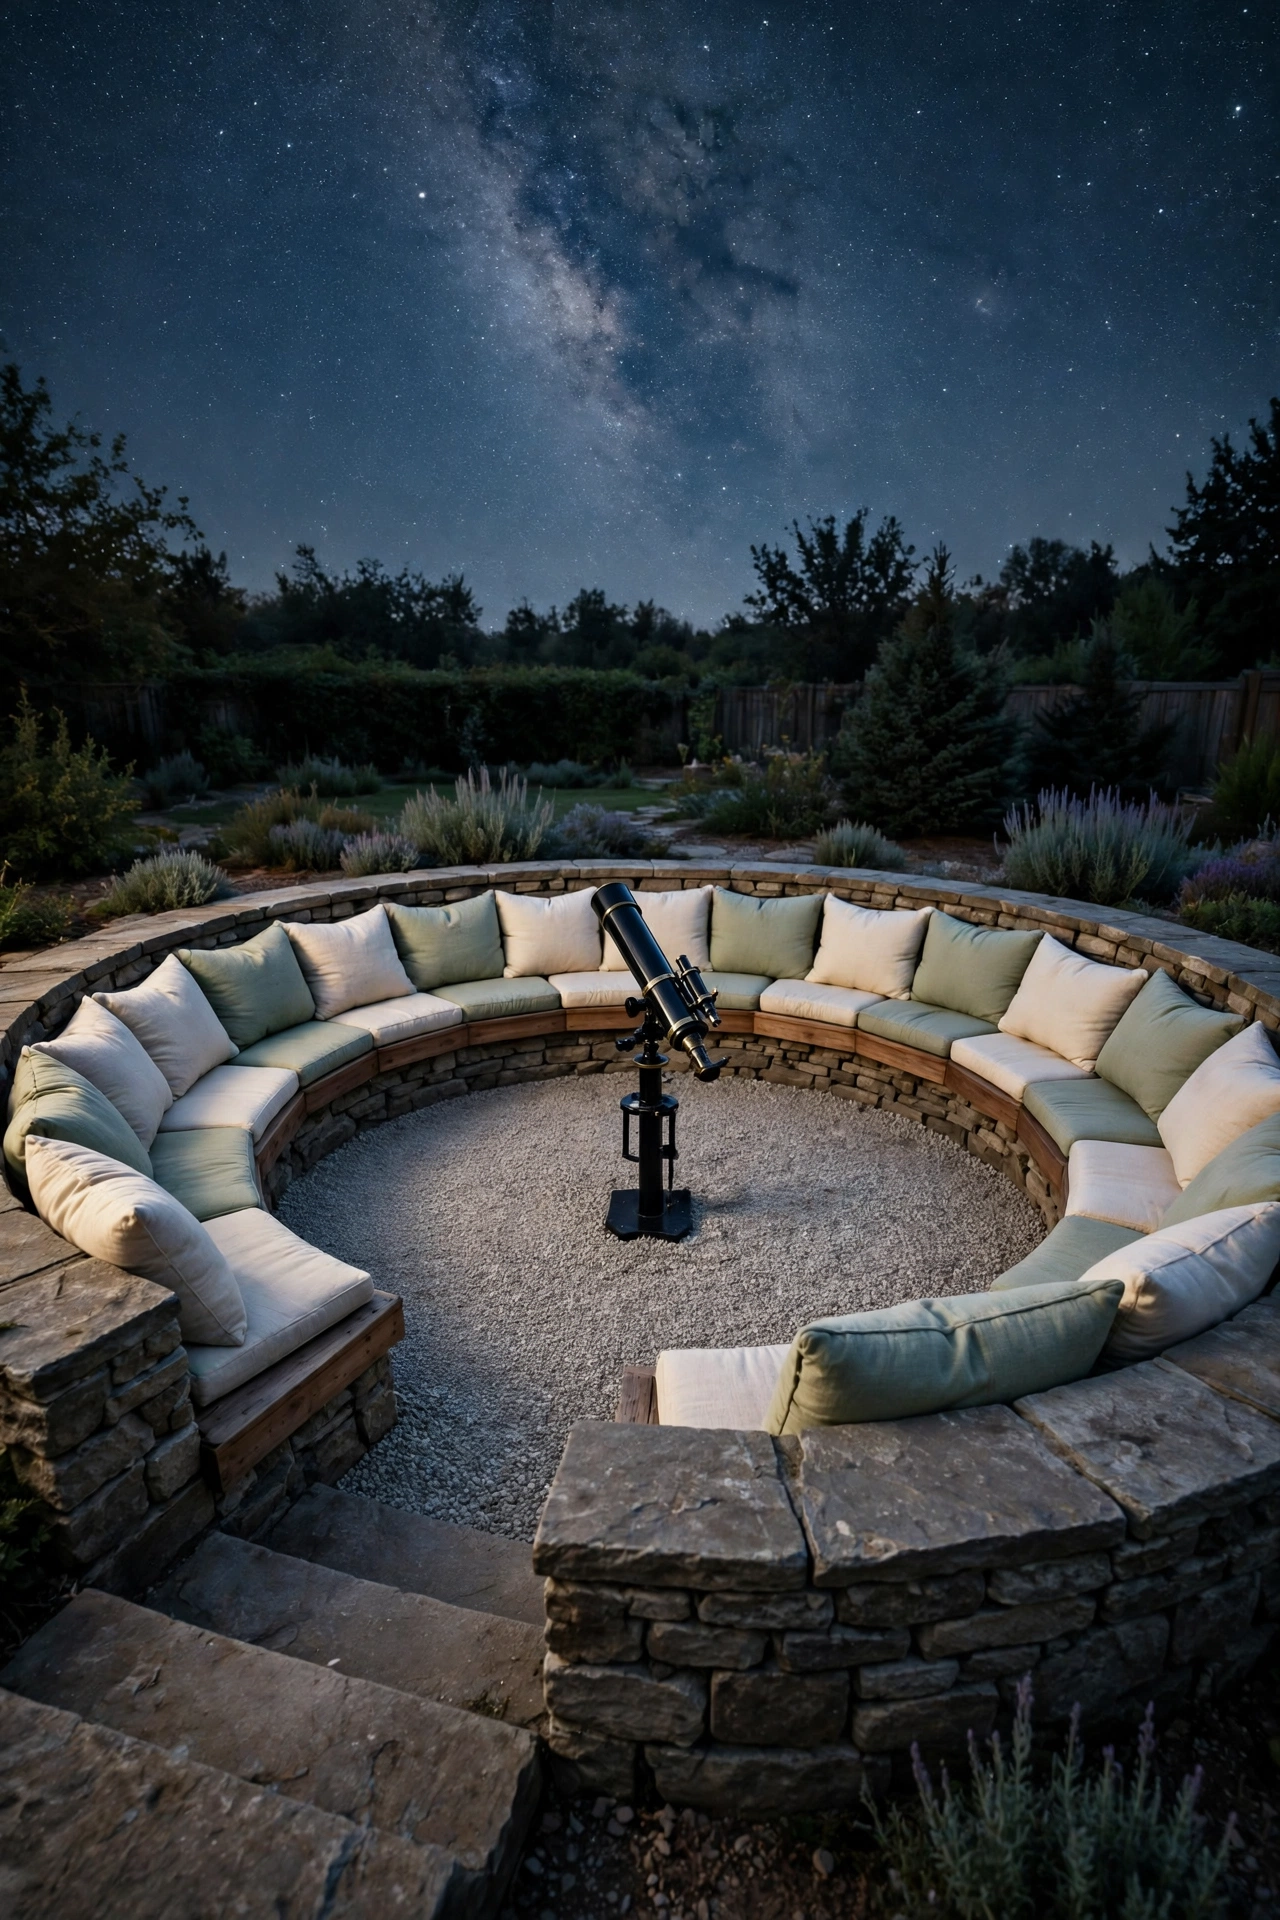
A sunken stargazing pit is a shallow circular hollow with built-in bench seating around the edge, designed for lying back and watching the sky. The low walls block ground-level light and wind, so the pit feels calm and dark even in a suburban yard. A telescope on a short pier stands in the center, while the benches hold blankets, cushions, and warm drinks.
Line the pit with stone or timber retaining walls, and add wide, flat bench tops in warm wood with thick outdoor cushions. A gravel or stone floor drains well after rain, and a few steps lead down into the pit from the lawn. The sunken shape creates a peaceful, sheltered feeling, and these backyard meditation garden ideas share the same quiet, inward-looking calm that makes a stargazing pit so restful.
17. Light the Path With Red Lights for Night Vision
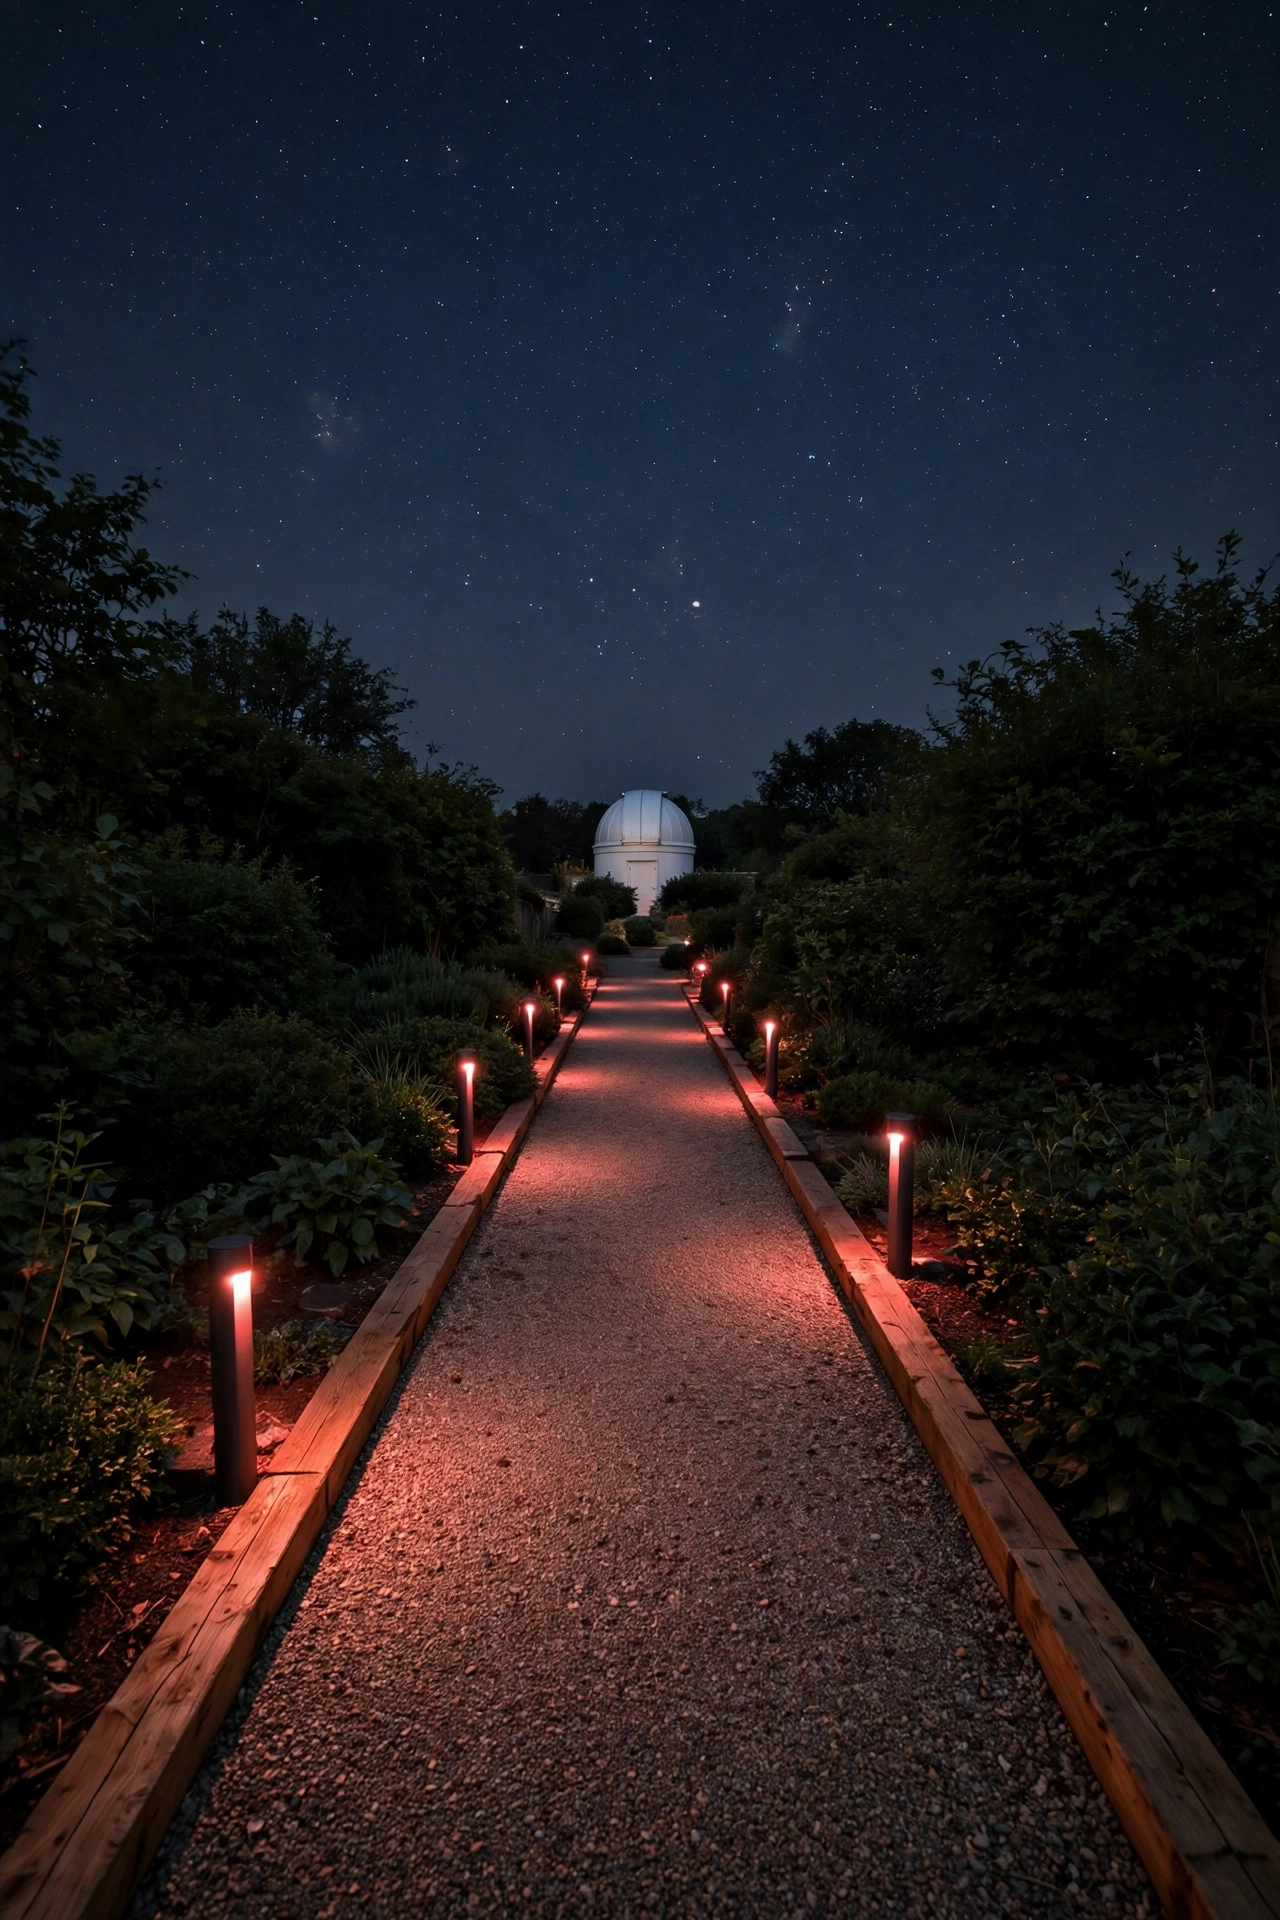
Red light preserves night vision, so a path lit with red lamps lets you walk to the observatory without losing your dark adaptation. Low red bollard lights or red strip lights along the path edges mark every step, and the warm red glow looks beautiful against the dark garden. Your eyes stay ready for faint galaxies and nebulae from the moment you arrive.
Use dimmable red lights so you can lower the brightness once everyone is seated, and keep all white lights on a separate switch that stays off during observing. Solar red path lights work well for remote corners of the yard with no power nearby. This simple lighting plan is one of the cheapest upgrades with the biggest payoff, because dark-adapted eyes see far more than any expensive eyepiece can reveal alone.
18. Set a Dobsonian Telescope on a Rotating Platform
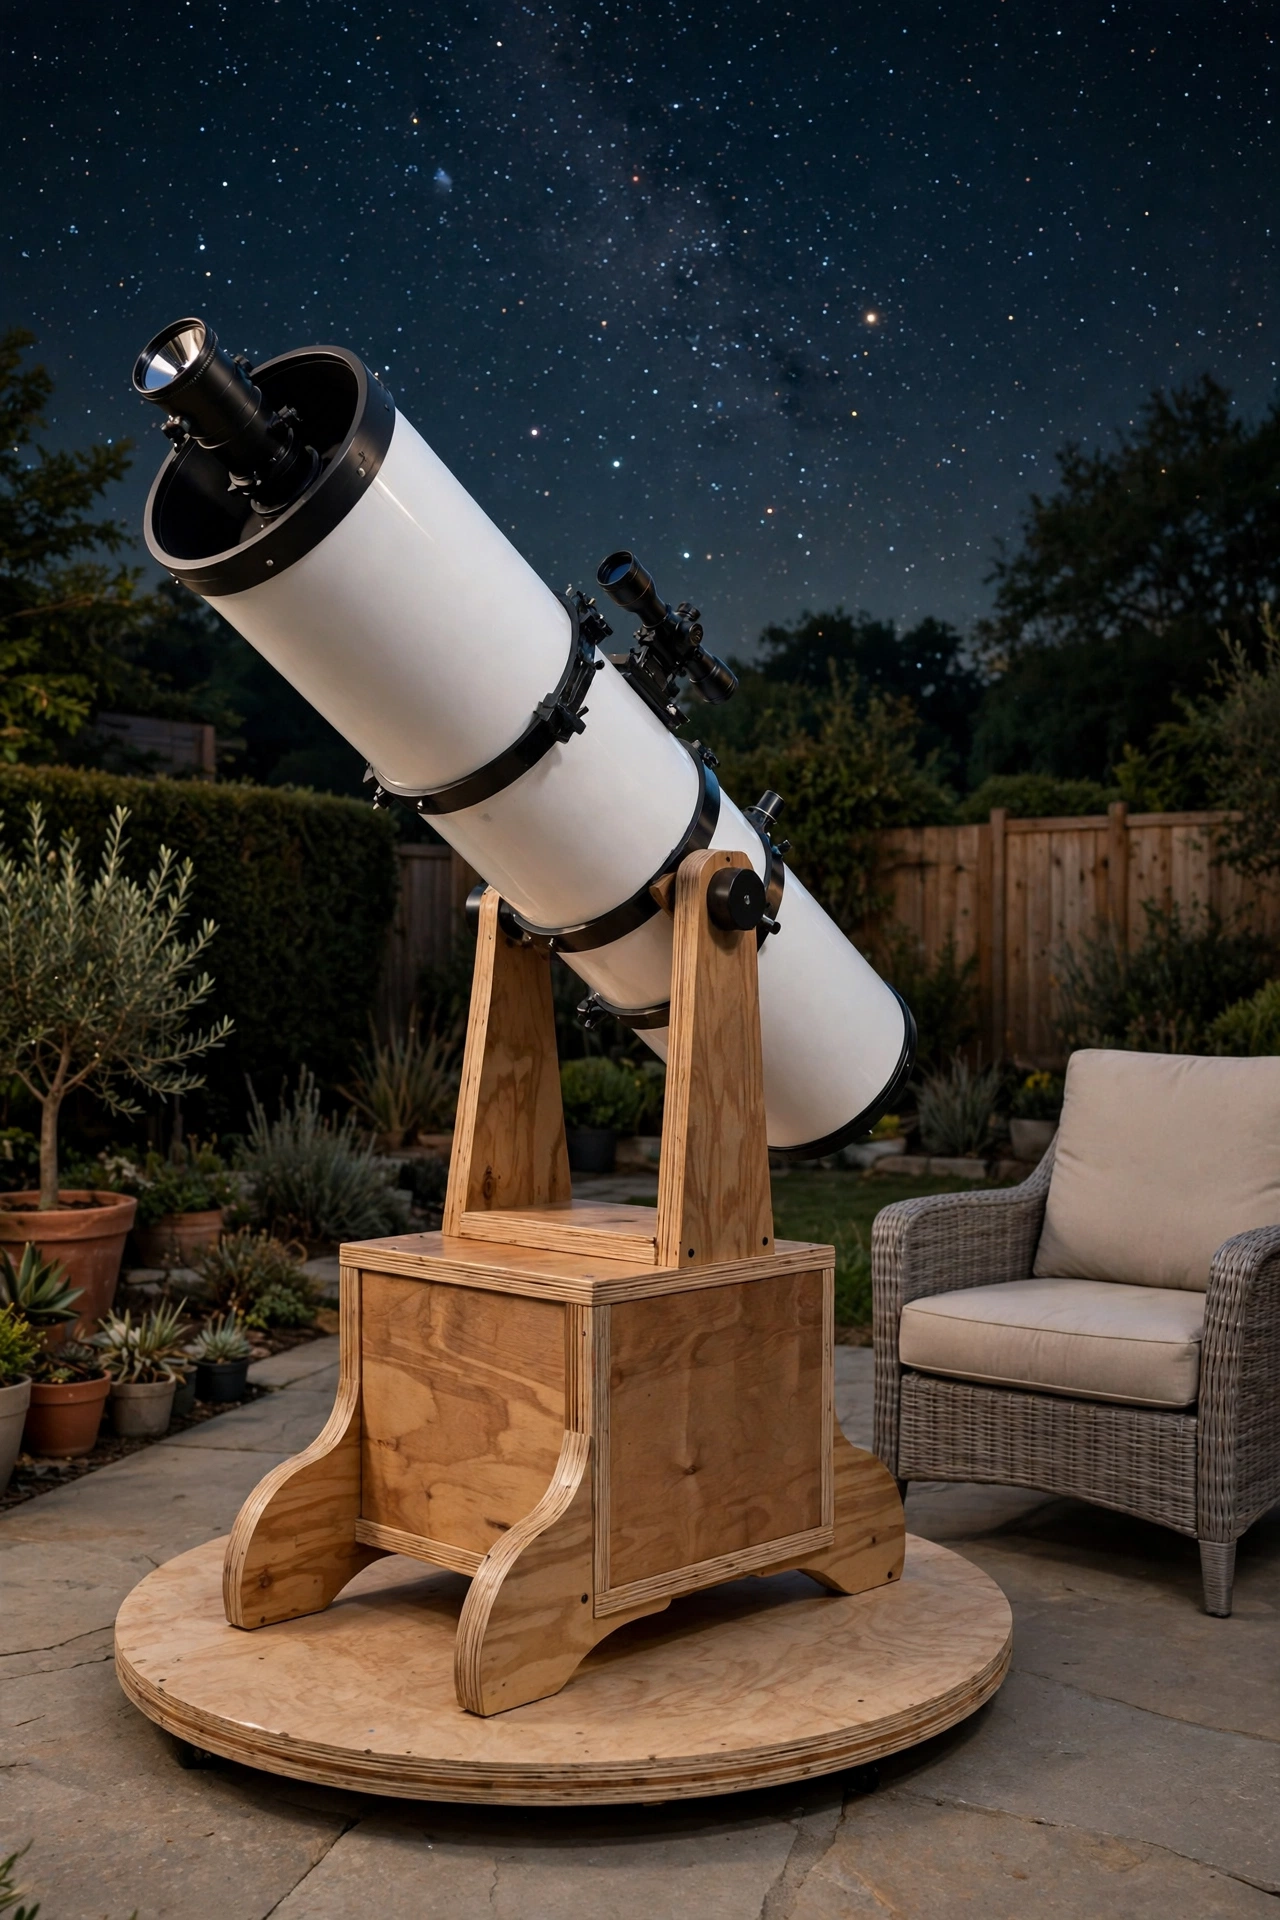
A Dobsonian telescope on a rotating platform tracks the sky smoothly while the observer stays seated in one comfortable spot. The platform sits on a level pad and turns slowly on bearings, carrying the telescope and the chair together as the stars drift overhead. The motion is so gentle that you barely notice it, but the target stays centered in the eyepiece far longer.
Build the platform from layered plywood with a low profile, and add a simple hand crank or a small motor for the rotation. A non-slip top surface keeps the telescope base steady, and a chair with a backrest lets you observe for hours without strain. This setup is a favorite among deep-sky observers, because it combines the light-gathering power of a large Dobsonian with the comfort of a fixed seat.
19. Install a Prefabricated Observatory Pod
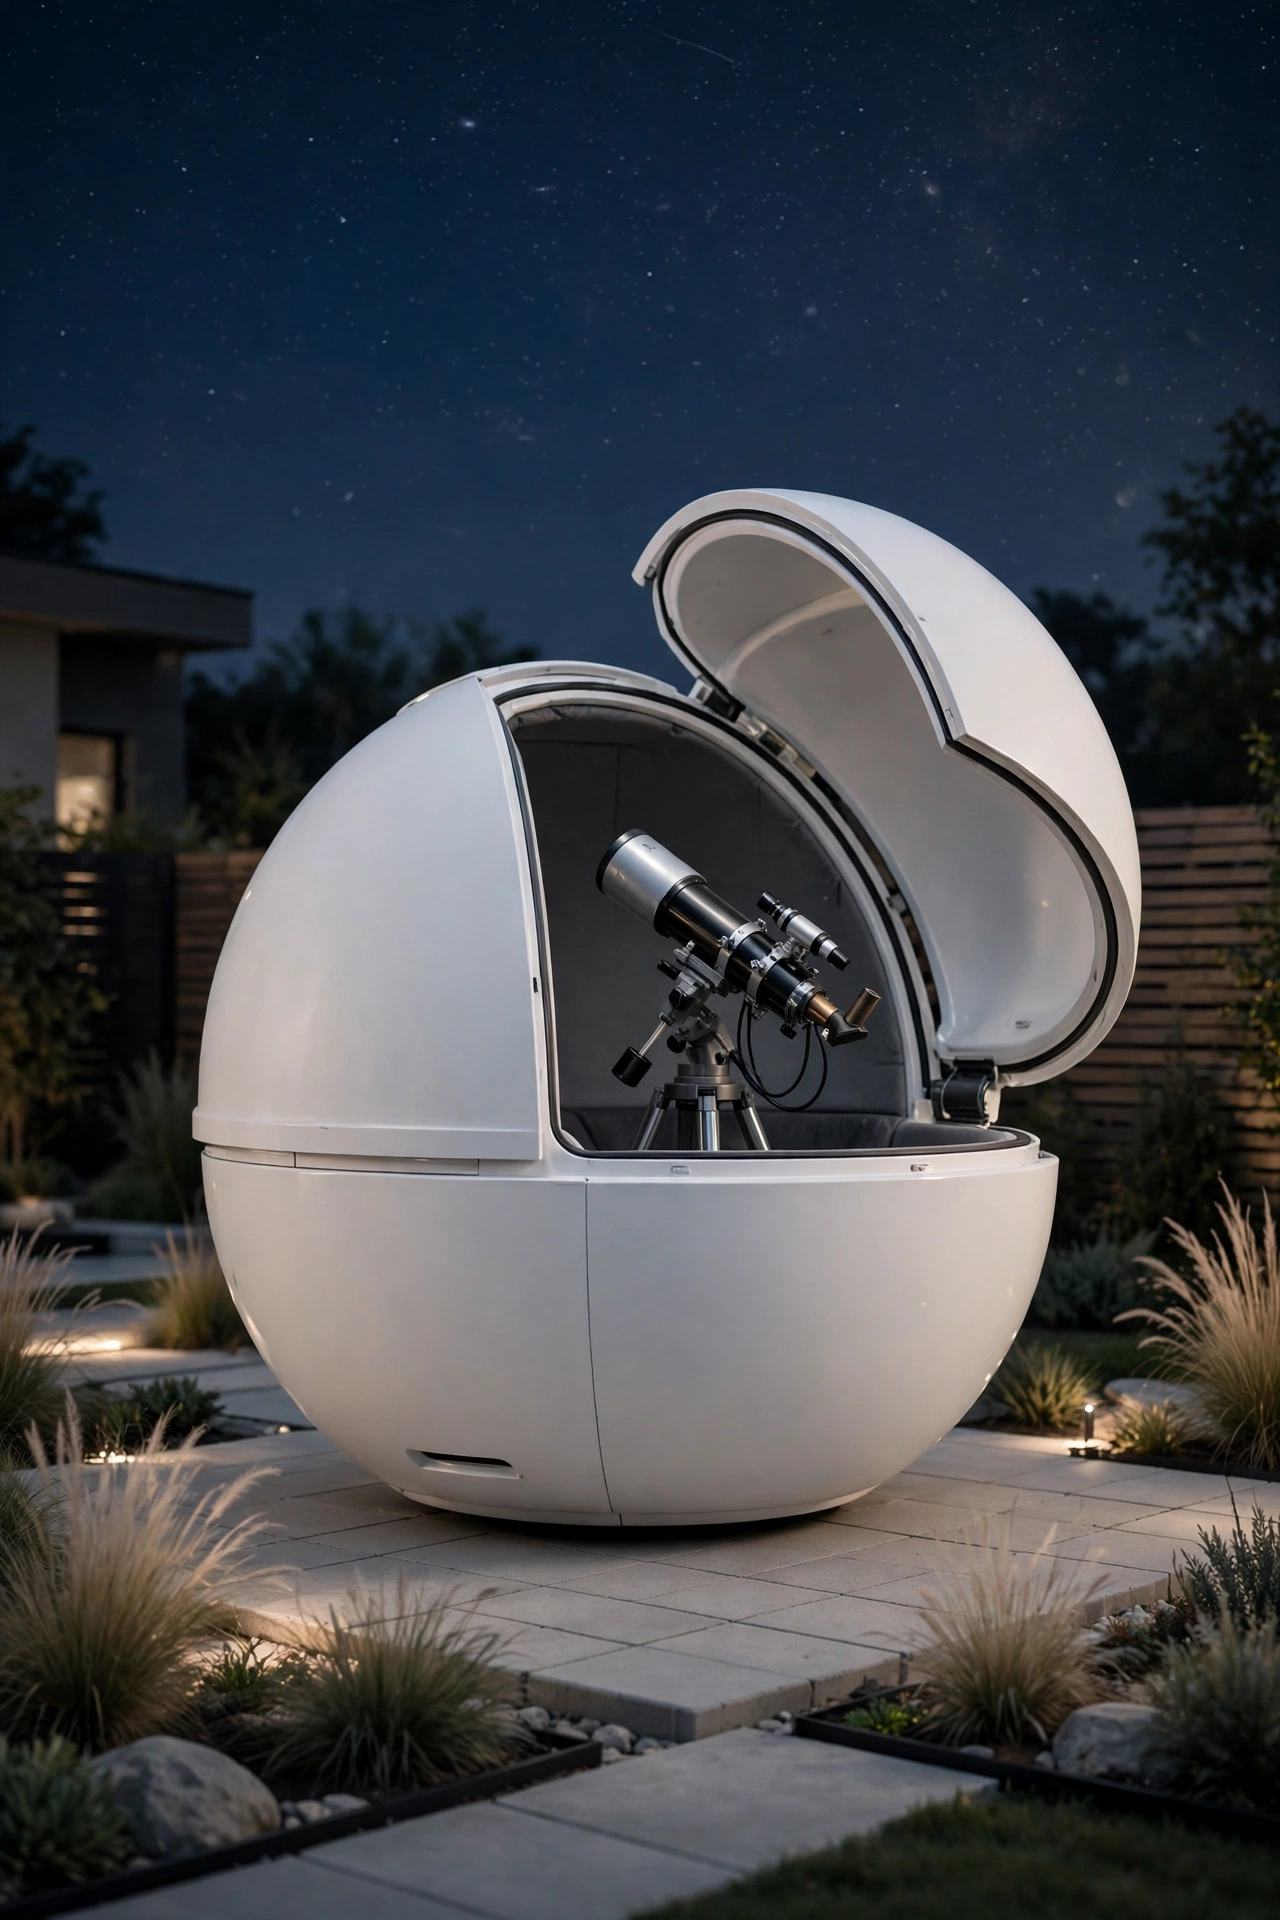
A prefabricated observatory pod arrives ready to place on a level base, with a fiberglass or plastic shell that opens to reveal the telescope. The pod needs no construction skills, assembles in a day, and weathers every season with almost no maintenance. Inside, the telescope stays mounted and aligned, so a clear night means opening the pod and observing within minutes.
Choose a pod size that fits your telescope with room for a chair, and anchor it to a concrete or paver base so high winds never shift it. Many pods come with shelves, a small desk, and cable ports built in, which keeps the inside tidy and organized. A prefab pod is the fastest route to a real backyard observatory, and it looks sleek and modern in a contemporary garden.
20. Build a Telescope Storage Cabinet Wall
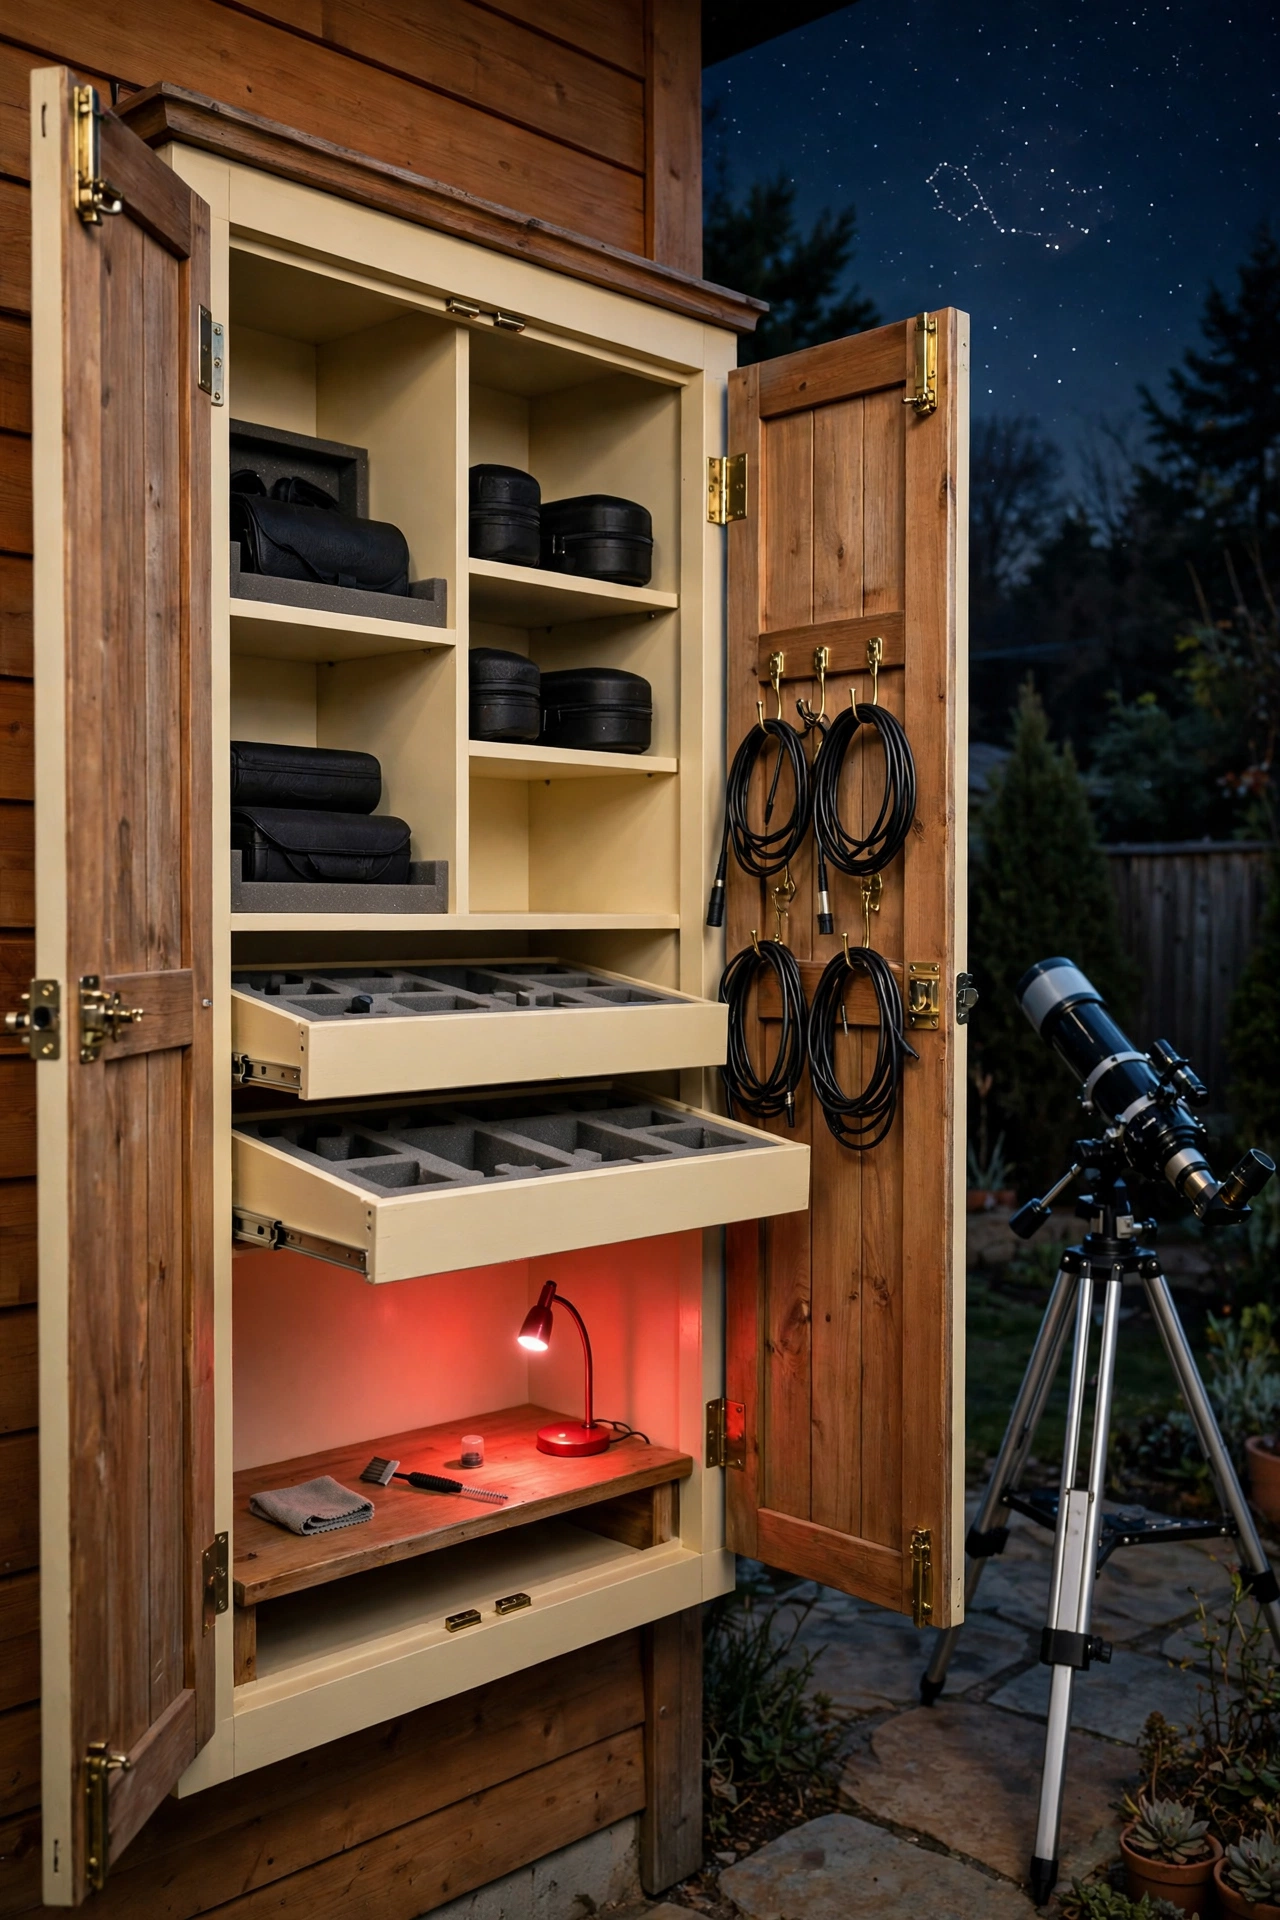
A telescope storage cabinet wall keeps every eyepiece, filter, battery, and chart organized in one place, right beside the observing spot. The wall unit stands against a fence or the side of a shed, with labeled shelves, foam-lined drawers for eyepieces, and hooks for cables and straps. Everything has a home, so setup takes minutes instead of a treasure hunt through boxes.
Build the cabinet from weatherproof wood with doors that seal against dust and rain, and line the eyepiece drawers with soft foam cut to fit each piece. A small worktop at standing height gives you a place to swap eyepieces, and a red lamp mounted under the top shelf lights the contents without harming night vision. Good storage is the quiet backbone of a great observatory, because organized gear gets used far more often.
21. Circle Built-In Benches Around a Low Fire Bowl
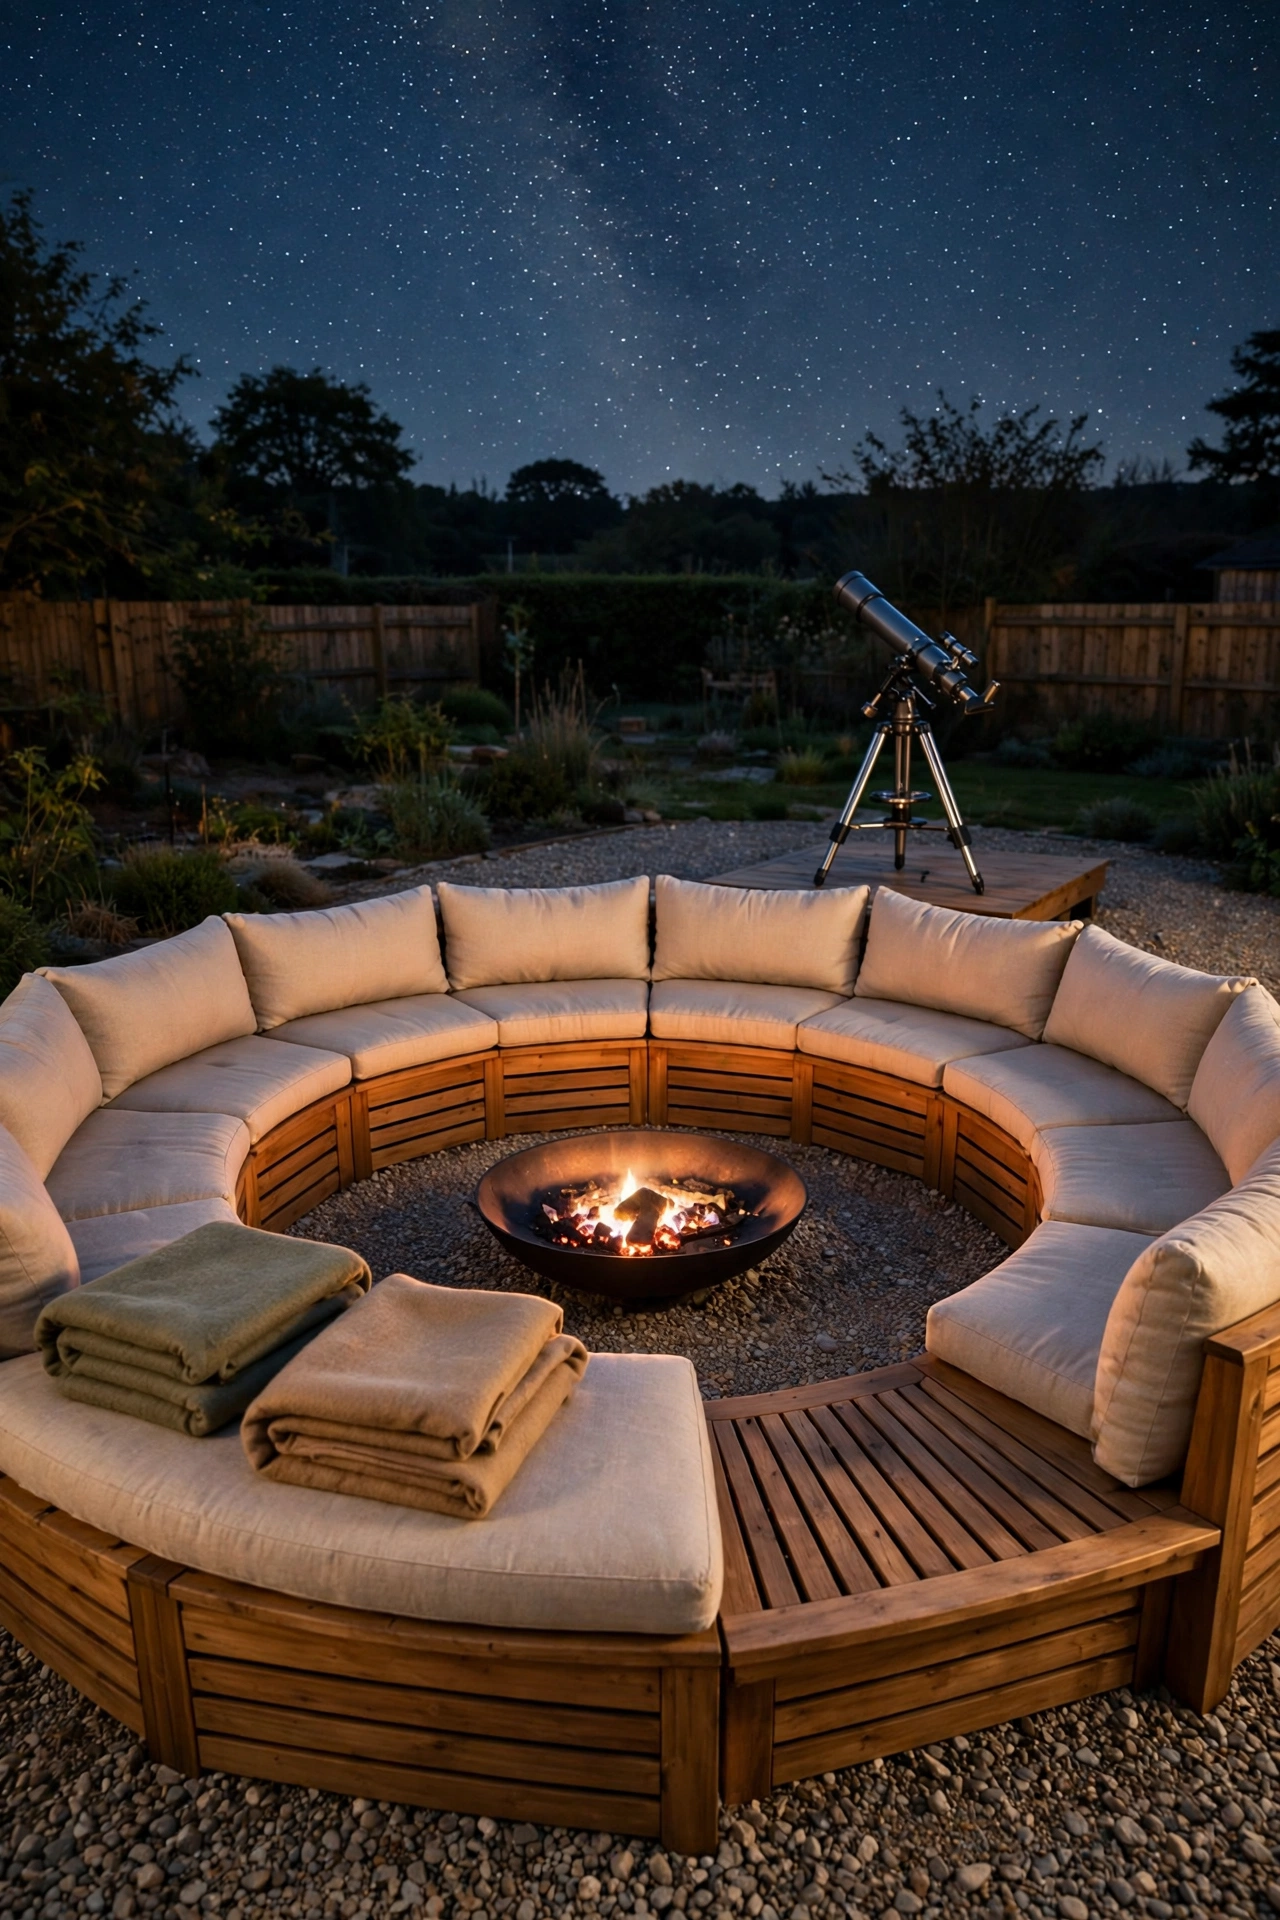
Built-in benches arranged in a circle around a low fire bowl create a social stargazing spot where friends and family gather between turns at the telescope. The benches face inward for conversation and outward for sky watching, and the fire bowl gives warmth and a soft glow that never overpowers the stars. The telescope stands on a pier just outside the circle, ready whenever someone wants a closer look.
Build the benches from warm wood or stone with thick cushions, and keep the fire bowl low and small so the flames stay below eye level. A ring of gravel or pavers under the seating area keeps the ground clean and dry, and a stack of folded blankets on one bench invites guests to stay long after the fire burns low. This setup turns stargazing into a shared evening, not a solitary hobby.
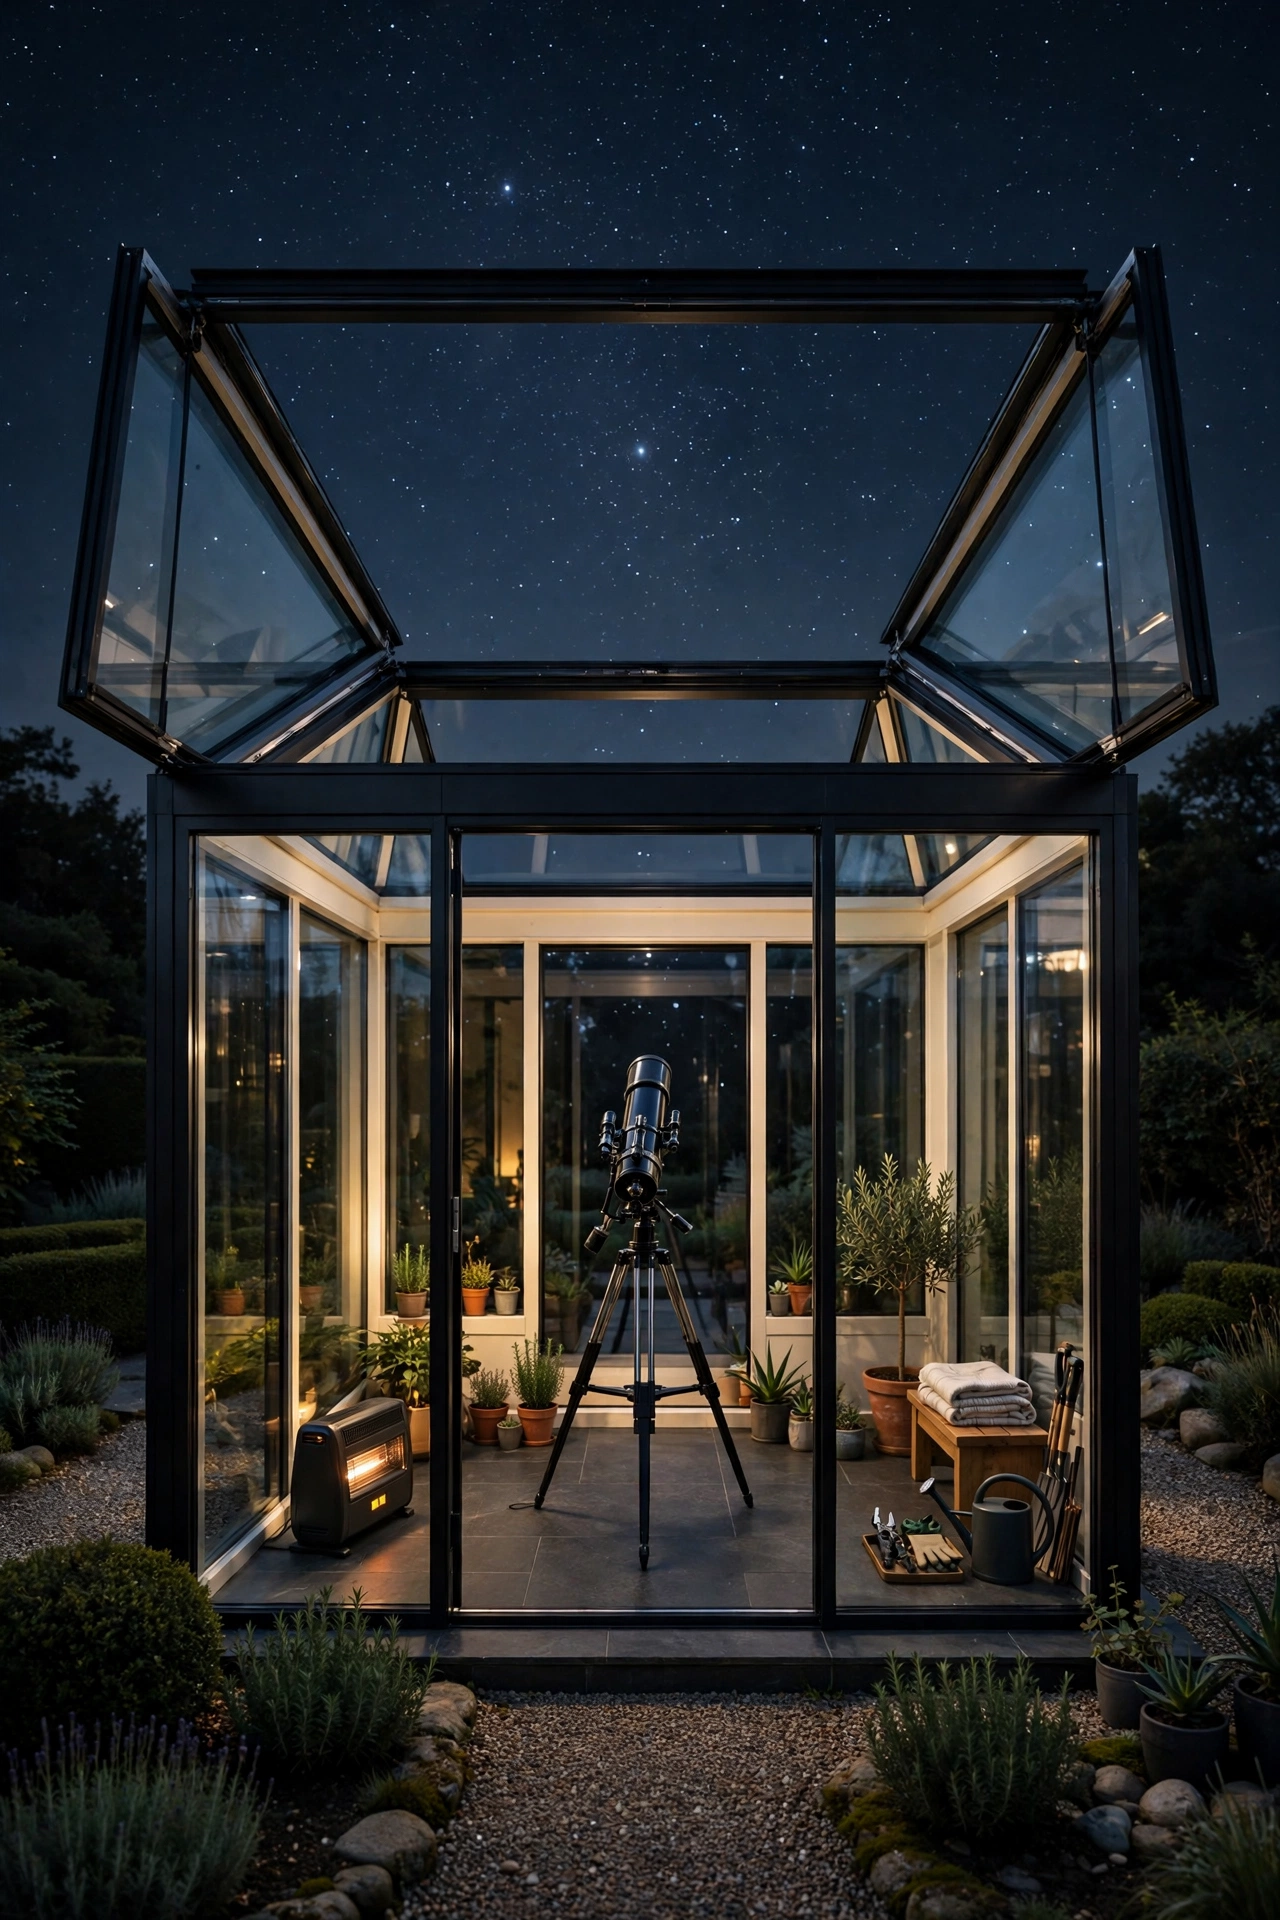
22. Slide Glass Roof Panels Open Over the Telescope
Glass roof panels that slide open turn a garden room into an observatory with a view straight up. On cloudy nights the panels stay closed and the room works as a cozy garden studio, but on clear nights the panels glide apart and the telescope sees the zenith directly overhead. The glass walls keep out wind and dew while the open roof keeps the sky unobstructed.
Use toughened glass in slim frames, and add a simple track system that lets one person slide the panels with ease. A blackout blind on the glass walls blocks neighbor lights during observing, and a small heater keeps the room comfortable on cool nights. This design suits gardeners who want a beautiful glass room by day and a serious observing space by night.
23. Pop Up a Portable Observatory Shelter
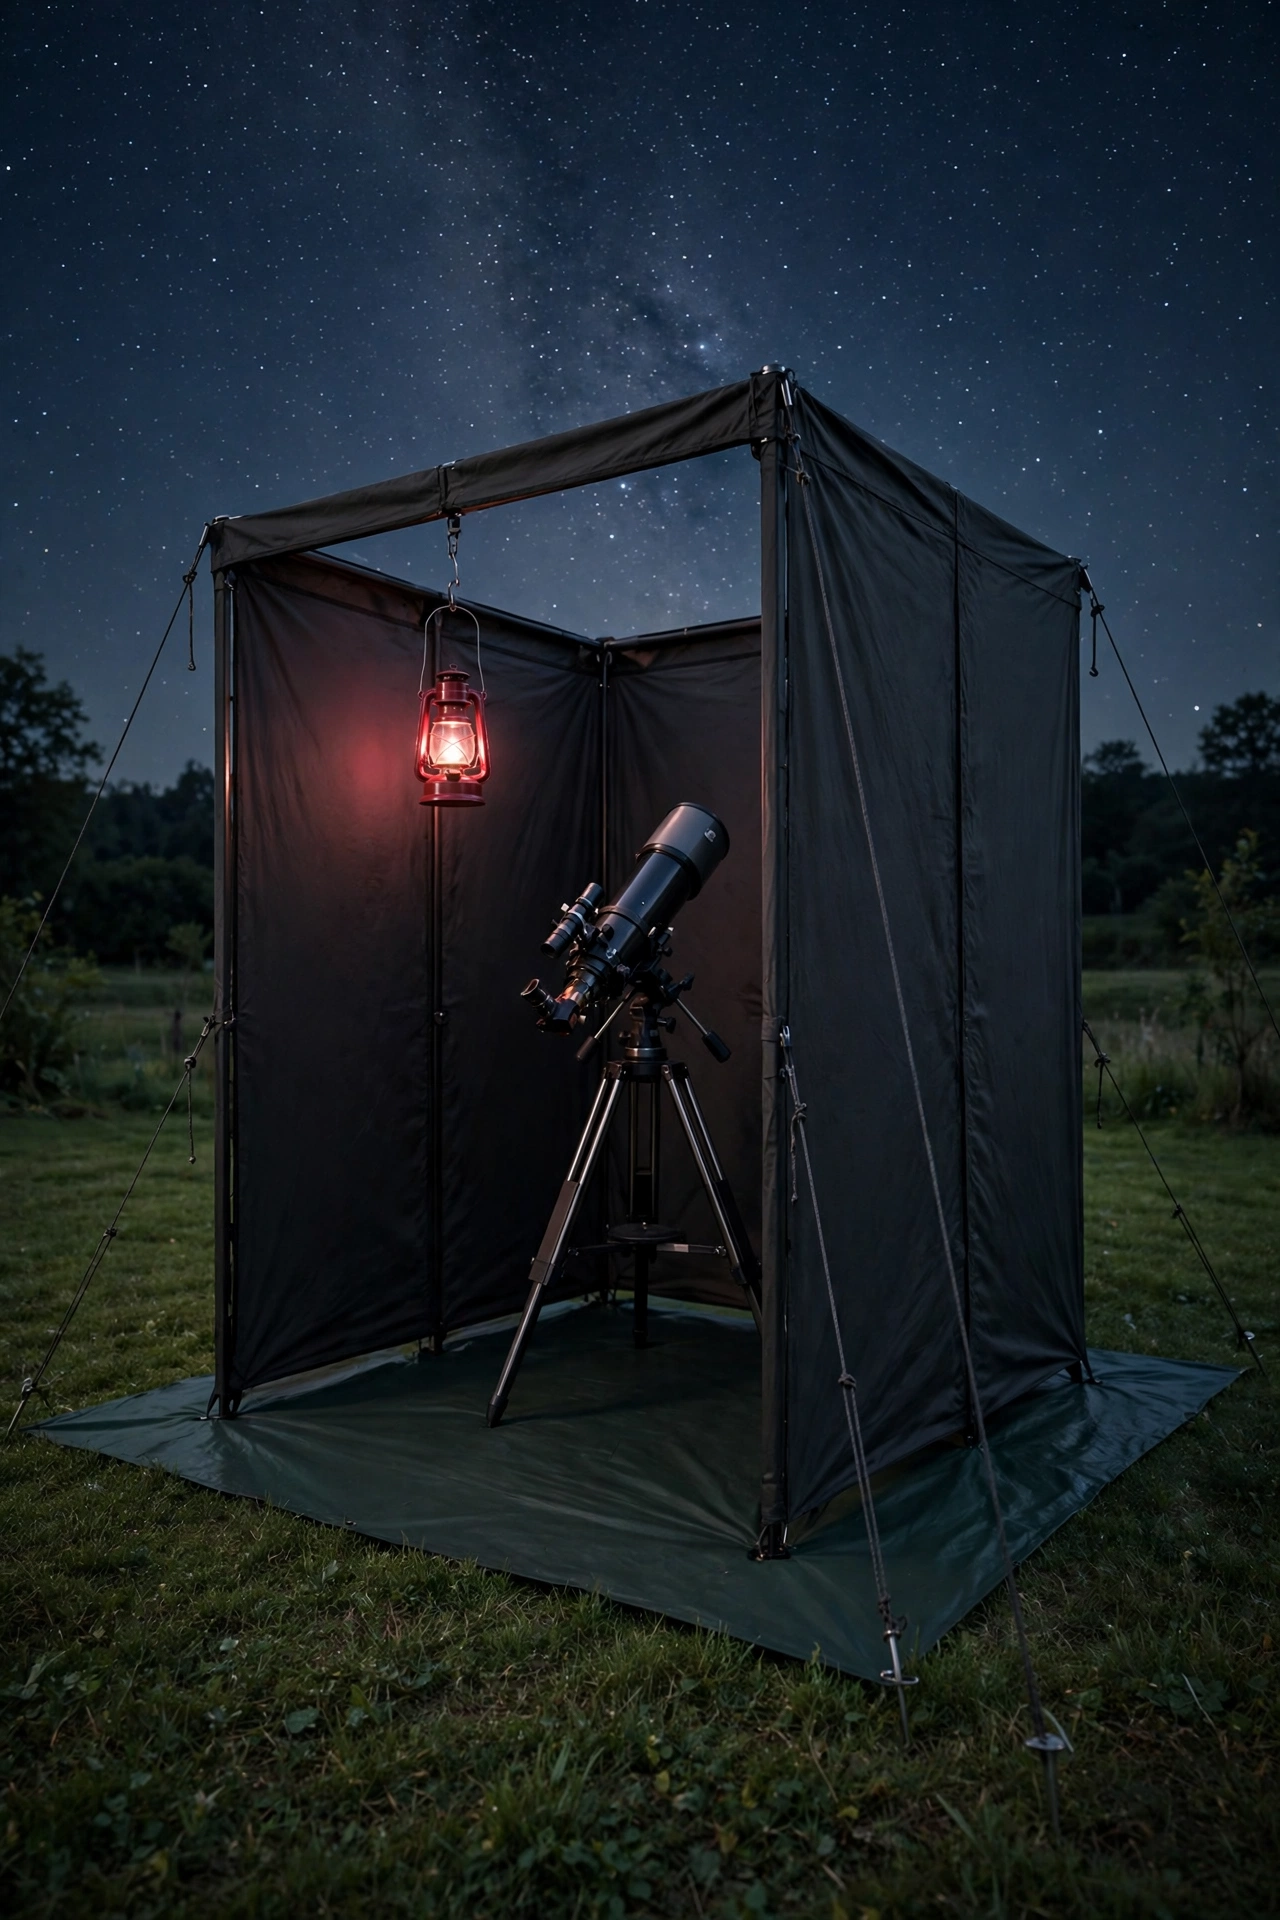
A portable observatory shelter is a lightweight canopy or tent frame that sets up over the telescope in minutes and folds away into a carry bag. The shelter blocks wind, dew, and stray light while leaving the top open to the sky, and it travels easily to darker sites beyond the backyard. Four legs, a fabric roof ring, and a few guy ropes are all it takes.
Choose a shelter with dark, matte fabric that does not reflect light, and stake the legs firmly so a night breeze never moves it. A ground sheet under the telescope keeps dew off cases and charts, and a small red lantern hangs from the frame for chart reading. Portable shelters are the most flexible observatory of all, because the observatory goes wherever the darkest sky happens to be.
24. Shield the Deck With a Low Windbreak Fence
A low windbreak fence around a stargazing deck blocks the breeze that shakes telescopes and chills observers, without rising high enough to block the sky. Solid wood panels or woven reed screens sit at sitting height, so the view upward stays completely open while the air at deck level stays calm. The fence also blocks low glare from streetlights and neighbor windows.
Build the windbreak from warm cedar boards with small gaps for drainage, and cap the top with a smooth rail that doubles as a rest for elbows and binoculars. Plant low shrubs along the outside of the fence to soften the look from the rest of the garden. A calm, sheltered deck makes long observing sessions far more comfortable, and steady air means sharper views through the eyepiece.
25. Pour a Vibration-Isolated Concrete Footing for the Pier
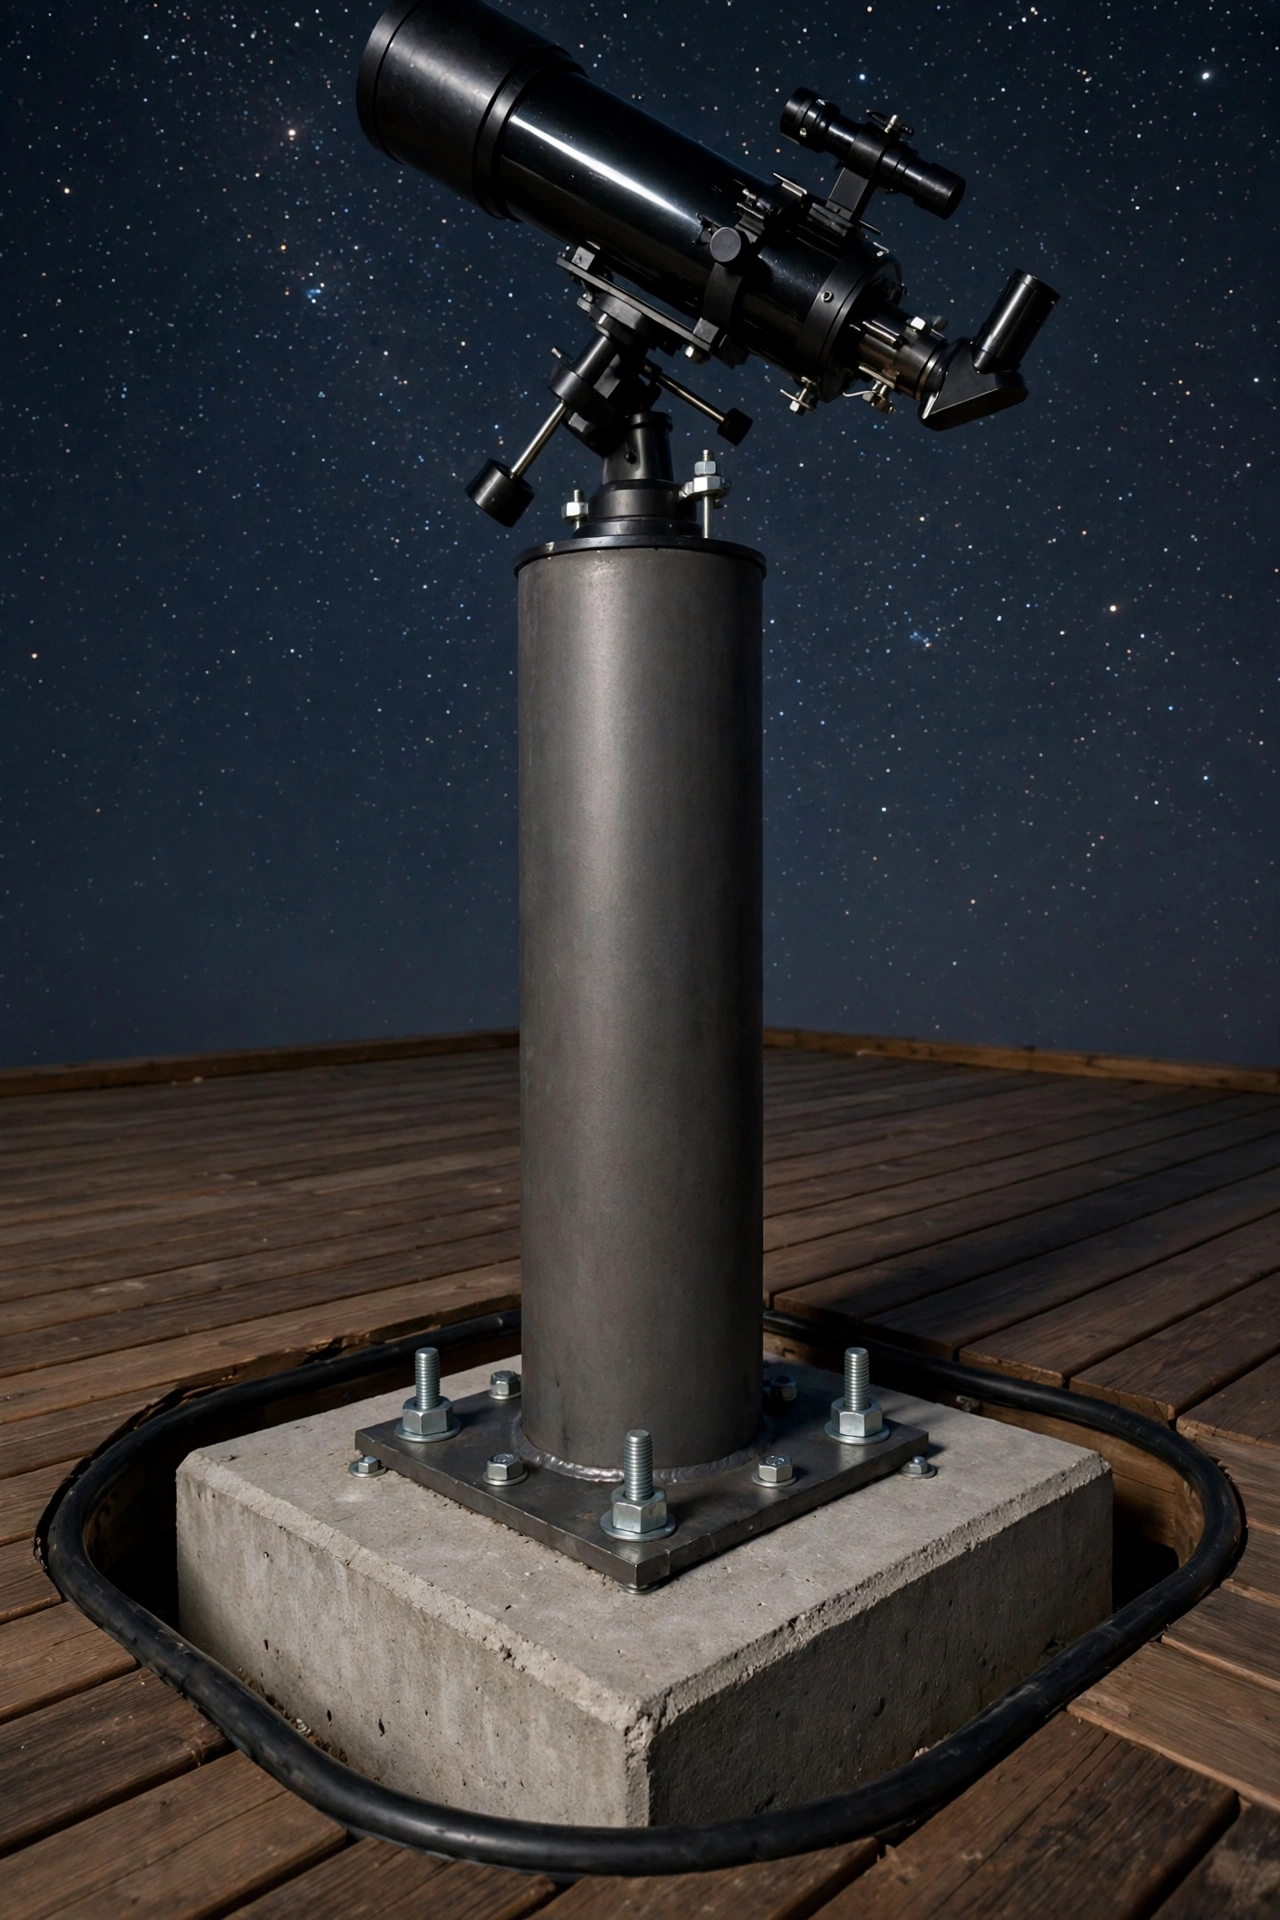
A vibration-isolated footing is a concrete pier base that stands separate from the surrounding deck or patio, so footsteps, closing doors, and passing traffic never shake the telescope. The footing goes deep into the ground, below the frost line, and a gap filled with soft material separates it from the deck frame. The result is a mount so steady that high-magnification views stay rock solid.
Pour the footing from reinforced concrete with anchor bolts set in the top, and cap it with a steel pier that bolts down firmly. Keep the deck boards cut neatly around the pier with a small gap, and cover the gap with a flexible trim that hides the joint without touching the pier. This is the single best upgrade for planetary and lunar observing, where even tiny vibrations blur fine detail.
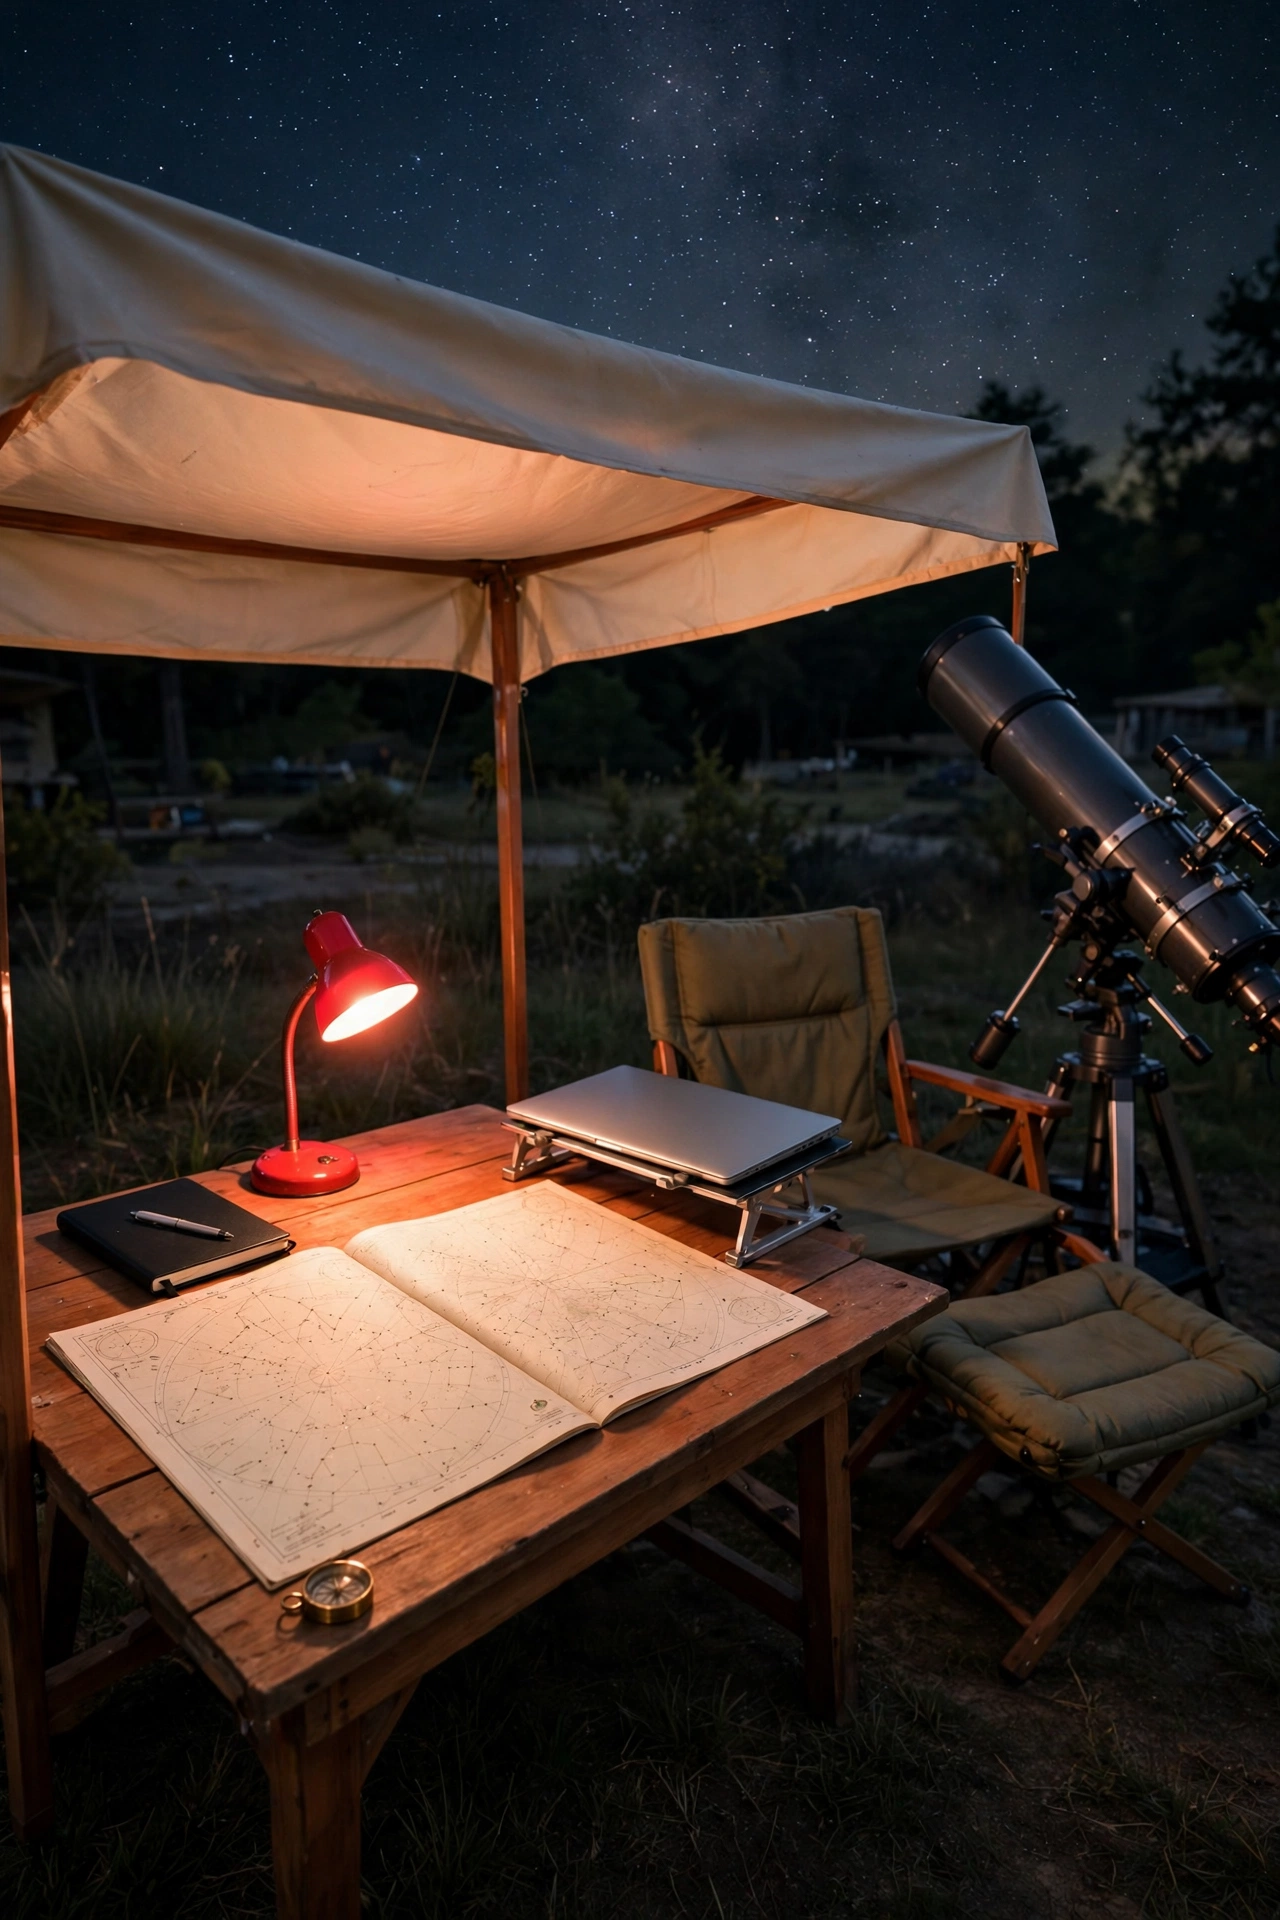
26. Set Up a Chart Table and Astronomy Desk Station
A chart table and astronomy desk station gives the observer a proper place to plan, record, and study, right beside the telescope. The table holds star atlases, a notebook, and a red desk lamp, while a laptop on a small stand runs planetarium software and camera controls. A comfortable chair and a footrest make long planning sessions pleasant.
Place the desk station under a small canopy or beside the observatory wall so dew never reaches the paper charts, and add a drawer for pencils, filters, and spare batteries. A clipboard with an observing log keeps a record of every target, date, and seeing condition, which turns casual nights into a real astronomy journal. A dedicated desk elevates the whole observatory, because the planning is half the pleasure of the hobby.
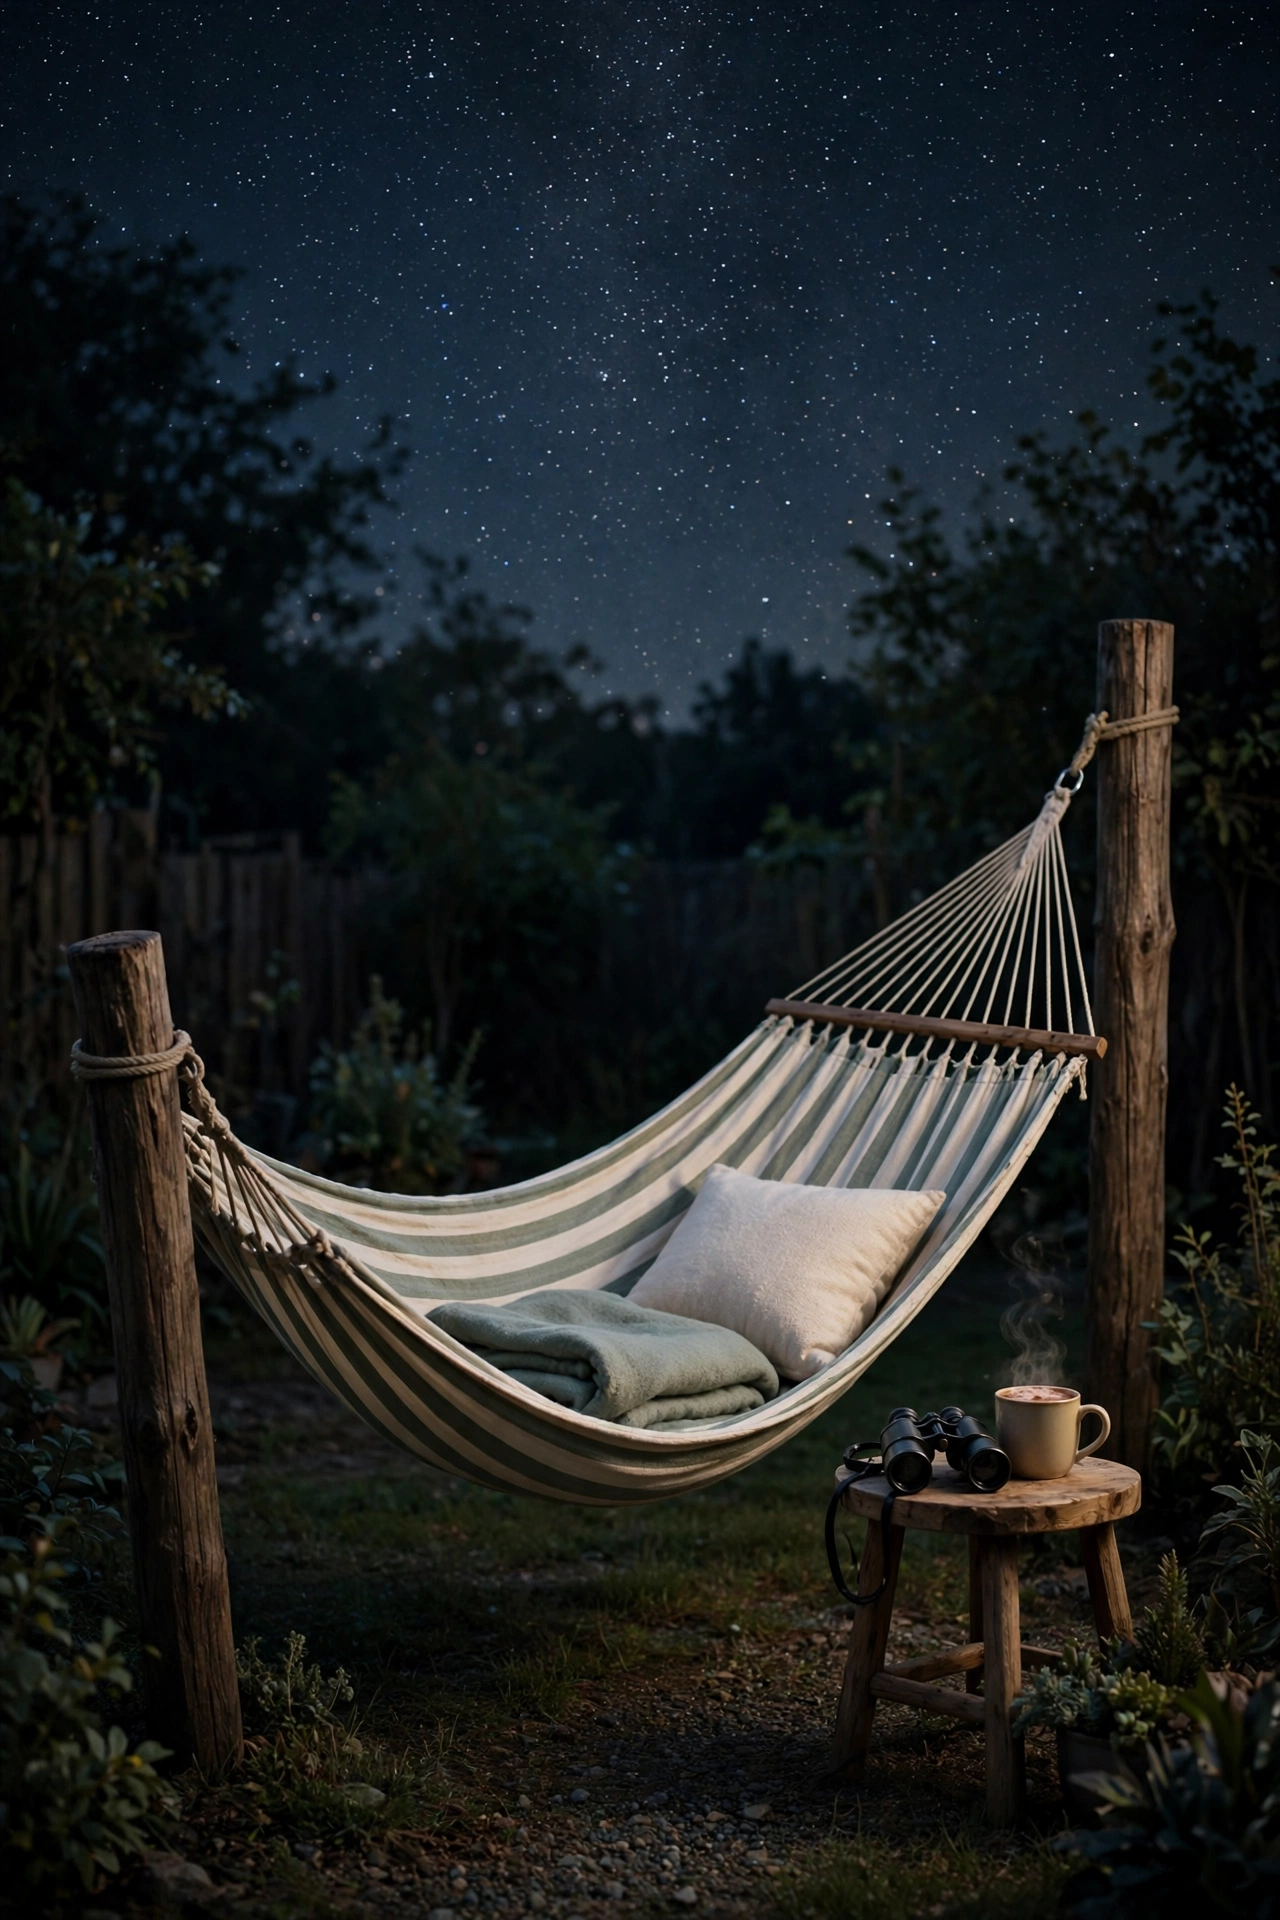
27. Hang a Hammock for Reclined Sky Watching
A hammock strung between two sturdy posts or trees is the simplest and most comfortable way to watch the sky with no telescope at all. You lie back, the whole sky opens above you, and meteor showers, satellites, and constellations drift past in total comfort. A warm sleeping bag or a stack of blankets keeps the hammock cozy on cool nights.
Hang the hammock low enough to step in and out safely in the dark, and place it in the darkest part of the yard, away from house lights. A small side table beside the hammock holds binoculars and a warm drink, and a soft pillow supports the head for hours of relaxed viewing. A hammock observatory costs almost nothing, yet it delivers some of the most memorable nights under the stars.
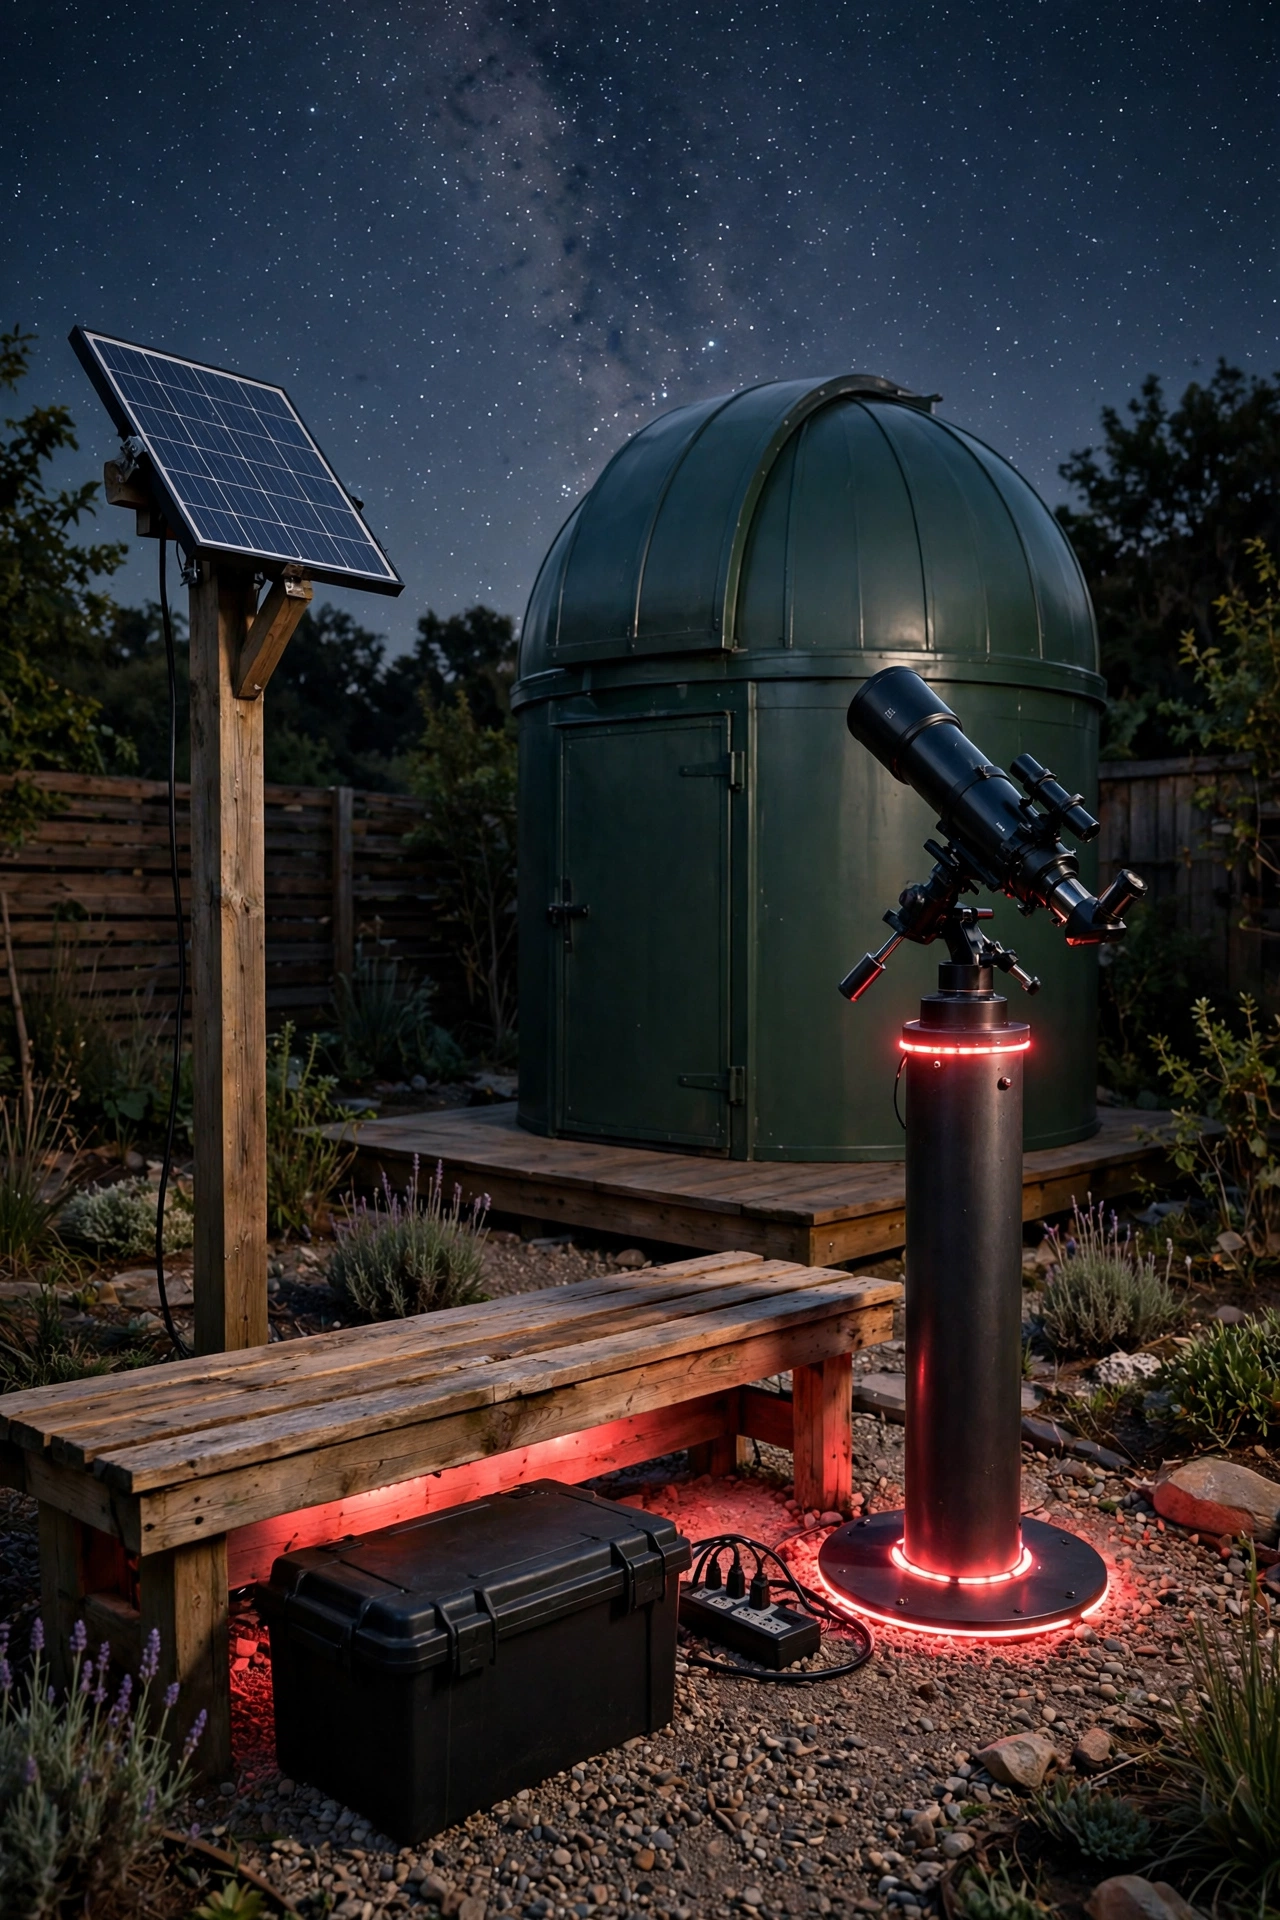
28. Power the Observatory With a Solar Station and Red Lighting
A solar power station frees the observatory from extension cords and house outlets, with a panel charging a battery that runs the telescope mount, dew heaters, and red lights all night. The panel sits on the observatory roof or a nearby post, soaking up sun all day, and the battery box stays tucked under a bench or inside a weatherproof cabinet. The setup is quiet, clean, and independent.
Size the battery to cover the mount, a dew heater strip, and a few red lamps for a full night, and add a small power strip with clearly labeled outlets for each device. Red strip lights under the bench and along the pier base give soft, even light that never harms night vision. Solar power suits remote corners of large yards where running a cable would be costly or ugly.
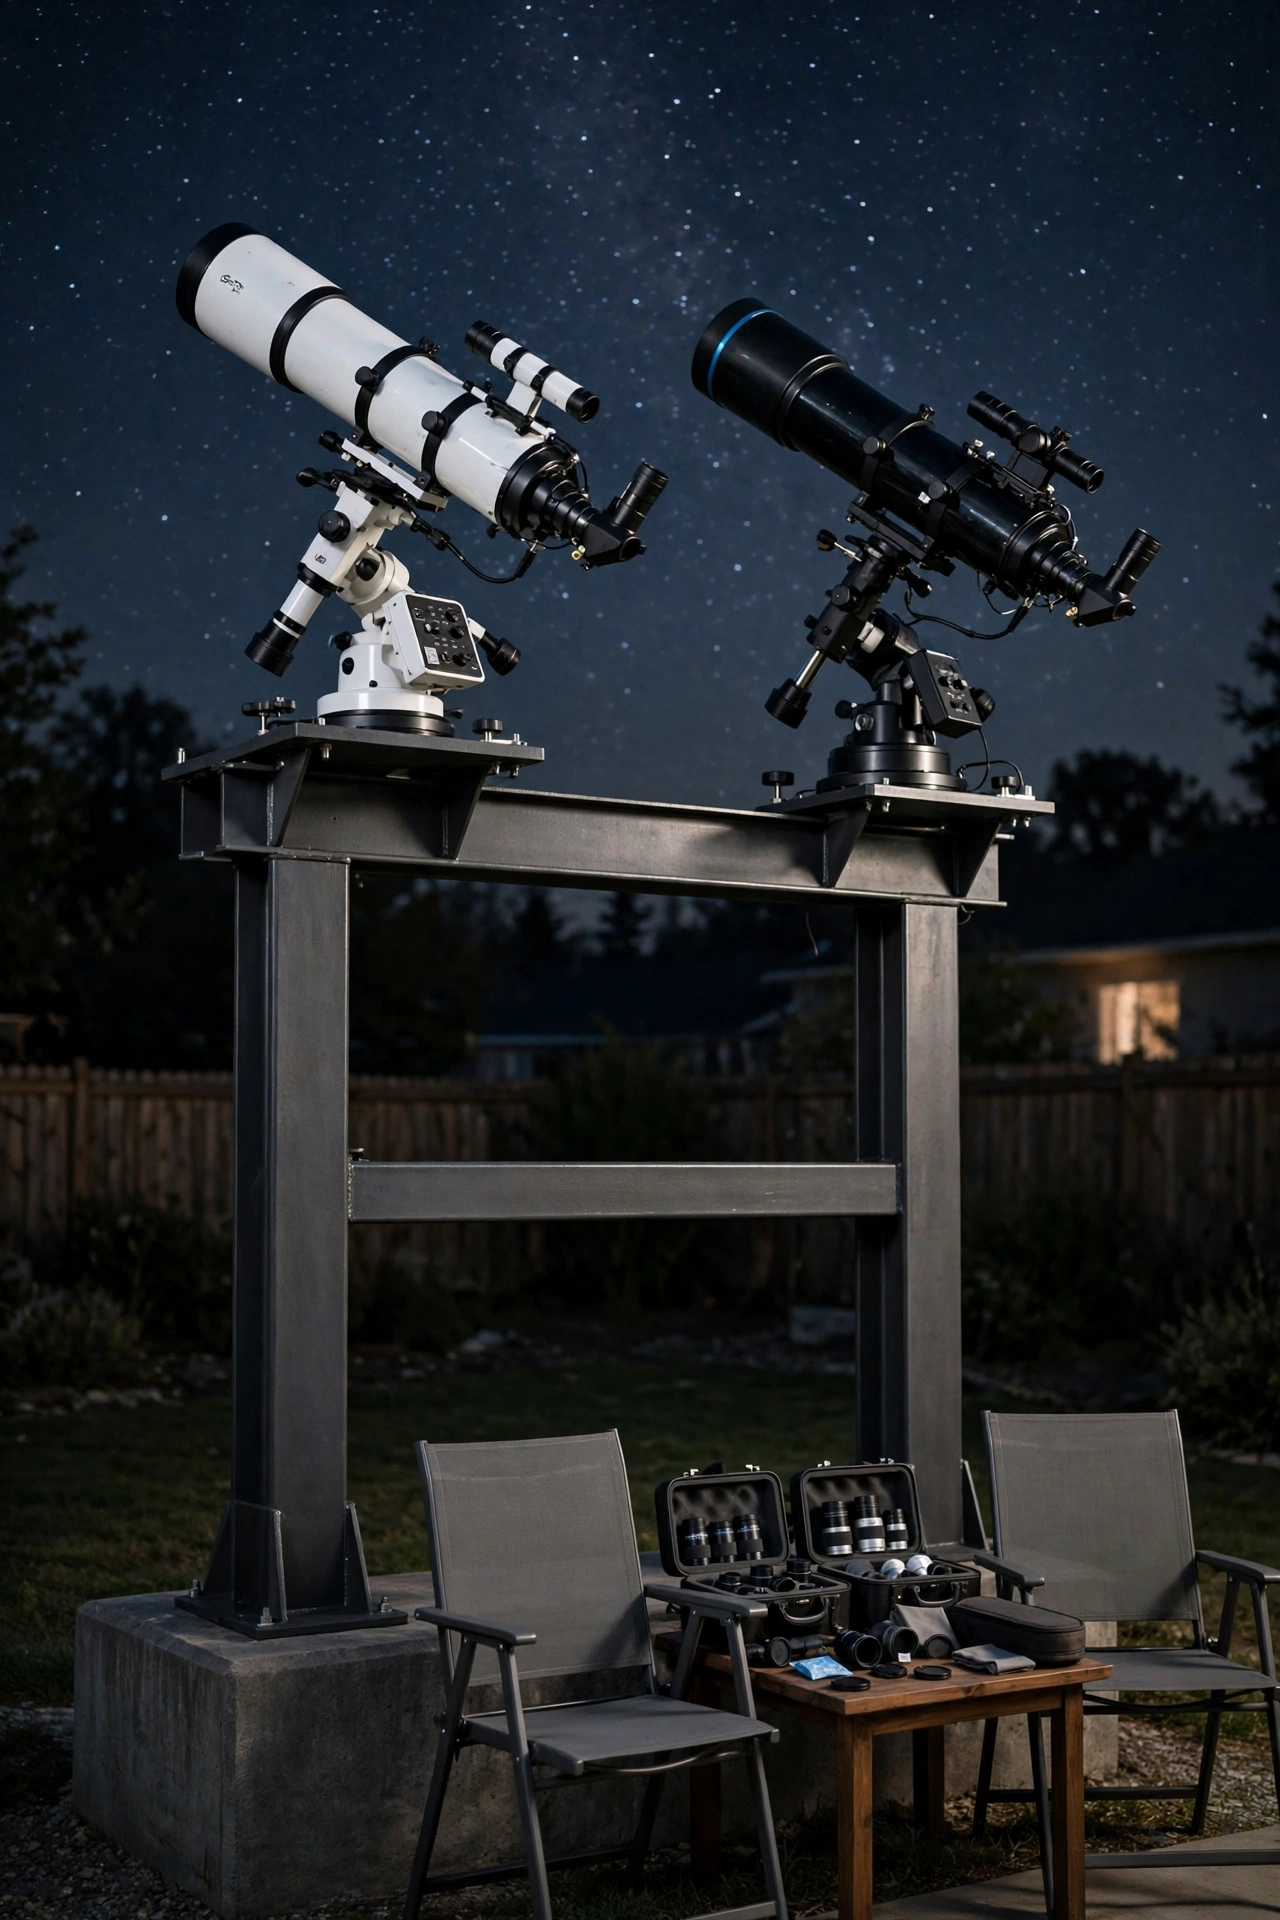
29. Mount Two Telescopes on a Dual Pier
A dual pier holds two telescopes side by side on one sturdy mount, so two observers can share the same sky without waiting for turns. One telescope can carry a wide-field eyepiece for sweeping views while the other runs high magnification on a planet, and both stay aligned on the same target. The shared pier keeps the setup compact and the cost of the mount down.
Build the pier from a wide steel column with two mounting plates, and anchor it to a deep concrete footing so the extra weight stays perfectly steady. Two chairs sit side by side, and a shared table between them holds eyepiece cases and charts for both scopes. A dual pier is wonderful for families and astronomy clubs, because nobody waits and everyone watches together.
30. Surround the Observatory With a Night-Blooming Garden
A night-blooming garden around the observatory fills the air with fragrance and gives the eyes something beautiful to enjoy while they adapt to the dark. Moonflowers, evening primrose, night-scented stock, and white jasmine open as the sun sets, glowing pale in the starlight and attracting moths that add gentle movement to the night. The garden makes the walk to the telescope a sensory pleasure.
Plant the night bloomers in beds around the observatory pad, with pale gravel paths that catch the starlight and guide your steps. Keep the beds low near the telescope so no tall stems block the horizon, and add a bench where you can sit and enjoy the scent between observations. For a full planting plan that glows after dark, these moon garden ideas will help you choose flowers that shine brightest when the stars come out.
Conclusion
A backyard observatory is not about the size of the building or the price of the telescope. It is about having a ready, comfortable place to look up whenever the sky clears. A dome, a deck, a pier, or even a hammock can be the start of a lifelong habit of stargazing, as long as the setup is easy to use and a pleasure to visit.
Start with the idea that fits your yard today, and let the observatory grow as your interest grows. Add red lights first, then a pier, then a shelter, and each clear night will reward the effort many times over. For calm evenings that begin long before the stars appear, these outdoor yoga space ideas will help you plan a peaceful routine that ends with quiet time under the night sky.
Frequently Asked Questions About Outdoor Observatory Ideas for Backyard Stargazing
Do I need planning permission for a backyard observatory?
Most small observatories fall under the same rules as garden sheds, but limits on height, size, and distance from boundaries vary by location. A dome or roll-off roof shed under the local height limit usually needs no special permission. Check with your local planning office before you build, especially for towers or rooftop platforms.
How dark does my backyard need to be for stargazing?
You can enjoy the Moon, planets, bright star clusters, and double stars even from a suburban yard with streetlights nearby. Faint galaxies and nebulae need darker skies, but a light-blocking fence, red lighting, and a sheltered observing spot all help a great deal. The darkest corner of your yard, away from house lights, is always the best place to start.
What is the best surface under a telescope?
A level concrete pad, stone patio, or wooden deck gives tripod legs a steady footing and keeps equipment clean and dry. Grass works for short sessions, but soft ground can shift and sink under heavy mounts. Whatever surface you choose, keep it level, firm, and free of tripping hazards in the dark.
Should the telescope stay outside in the observatory?
Yes, a telescope that lives in a weatherproof observatory stays at outdoor temperature, which means sharper views with no waiting for the optics to cool down. Keep the observatory dry and ventilated, cover the telescope when not in use, and store eyepieces in sealed cases to protect them from damp air.
How do I protect my night vision while observing?
Use only red lights around the observatory, since red light preserves the dark adaptation of your eyes. Avoid phone screens or cover them with a red filter, and give your eyes at least twenty minutes in the dark before expecting faint objects to appear. Ask guests to arrive before dark adaptation begins, so no white light interrupts the session.

Hi, I’m Emily! I turn messy corners into cozy, organized spots. DreamNestDecor is where I share simple, practical home ideas — decor, organization, and small-space solutions that work in real life, not just in photos. Every idea here is carefully researched before it’s shared.