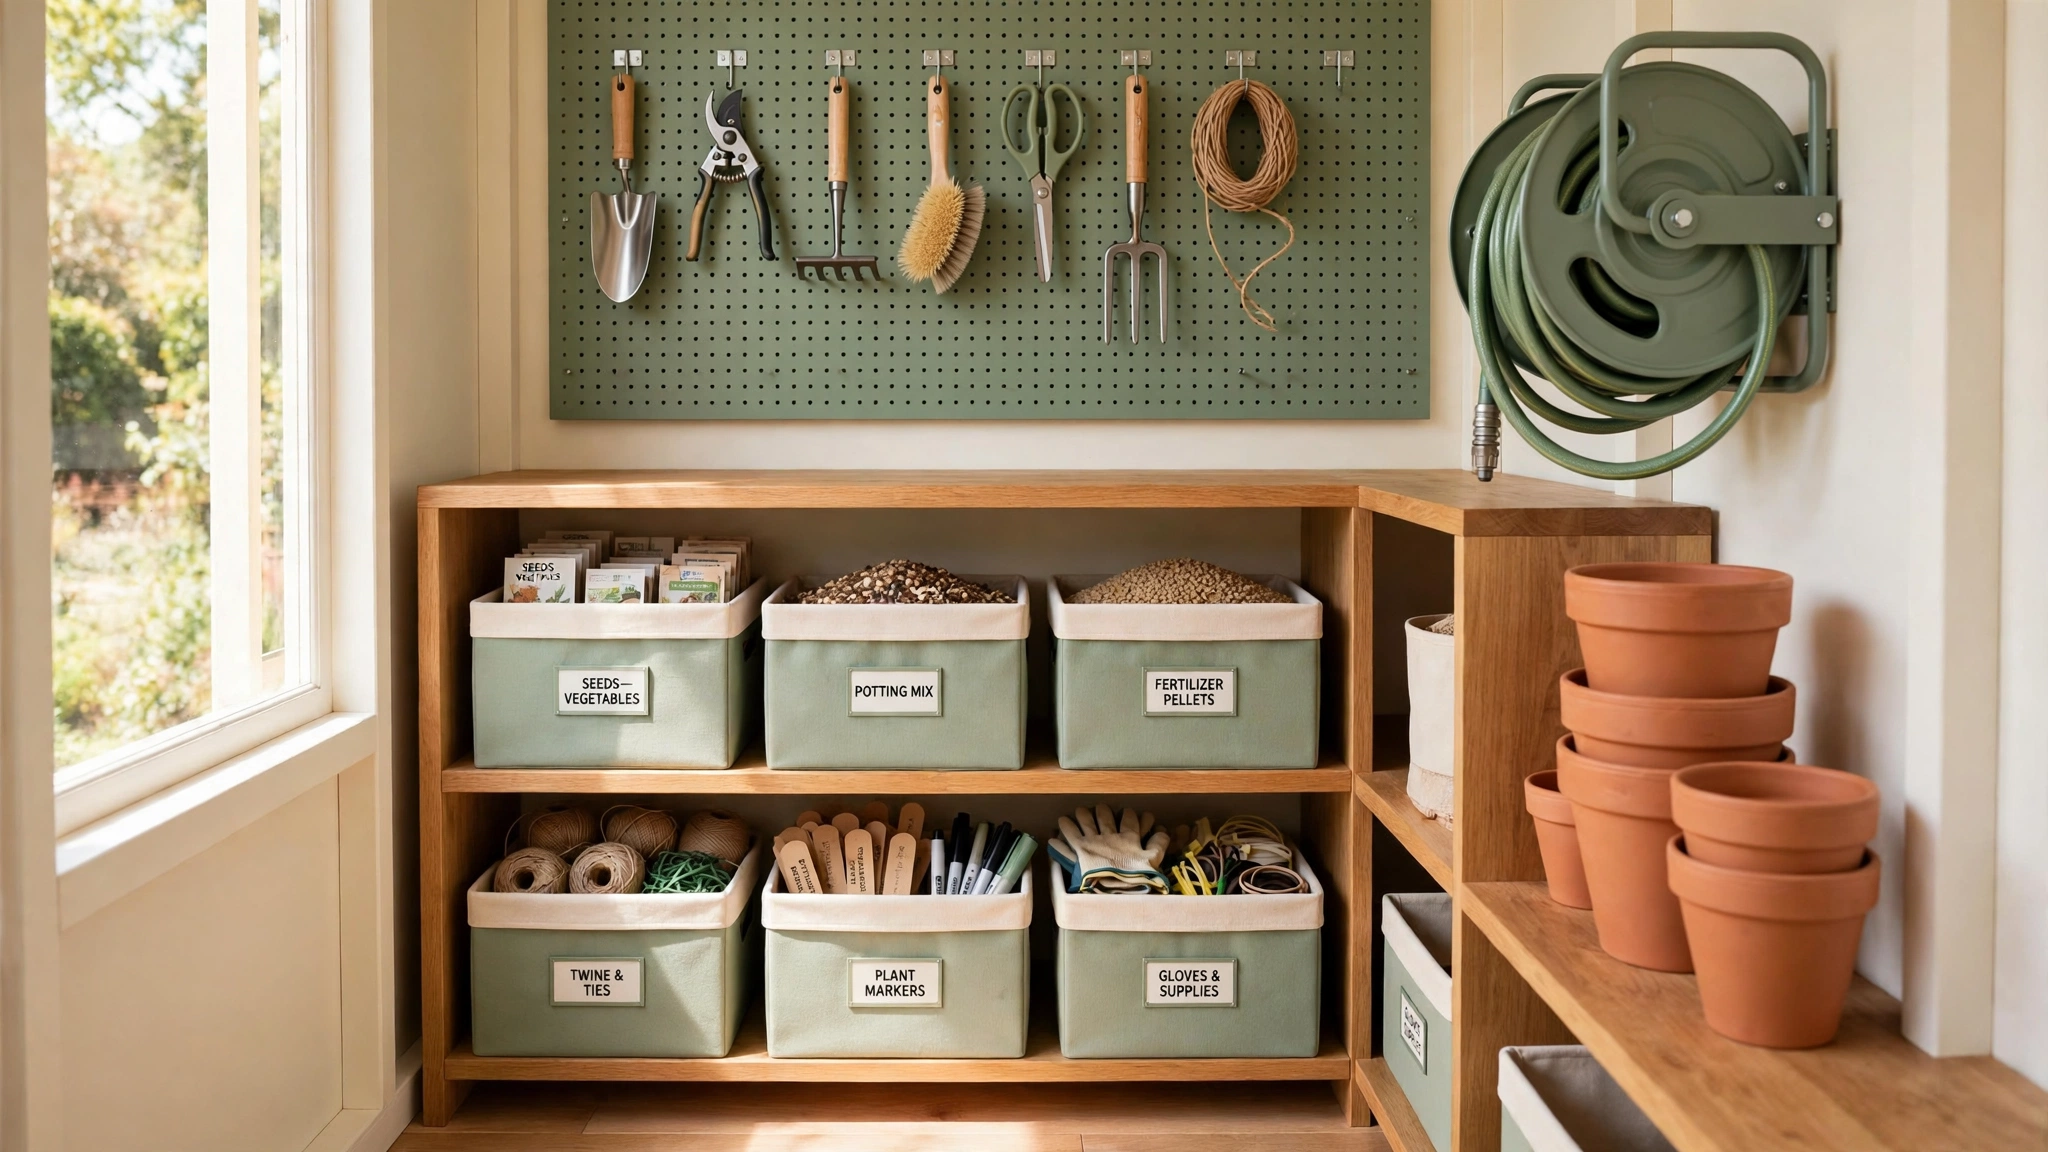
Picture this: you walk into your shed on a sunny Saturday morning, ready to plant, and every tool is exactly where it belongs. The trowel hangs on its hook, the hose is coiled neatly on the wall, and the pruning shears sit clean and sharp in their spot. You grab what you need and head straight to the garden, with no digging through a tangled pile and no wasted time.
You do not need a bigger shed or an expensive storage system to get there. All you need is a simple plan that gives every tool a home and keeps the tools you use most within easy reach. These 21 garden tool organization ideas will help you turn a cluttered shed or garage corner into a tidy workspace that makes every gardening day easier.
1. Mount a Pegboard Wall for Hand Tools
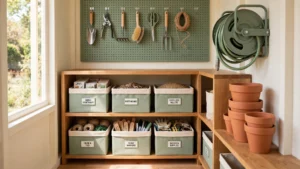
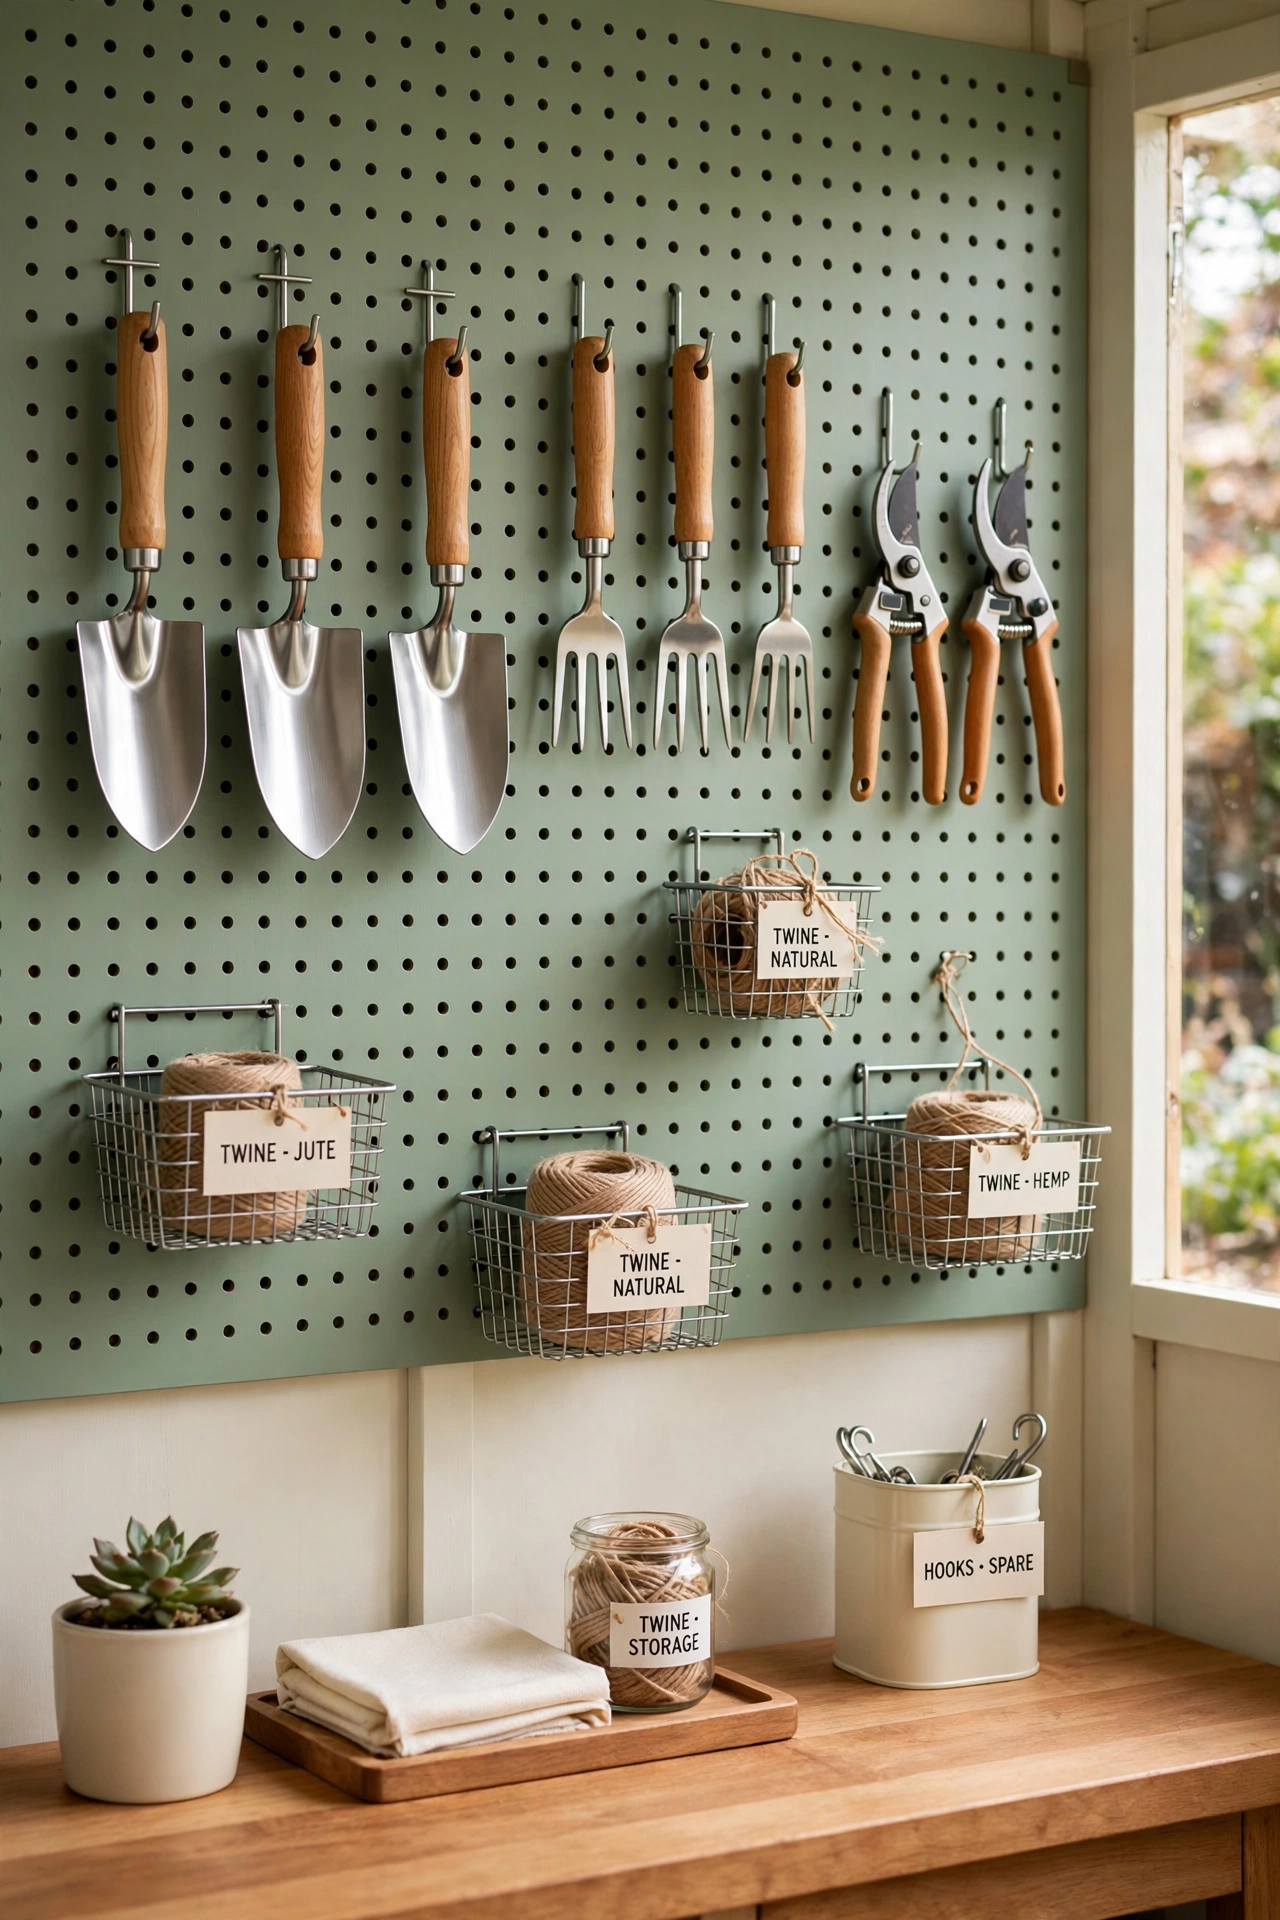
A pegboard wall is one of the simplest ways to organize hand tools, because every trowel, fork, and pair of shears hangs in plain sight. Mount a large pegboard panel on the shed wall, add sturdy hooks and small baskets, and arrange your most used tools at arm height. You can see everything at a glance, so you never waste time hunting through a box.
Paint the pegboard a soft sage green or warm cream so it looks like part of the shed rather than an afterthought. Group similar tools together, with cutting tools on one side and digging tools on the other, and leave a few empty hooks for new additions. A pegboard also grows with your collection, since you can move hooks around in seconds whenever your tool lineup changes.
2. Hang Long-Handled Tools on a Wall Rail With Clips
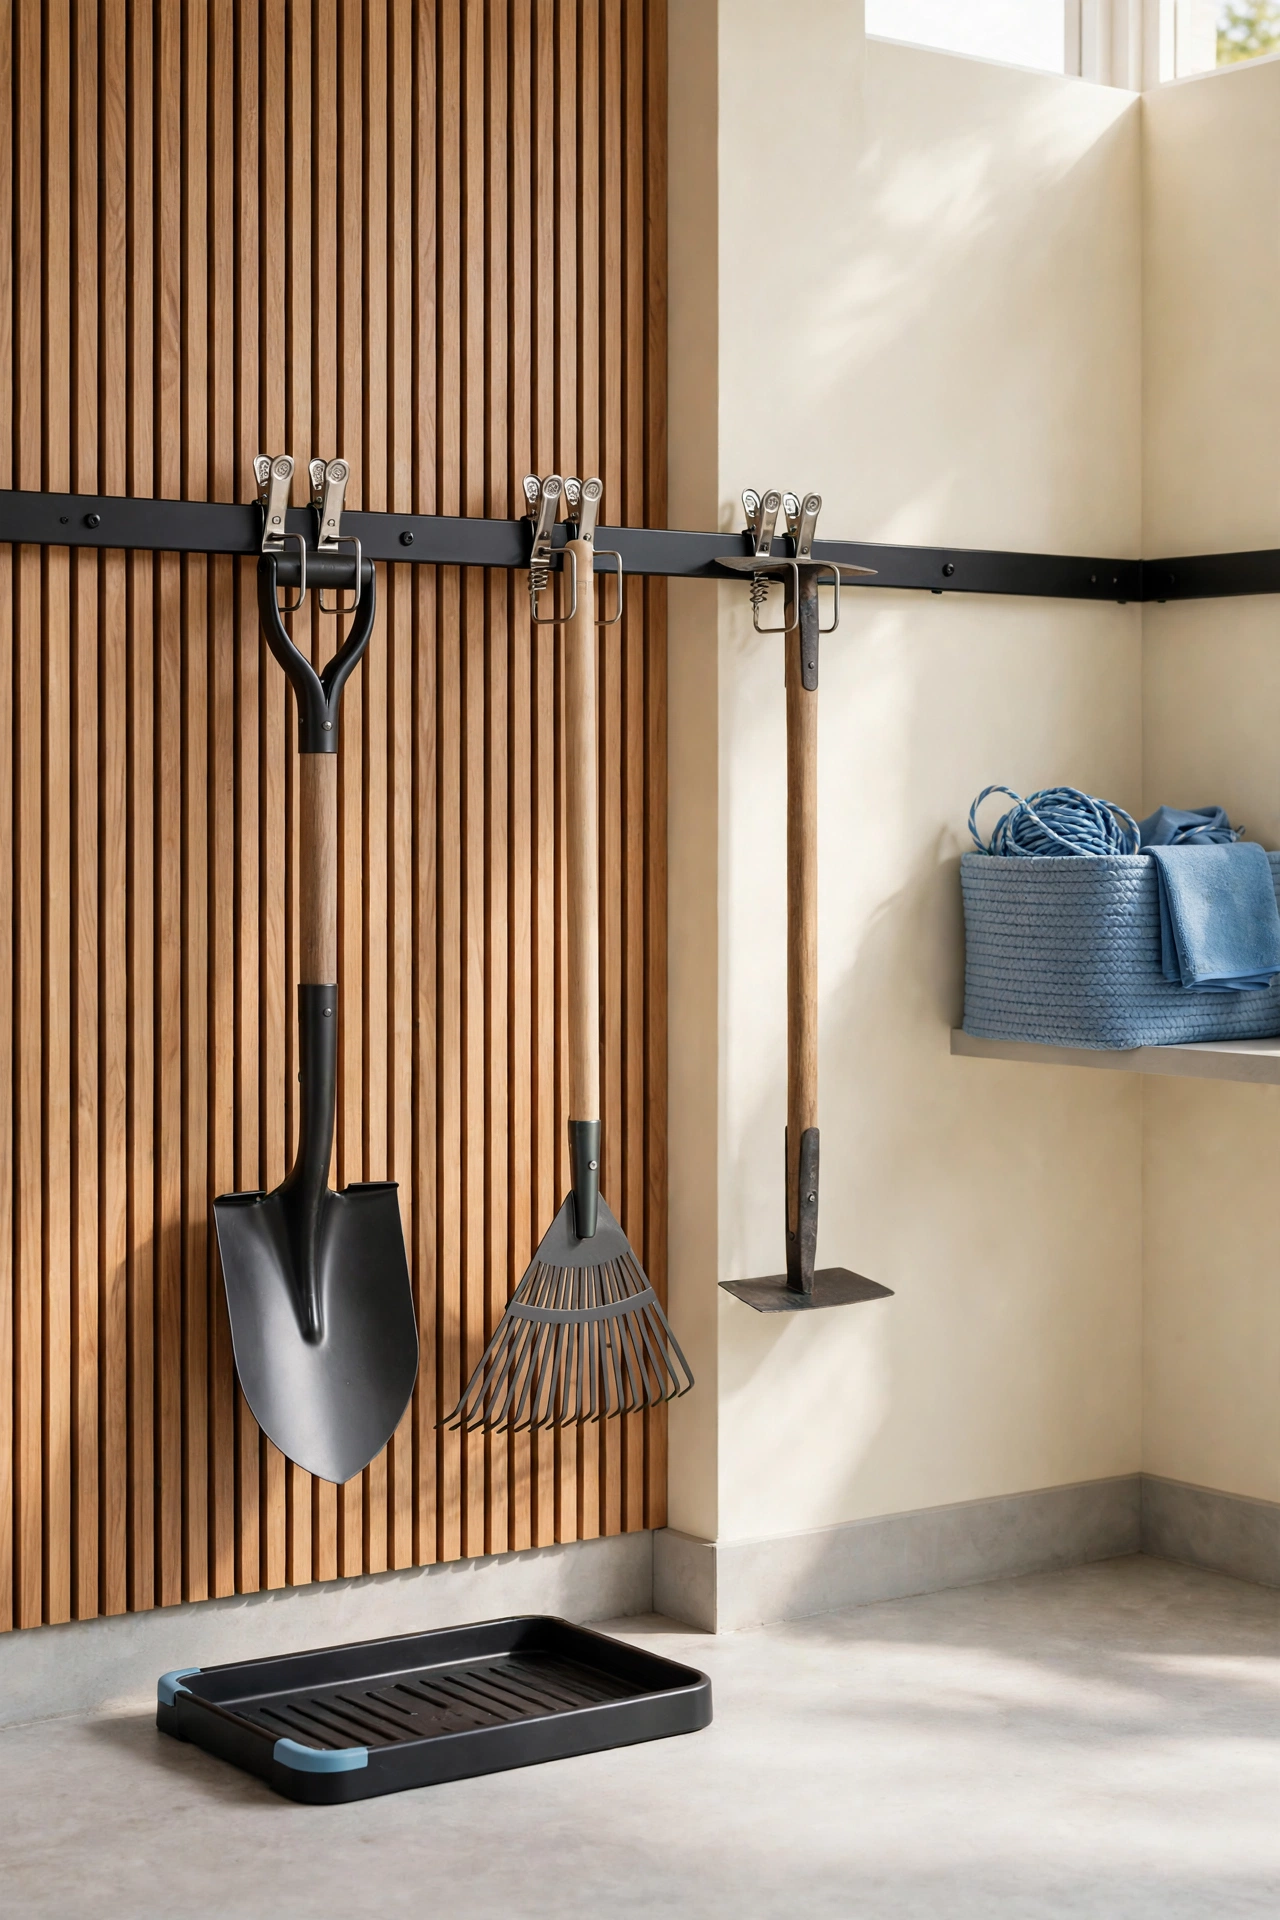
Shovels, rakes, and hoes are the hardest tools to store, because they slide, fall over, and tangle together in a corner. A wall rail with spring clips solves the problem by holding each long handle upright against the wall. Mount the rail at chest height, snap each handle into its own clip, and every tool stays separate, visible, and ready to grab.
Space the clips a few inches apart so the tool heads do not bump into each other, and place the heaviest tools closest to the door so you can reach them first. A rail system also keeps sharp blades off the floor, which is safer for feet and paws. If you store tools in the garage, this rail pairs beautifully with sturdy shelving, and these garage shelf organization ideas will help you plan the whole wall around it.
3. Build a Shadow Board With Painted Outlines
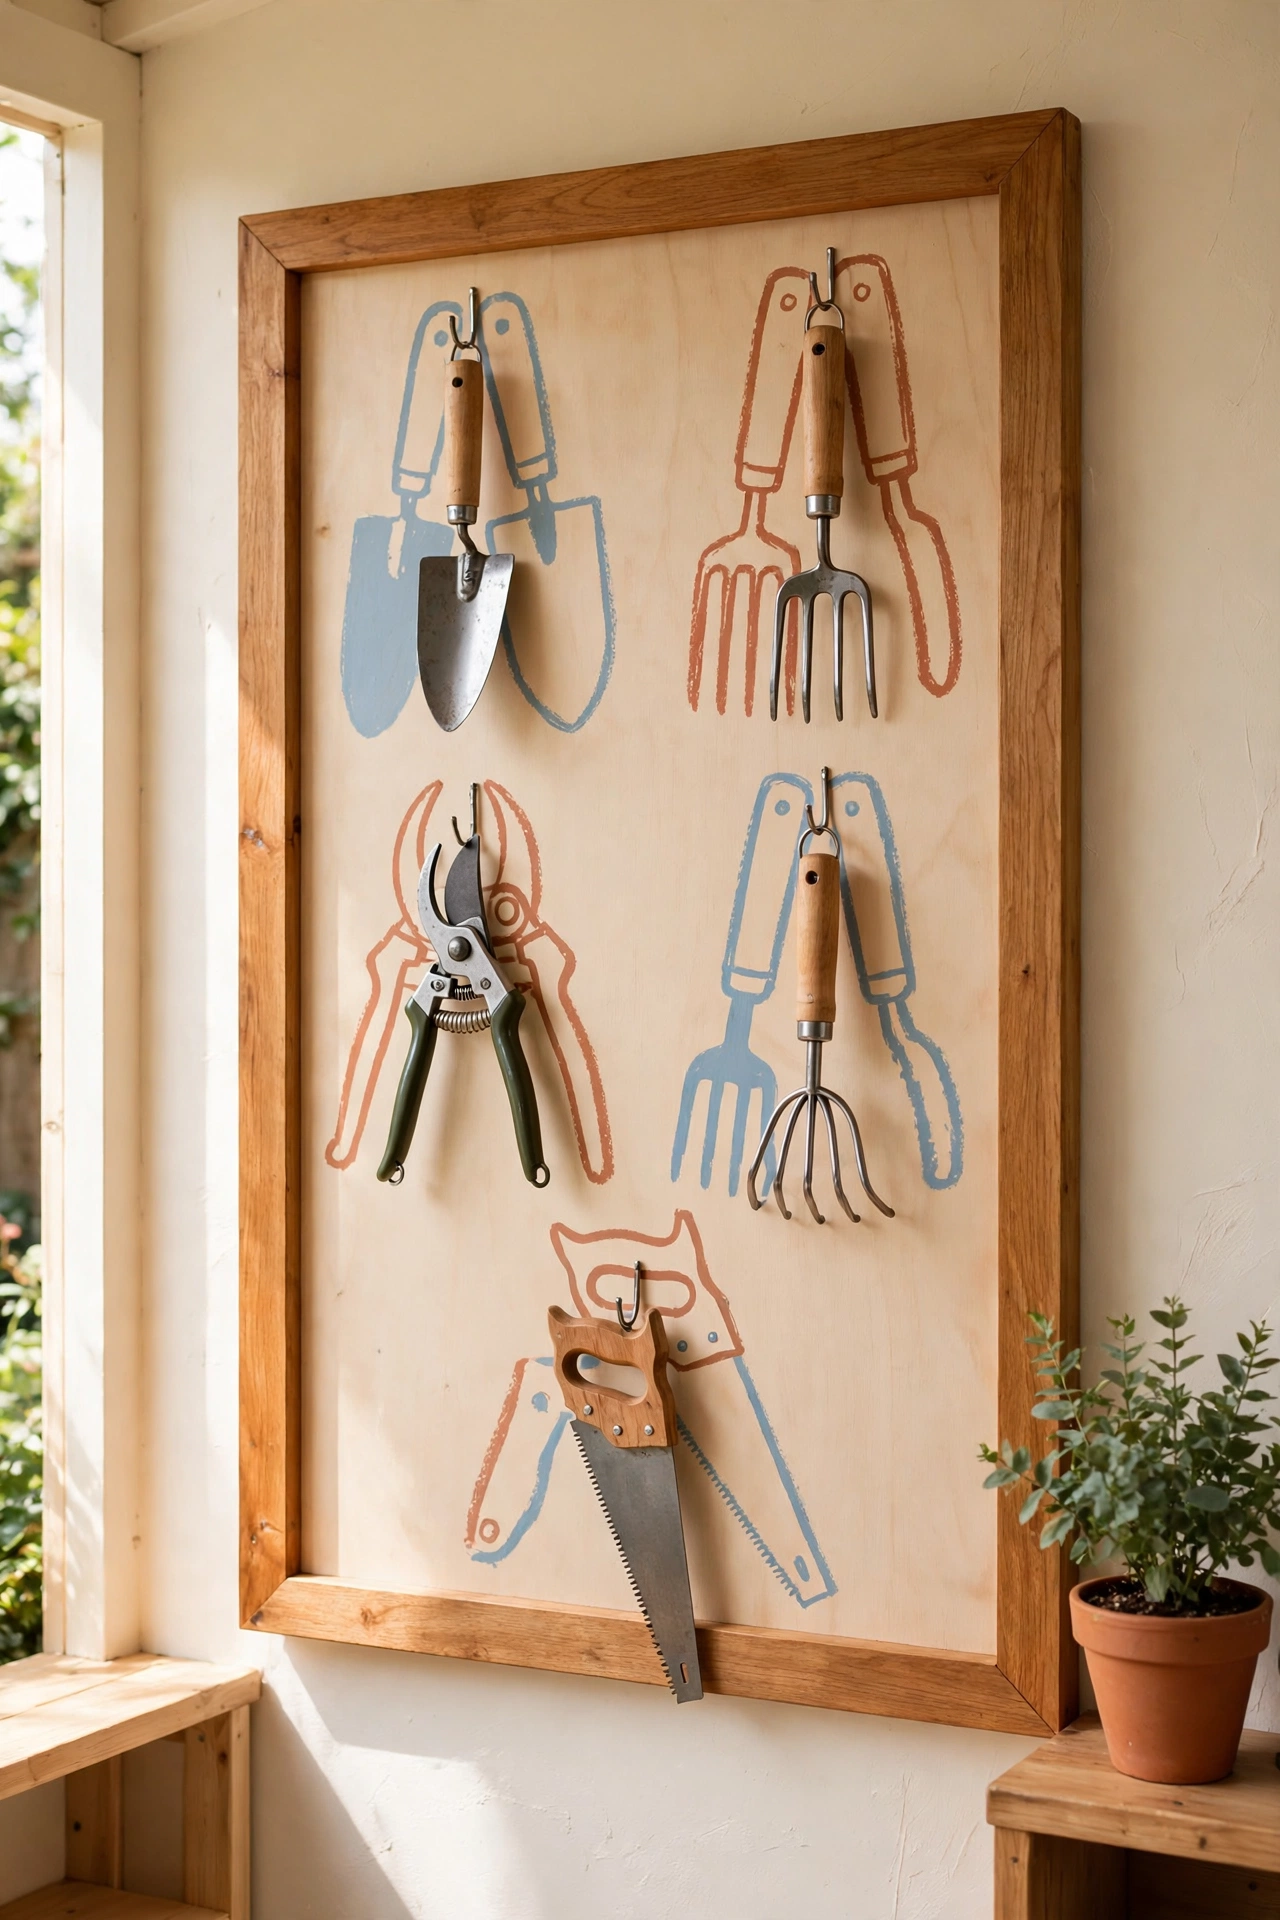
A shadow board takes a pegboard one step further by painting the outline of each tool directly on the board. Every hook has a matching silhouette, so you can see at a glance which tool is missing and exactly where each one belongs when you put it back. It is a system that works for the whole family, because no guessing is involved.
Trace each tool with a pencil, then paint the outline in a soft blue or terracotta shade that contrasts with the board. Hang the board near the shed entrance so returning tools becomes a quick habit at the end of every gardening session. Children love matching tools to their outlines, which makes cleanup feel more like a game than a chore.
4. Corral Shovels and Rakes in a Tall Tool Bin Station
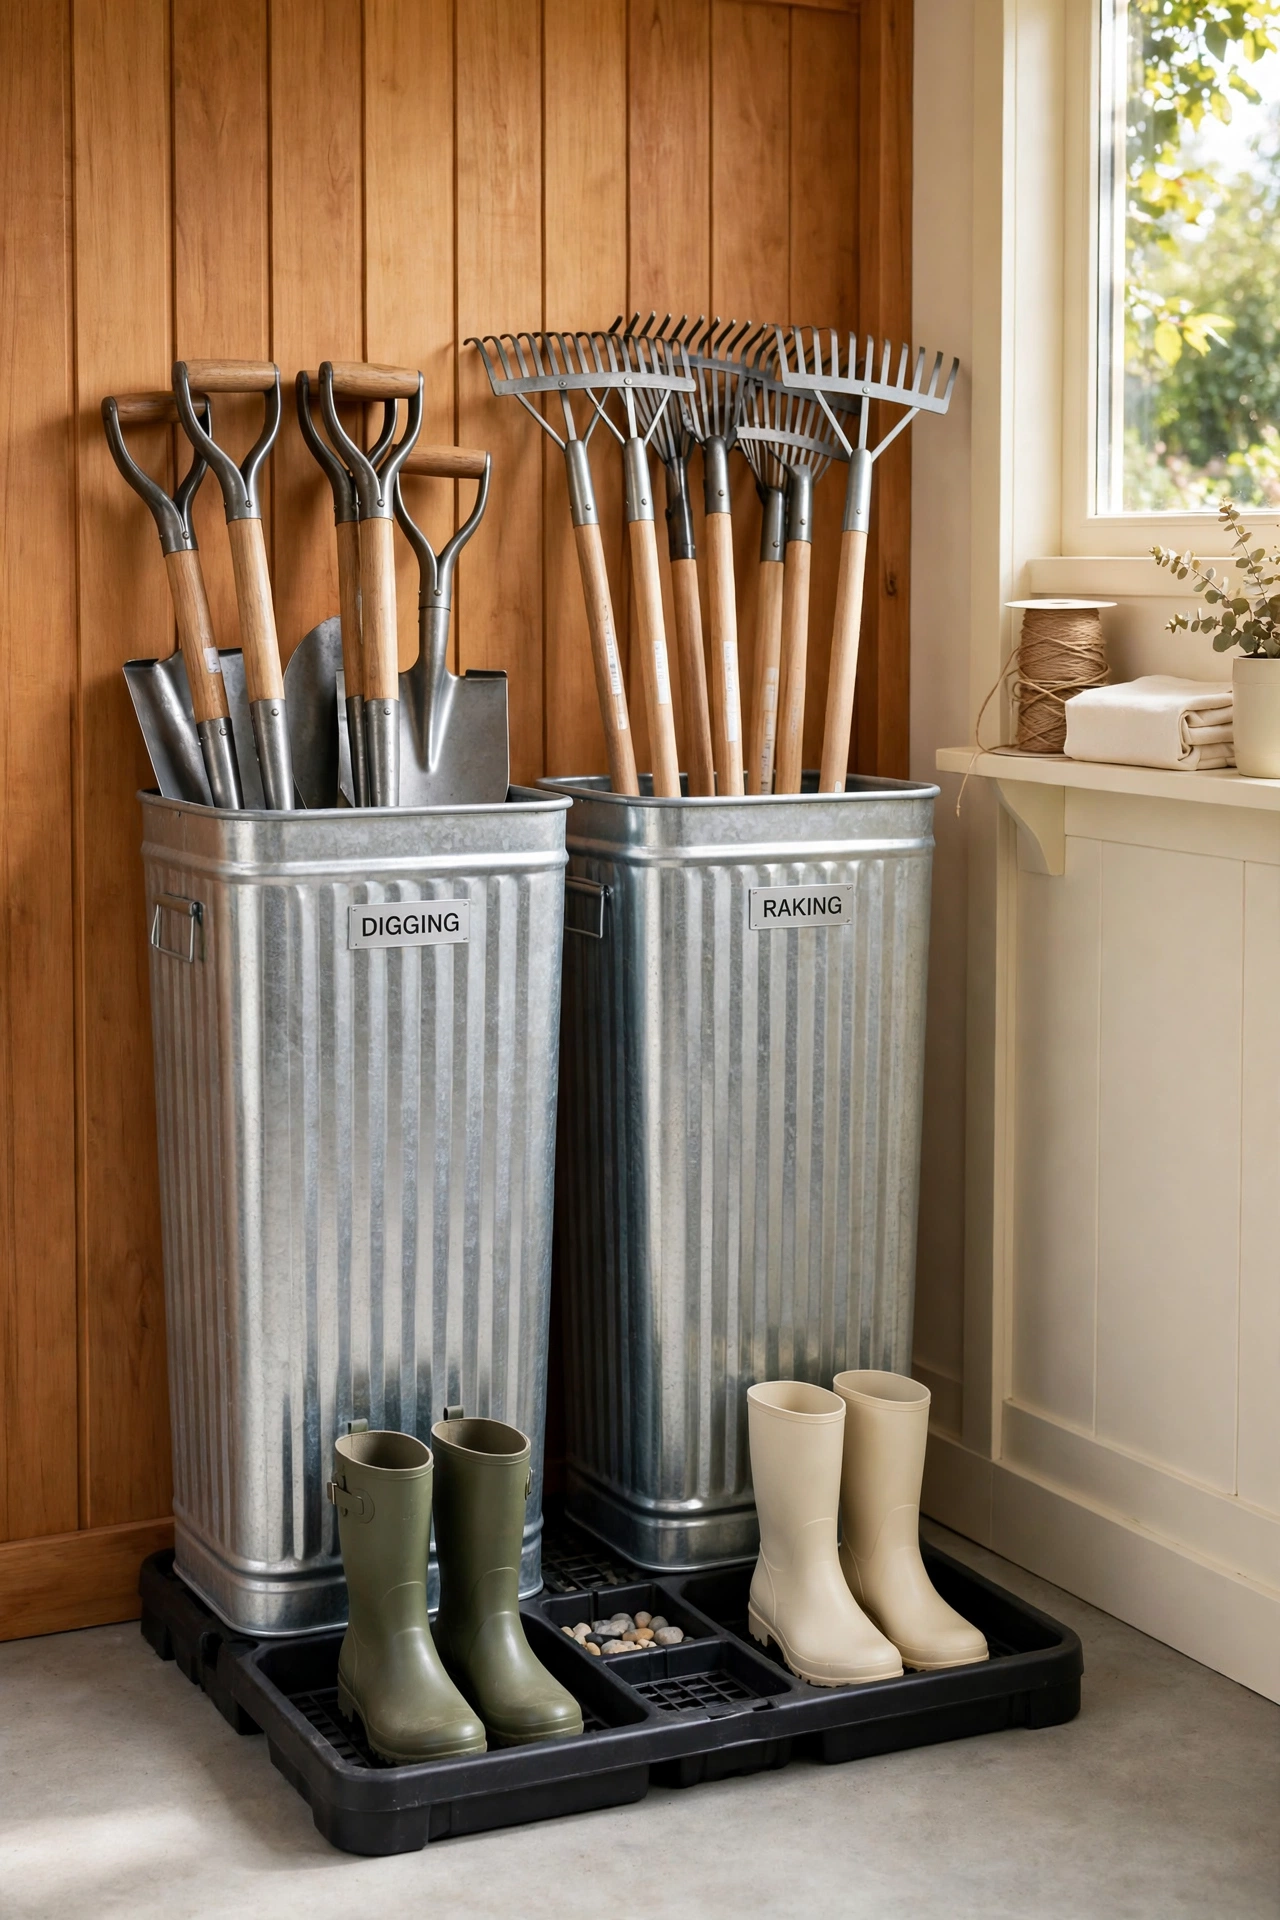
If wall space is short, a tall bin station keeps long-handled tools upright and contained without a single screw in the wall. Stand a row of tall galvanized bins, wooden crates, or sturdy buckets along one wall, and drop each tool in handle down so the working end points up. The bins keep tools from toppling and make the whole corner look intentional.
Label each bin by job, such as digging, raking, or cutting, and fill the bins only two thirds full so tools slide in and out easily. Place a small boot tray underneath to catch soil and water, and sweep the tray clean once a week. A bin station is also easy to move, so you can rearrange the shed whenever your storage needs change.
5. Roll Tools Around on a Mobile Garden Cart
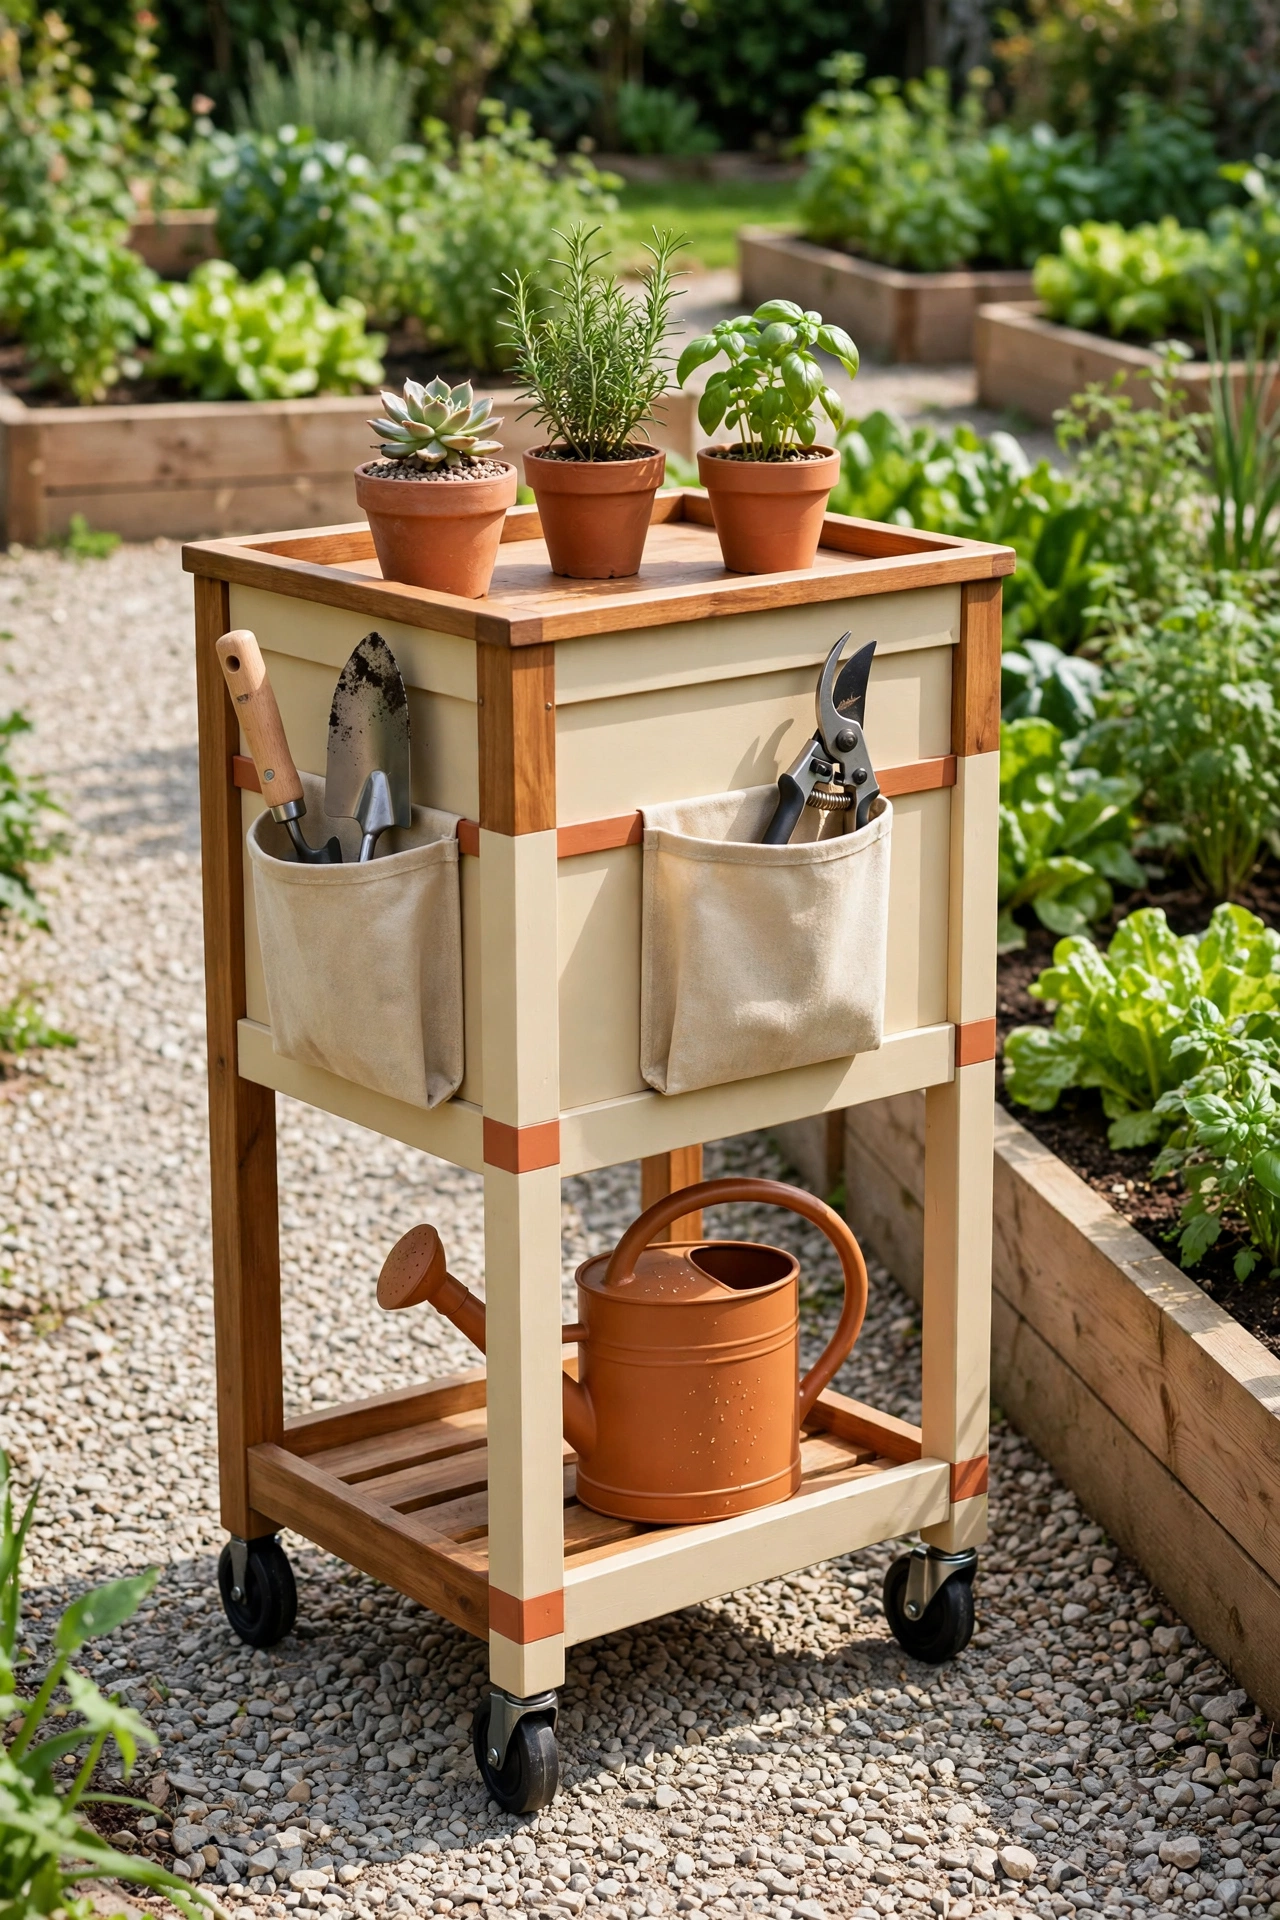
A mobile garden cart carries your tools to the work instead of forcing you to walk back to the shed for every forgotten item. Choose a sturdy cart with deep pockets, a flat top for pots, and wheels that roll smoothly over grass and gravel. Load it in the morning with everything the day needs, and wheel it from bed to bed as you work.
Stock the cart with your core kit, such as a trowel, gloves, twine, and pruning shears, and return it to a marked parking spot in the shed when the day is done. A cart with a lower shelf holds a watering can and a bag of compost, so you carry supplies and tools in one trip. This single addition saves more steps than any other idea in this list.
6. Coil the Hose on a Wall-Mounted Reel
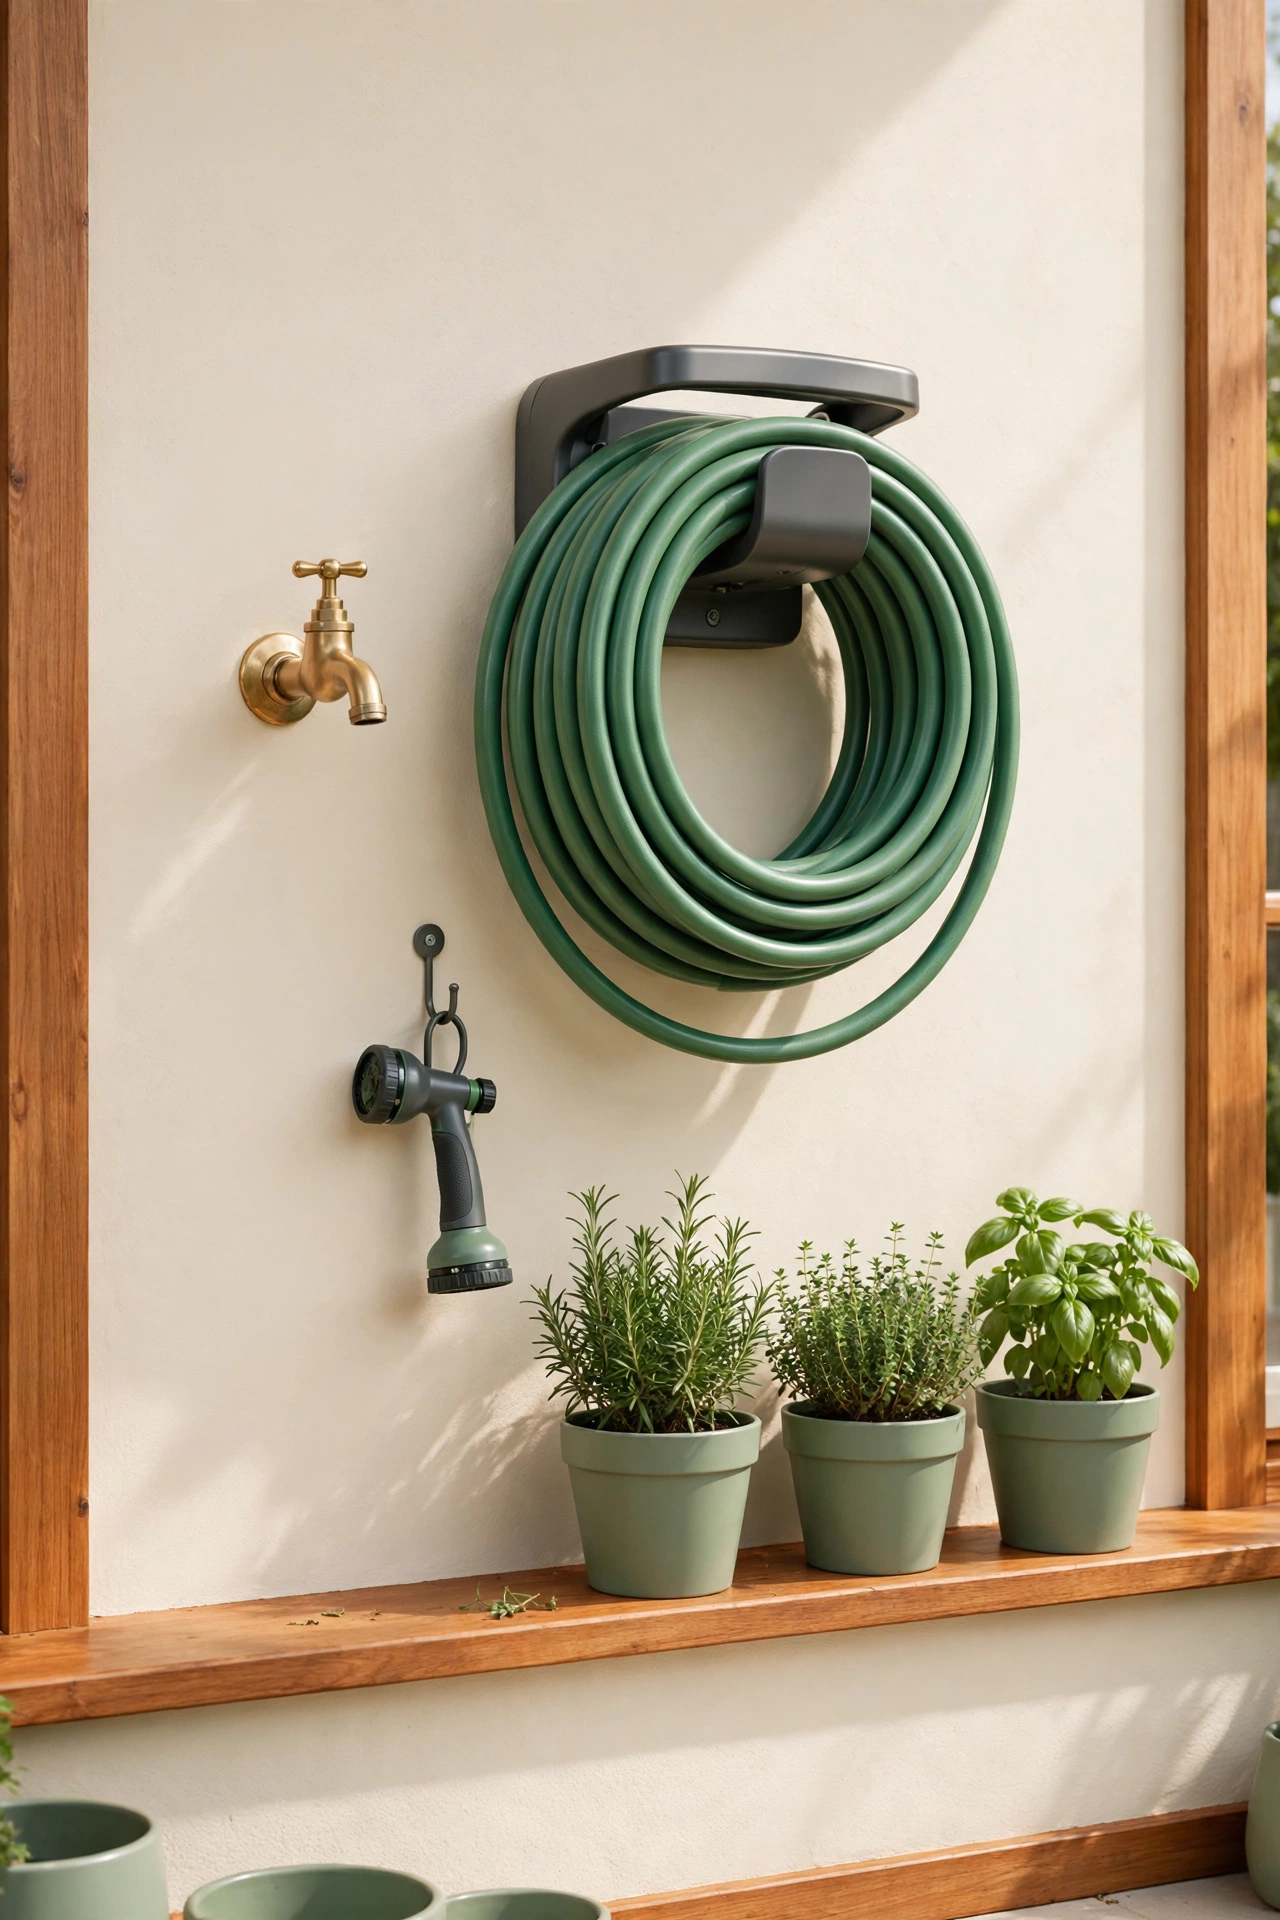
A garden hose left in a heap kinks, tangles, and trips anyone who walks past it. A wall-mounted reel keeps the hose coiled in a neat circle, off the ground, and ready to unwind without a fight. Mount the reel near the outdoor tap, wind the hose in even loops, and add a small hook beside it for the spray nozzle.
Choose a reel with a smooth winding handle and a sturdy bracket, and drain the hose before you coil it so water does not pool inside. A tidy hose station also protects the hose from sun damage, which helps it last for years longer. When the hose lives beside the beds, watering becomes a quick job, and these raised garden bed layout ideas will help you plan bed positions around your water source.
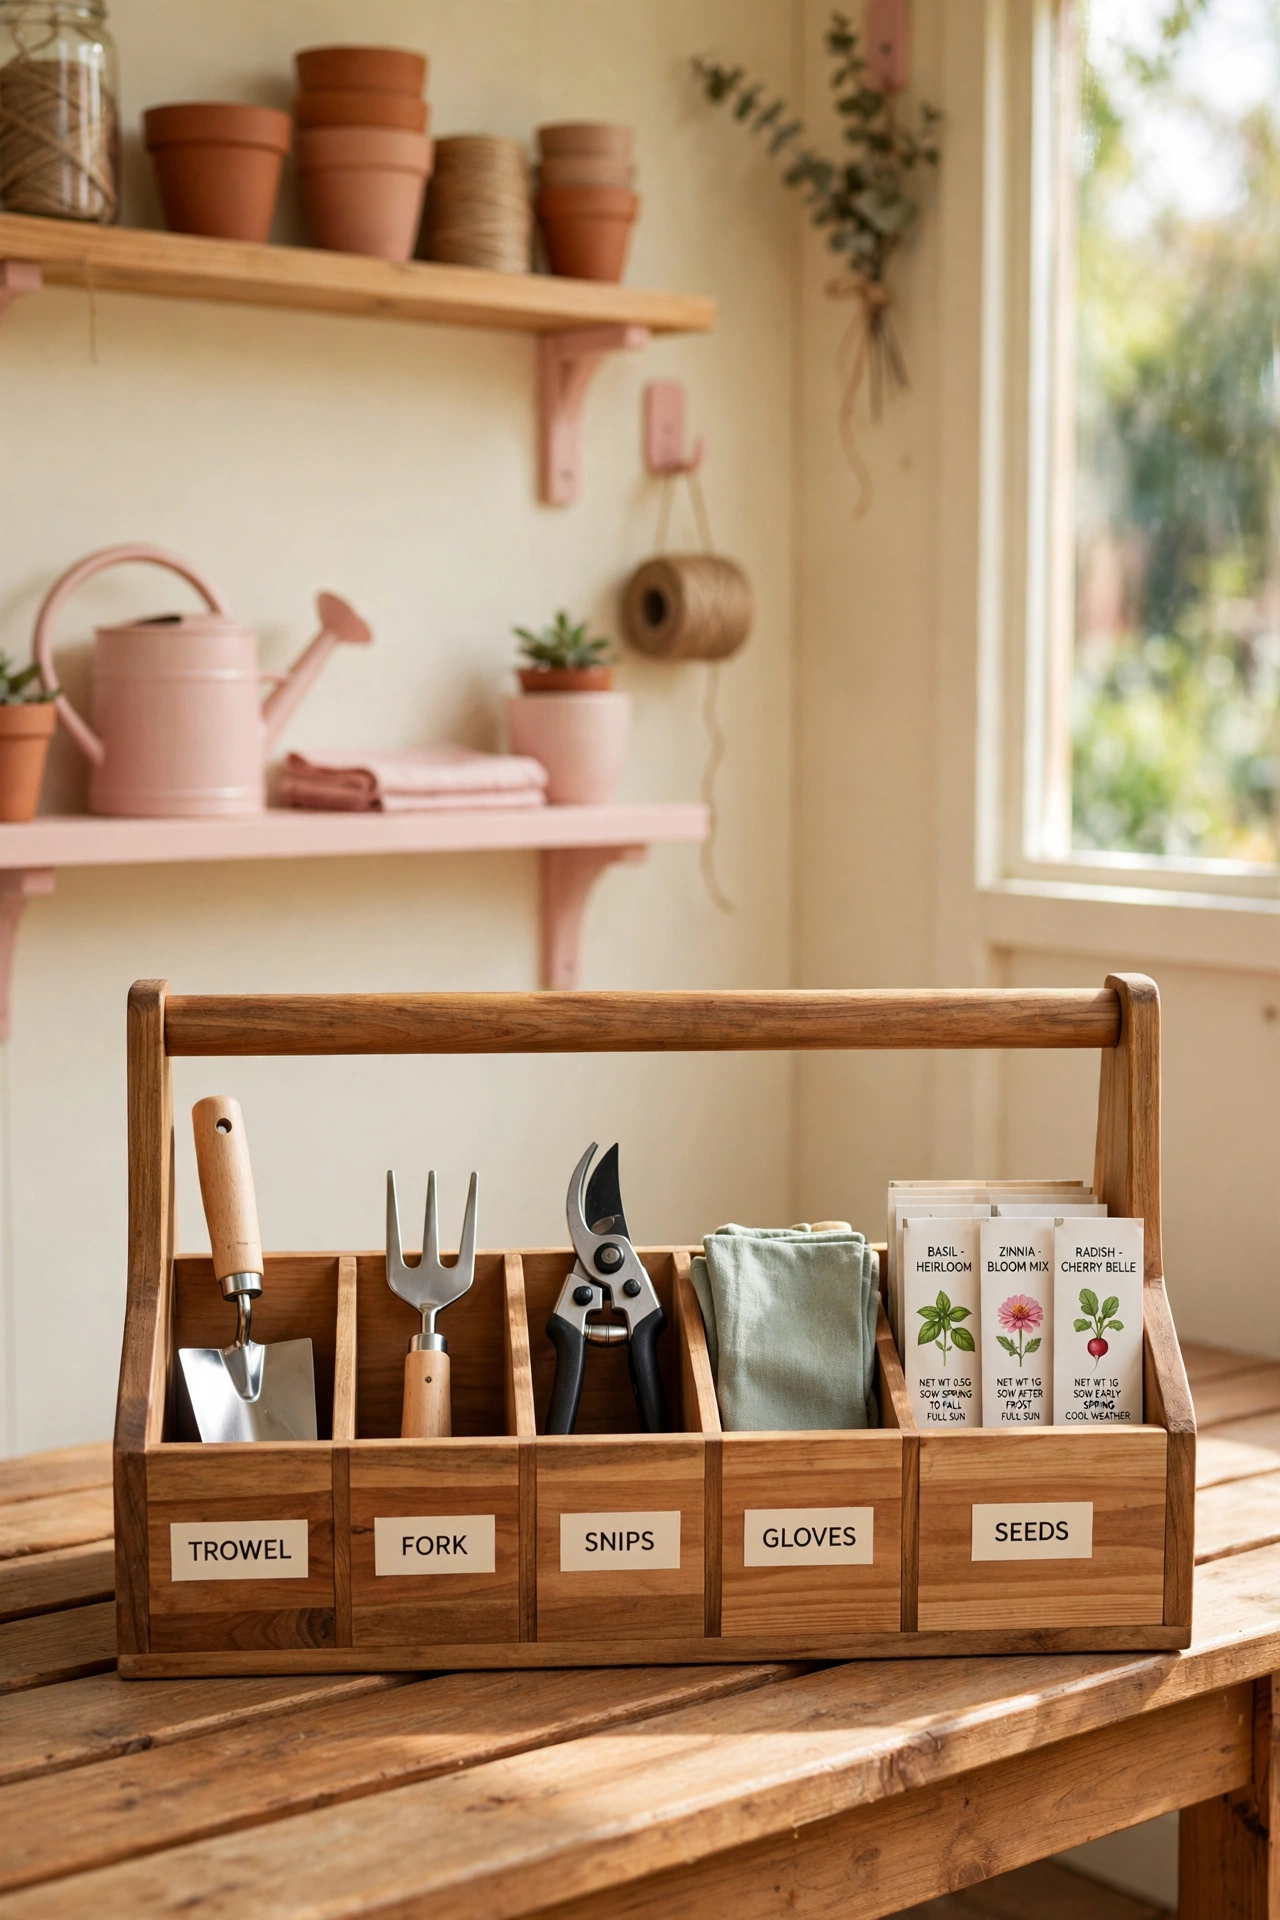
7. Carry Small Tools in a Labeled Tote Caddy
Small hand tools vanish faster than any other garden item, because they slip behind pots, sink into soil, and hide under leaves. A tote caddy with a handle and divided compartments keeps them together in one portable carrier. Fill it with your trowel, hand fork, snips, gloves, and plant labels, and carry the whole kit with one hand.
Label each compartment with a small printed tag so every tool has a visible home, and hang the caddy on a hook by the shed door when you are not using it. A caddy also makes a wonderful gift for a new gardener, because it turns a loose pile of tools into a ready to go kit. Keep a spare caddy for seed packets and twine, and your small supplies will never scatter again.
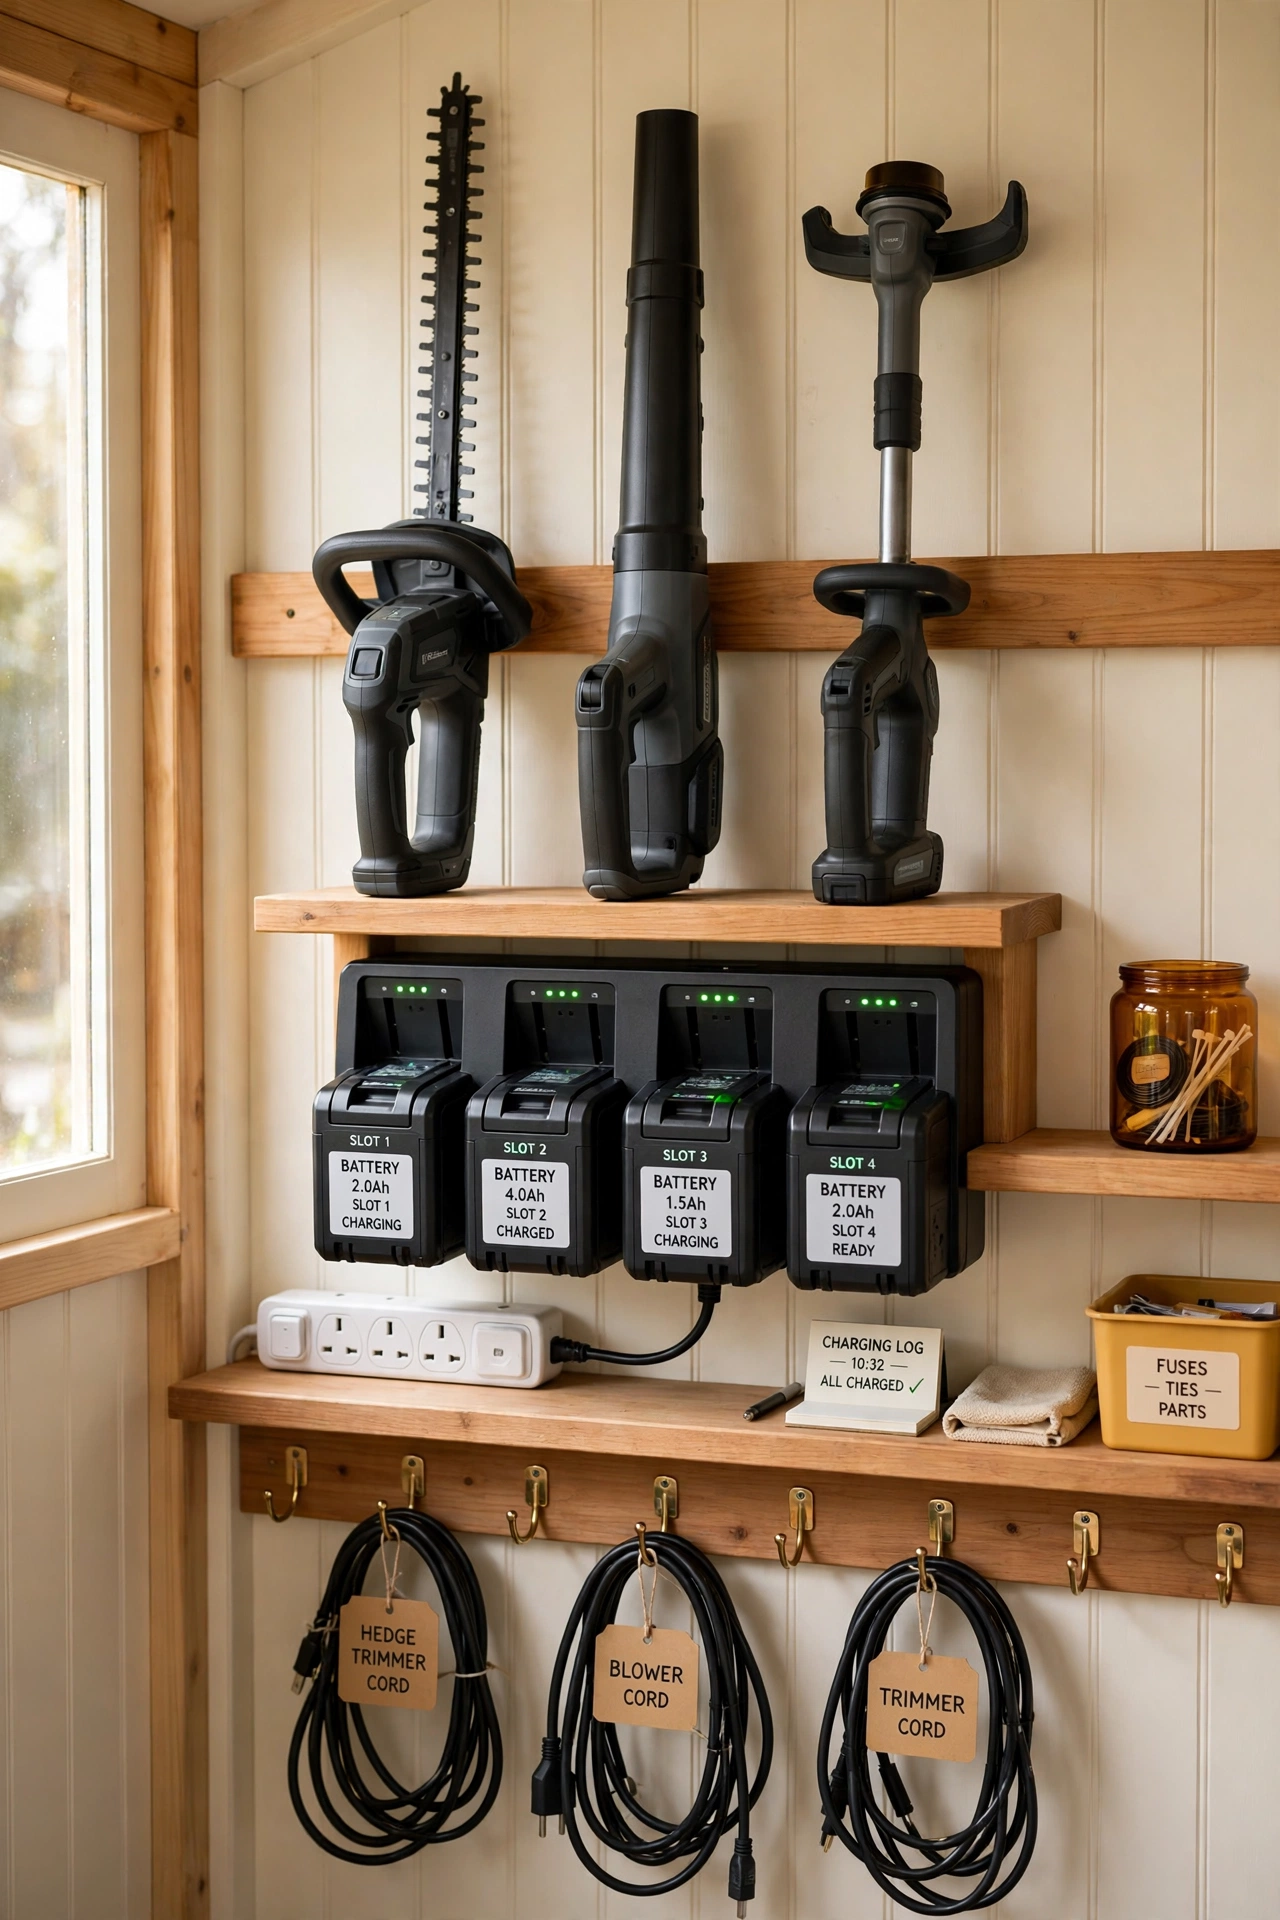
8. Charge Power Tools on a Dedicated Shelf With Cord Wraps
Power tools need a home that handles batteries, chargers, and cords without creating a tangled mess. Dedicate one shelf to charging, with a power strip mounted on the wall, a row of labeled battery slots, and a hook for each cord wrapped in a loose loop. Every tool charges in the same spot, so you always know where a full battery lives.
Mount the shelf at waist height so heavy tools lift on and off easily, and add a small sign that reminds everyone to return batteries to the charger after use. Keep the shelf dry and dust free, and store fuel and oil on a separate low shelf far from the chargers. A tidy charging station extends the life of your batteries and keeps the whole shed safer.
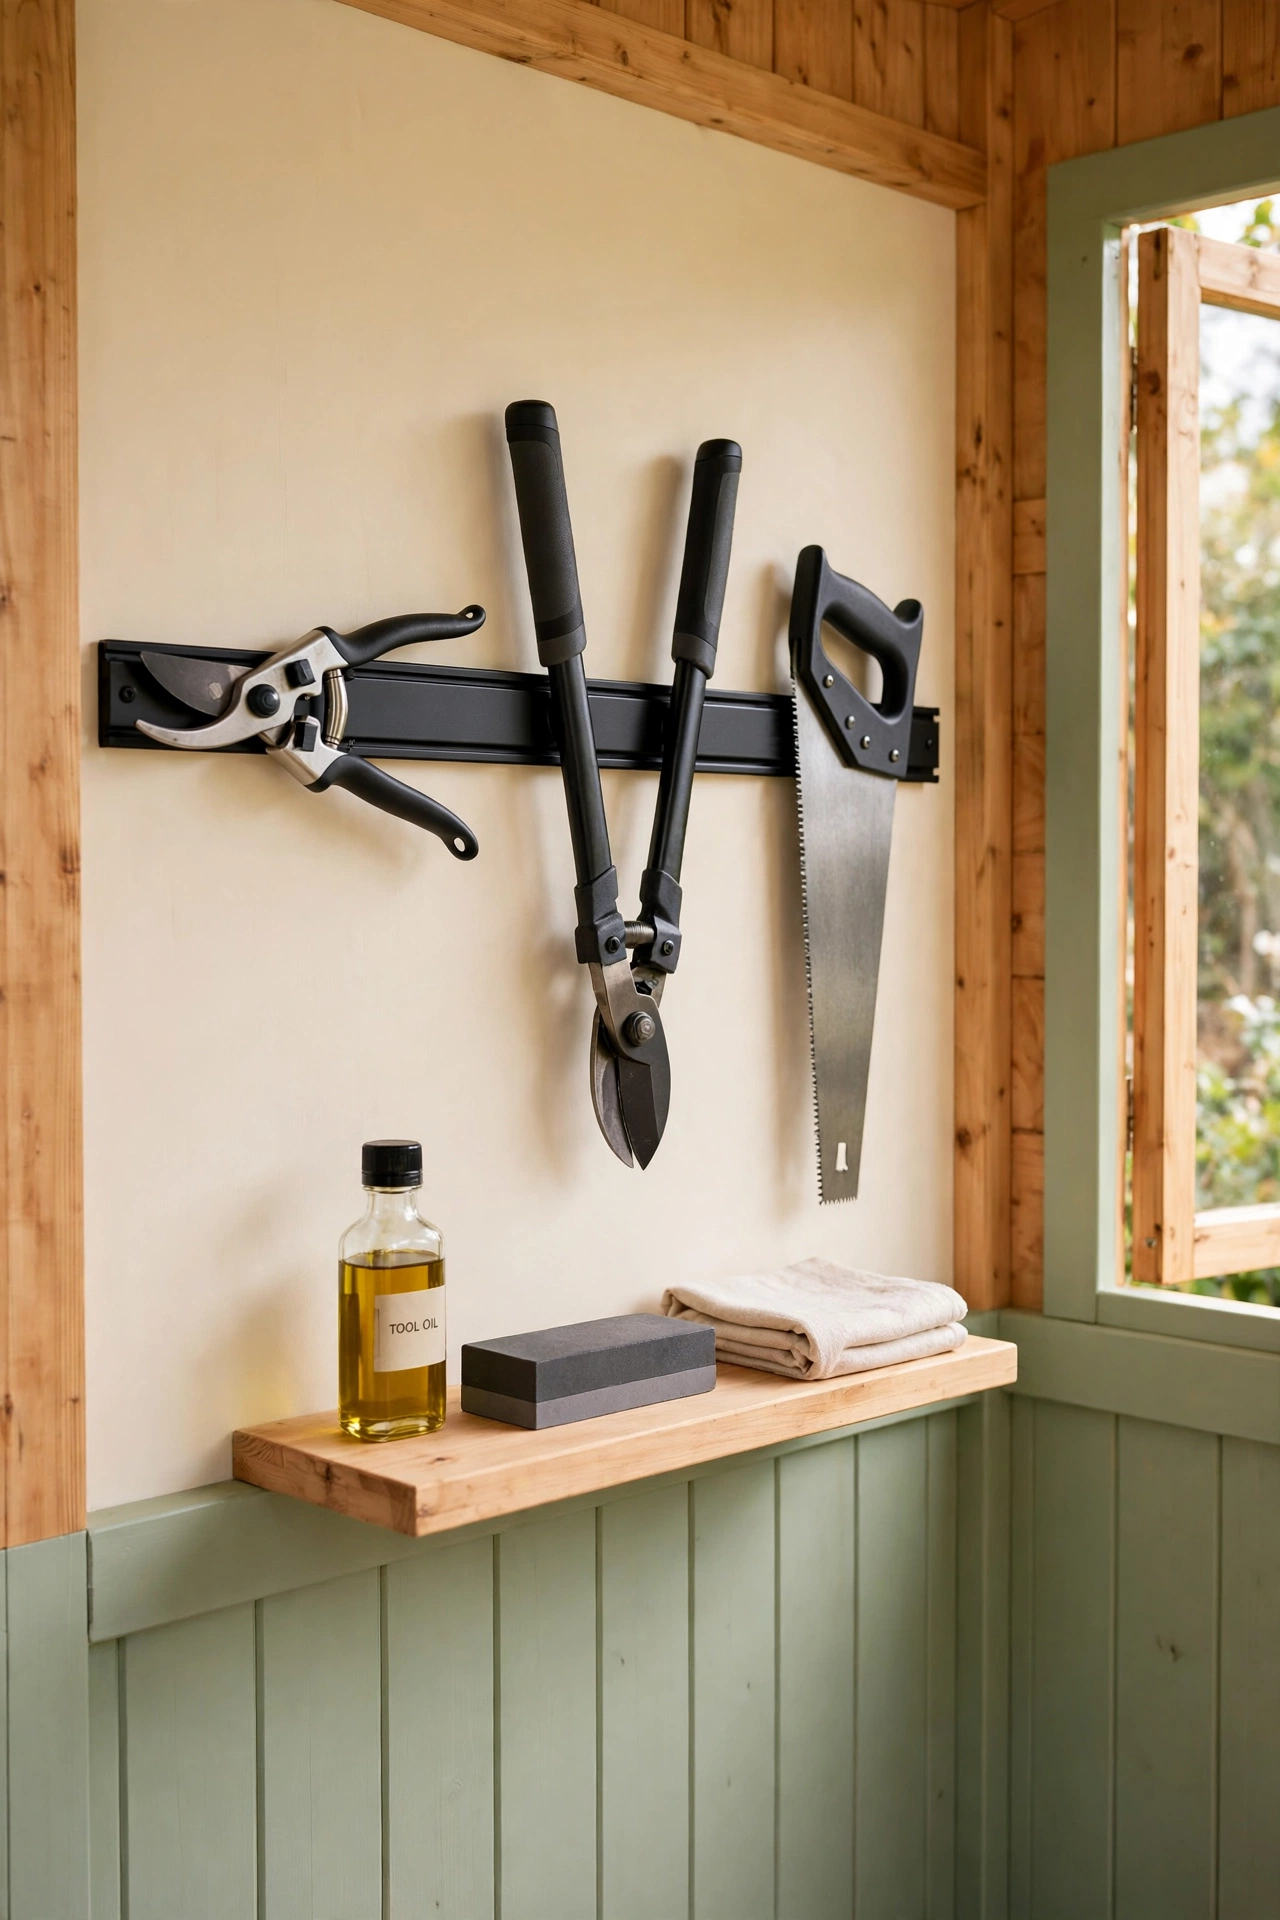
9. Store Pruning Tools on a Magnetic Strip
Pruning shears, loppers, and hand saws stay sharper and safer when they hang on a magnetic strip instead of rattling around in a drawer. Mount a long magnetic knife strip on the shed wall, and the metal tools snap into place with a satisfying click. The blades stay apart, stay dry, and stay easy to reach with one hand.
Place the strip above a small shelf that holds oil, a sharpening stone, and a clean rag, so blade care happens in the same spot. Wipe each blade before you hang it back, and the tools will stay rust free for years. A magnetic strip also frees up drawer space for the softer items that cannot hang, such as gloves and kneeling pads.
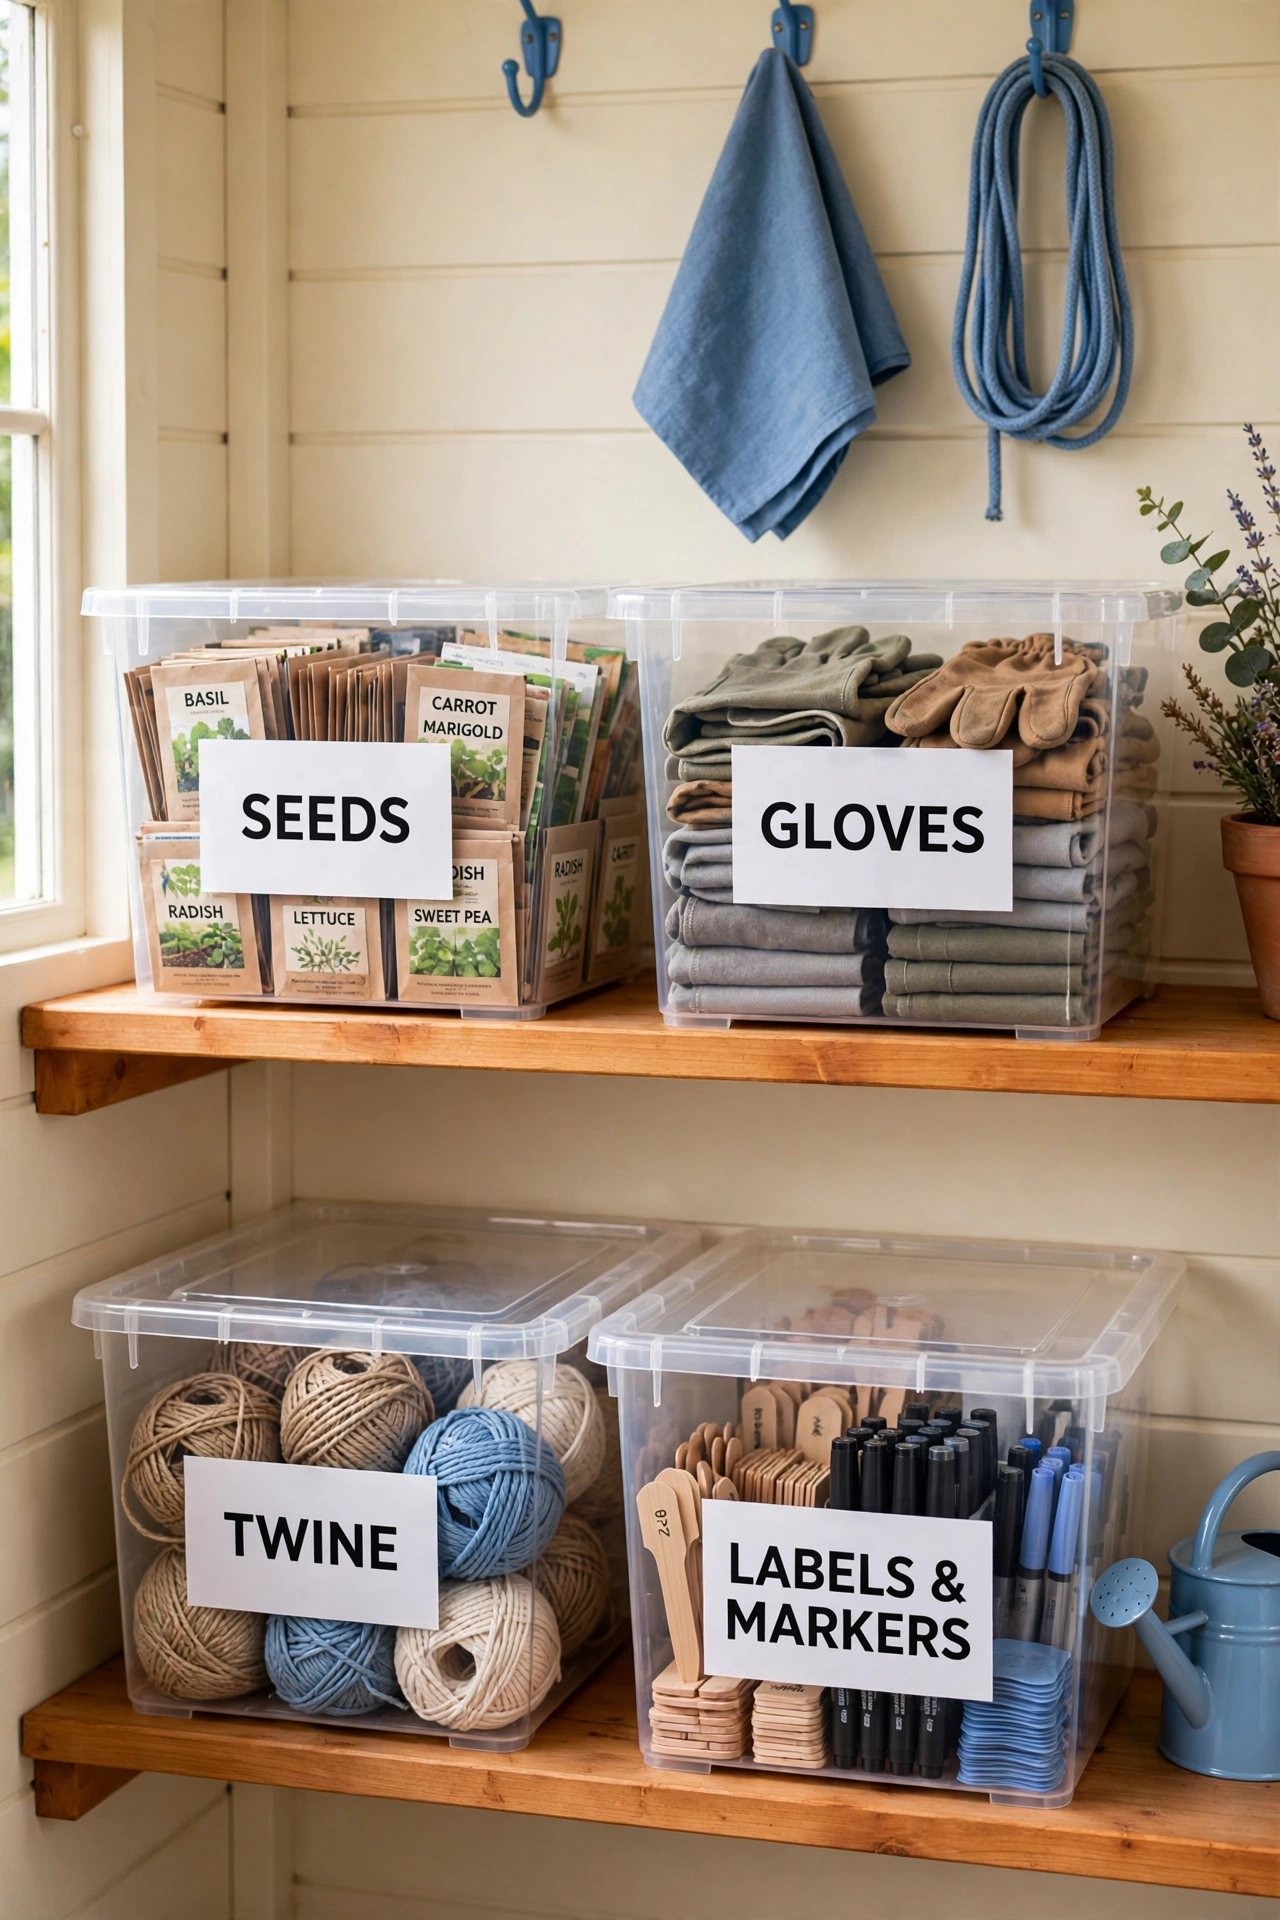
10. Sort Seeds, Gloves, and Small Supplies in Clear Labeled Bins
Clear bins are the fastest way to organize the small supplies that otherwise fill every drawer and shelf. Use one bin for seed packets, one for gloves, one for twine and ties, and one for plant labels and markers, and label each bin with a large printed tag on the front. You can see the contents without opening a lid, which saves time on every trip to the shed.
Stack the bins on open shelving with the most used bin at eye level, and keep the lids tight so mice and moisture stay out. Sort seed packets by season inside their bin, with spring seeds at the front and autumn seeds at the back. Clear bins also make inventory easy, because you can spot what is running low before you start a project.
11. Hang Tools Under a Potting Bench
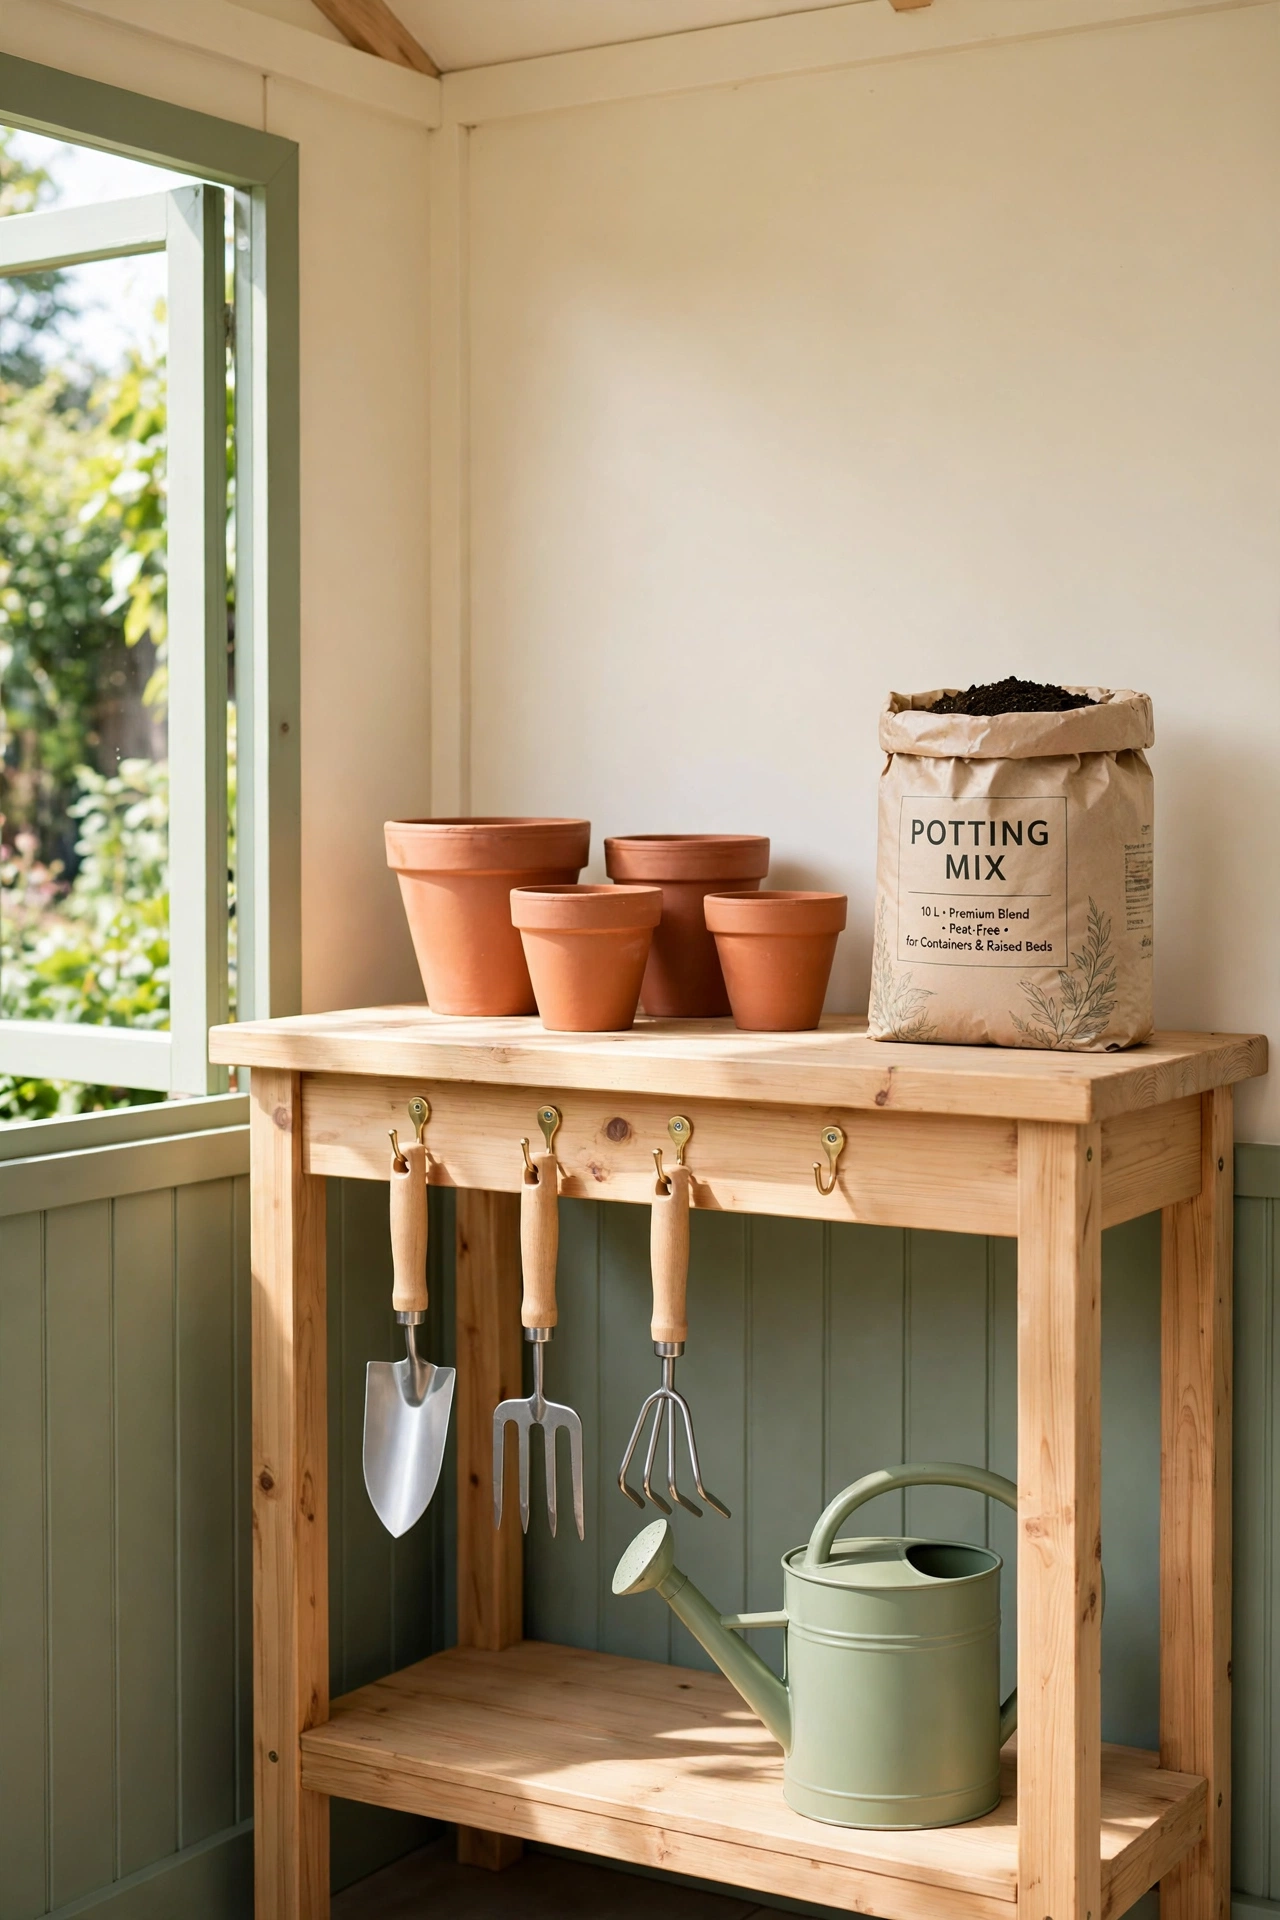
A potting bench does double duty when you use the space underneath it for tool storage. Screw sturdy hooks into the underside of the bench top, and hang trowels, forks, and hand cultivators where they are hidden yet easy to reach. The bench surface stays clear for potting, while the tools wait just below your hands.
Add a narrow shelf under the bench for a watering can and a bag of potting mix, and a small rail on the side for hanging gloves to dry. This setup keeps everything for potting in one compact station, which is ideal for small sheds. When the bench is stocked and tidy, potting becomes a pleasure, and these herb spiral garden ideas will give you a beautiful project to plant once your cuttings are ready.
12. Keep Soil Bags and Fertilizer in Sealed Labeled Bins
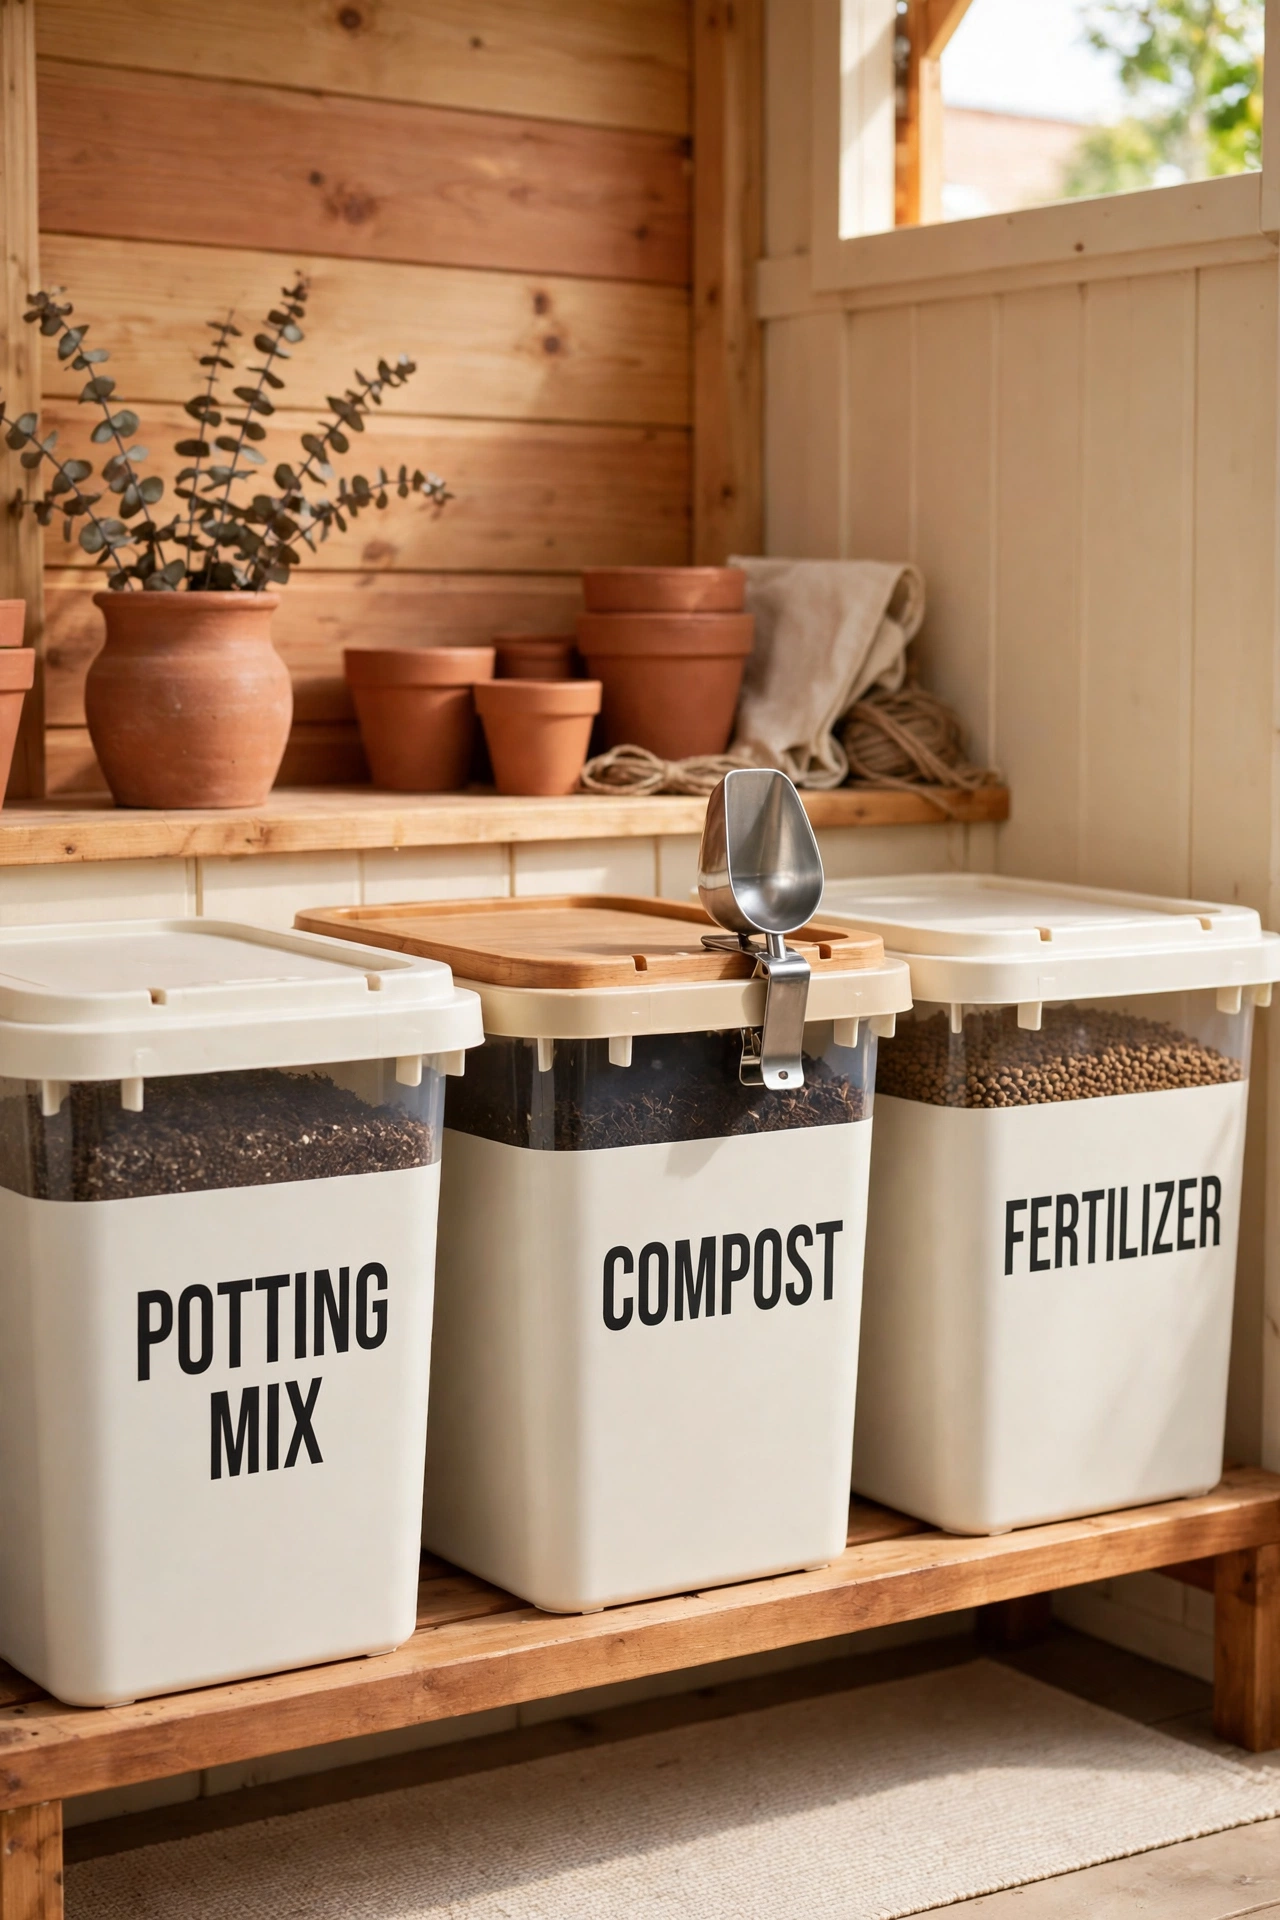
Open bags of soil and fertilizer spill, absorb moisture, and attract pests, so transfer them into sealed bins with tight lids as soon as you bring them home. Use one large bin for potting mix, one for compost, and smaller bins for fertilizer and soil amendments, and label each bin with its contents and the date you filled it. The bins stack neatly and keep the shed floor clean.
Place the bins on a low shelf or a wheeled platform so you can slide them out and scoop without heavy lifting. A measuring scoop clipped inside each lid keeps portions consistent and prevents overfeeding your plants. Sealed storage also keeps homemade compost dry and ready, and these backyard composting area ideas will help you plan where that compost is made.
13. Give Kids Their Own Low Tool Hooks
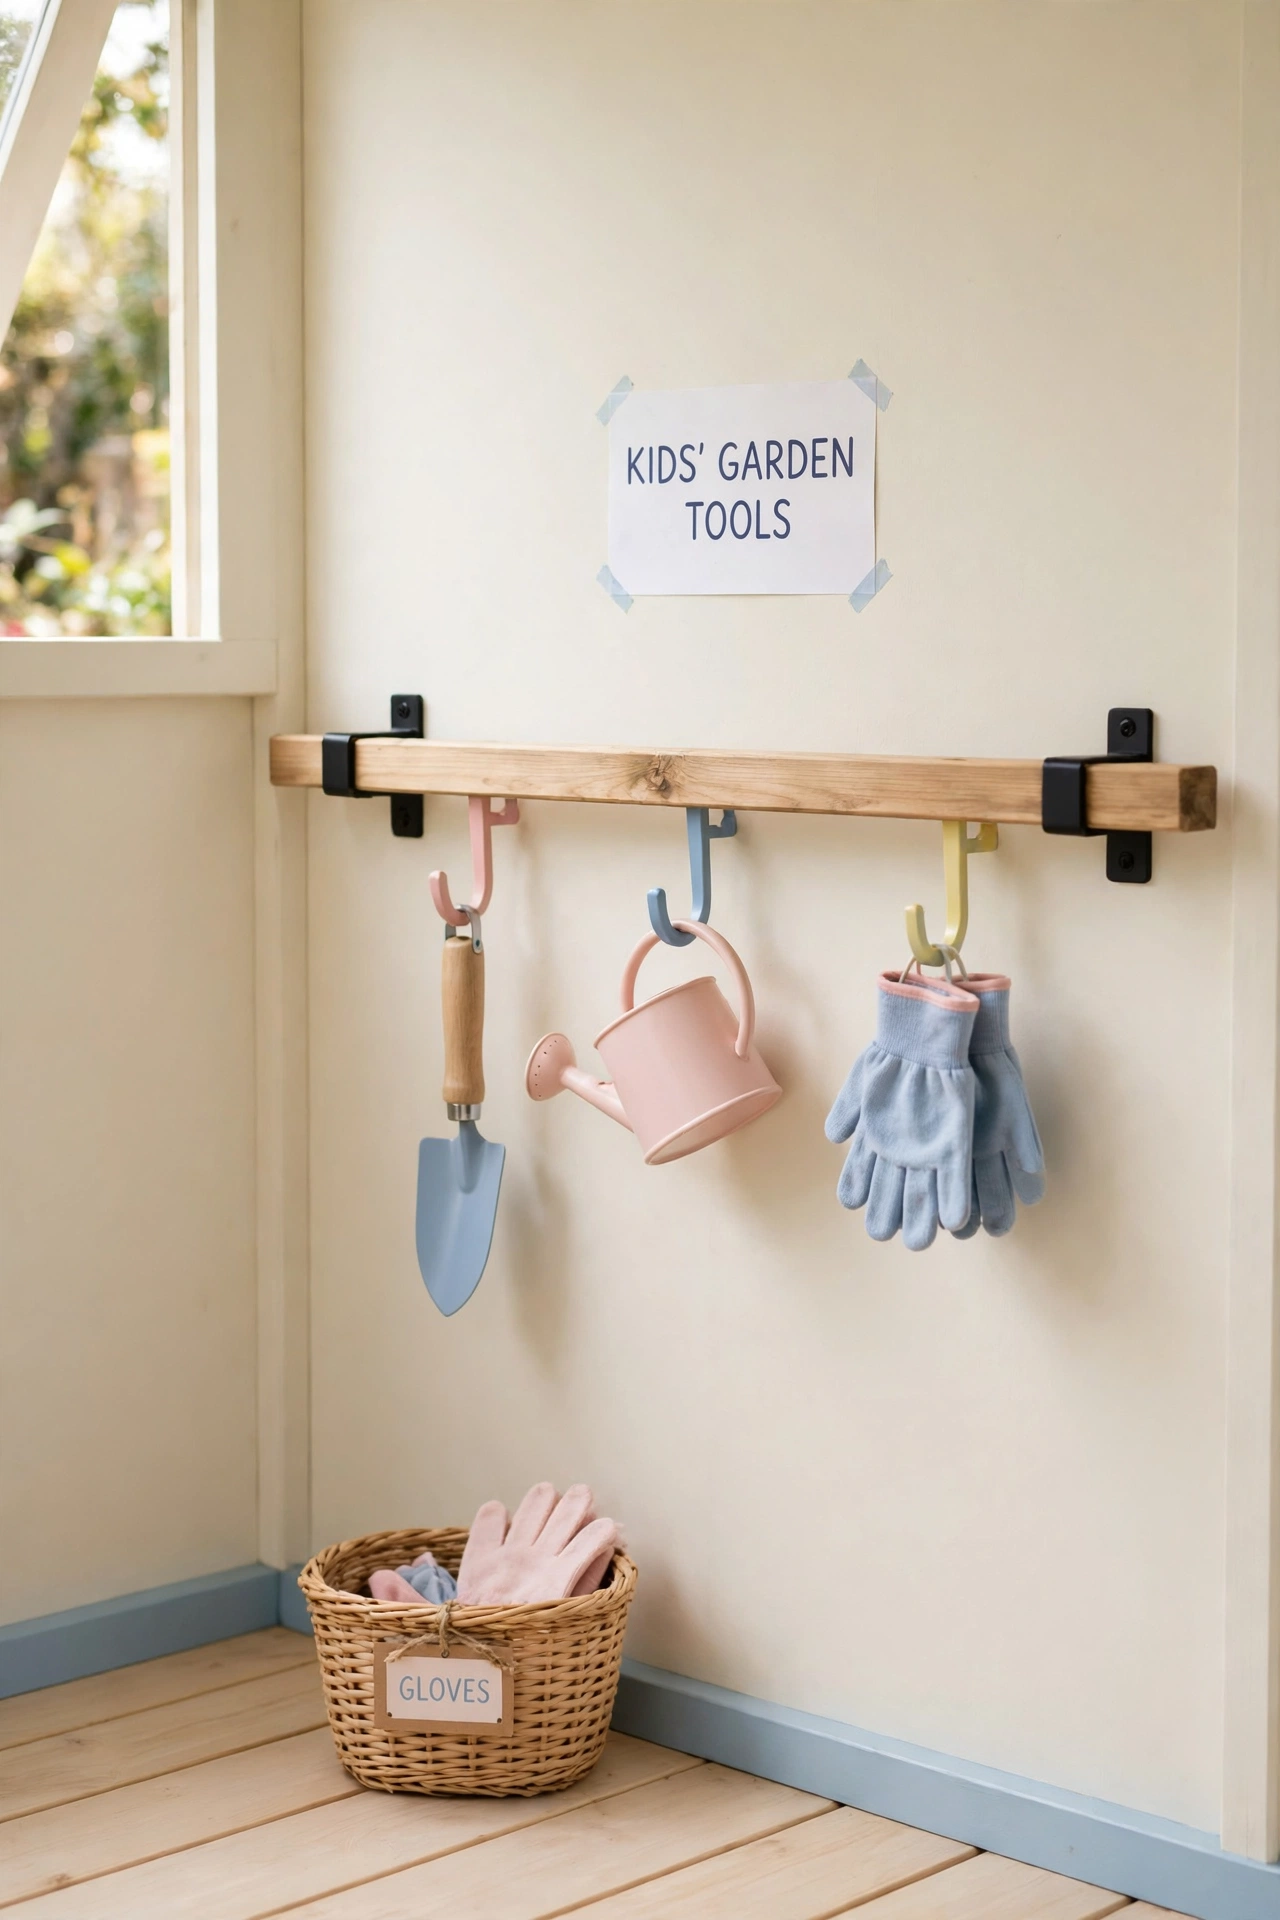
Young gardeners are far more likely to help when they have tools sized for them and a spot they can reach on their own. Mount a short rail with colorful hooks at child height on one section of the shed wall, and hang a small trowel, a watering can, and a pair of child sized gloves on it. Add a printed name tag above each hook so the station feels personal.
Keep the kids station away from sharp tools and chemicals, and store their supplies in a small labeled basket on the floor below the hooks. When children can find and return their own tools, they learn good habits early and take pride in their corner of the shed. A low rail also keeps little hands away from the heavy tools stored higher up.
14. Lift Bulky Items Onto an Overhead Ceiling Rack
Extension poles, trellis panels, and spare stakes eat up valuable floor and wall space, yet you only need them a few times a season. An overhead ceiling rack lifts them out of the way while keeping them visible and easy to lower when needed. Mount two parallel rails to the ceiling joists, and slide long items across them like a shelf in the sky.
Keep the rack above the least used part of the shed, and load the heaviest items closest to the walls where the joists are strongest. Label the front edge of the rack so everyone knows what lives up there, and use a stable step stool rather than a chair when you reach for items. Freeing the floor below makes the whole shed feel larger and easier to move through.

15. Turn a Pallet Into a Vertical Tool Rack
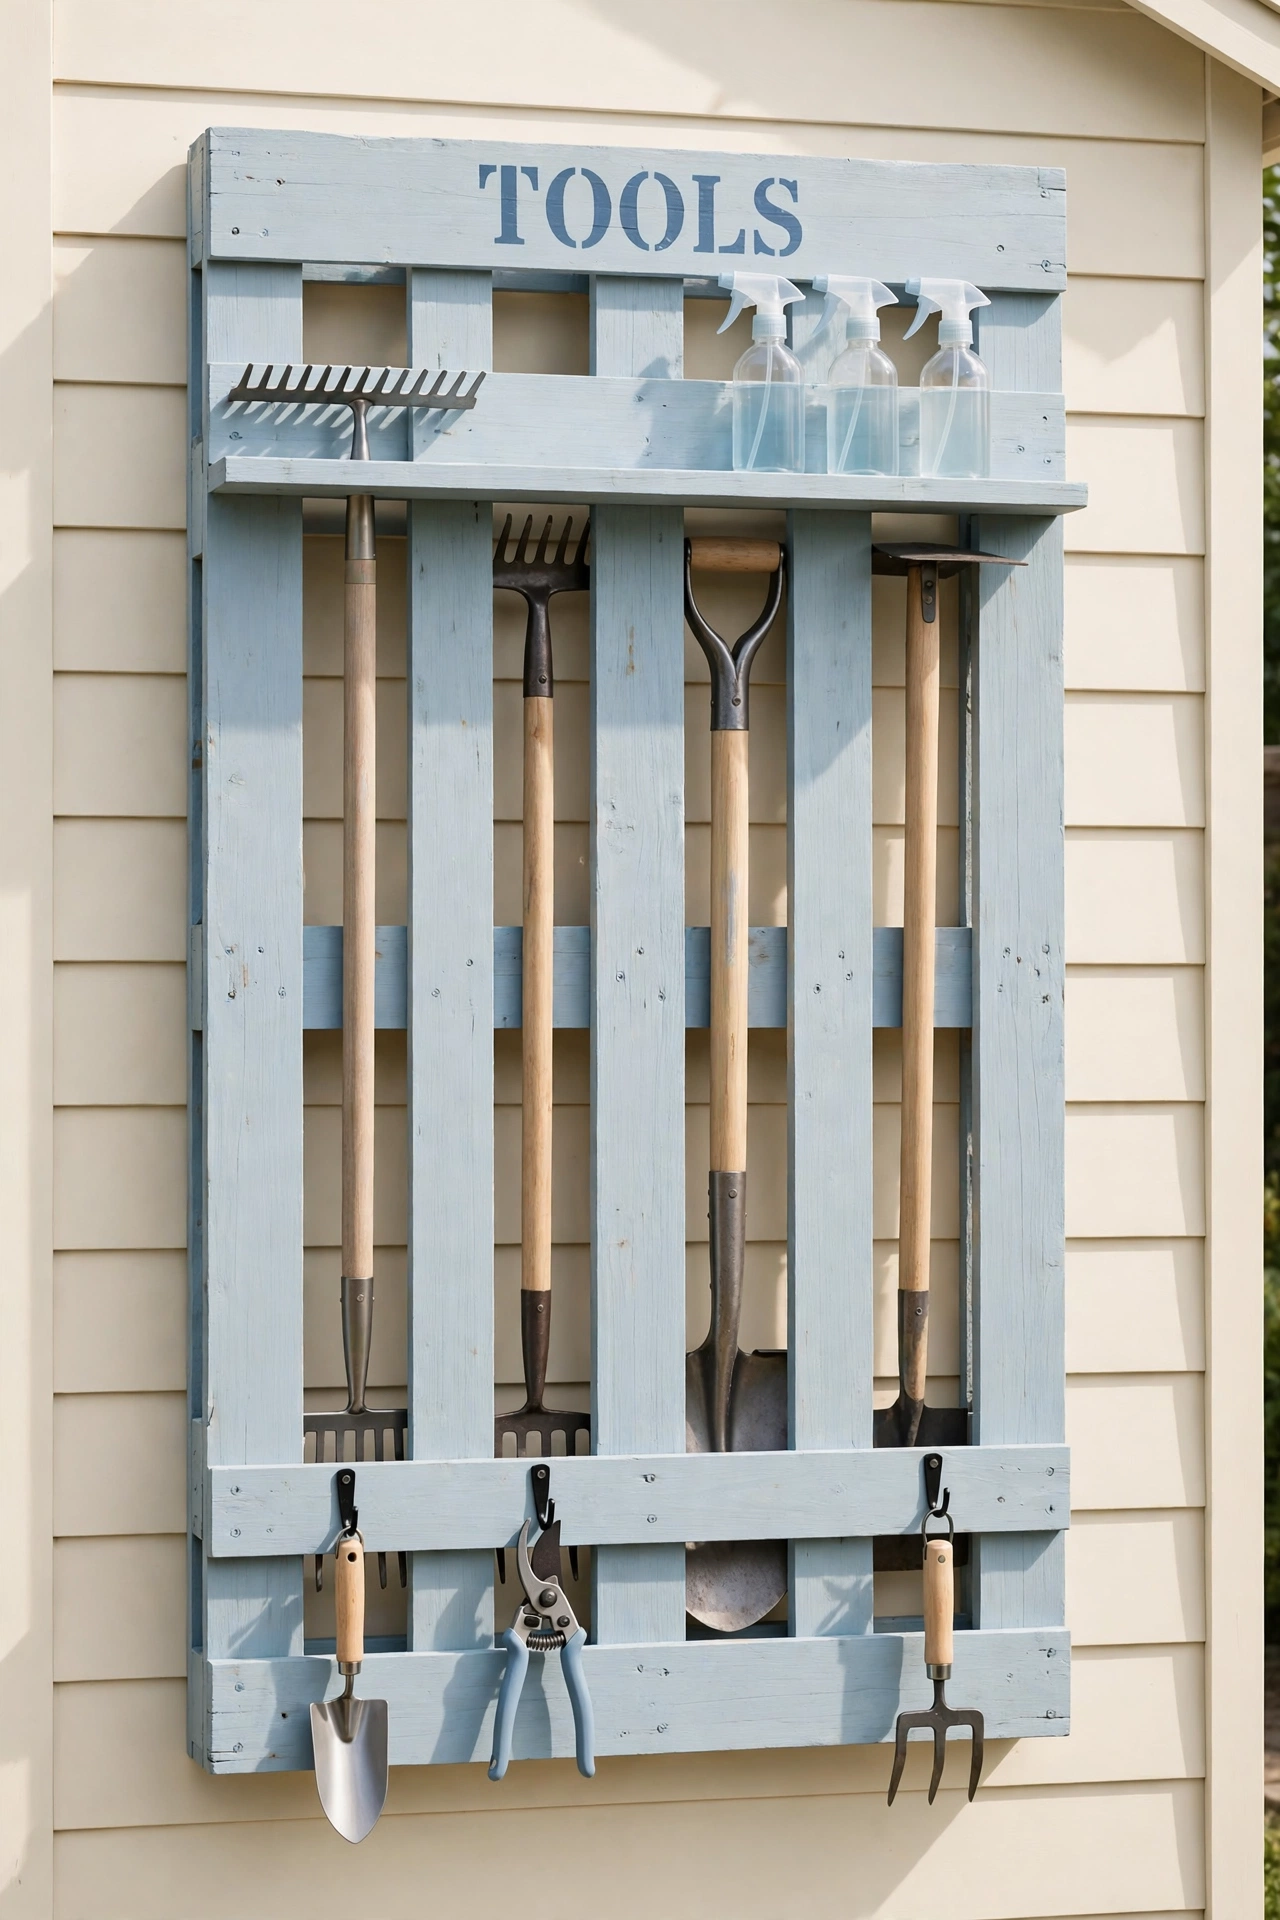
A wooden pallet makes a charming vertical rack that costs almost nothing and holds a surprising number of tools. Stand the pallet upright against a wall, secure it firmly to the studs, and slide long-handled tools into the gaps between the slats. Add small hooks on the front face for hand tools, and a narrow shelf across the top for spray bottles.
Sand the pallet smooth, paint it in a soft blue or sage shade, and stencil a simple label such as tools across the top slat. A pallet rack suits a rustic shed beautifully, and it keeps tools upright without a single clip or bracket to buy. Lean it in a corner or mount it flat on the wall, depending on how much floor space you can spare.
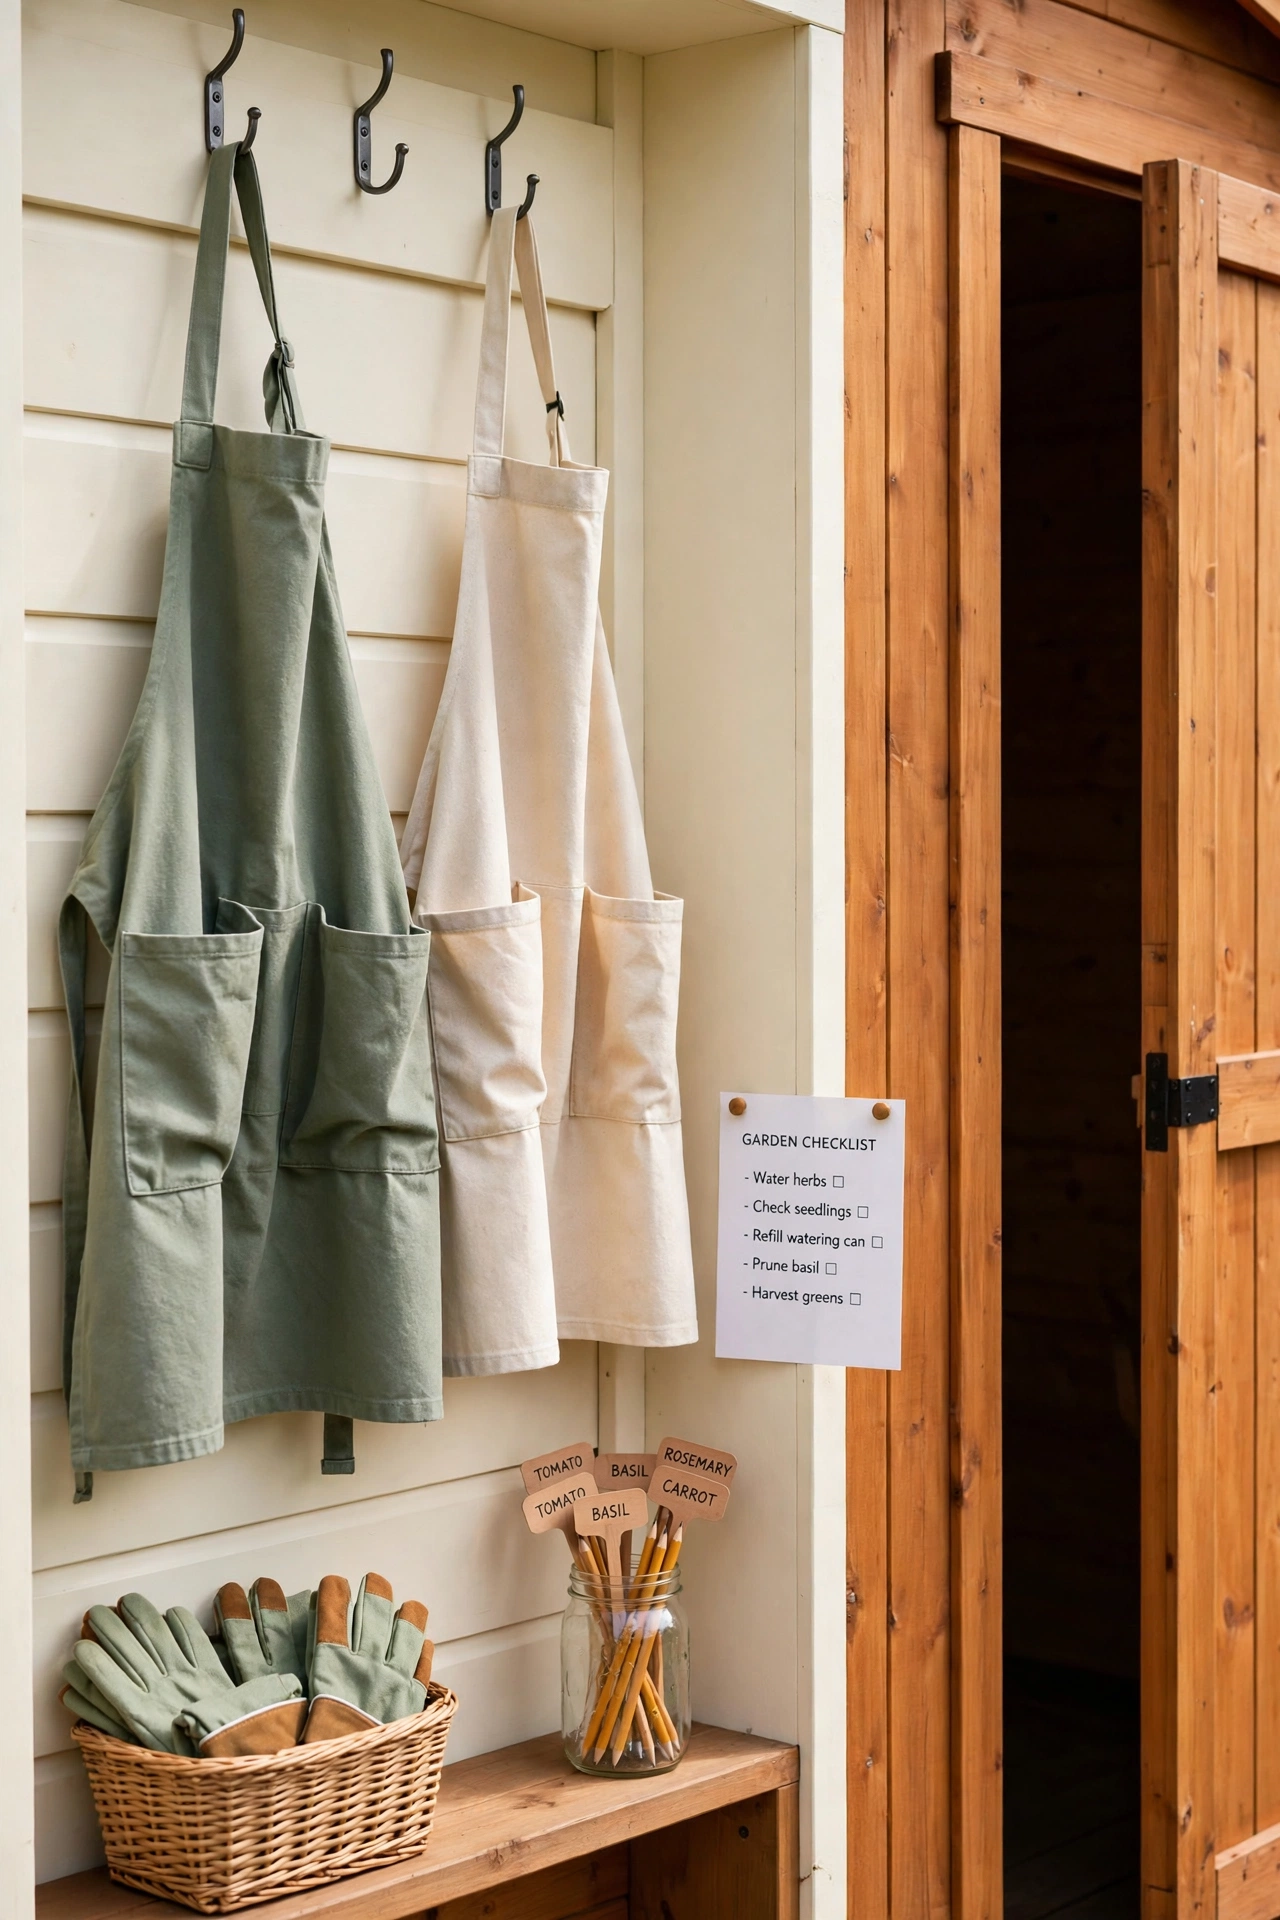
16. Hang a Garden Apron Station by the Shed Door
A garden apron with deep pockets is the simplest tool carrier of all, and a dedicated station by the door makes it part of your routine. Hang two or three aprons on sturdy hooks beside the entrance, with a small basket below for gloves and a jar for pencils and plant labels. Grab an apron on the way out, and your most used tools ride along in the pockets.
Choose aprons with reinforced pockets and adjustable straps, and wash them regularly so soil does not build up in the fabric. A small mirror or a printed checklist on the wall beside the hooks helps you check that you have everything before you head to the beds. The apron station also keeps dirty aprons out of the house, which keeps the laundry room cleaner too.
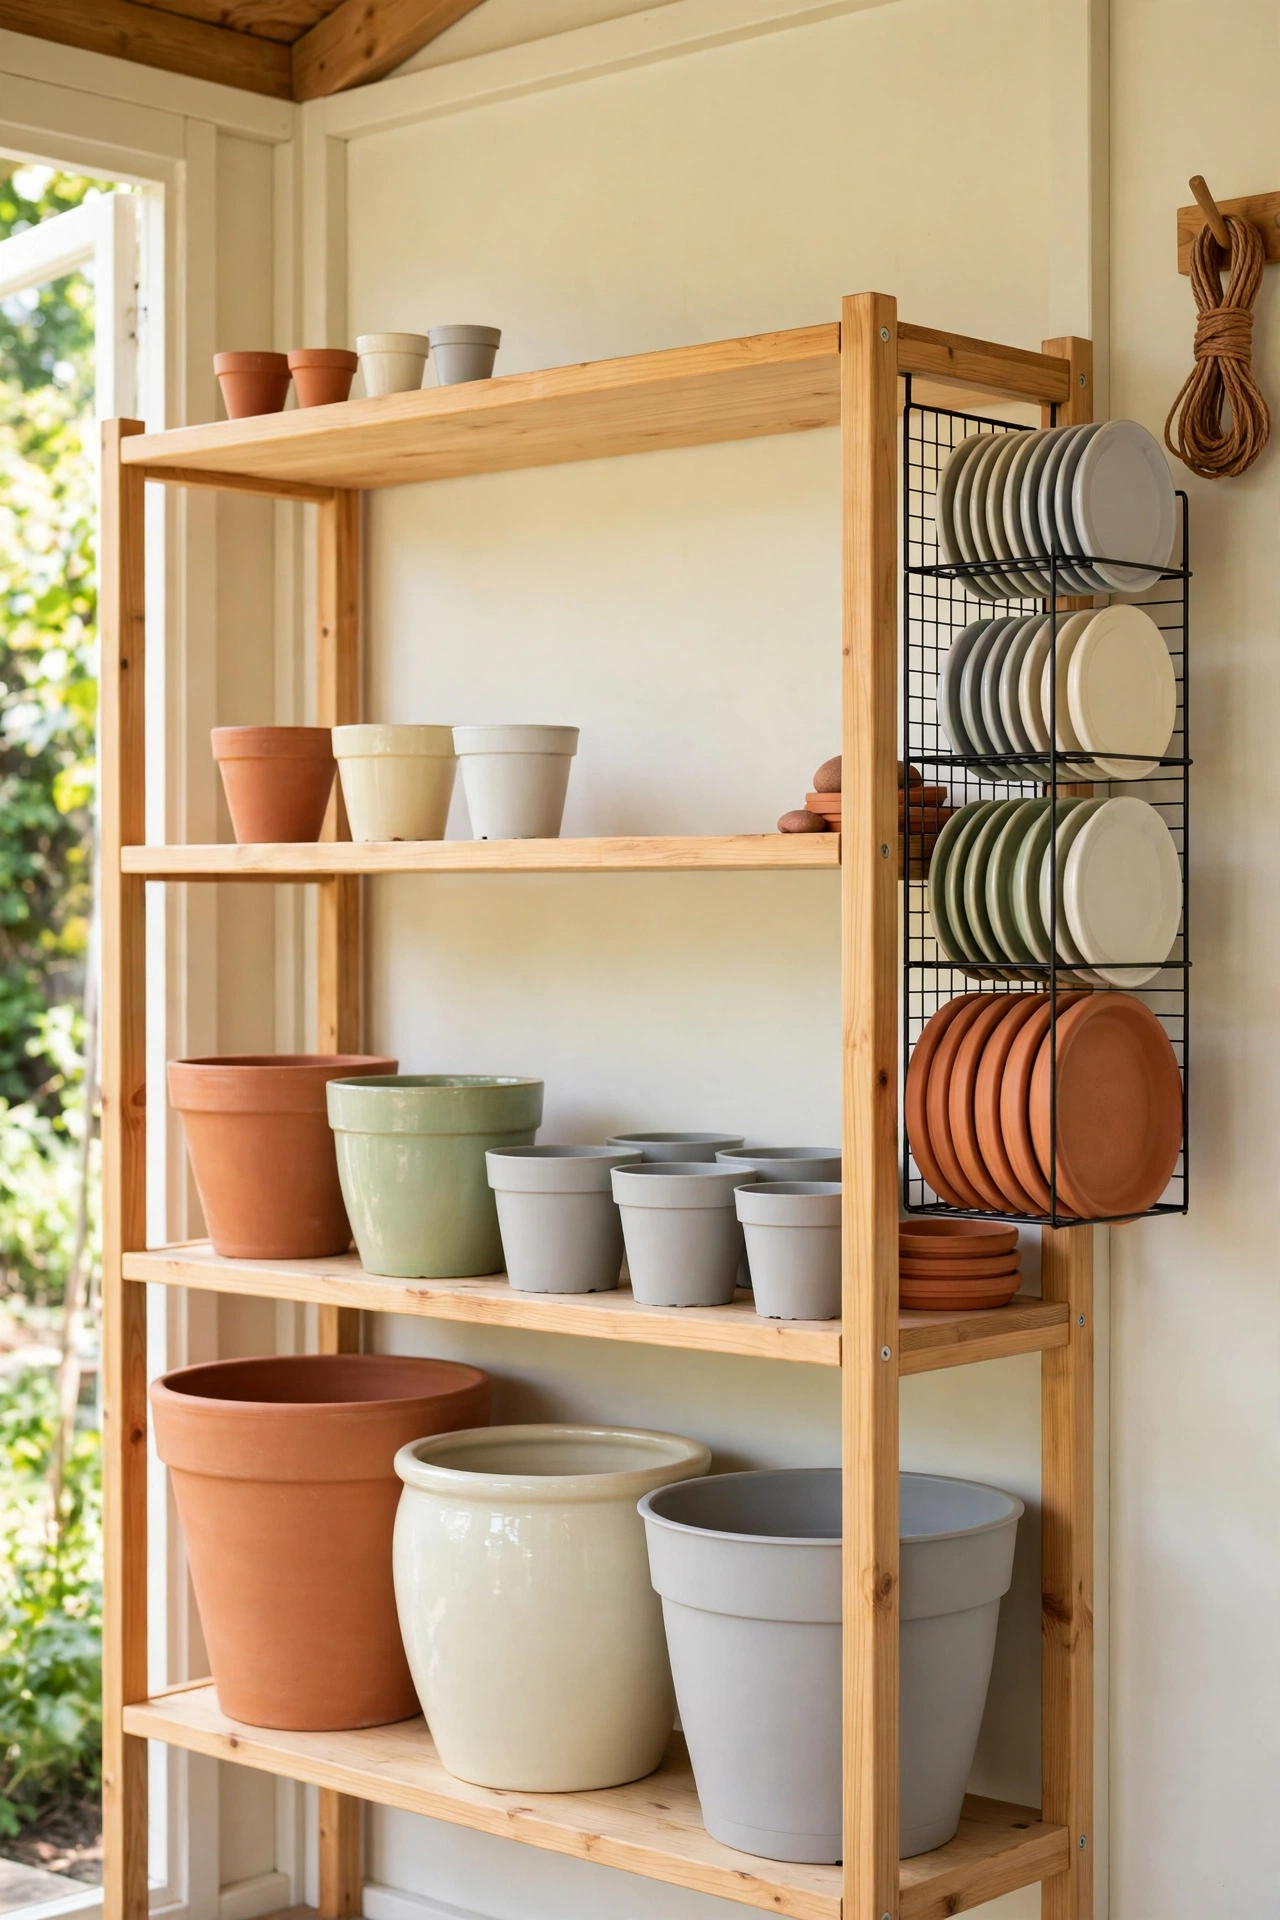
17. Stack Pots by Size on Tiered Shelving
Empty pots multiply quickly, and a loose pile of them topples at the slightest touch. Tiered shelving solves the problem by giving each size its own level, with the largest pots on the bottom shelf and the smallest on top. Stack pots of the same size together, nested neatly, and you can see your whole inventory at a glance.
Build the shelving from warm wood planks on sturdy brackets, and leave the front edge open so pots slide in and out without lifting. Sort terracotta, ceramic, and plastic pots into separate sections, and keep saucers in a vertical file holder at one end. A tidy pot shelf also makes spring planting faster, because you can grab the right size without unstacking a wobbly tower.
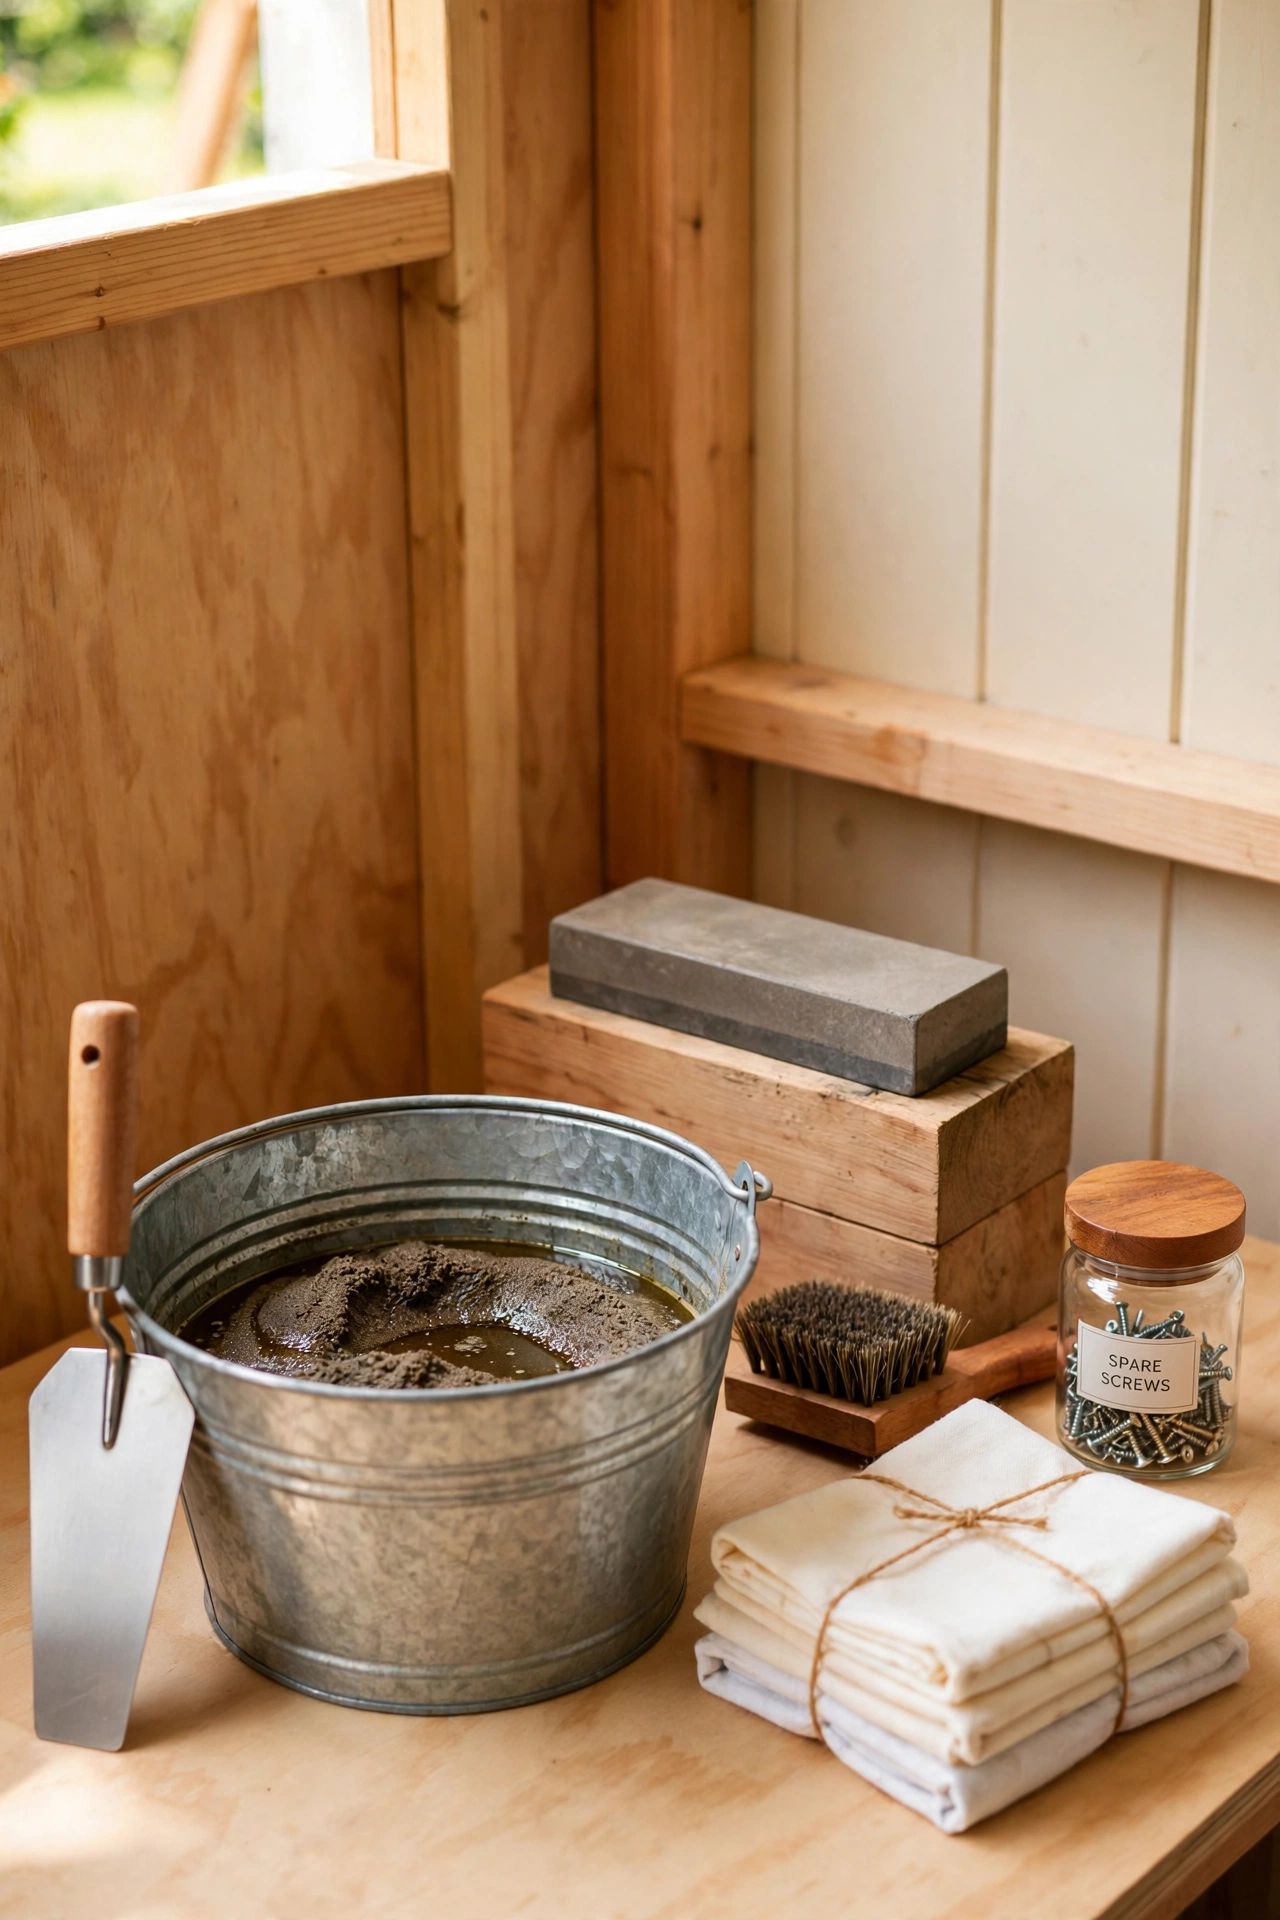
18. Set Up a Cleaning and Sharpening Station
Tools last far longer when they are cleaned and sharpened after use, and a dedicated station makes that habit easy to keep. Dedicate one corner of the shed to care, with a bucket of sand mixed with oil for plunging dirty blades, a sharpening stone on a stable block, a stiff brush, and a stack of clean rags. A small labeled jar holds spare screws and washers.
Place the station near the door so you pass it on the way out, and make blade care the last five minutes of every gardening session. A quick plunge in the oiled sand removes soil and coats the metal against rust in one motion. Tools that are cleaned and sharpened regularly cut better, feel better in the hand, and need replacing far less often.
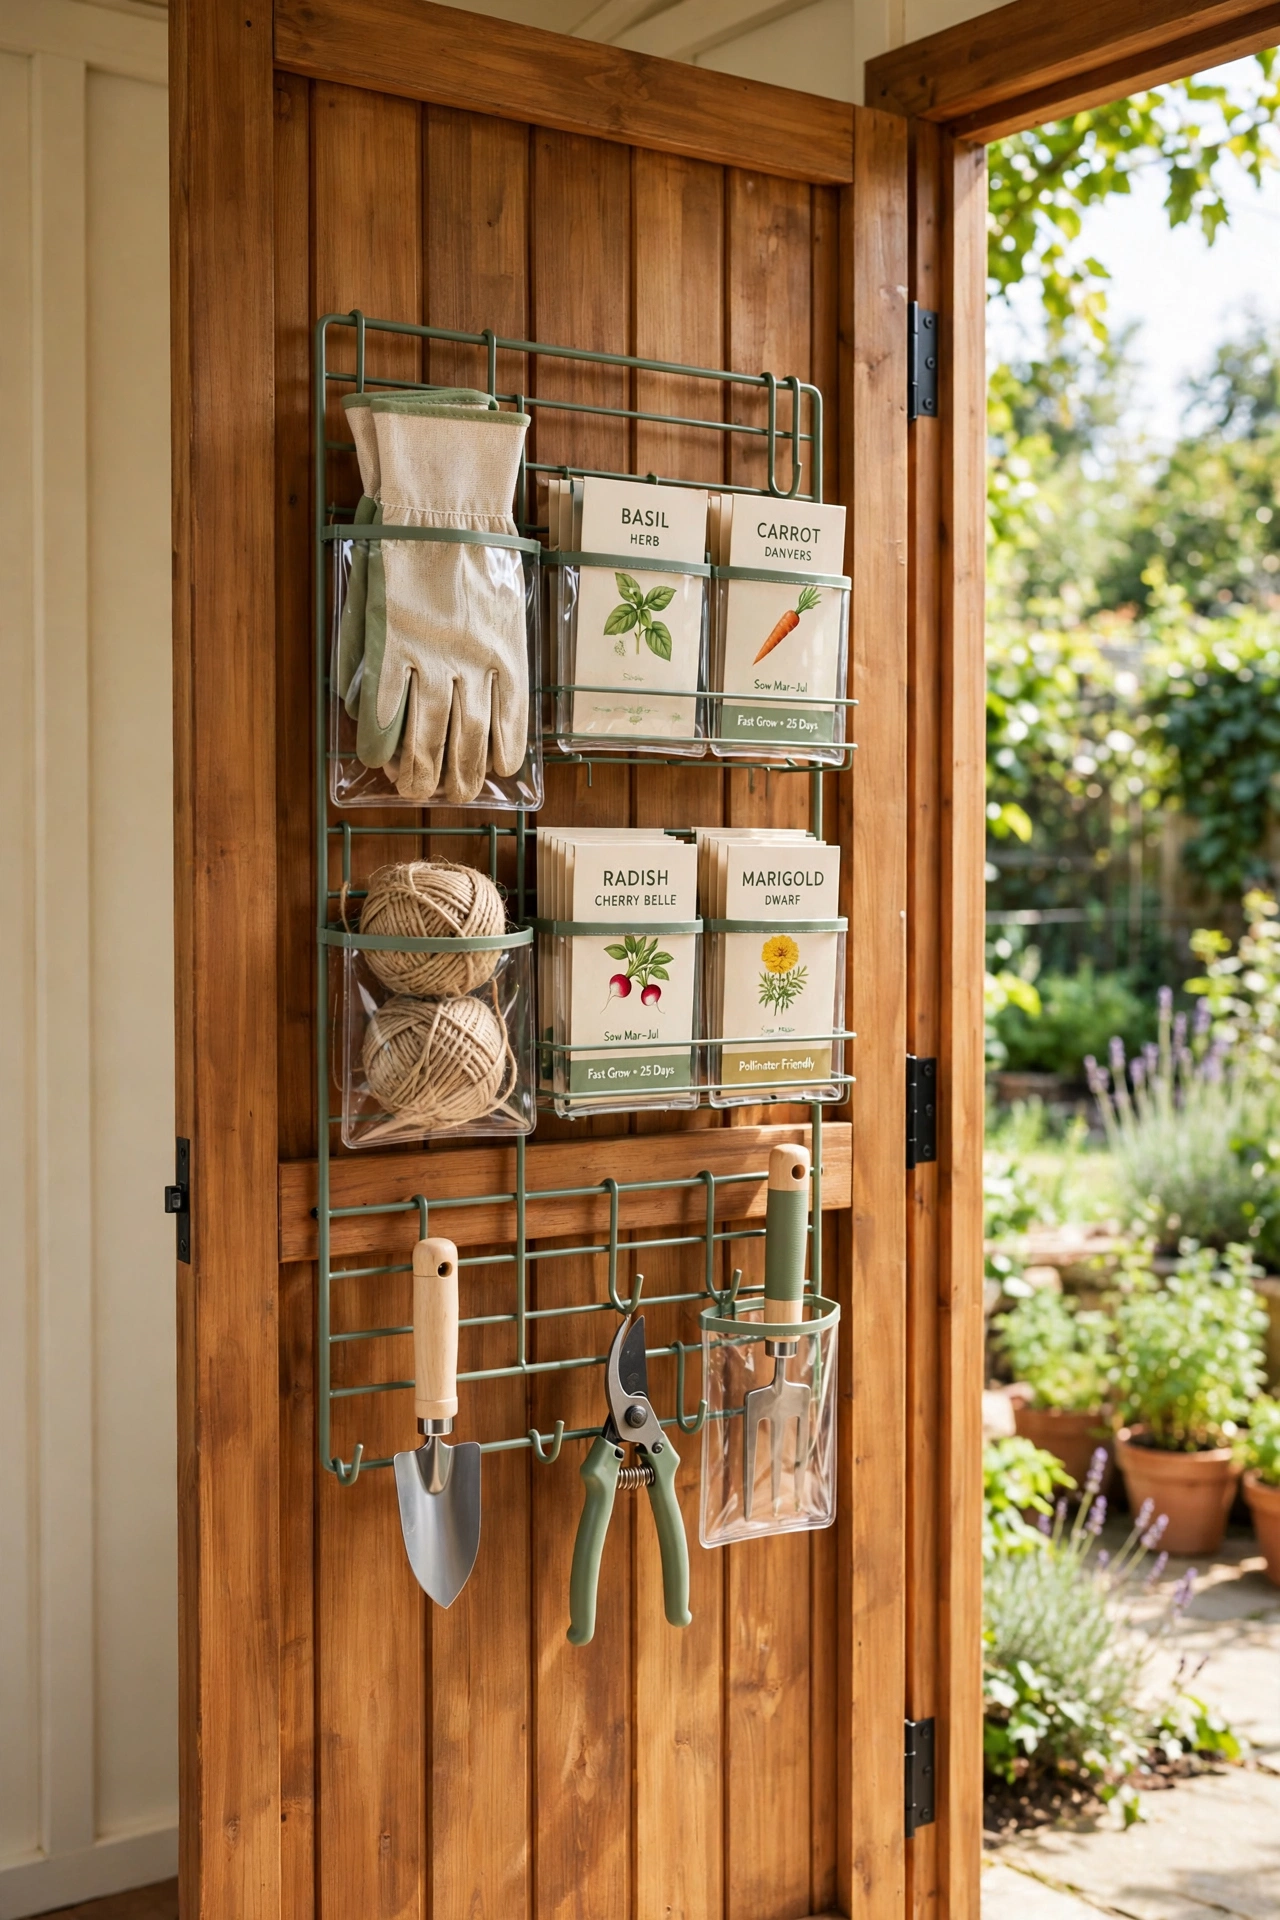
19. Use the Inside of the Shed Door for Slim Storage
The inside of the shed door is wasted space in most gardens, yet it can hold a surprising amount of slim gear. Screw a narrow rack, a row of hooks, or a slim wire organizer onto the door, and use it for gloves, twine, seed packets, and small hand tools. The door swings open to reveal everything, and closes to hide it all away.
Keep the door storage light and flat so the door still swings freely and the hinges do not strain. A clear pocket organizer works beautifully here, because you can see each item through the pockets. This trick adds a whole extra wall of storage to a small shed without taking a single inch of floor space.
20. Rotate Tools Seasonally on a Dedicated Shelf
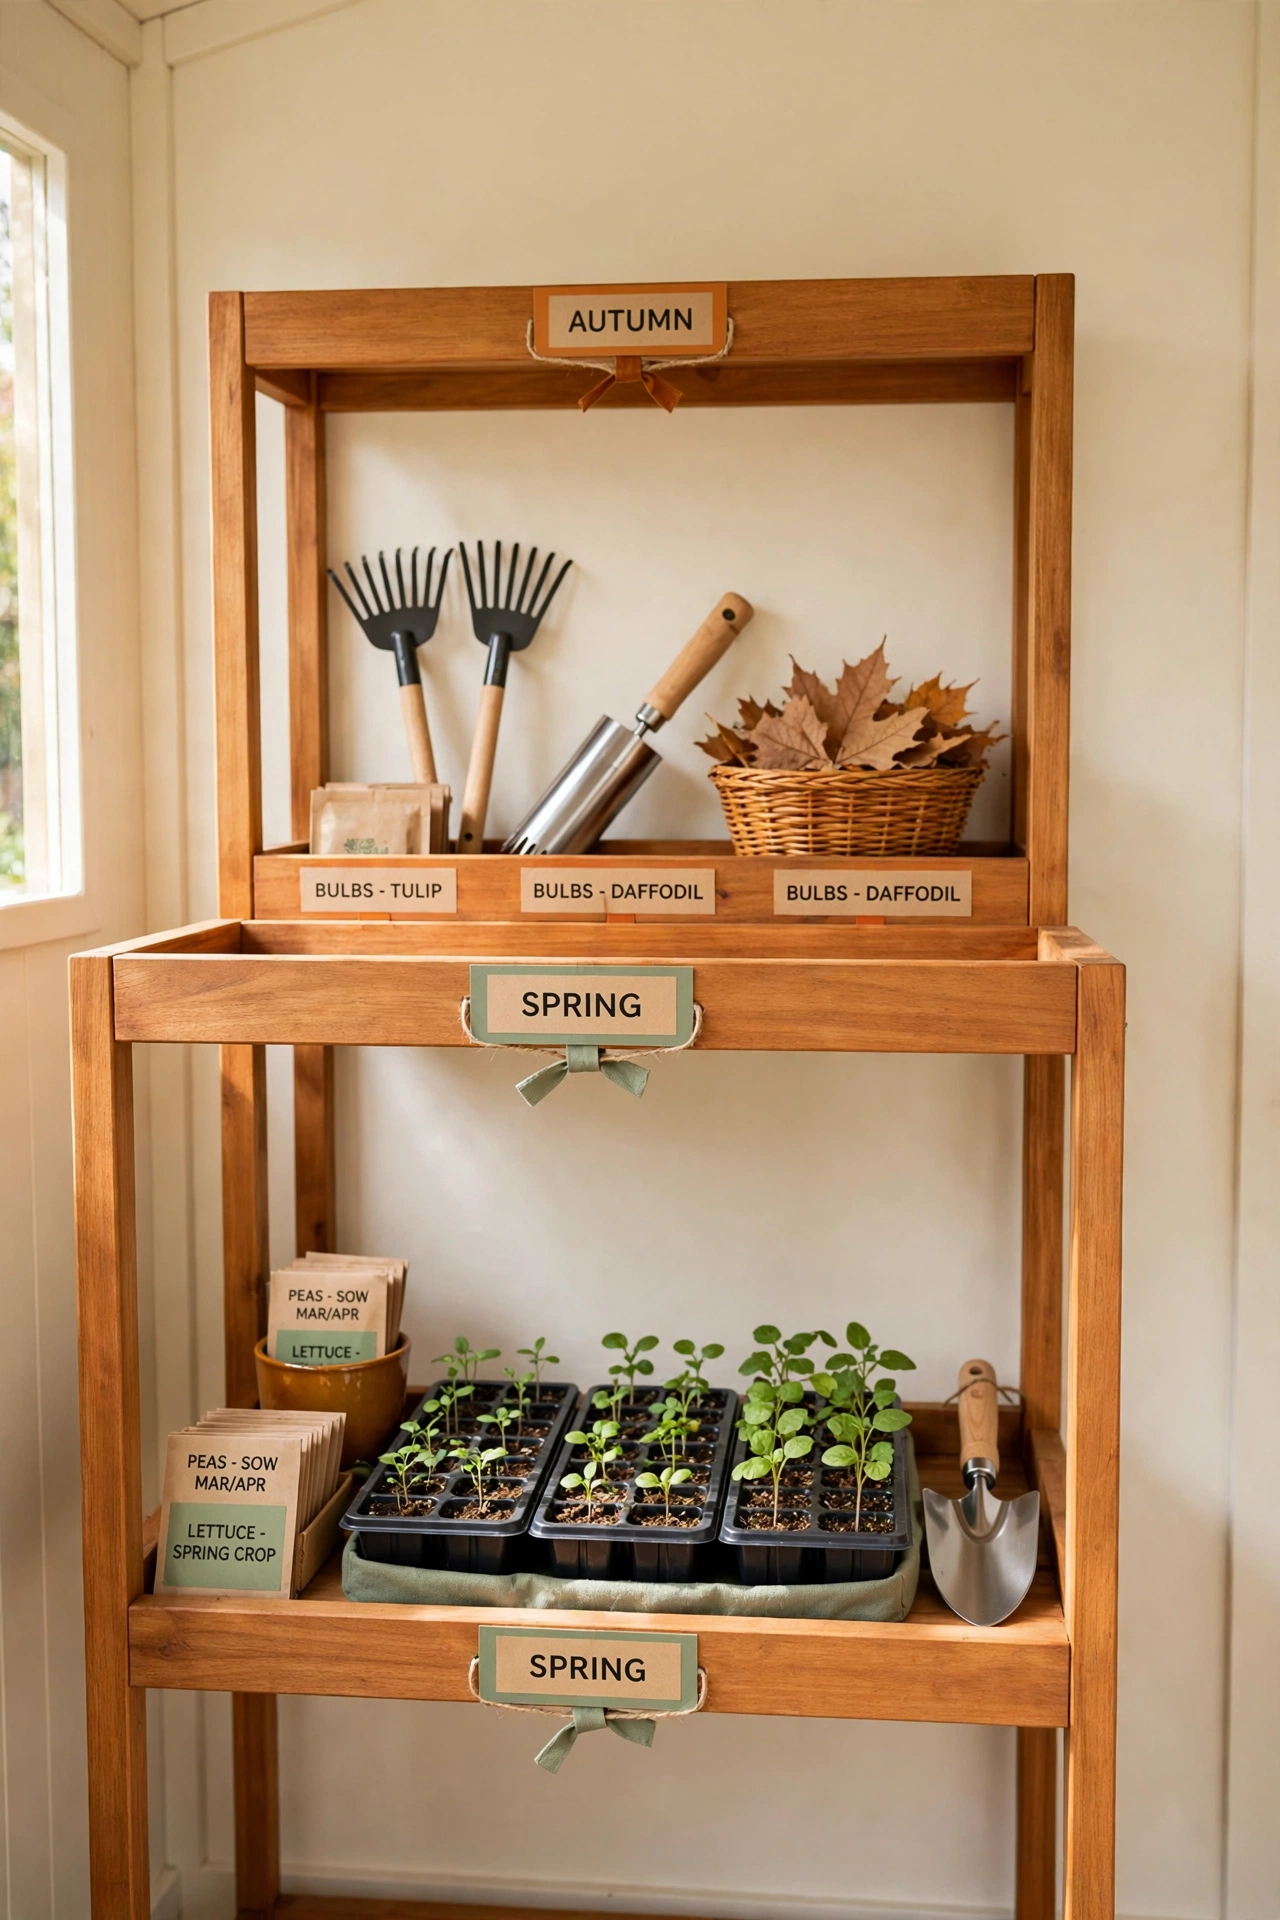
Not every tool earns its place on the prime shelf all year round. A seasonal rotation shelf keeps the current season tools front and center, while off-season tools move to a higher or deeper shelf until their turn comes again. In spring the seed trays and trowels take pride of place, while in autumn the leaf rakes and bulb planters move forward.
Label the rotation shelf with the four seasons, and do a quick swap on the first weekend of each new season. The ritual takes twenty minutes and keeps the shed feeling fresh and relevant all year. It also reminds you to check off-season tools for rust and damage before they are needed again, so nothing surprises you on planting day.
21. Color-Code Zones With Labels and Paint
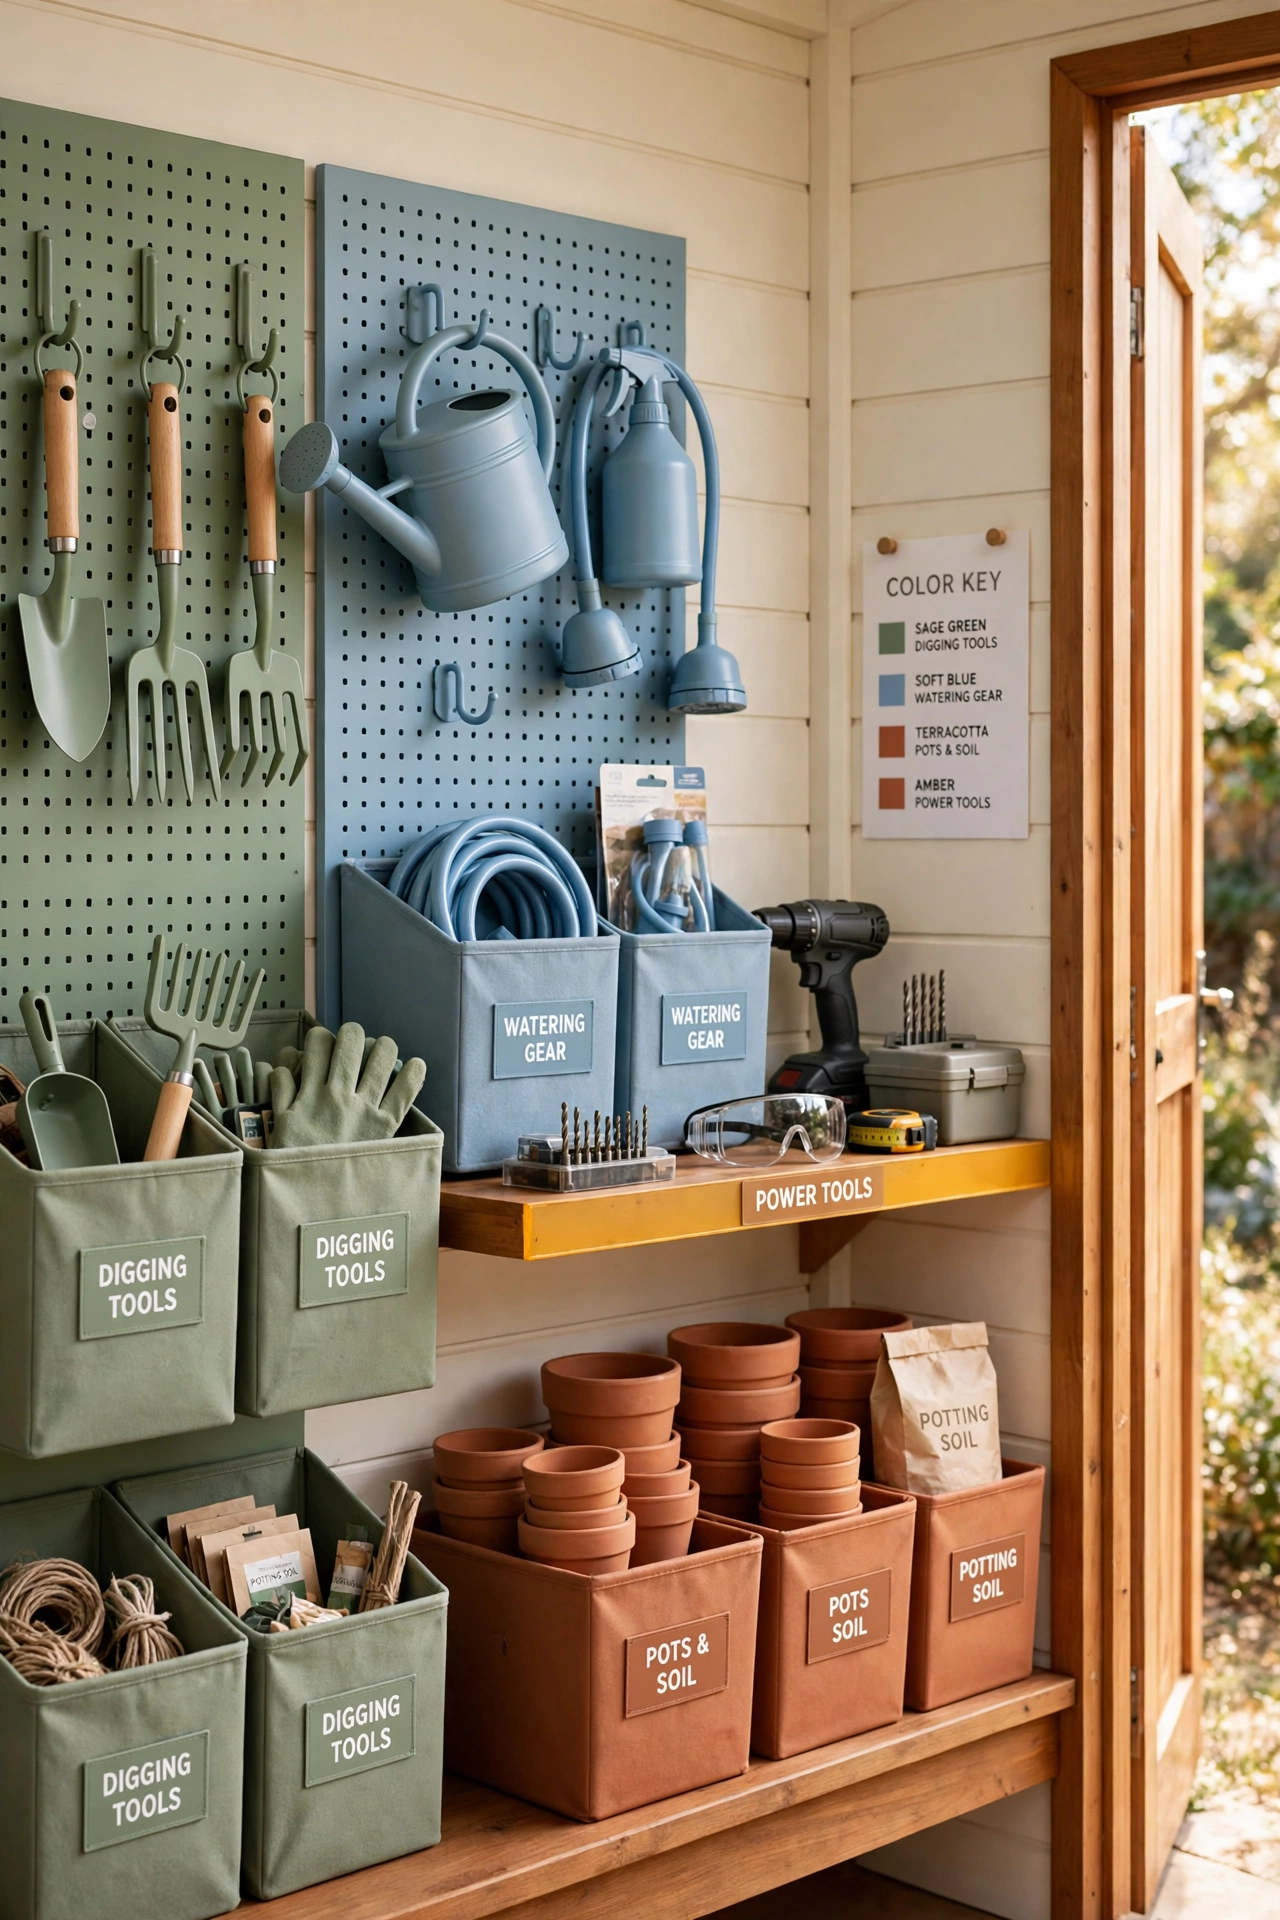
A color-coded zone system ties every idea in this article together, because color tells you where things belong faster than words alone. Assign one color to each zone, such as sage green for digging tools, soft blue for watering gear, terracotta for pots and soil, and amber for power tools, then paint the hooks, bins, and shelf edges to match. Add printed labels in the same colors for extra clarity.
Keep the palette to four or five colors so the system stays easy to remember, and post a small color key on the wall by the door. When every tool has a color and every color has a zone, putting things away becomes automatic, even for visitors and children. The shed looks cheerful and calm at the same time, which makes every visit more pleasant.
Conclusion
A well organized shed does more than look tidy. It protects your tools, saves your time, and makes gardening feel welcoming from the moment you open the door. Whether you start with a simple pegboard, a hose reel, or a labeled tote caddy, each small system you add makes the next gardening day smoother than the last.
Pick the idea that solves your biggest frustration first, and build from there one weekend at a time. Before long, every tool will have a home, every shelf will earn its keep, and your shed will feel like a proper workshop for the garden you love. For a sheltered space to start seeds and grow tender plants, these backyard greenhouse ideas will help you plan the next step in your garden journey.
Frequently Asked Questions About Garden Tool Organization Ideas for Sheds and Garages
How do I organize garden tools in a small shed?
Use the walls and the door before you use the floor. A pegboard, a wall rail with clips, and a slim organizer on the inside of the door hold most hand tools and long-handled tools without taking floor space. Add stackable labeled bins on one shelf, and keep only the tools you use weekly within easy reach.
What is the best way to store long-handled garden tools?
Hang them upright on a wall rail with spring clips, or stand them in tall bins with the handles down. Both methods keep blades off the floor, prevent tangling, and make each tool easy to grab. Store the heaviest tools nearest the door and keep sharp edges facing the wall for safety.
How do I keep garden tools from rusting in storage?
Clean and dry every tool before you put it away, and wipe metal parts with an oiled rag. Store tools in a dry, covered space with good airflow, and keep them off damp concrete floors. A bucket of sand mixed with oil gives blades a quick cleaning and a rust resistant coating in one step.
Where should I store a garden hose so it does not tangle?
Coil the hose in even loops on a wall-mounted reel beside the outdoor tap, and drain it before coiling so water does not pool inside. A reel keeps the hose off the ground, prevents kinks, and makes unwinding quick and easy. Store the spray nozzle on a hook beside the reel so the whole watering kit stays together.
How often should I reorganize my garden shed?
A quick tidy at the end of every gardening session keeps the shed usable week to week, while a full seasonal rotation four times a year keeps the right tools front and center. During each seasonal swap, check tools for rust and damage, top up supplies, and remove anything broken or unused. A shed that is reviewed regularly never falls back into chaos.

Hi, I’m Emily! I turn messy corners into cozy, organized spots. DreamNestDecor is where I share simple, practical home ideas — decor, organization, and small-space solutions that work in real life, not just in photos. Every idea here is carefully researched before it’s shared.