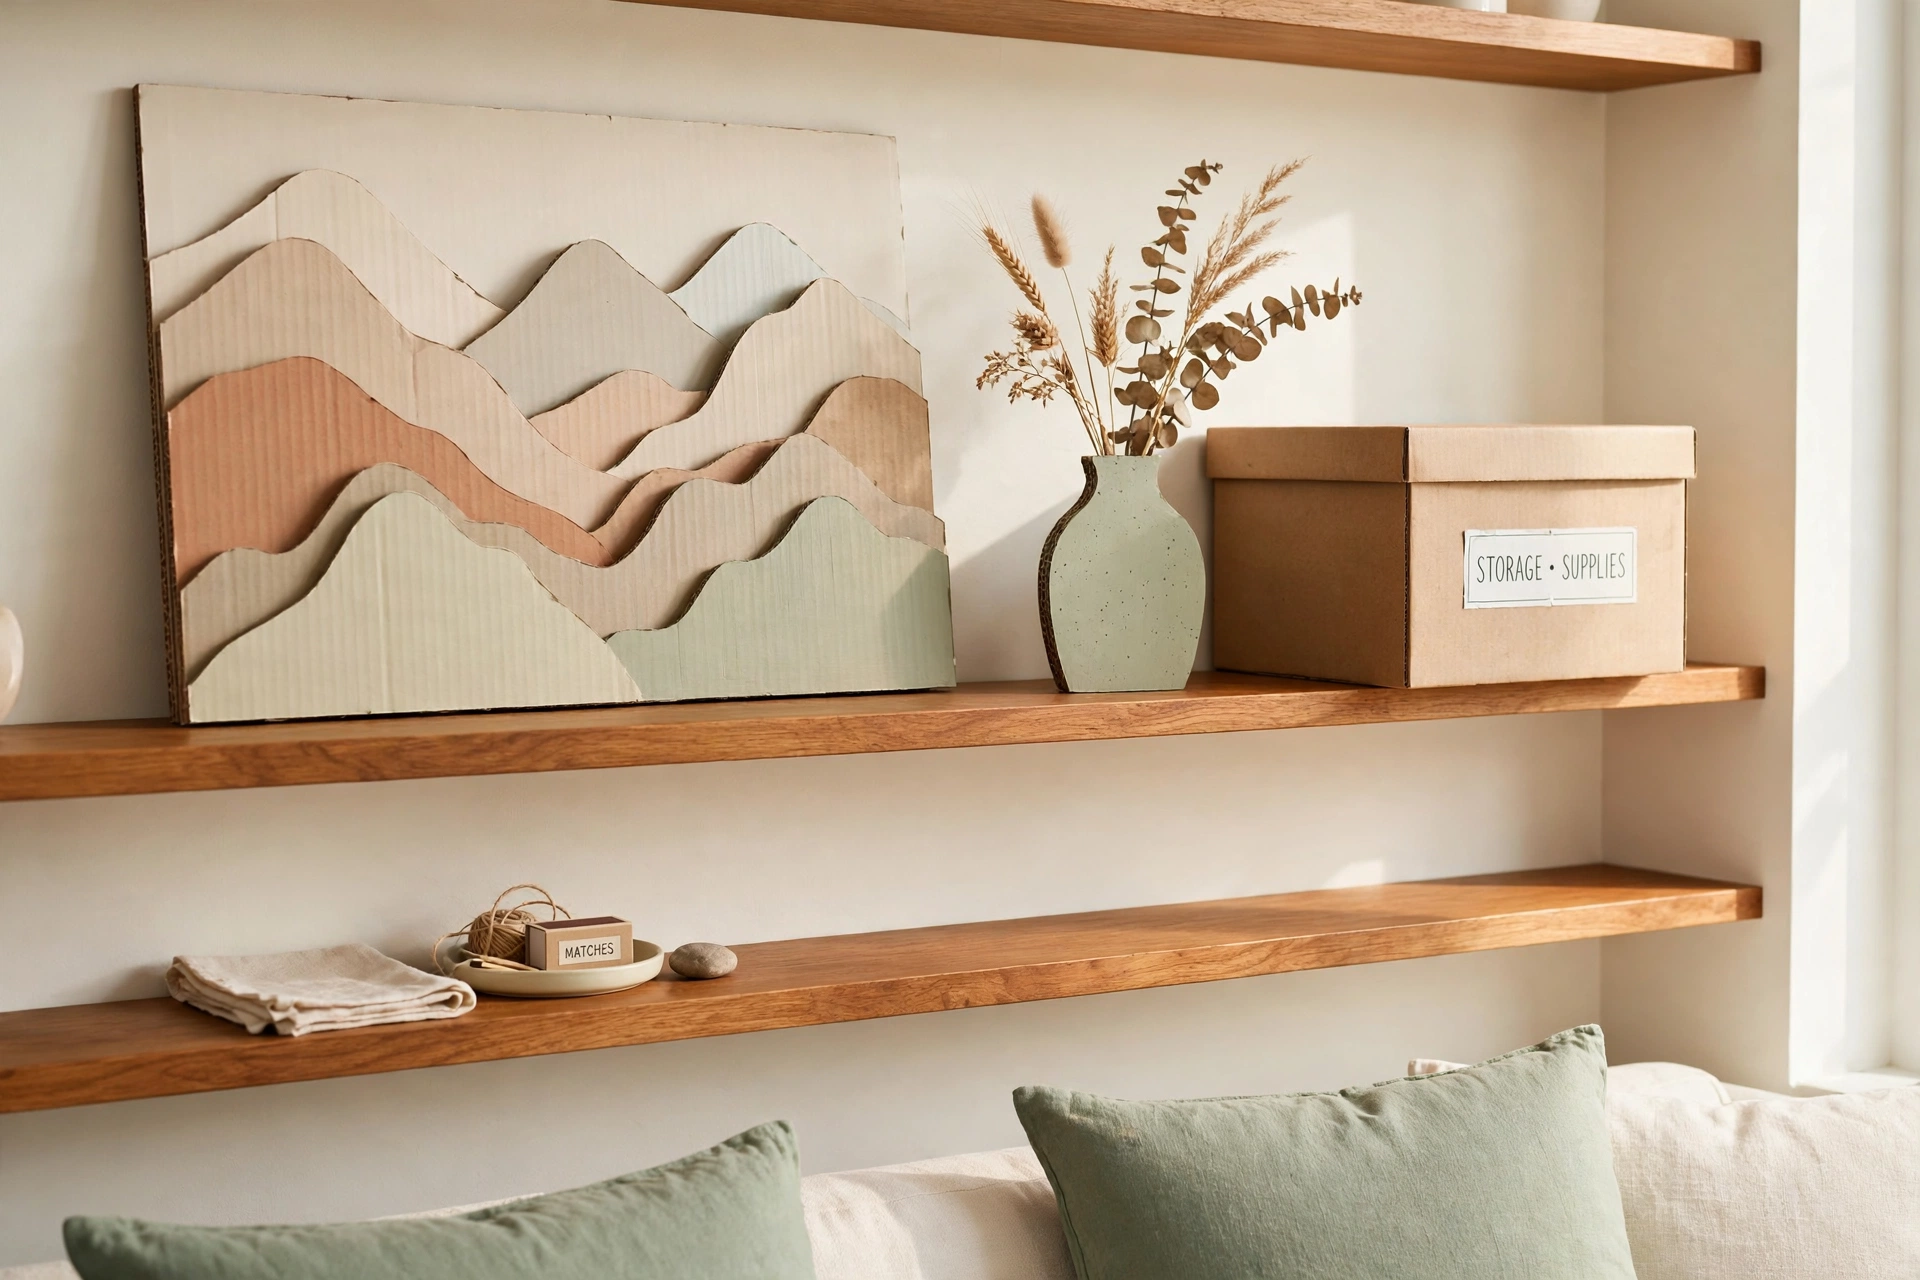
Picture this: a plain shipping box sits on your kitchen counter, and a few hours later it has become a framed mirror, a sculptural vase, or a piece of wall art that guests admire. Cardboard is free, light, and easy to cut, yet most people throw it away without a second thought. With paint, glue, and a little patience, that humble material can look like ceramic, carved wood, or expensive store bought decor.
You do not need fancy tools or a big budget to get started. All you need is a craft knife, a ruler, and a few basic supplies you likely own already. These 14 DIY cardboard decor ideas will help you turn everyday boxes into beautiful pieces for every room in your home.
1. Create Layered Cardboard Wall Art
Layered cardboard wall art turns flat boxes into a piece with real depth and shadow. Cut the same shape in several sizes, stack the layers with small gaps between them, and paint the whole piece in one color. The edges catch the light and create a sculpted look that feels far more expensive than the material suggests.
Start with simple shapes like arches, leaves, or waves, and keep the palette calm so the form does the talking. A large panel above a sofa or a small trio along a hallway both work well. Seal the finished piece with a clear matte coat so it stays clean and holds its shape for years.
2. Build a Mirror with a Layered Cardboard Frame
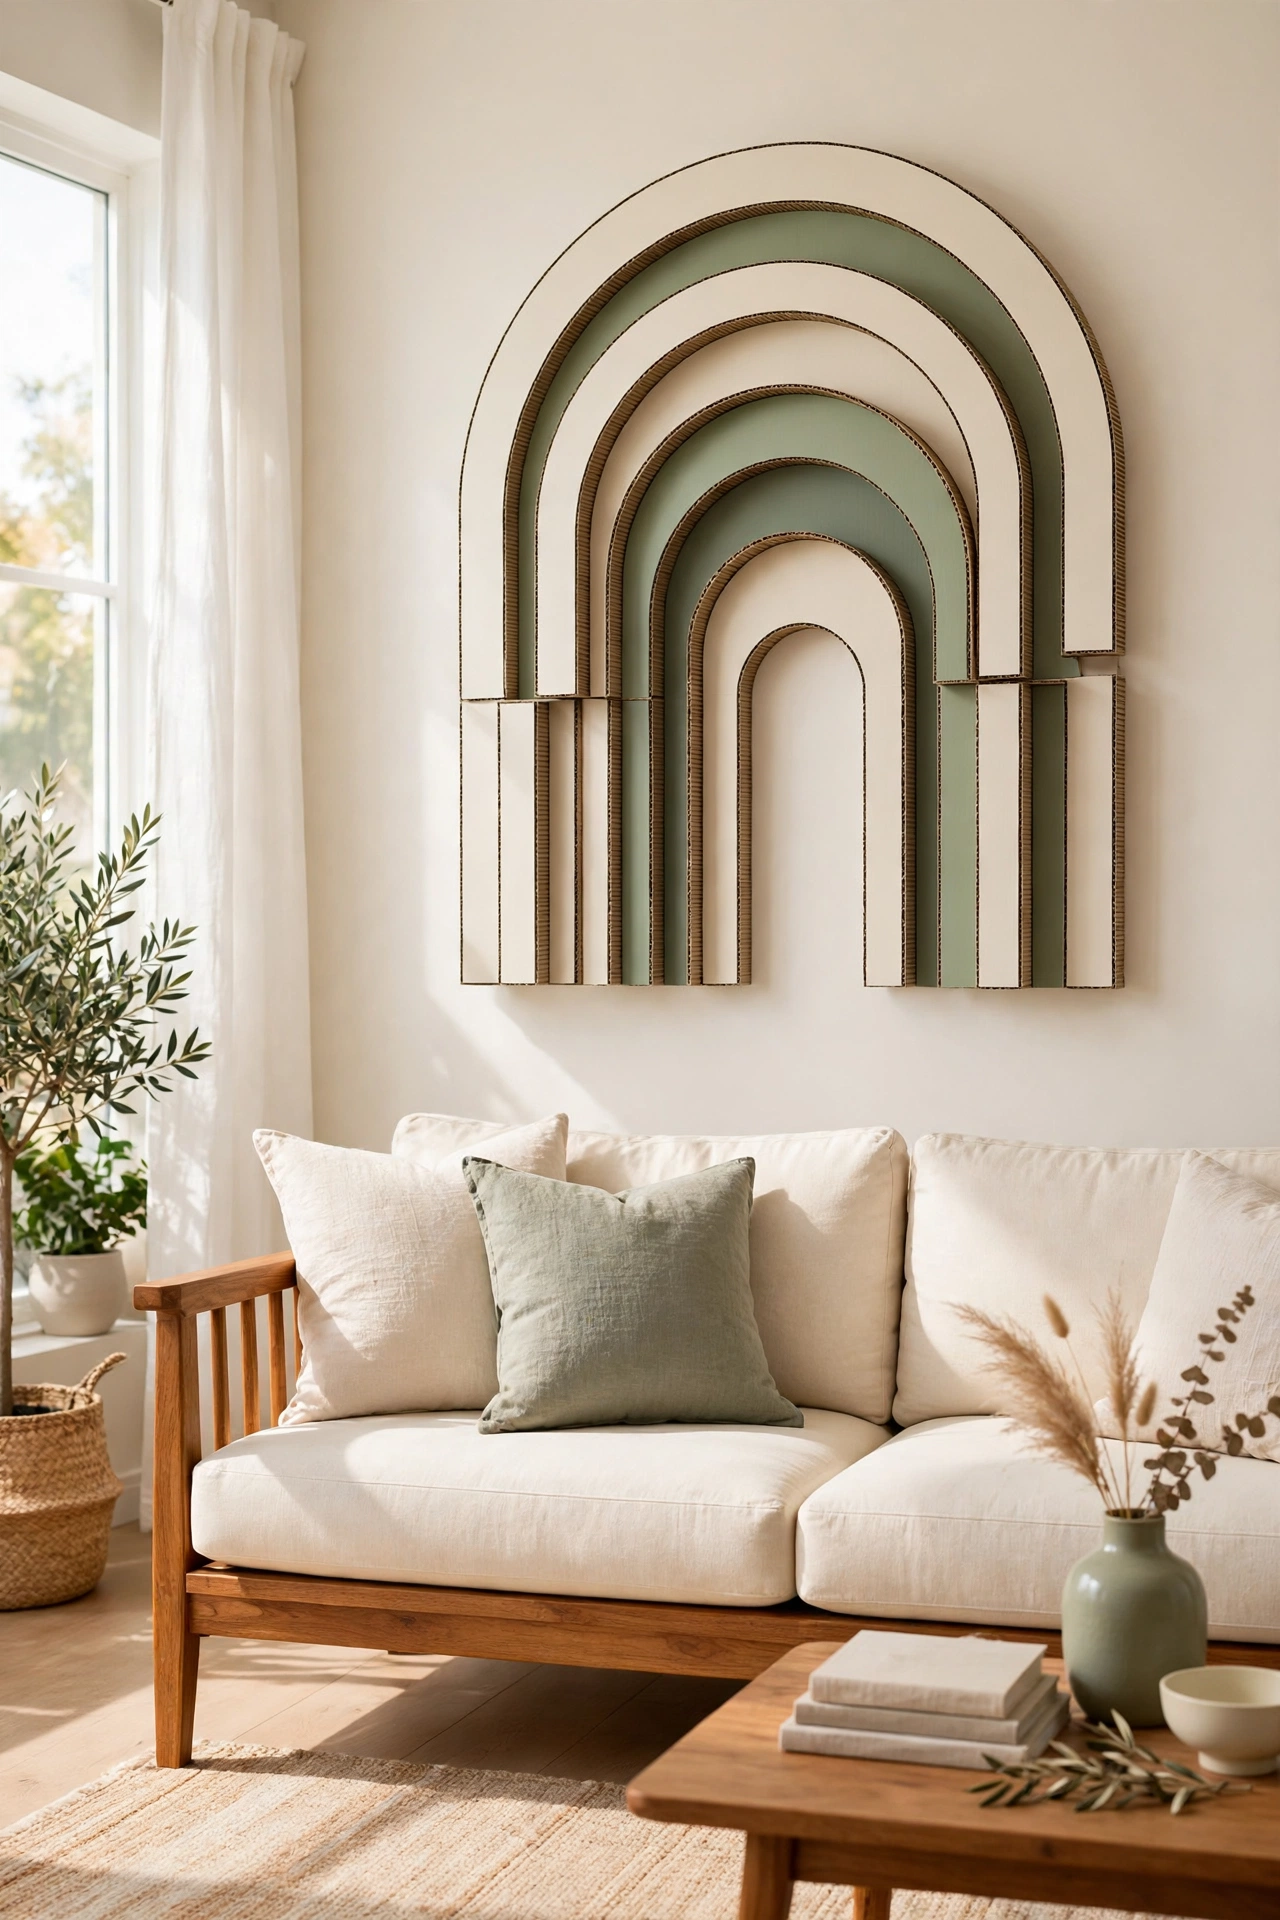
A plain round mirror becomes a statement piece when you surround it with a layered cardboard frame. Cut rings, scallops, or sunburst rays from thick cardboard, glue them in overlapping layers, and paint the frame in a warm metallic or soft matte shade. The result looks like a carved frame from a home store.
Use strong adhesive and a sturdy backing board so the mirror stays secure on the wall. For more ways to dress up a plain mirror, see these DIY decorative mirror frame ideas. Hang the finished mirror in an entryway or above a console table, where the frame catches the light and draws the eye.
3. Shape a Cardboard Vase That Looks Like Ceramic
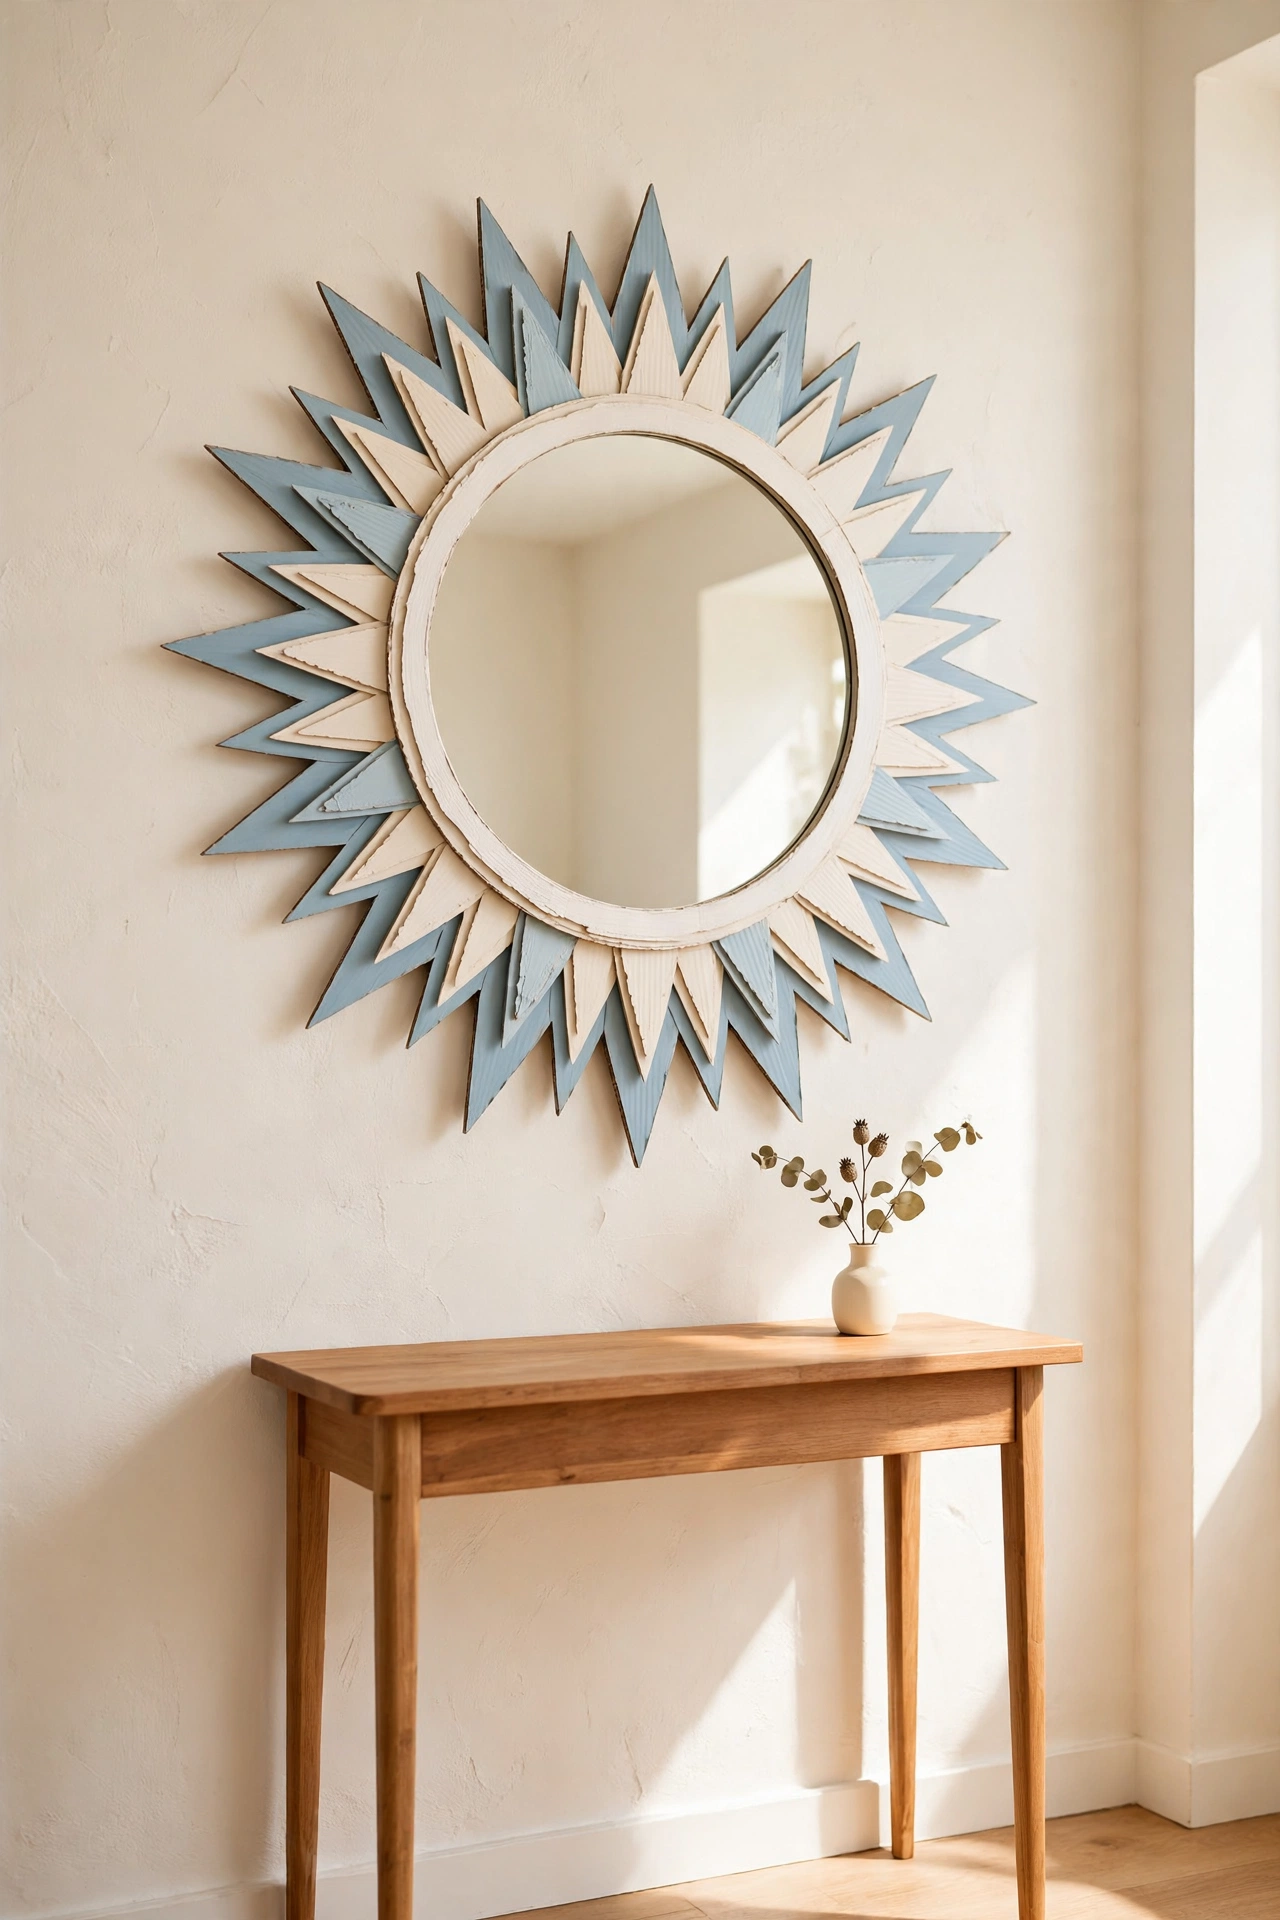
A cardboard vase can fool the eye when it is shaped and painted with care. Roll and glue strips of cardboard into a tall tapered form, smooth the surface with paper strips and paste, then paint it in a soft matte color with a hint of texture. Once dry, the vase looks like handmade ceramic from across the room.
Place a glass jar or a plastic bottle inside so you can hold real water and fresh stems safely. For more handmade vessel ideas, see these DIY decorative vase ideas. Style the vase on a shelf or a side table with dried stems, and nobody will guess the base material was once a delivery box.
4. Make Candle Holders from Rolled Cardboard
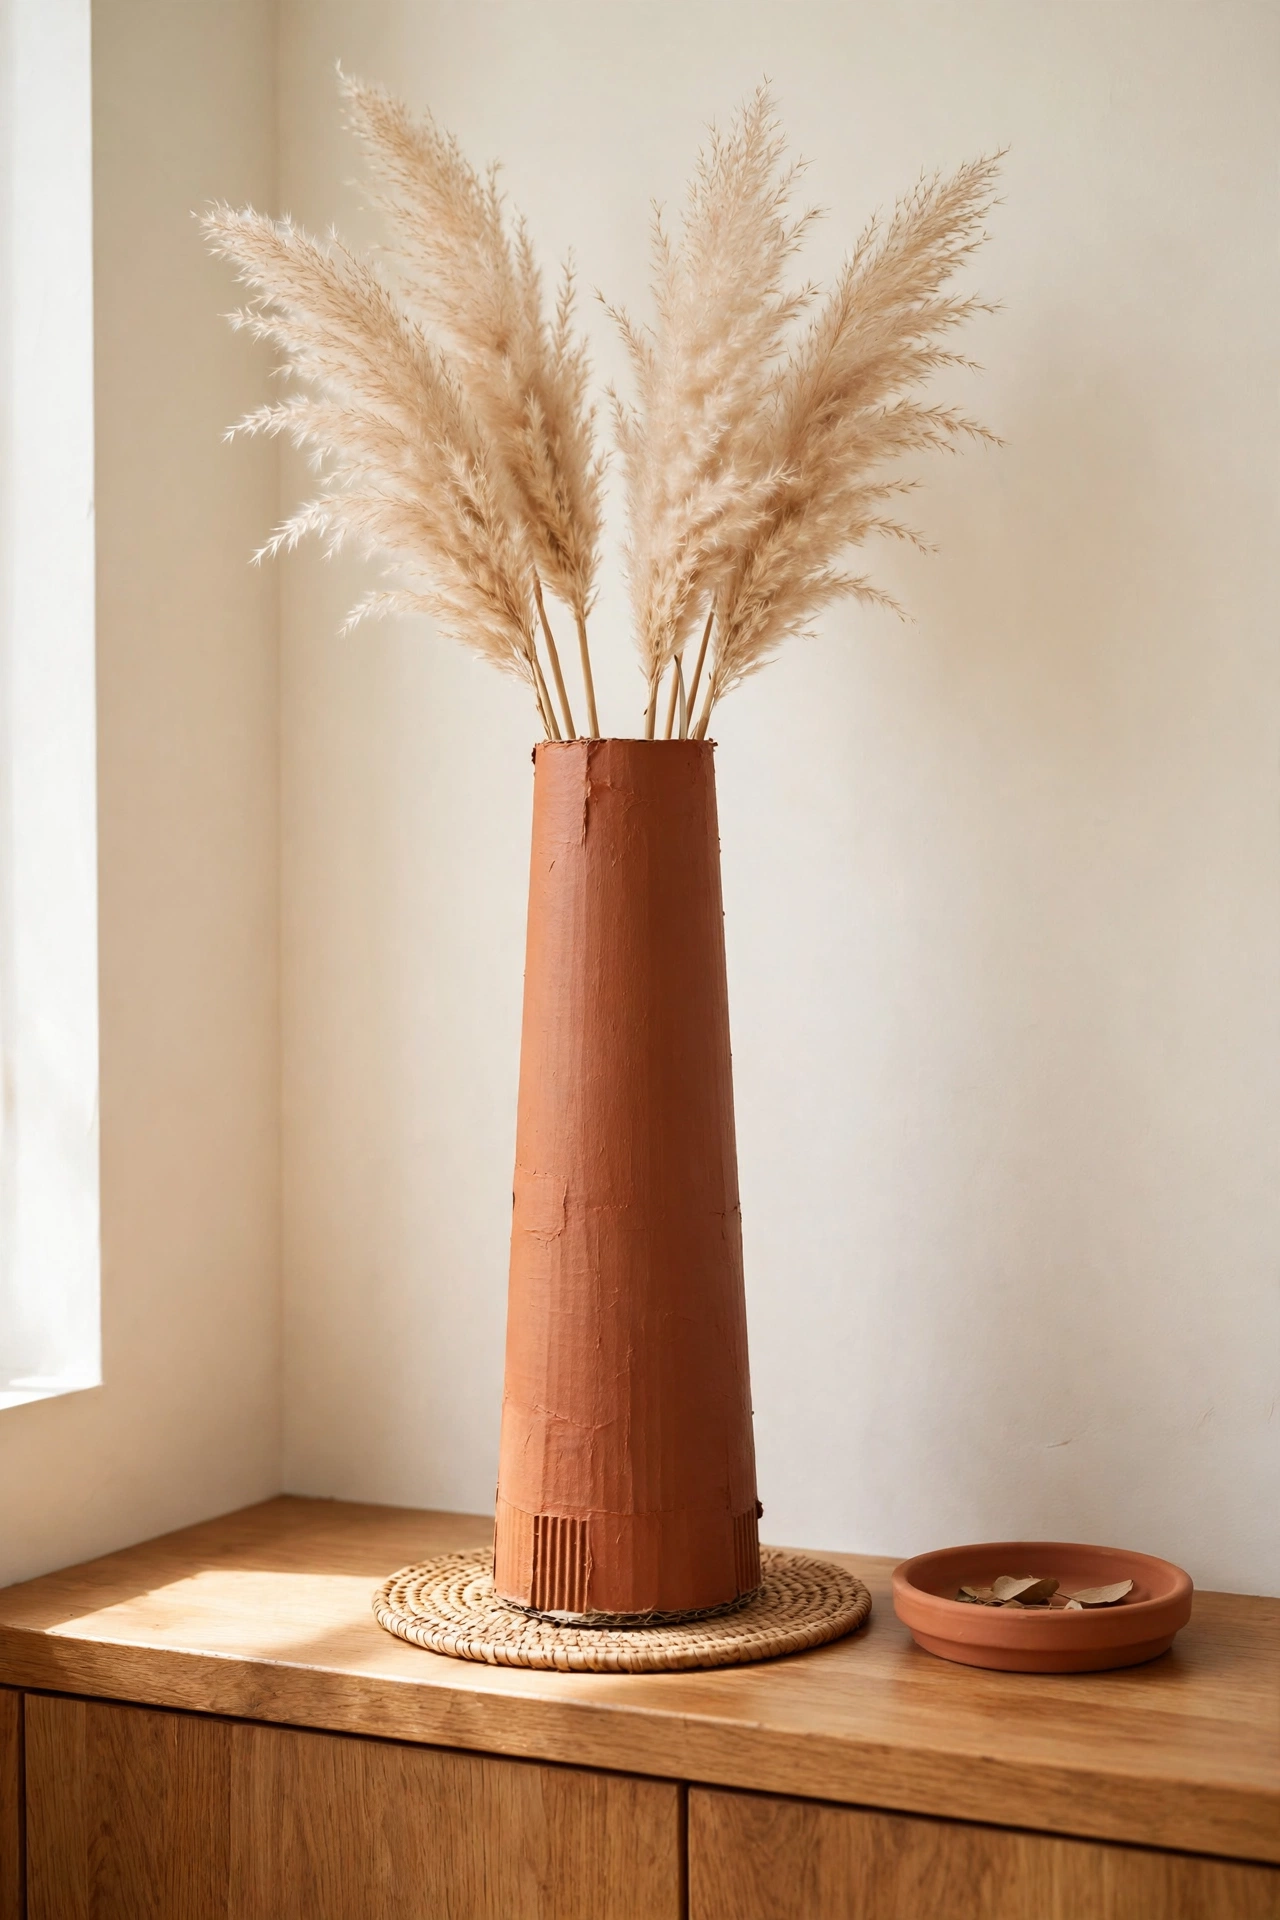
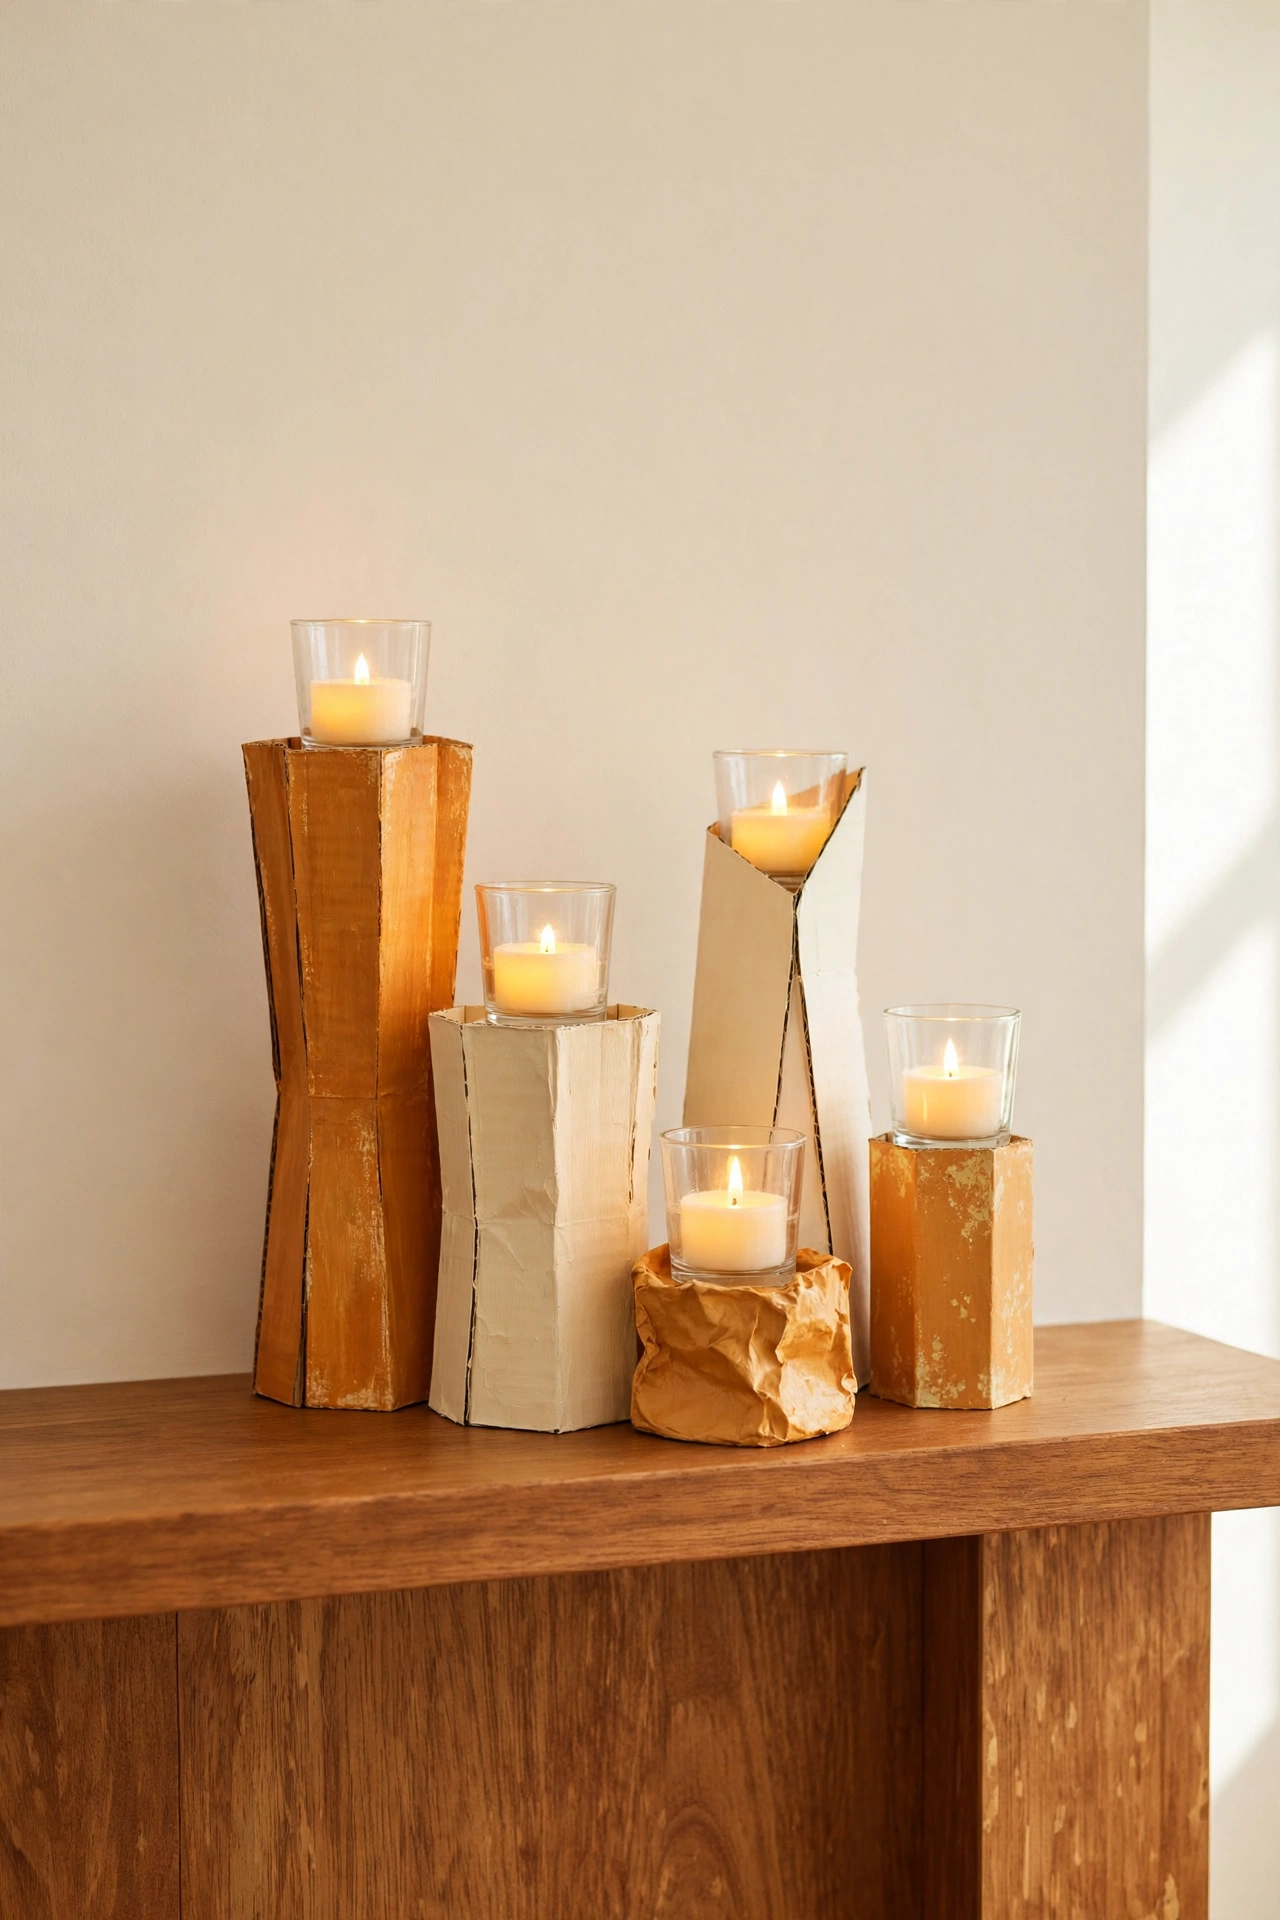
Rolled cardboard tubes make charming candle holders with a warm, crafted feel. Cut tubes to different heights, wrap them in paper or paint them in soft neutral tones, and glue them onto a sturdy round base. The grouped heights create a sculptural cluster that looks lovely on a mantel or a dining table.
Always place a glass votive or a metal cup inside the cardboard holder, and never let a flame touch the cardboard itself. Battery candles are the safest choice and still give a soft glow. This project costs almost nothing, yet the finished holders look like a set from a boutique shop.
5. Craft Sturdy Cardboard Planters
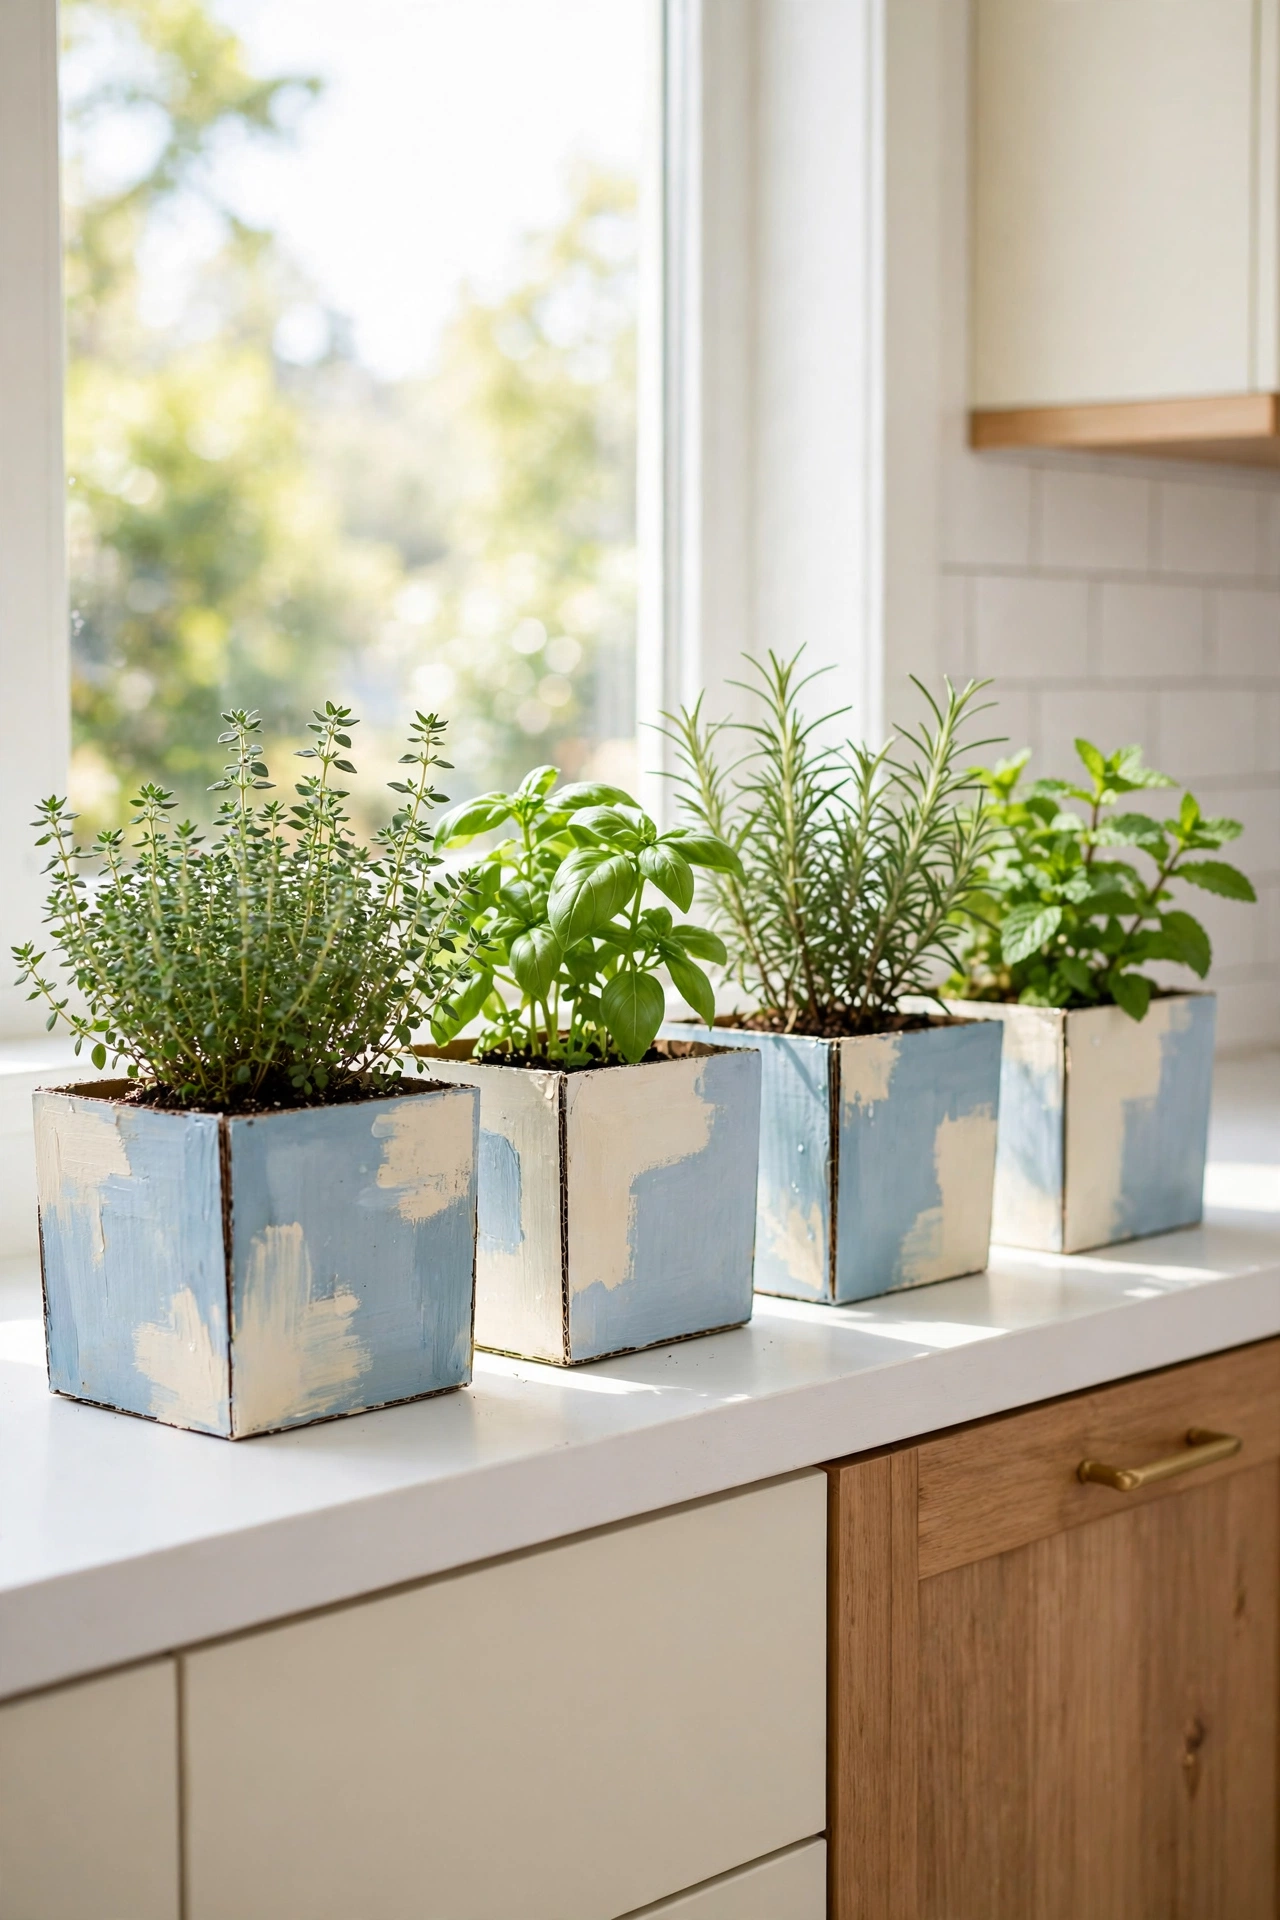
Cardboard planters are light, cheap, and easy to shape into any size you need. Cut and fold thick cardboard into a box or a tapered pot, line the inside with a plastic bag or a waterproof liner, and paint the outside in a color that matches your room. The liner keeps moisture away from the cardboard so the planter lasts.
Use the planters for small herbs, succulents, or trailing plants that do not need heavy soil. A row of matching planters on a windowsill looks tidy and intentional. This is a wonderful project for a kitchen garden, a sunny balcony, or a bright home office.
6. Build Lidded Storage Boxes with a Finished Look
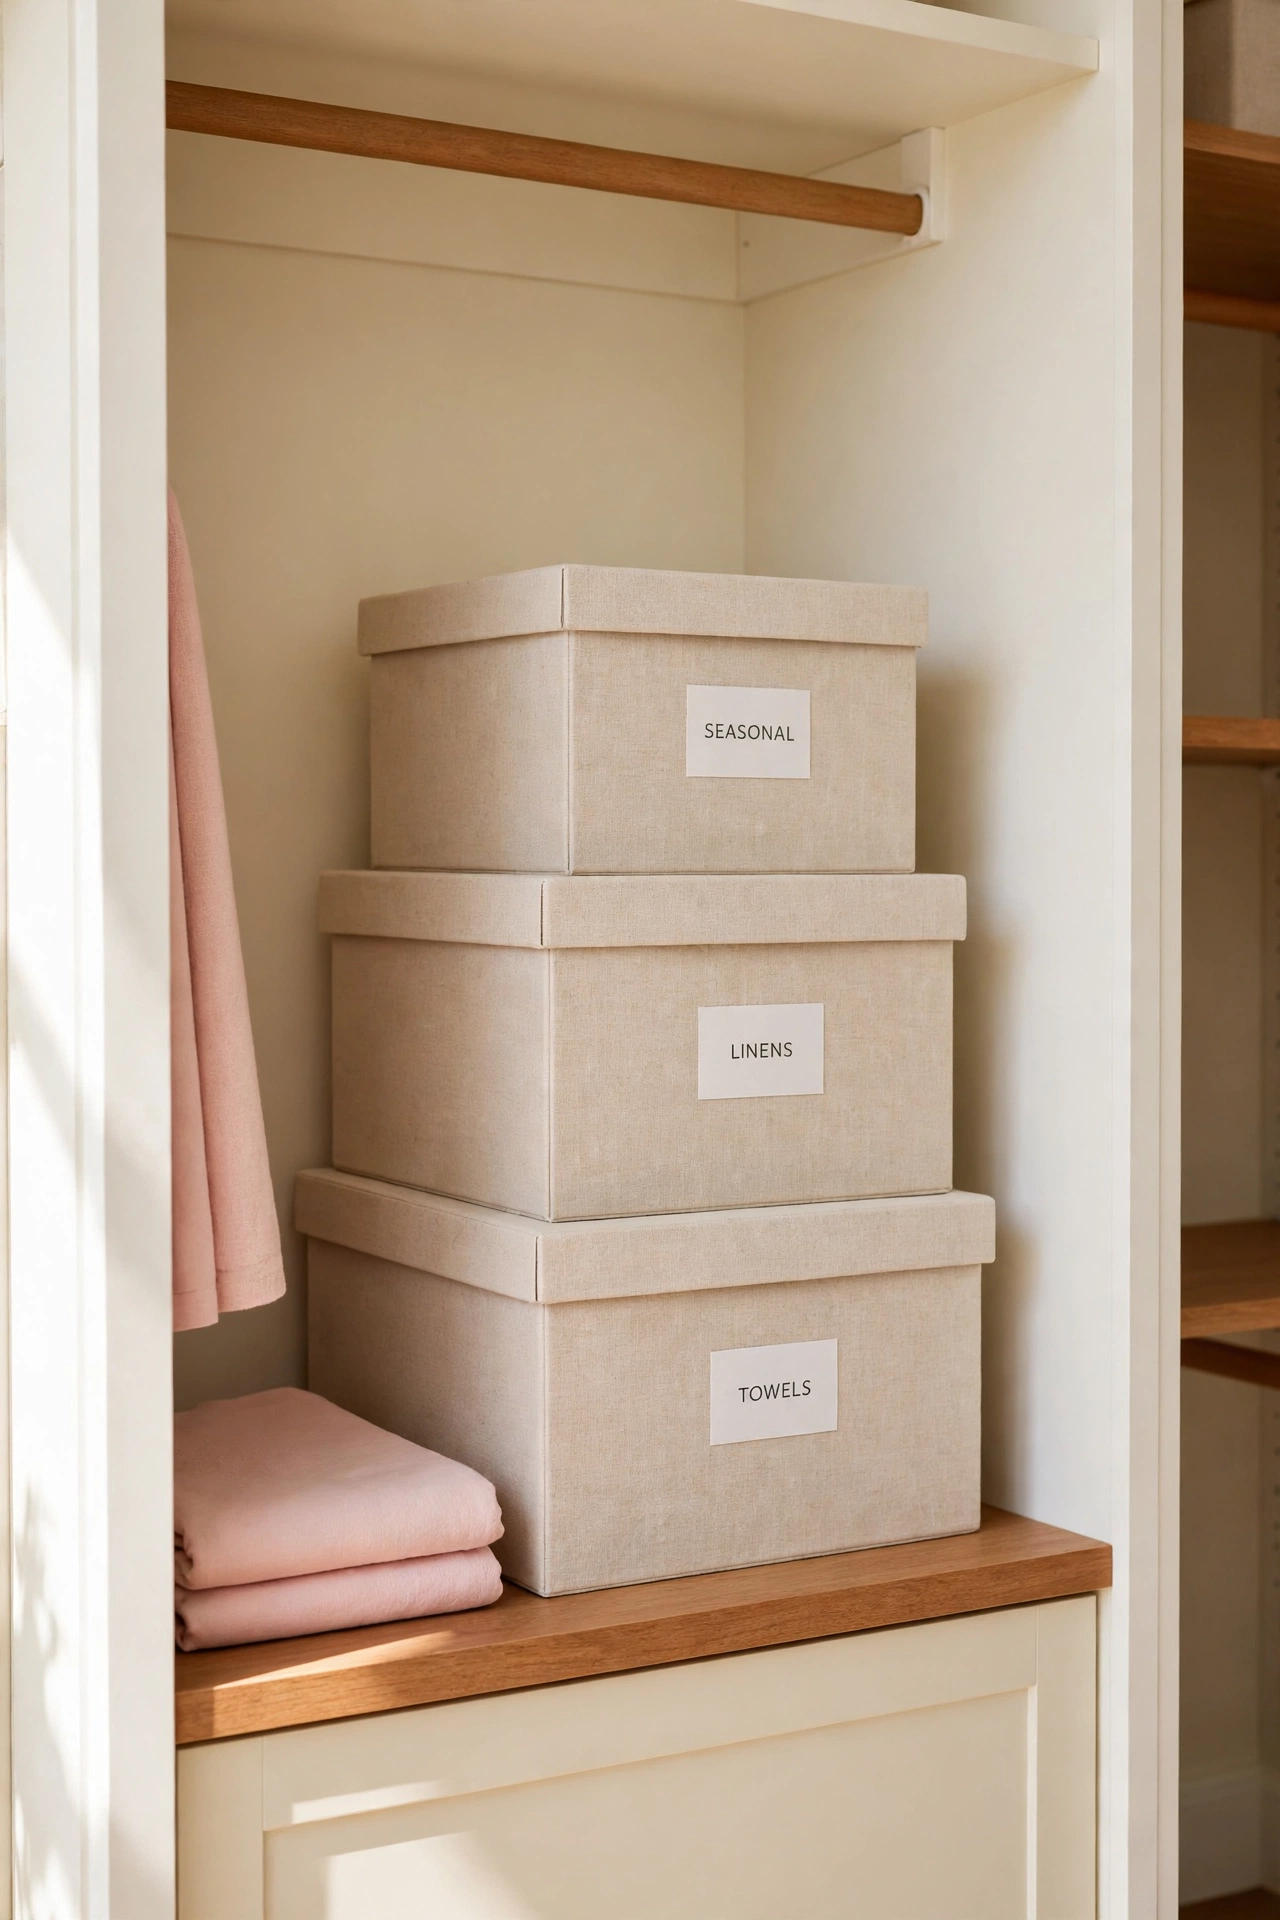
A plain cardboard box becomes a beautiful storage piece when you add a fitted lid and a clean finish. Cover the box in fabric, wrapping paper, or paint, then add a simple label holder to the front. The finished box hides clutter while looking like a piece you bought on purpose.
Make several boxes in the same finish and stack them on a closet shelf or under a console table for a calm, matching set. Add small handles cut from ribbon or leather scraps so the boxes are easy to pull down. This project turns packaging waste into storage that earns its place in the room.
7. Frame Photos with Textured Cardboard Frames
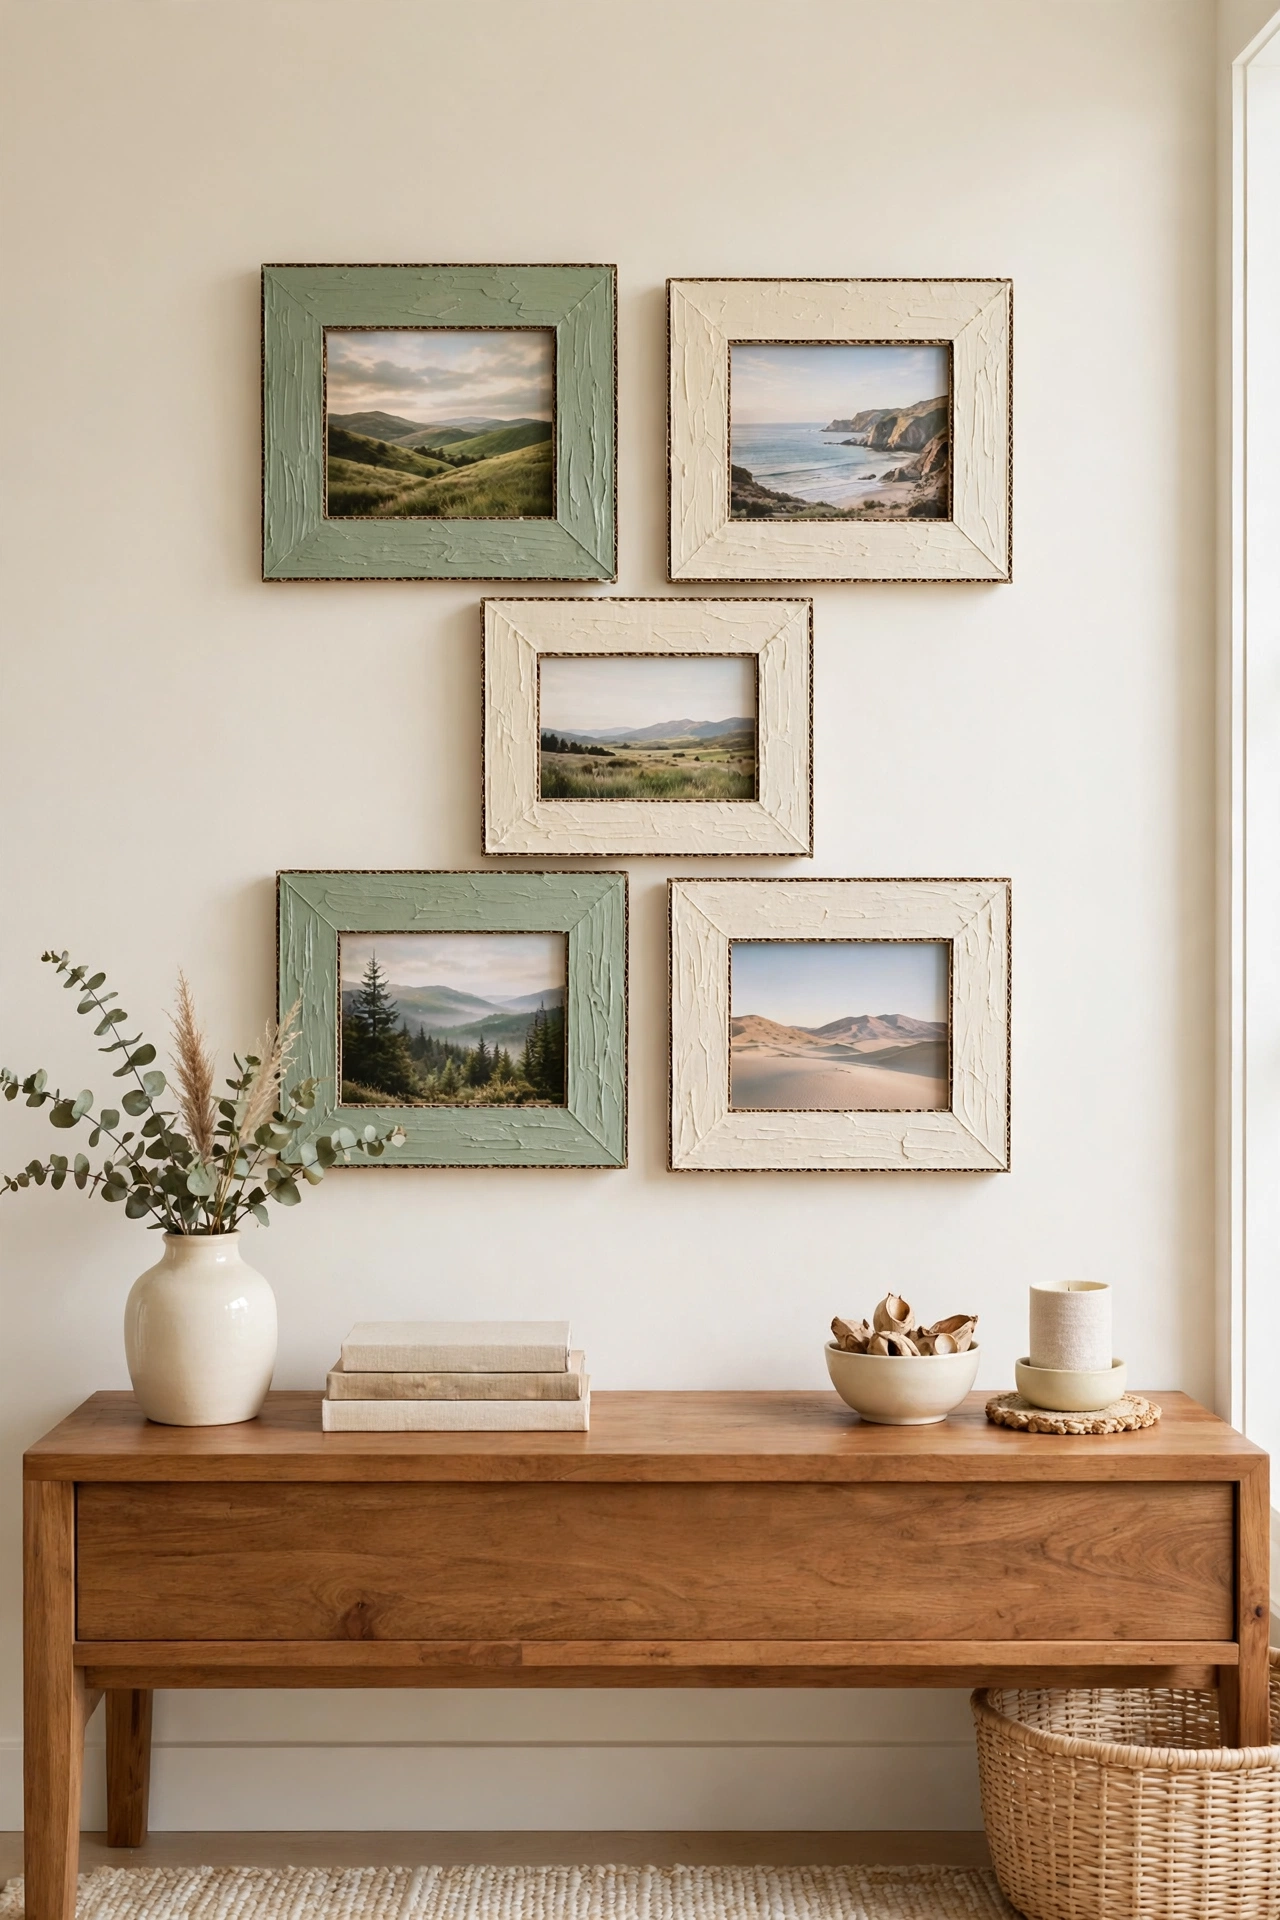
Cardboard picture frames are easy to personalize and cost almost nothing to make. Cut a frame shape from thick cardboard, add texture with torn paper strips, fabric scraps, or paint, then place your photo behind a clear plastic sheet. The handmade frame gives family photos a warm and personal feel.
Try a set of matching frames in one color for a gallery wall, or paint each frame a different accent shade for a playful look. For more frame projects, see these DIY picture frame makeover ideas. A cardboard frame also makes a thoughtful gift, since the frame itself carries as much care as the photo inside.
8. Make a Lampshade from Cut Cardboard Panels
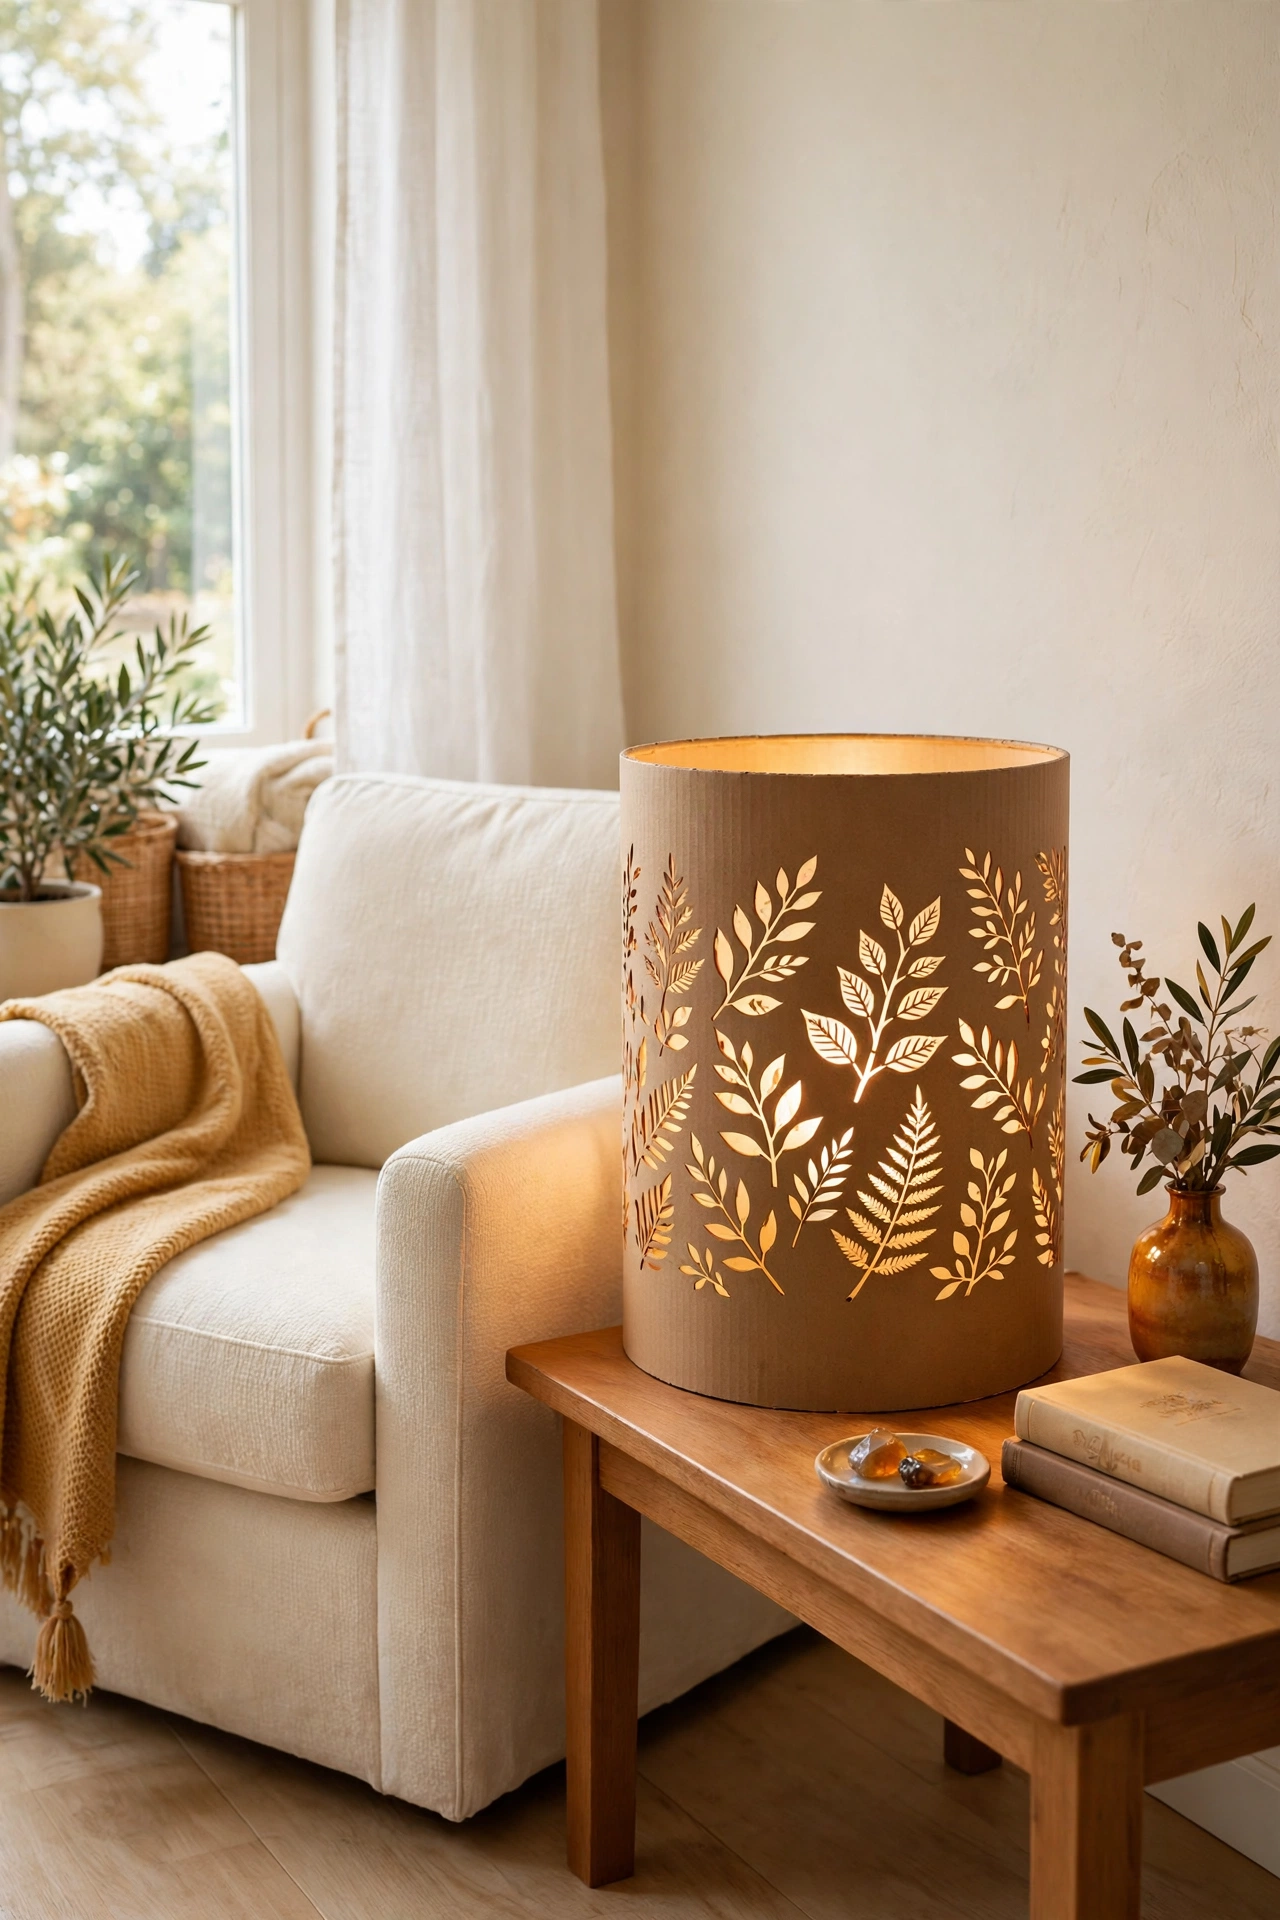
A cardboard lampshade can cast beautiful patterned light across a room. Cut panels with geometric or leaf shaped openings, join them into a drum or cone shape, and line the inside with thin parchment paper. When the lamp is on, the cut shapes glow and throw soft patterns on the walls.
Use a low heat LED bulb and keep the shade well away from any heat source, since cardboard and heat do not mix. A lampshade in a soft cream or warm amber tone suits a bedroom or a reading corner best. This project adds a handmade glow to a room for the price of a single bulb.
9. Mount Floating Cardboard Wall Shelves
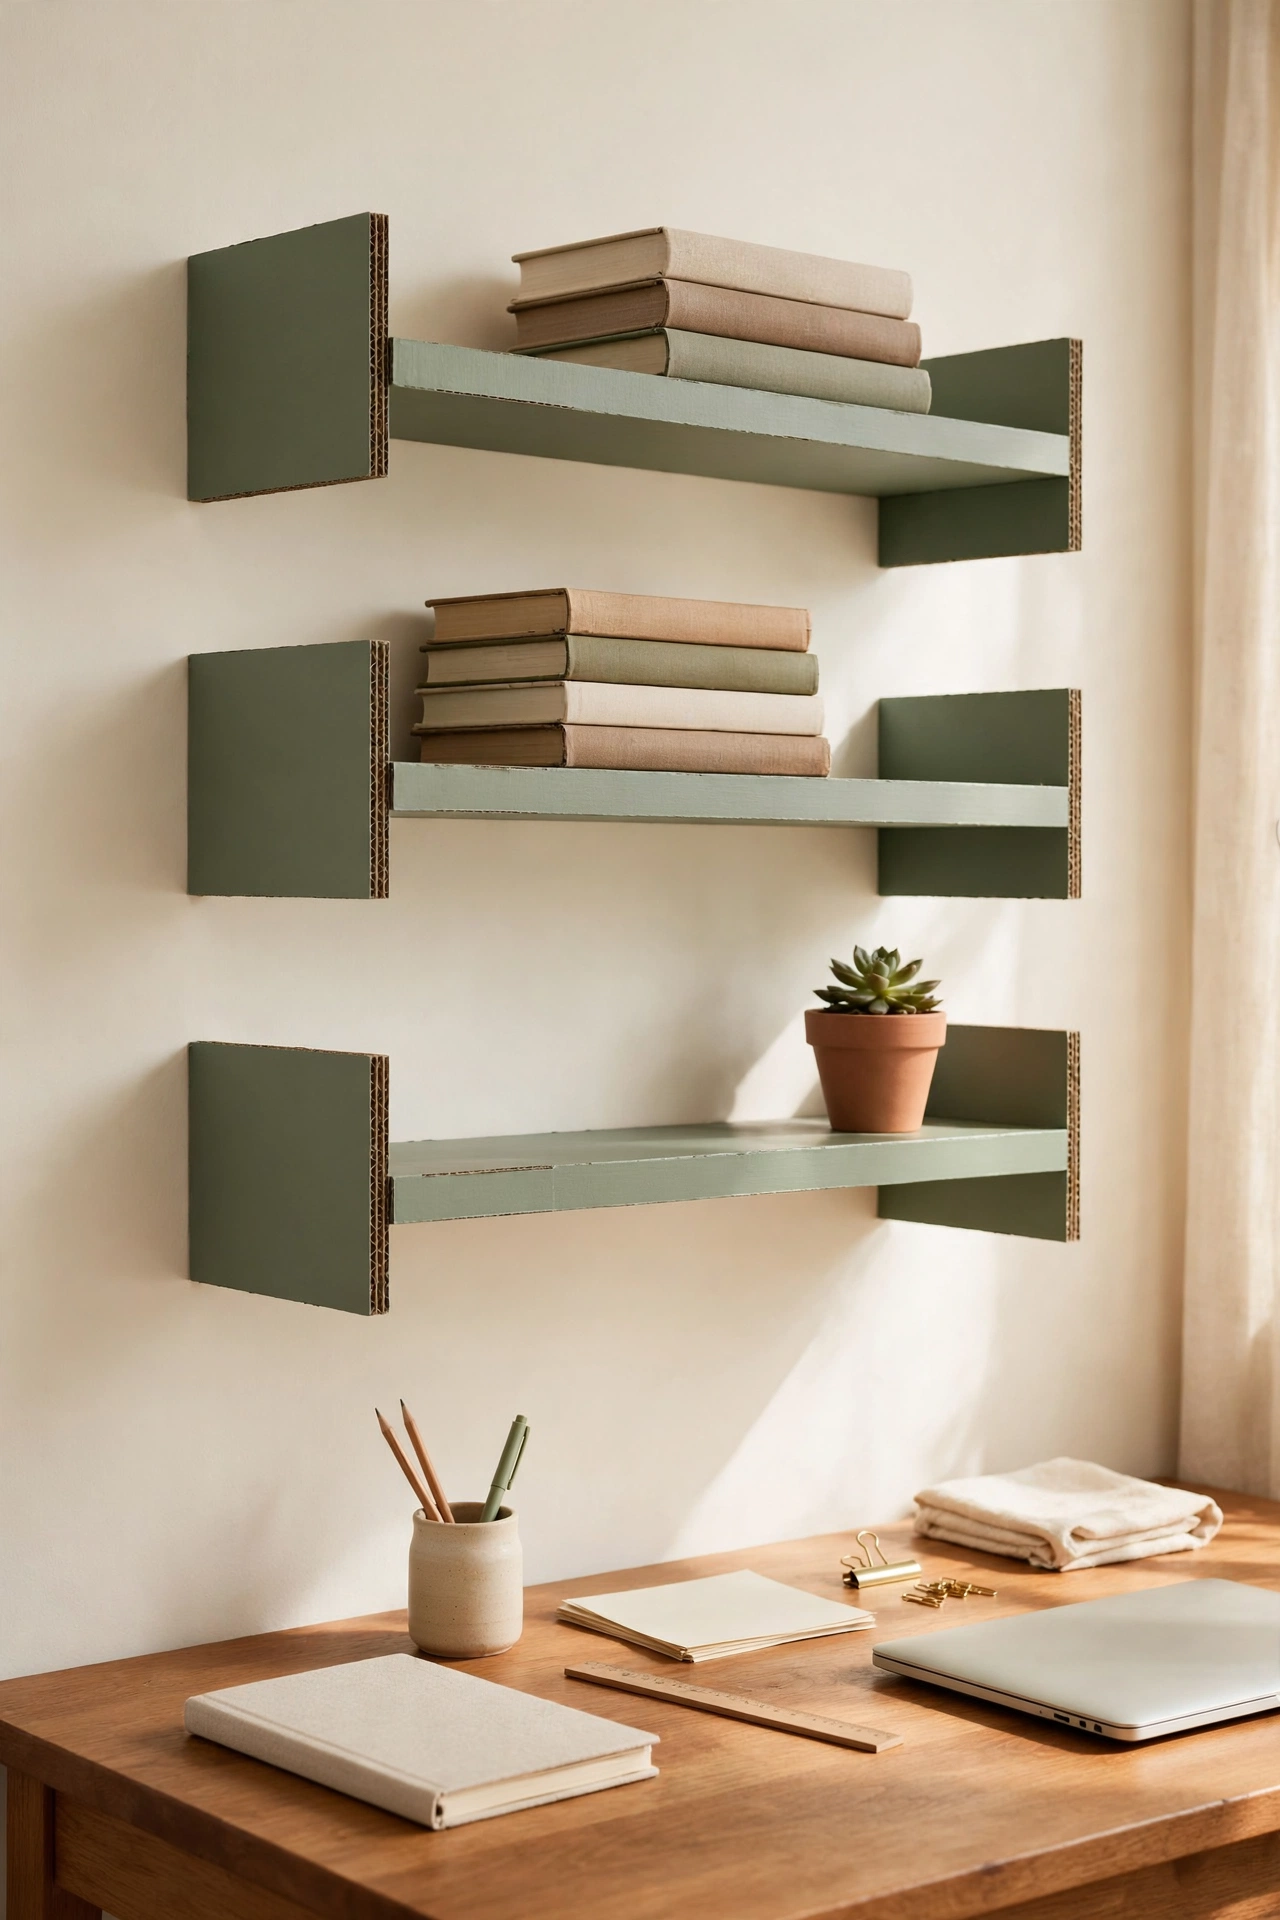
Floating shelves made from layered cardboard are strong enough for books, plants, and small decor. Glue several layers of corrugated cardboard together, wrap the edges in paper tape, and paint the shelf to match your wall or furniture. Mounted on hidden brackets, the shelf looks like solid wood from the front.
Keep the load light and use proper wall anchors so the shelf stays safe and level. A pair of shelves in a hallway or above a desk gives you display space without the cost of new furniture. This is a smart way to use up large flat boxes from furniture deliveries.
10. Build a Serving Tray with a Painted Finish
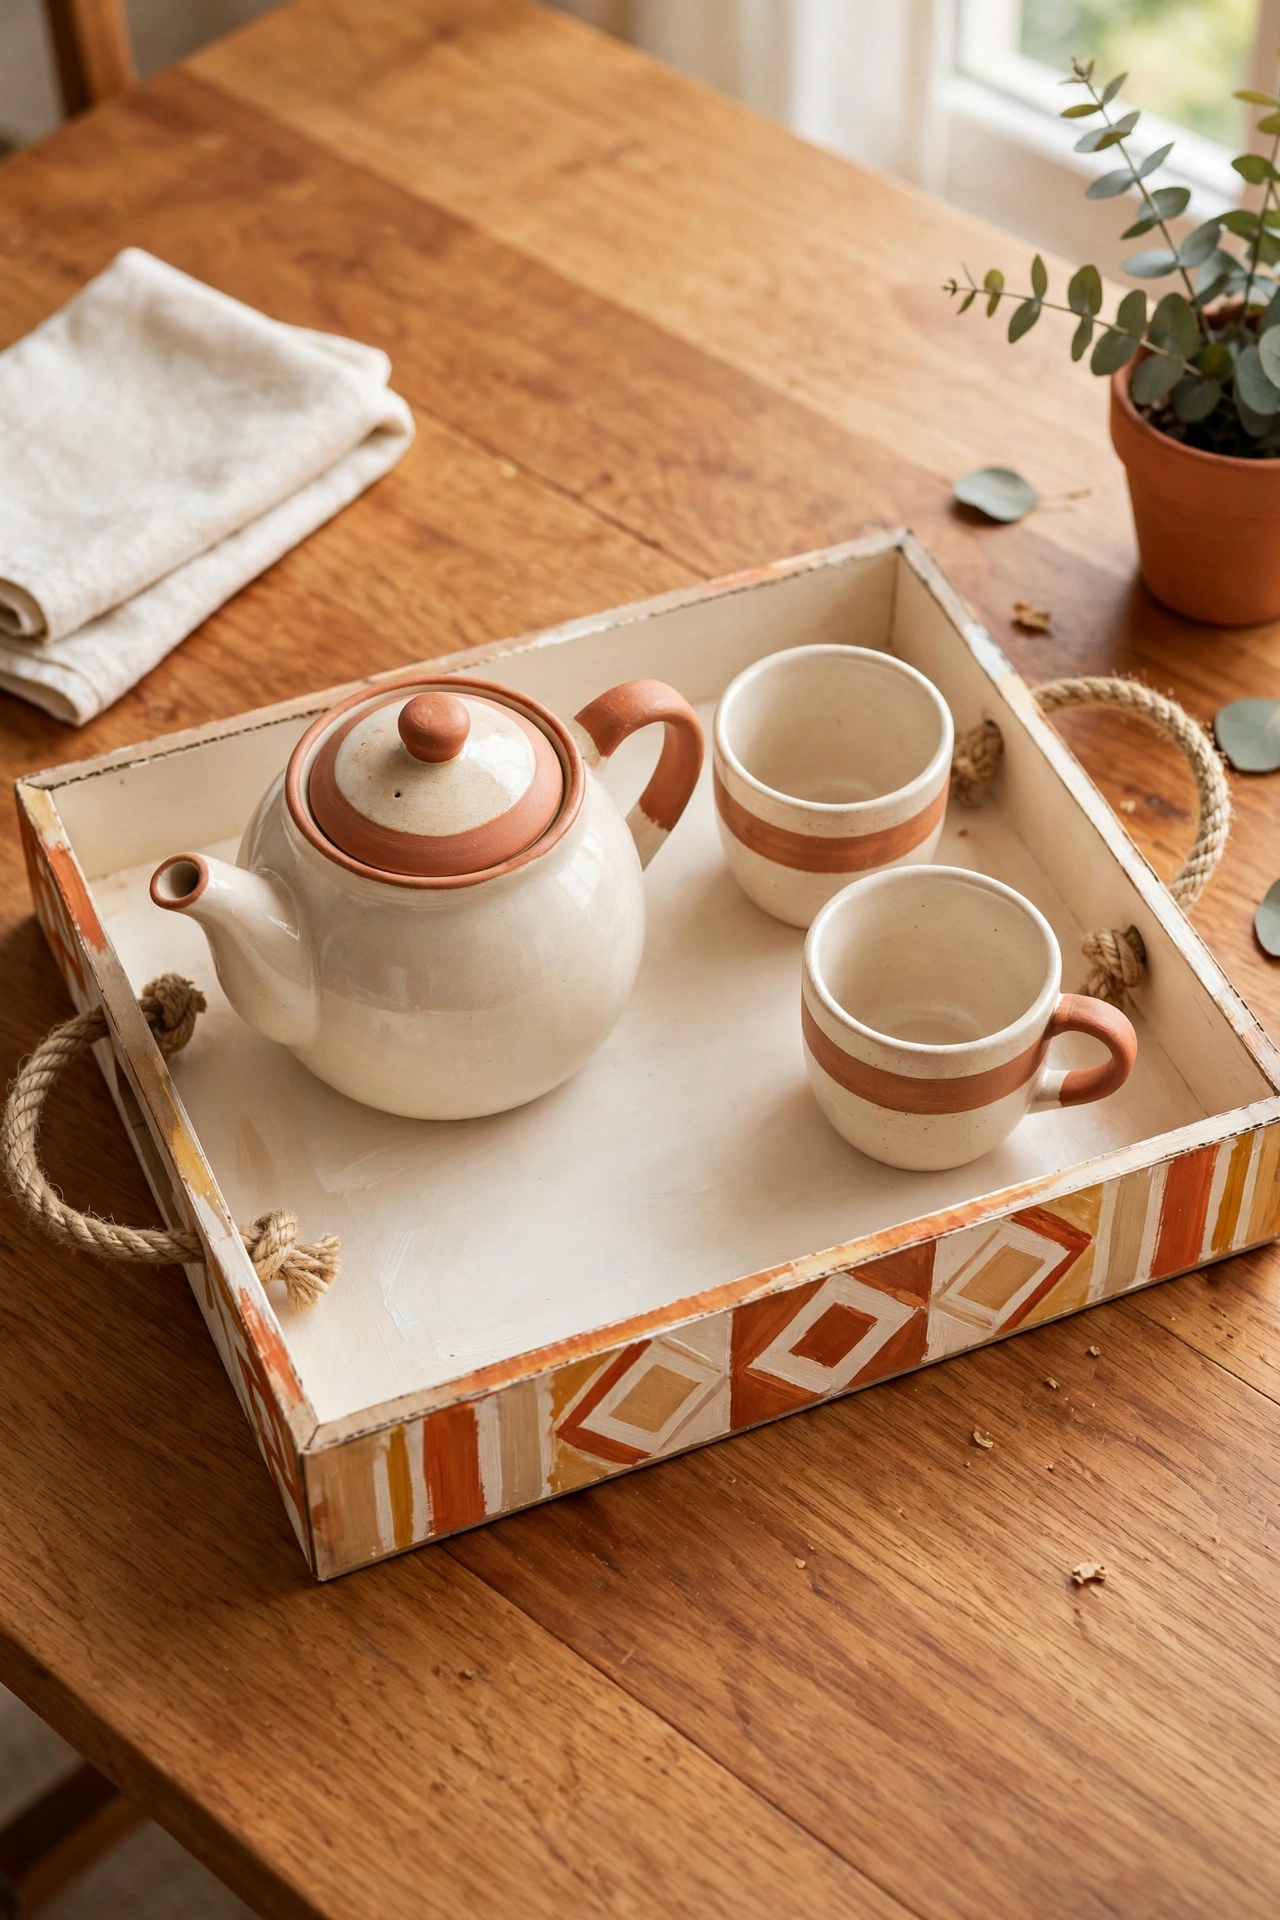
A cardboard serving tray is a fun weekend project that ends with a useful piece for the home. Cut a flat base and low sides, glue the corners firmly, and paint the inside in a bold accent color with a clear sealant on top. Add handles cut from ribbon, rope, or wooden dowels for a finished look.
Use the tray for breakfast in bed, for serving tea to guests, or as a base for candles and books on a coffee table. For more tray styling ideas, see these DIY decorative tray ideas. A sealed tray wipes clean easily and looks far more polished than its humble start suggests.
11. Cut Large Cardboard Letters for a Personal Touch
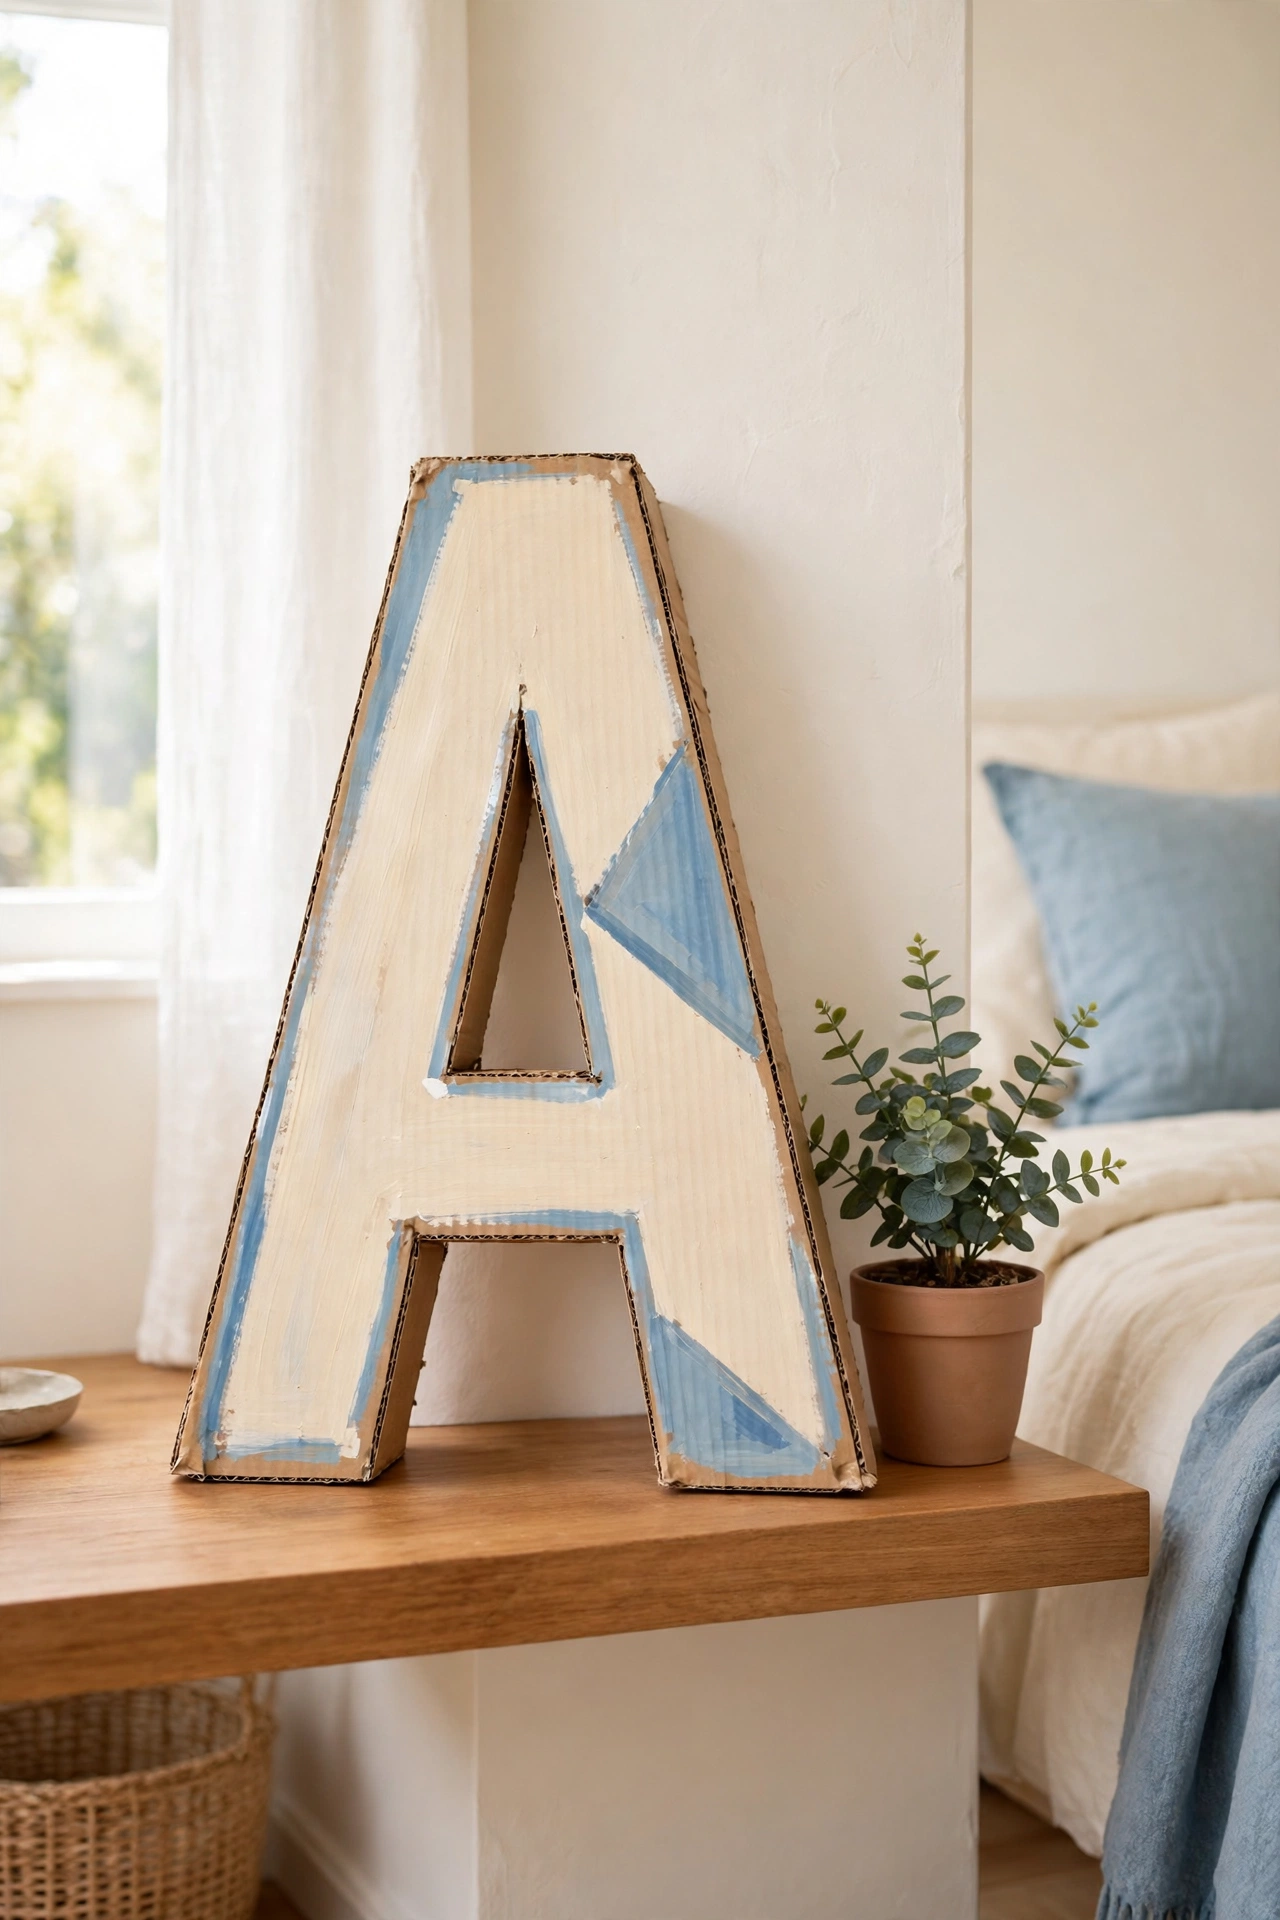
Large cardboard letters bring a personal touch to a bedroom, a nursery, or a party table. Cut the letter shape twice, join the two faces with a folded strip around the edge, and paint or wrap the finished form in paper or fabric. The three dimensional letter stands on a shelf or hangs on a wall with ease.
Spell out a family name, a favorite word, or a single bold initial above a bed. Keep the color in step with the room so the letter feels like decor rather than a craft project. This is also a lovely handmade gift for a new home or a birthday.
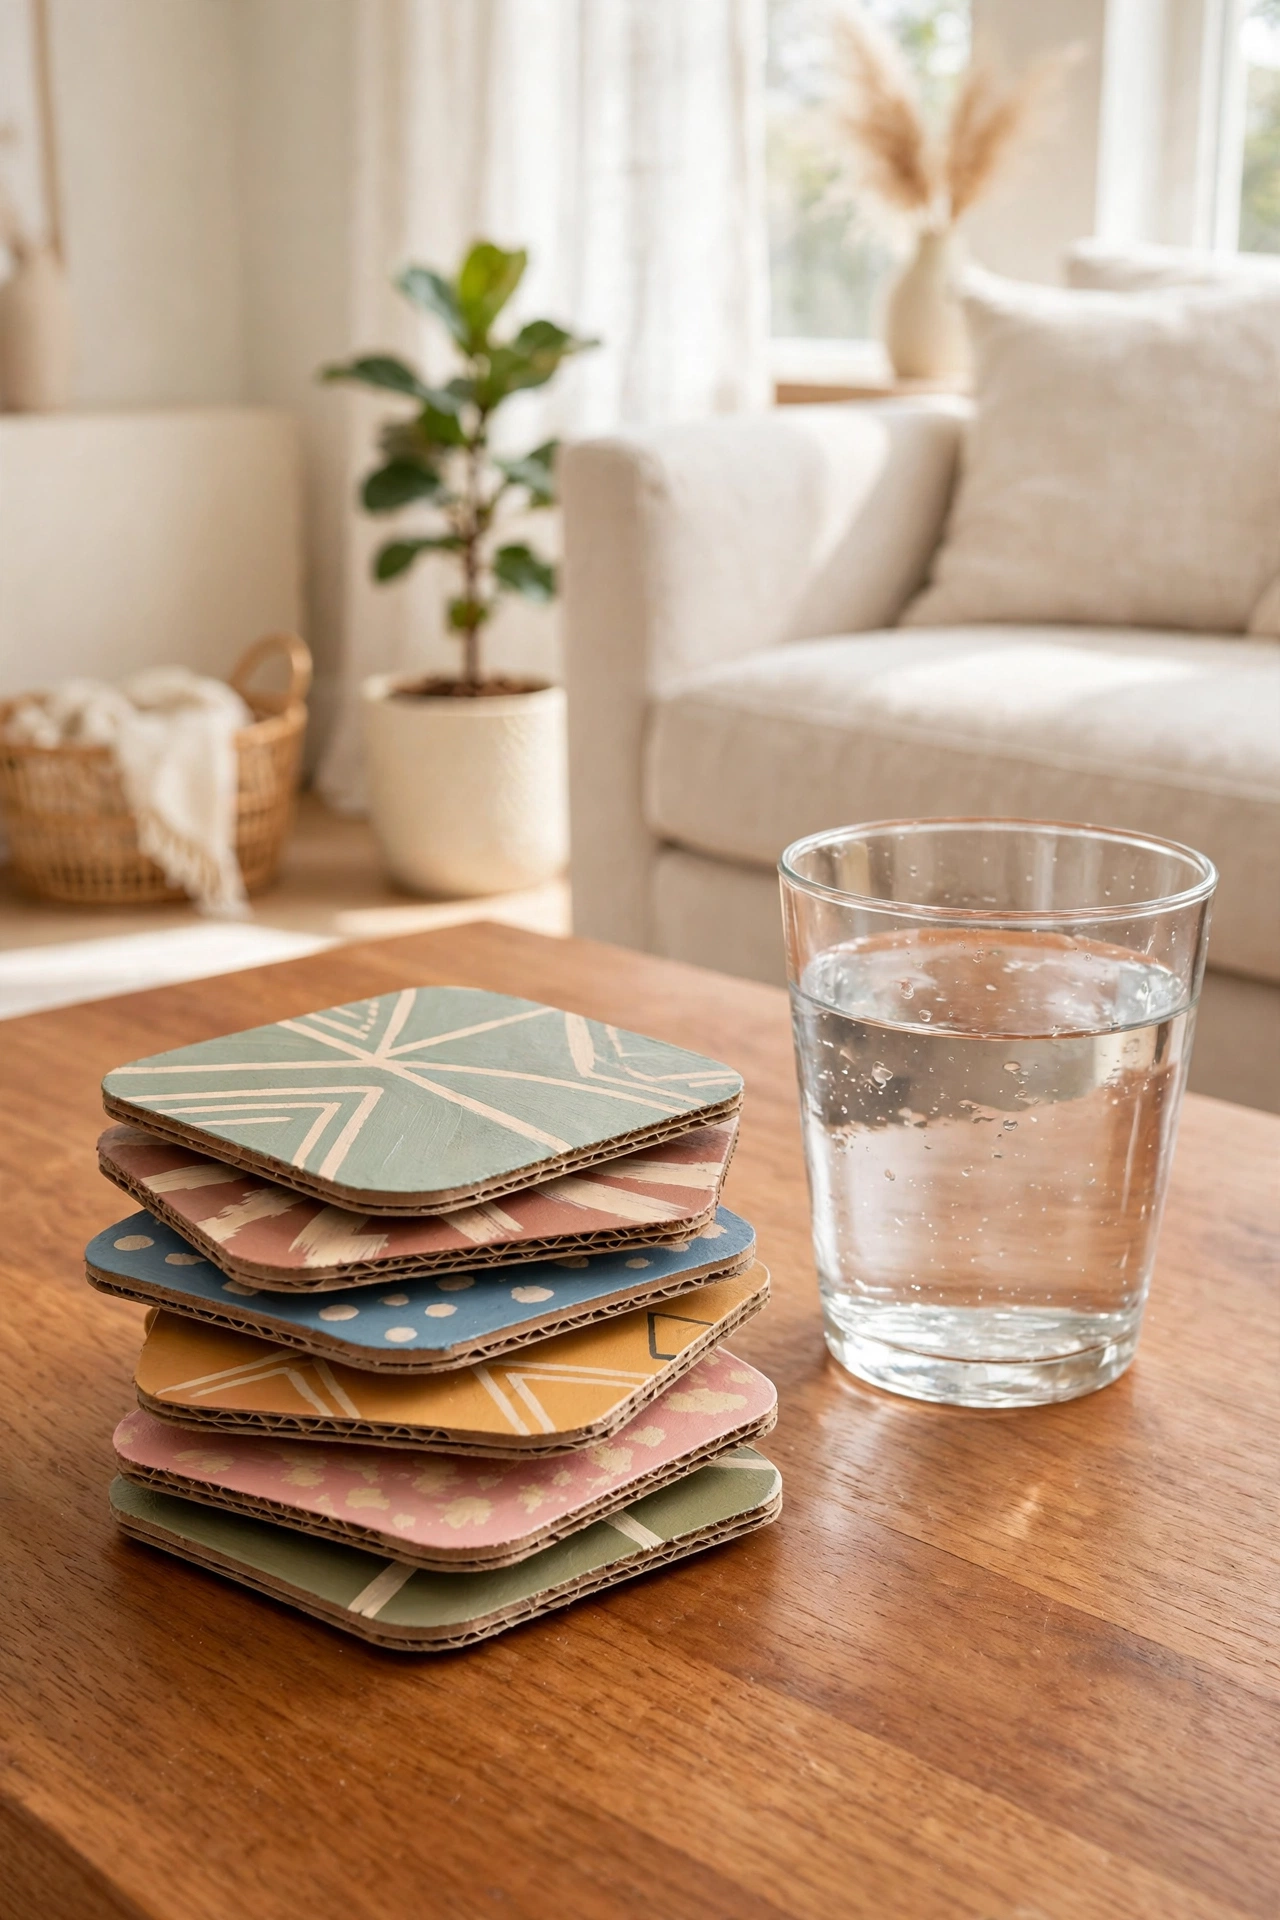
12. Make Coasters from Layered Cardboard Circles
Cardboard coasters are a quick project that protects your tables in style. Cut circles from thick cardboard, glue two or three layers together for strength, and cover the top with cork, fabric, or a painted design. A clear sealant on the surface keeps the coasters safe from condensation rings.
Make a set of six in matching colors and tie them with a ribbon for a simple handmade gift. The coasters are light, easy to store, and simple to replace when they wear out. Keep a set on the coffee table and another on the bedside table so a cold glass never leaves a mark.
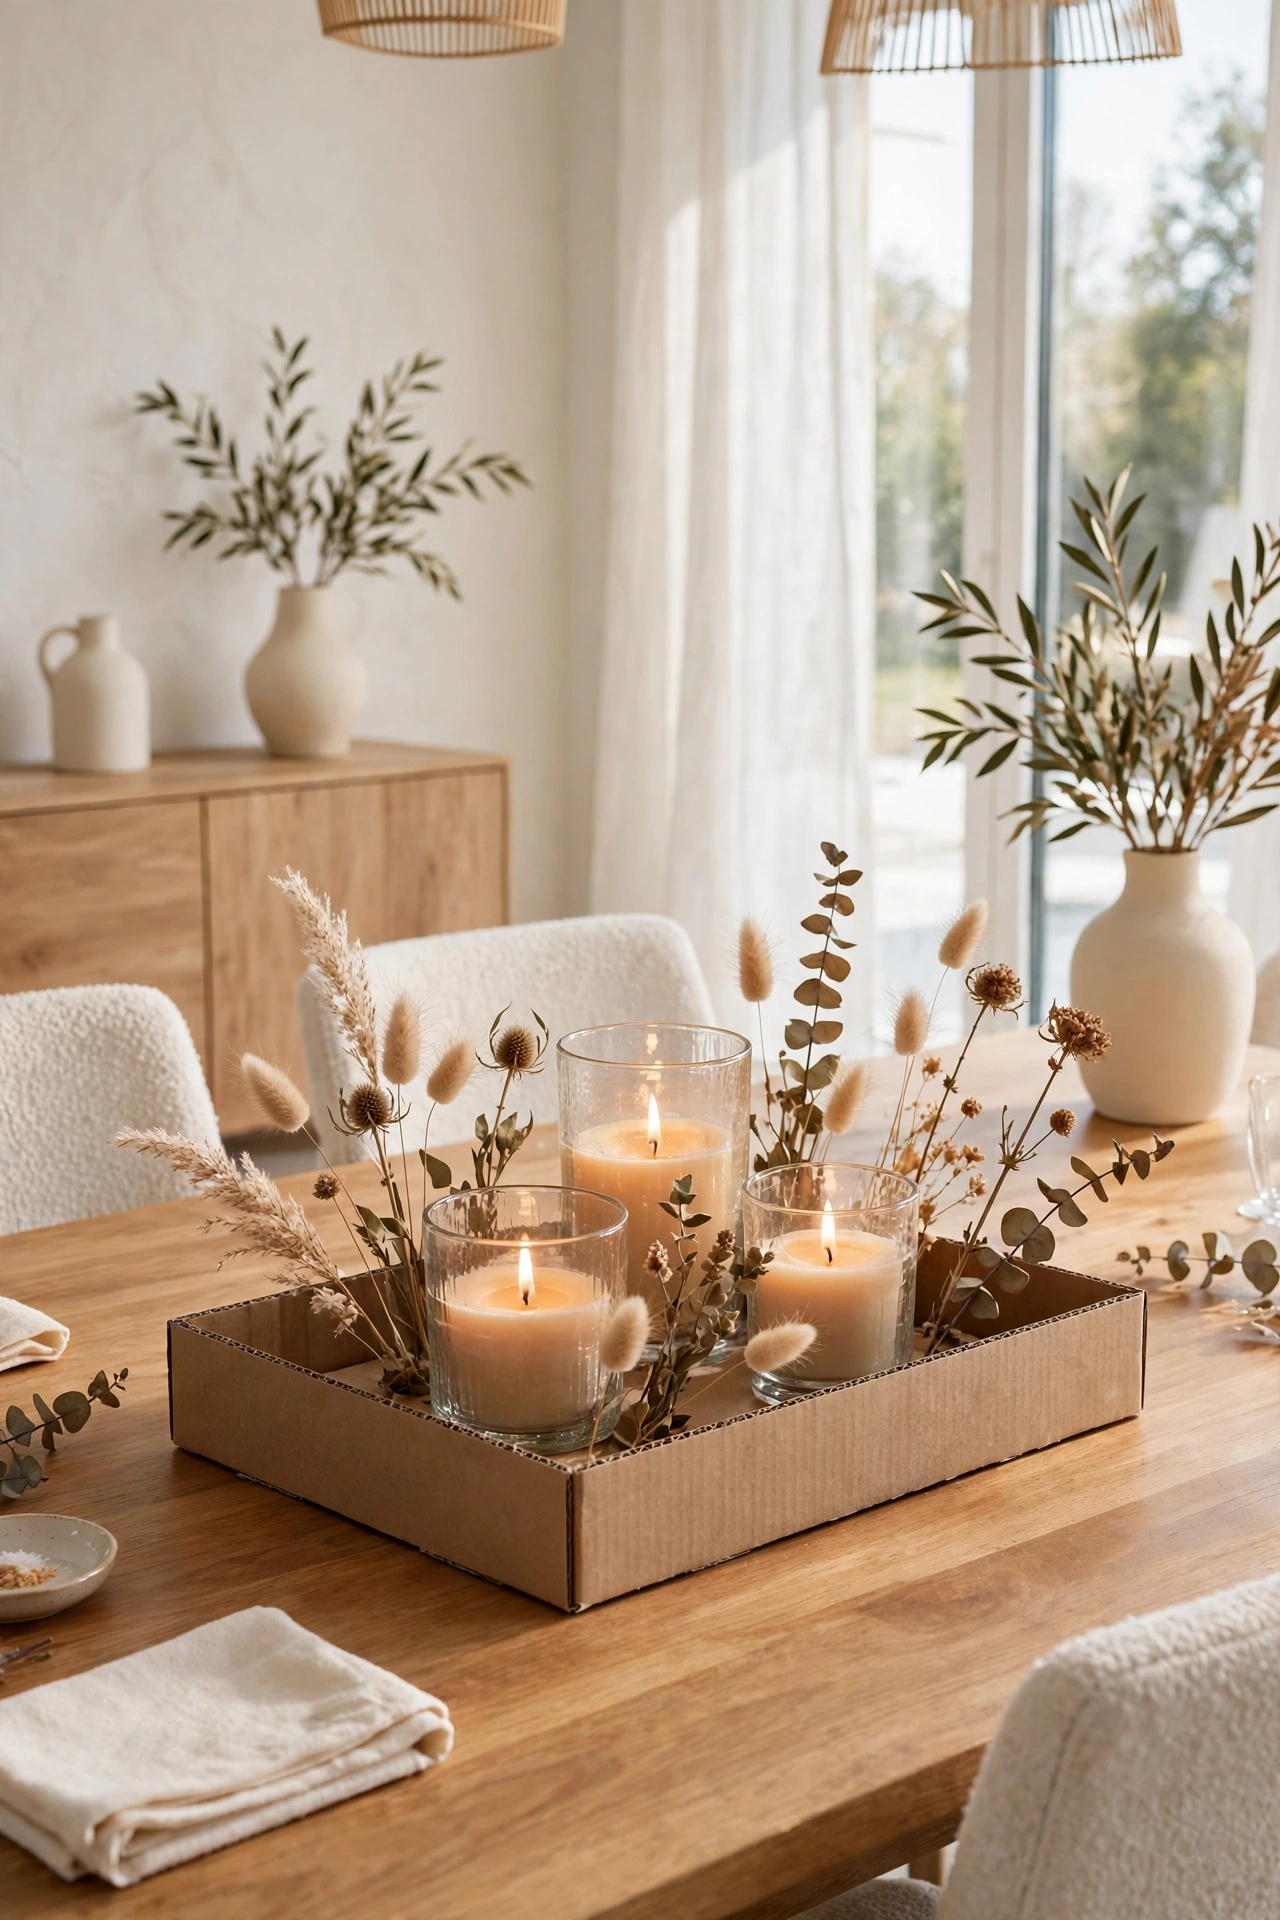
13. Style a Cardboard Centerpiece for the Table
A cardboard centerpiece can anchor a dining table without costing a fortune. Build a low tray or a sculptural form from layered cardboard, paint it in a calm neutral tone, and fill it with candles in glass holders, dried stems, or seasonal greenery. The centerpiece gives the table a finished look in minutes.
Change the filling with the seasons so the same base works all year, from spring blooms to autumn leaves. Keep the centerpiece low so guests can see each other across the table. This project proves that a beautiful table setting starts with imagination, not with a shopping trip.
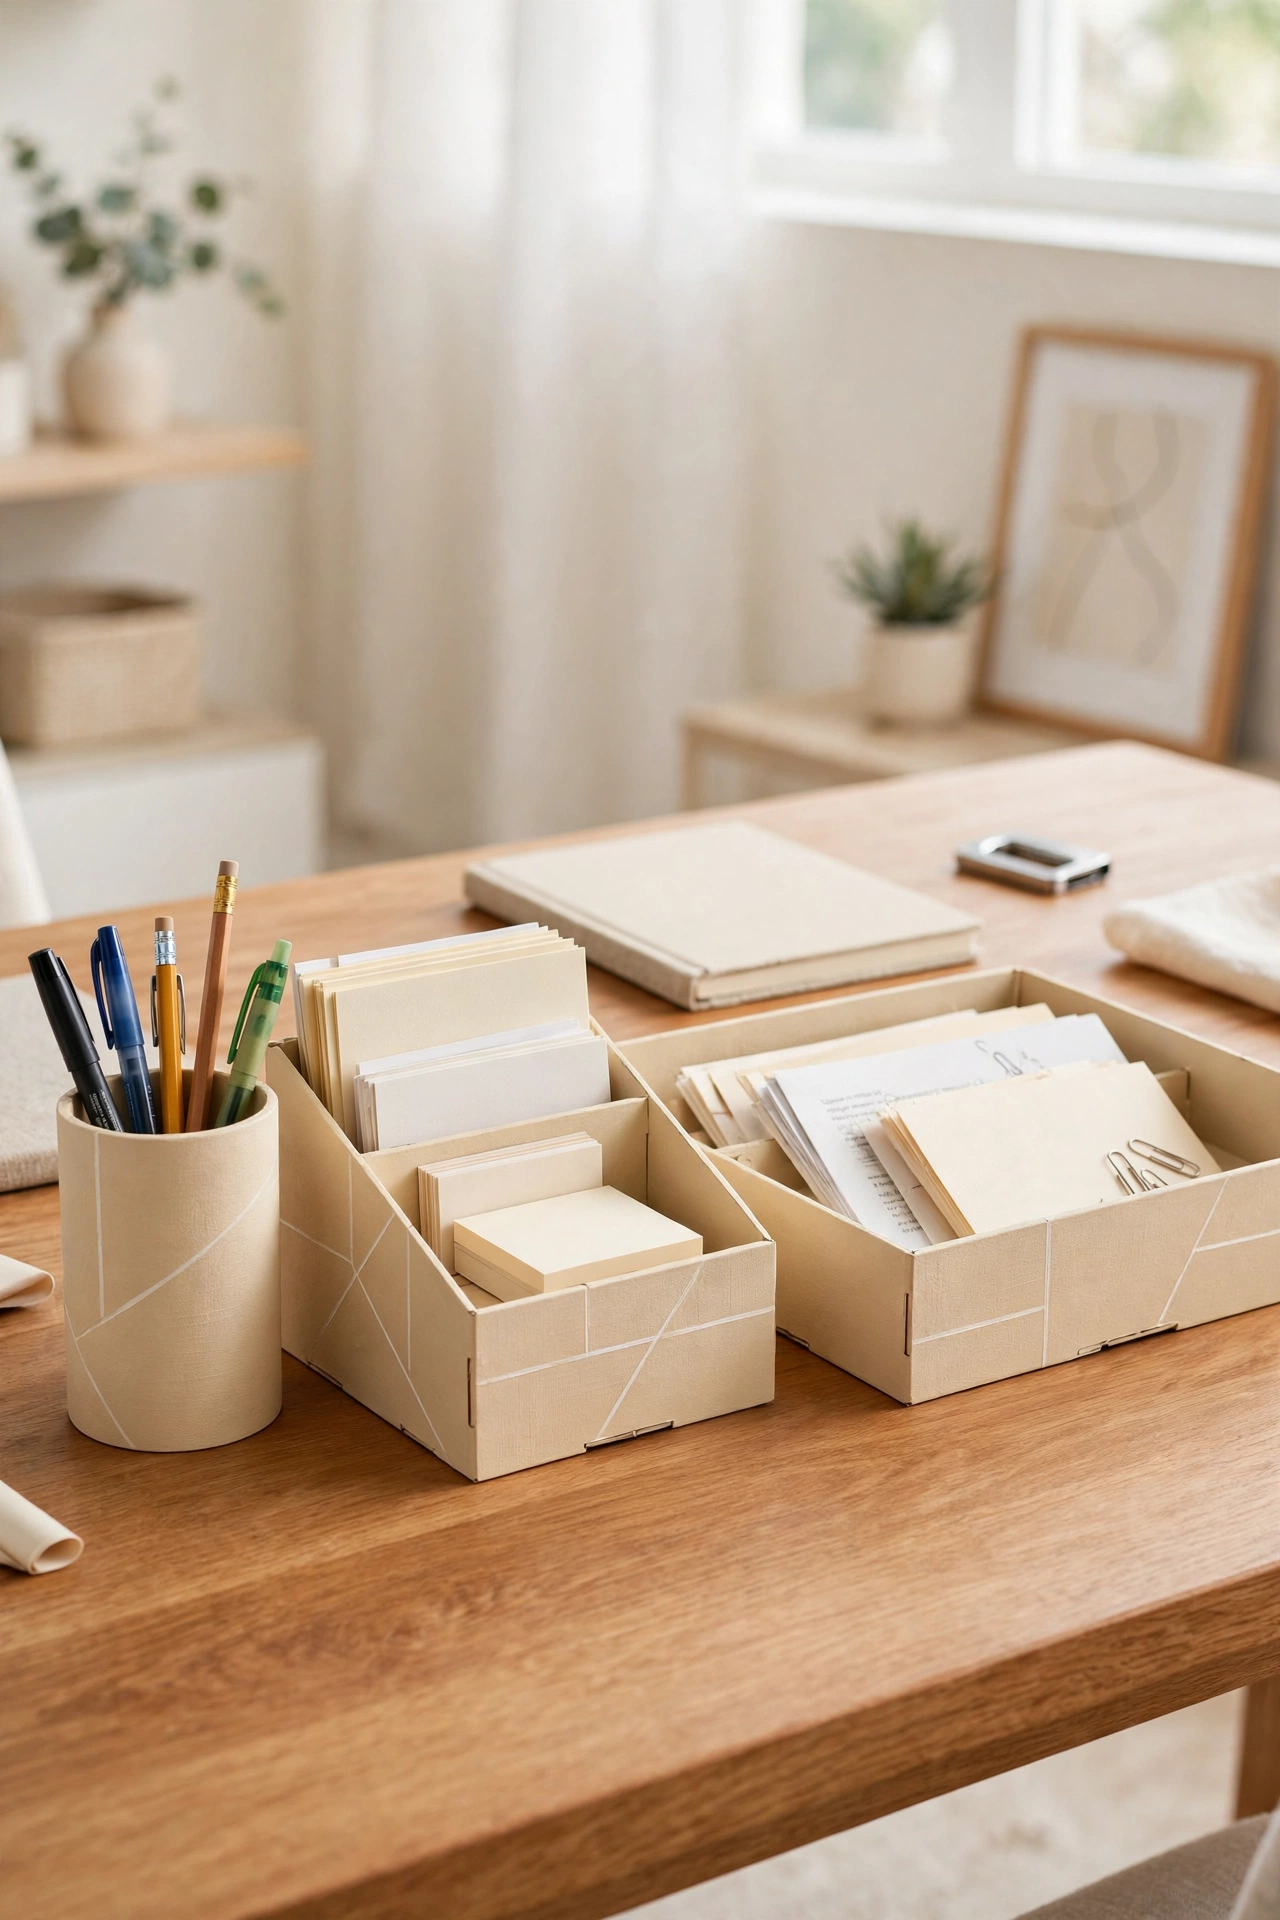
14. Organize a Desk with Cardboard Desk Organizers
Cardboard desk organizers bring order to pens, papers, and small supplies for almost no cost. Cut and fold boxes into trays, pen cups, and drawer dividers, then cover them in matching paper or paint so the set looks planned. Label each section so everything has a clear home.
Measure your desk and drawers first so every piece fits neatly without wasted space. A tidy desk makes work feel calmer and helps you find things in seconds. This is a perfect first cardboard project, since the pieces are simple and the result is useful every single day.
Conclusion
Cardboard decor proves that a beautiful home does not need an expensive shopping list. From a layered mirror frame to a glowing lampshade, each idea here starts with a box you already own and ends with a piece you will be proud to display. The material is free, the tools are simple, and the only real cost is a little time.
Pick one or two ideas that fit your home and start today. Cut, paint, and style your first piece, then watch how quickly the next box becomes an idea too. For a calm home beyond the decor, these nightly reset routine ideas will help you keep every room organized with just a few minutes each evening.
Frequently Asked Questions About DIY Cardboard Decor Ideas That Look Expensive
Is cardboard decor strong enough for everyday use?
Yes, layered cardboard is surprisingly strong when you glue several sheets together and seal the surface. Thick corrugated cardboard holds books, plants, and dishes with ease. Keep cardboard pieces dry and away from heavy loads, and they will last for years.
How do I make cardboard look expensive?
Paint is the biggest secret. A smooth matte finish in one calm color hides the cardboard texture and makes the piece look like ceramic or carved wood. Add clean edges, simple shapes, and a clear sealant, and most guests will never guess the base material.
Can I use cardboard decor in a bathroom or kitchen?
You can use cardboard decor in a kitchen or bathroom if you seal it well and keep it away from direct water. A clear waterproof sealant protects the surface from steam and splashes. Avoid placing cardboard pieces right beside a sink or a shower where they stay damp.
What tools do I need to start with cardboard crafts?
A sharp craft knife, a metal ruler, a cutting mat, strong glue, and paint cover most cardboard projects. A hot glue gun speeds up assembly, and sandpaper smooths rough edges. Start with these basics and add tools only when a project calls for them.
Where can I find good cardboard for decor projects?
Shipping boxes, appliance boxes, and moving boxes all give you large clean sheets of cardboard. Ask local shops for their spare boxes, or save the boxes from your own deliveries. Choose dry, undamaged cardboard without heavy printed logos for the cleanest finish.

Hi, I’m Emily! I turn messy corners into cozy, organized spots. DreamNestDecor is where I share simple, practical home ideas — decor, organization, and small-space solutions that work in real life, not just in photos. Every idea here is carefully researched before it’s shared.