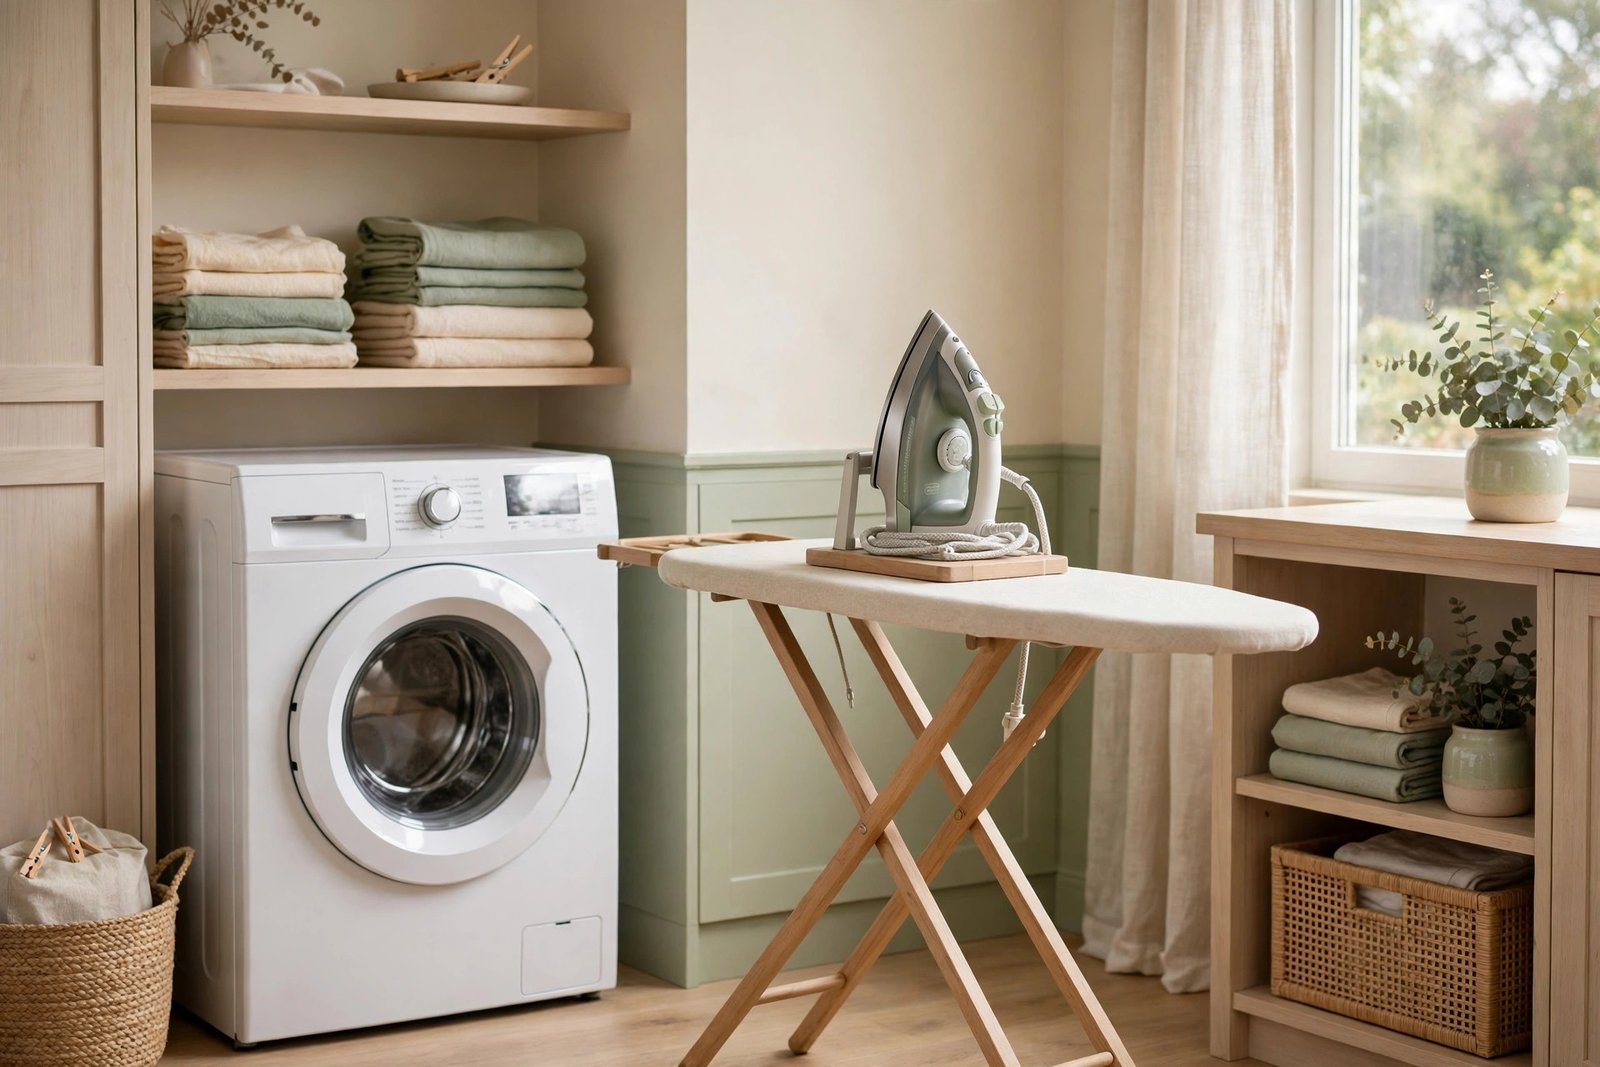
Picture this: you pull a wrinkled shirt from the dryer, and the iron is buried under laundry, the spray bottle is empty, and the ironing board is wedged behind the door. You spend ten minutes hunting for supplies before you press a single seam, and the quick job turns into a chore you want to put off.
You do not need a bigger laundry room or a new iron to fix this. You only need a clear home for every ironing supply, from the board and the iron to the sprays, cloths, and pressing tools. These 29 ideas will help you organize your ironing supplies so every press starts calmly and every shirt comes out smooth.
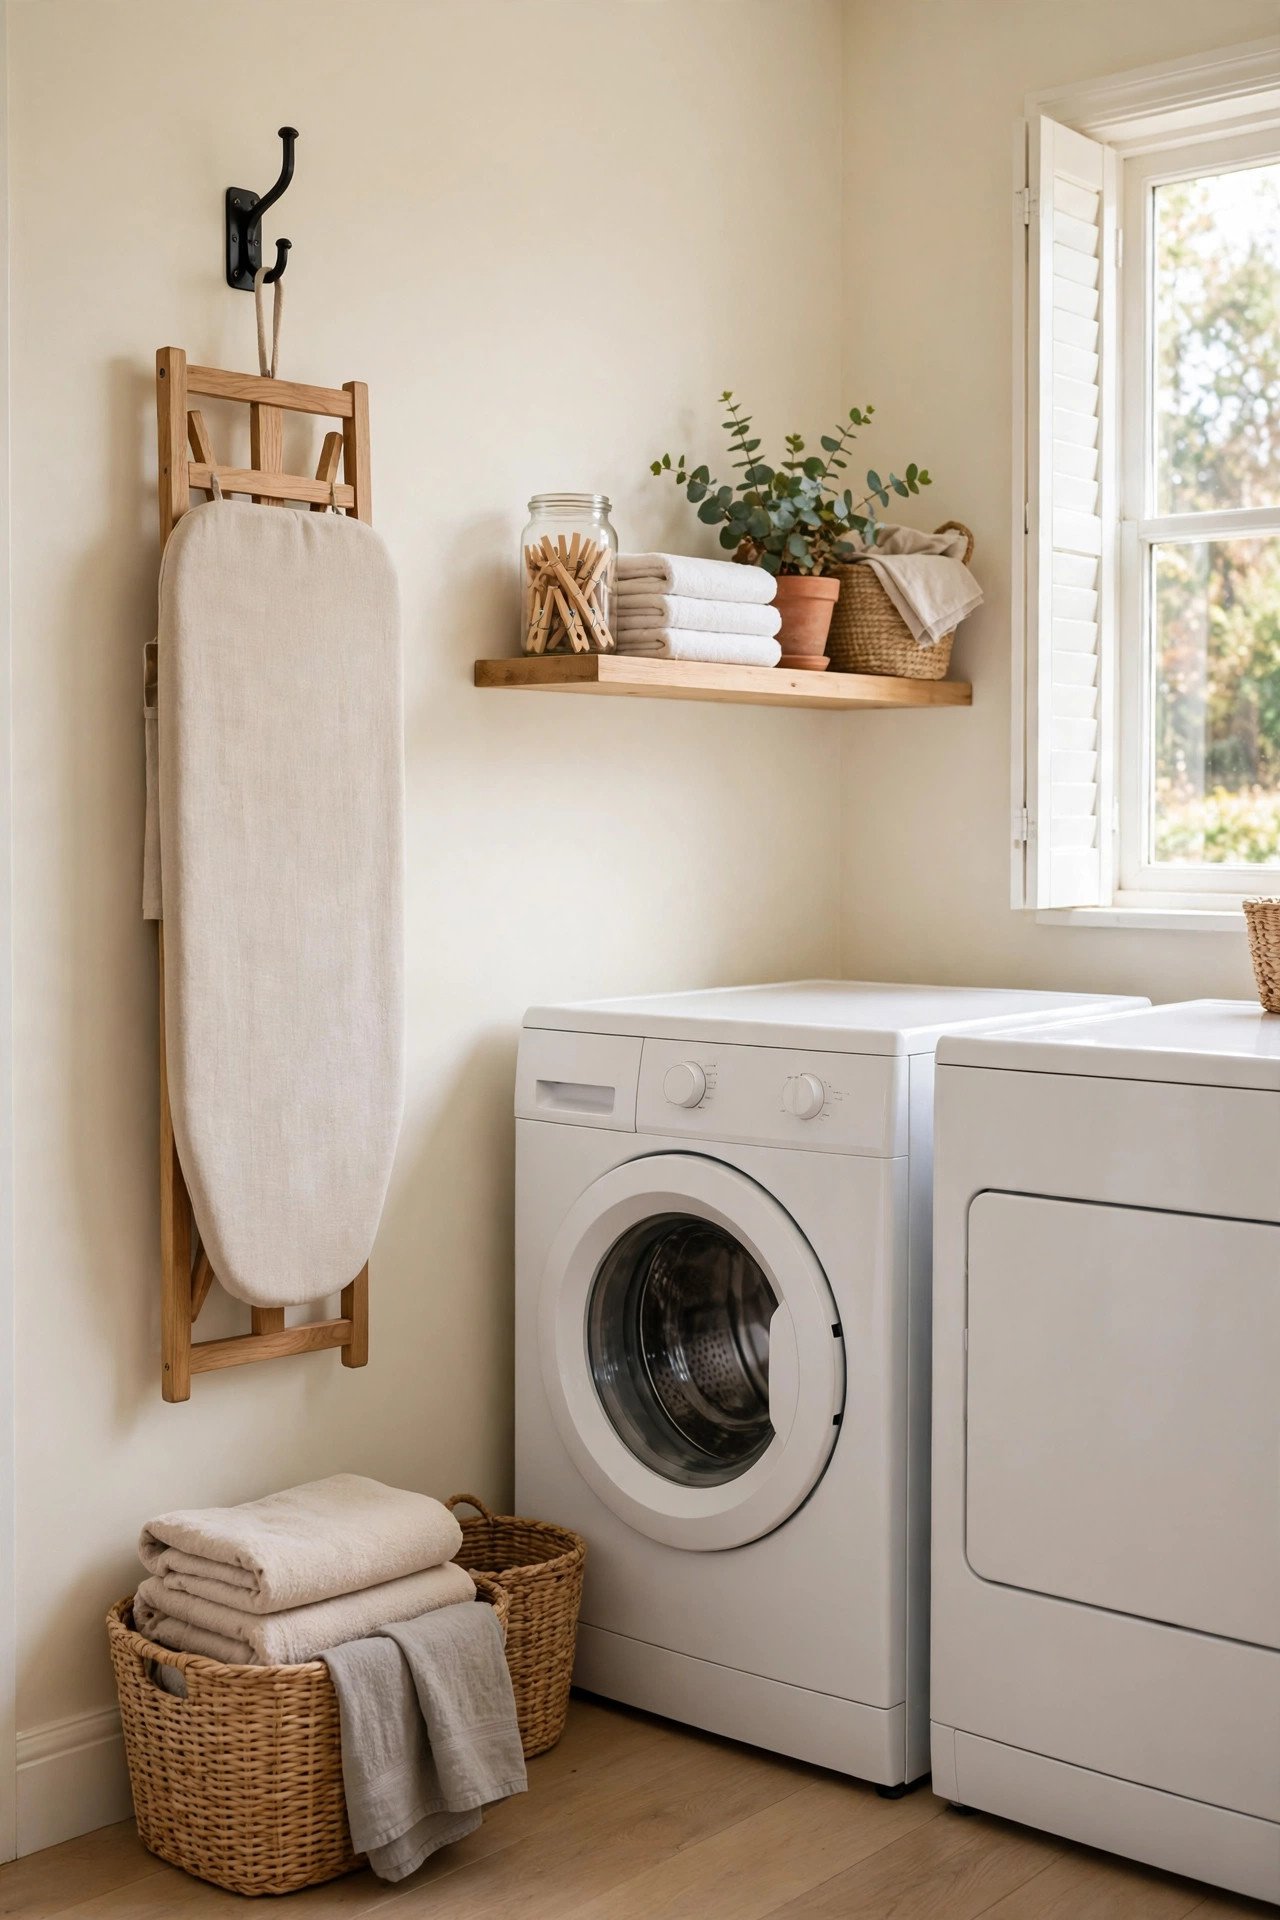
1. Hang the Ironing Board on a Wall Hook
A wall hook gives your ironing board a home that is easy to reach and easy to put away. Mount a sturdy hook or a pair of hooks on the laundry room wall, and hang the board by its nose or its T-shaped foot. The board stays off the floor, out of the way, and ready in seconds.
Choose hooks rated for the board’s weight, and hang it where it will not block the washer door or the walkway. A hook near the laundry area keeps the whole routine in one corner of the room. Wall hooks work by the front door too, and these entryway organization ideas show how to build a landing zone with one.
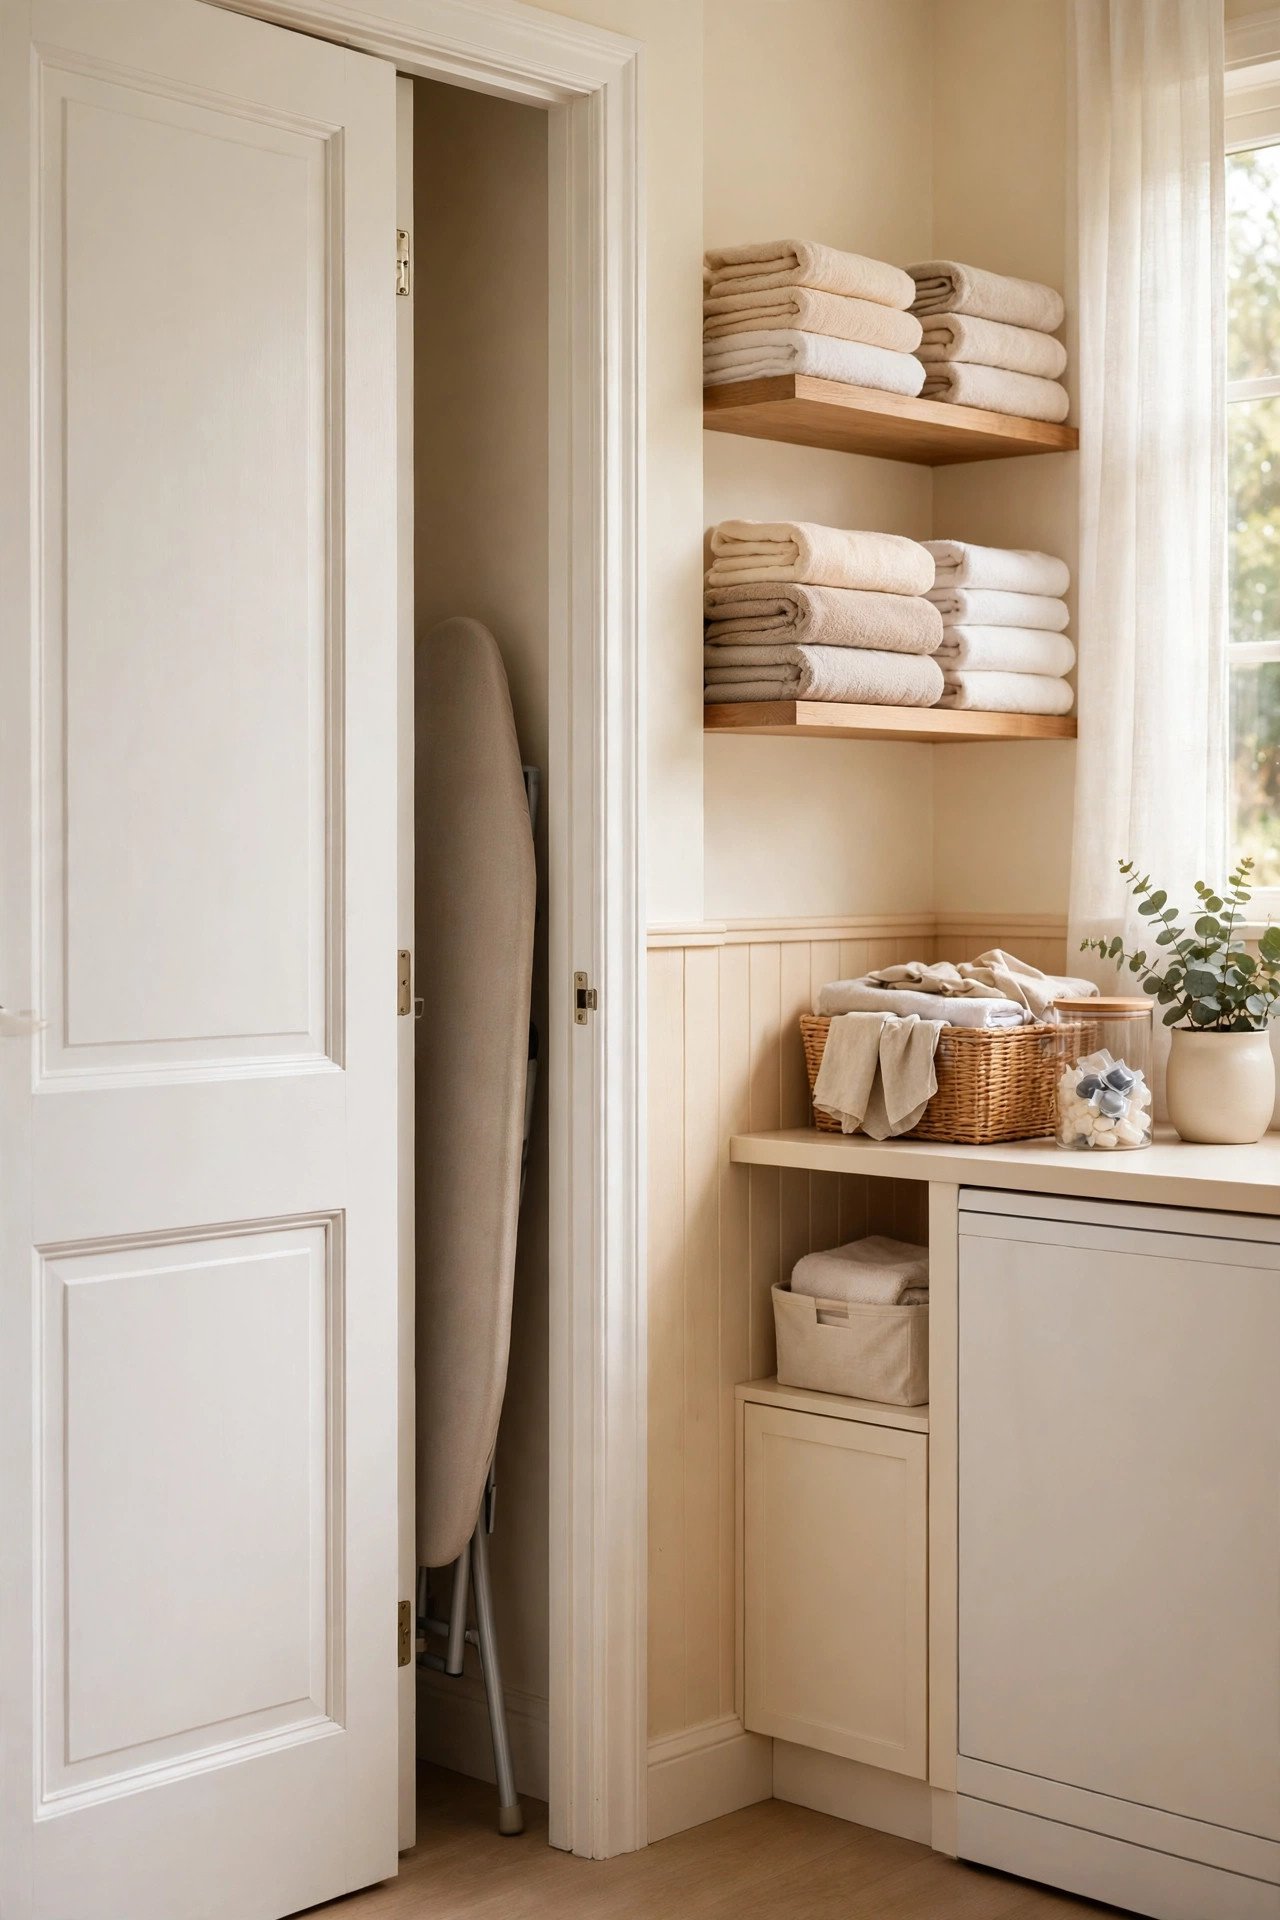
2. Tuck the Board Behind a Door
The space behind a door is perfect for a slim ironing board that would otherwise lean in a corner. Slide the board behind the laundry room door or a closet door, and add a small hook or strap at the top so it stays put when the door moves. The board disappears from view but stays within arm’s reach.
Measure the gap before you commit, since some doors sit too close to the wall for a thick board. A slim board fits most gaps, and a soft strap stops it from rattling. This trick works best when the door opens against a flat wall with nothing in the way.
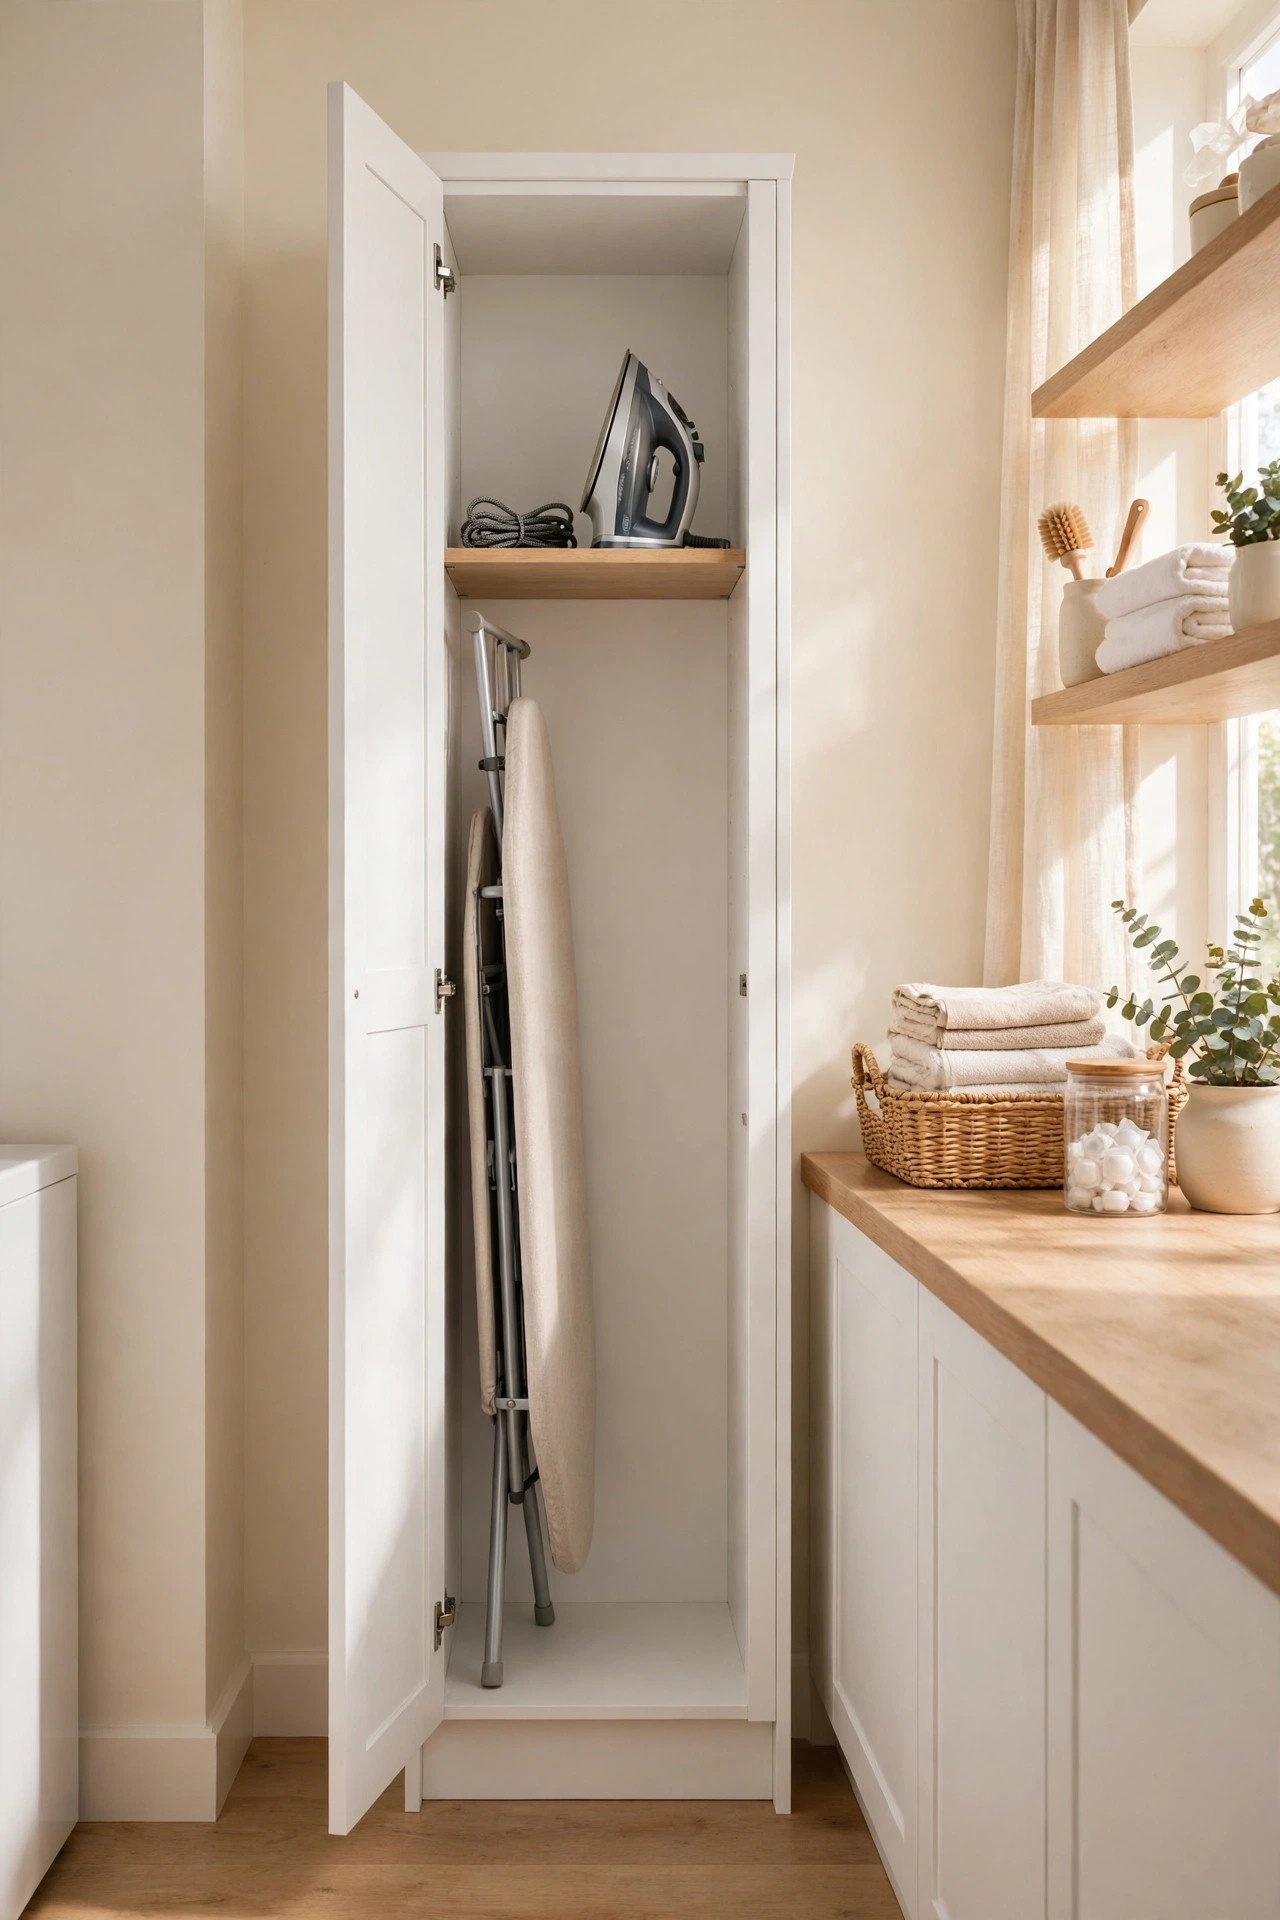
3. Store the Board in a Slim Cabinet
A slim cabinet turns an awkward gap into proper storage for your ironing board. Use a narrow cabinet or a tall pull-out unit beside the washer, and slide the board inside with the iron on a shelf above. The board stays clean, dust-free, and completely out of sight between uses.
Look for a cabinet no wider than a broom closet, since the board is long but thin. Add a small rail inside to keep the board upright, and leave room at the top for spray bottles. A dedicated cabinet makes the laundry room look finished instead of cluttered.
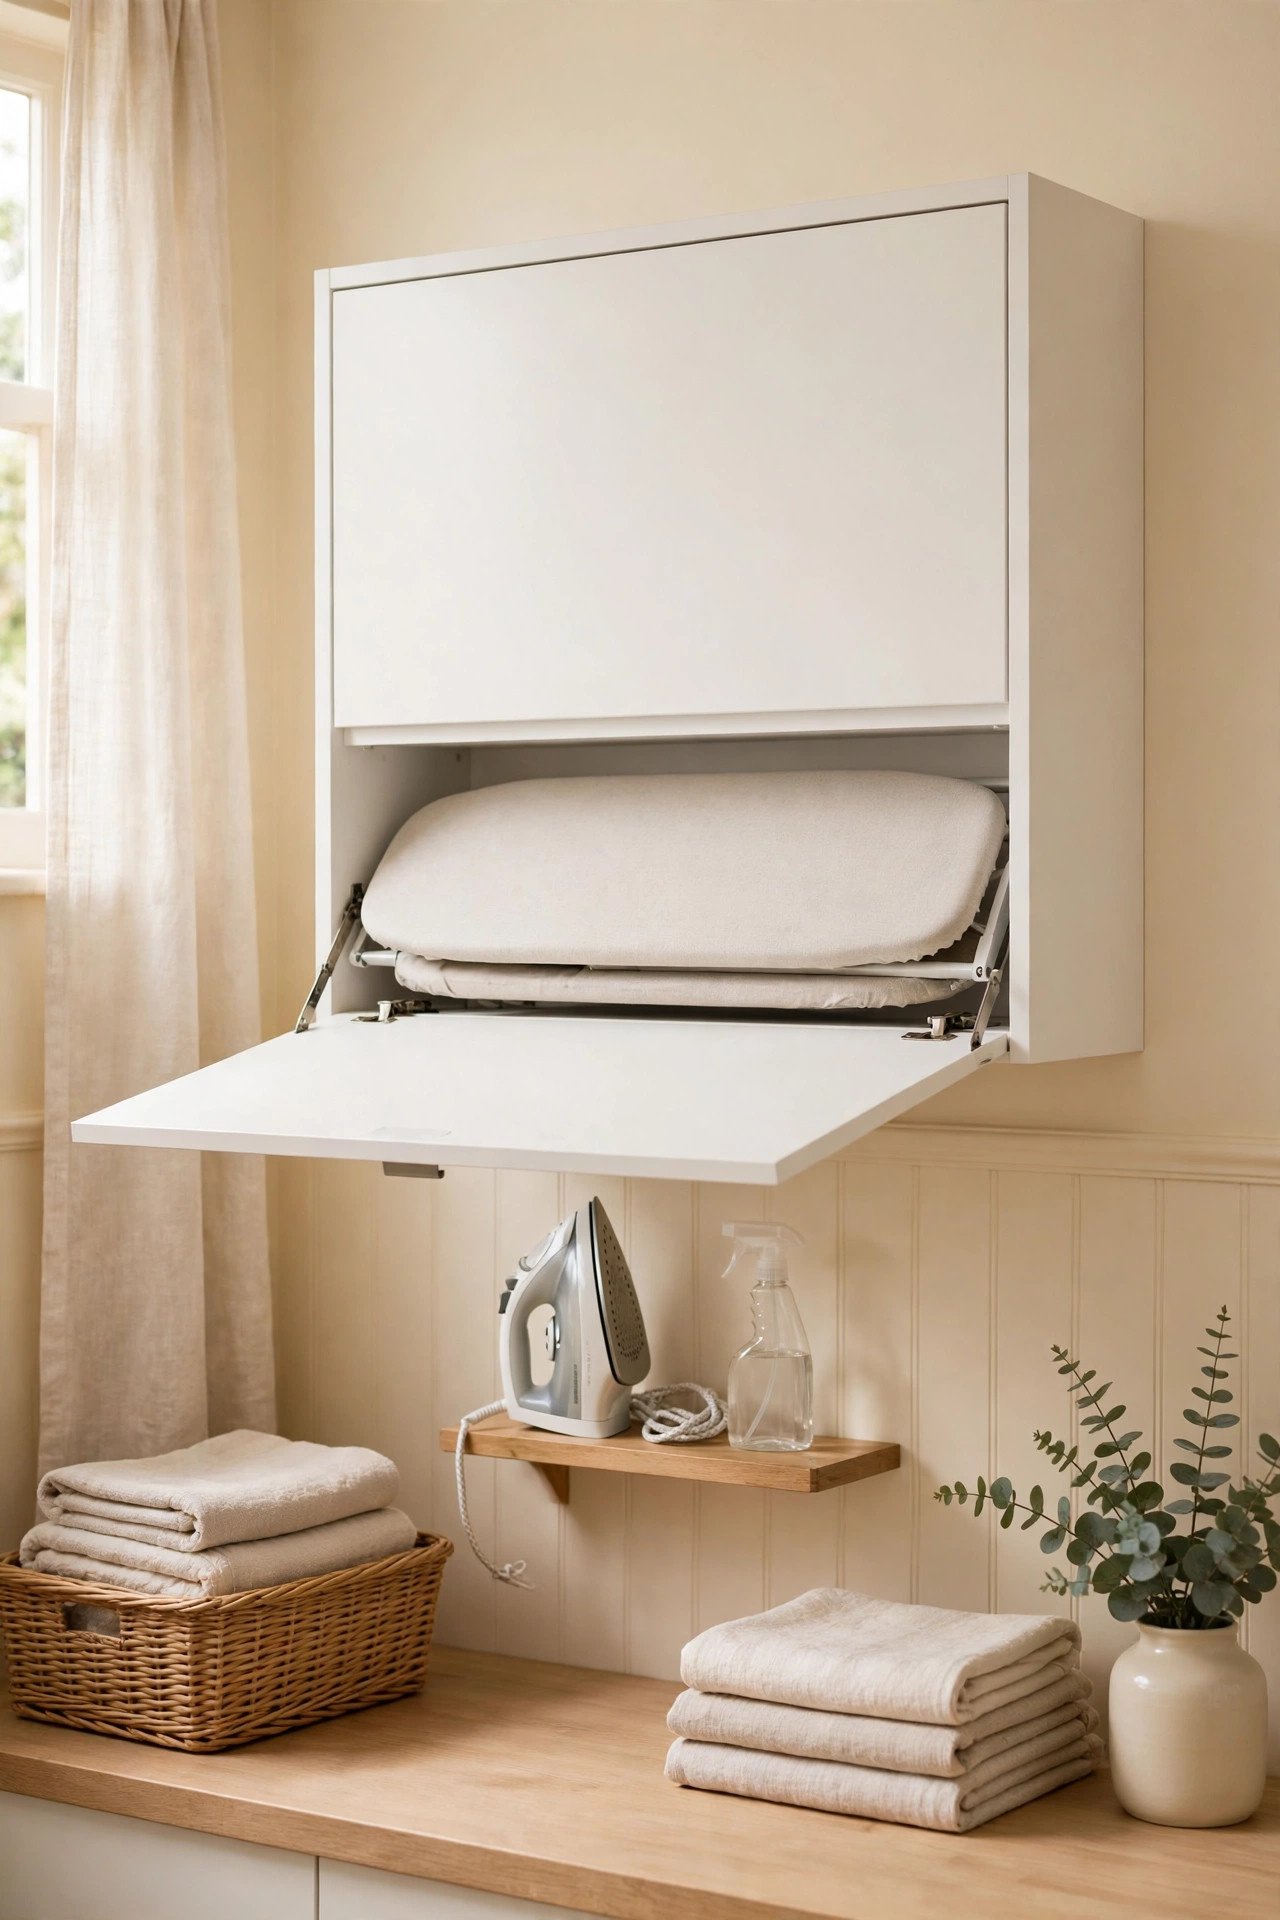
4. Mount a Fold-Down Ironing Board
A fold-down board mounts to the wall and folds away flat when you finish pressing. Pull it down to iron, then fold it back up against the wall, and the whole station vanishes into a cabinet or a shallow panel. This setup is ideal for small laundry corners with no floor space to spare.
Mount the board at a height that suits your reach, and check that the wall can hold its weight. Add a small shelf inside the cabinet for the iron and sprays, so everything lives in one spot. A fold-down board turns a tiny wall into a full pressing station.
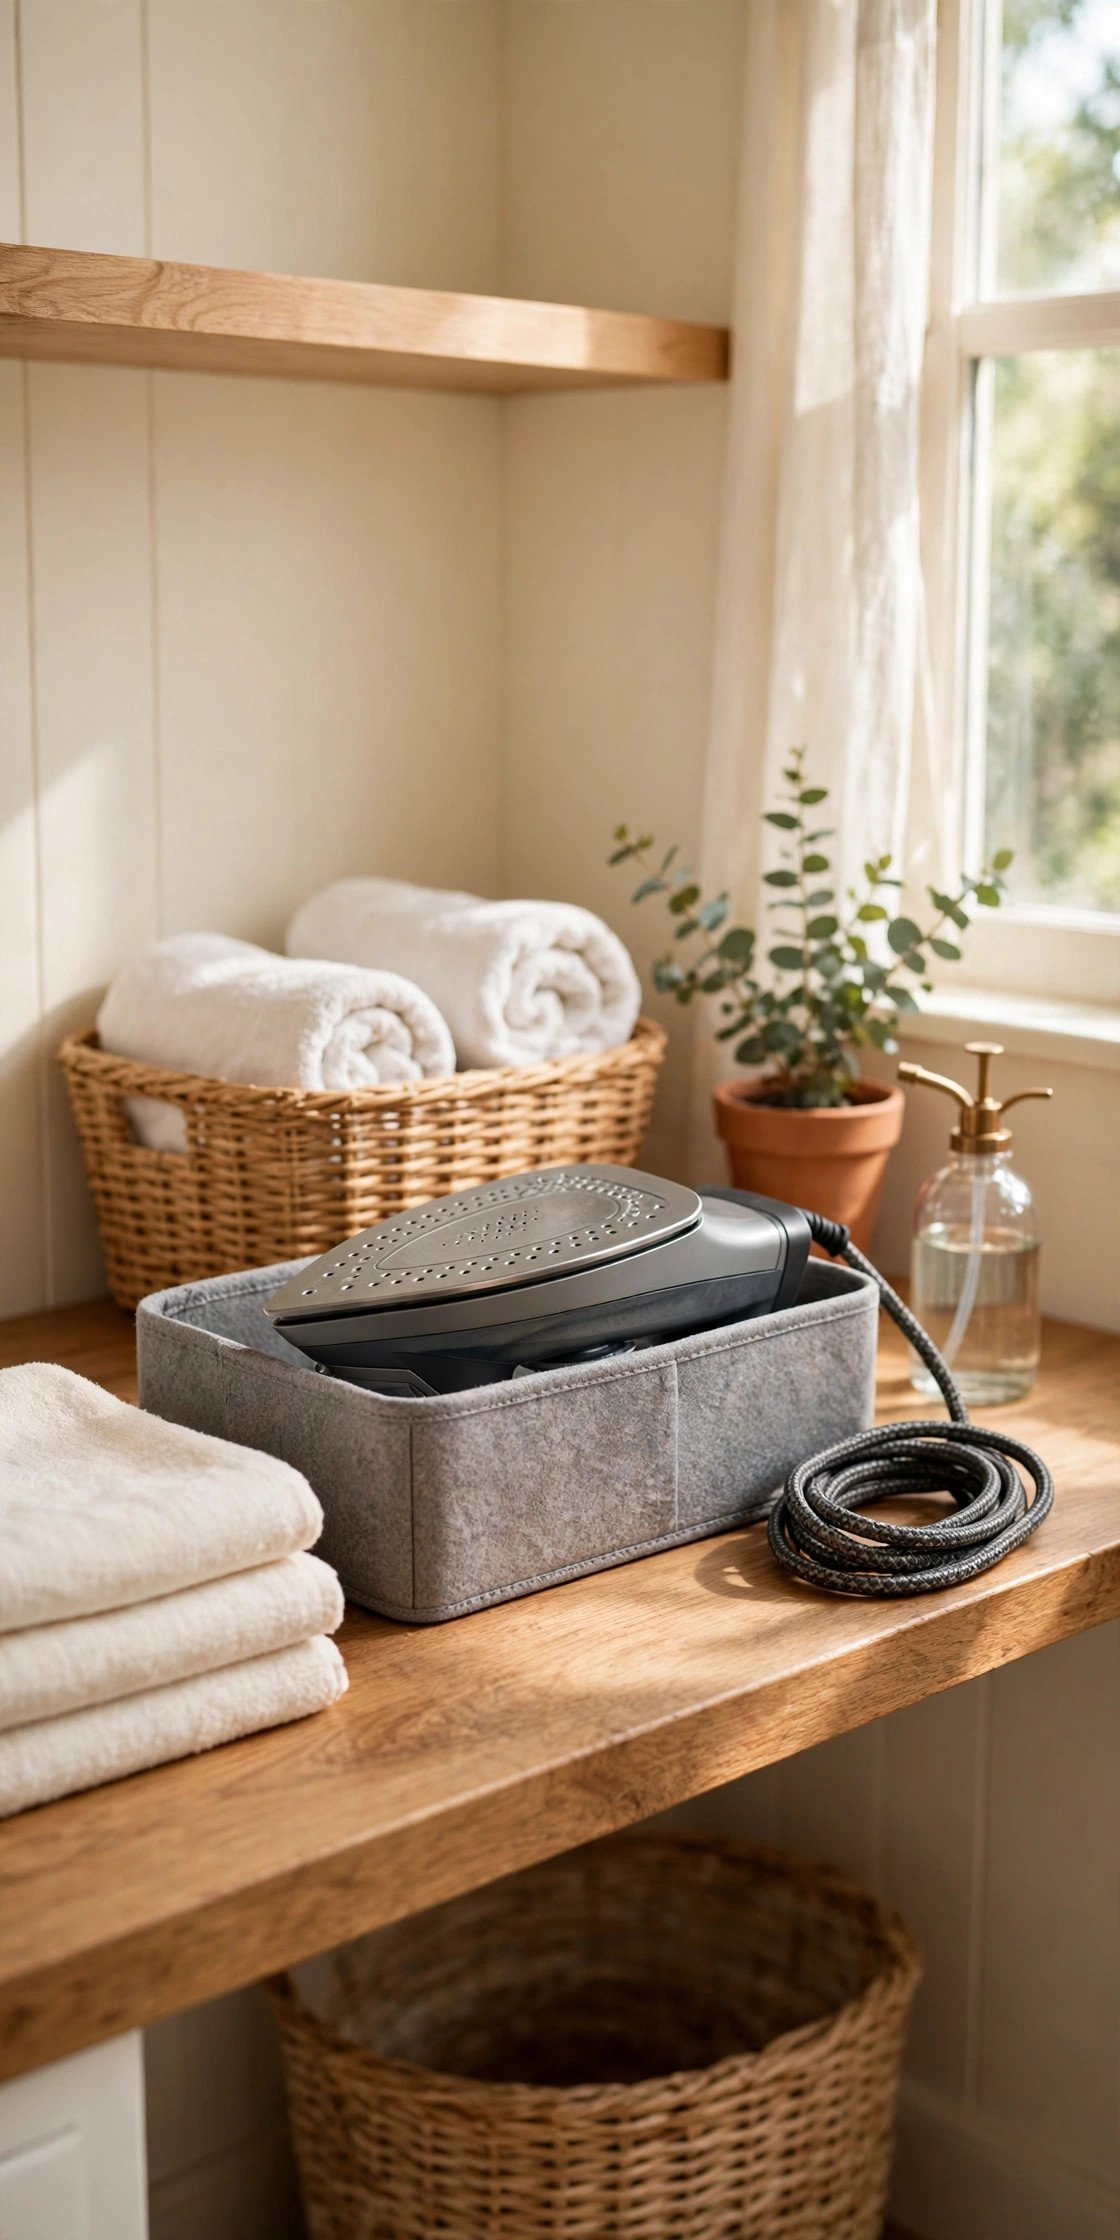
5. Keep the Iron in a Heat-Resistant Caddy
A heat-resistant caddy lets you put the iron away the moment you finish, even while it is still warm. Place the iron in the caddy on a shelf or inside a cabinet, and the heat-safe lining protects the surface below. You never have to wait for the iron to cool on the board.
Choose a caddy with a sturdy base and a wide opening so the iron slides in easily. Keep the cord wrapped in a loose loop beside the caddy, not wound tight around the iron. A tidy cord makes the whole station safer, and these cable management ideas show how to keep cords neat at home.
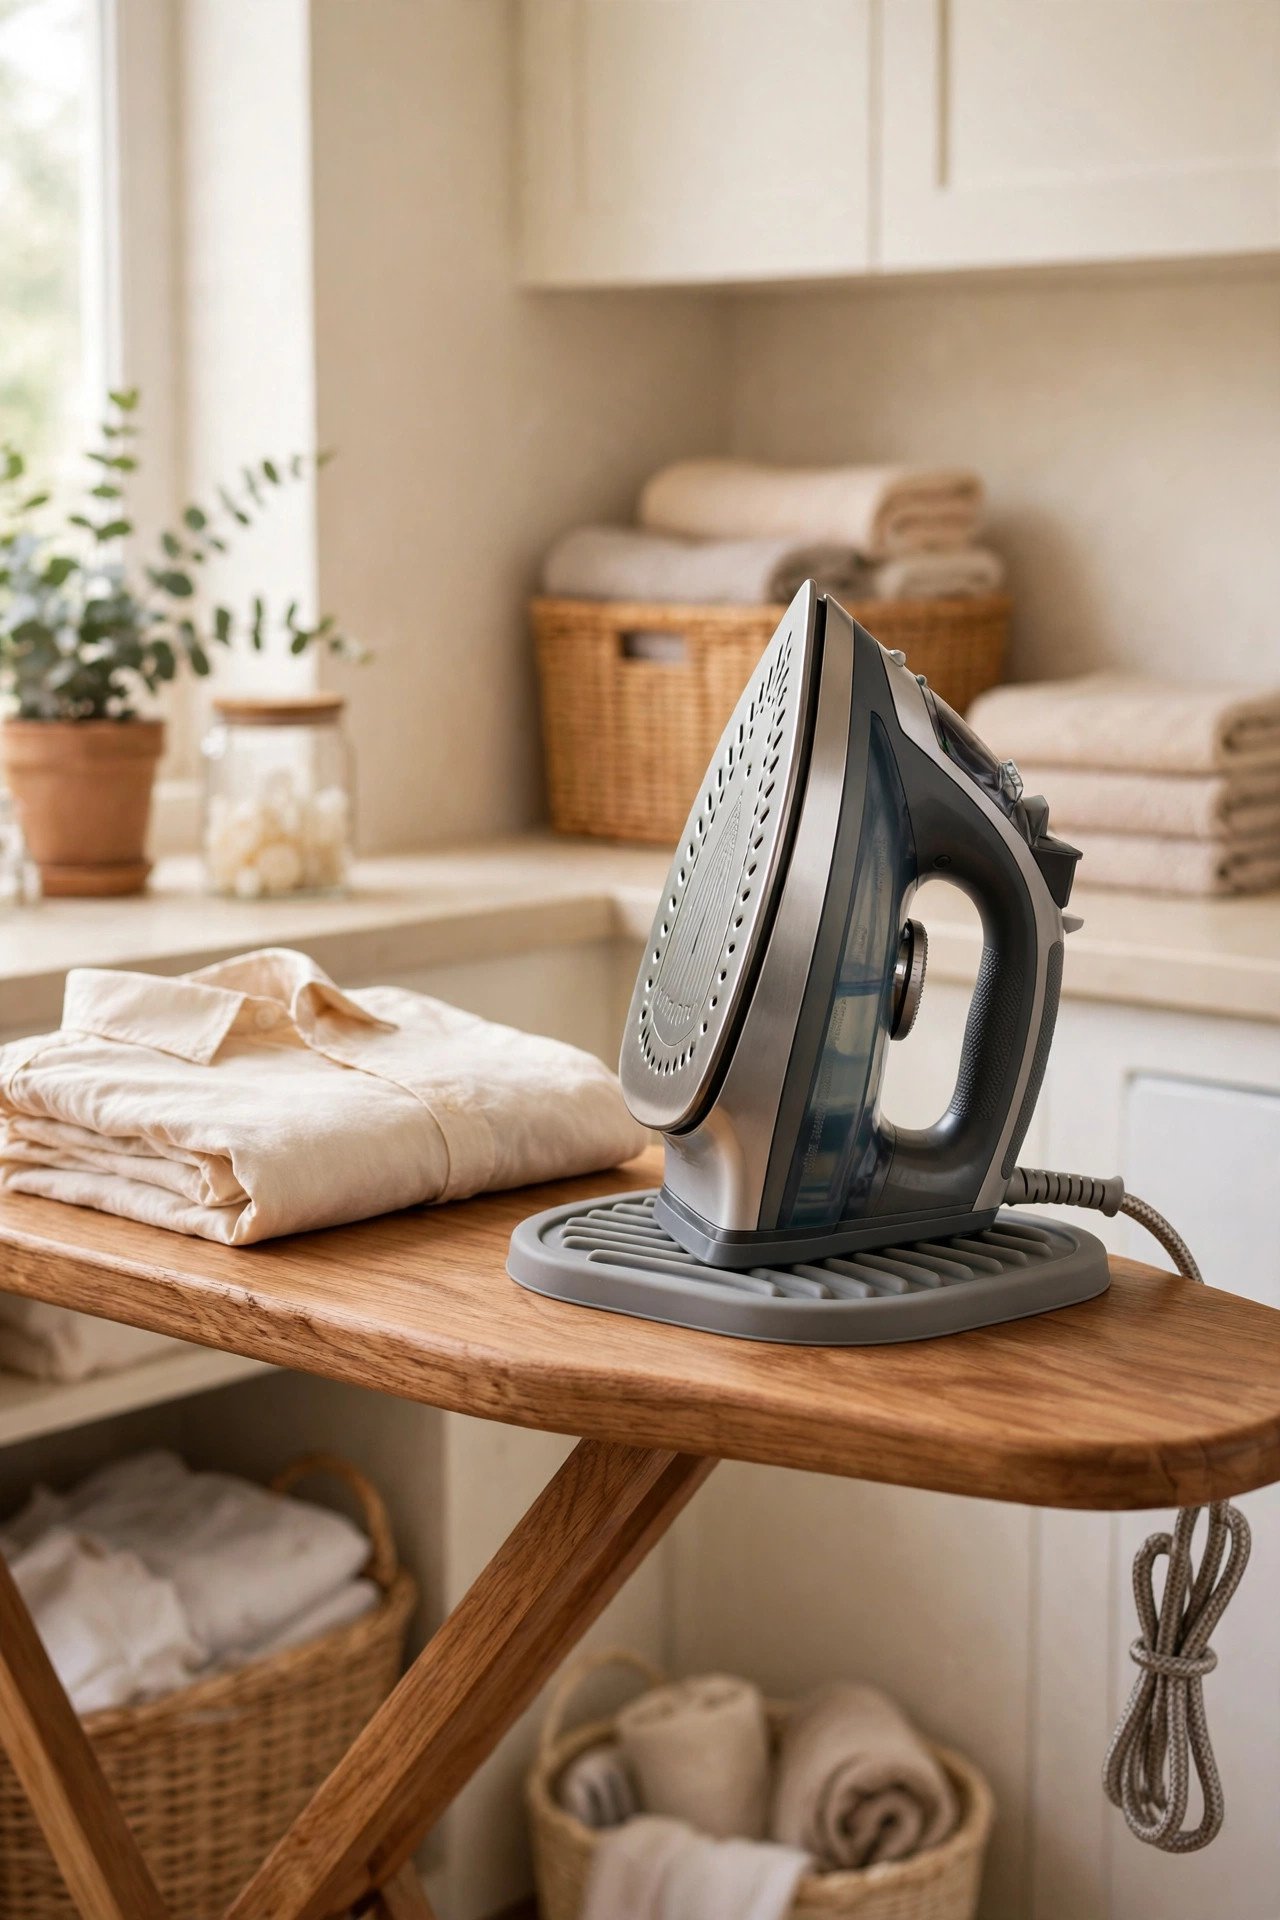
6. Park the Iron on a Silicone Rest
A silicone rest gives a hot iron a safe place to sit while you reposition a garment. Place the rest at the end of the ironing board or on the counter beside it, and set the iron down heel-first between passes. The heat-safe surface protects the counter and keeps the iron close.
Pick a rest with a raised edge so the iron cannot slide off, and choose one that wipes clean with a damp cloth. Keep a spare rest in the cabinet for travel or for a second pressing spot. A simple rest stops scorch marks and keeps your workflow smooth.
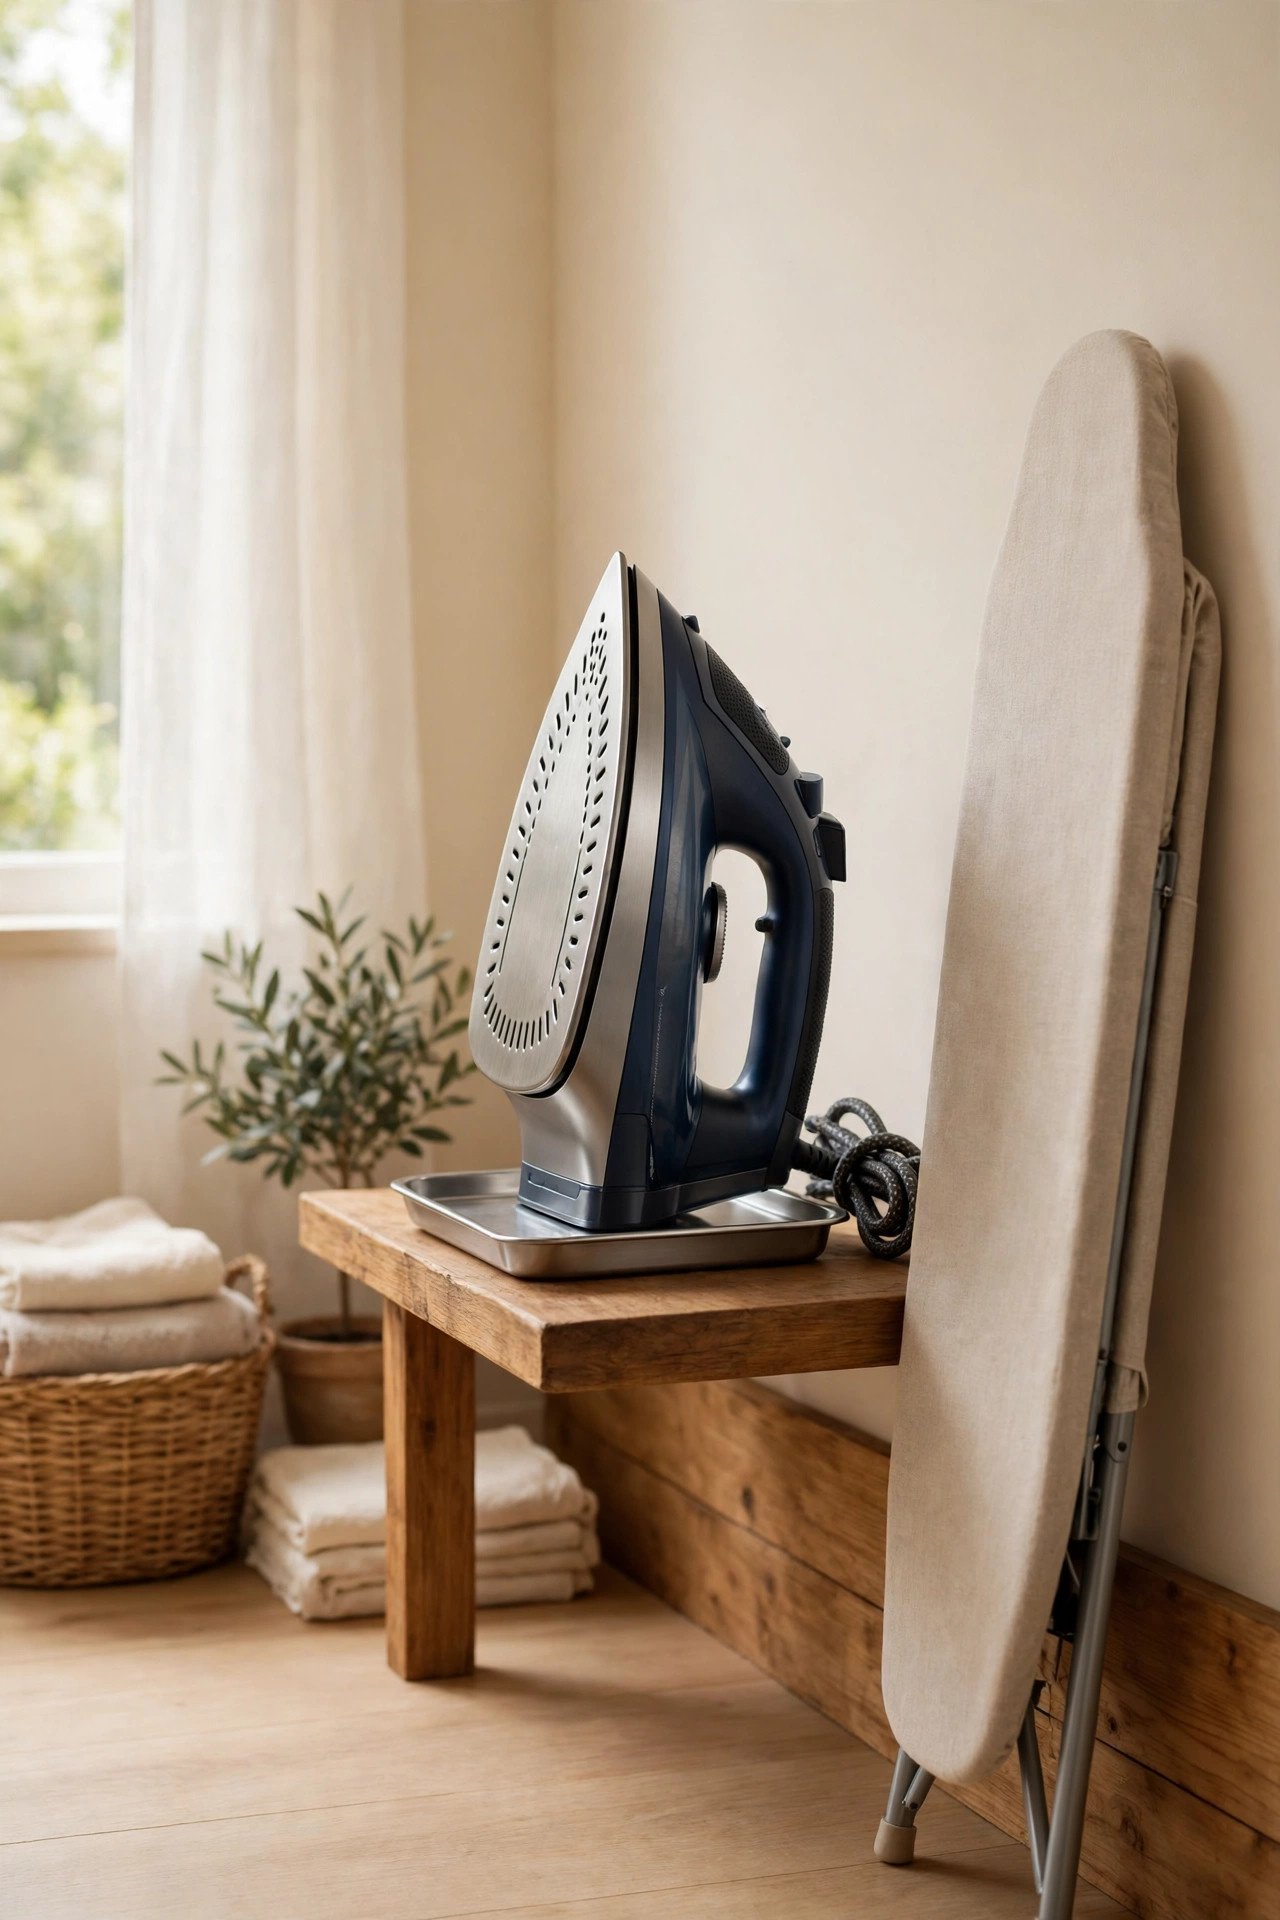
7. Store the Iron Upright on a Shelf
Storing the iron upright on a shelf keeps it visible, dry, and ready to grab. Place it heel-down on a low shelf near the ironing board, with the cord draped loosely behind it. An upright iron cannot leak water onto the shelf, and you can see at a glance that it is put away.
Leave a little space around the iron so it does not bump into bottles or boxes. A shelf at waist height is easiest to reach, and a small tray underneath catches any drips. Upright storage also protects the soleplate from scratches that a drawer would cause.
8. Keep Spray Bottles in a Labeled Bin
A labeled bin keeps every spray bottle standing upright and easy to find. Group your water spray, starch, and sizing sprays in one small bin on a shelf near the board, and label the front so anyone in the house can find the right bottle. No more digging through a crowded cabinet for the starch.
Choose a bin with low sides so the bottles stay visible, and keep it away from heat so the sprays stay fresh. A quick wipe of the bin each month stops drips from building up. Labeled bins work for linens too, and these blanket storage ideas show how to keep folded blankets tidy in bins.
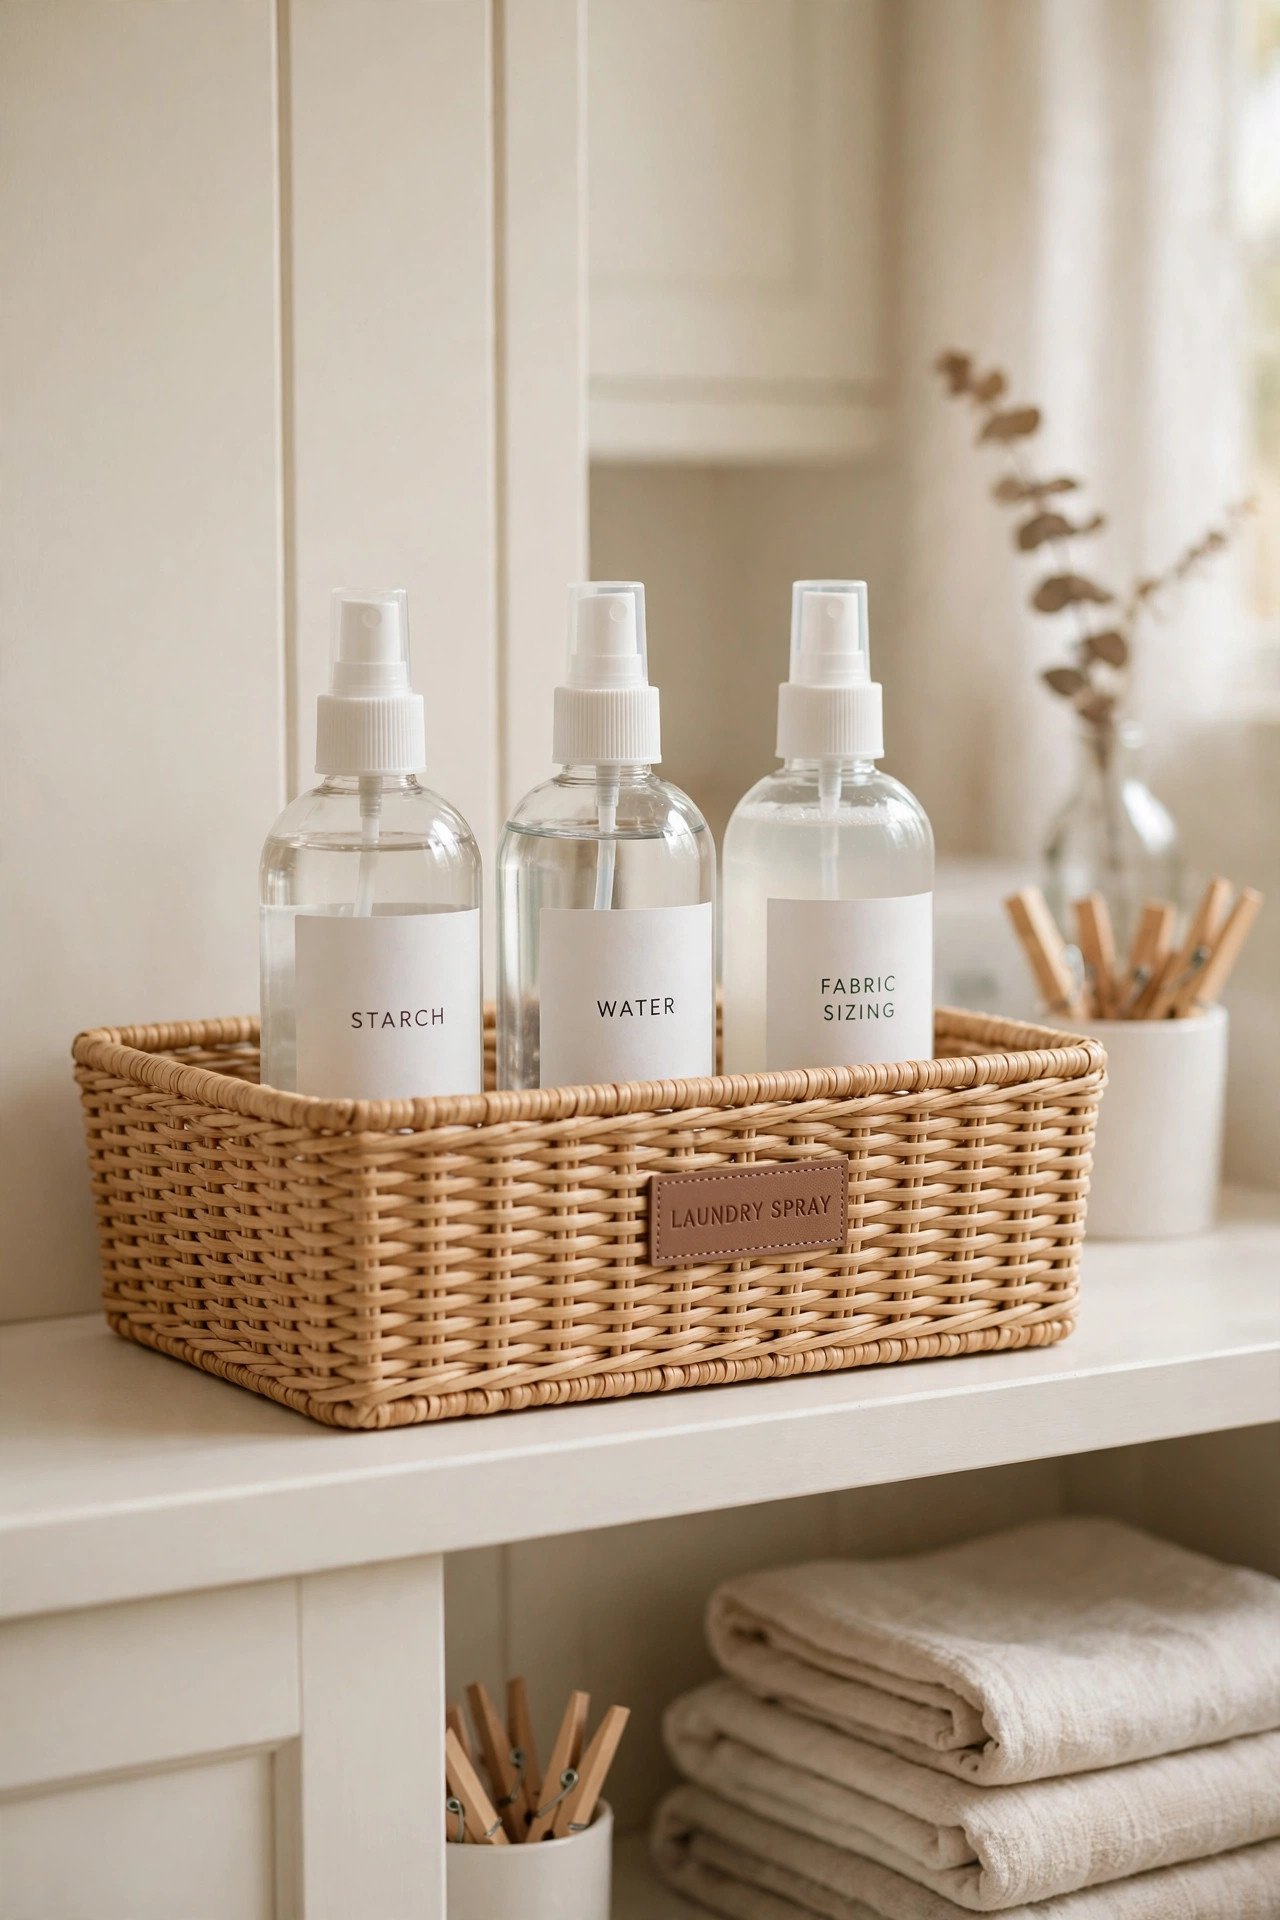
9. Line Up Starch and Sizing Sprays
Starch and sizing sprays work best when they stand in a neat row, ready to grab. Line the bottles up on a narrow shelf or inside a small tray, with labels facing out so you can tell them apart at a glance. A tidy row stops you from grabbing the wrong bottle mid-press.
Keep the sprays near the ironing board but away from the iron’s heat, and check the caps after each use so nothing leaks. Replace empty bottles promptly so the row never has gaps. A simple lineup turns a jumble of bottles into a small, professional-looking station.
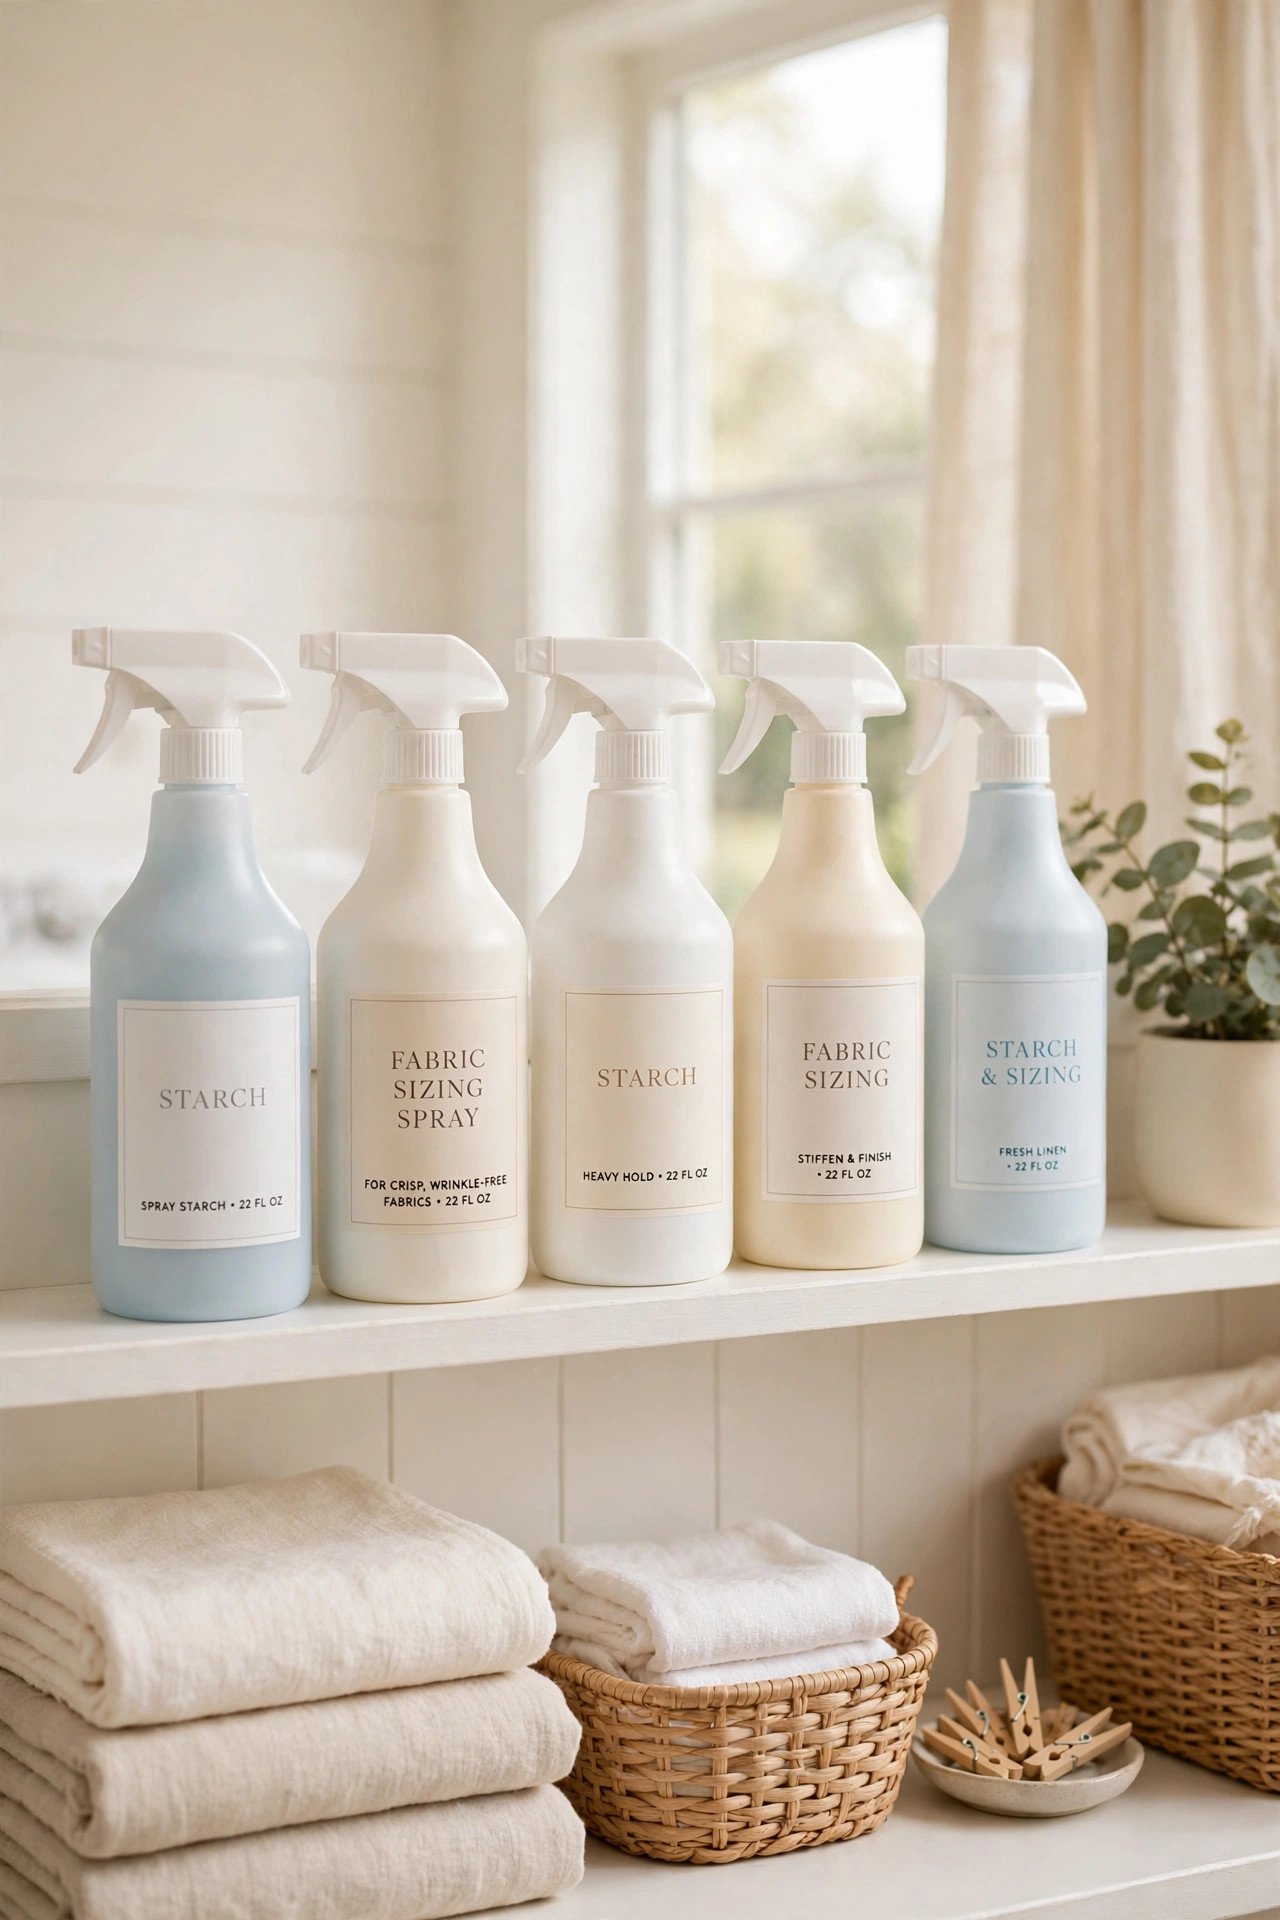
10. Store Distilled Water in a Slim Jug
Distilled water keeps your steam iron free of mineral buildup, and a slim jug makes it easy to pour. Keep a clearly labeled jug on the shelf beside the iron, and refill the iron from it before each session. A narrow spout stops spills on the board and the floor.
Label the jug so nobody mistakes it for drinking water, and keep it sealed between uses to stay clean. A jug that holds about a liter lasts several pressing sessions without constant refills. Clean water is the cheapest way to make an iron last longer.
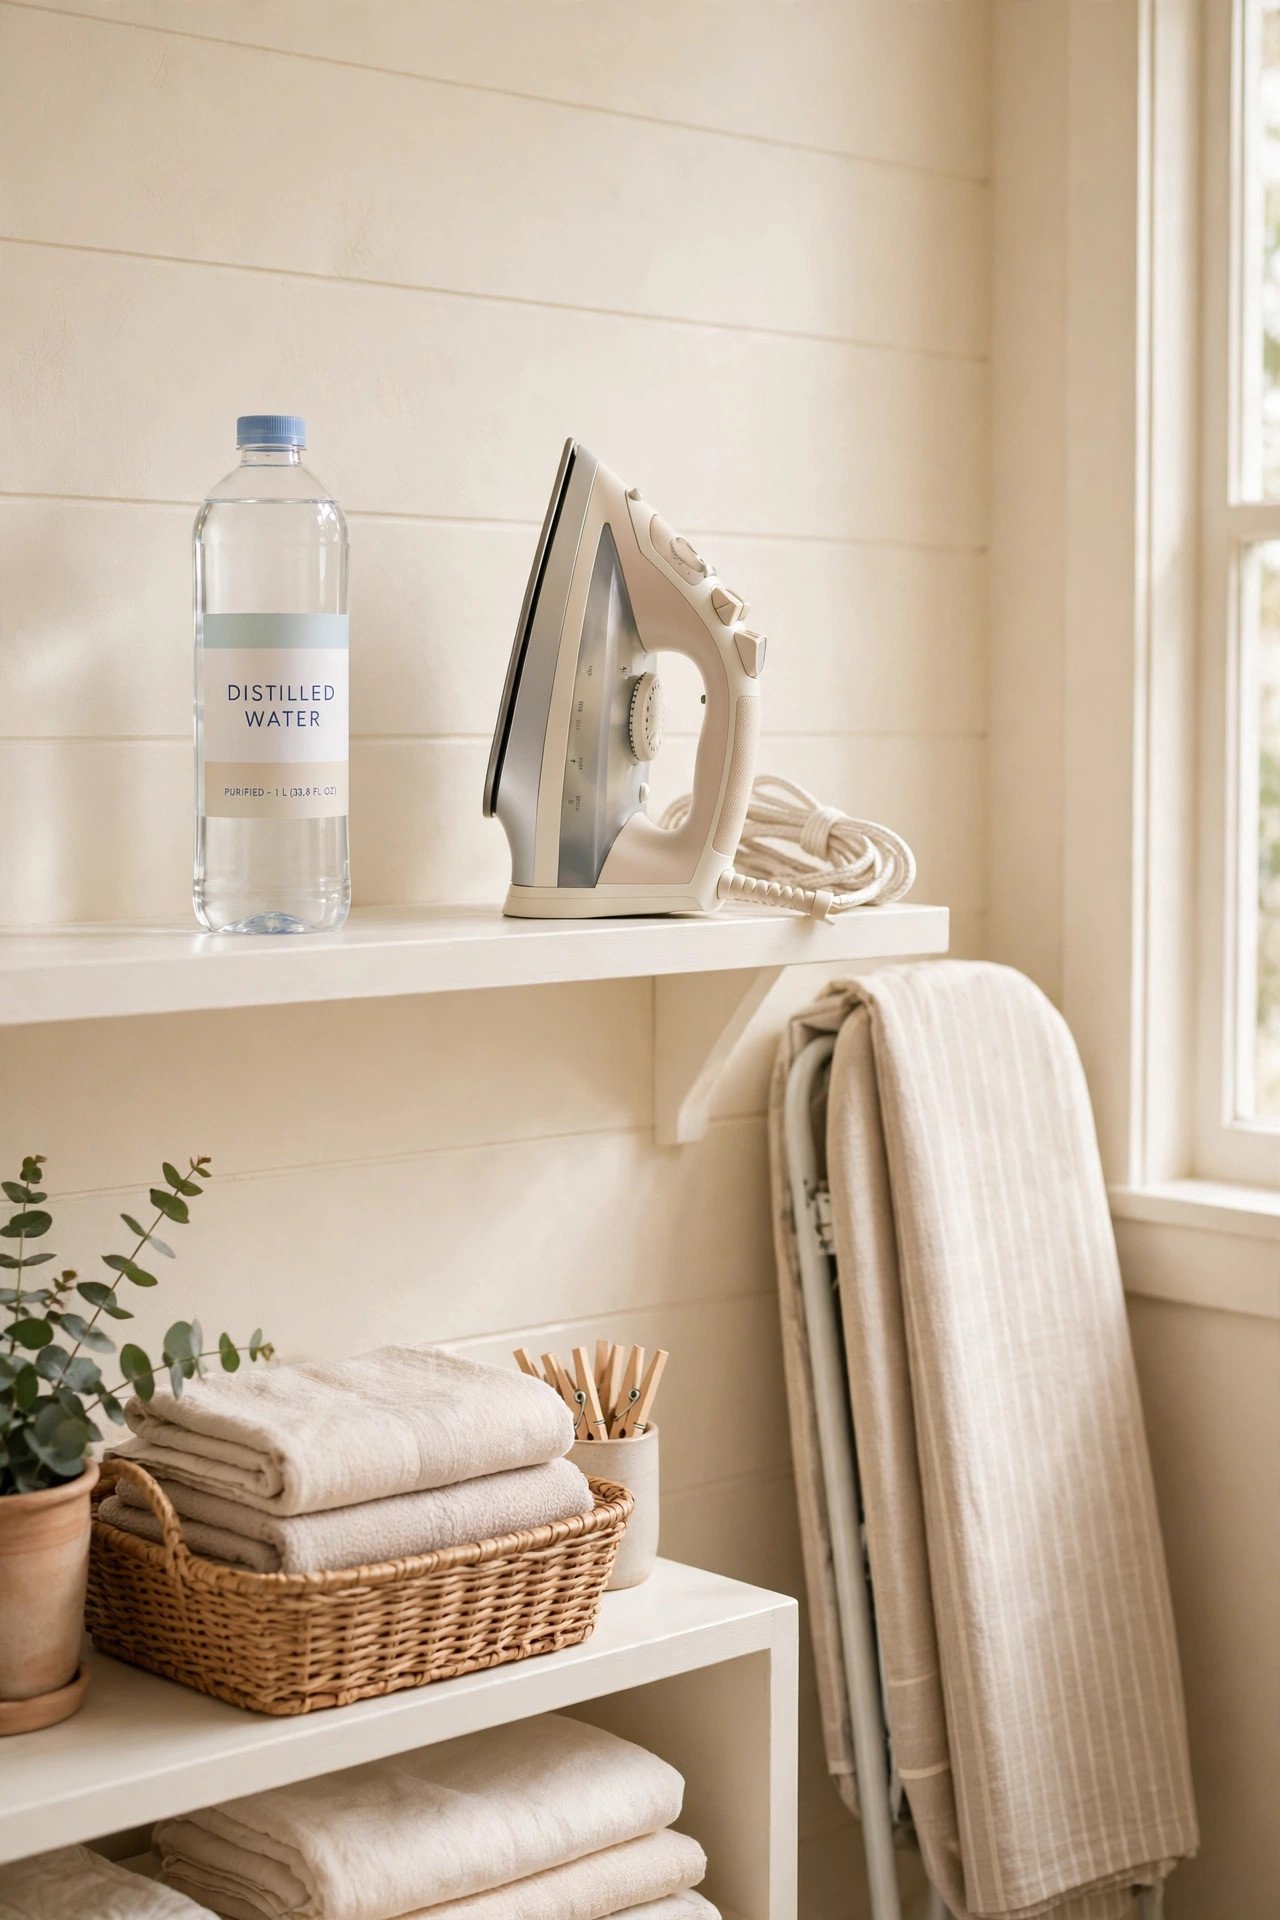
11. Hang Pressing Cloths on Hooks
Pressing cloths stay smooth and ready when they hang on hooks instead of folding into a drawer. Mount two or three small hooks on the wall beside the board, and hang each cloth by a corner or a loop. The cloths air out between uses and never pick up creases of their own.
Keep one cotton cloth for everyday pressing and one finer cloth for delicate fabrics. A separate hook for each cloth stops them from tangling together in a pile. Hanging cloths also dry faster after a wash, so they are ready for the next pressing session.
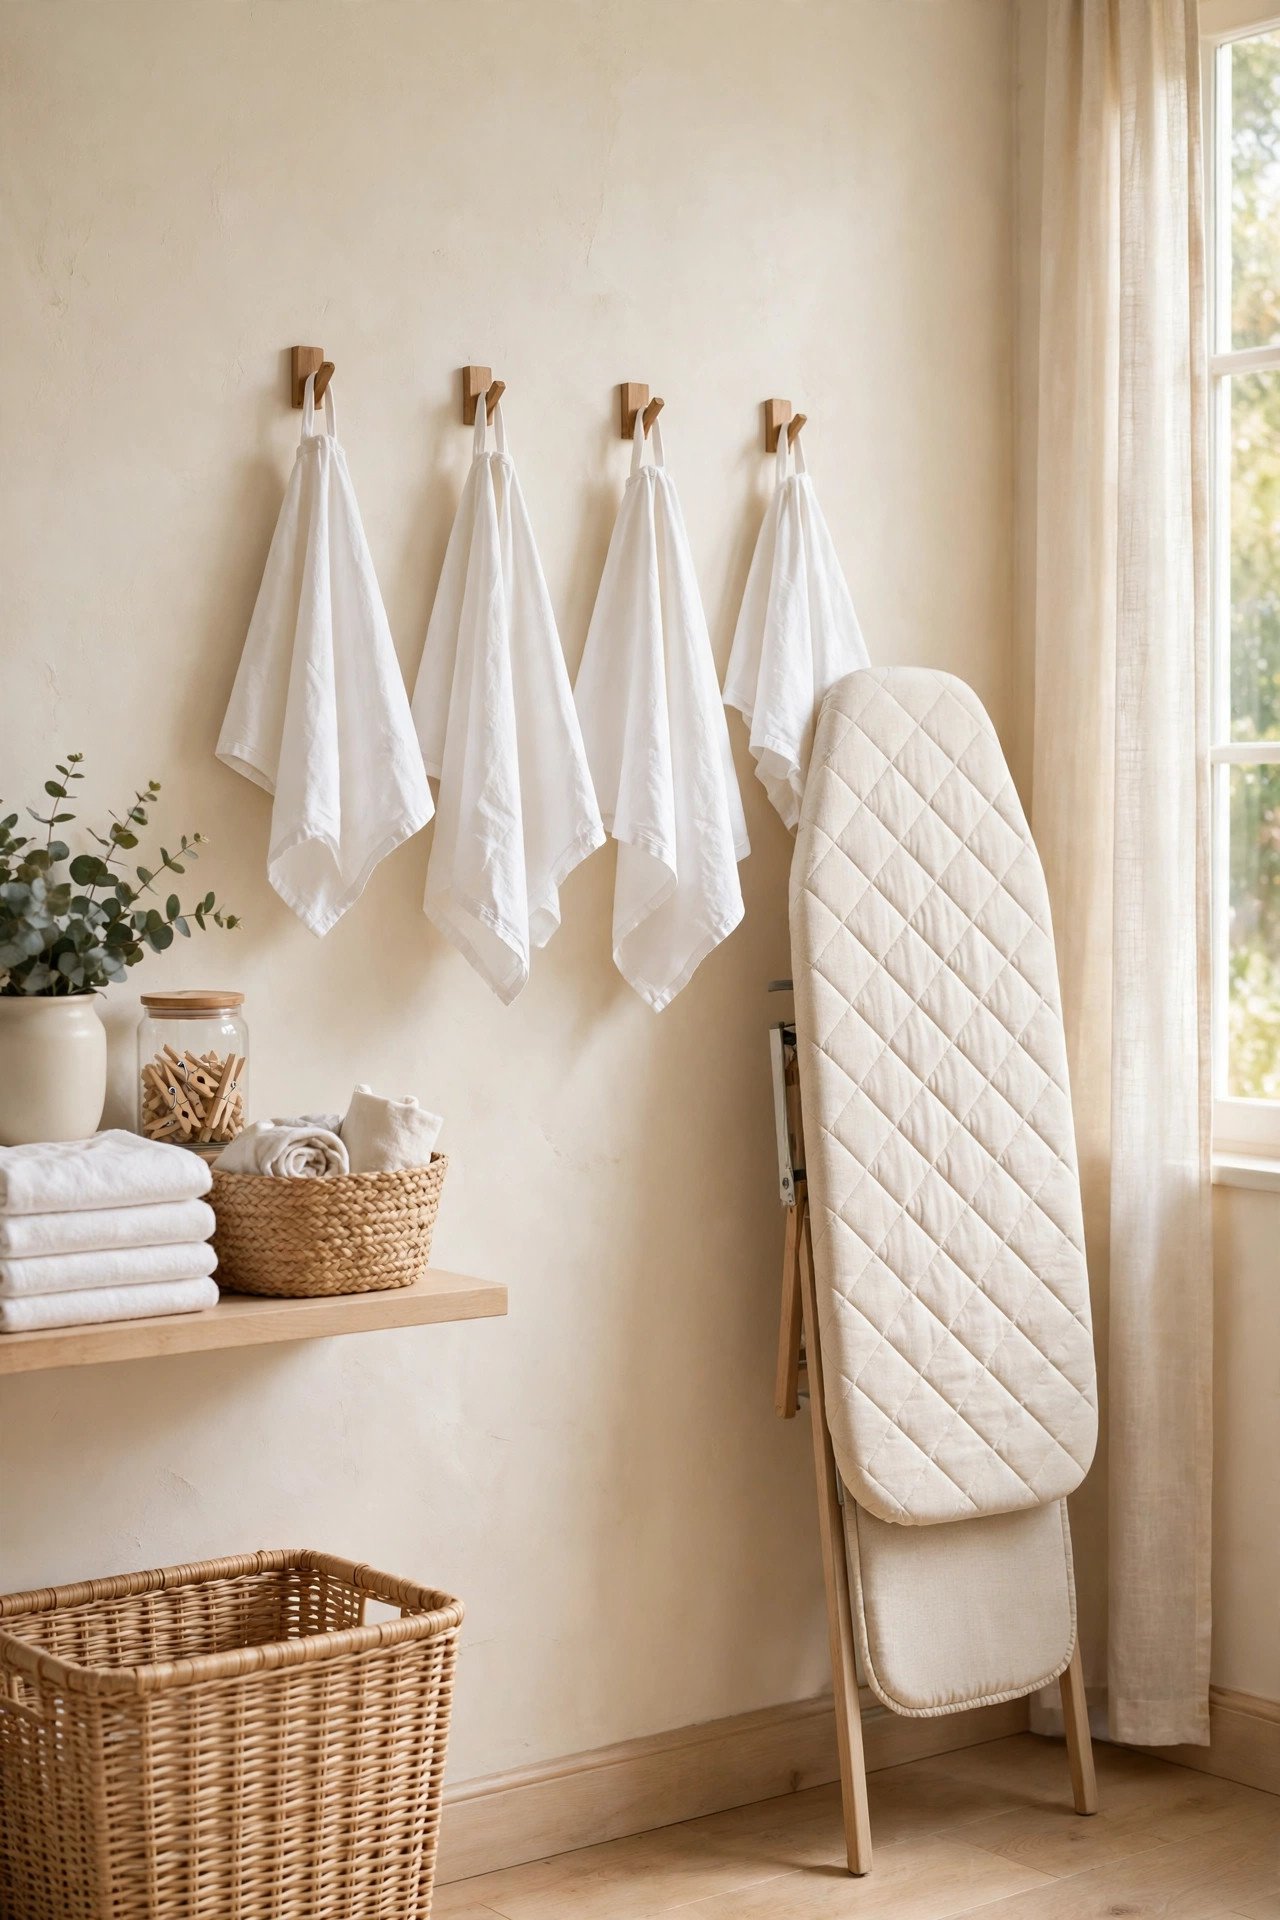
12. Roll Pressing Cloths in a Basket
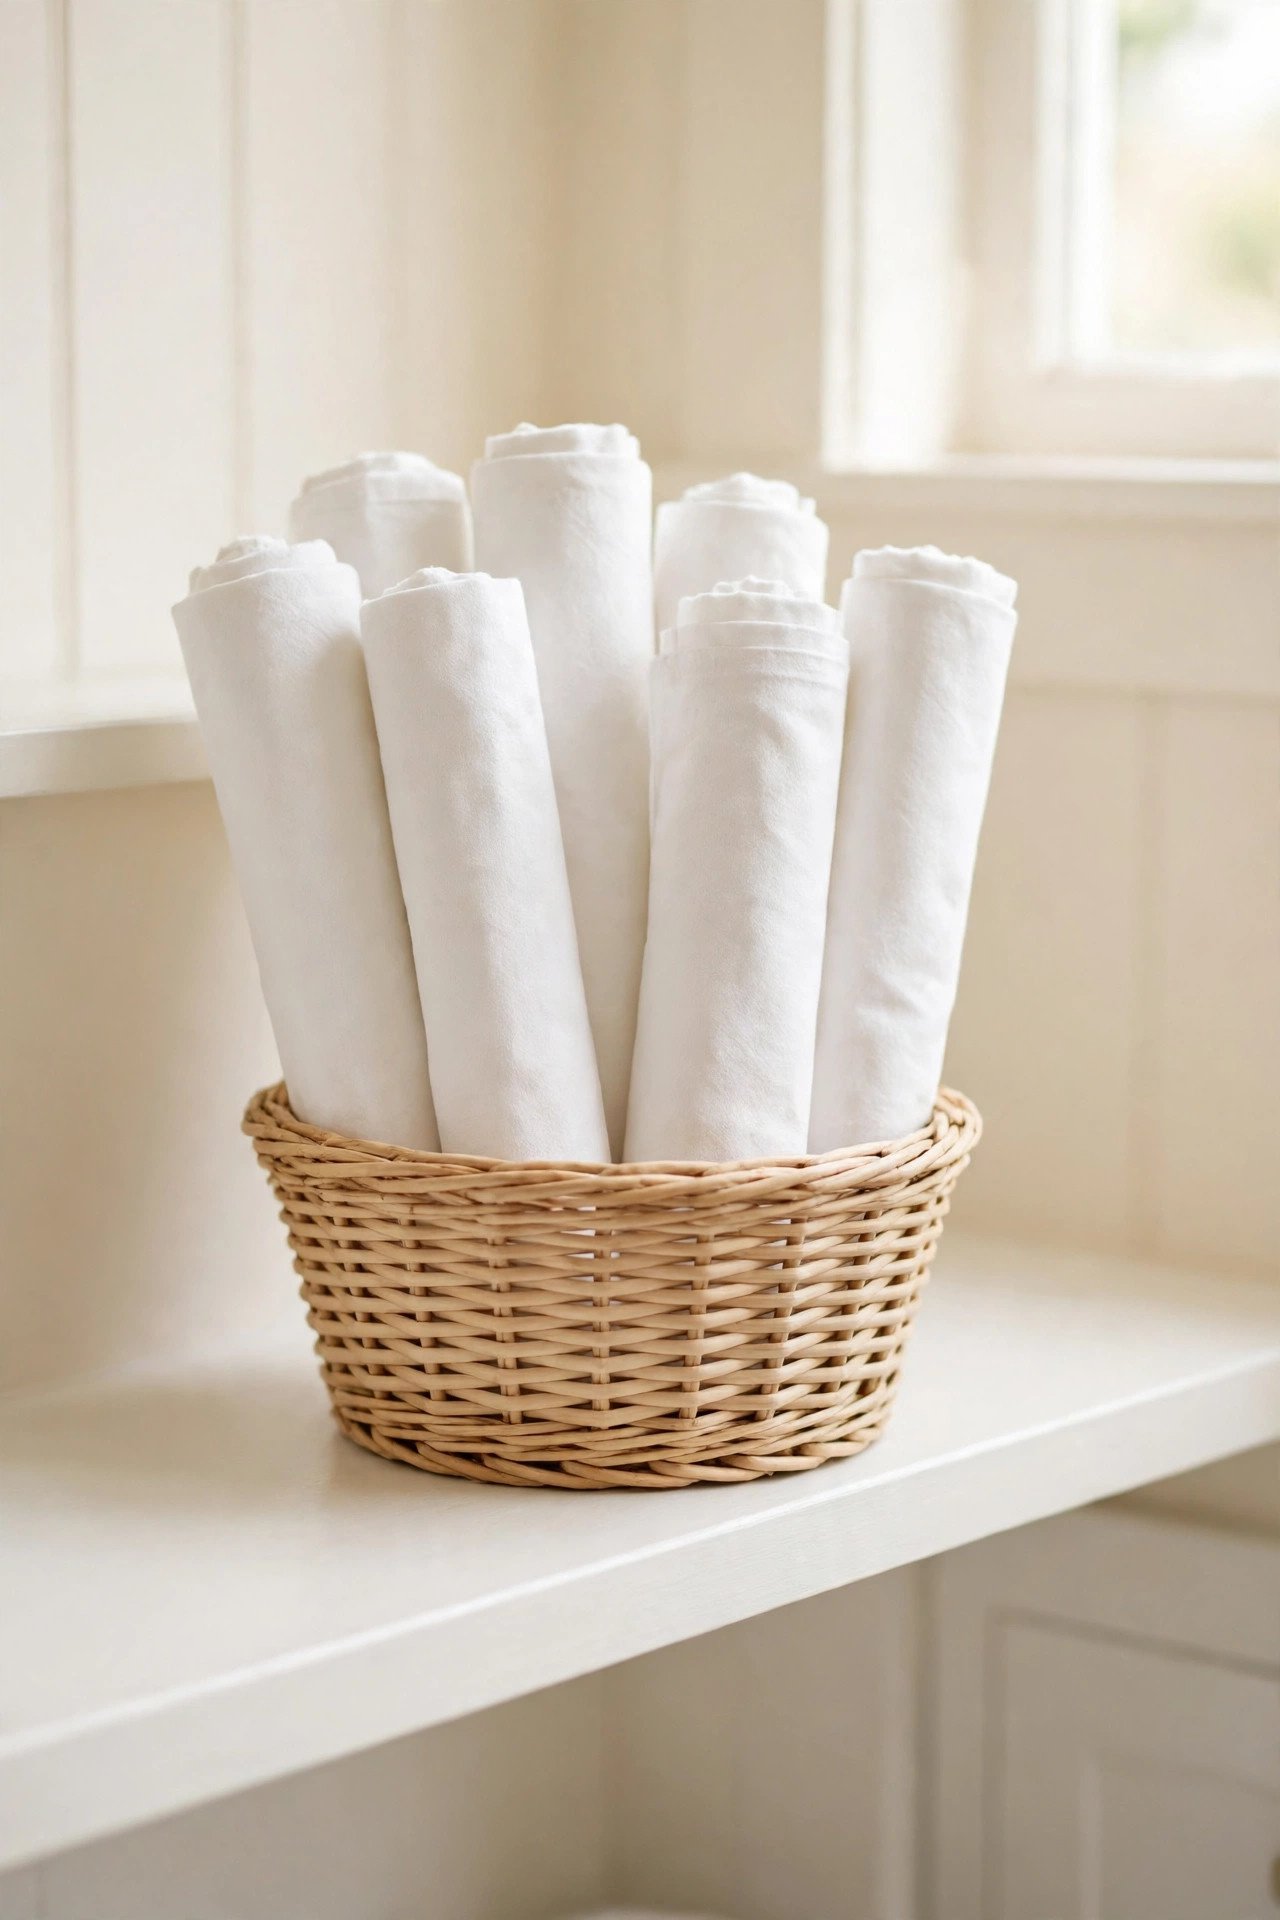
Rolled pressing cloths fit neatly into a small basket on a shelf near the board. Roll each cloth instead of folding it, and stand the rolls upright so you can see every cloth at a glance. Rolling stops hard creases and keeps the basket tidy without any extra effort.
Use a shallow basket so the rolls stay visible, and sort them neatly by fabric weight if you keep several different types. A quick shake before use smooths any soft wrinkles from storage. A basket of rolled cloths looks calm and inviting on any open shelf.
13. Keep a Tailor’s Ham Within Reach
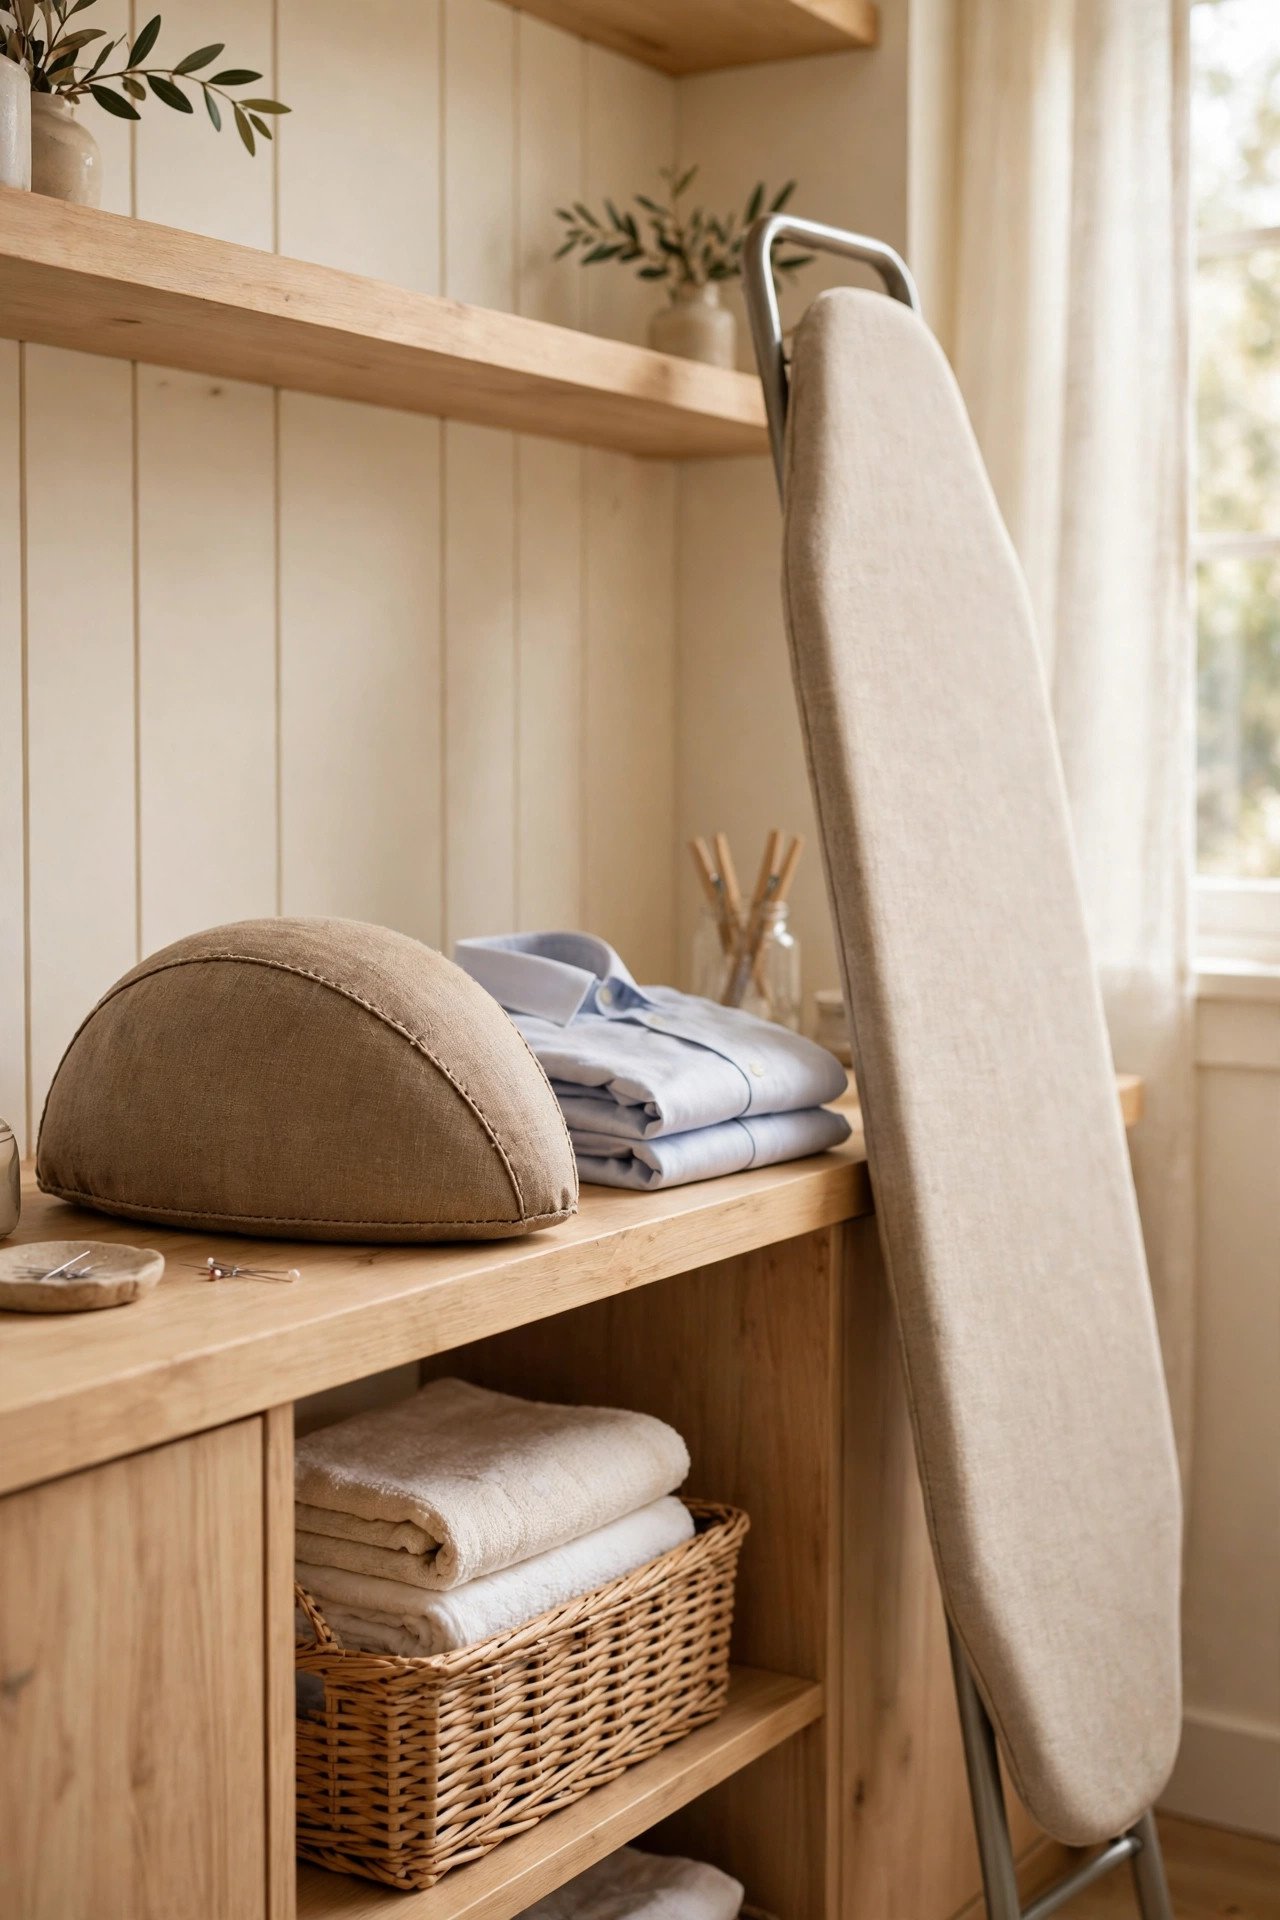
A tailor’s ham is a small, firmly stuffed cushion that shapes curved seams while you press. Keep it on the shelf beside the board, and grab it whenever you press a sleeve cap, a collar, or a curved dart. The ham supports the fabric so the curve holds its shape instead of flattening out.
Store the ham where you can reach it without leaving the board, since it is most useful mid-press. A small basket or a hook keeps it off the work surface when you do not need it. A tailor’s ham turns amateur pressing into a crisp, professional finish.
14. Store Sleeve Boards Flat on a Shelf
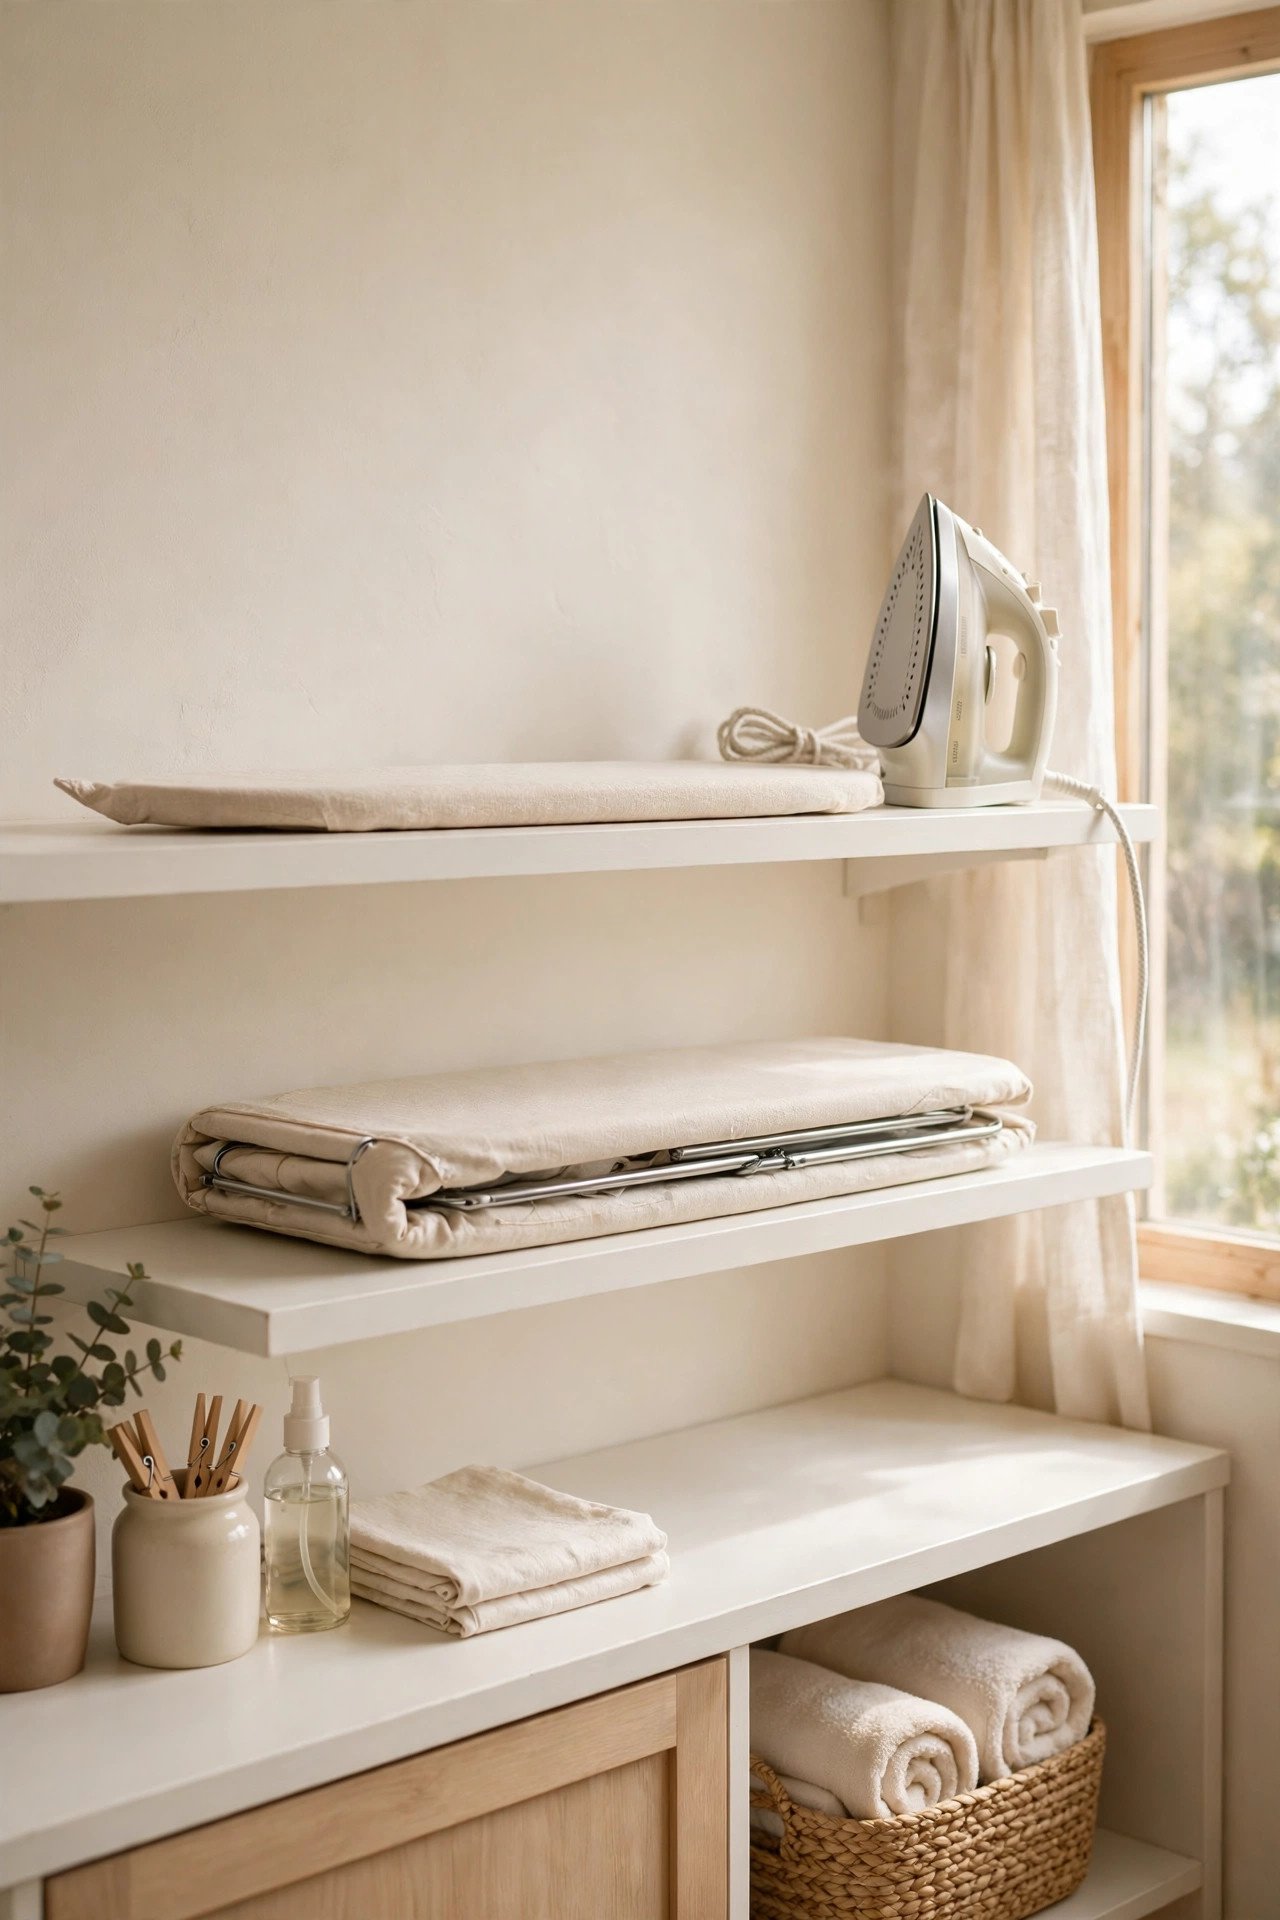
A sleeve board is a narrow pressing surface that fits inside sleeves and pant legs. Store it flat on a shelf or slide it under the main ironing board, so it stays smooth and ready. A flat sleeve board never warps, and it slides out in seconds when a sleeve needs pressing.
Keep the sleeve board near the main board so the two work together as a pair. A thin shelf or a slot between two dividers stops it from sliding around. Storing it flat also protects the cover from snags and tears that a crowded drawer would cause.
15. Hang the Sleeve Board on the Wall
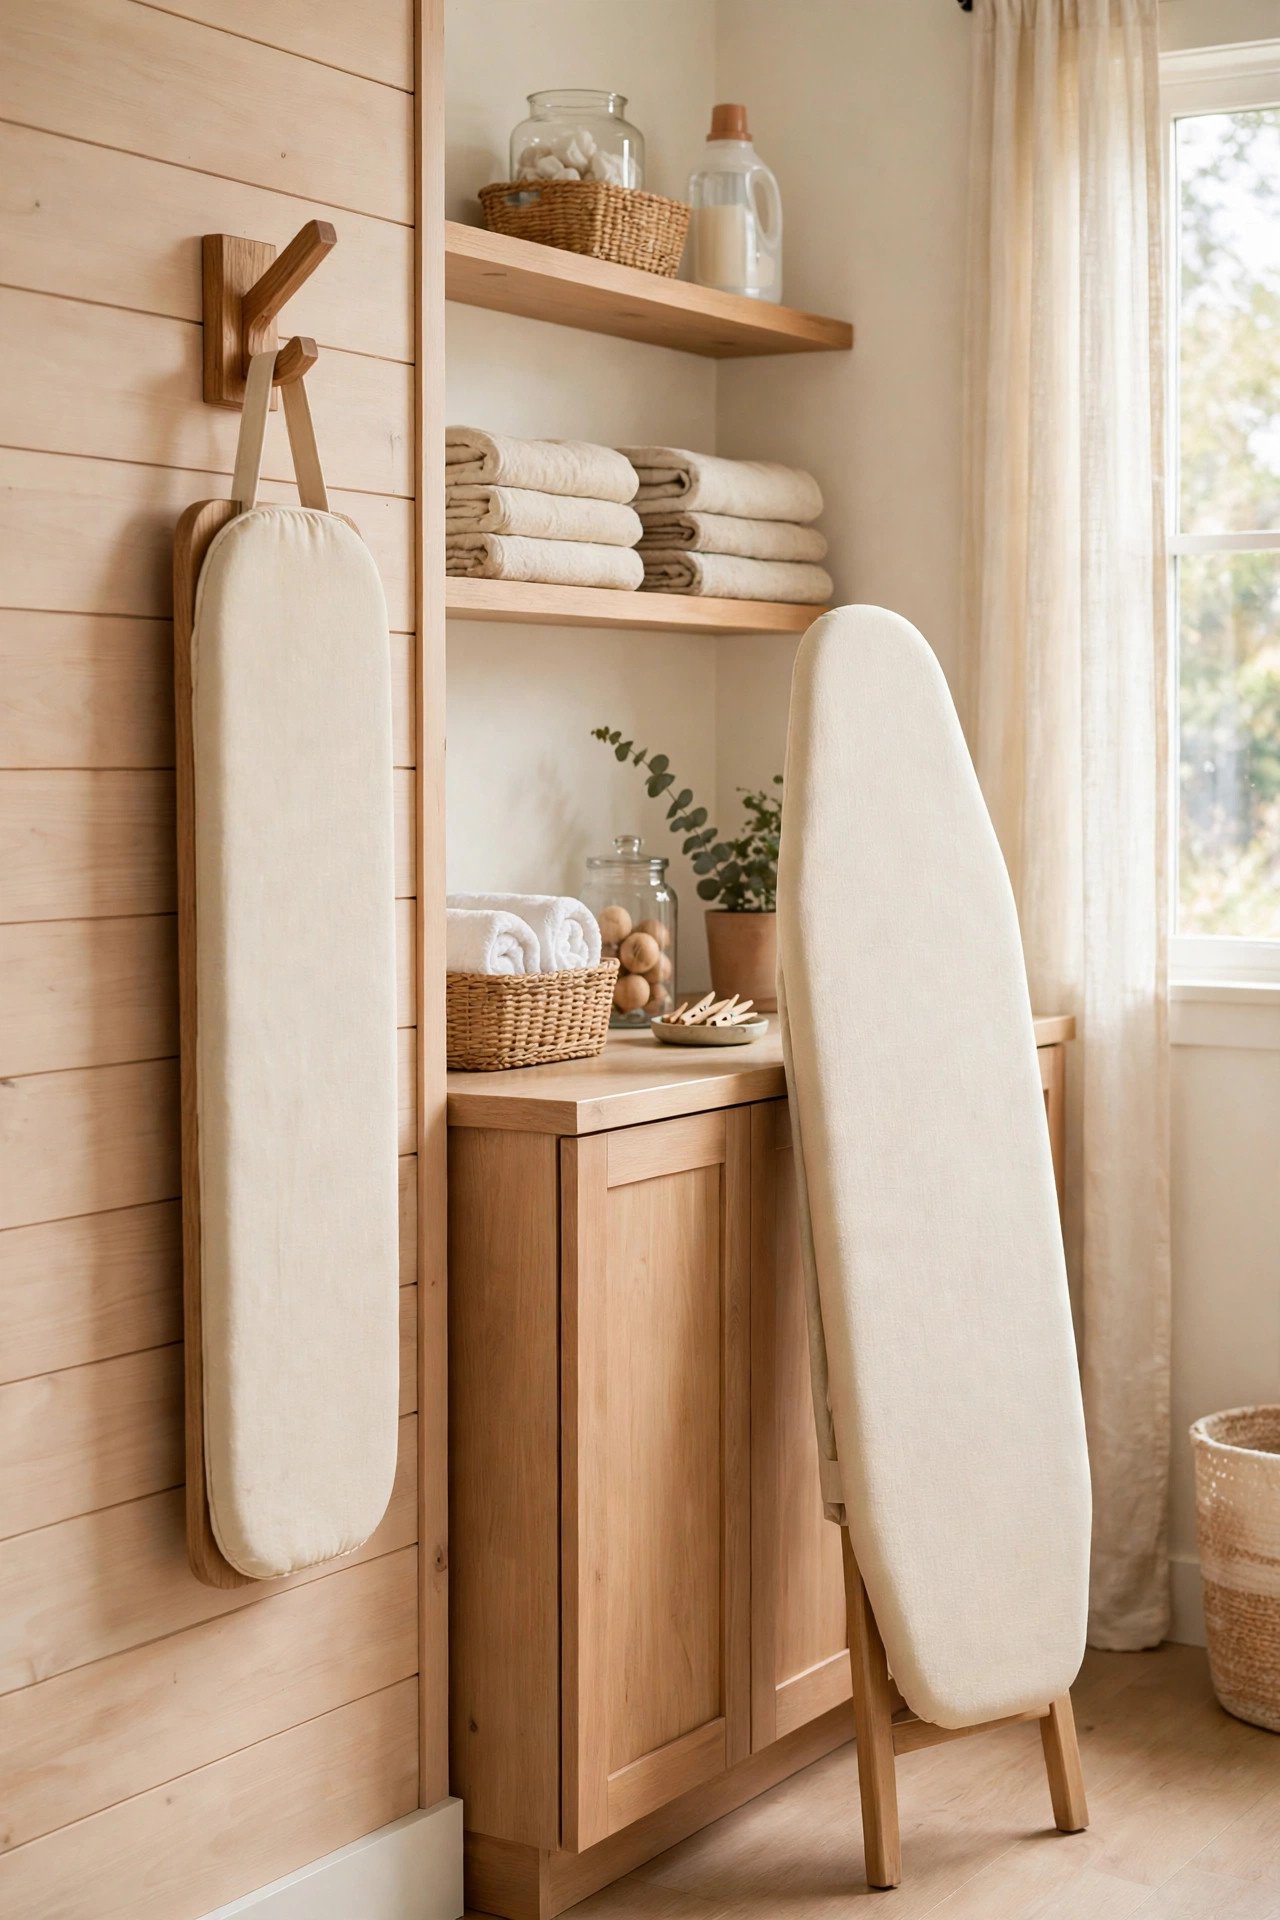
A wall hook keeps the sleeve board upright and visible beside the main board. Hang it by its handle or a small loop, and it takes up almost no space while staying easy to grab. A hanging sleeve board is always in sight, so you actually use it instead of forgetting it in a drawer.
Mount the hook at eye level near the ironing station, and keep the board’s cover clean by hanging it away from dust. A narrow board hangs neatly beside a full-size board without crowding the wall. This simple hook turns a forgotten tool into a daily helper.
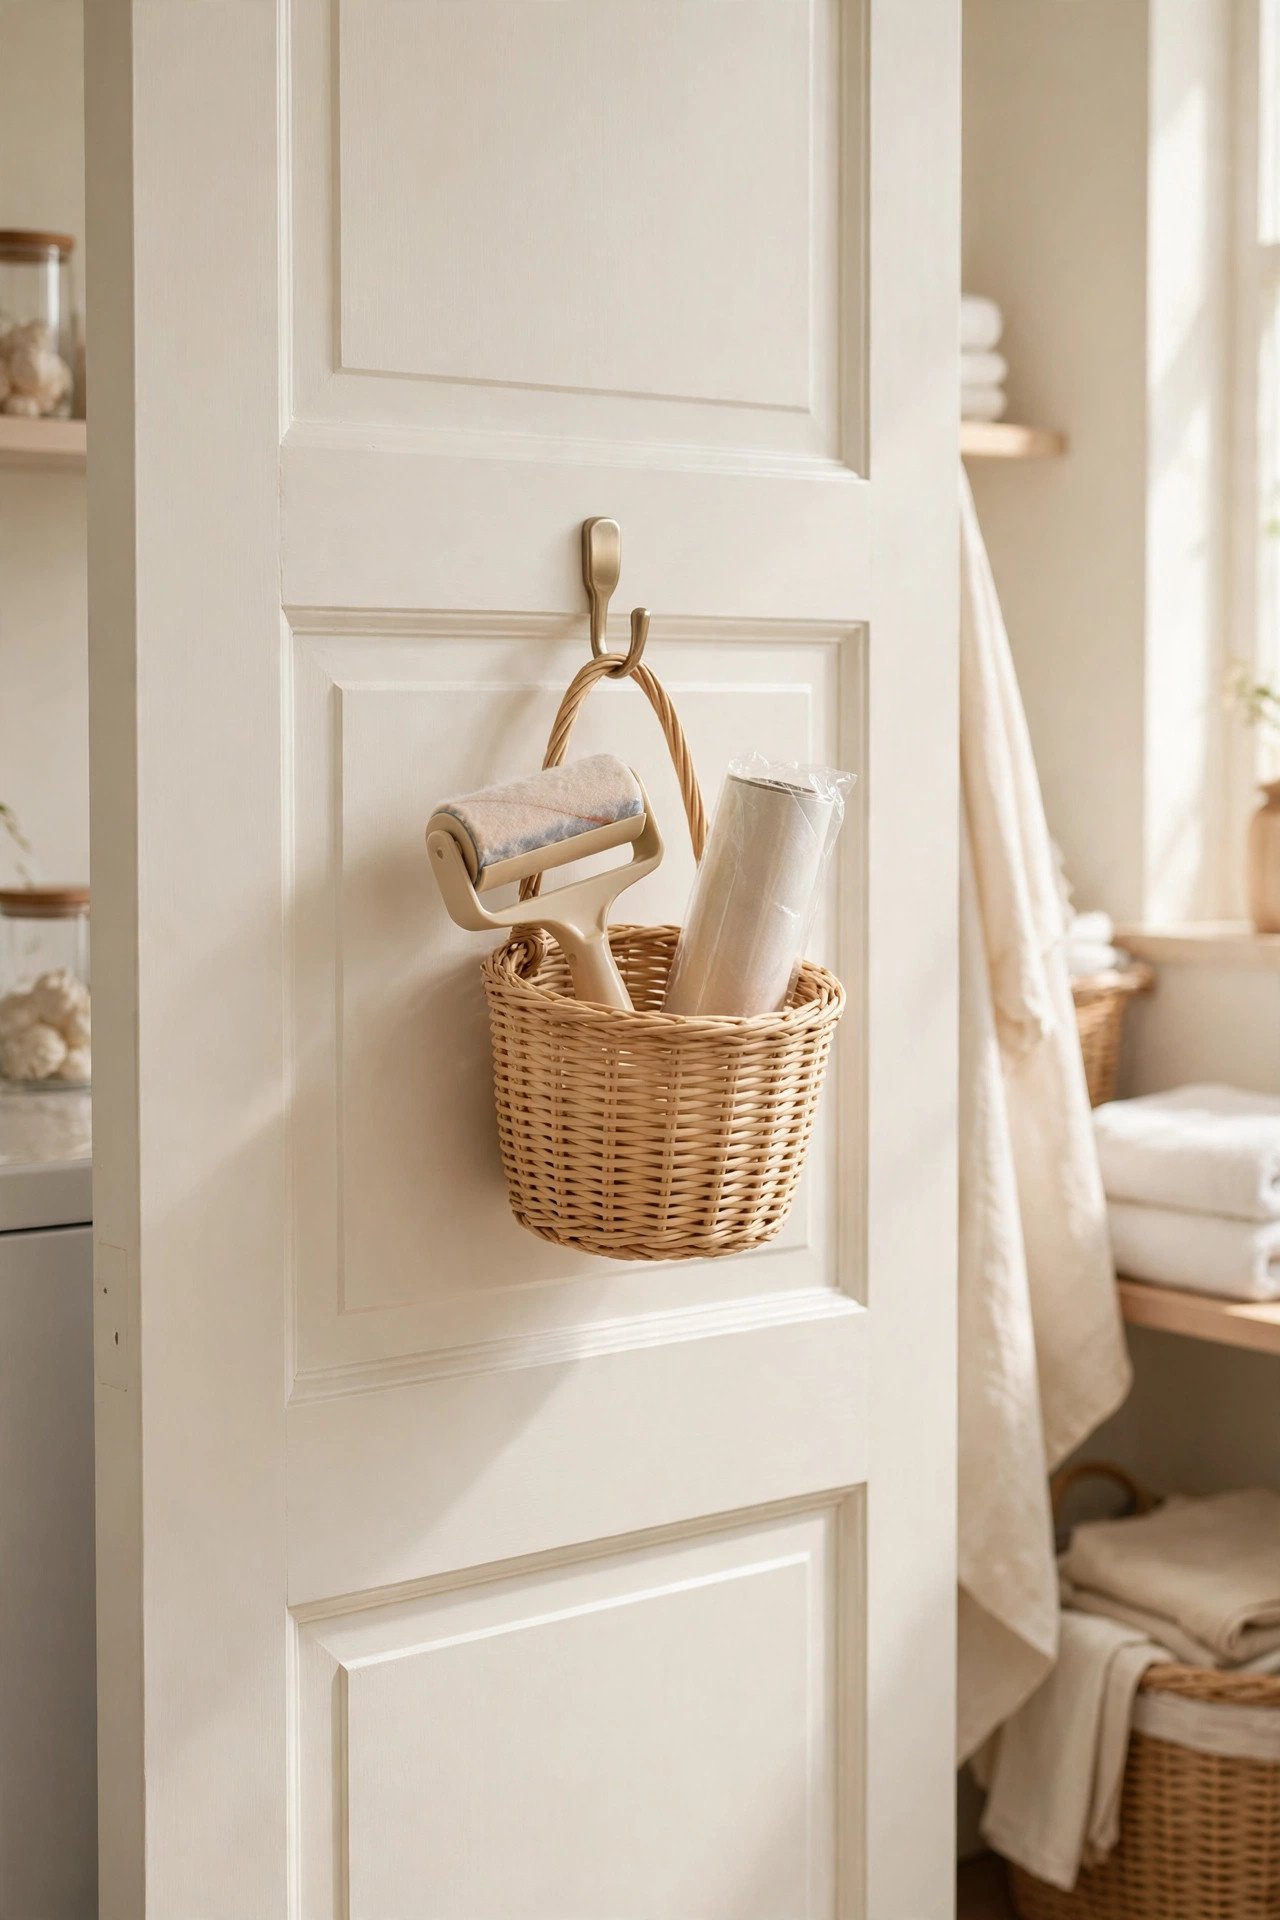
16. Keep Lint Rollers in a Door Basket
Lint rollers belong right where you finish pressing, and a door basket puts them there. Hang a small basket on the inside of the laundry room door or a cabinet door, and drop a lint roller and a refill inside. A quick roll after pressing removes the last bits of lint before the garment goes on a hanger.
Keep the basket shallow so the roller is easy to grab, and store a refill roll beside it so you never run out mid-week. A door basket uses space that would otherwise go to waste. This small habit keeps freshly pressed clothes looking truly finished.
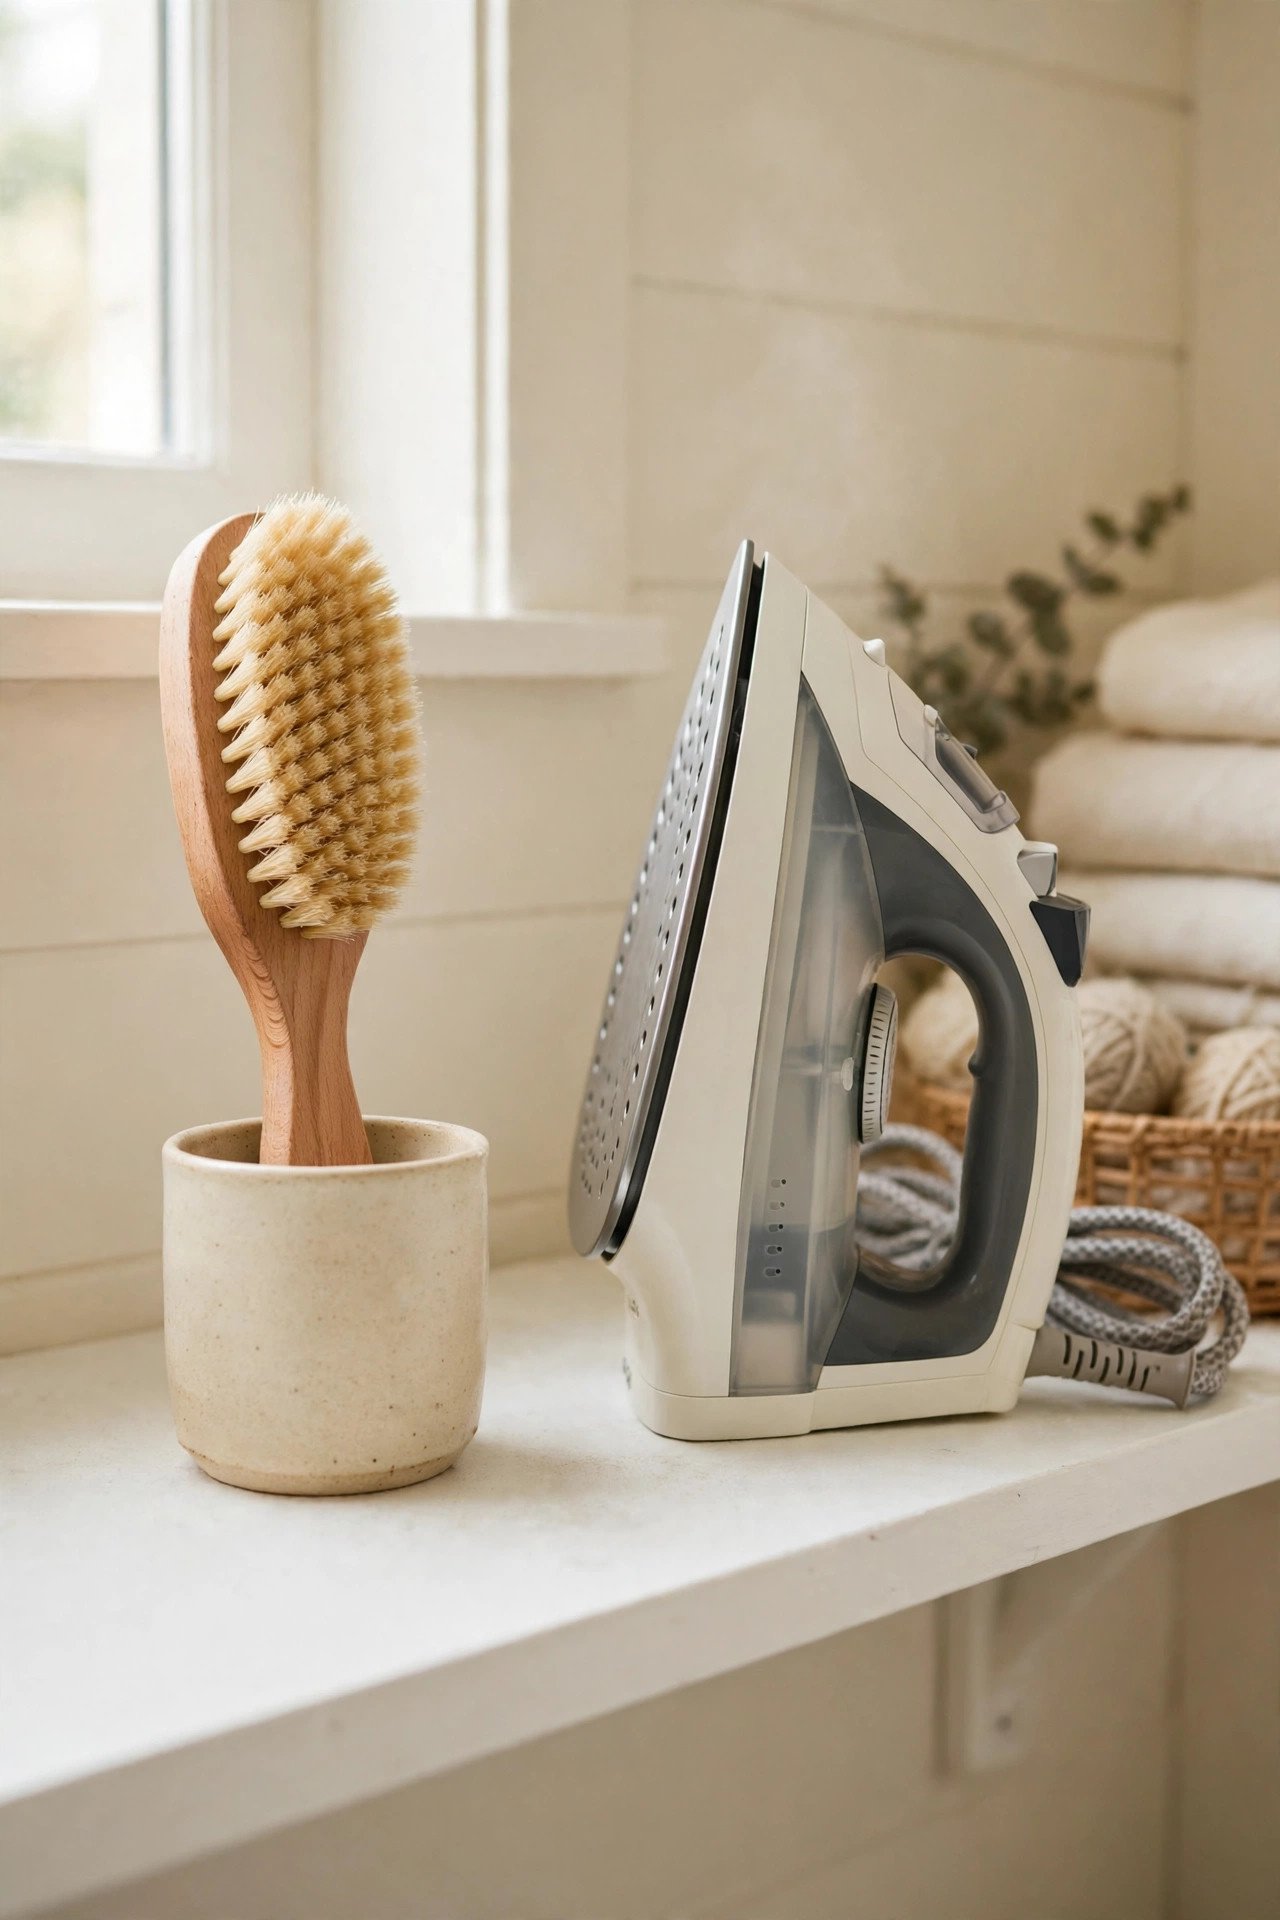
17. Store a Clothes Brush Beside the Iron
A clothes brush sweeps dust and lint off fabric before you press, and it deserves a spot beside the iron. Keep the brush in a small cup or hanging on a hook near the board, so it is ready before every session. A quick brush first means the iron presses a clean surface, not dust into the fabric.
Choose a brush with soft natural bristles for wool and a firmer one for cotton if you press both fabrics regularly. A cup keeps the brush upright and protects the bristles from bending out of shape. This tiny tool makes a visible difference on dark fabrics and tailored clothes.
18. Set Up a Small Ironing Station
A small ironing station gathers the board, iron, sprays, and cloths into one tidy corner. Choose a spot near the washer with a counter or a shelf, and arrange every supply within one step of the board. When the station has a fixed place, pressing becomes a quick routine instead of a setup job.
Keep the station simple: board, iron, one spray, one cloth, and a hanger rail nearby. Add a small basket for supplies you use less often, and clear the counter after each session. A dedicated station saves time every single week, even in the smallest laundry corner.

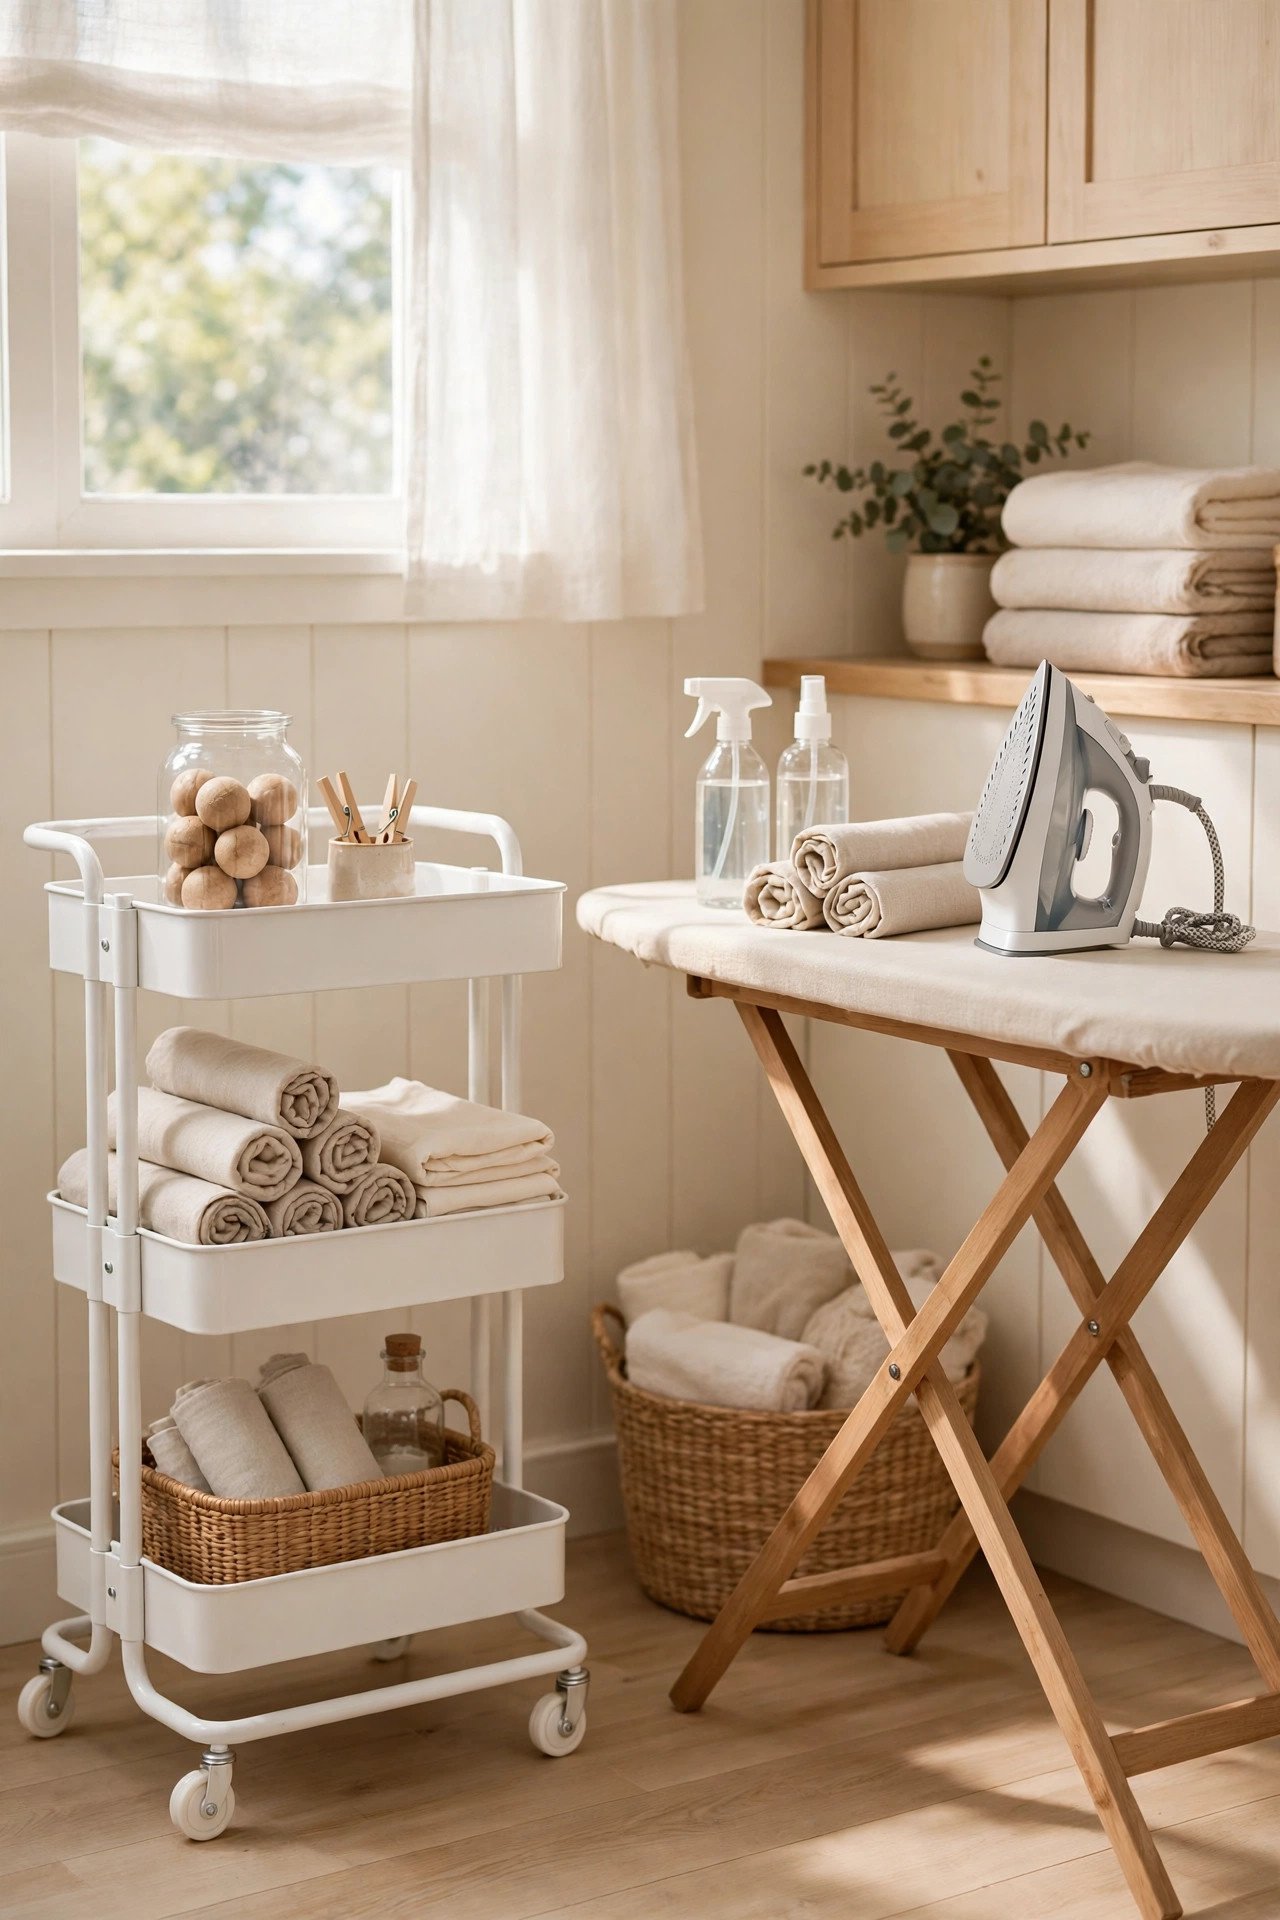
19. Use a Rolling Cart for Ironing Supplies
A rolling cart carries all your ironing supplies to the board and away again when you finish. Load the tiers with the iron, sprays, cloths, and lint roller, then wheel the cart beside the board for the whole session. When pressing ends, roll the cart into a corner and the room looks tidy.
Give each tier a clear job so supplies never mix: iron on top, sprays in the middle, and cloths at the bottom. Small cups on the cart hold the brush and the lint roller. A rolling cart works well when the laundry room has no spare counter space.
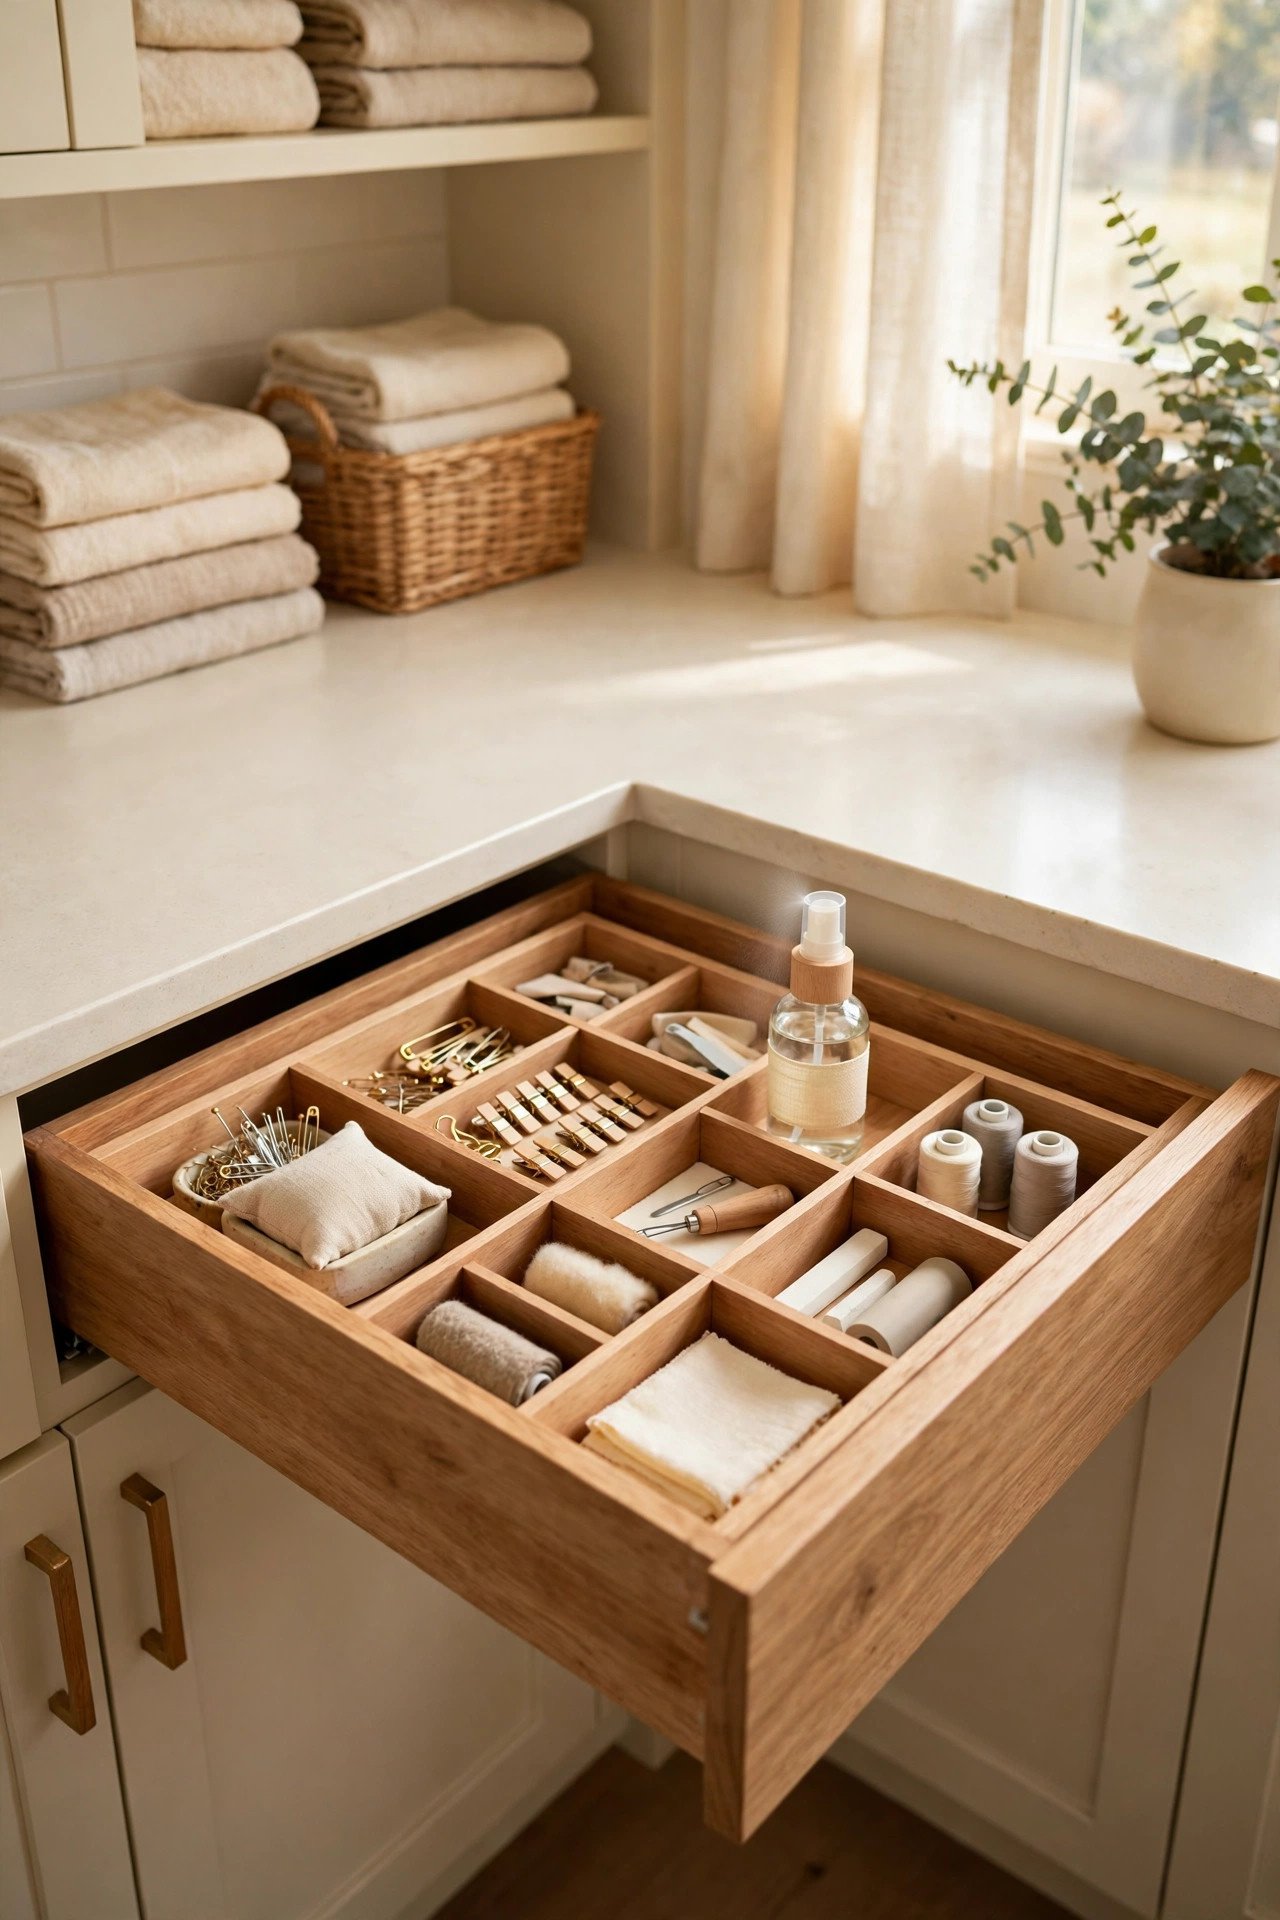
20. Sort Supplies in a Drawer Organizer
A drawer organizer turns a junk drawer into a tidy home for small ironing supplies. Use adjustable dividers to sort spray nozzles, spare fuses, cleaning sticks, and small tools into their own sections. Every supply has a compartment, and nothing slides around when the drawer opens.
Measure the drawer carefully before you buy the organizer, and leave one section empty for future new supplies. Label the sections clearly if more than one person uses the laundry room. A sorted drawer stops the small items from vanishing into a jumble at the very back.
21. Label Every Bin and Basket
Labels turn look-alike bins into a system anyone can follow. Stick a clear label on every bin and basket in the ironing area, naming what lives inside: sprays, cloths, covers, or tools. A labeled bin is easy to use and easy to put back, so the system survives even when you are in a hurry.
Use a label maker or simple handwritten tags, and keep the wording short, plain and easy to read at a glance. Update the label whenever the contents change, so the system stays honest and useful. Labels are the cheapest way to make any storage setup actually last for years.
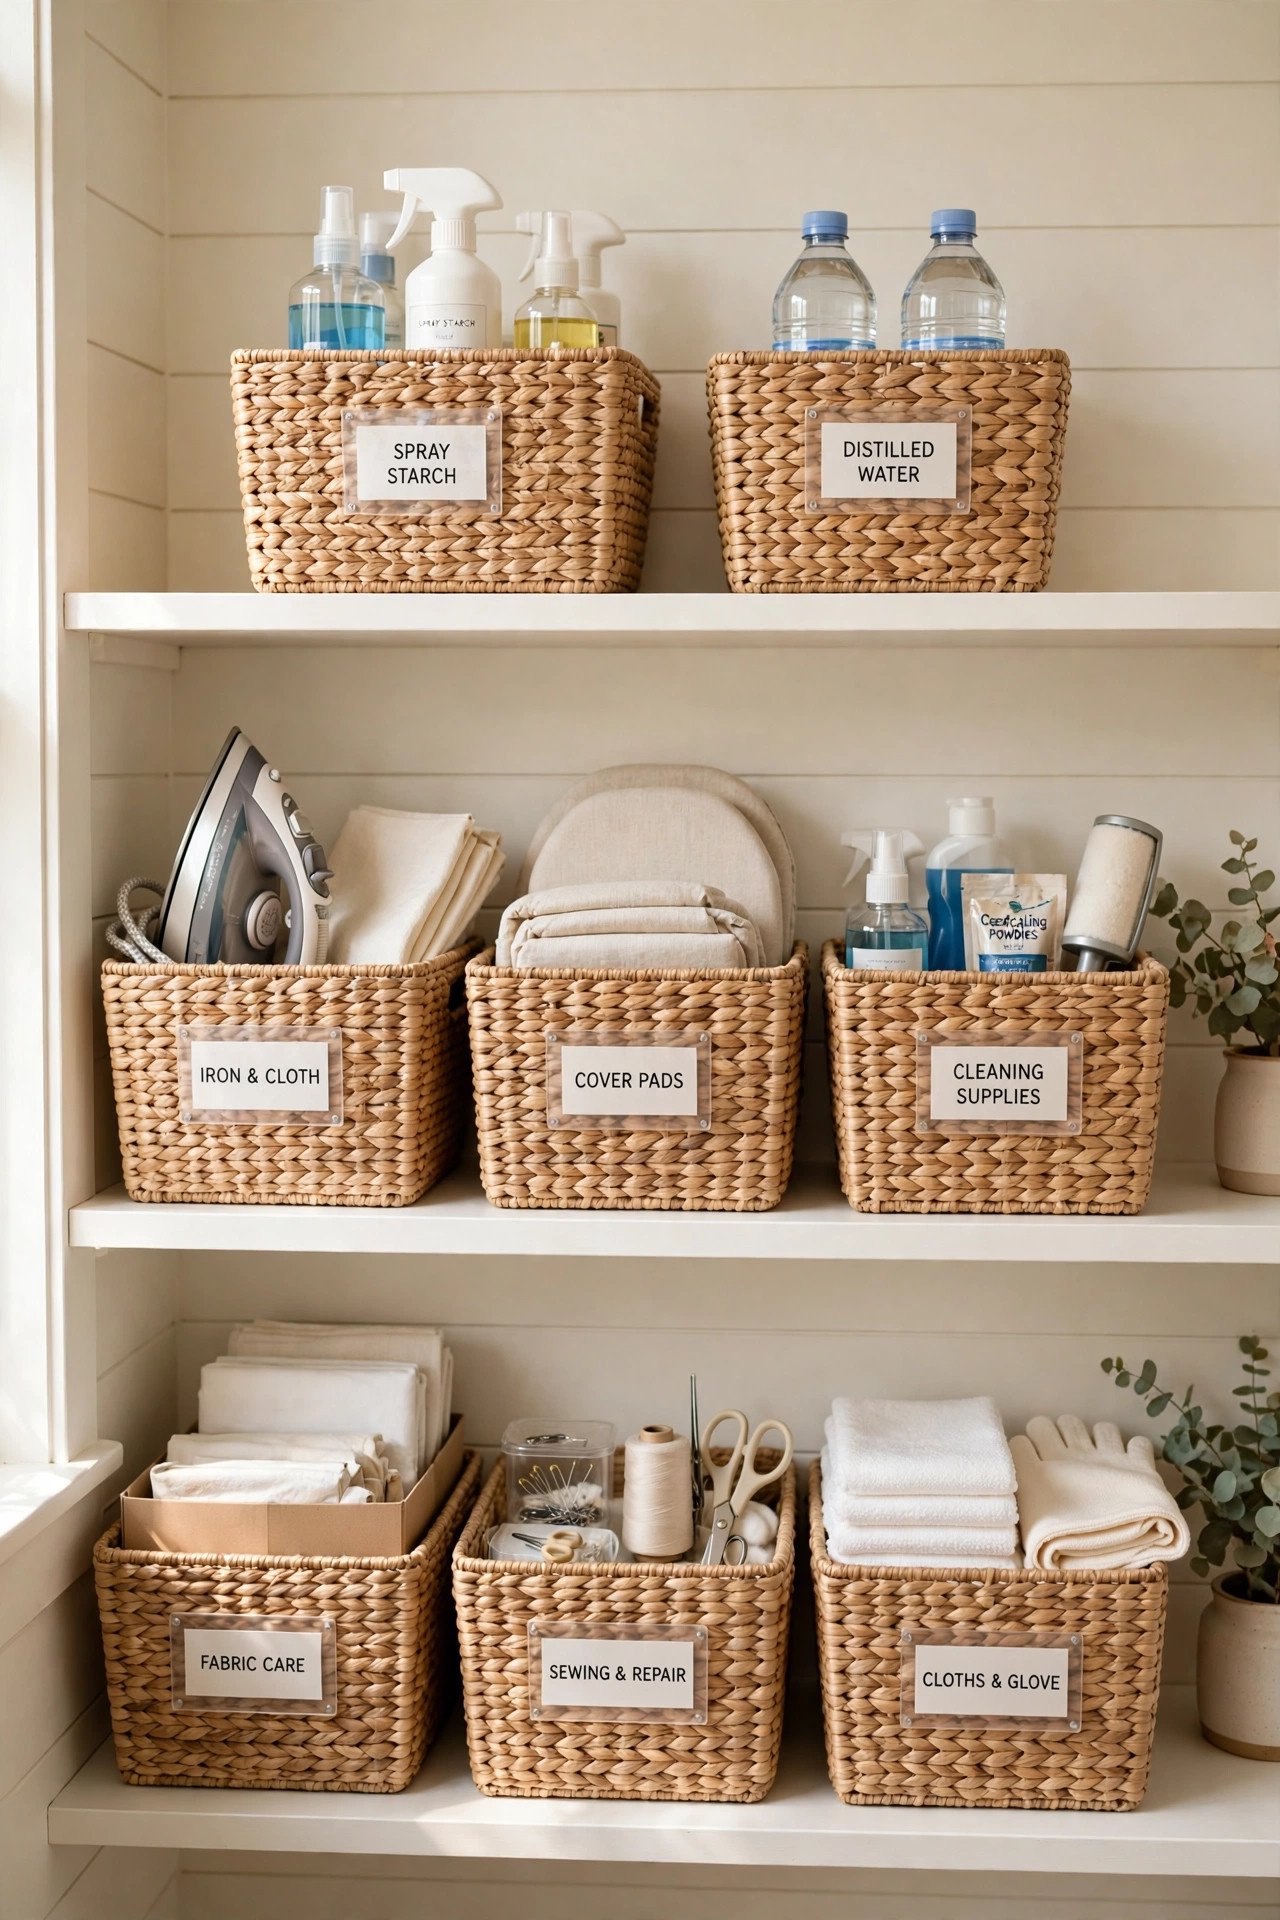
22. Keep a Garment Steamer Hanging Ready
A garment steamer smooths wrinkles fast, and it works best when it hangs ready to use. Mount a hook or a small bracket near the board, and hang the steamer by its handle with the hose draped neatly. A hanging steamer is easy to grab for a quick touch-up before you leave the house.
Keep the water tank empty between uses if the steamer will sit for days, and store a small cloth nearby for wiping the nozzle. A steamer that hangs in the open gets used far more than one buried in a closet. This is the fastest tool in your ironing kit.

23. Store the Steamer in a Tall Cabinet
A tall cabinet keeps a garment steamer upright, dust-free, and out of the way. Slide the steamer into a narrow cabinet beside the washer, and keep its hose coiled loosely on a hook inside the door. An upright steamer cannot leak, and the cabinet hides the hose from view.
Choose a cabinet tall enough for the steamer’s full height, and leave the door ajar for a few minutes after use so any steam escapes. A small shelf above the steamer holds the water jug and spare nozzles. Cabinet storage keeps the laundry room looking calm and uncluttered.

24. Hang Freshly Pressed Clothes on a Nearby Rail
A rail beside the board gives freshly pressed clothes a place to cool without wrinkling again. Mount a short rail or a wall-mounted rack within one step of the ironing board, and hang each garment on a hanger the moment you finish pressing it. The clothes cool flat and stay smooth until you put them away.
Keep a few spare hangers on the rail so you never have to hunt for one mid-session. A rail at shoulder height is easiest to reach, and a small shelf above it holds the hangers you use most. This one habit protects all the pressing work you just finished.
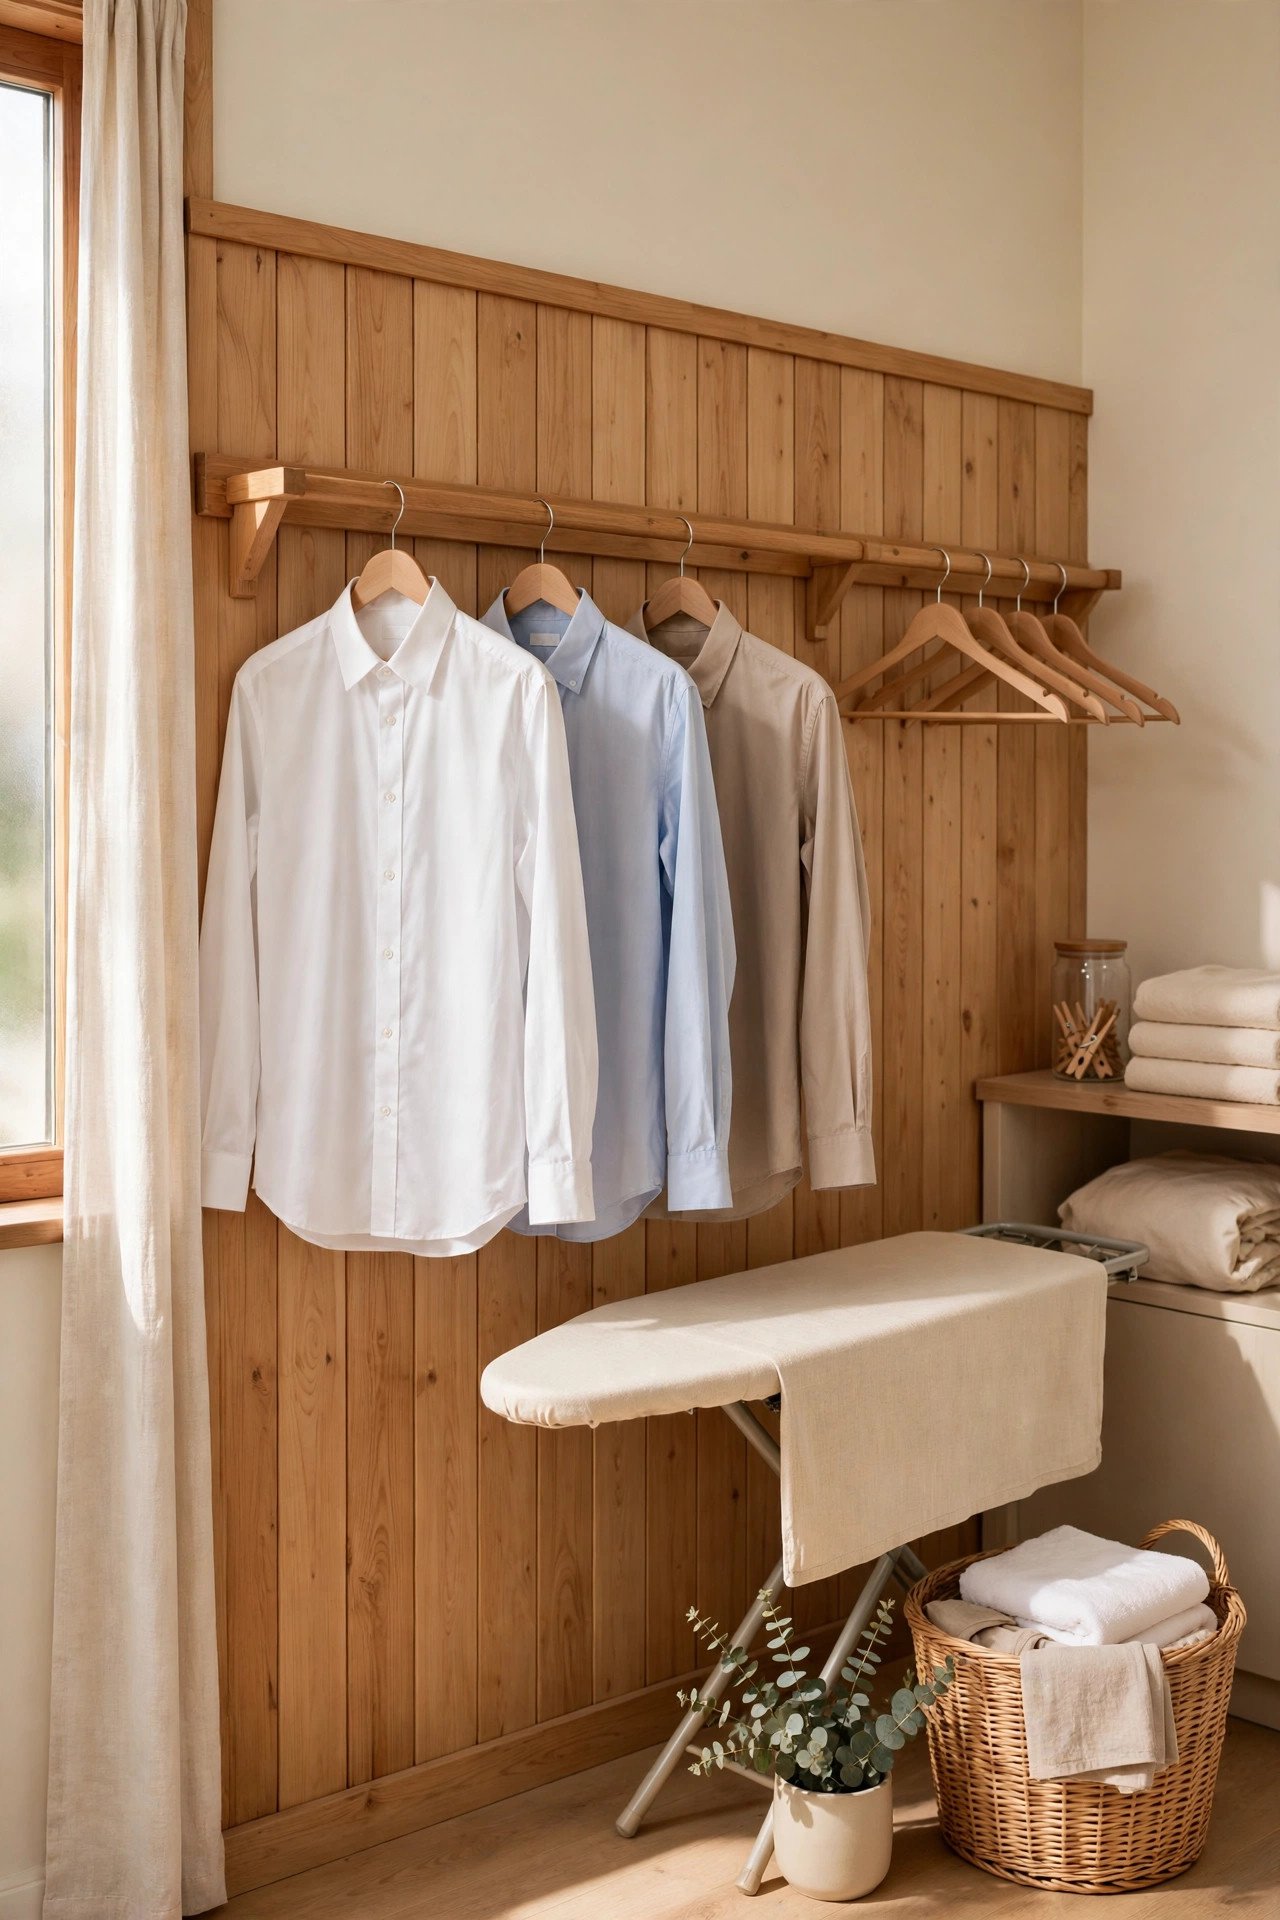
25. Add a Small Shelf Above the Ironing Board
A small shelf above the board puts sprays, cloths, and the iron within easy reach. Mount a narrow shelf at eye level over the ironing station, and line up only the supplies you use every session. Everything stays visible, and the counter below stays clear for pressing.
Keep the shelf shallow so nothing falls behind the board, and avoid overloading it with supplies you rarely use. A shelf with a small lip stops bottles from sliding off when the board moves. This extra surface turns a tight corner into a complete station.

26. Keep a Spray Starch Station in One Tray
A single tray gathers everything for starched pressing into one tidy spot. Place the starch spray, a pressing cloth, and a small water mister in a shallow tray on the shelf beside the board. Carry the whole tray to the board when you need crisp results, and return it when you finish.
Choose a tray with low sides so the bottles stay visible, and wipe it clean after each use so starch never builds up. A tray also stops stray drips from reaching the shelf below. One tray means no more hunting for the starch when a collar needs to stand up straight.
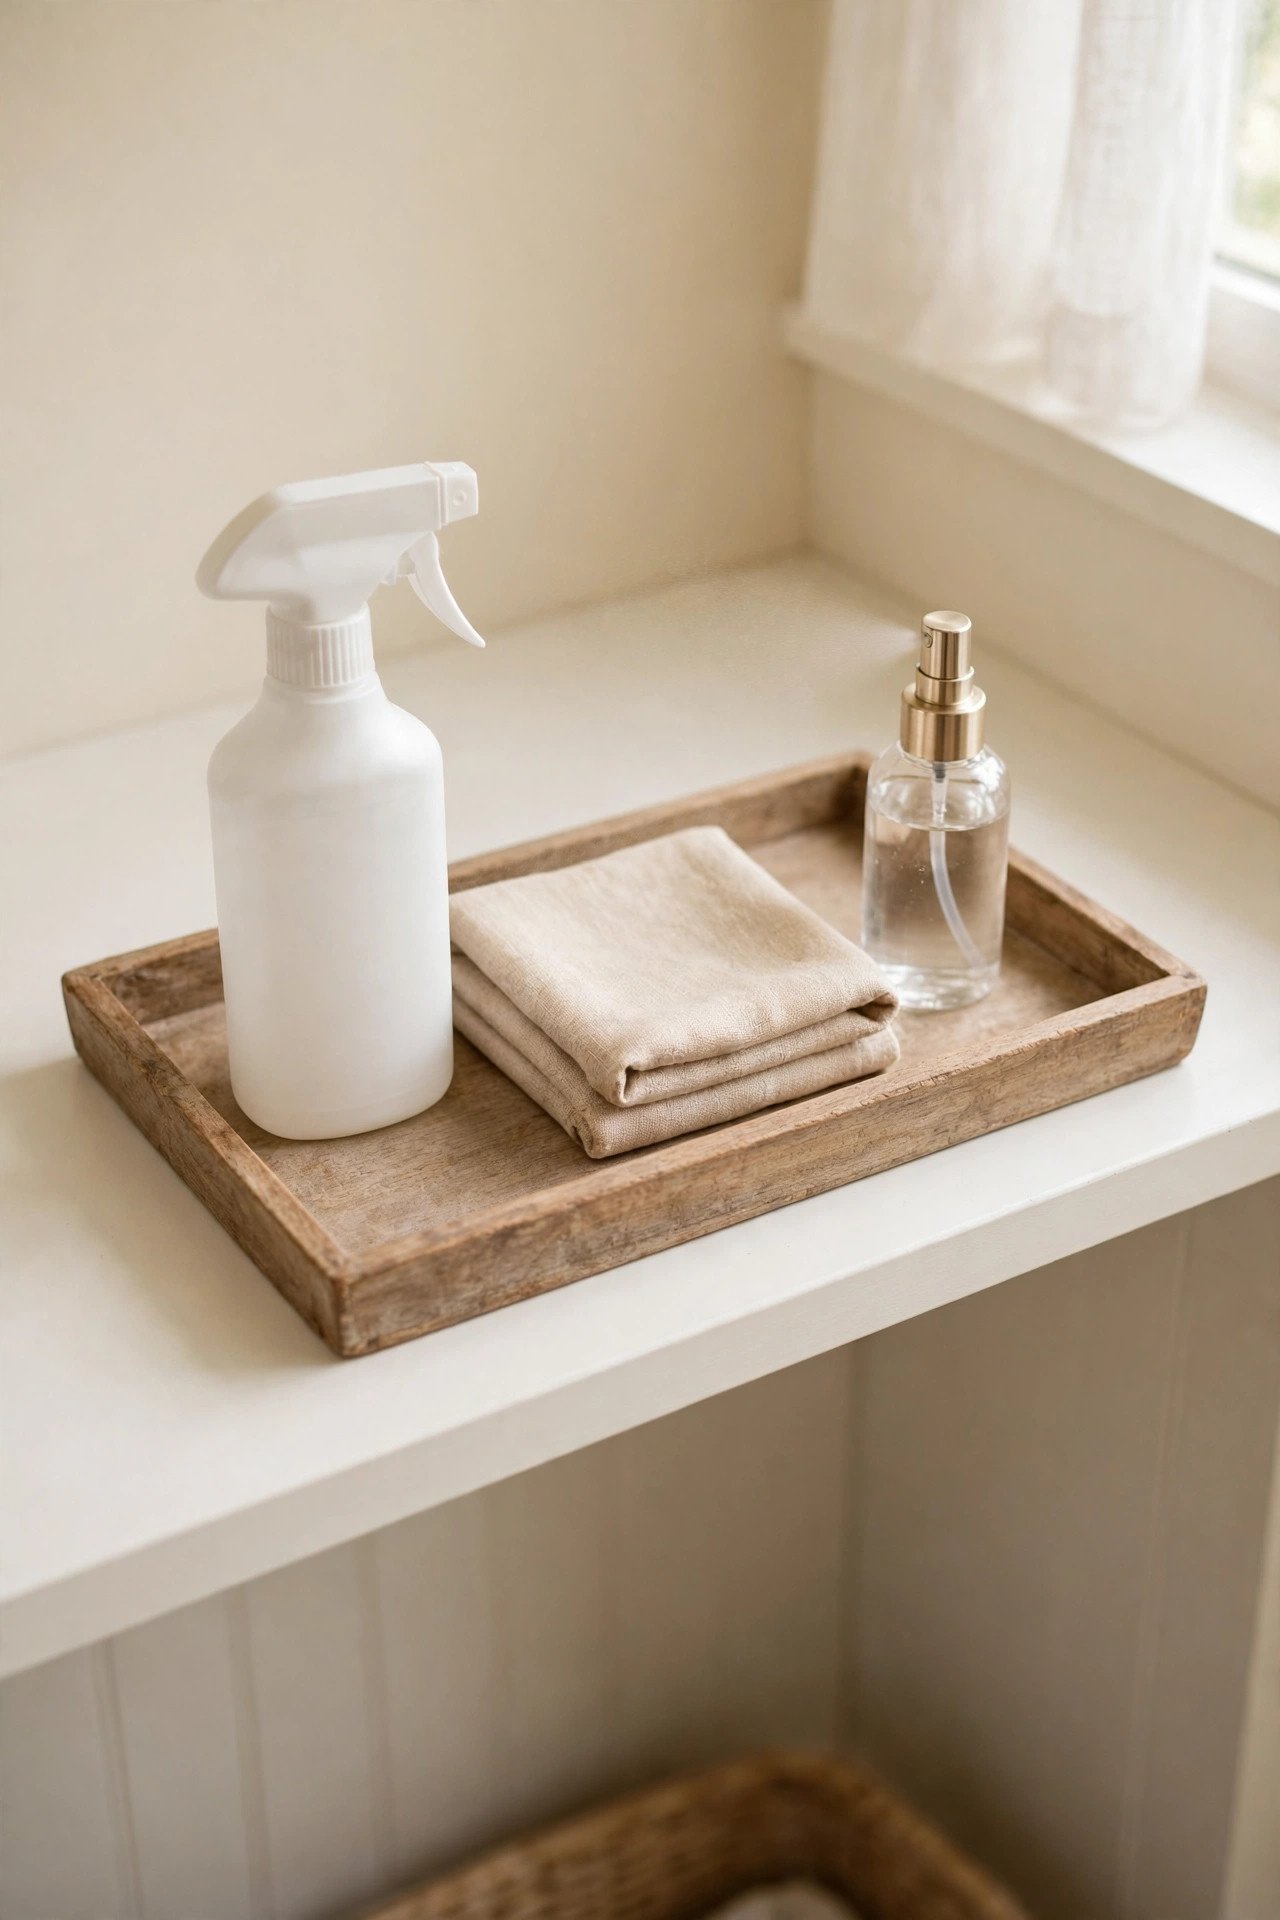
27. Keep a Mending Kit Beside the Ironing Board
A small mending kit turns pressing time into fix-it time, since you have the garment in hand. Keep a needle, a few thread colors, small scissors and spare buttons in a tiny box beside the board. When you spot a loose button or a tear while pressing, fix it on the spot instead of adding it to a pile.
Use a box with a lid so needles stay safe, and restock the thread promptly when a color runs out. A mending kit beside the board saves you a second trip through the same garment later. Small fixes done now keep the whole wardrobe tidy all week.
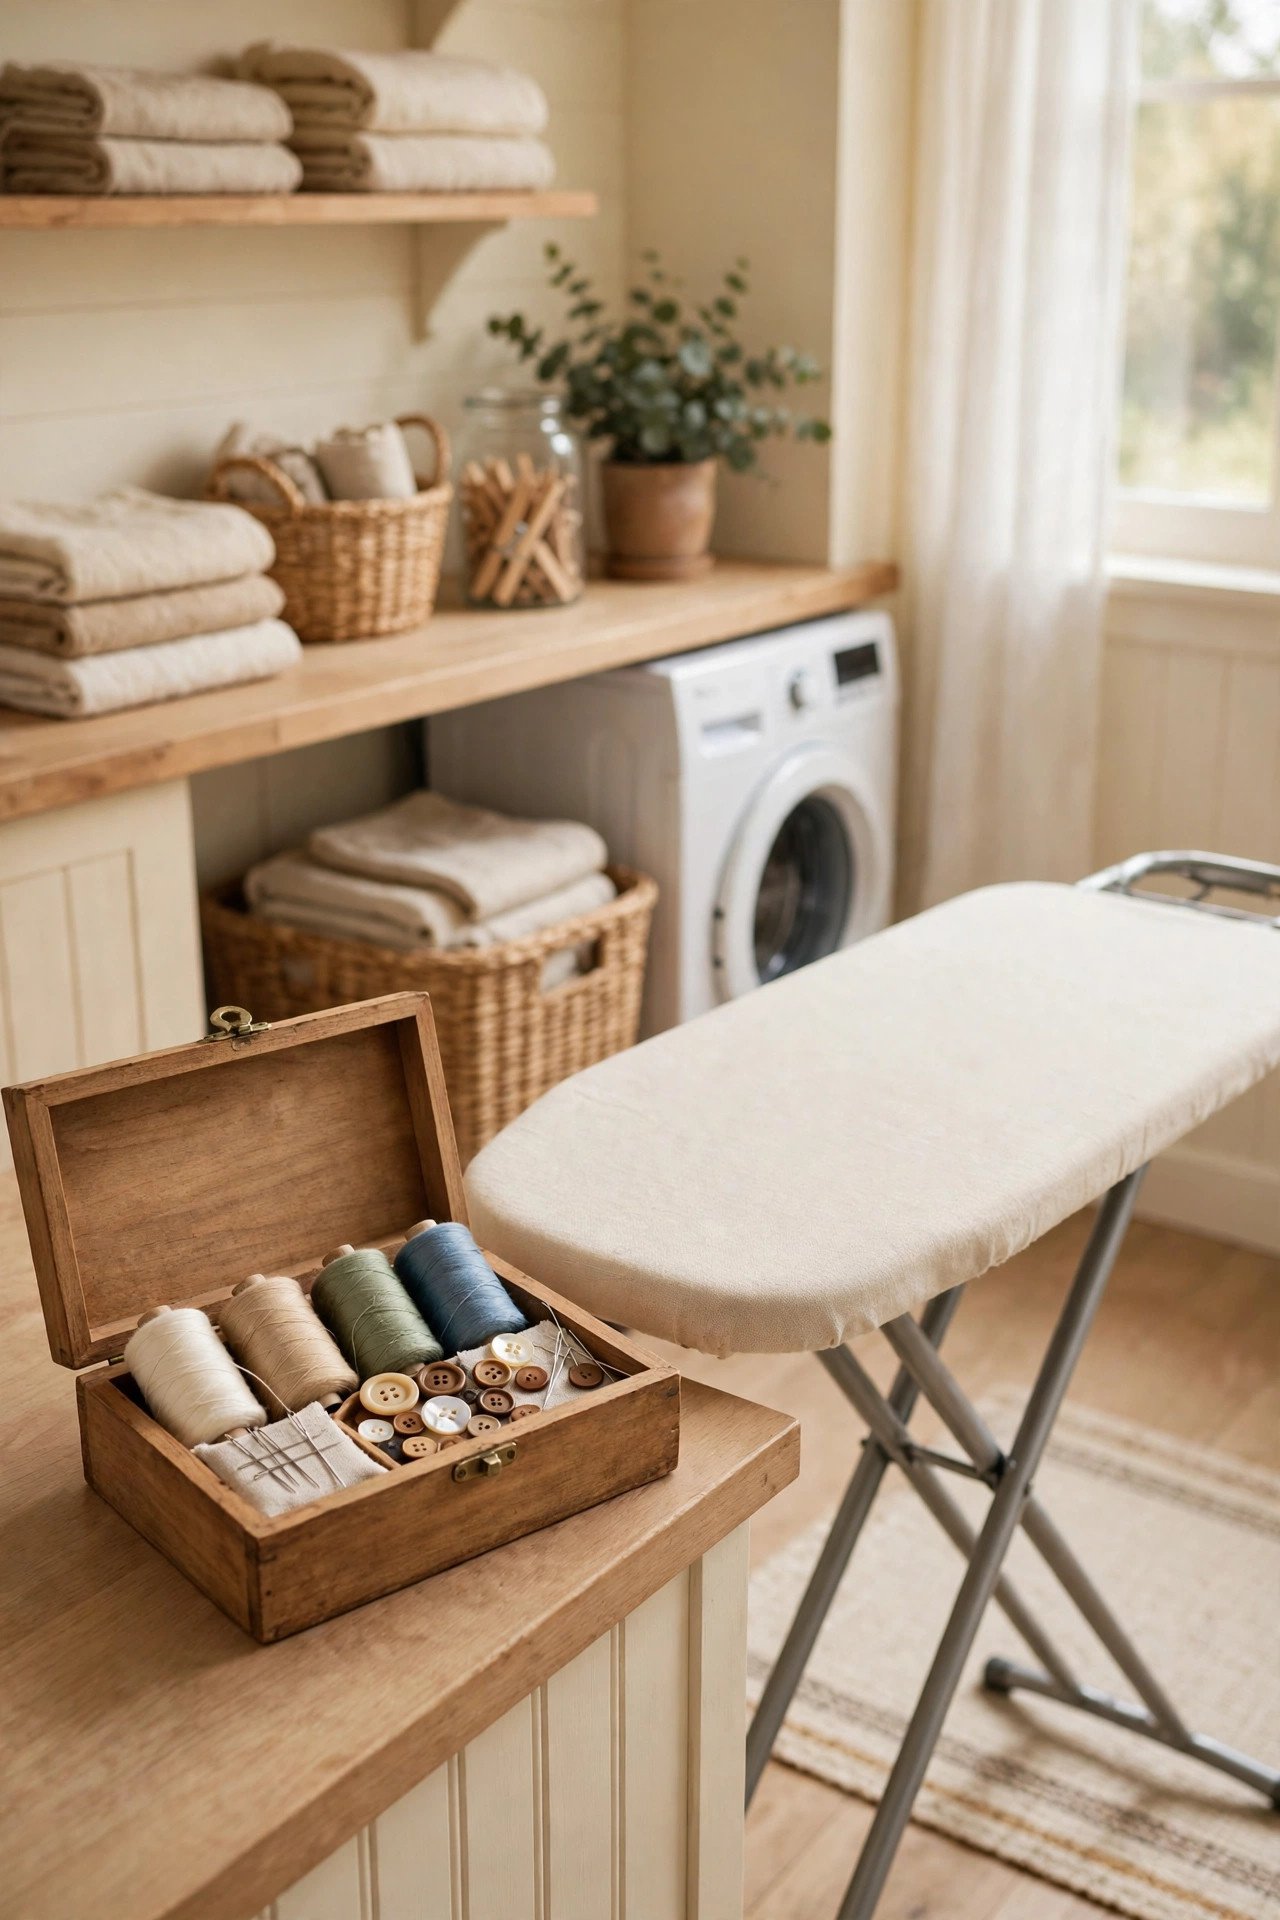
28. Sort Fresh Laundry Before You Iron
Sorting laundry before you iron saves time and keeps the pressing pile manageable. As clothes come out of the dryer, sort them into three piles: needs ironing, hang straight away, and fold only. Press the ironing pile first while the clothes are still slightly warm, and the wrinkles come out faster.
Keep a basket for each pile near the board, and work through the ironing pile in one focused session. Sorting first stops you from pressing clothes that only needed a shake and a hanger. A sorted pile turns a mountain of laundry into a calm, doable job.
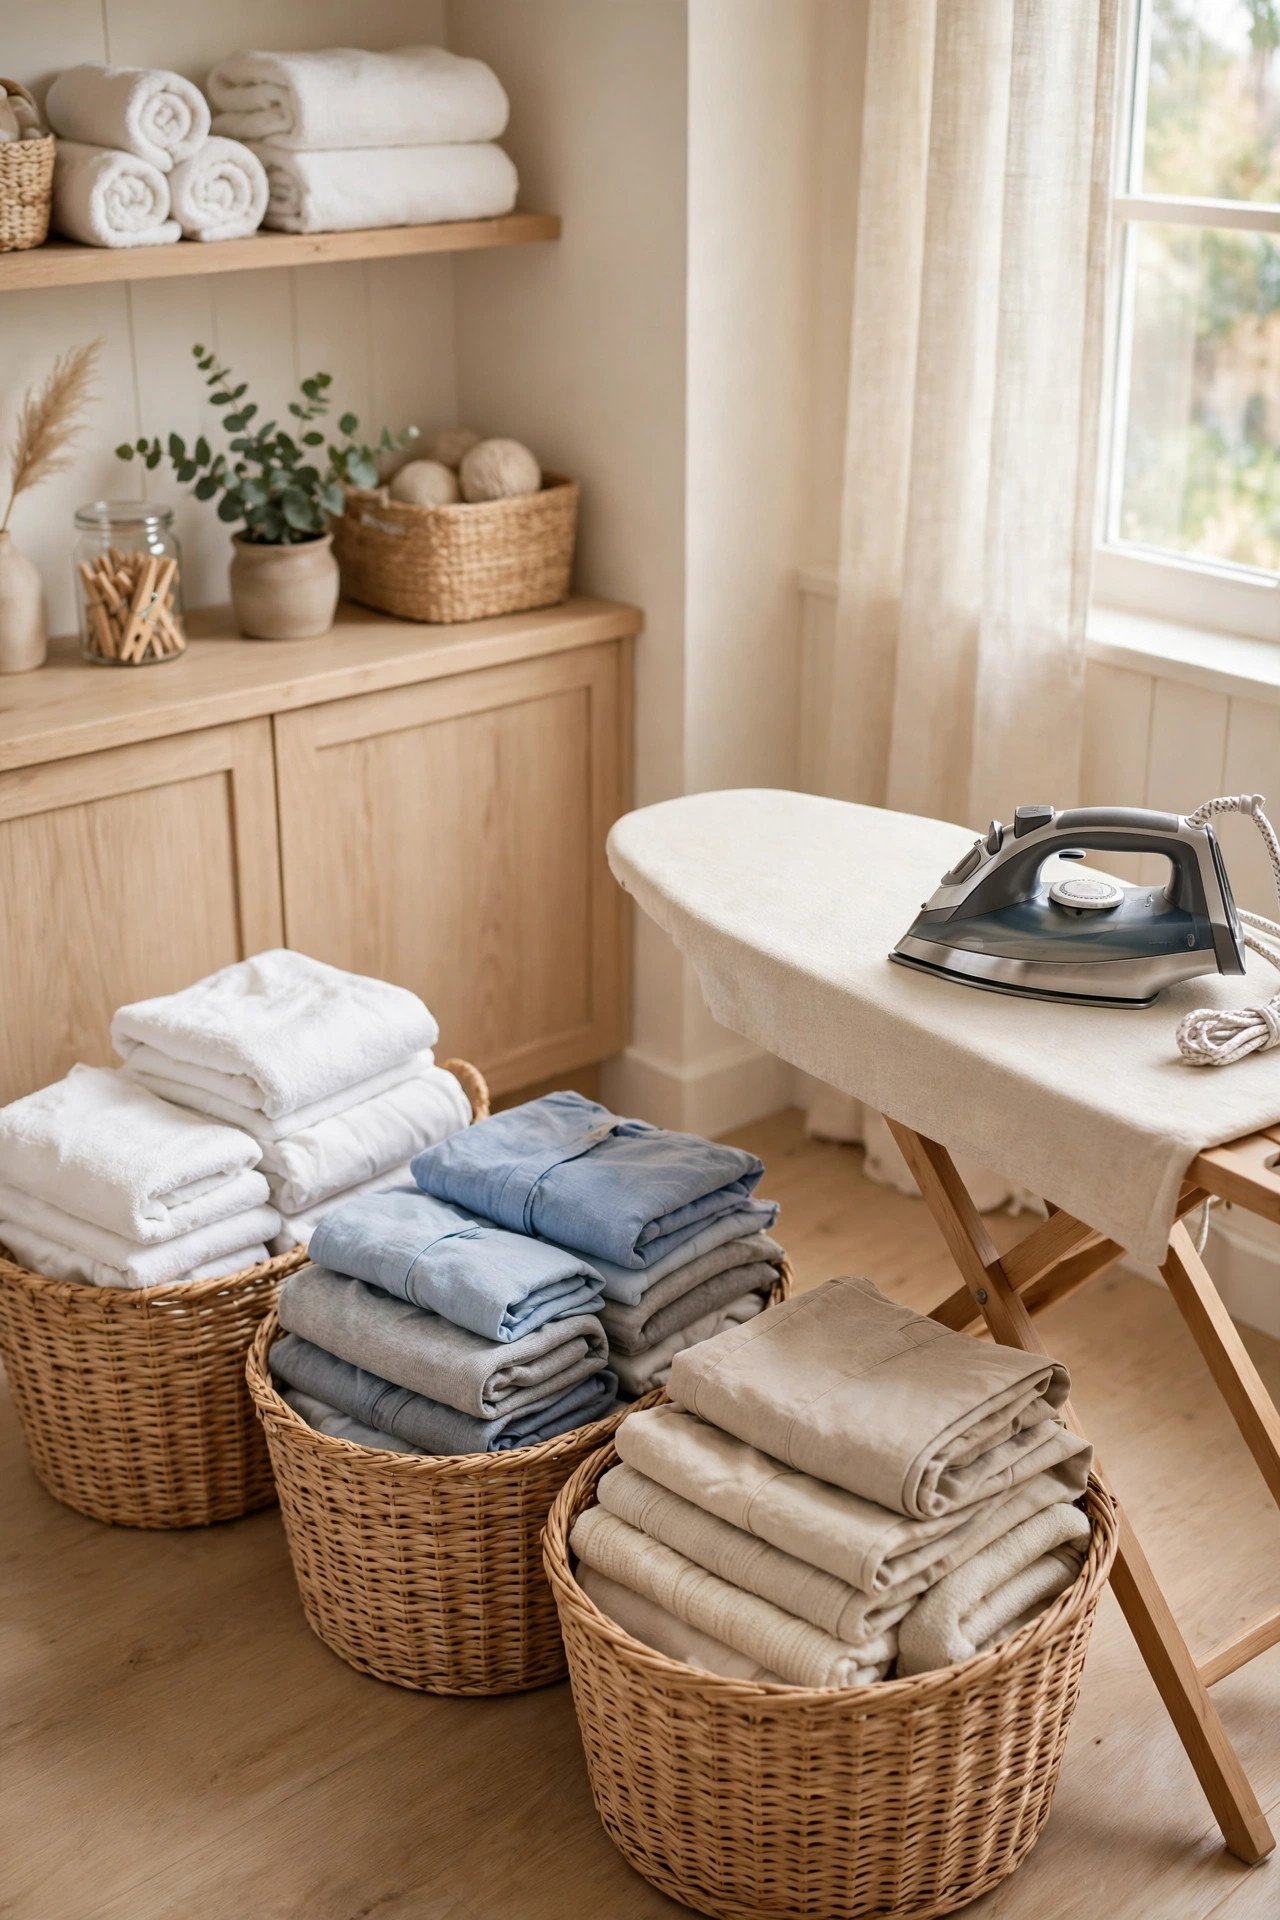
29. Keep Spare Board Covers in a Flat Bin
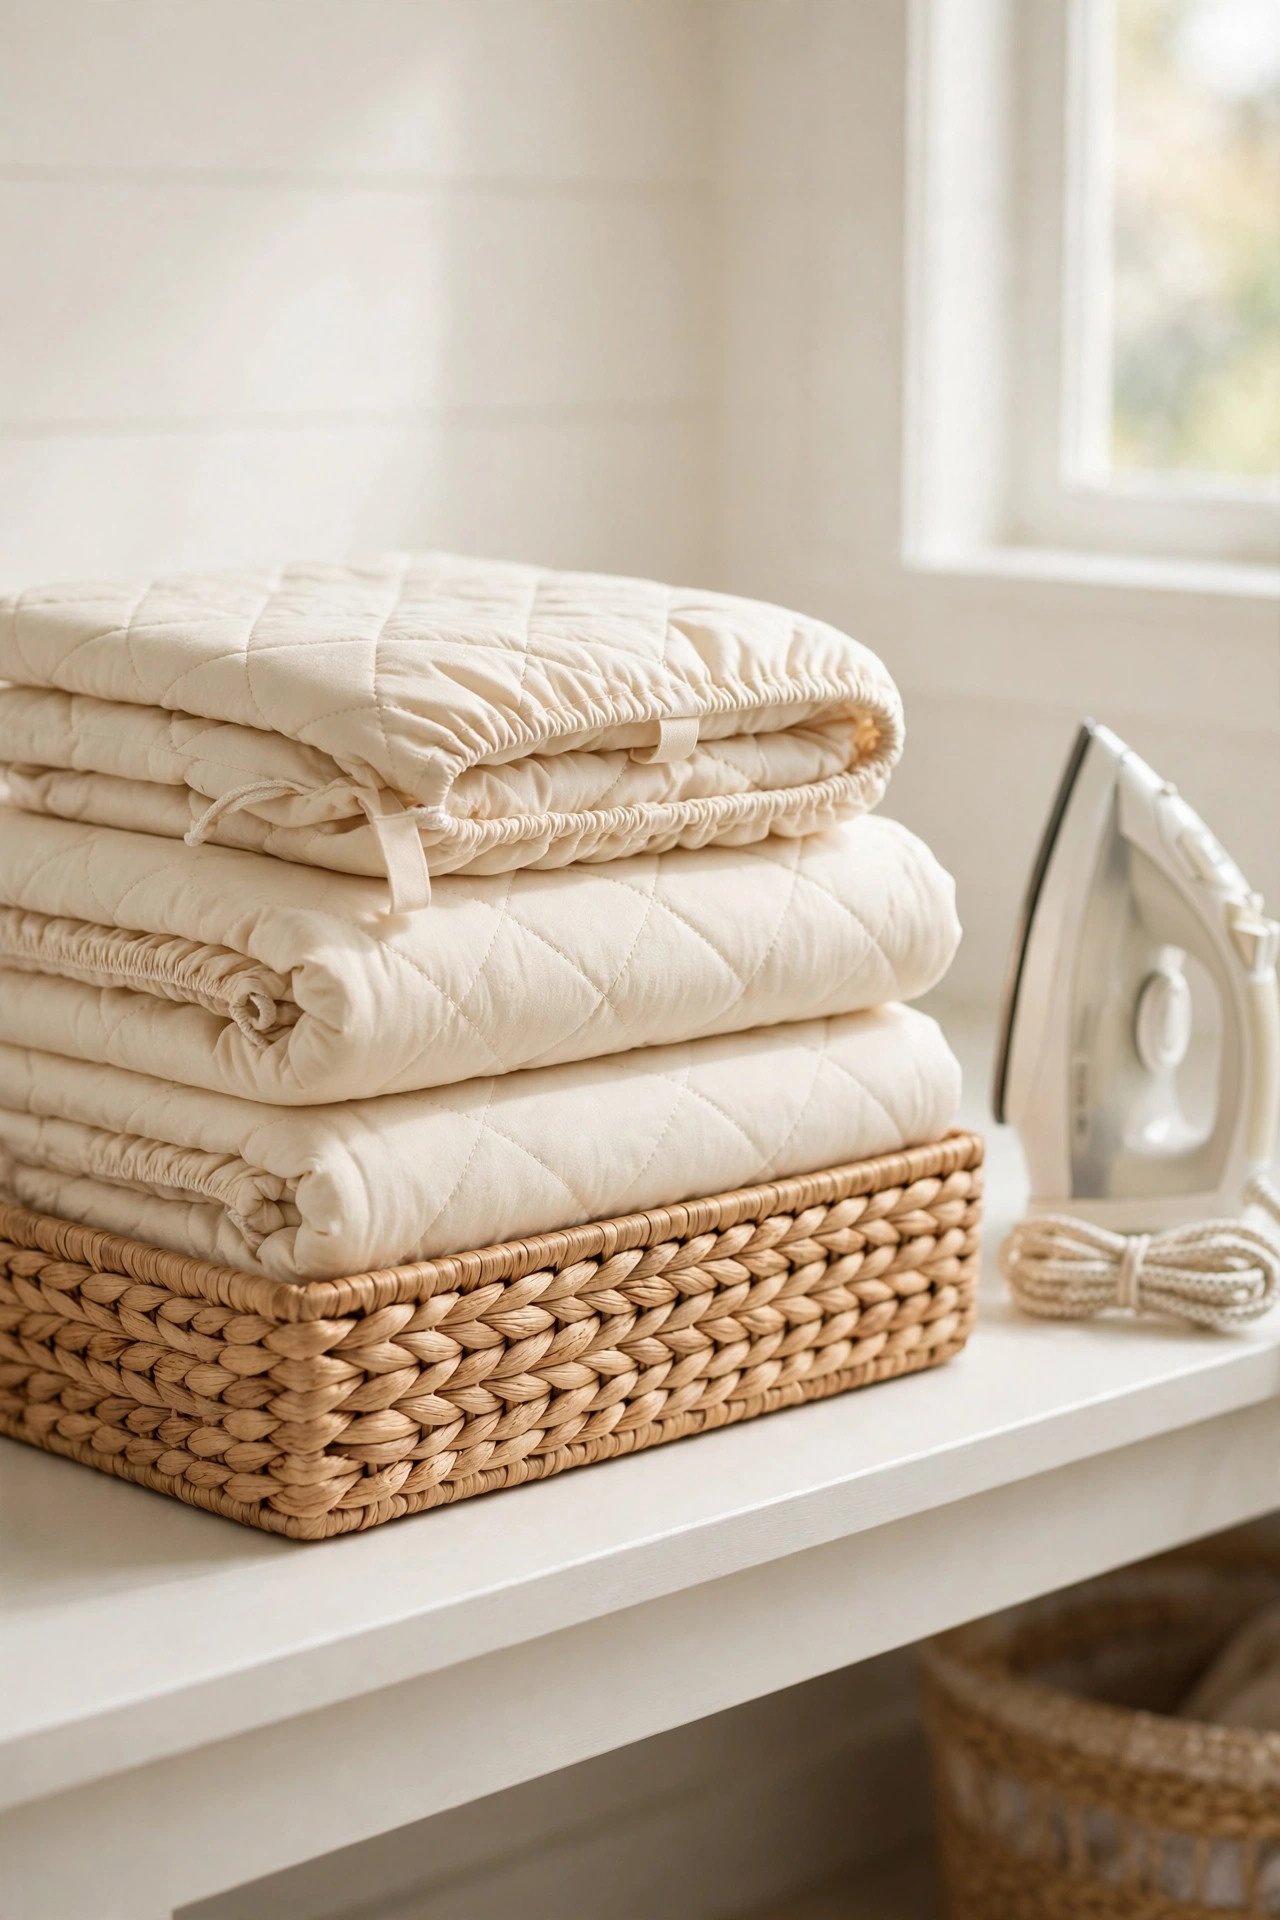
Spare ironing board covers stay smooth and clean inside a flat bin on a shelf. Fold each cover neatly and stack them in a shallow bin near the board, so a fresh cover is ready the moment the old one wears out. A flat bin stops covers from creasing into hard folds that show through your pressing.
Label the bin so anyone can find a spare, and keep one cover in a darker fabric for dark garments if you press them often. Replace a scorched or stained cover promptly, since a clean cover is the base of every smooth press. A small bin of spares keeps the station ready for years.
Conclusion
A tidy laundry area is not about a perfect room or matching containers. It is about giving every iron, board, spray, and cloth a home you can find without thinking. When your ironing supplies are organized, you spend your pressing time smoothing fabric instead of searching through cabinets.
Add a five-minute tidy-up to your evening routine, and these nightly reset routines show how to build that habit into your day. Your ironing supplies are waiting, and they will be tidy soon. Start with one idea that fits your biggest mess, such as a wall hook for the board or a labeled bin for the sprays.
Frequently Asked Questions About 29 Ironing Supplies Organization Ideas for a Tidy Laundry Area
How do I store an ironing board in a small laundry room?
Hang the board on a wall hook, tuck it behind a door, or use a fold-down board that mounts to the wall. All three keep the board off the floor and easy to reach. Measure first, since a slim board fits most gaps while a thick board needs a hook.
What is the best way to store a steam iron?
Store the iron upright on a low shelf or inside a heat-resistant caddy, with the cord looped loosely beside it. Upright storage stops water from leaking onto the shelf and protects the soleplate from scratches. Always empty the water tank if the iron will sit unused for days.
Do I need distilled water for my iron?
Yes, distilled water prevents mineral buildup inside a steam iron, which keeps the steam holes clear and the iron working longer. Keep a labeled jug beside the iron and refill it before each session. Tap water works in a pinch, but minerals slowly clog the iron over time.
Can I set up an ironing station in a tiny laundry corner?
Yes, use a fold-down board or a wall hook, a small shelf above it for sprays, and a rolling cart for the rest. Keep only everyday supplies at the station, and store the rest in a nearby cabinet. Small corners work best when every supply has one clear home.
How do I keep ironing spray bottles organized?
Group the bottles in one labeled bin or line them up on a narrow shelf with labels facing out. Keep them near the board but away from the iron’s heat, and check the caps after each use so nothing leaks. Replace empty bottles promptly so the lineup never has gaps.

Hi, I’m Emily! I turn messy corners into cozy, organized spots. DreamNestDecor is where I share simple, practical home ideas — decor, organization, and small-space solutions that work in real life, not just in photos. Every idea here is carefully researched before it’s shared.