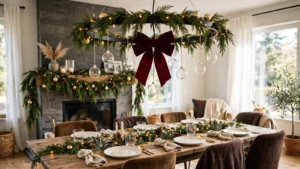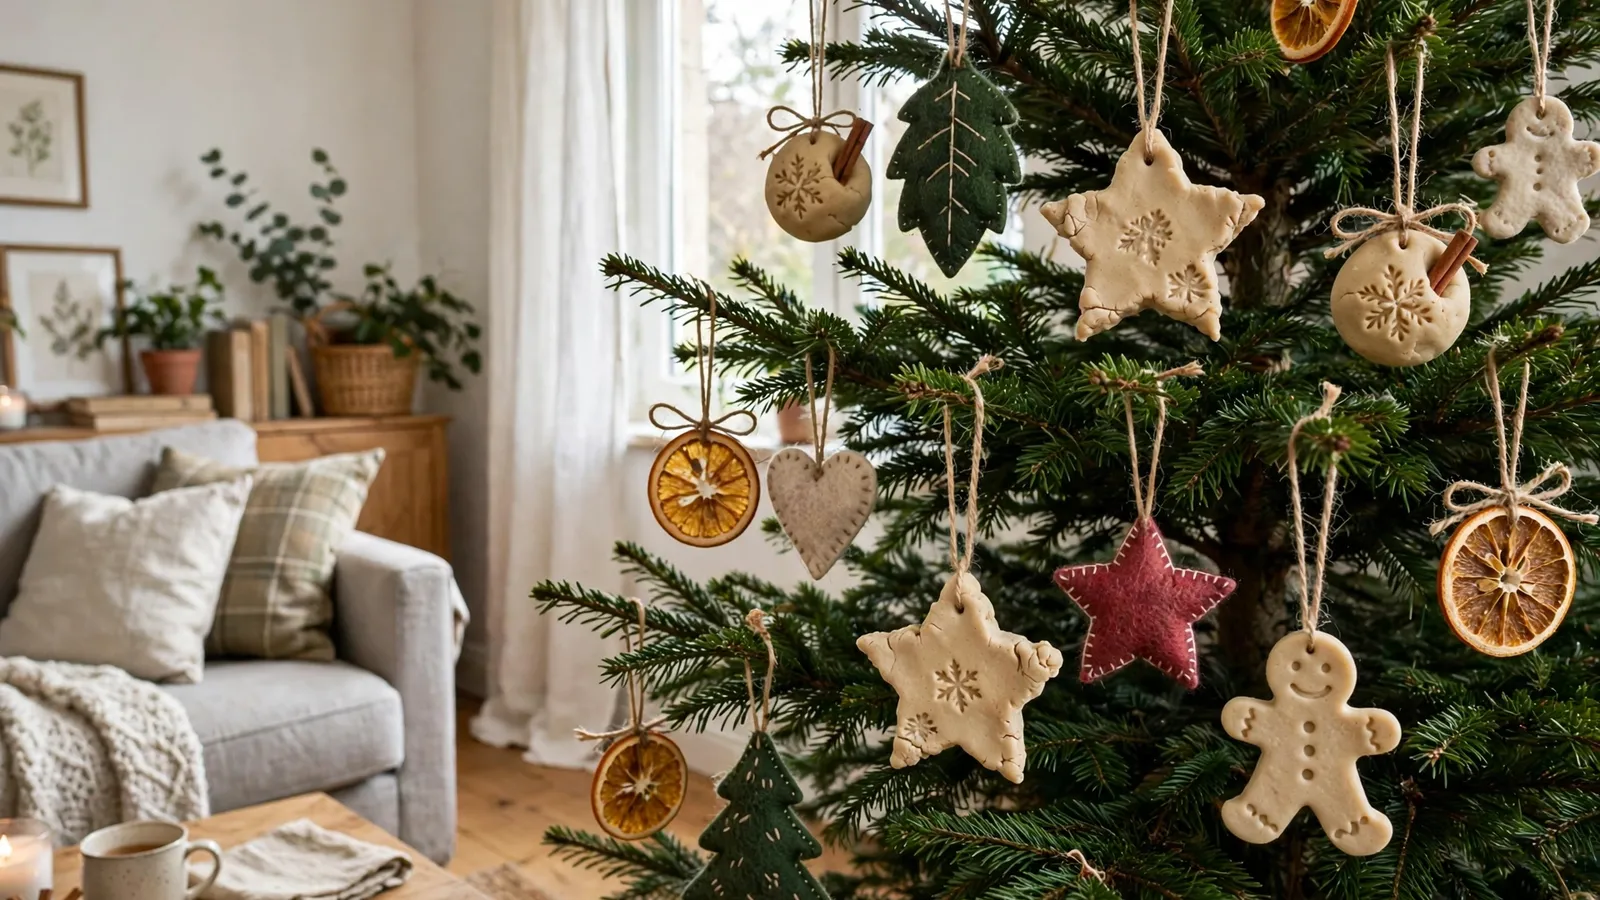
The kitchen table is covered in flour, a bowl of cinnamon sticks sits beside a jar of buttons, and your child is pressing a star cutter into soft dough with great concentration. These DIY Christmas ornament ideas turn that happy mess into the most loved decorations on your tree, because every piece carries a memory of the hands that made it.
You do not need fancy supplies or a craft room to make ornaments that look beautiful. Most of these ideas use things you already have at home, plus a little time and patience. These 15 ideas will help you make handmade ornaments that feel warm, personal and truly yours.
Table of Contents
- Make Salt Dough Ornaments With Cookie Cutters
- Dry Orange Slices for a Warm, Natural Glow
- Sew Soft Felt Stars and Stockings
- Tie Cinnamon Sticks With Twine and Berries
- Turn Pinecones Into Tiny Snowy Trees
- Fold Paper Snowflakes With a Modern Twist
- Make Wooden Bead Ornaments in Minutes
- Paint Clear Glass Baubles From the Inside
- Create Photo Ornaments in Wooden Frames
- Knit Mini Mittens and Hats for the Tree
- Fill Clear Baubles With Dried Flowers
- Make Rustic Twig Stars With Twine
- Stamp Names on Clay Gift Tags
- Sew Scrap Fabric Into Patchwork Hearts
- Turn Old Buttons Into Sparkling Baubles
- Conclusion
- Are DIY Christmas ornaments safe for kids to make?
- How long do handmade ornaments last?
- What are the cheapest materials for DIY ornaments?
- How do I dry and store handmade ornaments?
- How do I hang DIY ornaments so they stay secure?
1. Make Salt Dough Ornaments With Cookie Cutters
Salt dough ornaments are the classic handmade decoration, and they never go out of style. The soft, pale dough takes any shape, from stars and trees to hearts and angels, and the finished ornaments look charming beside shiny shop-bought baubles. Children love them, and adults love how personal they feel.
Mix flour, salt and water into a smooth dough, roll it out, and press in your favourite cutters. Bake the shapes slowly until they are firm, let them cool, then paint them and add a ribbon loop. Seal each one with clear varnish so it stays beautiful for many Christmases to come.
2. Dry Orange Slices for a Warm, Natural Glow
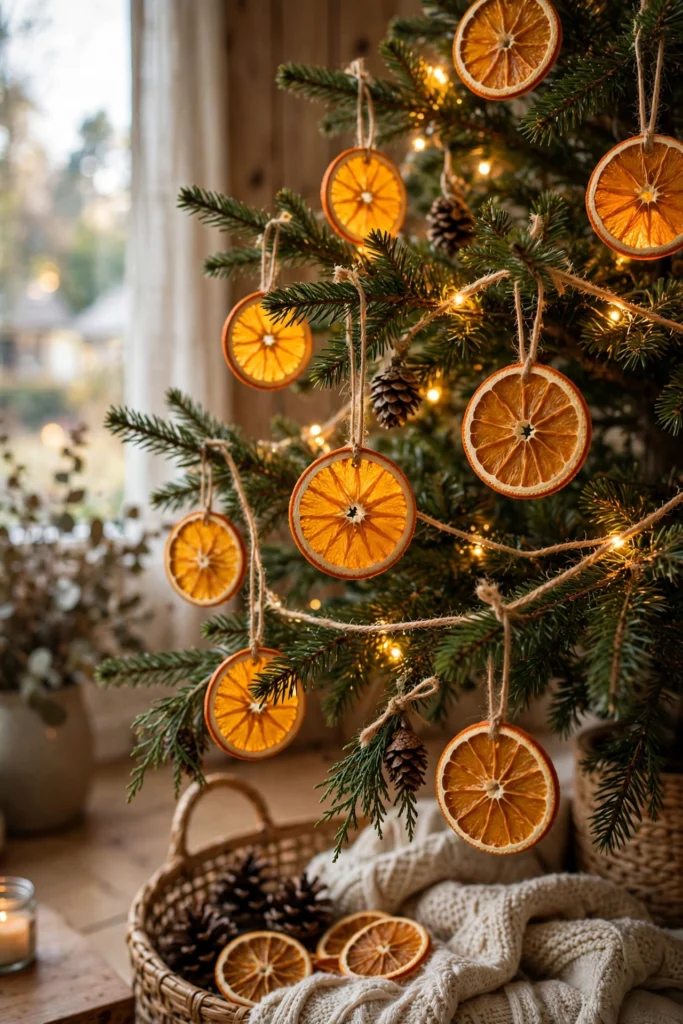
Dried orange slices are one of the prettiest natural ornaments you can make, and they cost almost nothing. Held up to the tree lights, they glow like little stained-glass windows, and their warm colour suits every tree, from rustic to elegant. They also fill the room with a gentle citrus scent.
Slice oranges thinly, lay them on a baking tray, and dry them slowly in a low oven until they are firm and golden. Thread a ribbon or twine through a small hole, and hang them where the lights shine through. Make a big batch, because they look even better in groups of three.
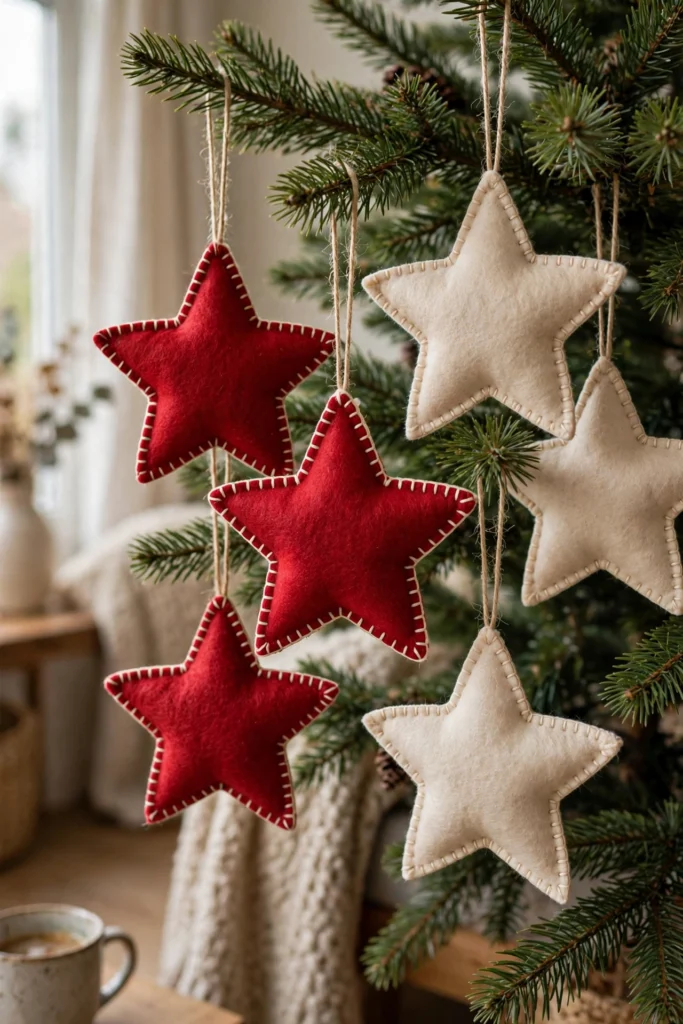
3. Sew Soft Felt Stars and Stockings
Felt ornaments are soft, safe and wonderfully forgiving, which makes them perfect for beginners and for little hands. A simple star or stocking in red, green or cream looks lovely against dark green branches, and the stitched edges add a handmade charm that no factory ornament can copy.
Cut two matching shapes from felt, sew them together with a simple running stitch, and leave a small gap for stuffing. Fill them lightly with cotton wool, close the gap, and add a ribbon loop and a tiny button. Keep your stitches even, and your ornaments will look neat and loved.
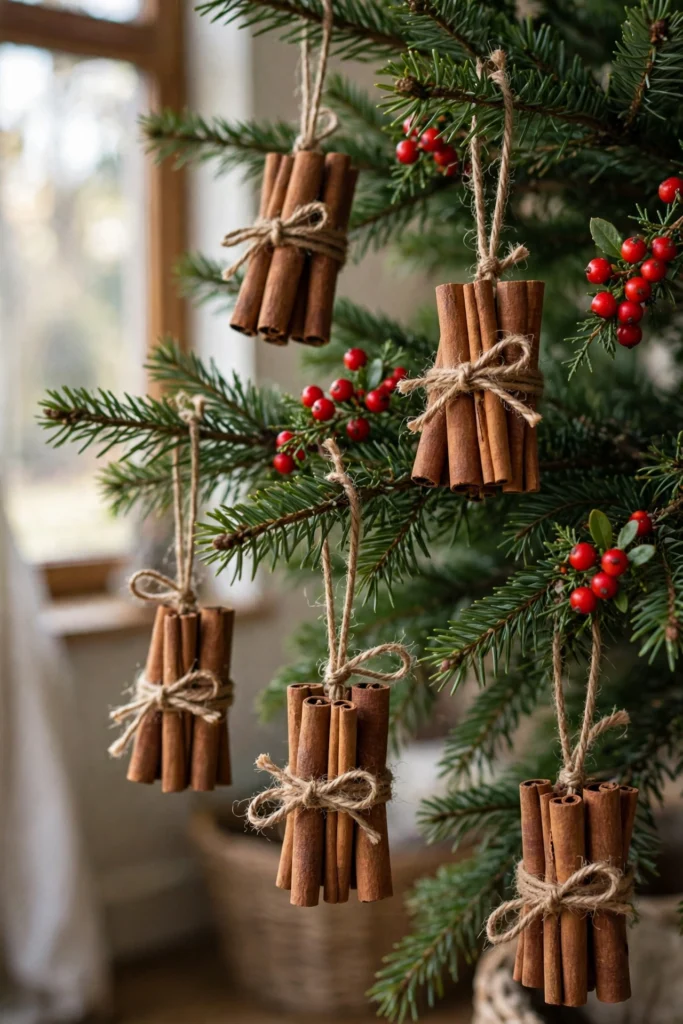
4. Tie Cinnamon Sticks With Twine and Berries
Cinnamon stick bundles are small, simple and full of Christmas scent, and they take only minutes to make. The warm brown sticks look beautiful tied with twine, and a few red berries add just enough colour to catch the eye. They are perfect for filling small gaps on the tree.
Take three cinnamon sticks, tie them together in the middle with twine, and tuck in a sprig of greenery and two or three berries. Add a loop of twine for hanging, and trim the ends neatly. Hang them near the front of the tree, where their warm scent can be enjoyed.
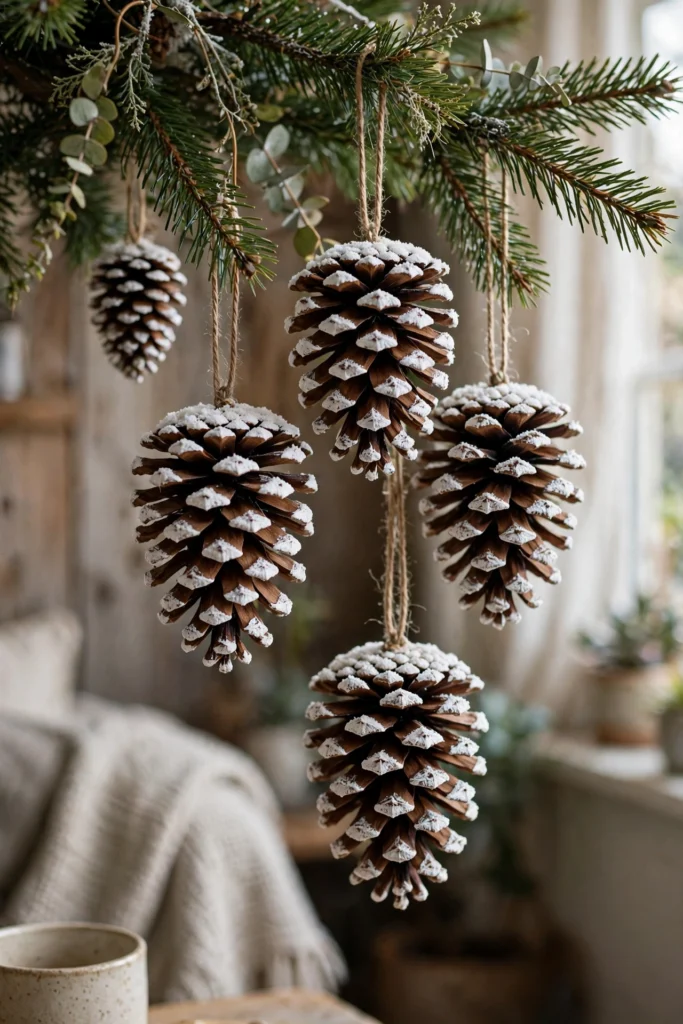
5. Turn Pinecones Into Tiny Snowy Trees
Pinecones are free, natural and already shaped like tiny trees, so they make wonderful ornaments with very little work. A dusting of white paint on the tips looks like fresh snow, and a small star on top turns each pinecone into a miniature Christmas tree of its own.
Collect clean, dry pinecones and paint the tips with white paint, then sprinkle a little glitter while the paint is still wet. Glue a tiny star or bead on top, and tie a ribbon around the base. Hang them at different heights, and they will add texture and woodland charm.
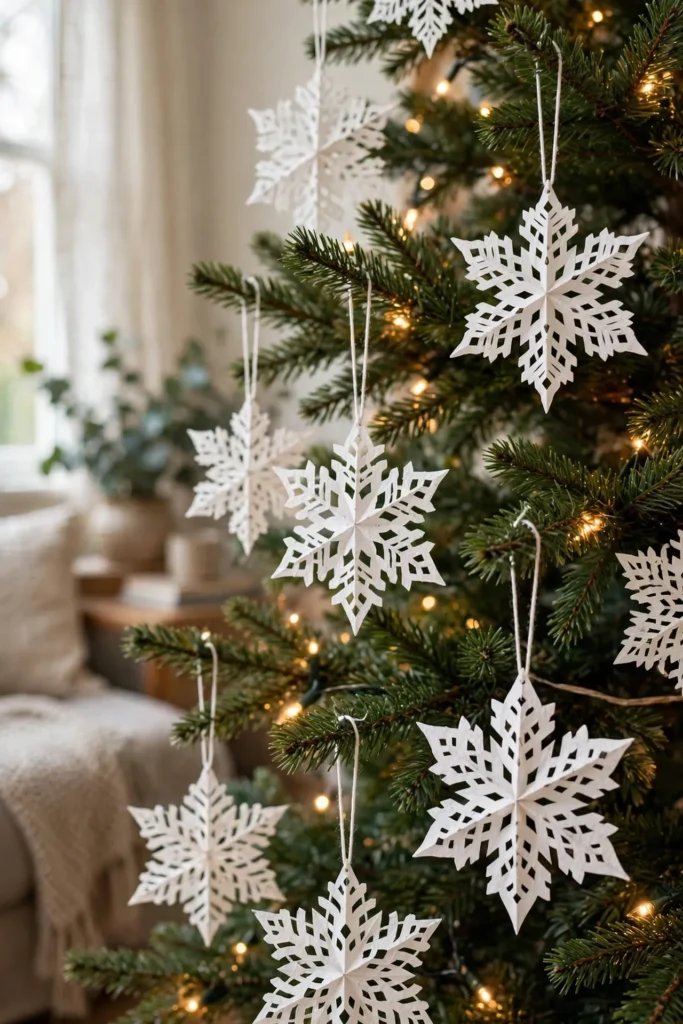
6. Fold Paper Snowflakes With a Modern Twist
Paper snowflakes are a childhood favourite, but with the right paper they can look surprisingly elegant. Thick white or metallic paper, folded and cut with care, makes crisp, lacy snowflakes that catch the light beautifully. They are light, cheap and perfect for a tree that needs a delicate touch.
Fold a square of paper into triangles, cut small shapes along the edges, and open it slowly to reveal the pattern. Press it flat under a book, then hang it with a fine thread. Make several in different sizes, and group them together for a soft, snowy effect.
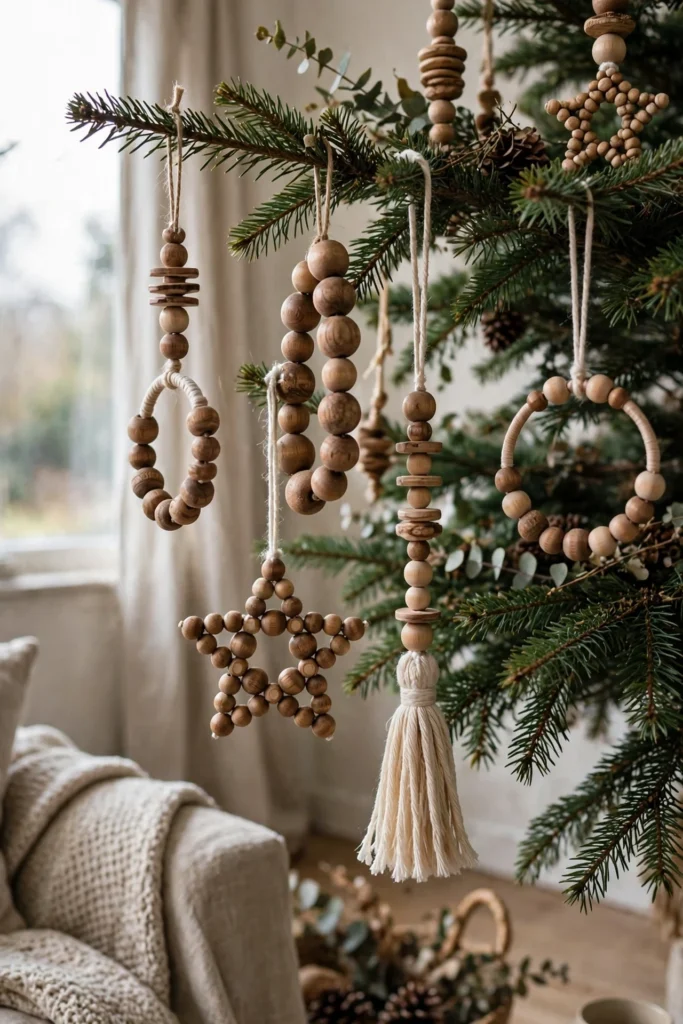
7. Make Wooden Bead Ornaments in Minutes
Wooden bead ornaments are simple, modern and surprisingly pretty, and they suit almost any tree. The smooth, natural wood adds warmth without colour, and the beads can be left plain or painted in soft shades. They are also one of the quickest handmade ornaments you can make.
Thread wooden beads onto a length of twine or wire, shaping them into a star, a circle or a simple drop. Tie the ends tightly, add a small bell or a sprig of greenery, and hang it up. For pretty beads and trims that cost very little, see these dollar store decor ideas, and choose beads in sizes that suit your tree.
8. Paint Clear Glass Baubles From the Inside
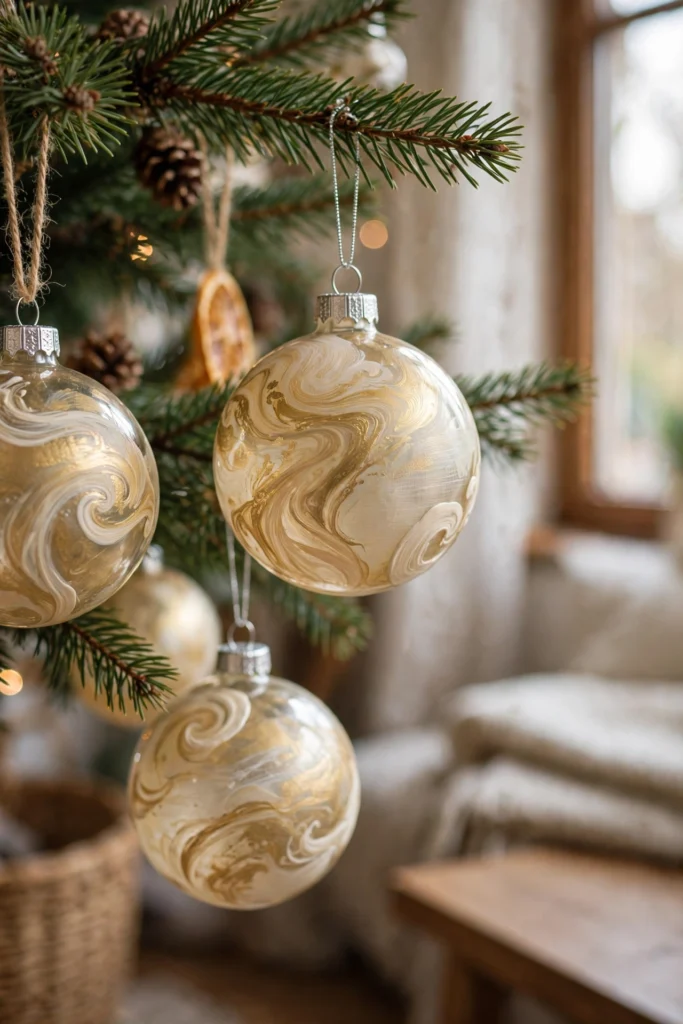
Painting baubles from the inside gives them a soft, swirled finish that looks far more expensive than it is. The paint moves in gentle waves as you turn the bauble, and the outside stays smooth and glossy. Each one is different, which is exactly what makes them special.
Pour a little craft paint into a clear bauble, swirl it slowly until the inside is covered, then turn it upside down to drain the extra paint. Let it dry fully before adding a ribbon and a cap. Use two colours for a marbled effect, and keep the paint thin so it dries evenly.
9. Create Photo Ornaments in Wooden Frames
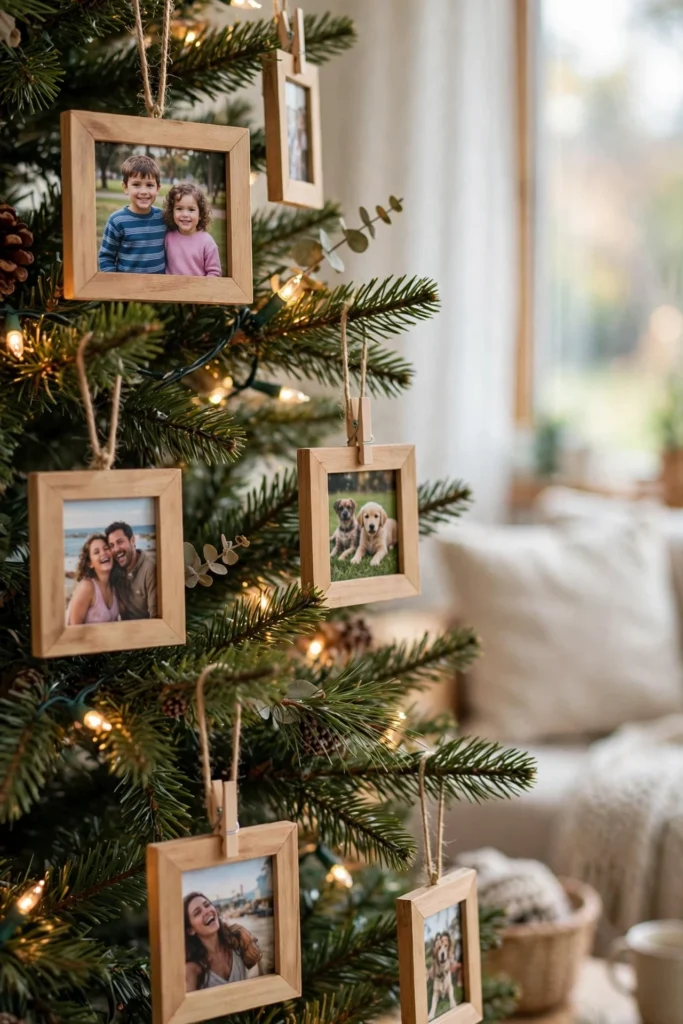
Photo ornaments turn your tree into a family story, and they are the ones everyone reaches for first. A small wooden frame with a favourite photo inside feels warm and personal, and it makes the tree different from every other tree. Children especially love spotting themselves on the branches.
Choose small photos, trim them to fit tiny wooden frames, and secure the backs with a little glue. Add a ribbon loop to each frame, and hang them where they can be seen easily. Use one photo per year, and your tree will slowly become a record of happy Christmases.
10. Knit Mini Mittens and Hats for the Tree
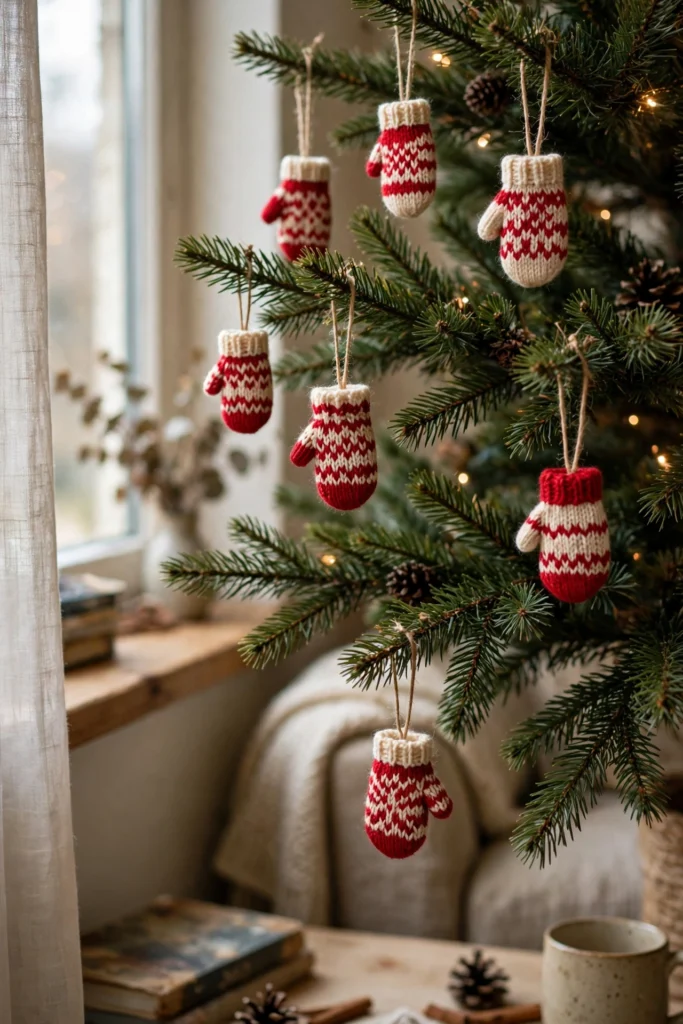
Tiny knitted mittens and hats are cosy, charming and full of winter warmth, and they look adorable hanging in pairs. Even a beginner can knit a small mitten, and the soft yarn adds a gentle, handmade texture to the tree. They are perfect for a tree in a bedroom or a family room.
Knit a rectangle, fold it into a mitten shape, and stitch the sides, leaving a thumb space if you like. Add a pom-pom or a striped cuff, then thread a ribbon through the top. For a cosy spot to enjoy your tree in the evening, see these blanket storage ideas, and keep a soft throw nearby.
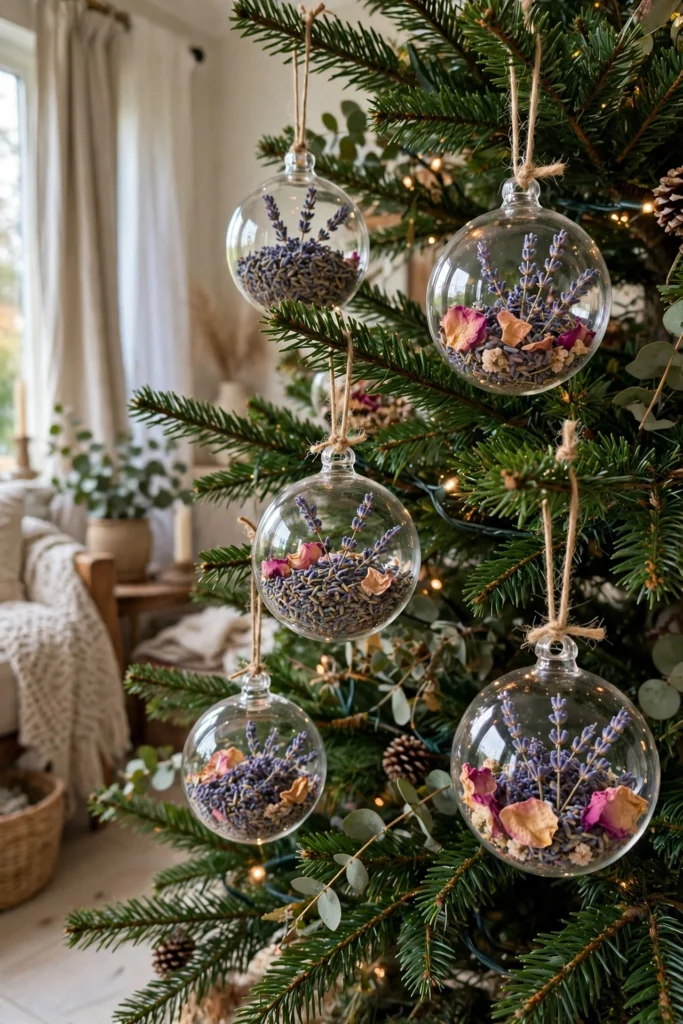
11. Fill Clear Baubles With Dried Flowers
Clear baubles filled with dried flowers are delicate, romantic and quietly beautiful. The tiny petals and leaves sit like a little garden inside the glass, and the soft colours suit a calm, elegant tree. They are also a lovely way to keep flowers from a special day.
Fill a clear bauble with small dried petals, lavender buds or tiny leaves, using tweezers to place them gently. Add a pinch of dried moss for texture, then close the cap and add a ribbon. For more ways to bring soft flowers into your home, see these rose garden layout ideas, and keep the colours pale and simple.
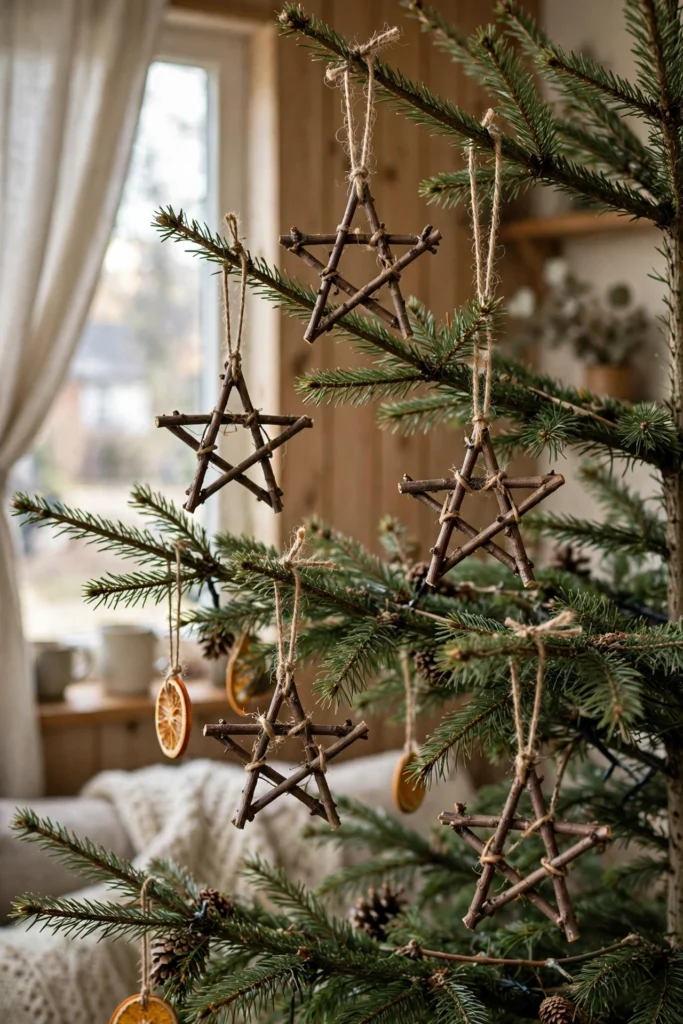
12. Make Rustic Twig Stars With Twine
Twig stars are rustic, simple and full of woodland charm, and they cost nothing if you gather the twigs yourself. Five short sticks tied into a star shape look lovely against green branches, and the rough wood adds texture that smooth baubles cannot. They suit farmhouse and natural trees best.
Choose five straight twigs of the same length, lay them into a star shape, and tie each join tightly with twine. Trim the ends neatly, add a small pinecone or berry at the centre, and hang the star with twine. Make them in two sizes, and your tree will feel gathered and handmade.
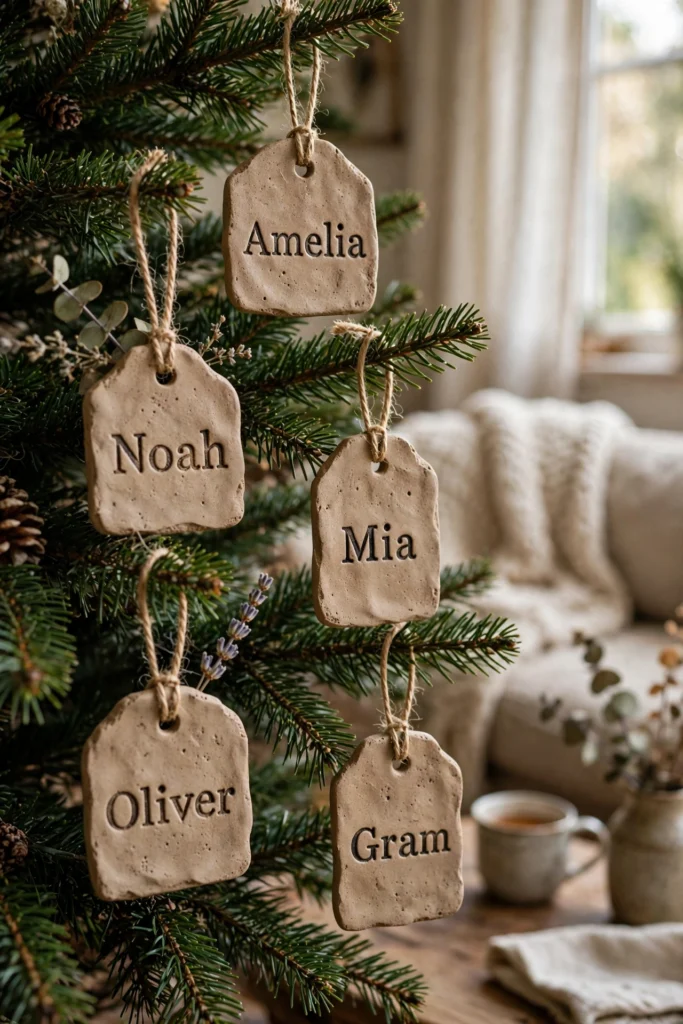
13. Stamp Names on Clay Gift Tags
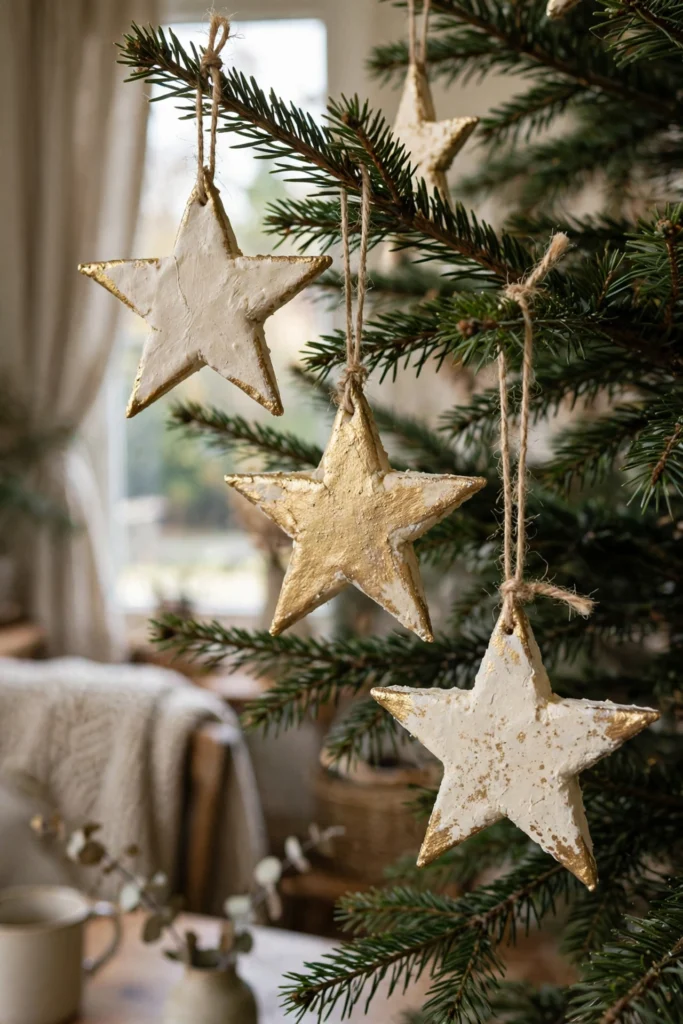
Clay gift tags that double as ornaments are personal, practical and very pretty. Each tag carries a name, stamped clearly into soft clay, and it can hang on the tree all December before moving to a present on Christmas Eve. They make the tree feel made for your family alone.
Roll air-dry clay flat, cut it into small tags, and stamp a name into each one with letter stamps. Make a hole at the top, let the clay dry fully, then paint the edges in gold. Thread ribbon through the hole, and hang each tag where its person can find it.
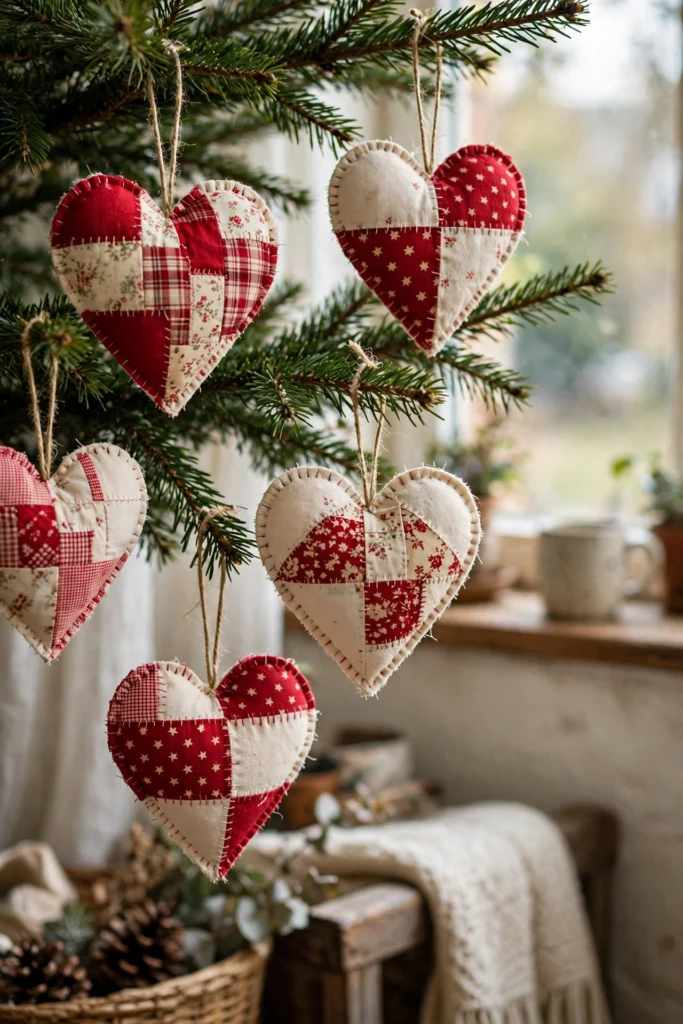
14. Sew Scrap Fabric Into Patchwork Hearts
Patchwork hearts are the perfect way to use up pretty fabric scraps, and they look warm and homely on the tree. A heart made from two or three small pieces of fabric, in reds, greens and creams, feels like a little quilt. They are soft, light and safe for a tree with children nearby.
Cut small fabric pieces into a heart shape, sew two hearts together with the patterned sides facing in, then turn them out and stuff them lightly. Close the gap with neat stitches, add a ribbon loop, and hang them evenly. Keep your colours in one family, and the hearts will look calm and coordinated.
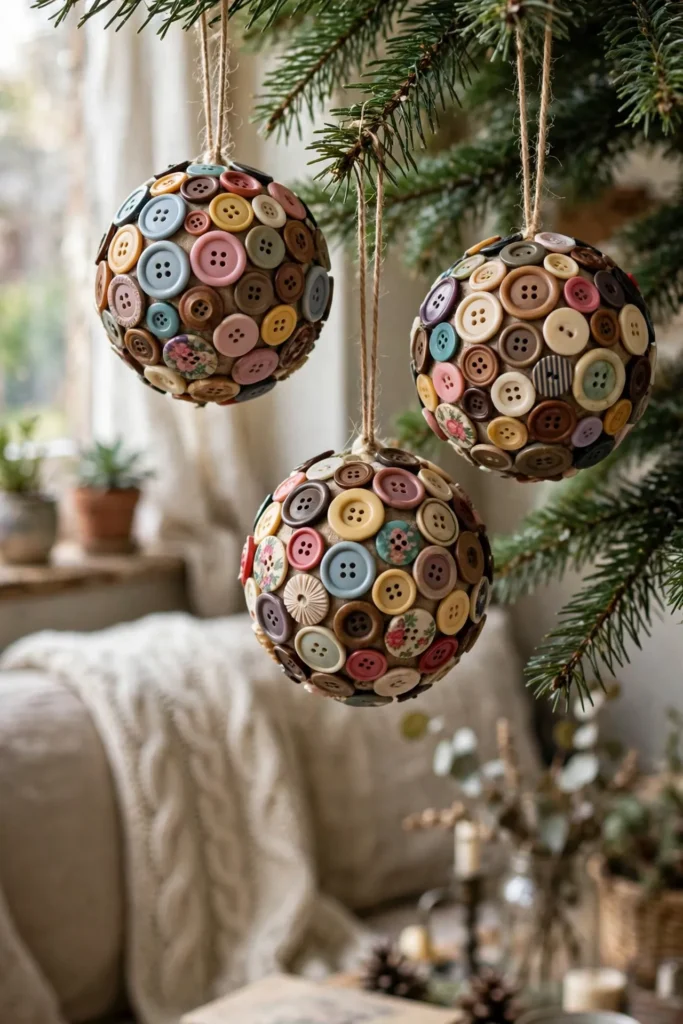
15. Turn Old Buttons Into Sparkling Baubles
Old buttons are small treasures, and glued onto a plain bauble they become a sparkling handmade ornament. The mix of colours, sizes and finishes catches the light in lovely ways, and each bauble tells a story of buttons saved from old clothes. It is a thrifty, joyful craft.
Cover a plain bauble with craft glue, then press buttons onto it in rows, starting from the top and working down. Let each row dry before adding the next, so the buttons stay in place. Add a ribbon and a shiny cap, and your old buttons will shine like jewels on the tree.
Conclusion
Handmade ornaments are the detail that makes a Christmas tree feel like yours, because no two trees will ever look the same. Whether you bake salt dough stars, dry orange slices, or sew soft felt hearts, the tree will carry the warmth of the time you spent making them.
Choose one idea first that fits your home and your family, and build from there. Gather your materials, clear the kitchen table, and enjoy the quiet joy of making something by hand. For a calm, tidy home before guests arrive, see these nightly reset routines. Your tree is waiting, and it will be beautiful.
Are DIY Christmas ornaments safe for kids to make?
Yes, most of them are safe if you choose child-friendly materials like salt dough, felt and paper, and keep glue guns and ovens for adults. Let children paint, cut with safety scissors and decorate, and always supervise the drying and baking steps.
How long do handmade ornaments last?
Most handmade ornaments last for many years if they are sealed and stored well. Salt dough and clay pieces need a coat of varnish, while fabric and felt ornaments should be kept dry. Dried oranges last one season, so make fresh ones each year.
What are the cheapest materials for DIY ornaments?
Paper, pinecones, twigs, dried oranges and old buttons are the cheapest, because many of them are free or already at home. Salt dough costs very little too, and felt scraps are cheap. Start with what you have before buying anything new.
How do I dry and store handmade ornaments?
Let ornaments dry fully before packing them, then wrap each one in tissue paper and store them in a sturdy box. Keep them in a cool, dry place away from damp, and label the box so fragile pieces are easy to find next Christmas.
How do I hang DIY ornaments so they stay secure?
Use strong ribbon or twine loops, tied tightly, and hang heavier ornaments deep in the branches rather than on the tips. For glass baubles, use wire hooks as well as ribbon, and check each ornament after hanging to make sure it sits safely.
Hi, I’m Emily! I turn messy corners into cozy, organized spots. DreamNestDecor is where I share simple, practical home ideas — decor, organization, and small-space solutions that work in real life, not just in photos. Every idea here is carefully researched before it’s shared.

Hi, I’m Emily! I turn messy corners into cozy, organized spots. DreamNestDecor is where I share simple, practical home ideas — decor, organization, and small-space solutions that work in real life, not just in photos. Every idea here is carefully researched before it’s shared.