

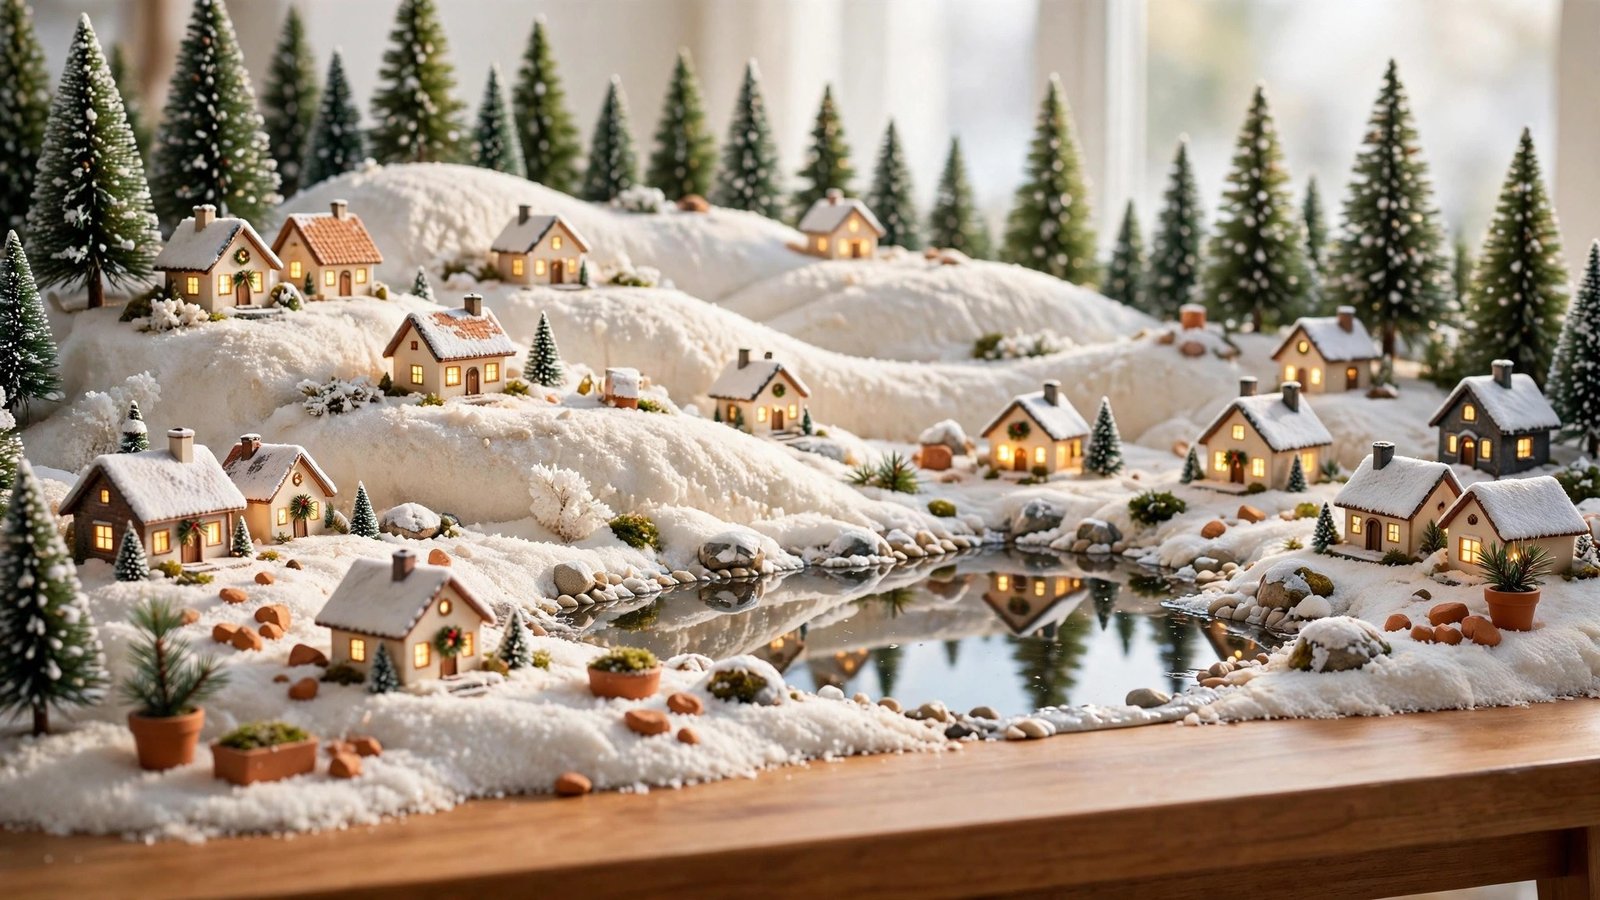
A Christmas village is never just a collection of tiny houses. It is a whole little world you build with your own hands, and every December it gets to tell a new story. If your display has started to feel like the same arrangement on the same table, this year is the perfect time to give it a fresh stage.
You do not need a bigger collection or an expensive new set to make your village feel brand new. Small changes in height, light, and texture can turn a familiar setup into a scene that guests gather around. These 24 ideas will help you see your miniature town with fresh eyes and build a holiday scene that feels truly magical.
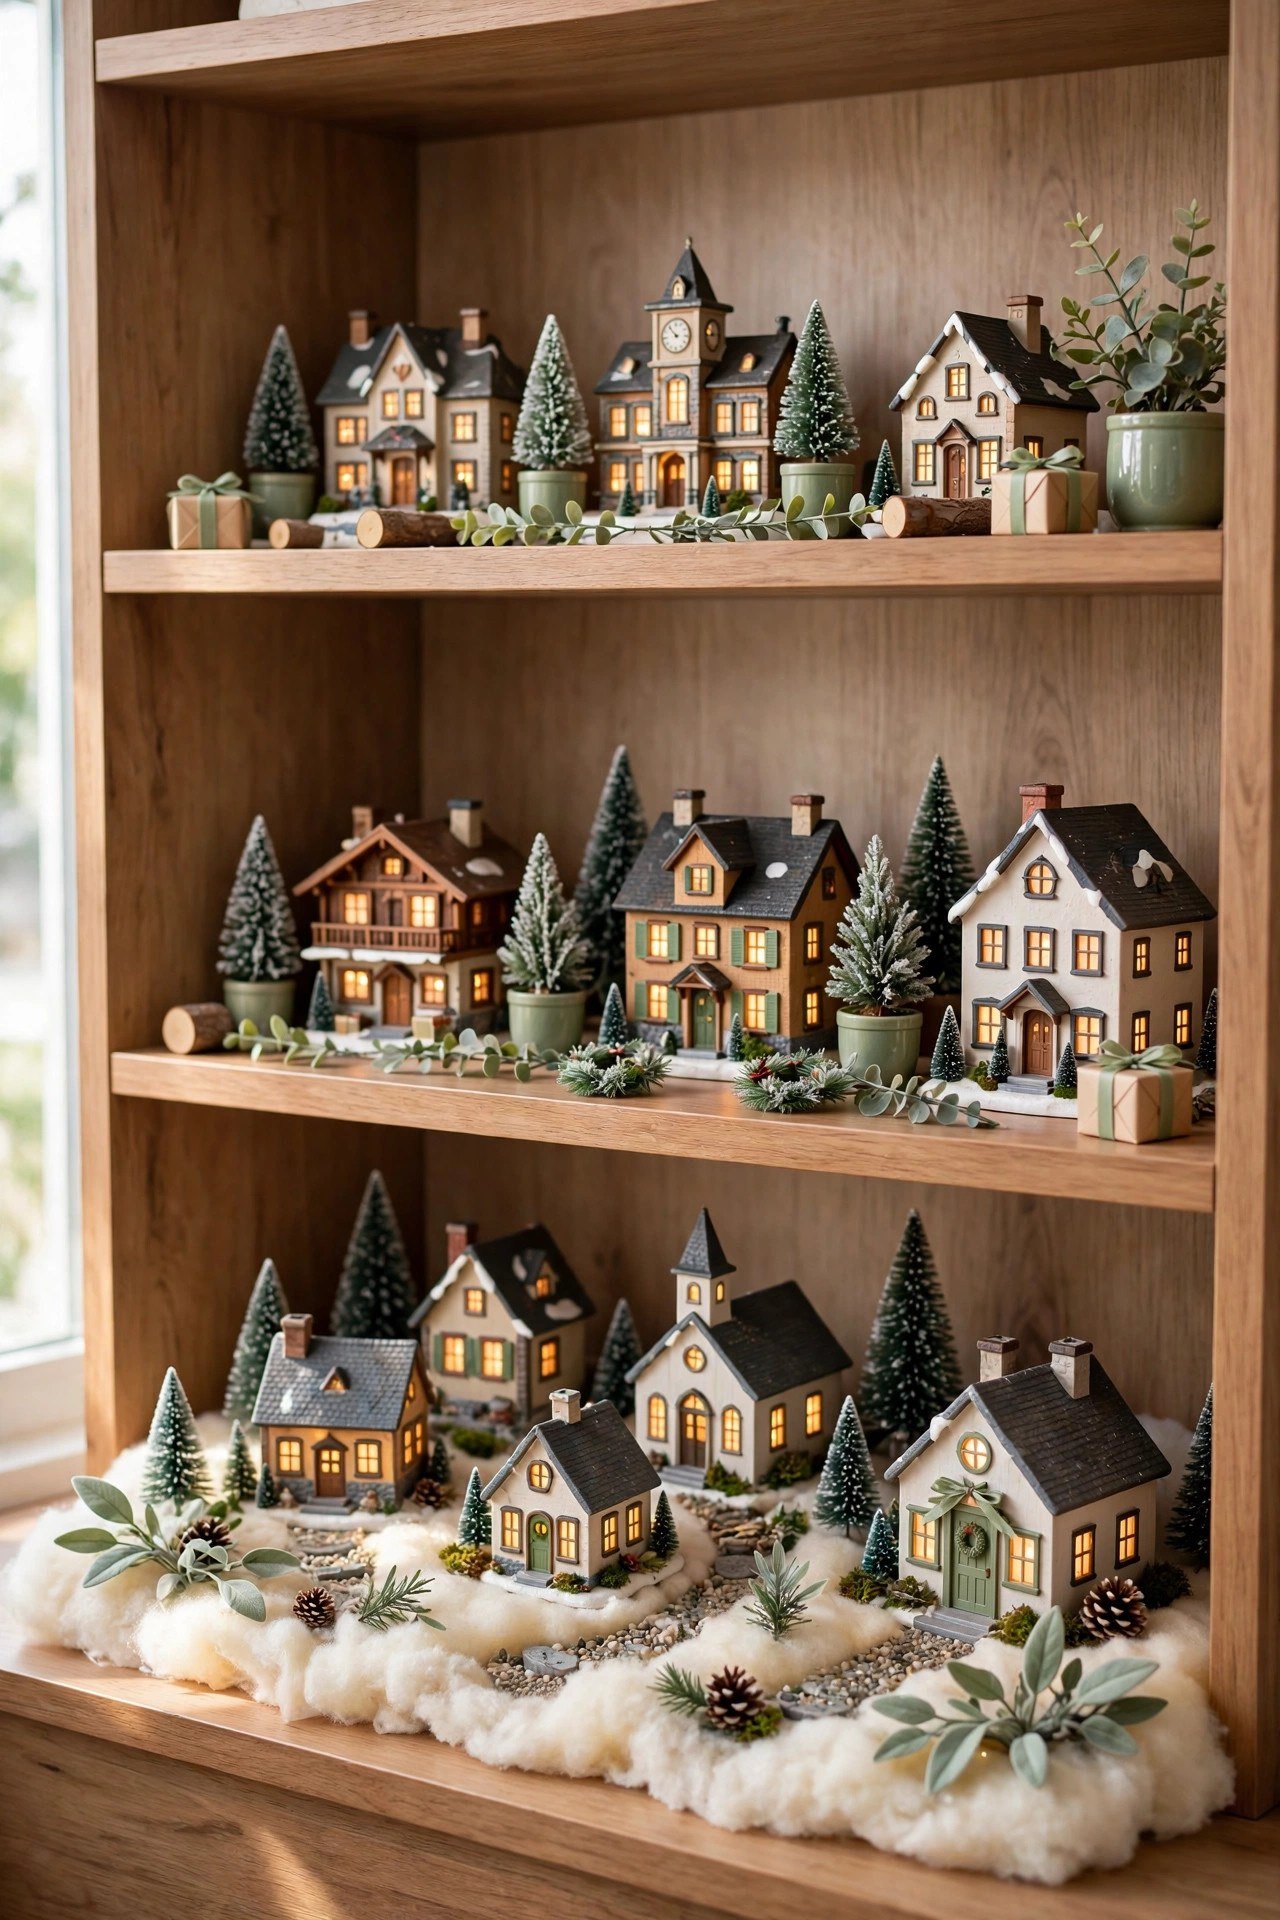
1. Multi-Tiered Bookshelf Village Wonderland
When table space is tight, a bookshelf becomes the best stage your village has ever had. Each shelf turns into its own little neighborhood, and the vertical layout lets guests take in the entire town at one glance. Place the tallest buildings at the back of every shelf and the smallest cottages near the front edge to create natural depth.
This approach also keeps your collection safe from curious little hands, since the higher shelves are out of reach. Drape a length of white batting along the front edge of each shelf to hide the wood and make the tiers look like snowy cliff sides. The result feels like a grand alpine town stacked toward the sky.
2. Floating Cloud and Sky Display
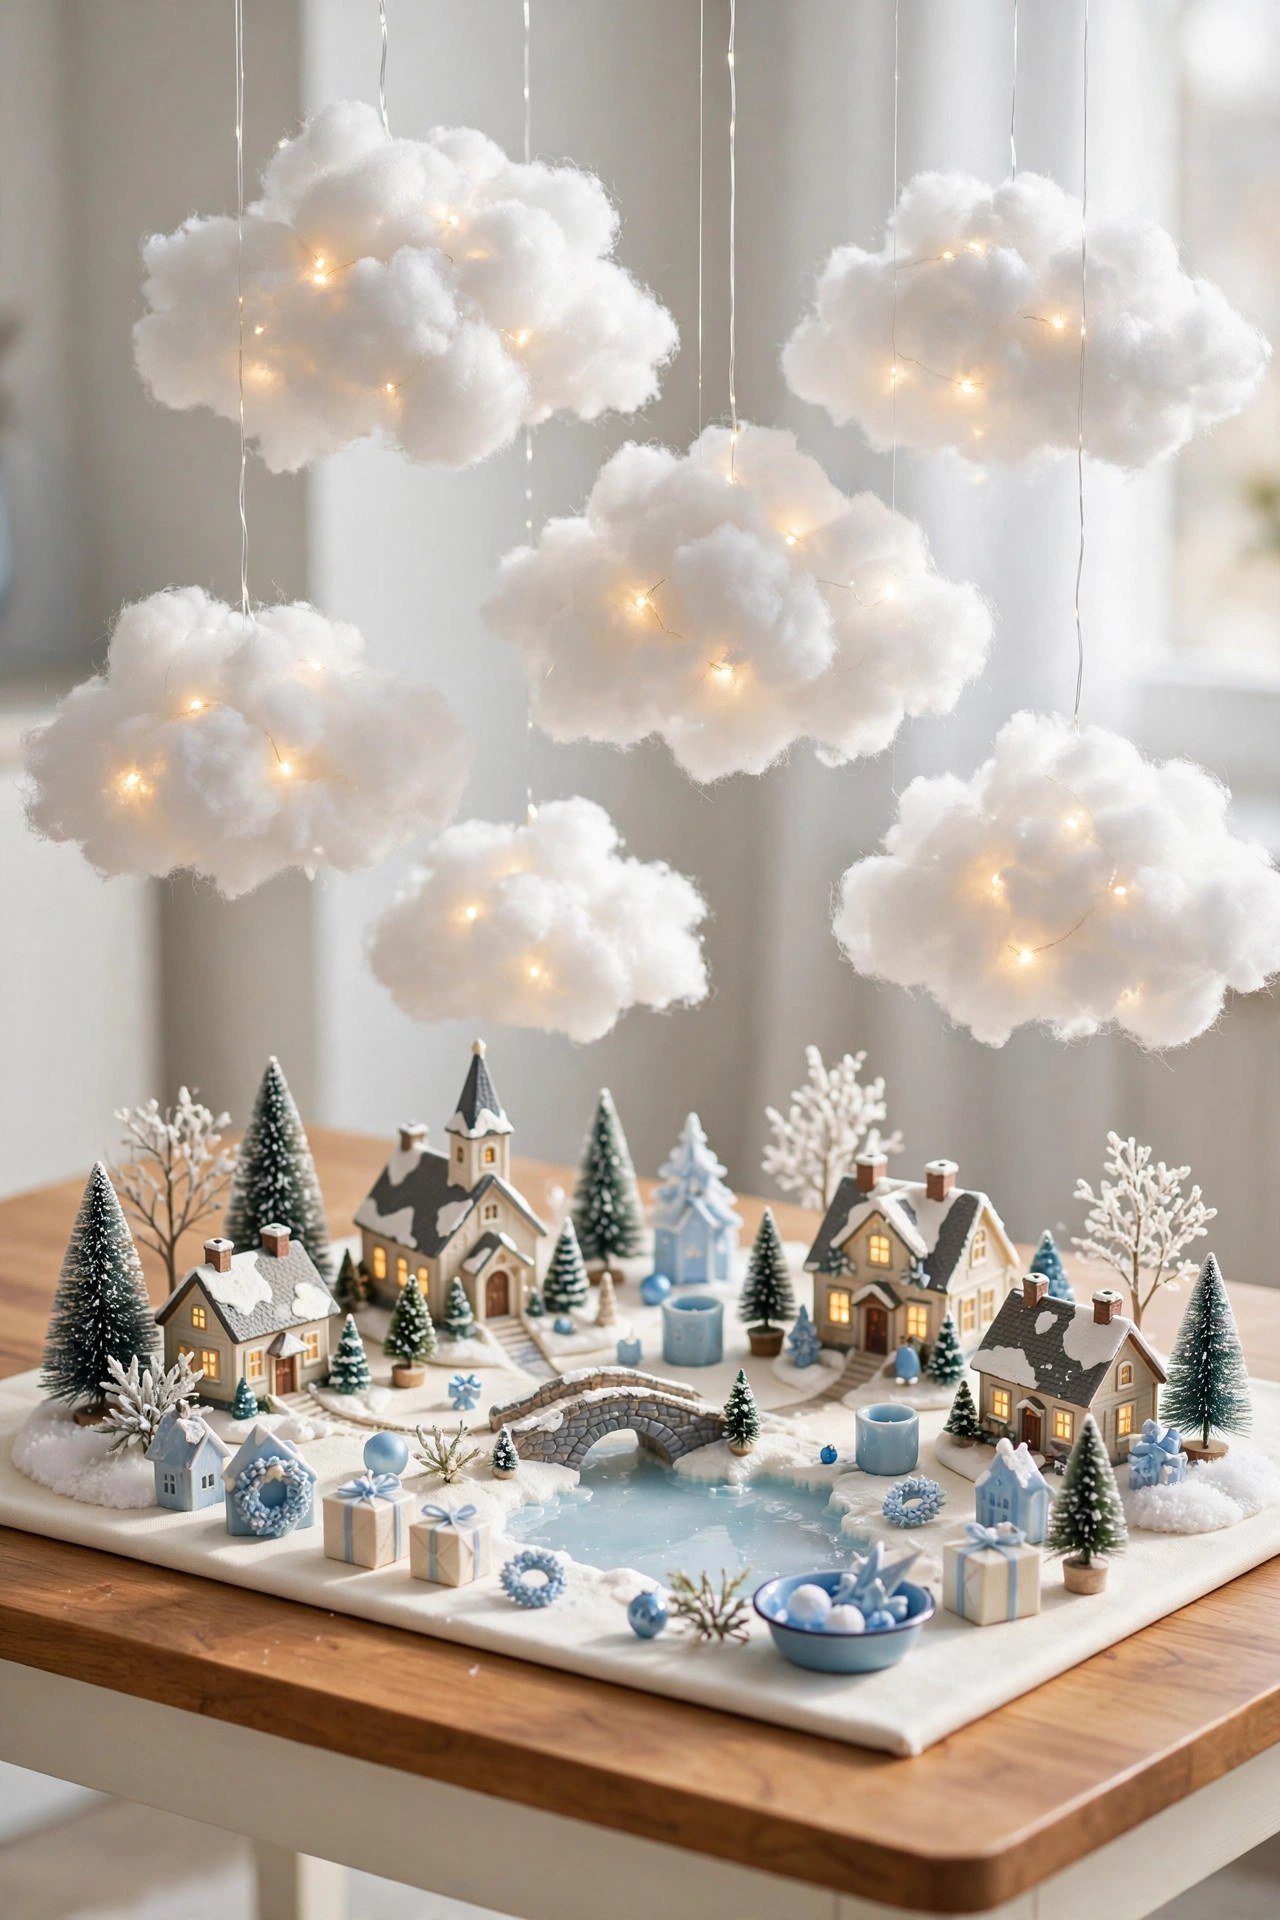
Give your village a sky of its own by suspending soft white batting from clear fishing line above the display. The clouds hang at different heights, which adds a dreamy third dimension that a flat tabletop simply cannot offer. Tuck tiny battery fairy lights inside a few of the clouds for a starry night effect.
Anchor the fishing line to a simple frame made from dowels or a curtain rod set behind the table. Keep the clouds light and airy so they do not overpower the houses below. When the room lights are low, the glowing clouds make the whole village feel like it is floating in a winter dream.
3. Rustic Wood Slice Base
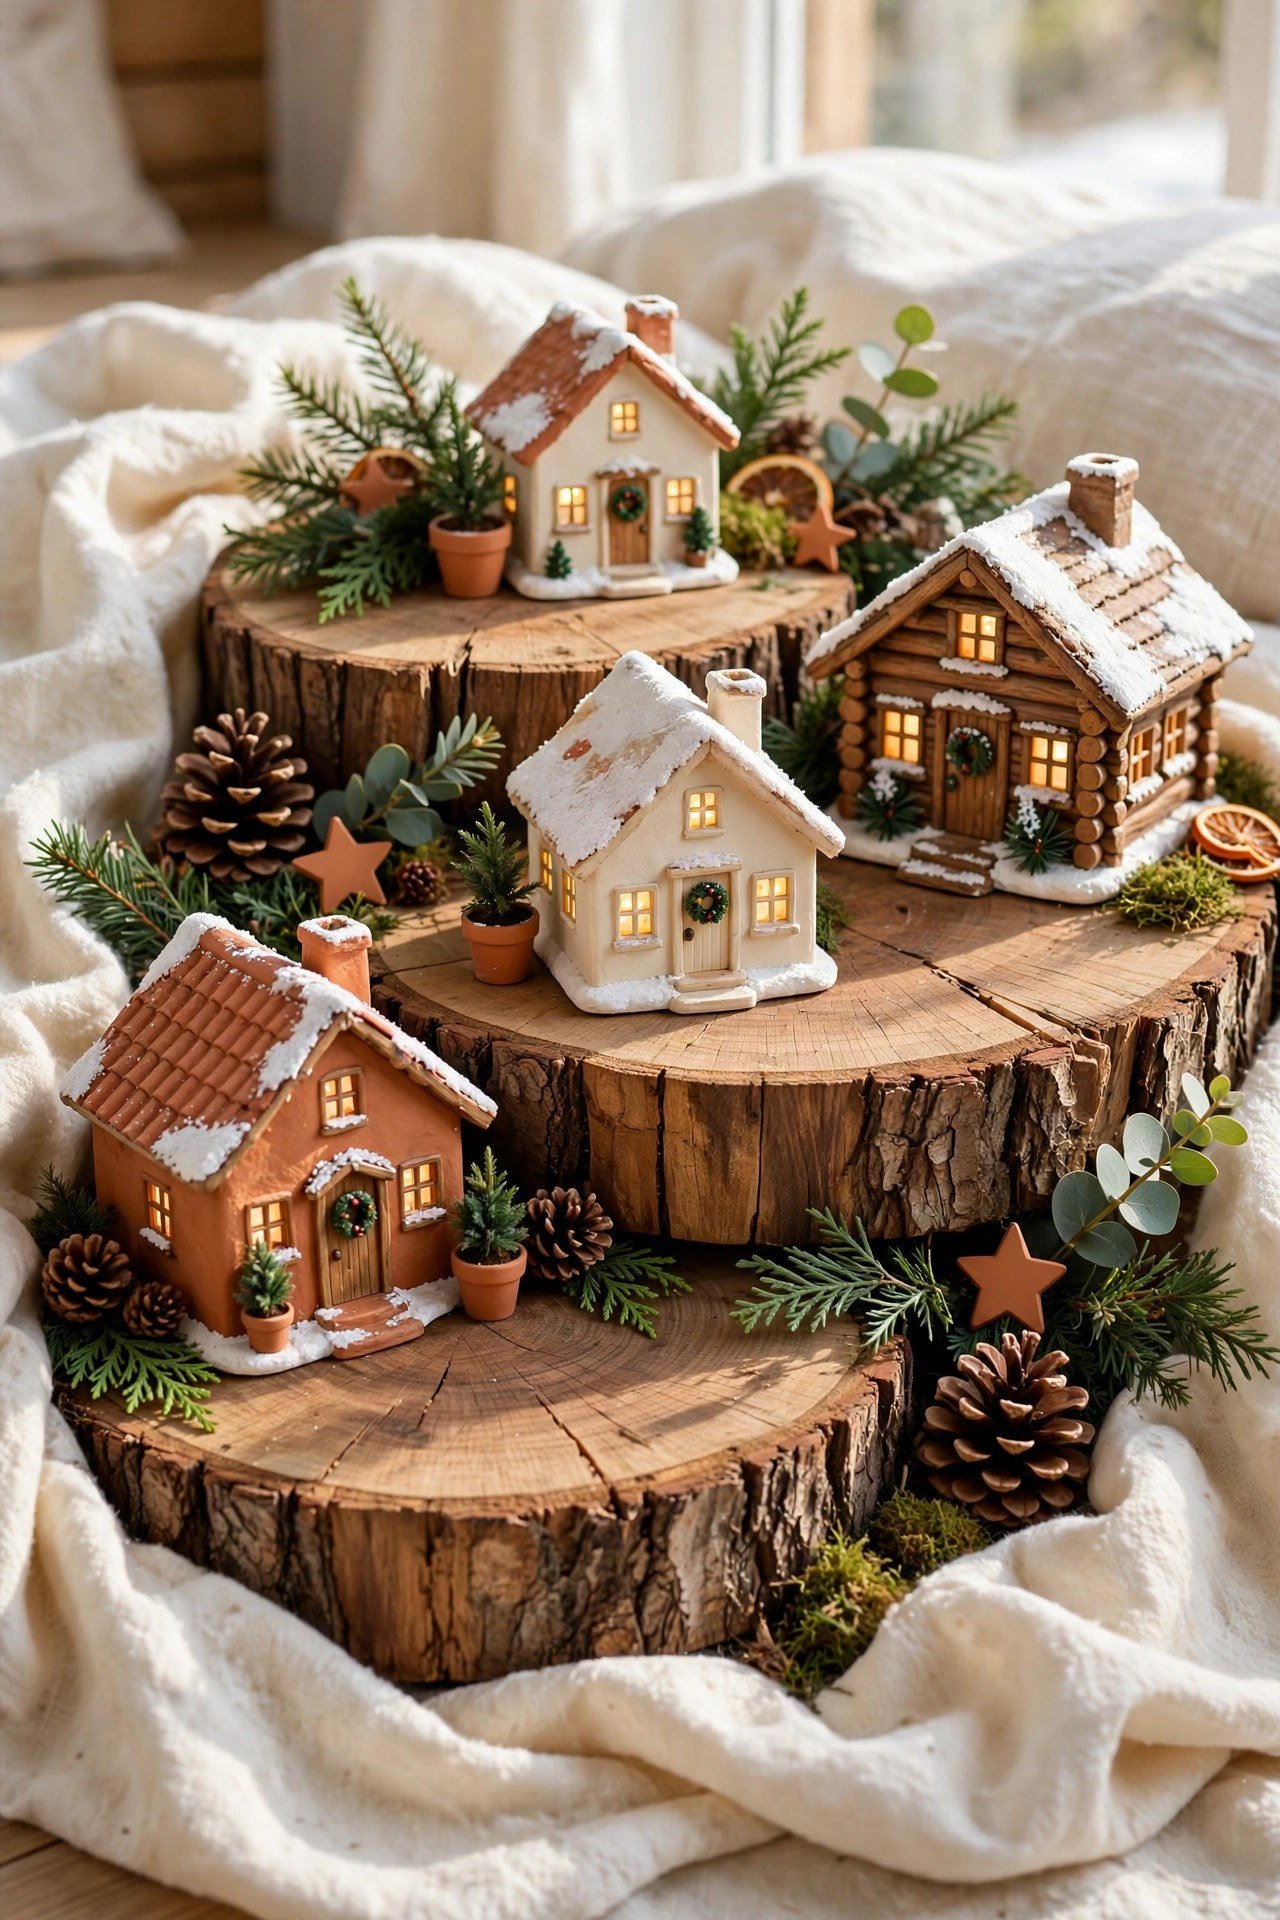
Trade the usual white batting for a base with real character. Large wood slices from a craft store create a rustic foundation that makes every color in your village stand out. The natural grain and warm tones give the scene a cozy woodland cabin feeling that plain snow can never match.
Arrange several slices of different sizes so they overlap like stepping stones, then set your houses on top. Tuck small sprigs of faux greenery and pinecones into the gaps for extra texture. This base works especially well for lodge-style and cabin villages where you want warmth over winter starkness.
4. Snowy Mini Hilltop Landscape
Flat displays look tired after a few seasons, but rolling hills bring your village to life. Crumple newspaper or cardboard into gentle mounds, then drape white felt or batting over them and secure it underneath with tape. The hills give you natural slopes to nestle houses into, just like a real alpine town.
Vary the height of your mounds so the landscape feels organic rather than lumpy. Leave a few valleys open for winding paths and tiny frozen ponds. When light hits the slopes from the side, the soft shadows add a realism that flat snow can never achieve.

5. Mirror Lake Illusion
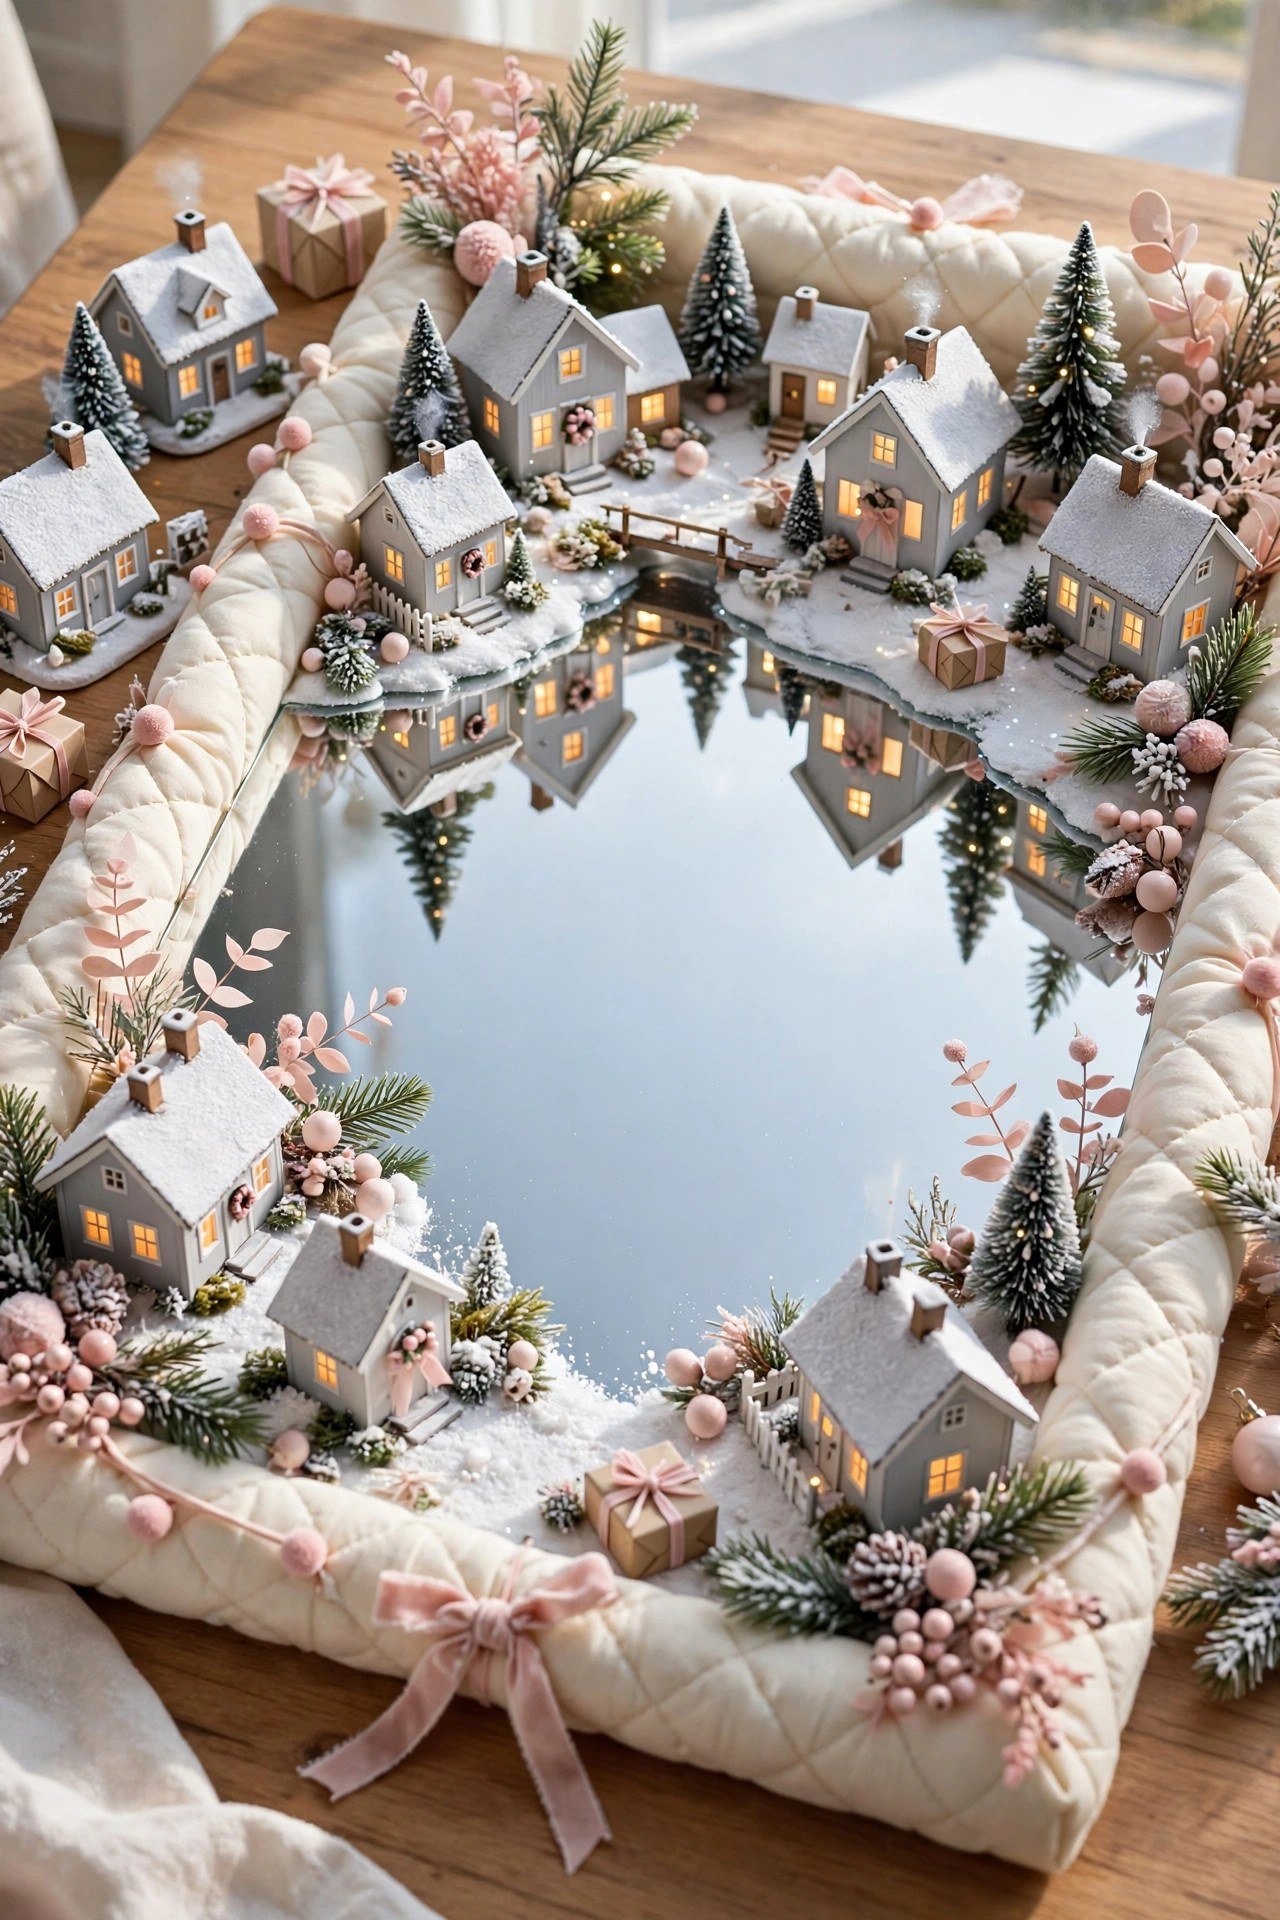
One large flat mirror in the center of your display can double its magic in seconds. The mirror becomes a frozen lake or river that reflects every light and building, making the scene look twice as large. It is the simplest high-impact trick in the entire village builder playbook.
Frame the mirror with cotton batting along its edges so the transition from snow to ice looks natural. Wipe away fingerprints before you set it down, since every smudge shows under bright lights. A staircase wall display nearby can echo the same trick with mirrored frames for a cohesive look across your holiday decor.
6. Wrapping Paper Roadways
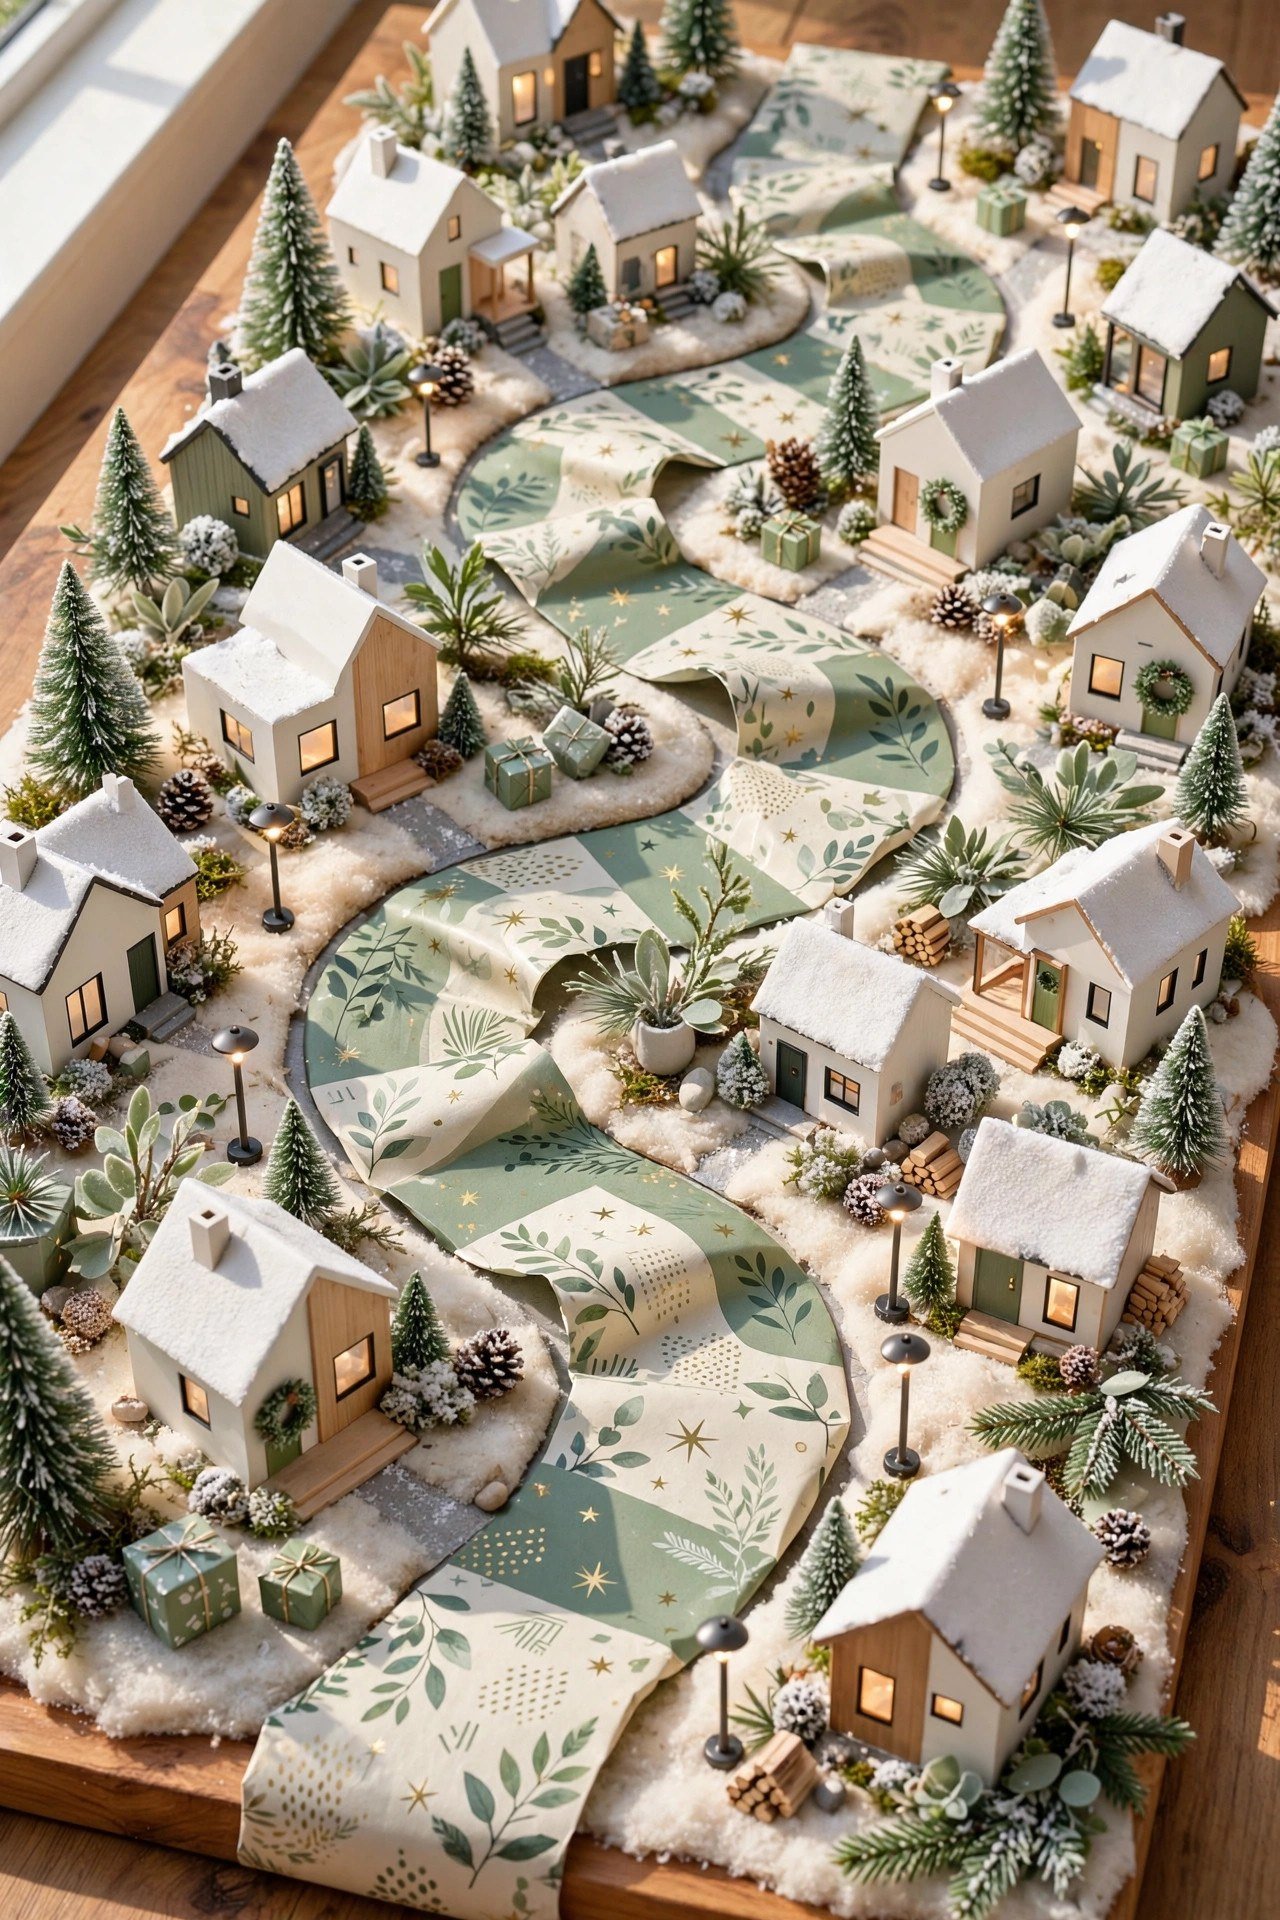
Give your village real streets with nothing more than leftover wrapping paper. Choose rolls printed with stone, brick, or wood patterns and cut them into winding strips to lay between your buildings. The pathways instantly add structure and make the town feel planned instead of random.
Curl the edges slightly with your fingers so the paper sits naturally over uneven snow. Tuck the ends under buildings and hills so the roads seem to disappear into the landscape. This zero-cost detail is one of the fastest ways to make an old collection feel like a brand new town.
7. Battery Tea Light Glow
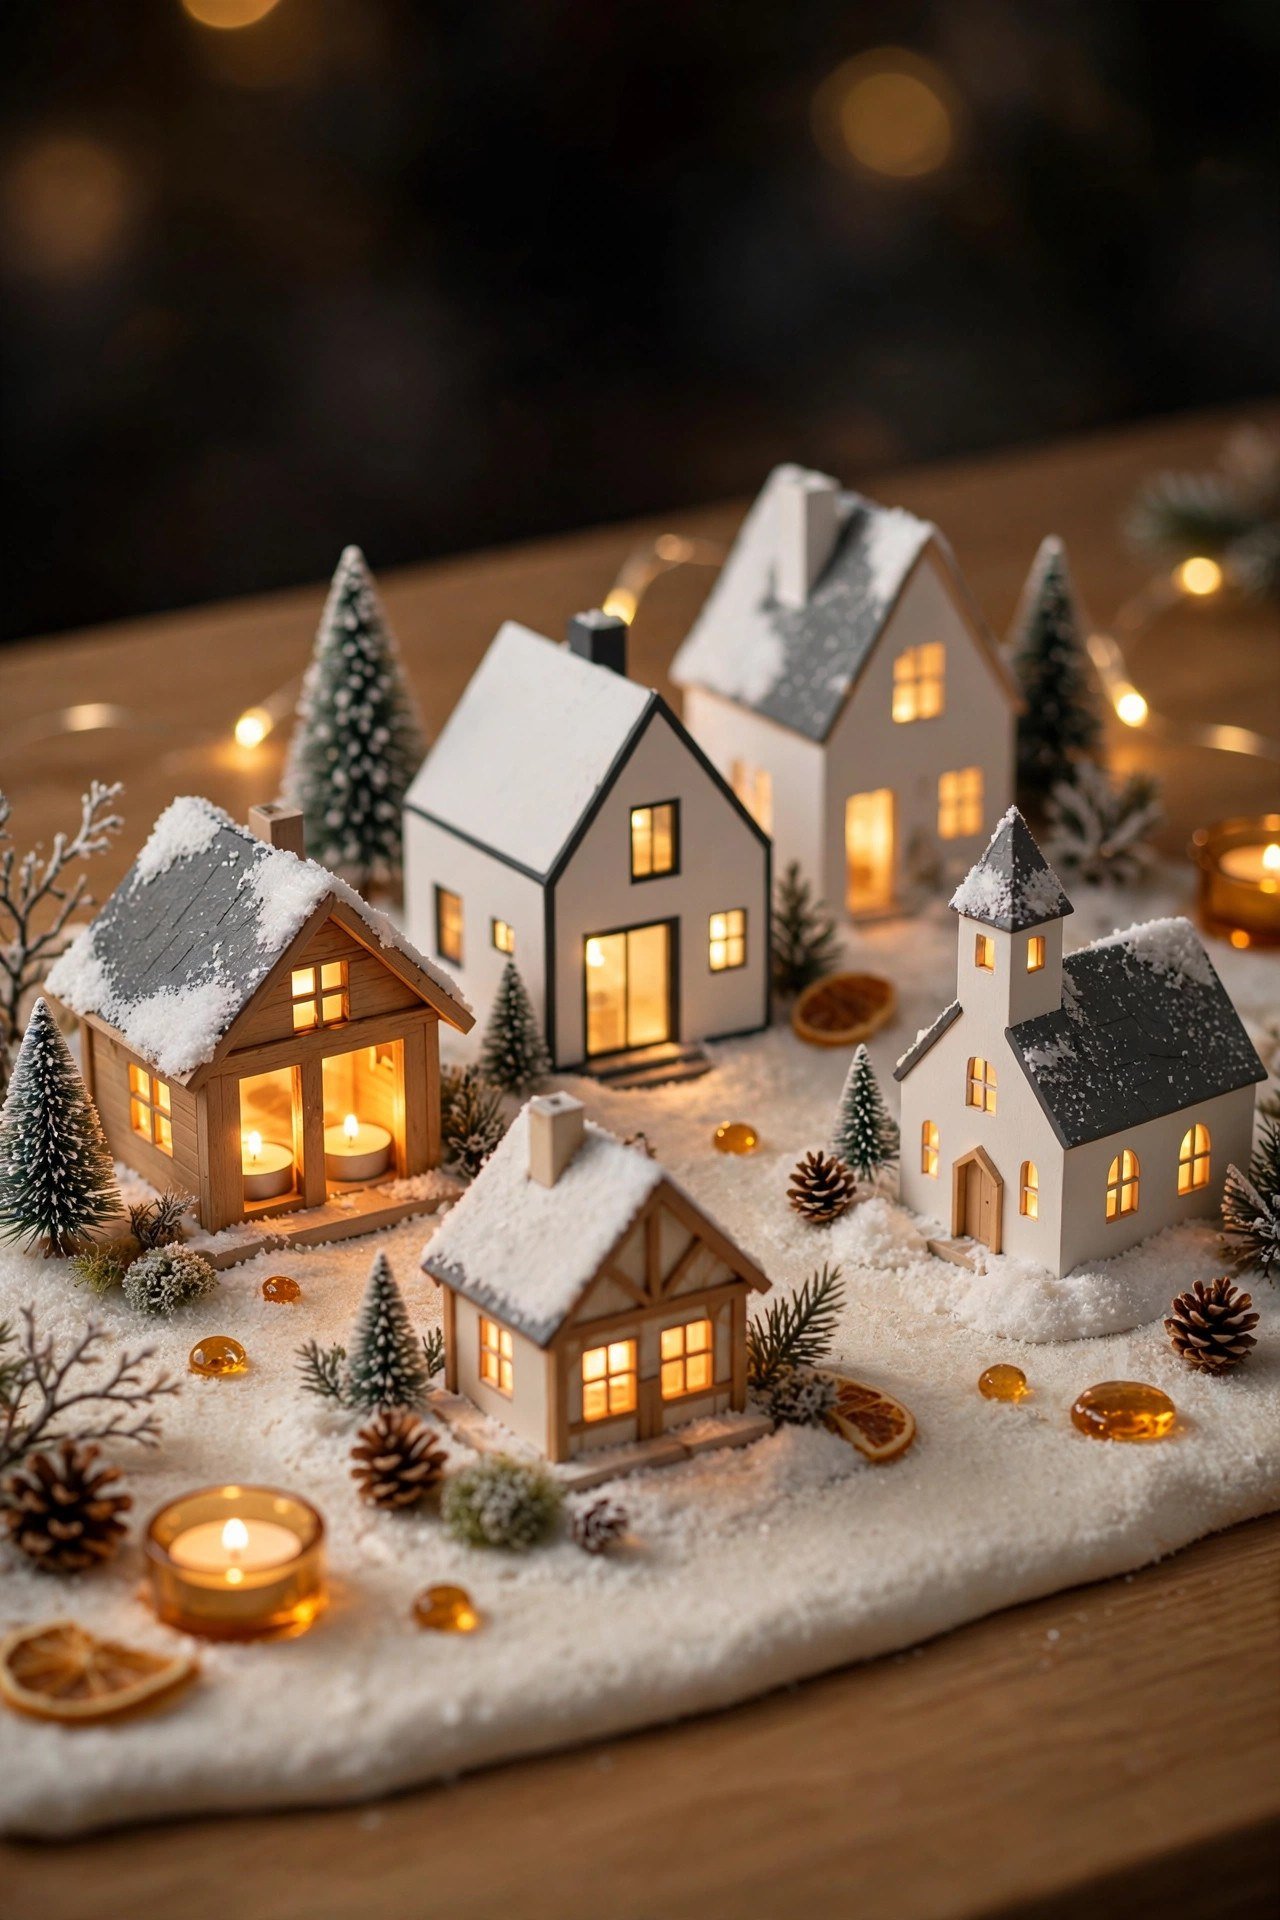
Skip the tangled cords and place flickering battery-operated tea lights inside your village houses. The warm light glowing from tiny windows is the fastest way to make a miniature town feel alive and lived in. Cluster a few lights under the batting as well to create magical illuminated snowdrifts.
Use lights with a built-in timer so the village lights itself every evening without you touching a thing. Warm white tones look far more realistic than cool white in miniature scale. This is also the safest option for homes with pets or small children, since there is no heat and no flame.
8. Vintage Suitcase Display Case
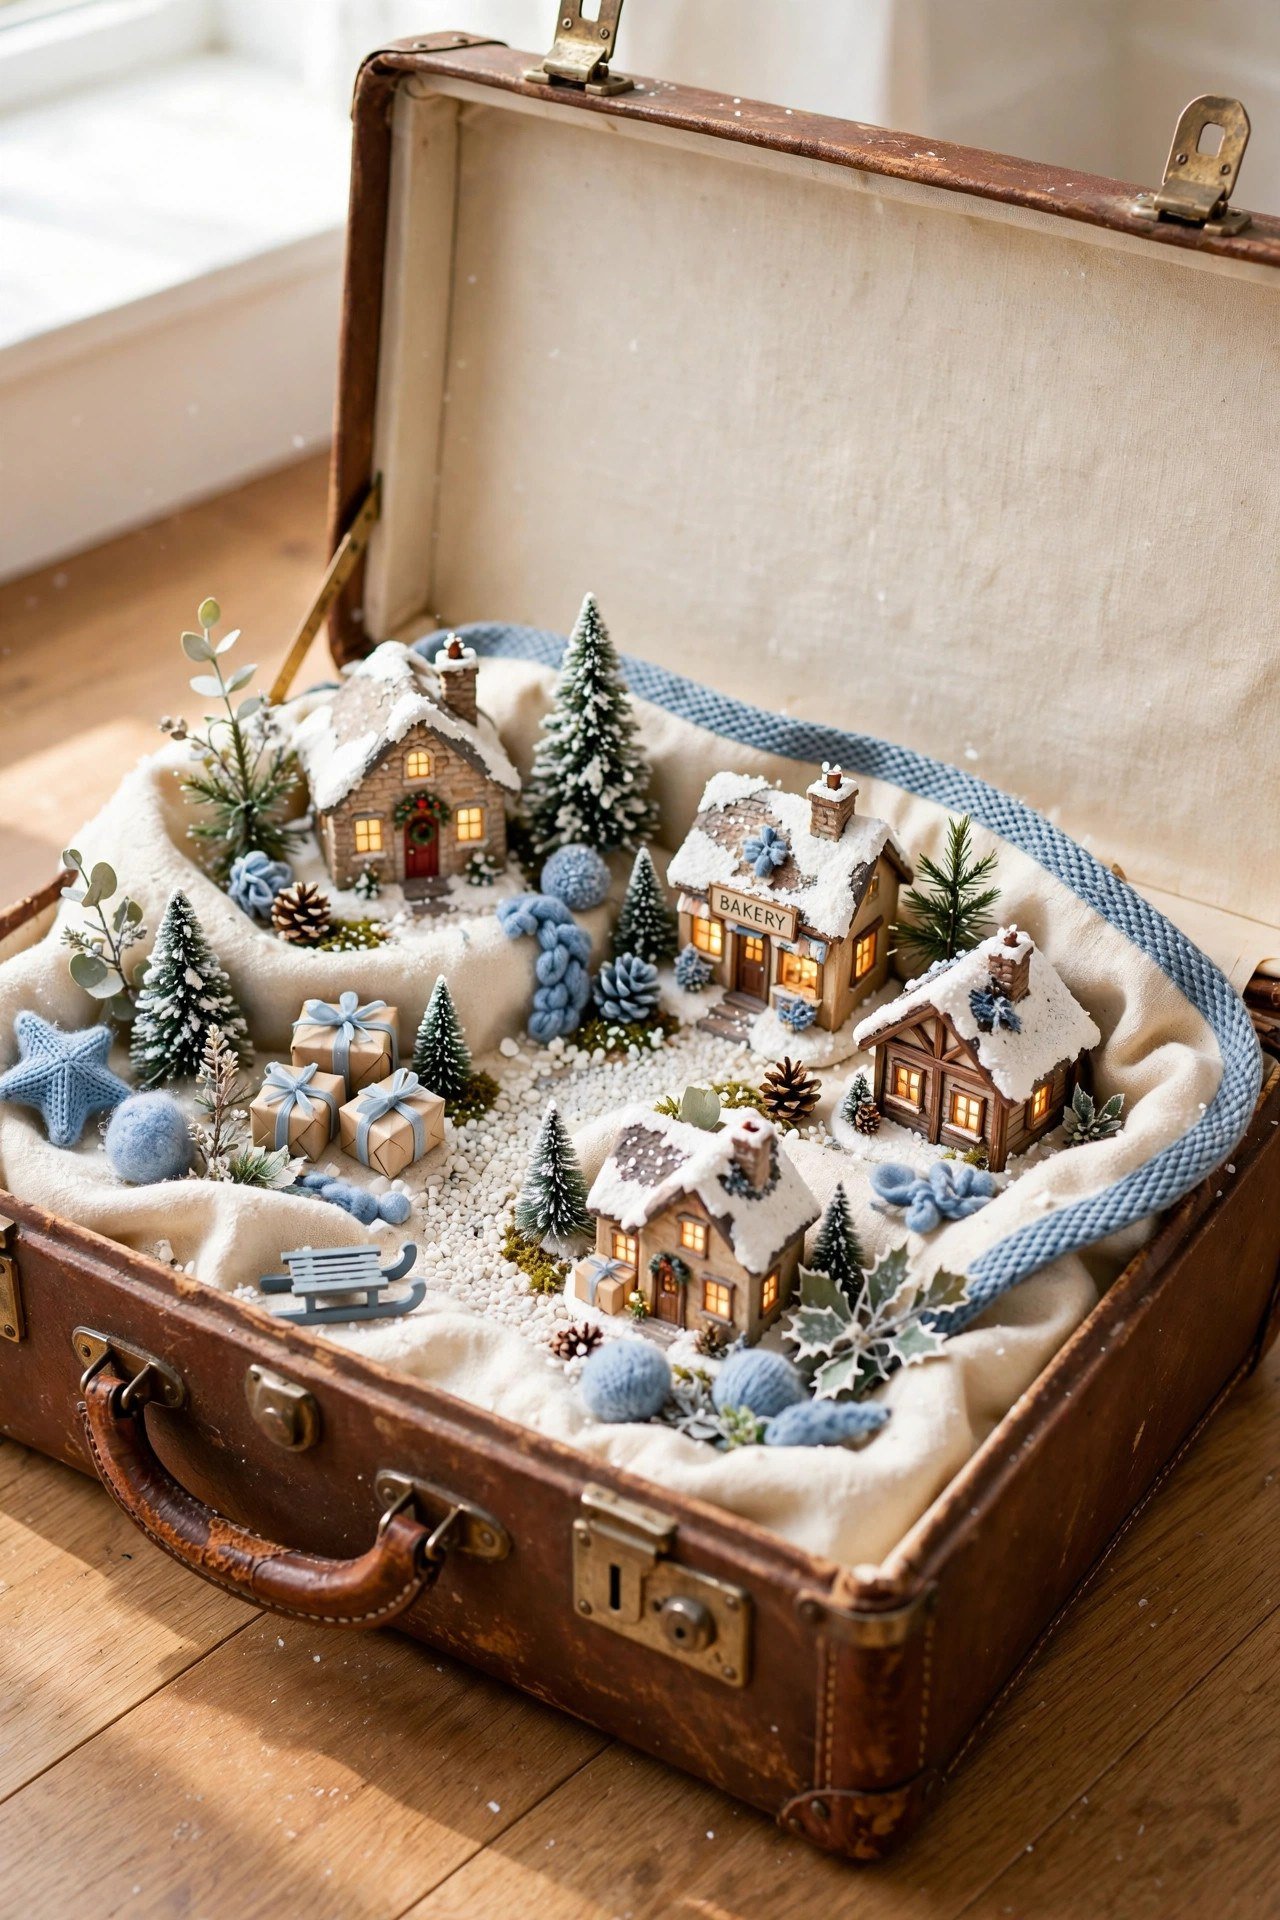
An old hard-sided suitcase makes the most charming portable village display you will ever own. Line the inside with batting or festive fabric, arrange your buildings inside, and the whole town travels safely wherever you want it. Close the lid in January and storage is already done.
Look for suitcases with fun vintage patterns at thrift stores for extra character. The raised lid even becomes a backdrop you can decorate with a painted winter sky. Guests will ask about the suitcase almost as much as they ask about the village itself.
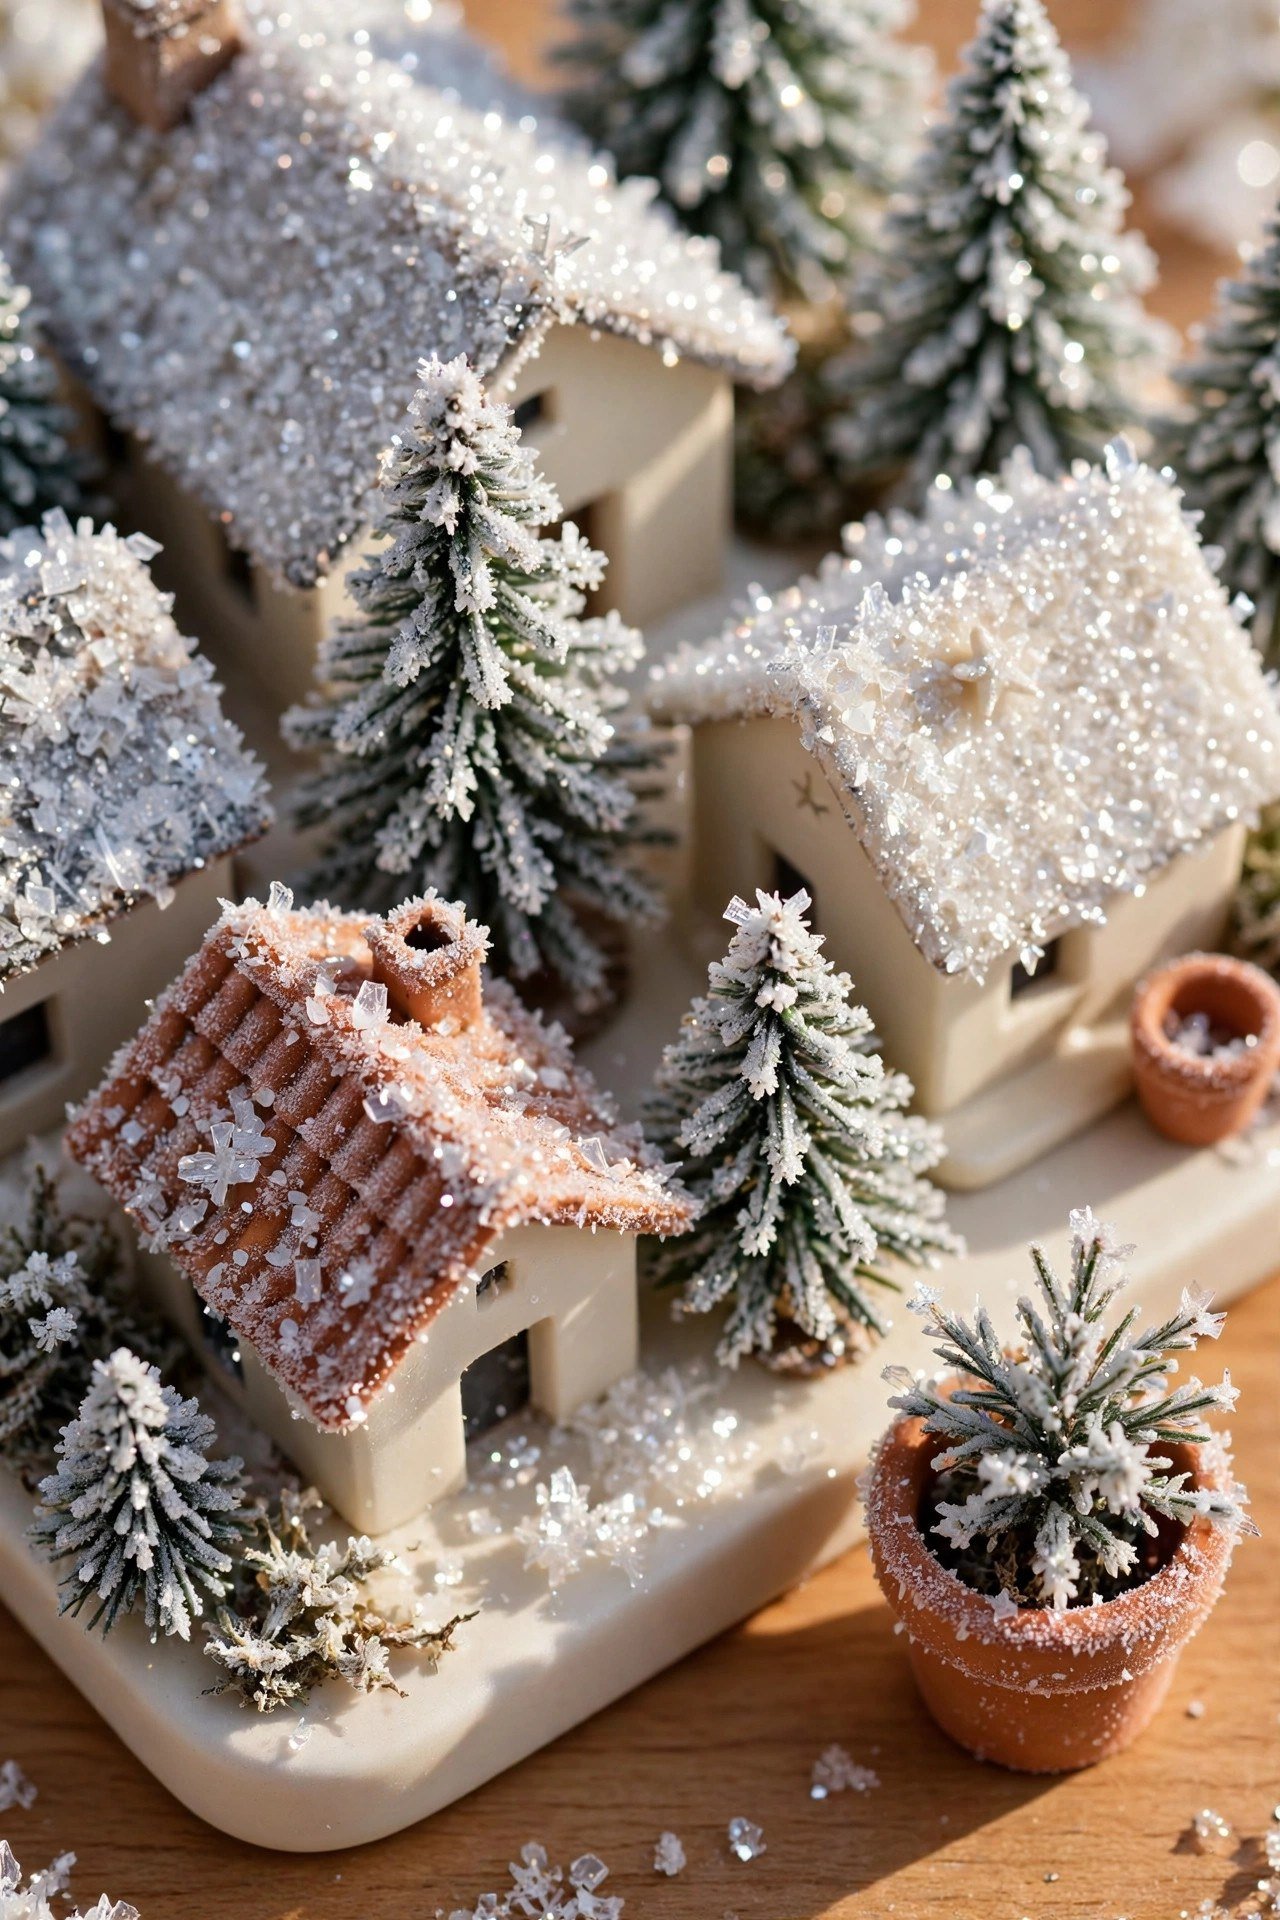
9. Sparkling Borax Snow Effect
For snow that truly sparkles like the real thing, try the borax crystal method. Dissolve borax in hot water to make a super-saturated solution, then dip tiny trees, fences, and rooftops into it. As they dry, gorgeous crystal frost forms on every surface.
This technique works best on accessories rather than whole houses, since you can control exactly which pieces get the frosted treatment. The finished crystals catch light beautifully and look far more realistic than plain white paint. Let pieces dry completely on wax paper before placing them in your village.
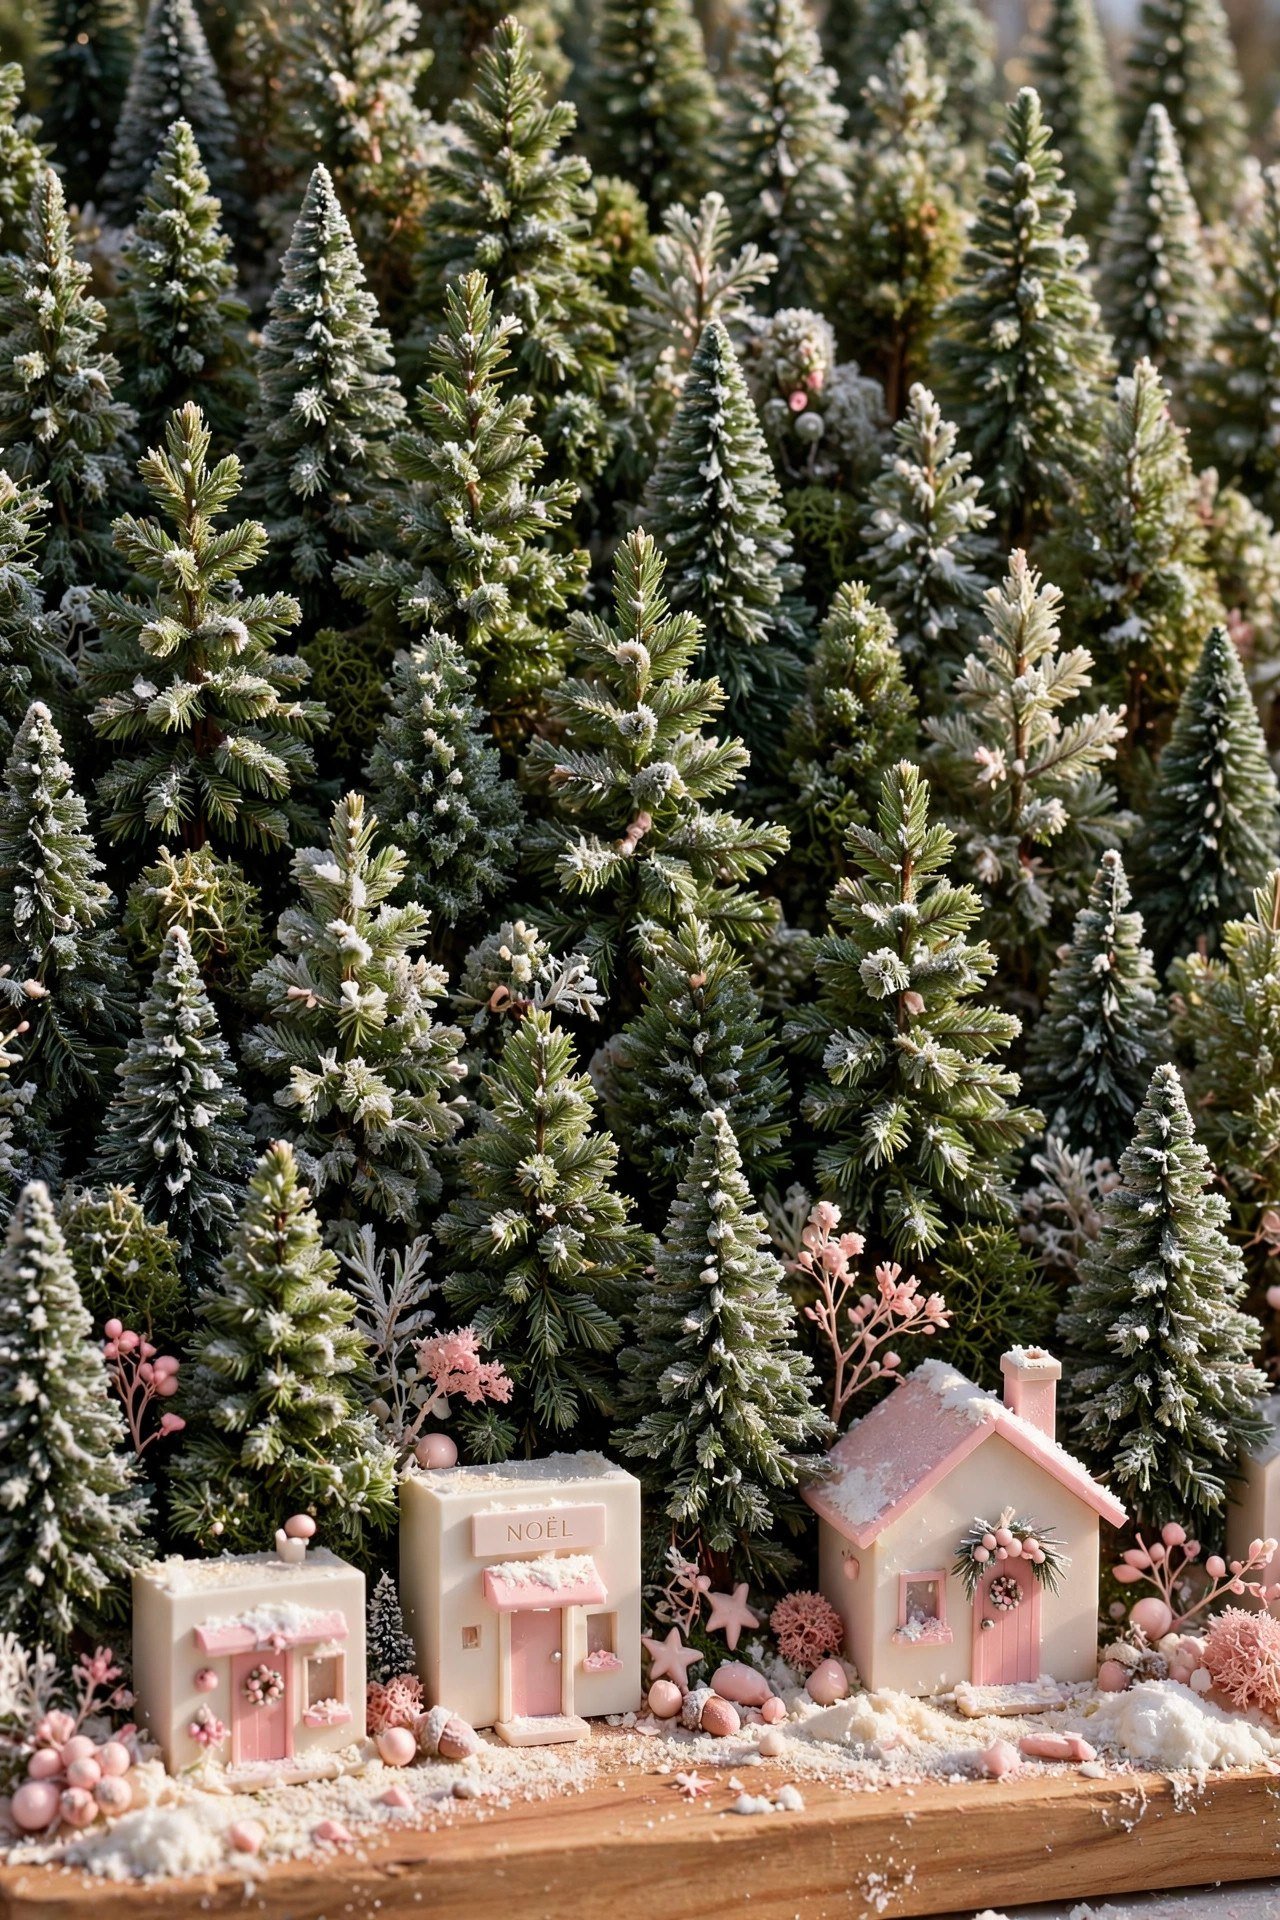
10. Miniature Pine Tree Forest
No village feels complete without a forest on its outskirts. Clip small branches from an evergreen shrub like arborvitae, or use floral picks from a craft store, and cluster them into dense little woods. A mix of tall and short trees looks the most natural.
Set the trees on small squares of floral foam hidden under the snow so they stand firmly all season. Tuck a few around the backs of houses so the town feels nestled into the landscape. The fresh evergreen scent is a lovely bonus that fills the whole room.
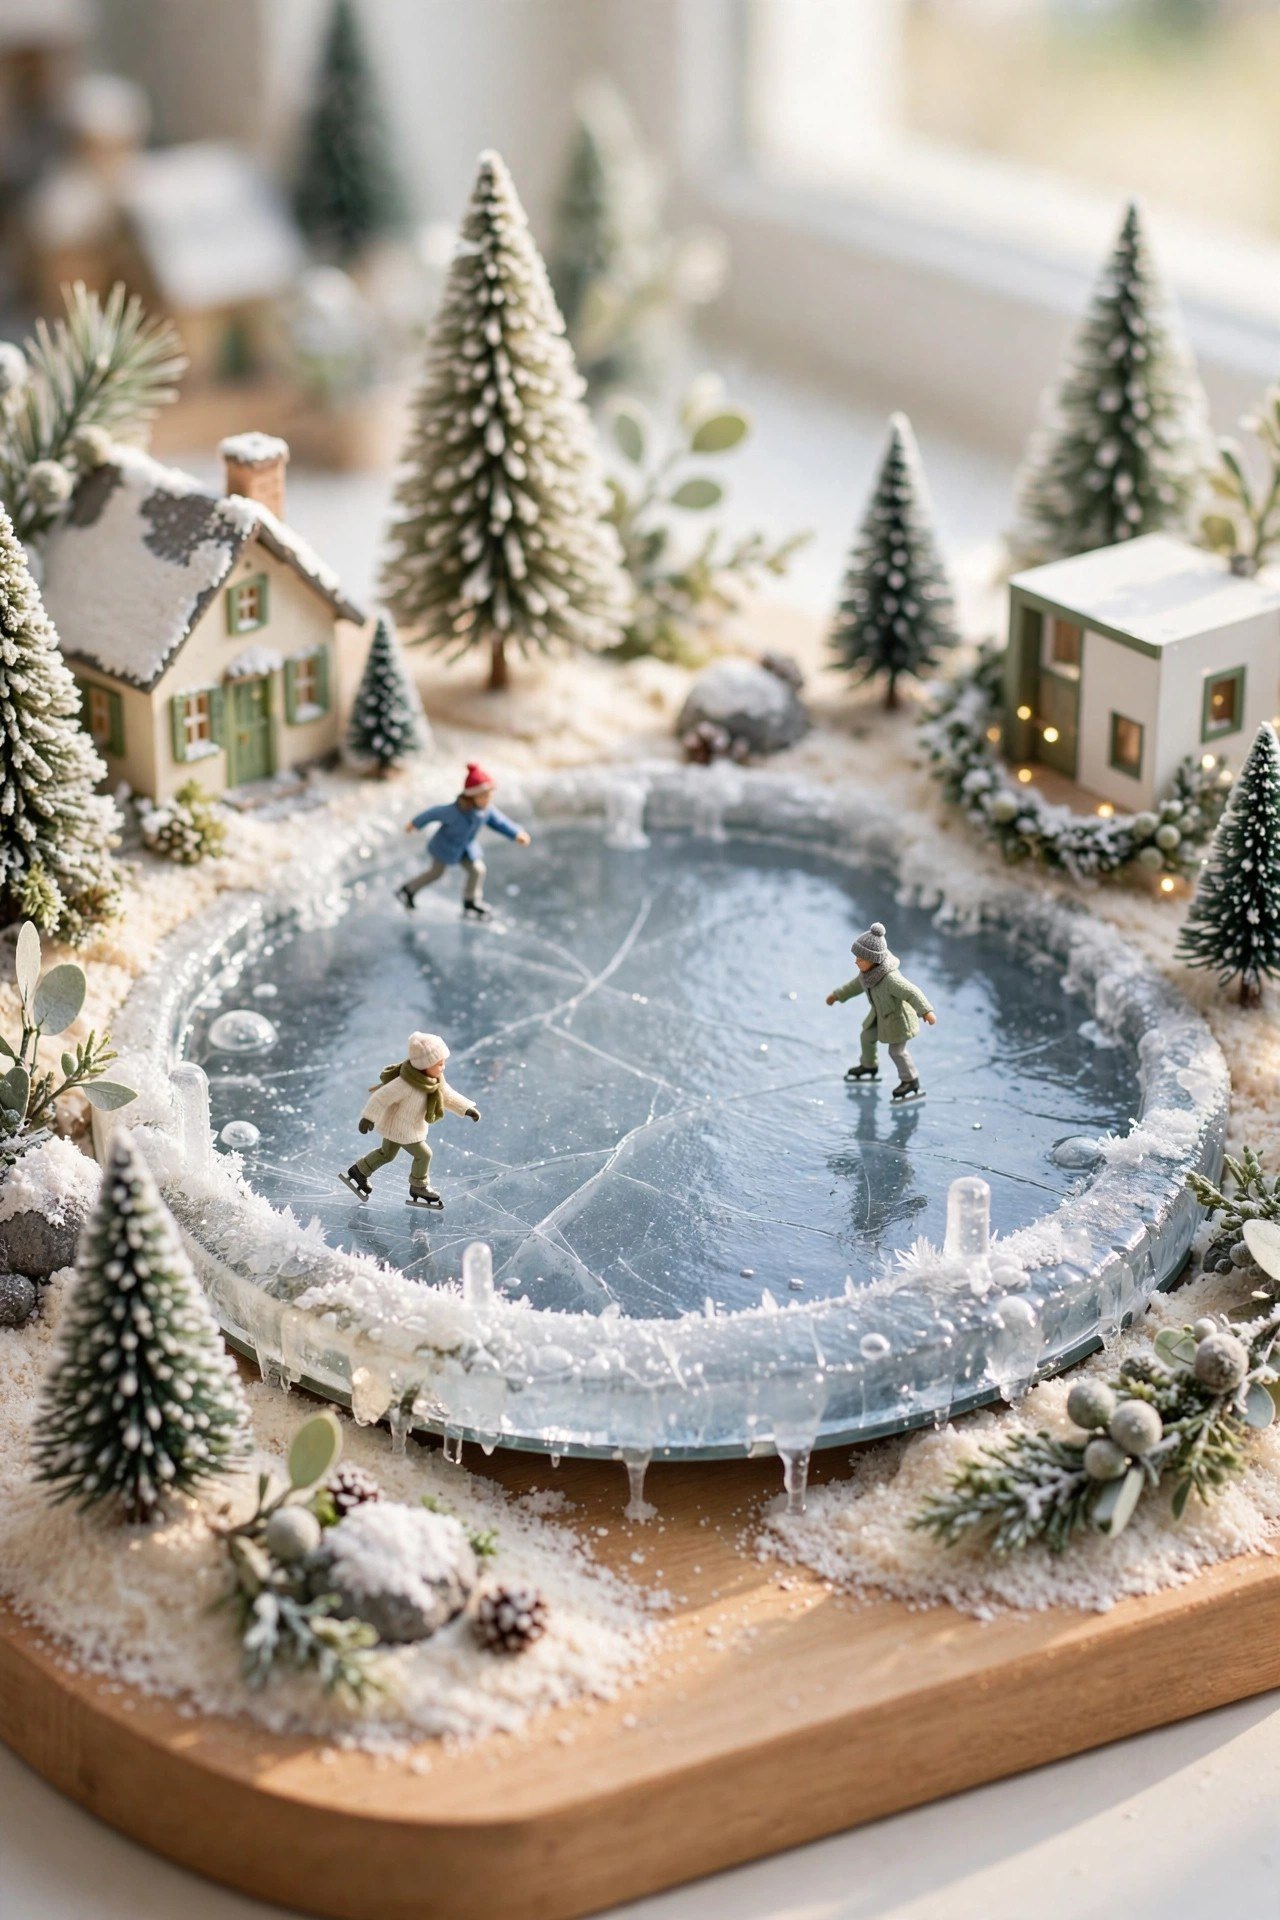
11. Faux Frozen Pond
Take the mirror idea one step further with a dedicated skating pond. Start with a round mirror as the base, then hot glue clear plastic cocktail stirrers or broken ornament pieces around the edge to form an icy shoreline. Add miniature skaters for a focal point full of winter joy.
Scatter a few tiny pine trees and a bench around the pond to complete the park scene. The round shape contrasts nicely with the straight lines of village streets. Position it where light hits the mirror directly, and the reflections will dance across the nearby houses.
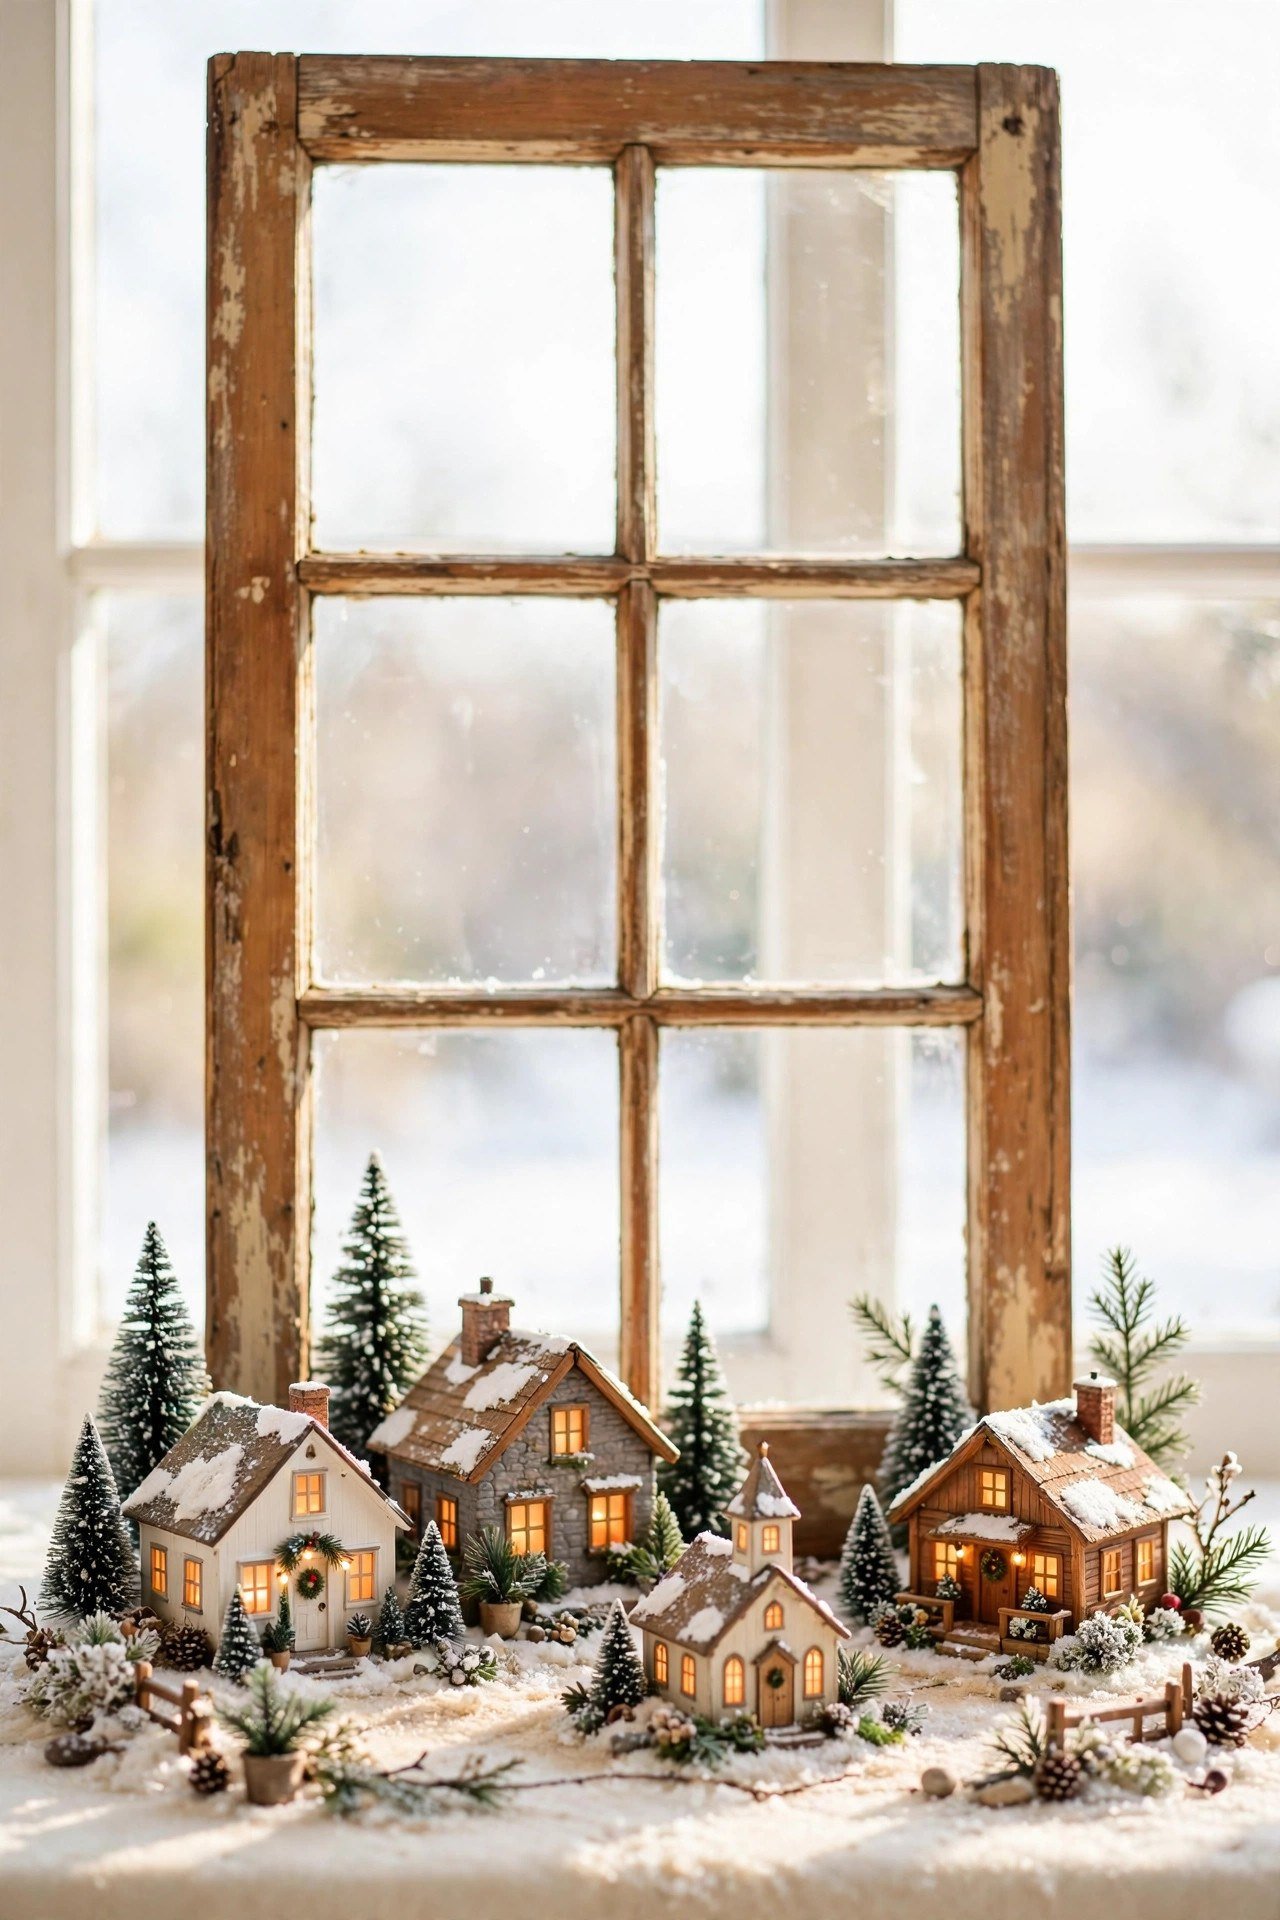
12. Repurposed Window Frame Backdrop
An old window frame with divided panes makes a stunning architectural backdrop for your village. Stand it vertically behind the display to add height and farmhouse charm, or lay a flat frame over part of the scene like a protective grid. Either way, it instantly adds character.
Leave the wood naturally weathered or give it a light whitewash to match your decor. Hang a small wreath from the top of the frame to tie it into the holiday theme. This backdrop also photographs beautifully, which makes your village extra shareable. A decorative molding wall behind the table can frame the whole scene even more elegantly.
13. Cotton Ball and Glitter Snowfall
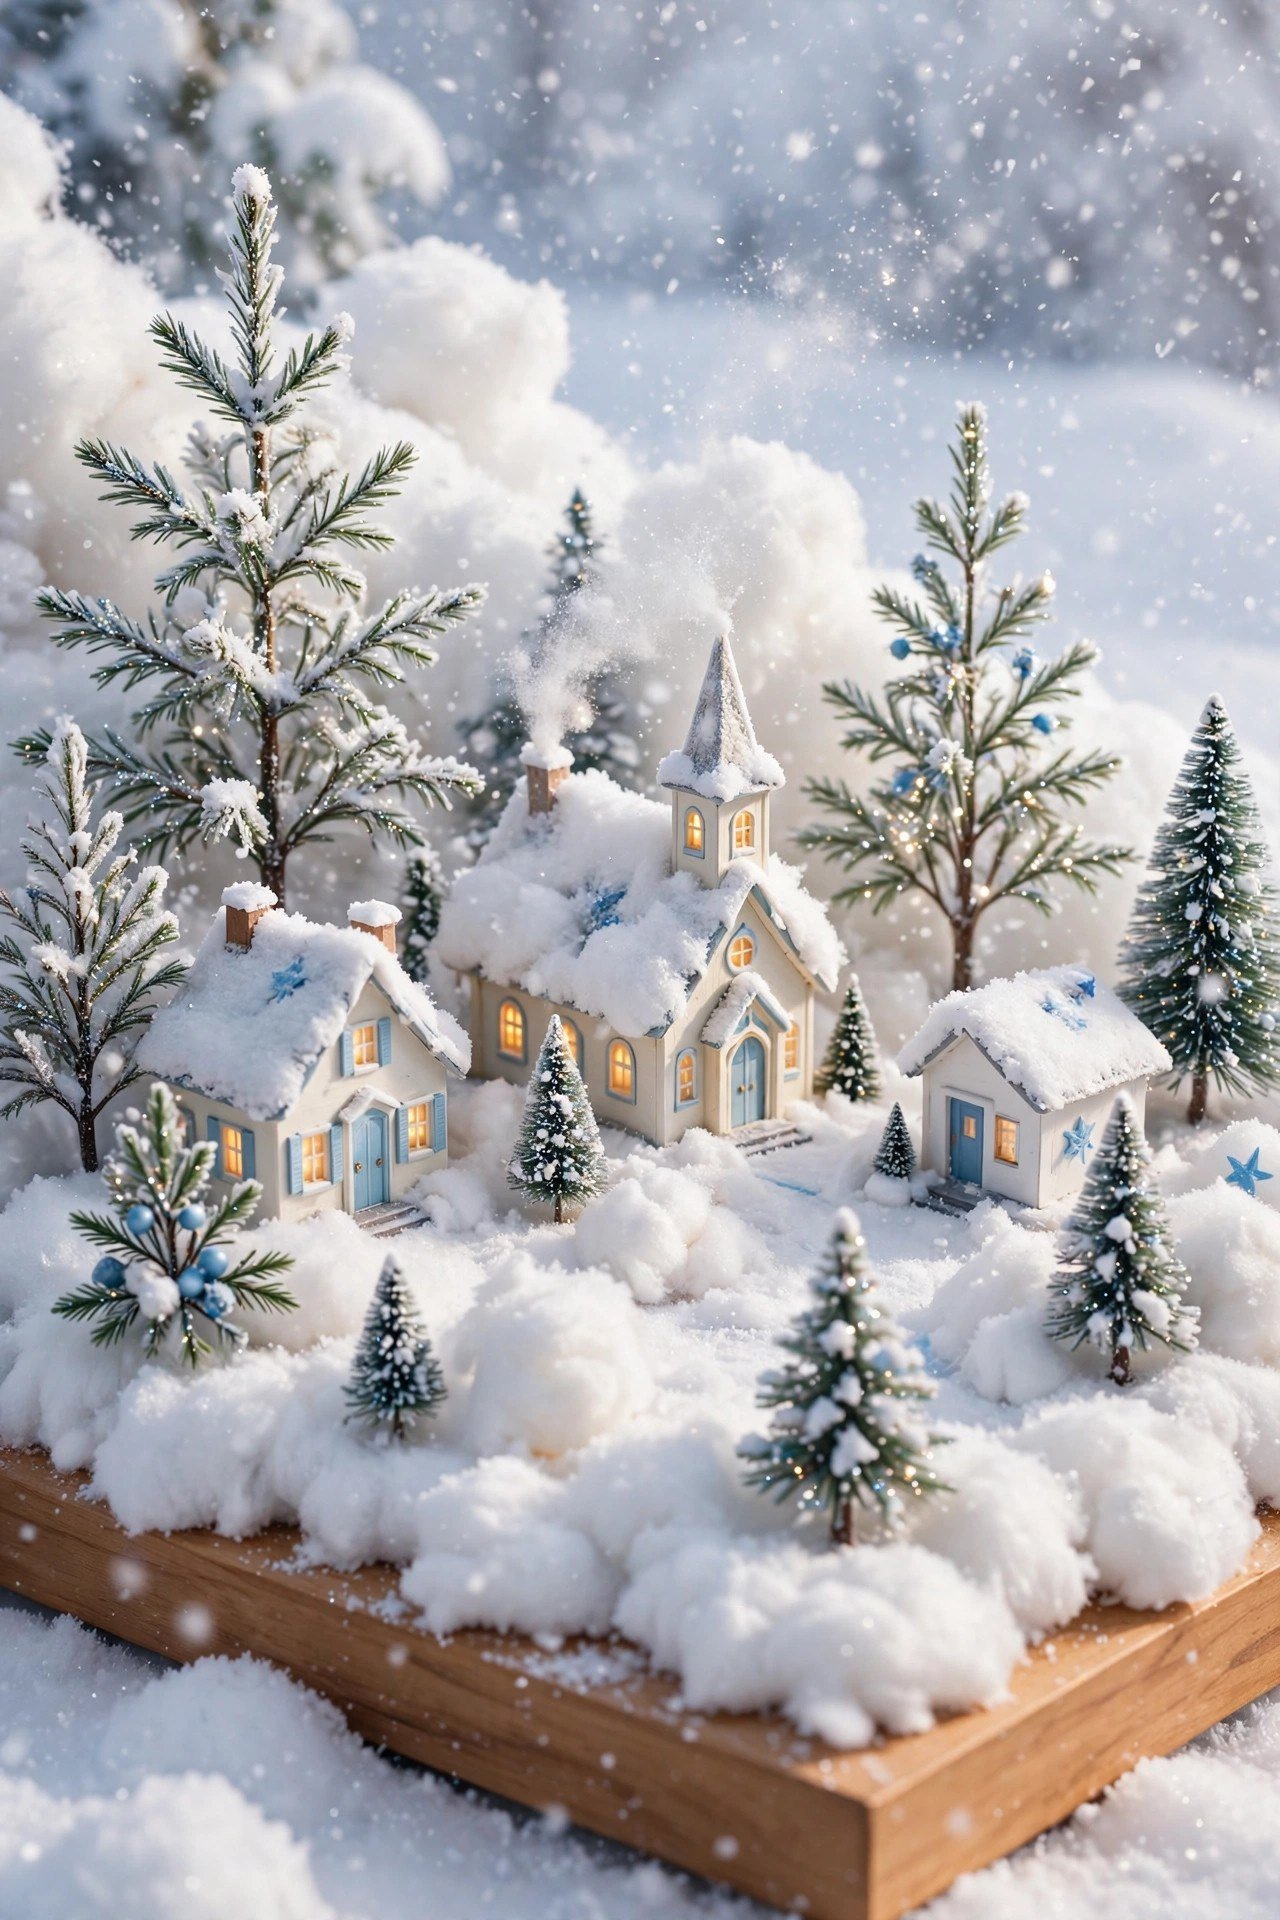
For a heavy fresh-fallen snow effect, nothing beats the classic stretched cotton ball. Pull cotton balls apart into thin sheets and lay them over your landscape, tucking the edges around buildings and fences. For falling snow on the trees, dab clear-drying glue on the branches and sprinkle fine white glitter.
Work in small sections so the glue does not dry before the glitter lands. Use glitter sparingly on the trees and more generously on open snow for a natural look. This combination gives you both deep snow cover and delicate sparkling branches in one display.
14. Train Track Integration
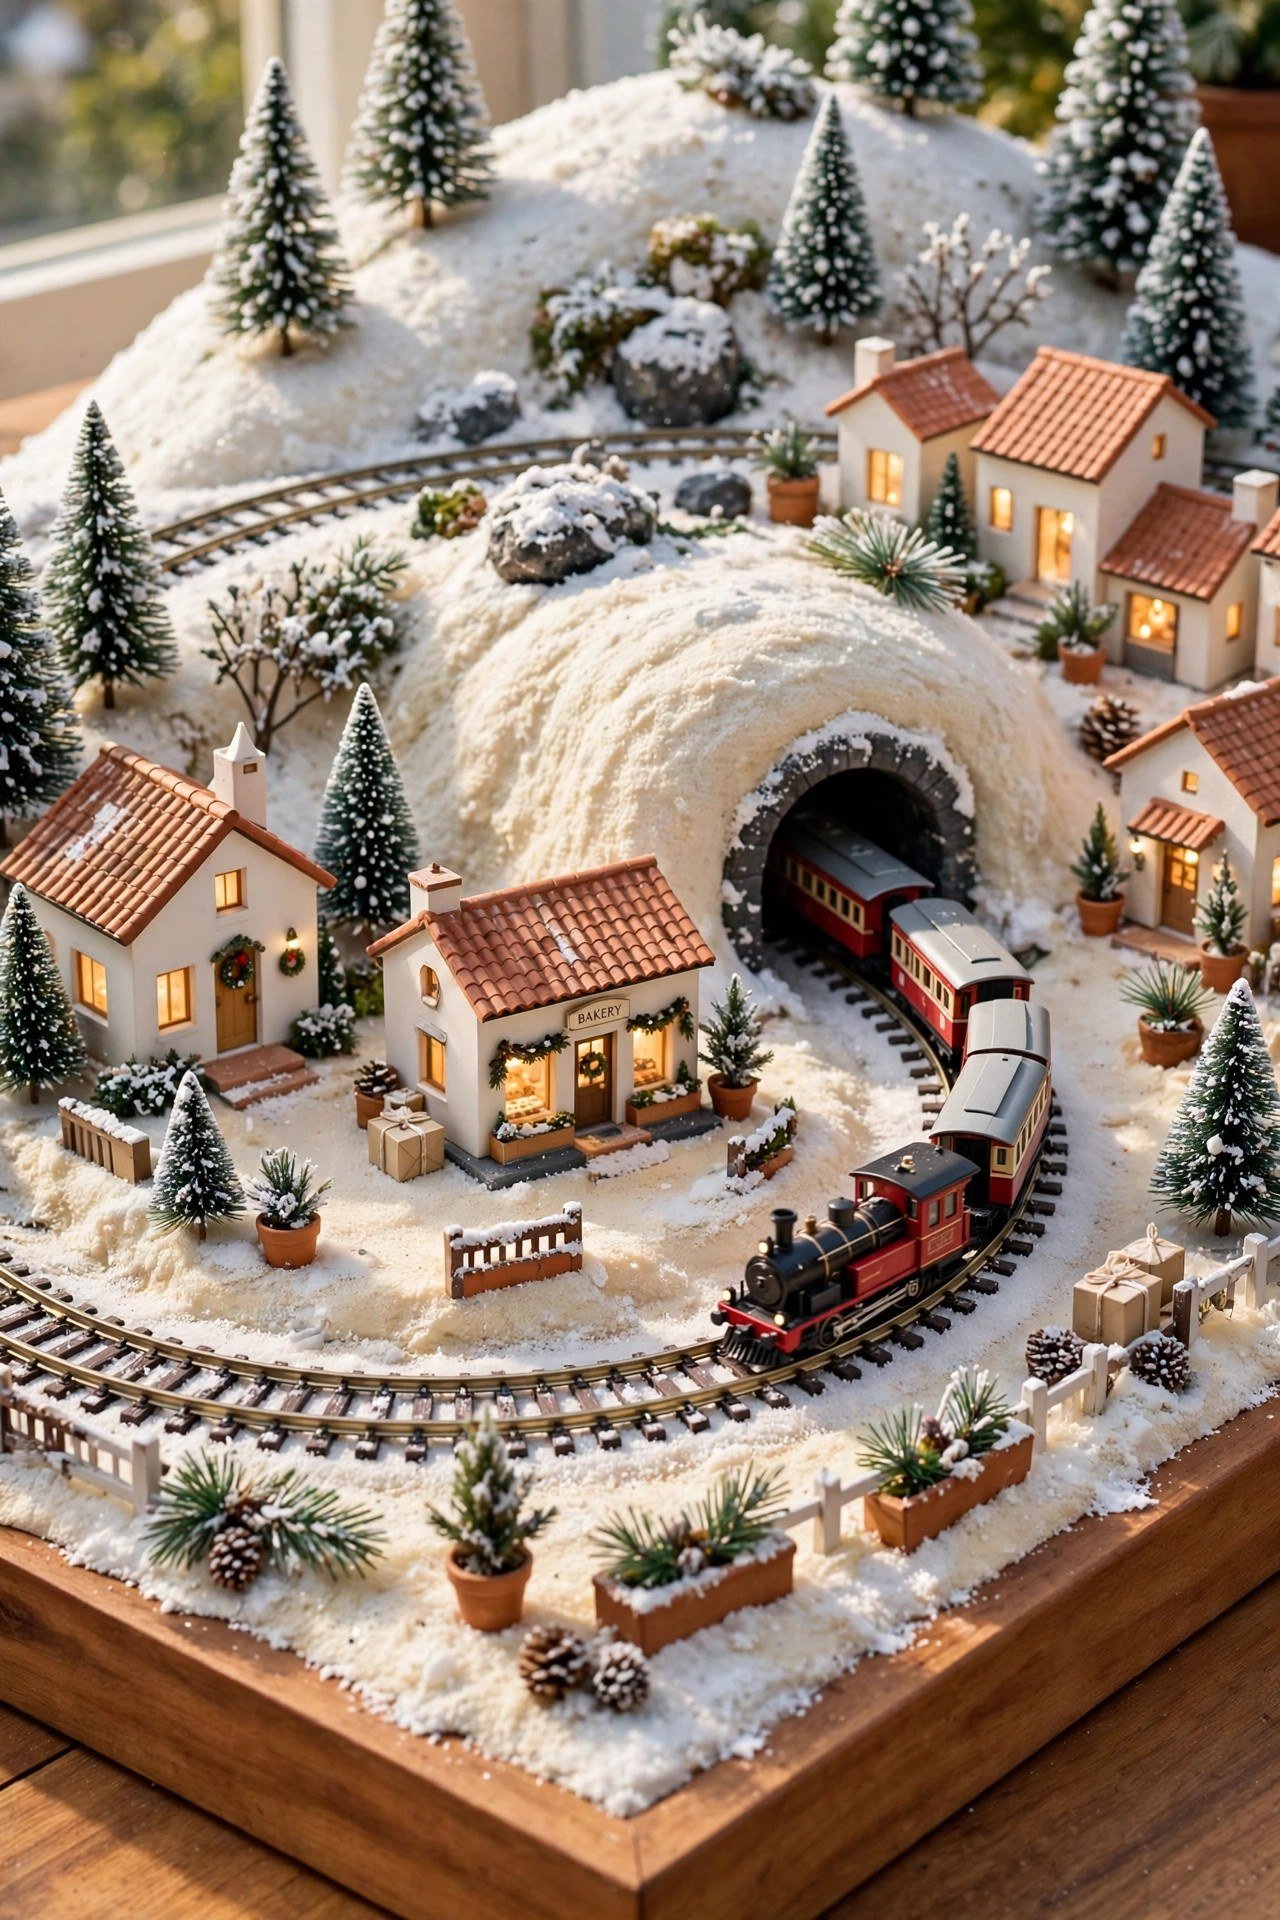
If you own a model train, build the whole village around its tracks and let the train become the star. Run the track in a loop through the town, carve tunnels through your batting hills, and build a tiny station where the train can pause. The movement and sound bring an energy that static displays cannot match.
Keep the track level with small shims hidden under the snow so the train runs smoothly all season. Position the station near the front so children can watch the train arrive. Even a simple oval of track turns a quiet village into a lively little world.
15. Balsa Wood Footbridge
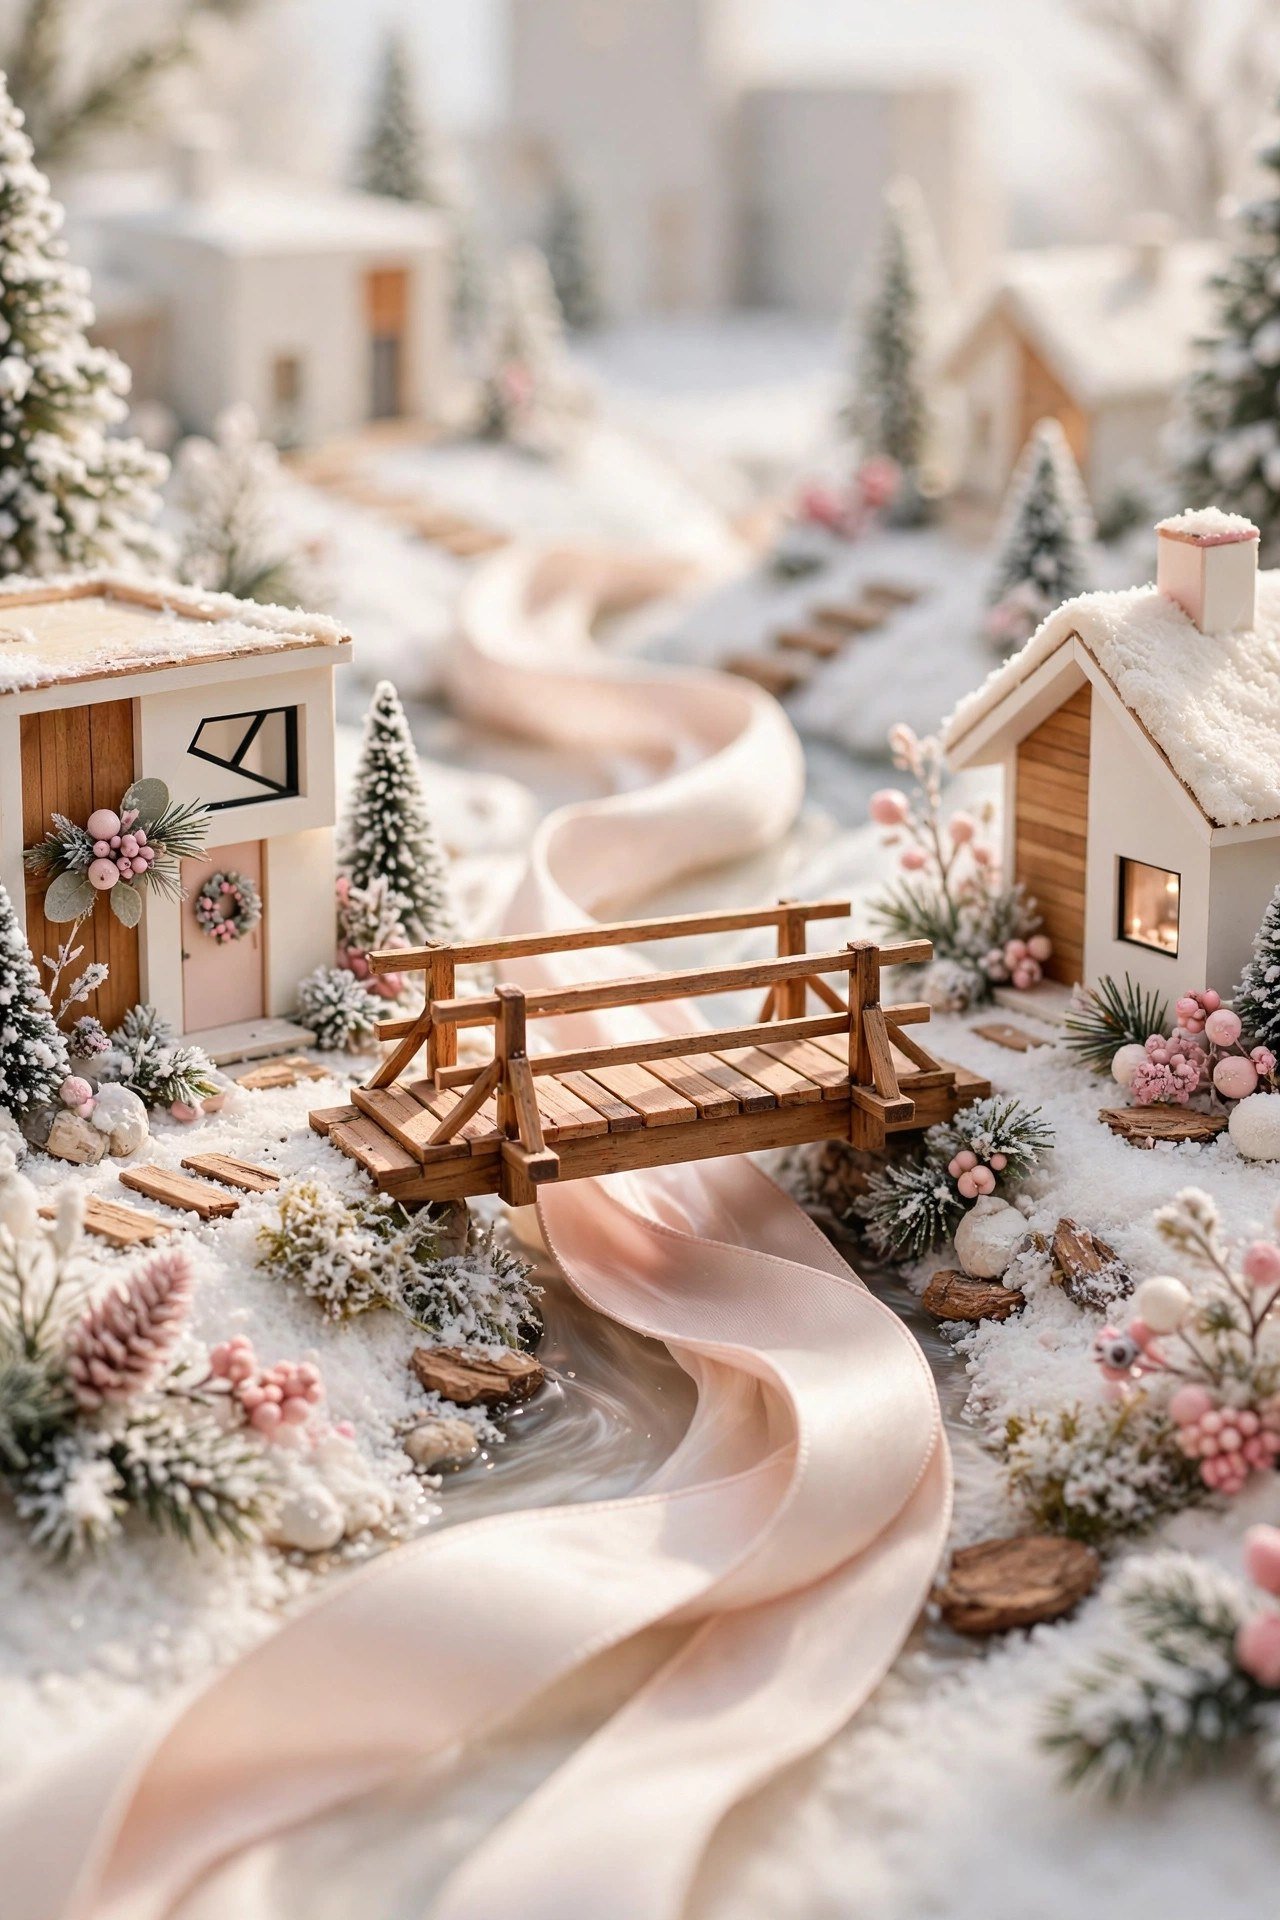
A tiny footbridge over a stream of blue ribbon or a narrow mirror adds classic charm in an afternoon. Cut two side rails and several planks from thin balsa wood with a craft knife, then glue them together. A wash of watered-down brown paint gives it a weathered look.
Place the bridge where a path naturally crosses your stream or lake for the most realistic effect. Add small railings if you want extra detail, since they read beautifully at miniature scale. This little structure becomes a favorite photo spot in the whole village.
16. Under-the-Tree Village Magic
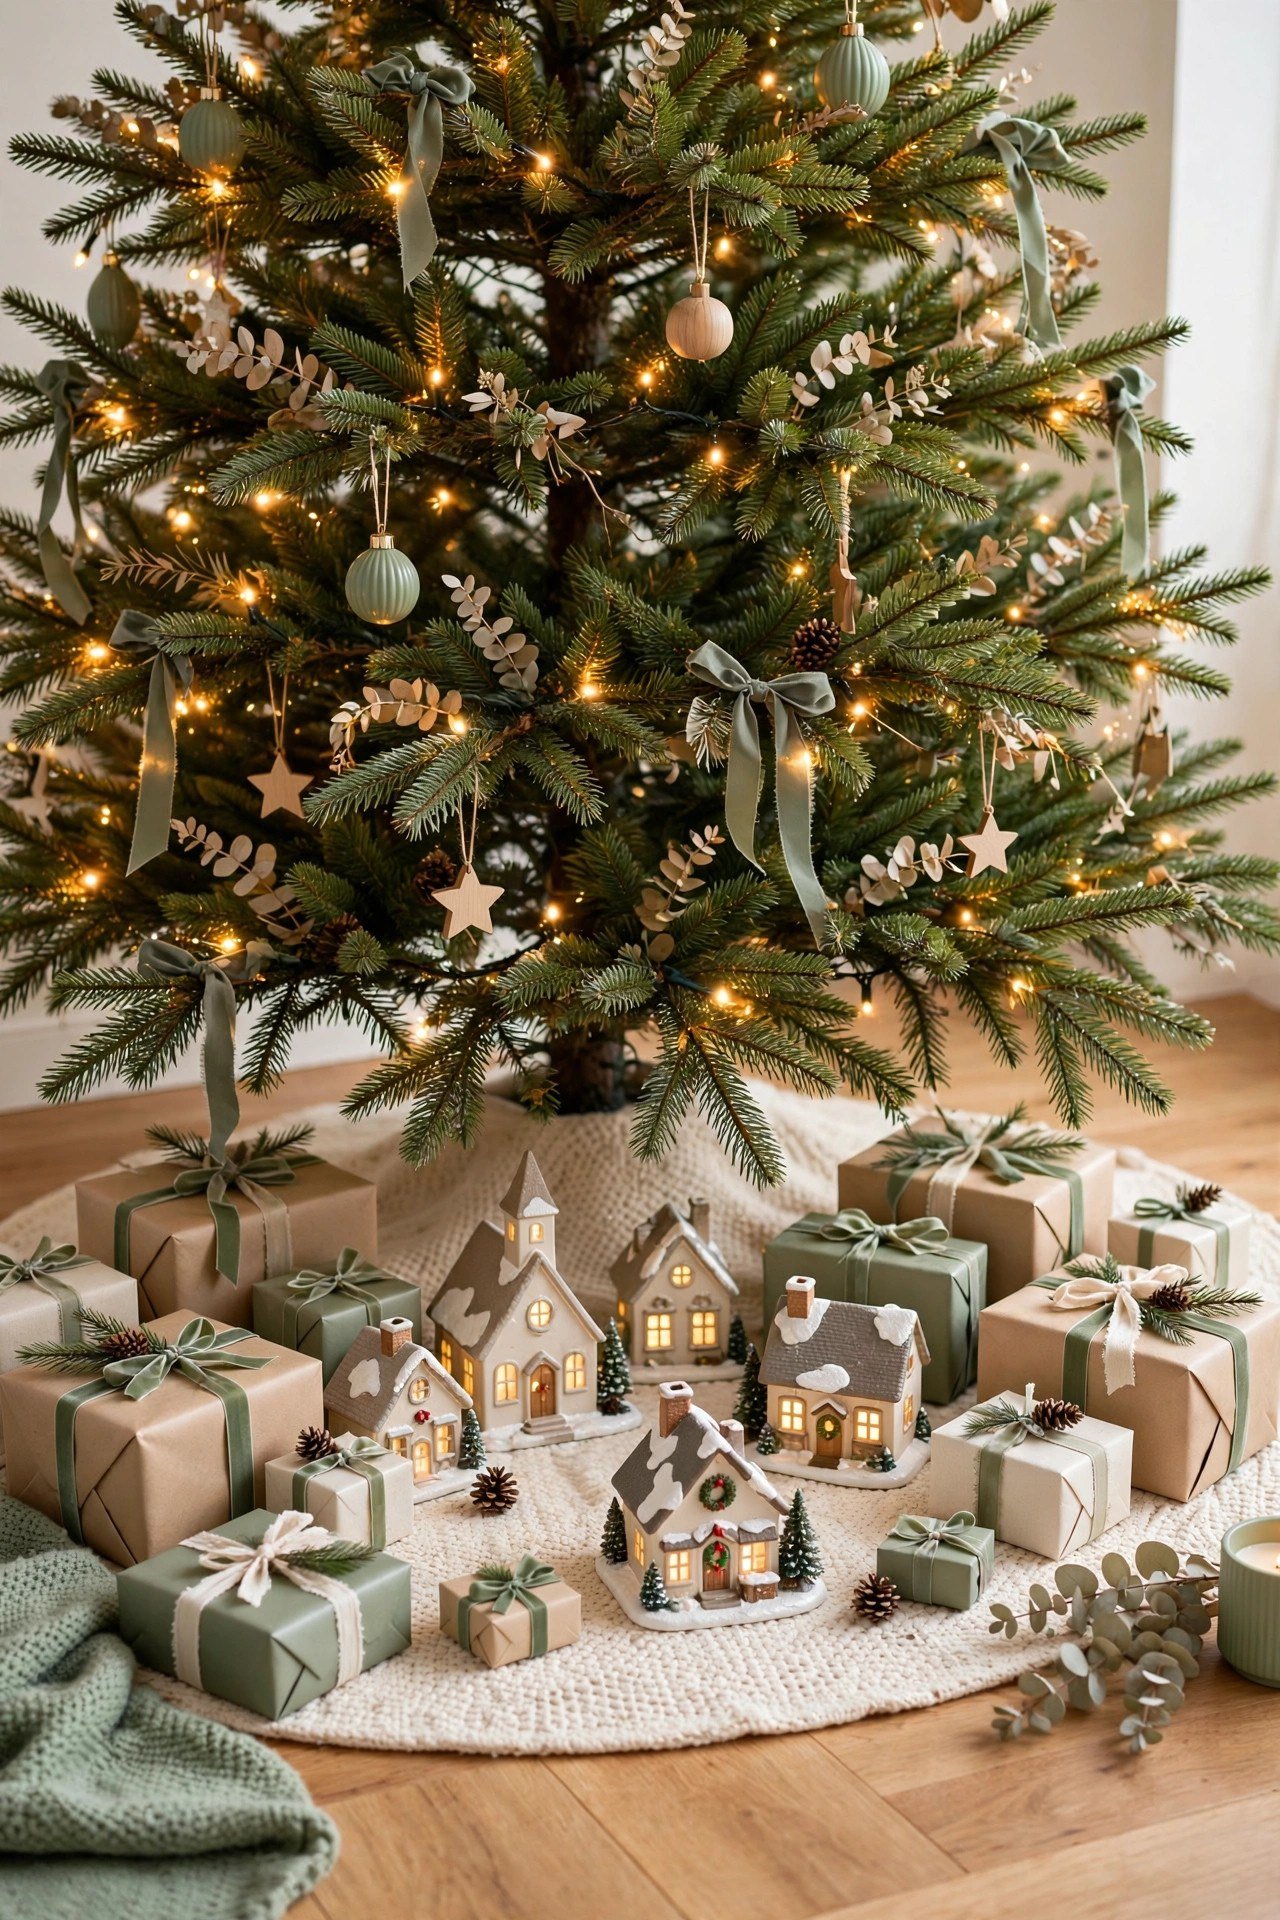
The space under your Christmas tree is prime village real estate. Arrange your houses around the tree base, using the tree skirt as a snowy landscape and the tree itself as a giant fragrant forest. Wrapped presents become part of the scenery, and the tree lights cast magic over everything.
Keep the village toward the front half of the tree so it stays visible from the room. Use battery lights in the houses so you do not add more cords to the tree area. This classic setup never fails to make guests smile, especially children. If your tree sits near the stairs, a matching ceiling design above can make the whole corner feel like one grand holiday scene.
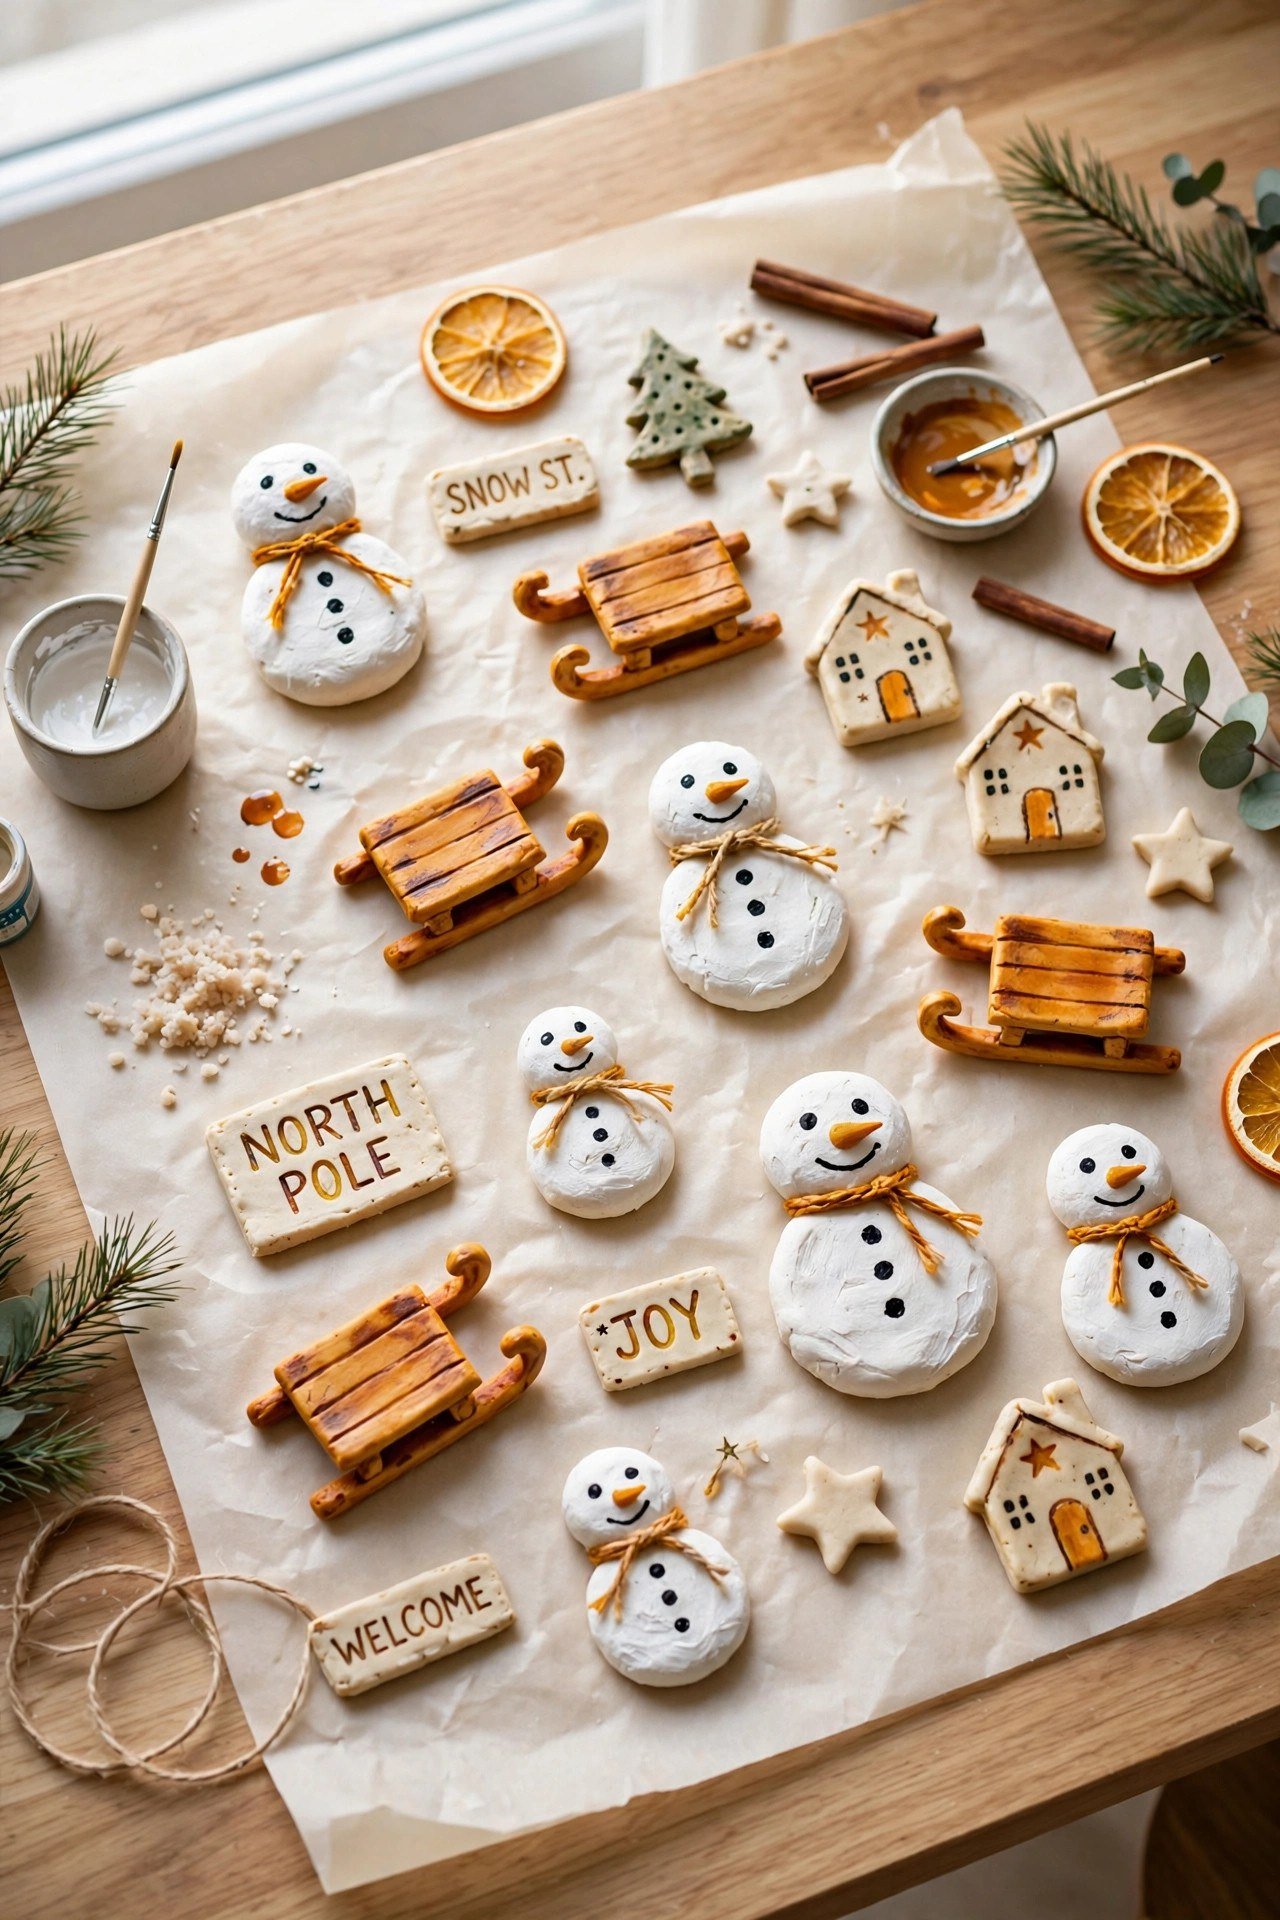
17. DIY Salt Dough Accessories
Get the whole family involved by shaping village accessories from simple salt dough. Mix one cup of salt with two cups of flour and one cup of water, then mold tiny signs, sleds, and snowmen. Bake at a low temperature until hard, then paint them in festive colors.
These handmade pieces carry memories that store-bought accessories cannot match. Let children paint the pieces however they like, since the charm is in the imperfection. Date the back of each piece so you can remember which Christmas it was made for.
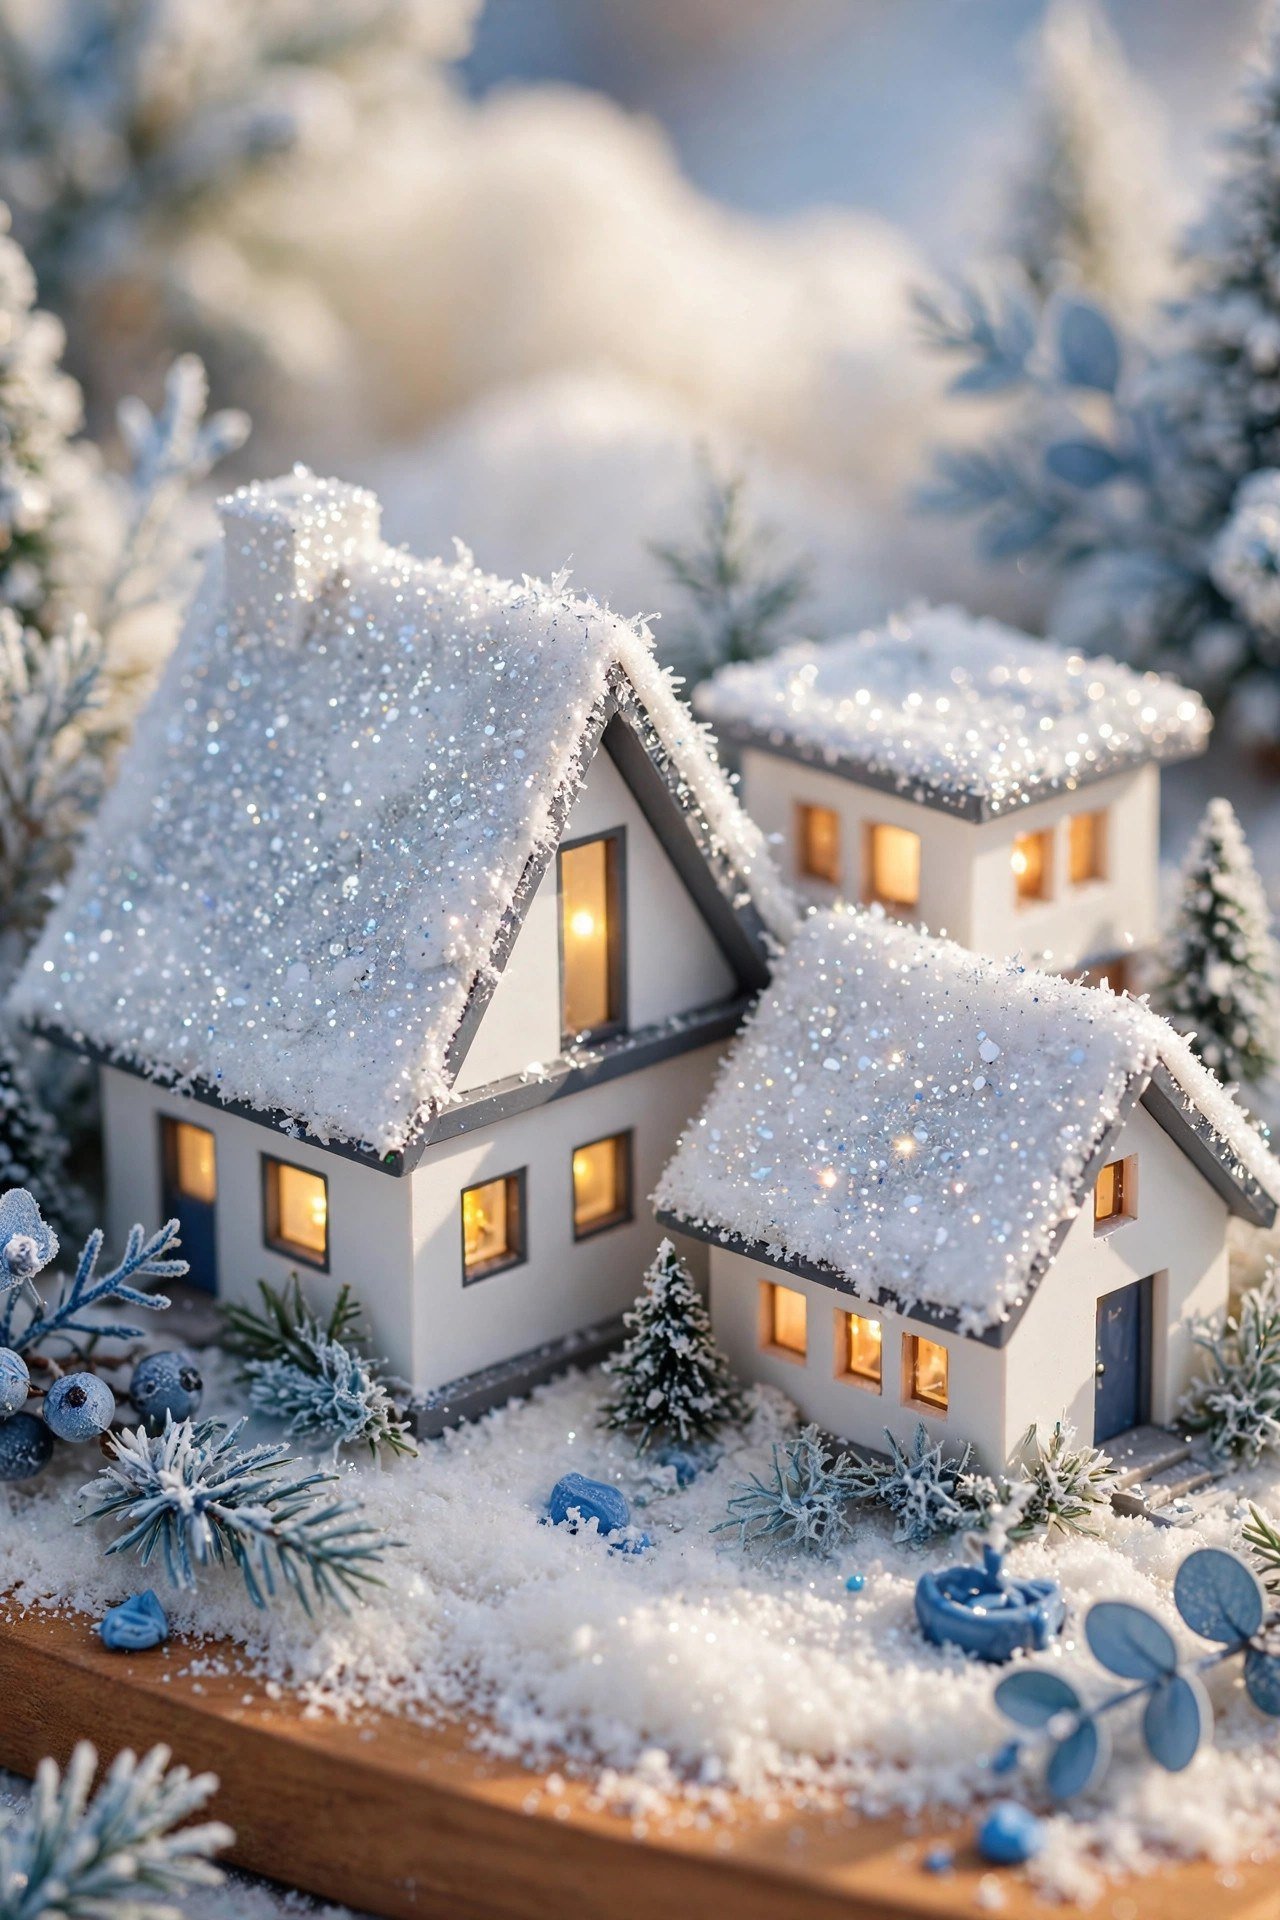
18. Glittering Snowy House Roofs
Make your houses look freshly dusted with snow using paint and glitter. Mix white acrylic paint with a dash of white glue and dab it sparingly onto roofs and eaves. While it is still wet, sprinkle white glitter or fake snow flocking over the top, then tap off the excess.
Focus on the roof peaks and upper edges where real snow would settle first. Avoid covering the windows and doors so the warm light still shines through. This frosted finish ties old and new houses together, making a mixed collection look like one intentional set.
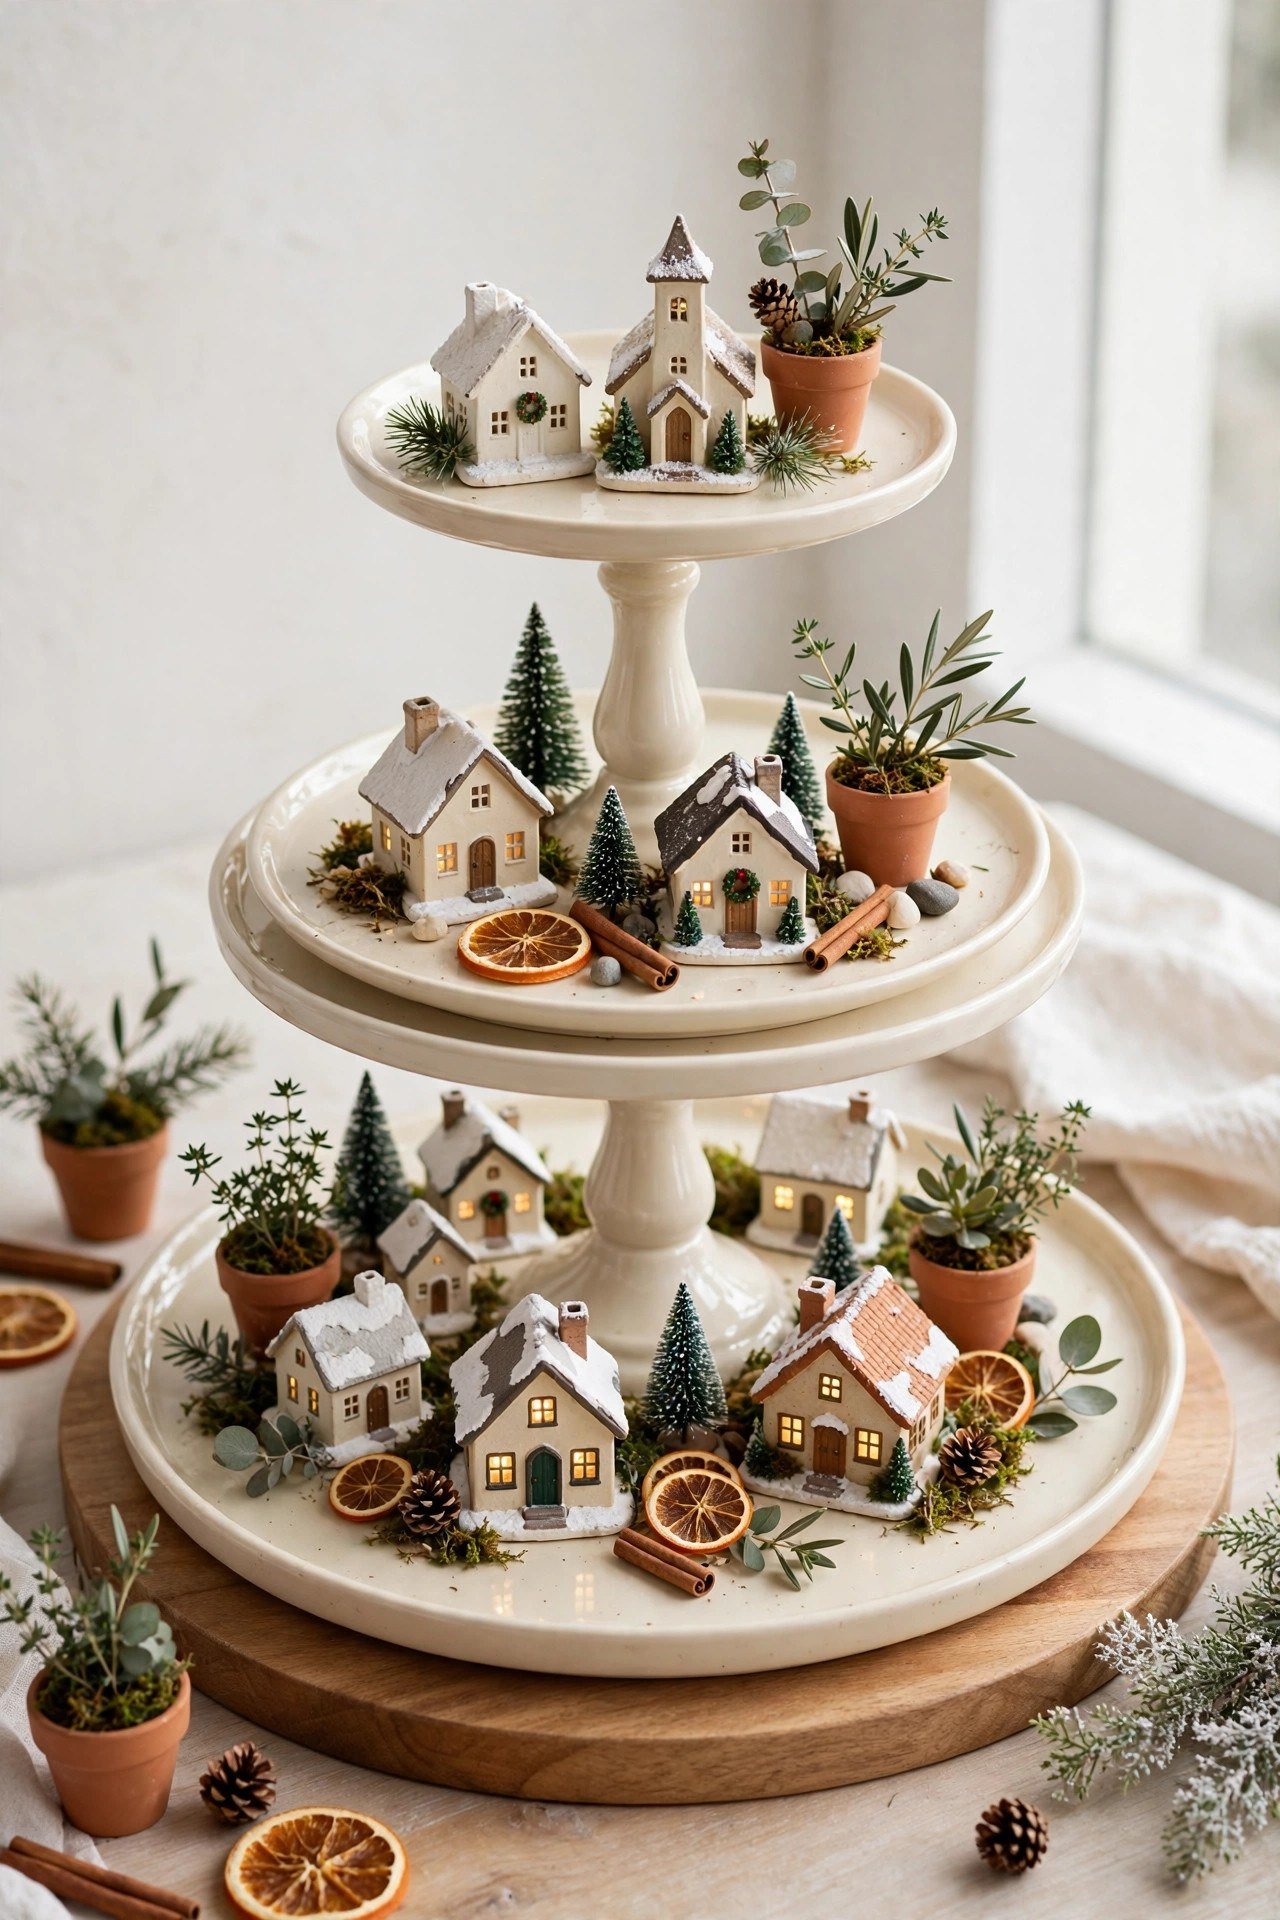
19. Tiered Cake Stand Display
For a compact but dramatic display, build your village on tiered cake stands. Place your most special buildings on the different levels so every piece gets its moment in the spotlight. The instant elevation creates visual interest that a flat table can never offer.
This is the perfect solution for small apartments or for a secondary village in a bedroom or office. Choose stands with wide, stable plates so the houses sit securely. Drape batting over each tier to hide the stand and keep the snowy illusion complete.
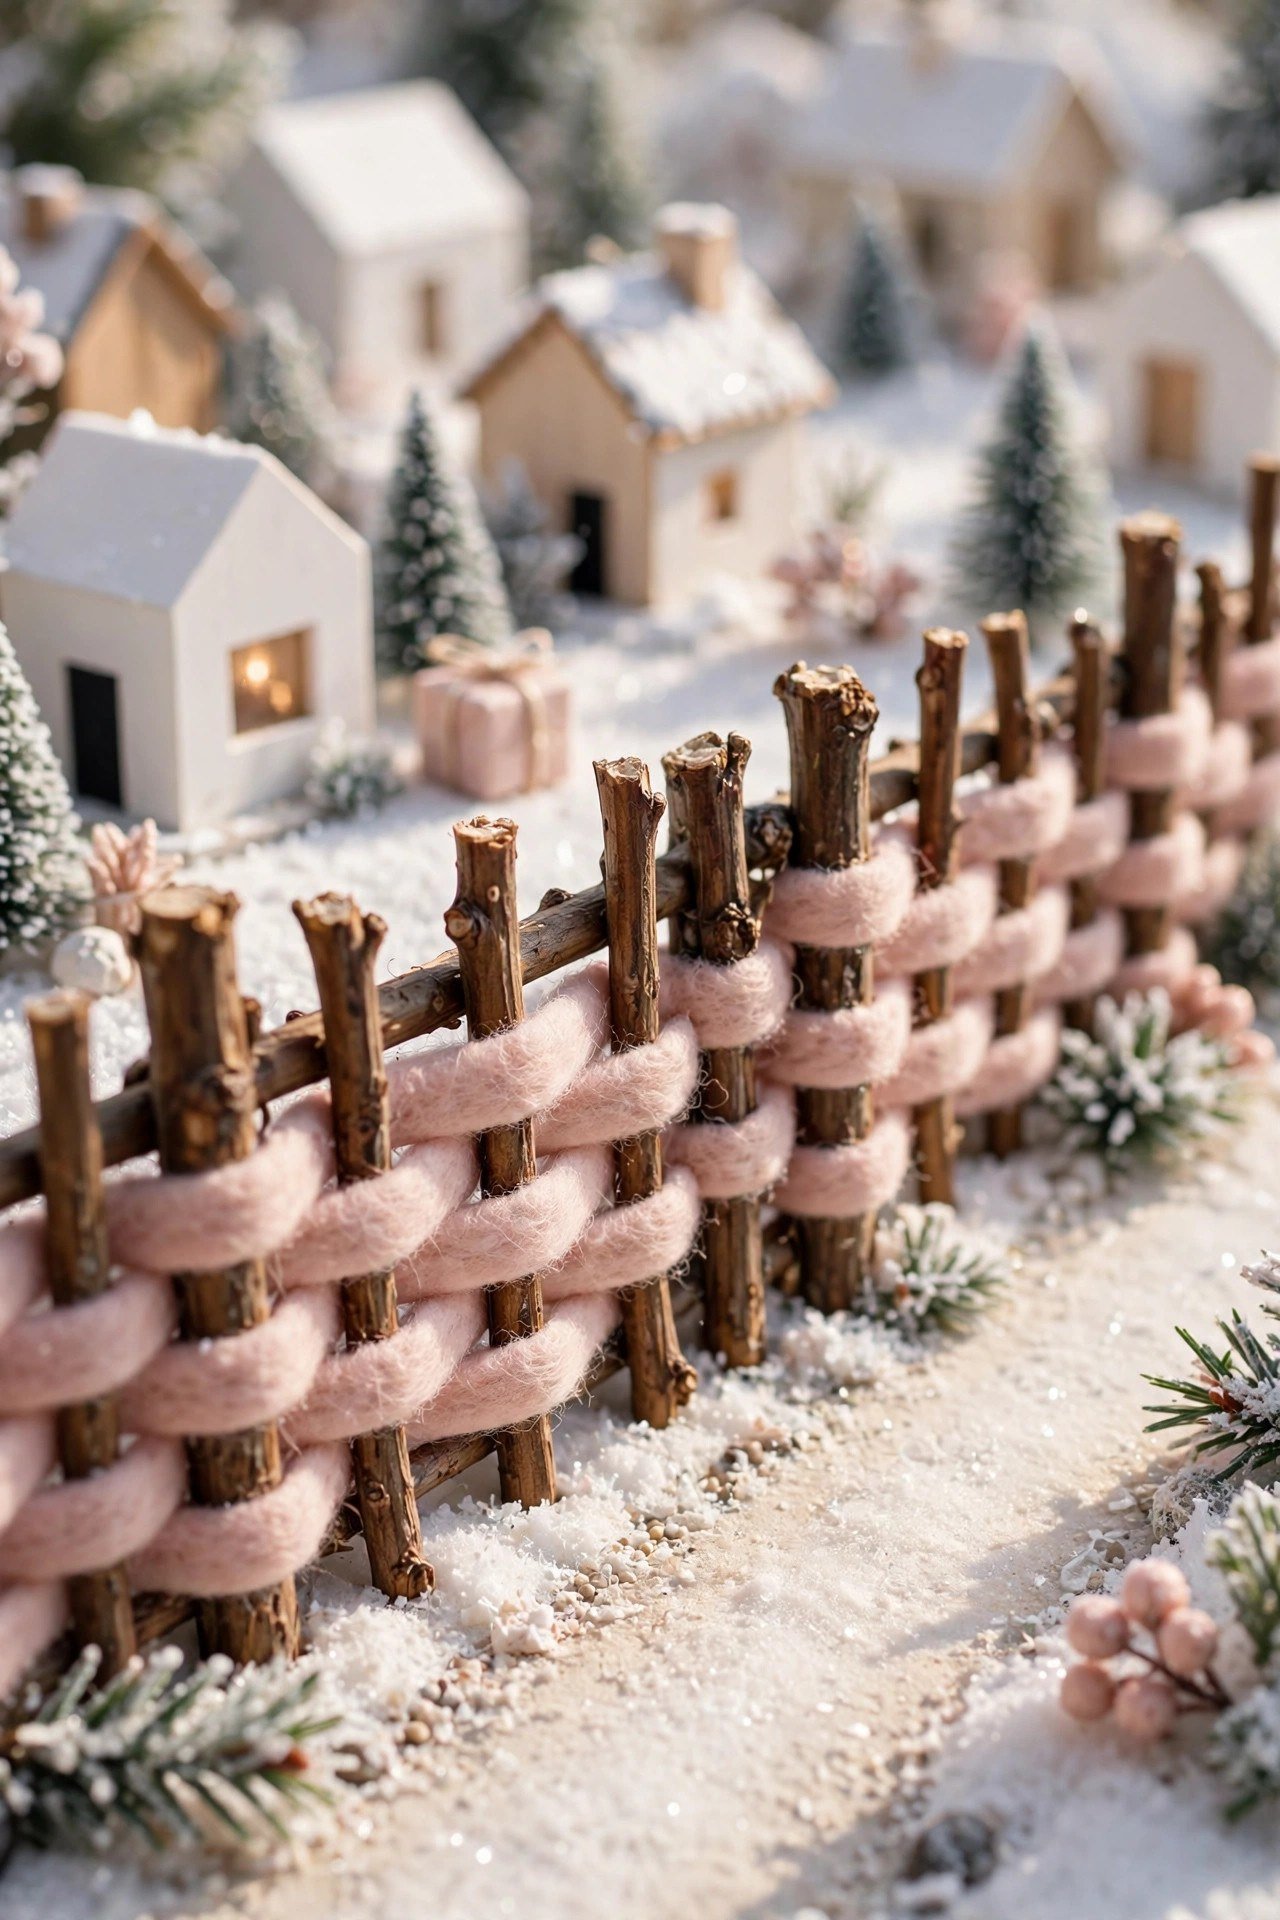
20. Felt and Twig Fencing
Craft rustic country fencing from materials found in your own backyard. Cut small twigs to matching lengths for fence posts, then weave thin strips of white or brown felt between them. These little fences add wonderful detail and define property lines in your tiny town.
Line the fences along your wrapping paper roads and around house yards for the most realistic effect. Keep the twig heights uneven for a handmade charm that store-bought fences lack. It is a simple evening project that adds a whole layer of realism.
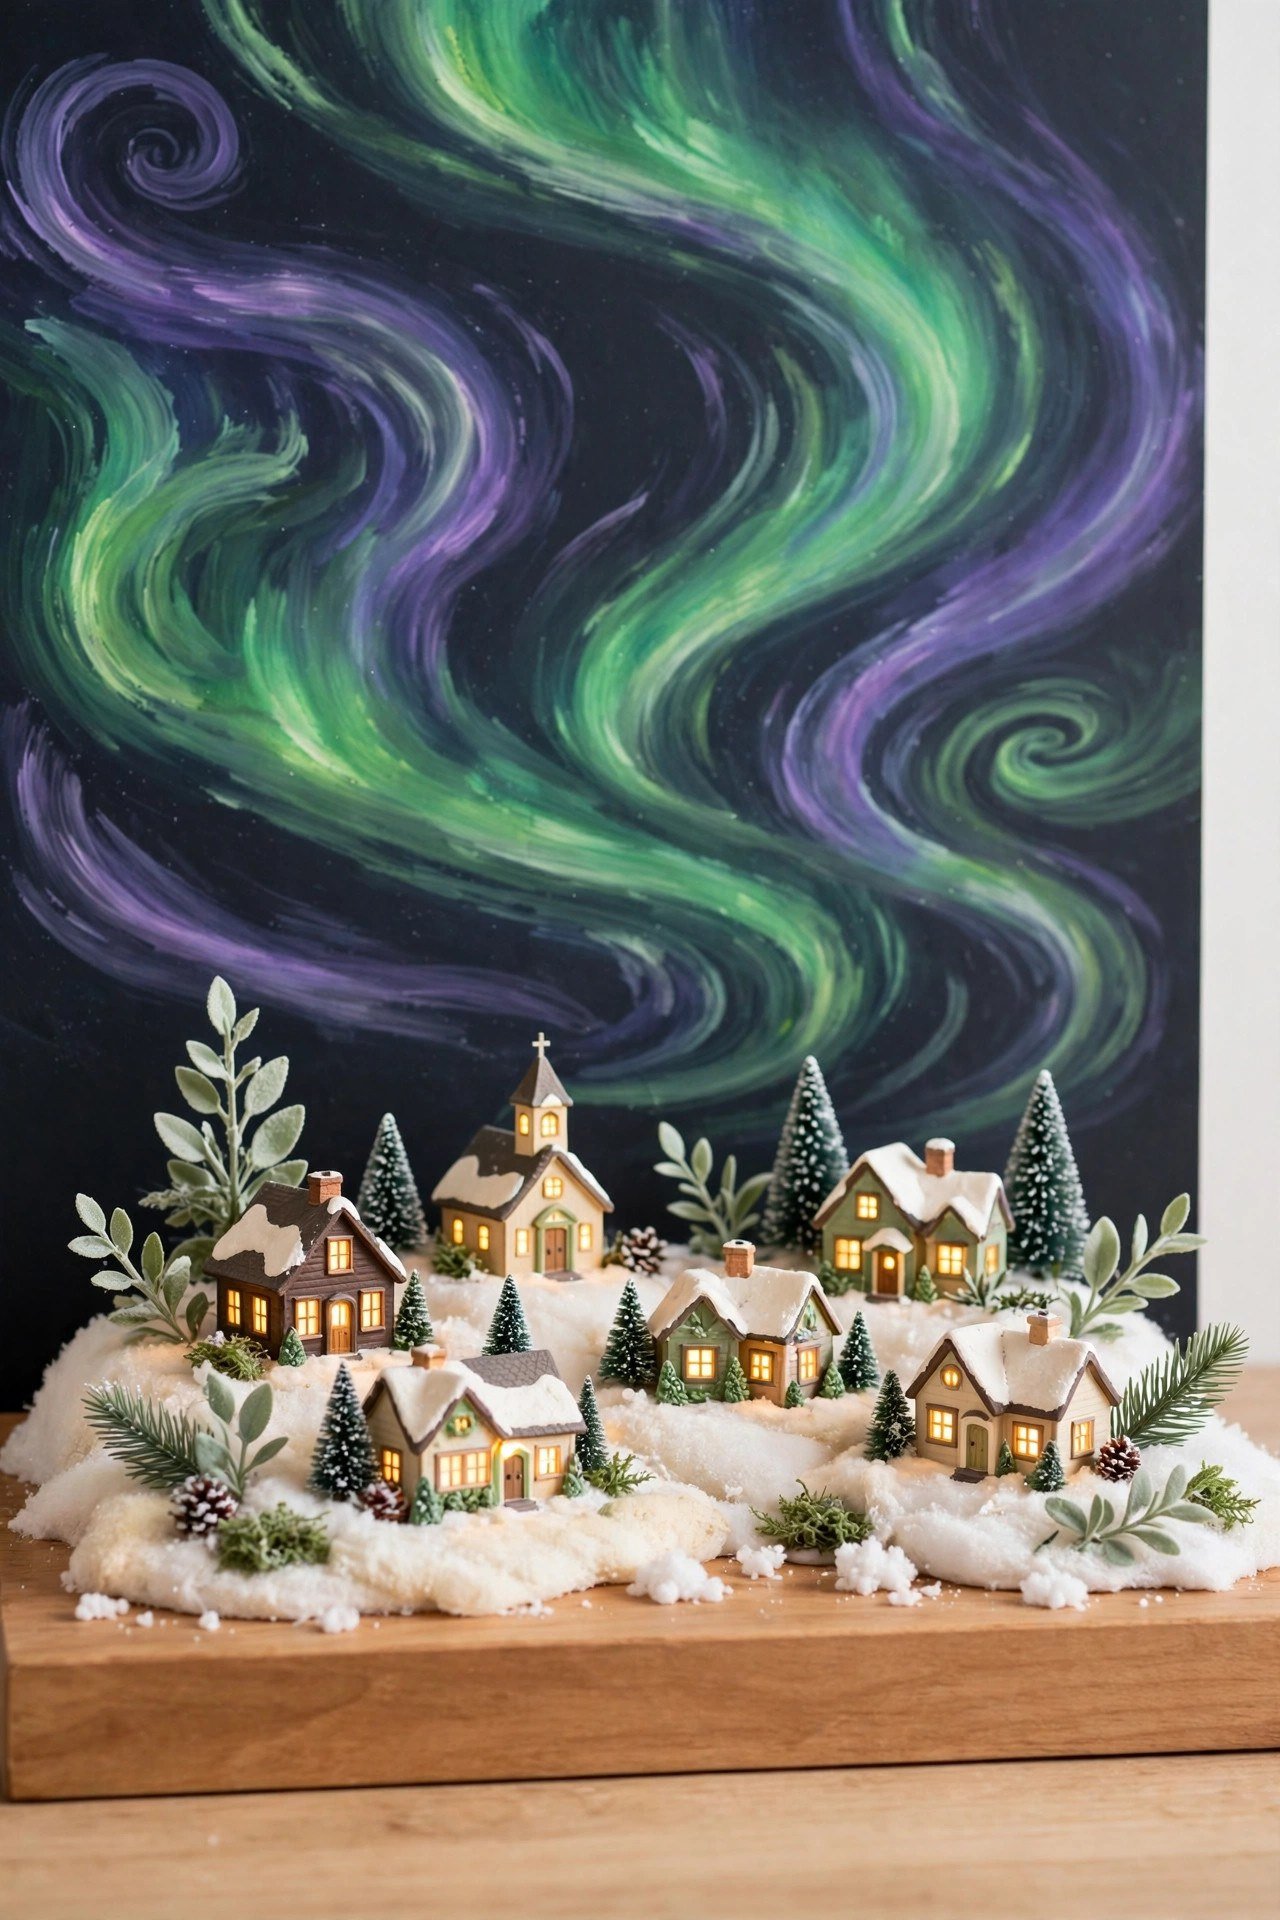
21. Northern Lights Backdrop
Give your village an epic arctic sky with a hand-painted aurora backdrop. Start with a dark blue or black poster board, then blend streaks of green, blue, and purple acrylic paint with a dry brush for a soft ethereal glow. The effect is stunning and deeply artistic.
Place the board behind the village and light it from the front so the colors stay rich. This backdrop works best with evening lighting when the painted sky can glow against a dim room. A two-tone wall behind the table can echo the night-sky feeling and make the aurora pop even more.
22. Hot Cocoa Shop Corner
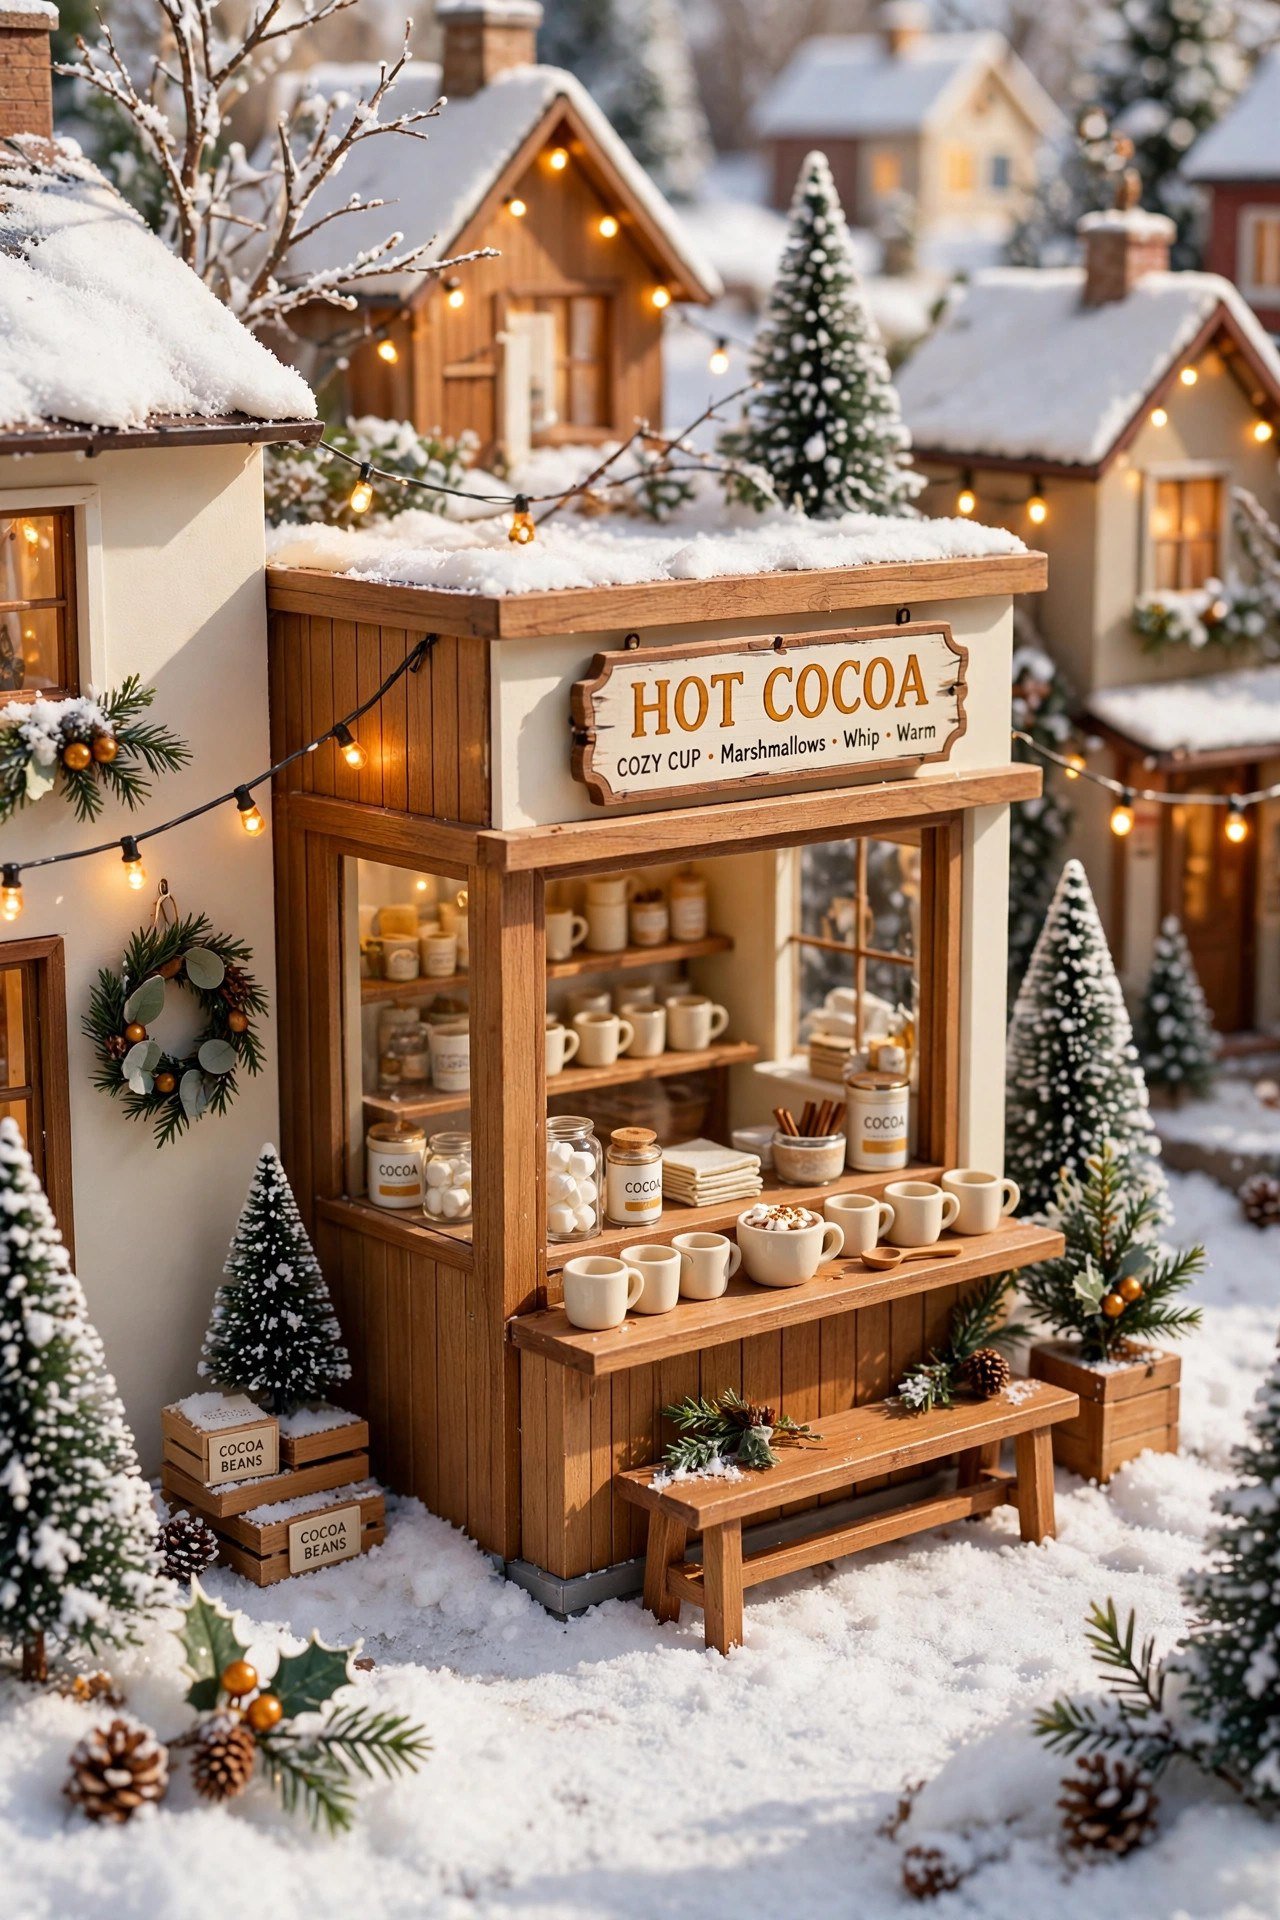
Give your villagers a cozy gathering spot with a dedicated hot cocoa shop corner. Choose one small building as the shop, then add tiny mugs made from bead caps, a painted wooden sign, and a few little benches. A small stack of brown felt firewood nearby completes the scene.
Position a few villager figurines around the shop so it feels busy and loved. String a tiny garland across the shop front for extra charm. This little commercial corner makes the town feel like a real community instead of just a row of houses.
23. Mini Wreaths and Garland Details
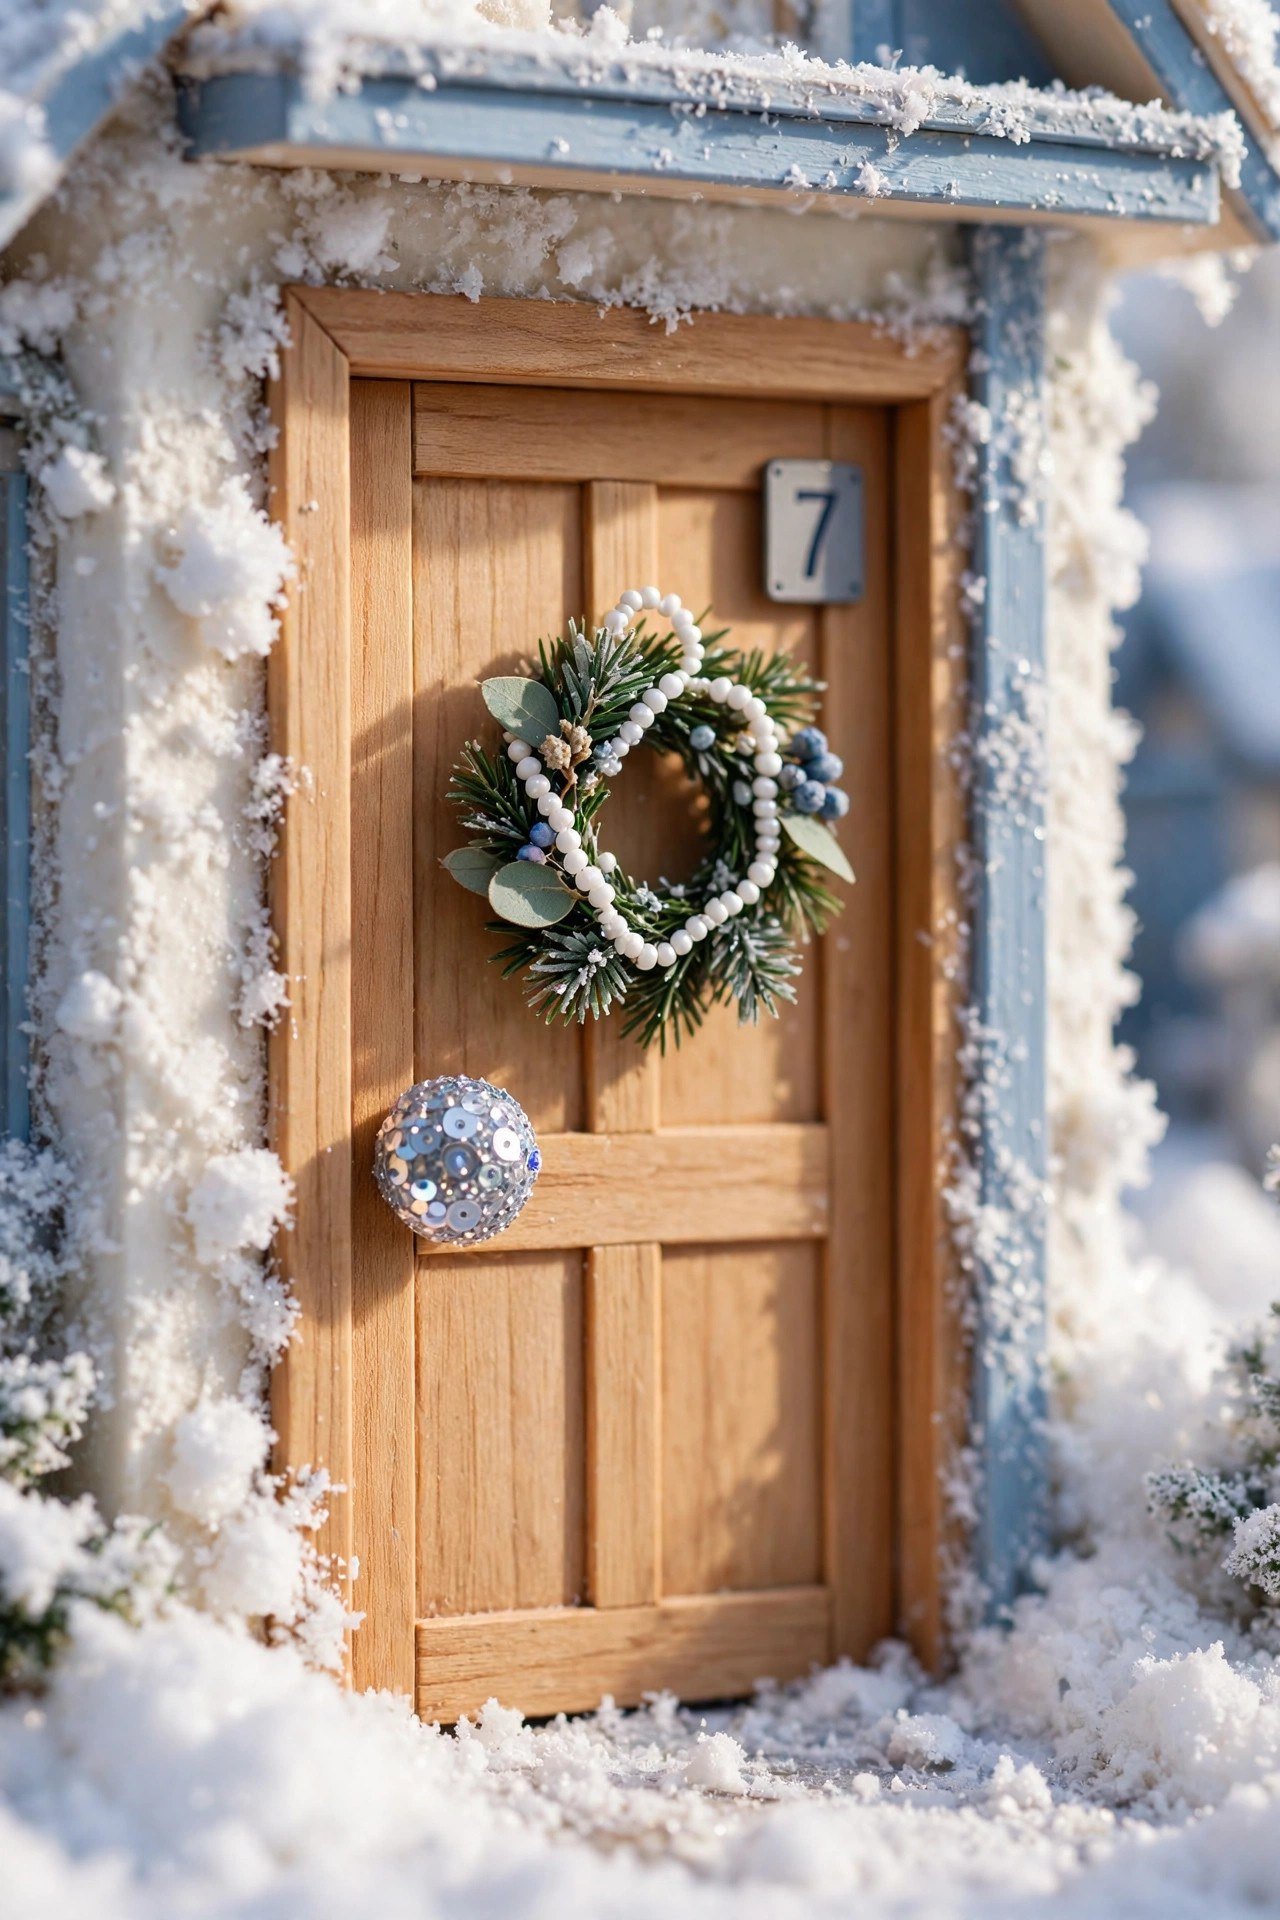
Do not forget to decorate the tiny homes themselves. Twist green embroidery floss into miniature wreaths for the doors, string tiny beads into garlands, and use a single sequin as a perfect doorknob. These micro-details are what separate a good display from an unforgettable one.
Work with tweezers and a steady hand, and decorate just a few houses rather than every single one. A few beautifully dressed homes draw the eye more than a town where everything is equally busy. Guests will lean in close to admire these tiny touches.
24. Shadow Box Sanctuary Display
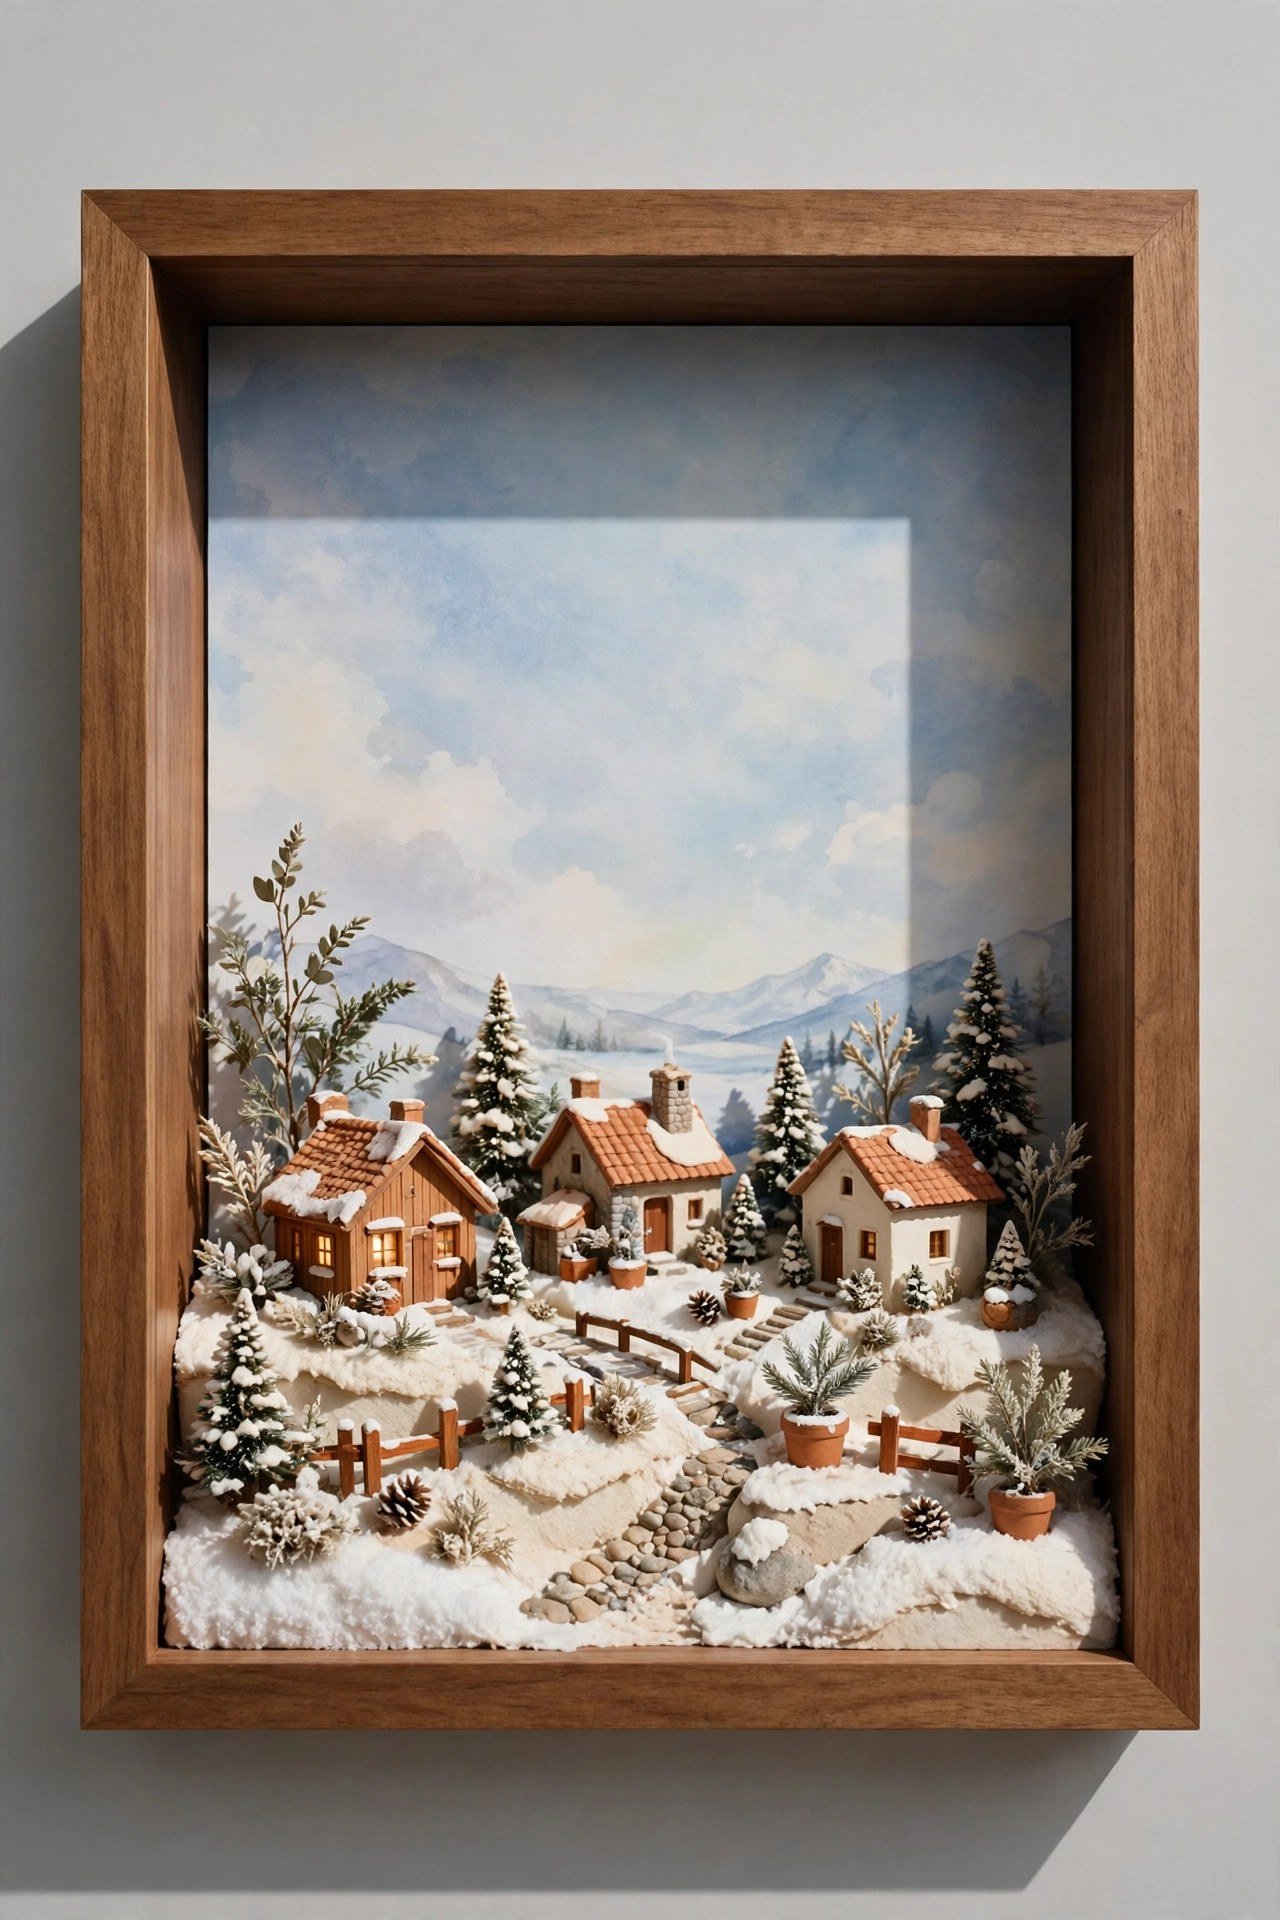
For a pristine dust-free village, build the entire scene inside a deep shadow box frame. Construct the town against a painted backdrop, and when the season ends, simply hang the whole piece on the wall or store it without any disassembly. It stays perfect year after year.
Choose a frame deep enough to hold your tallest building with room to spare. Paint the inside back panel as a winter sky or mountain scene for a finished gallery look. A limewash painted wall makes a beautiful gallery-style setting for the finished shadow box once the holidays arrive.
Conclusion
Your Christmas village deserves more than the same flat table every year. With a little creativity in height, light, and texture, even a small collection can become the magical centerpiece your whole holiday revolves around. Pick the ideas that fit your space and your style, and do not be afraid to try something bold.
The best village is the one that makes you smile every time you walk past it. Start with one or two of these ideas this season, and watch how quickly your tiny town transforms into a winter masterpiece your family will remember for years.
Frequently Asked Questions
What is the best base for a Christmas village display?
A sturdy table covered with white batting or felt makes a classic base, while wood slices or tiered stands add character and height. Choose a base that fits your space and keeps every building visible from the front.
How do I light a Christmas village without cords everywhere?
Battery-operated tea lights and fairy lights are the easiest option, and many have built-in timers. Place them inside houses for a warm glow and tuck a few under the snow for illuminated drifts.
How can I make my Christmas village look bigger?
Use mirrors as frozen lakes to double the reflections, build on multiple tiers for vertical space, and place tall buildings at the back with small ones in front. These tricks add depth without adding pieces.
What can I use instead of store-bought village accessories?
Salt dough shapes, twig fencing, wrapping paper roads, and borax-crystal snow all make wonderful handmade accessories. They cost very little and add a personal touch no store item can match.
How do I store a Christmas village after the holidays?
Build the scene in a vintage suitcase or a deep shadow box so it packs away without disassembly. Wrap fragile ceramic houses individually in tissue before placing them in the container.

Hi, I’m Emily! I turn messy corners into cozy, organized spots. DreamNestDecor is where I share simple, practical home ideas — decor, organization, and small-space solutions that work in real life, not just in photos. Every idea here is carefully researched before it’s shared.