Picture this: you are peeling vegetables for dinner, and the peelings pile up on the counter because the trash can is across the kitchen. An empty box sits on the floor, a bottle rolls under the table, and nobody is quite sure which bin takes the cardboard.
You do not need a bigger kitchen or a fancy system to fix this. You only need one clear spot where trash, recycling, and food scraps each have a labeled home, placed right where the mess happens. These 15 ideas will help you build a kitchen trash and recycling station that makes sorting easy for the whole family.
1. Hide Three Bins in a Pull-Out Cabinet
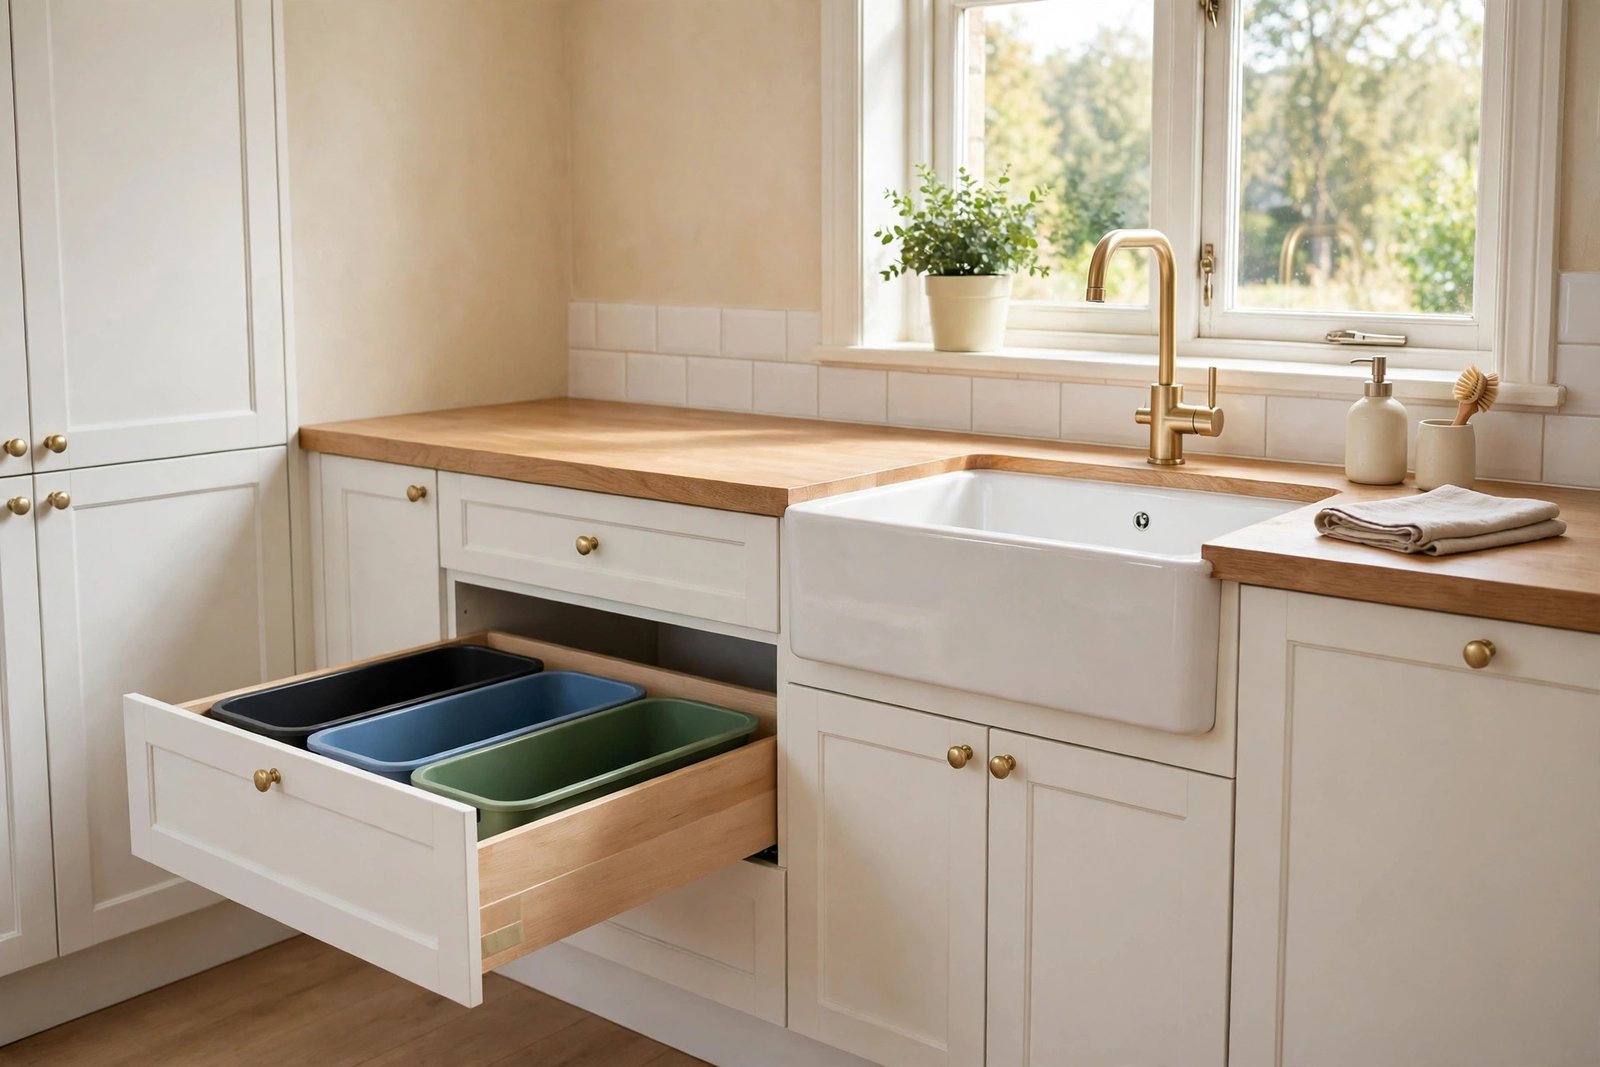
A pull-out cabinet turns an ordinary base cabinet into a hidden sorting station. Fit a sliding frame inside, and set three slim bins side by side: one for trash, one for recycling, and one for food scraps. Pull the handle, toss the item in the right bin, and push it closed, and the whole station disappears.
Choose a cabinet close to your main prep area or sink, so sorting never means crossing the kitchen. Measure the inside width and depth first, and pick bins that slide out fully without catching on the frame. When every bin lives in one pull-out, sorting becomes a one-second habit instead of a chore.
2. Label Every Bin in Large Clear Letters
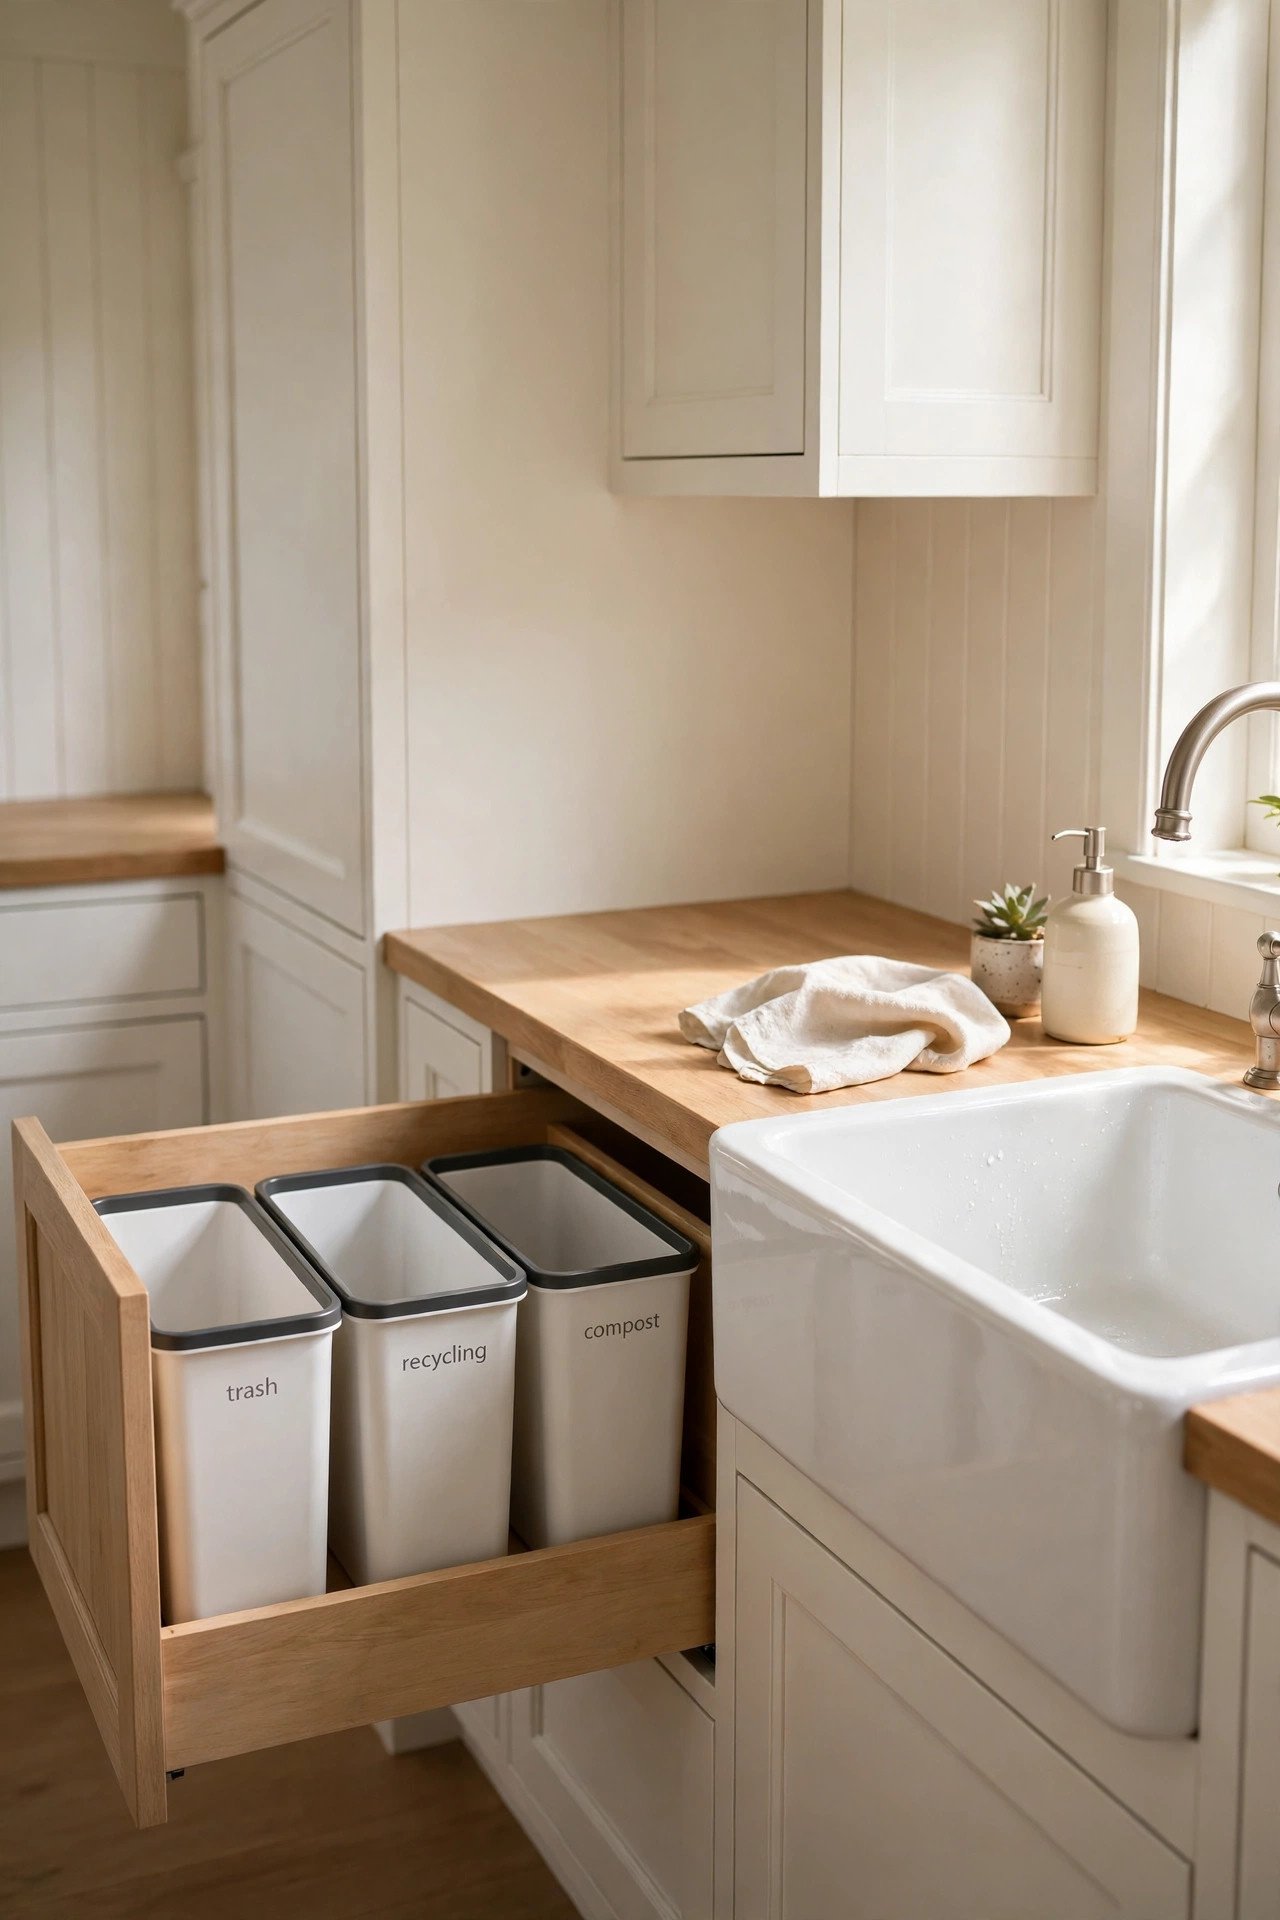
Labels are the simplest sorting tool you own, because nobody sorts what they cannot read. Put a large, clear label on the front and lid of every bin: trash, recycling, and compost. Use plain words and bold lettering that anyone can read from a step away, even a child or a guest.
Add a small picture or a colour next to each word, so the label works even for little ones who cannot read yet. Keep the labels at eye level when the bin is open, and replace them when they fade or peel. Clear labels stop the guessing, and they stop the wrong items landing in the wrong bin.
3. Match Each Bin to the Waste It Holds
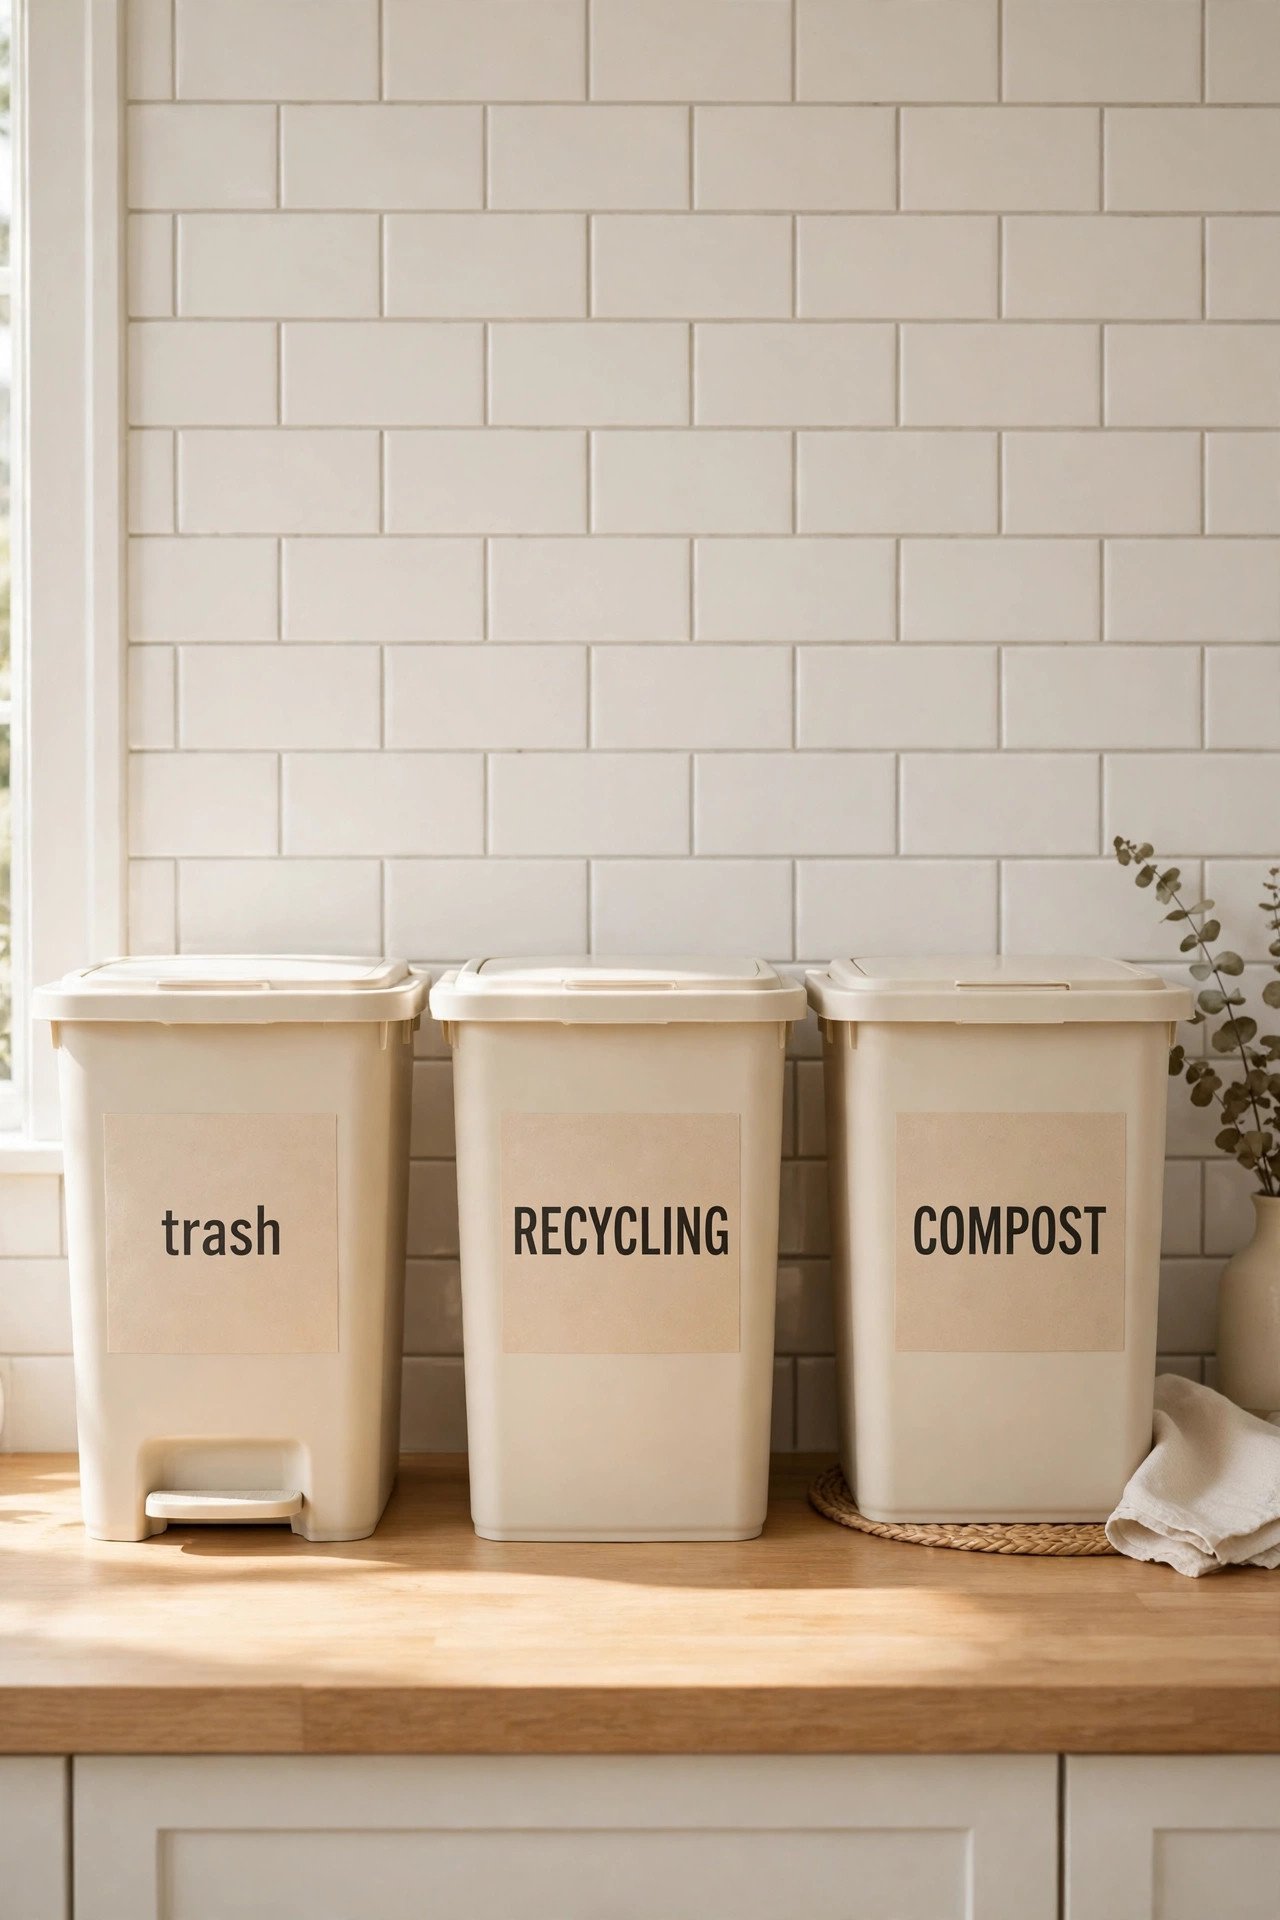
Not every waste stream needs the same size bin, and matching sizes stops overflow. Give trash the biggest bin, since it fills fastest, and give recycling a roomy bin for bottles, cans, and boxes. Keep compost small, because food scraps go out often and a small pail stays fresher.
Watch your bins for one week and note which one fills first, then adjust the sizes to match your real habits. A family that cooks most nights needs a bigger compost pail, while a household that orders in often needs more recycling room. The right sizes mean fewer trips outside and no bin that overflows by Thursday.
4. Place the Station Beside the Sink
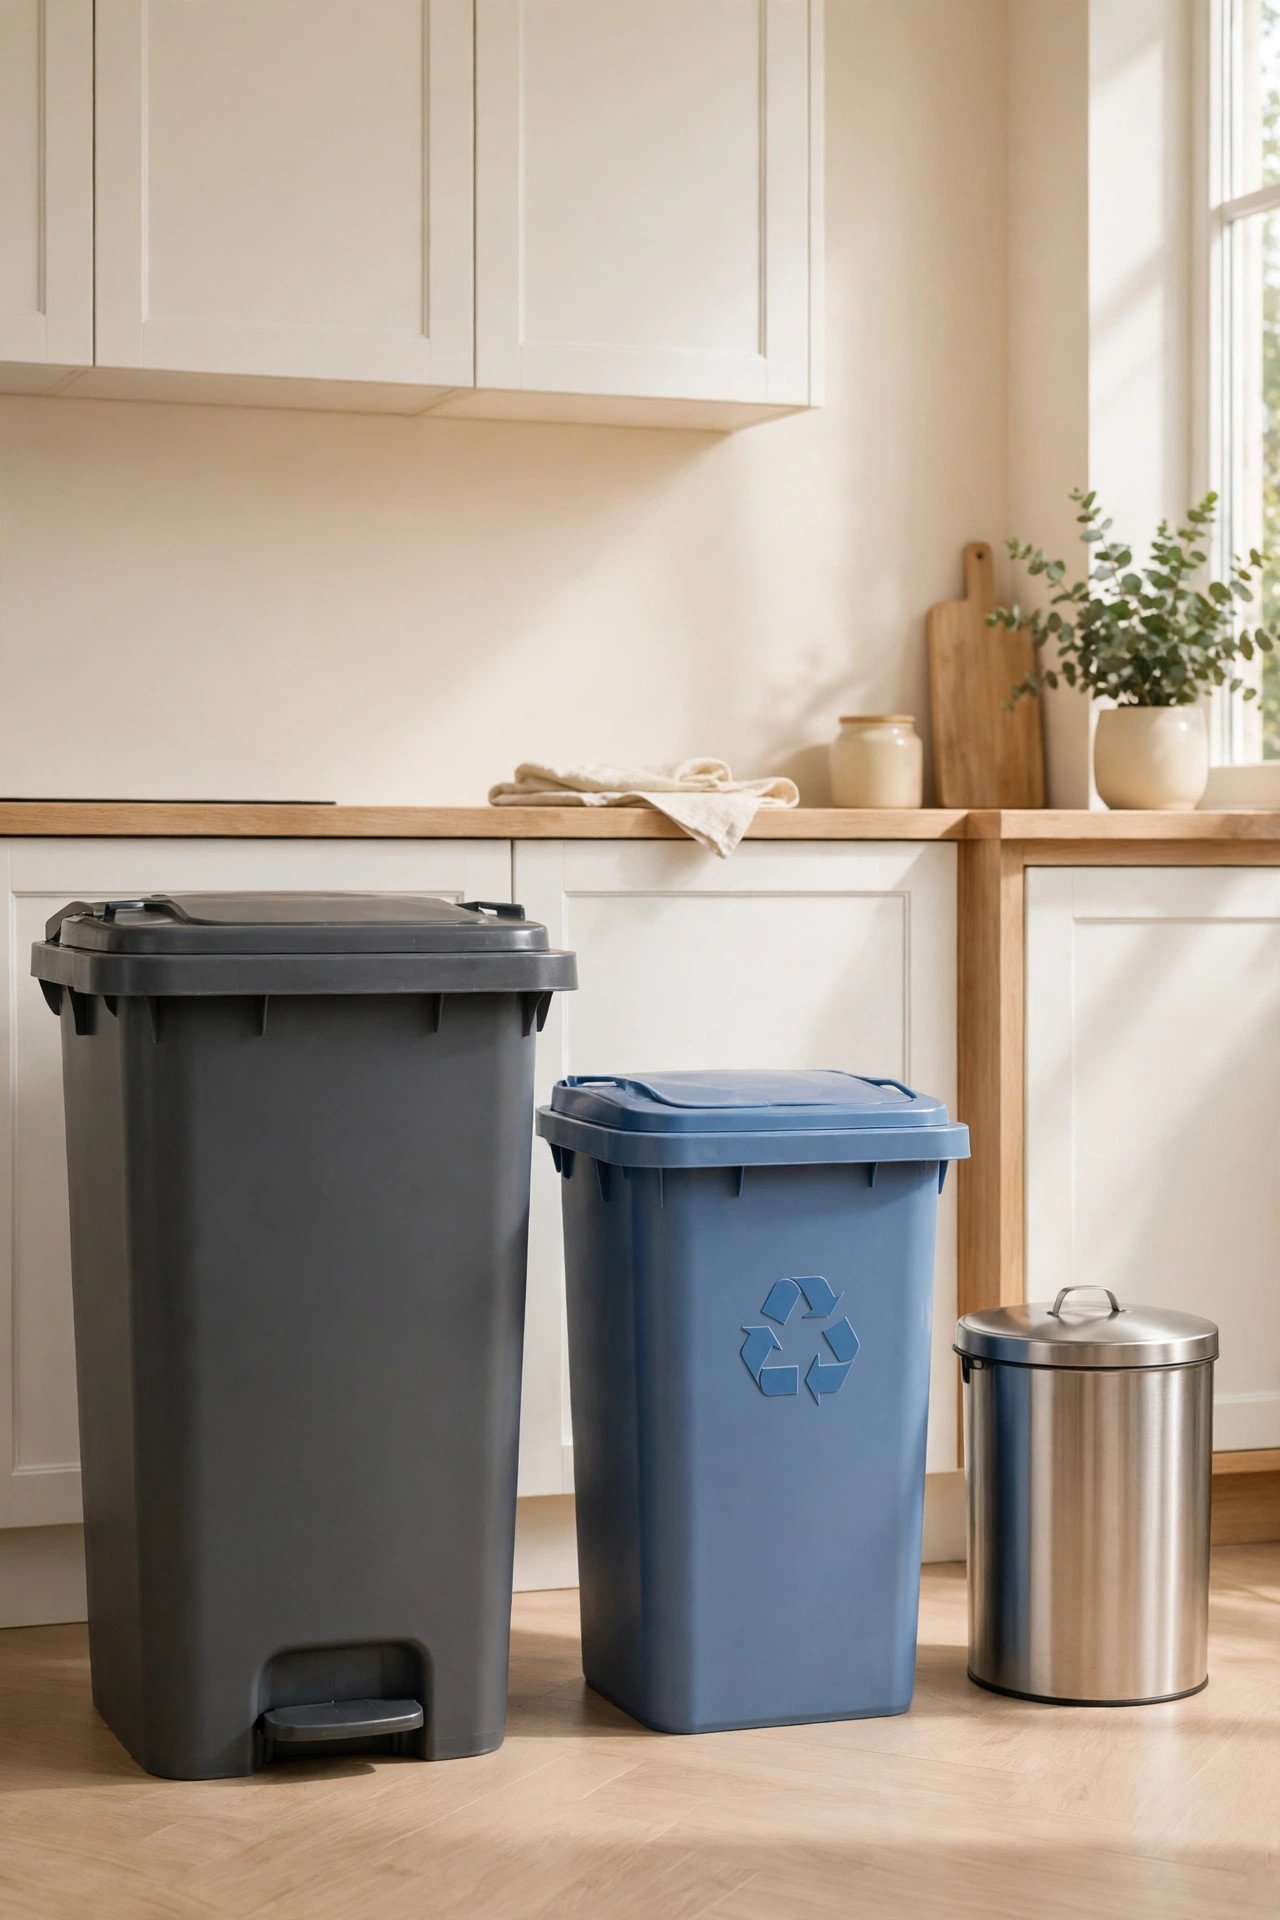
The best spot for your sorting station is beside the sink, where most kitchen waste is born. Rinsing a jar, peeling vegetables, and scraping plates all happen there, so the bins should be within arm’s reach. When the station sits where the mess starts, sorting happens without thinking.
If the sink cabinet is taken, choose the cabinet nearest to your main prep counter instead. Keep at least a clear step of space in front of the bins so lids open fully and nobody has to squeeze past. A station in the right spot gets used every day, while one tucked in a far corner gets ignored.
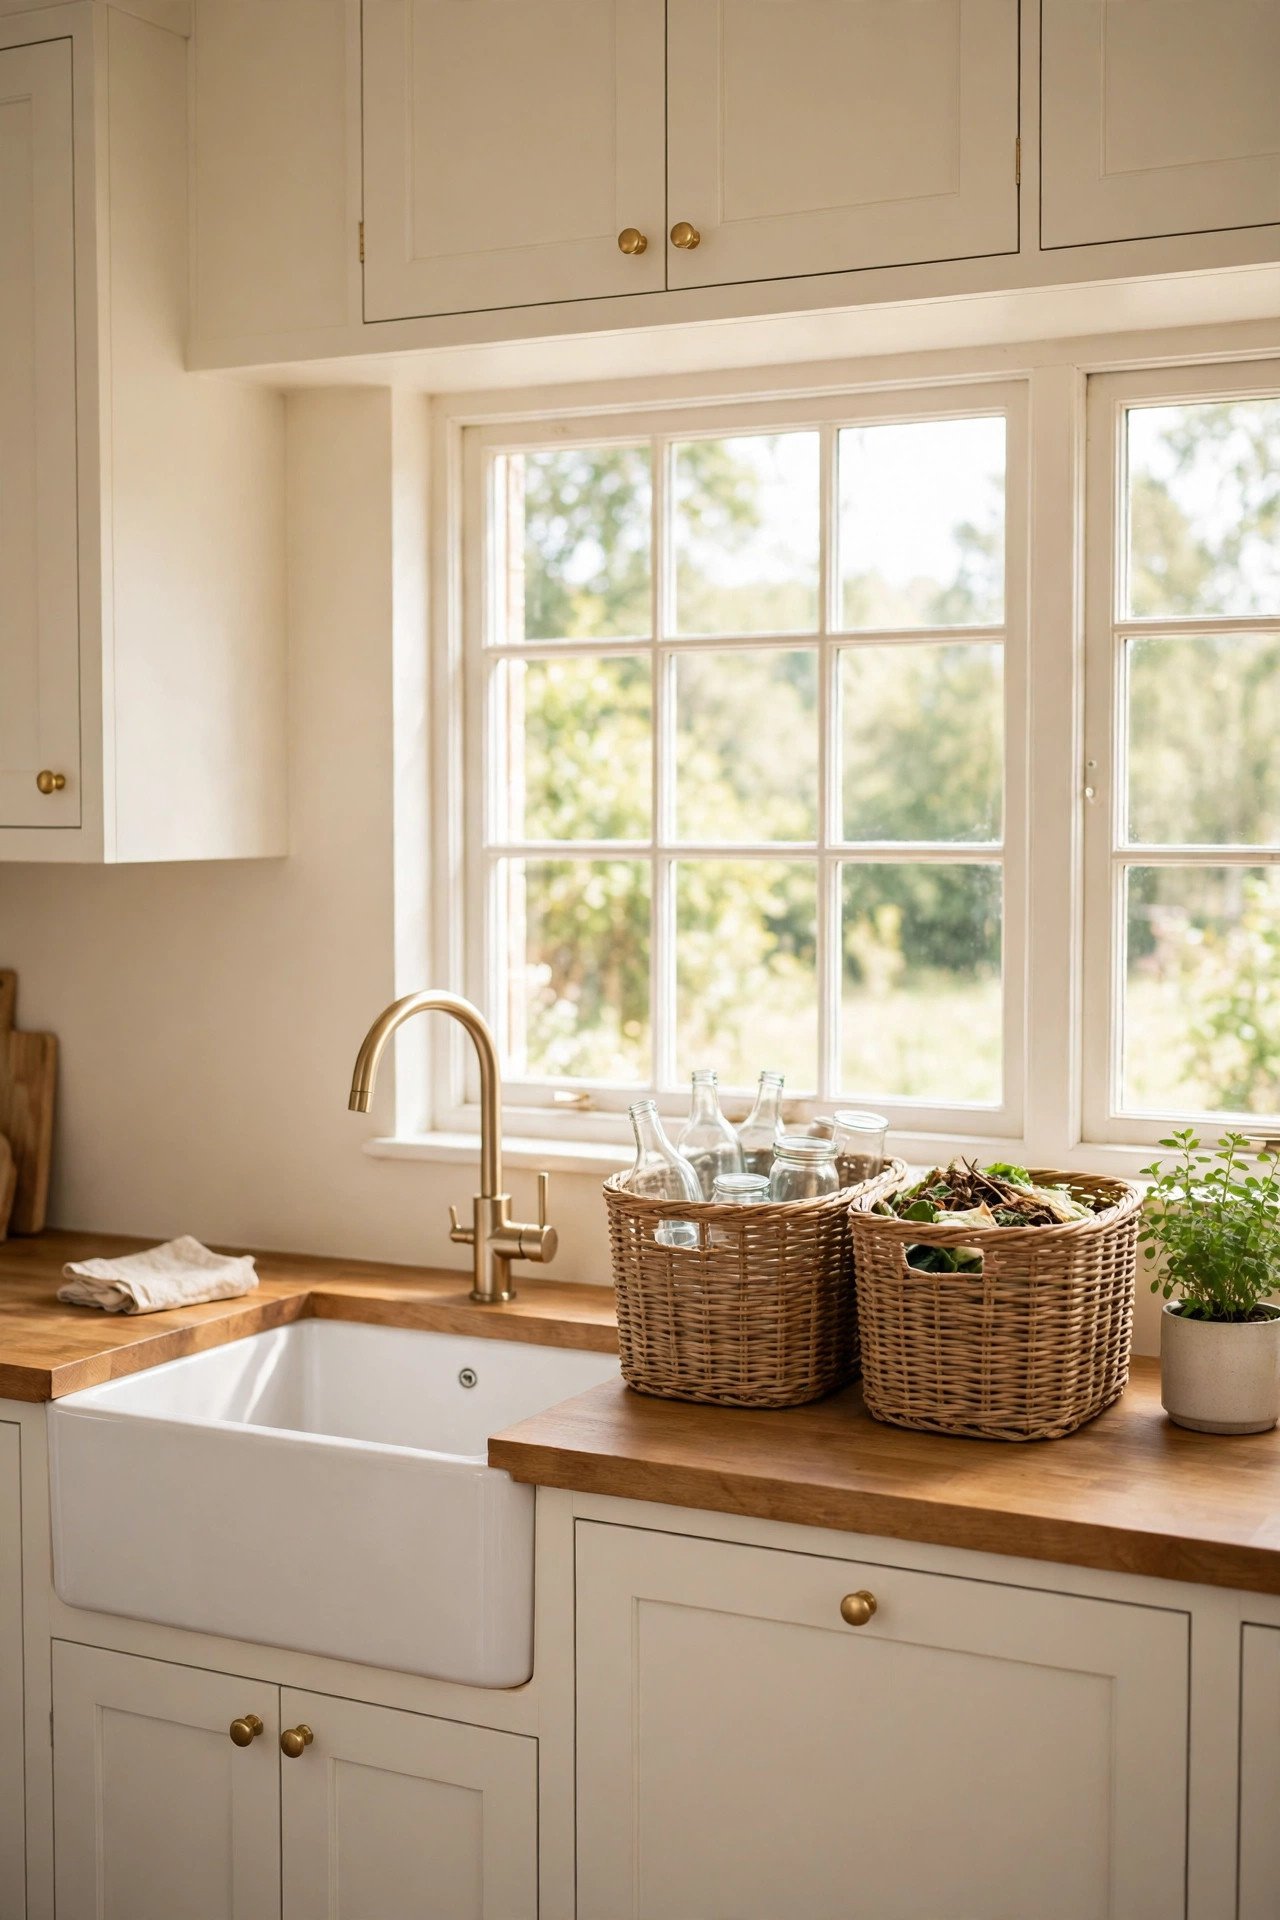
5. Keep a Small Compost Pail on the Counter
Food scraps need a home of their own, and a small countertop pail is the easiest one. Set a lidded pail beside your cutting board, and drop peels, coffee grounds, and eggshells straight in as you cook. The pail keeps scraps off the counter and out of the trash, where they cause the worst smells.
Line the pail with a small bag and empty it every day or two, so it never starts to smell. Rinse it with hot water and a drop of soap after each emptying, and keep a spare roll of liners in the drawer below. A little pail that gets emptied often beats a big one that sits and stinks.
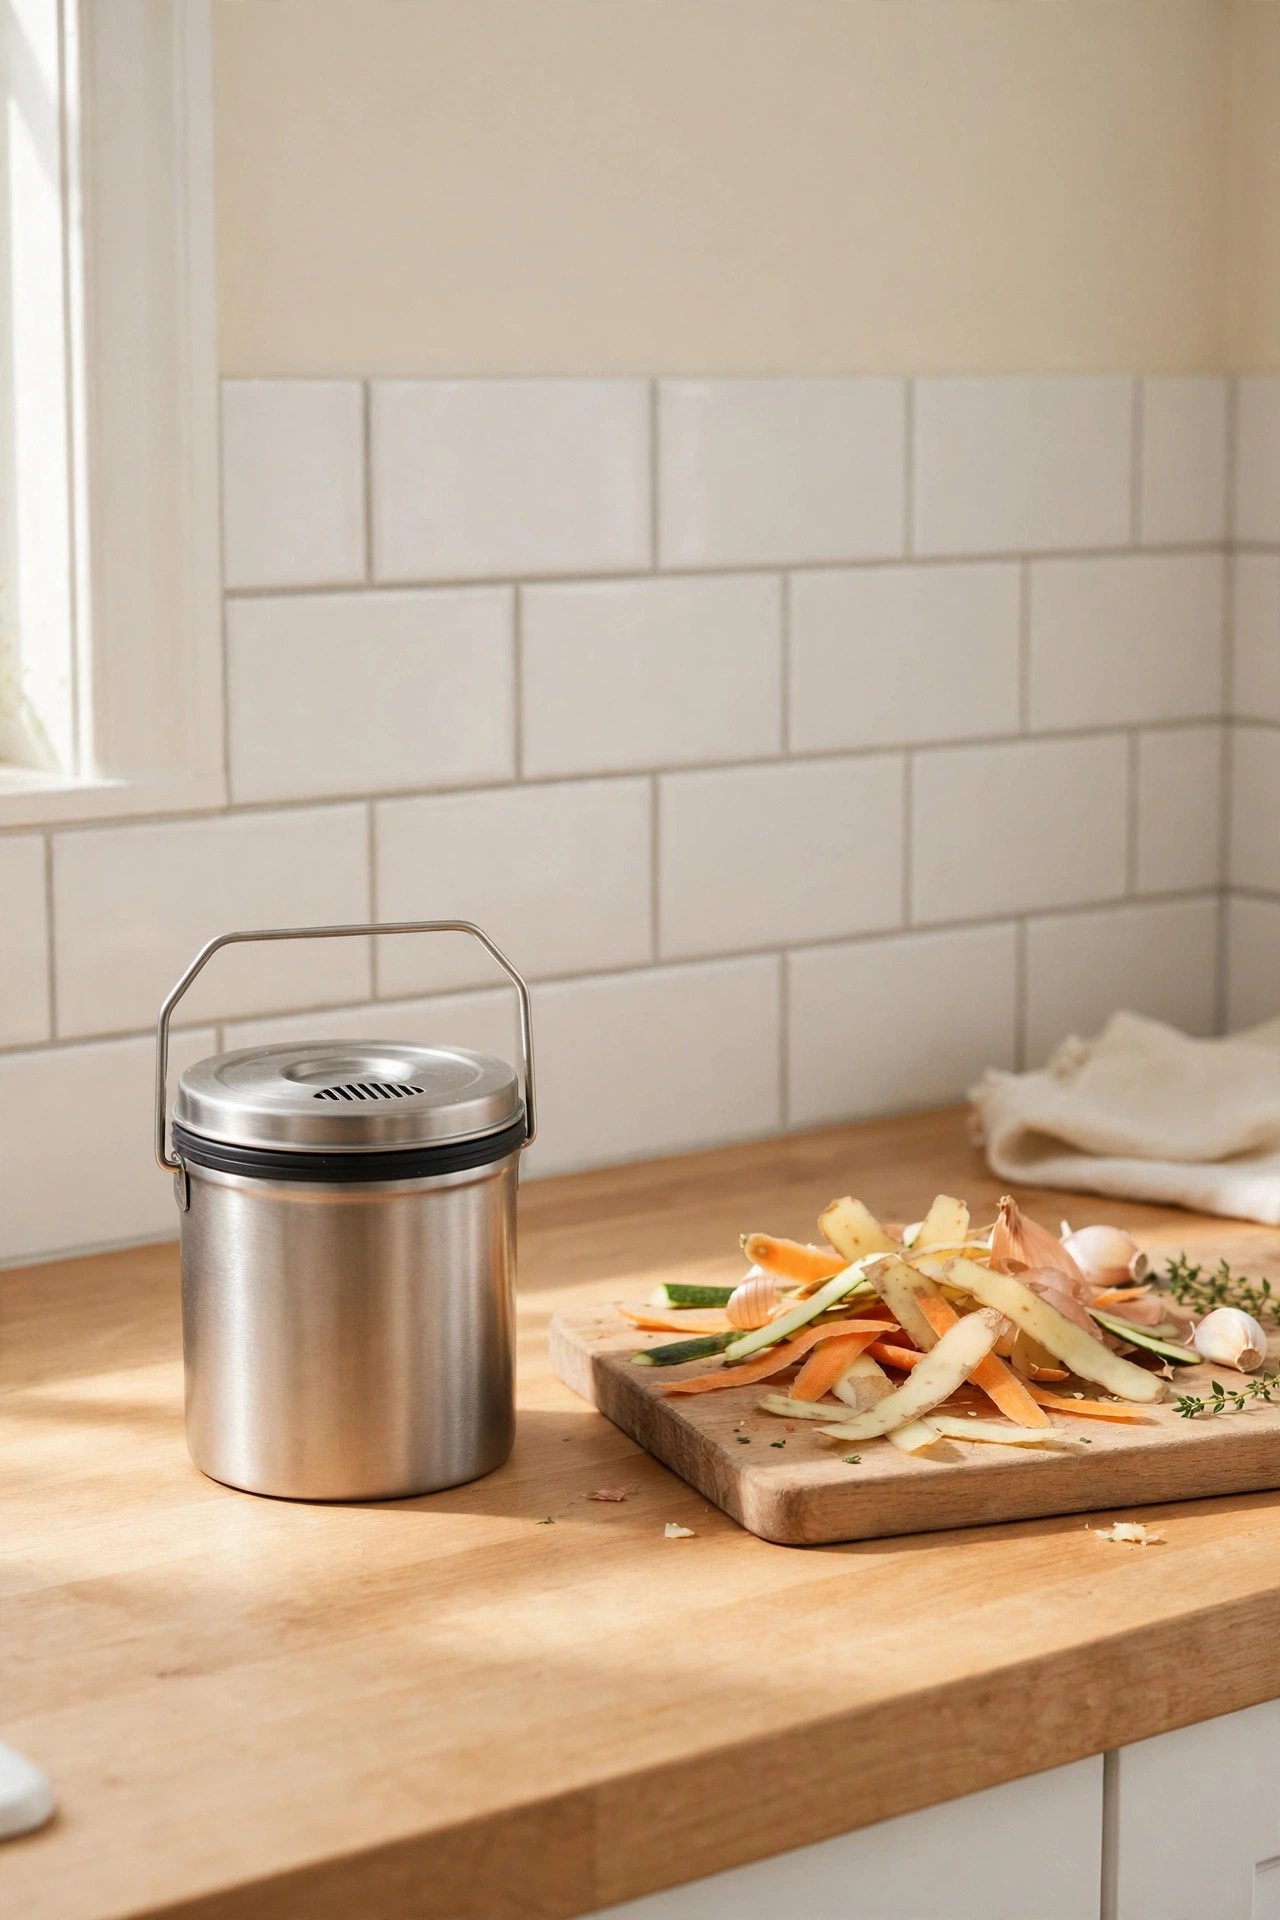
6. Stack Slim Bins in a Narrow Gap
A narrow gap between the fridge and the counter is wasted space in most kitchens, but it is perfect for slim sorting bins. Slide two or three tall, narrow bins into the gap, one for trash and one for recycling, and the station takes up no floor space at all.
Measure the gap first, then look for bins that fit with a finger’s width to spare on each side. Choose bins with lids that lift straight up, since a swinging lid needs room the gap does not have. Label the front of each bin clearly, and the skinny gap becomes the hardest-working spot in your kitchen.
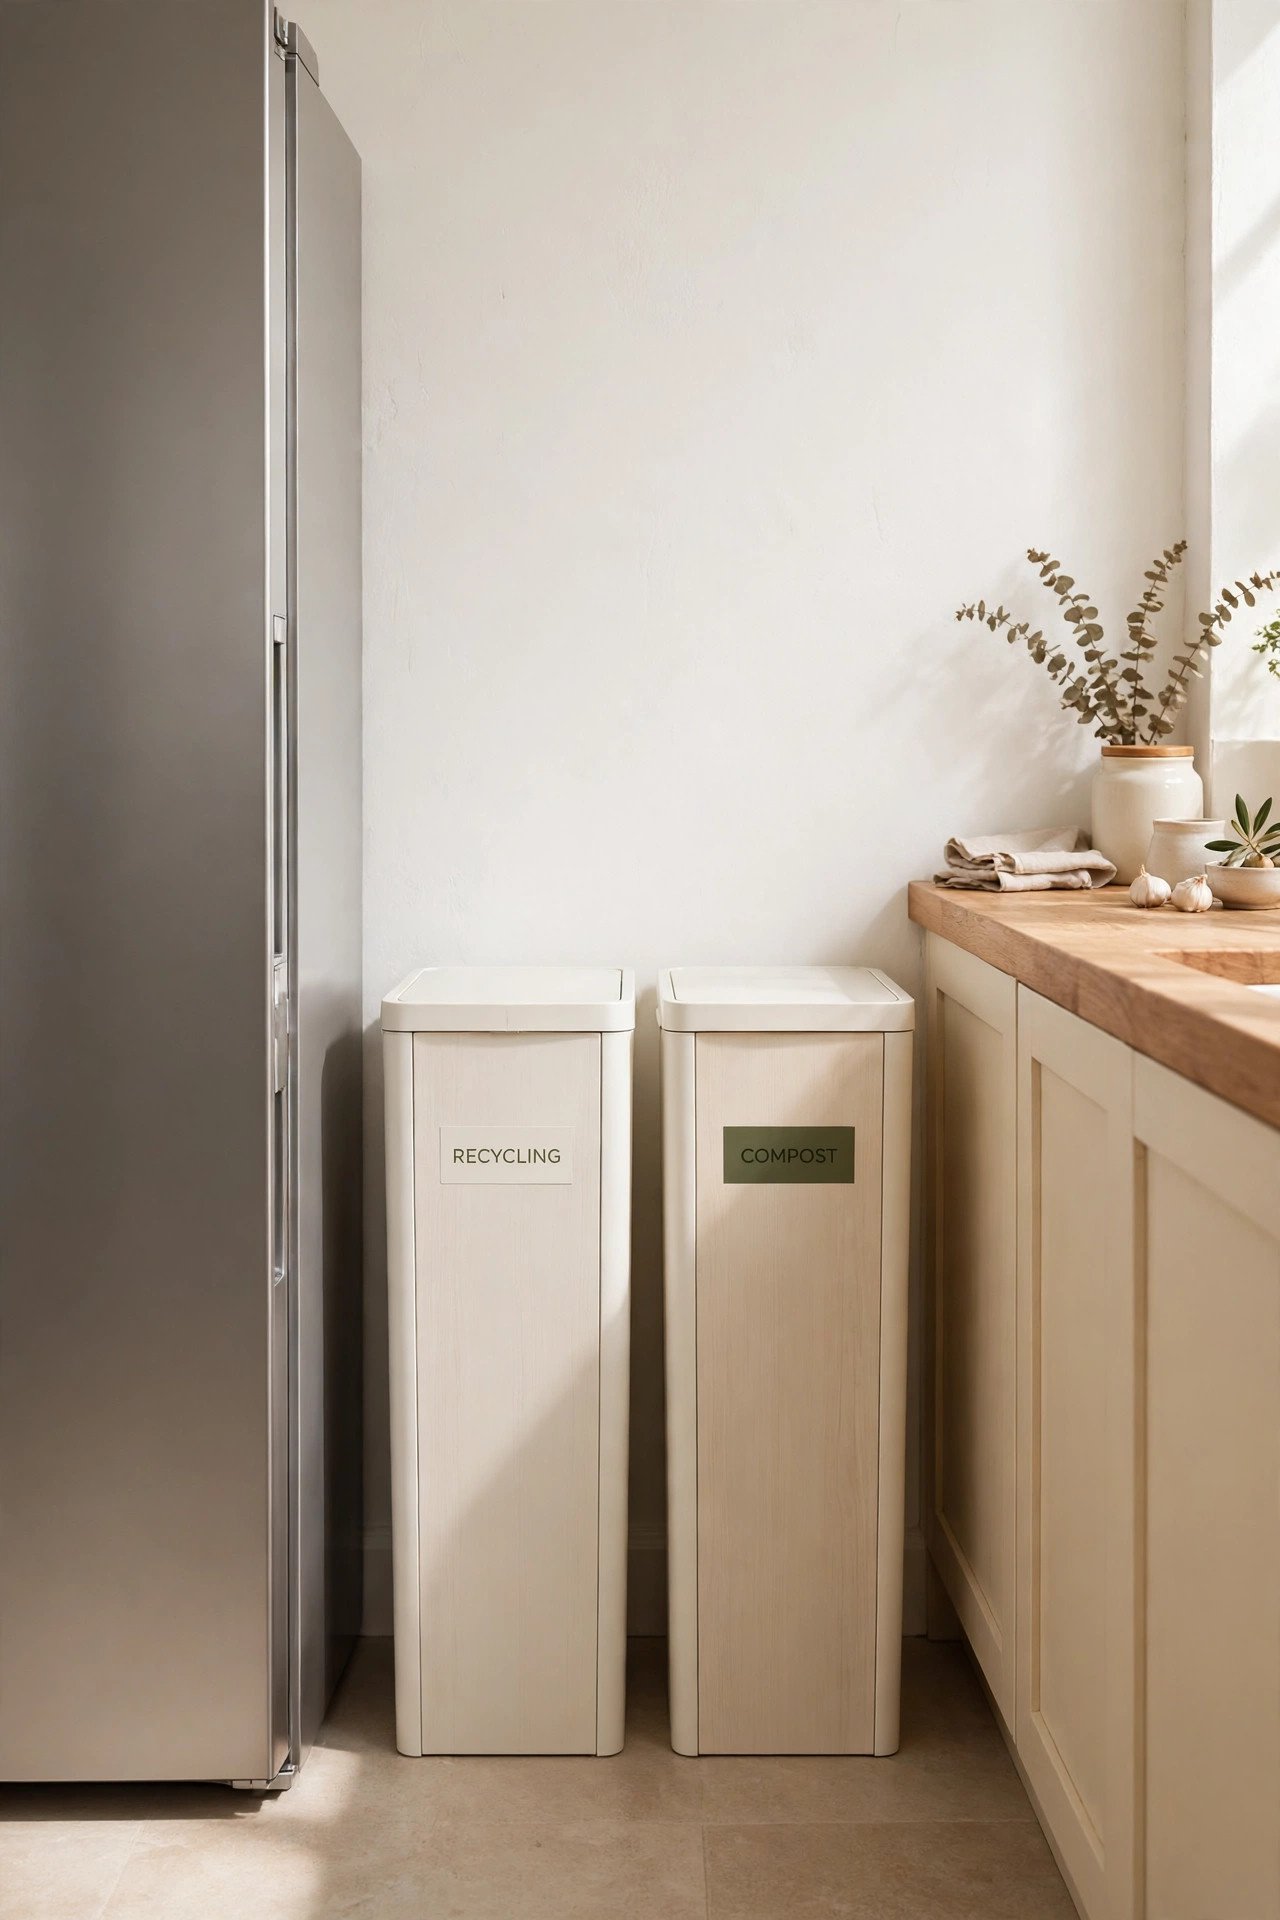
7. Hide Bins Behind a Tilt-Out Cabinet Front
A tilt-out cabinet front hides your bins behind a panel that looks like ordinary furniture. The front tilts outward on hinges, the bins sit inside, and when you push it shut the whole station vanishes into the cabinetry. Guests see a tidy kitchen, not a row of bins.
Pick a cabinet front near the sink or the main walkway, and fit bins that lift out easily for emptying. Keep the tilt smooth by checking the hinges now and then, and wipe the inside of the panel when drips happen. A tilt-out front gives you hidden storage without any building work.
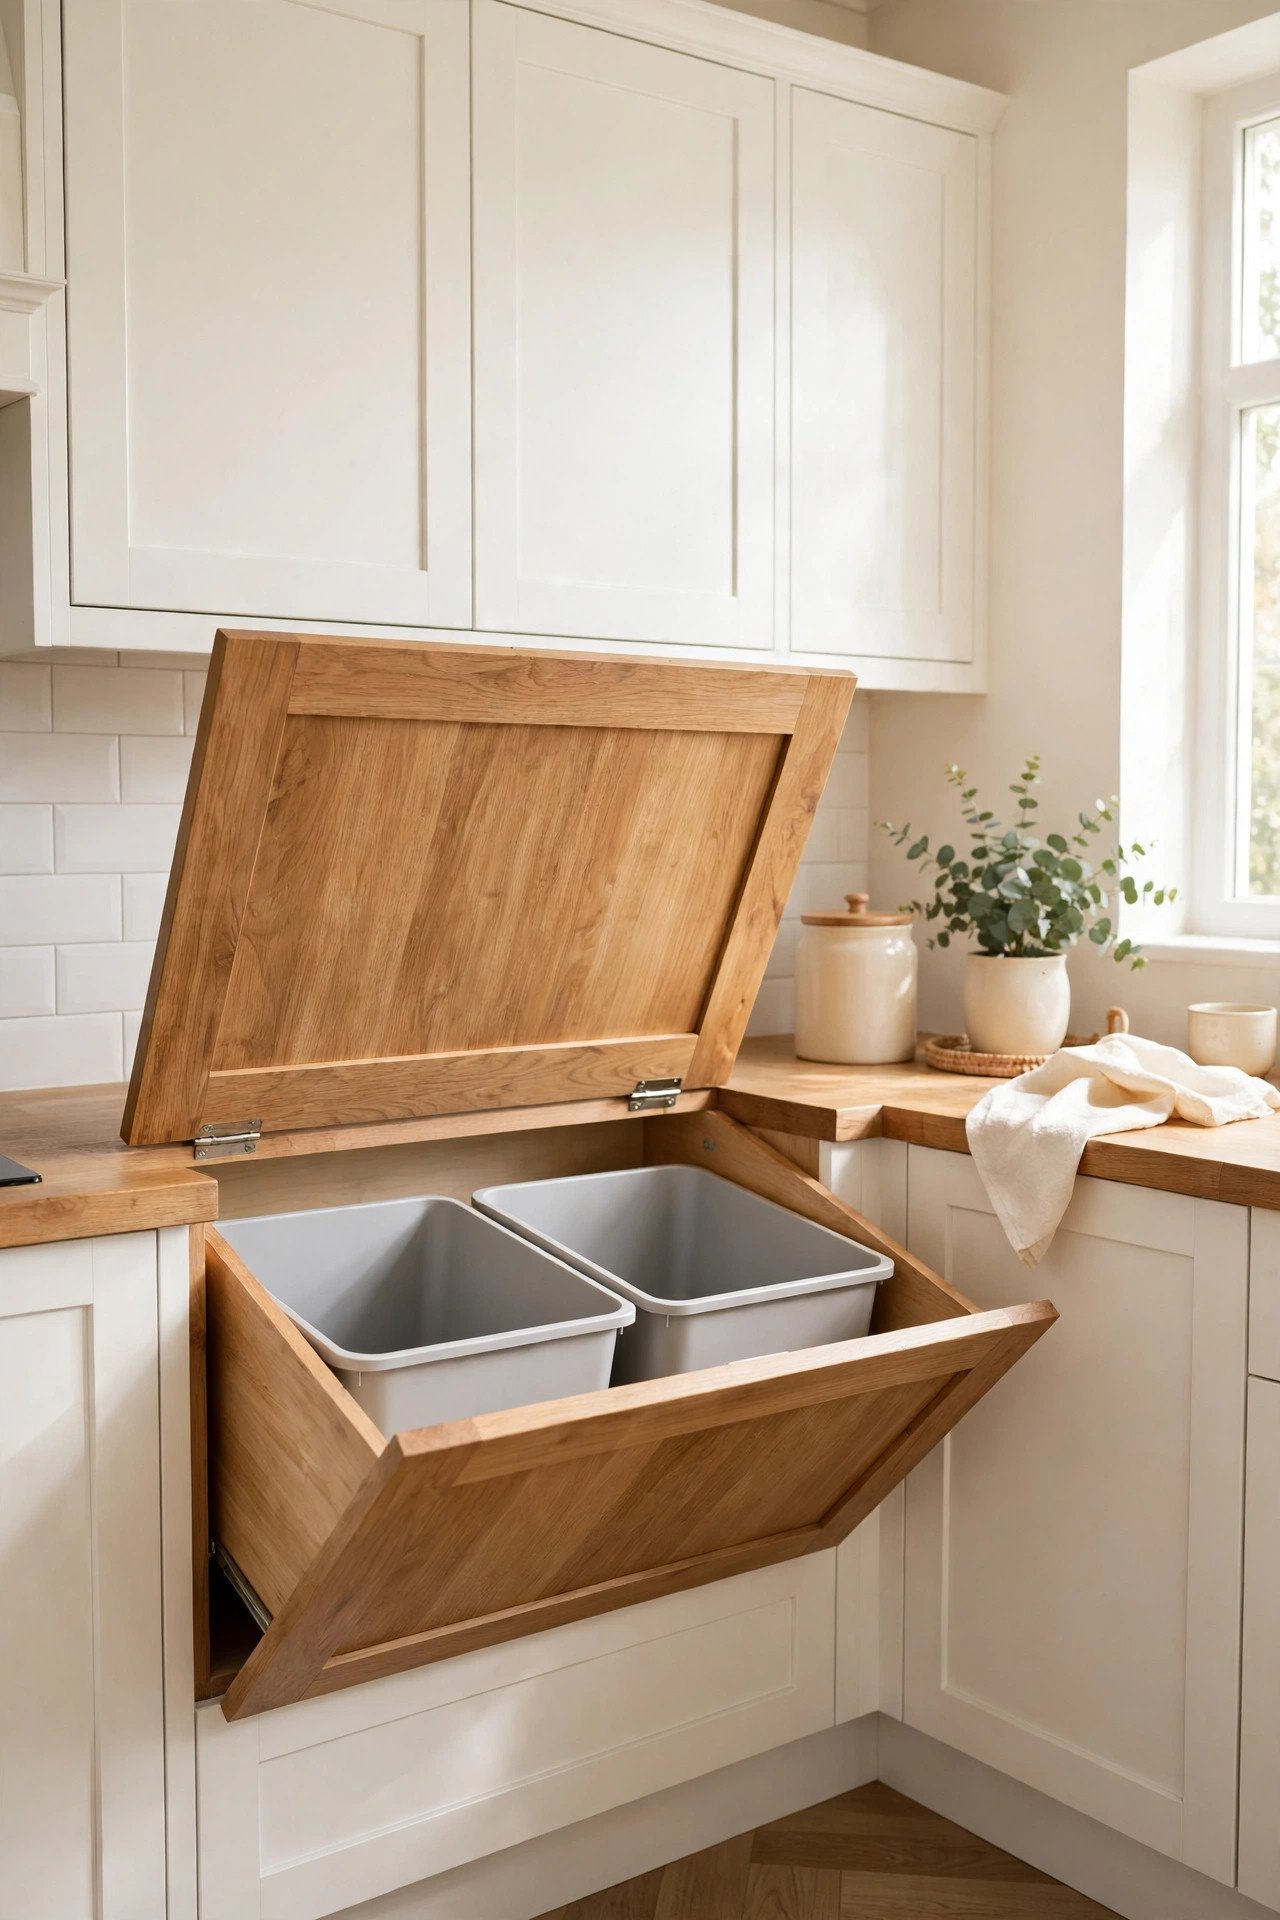
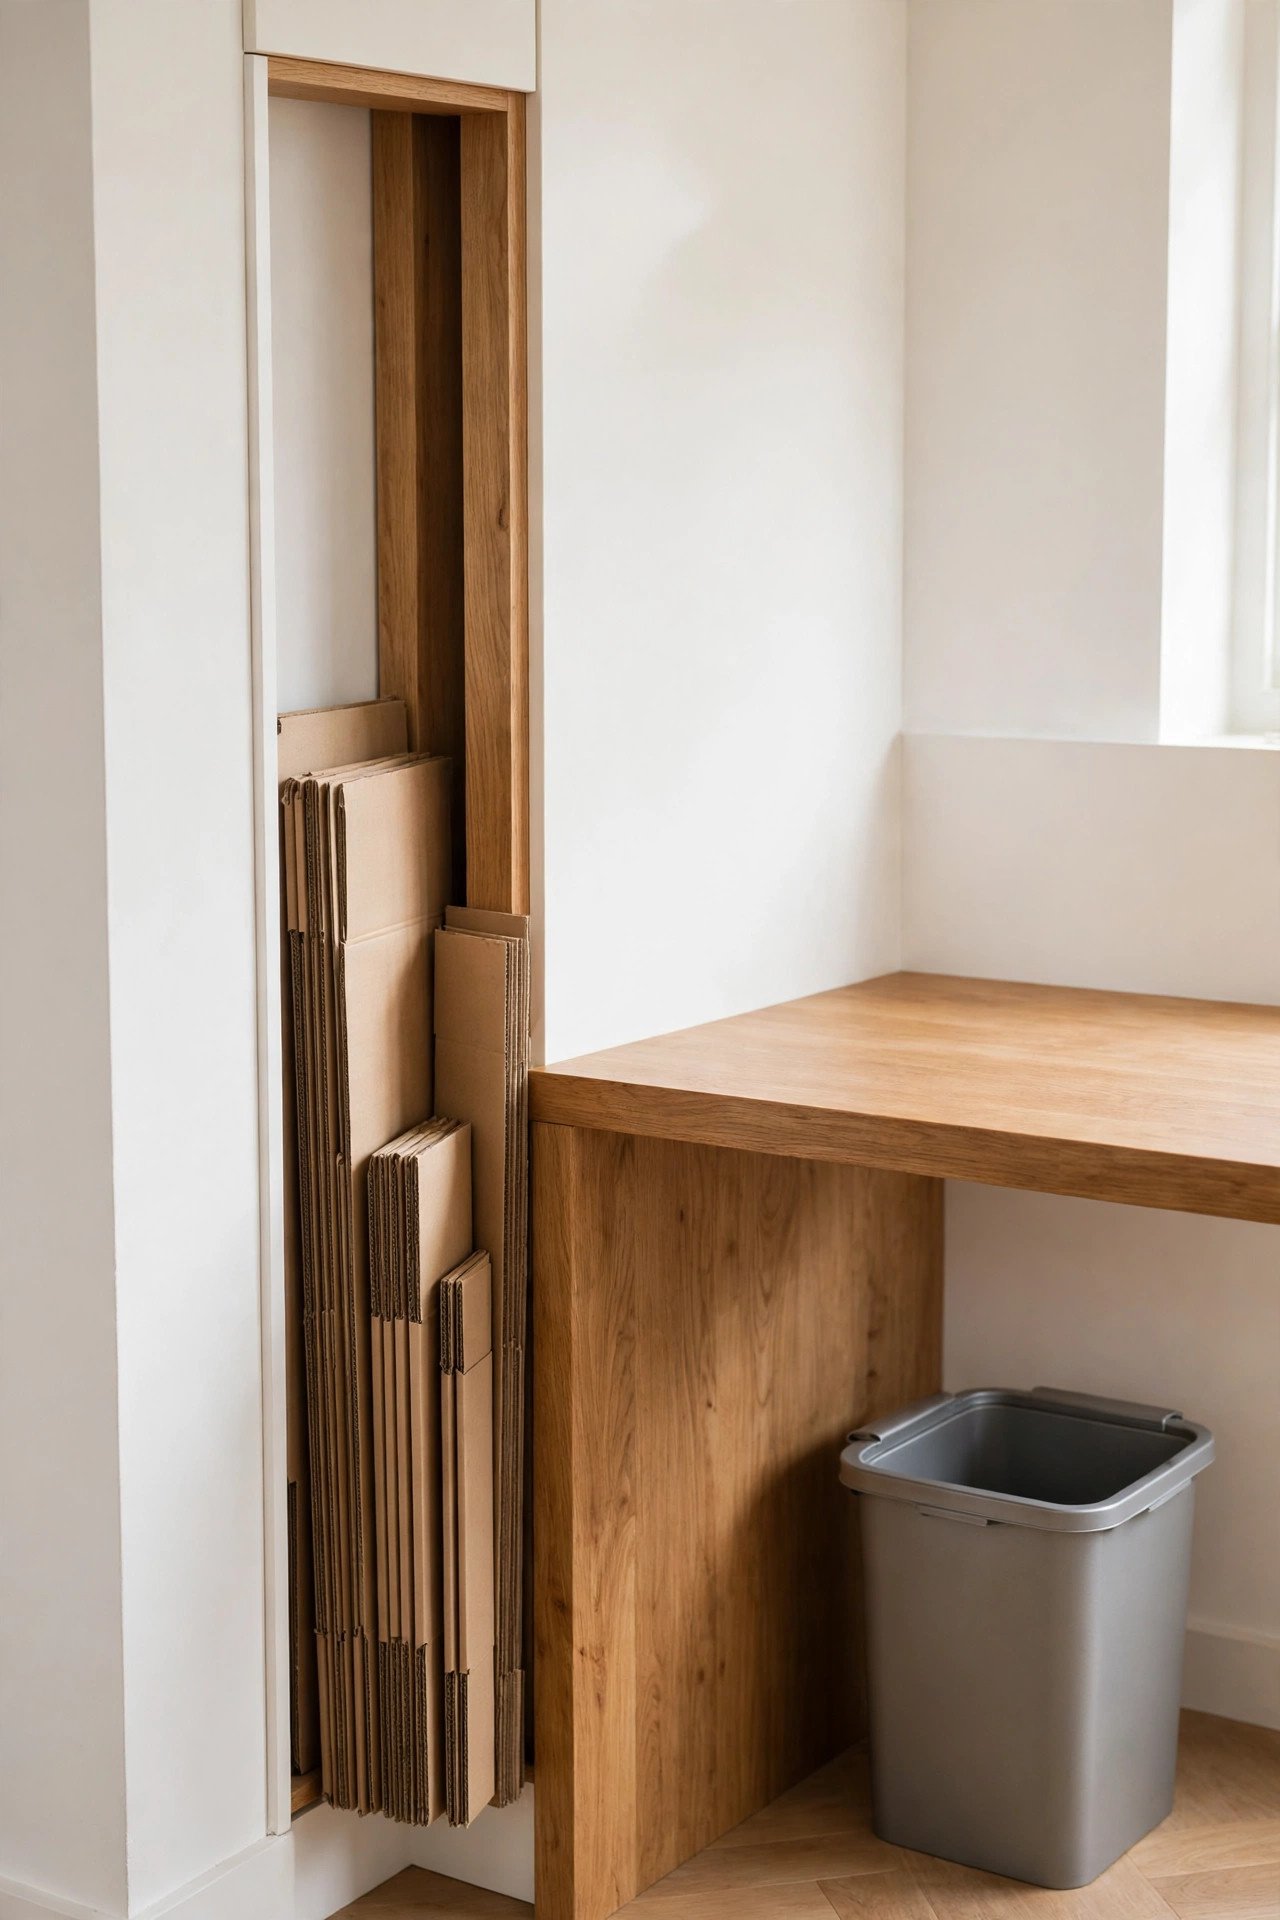
8. Give Cardboard Its Own Slim Slot
Cardboard is the bulkiest thing in the recycling, and it eats bin space fast. Give it its own slim slot beside the station, a tall narrow space where flattened boxes slide in upright. Break each box down flat as soon as it is empty, and the slot holds a week’s worth without overflowing.
Cut large boxes into smaller pieces if they will not fit, and tie a bundle with string when the slot fills up. Keep a small pair of scissors in the drawer beside the station for tape and straps. When cardboard has its own home, it stops piling on the counter and stops crowding the recycling bin.
9. Store Spare Bags and Liners Within Reach
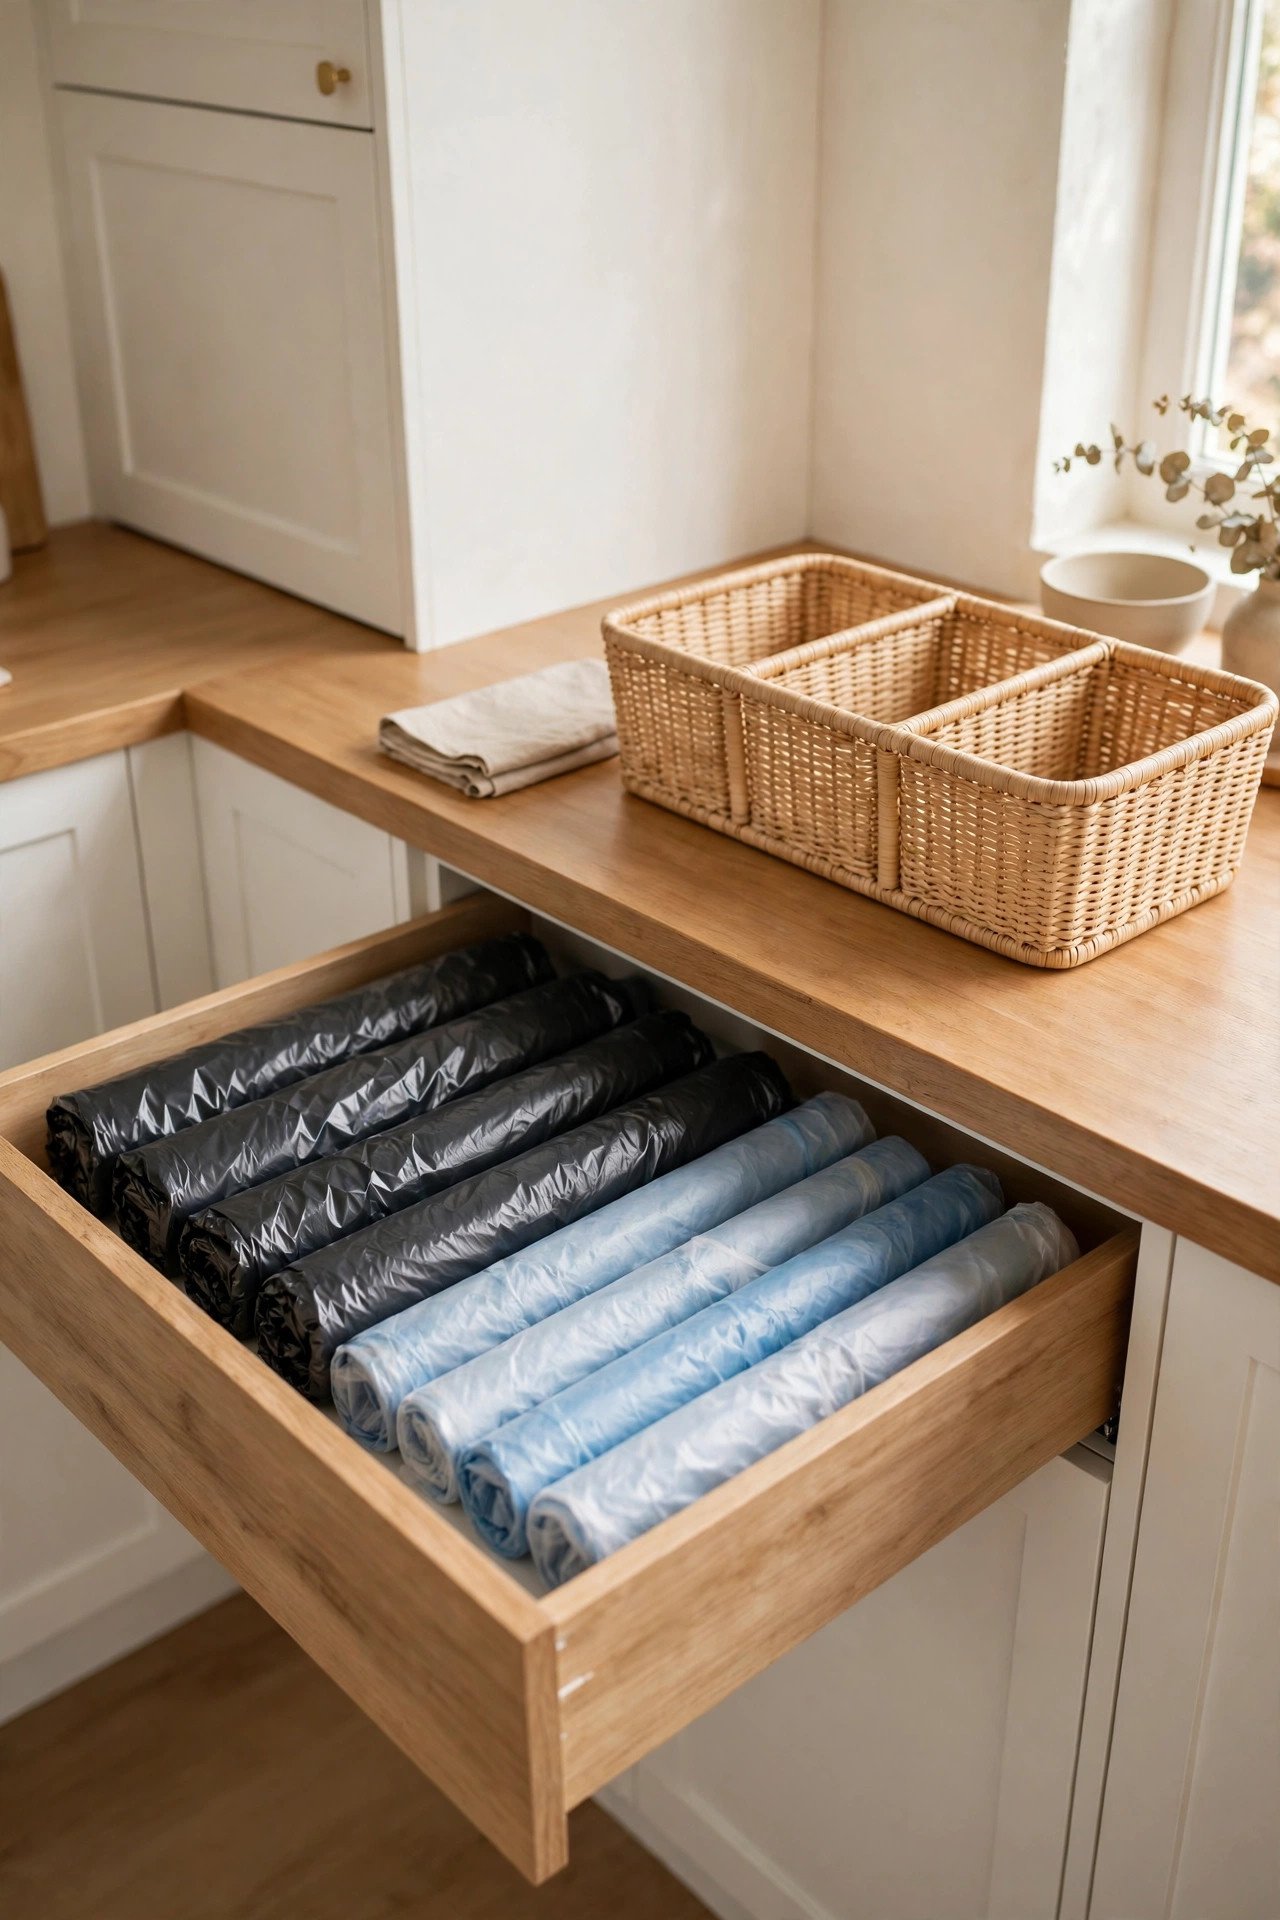
A sorting station only works when the bins are lined and ready, so keep spare bags right beside it. Tuck a roll of trash bags and a roll of recycling liners into the drawer or shelf nearest the bins, and you will never face an unlined bin at the worst moment.
Keep the spare rolls in one tidy spot instead of scattered through the kitchen, and these kitchen junk drawer organization ideas show how to keep that drawer neat enough to find them fast. Restock the rolls the moment you open the last one, and the station is always ready for the next bag.
10. Build a Sorting Shelf in the Pantry
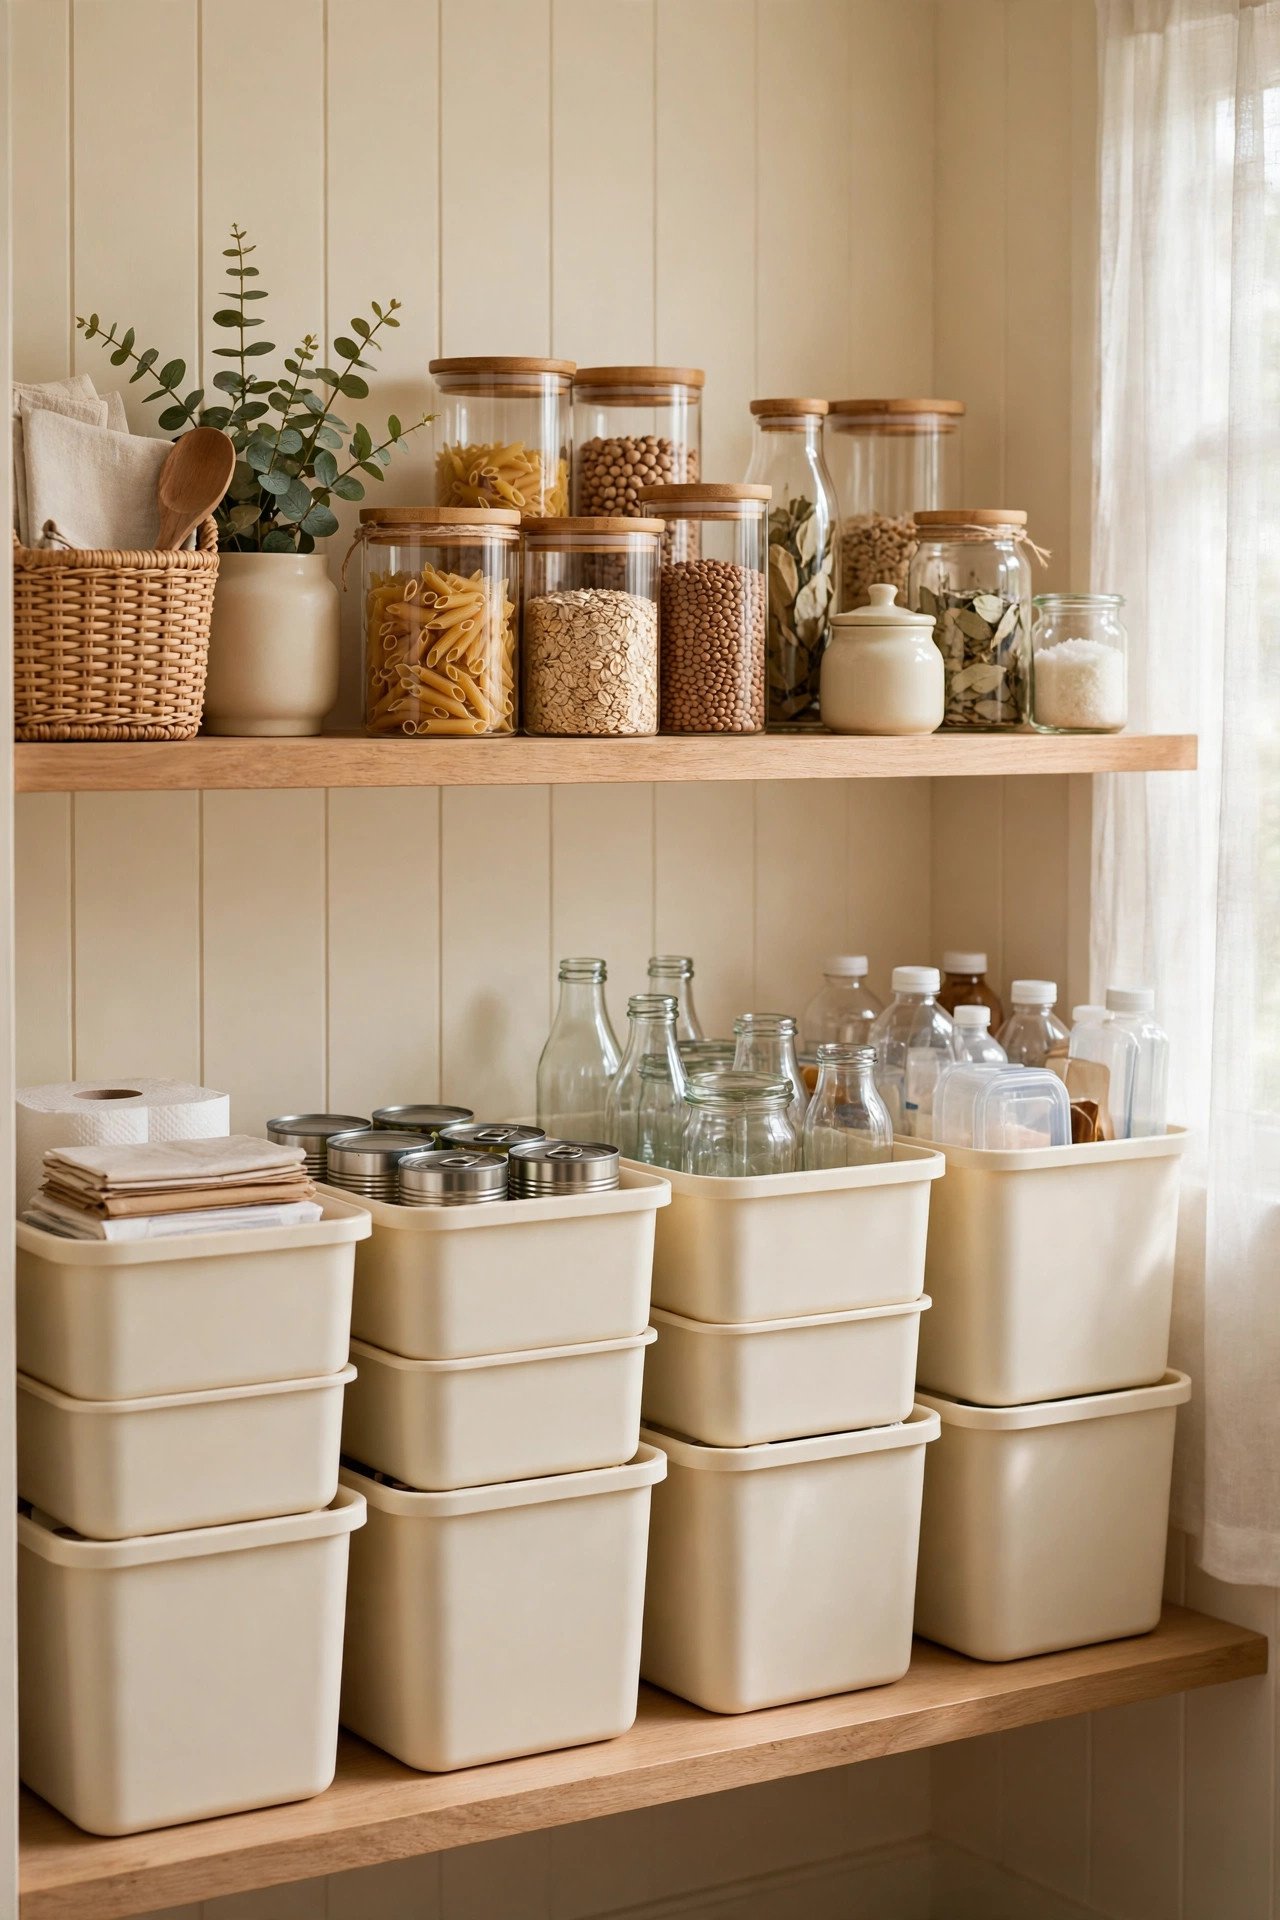
If your kitchen bins are too small for a big family, move the main sorting hub to the pantry. Set a sturdy shelf or a small rack just inside the door, and line up labeled bins for paper, cans, glass, and plastic. The kitchen stays clear, and the sorting happens in one calm spot.
Use stackable bins with front openings, so you can pull items out without lifting the whole stack. The same labeled-bin habit works on shelves all over the house, and these blanket storage ideas use the same simple system to keep linen shelves tidy. A pantry station keeps the mess out of sight from guests and out of your way.
11. Roll a Cart to the Prep Counter
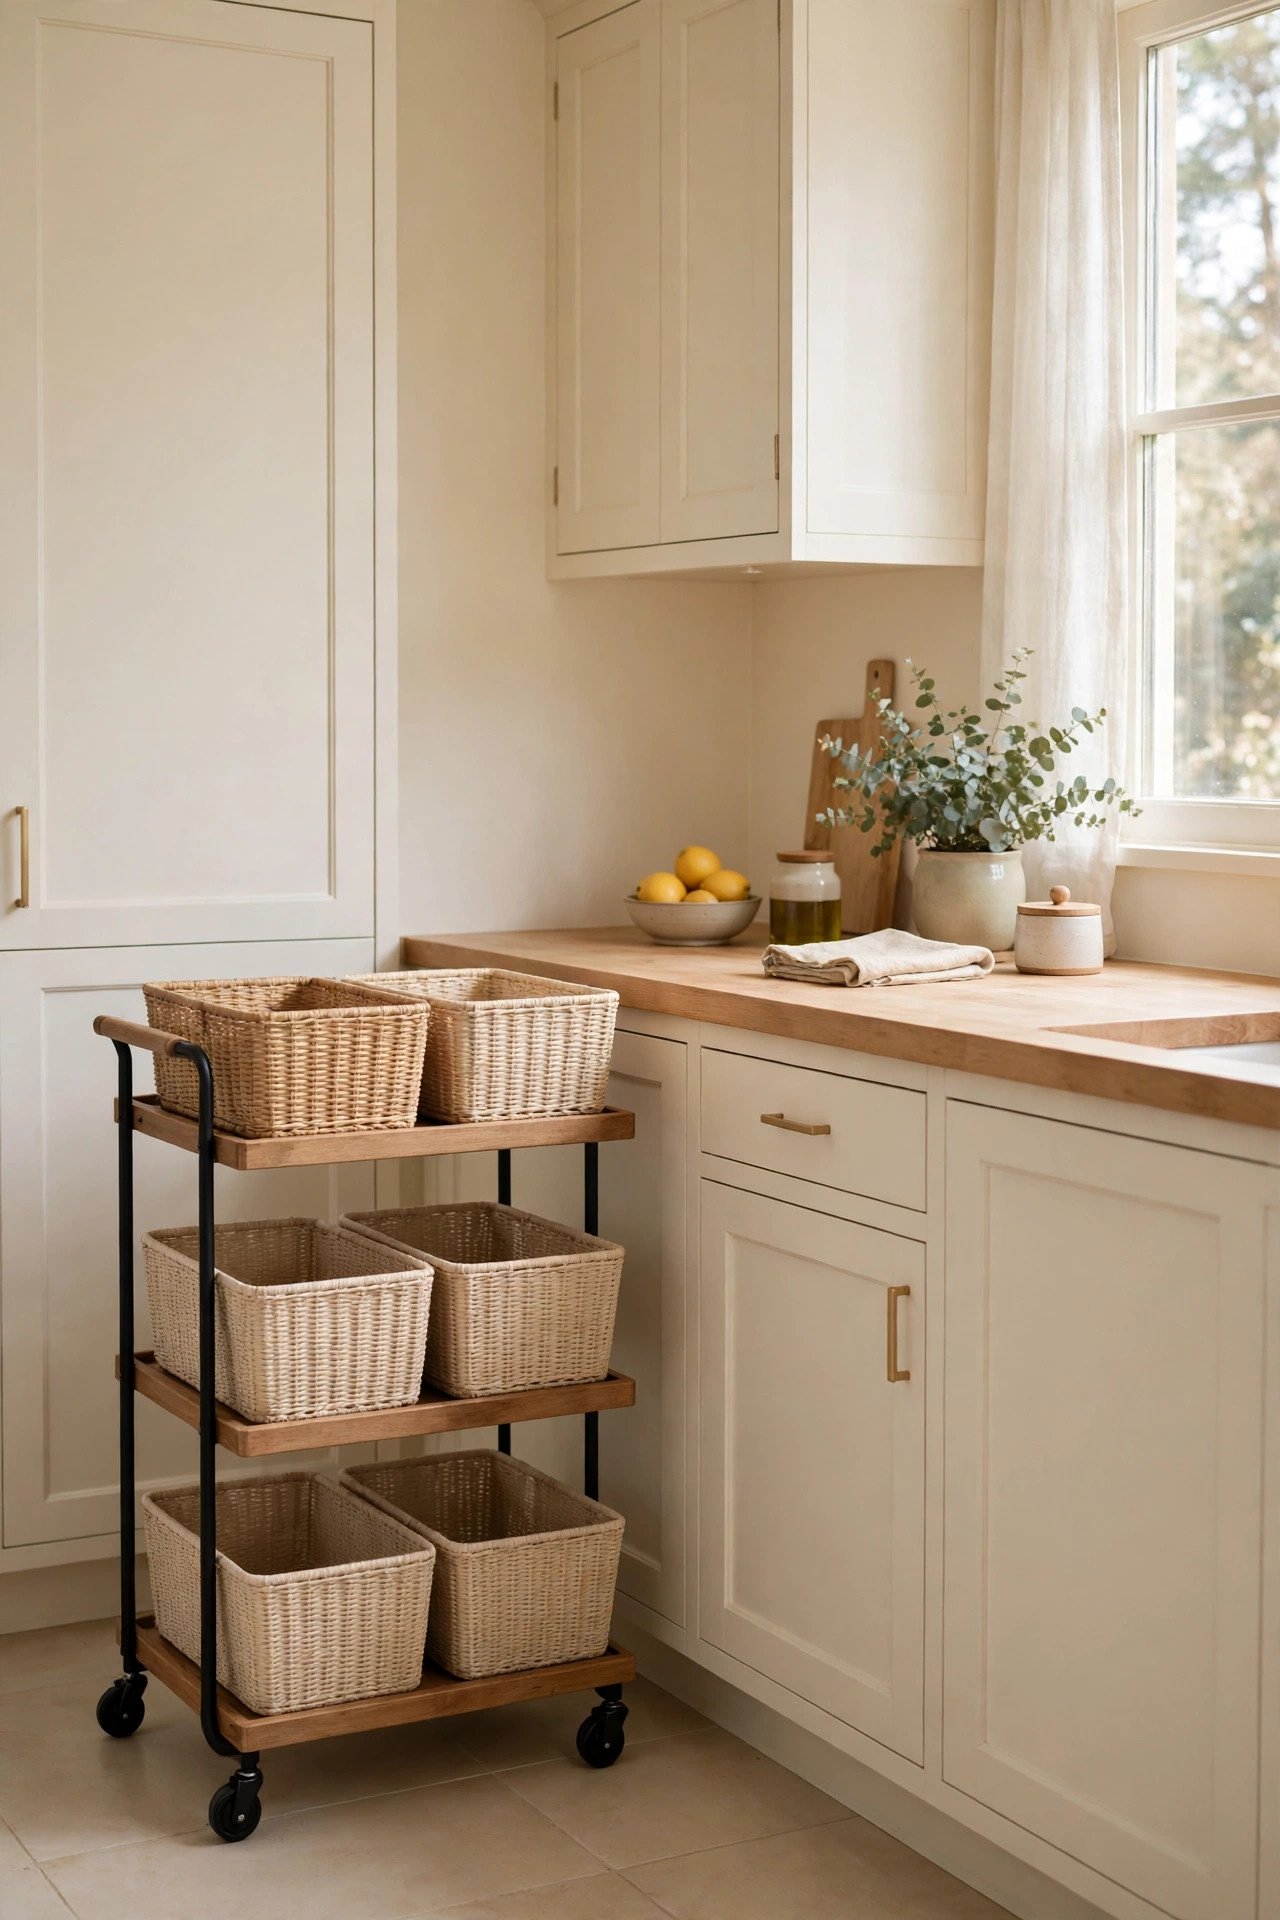
A rolling cart brings the sorting station to the work instead of the other way round. Load a small two or three tier cart with bins for trash, recycling, and scraps, and wheel it beside the counter while you prep dinner. Everything you toss lands in the right bin without a single step.
Park the cart in its corner when dinner is done, and lock the wheels so it stays put. Choose a cart with a wipe-clean surface, since splashes happen, and keep the top shelf clear for the bin you use most. A cart that moves with you makes sorting part of cooking, not an extra trip.
12. Hang a Small Bin Inside the Cabinet Door
The inside of a cabinet door is free space most kitchens ignore, and it is the perfect spot for a small recycling bin. Mount a slim bin on the door under the sink, and it catches rinsed cans and bottles the moment they are clean. The door closes, the bin hides, and the counter stays clear.
Pick a bin shallow enough that the door still closes easily, and empty it daily so it never overflows. Line it with a small bag for quick changes, and wipe the door panel now and then to catch drips. A door-mounted bin turns dead space into a sorting spot your whole family will use.
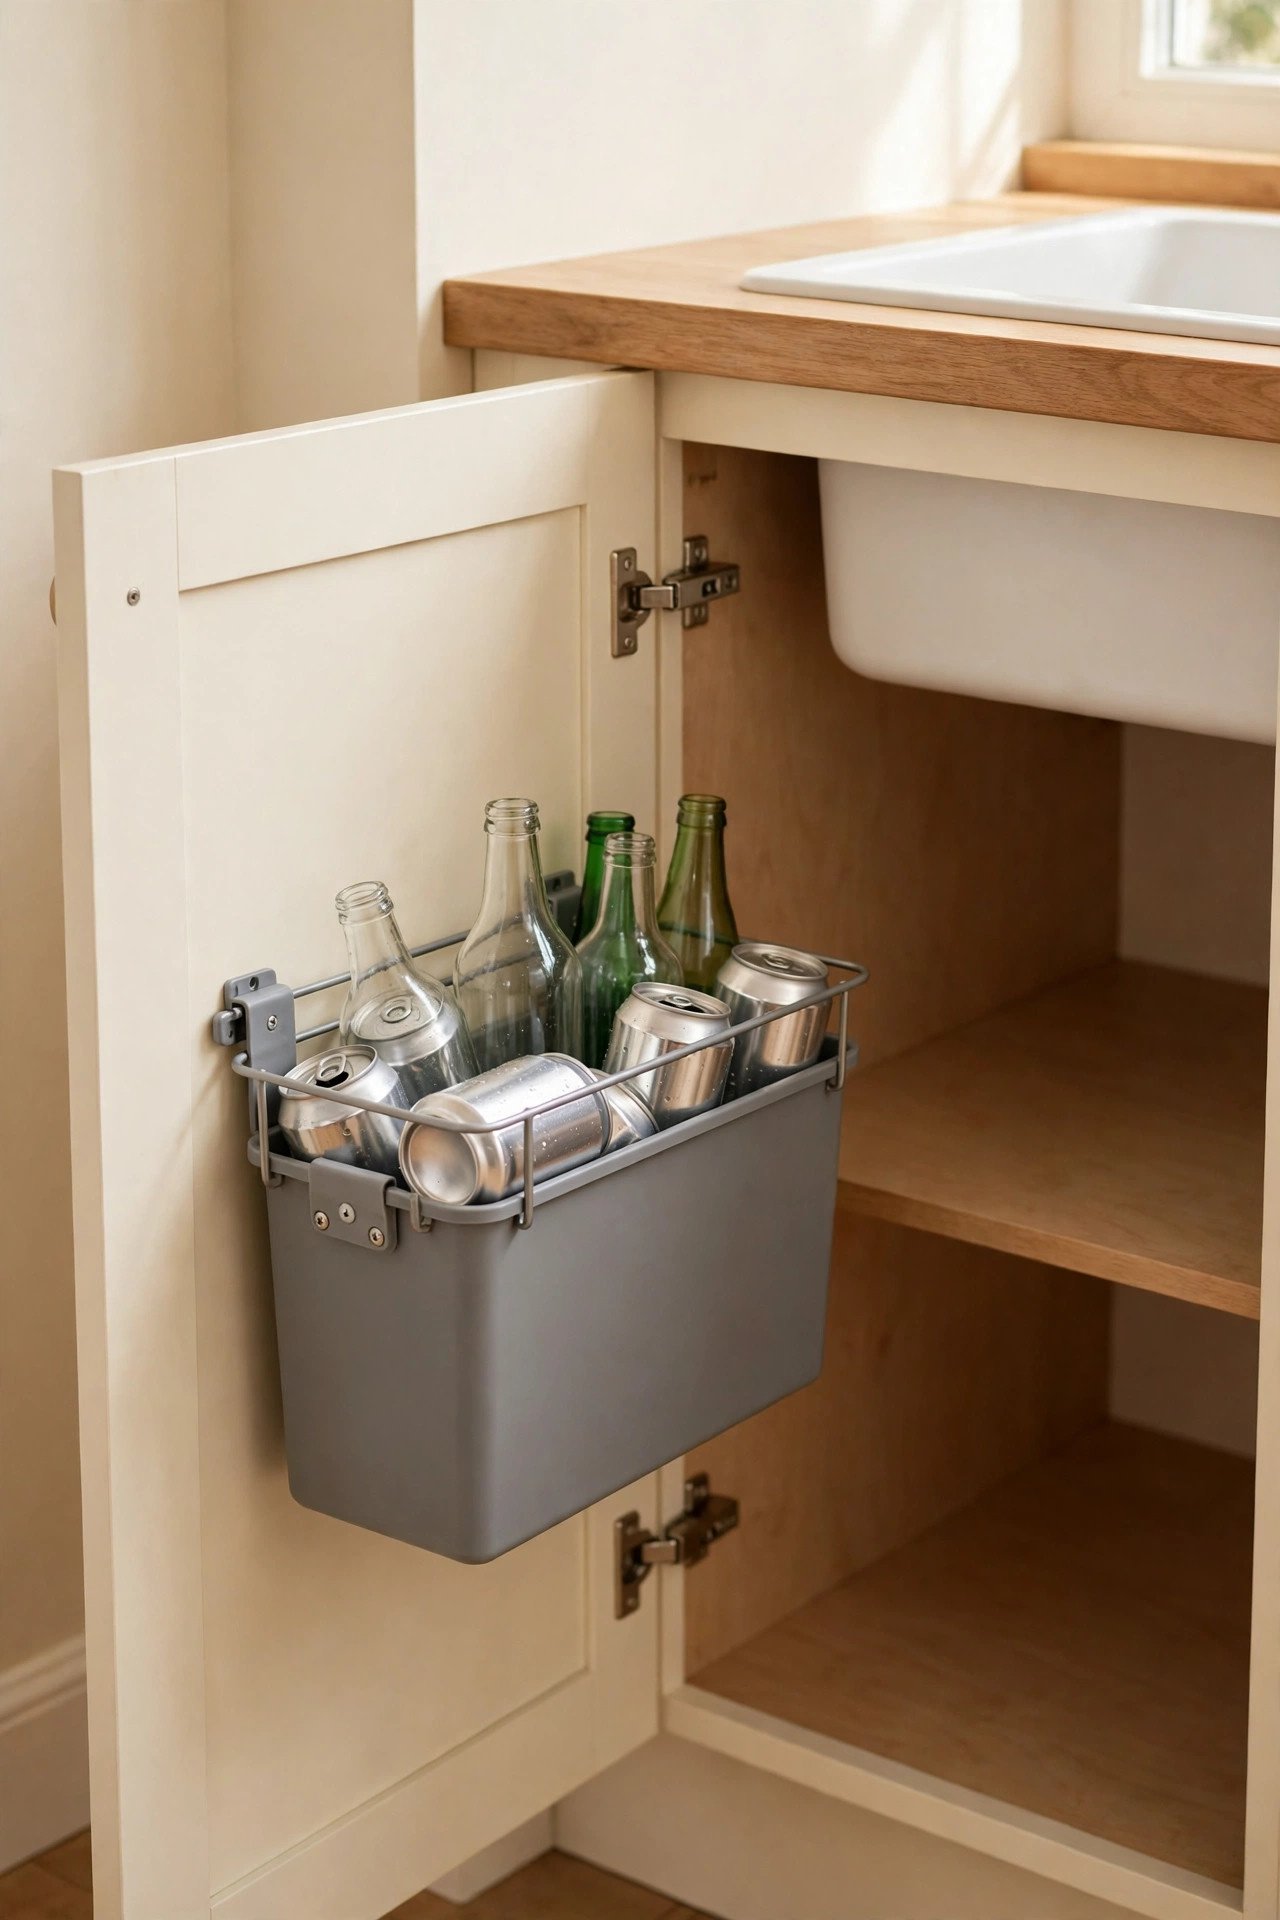
13. Sort Glass, Metal and Plastic Apart
Mixed recycling only works when each material lands in the right place, so give glass, metal, and plastic their own bins. Three small labeled bins inside one cabinet keep bottles, cans, and tubs apart, and the weekly trip to the curb becomes a quick grab-and-go.
Rinse jars and cans before they go in, so the bins stay clean and smell-free between emptyings. Keep a small brush beside the sink for sticky labels, and flatten plastic tubs to save space. When each material has its own bin, sorting takes seconds and nothing gets tossed in the wrong stream.
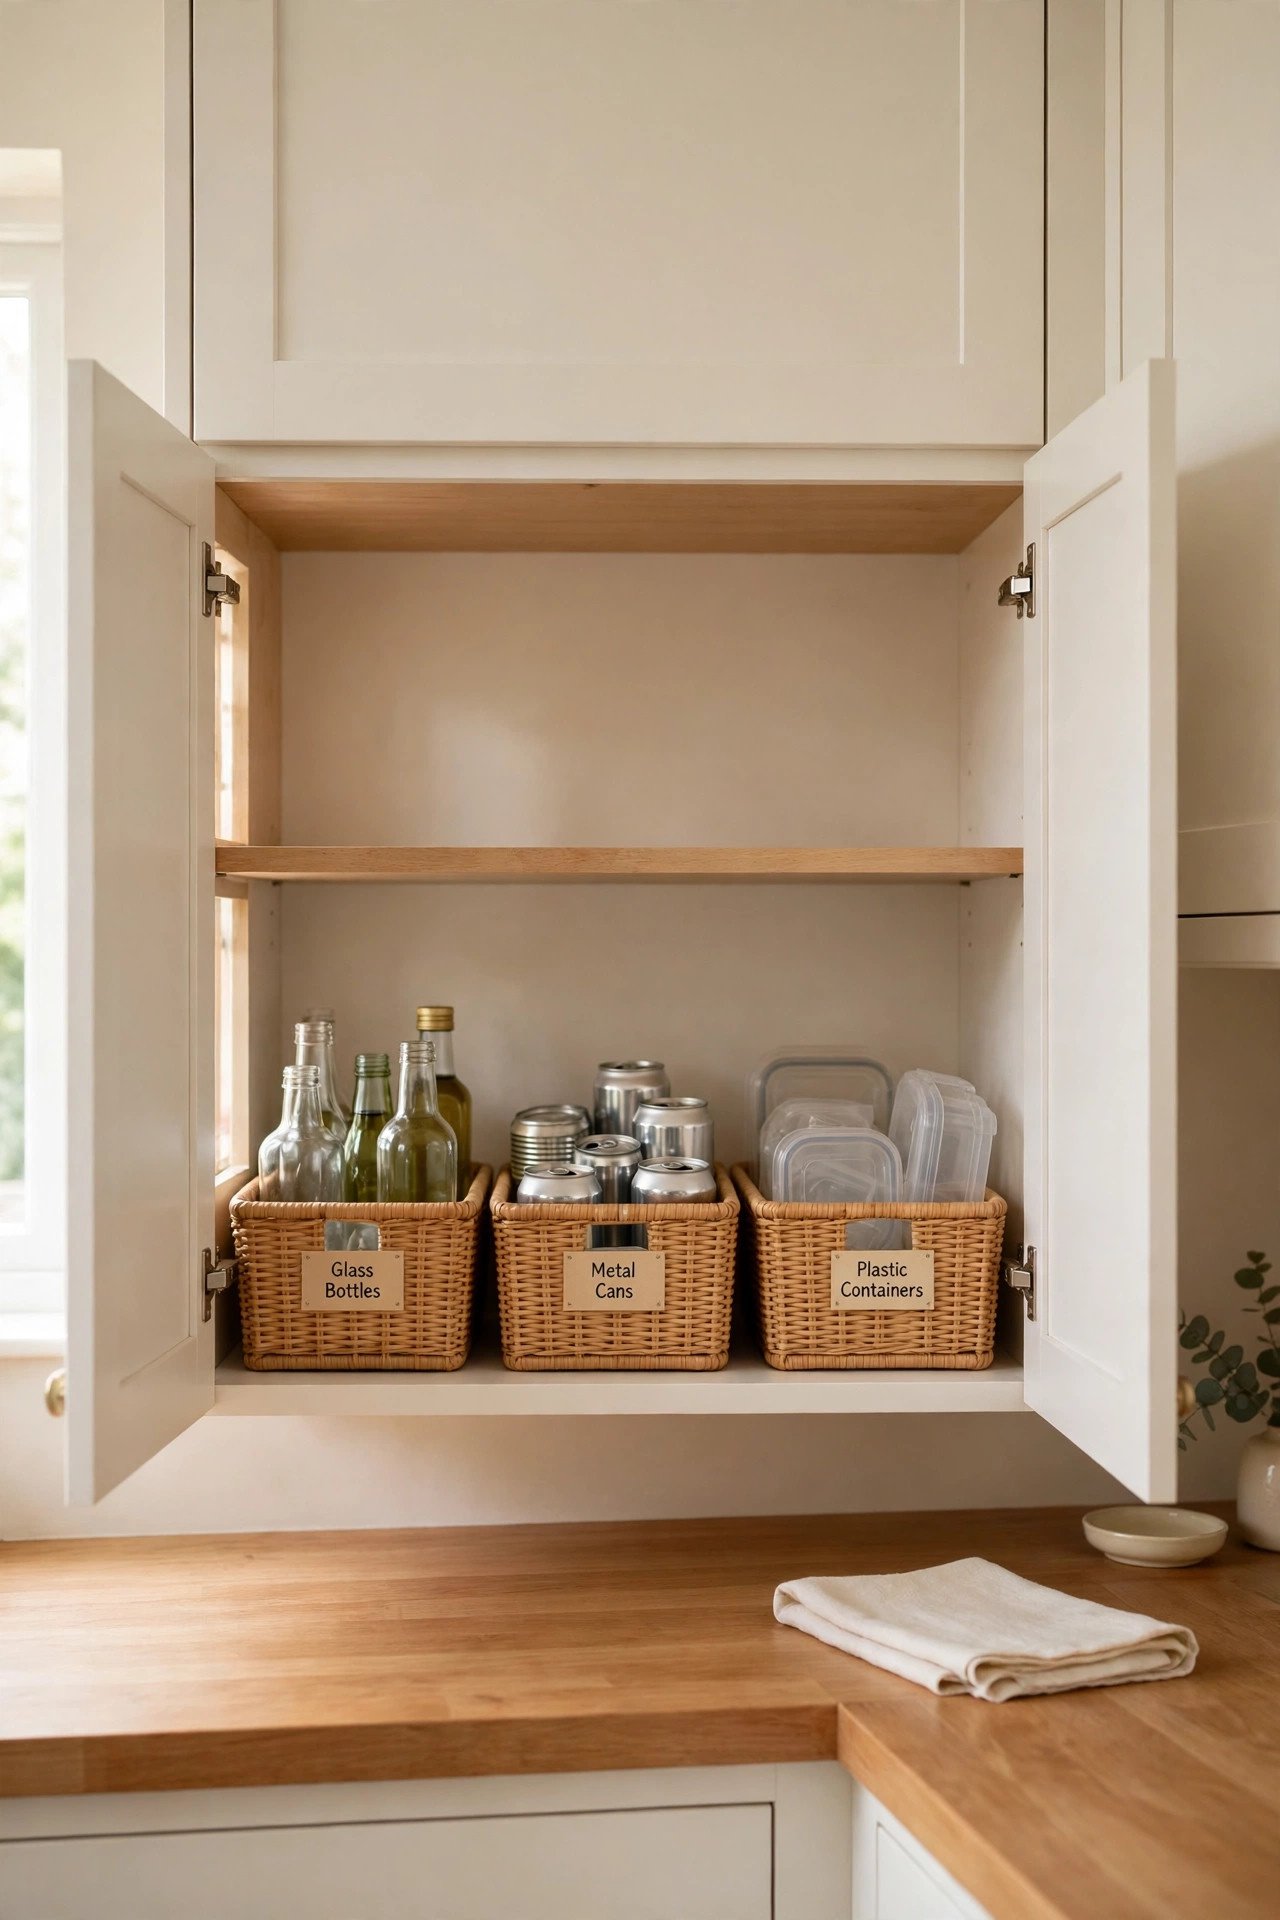
14. Set Up a Family Station Near the Entry
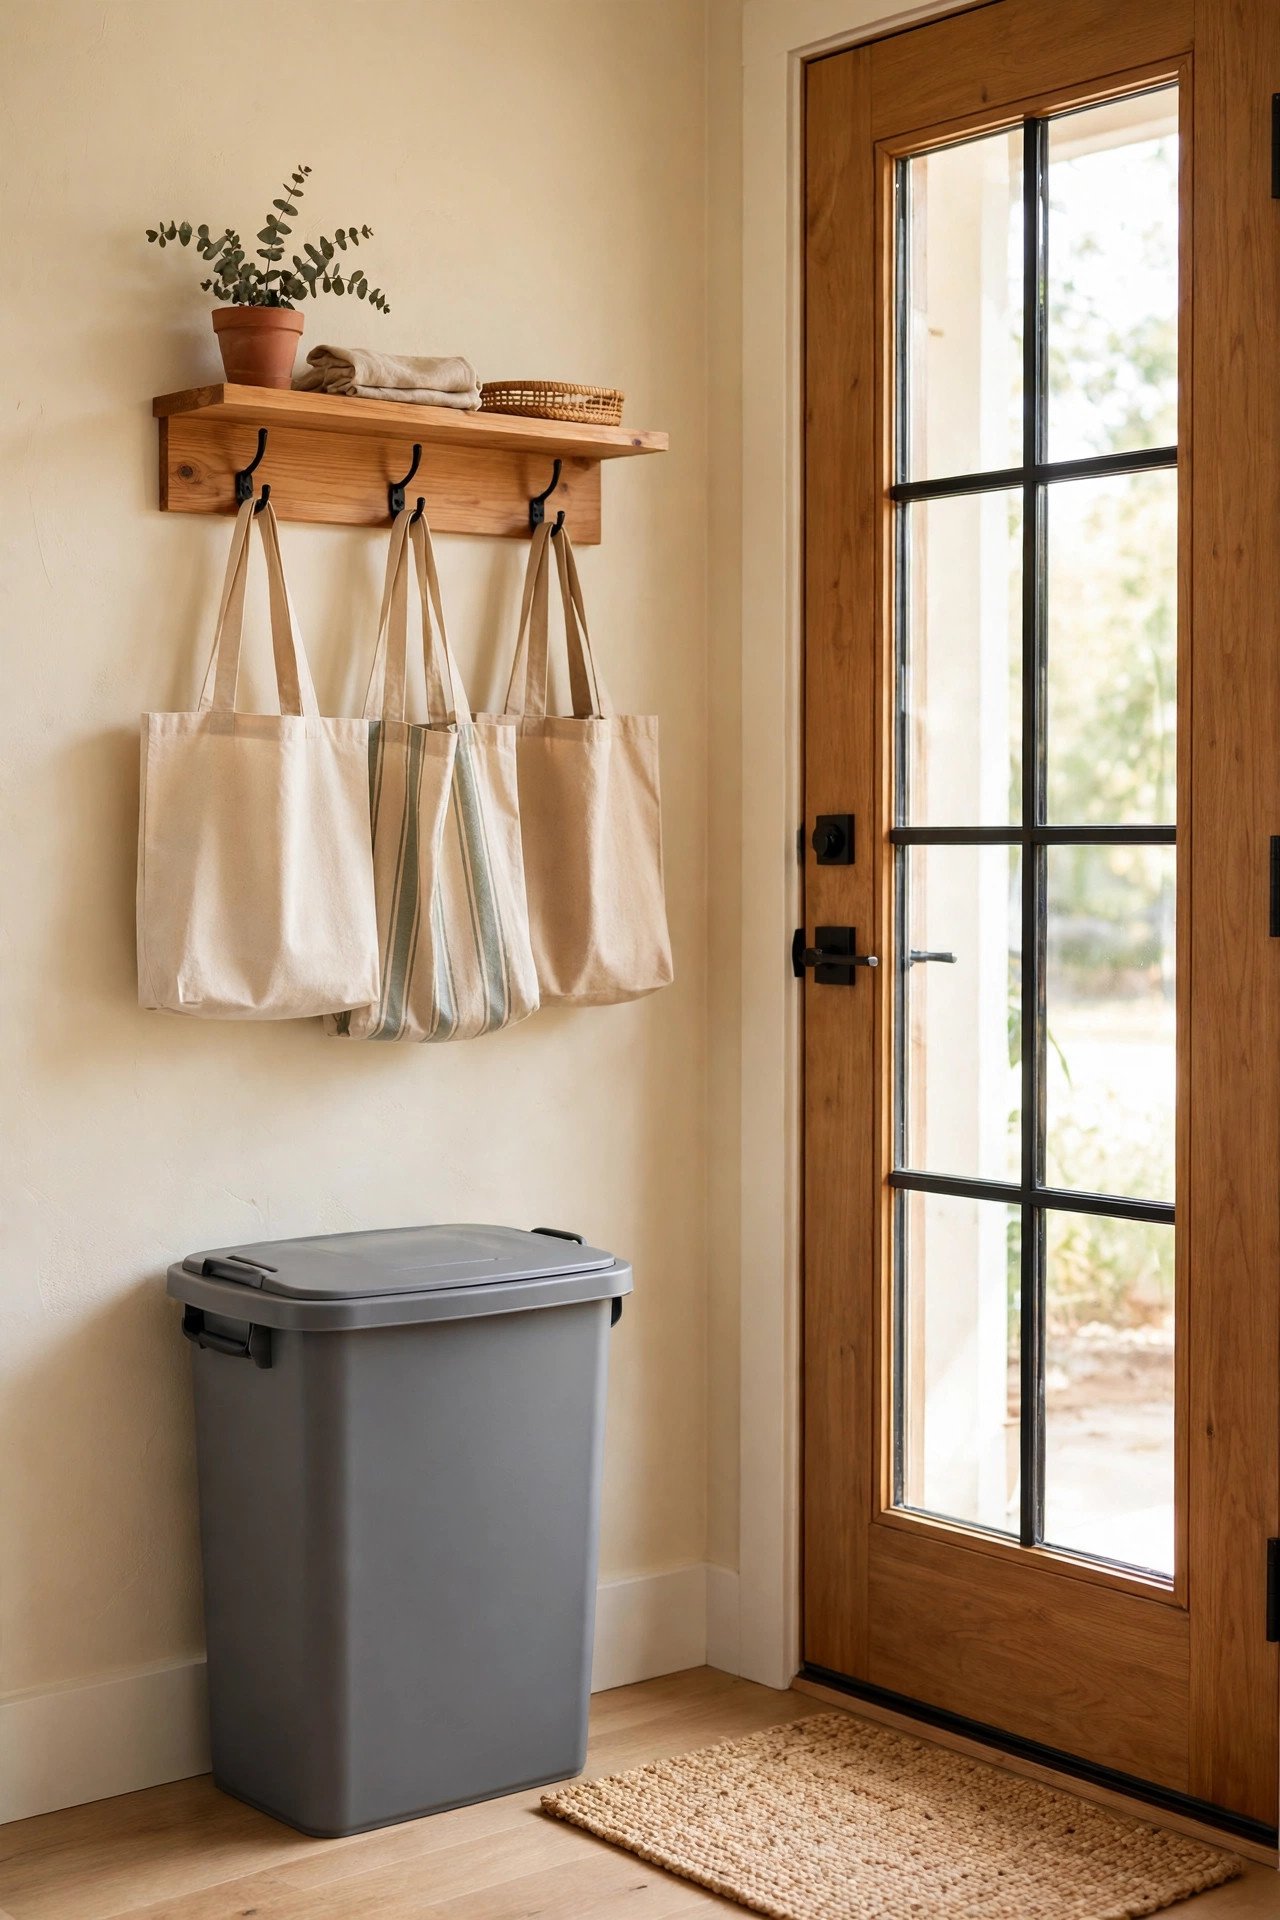
A second sorting station near the entry catches the recycling that never reaches the kitchen. Set a labeled bin beside the door for mail, cardboard boxes, and bottles that come in with the groceries, and the clutter stops at the threshold instead of spreading through the house.
Pair the bin with a small shelf for bags and a hook for reusable totes, so the whole drop zone works together. If your mudroom sits beside the kitchen, these entryway organization ideas will help you keep that whole area tidy. One bin by the door saves the kitchen from a daily pile of boxes.
15. Follow a Simple Weekly Emptying Routine
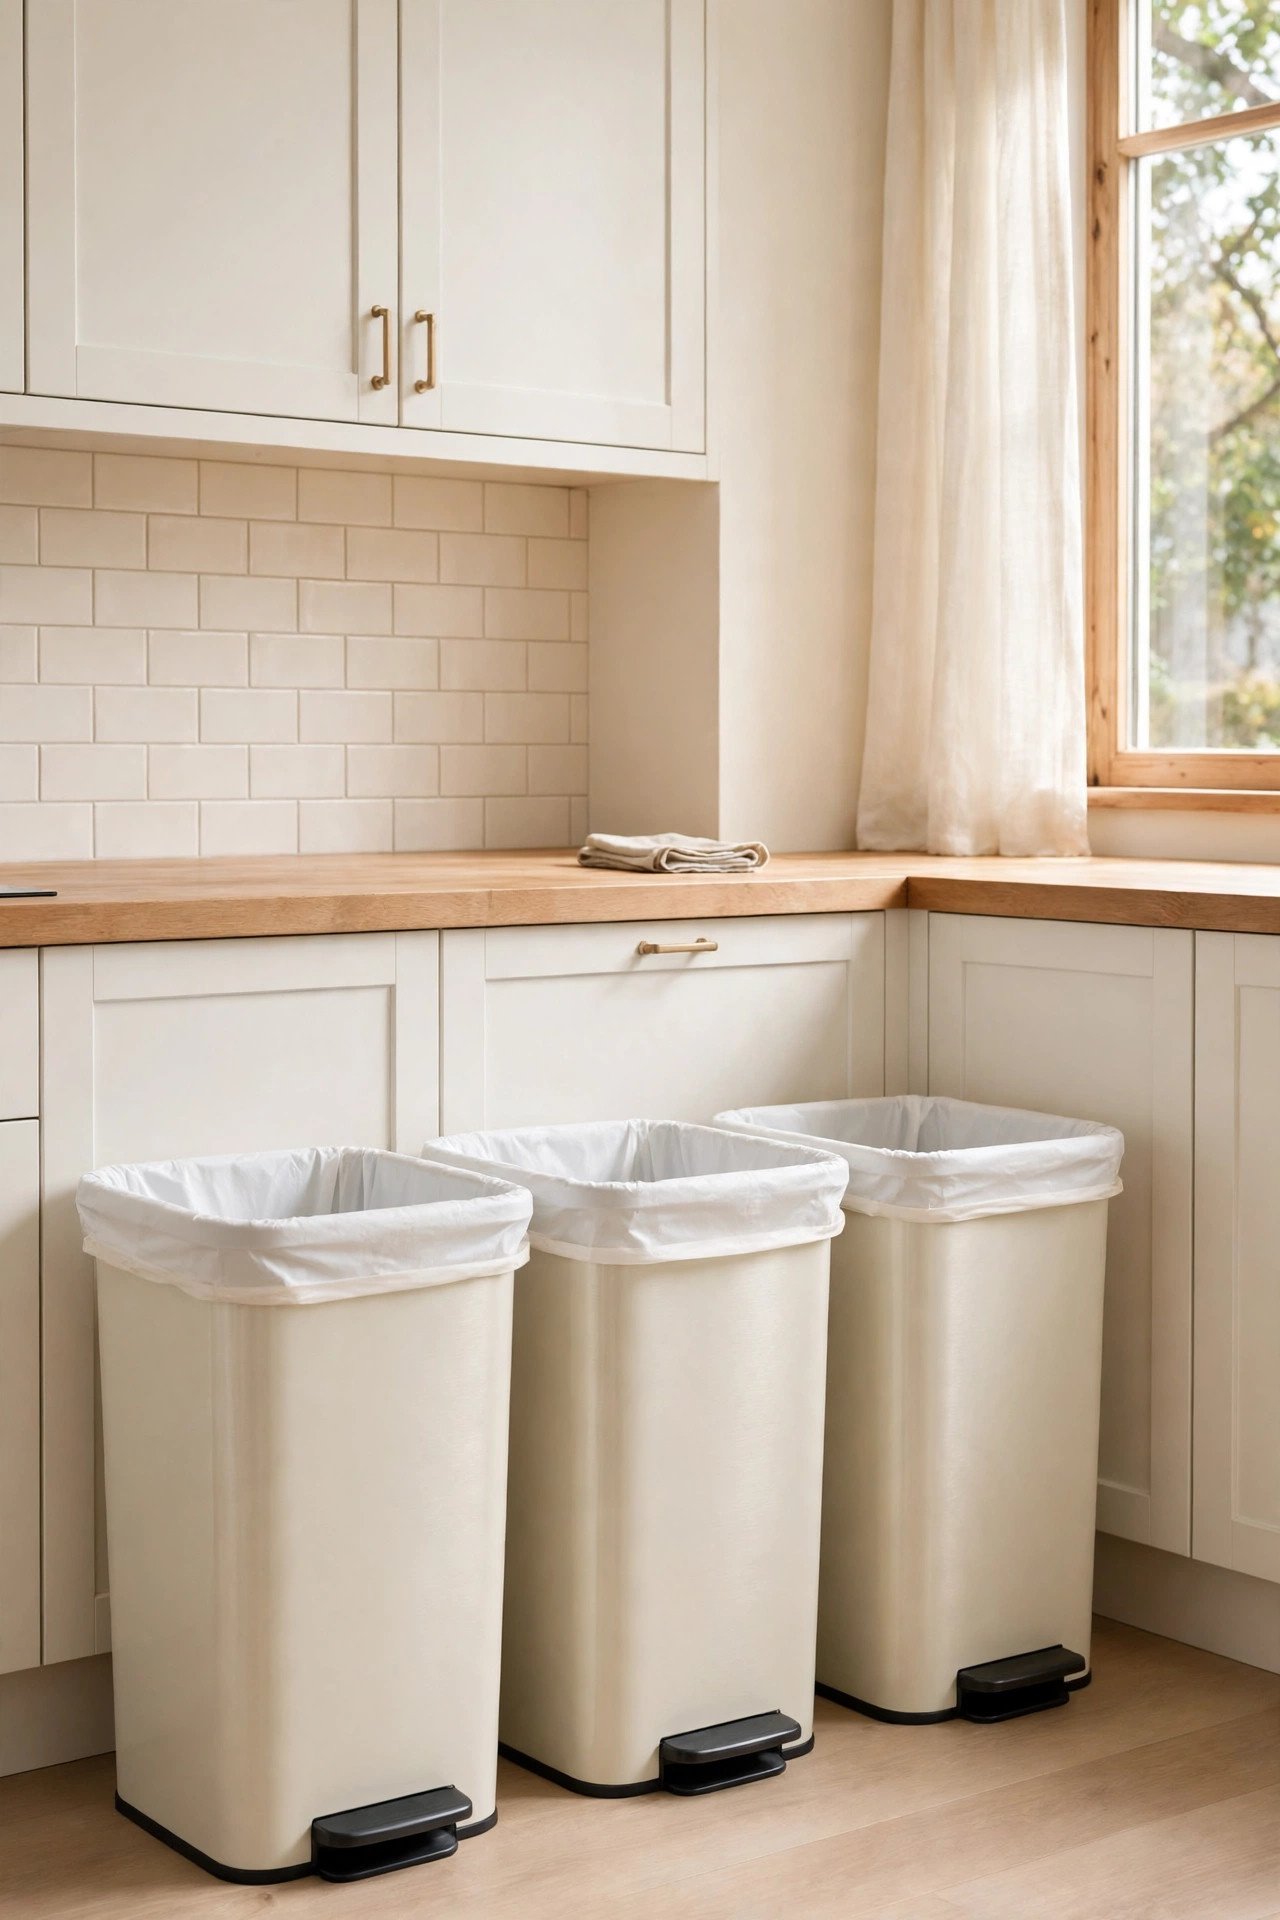
Even the best station fails when bins sit full, so give emptying a fixed day. Pick one evening a week to carry out the trash, recycling, and compost together, and wipe each bin with a damp cloth before the fresh liner goes in. A weekly routine keeps smells away and bins ready.
Write the day on the inside of a cabinet door until it becomes a habit, and let each family member own one bin. Check the bins the night before collection day, and flatten any last boxes. A simple routine means the station never overflows, and sorting stays easy all week long.
Conclusion
A tidy kitchen is not about having fewer bins — it is about giving every scrap a clear home. A pull-out cabinet, clear labels, and bins matched to your real habits turn sorting from a daily argument into a quick habit the whole family shares.
Pick the one idea that fits your kitchen best and try it this weekend. Add the nightly habit of emptying the small bins and wiping the station, and these nightly reset routines will keep the whole kitchen calm until morning. Start with one labeled bin beside the sink, and the rest will follow.
Frequently Asked Questions About 15 Kitchen Trash and Recycling Station Ideas for Easy Sorting
How many bins do I need for a kitchen trash and recycling station?
Three bins cover most homes: one for trash, one for recycling, and one for food scraps. If you do not compost, two bins are enough. Larger families may add a fourth bin for paper and cardboard, since boxes fill a mixed bin fast.
Where is the best place to put a kitchen recycling station?
Beside the sink or your main prep counter, where most kitchen waste is created. A pull-out cabinet there keeps bins hidden yet within reach. If no cabinet is free, use a slim bin or a rolling cart nearby. The station should sit where the mess starts.
How do I keep a trash and recycling station from smelling?
Empty the compost pail every day or two, rinse bins with hot soapy water once a week, and always use liners. Sprinkle baking soda in the bottom of each bin before the fresh liner goes in. Keep lids closed, and take out the trash the night before collection day.
What size bins work best in a small kitchen?
Slim bins between eight and thirteen gallons fit most small kitchens, with trash a little bigger than recycling. Measure your cabinet opening first, and choose bins that slide out fully. For very tight spaces, stackable bins use corners well, and a small pail handles food scraps.
How do I get my family to sort trash and recycling correctly?
Use big clear labels with words and pictures on every bin, and place the bins where sorting happens. Show everyone once which item goes where, and keep a small sorting chart inside a cabinet door. Praise the good sorting you see, and the habit will stick fast.

Hi, I’m Emily! I turn messy corners into cozy, organized spots. DreamNestDecor is where I share simple, practical home ideas — decor, organization, and small-space solutions that work in real life, not just in photos. Every idea here is carefully researched before it’s shared.