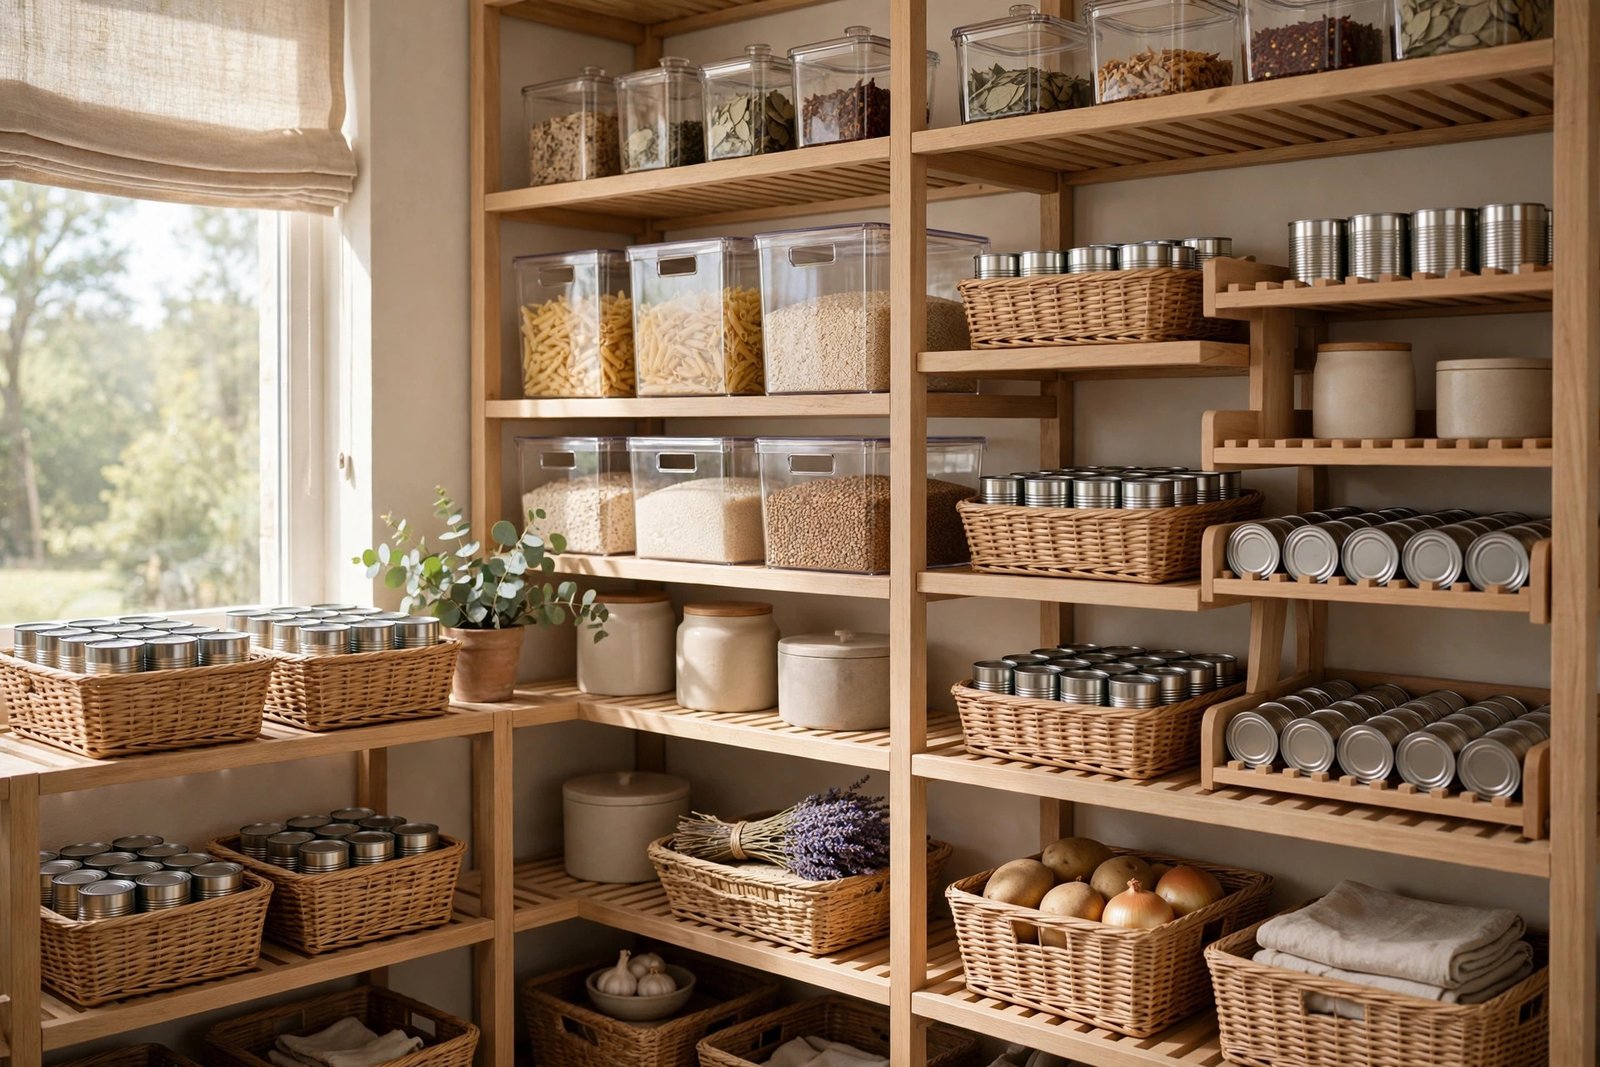
Picture this: you open the pantry door to make soup, and the can you need is hiding behind three rows of beans, tomatoes, and tuna. You pull out can after can, and the shelf still looks like a jumble. Dinner starts late, and the pantry door closes on the same mess.
You do not need a bigger pantry or a bigger budget to fix it. You only need a simple system that keeps every can visible, grouped, and easy to reach. These 21 ideas will help you organize canned food in your pantry, so you can see what you have and cook without the hunt.
1. Slide Out the Shelves to See Every Can
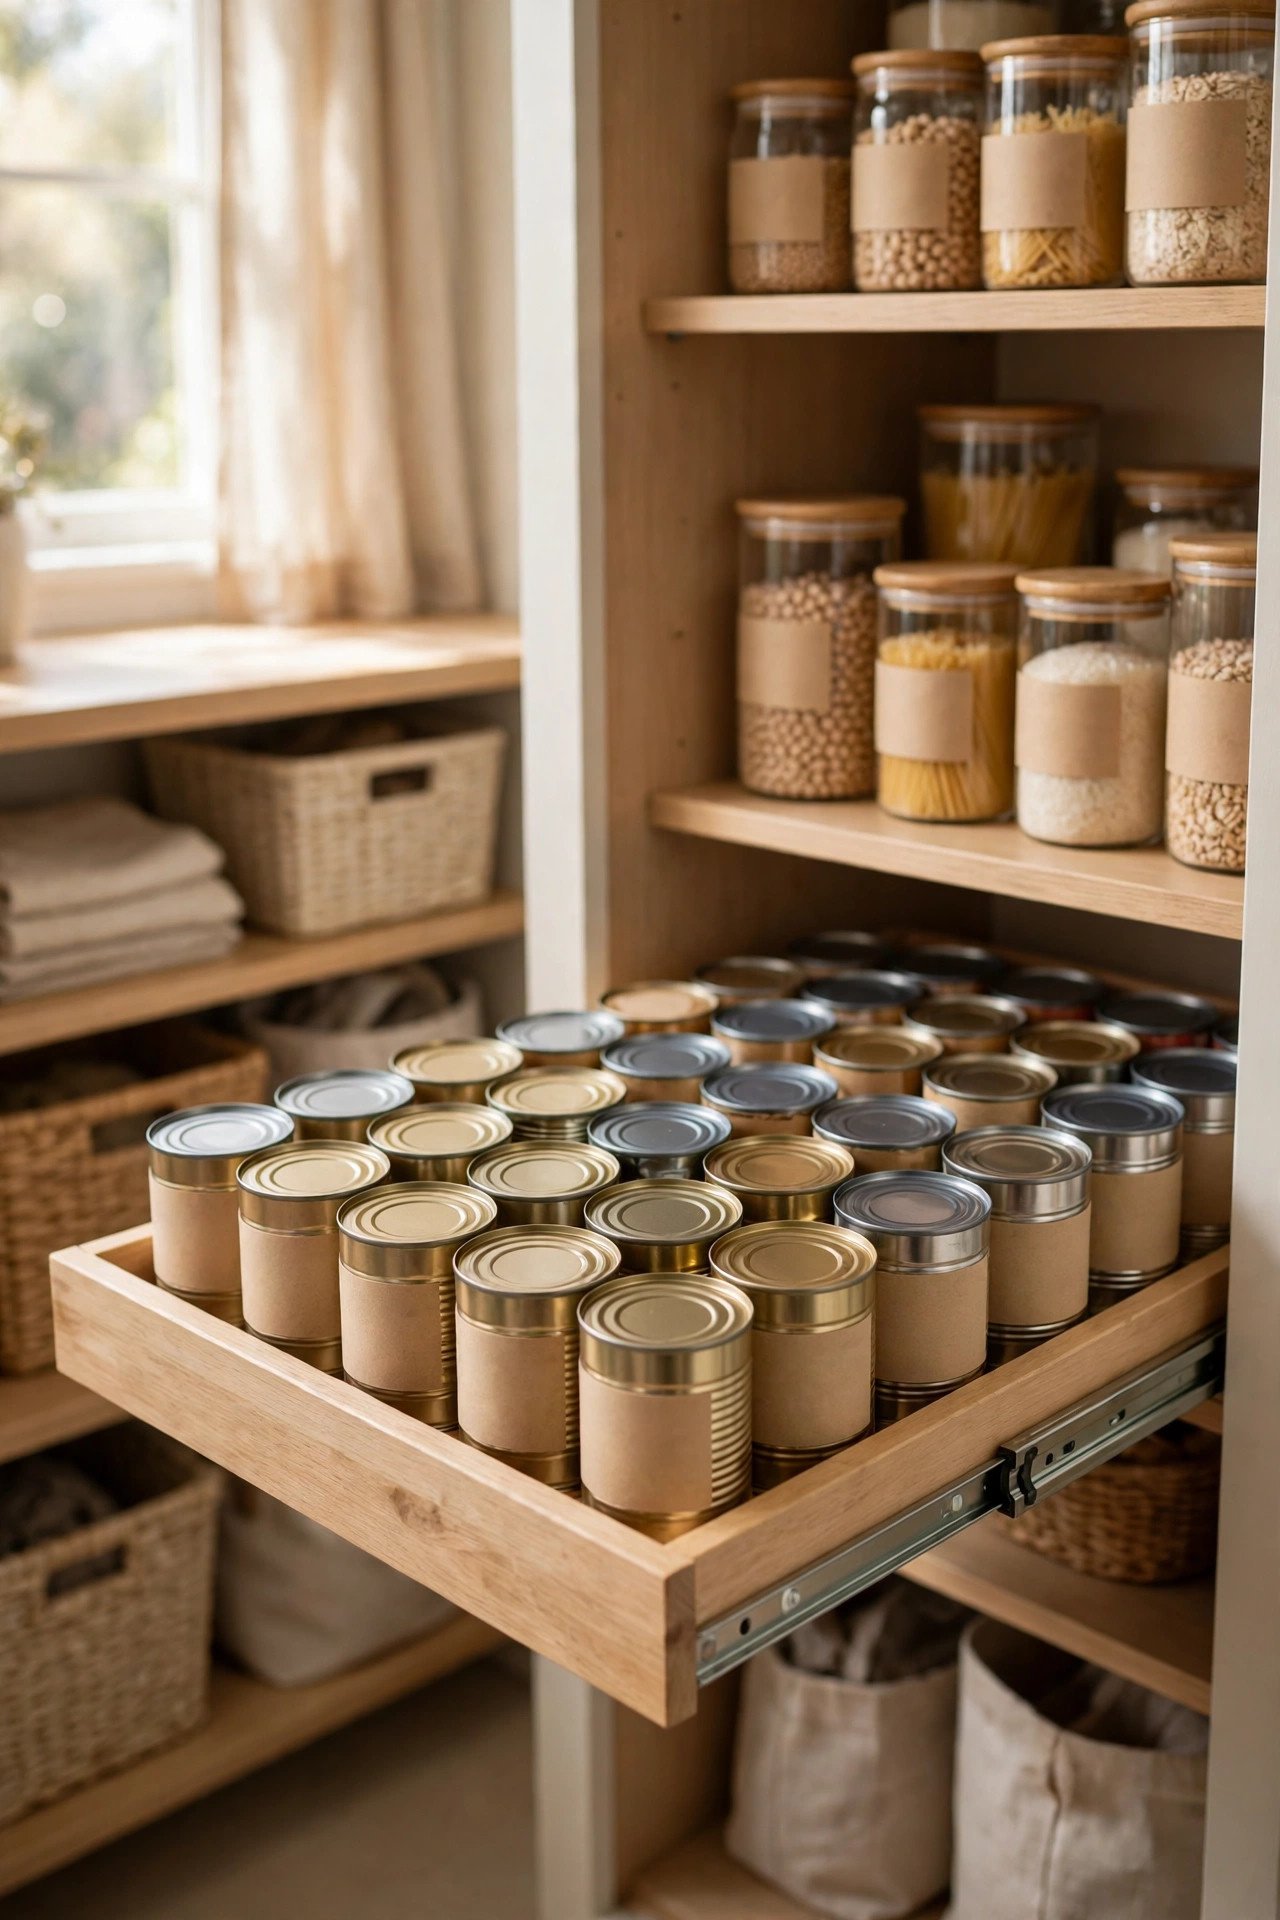
A slide-out shelf turns a deep pantry cabinet into storage you can actually see. Mount the shelf on smooth runners, load it with cans, and pull it out like a drawer whenever you cook. Every label faces you at once, so you stop moving the front row to check what sits behind it.
This idea suits deep cabinets where cans vanish at the back. Keep heavy cans low and light ones up high, so the shelf glides easily and never tips. One smooth pull brings the whole row into view, and pushing it back takes only a second.
2. Stack Cans on a Sturdy Rack
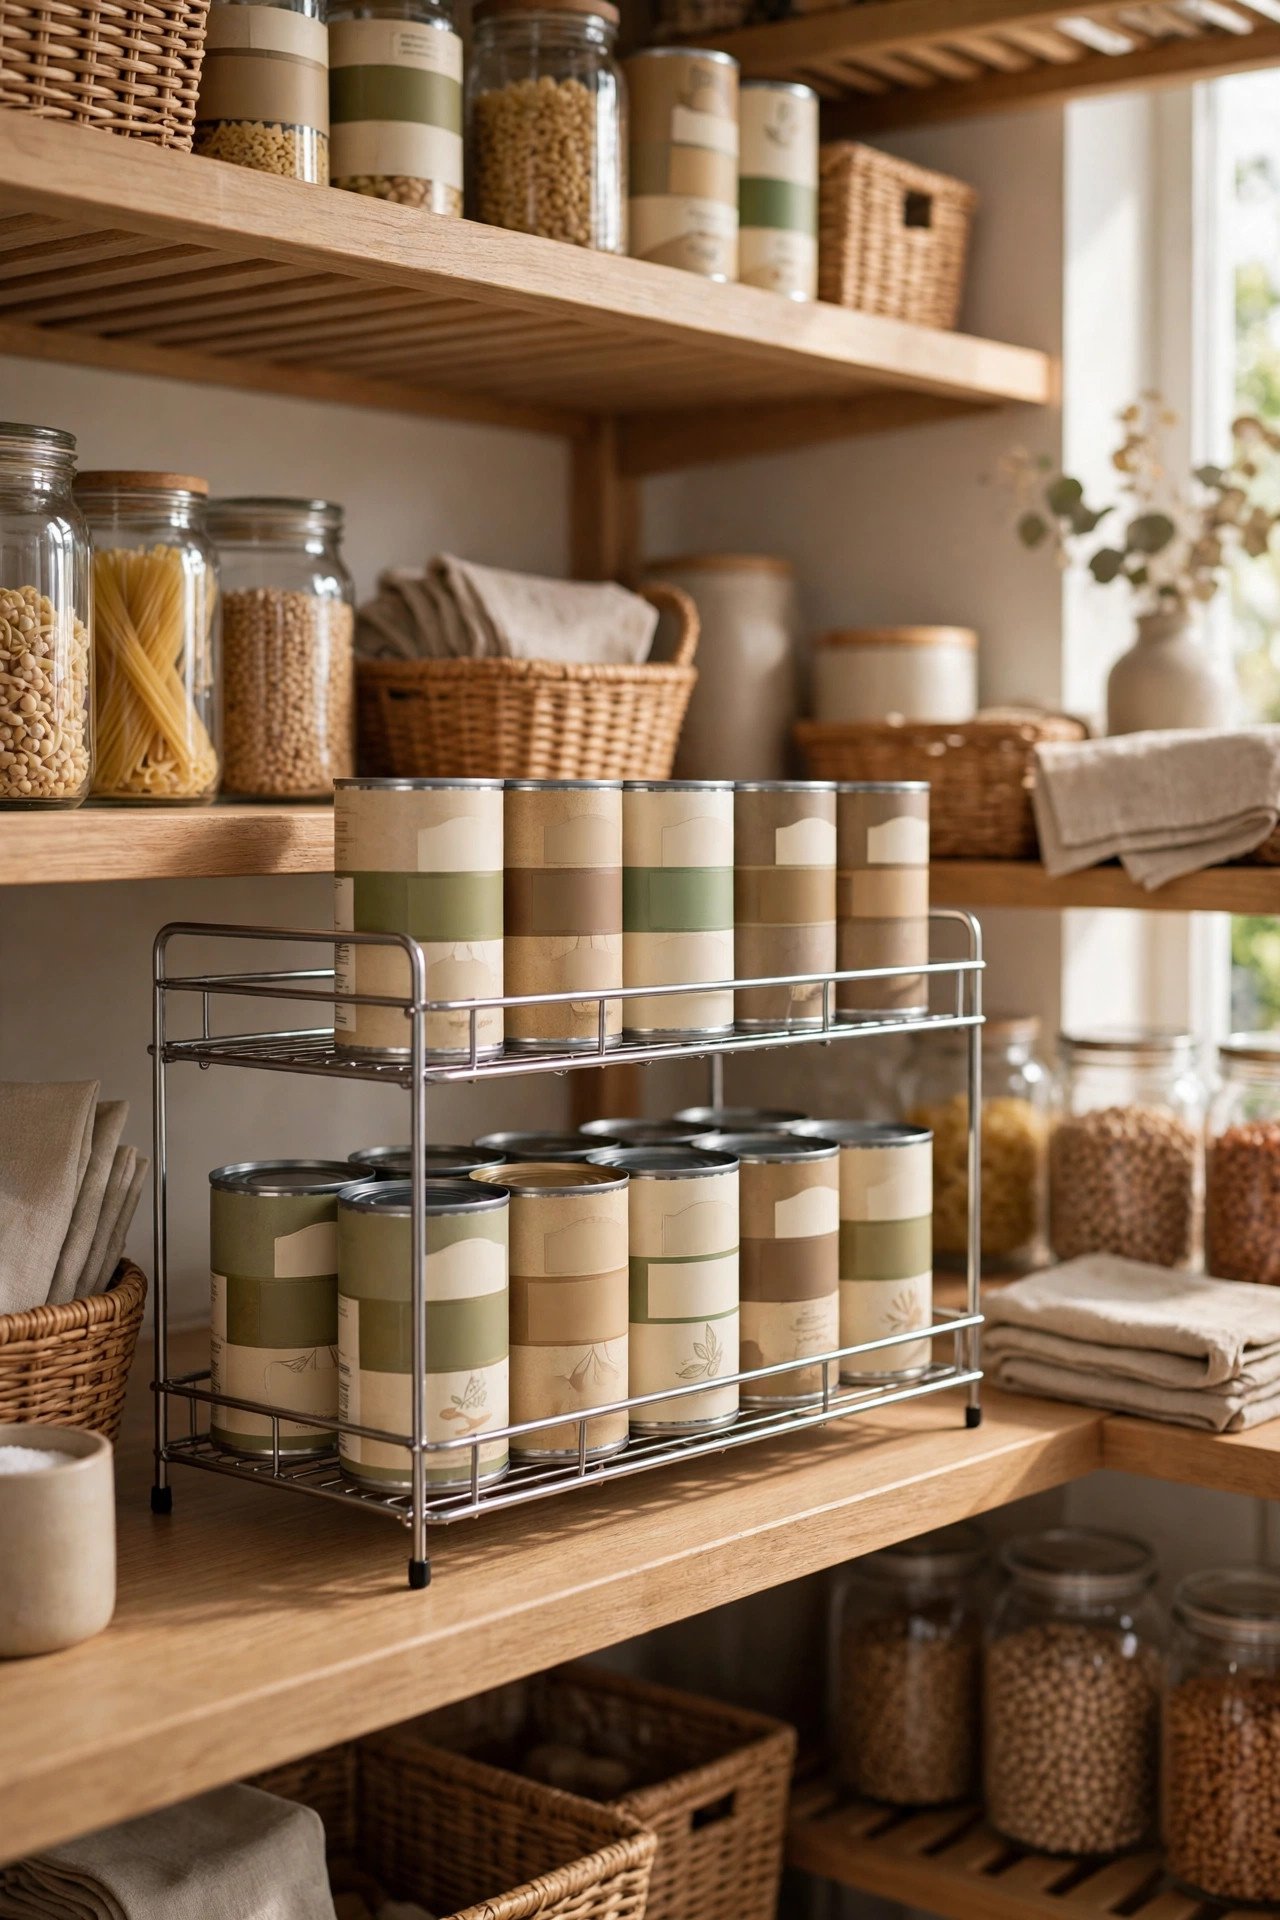
A stackable rack adds a second layer to a shelf without any tools or drilling. Set the rack on the pantry shelf, place cans on both levels, and suddenly the same space holds twice as much. The open frame keeps every label visible, so you can grab the right can without lifting a stack.
Choose a rack with a strong frame that holds the weight of full cans without bending. Leave a small gap between the levels so your hand fits in easily. Two racks side by side can hold a whole week of soups, beans, and tomatoes for busy family dinners.
3. Build a Simple Wooden Shelf for Cans
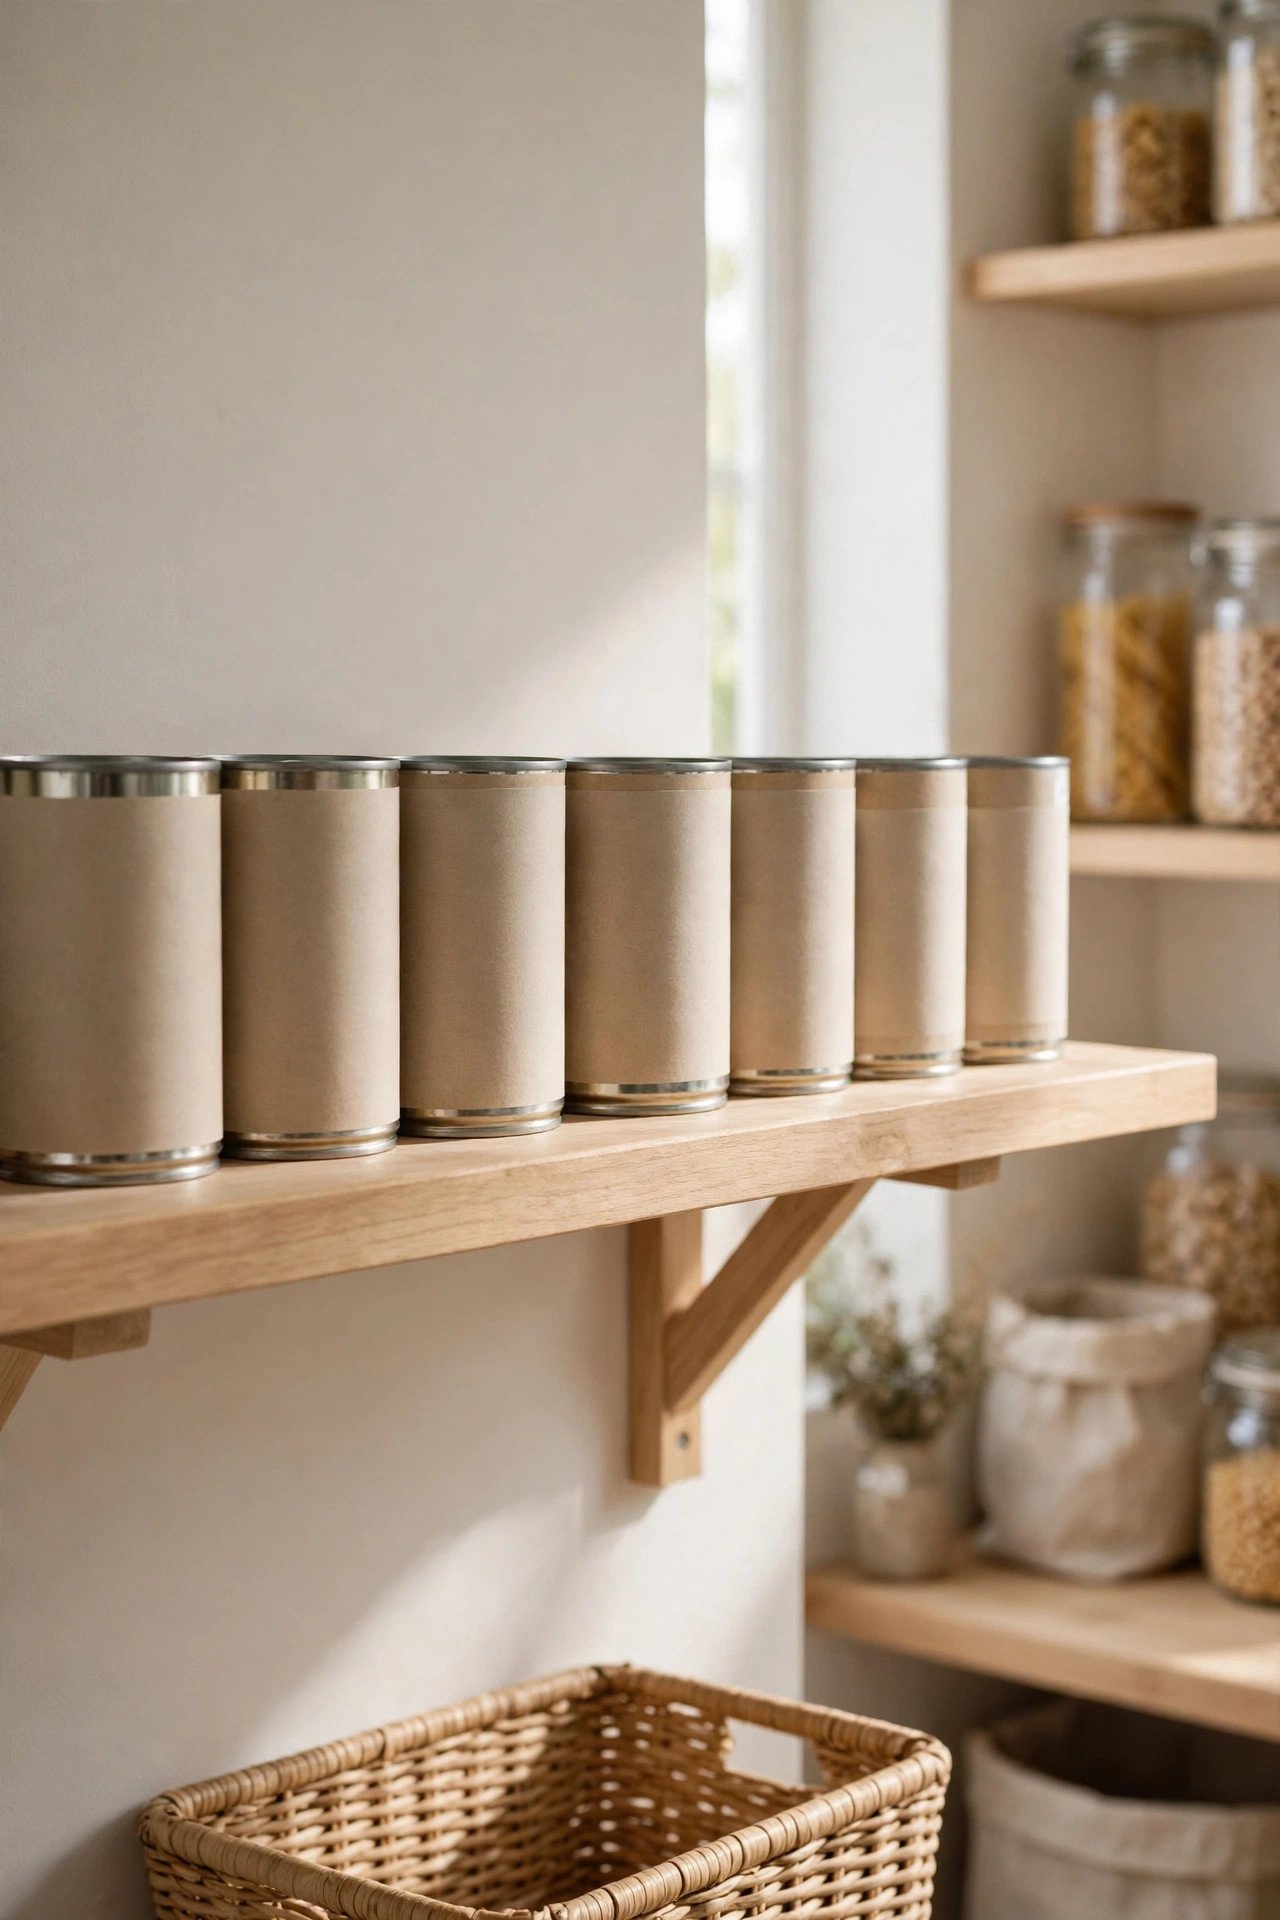
A simple wooden shelf gives your cans a sturdy home that fits your pantry exactly. Measure the shelf space, cut the boards to size, and build a shallow shelf that holds one row of cans. Wood adds warmth to the pantry, and the shelf keeps cans from sliding into a messy pile.
Keep the shelf shallow so cans sit in a single visible row instead of hiding behind each other. Just as our kitchen junk drawer organization ideas keep small tools in their place, a wooden shelf keeps every can in its place. Sand the edges smooth so labels never snag when you pull a can out.
4. Mount a Can Rack on the Wall
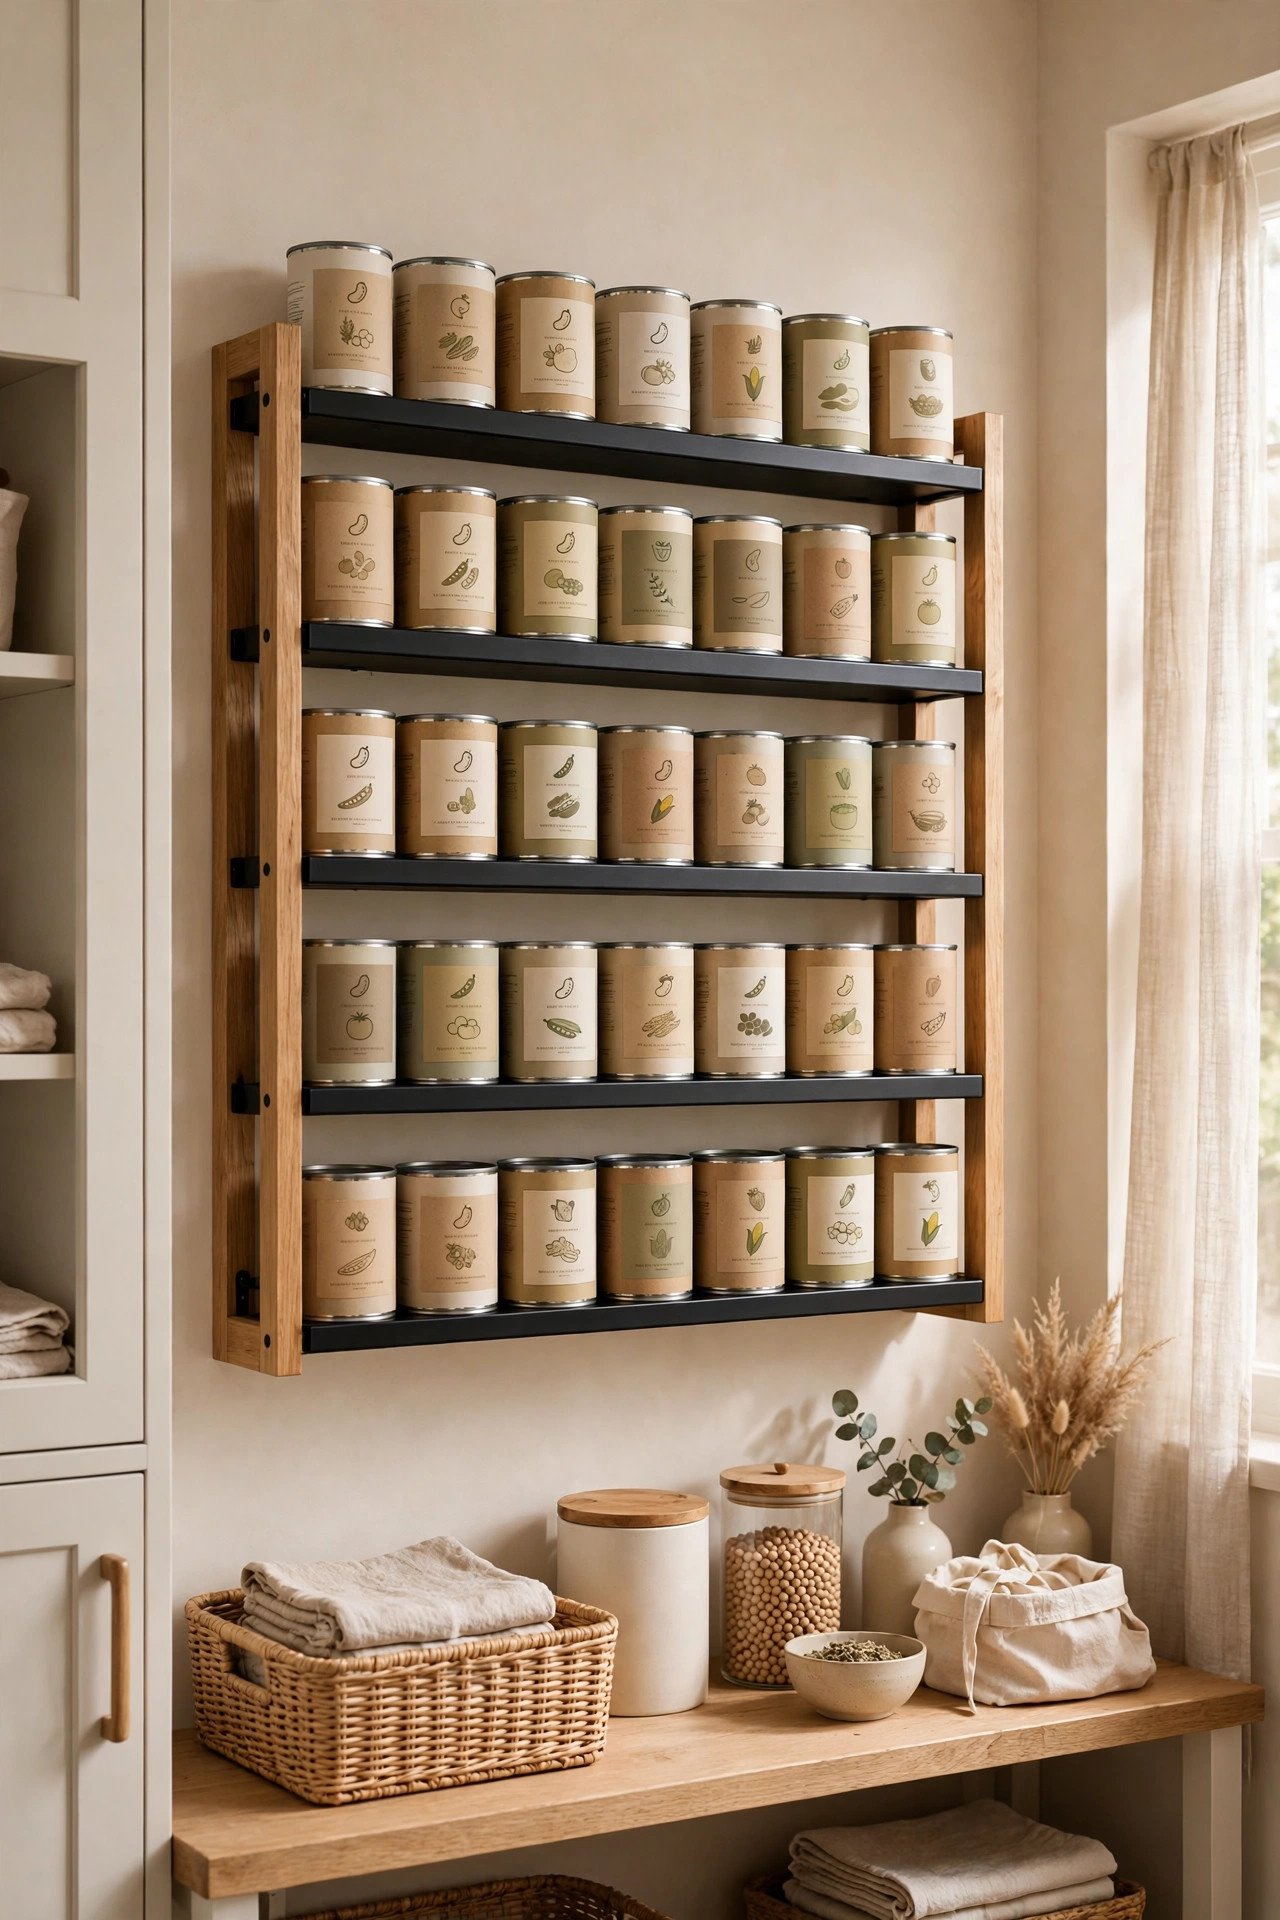
A wall-mounted can rack frees shelf space by moving cans up onto the pantry wall. Fix the rack at eye level, load it with your most-used cans, and the labels face out like books on a shelf. You can see your whole stock at a glance, even when the shelves below stay full.
This idea works best on a solid wall near your cooking area, where you reach for cans most often. Anchor the rack firmly so it holds the weight of full cans without sagging. A wall rack turns empty wall space into storage you will use every single day.
5. Spin a Turntable to Reach the Back Row
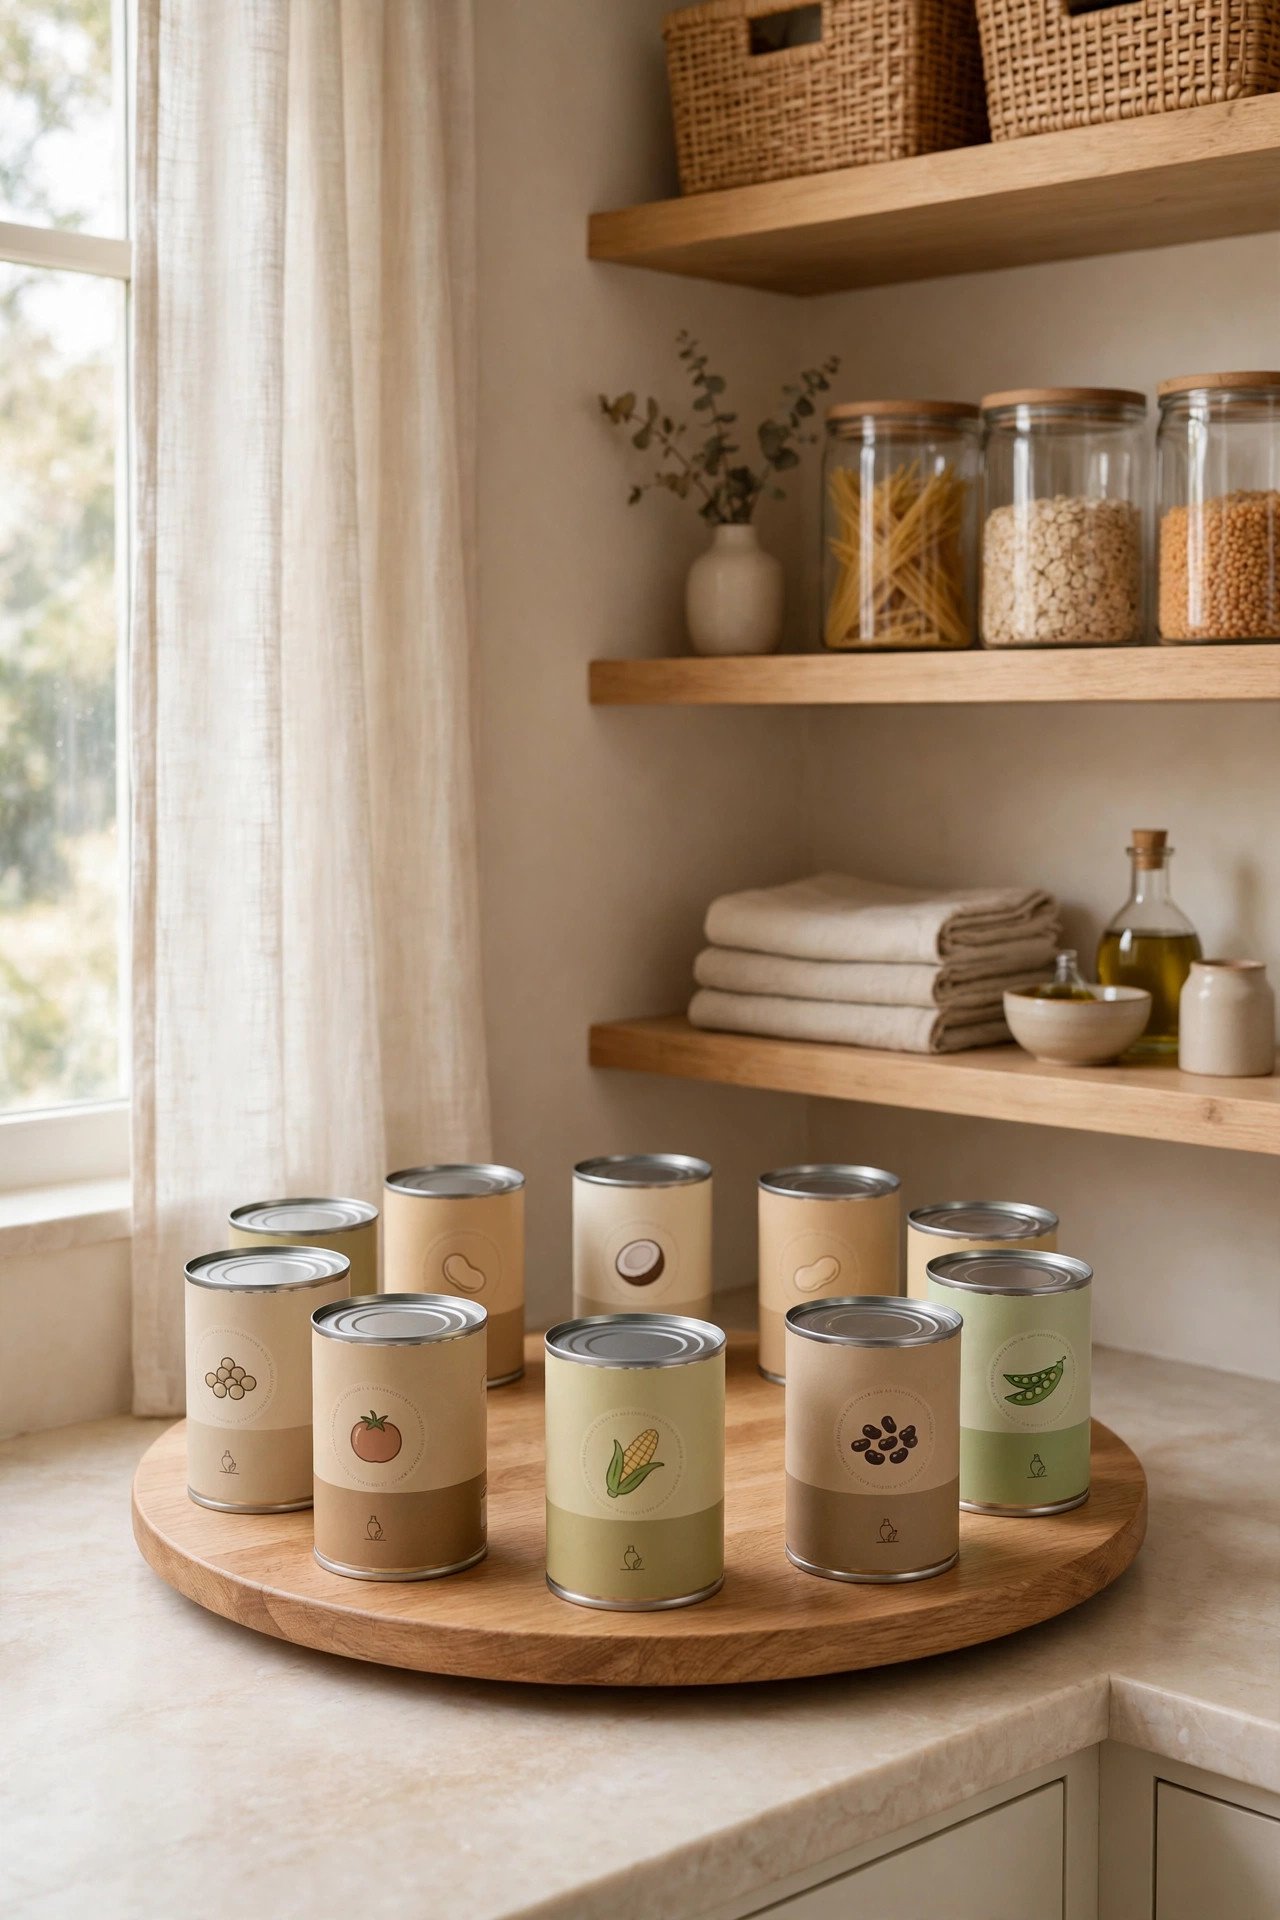
A rotating turntable ends the hunt for cans lost at the back of the shelf. Set the turntable in a deep corner, arrange cans in a circle, and spin it gently to bring the right one forward. No more pulling out the whole row just to reach the beans at the back.
Pick a turntable with a low rim so cans stay in place while it spins. Group similar cans together, such as soups on one side and vegetables on the other. One smooth spin shows you everything, and the back row never gets forgotten again in your pantry.
6. Tilt Wire Shelves So Labels Face You
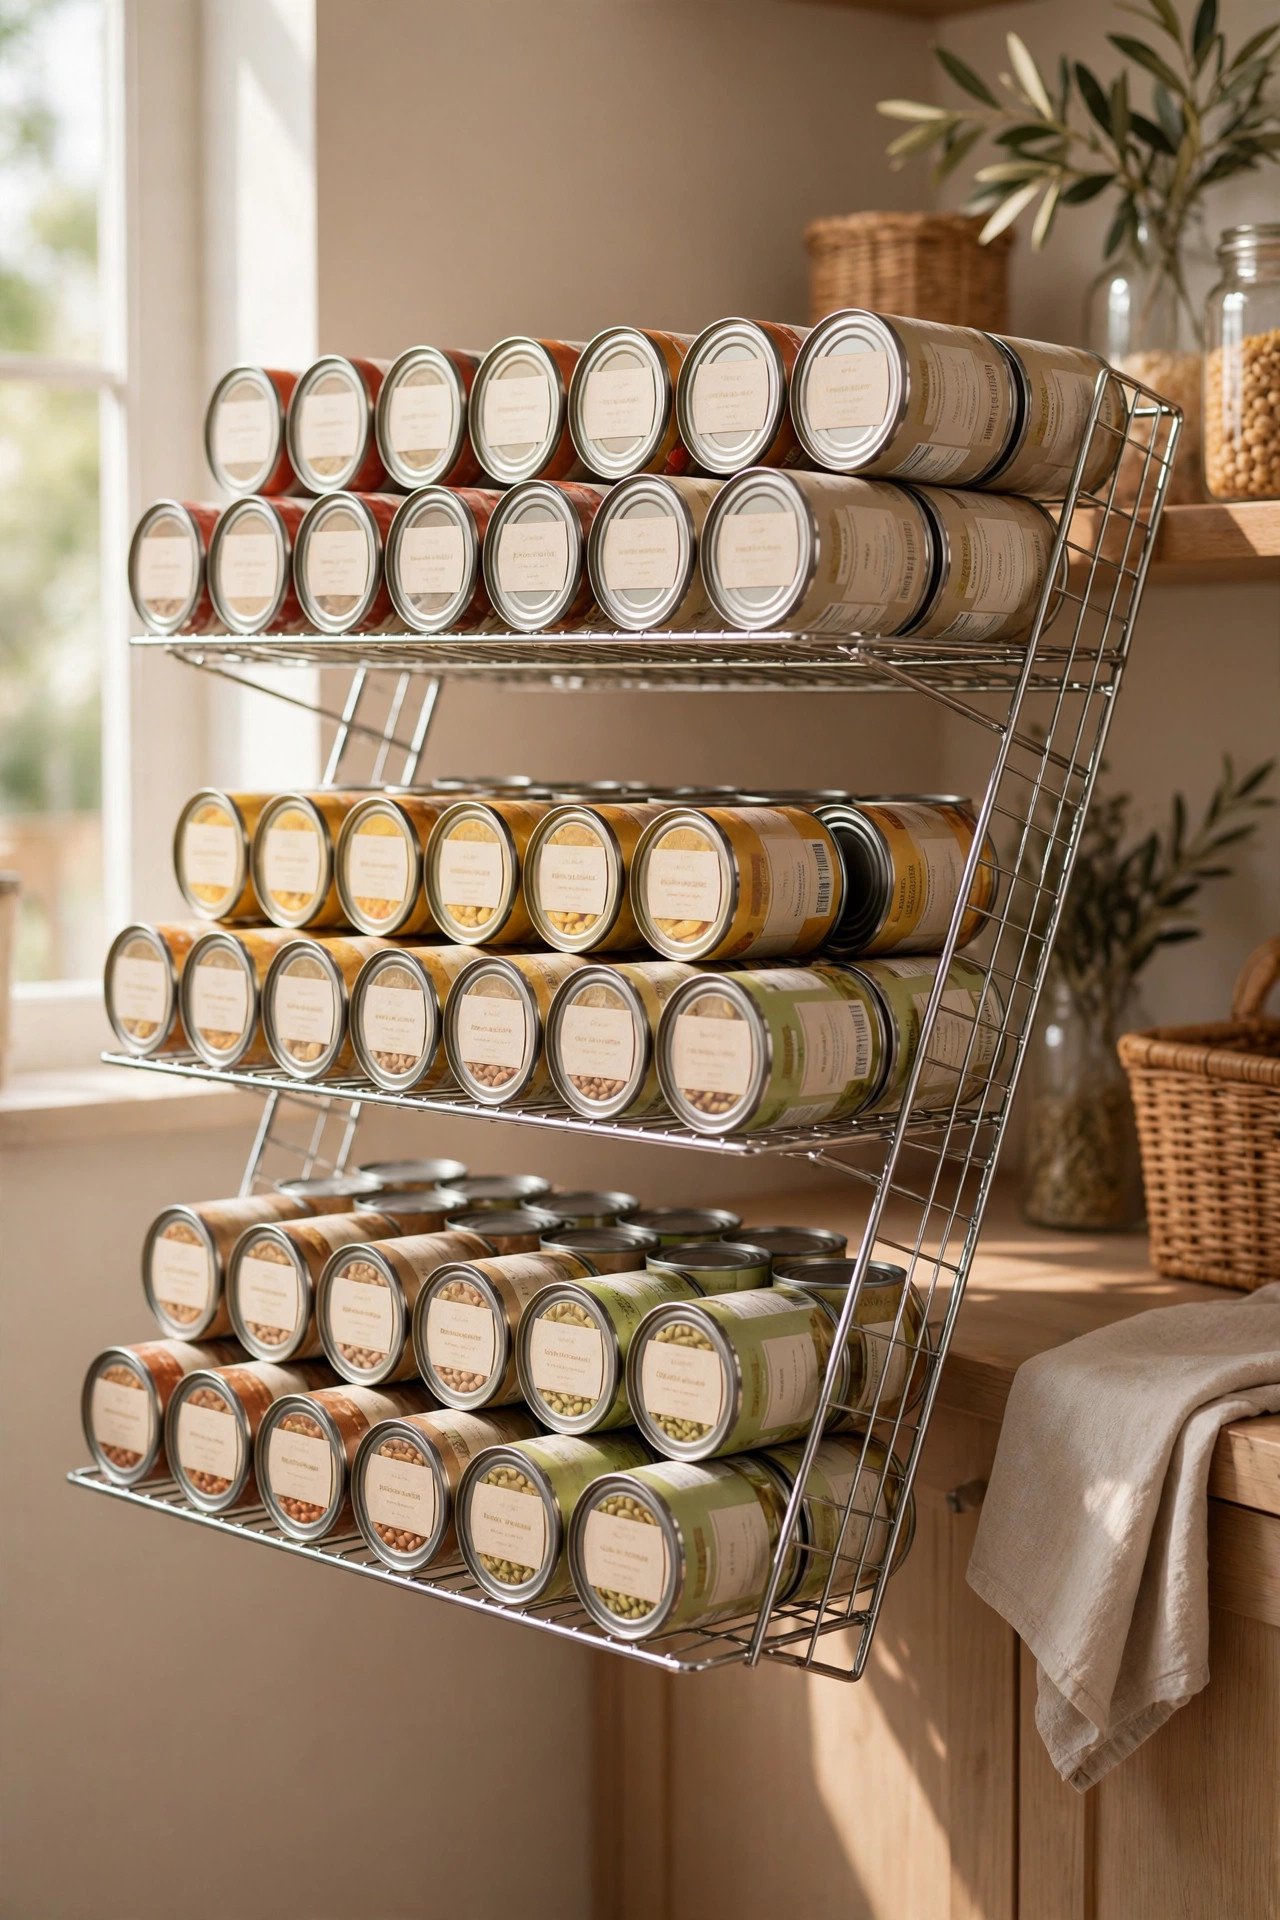
A tilted wire shelf shows every label at once, even on a crowded pantry shelf. Turn the wire shelf upside down so the small side faces up, adjust the brackets until it tilts slightly forward, and set the cans in a neat row. The tilt lifts the back cans just enough to read.
This trick costs nothing and takes only a few minutes to set up in any pantry. Keep the tilt gentle so cans rest safely and never roll forward off the shelf. When labels face you, dinner prep starts faster because you spot the right can in seconds.
7. Raise Cans on Stepped Risers
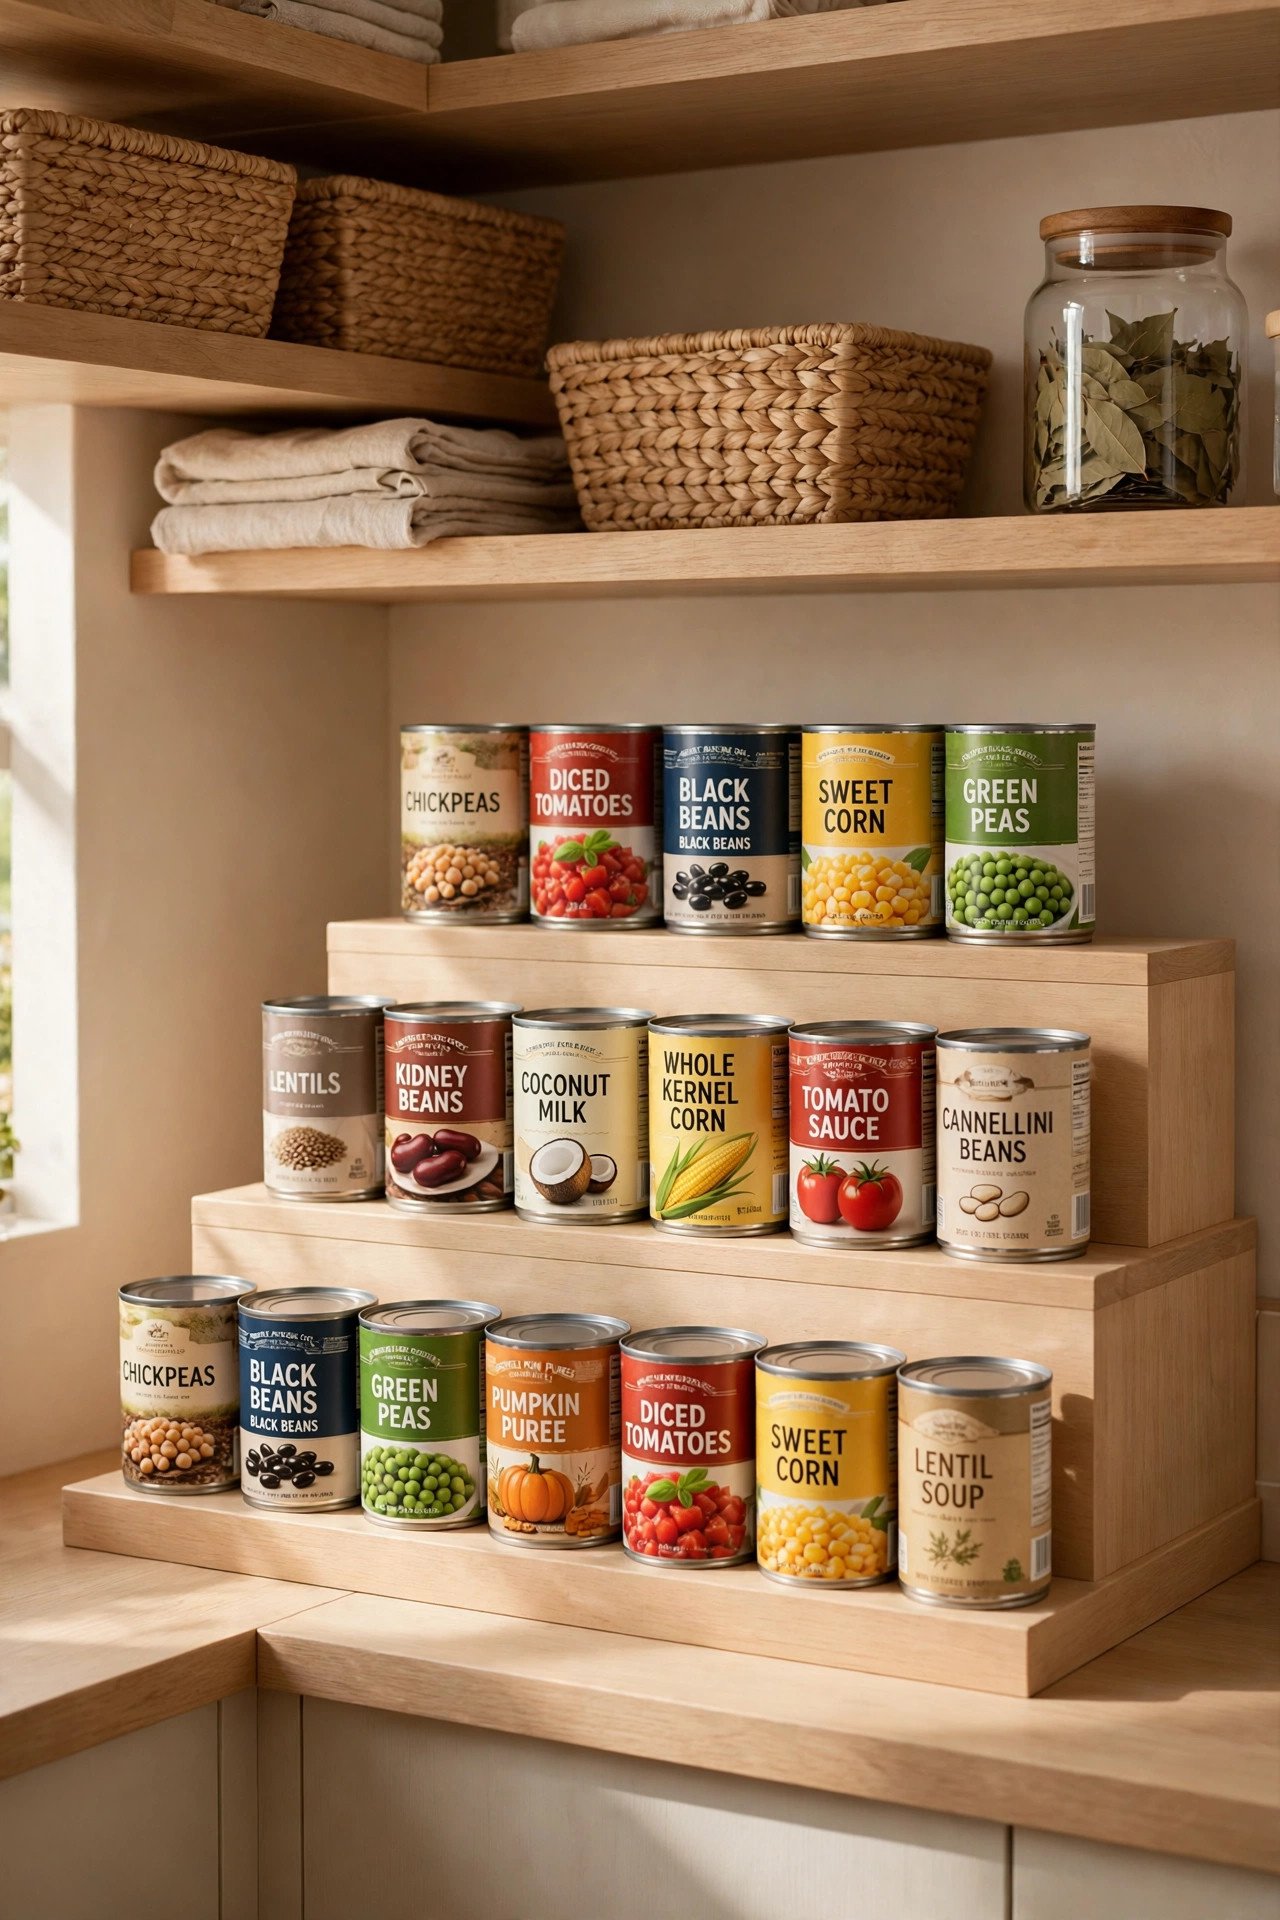
Stepped risers lift the back rows so every can stays visible, like seats in a theatre. Place a two or three step riser on the shelf, set the tallest cans at the back, and the shortest at the front. Each row peeks over the one before it, so nothing hides.
Risers work on any shelf, from a deep pantry to a small kitchen cupboard or cabinet. Choose a sturdy riser that holds the weight of full cans without wobbling. With stepped rows, you can count your stock at a glance and shop with confidence every single week.
8. Use the Back of the Pantry Door
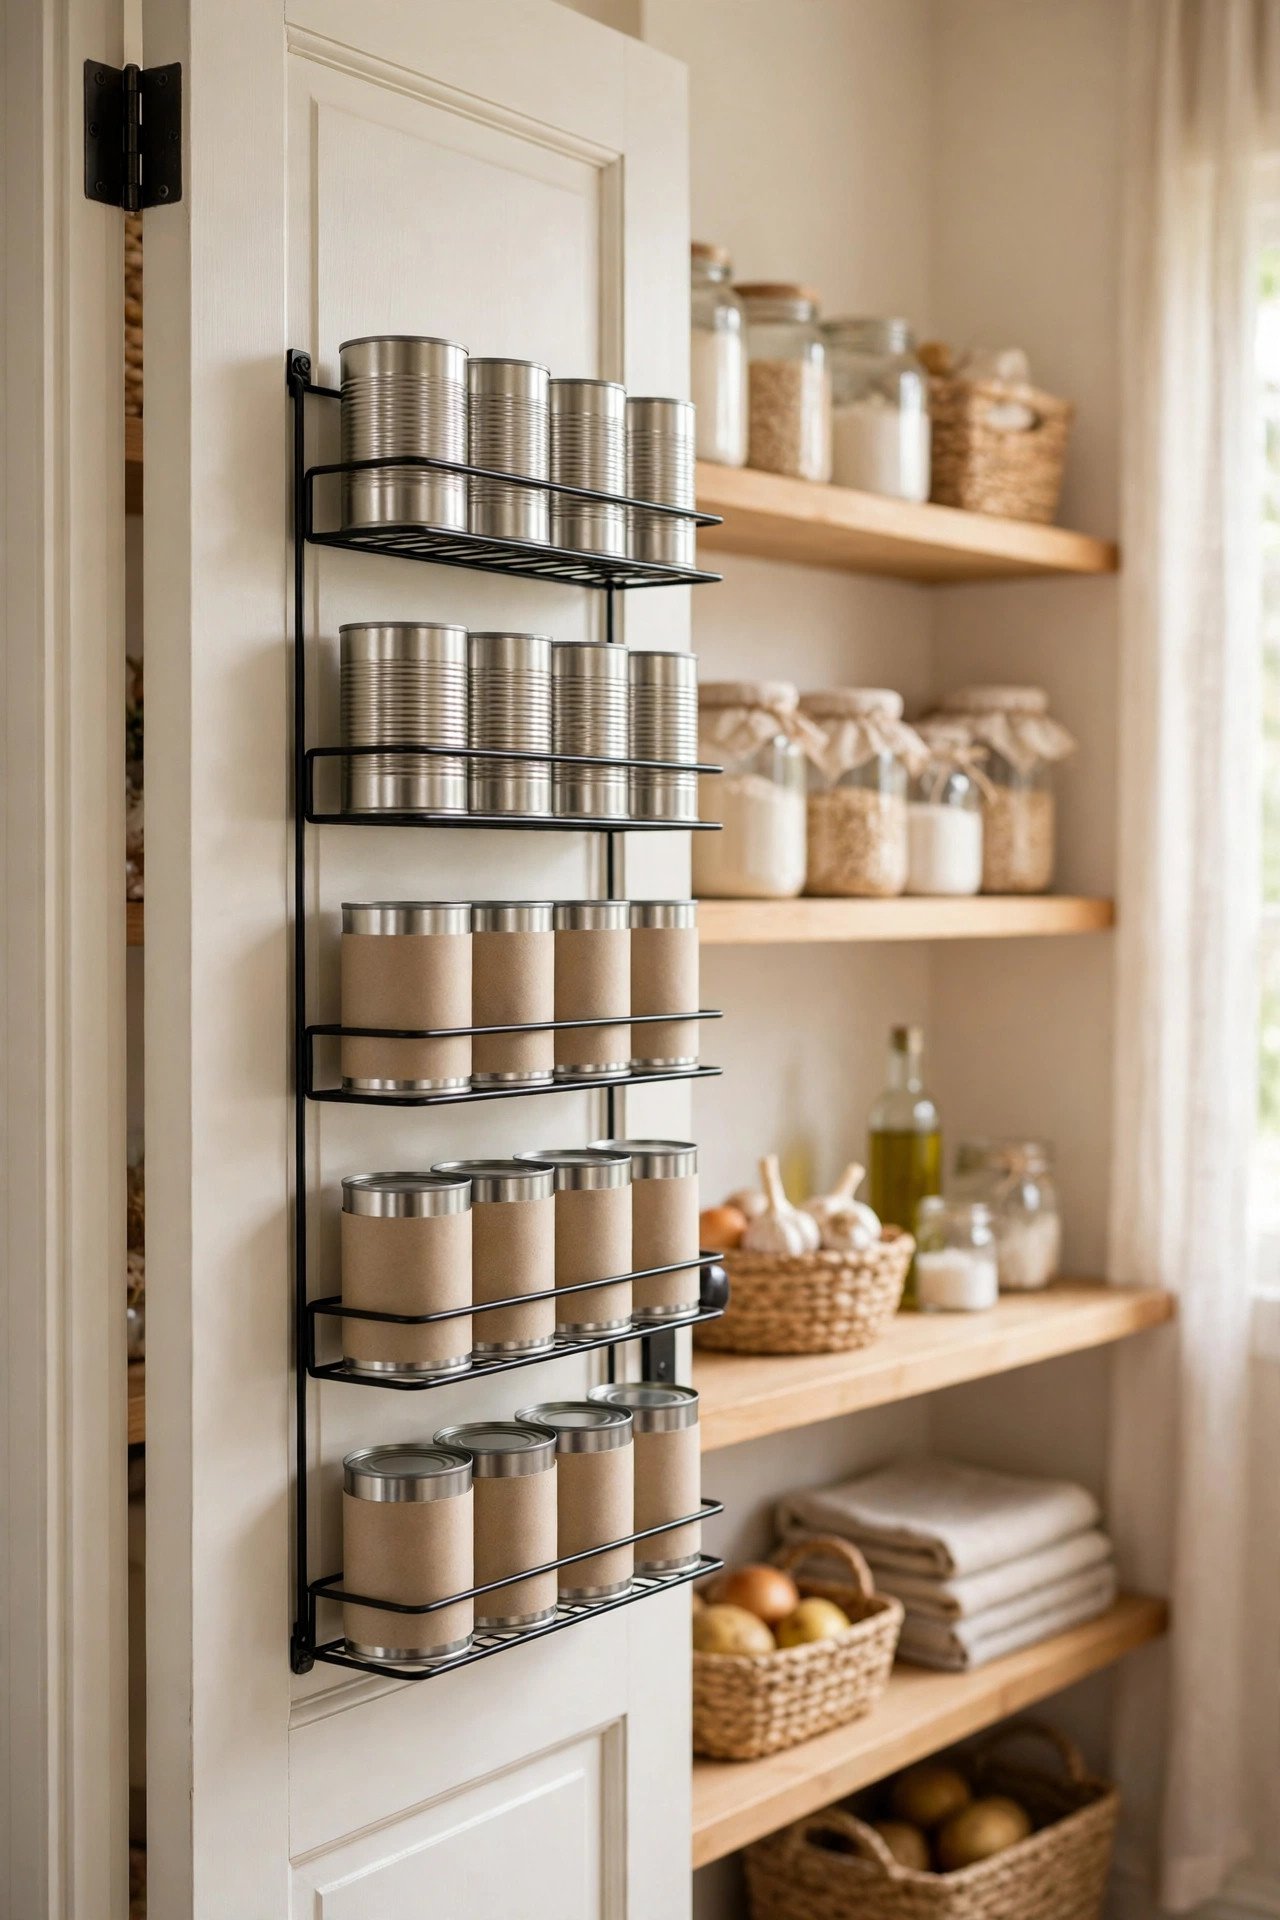
The back of the pantry door is free storage hiding in plain sight. Hang a narrow wire rack or a row of small shelves on the inside of the door, and fill it with cans you grab most often. The door closes on a tidy row, and nothing takes up shelf space.
Keep the rack shallow so the door still closes easily and cans never fall when you swing it open. A door rack works the same way our entryway organization ideas do, with a landing zone that keeps daily essentials visible. Label each row so the whole family knows where things live.
9. Tuck a Slim Rack Beside the Fridge
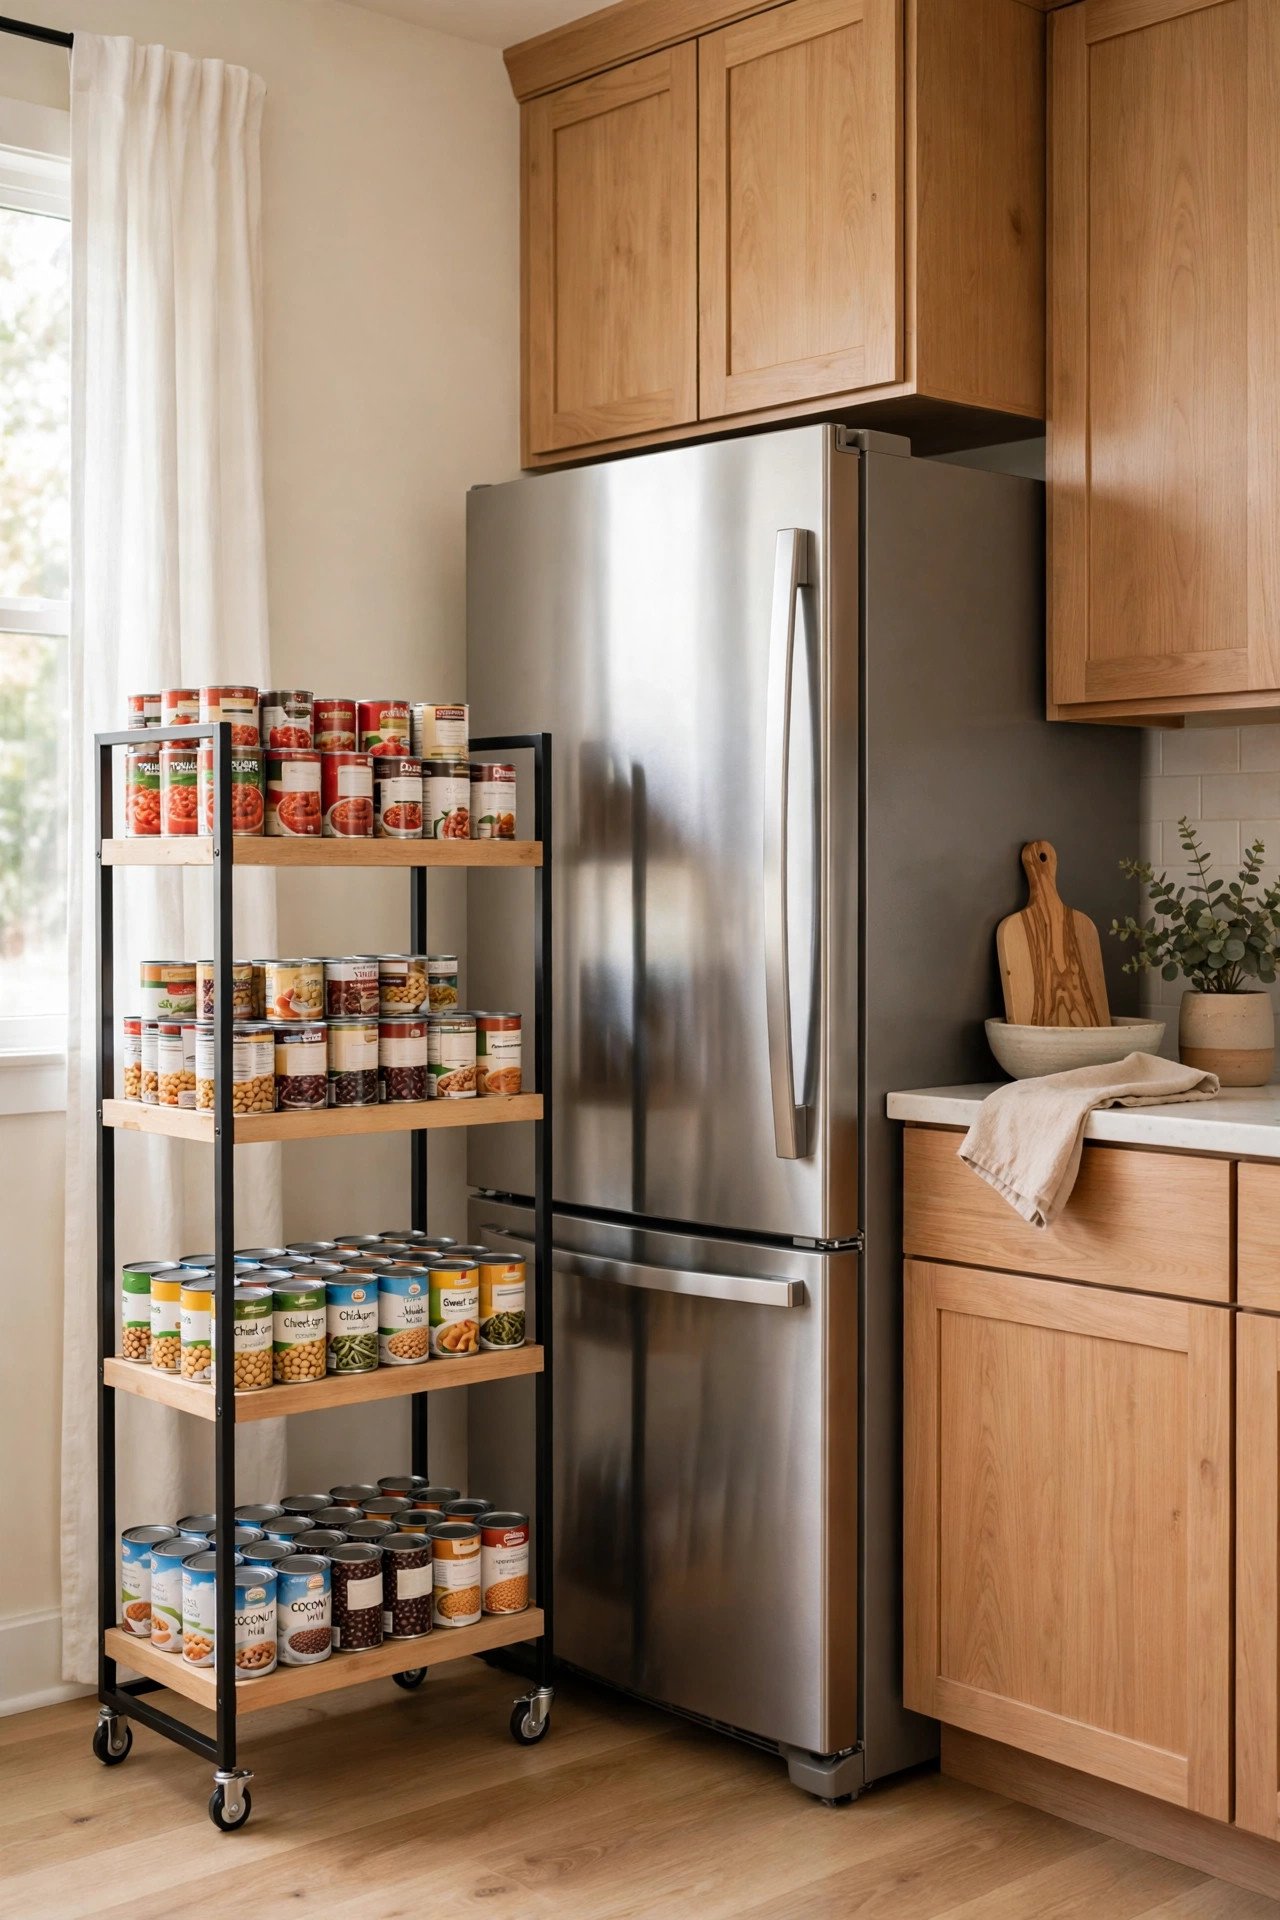
The slim gap beside the fridge is perfect for a sliding can rack. Build or buy a narrow rack on wheels, load it with cans, and slide it into the gap when you are done. The empty space beside the fridge becomes a hidden pantry that costs no shelf room at all.
Measure the gap first, so the rack slides in and out smoothly without scraping the fridge or the wall. Keep the most-used cans at the top, where hands reach easily. A slim rack turns dead space into storage you will wonder how you ever lived without.
10. Sort Cans into Labelled Clear Boxes
Clear boxes turn a jumble of cans into neat groups you can see through. Sort cans by type, such as soups, beans, tomatoes, and tuna, then place each group in its own clear box. The transparent sides show your stock at a glance, and the label tells you what lives inside.
Choose boxes with low sides so you can lift a can out without tipping the whole box. Label the front of each box in large, clear letters, and keep the boxes at eye level. When a box runs low, you know exactly what to add to the shopping list.
11. Roll Cans Through a Wall Dispenser
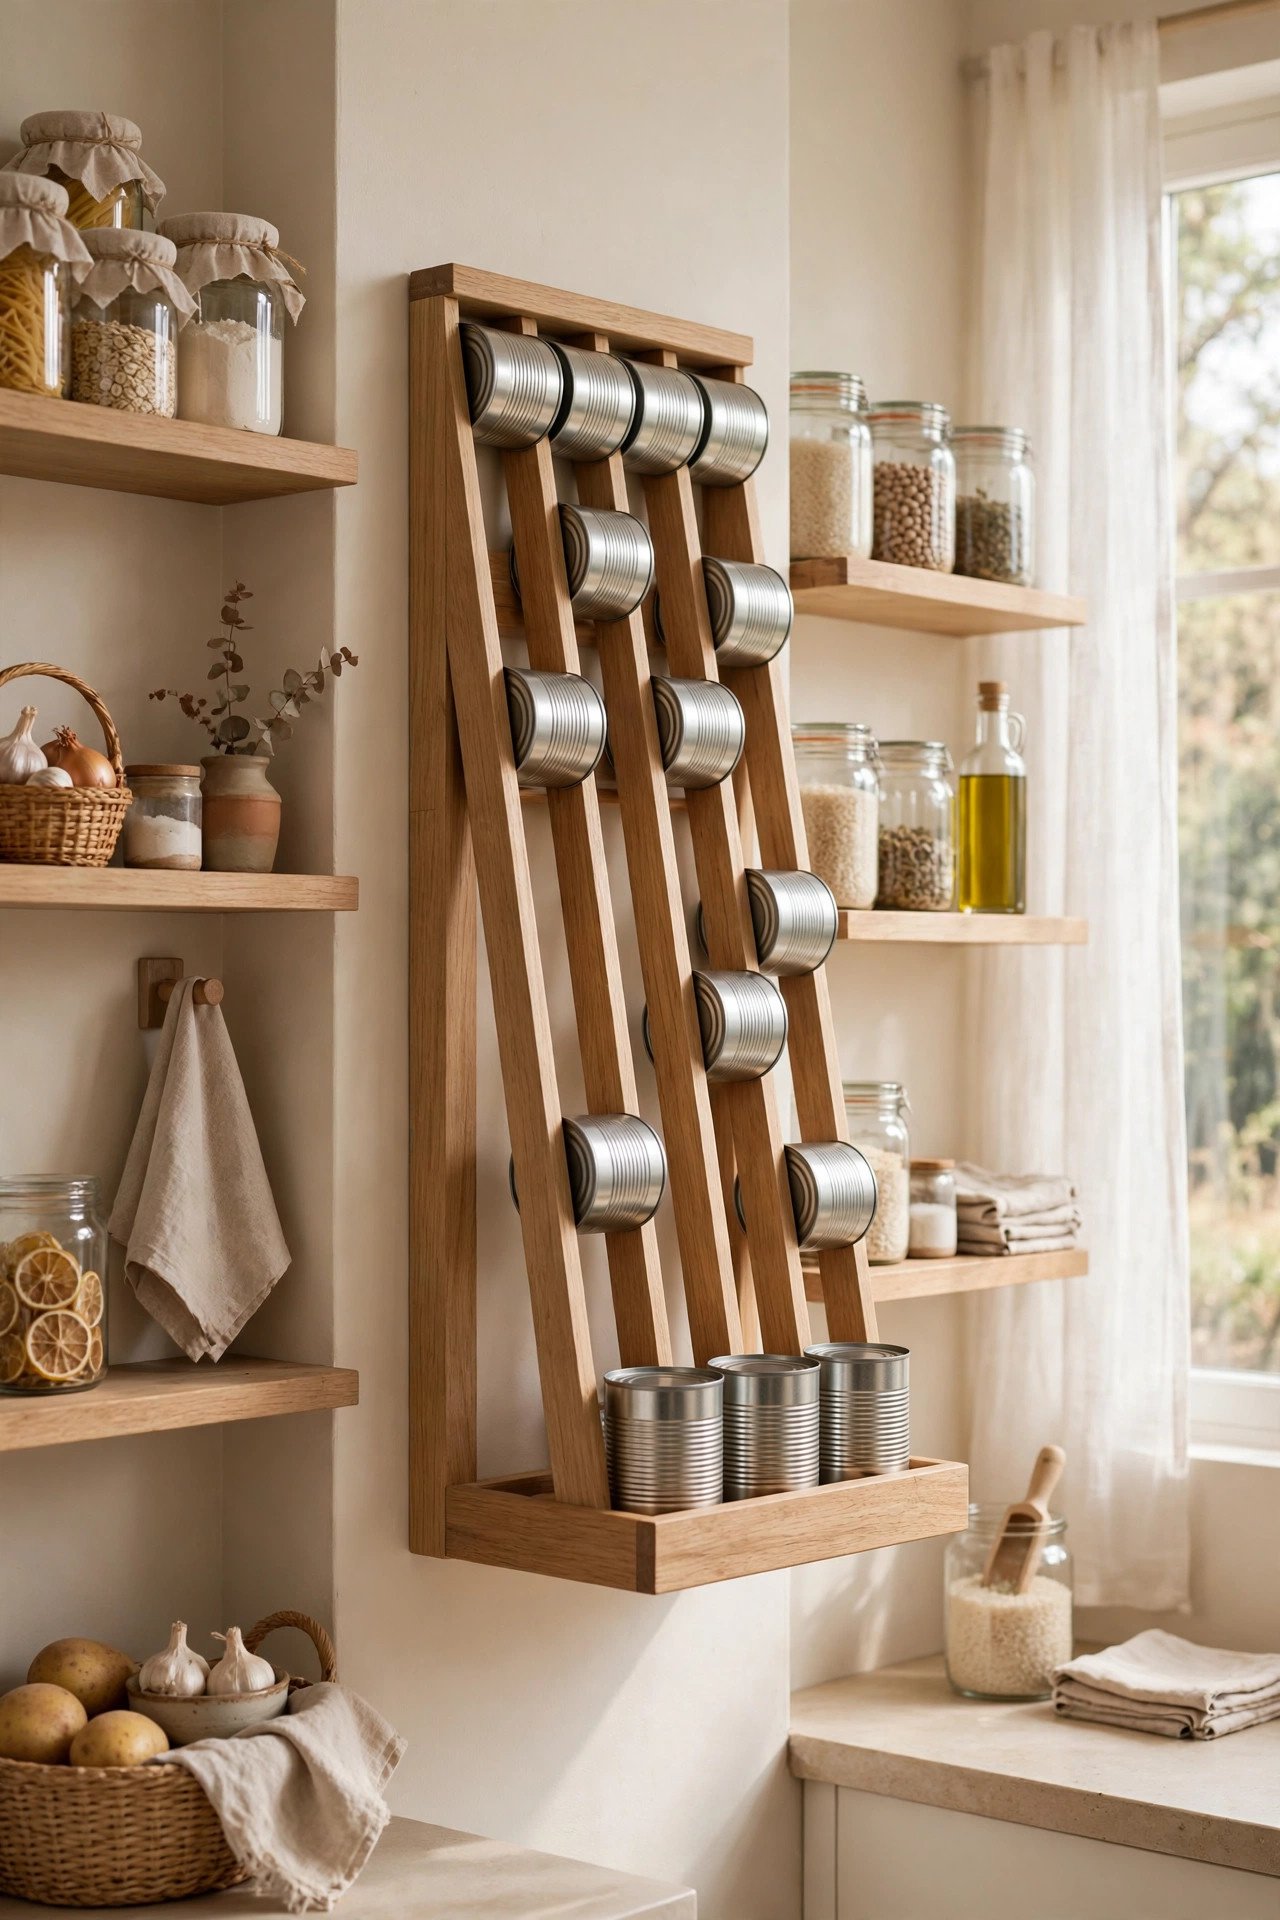
A wall-mounted dispenser feeds cans forward like a gentle waterfall. Load cans into the top, and each time you take one from the bottom, the next rolls down to take its place. The oldest can always comes out first, so nothing sits at the back and expires.
Build the dispenser from smooth wood, with sloped tracks that guide the cans down smoothly. Mount it on a sturdy wall at a height that suits the whole family. A dispenser holds around forty cans, and it turns restocking into a quick, satisfying weekly job.
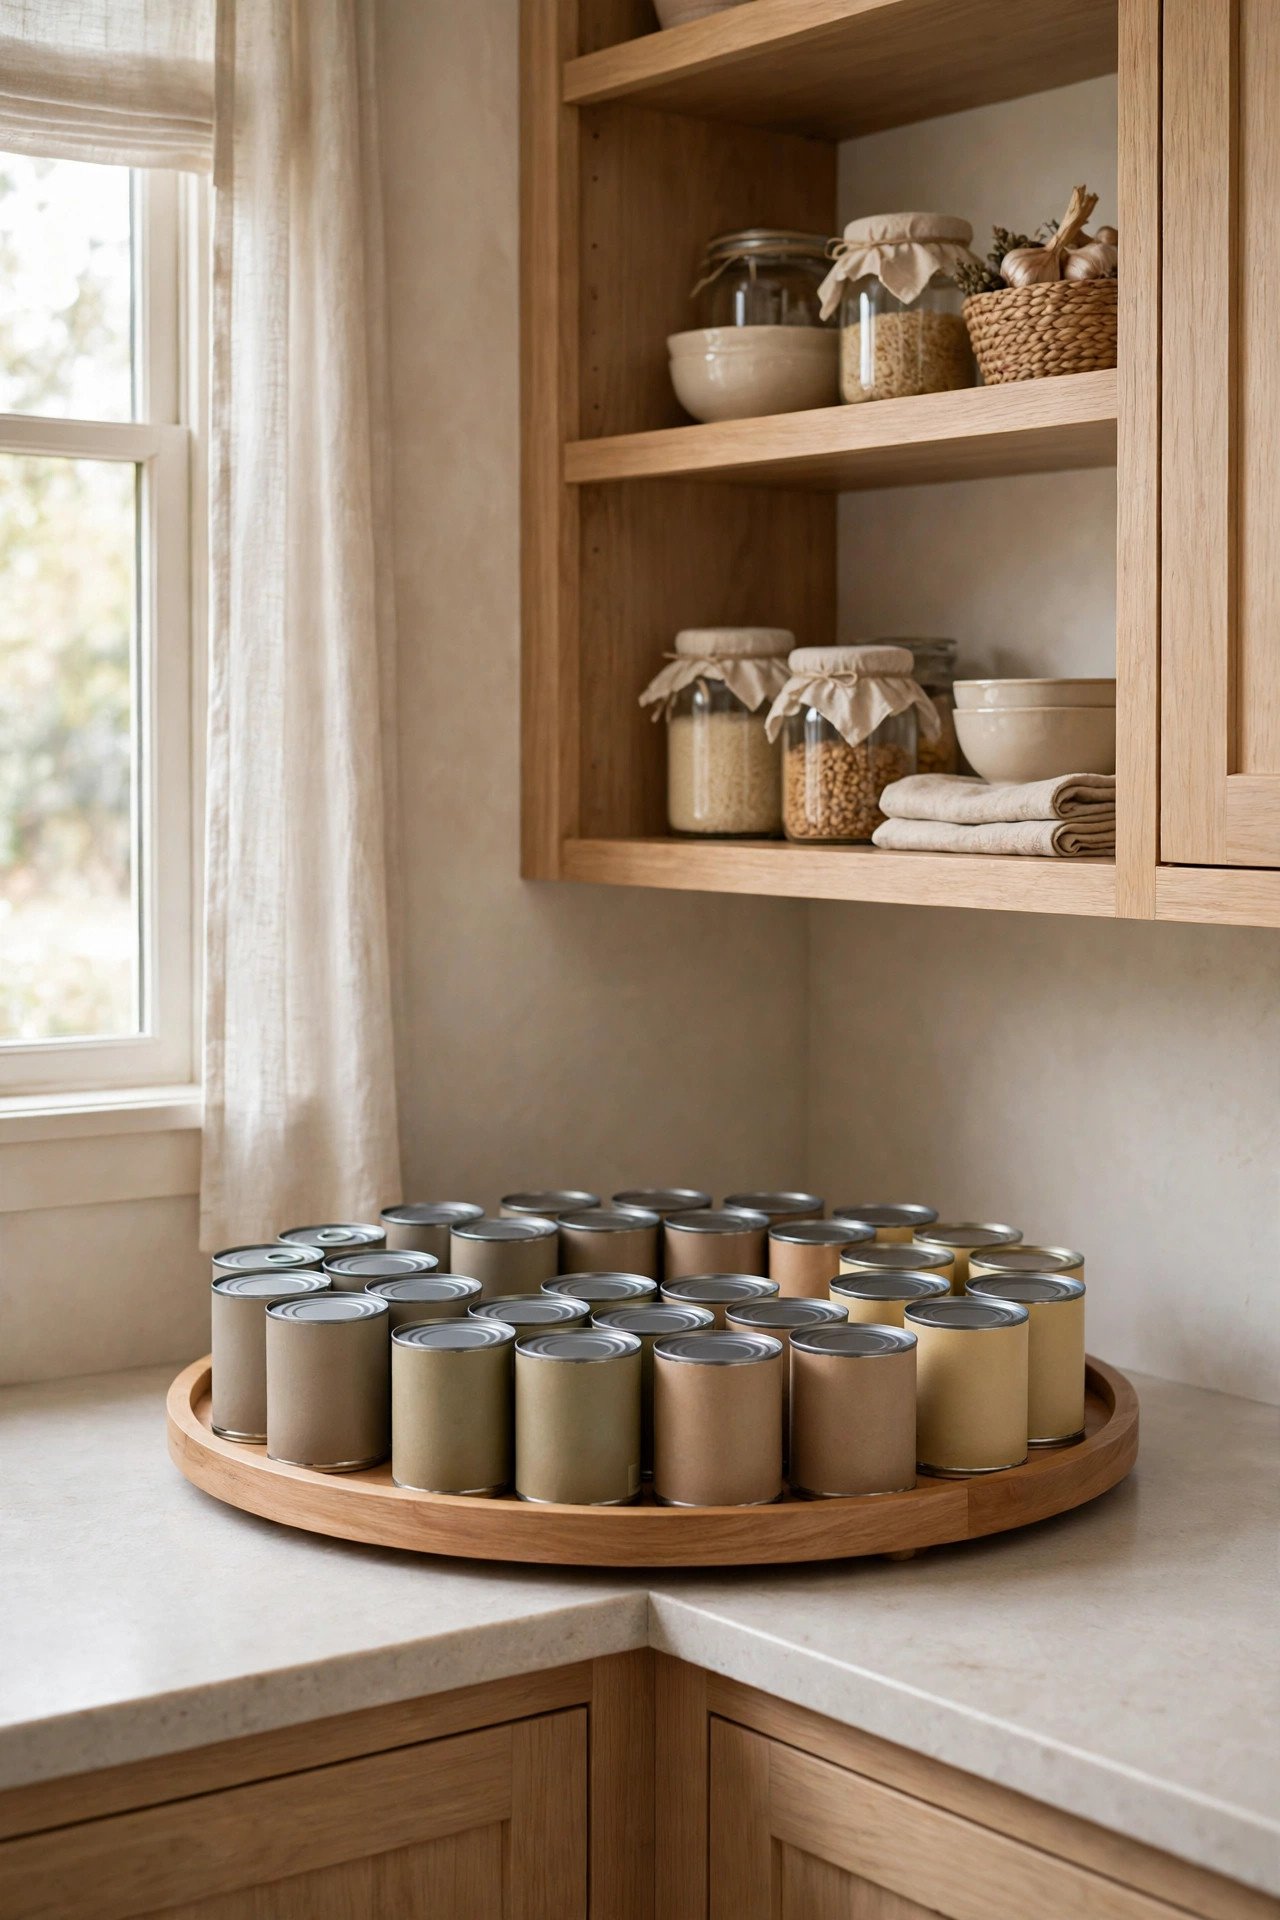
12. Set a Lazy Susan in the Corner
A lazy Susan turns a dark pantry corner into the easiest spot to reach. Place the round tray in the corner, load it with cans, and spin it to bring the back row forward. Corners stop being dead space, and every can gets its turn at the front.
Choose a turntable with a raised edge so cans stay put while it spins. Group cans by meal, such as all the soup cans together, so one spin finds dinner. A lazy Susan costs little, yet it saves you from digging through corners every week.
13. Line Fabric Boxes with Cans
Fabric boxes bring soft colour and calm to a pantry full of metal cans. Line a sturdy fabric box with cans, standing them in neat rows, and set the box on the shelf like a drawer. The fabric hides the clutter while the rows inside stay perfectly organised.
Pick a fabric that matches your kitchen, and choose boxes with strong sides that hold their shape when full. Label the front of each box so you never open the wrong one. Fabric boxes make the pantry look tidy even when the shelves behind them are full.
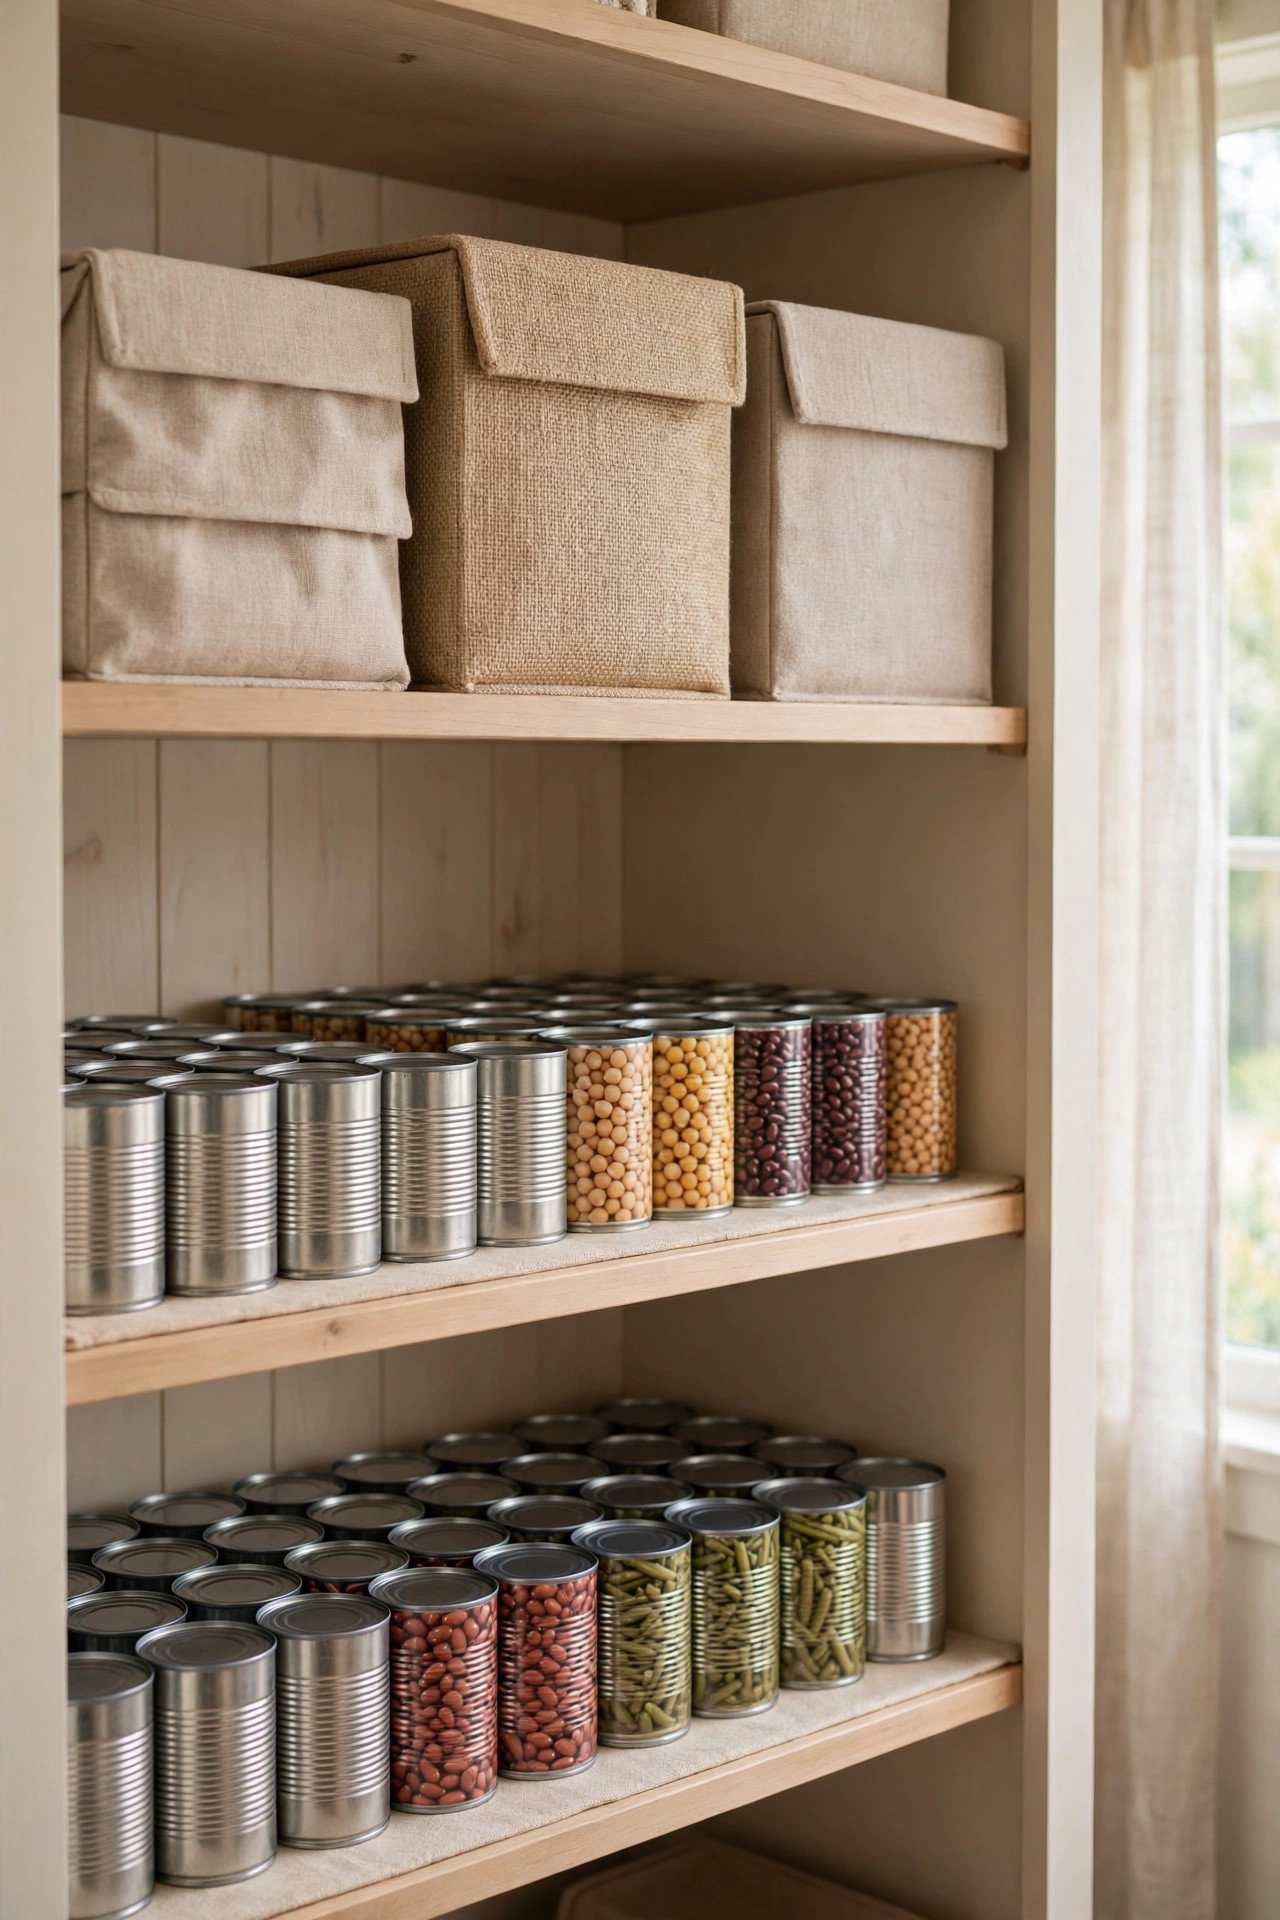
14. Fill the Back Wall with a Plain Rack
The back wall of the pantry often sits empty while the shelves overflow with cans. Fix a plain wooden rack against it, with shallow shelves that hold one row of cans each. The rack adds storage without taking a single inch from your existing pantry shelves.
Build the rack to fit the wall exactly, from floor to ceiling if you have the space. Keep everyday cans at eye level and spares up high where they stay safe. A back-wall rack is cheap, simple, and it doubles the cans your pantry can hold with ease.
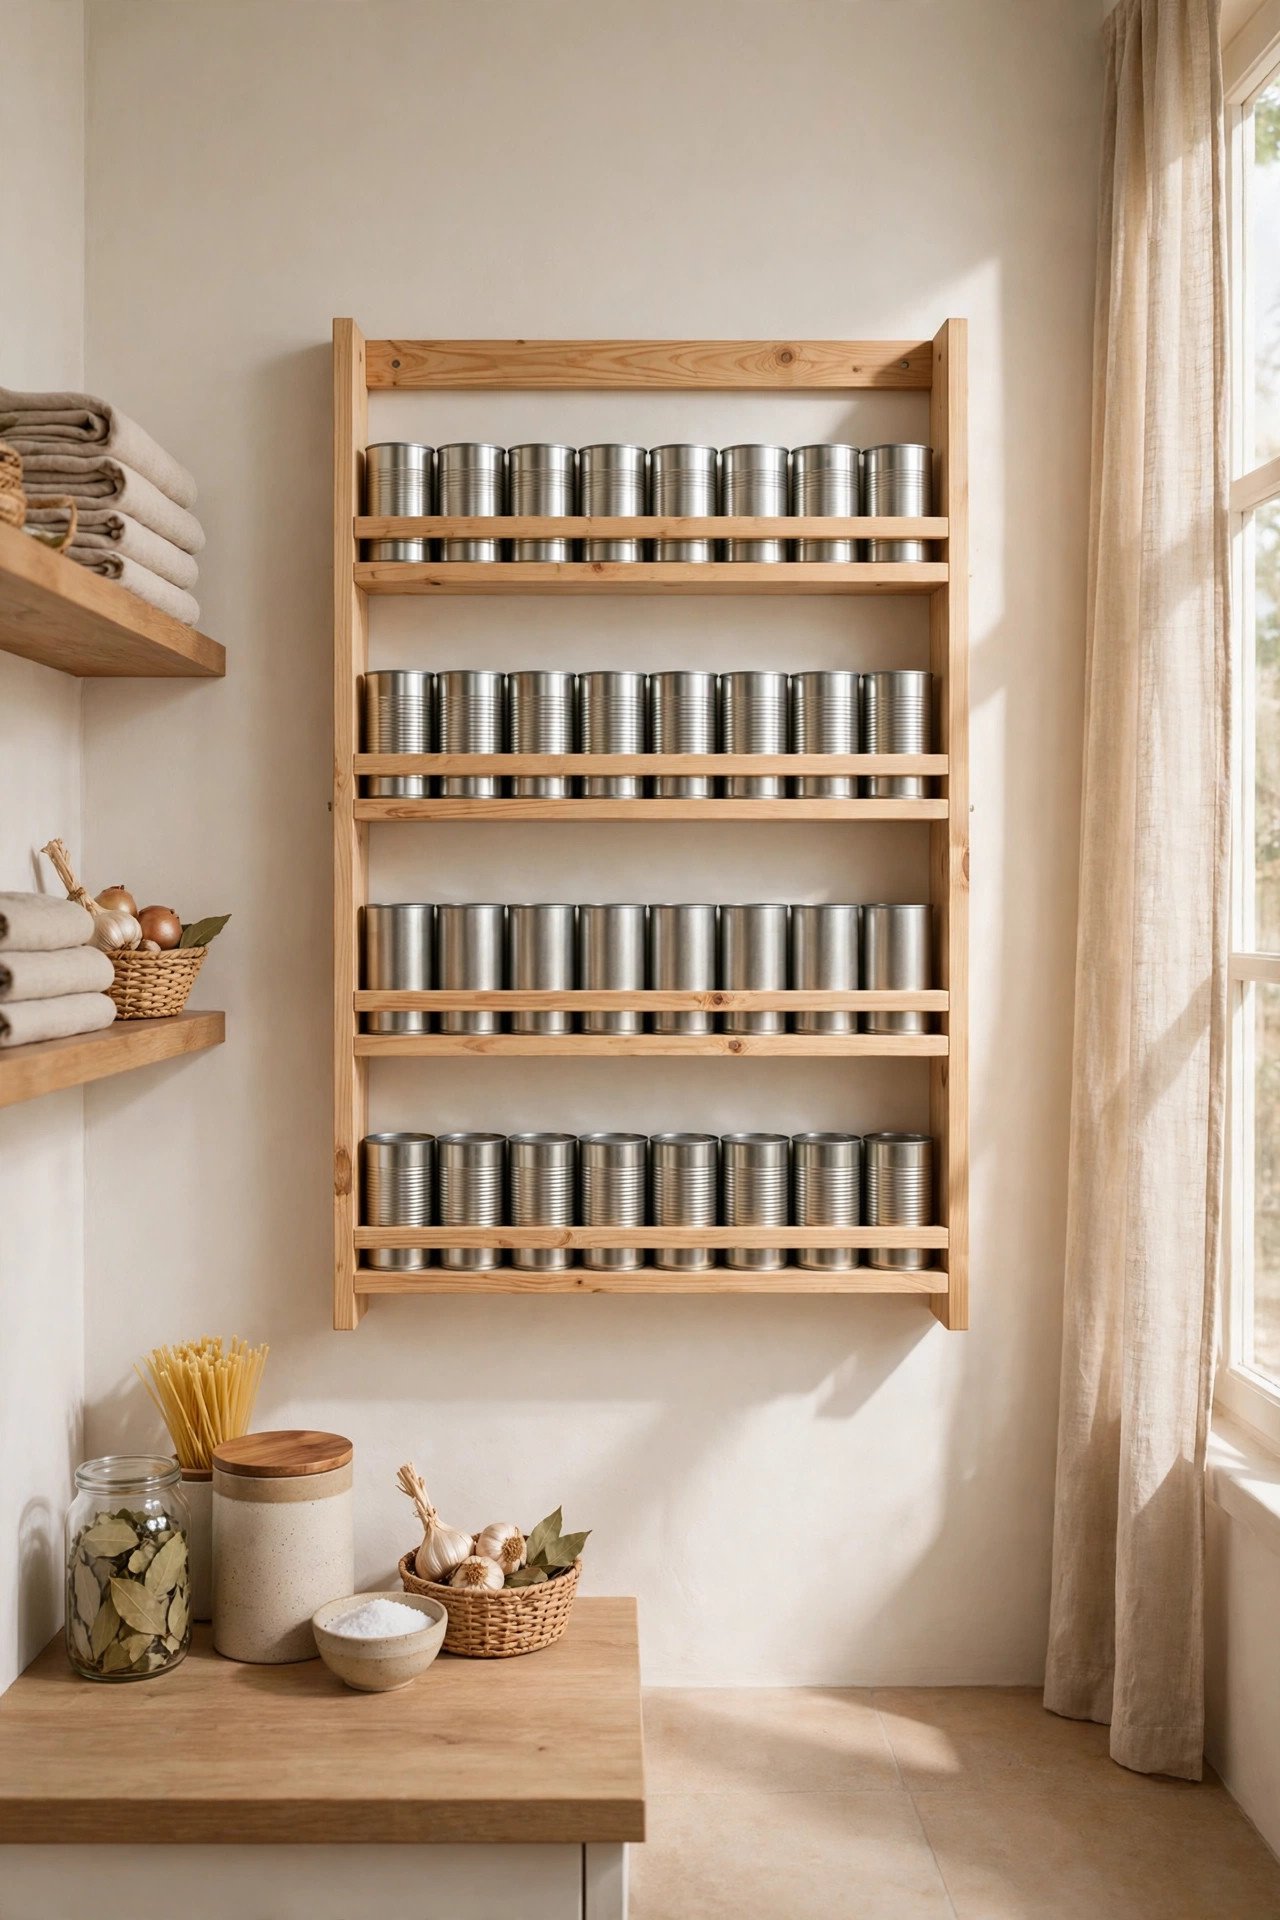
15. Group Cans in Woven Baskets
Woven baskets give the pantry a warm, natural look while keeping cans in tidy groups. Place one basket per category, such as beans in one and soups in another, and set the baskets on the shelf like drawers. The baskets hide the metal shine and make the pantry feel calm.
Choose baskets with sturdy handles so you can pull one out like a drawer. Baskets work the same way our stuffed animal storage ideas do, with one basket for each group and nothing lost at the back. Label each basket so everyone knows where the tuna lives.
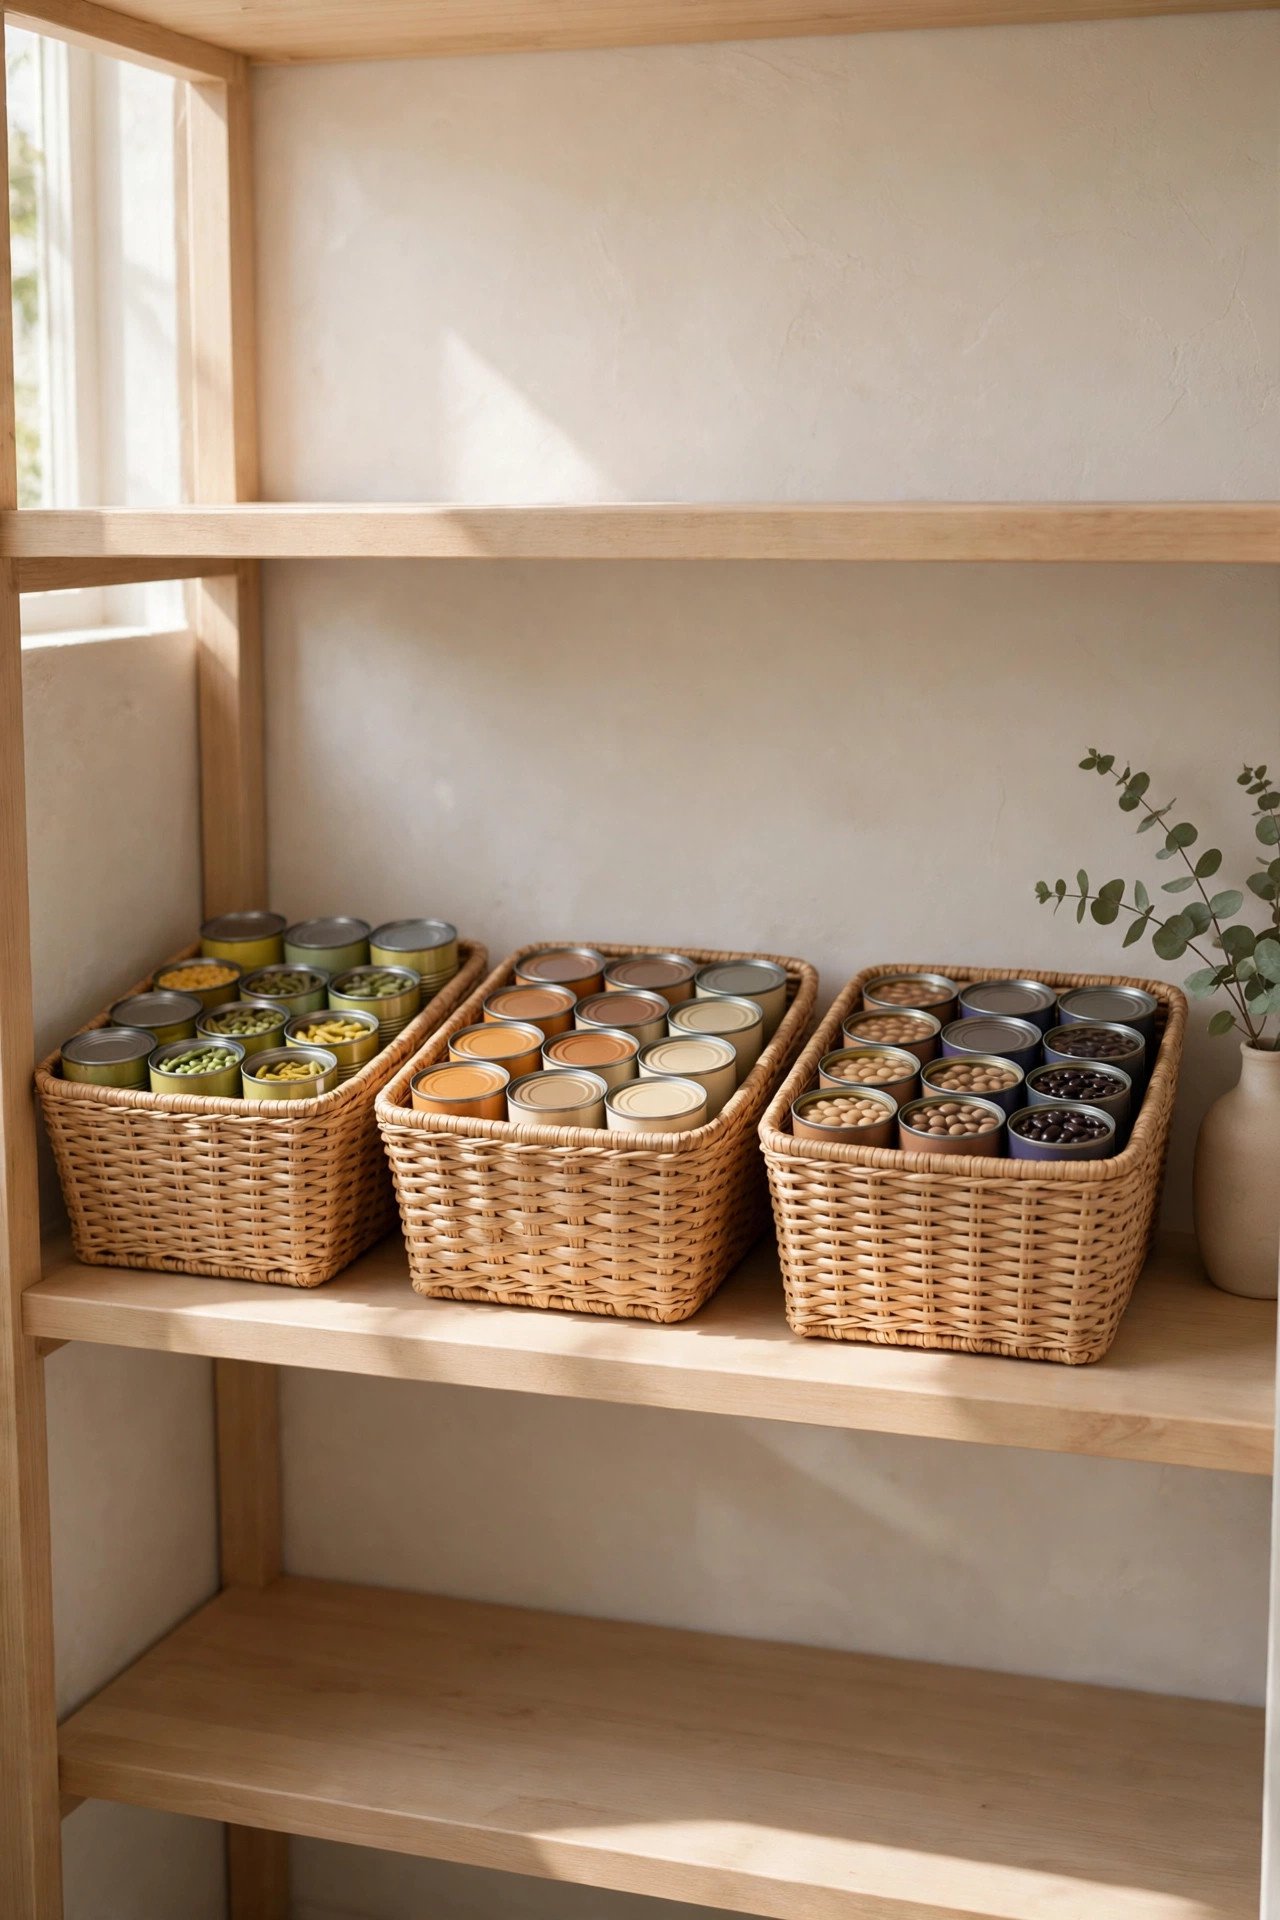
16. Turn Photo Boxes into Can Bins
Photo boxes make surprisingly neat can bins with almost no work at all. Take a sturdy photo box, add a label to the front, and stand cans inside in a single row. The boxes stack neatly, look smart on the shelf, and cost far less than fancy organizers.
Pick boxes with lids you can lift off easily, or leave the lids off for grab-and-go access. Keep one box per category, and store the boxes at eye level where labels are easy to read. A row of matching boxes turns a messy shelf into a calm, tidy display.
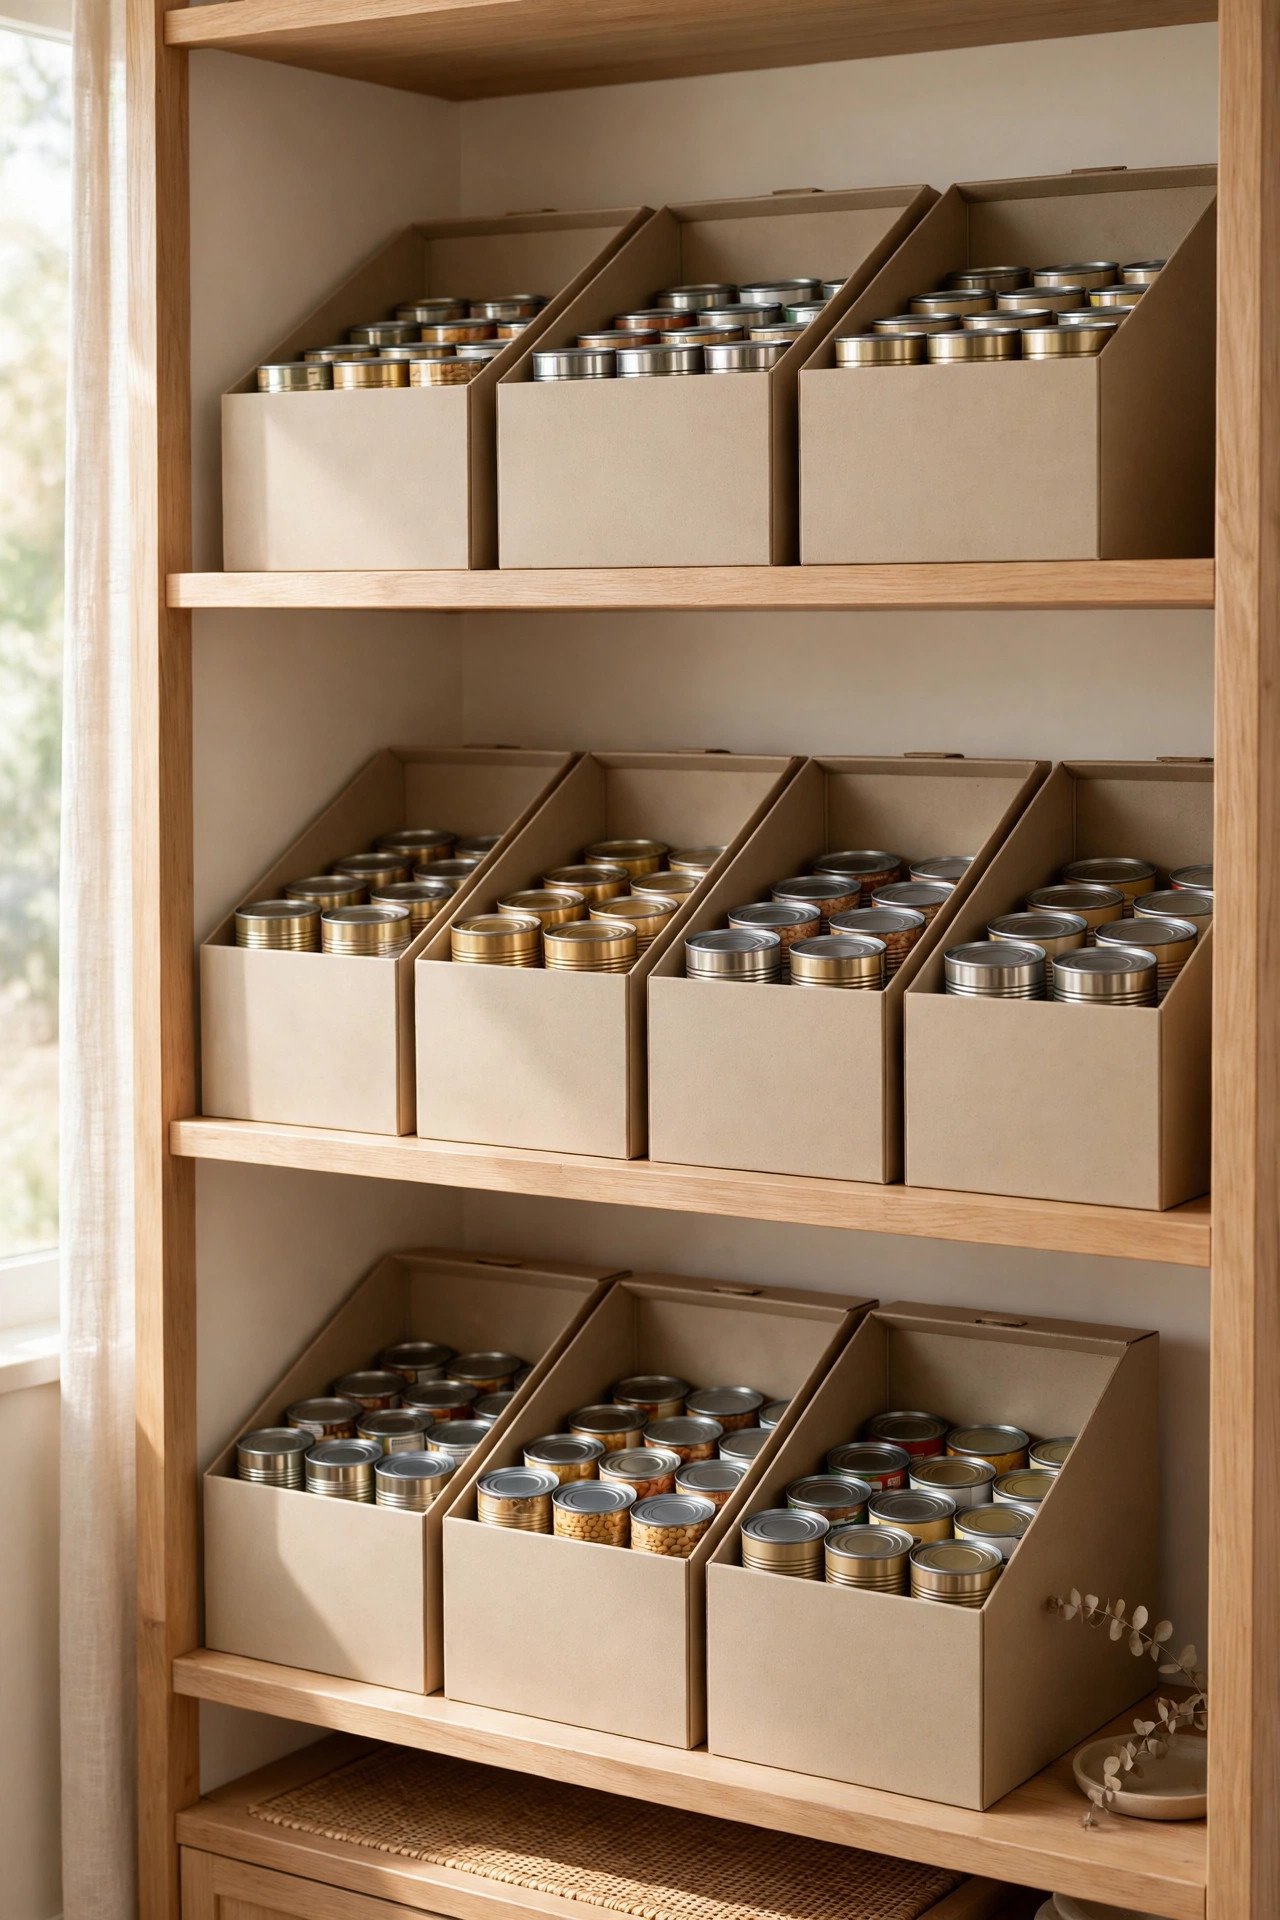
17. Reuse Shoe Bins for Can Rows
Shoe bins are the right shape for cans, and they cost almost nothing. Stand the bins on the pantry shelf, fill each one with a row of cans, and label the front. The clear plastic shows your stock, and the bins slide out like drawers when you need the back row.
Choose bins with low fronts so you can lift a can out without tipping the bin. Group the bins by category, and keep the most-used ones at the front of the shelf. Shoe bins prove that good pantry storage does not need a big budget.
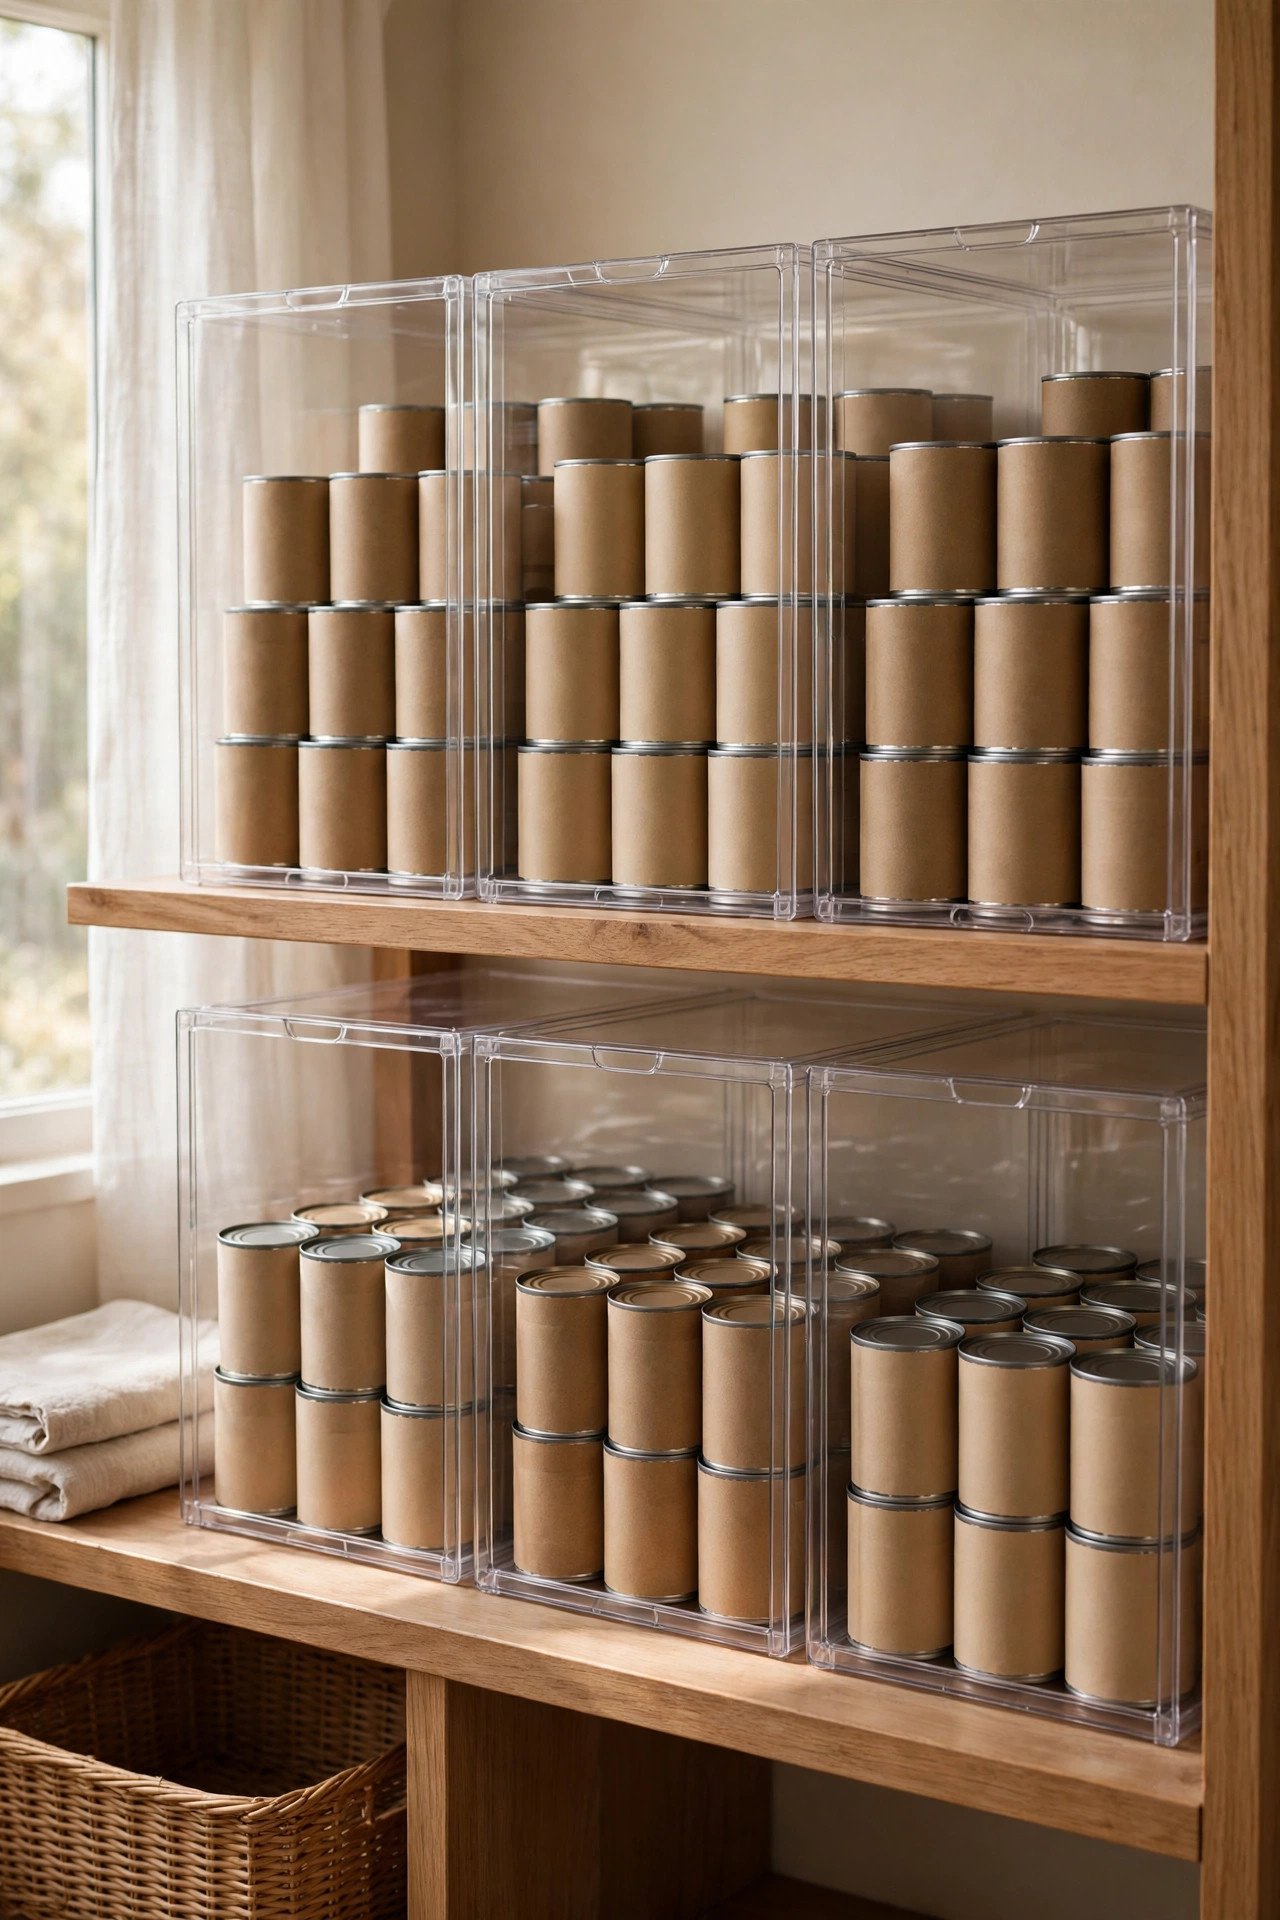
18. Cut Cardboard Boxes into Can Trays
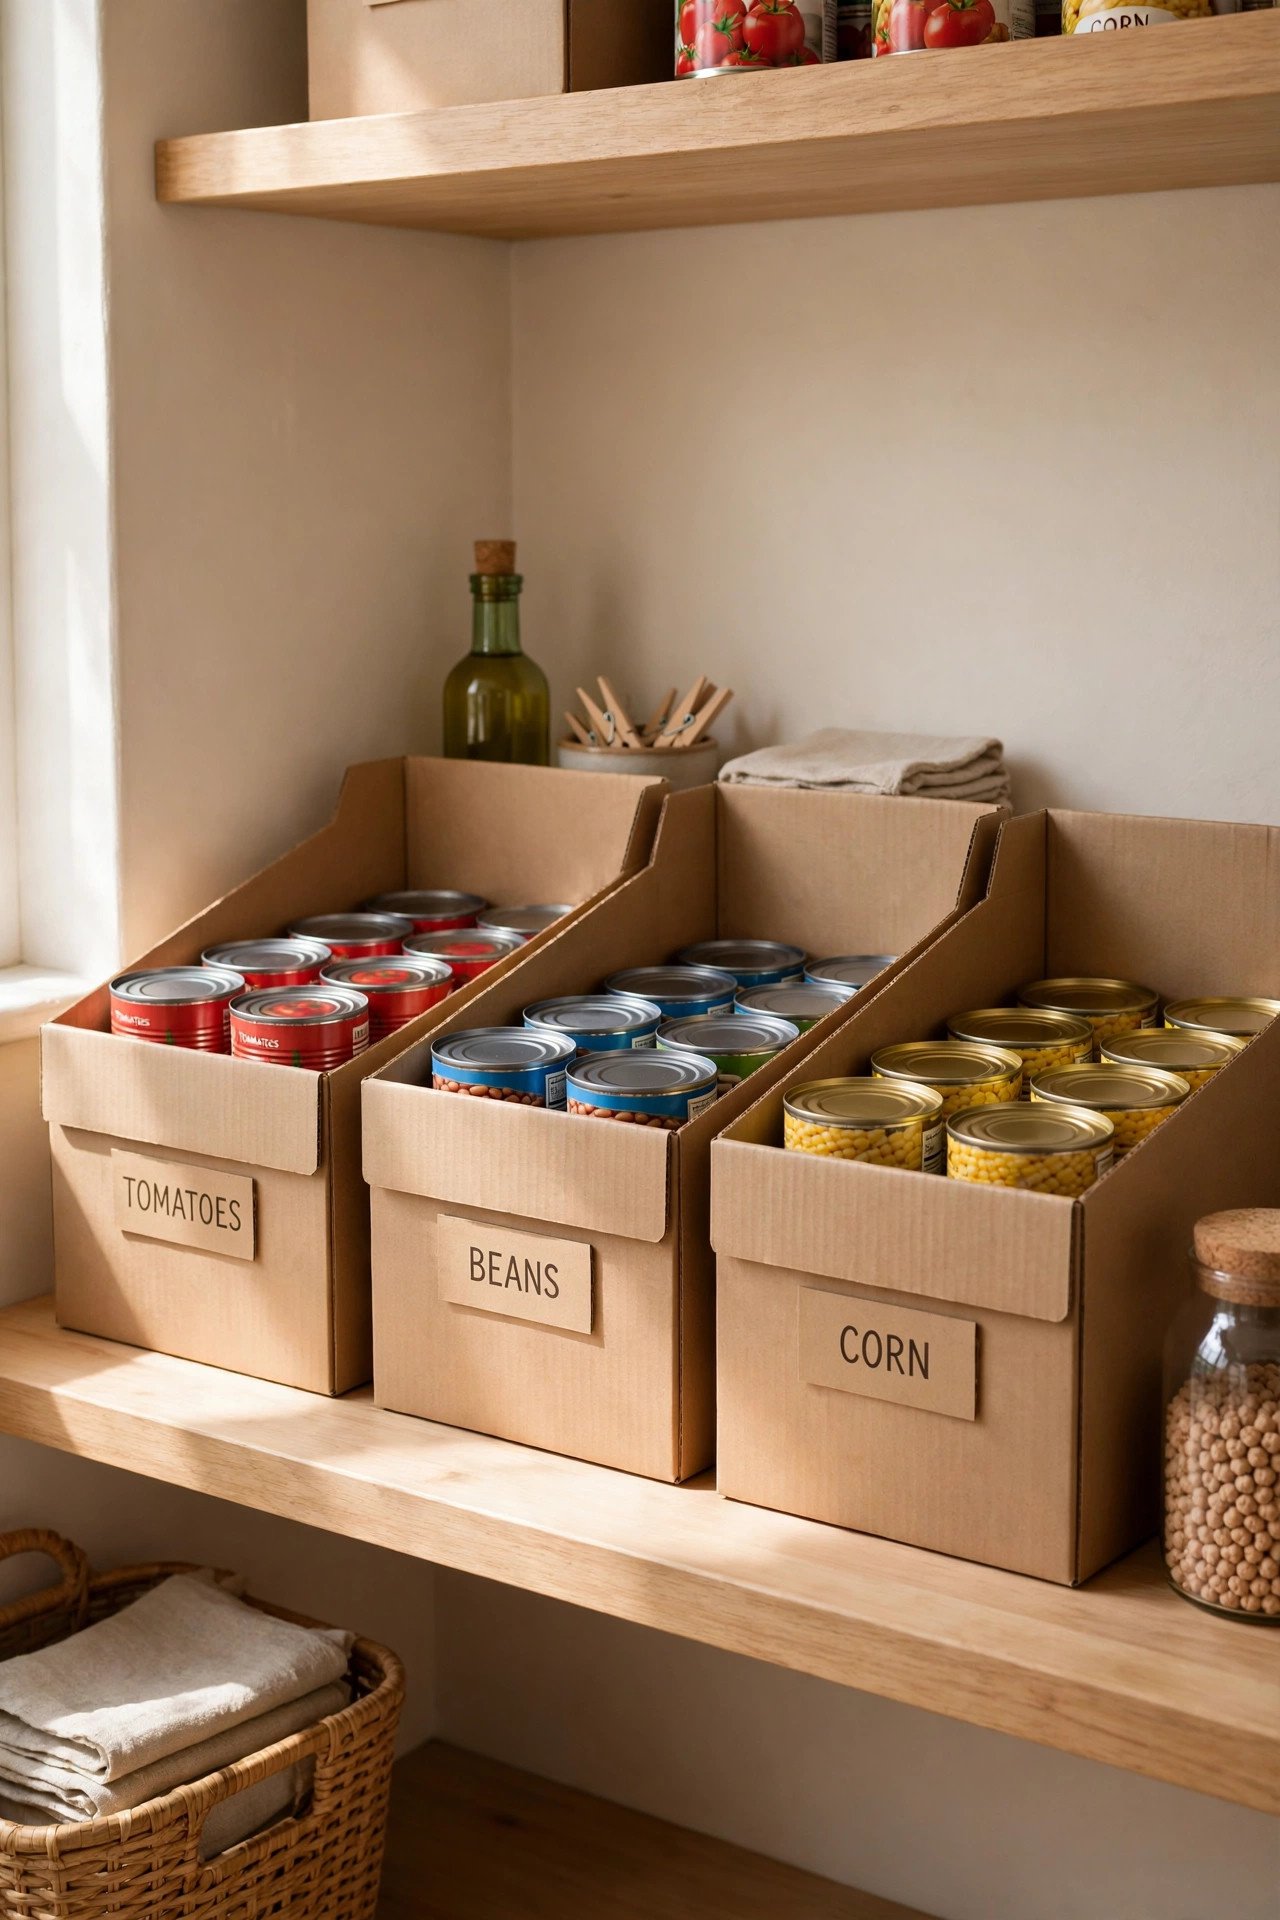
Cardboard boxes make free can trays with a little cutting and folding. Cut the front of a box low, so you can see and reach the cans inside, and slide the tray onto the shelf. The tray keeps cans in a neat row, and you can decorate it to match your pantry.
Use strong cardboard that holds its shape under the weight of full cans. Replace the trays when they wear out, since new ones cost nothing to make. Cardboard trays are a fun, simple weekend project, and they work just as well as store-bought bins on any shelf.
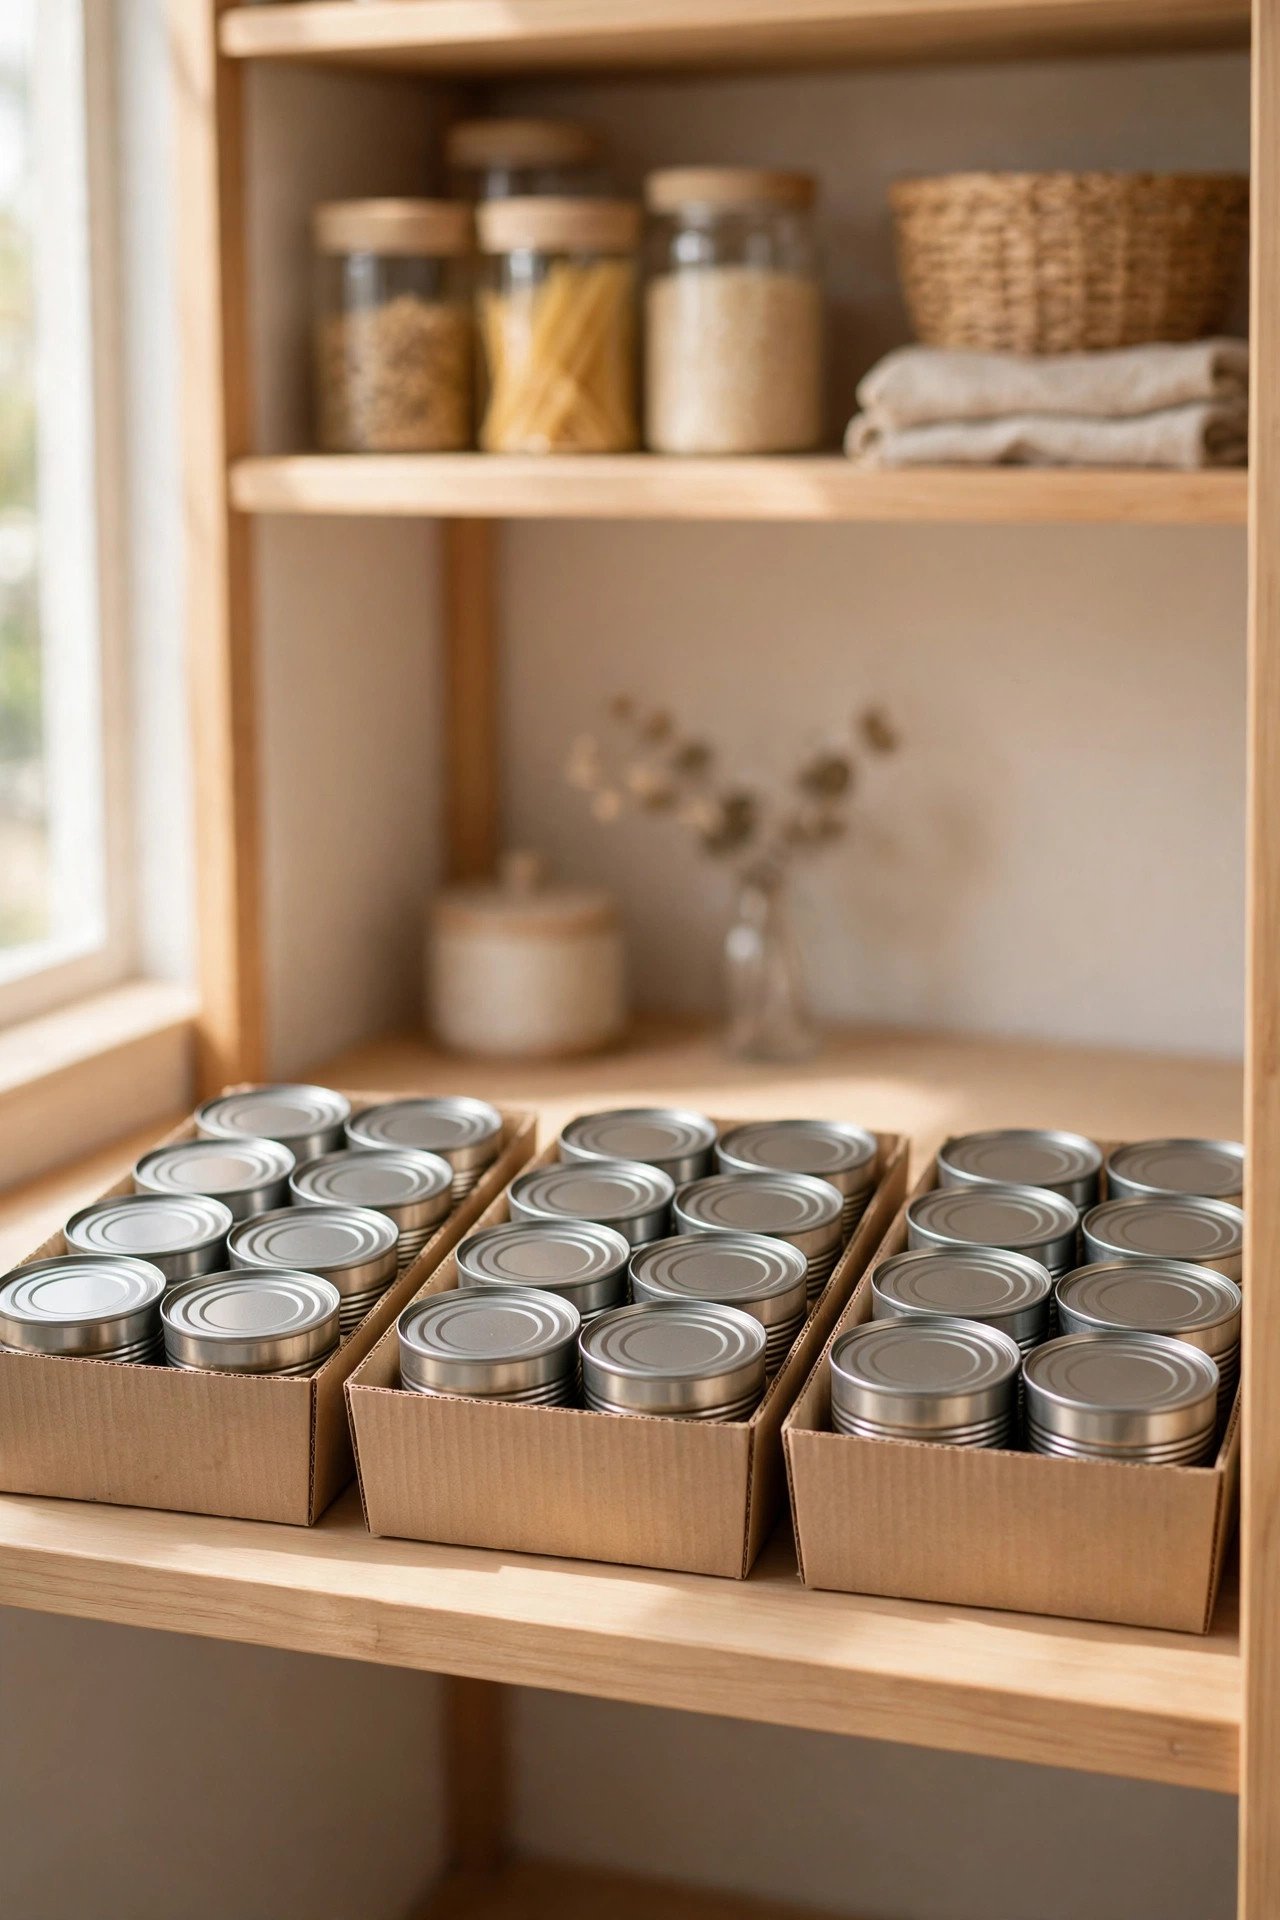
19. Build a Wooden Can Holder That Feeds Forward
A wooden can holder with a sloped base feeds the oldest can forward every time. Load cans into the top of the holder, and gravity rolls the next one down to the front as you take one out. You always use the oldest can first, so nothing expires at the back.
Build the holder from smooth wood, with a gentle slope that lets cans roll without jamming. Size it to fit your shelf, and make one for each category you stock most. A feed-forward holder keeps rotation automatic, and your pantry stays fresh without extra thought.

20. Adjust Dividers for Tall and Short Cans
Adjustable dividers let one organizer hold tall soup cans and short tuna cans side by side. Slide the dividers to fit each can size, and every can stands upright in its own slot. No more tall cans tipping over or short cans hiding behind the big ones.
Choose an organizer with dividers that move easily but lock firmly once set in place. Measure your tallest and shortest cans before you arrange the slots. With the right fit, every can stays visible, and the shelf looks neat and tidy from any angle in the pantry.
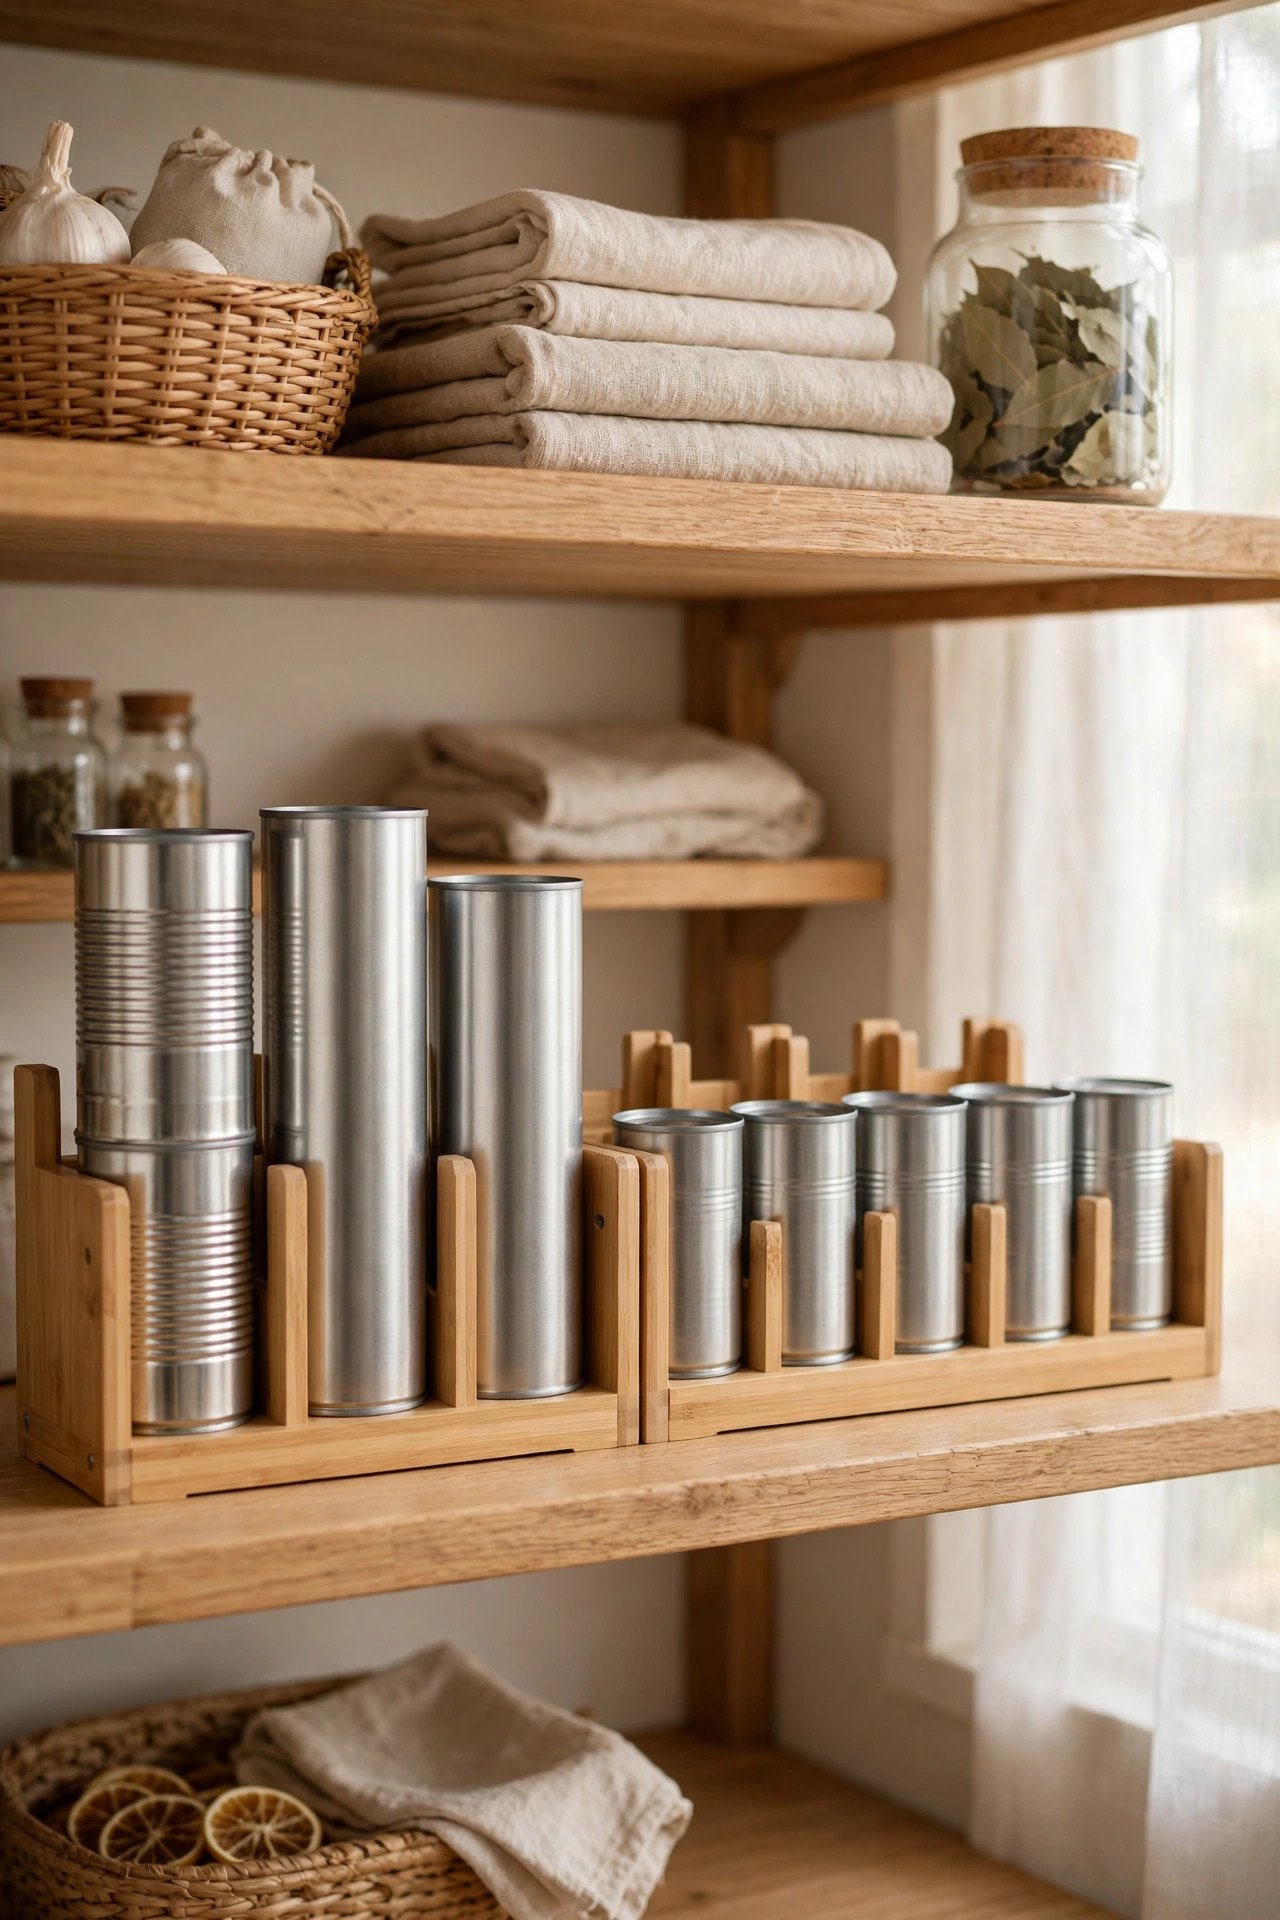
21. Stack Clear Bins for Small Cans
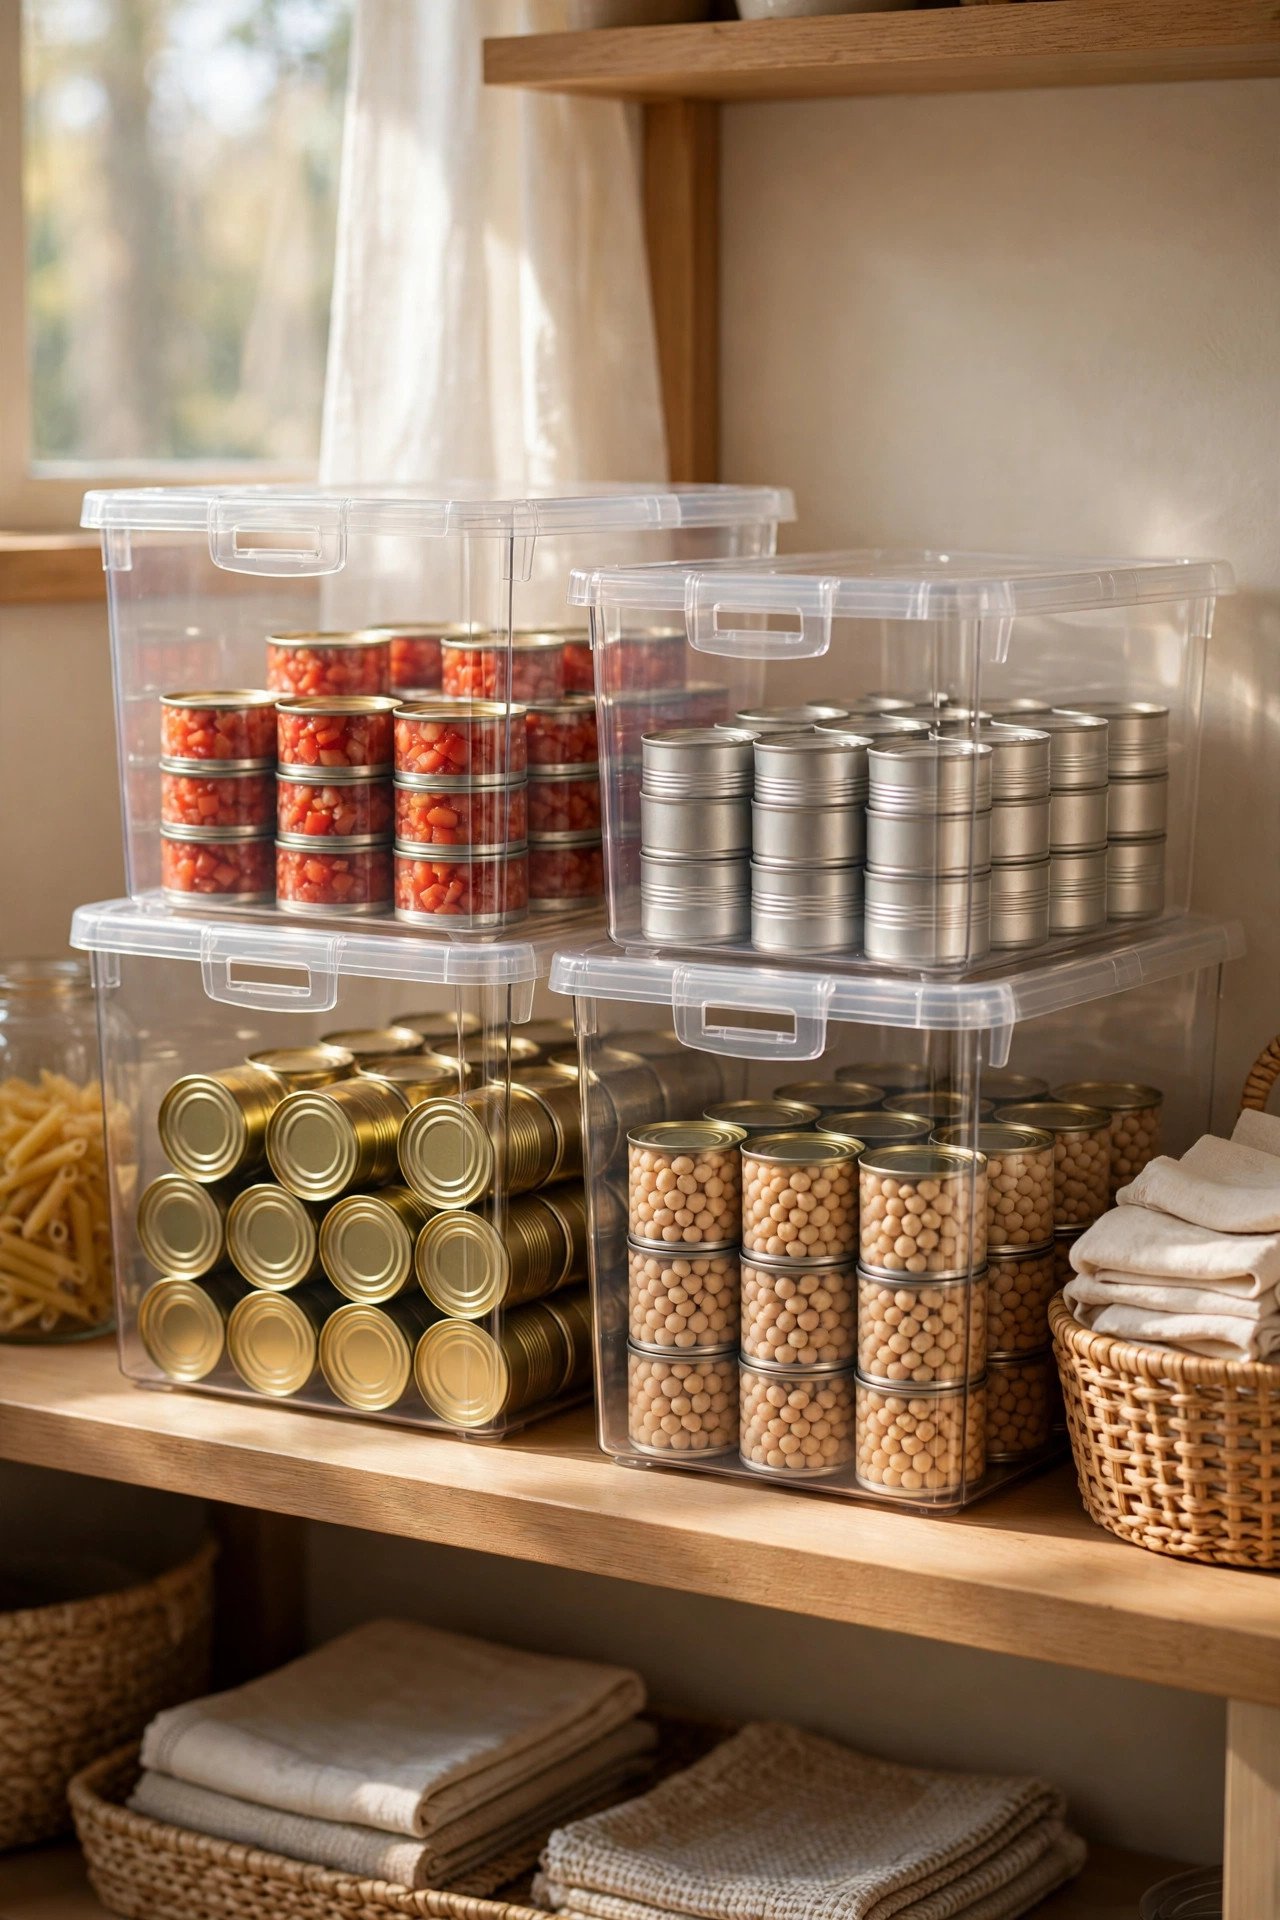
Clear bins are perfect for small cans that get lost on a big shelf. Stack two or three bins on top of each other, and fill each one with a single type of small can, such as tomato paste or tuna. The clear walls show every can, and the stack uses vertical space well.
Keep the stacks low enough that the top bin stays easy to reach for everyone. Label each bin on the front, and buy matching bins so the stack looks tidy. Small cans finally have a home at last, and the shelf stops looking like a messy jumble.
Conclusion
A tidy pantry is not about fancy organizers or a bigger kitchen. It is about giving every can a visible home, so nothing hides at the back and nothing expires unnoticed. When cans sit in clear groups, cooking feels calmer and shopping lists get shorter.
A short weekly check keeps the system honest, and a quick tidy each evening works the same magic at home, and these nightly reset routines show how to build that habit. Start with one idea that fits your biggest pantry problem, such as a stepped riser on your busiest shelf.
Frequently Asked Questions About 21 Pantry Can Organization Ideas to Keep Canned Food Visible
How do I organize canned food in a small pantry?
Start with the shelf you use most, and add one system at a time. Use stepped risers or a turntable to make back rows visible, group cans by type in boxes, and keep everyday cans at eye level. A small pantry stays tidy when every can has a clear home.
How long do canned foods last in the pantry?
Most canned foods stay safe for two to five years when stored in a cool, dry place. Check the date printed on each can, and use the oldest cans first by rotating your stock. Toss any can that is dented, swollen, rusty, or leaking, no matter the date.
Should I store cans with labels facing out?
Yes, labels facing out make cooking faster and shopping easier. When you can read every label at a glance, you grab the right can in seconds and you can see what is running low. Face labels forward on every shelf, rack, and bin for a pantry that works.
What is the best way to rotate canned food?
Use the oldest can first, every time. Place new cans behind the old ones on the shelf, or use a dispenser that feeds cans forward automatically. Check dates once a month, and move soon-to-expire cans to the front so they get used first.
How do I keep cans from falling off pantry shelves?
Keep cans in shallow rows, trays, or bins with low rims so they cannot roll far. Store heavy cans low, avoid stacking cans more than two high, and leave a small gap at the shelf edge. A non-slip shelf liner adds extra grip under every row.

Hi, I’m Emily! I turn messy corners into cozy, organized spots. DreamNestDecor is where I share simple, practical home ideas — decor, organization, and small-space solutions that work in real life, not just in photos. Every idea here is carefully researched before it’s shared.