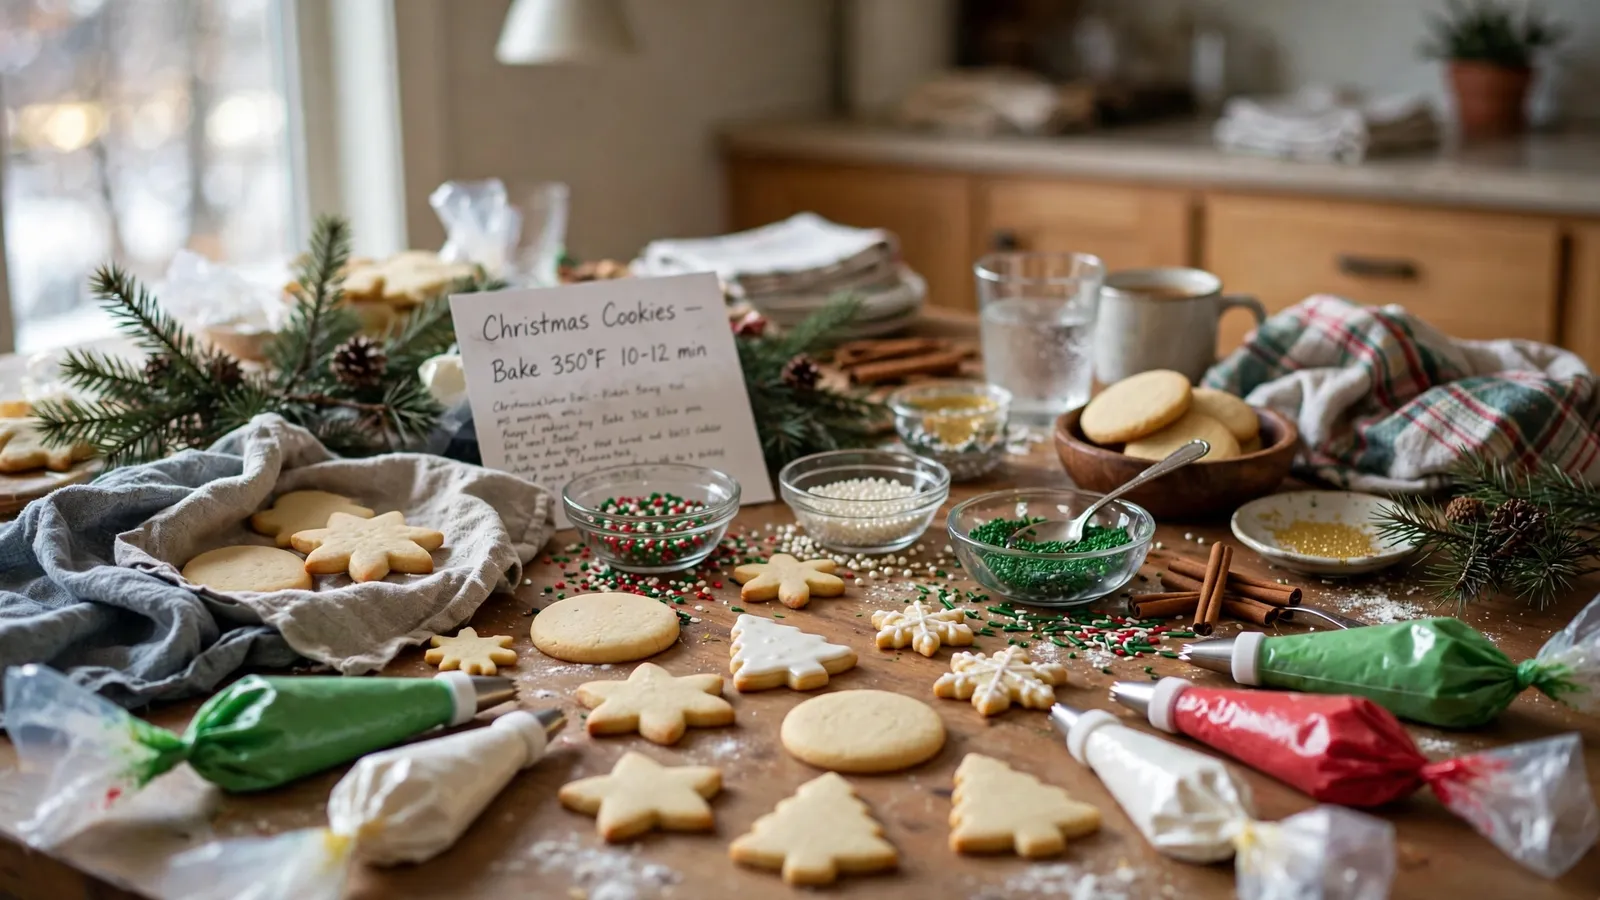
On a cold December evening, our whole family gathers around the kitchen table, elbows touching, sleeves dusted with flour, while bowls of red and green icing wait beside jars of bright sprinkles. Laughter fills the room as someone pipes a wobbly snowman, another adds far too many stars, and nobody minds the sticky fingers or the crumbs on the floor.
These Christmas cookie decorating station ideas turn that happy mess into a simple plan you can set up in an afternoon, with a place for every colour, topping, and little helper. Below, you will find 25 fresh ideas for icing bars, sprinkle stations, gingerbread corners, and kid-friendly setups, so your family can decorate together without stress.
Table of Contents
- 1. Classic Red and Green Icing Bar
- 2. Winter White Sugar Cookie Station
- 3. Gingerbread House Decorating Corner
- 4. Sprinkle Toppings Bar for Little Hands
- 5. Candy Cane Stripe Icing Station
- 6. Hot Cocoa and Cookie Pairing Table
- 7. Snowflake Sugar Cookie Studio
- 8. Reindeer Cookie Face Station
- 9. Edible Glitter and Gold Accent Bar
- 10. Mini Cookie Decorating Kits for Kids
- 11. Christmas Tree Shaped Cookie Station
- 12. Peppermint Crunch Toppings Table
- 13. Frosted Wreath Cookie Workshop
- 14. Holiday Character Cookie Corner
- 15. Chocolate Drizzle and Dip Station
- 16. Cookie Cutter and Dough Play Table
- 17. Festive Icing Colour Mixing Lab
- 18. Snowman Building Cookie Station
- 19. Nut-Free Toppings Bar for Safe Snacking
- 20. Vintage Christmas Cookie Table
- 21. Cookie Decorating Station on a Rolling Cart
- 22. Outdoor Porch Cookie Decorating Setup
- 23. After-Dinner Family Cookie Night Station
- 24. Cookie Gift Wrapping and Decorating Combo
- 25. Christmas Morning Cookie Decorating Breakfast Station
- Conclusion
- Frequently Asked Questions
- Can I set up a cookie decorating station in a small space?
- How can I decorate cookies on a budget?
- How do I keep kids involved without making a huge mess?
- How do I keep decorated cookies fresh?
- How do I clean up quickly after cookie decorating?
1. Classic Red and Green Icing Bar
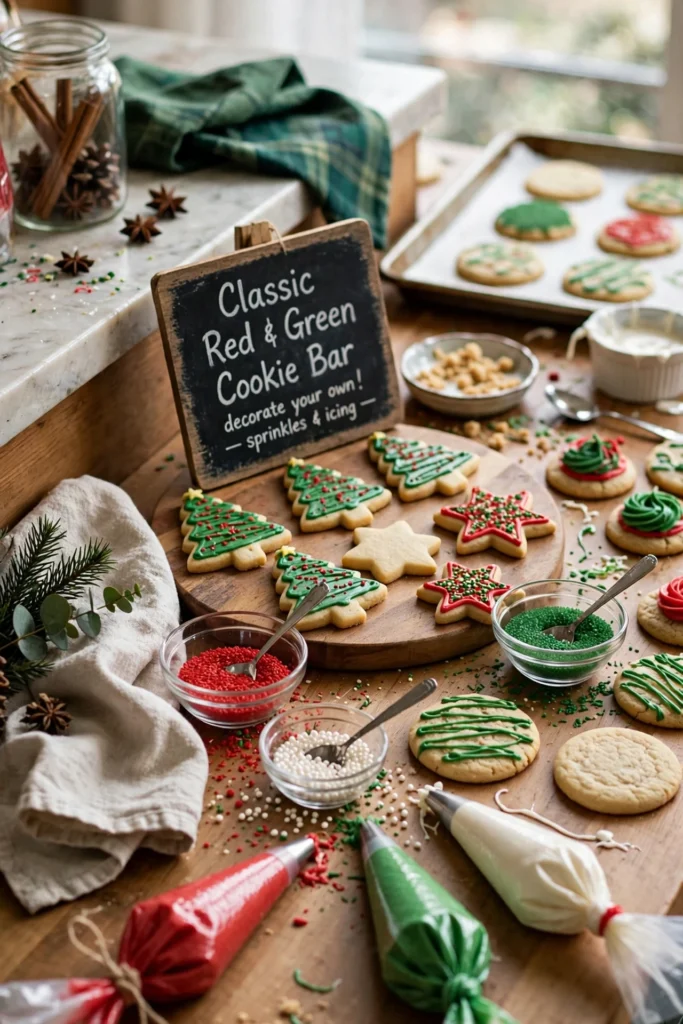
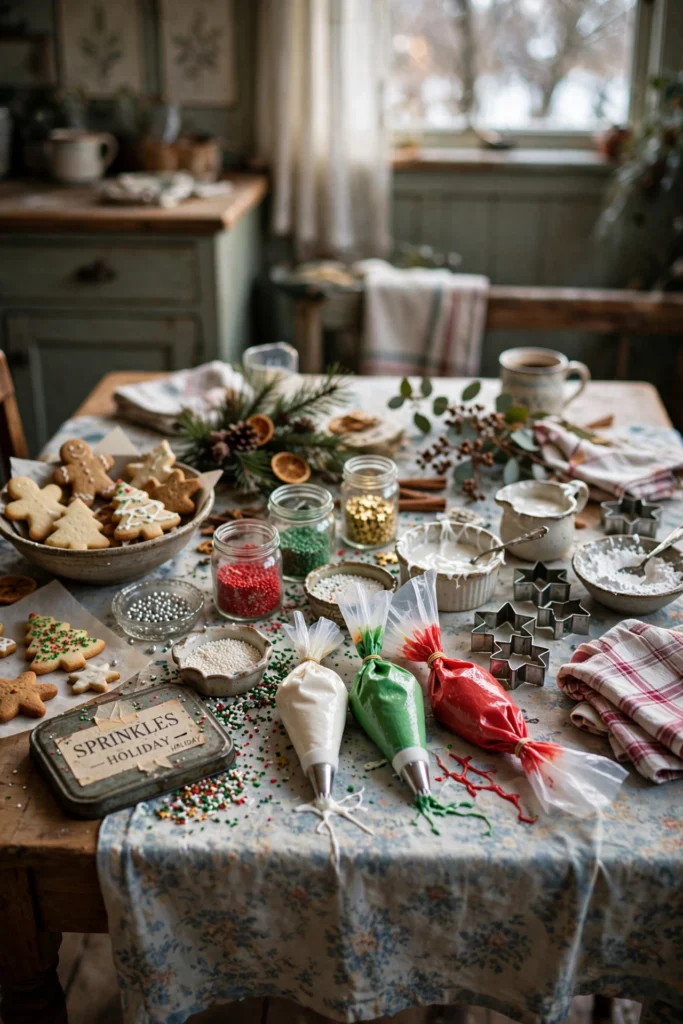
A classic red and green icing bar is the heart of any Christmas cookie table, and it instantly makes plain sugar cookies look festive. Two bowls of smooth icing, a few piping bags, and matching sprinkles are enough to create bright, cheerful treats that photograph beautifully and help children choose quickly.
Set the icing in bowls at the centre of the table, with spoons, spreaders, and a cloth nearby for sticky hands. Keep red on one side and green on the other, so colours stay clean and children can work without mixing everything together. Tip: chill the icing for ten minutes, and your lines will hold their shape well.
2. Winter White Sugar Cookie Station
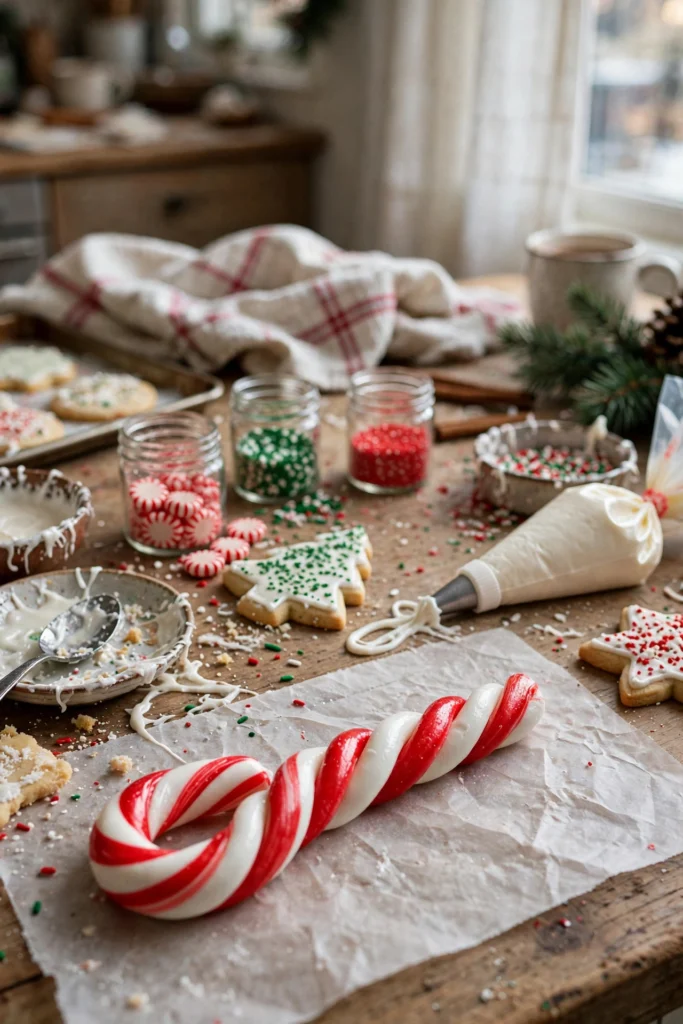
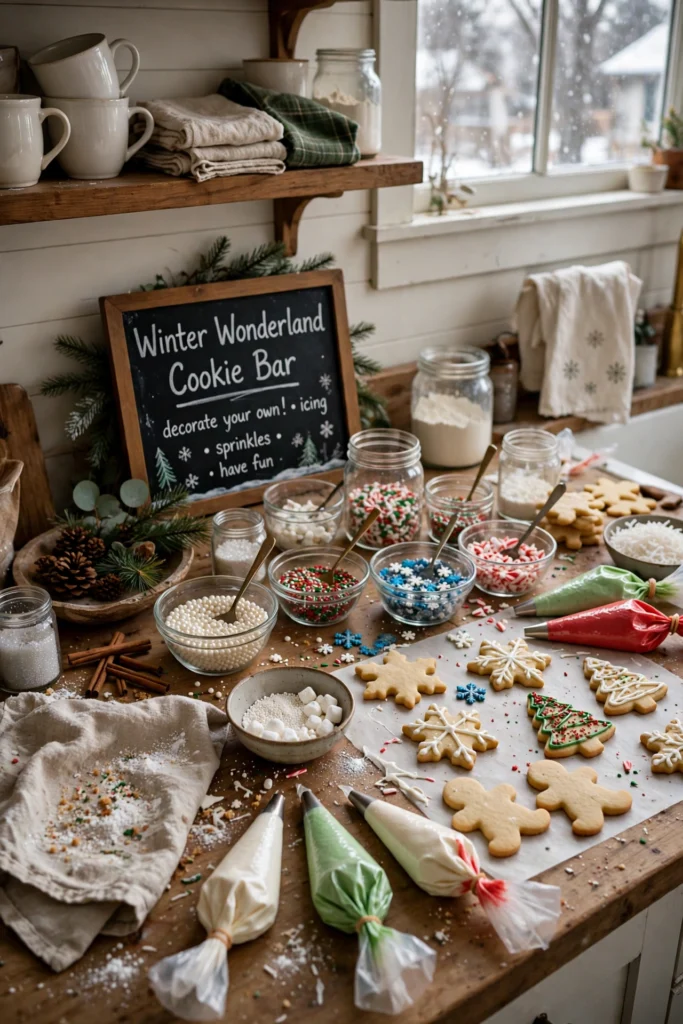
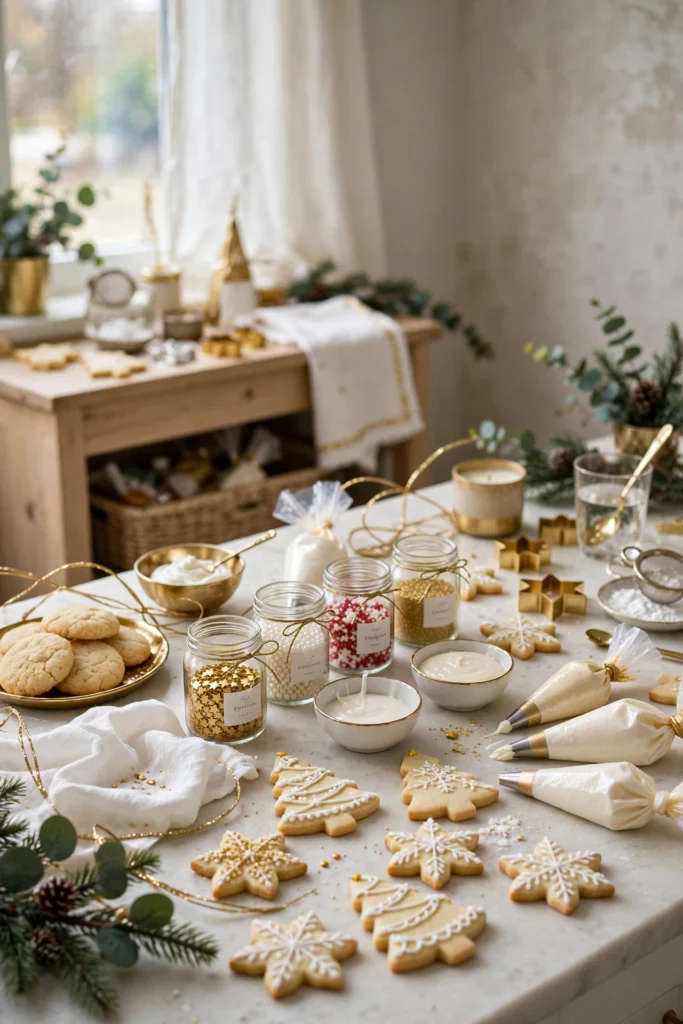
A winter white sugar cookie station feels calm, snowy, and elegant, even when the table is full of excited children. White icing, silver sprinkles, and pale blue sugar turn simple round cookies into frosty snowballs and quiet winter scenes. The soft palette looks lovely against a dark tablecloth, and it gives every cookie a clean, polished finish.
Cover the table with a navy or forest-green cloth, then add white icing, coconut flakes, and pearl sprinkles in small dishes. Let each person pipe a snowflake or a swirl before adding sparkle, and keep a spare cookie nearby for practice. Tip: use a thin icing first, and the white will dry smooth and bright.
3. Gingerbread House Decorating Corner
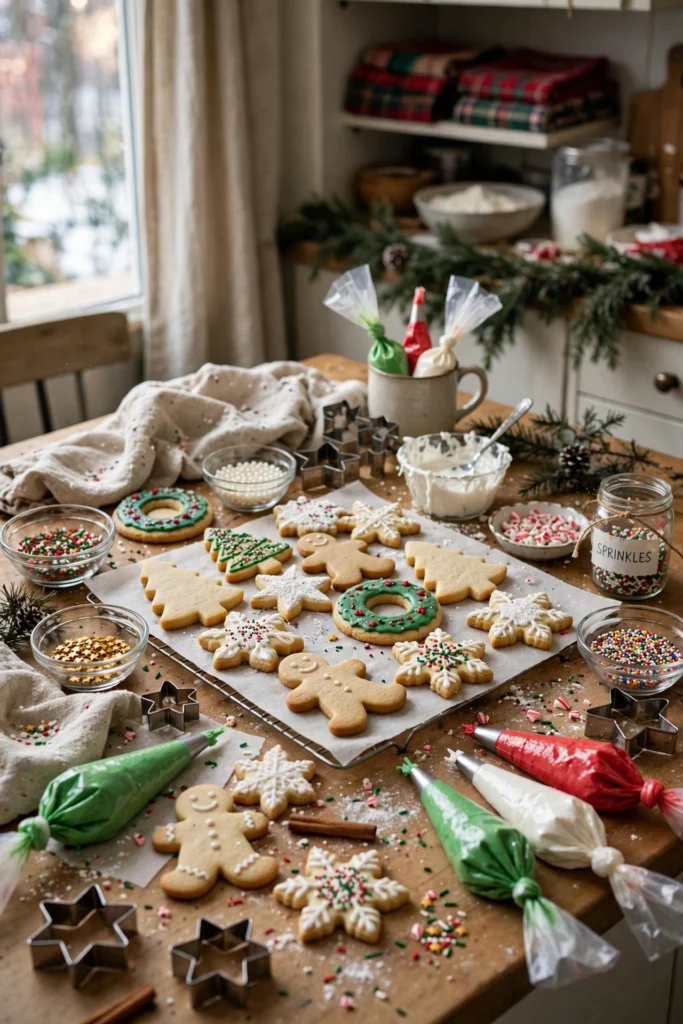
A gingerbread house decorating corner brings the smell of spice and the joy of building to your Christmas table. Small house pieces, warm brown icing, and candy bricks invite families to work together on one sweet project. The finished houses look charming on a shelf, and the shared effort makes the memory last longer than the sweets.
Bake or buy the house pieces ahead, then set out icing as glue, gumdrops, peppermints, and crushed candy for roofs and paths. Build the walls first and let them set for twenty minutes before adding the roof and decorations. Tip: use a mug to hold each wall upright, and your house will stay steady.
4. Sprinkle Toppings Bar for Little Hands
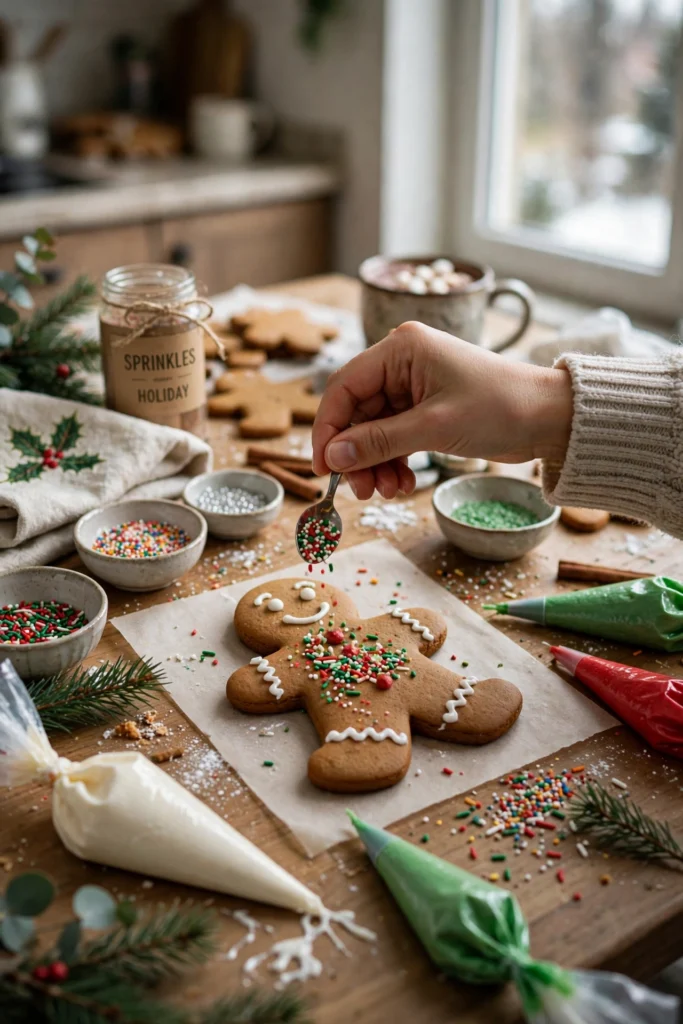
A sprinkle toppings bar made for little hands turns decorating into a joyful, hands-on game for toddlers and young children. Small jars of stars, dots, and colourful sprinkles let them choose freely, while short cookies are easy to hold and decorate. The bright colours look happy and playful, and every cookie feels proudly their own.
Pour sprinkles into shallow bowls with small spoons, and give each child a tray to catch the extras. Keep the jars low and the icing thick, so sprinkles stick well and do not slide off the cookies. Tip: place a baking tray under each plate, and most of the mess will stay in one place.
5. Candy Cane Stripe Icing Station
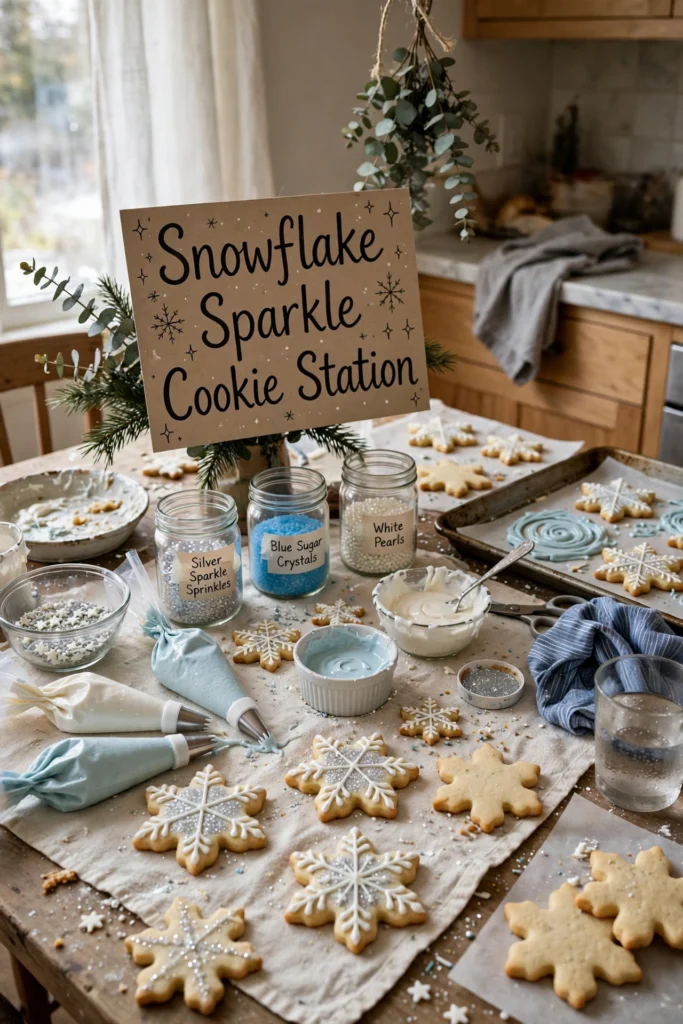
A candy cane stripe icing station adds bold red and white stripes that look crisp, classic, and instantly Christmassy. Striped cookies stand out on a platter, and the simple pattern suits both beginners and confident decorators. The bright contrast works well with plain cookies, so the design, not the flavour, becomes the star.
Pipe white icing first, let it set for a few minutes, then add neat red stripes with a small round tip. Keep a damp cloth nearby to wipe the tip clean between cookies, and work in short, steady lines. Tip: chill the cookies before you start, and the stripes will stay sharp and clean.
6. Hot Cocoa and Cookie Pairing Table
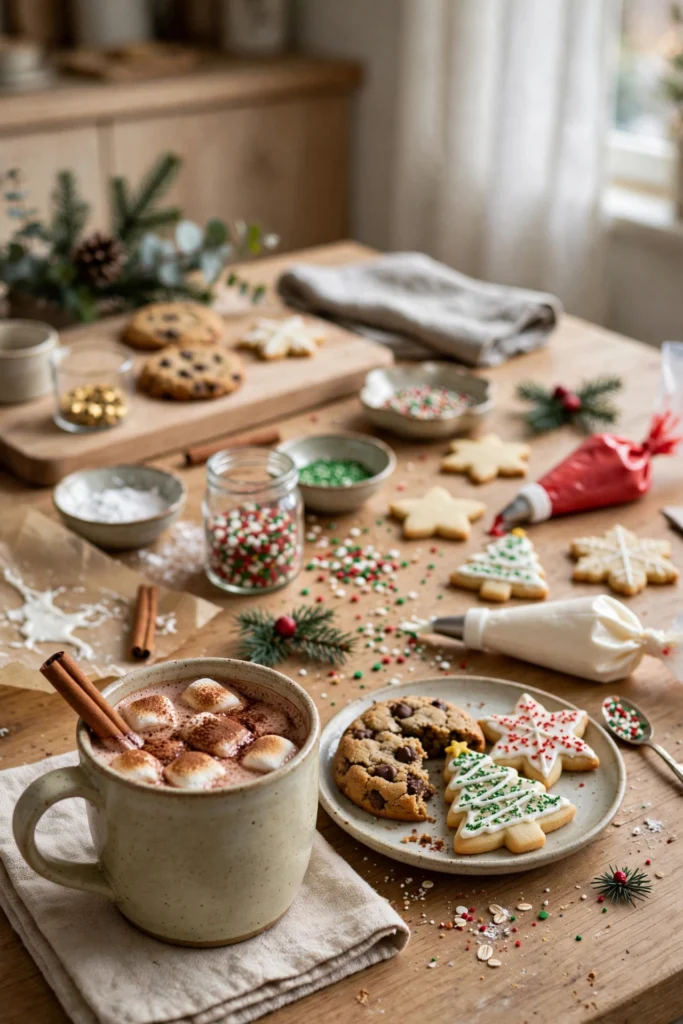
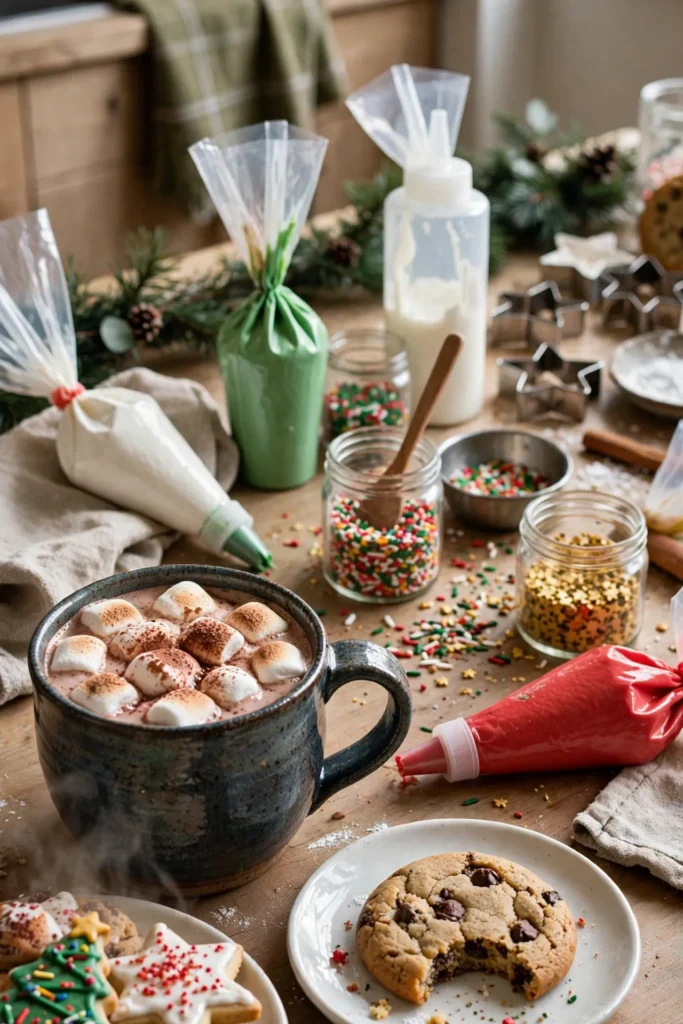
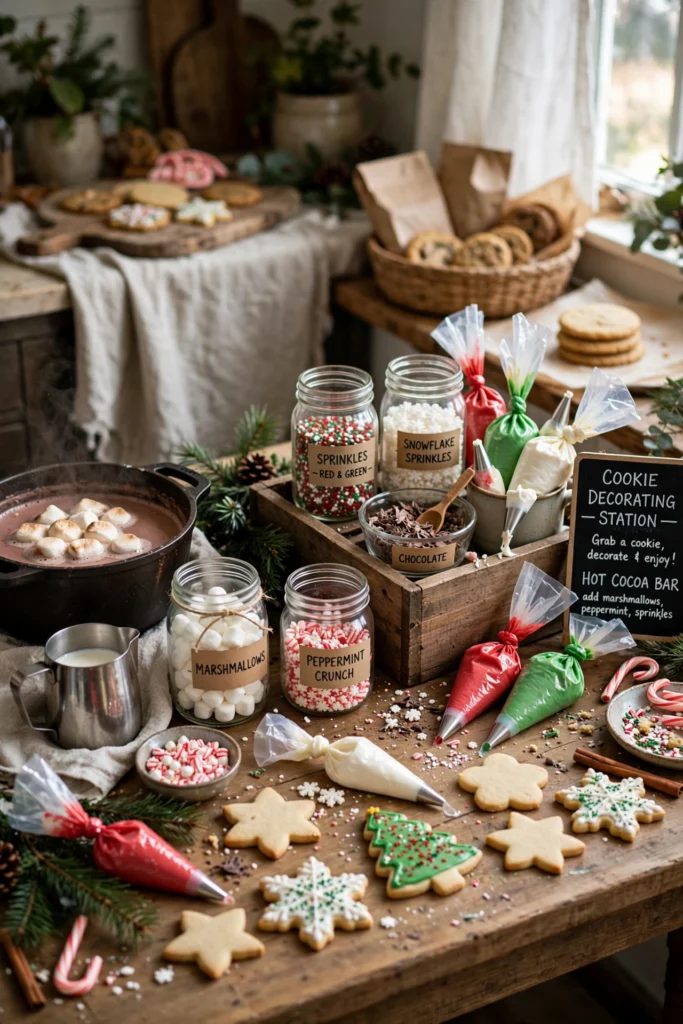
A hot cocoa and cookie pairing table turns decorating into a cosy evening treat for the whole family. Warm mugs, marshmallows, and freshly iced cookies create a relaxed mood that feels like a small winter café at home. The steam, the chocolate smell, and the soft light make the table inviting before anyone picks up a piping bag.
Set mugs on one side and cookies on the other, with cocoa, marshmallows, and cinnamon sticks in the middle for everyone to share. Decorate a few cookies first, then sit down together to enjoy them warm with a drink. Tip: use mugs with lids for young children, and spills will stay happily under control.
7. Snowflake Sugar Cookie Studio
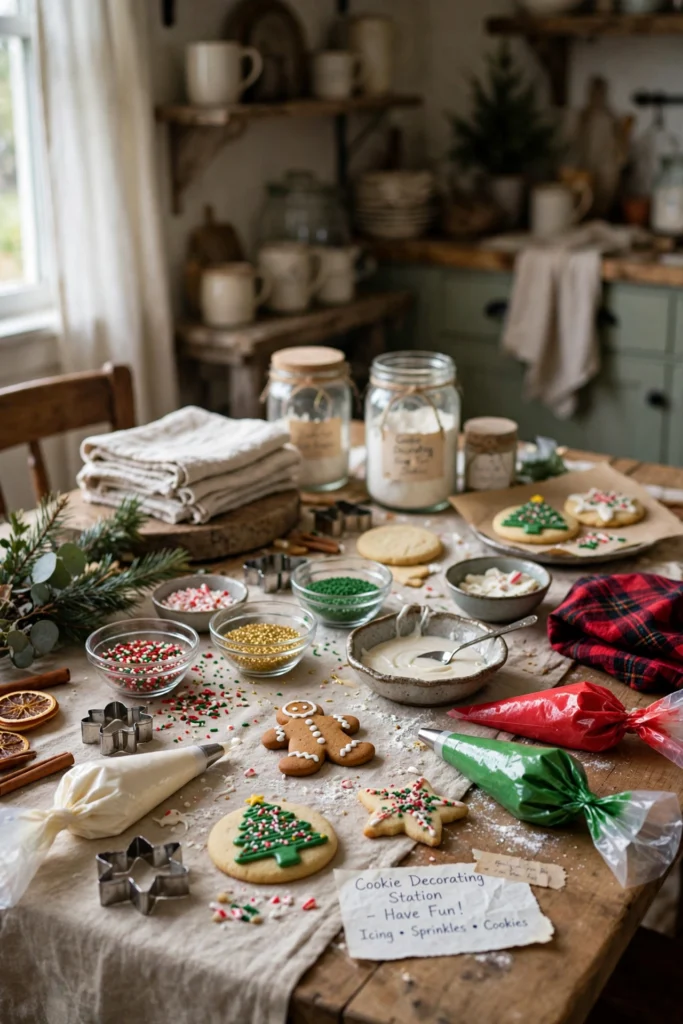
A snowflake sugar cookie studio feels delicate and magical, with white icing, blue sugar, and tiny silver balls. Each cookie becomes a small winter picture, and no two snowflakes need to look the same, which takes the pressure off perfection. The cool colours look fresh and calm, and the finished cookies are almost too pretty to eat.
Start with round cookies and white icing, then pipe simple lines from the centre outward to form six arms. Add dots, stars, and a pinch of blue sugar while the icing is still wet, so everything sticks well. Tip: draw one snowflake on paper first, and children can copy the pattern with confidence.
8. Reindeer Cookie Face Station
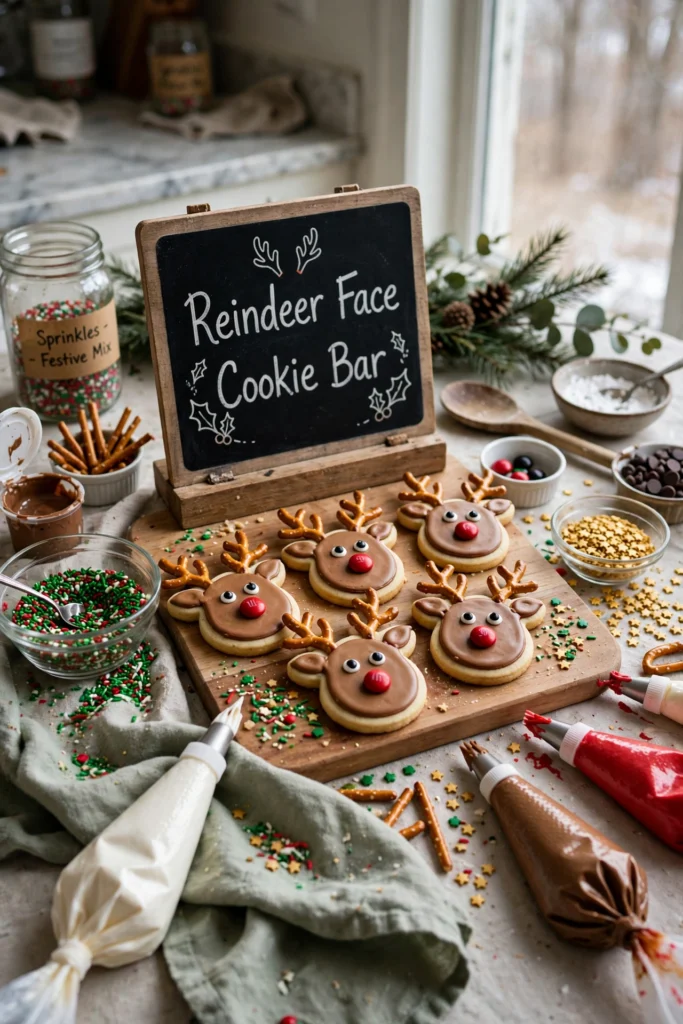
Among Christmas cookie decorating station ideas, a reindeer face station is full of character, with brown icing, pretzel antlers, and bright red noses. Children love giving each reindeer a different expression, and the cookies look funny and festive side by side on a plate. The warm brown tones feel cosy, and the simple shapes make this station perfect for beginners.
Spread brown icing on round cookies, press two pretzels at the top for antlers, and add eyes and a red candy nose. Let the icing set for a few minutes before moving the cookies, so the antlers do not slip. Tip: use mini pretzels for small cookies, and the faces will look neat and balanced.
9. Edible Glitter and Gold Accent Bar
An edible glitter and gold accent bar adds a touch of sparkle that makes cookies feel special and party-ready. Gold stars, shimmering dust, and metallic sprinkles catch the light beautifully, especially on white or deep green icing. The glamorous finish looks lovely on a dessert table, and a little glitter goes a long way.
Set out gold sprinkles, edible glitter, and a few small brushes in tiny dishes, with plain iced cookies ready to decorate. Dust lightly over wet icing, then let the cookies dry fully before stacking or serving them. Tip: keep glitter away from very young children, and use a tray to catch any loose sparkle.
10. Mini Cookie Decorating Kits for Kids
Mini cookie decorating kits for kids give every child their own small set, so nobody has to wait or share. Each kit holds two cookies, a small icing bag, sprinkles, and a few candies in a cheerful box or bag. The personal sets look tidy and thoughtful, and children love opening a kit that is made just for them.
Pack the kits the night before, using small bags, cups, and trays you already own, or find affordable supplies with these dollar store decor ideas for simple trays and containers. Label each kit with a name, and let children decorate at their own pace. Tip: include a wet wipe in every kit, and clean hands will be easy.
11. Christmas Tree Shaped Cookie Station
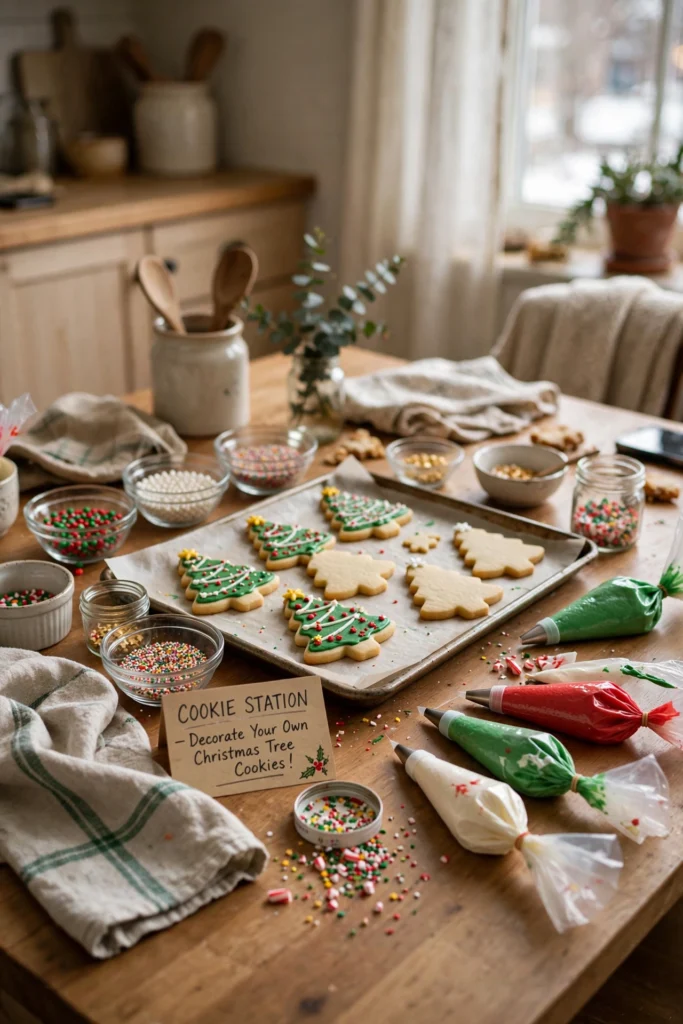
A Christmas tree shaped cookie station turns every cookie into a tiny tree ready for lights and ornaments. Green icing, colourful candy dots, and a star on top make the design easy to recognise and fun to finish. The trees look wonderful grouped together, and they make a cheerful centrepiece for a holiday table.
Bake tree-shaped cookies in advance, then set out green icing, small candies, and yellow stars for the tops. Pipe the icing in zigzag lines, add candy ornaments while it is wet, and finish with a star. Tip: use a star-shaped candy for the top, and each tree will look complete in seconds.
12. Peppermint Crunch Toppings Table
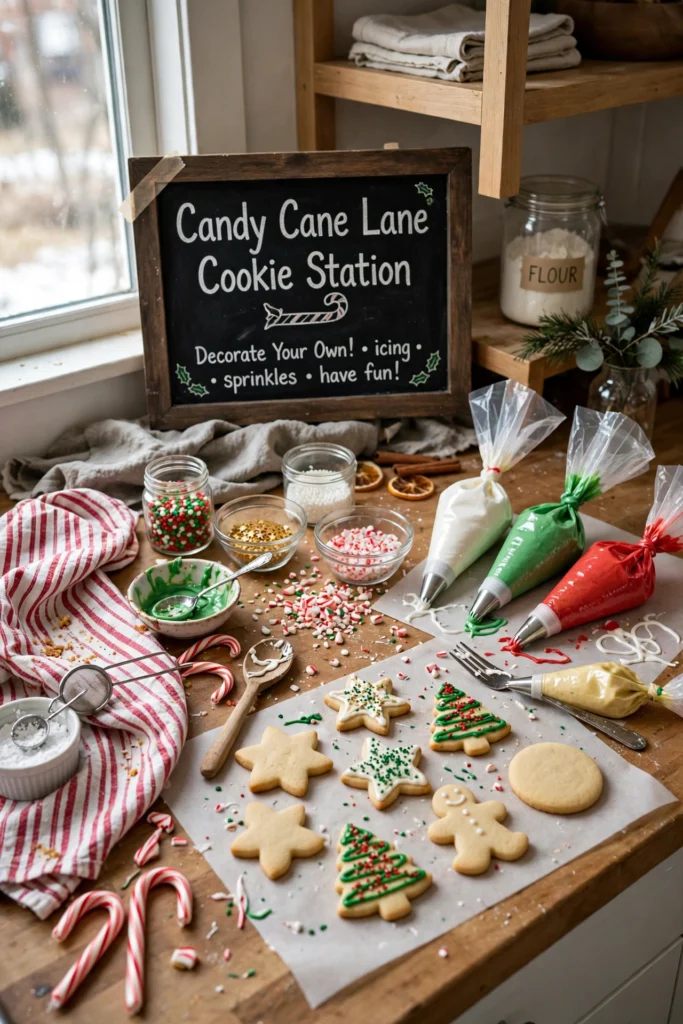
A peppermint crunch toppings table adds a cool, minty crunch that pairs beautifully with chocolate and white icing. Crushed candy canes, peppermint pieces, and red sugar give cookies a festive sparkle and a fresh flavour. The red and white colours look bright and seasonal, and the crunch adds a lovely texture.
Crush candy canes in a sealed bag with a rolling pin, then pour the pieces into small bowls with spoons. Sprinkle them over wet icing or chocolate, and press gently so they stick without falling off. Tip: crush the candy just before serving, and it will stay crisp and bright.
13. Frosted Wreath Cookie Workshop
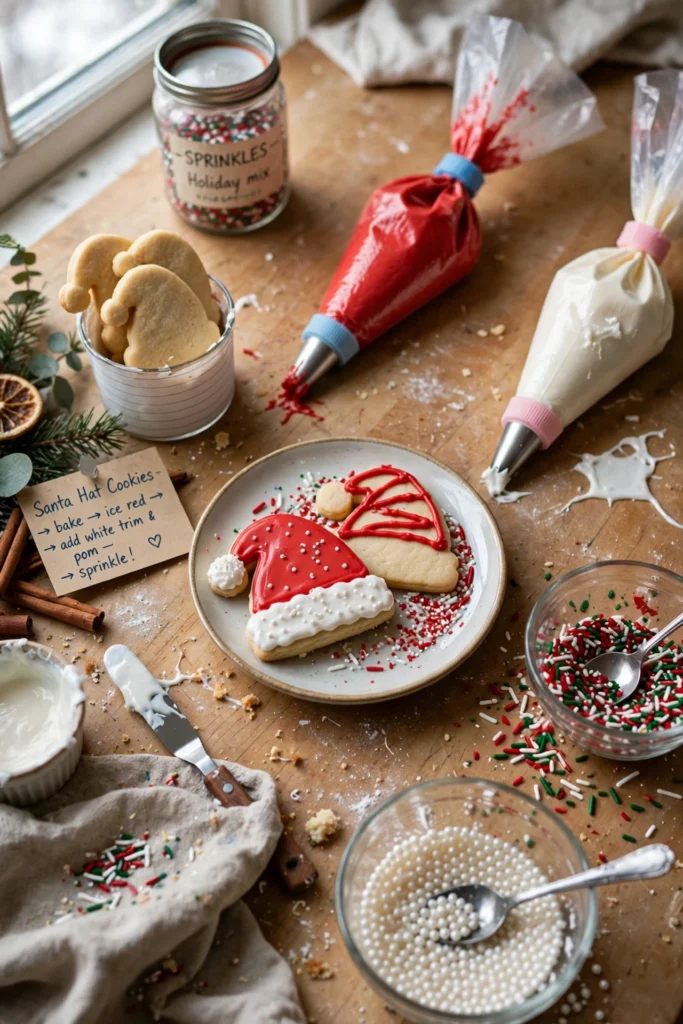
A frosted wreath cookie workshop feels fresh and green, with ring-shaped cookies dressed like tiny Christmas wreaths. Green icing, red berries, and a small bow turn a simple cookie into a pretty decoration. The wreaths look elegant on a plate, and they are easy enough for children to make with pride.
Use ring-shaped cookies, pipe green icing in short strokes around the circle, and add red candies for berries. Finish each wreath with a small icing bow at the bottom, and let them dry on a flat tray. Tip: use a leaf-shaped tip if you have one, and the wreath will look full and textured.
14. Holiday Character Cookie Corner
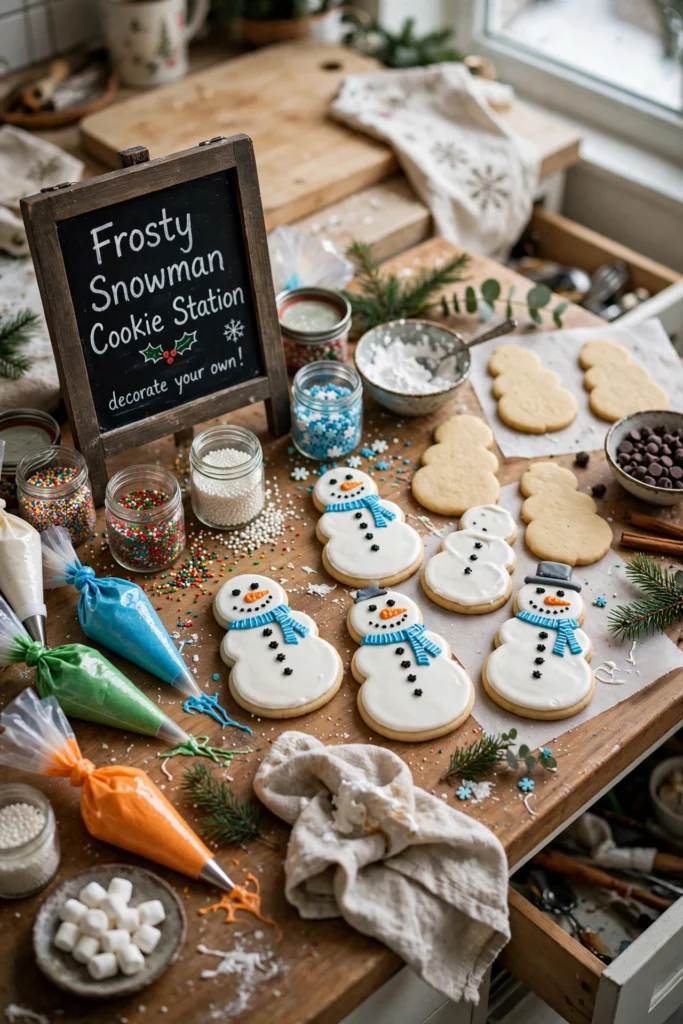
A holiday character cookie corner lets families create Santa, elves, snowmen, and reindeer from simple cookie shapes. Round and star-shaped cookies become faces, hats, and scarves with a little icing and imagination. The characters look playful together, and children enjoy inventing new faces for each cookie.
Set out red, white, and brown icing, plus candy eyes, small hats, and coloured sprinkles in separate bowls. Start with one character at a time, and let each person finish before moving to the next design. Tip: keep a picture of each character nearby, and younger children can follow it easily.
15. Chocolate Drizzle and Dip Station
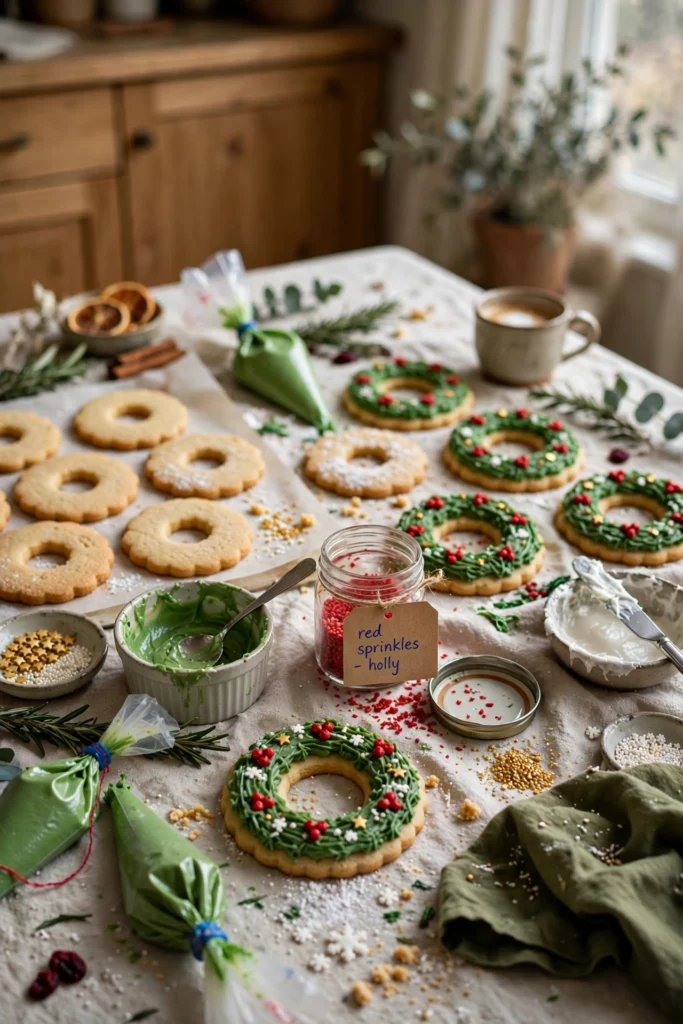
A chocolate drizzle and dip station adds rich flavour and a smooth, glossy finish to Christmas cookies. Melted dark, milk, and white chocolate let families dip, drizzle, and swirl in different ways. The shiny chocolate looks indulgent and festive, and it pairs well with sprinkles, nuts, and crushed candy.
Melt chocolate in small bowls, keep them warm in a shallow tray of hot water, and set out cookies for dipping. Dip half of each cookie, add toppings quickly, and place them on baking paper to set. Tip: pat cookies dry before dipping, and the chocolate will stick smoothly and evenly.
16. Cookie Cutter and Dough Play Table
A cookie cutter and dough play table lets children shape their own cookies before decorating begins. Stars, trees, bells, and gingerbread people come alive as little hands press, cut, and lift the dough. The hands-on play feels creative and calm, and the homemade shapes make the finished cookies extra special.
Roll out chilled dough on a floured surface, and set out cutters, rolling pins, and baking trays for everyone. Cut the shapes, bake them until firm, and let them cool completely before decorating starts. Tip: chill the cut shapes for ten minutes, and they will hold their edges in the oven.
17. Festive Icing Colour Mixing Lab
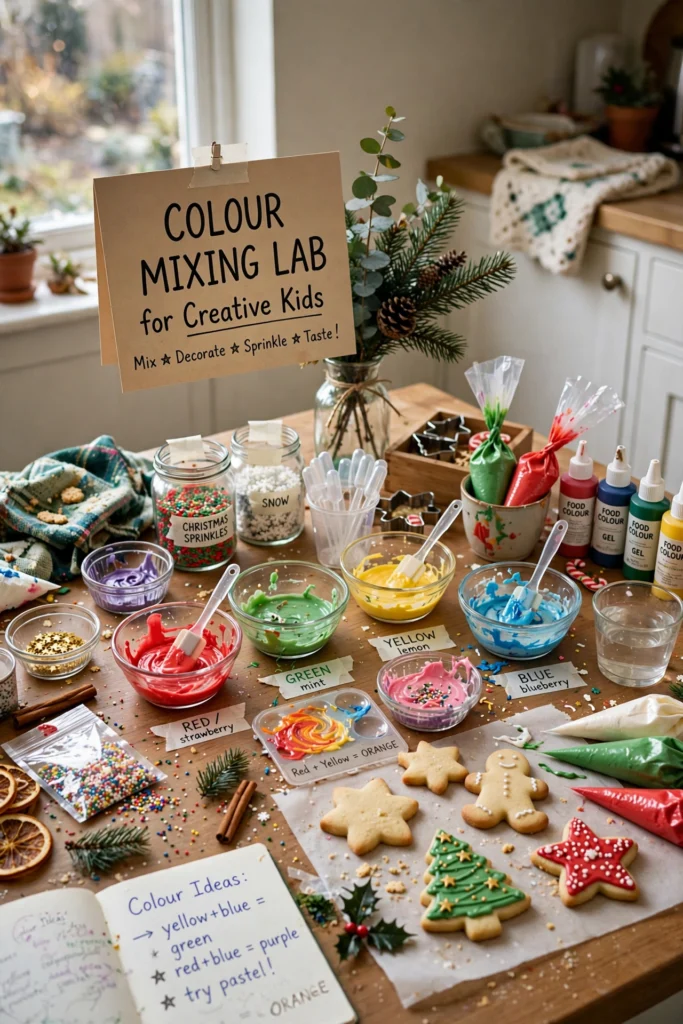
A festive icing colour mixing lab turns colour into a fun science lesson for curious children. A few drops of food colouring change white icing into red, green, gold, and soft pink shades. The bright bowls look like a painter’s palette, and children love watching each new colour appear before their eyes.
Start with white icing in small bowls, add one drop of colour at a time, and stir well before adding more. Label each bowl clearly, and keep paper towels nearby for testing the shades on a spare cookie. Tip: add colour slowly, because a single extra drop can change a soft pink into a deep red.
18. Snowman Building Cookie Station
A snowman building cookie station stacks three round cookies into a cheerful snowman with a scarf and hat. White icing, orange noses, and coal-black eyes give each snowman a happy face and plenty of personality. The stacked cookies look sweet on a winter table, and children enjoy building a friend they can eat.
Bake small, medium, and large round cookies, then join them with a little icing and let them set flat. Add a scarf with coloured icing, a hat with chocolate, and a carrot nose with orange candy. Tip: use a flat tray for drying, and the snowmen will keep their shape overnight.
19. Nut-Free Toppings Bar for Safe Snacking
A nut-free toppings bar for safe snacking makes sure every child can join in without worry or feeling left out. Seed sprinkles, dried fruit, chocolate chips, and crushed biscuits offer plenty of flavour and crunch without nuts. The clear labels and separate bowls look caring and organised, and parents will feel relaxed at the table.
Choose toppings that are clearly labelled nut-free, and keep them in separate bowls with clean spoons for each one. Wipe the table before you start, and ask guests about allergies before decorating begins. Tip: place a small sign on the table, and everyone will know this station is safe to enjoy.
20. Vintage Christmas Cookie Table
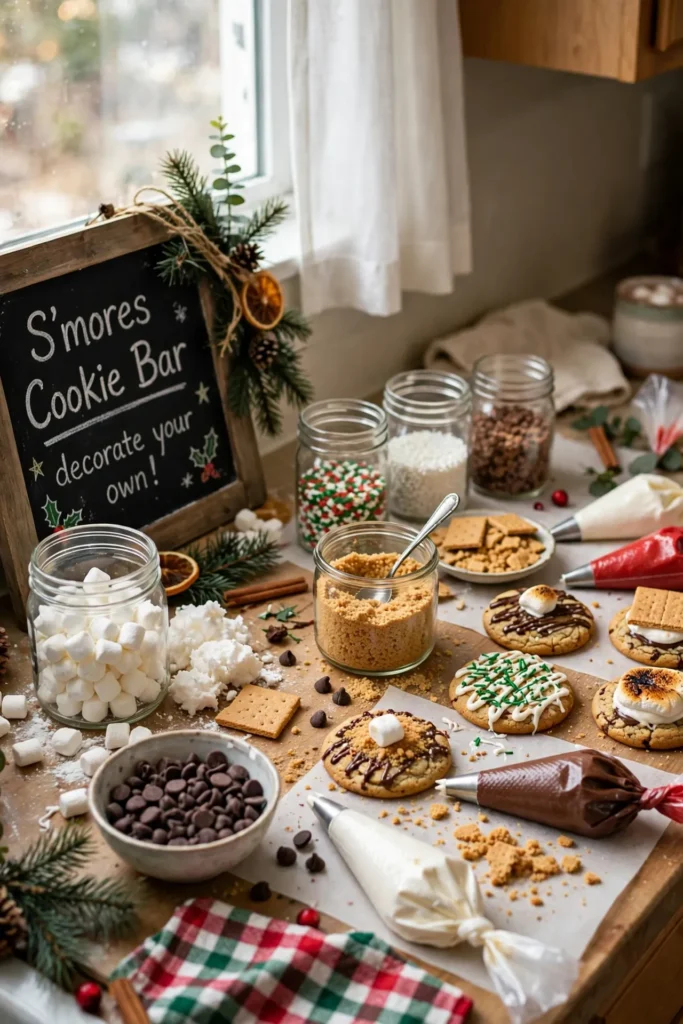
A vintage Christmas cookie table feels warm and nostalgic, with old plates, lace cloths, and classic red and green icing. Wooden trays, glass jars, and soft candlelight give the cookies a timeless, homely charm. The gentle colours look beautiful in family photographs, and the table invites slow, happy decorating together.
Use plates and jars you already own, add a checked cloth, and keep the toppings simple with cinnamon, sugar, and dried orange slices. For a cosy finish, keep throws close by with these blanket storage ideas so guests can wrap up while cookies dry. Tip: use one vintage cake stand, and the table will feel special without much effort.
21. Cookie Decorating Station on a Rolling Cart
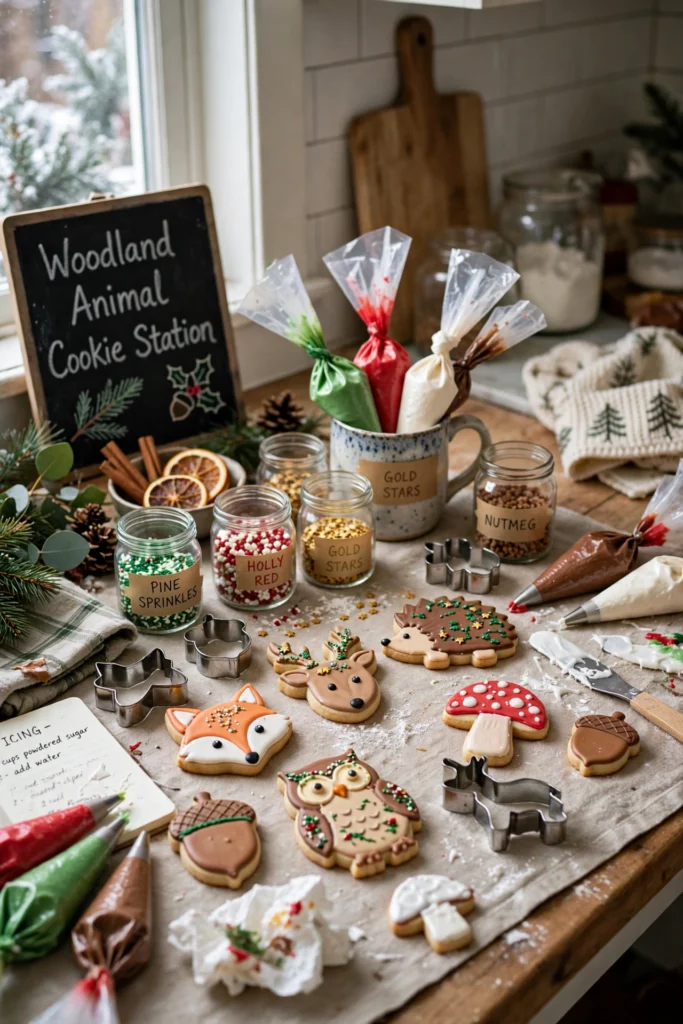
A cookie decorating station on a rolling cart keeps everything tidy, mobile, and easy to move around the house. Icing, sprinkles, cookies, and tools sit on separate shelves, so each family member can reach what they need. The cart looks neat and organised, and it can roll from the kitchen to the living room in seconds.
Load the top shelf with cookies and icing, the middle shelf with sprinkles and tools, and the bottom shelf with trays and cloths. Park the cart beside the table, lock the wheels, and let everyone decorate without crowding the kitchen. Tip: cover the shelves with baking paper, and cleaning the cart will take only minutes.
22. Outdoor Porch Cookie Decorating Setup
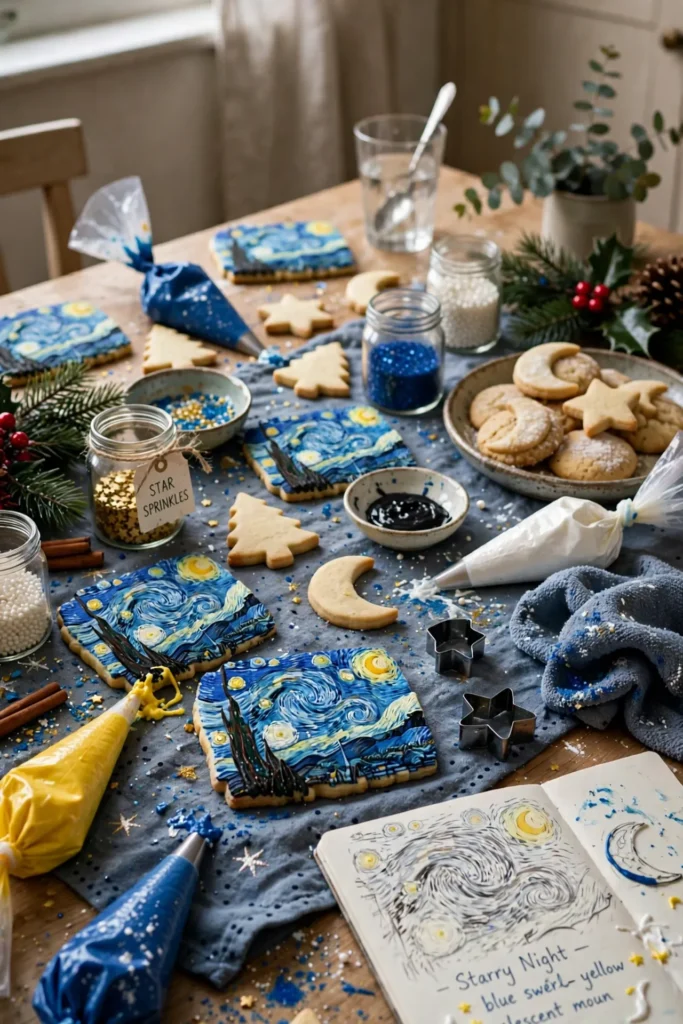
An outdoor porch cookie decorating setup brings fresh air, fairy lights, and winter views to family decorating time. A sturdy table, warm blankets, and twinkling lights make the porch feel magical, even on a cold evening. The open space looks inviting and relaxed, and children have plenty of room to spread out and create.
Set the table near the door for warmth, add a heater or blankets, and use heavy bowls so nothing blows away. Borrow a little planning from these rose garden layout ideas to zone the porch into decorating, drying, and snacking areas. Tip: bring cookies inside to dry, and cold air will not make the icing crack.
23. After-Dinner Family Cookie Night Station
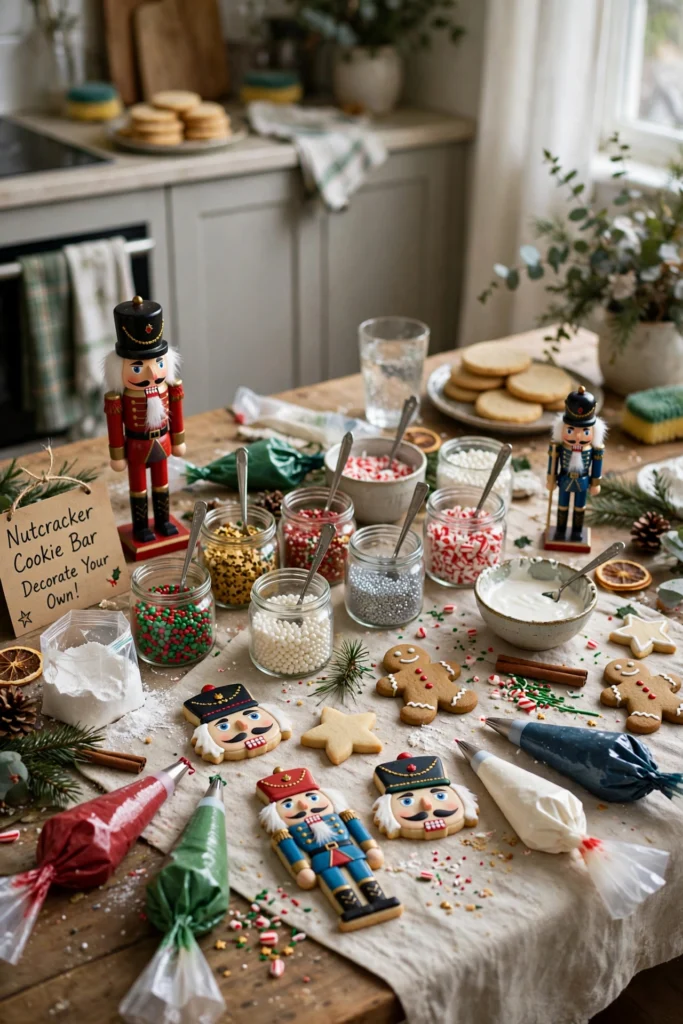
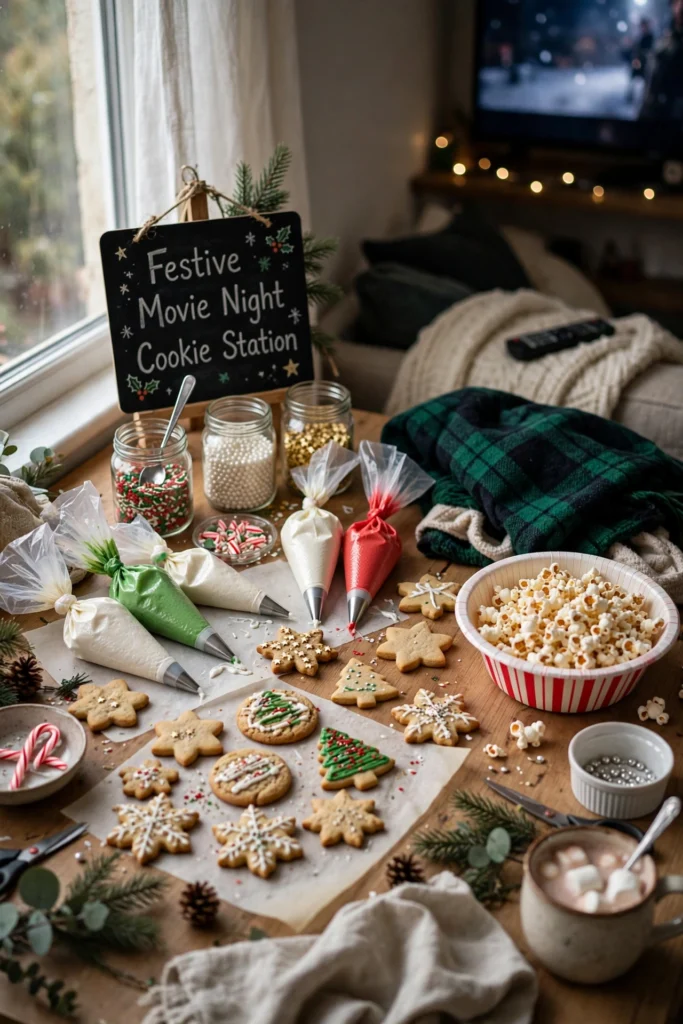
An after-dinner family cookie night station turns a quiet evening into a simple tradition everyone looks forward to. Clear the dinner table, lay out cookies and icing, and let the family decorate together before bedtime. The relaxed pace feels calm and cosy, and the shared time matters more than perfect cookies.
Keep the station small, with two icing colours, one sprinkle jar, and a few cookies per person, so the evening stays easy. Set a timer for thirty minutes, then enjoy the cookies with warm milk or cocoa. Tip: put the cookies in a tin as soon as they dry, and tomorrow will start with a sweet treat.
24. Cookie Gift Wrapping and Decorating Combo
A cookie gift wrapping and decorating combo lets families make presents and treats at the same table. Decorated cookies go straight into pretty boxes, bags, and tins, ready to share with neighbours and teachers. The finished gifts look thoughtful and handmade, and the station saves time during a busy holiday week.
Set one side of the table for decorating and the other side for wrapping, with boxes, tissue, ribbon, and labels ready. Let cookies dry fully before packing them, and add a small handwritten tag to each gift. Tip: use a muffin case inside each box, and the cookies will stay neat on their journey.
25. Christmas Morning Cookie Decorating Breakfast Station
A Christmas morning cookie decorating breakfast station adds a sweet surprise to the first meal of the day. Fresh cookies, bright icing, and festive toppings sit beside pancakes and fruit, ready for sleepy, excited children. The colourful table looks joyful in the morning light, and decorating becomes part of the celebration itself.
Bake the cookies the night before, and set out icing and toppings while breakfast cooks, so everything is ready to enjoy. Let each person decorate one cookie before eating, then save the rest for later in the day. Tip: use paper plates for decorating, and the morning will stay relaxed and easy.
Conclusion
These twenty-five stations show that cookie decorating can be simple, joyful, and full of family time, whatever space or budget you have. A few bowls of icing, some bright toppings, and a clear table are enough to start a tradition your family will remember, and a simple nightly reset routine helps the kitchen feel calm again afterwards.
Choosing one idea first is the easiest way to begin, so pick the station that fits your table, your children, and your evening. Set it up this weekend, invite your family to the table, and let the icing, sprinkles, and laughter do the rest. Your next Christmas tradition may start with just one cookie.
Frequently Asked Questions
Can I set up a cookie decorating station in a small space?
Yes. Use a baking tray, a small table, or one end of a kitchen counter, and keep the setup to two icing colours, one sprinkle jar, and a few cookies per person. A tray catches crumbs, keeps everything together, and can be moved aside or stored away when decorating is finished.
How can I decorate cookies on a budget?
Use cookies and icing you make at home, reuse jars, trays, and bowls you already own, and choose a few bright sprinkles instead of many toppings. A simple station with two colours and one topping jar can still look festive and fun.
How do I keep kids involved without making a huge mess?
Give each child a tray, a small icing bag, and only a few sprinkles at a time, and cover the table with baking paper or a washable cloth. Let them decorate one cookie at a time, and keep wipes nearby for sticky hands.
How do I keep decorated cookies fresh?
Let the icing dry completely, then store cookies in a single layer in an airtight tin, with baking paper between layers. Keep the tin in a cool, dry place, and most decorated cookies will stay fresh for three to four days.
How do I clean up quickly after cookie decorating?
Clear the table into a bin or compost, stack bowls and trays for washing, and wipe the surface with a damp cloth. If you covered the table with baking paper, roll it up with the crumbs inside, and cleaning will take only a few minutes.
Hi, I’m Emily! I turn messy corners into cozy, organized spots. DreamNestDecor is where I share simple, practical home ideas — decor, organization, and small-space solutions that work in real life, not just in photos. Every idea here is carefully researched before it’s shared.

Hi, I’m Emily! I turn messy corners into cozy, organized spots. DreamNestDecor is where I share simple, practical home ideas — decor, organization, and small-space solutions that work in real life, not just in photos. Every idea here is carefully researched before it’s shared.