
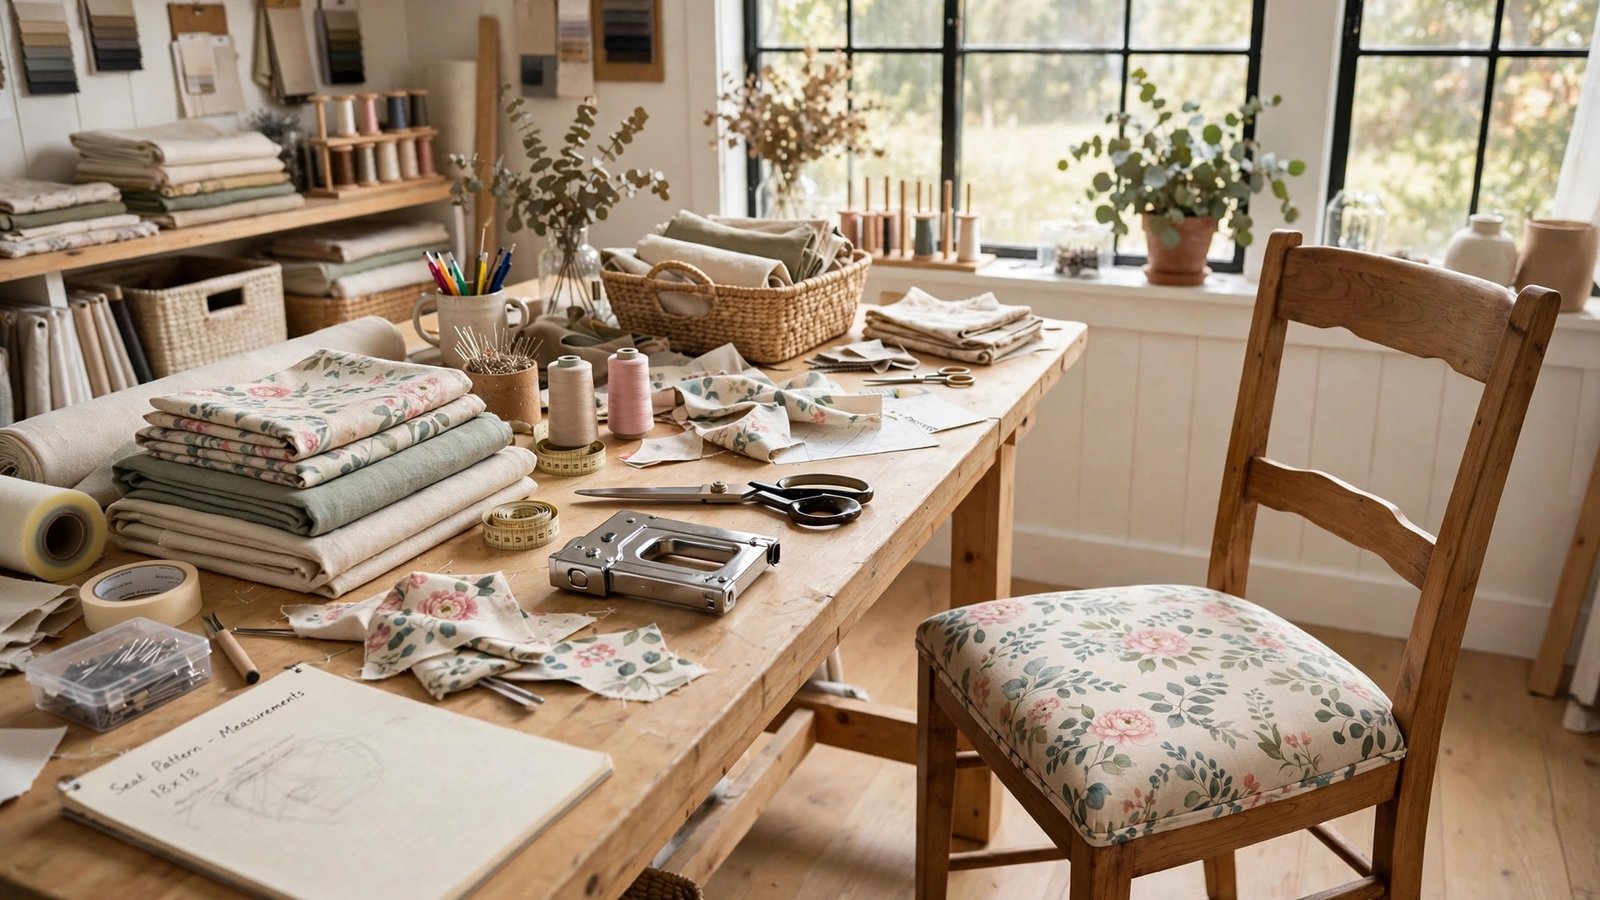
You found the perfect chair at the flea market, solid wood frame, great shape, but the fabric is stained and stuck in another decade. Replacing it would cost hundreds, yet the frame has years of life left. New fabric and a staple gun are all that stand between that sad chair and the prettiest seat in your home.
These thirteen DIY upholstery makeover ideas will walk you through every level of chair refresh, from a one-hour seat recover to full reupholstery with fresh foam. You do not need professional training, just basic tools and a little patience. Choose the project that matches your chair and your confidence, then get to work.
1. Recover Dining Chair Seats With New Fabric
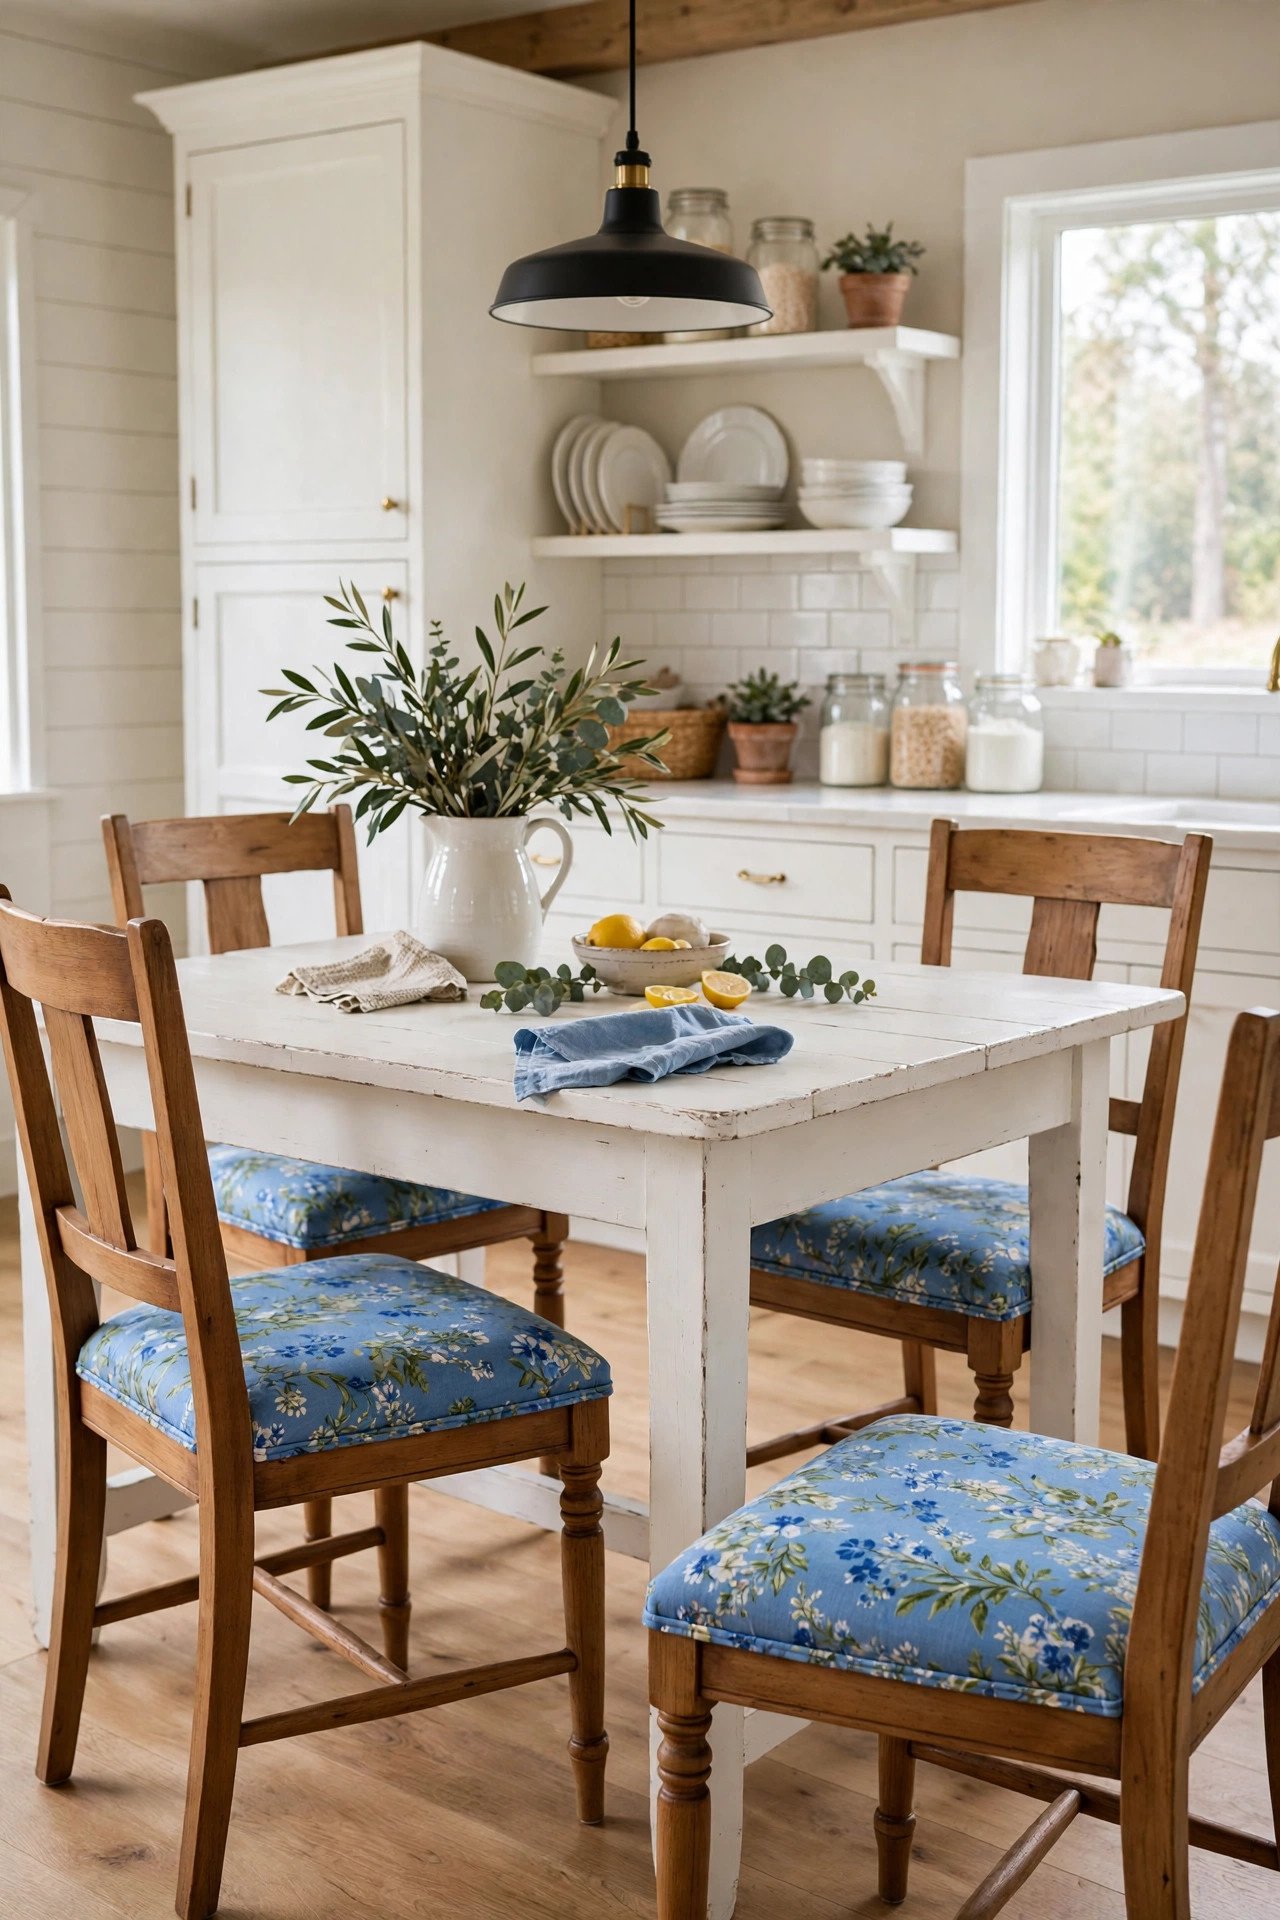
The easiest upholstery project starts with a simple dining chair seat. Flip the chair over, unscrew the seat, and use the old fabric as a template to cut your new fabric with a few extra inches on each side. Lay the fabric face down, center the seat on top, and staple from the middle of each side outward, pulling the fabric smooth as you go.
Fold the corners like you are wrapping a gift, staple them flat, trim the excess, and screw the seat back onto the frame. One yard of fabric covers about four chair seats, so a full dining set costs very little. This beginner project is a favorite among rental-friendly decor hacks because it transforms a room in a single afternoon.
2. Full Seat And Back Reupholstery
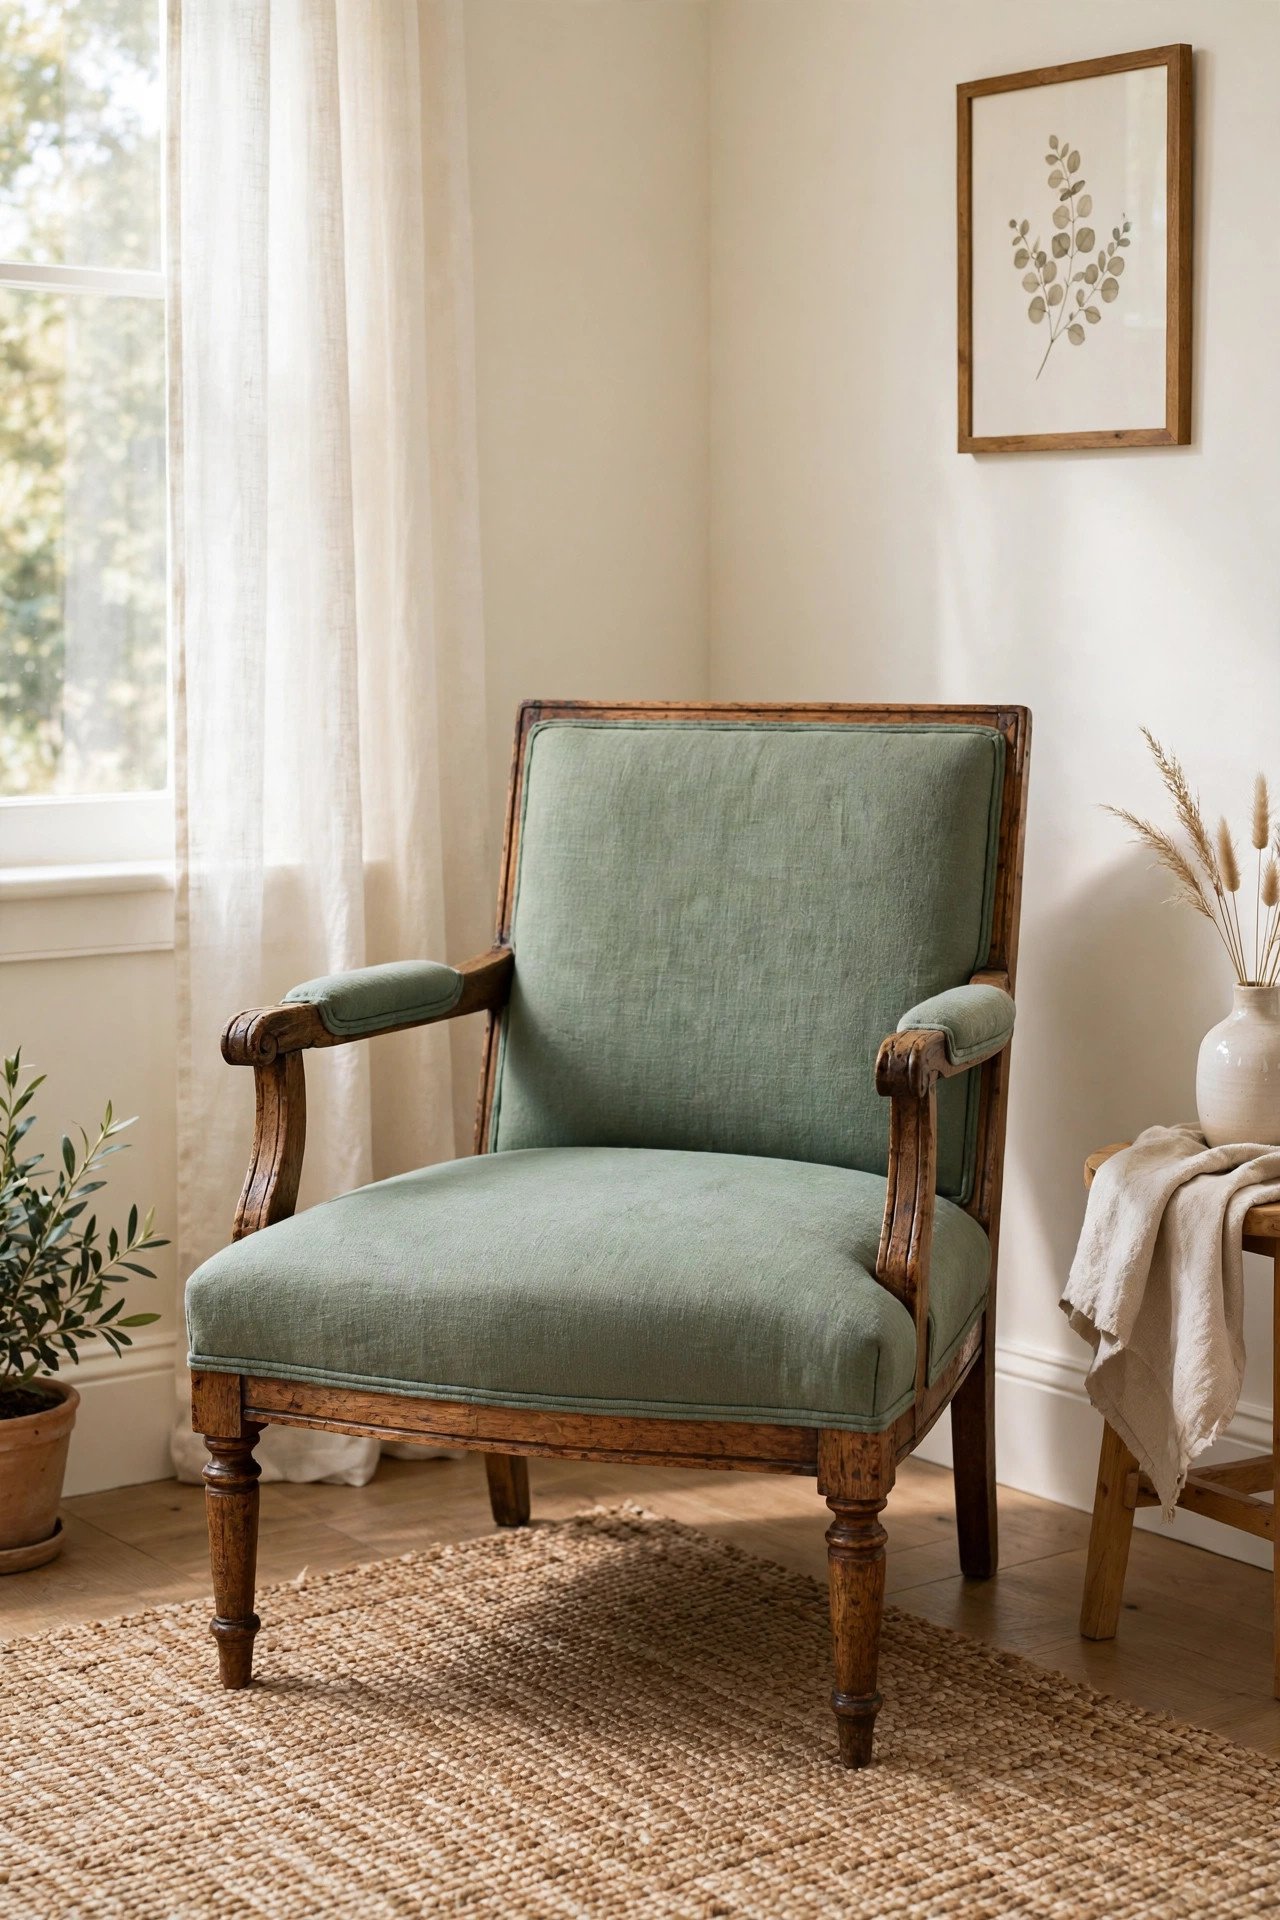
When both the seat and the back need help, take the chair fully apart and rebuild it piece by piece. Photograph each layer as you remove the old fabric, and keep every piece to use as a cutting template. Sand any rough spots on the wooden frame and tighten loose joints with wood glue before you start stapling.
Cut your new fabric using the old pieces as guides, then staple each section back in the same order you removed it. Working slowly gives you a professional result that rivals an upholstery shop. This method works beautifully on thrifted finds like those in vintage wardrobe storage ideas turned accent chairs.
3. Cane Chair Seat Refresh
Cane back chairs have wonderful vintage character, and their removable seats make them perfect for a quick refresh. Unscrew the seat cushion from the frame and set it aside for reupholstering later. Sand the wooden frame carefully, avoiding the delicate cane webbing, then apply a rich wood stain with a soft rag.
Seal the stain with a matte protective finish and let it cure fully before you reattach the recovered seat. The dark stain makes the natural cane glow by contrast. You can also tape off the cane and spray the frame a bold color for a more modern take on this classic chair.

4. Painted Fabric Upholstery
Yes, you can paint upholstery fabric, and it is a brilliant fix for chairs with sturdy fabric in an ugly color. Clean the fabric thoroughly and let it dry. Mix fabric medium into regular latex paint, or use paint made for fabric, and brush on thin even coats. Lightly sand between coats with fine sandpaper for a soft finish.
Painted velvet and other tight-weave fabrics take paint especially well and develop a rich, leather-like look. This technique saves chairs that are not worth stripping down to the frame. Seal the finished fabric with a clear fabric sealer so it stands up to daily use.

5. New Foam And Batting Upgrade
Old chairs often hide flat, tired foam that no new fabric can fix. When you remove the seat, press the foam firmly, because if it does not spring back or it holds a musty smell, it needs replacing. Cut new high-density foam to match the old cushion shape using an electric knife for clean edges.
Wrap the foam in a layer of soft batting before you add fabric, which rounds the edges and gives a plush, professional feel. Spray adhesive holds the layers together while you staple. Fresh foam makes a twenty-year-old chair feel brand new under you, and it costs only a few dollars per seat.

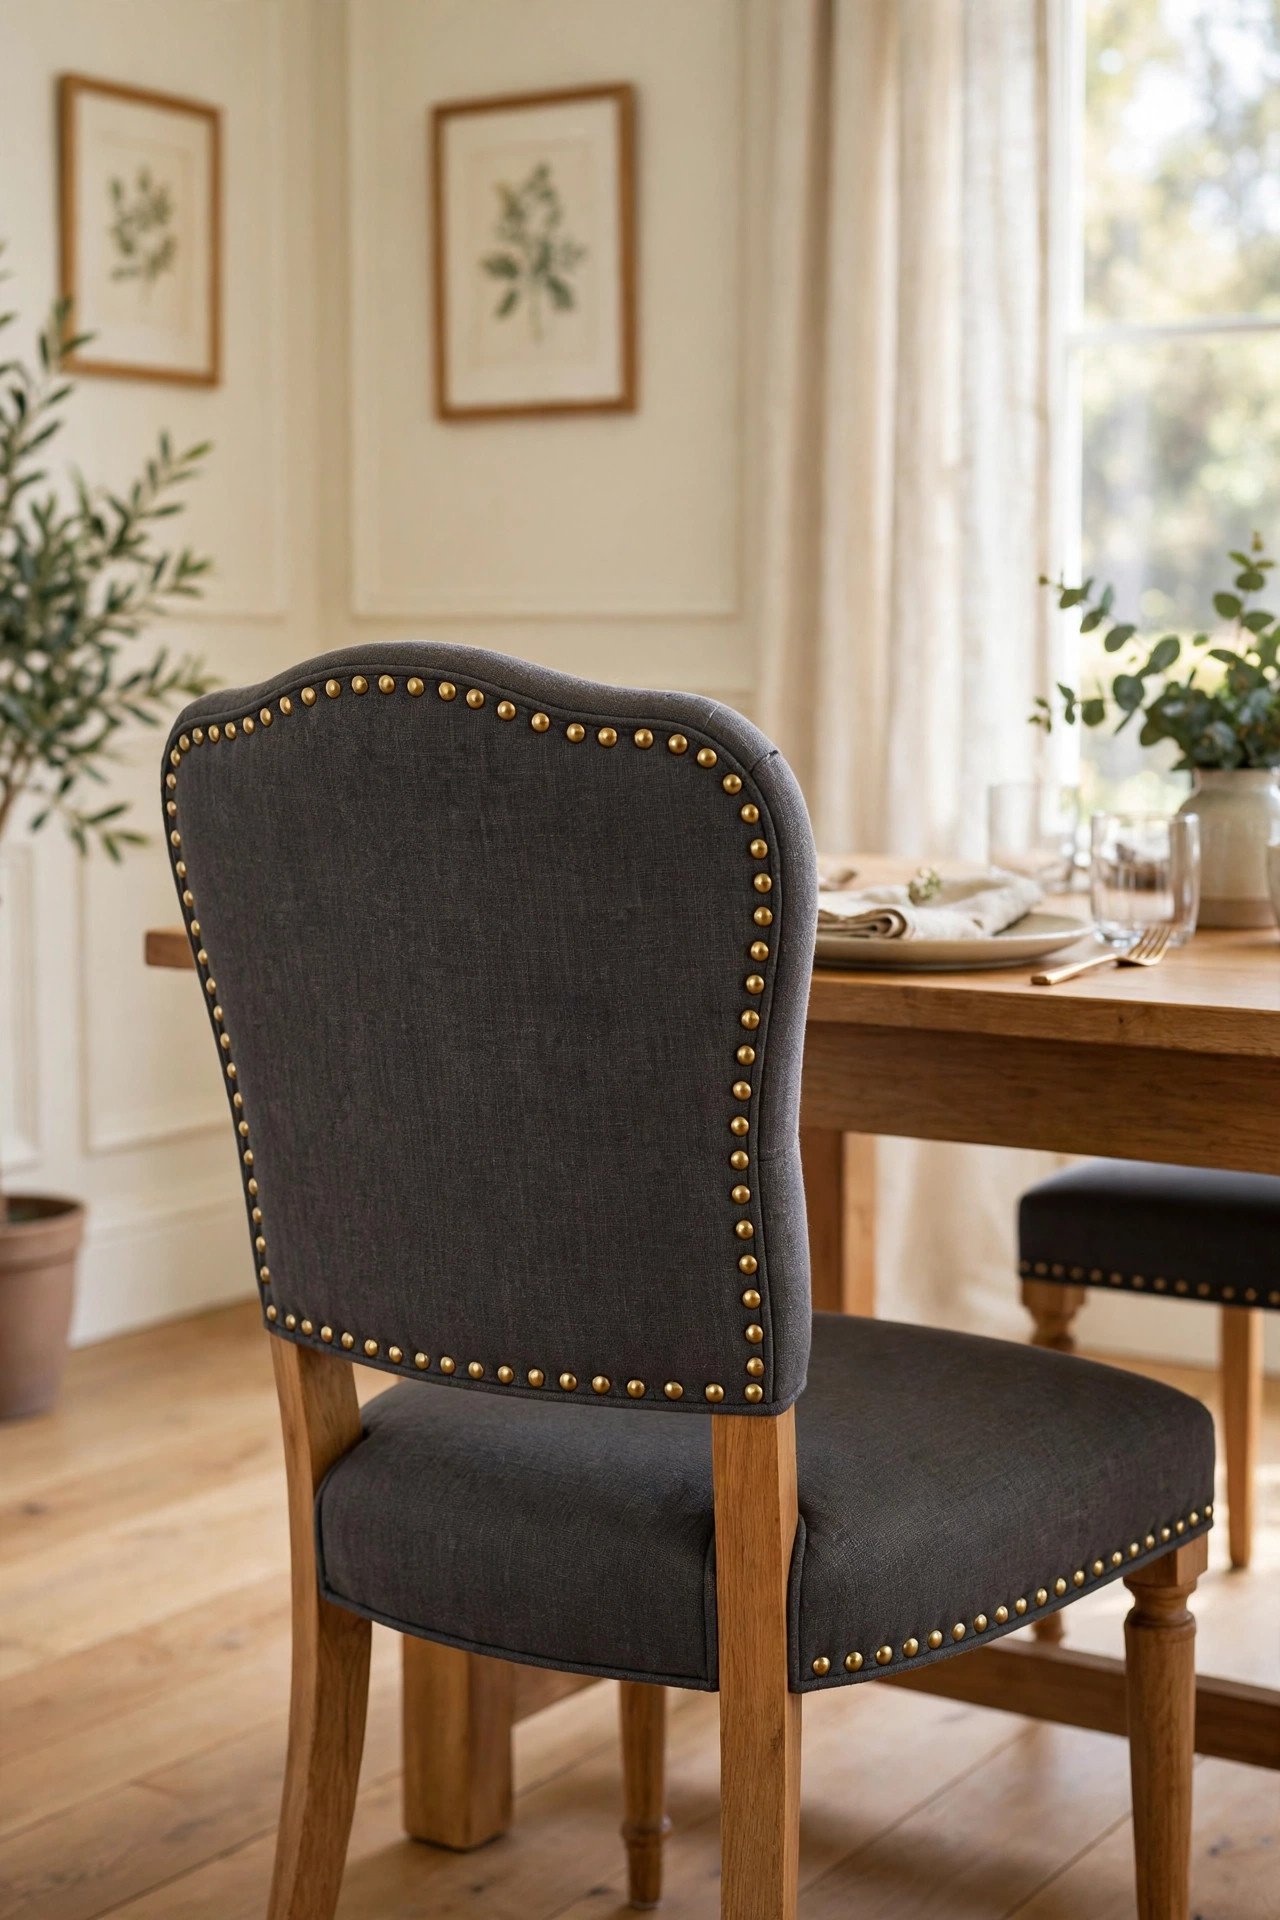
6. Decorative Nailhead Stud Trim
Nailhead trim turns a plain reupholstery job into a designer piece. After you staple your new fabric in place, hammer individual upholstery nails along the edges in a straight line, spacing them evenly. A simple cardboard template helps you keep the line perfectly straight around curves.
Brass studs on navy or charcoal fabric give a classic club-chair feel, while silver studs suit gray and beige fabrics. The trim also hides any slightly uneven stapling underneath, which makes it forgiving for beginners. This one detail adds more perceived value than any other finishing touch.
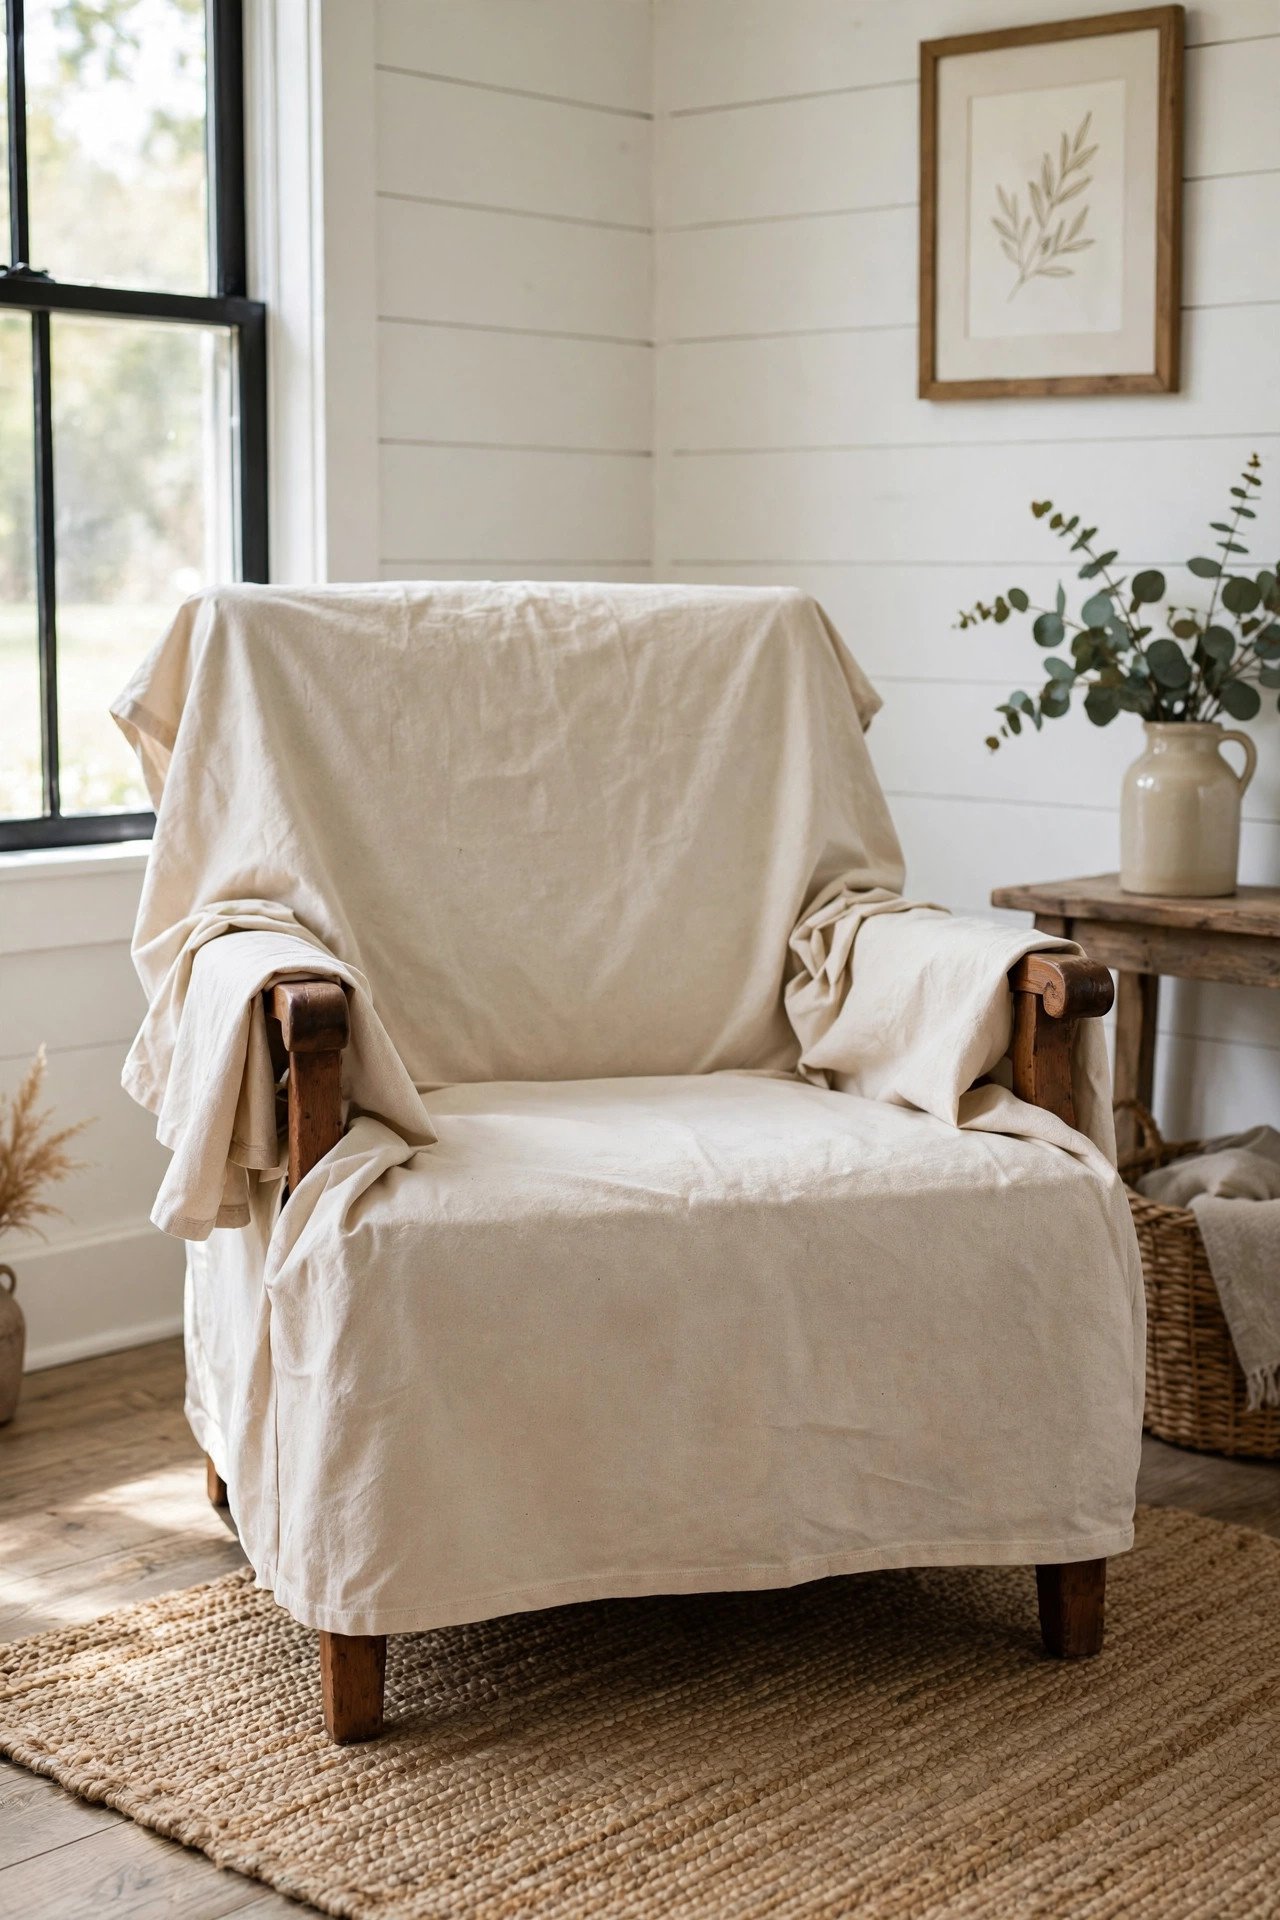
7. No-Sew Drop Cloth Slipcover
If stapling feels too permanent, a drop cloth slipcover gives any chair a relaxed new look with zero sewing. Drape a clean canvas drop cloth over the chair, tuck it into the creases, and fold the excess neatly at the back. The natural beige canvas suits farmhouse and coastal styles perfectly.
Wash the drop cloth first to soften it, and choose the smallest size that covers your chair to reduce bulk. You can stencil a simple border or monogram onto the fabric for a custom touch. When it gets dirty, just toss it in the wash and drape it fresh.
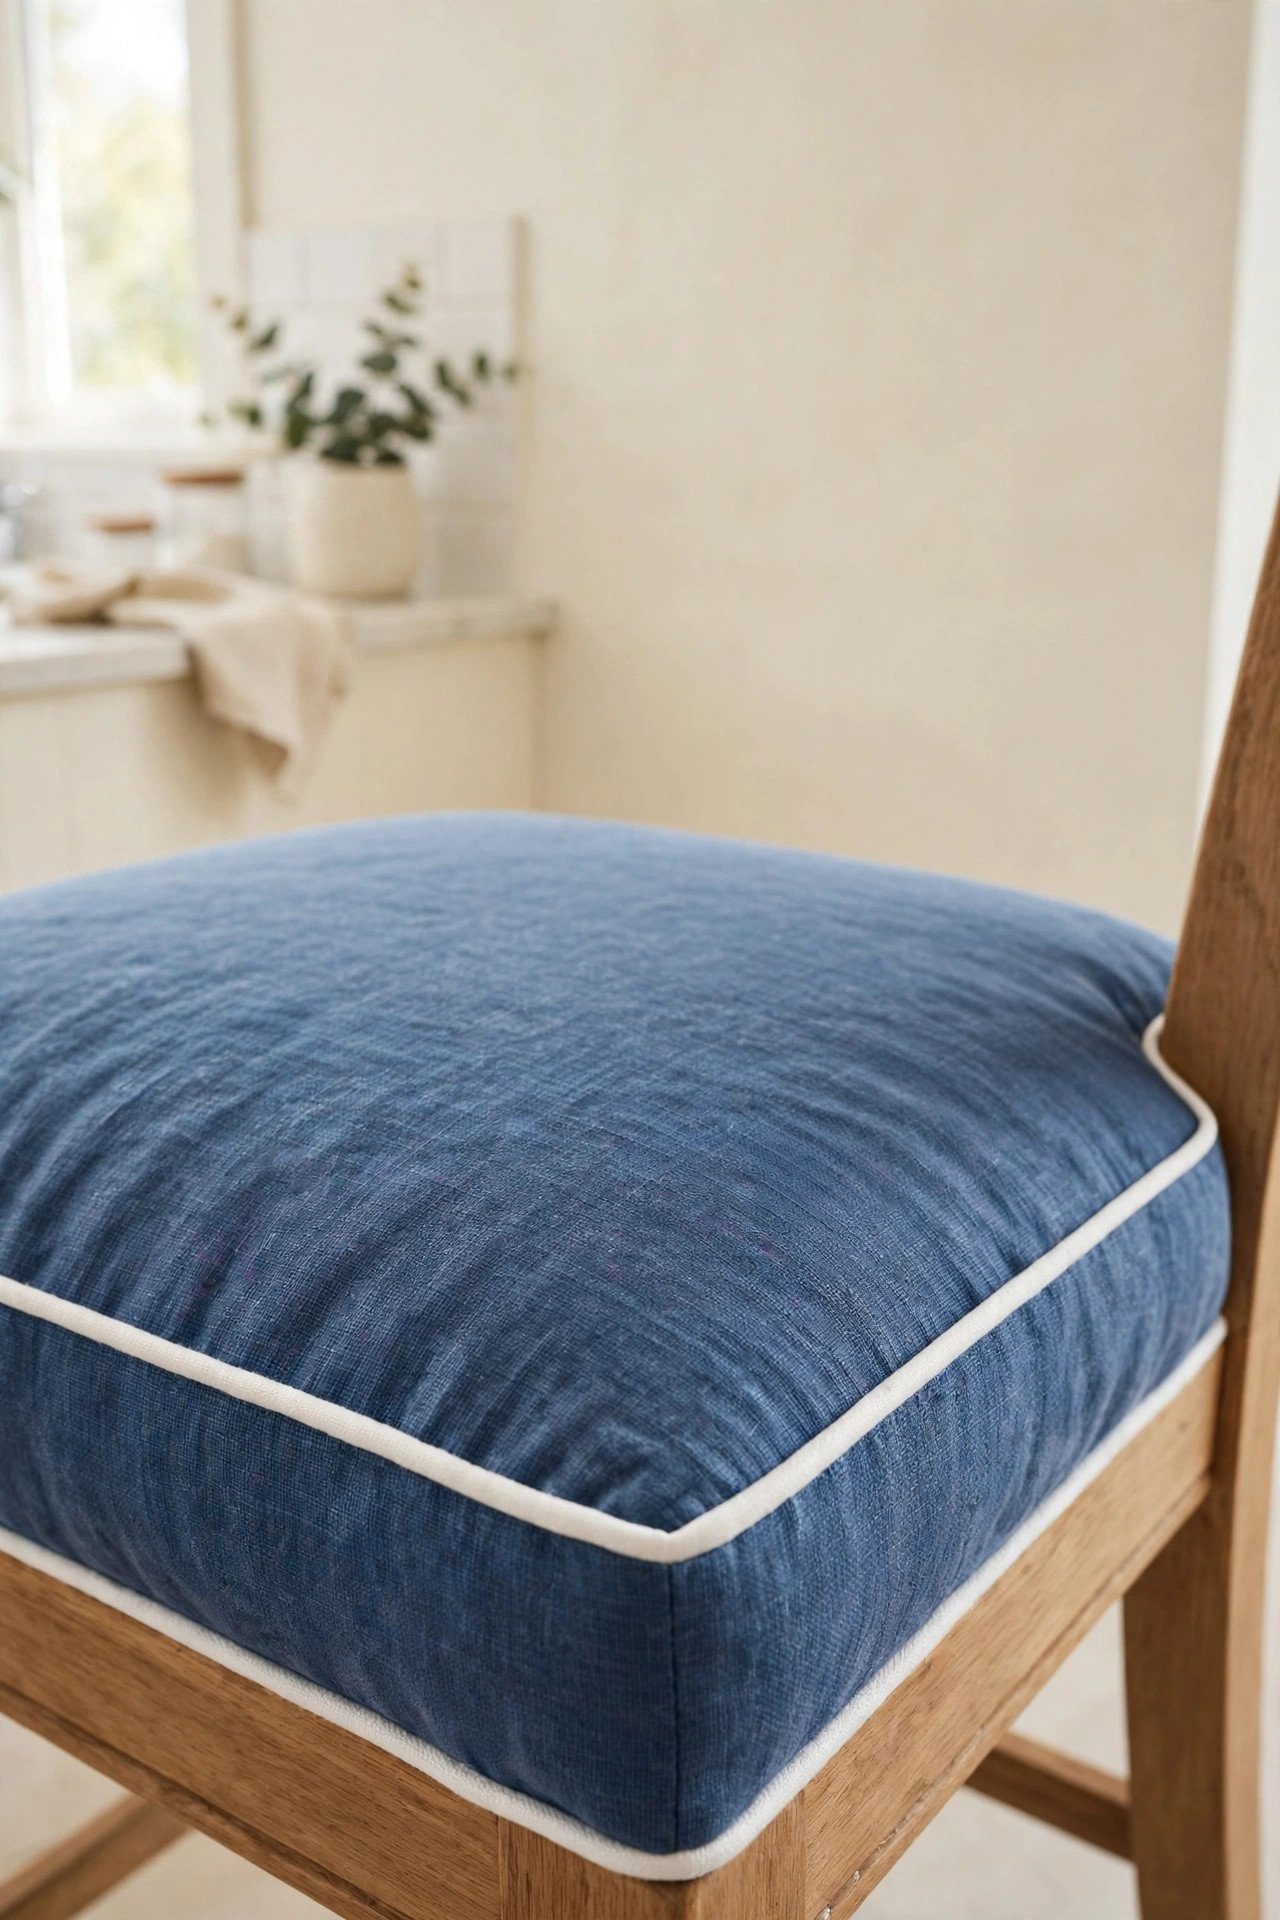
8. Contrasting Piping Detail
Piping, the corded trim along cushion edges, looks professional and is easier to add than you think. Buy pre-made piping in a contrasting color, or make your own by wrapping fabric strips around cotton cord. Staple or glue it along the seat edge before you attach the main fabric panel.
White piping on blue fabric gives a crisp nautical feel, while mustard piping on gray adds a fun modern pop. The contrast draws the eye to your neat edges and makes the whole chair look tailored. It is a small step that delivers a big style payoff.
9. Button Tufting Refresh
Deep button tufting looks expensive, but you can refresh or add it yourself with covered buttons and strong thread. For a simple refresh, replace missing buttons on an existing tufted chair by pulling thread through from the back and knotting it securely. Cover new buttons with matching fabric using an inexpensive covering kit.
Adding fresh tufting to a plain chair back takes more patience, but the diamond pattern it creates is timeless. Mark your button positions with chalk first so the pattern stays even. A tufted chair becomes an instant focal point, much like the statement pieces in vintage bedroom painted accents.

10. Classic Ticking Stripe Fabric
Ticking stripe fabric is a budget-friendly classic that hides wear and suits almost any room. The narrow woven stripes come in blue, red, black, and gray on natural backgrounds, and the sturdy weave stands up to daily use. It costs far less than designer upholstery fabric while looking equally timeless.
Use ticking stripe on dining seats for a French bistro feel, or on an accent chair for farmhouse charm. The pattern is forgiving to align, which makes it ideal for your first reupholstery project. Pair it with solid linen pillows to keep the look fresh rather than fussy.

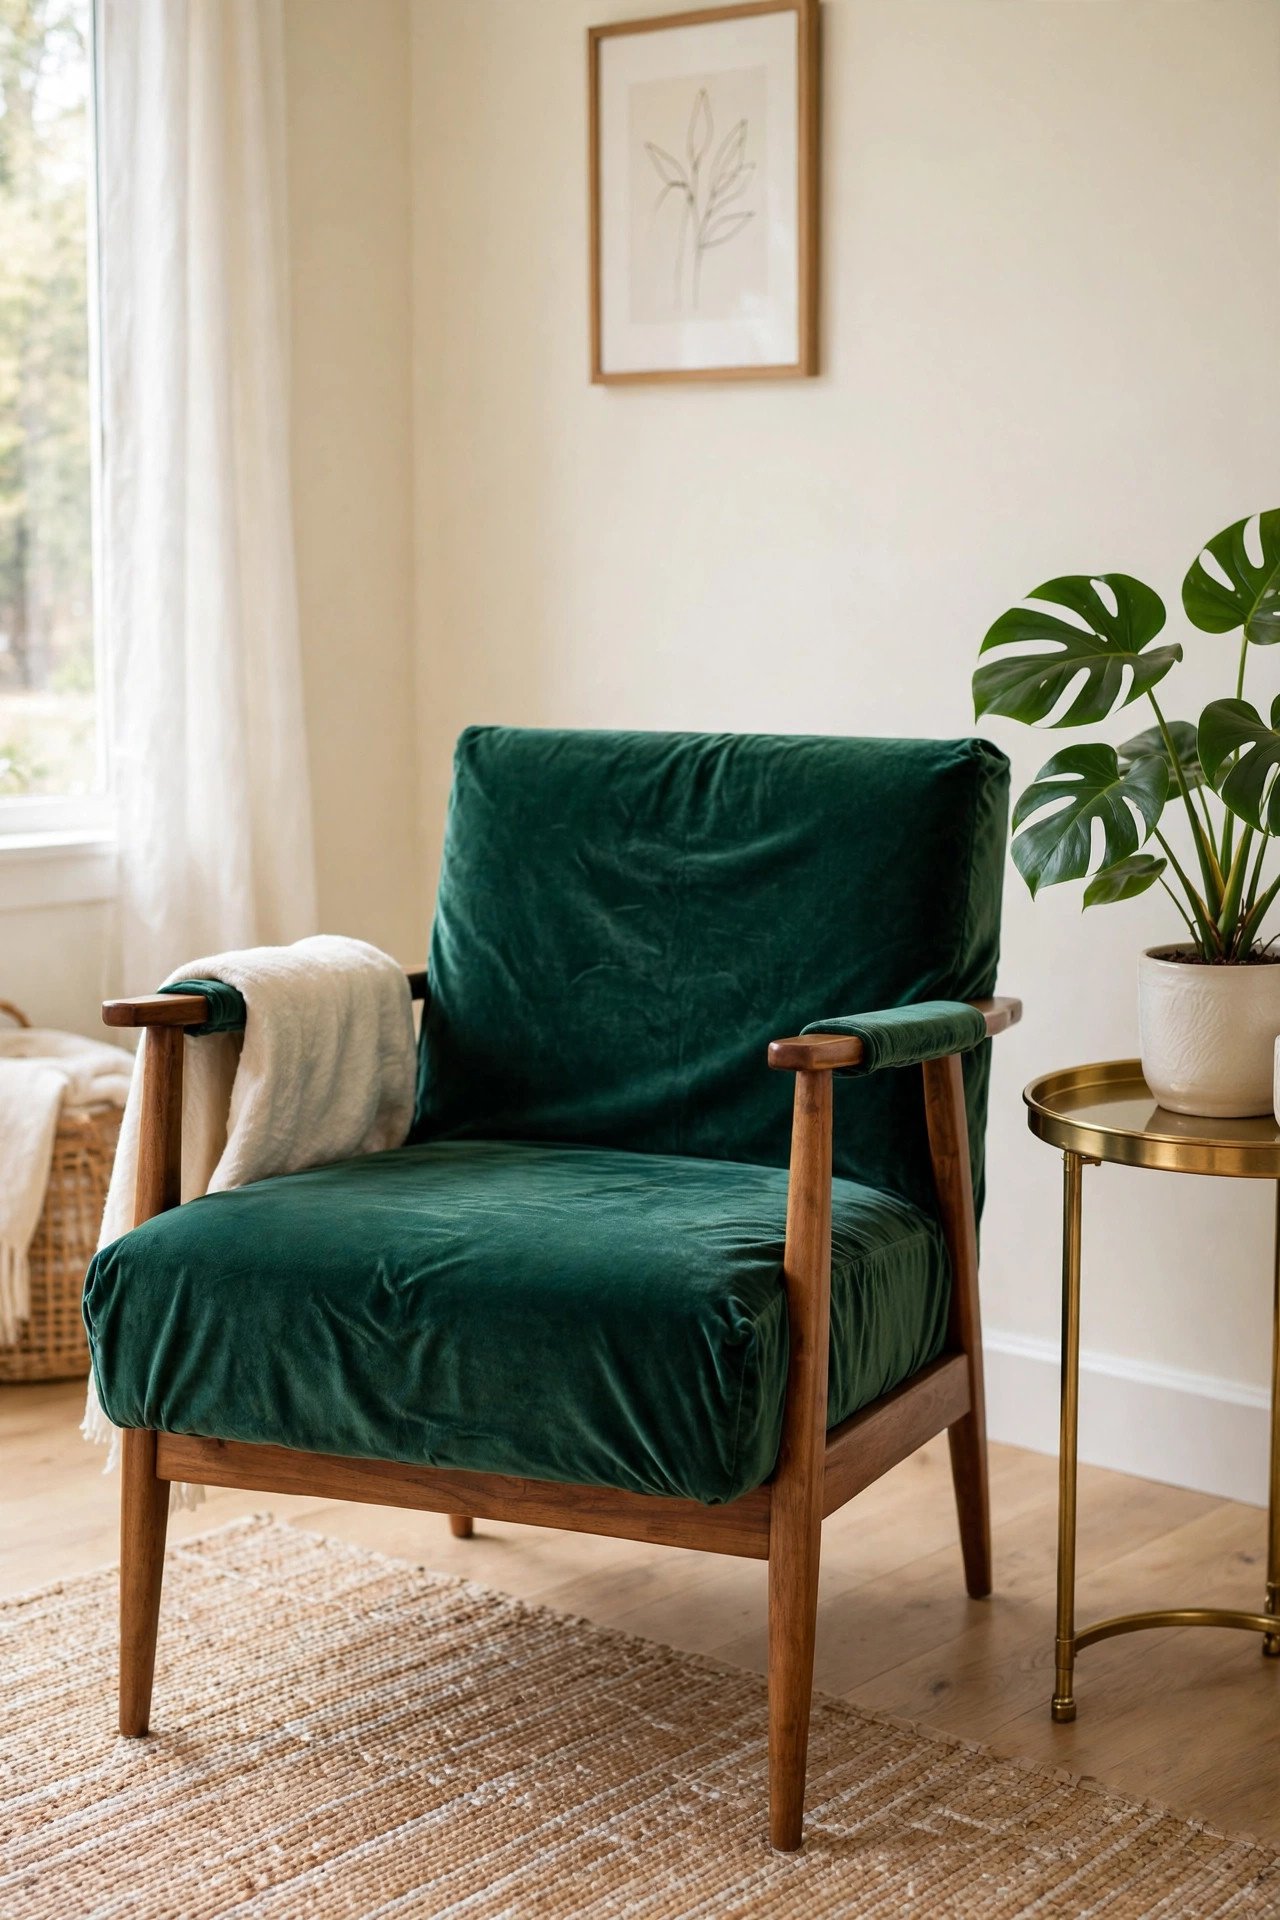
11. Velvet Slipcover For Accent Chair
Velvet slipcovers give a tired accent chair instant luxury without any stapling. Choose a stretch velvet cover sized for your chair style, and smooth it over the frame, tucking excess fabric into the seat creases. The rich texture catches light beautifully and hides the old fabric completely.
Emerald, mustard, and blush velvet all make stunning statements in a living room. Slipcovers are removable for washing, which makes them practical for homes with kids or pets. This is the fastest transformation on this list, taking under fifteen minutes.
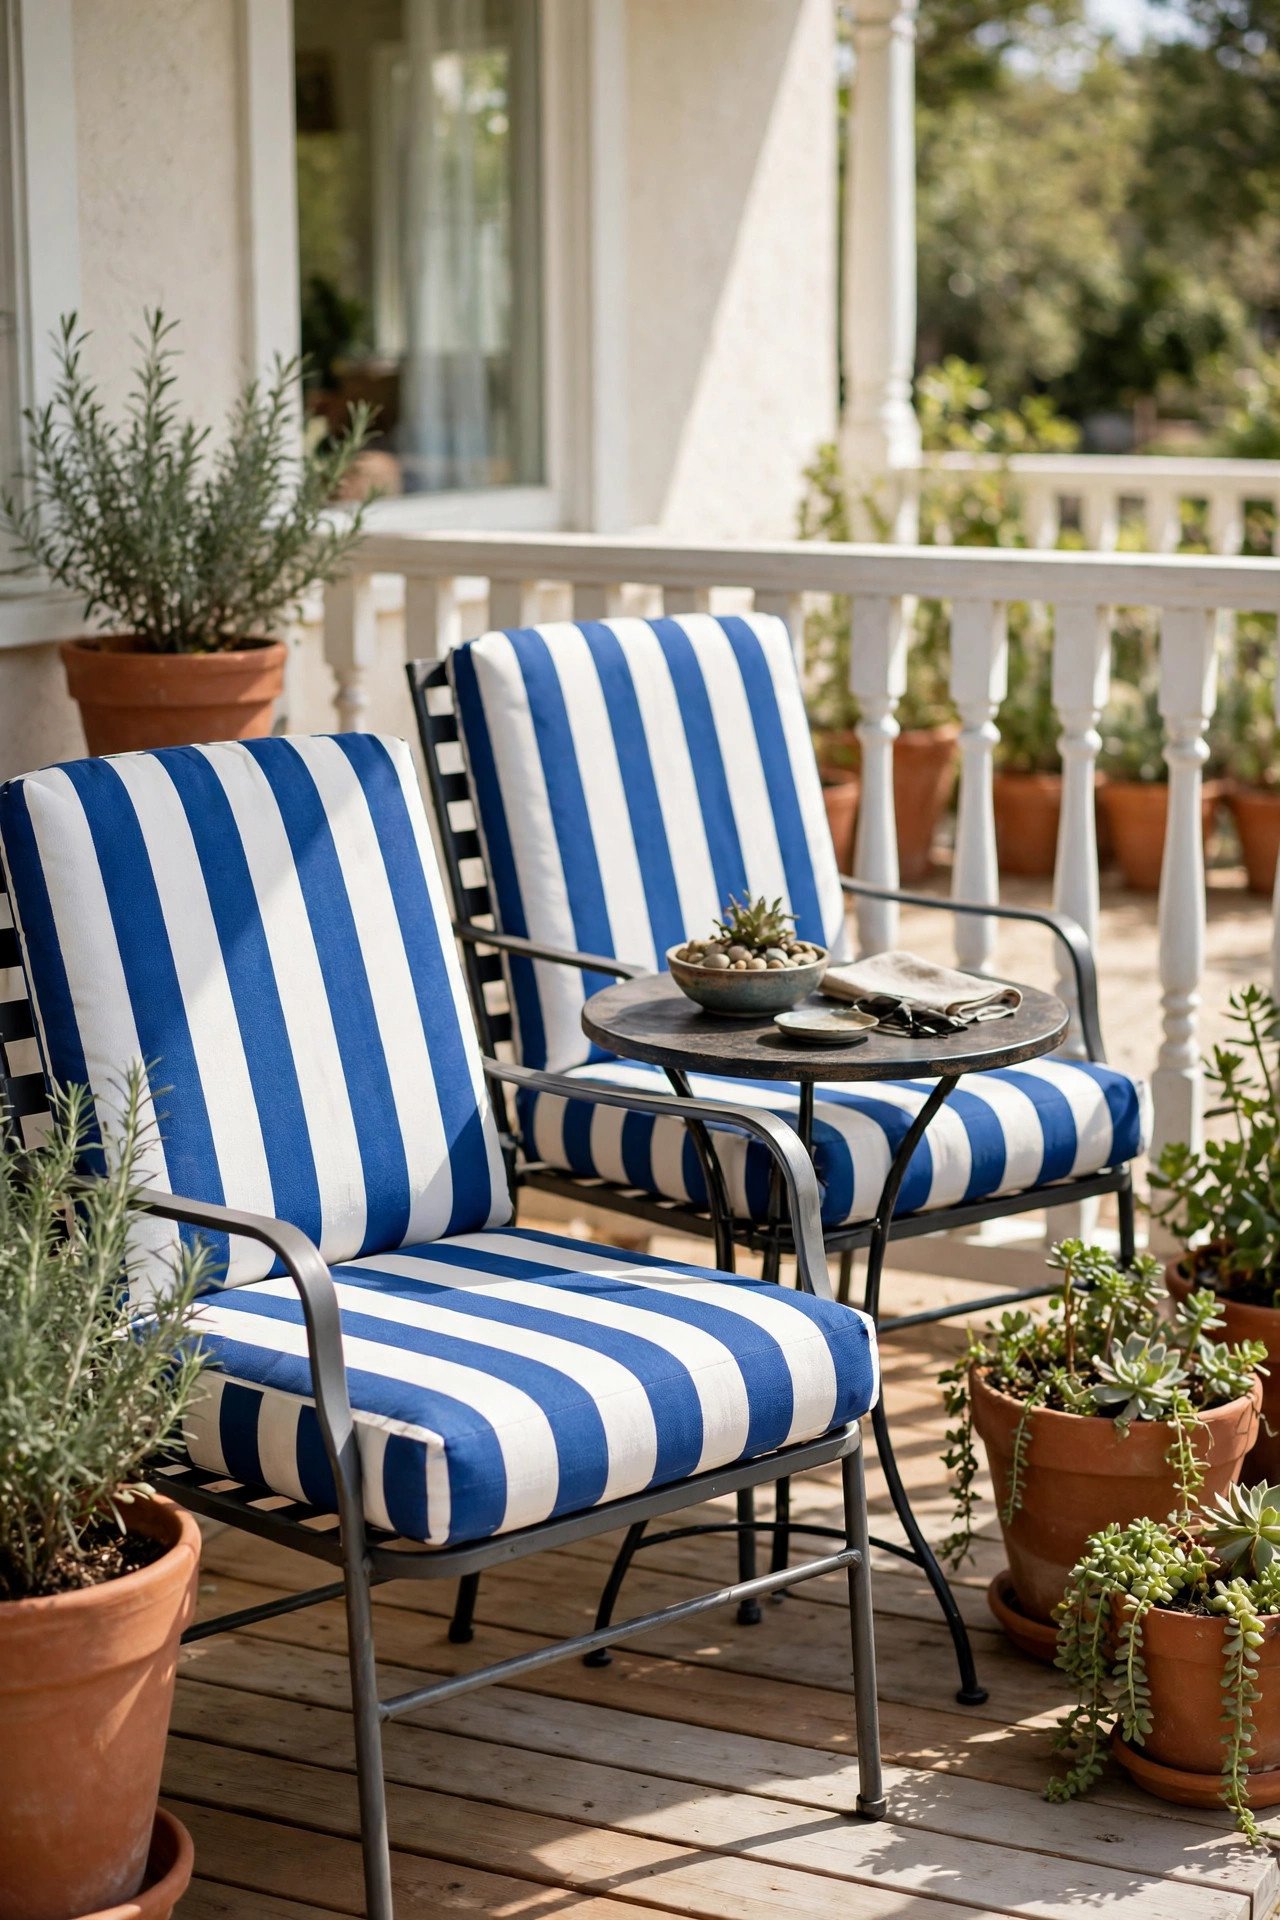
12. Outdoor Fabric Recover For Patio Chairs
Patio chairs fade fast in the sun, but outdoor fabric gives them a fresh start. Remove the old slings or cushions and cut replacements from UV-resistant outdoor fabric, which resists fading and mildew. The stapling technique is the same as indoor chairs, just with tougher materials.
Bold outdoor stripes or tropical prints make old patio furniture feel new again for a fraction of replacement cost. Store the chairs under cover in harsh weather to extend the life of your work. Your refreshed patio set will be ready for every sunny gathering.
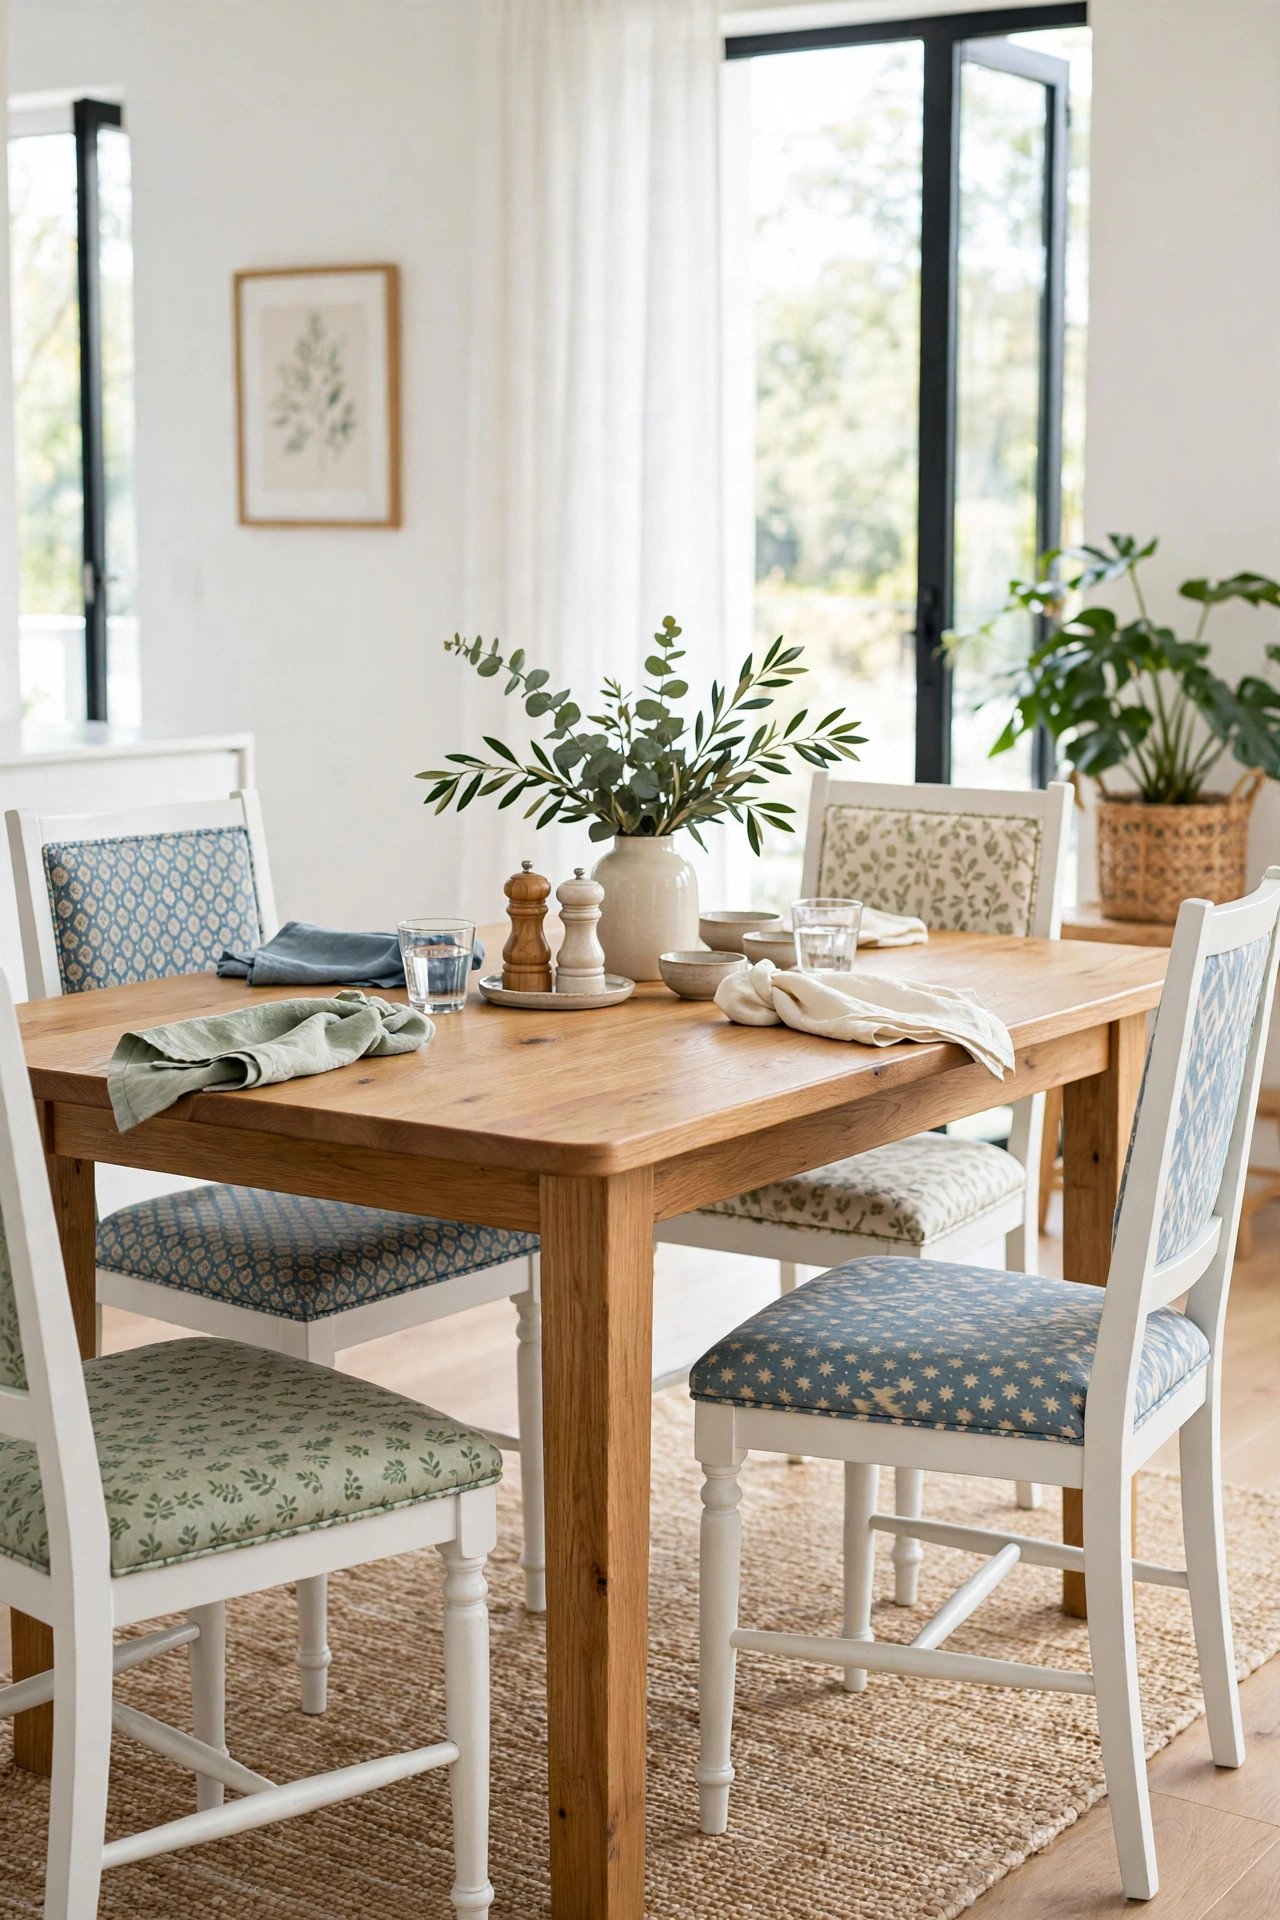
13. Mix And Match Dining Set
Who says dining chairs must match, because a collected set of different chairs looks charming and costs almost nothing. Gather solid wood chairs from thrift stores and flea markets, then unify them with the same paint color on the frames. Reupholster each seat in coordinating fabrics that share one color.
The shared paint color ties the mismatched shapes together, while the varied fabrics keep things interesting. This approach also works for a home office corner, where a pretty recovered chair elevates your workspace like the setups in soft glam office design. Start collecting chairs now and build your set over time.
Conclusion
Old chairs deserve a second chance, and now you have thirteen ways to give them one. From a simple one-hour seat recover to full reupholstery with nailhead trim, every project on this list costs far less than buying new. The skills you learn on your first chair will make the second one even easier.
Start with the chair that bothers you most, gather your fabric and tools, and set aside a free afternoon. Work slowly, pull your fabric tight, and do not fear the staple gun. Your finished chairs will carry a story that store-bought furniture never could.
Frequently Asked Questions About DIY Upholstery Makeover
What is the easiest DIY upholstery project for beginners?
Recovering a dining chair seat is the easiest starting point. You only need to unscrew the seat, cut new fabric, and staple it underneath. The whole project takes about an hour per chair and teaches you the core skills for bigger projects.
How much fabric do I need to reupholster a dining chair?
One half yard of fabric covers a standard dining chair seat with enough extra for clean folds. For a full dining chair with a padded back, plan on one yard per chair. Always buy a little extra to allow for pattern matching and mistakes.
Can I reupholster over old fabric?
You can layer new fabric over old if the existing padding is still firm and odor-free. However, removing the old fabric gives a cleaner result and lets you inspect the foam underneath. For chairs with worn or smelly padding, always strip down and replace the foam.
What tools do I need for DIY upholstery?
A staple gun, screwdriver, fabric scissors, and a tape measure cover most beginner projects. Helpful extras include a staple remover, pliers for corners, and spray adhesive for foam. An electric staple gun reduces hand fatigue on bigger jobs.
How do I make my reupholstery look professional?
Pull fabric tight but not stretched, staple from the center outward, and fold corners neatly like gift wrap. Adding details like nailhead trim or piping hides minor imperfections. Taking your time with prep work matters more than speed.

Hi, I’m Emily! I turn messy corners into cozy, organized spots. DreamNestDecor is where I share simple, practical home ideas — decor, organization, and small-space solutions that work in real life, not just in photos. Every idea here is carefully researched before it’s shared.